#1
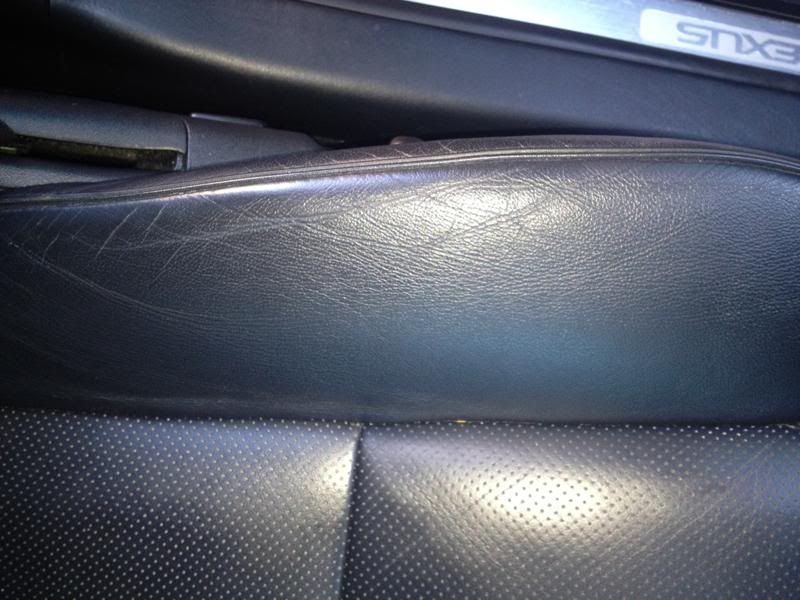
This is the seat bolster. it has gotten a little hard and the creases are steadily getting worse.
Comment:
This looks like an over buildup of conditioners/protectors, making the leather looks plastiky and heavy for an even flexing to produce “fine breaks” instead of “coarse breaks”.
These “coarse breaks” will developed into deeper creases and eventually cracks on these over flexed creases if left alone with continue coating with conditioners/protectors especially those “film forming” types.
Recommend:
1] The buildup conditioners/protectors are to be completely stripped off – using a “leather-safe” prep, sticky residue is to be clean off and rinse to a healthy squeaky feel.
2] This stripping off to the original OEM finishes will exposed developed micro-crazing that will allow the leather to breathes better; breathability = absorbency.
3] Hydrating is done with a pH 3.3 hydrator through the surface micro-crazing downwards if possible or sideward’s through the stitching holes.
4] Advance techniques uses absorbent tissue paper/cotton wool as reservoir to contain the hydrator while under cling wrapper for evaporation control to ensure the hydrator goes into the leather fibrous structure.
5] Will explain technique further with actual application if desired; on how to achieve a full hydration prior to fatliquor replenishing to soften it when dry and reducing the coarse breaks.
#2
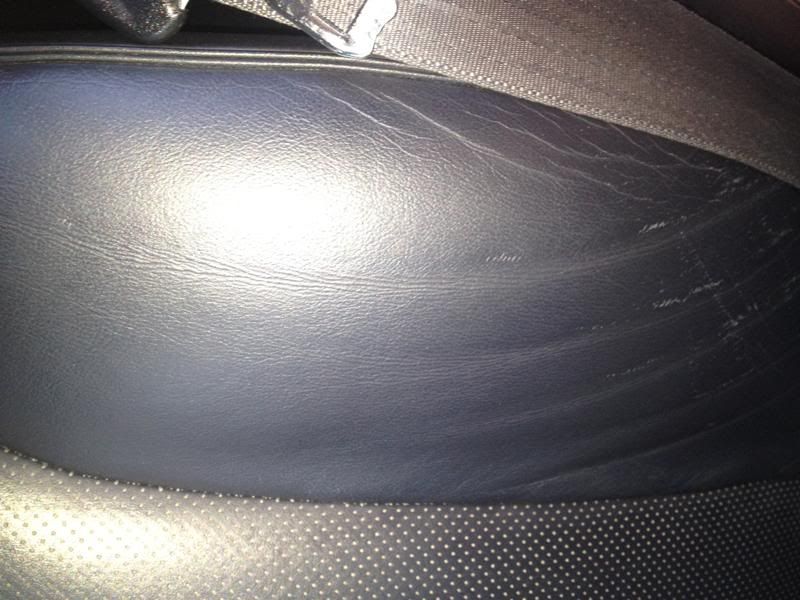
This is the seat backing right above the bolster. same issues
Refer comment and recommend as above.
Note: Surfaces scratches is original topcoat missing – touchup with matching topcoat probably will eliminate the marks.
#3
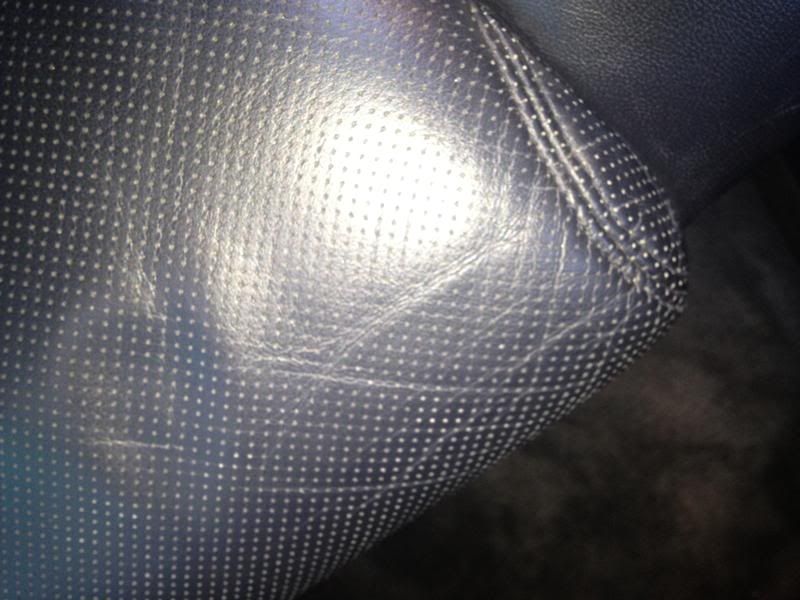
same as above
Over Loading!
Finish Over Loading!
This leads to the perforated holes joining up as crease lines instead and eventually will cracks in lineal rows.
Half of the problem will be solved when it is stripped clean to the original finish – without damaging the original finishes and is leather structural safe.
And I will further explain the other half when system products are at hand.
#4
This is a picture of the headrest in the back. it hard to tell from the picture but it is almost completely dry and stiff
Recommend:
1] Strip to original OEM finish to reduce the finish load – first.
2] Hydration with advance technique until the leather softens up.
3] Then fatliquor replenish using the same advance technique to hold the leather with suppleness when dry.
You think what I mentioned would help?
Roger Koh
info@leatherdoctor.com