imported_Intel486
New member
to make my 4.6l V8 F-150 XLT extended cab faster than a Lightning?
Follow along with the video below to see how to install our site as a web app on your home screen.
Note: This feature may not be available in some browsers.


") ), we decided to move to the next location:
), we decided to move to the next location:


")


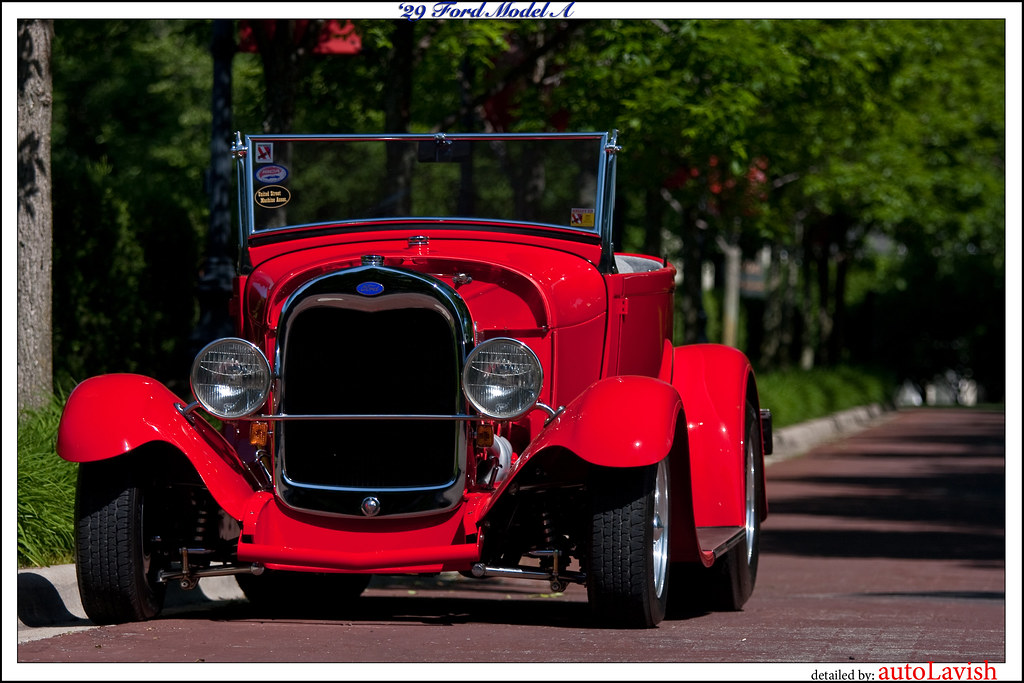
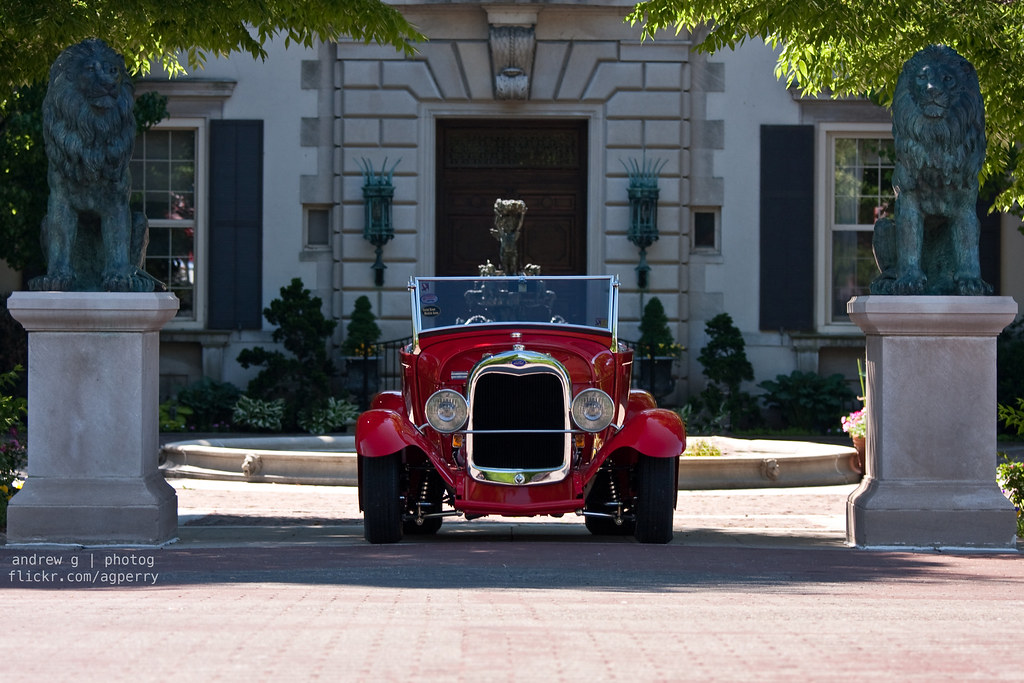
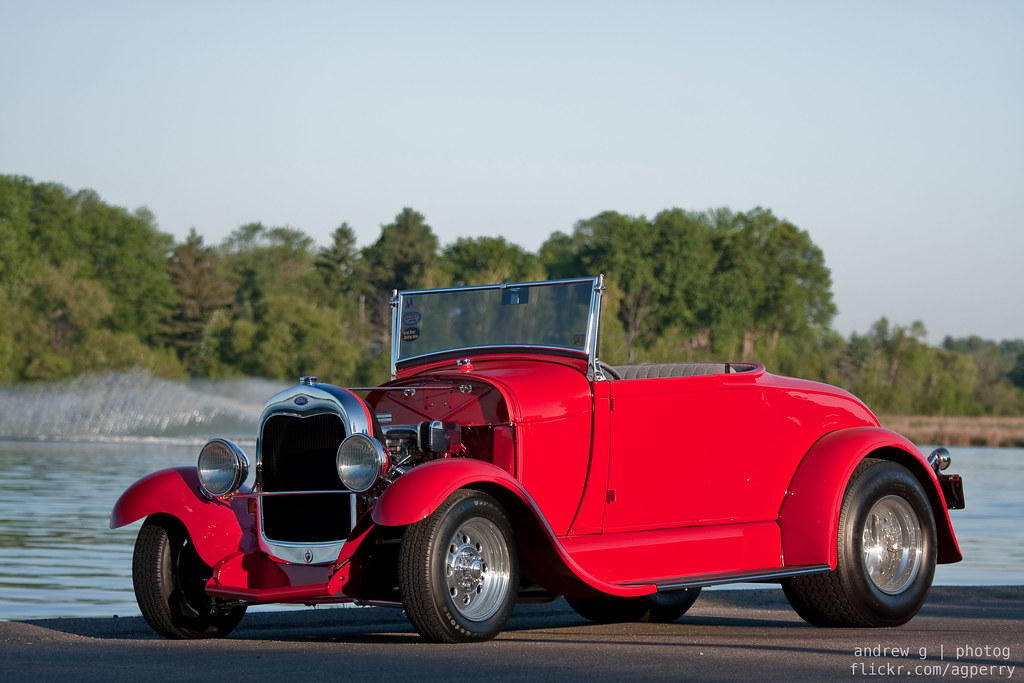
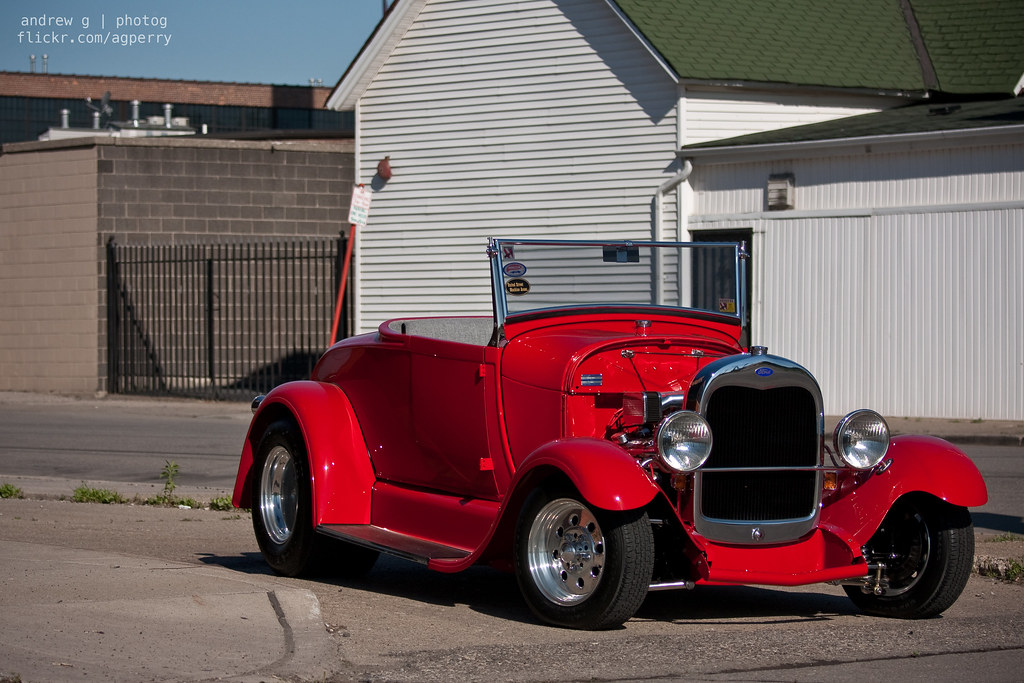
Andrew G Photog said:Over 8 months after we initially talked about it, a date had finally been set...the shoot was on! I contacted the owners to discuss any possible ideas they might have for the photos. I've found that some owners have that, "special place" they just HAVE to have, while others want to leave it in the hands of the professional. After a brief conversation with the owners, they let me know this was a case of the latter. Knowing I had complete creative control, I started brainstorming possible locations for the car. After 3 days of driving around scouting, I contacted AutoLavish and the owners with my location ideas. We agreed on a starting location and time (6am), and prepared to meet in the coming days when weather would be ideal.
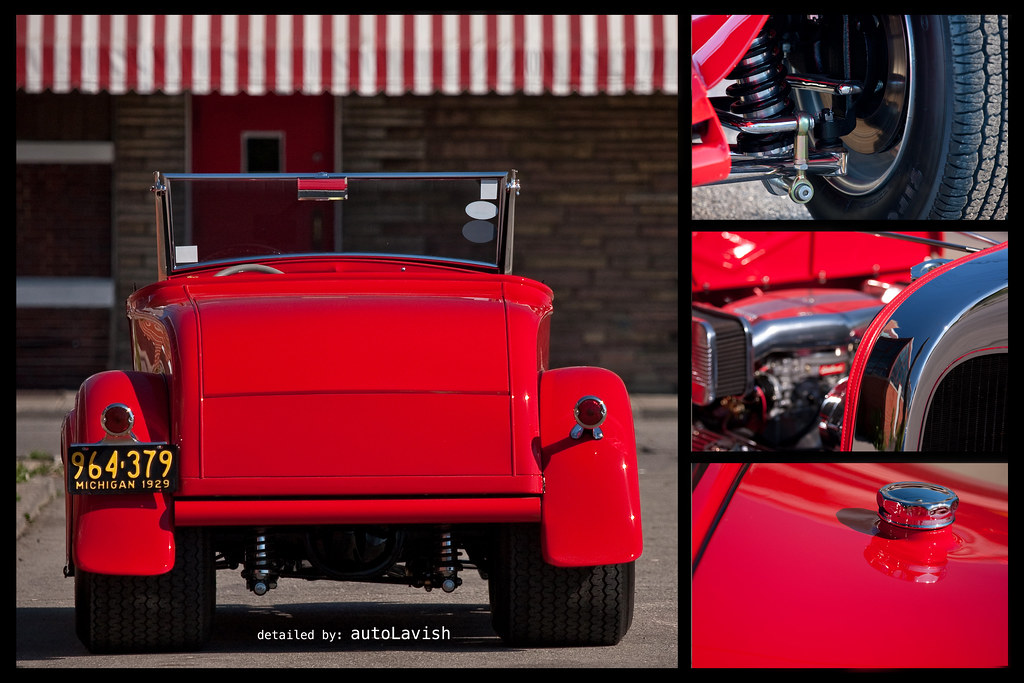
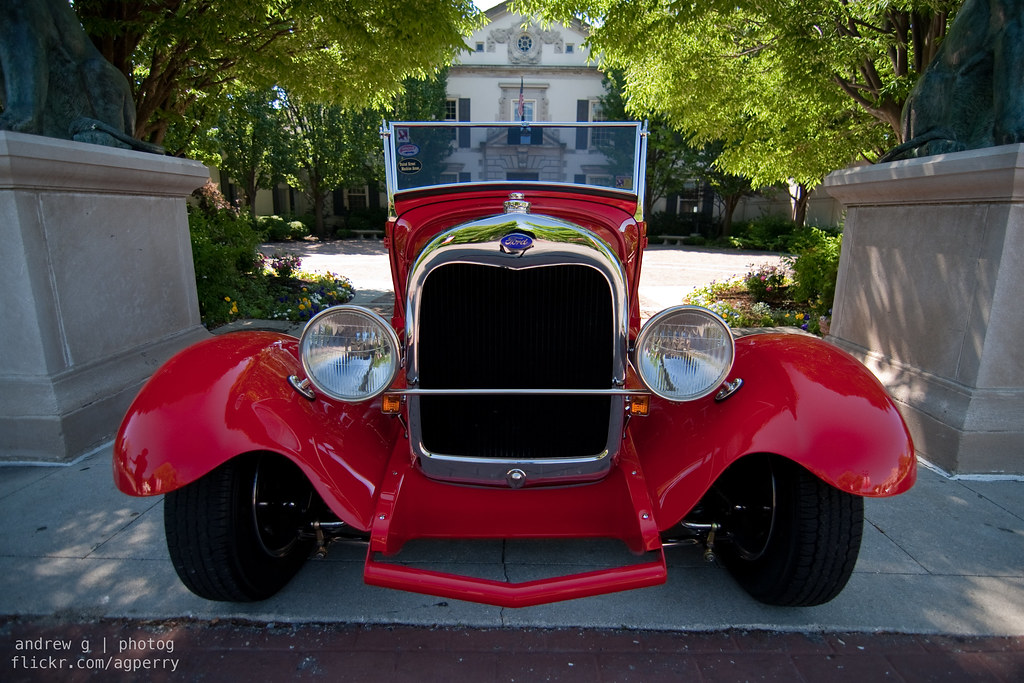
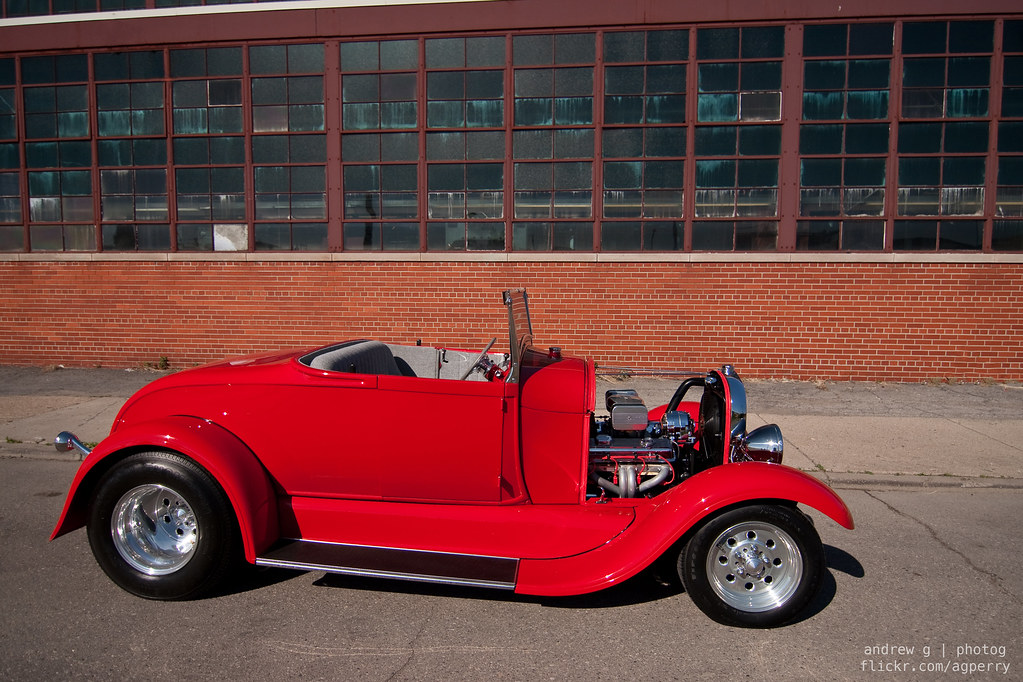
Andrew G Photog said:Red can be a tricky color to shoot. I had to make sure final locations had colors that complimented the car. I tried to avoid busy and distracting backgrounds as they tend to take away final product.
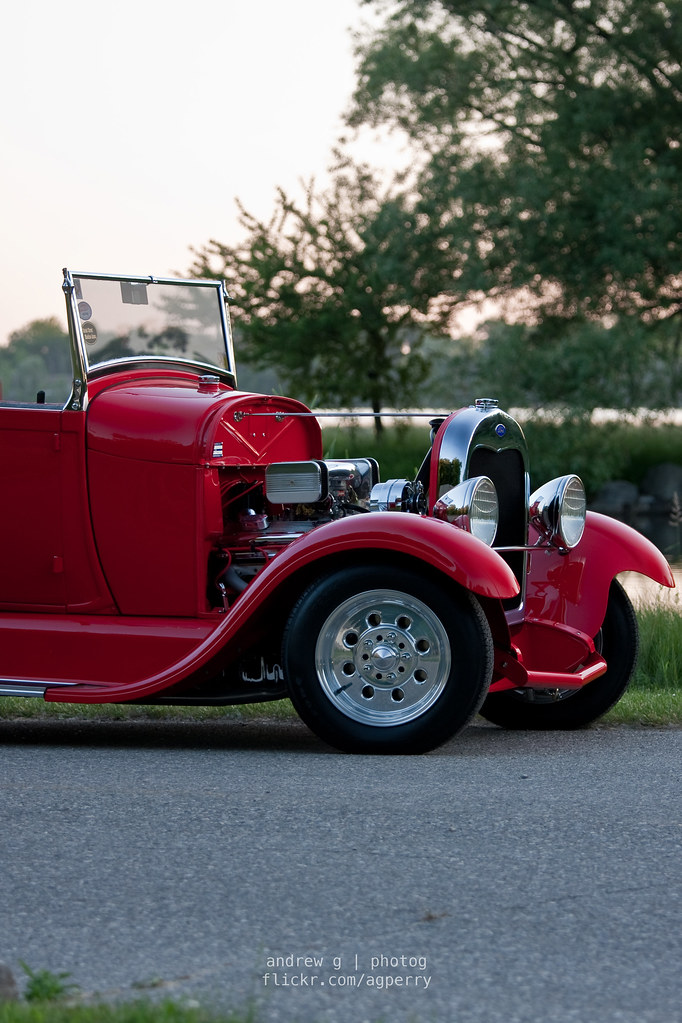
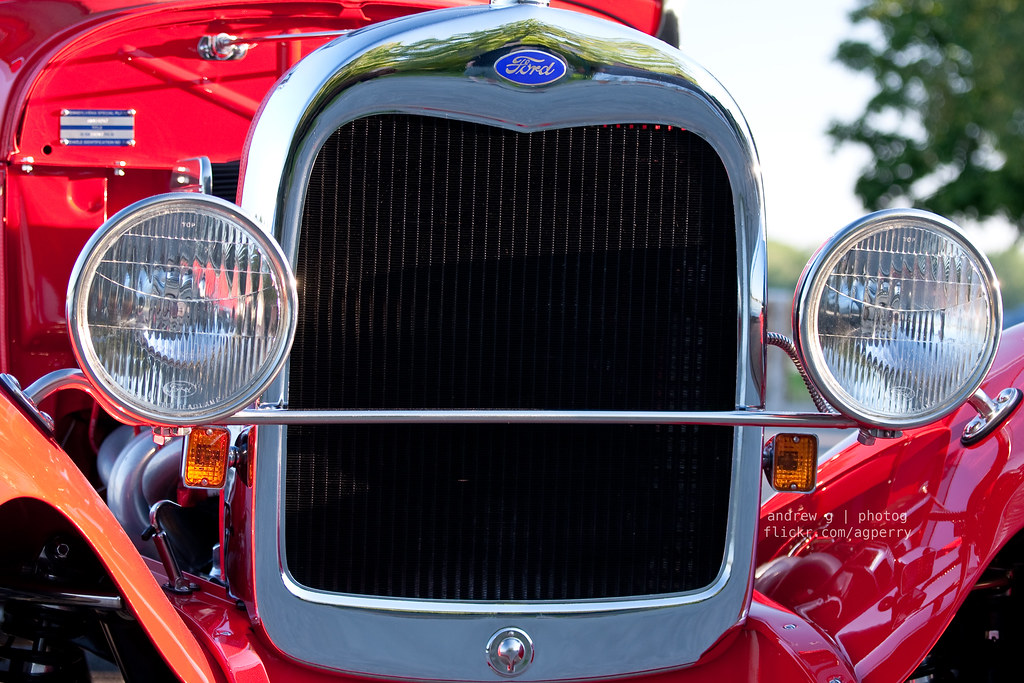
Lens selection was another consideration. I like to shoot cars from a distance, which meant my 70-200 f/4 IS was used for a lot of these photos. I really enjoy the natural depth that is achieved when shooting a car @ 200mm. For the wide-angle shots I used my Tokina 11-16 f/2,8. For all of the shots I used a circular polarizer, as it helps to cut through the glare that the sun likes to create on a shiny, freshly polished surface.
Lighting is always the key to getting "the" shot. Not everyone can afford strobes, which is why you're lucky the sun is free. Use that early morning sun and late night light when you can. It is soft, even, and allows for some nice shadows to accentuate the lines of a car. I did bring my strobes to the shoot, and while we set them up once, we didn't end up using them for any of the photos. I'm a huge fan of natural lighting, but having a backup plan never hurts as you never know when you're going to need the extra light.
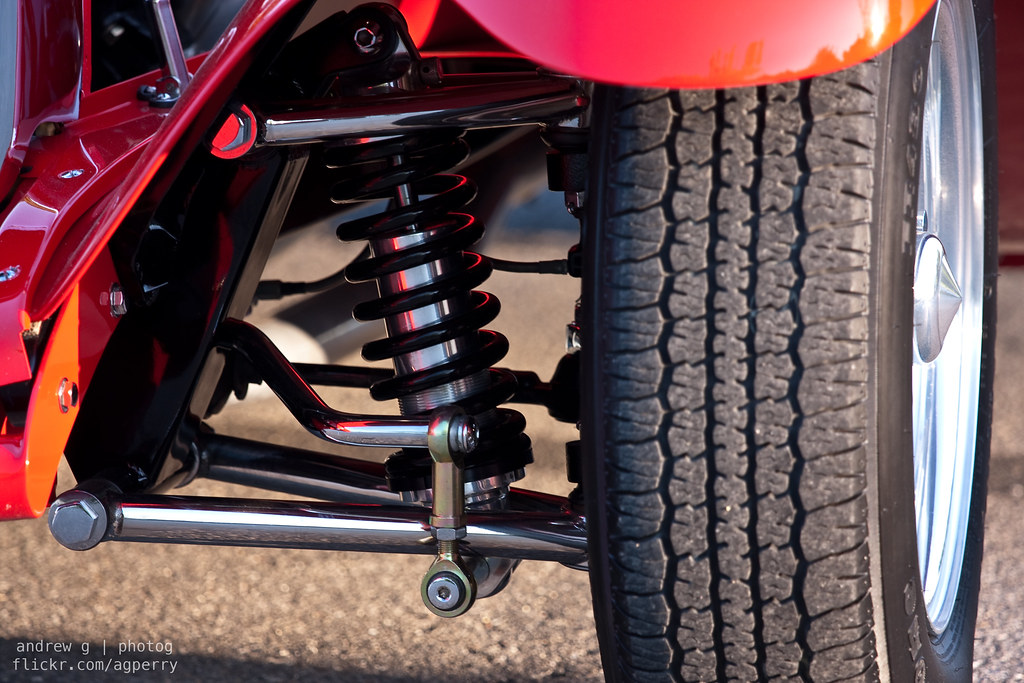
These were just few of the things that need to be taken into consideration.

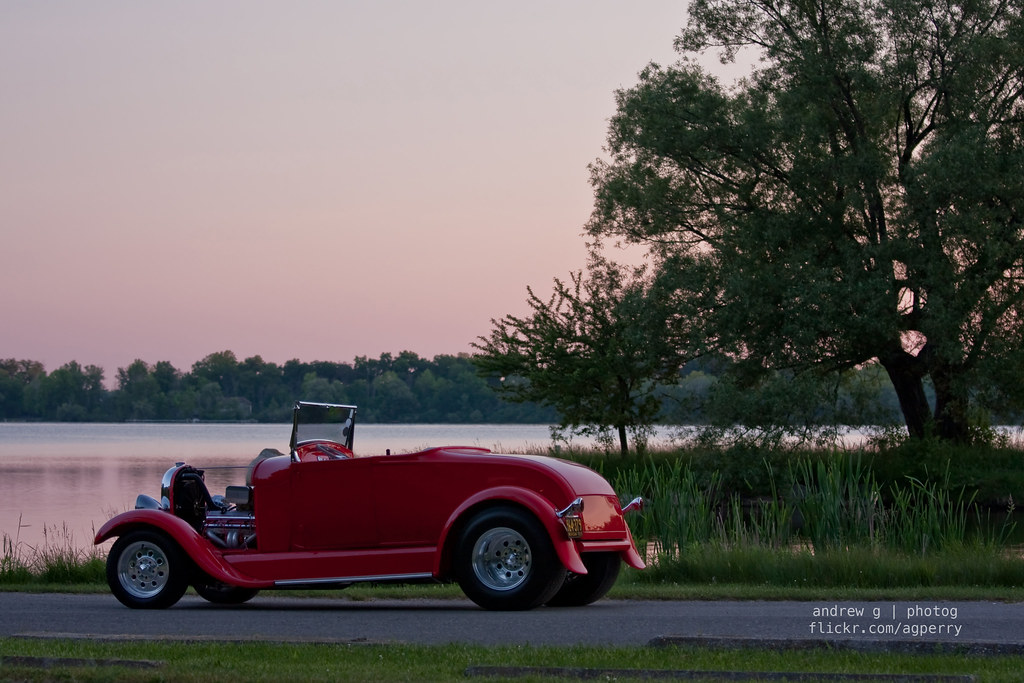

Andrew G Photog said:I Hope you enjoy the photos as much as I enjoyed shooting them!