RaskyR1
Rasky's Auto Detailing
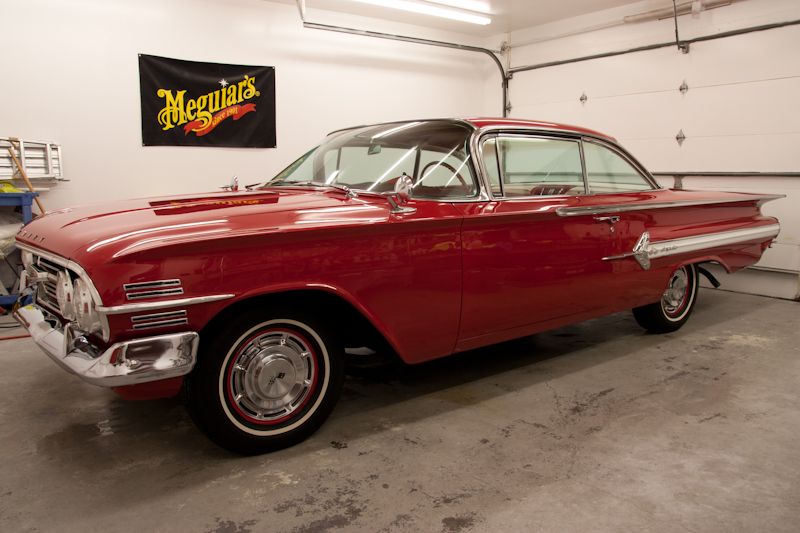
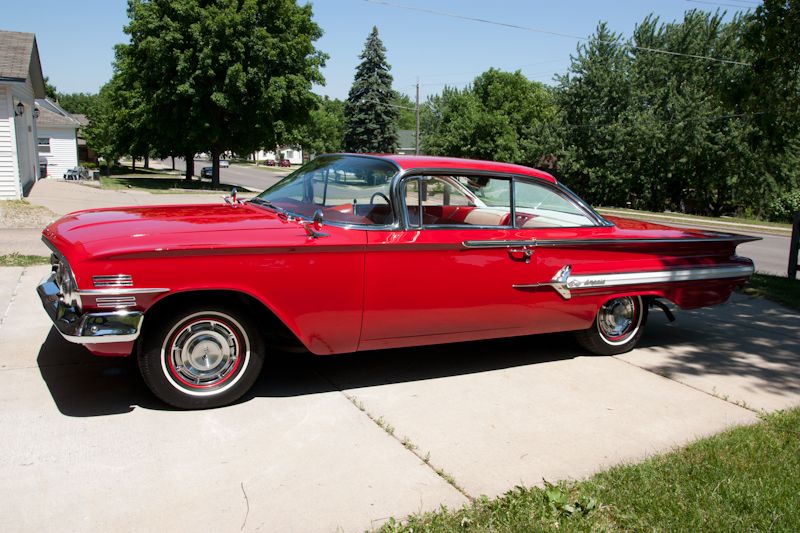
1960 Impala, Full Wet Sand and Buff.
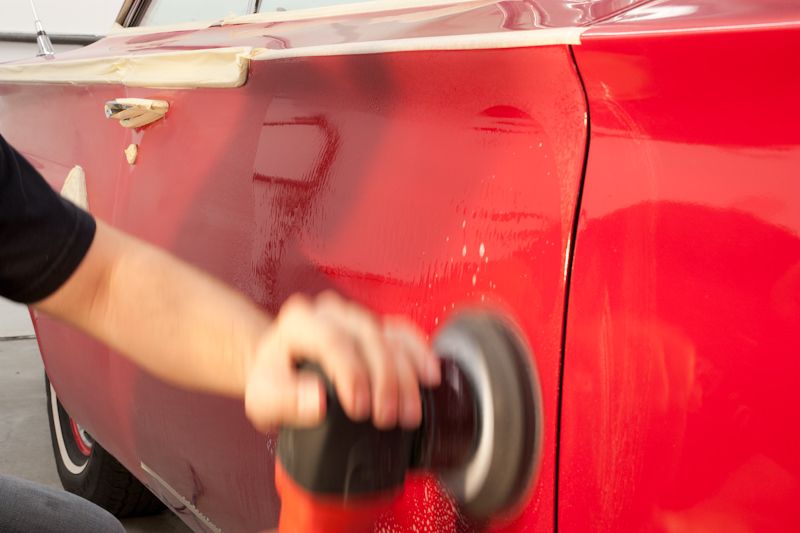
So this is another car that my mentor recently picked up for resale at a local auction (yes it sold). The car appeared to have been repainted several years ago, but it was never actually wet sanded and buffed after the repaint. Overall the car was in very good shape, but the paint really needed to be leveled off to show it's true potential. While I really wanted to level the paint as smooth as glass, the initial paint readings told me there was not a lot of paint of the car and the owner and I agreed not to go too crazy with the sanding, but it was still a huge improvement!
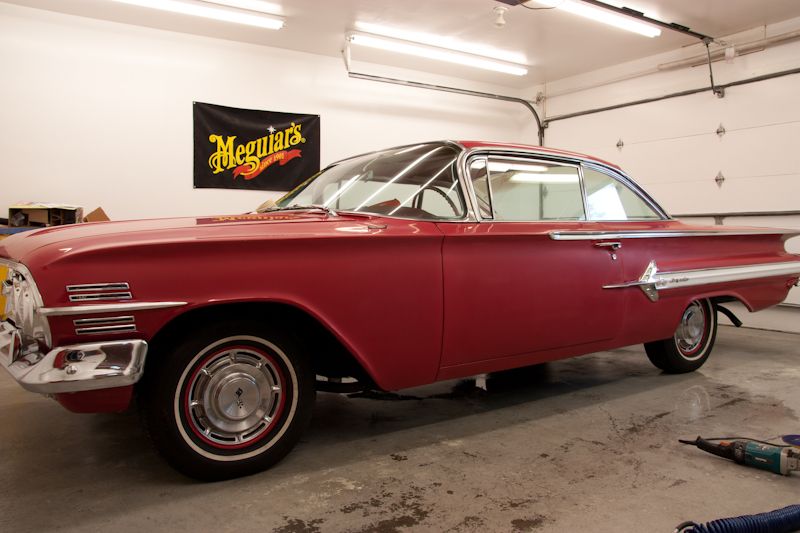
So lets take a look at how the car came in...
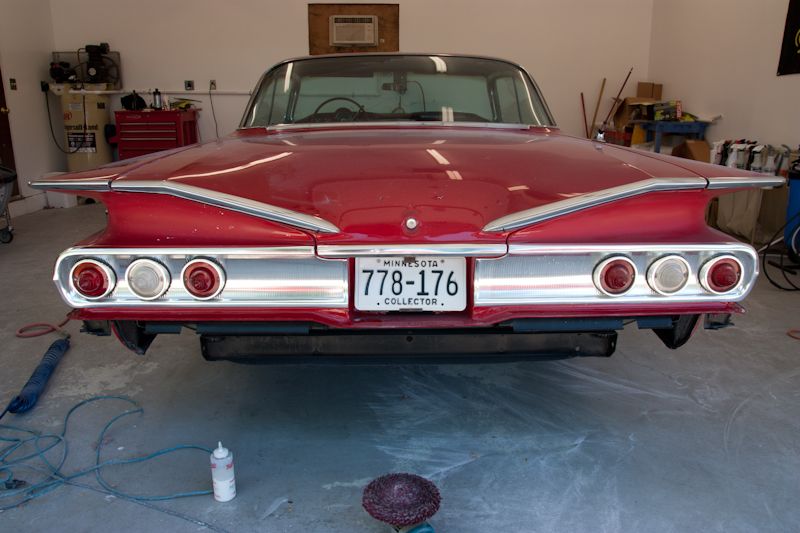
Here it is at the owners facility, where I did my initial inspection and test sanding/buffing.

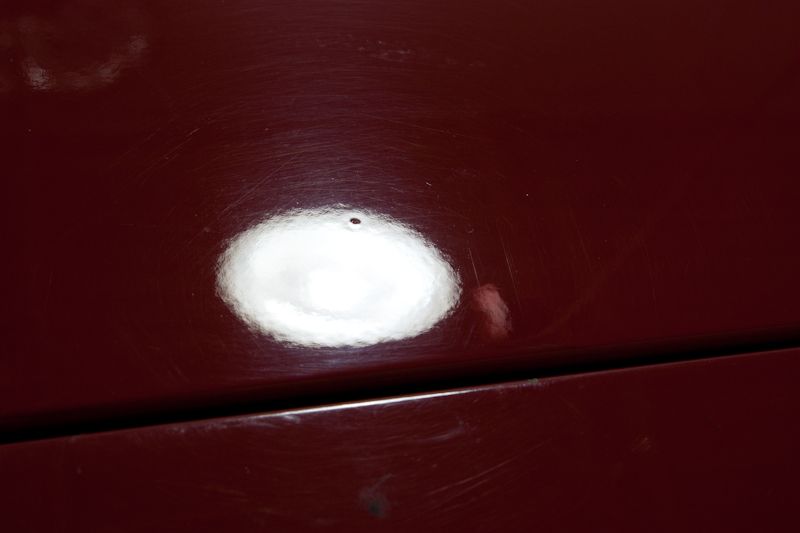
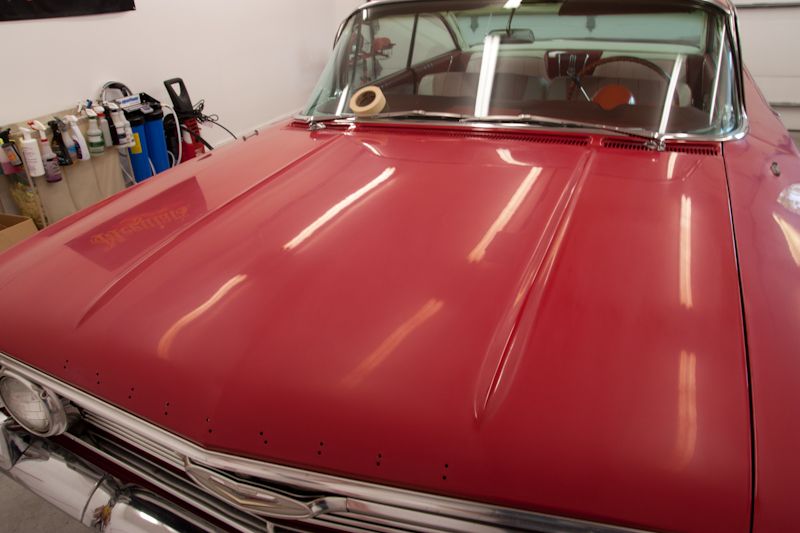
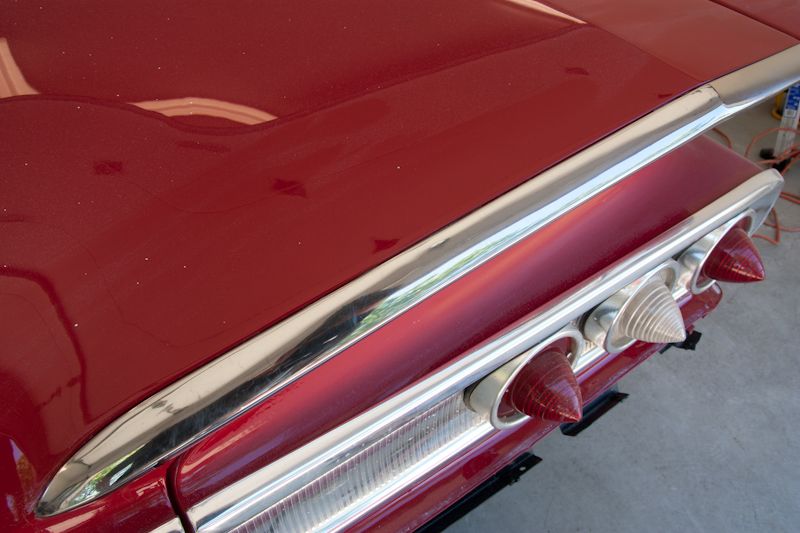
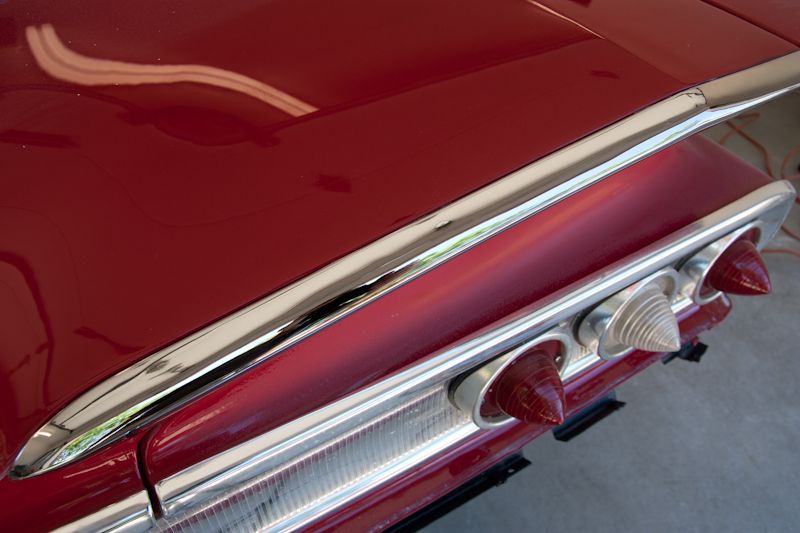
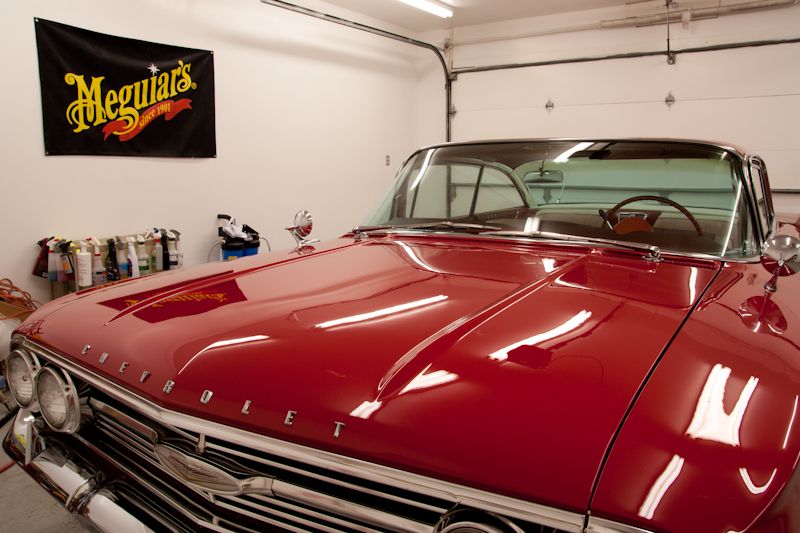
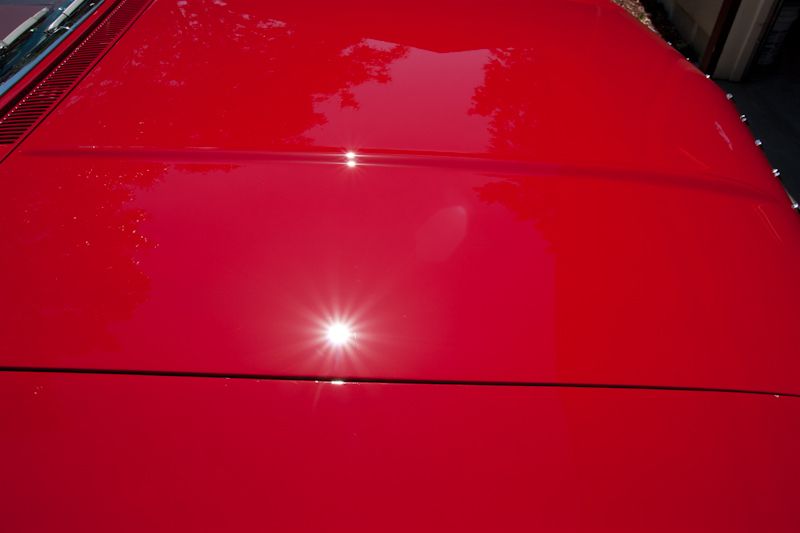
Deck lid
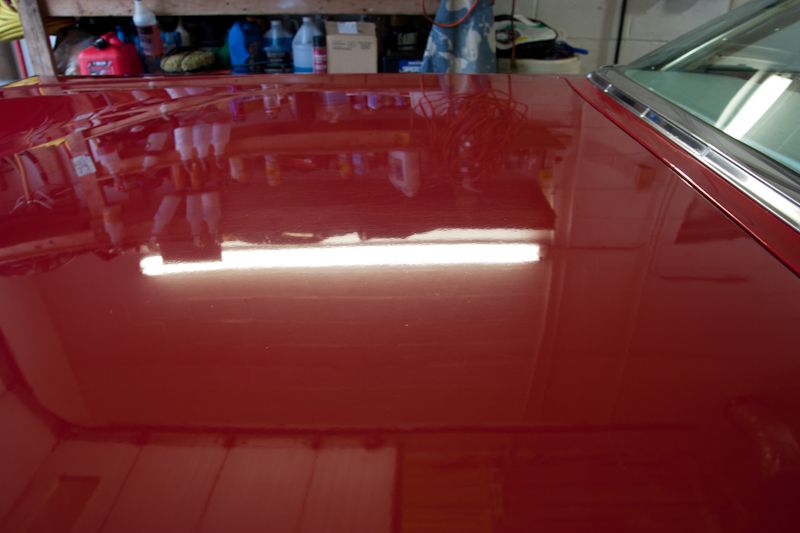
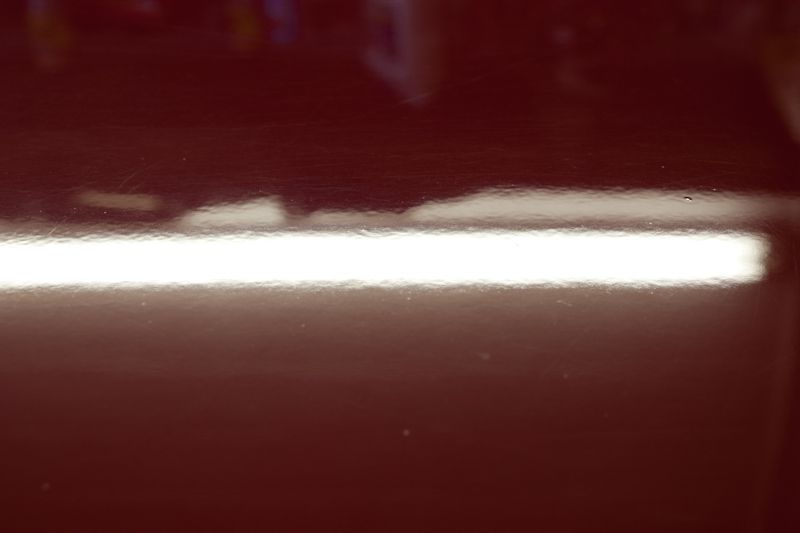
Zoomed in
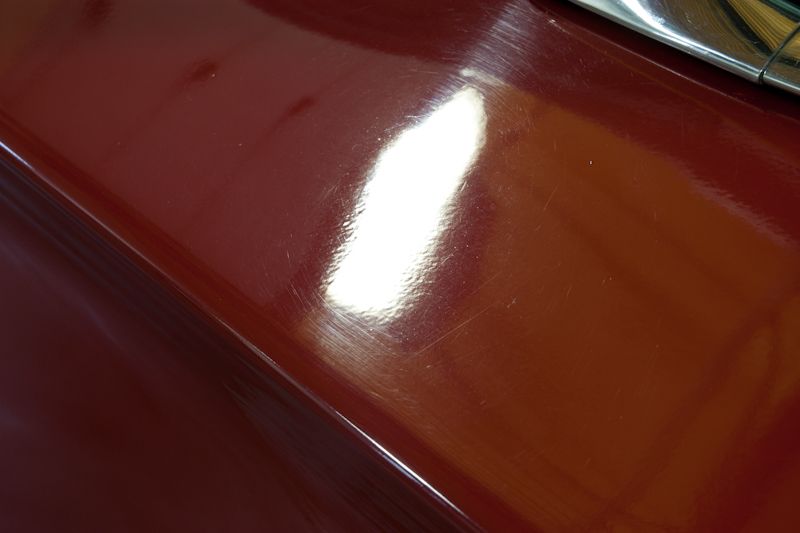
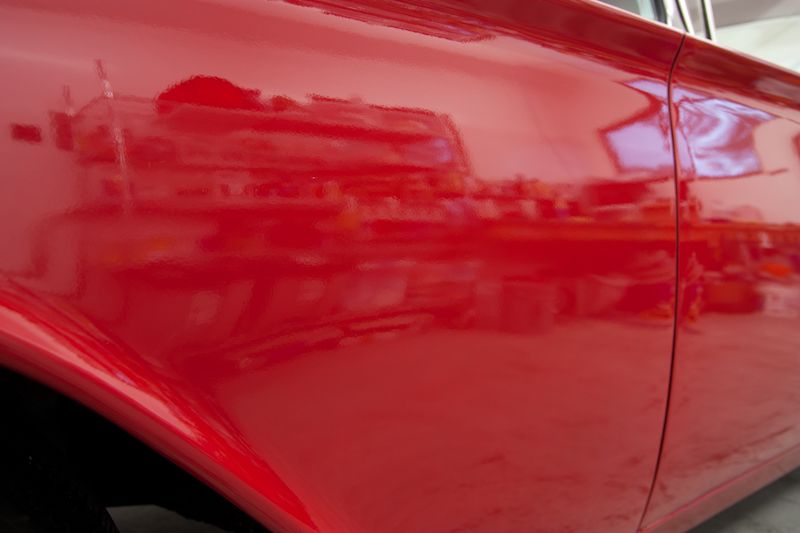
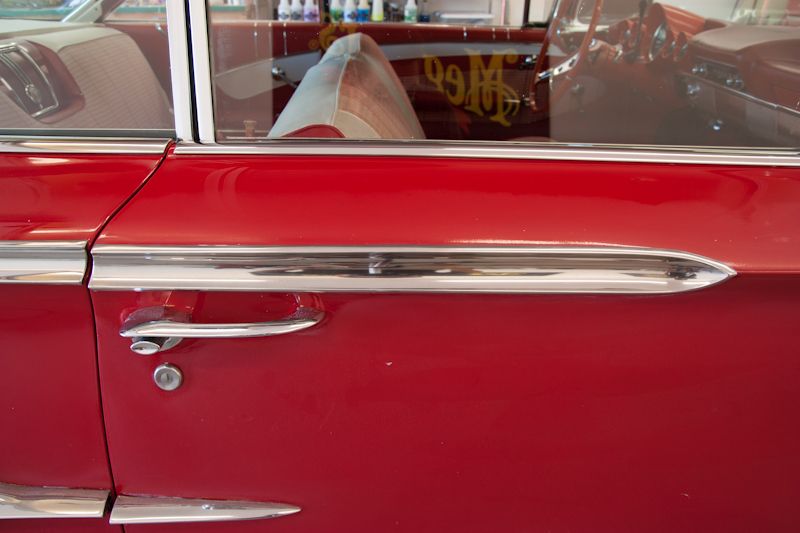
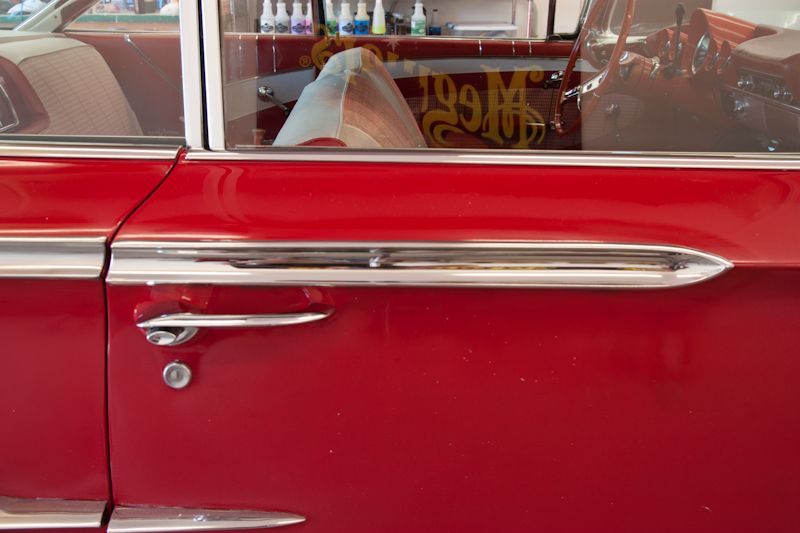
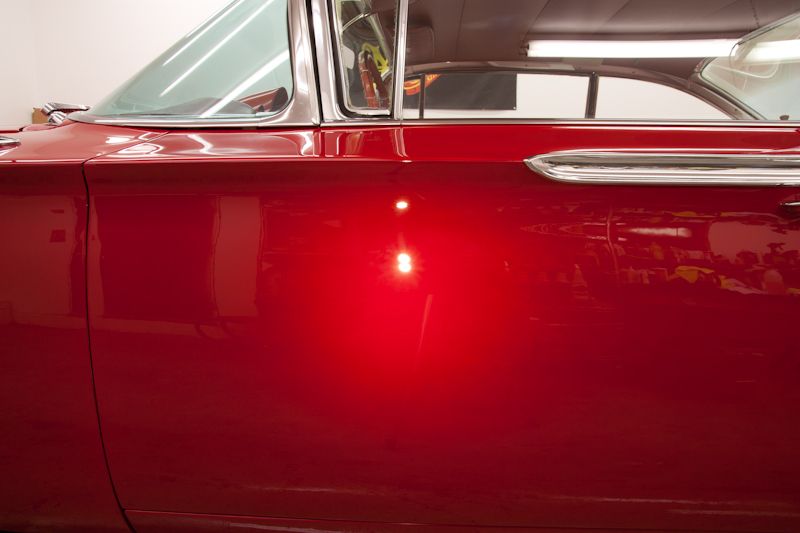
Top of the passenger door
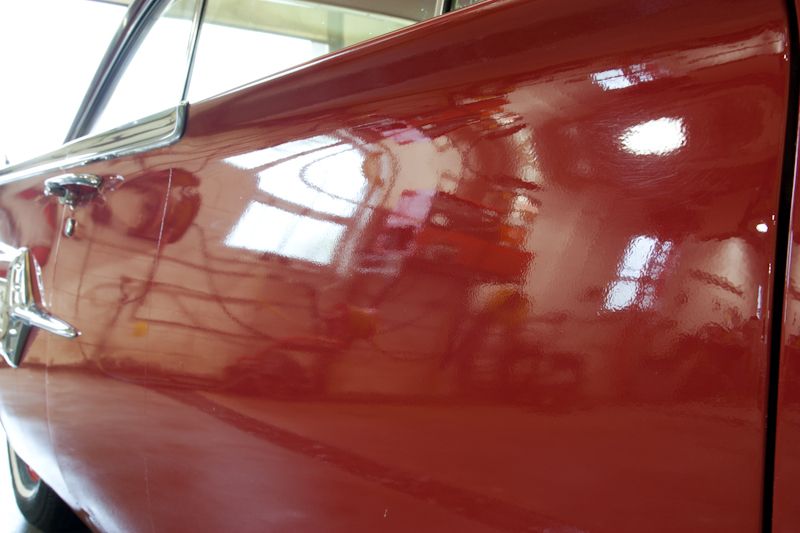
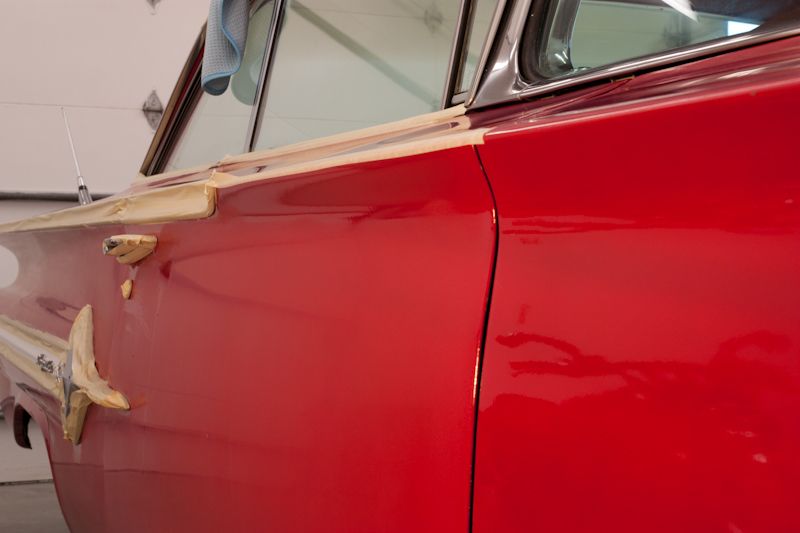
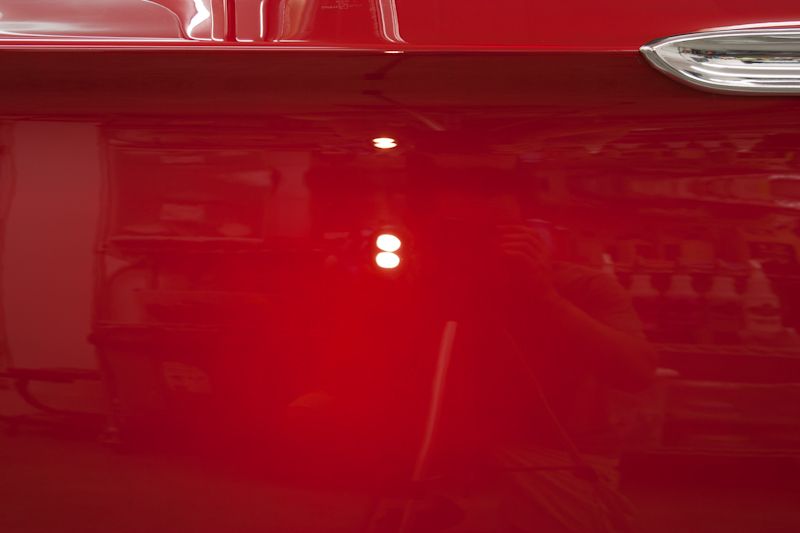
Side of passengers door
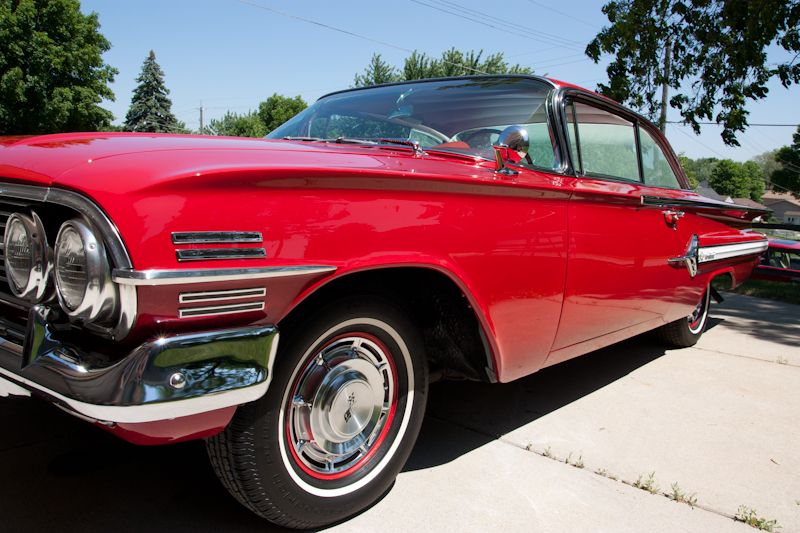
Passenger fender
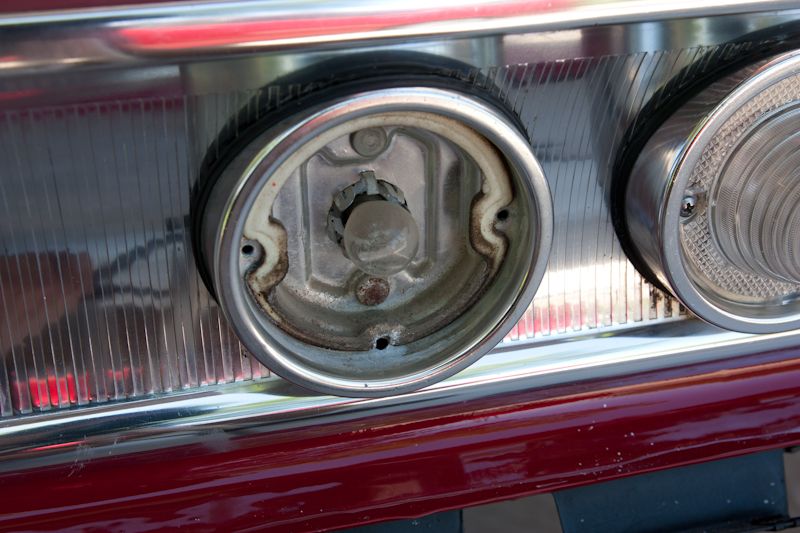
Dust nibs still in the paint

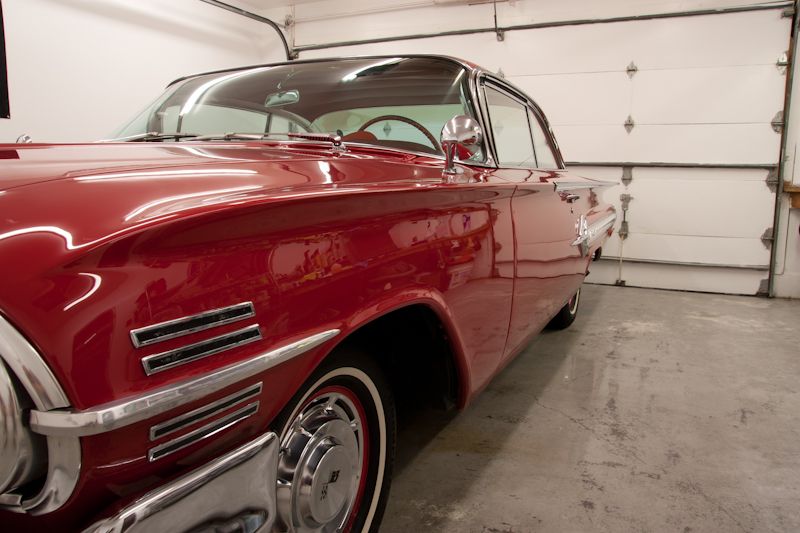
Drivers side fender
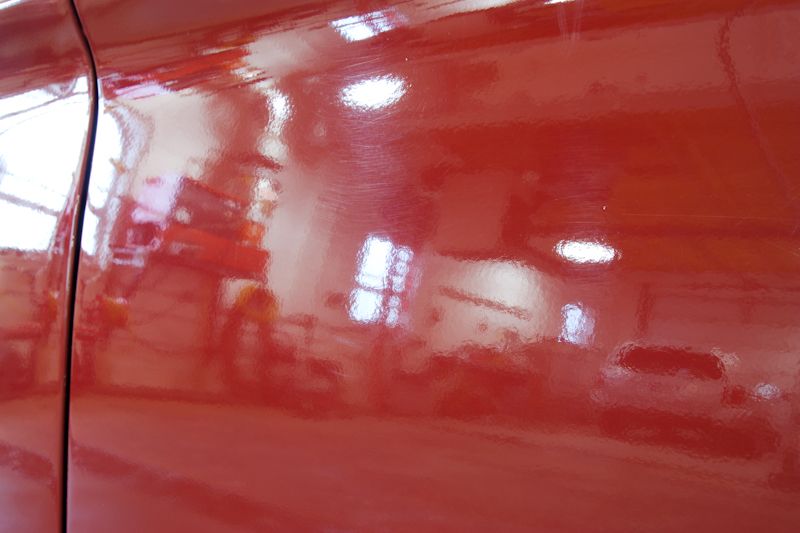
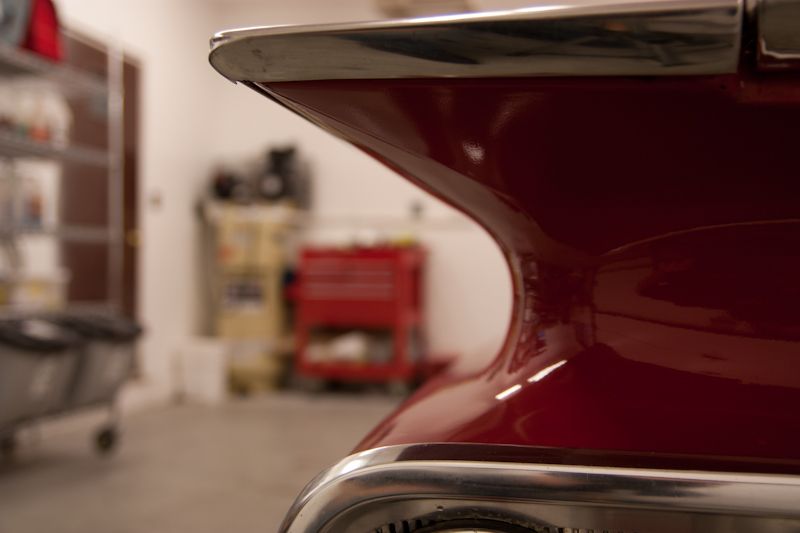
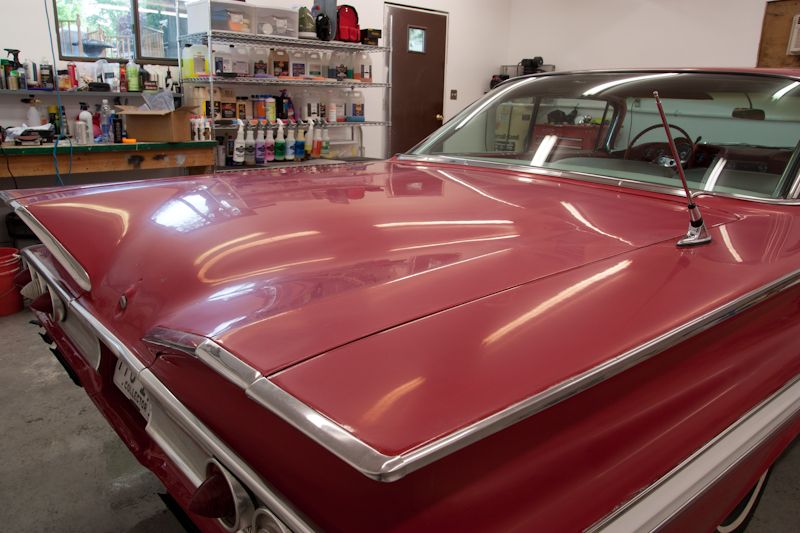
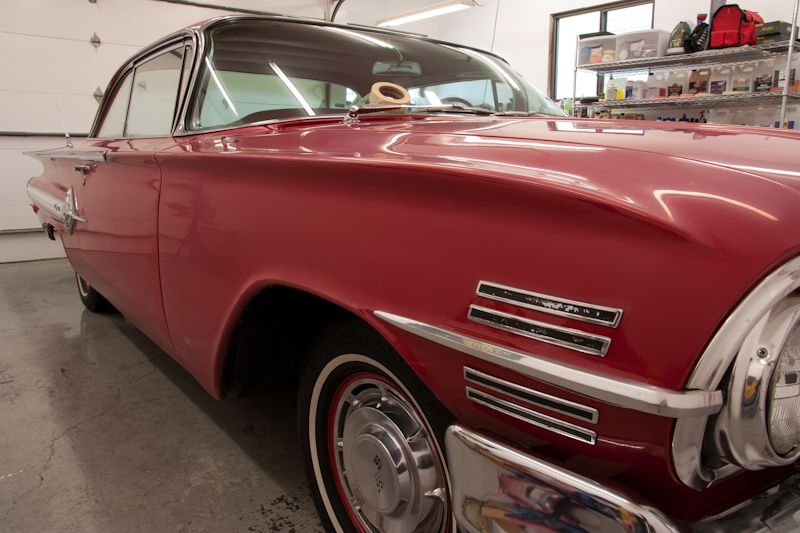
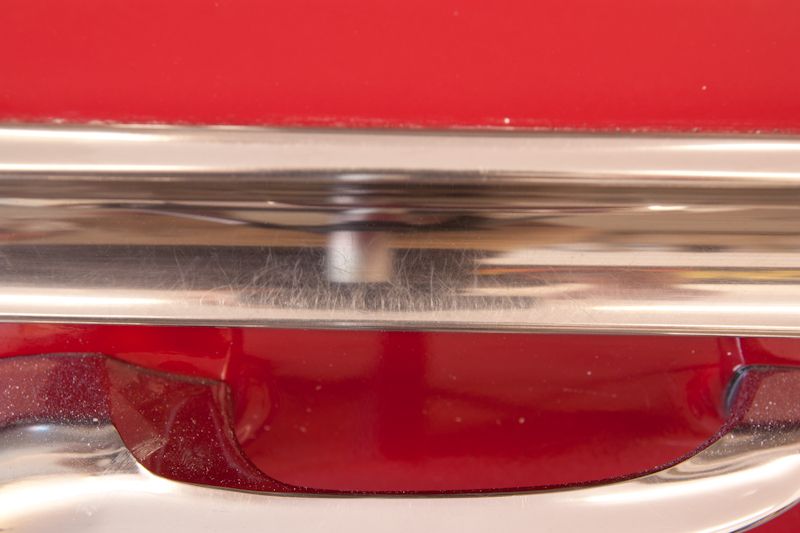
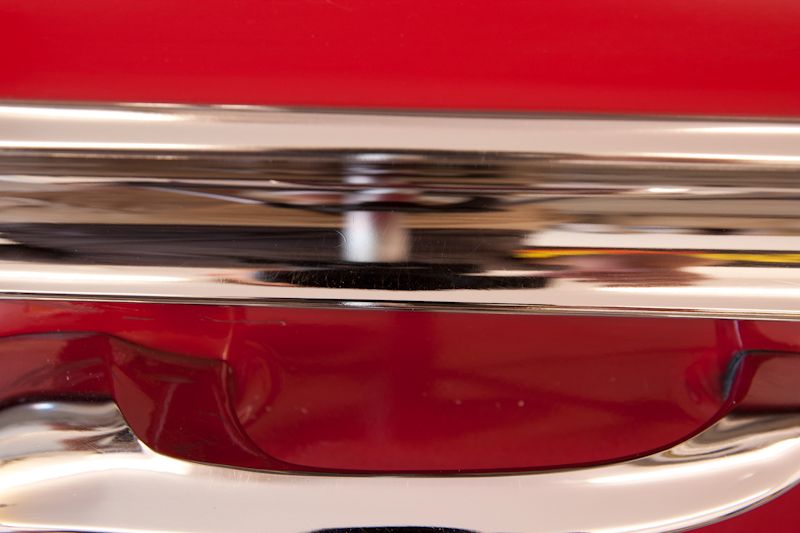
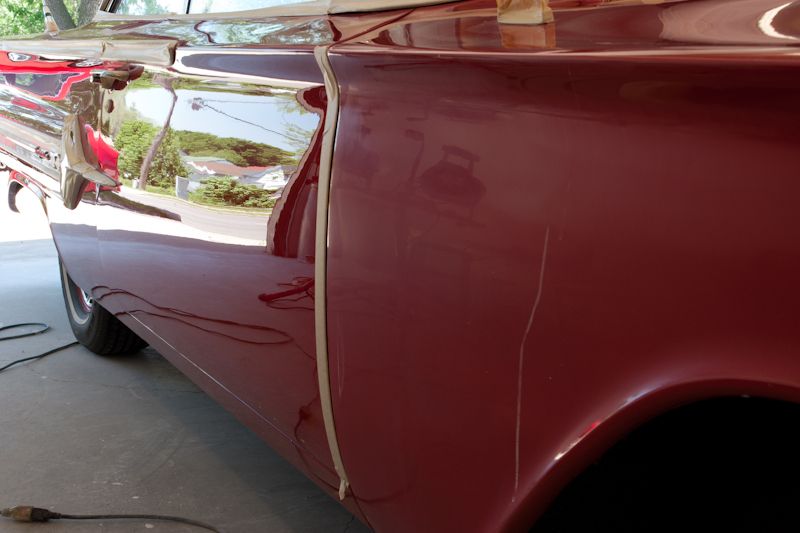
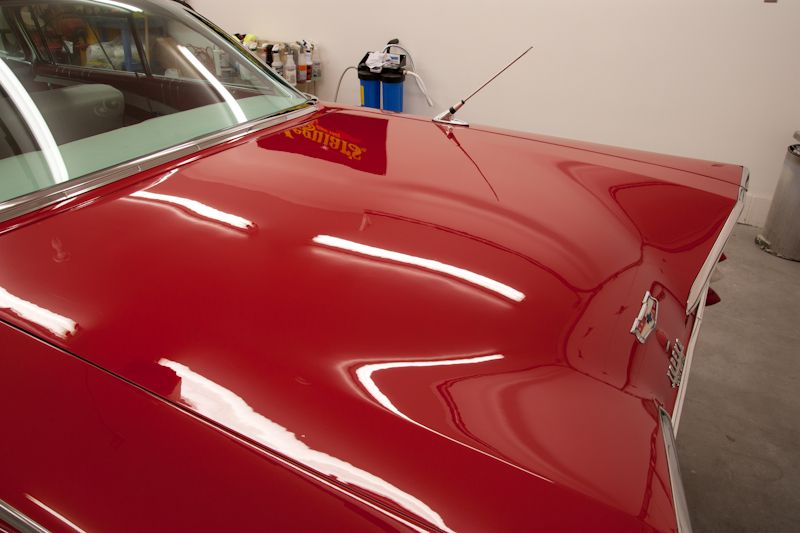
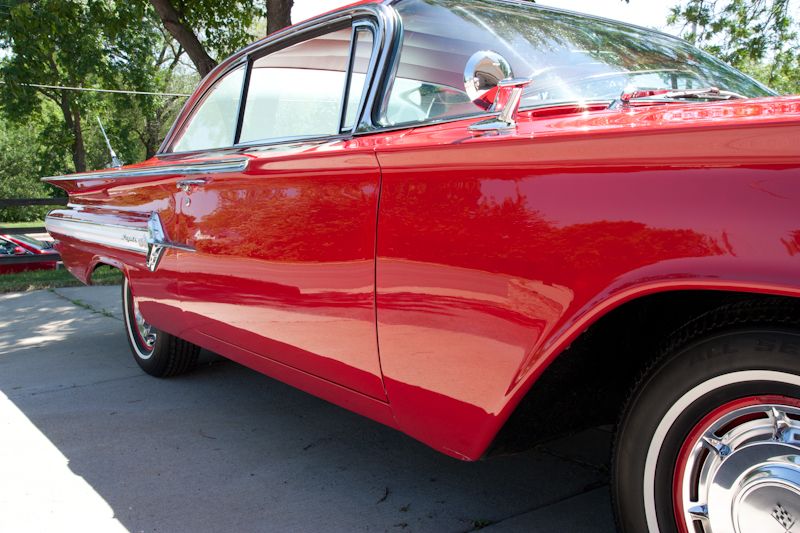
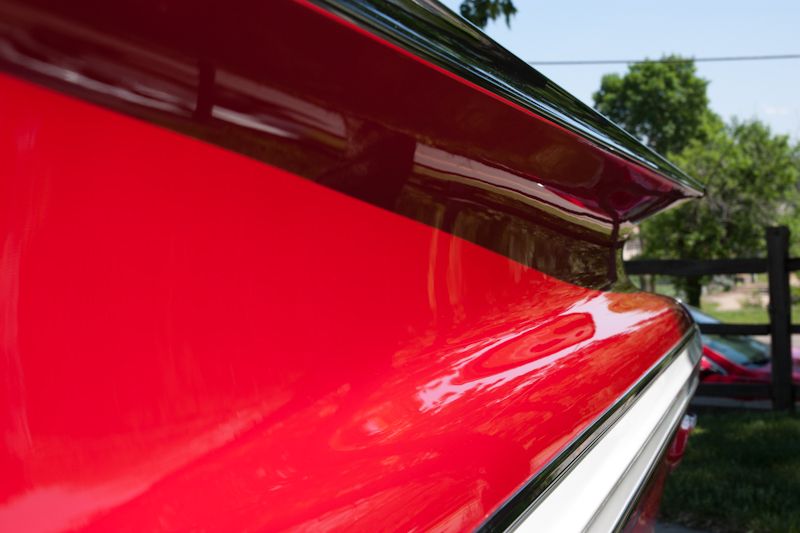
Looking down the side....those fins made for some challenging sanding and buffing.

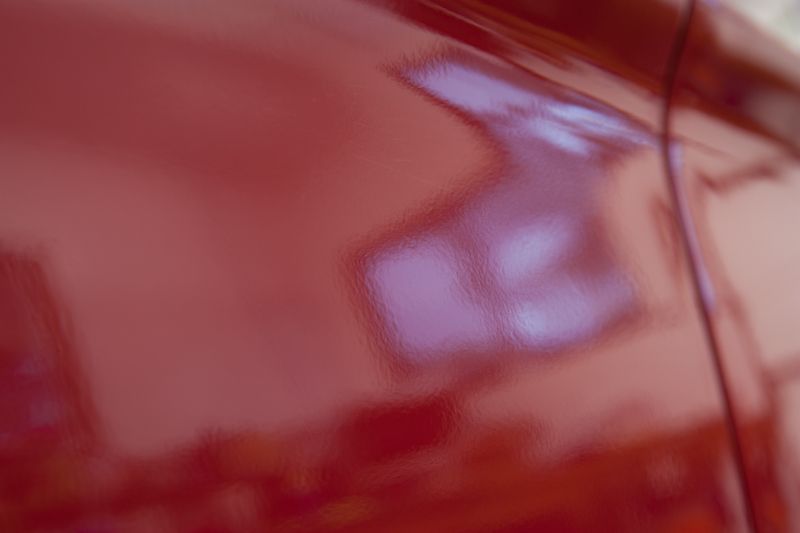
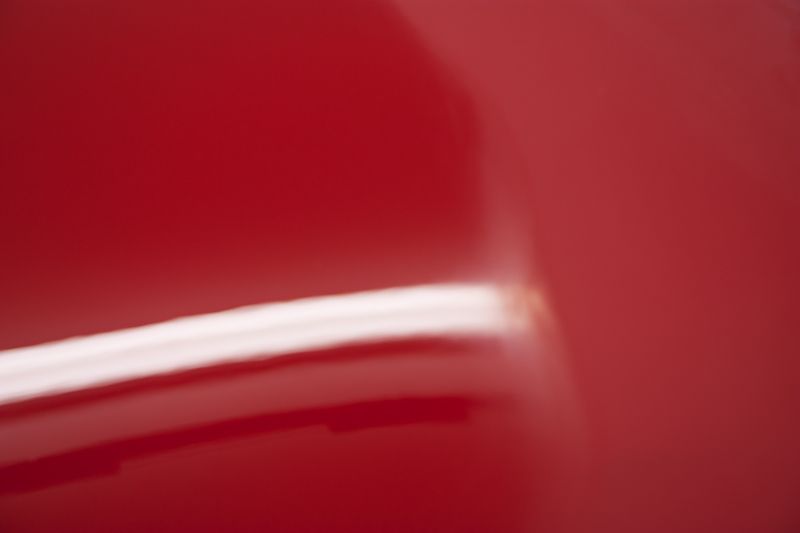
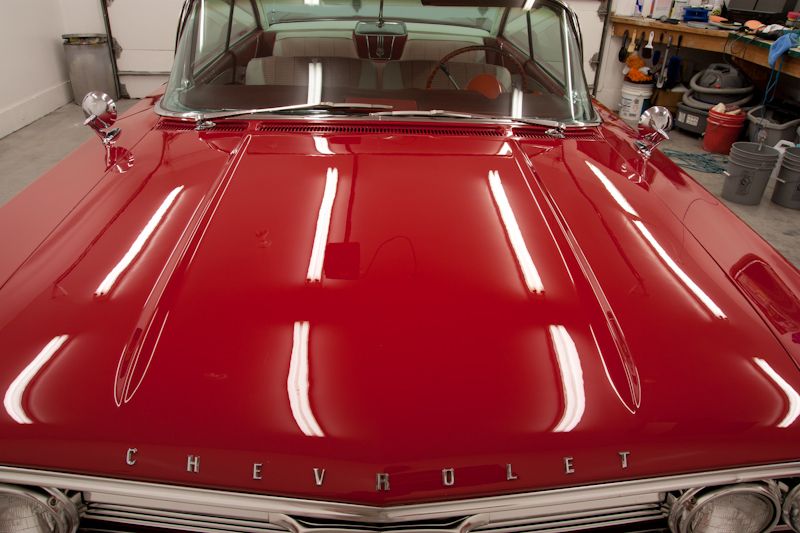
This one shows some swirls, RIDS, and nasty orange peel.

The Sanding process was done by both hand and DA. Areas that were highly curved needed to be done by hand using Meguiars (Nikken) 1500/3000 grit sheets and a makeshift sanding block/pad. The flat panels were done using a combination on Mirka Soft 1000/2500 grit disks in both 3" and 6", followed by some Meguiar's 3000 grit disks.
I must also give Kevin over at BuffyDaddy a huge thumbs up for helping me find the right sanding media for this rock solid paint and for getting them out to me in such a timely matter! This was by far the hardest paint I've ever laid a buffer too. The Mirka Soft discs worked flawlessly and will be added to my wet sanding arsenal! Thanks again Kevin!!! :bigups
Pics of the sanding in process
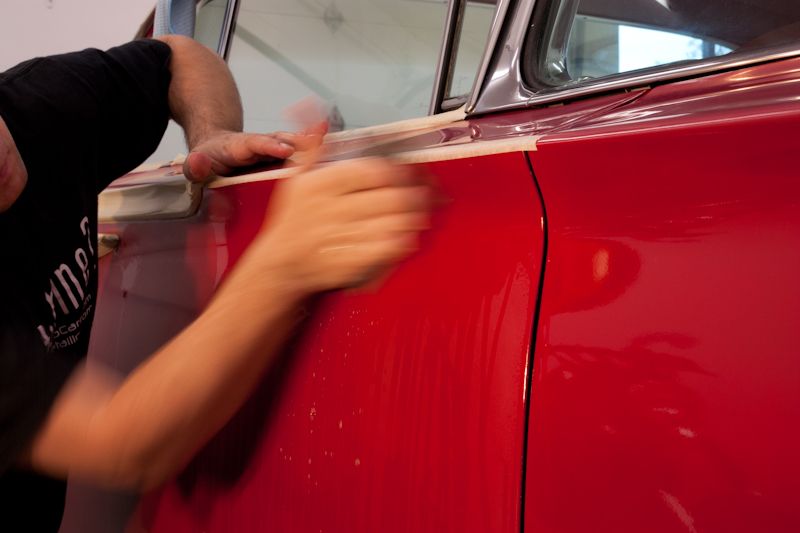
Hand sanding curved areas
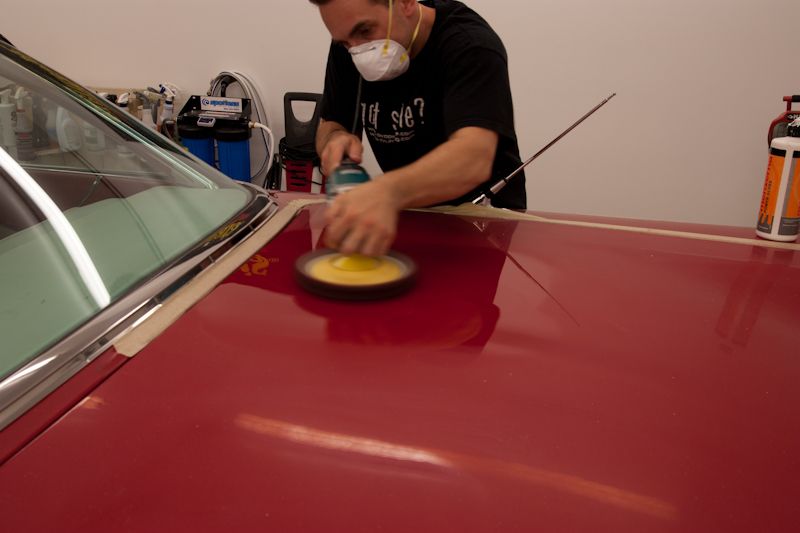
DA sanding
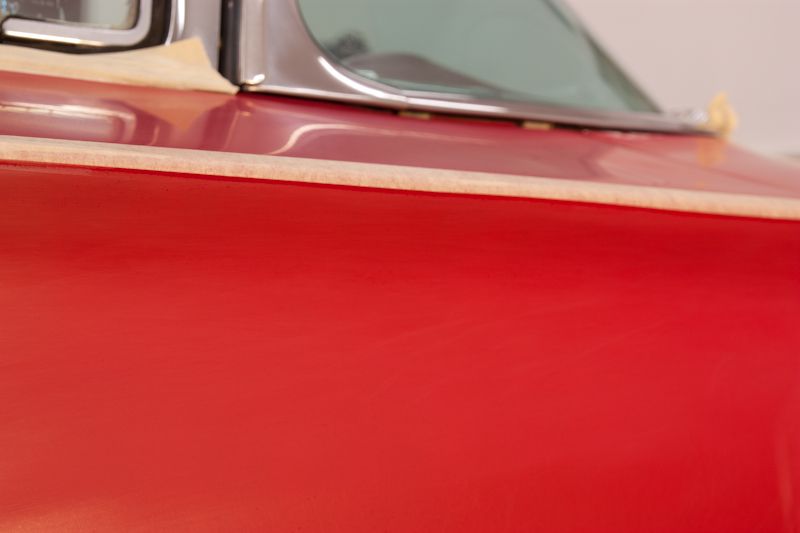
Car all sanded ready to be buffed...notice that the 3000 grit almost leaves the paint with a slight gloss.")

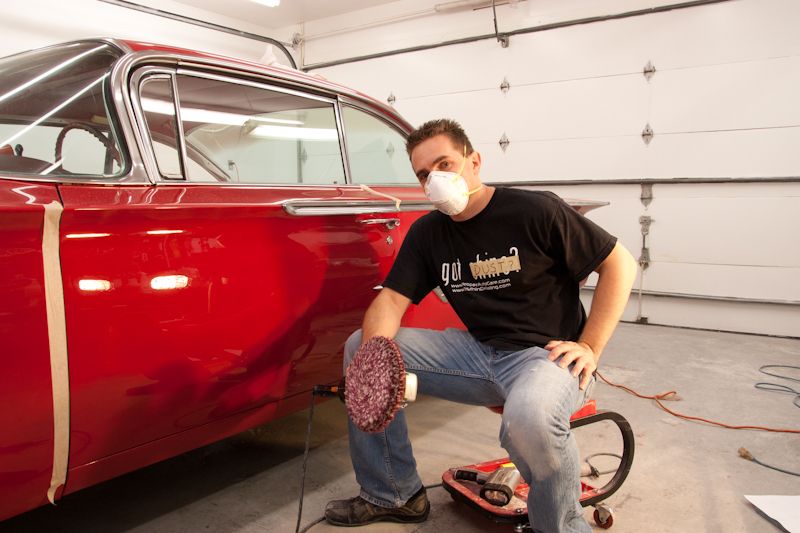
Doing some more test spots trying to figure out best combo for scratch removal.
50/50 test spot
So this is another car that my mentor recently picked up for resale at a local auction (yes it sold). The car appeared to have been repainted several years ago, but it was never actually wet sanded and buffed after the repaint. Overall the car was in very good shape, but the paint really needed to be leveled off to show it's true potential. While I really wanted to level the paint as smooth as glass, the initial paint readings told me there was not a lot of paint of the car and the owner and I agreed not to go too crazy with the sanding, but it was still a huge improvement!
So lets take a look at how the car came in...
Here it is at the owners facility, where I did my initial inspection and test sanding/buffing.
Deck lid
Zoomed in
Top of the passenger door
Side of passengers door
Passenger fender
Dust nibs still in the paint
Drivers side fender
Looking down the side....those fins made for some challenging sanding and buffing.
This one shows some swirls, RIDS, and nasty orange peel.
The Sanding process was done by both hand and DA. Areas that were highly curved needed to be done by hand using Meguiars (Nikken) 1500/3000 grit sheets and a makeshift sanding block/pad. The flat panels were done using a combination on Mirka Soft 1000/2500 grit disks in both 3" and 6", followed by some Meguiar's 3000 grit disks.
I must also give Kevin over at BuffyDaddy a huge thumbs up for helping me find the right sanding media for this rock solid paint and for getting them out to me in such a timely matter! This was by far the hardest paint I've ever laid a buffer too. The Mirka Soft discs worked flawlessly and will be added to my wet sanding arsenal! Thanks again Kevin!!! :bigups
Pics of the sanding in process
Hand sanding curved areas
DA sanding
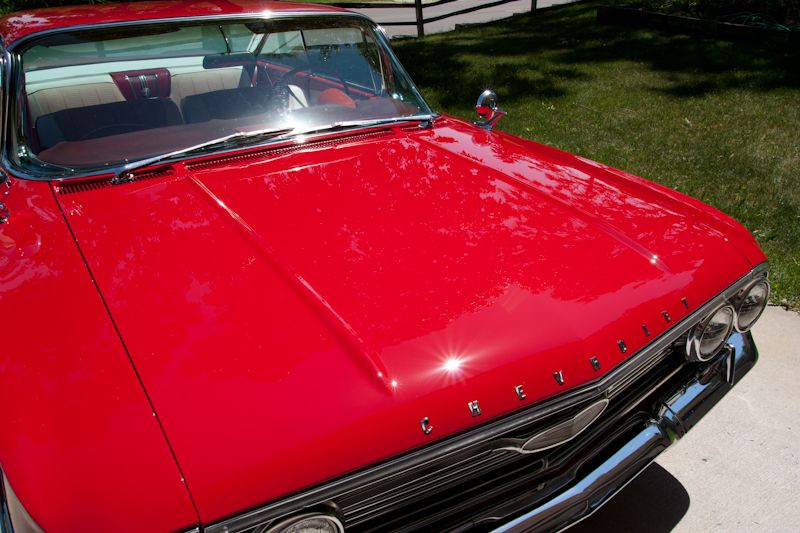
Car all sanded ready to be buffed...notice that the 3000 grit almost leaves the paint with a slight gloss.
Doing some more test spots trying to figure out best combo for scratch removal.
50/50 test spot


")


 op2: Umm Yea that is how its done!! Rasky Great work man. That car looks incredible. Very nice attention to detail. Man I would love to tag team up with you on a sanding job. I have a feeling we are a lot of like as detailers. Freaken awesome work. Loved it!