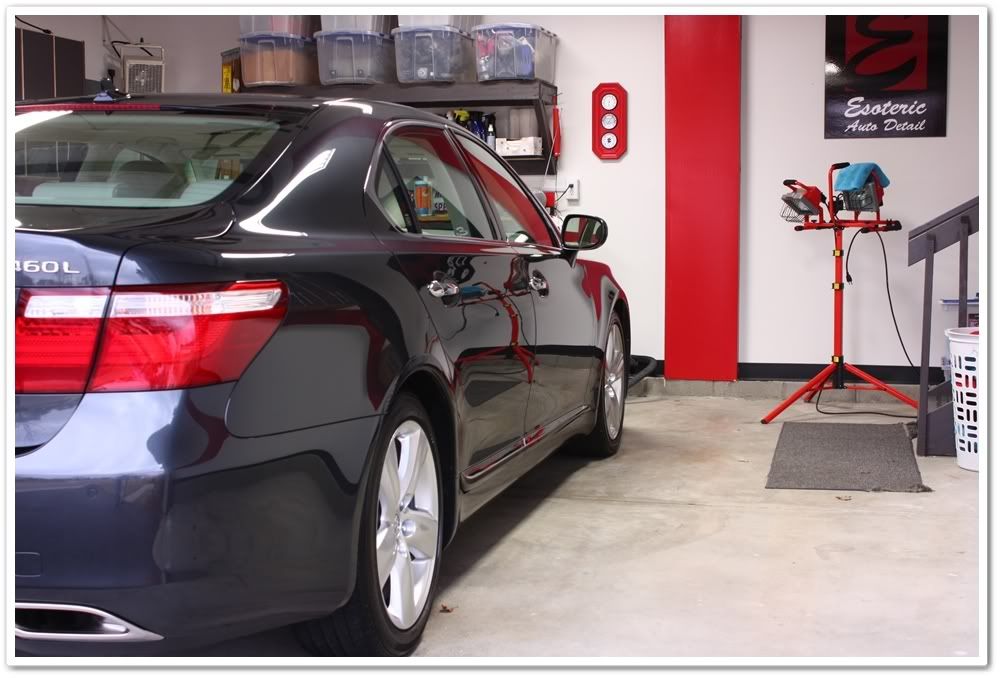
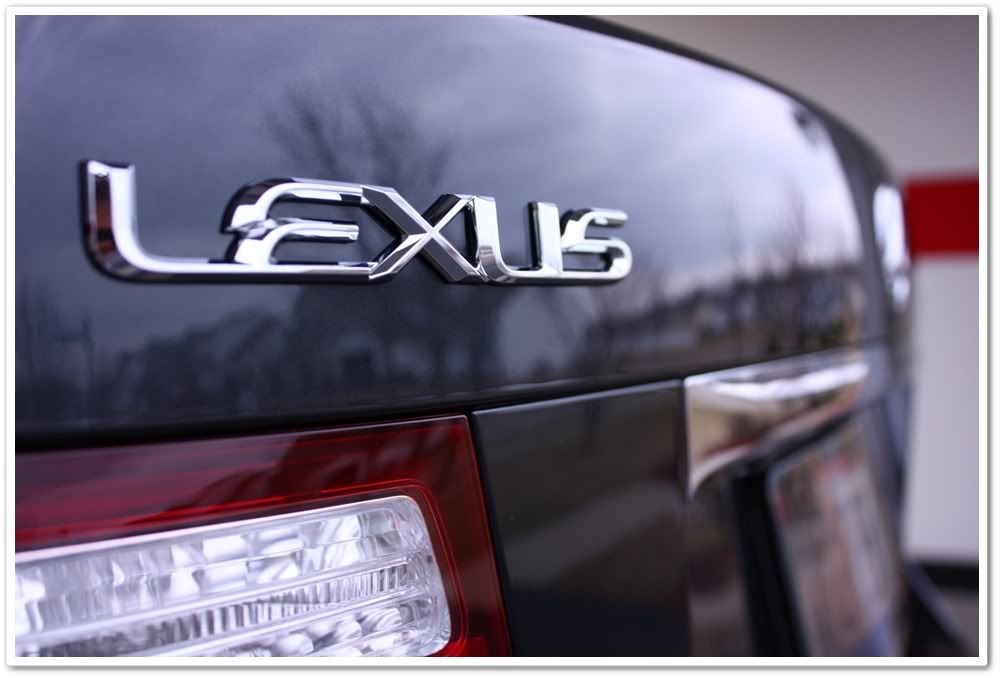
2008 Lexus LS460L
The owner of this beautiful car contacted me the very day that he received his AutoWeek magazine in the mail and saw me listed in the detailing article. Given the fact that my new website had just gone online days before the article hit, the timing couldn’t have been better.
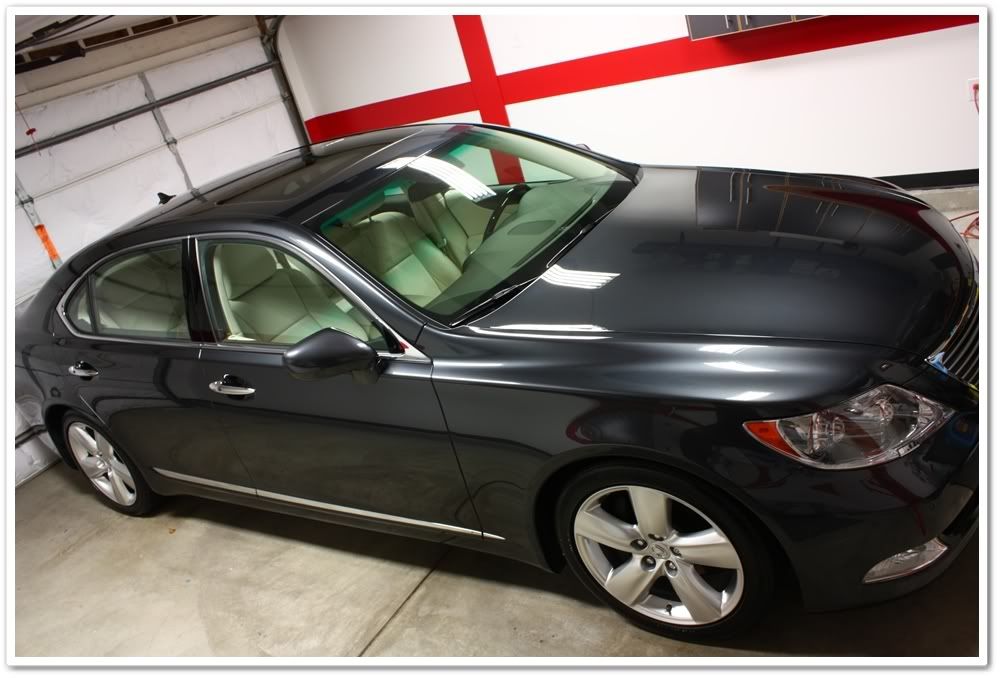
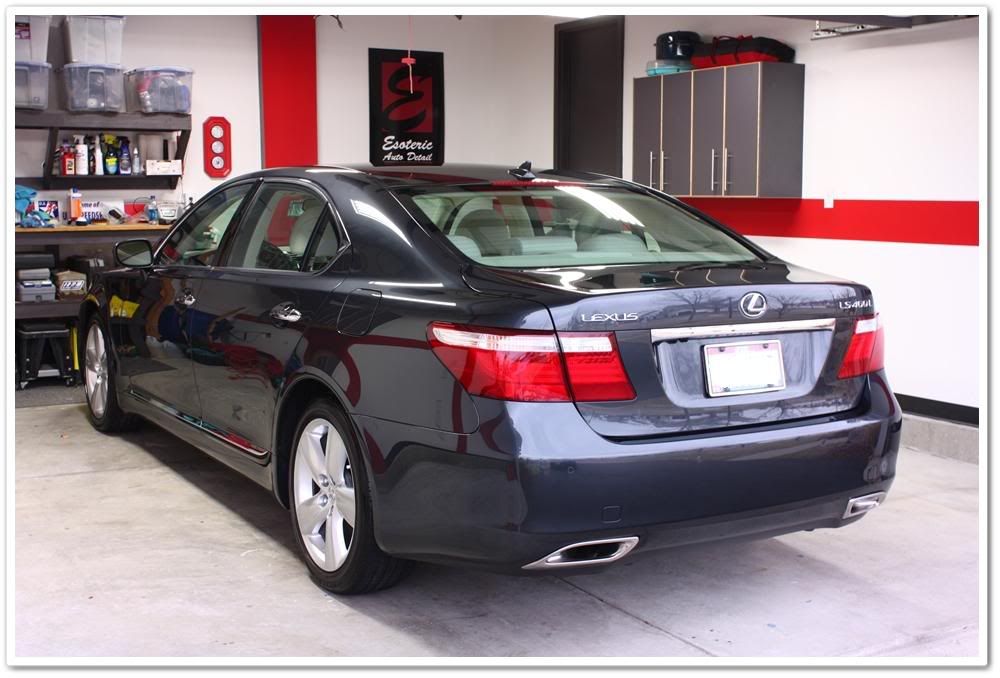
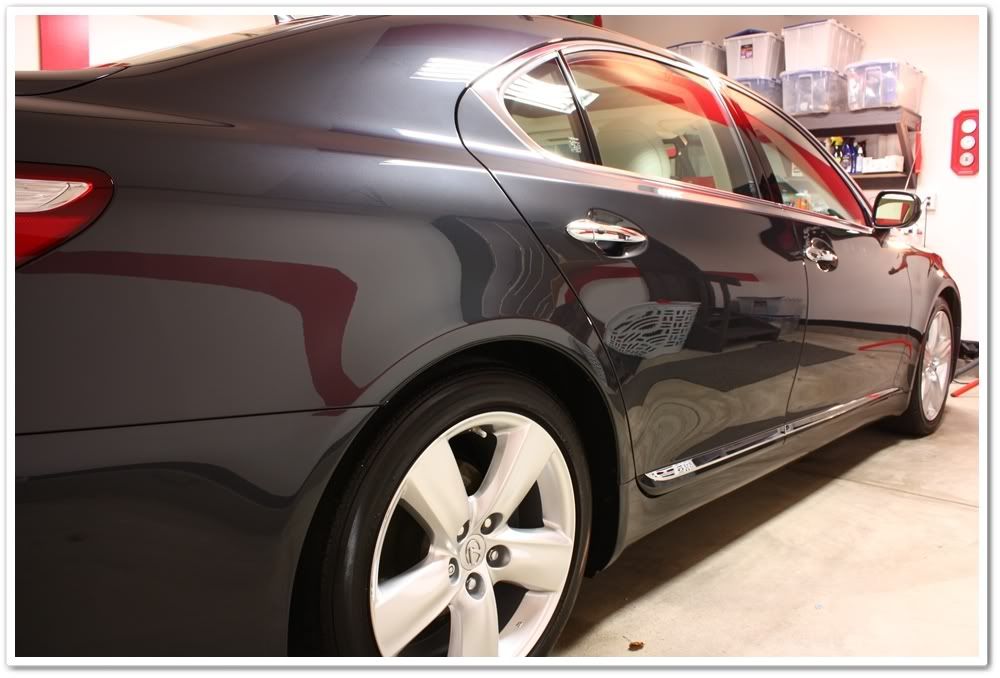
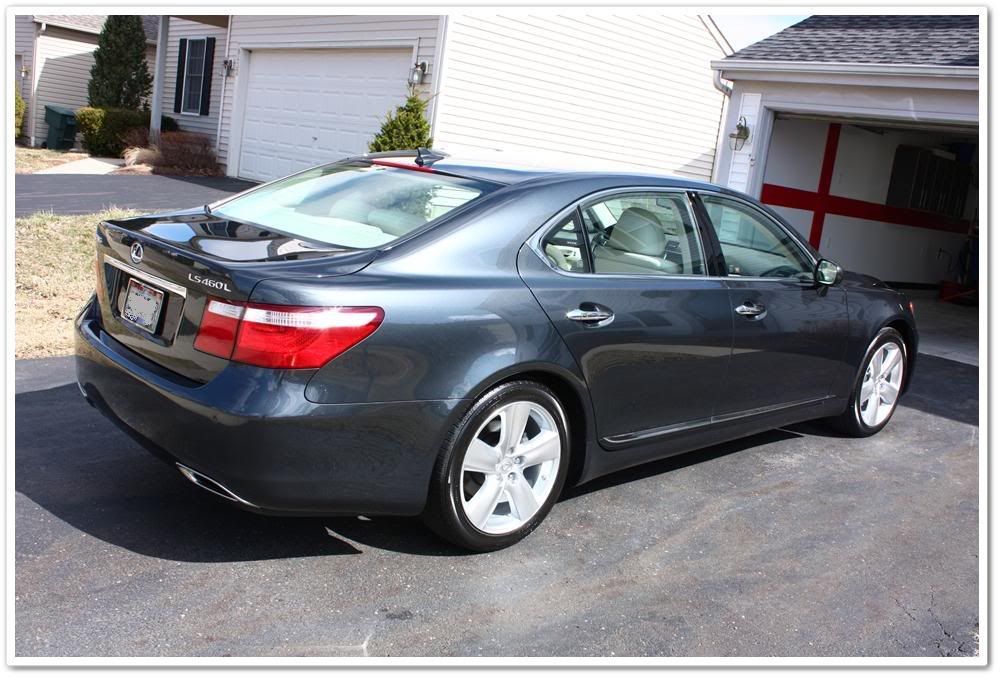
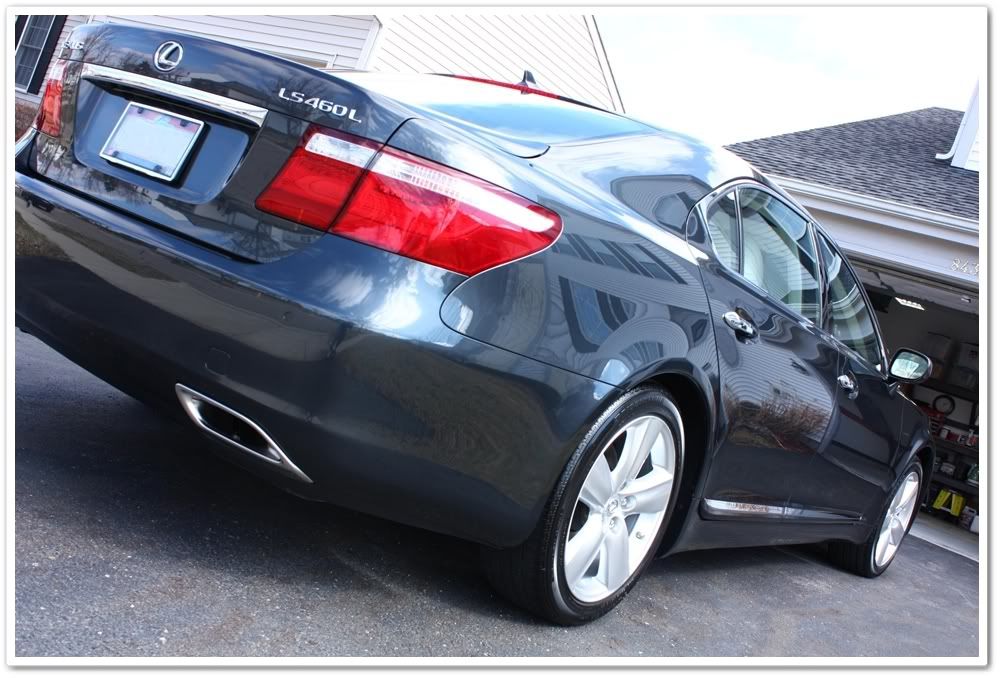
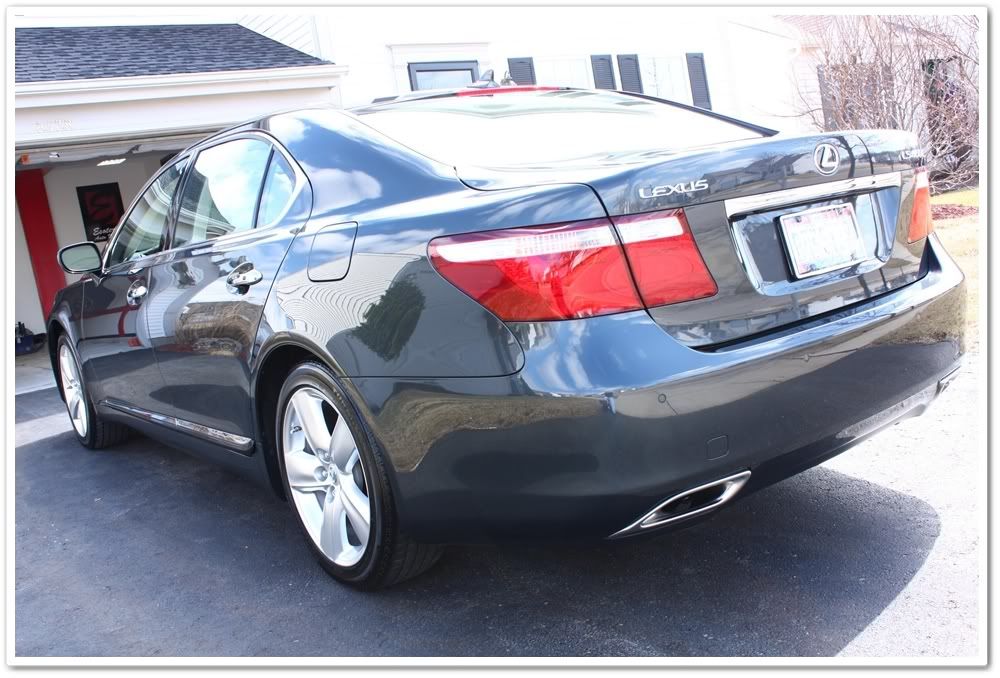
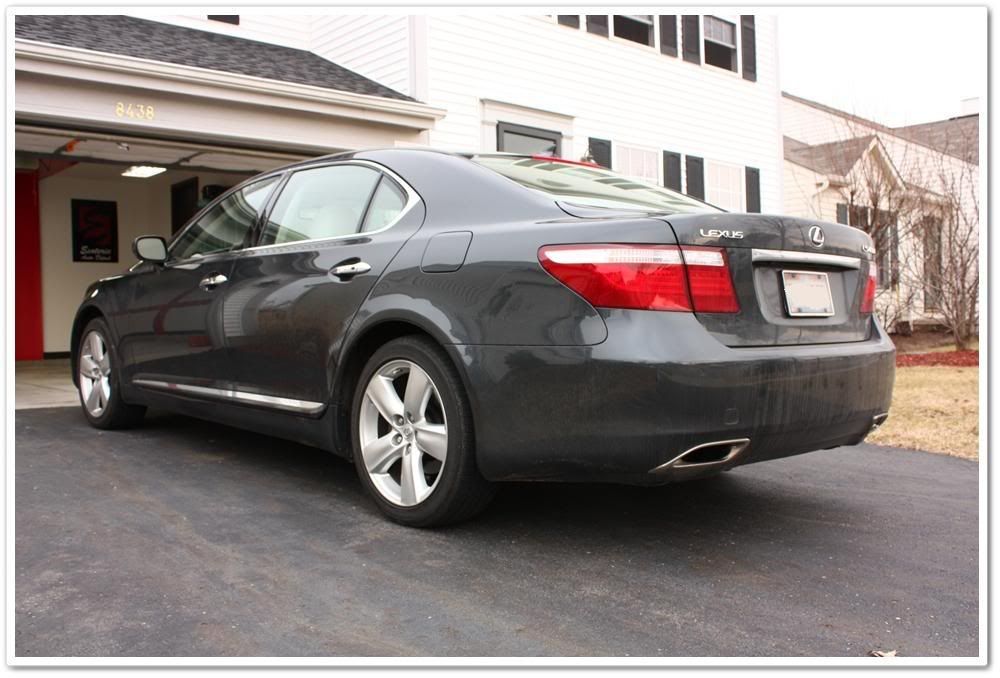
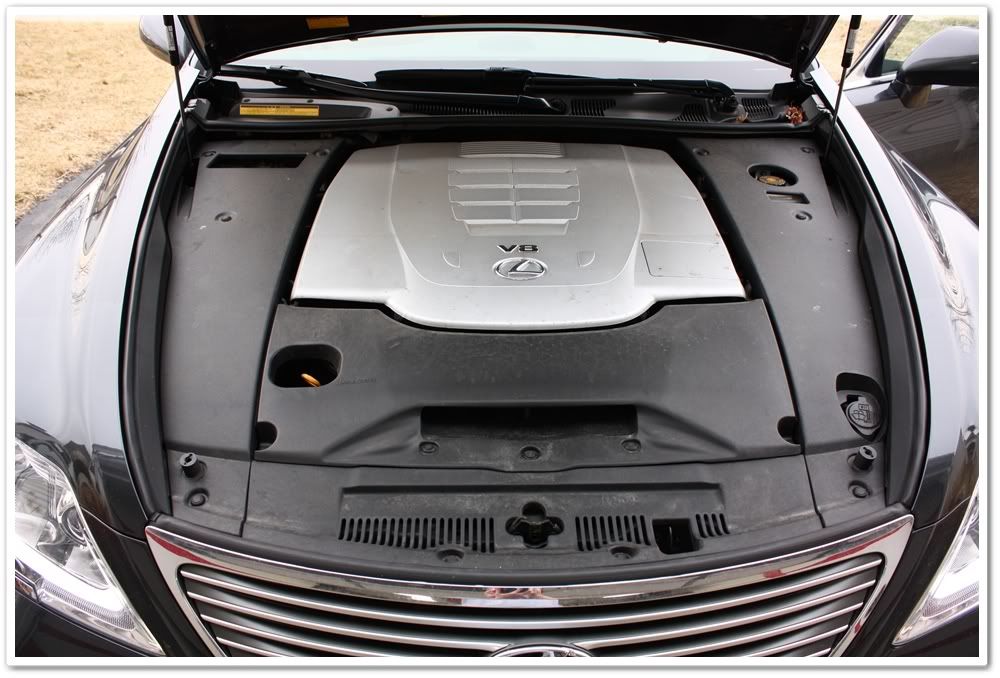
This is the flagship vehicle for Lexus, and they are stunning cars to say the least. Not only does it have about every creature comfort and gadget available (and a rockin’ Mark Levinson audio system), but it also boasts a V8 with 380HP and 367lb-ft of torque! And it is huuuuge. There is a tremendous amount of surface area to work on with this car.
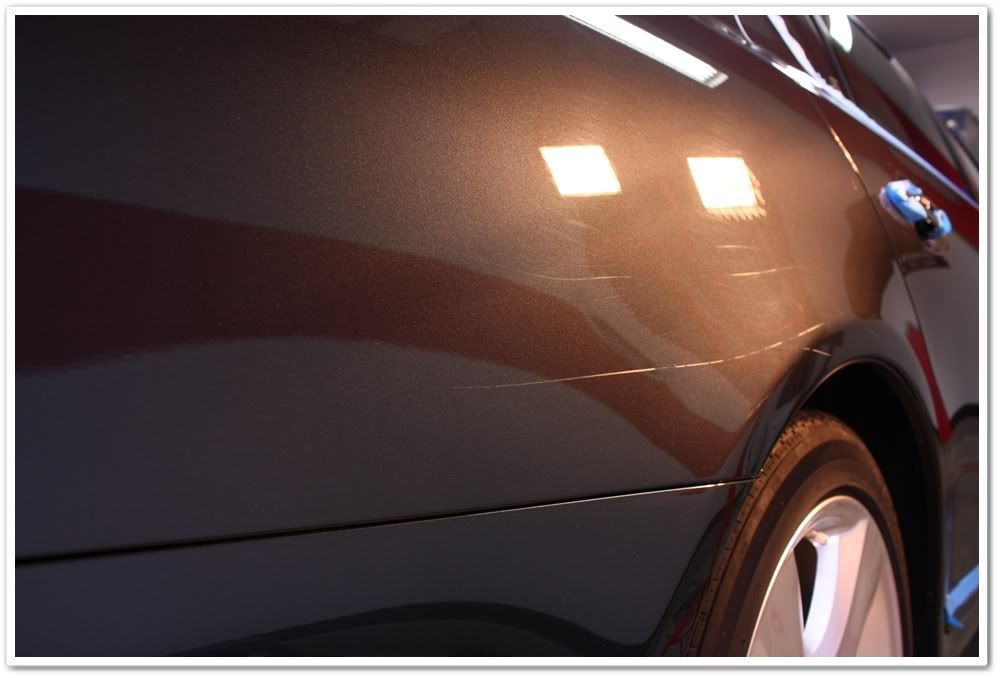
He told me that he had a 10 month old 460L that needed some TLC to bring it back to life. After meeting with him and inspecting the car, we decided to go for a full correction polish (or as close to as we could get), and to thoroughly clean the interior that was showing some severe signs of wear already. The paint had moderate swirls and RIDS on the horizontal surfaces, mostly mild on the vertical surfaces, and a few scrapes, bumps, and bruises throughout. We planned on the full correction this time, and then he’ll bring it back to me every 3 or 4 months for a more basic polish.
OK, onto the detail(s):
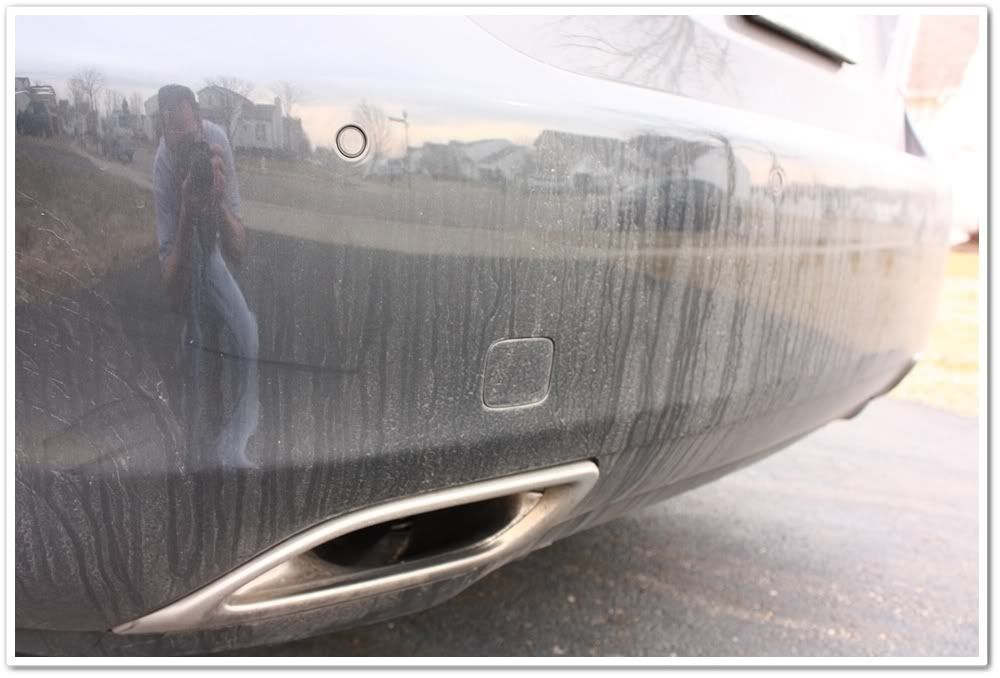
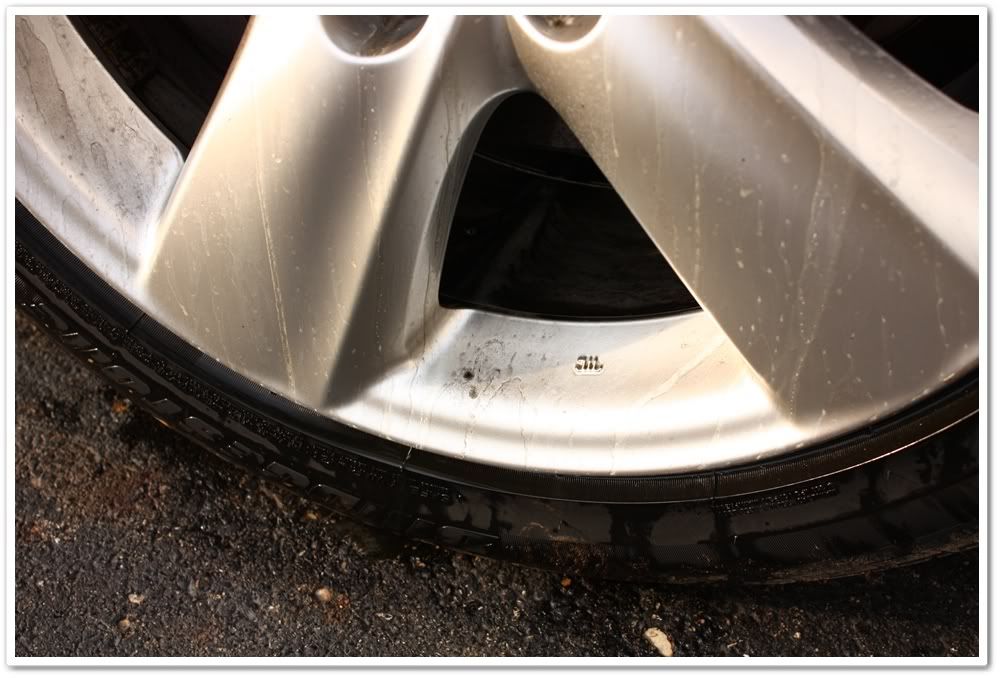
The car looked as expected after a long hard winter here in Ohio. It was quite dirty inside and out, there was no protection on the surface, and it had a tremendous amount of brake dust built up:
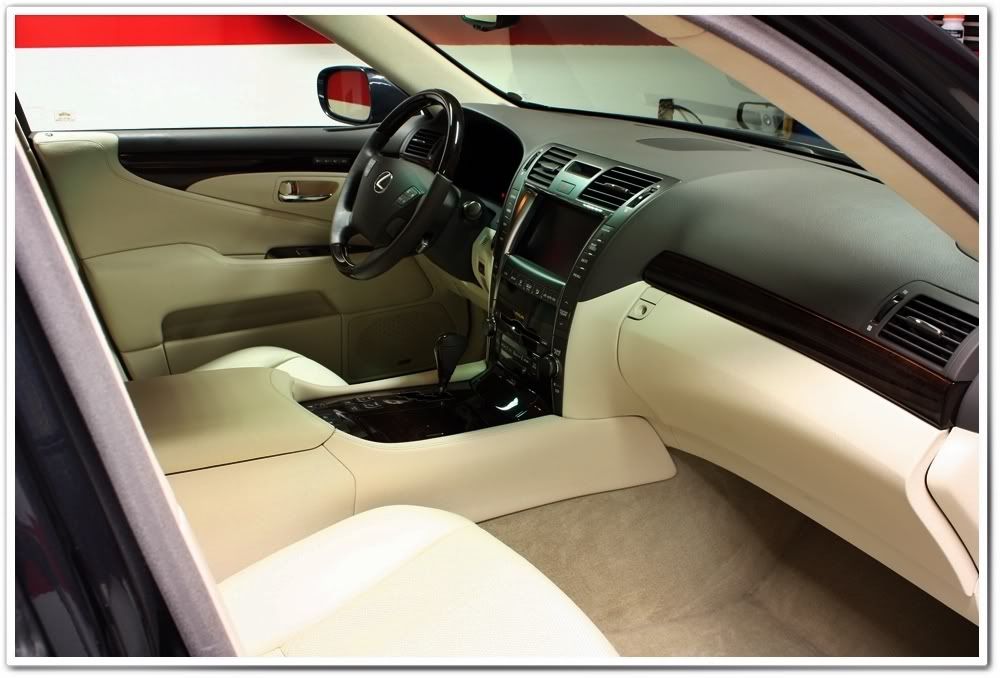
The interior was in pretty bad shape as you can see:

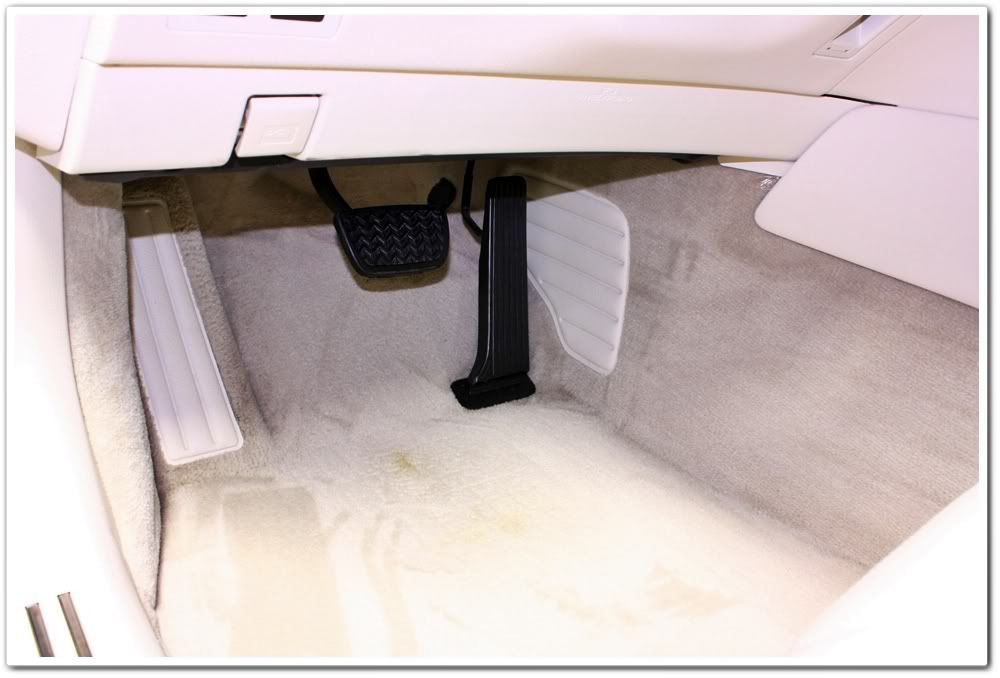
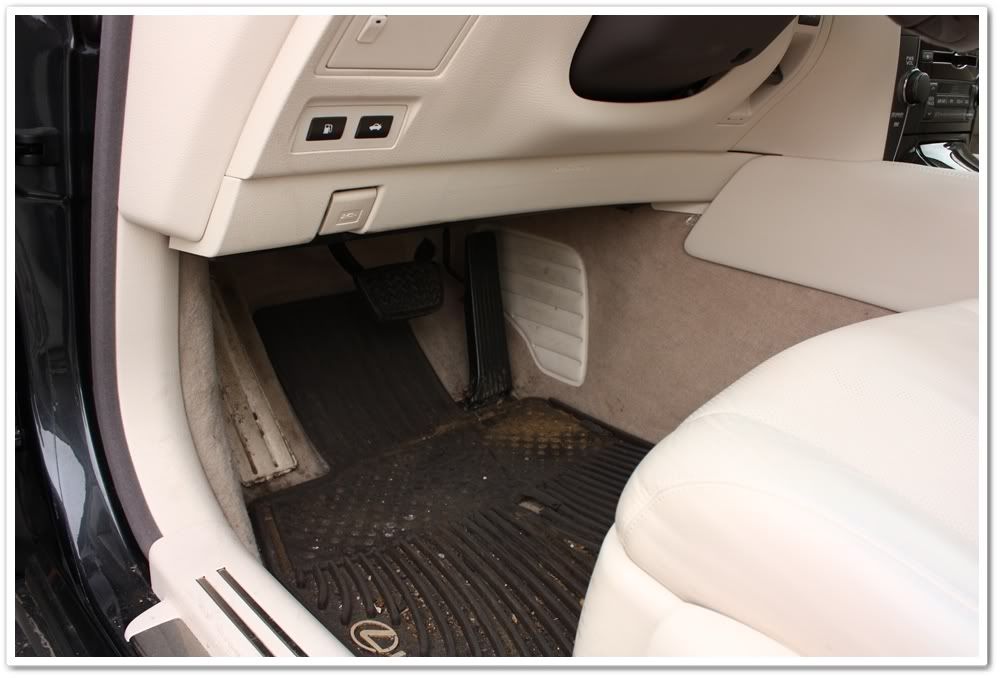
Winters do very bad things to light colored carpet…even when using all season mats! There was a hole worn through on this mat, and all of the dirty slush melted through and completely soaked into the carpet underneath. This would be a challenging cleanup for sure.
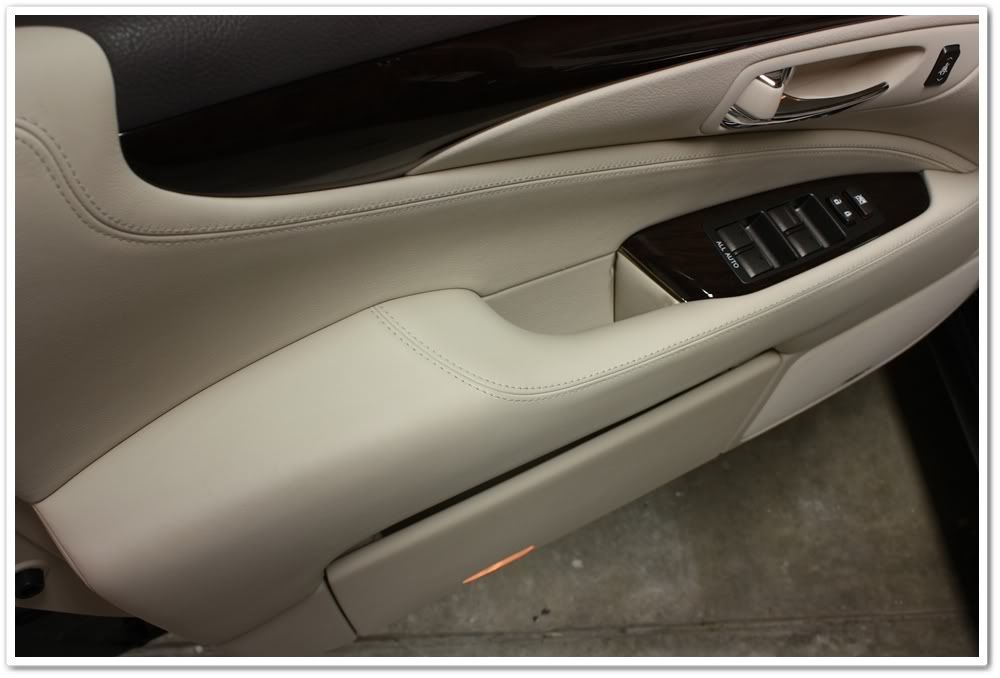
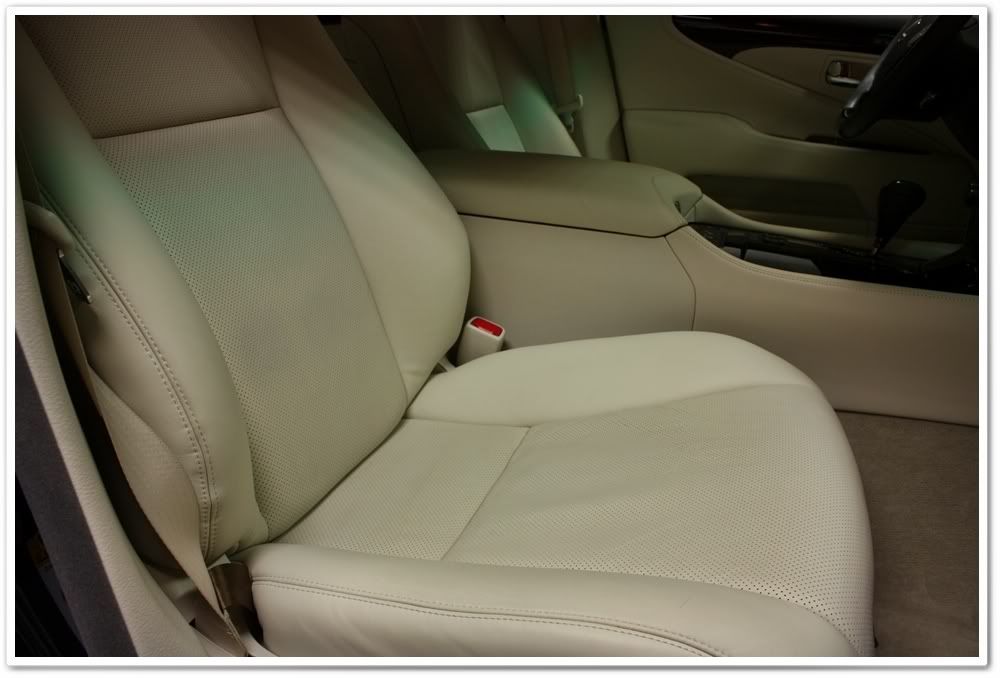
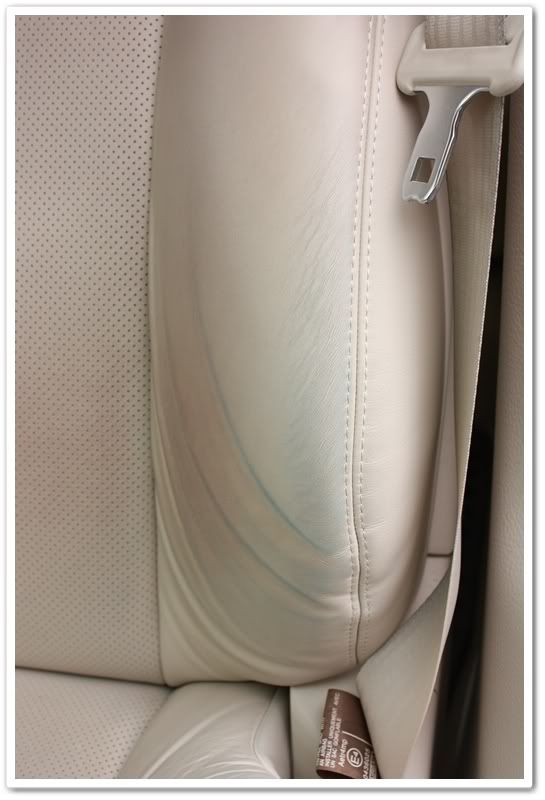
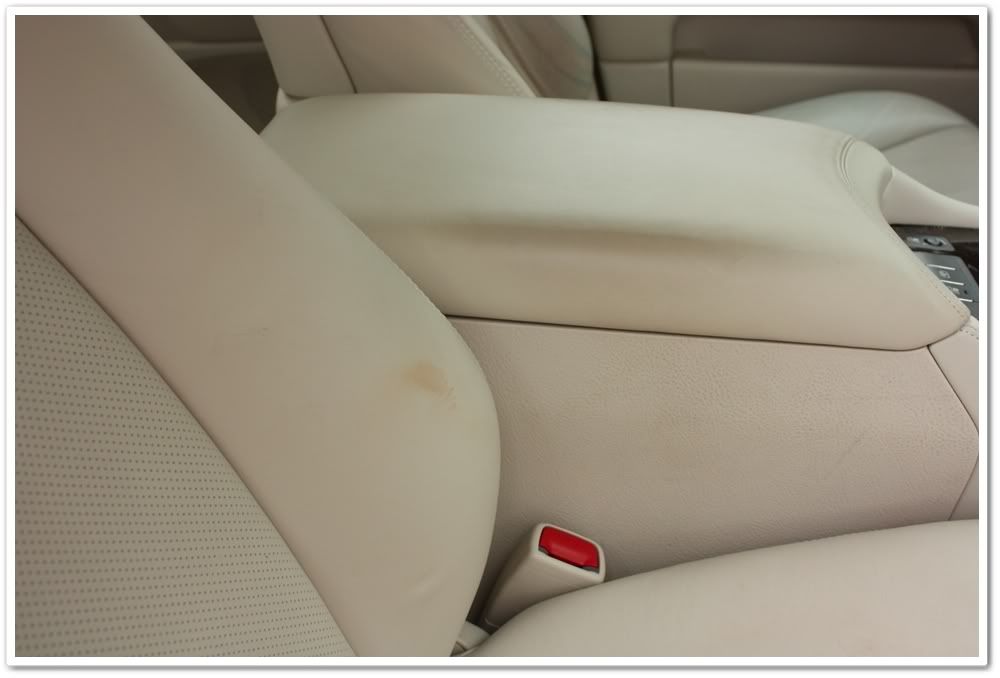
Here’s where I was concerned. There was a lot of dye transfer into the leather. The grime would come up easily, but there was so much colored dye in this light leather, that I wasn’t sure how much I could get out. Yes, this is only 10 months old.
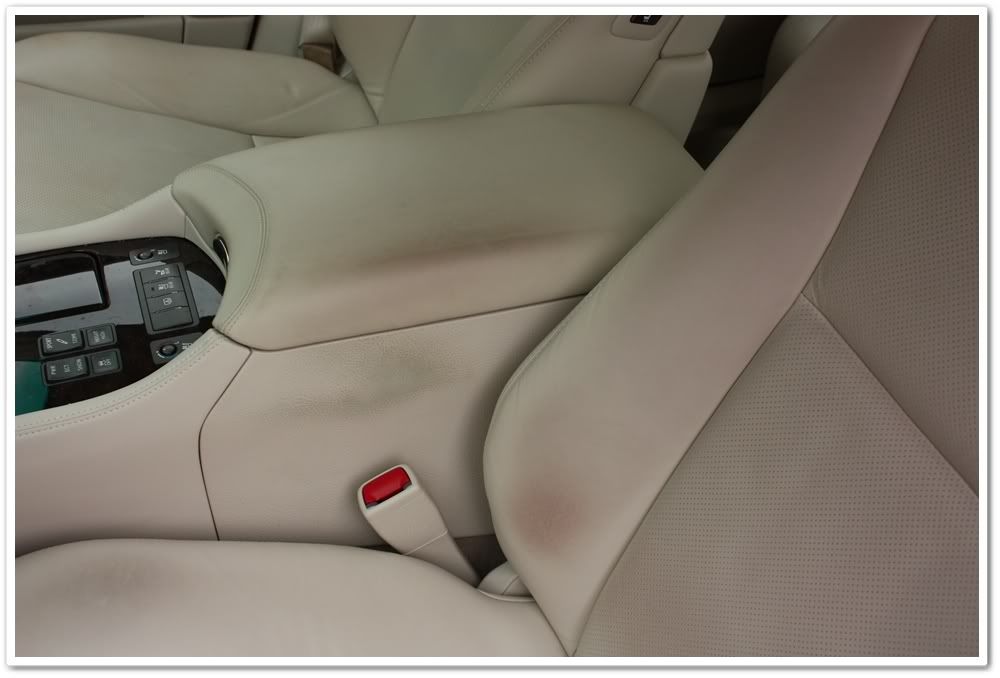
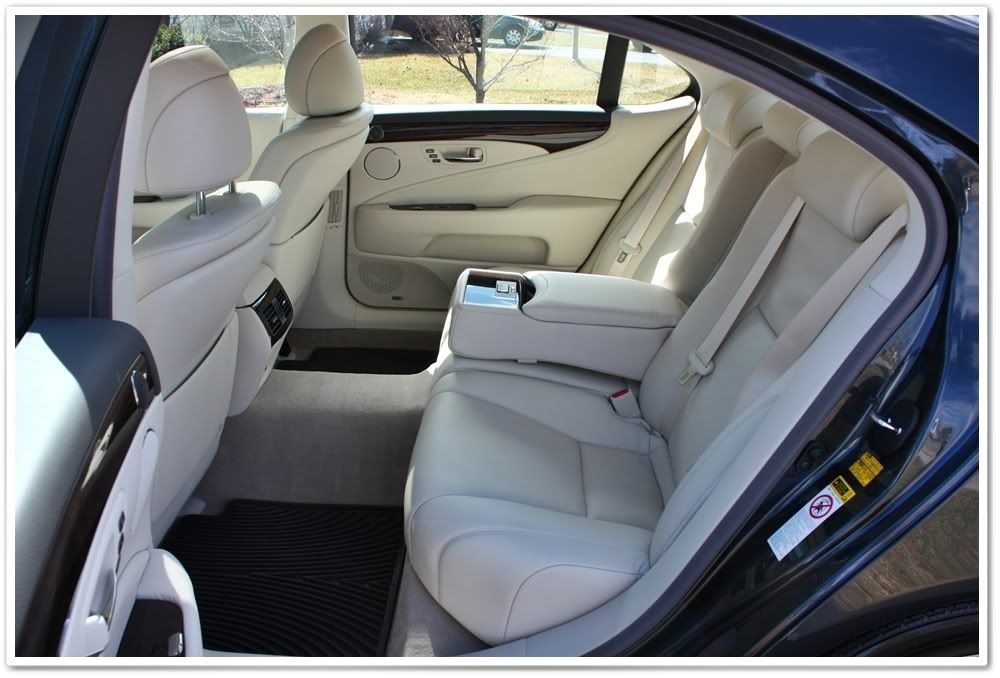
Even the passenger side was bad. Not only was there makeup on the seating surface, but it was all over the passenger compartment (armrest, door panel, headliner, sun shade, etc).
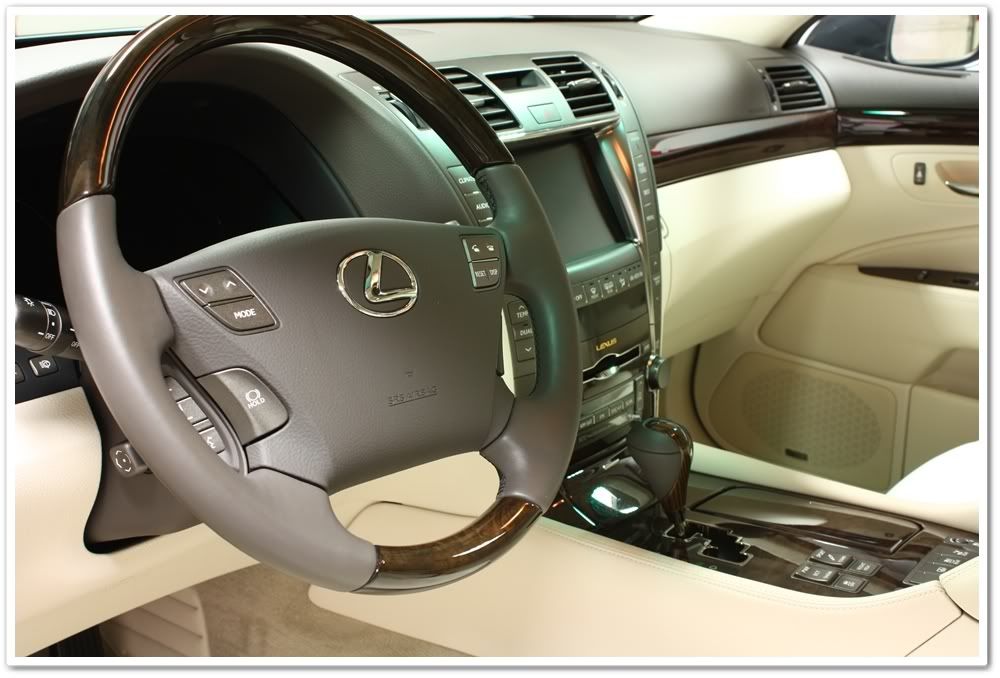
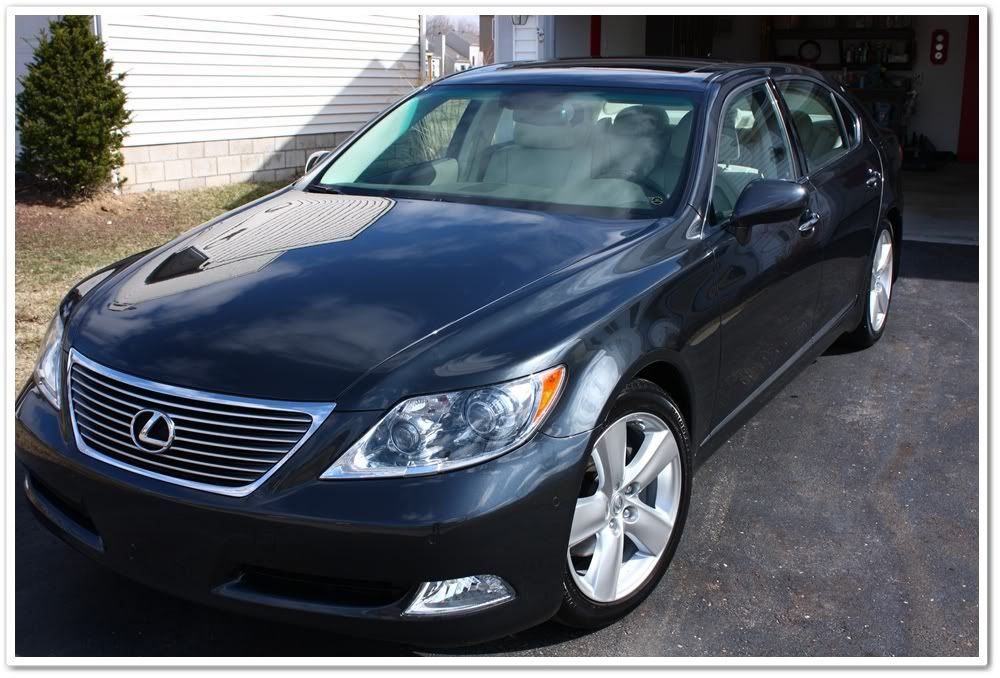
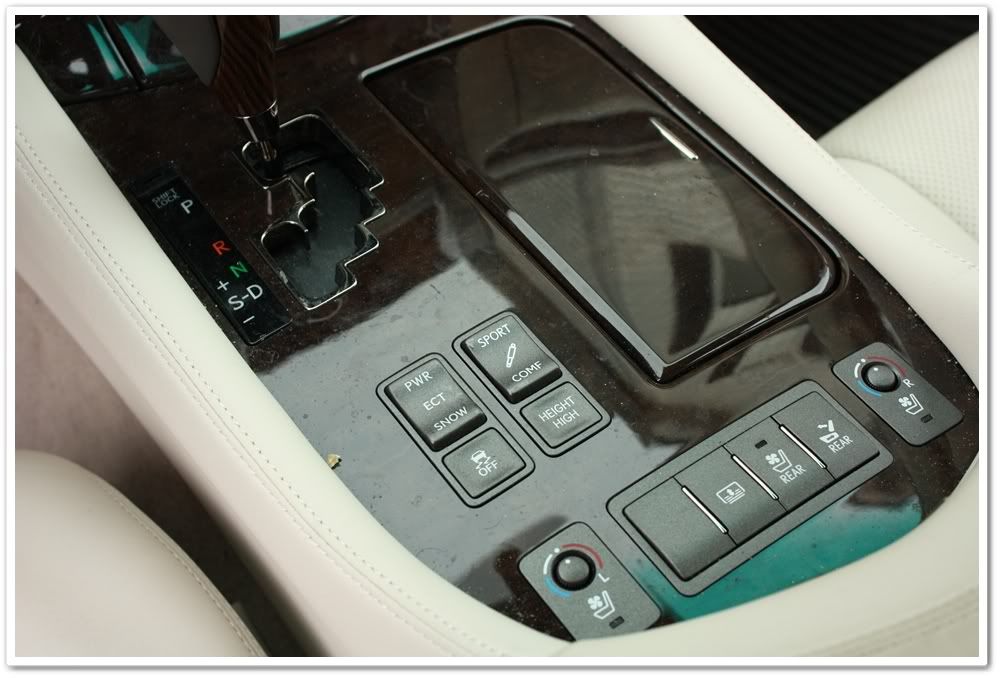
380HP beast tucked away neatly in a “gentlemen’s car�.
Now it’s time for decontamination and cleaning of exterior surfaces.
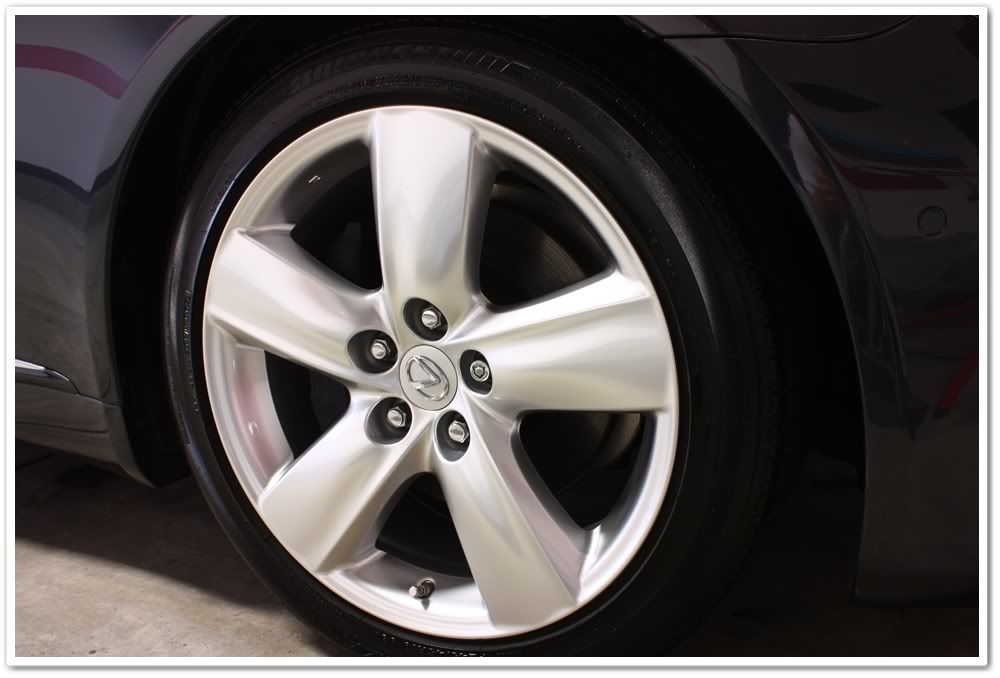
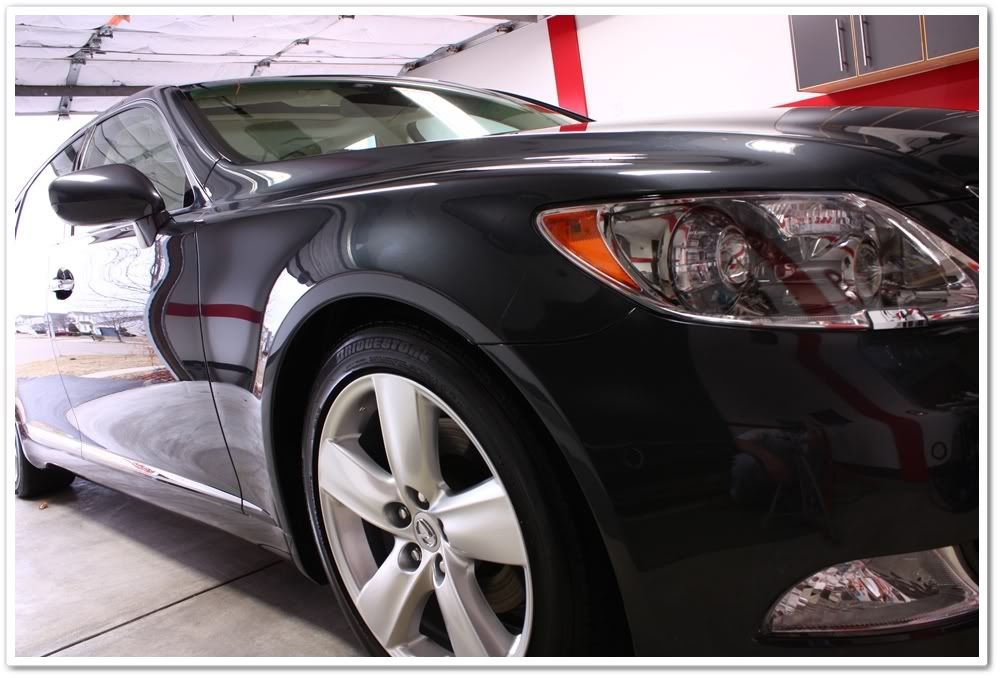
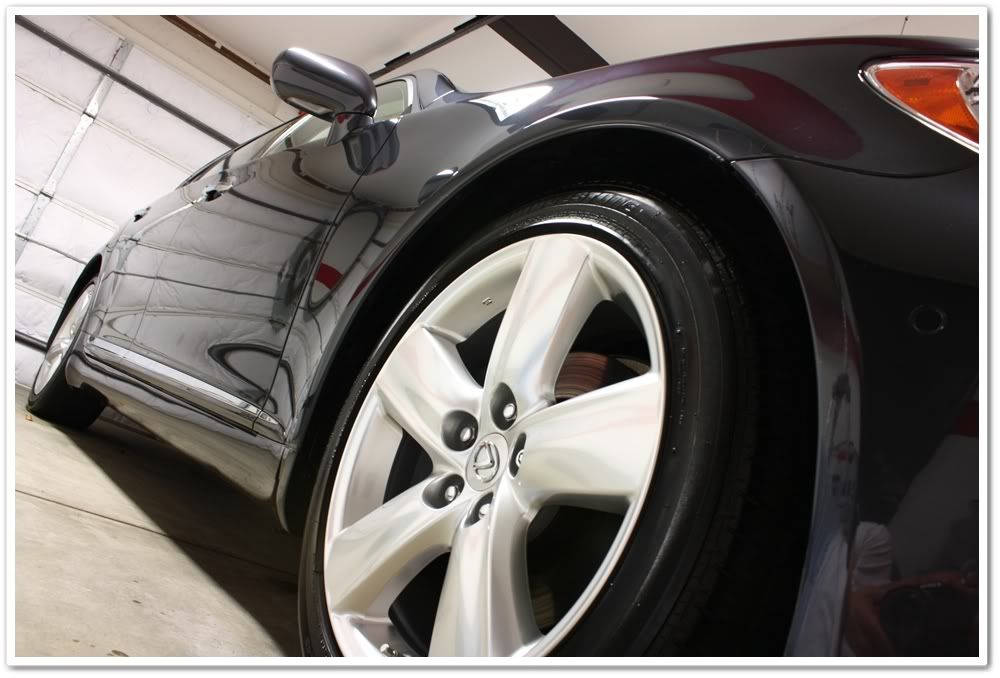
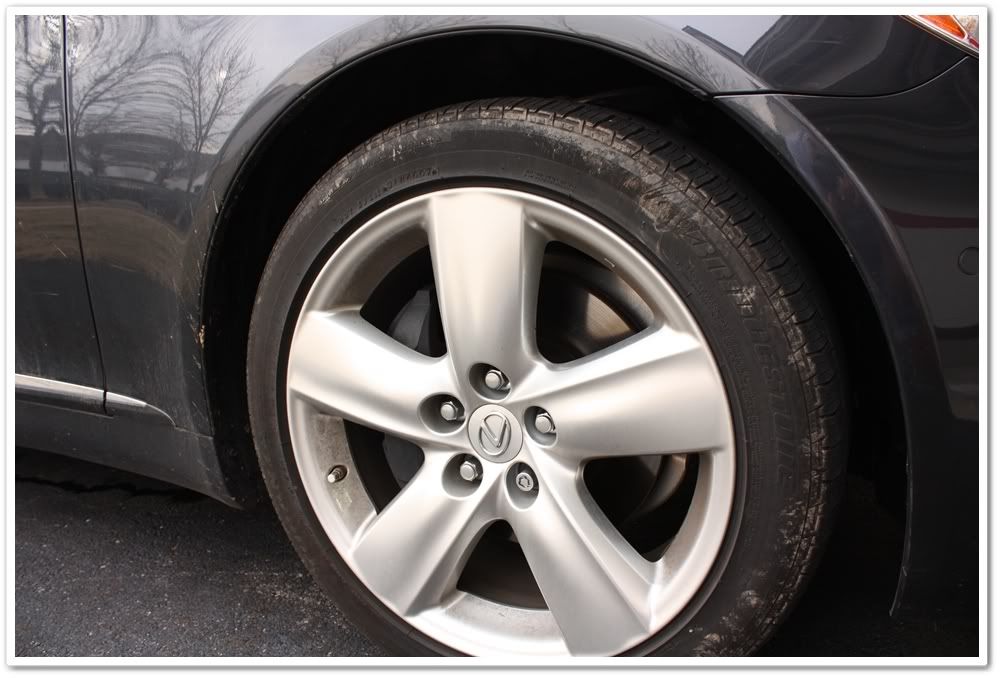
I started off with P21S Wheel Gel on the 19� rims, and let it dwell for a while to work into the many months of brake dust buildup. While that was working, I sprayed the tires and wheel wells with Megs APC+ at 4:1. Here’s a photo of the P21S doing its job:
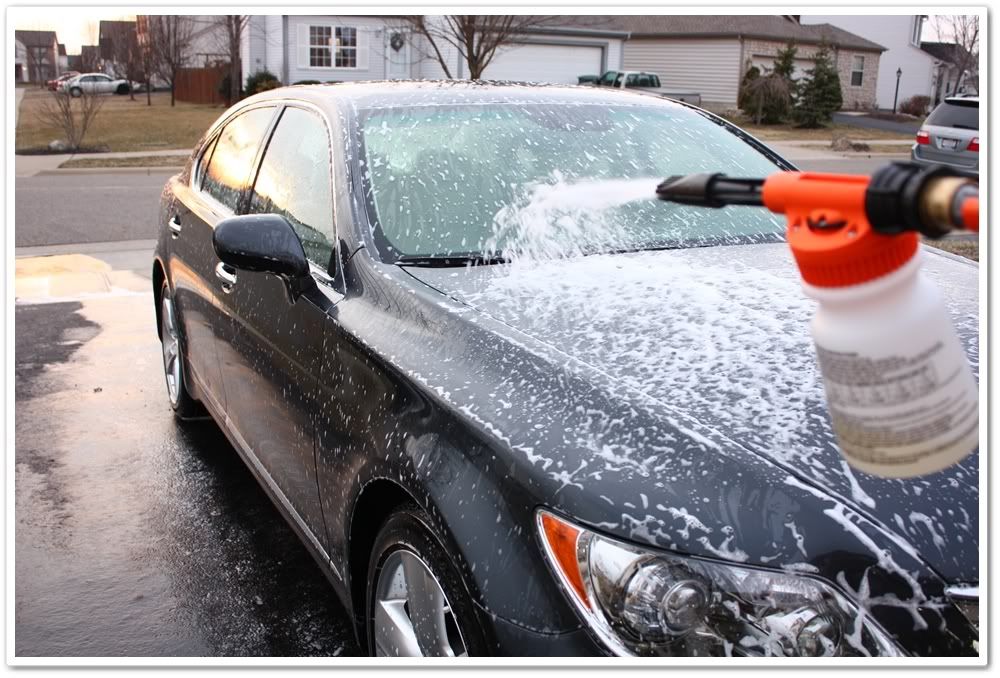
Once the wheels/wells were completed, I moved on to the rest of the vehicle. First I gave the car a thorough rinsing, and then broke out the foam gun that was loaded with Chemical Guys Wash & Clear mixed at paint-prep ratio (2oz / gal). While this was dwelling I prepared my two wash buckets with CGWC as well. Although I was confident that there was no sealant or waxes remaining on the surface when I received it, I always use the paint prep ratio of CGWC before polishing just to be sure any LSP’s are stripped off.
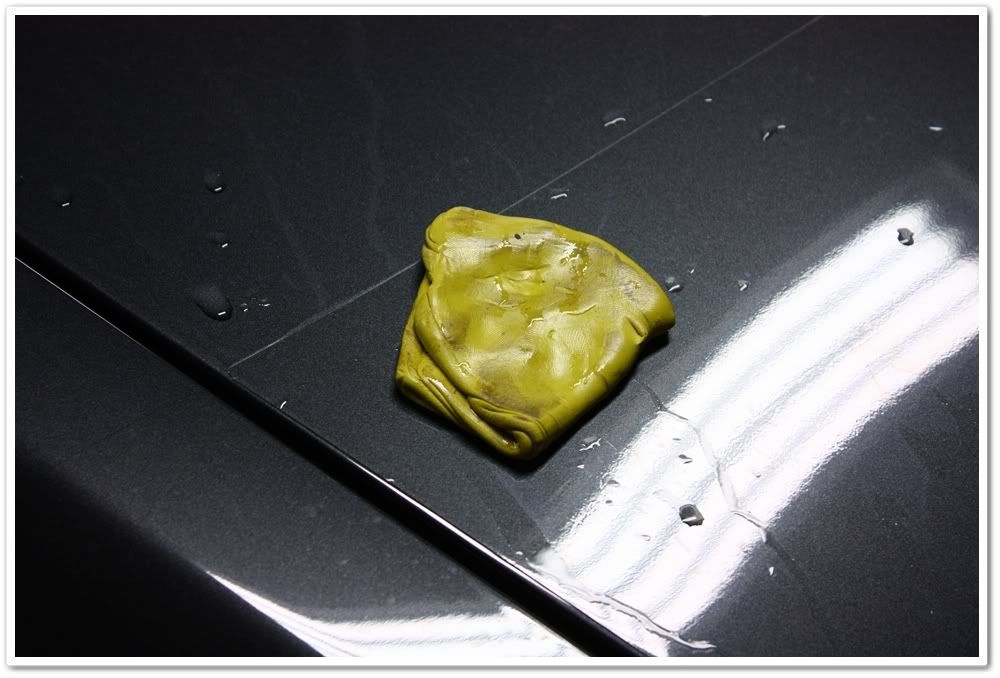
Now it’s time to move on to the claying process. This past Christmas, Santa made a stop in Canada first before heading to Columbus, and he picked up some Riccardo clay for me!") I really like the texture and feel of this product, and it’s a shame we can’t get it here in the U.S. I clayed all exterior surfaces, and wasn’t surprised to find a lot of contaminants after a harsh winter. I used ONR for clay lube.
I really like the texture and feel of this product, and it’s a shame we can’t get it here in the U.S. I clayed all exterior surfaces, and wasn’t surprised to find a lot of contaminants after a harsh winter. I used ONR for clay lube.
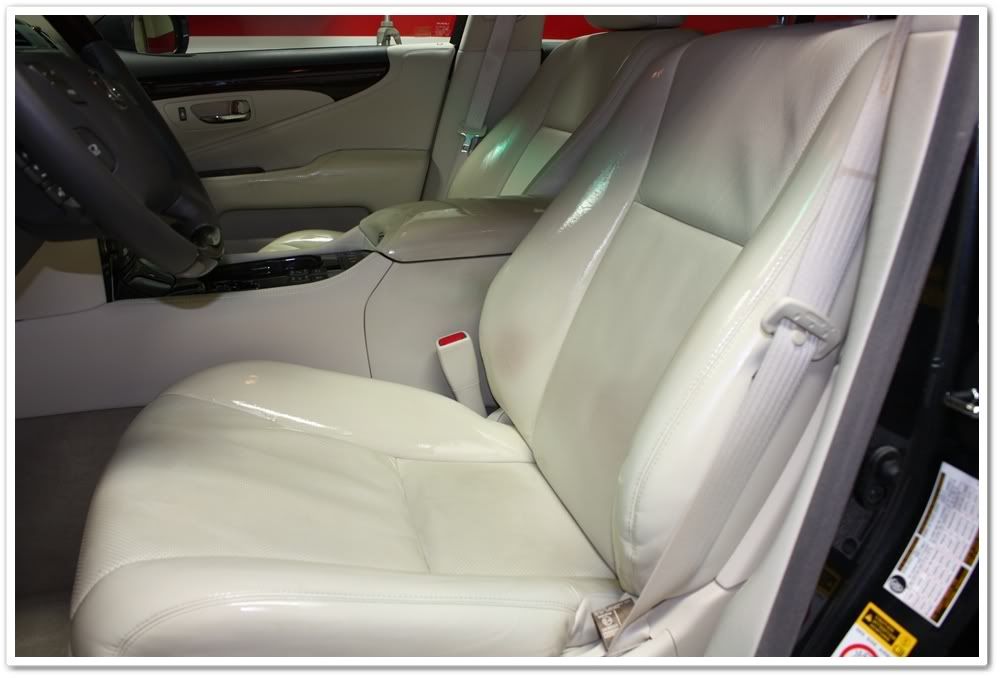
Since I had the car for several days, it gave me the opportunity to break up the work a bit. I took this opportunity to try some different products and techniques on the leather. I tried all of the normal routes first on the dye transfer problem. I was able to clean the grime from the surfaces, but the dye was simply laughing at me. This was a perfect time to break out the Leatherique since it would be able to soak in and work for plenty of time. You can see here where I have applied it to the seats, the armrest, and the door panels (shiny areas).
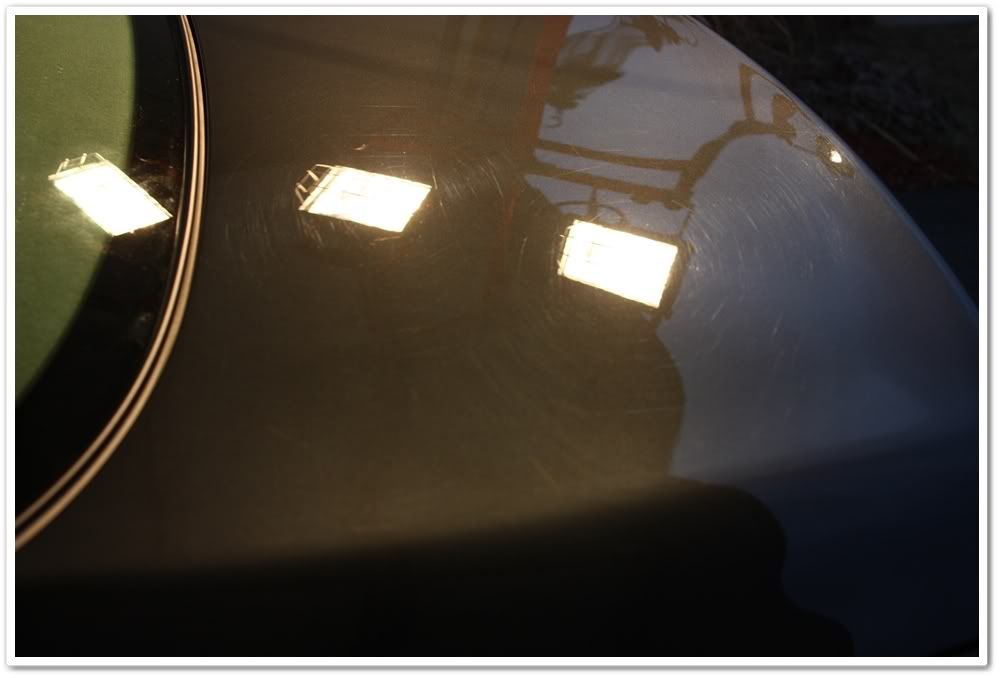
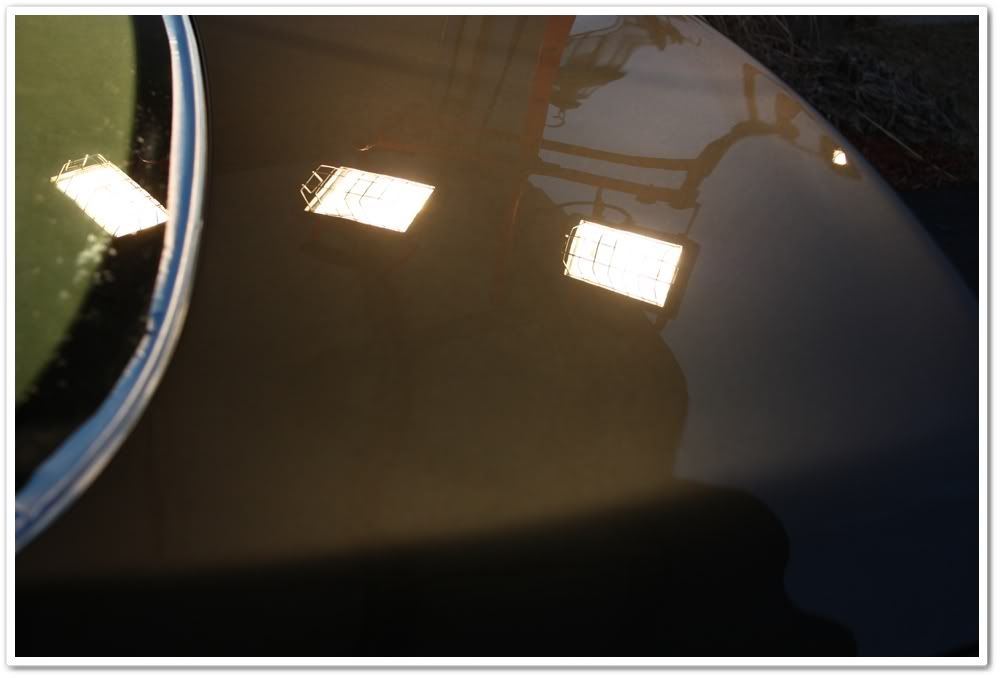
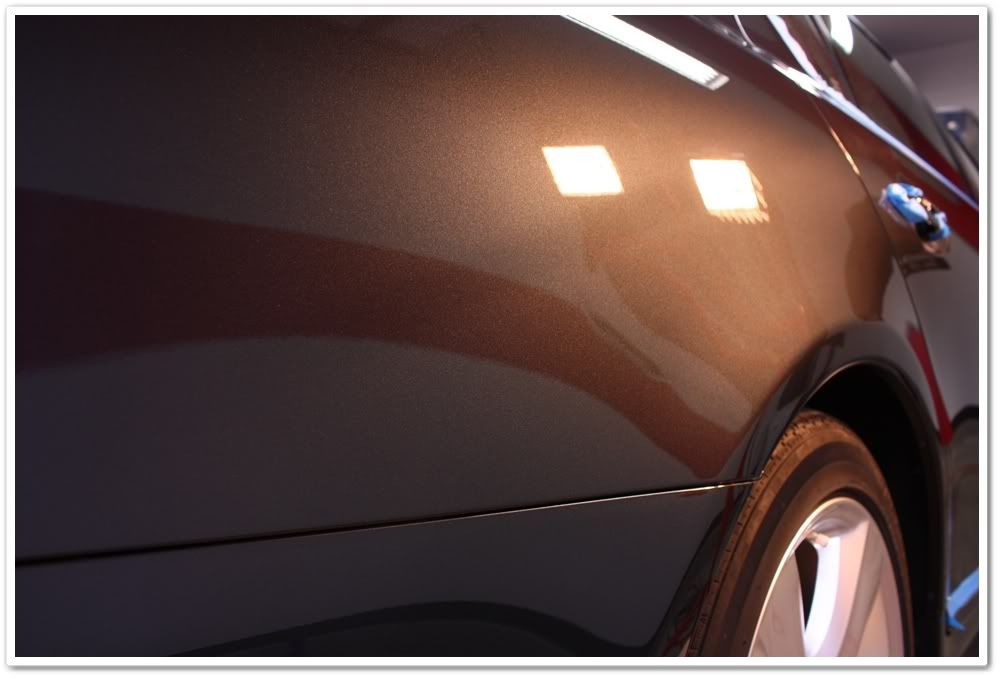
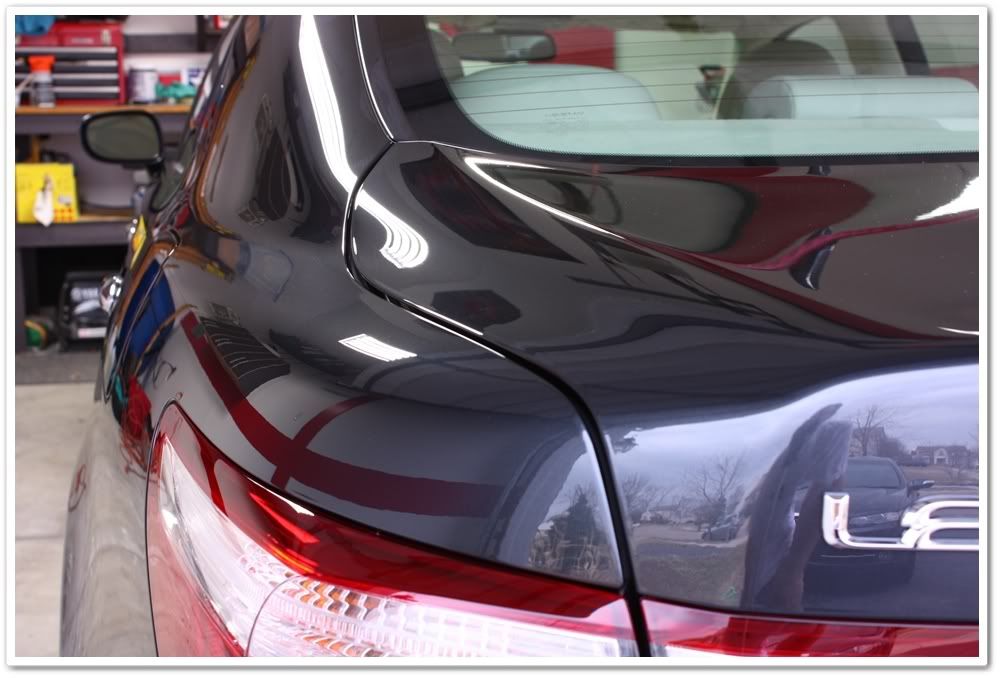
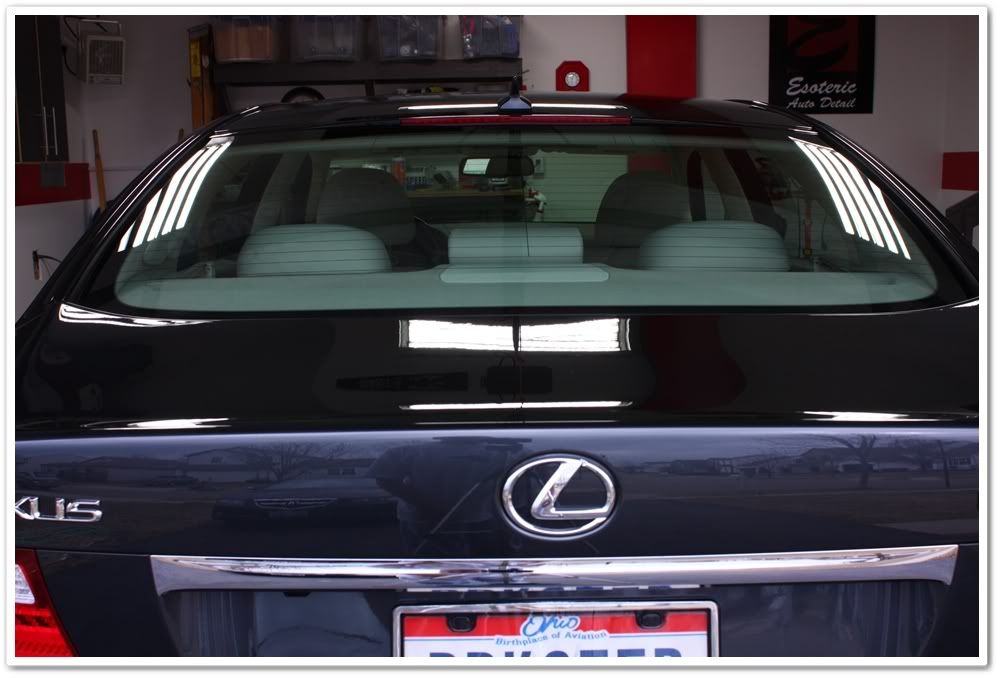
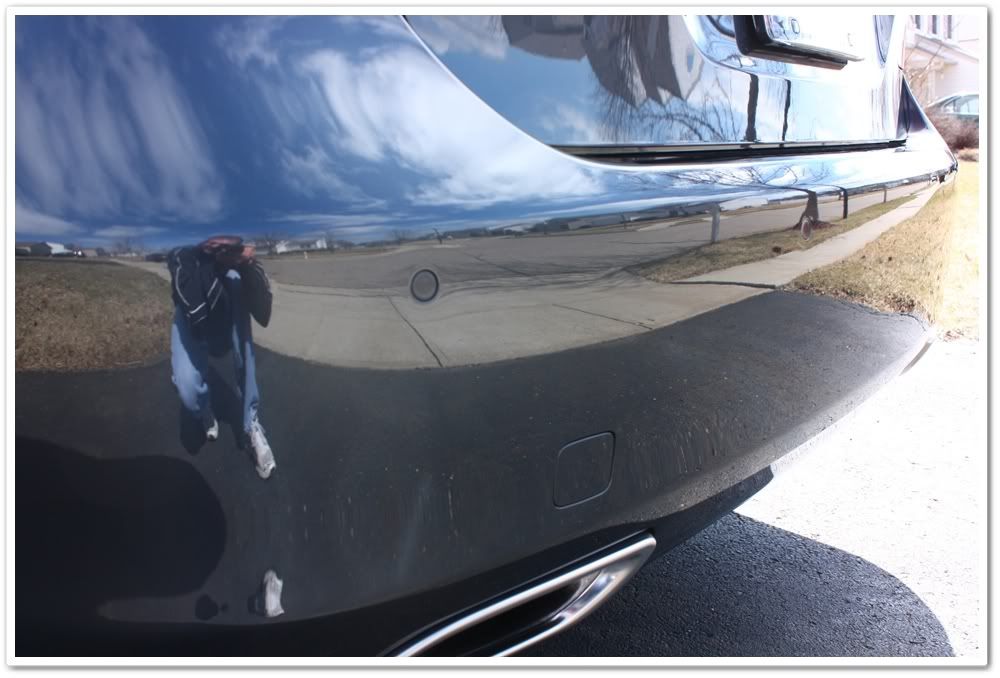
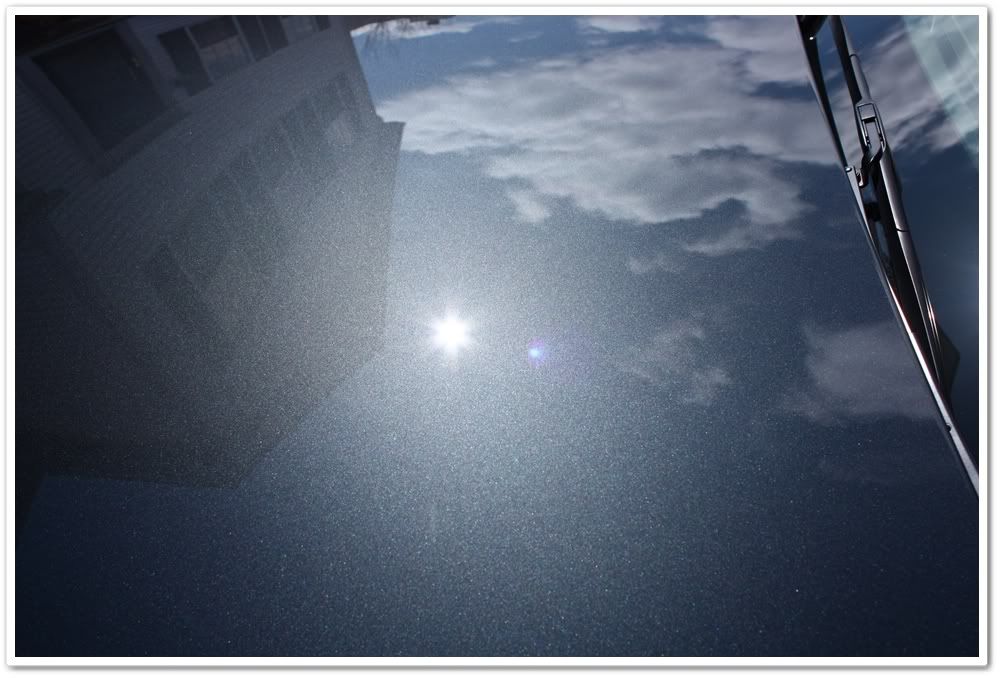
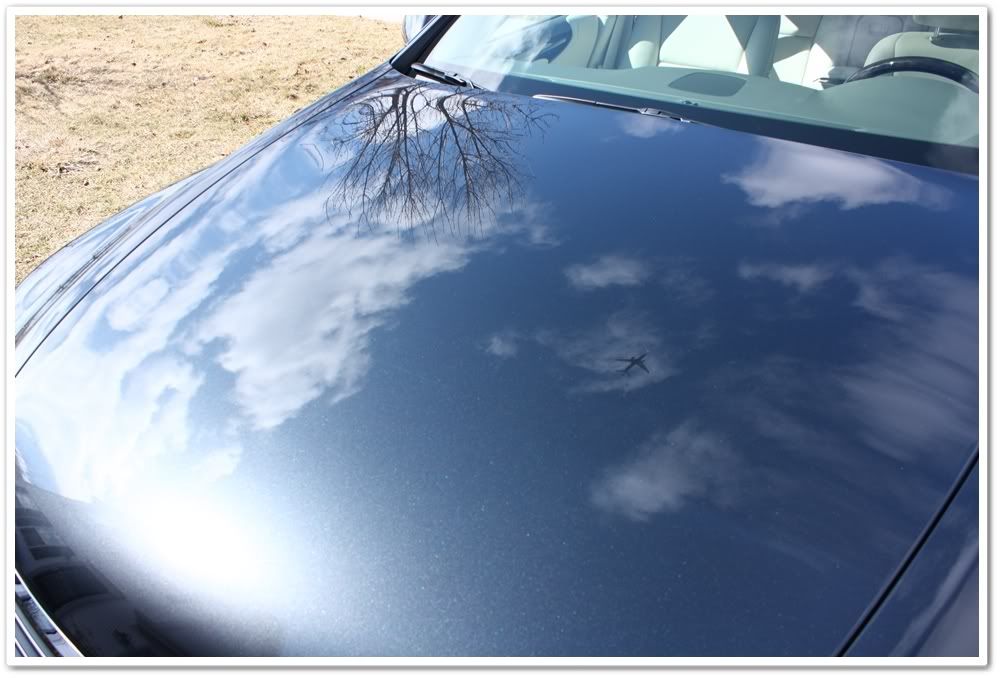
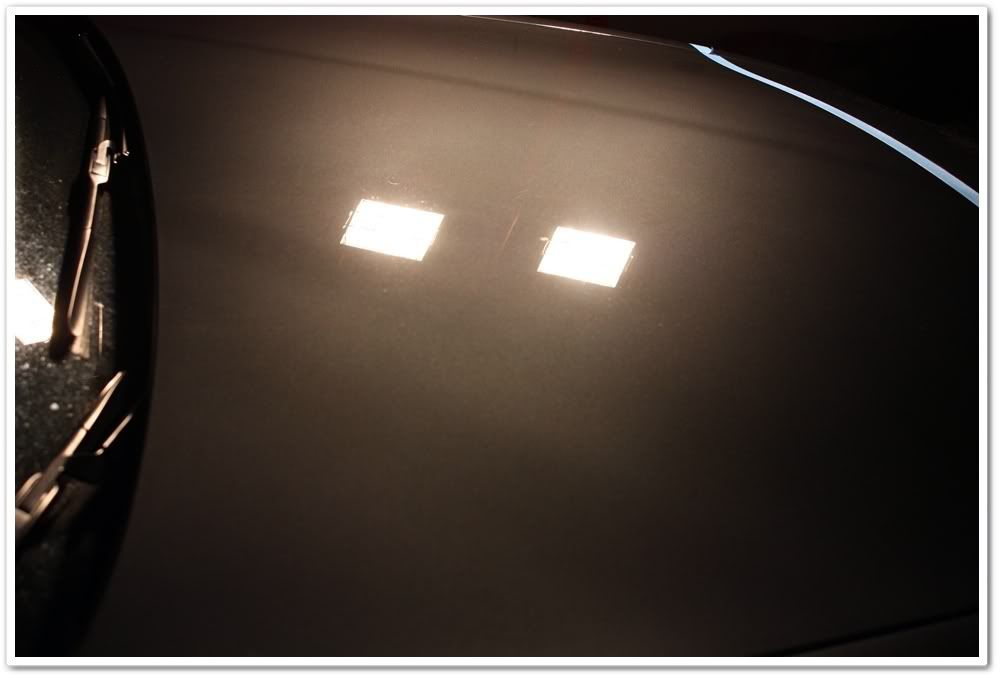
While the Leatherique was working, I figured I’d test the process and products on the hood before calling it a night. This method works well for me so that when I get up early the next morning to start polishing, I already know what needs to be done. I found the horizontal surfaces to be a whole lot worse than the vertical ones, and knew it would require a more aggressive method. For the hood I went with a Micro- Surface Tuf Buf black lambswool pad and Menzerna PO203 Power Finish. Not only did this combo cut through all of the defects, but it also left what appeared to be a LSP-ready finish. It was night time however, and the next day was supposed to be cloudy and I knew I wouldn’t be able to inspect it in the sunshine. Given that, I followed it up with 106FF and a grey LC pad just to be safe.
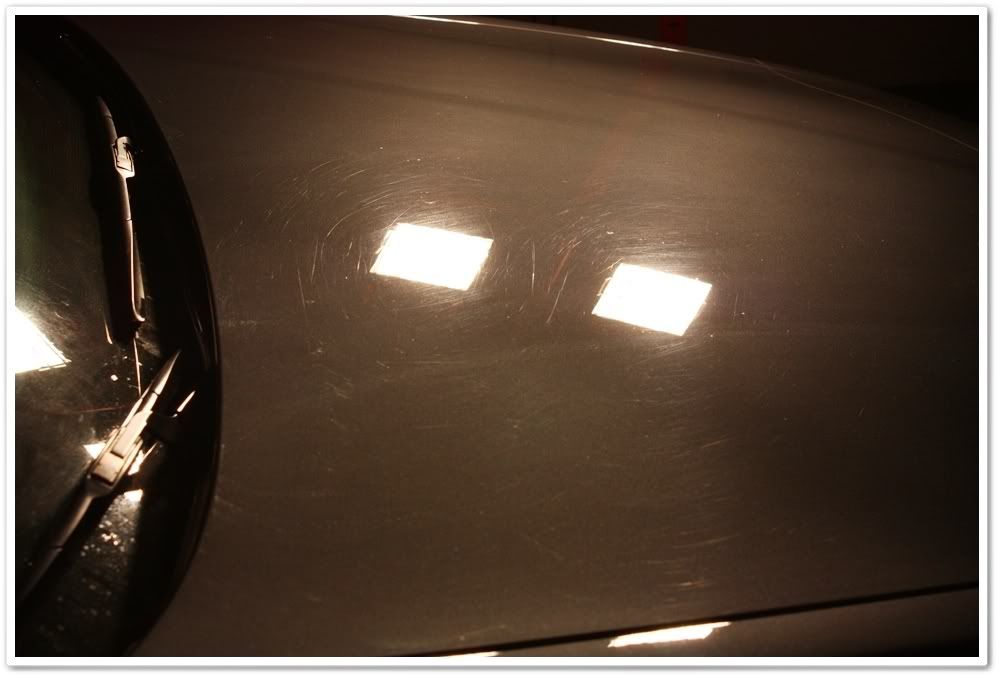
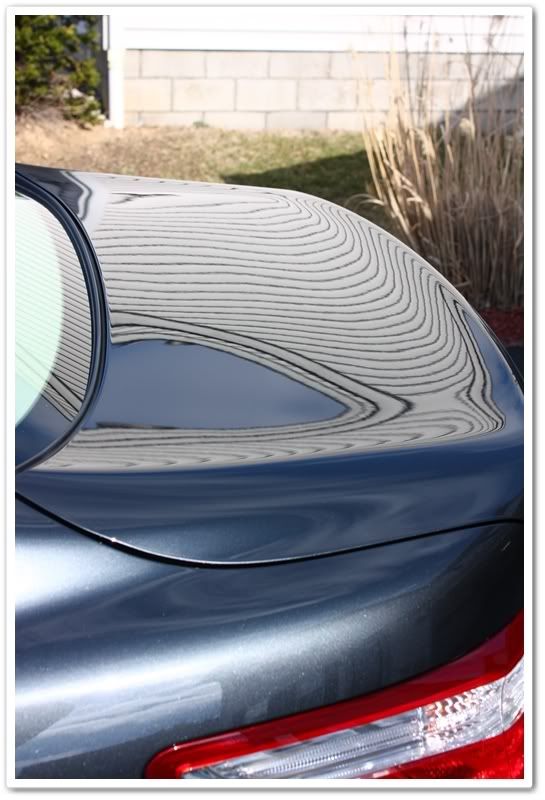
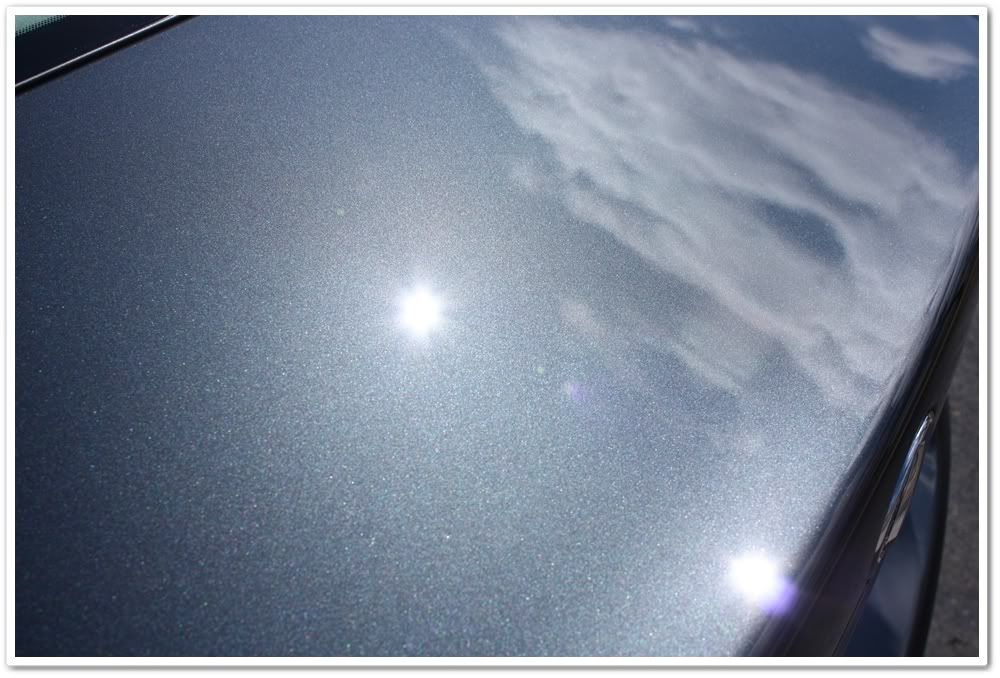
After just 203/black wool:
Closeups of the hood:
After 203/black wool:
It’s late, I’m going to be and get some rest on the daylight savings time-shortened night!
The owner of this beautiful car contacted me the very day that he received his AutoWeek magazine in the mail and saw me listed in the detailing article. Given the fact that my new website had just gone online days before the article hit, the timing couldn’t have been better.
This is the flagship vehicle for Lexus, and they are stunning cars to say the least. Not only does it have about every creature comfort and gadget available (and a rockin’ Mark Levinson audio system), but it also boasts a V8 with 380HP and 367lb-ft of torque! And it is huuuuge. There is a tremendous amount of surface area to work on with this car.
He told me that he had a 10 month old 460L that needed some TLC to bring it back to life. After meeting with him and inspecting the car, we decided to go for a full correction polish (or as close to as we could get), and to thoroughly clean the interior that was showing some severe signs of wear already. The paint had moderate swirls and RIDS on the horizontal surfaces, mostly mild on the vertical surfaces, and a few scrapes, bumps, and bruises throughout. We planned on the full correction this time, and then he’ll bring it back to me every 3 or 4 months for a more basic polish.
OK, onto the detail(s):
The car looked as expected after a long hard winter here in Ohio. It was quite dirty inside and out, there was no protection on the surface, and it had a tremendous amount of brake dust built up:
The interior was in pretty bad shape as you can see:
Winters do very bad things to light colored carpet…even when using all season mats! There was a hole worn through on this mat, and all of the dirty slush melted through and completely soaked into the carpet underneath. This would be a challenging cleanup for sure.
Here’s where I was concerned. There was a lot of dye transfer into the leather. The grime would come up easily, but there was so much colored dye in this light leather, that I wasn’t sure how much I could get out. Yes, this is only 10 months old.
Even the passenger side was bad. Not only was there makeup on the seating surface, but it was all over the passenger compartment (armrest, door panel, headliner, sun shade, etc).
380HP beast tucked away neatly in a “gentlemen’s car�.
Now it’s time for decontamination and cleaning of exterior surfaces.
I started off with P21S Wheel Gel on the 19� rims, and let it dwell for a while to work into the many months of brake dust buildup. While that was working, I sprayed the tires and wheel wells with Megs APC+ at 4:1. Here’s a photo of the P21S doing its job:
Once the wheels/wells were completed, I moved on to the rest of the vehicle. First I gave the car a thorough rinsing, and then broke out the foam gun that was loaded with Chemical Guys Wash & Clear mixed at paint-prep ratio (2oz / gal). While this was dwelling I prepared my two wash buckets with CGWC as well. Although I was confident that there was no sealant or waxes remaining on the surface when I received it, I always use the paint prep ratio of CGWC before polishing just to be sure any LSP’s are stripped off.
Now it’s time to move on to the claying process. This past Christmas, Santa made a stop in Canada first before heading to Columbus, and he picked up some Riccardo clay for me!
I really like the texture and feel of this product, and it’s a shame we can’t get it here in the U.S. I clayed all exterior surfaces, and wasn’t surprised to find a lot of contaminants after a harsh winter. I used ONR for clay lube.
Since I had the car for several days, it gave me the opportunity to break up the work a bit. I took this opportunity to try some different products and techniques on the leather. I tried all of the normal routes first on the dye transfer problem. I was able to clean the grime from the surfaces, but the dye was simply laughing at me. This was a perfect time to break out the Leatherique since it would be able to soak in and work for plenty of time. You can see here where I have applied it to the seats, the armrest, and the door panels (shiny areas).
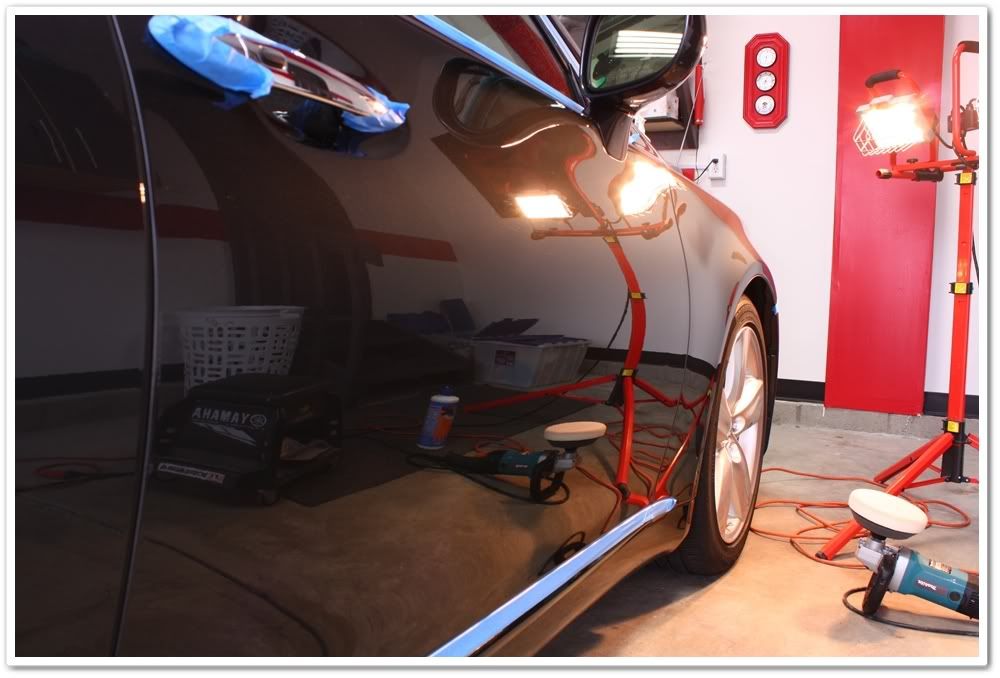
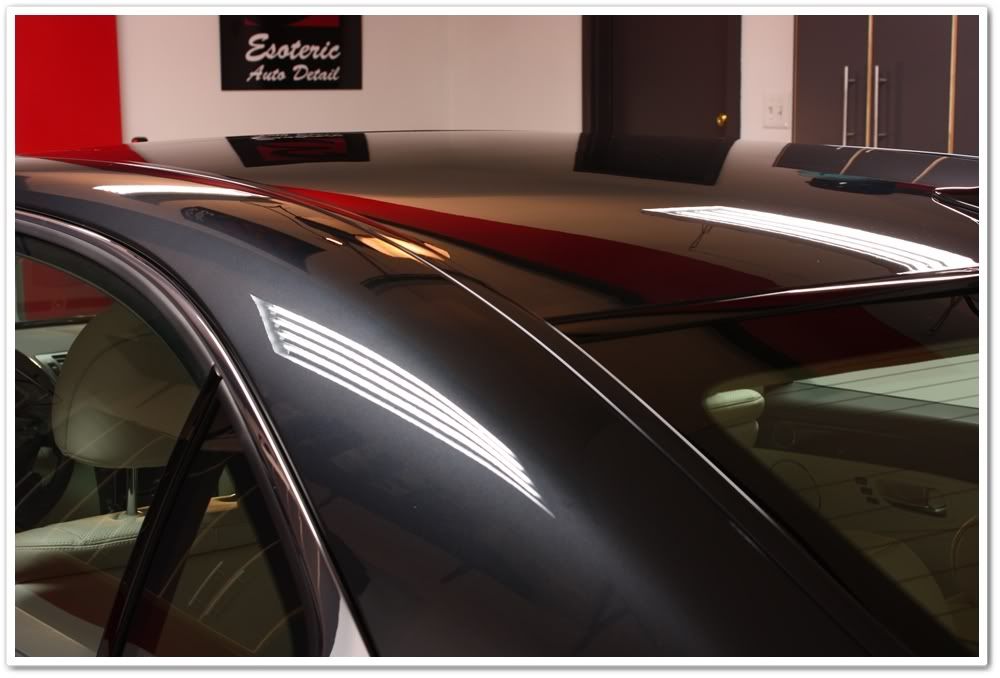
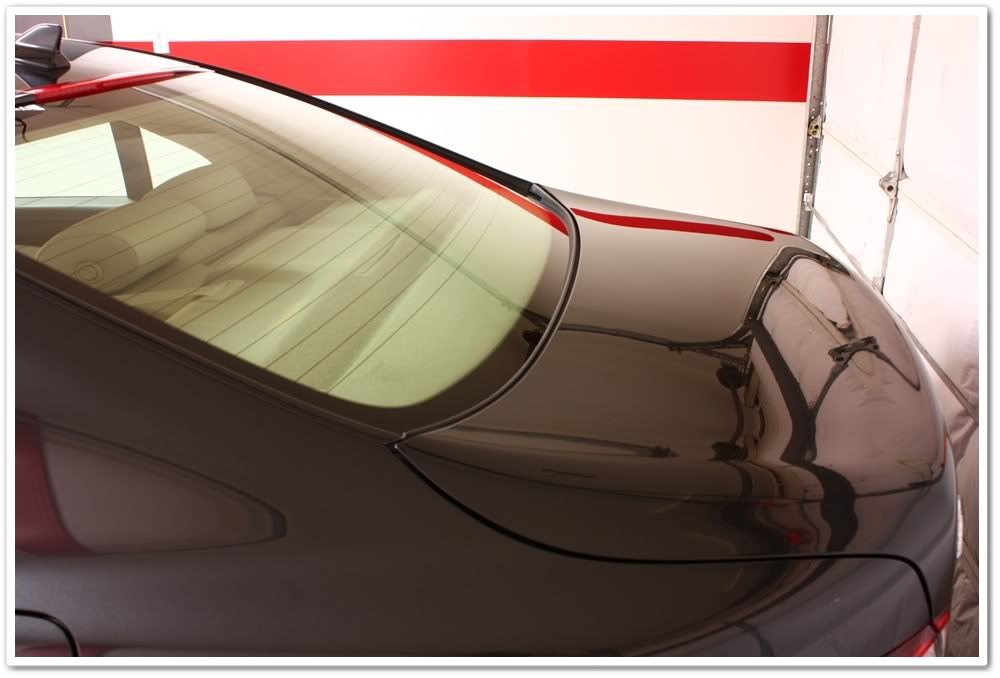
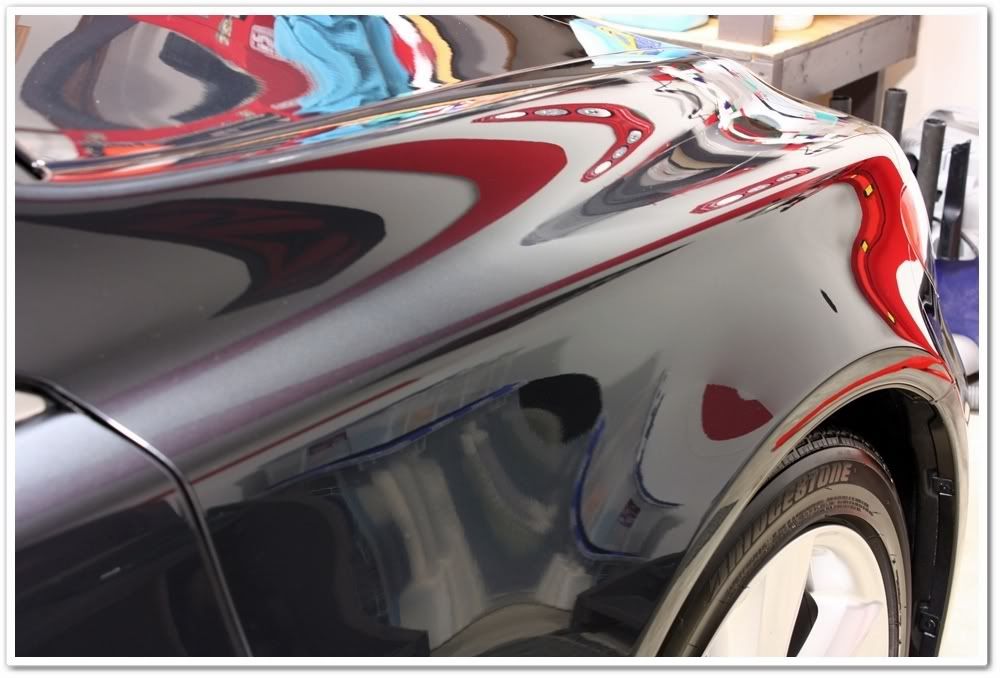
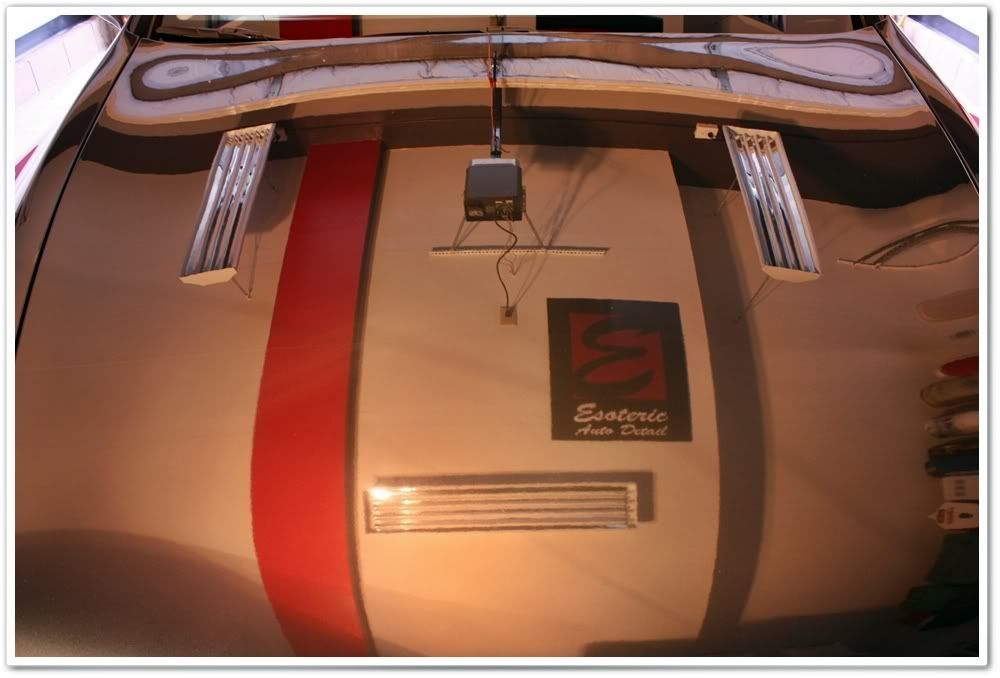
While the Leatherique was working, I figured I’d test the process and products on the hood before calling it a night. This method works well for me so that when I get up early the next morning to start polishing, I already know what needs to be done. I found the horizontal surfaces to be a whole lot worse than the vertical ones, and knew it would require a more aggressive method. For the hood I went with a Micro- Surface Tuf Buf black lambswool pad and Menzerna PO203 Power Finish. Not only did this combo cut through all of the defects, but it also left what appeared to be a LSP-ready finish. It was night time however, and the next day was supposed to be cloudy and I knew I wouldn’t be able to inspect it in the sunshine. Given that, I followed it up with 106FF and a grey LC pad just to be safe.
After just 203/black wool:
Closeups of the hood:
After 203/black wool:
It’s late, I’m going to be and get some rest on the daylight savings time-shortened night!