Water spot etching

JaredPointer

COME AT ME BRO
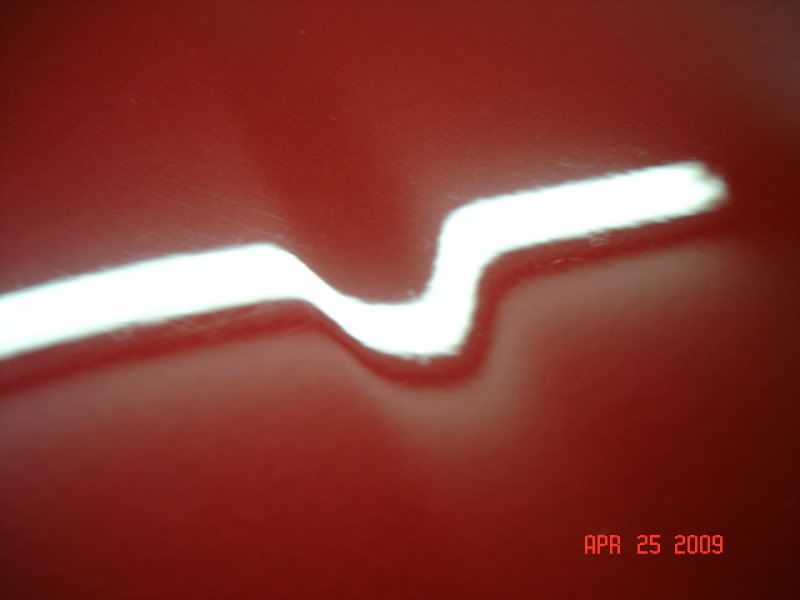
I've got some slight water etching on the roof and a few spots on the hood of my truck. I have tried lots of different combos to try and remove them or get the less noticeable, but tonight I found a semi-solution. I used PB's SSR3 by hand on individual spots and followed this up with 105 and then 205. The spots I hit are almost completely gone, which leads me to believe that I might can get them out without too much damage and without removing too much paint. I really wish I had a paint gauge to check and make sure, but I don't. I also wish I had the confidence to get on it with a rotary as I think that might make it a very short job. Seeing as I am going at this with either hand or PC, does anyone have any other suggestions I could try out? At this point, I am fielding any kind of advice, etc. I even thought about using some 2000 or 3000 grit wet paper and then follow that up with the polishes. Just not too sure I want to get all out aggressive on my new toy just yet...
 
:cool:Jared,Sorry to here about water spots,this is 1 of many reasons I will not own a dark color for daily driver.If it were me I would hit it with rotary I have no expierence with pc, so I really don't have much of an answer 4 you. However I would NOT hit that with any kinda sand paper(talk about thinnin tha paint) I would maybe repeat tha process you have already done a couple more times.Good Luck:cool::dcrules
 
Troy -

to answer, I'll give you what has produced the best results so far.

SSR 3 by hand using a terry cloth. Followed by PO106FF and a polish pad to remove the SSR 3 hazing. This combo is very time consuming and I'd hate to have to do it on both large panels, but it does get the water spots to an almost unnoticeable point. That is what has me thinking they are not too deep to be removed.

Polish with Sealant did not do anything. I was thinking maybe some very light wetsanding paper followed by something else.

Any ideas, advice or suggestions would be appreciated.
 
Sorry Jared, didn't see this post originally.

Sounds like once you get your FLEX you will be able to remove these spots with the 105 and a cutting pad. I would buff with the FLEX on 5 and slightly tilt it to allow it to dig into the finish. When I say slightly tilt I mean you still have the whole pad touching the surface. You don't want to angle grind the paint so I want to be clear what I mean when I say slightly tilt.;)

I have yet to try the Kevin Brown Method but this sounds like a good opportunity for you to try it. I myself have not wanted to try it because I'm happy with the results I'm getting not having to saturate my pads.
 
...
I have yet to try the Kevin Brown Method but this sounds like a good opportunity for you to try it. I myself have not wanted to try it because I'm happy with the results I'm getting not having to saturate my pads.

I have yet to see the KBM. I've seen plenty of references and posts promising that it is forthcoming, but no final work.
 
Have you tried your Bug Squash full strength?

I believe they need to be removed chemically not abrasively ... if BS doesn't do the trick use PP ... sounds almost dirty :lol2:
 
Have you tried your Bug Squash full strength?

I believe they need to be removed chemically not abrasively ... if BS doesn't do the trick use PP ... sounds almost dirty :lol2:

We are talking about etching not deposits. ;) You can't remove etching chemically.
 
some how I don't believe that his new truck has etching deep enough to require abrasives ... I'd like to see pictures and know what they feel like :hmmm::inspector:

They don't "feel" like anything, oddly enough. I'll try to slip out in a bit and take a couple of photos in a bit. When I get out there, I'll try some BS full strength and I'll try some vinegar also.
 
I hope this picture is big enough to see the spots.

And a quick BS soak over an area didn't knock them down. :(

DSC03063.jpg
 
M105/Cutting pad/KBPCM, DONE. ;)

And just so you understand what the KBPCM is:

1. Prime an orange pad(or any other cutting pad) with M105.

2. Press the pad onto a MF or clean cotton towel and turn on your PC/Flex for about 10 seconds.

3. Apply a pea sized dot of M105 to the pad.

4. PC on 6 or flex on 5- Apply alot of pressure and go slow working a 18"x18" area.

5. Wipe and inspect.
 
for the longest time I have kept asking myself "who is kevin brown and what is his method?"

:)
I know, Kevin Brown: Man or Myth :D

M105/Cutting pad/KBPCM, DONE. ;)

And just so you understand what the KBPCM is:

1. Prime an orange pad(or any other cutting pad) with M105.

2. Press the pad onto a MF or clean cotton towel and turn on your PC/Flex for about 10 seconds.

3. Apply a pea sized dot of M105 to the pad.

4. PC on 6 or flex on 5- Apply alot of pressure and go slow working a 18"x18" area.

5. Wipe and inspect.
Did you find a KB originated post of his process? As I've mentioned I've seen posts with "Kevin Brown's Method as I understand it".
 
I know, Kevin Brown: Man or Myth :D


Did you find a KB originated post of his process? As I've mentioned I've seen posts with "Kevin Brown's Method as I understand it".

The process that Billy listed, is correct. Kevin sent the process to a few people to try and it was posted on the boards. Everyone ask Kevin to post the process, and Kevin wanted to explain every little detail of it, so he asked that the "method" be pulled from the board until he could post his paper on it. It has turned in to a huge project with lots of diagrams etc., so it has taken a lot longer than expected. Billy, and some other guys, have spoken to Kevin directly and that is the process, very simplified. Also of note, there is a KBPCM (PC) and a KBRM (rotary). Most of the time when people refer to the KB method, they are referring to the KBPCM used with a PC, Flex, etc. The crucial factors are the use of a non-diminishing abrasive polish, the correct priming (not saturating) of the pad and a LOT of pressure.
 
... Also of note, there is a KBPCM (PC) and a ....

Clearly this is the process that is prompting conversation. My interest is centered more in the results from the 105 and a PC and how it really expands the "range" of the PC's capabilities. "A lot of pressure"? With a PC? Really? What is "a lot"? I know I can "stop" my PC by getting carried away with "leaning into" the machine.

As for swirl removal with the rotary, is there really anything "earth shattering" there? In fact, I thought I read one of his posts or a post quoting him saying that this new product has for all intents and purposes "retired" his rotary.

Now using a finishing polish (like 205) with a polishing pad on the rotary while removing defects and ending up with a LSP ready finish. Now that would be something to talk about. 1-step, paint friendly. :)
 
Back
Top