Ultimate Detailed: My 2007 OBP WRX - Detailing Obsession

itskrees

New member
I've spent a lot of time this month detailing other people's cars in the Chicagoland area; from Honda Odyssey's to EVO's (which I will make more write-ups on later), that I haven't been able to make time to keep my own WRX defect free. Last weekend I finally got the chance, and I found that "correcting" my car was quickly turning into a detailing obsession. I recently purchased a whole new set of detailing products, and while they definitely were able to make customer's cars look good, I was urging to see what type of results they can give to my own car. Onto the detail!


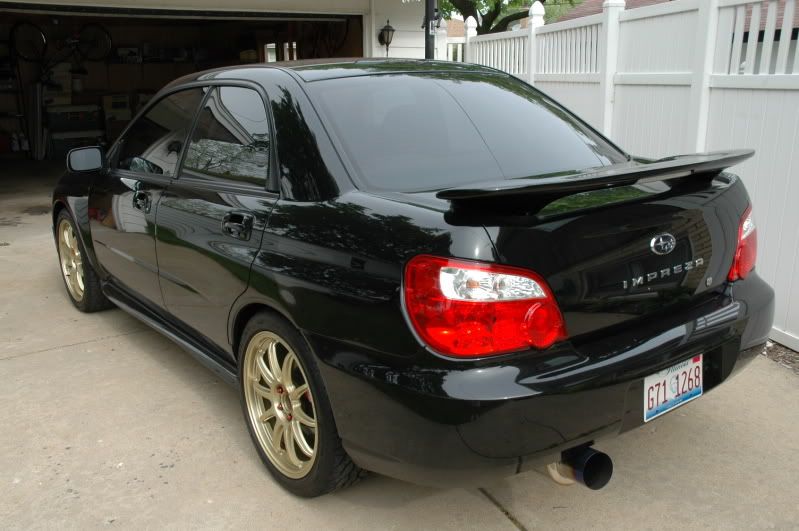
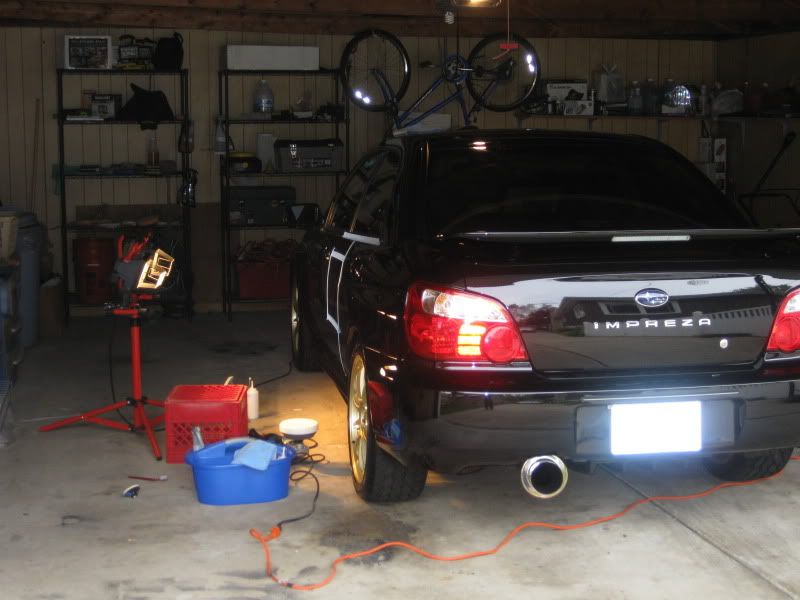
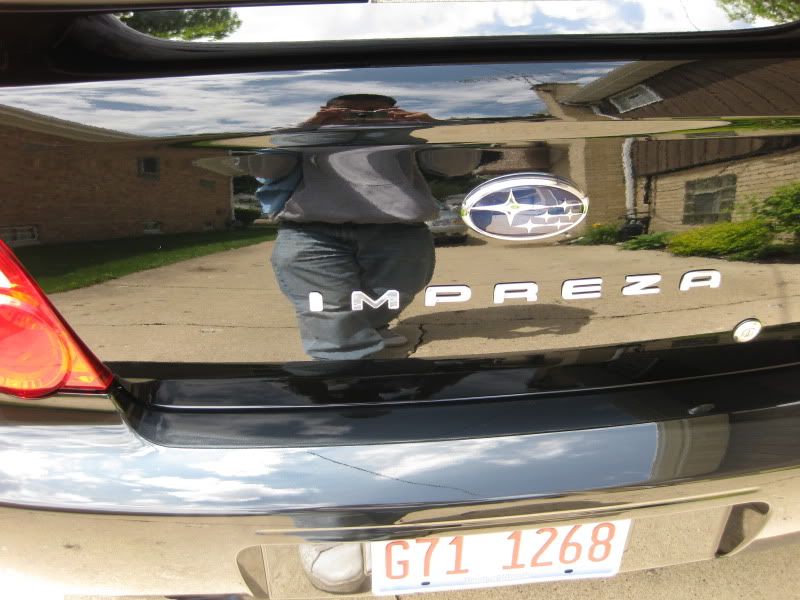
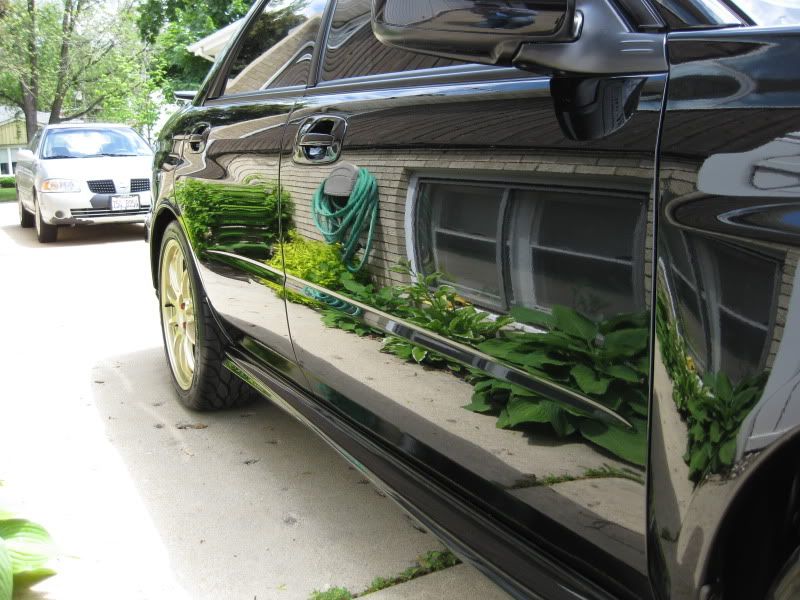
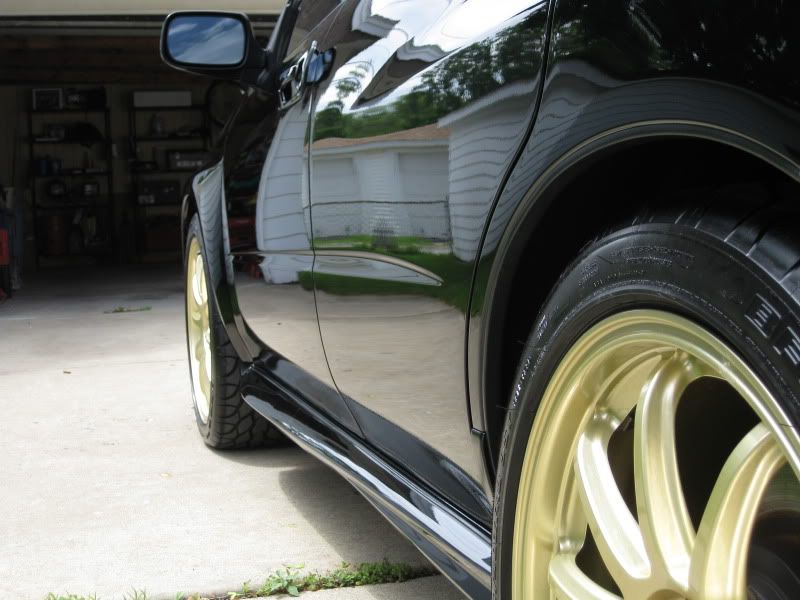
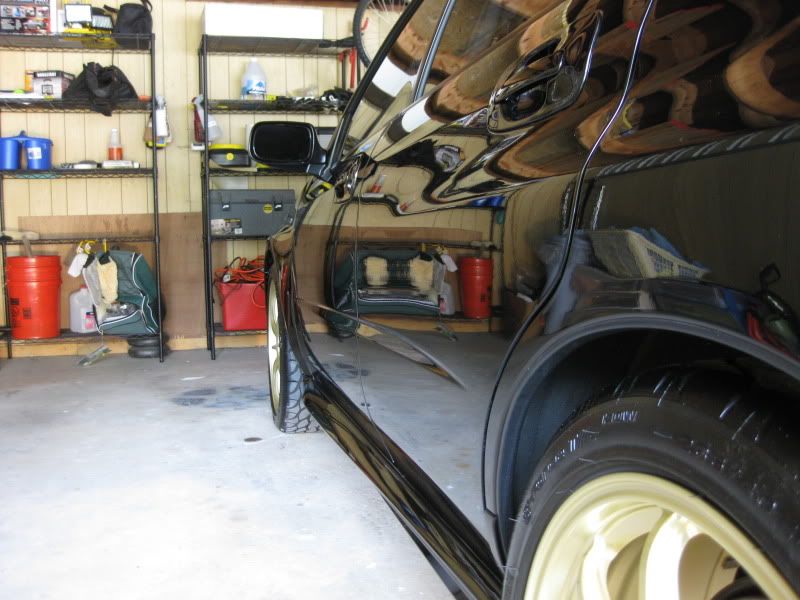
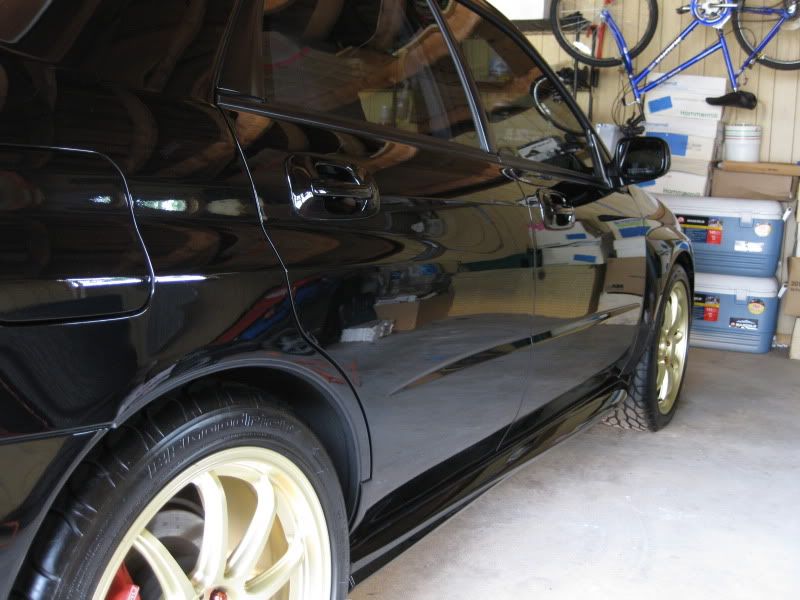
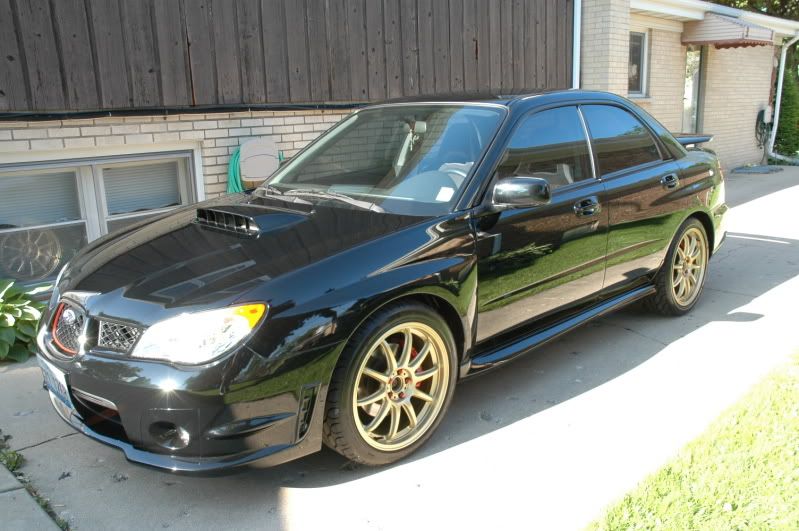
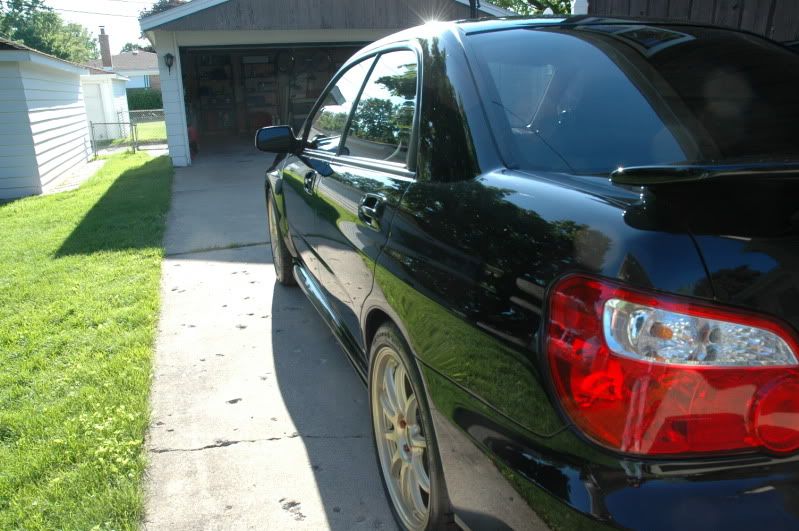
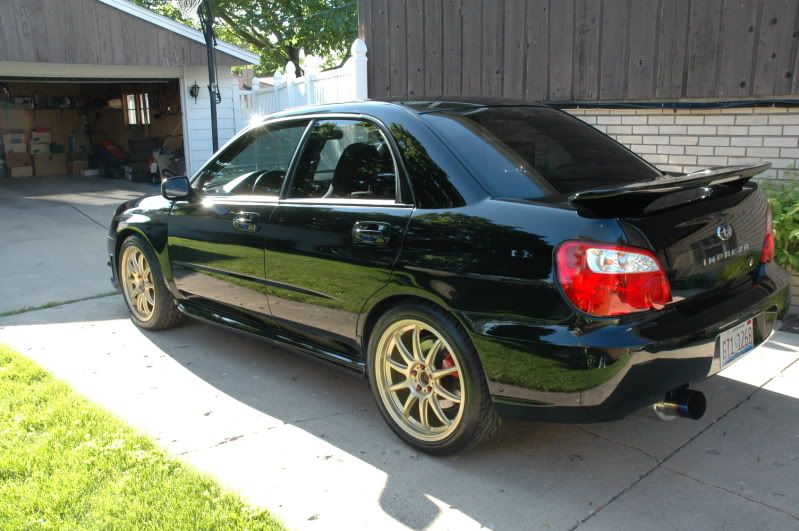
Here's my 2007 OBP WRX.


DSC_6795.jpg


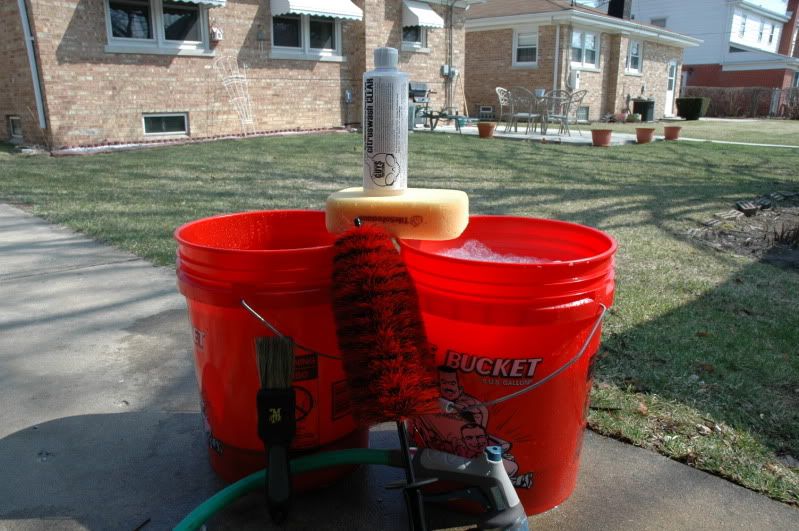
Step 1: Wash and Clay
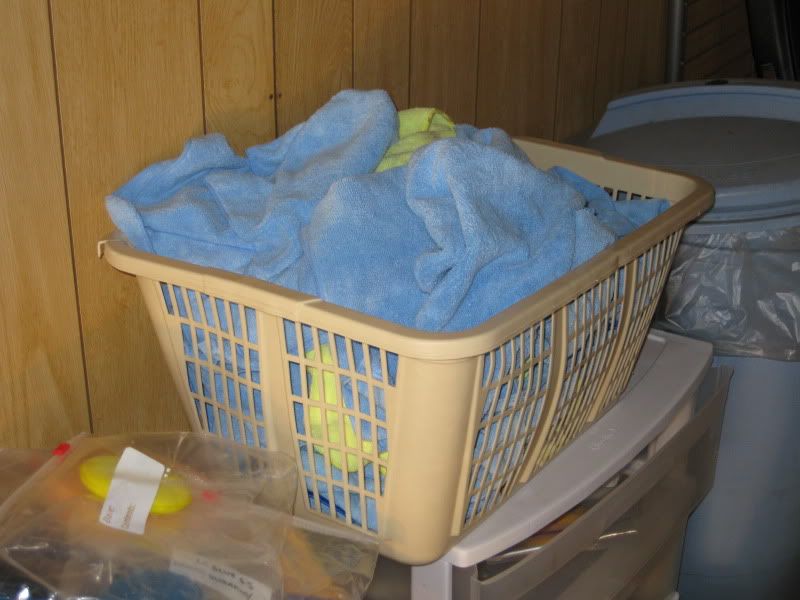
Wash Materials:

TS Grout Sponge

Chemical Guys Citrus Wash n Clear diluted to wax stripping ratio.

Two 5-Gallon Buckets with Grit Guards

E-Z Daytona Wheel Brush

Meguiar's Slide Lock Brush

Tire Scrub Brush

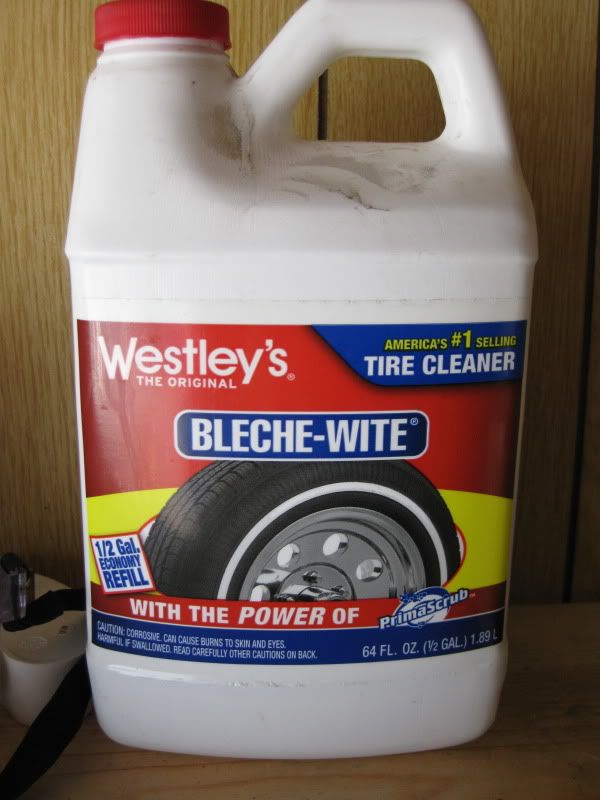
Bleche-Wite Tire Cleaner
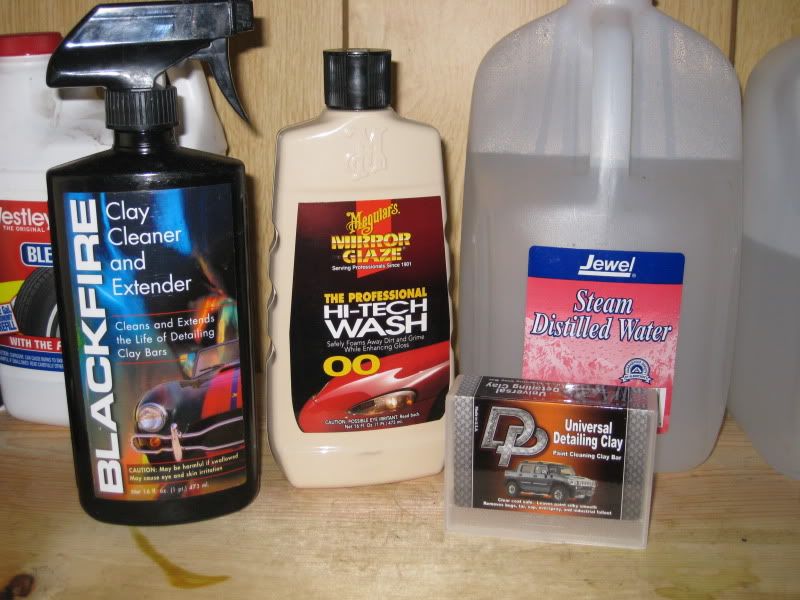


Clay:

32 oz distilled water with 1/2 oz of Meguiar's #00 Hi-Tech Wash

DP Detailing Clay

Blackfire Claybar Extender


DSC_6767.jpg


IMG_0337.jpg


IMG_0335.jpg


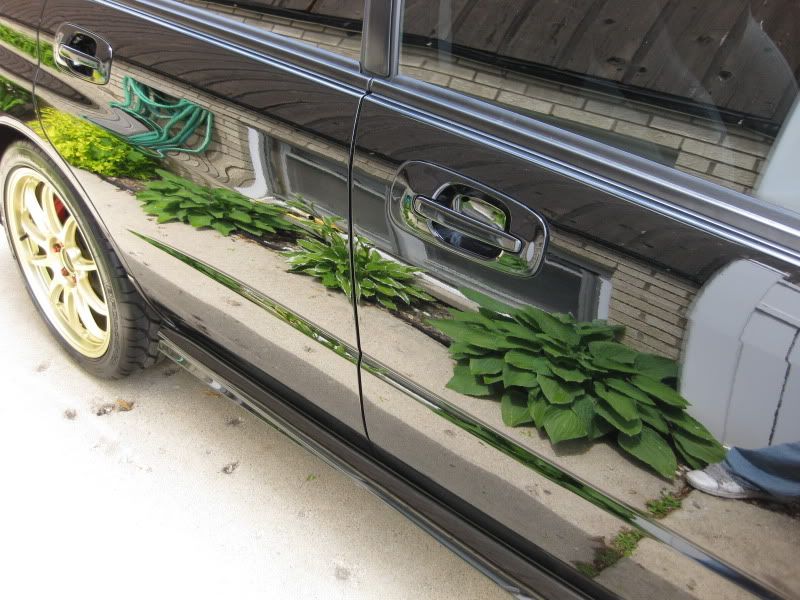
Unfortunately, there were no pictures taken at this point since I was the only one taking pictures and didn't want to wet the camera too much. Rest assured, after the wash and clay the paint/wheels were clear of any surface contaminants.
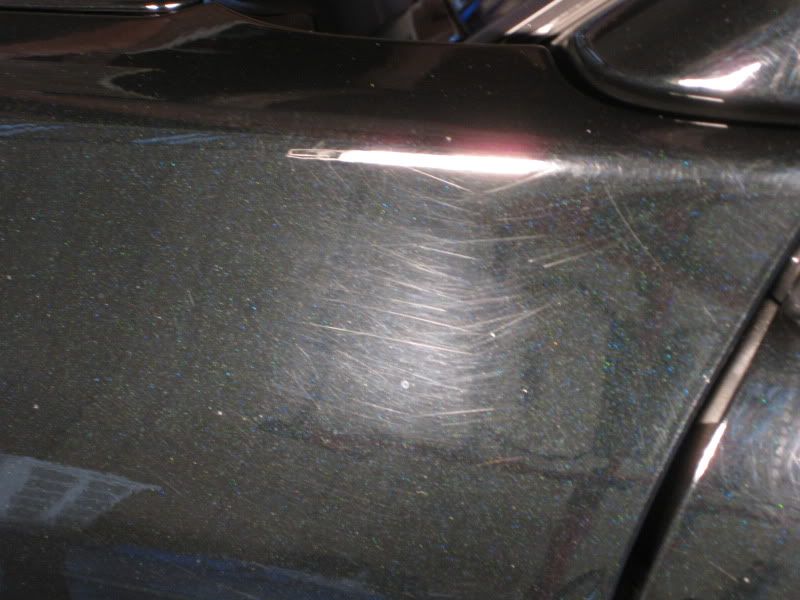
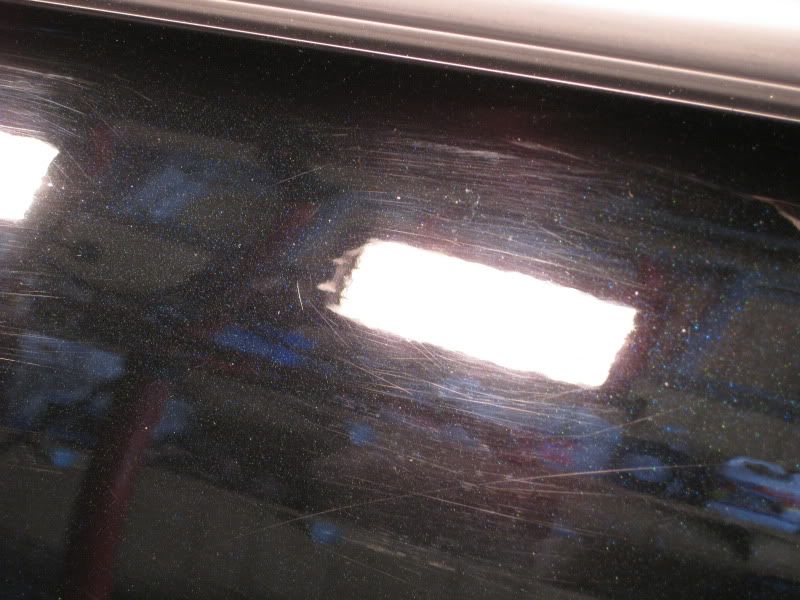
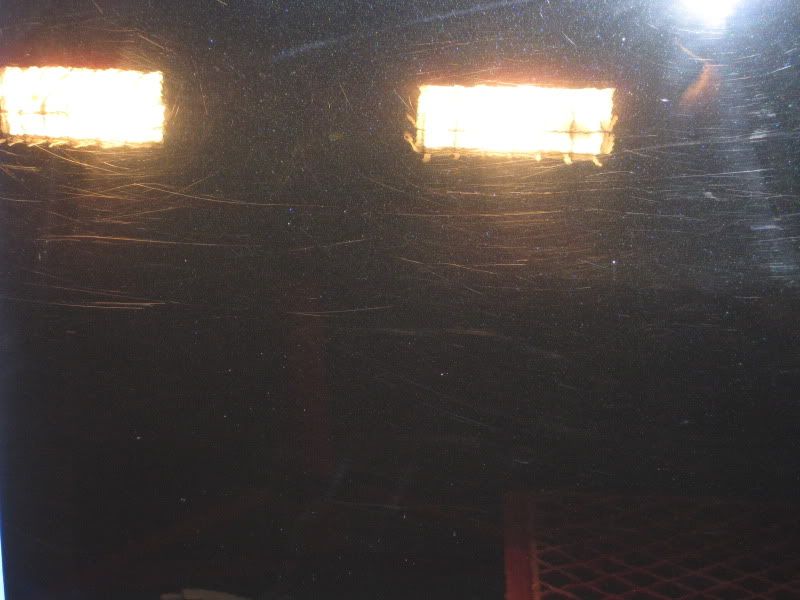
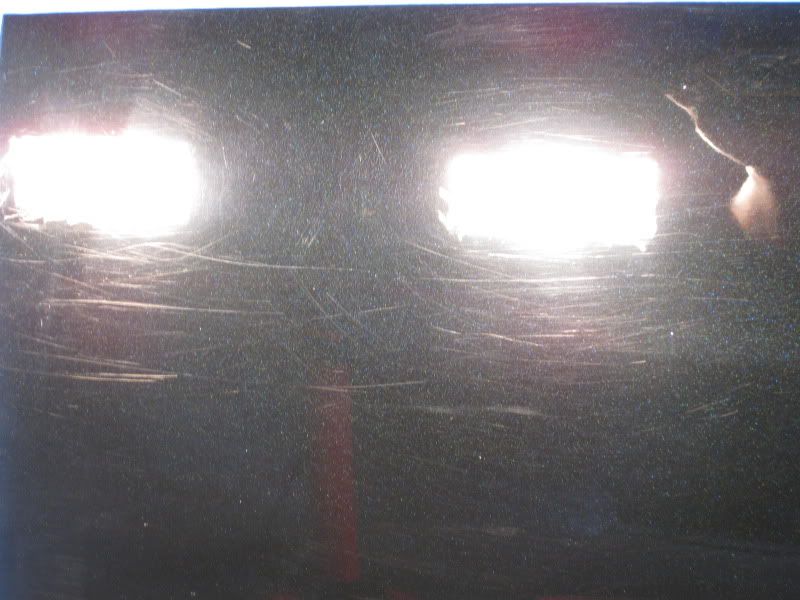
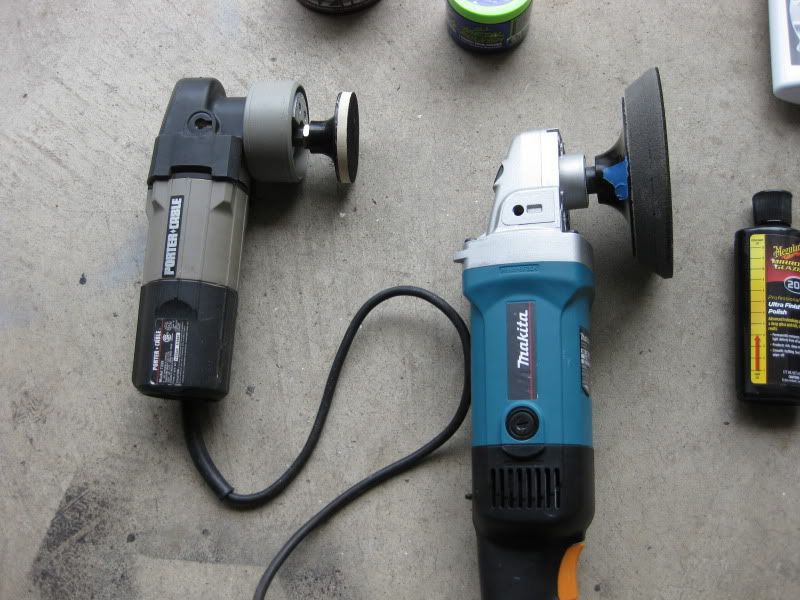
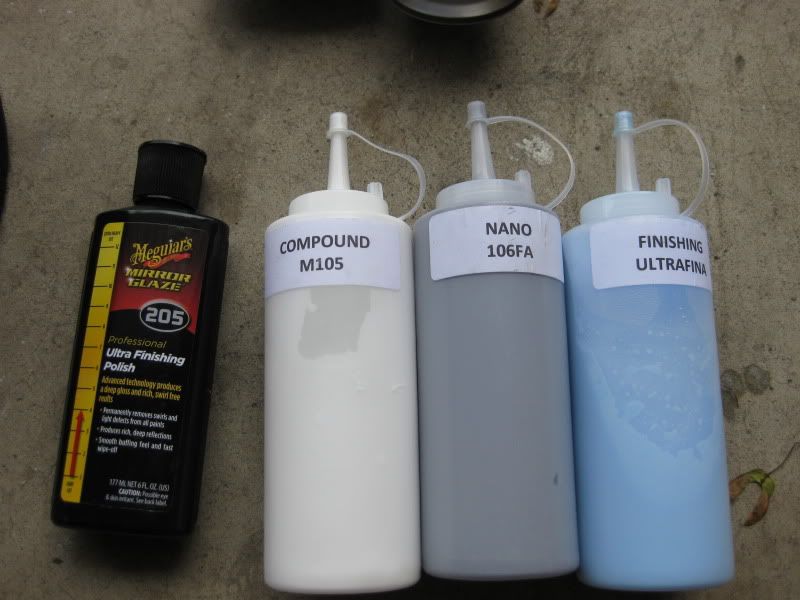
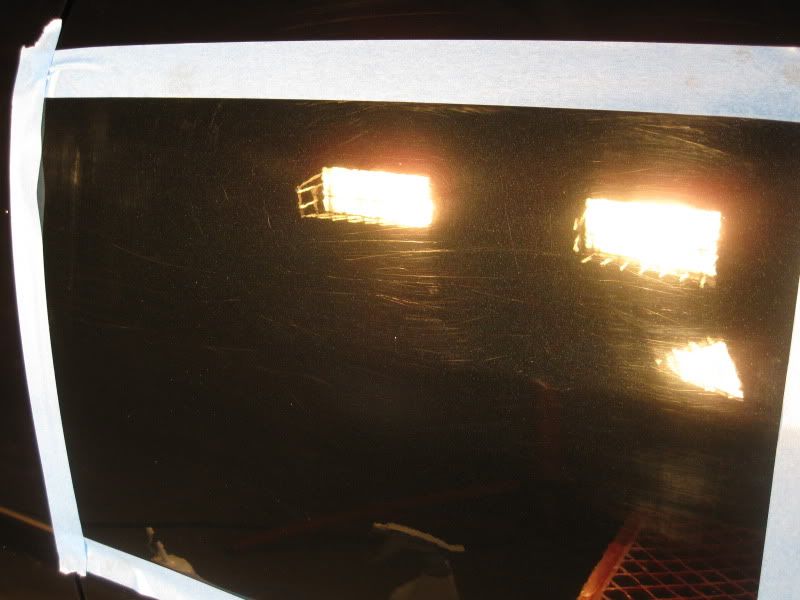
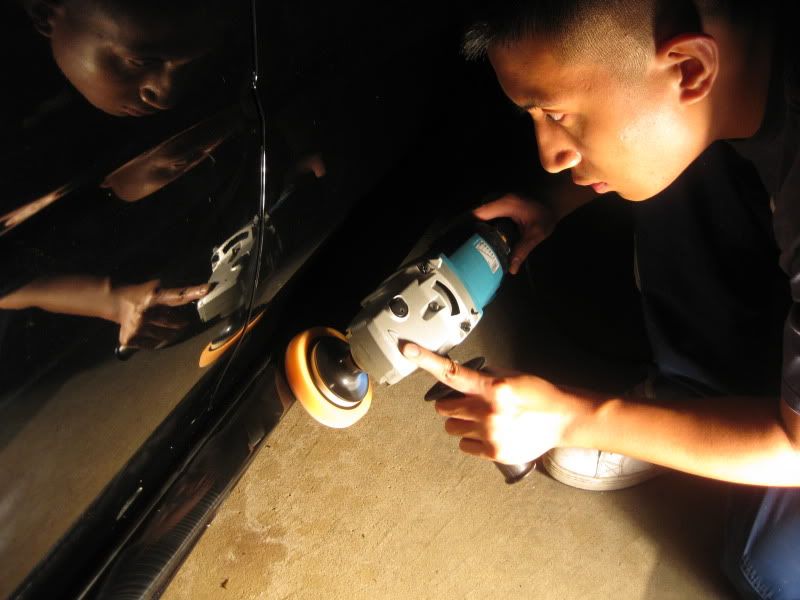
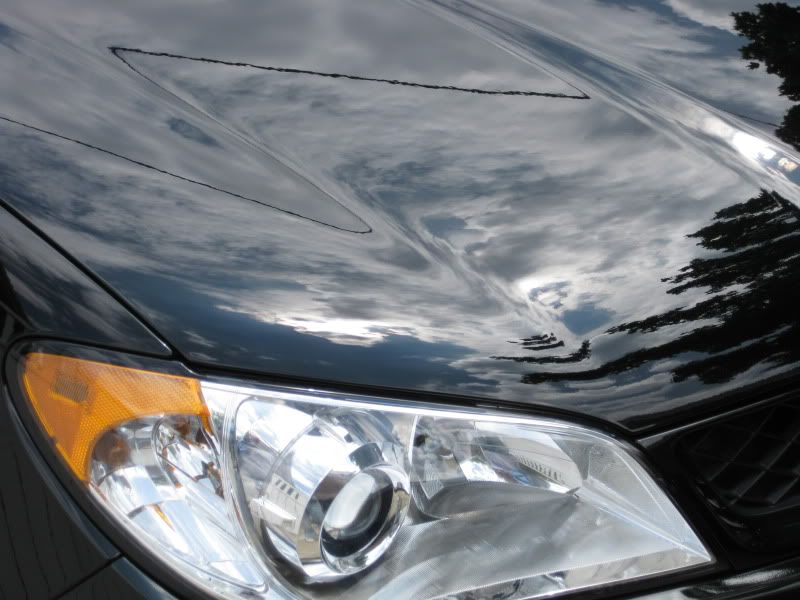
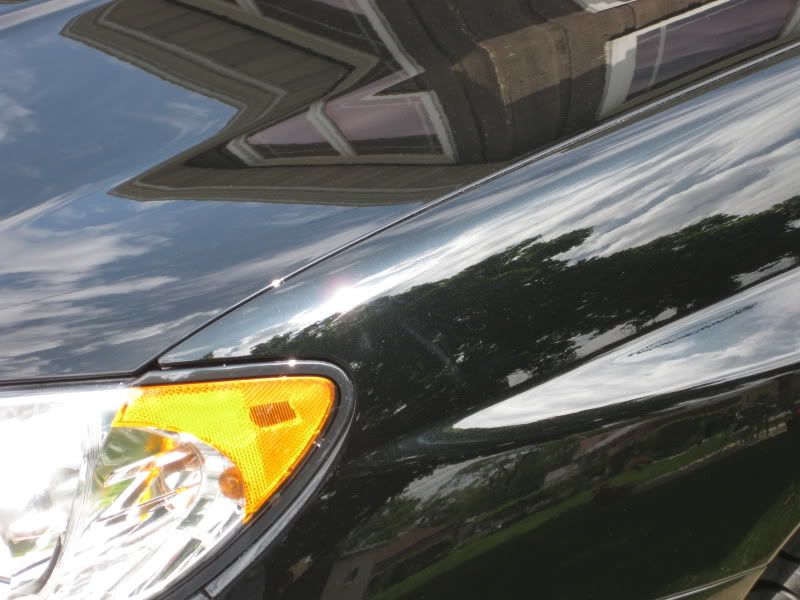
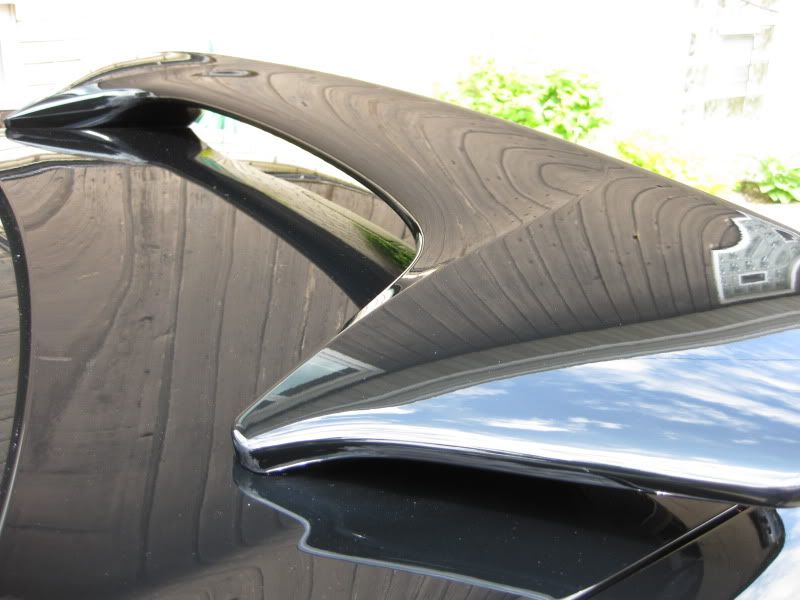


Step 2: Correction

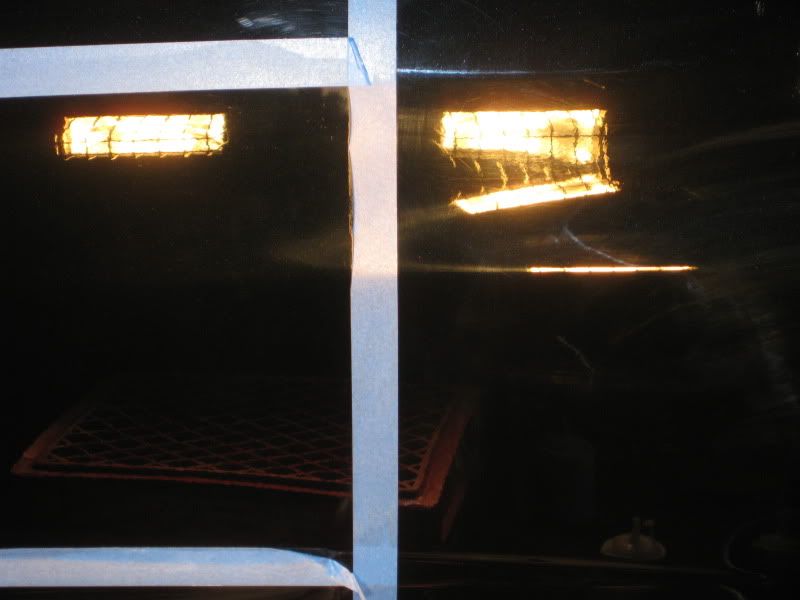
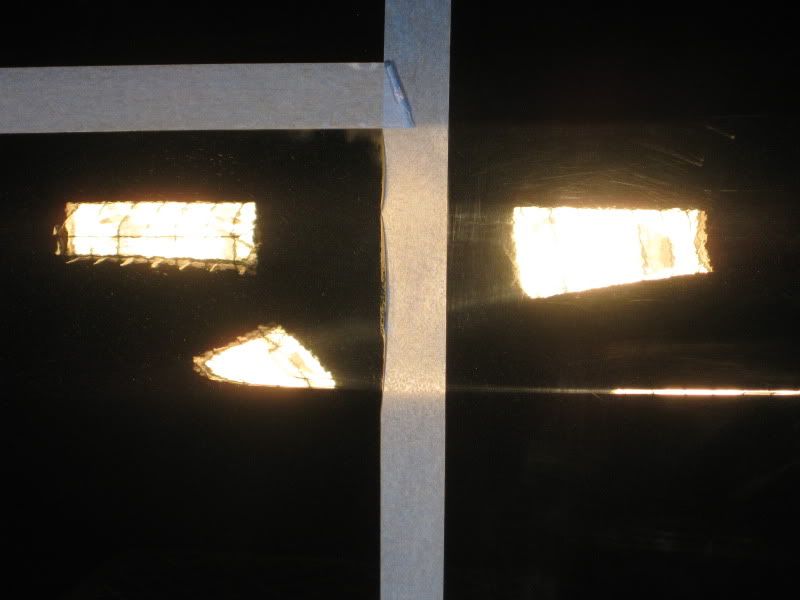
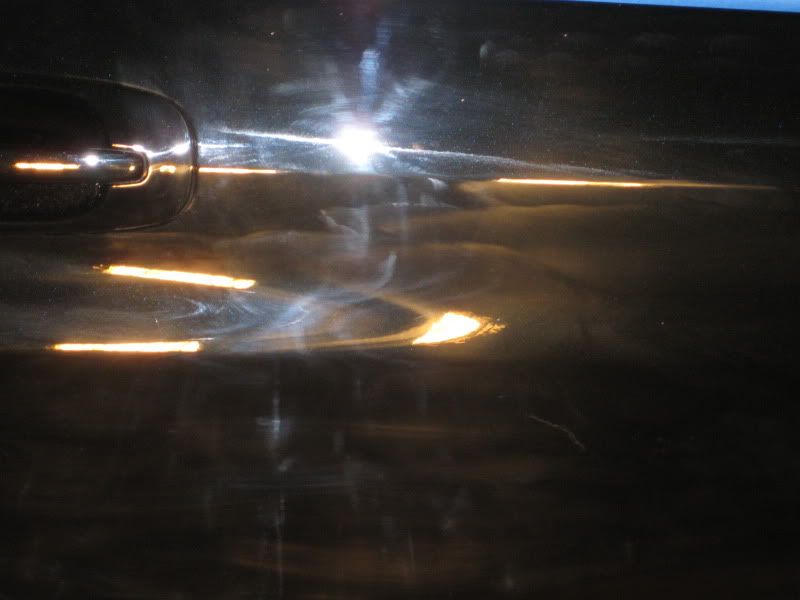
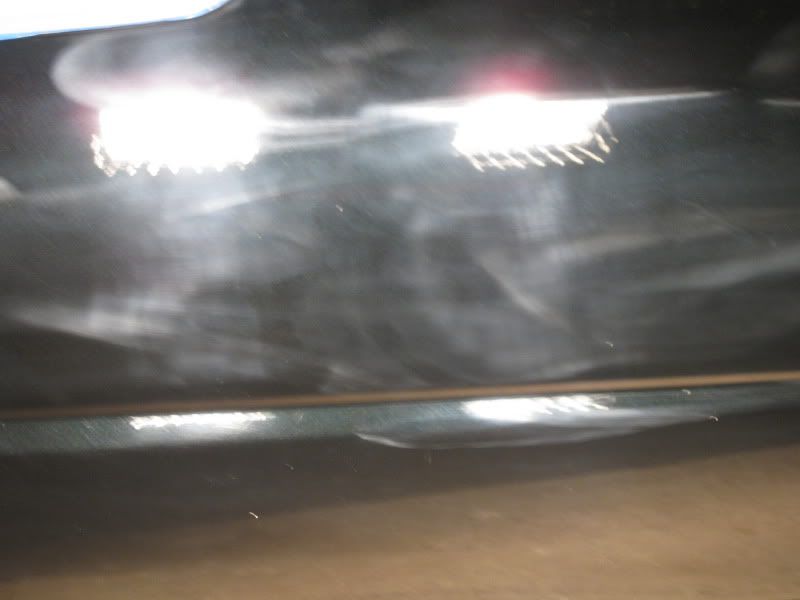
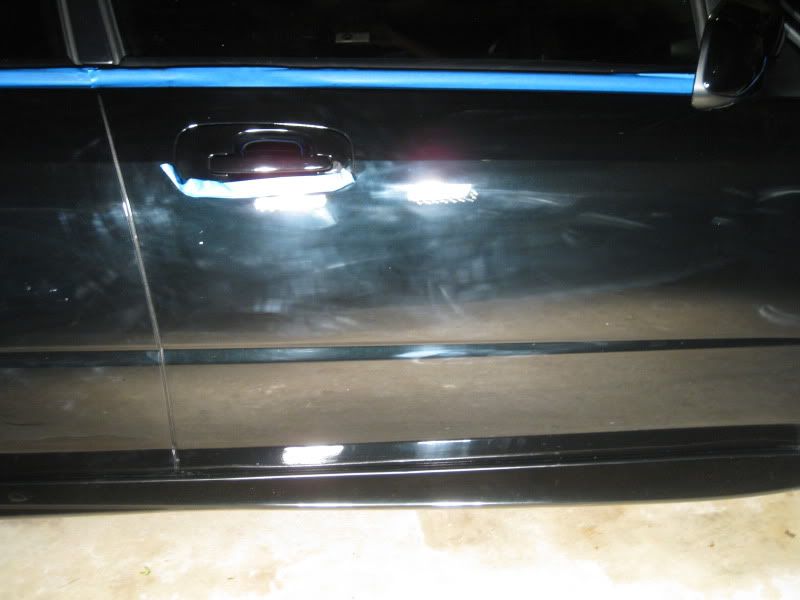
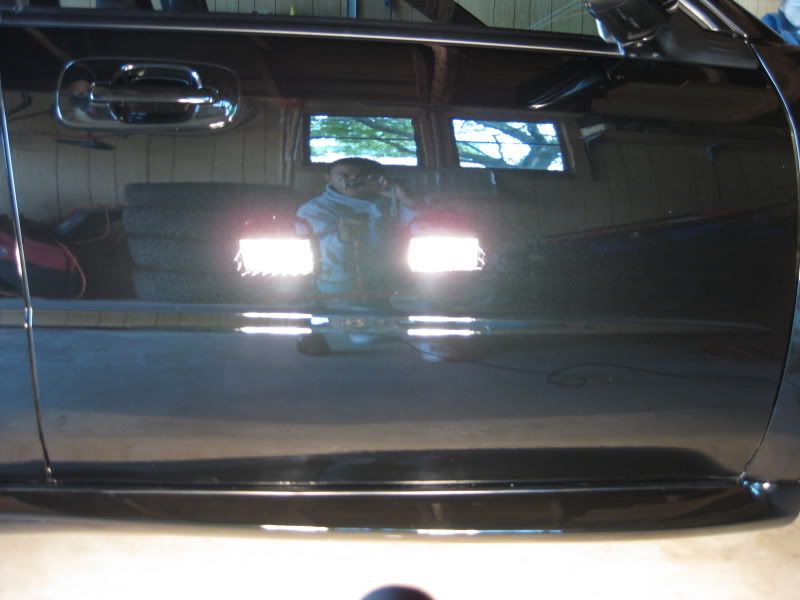
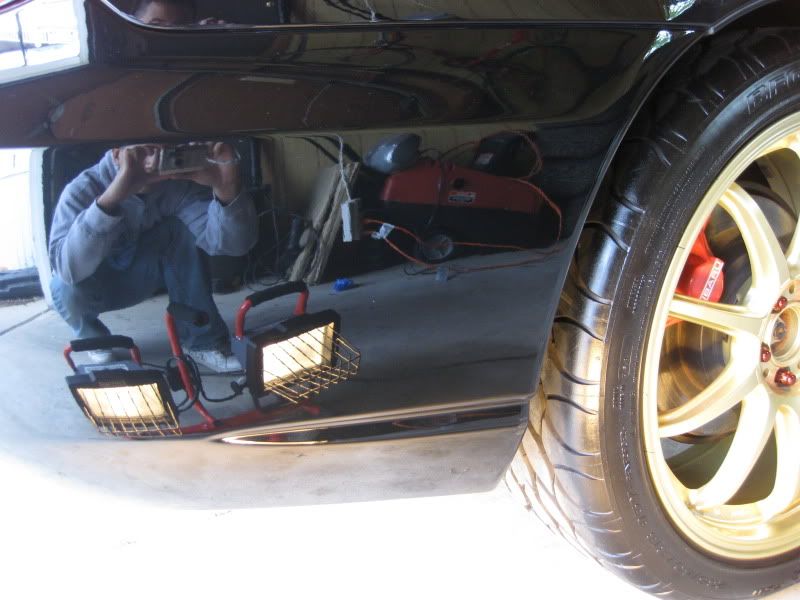
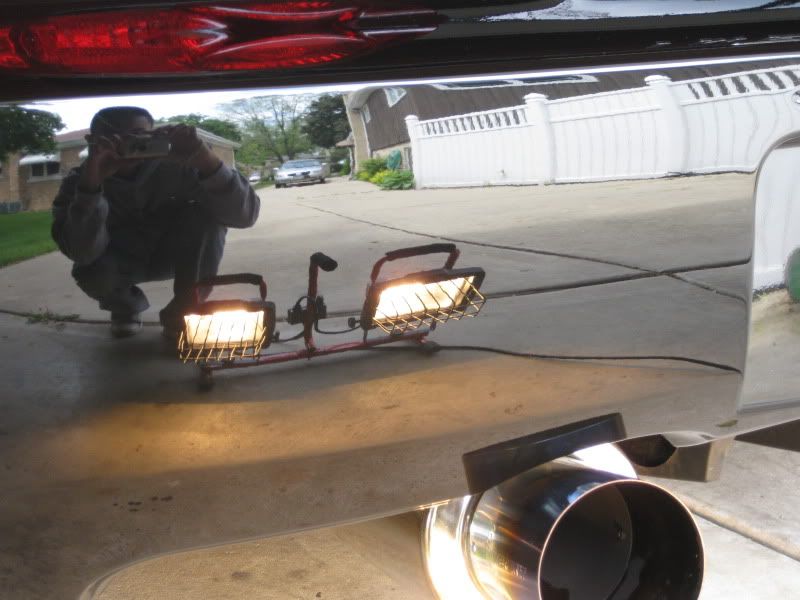
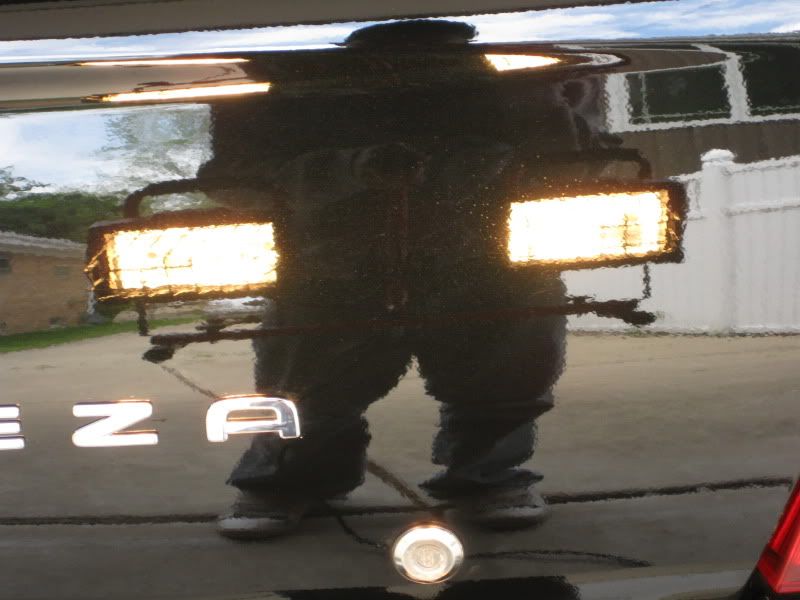
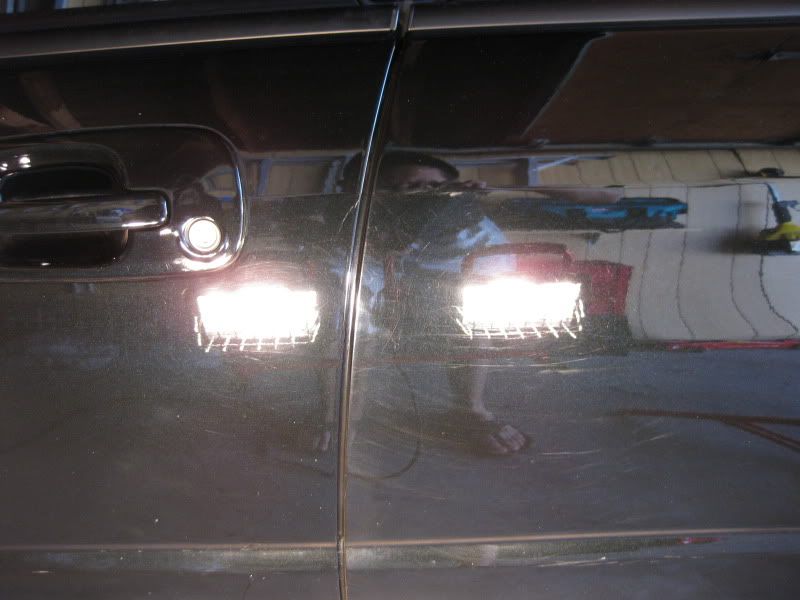
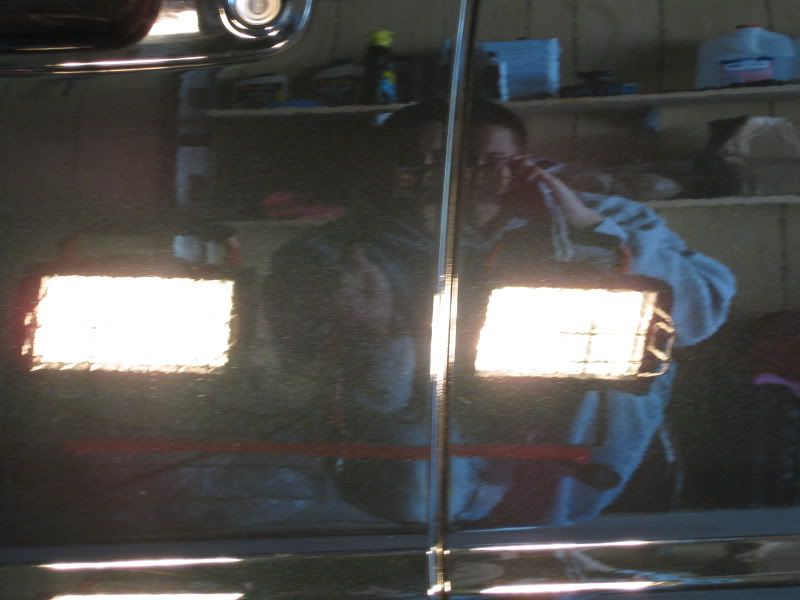
Those that know me personally know that I'm VERY anal about keeping my car clean, and while the car may have looked decent to someone else after the wash/clay, 30 seconds under the halogens revealed a completely different car.


IMG_0162.jpg


IMG_0165.jpg


IMG_0216.jpg


IMG_0218.jpg
 
Here's a quick pic of my work area:

IMG_0214.jpg


The tools of the trade:


IMG_0331.jpg


IMG_0330.jpg


As you can see from the pictures, I definitely had my work set out for me. The car had its share of RIDS, swirl marks, and holograms that inhibited the paint's gloss at its full potential. Before taking the buffer to the entire car, its important to first utilize a test spot and figure out the least aggressive process that will remove all the defects without sacrificing any more clear coat than needed. In this case, I chose a ~18x18" area on my rear driver's side door.


IMG_0217.jpg


IMG_0219.jpg


FYI...Subaru's paint is soft. STUPID soft. As in the type of paint that will scratch if you look at it wrong. This meant that great care needed to be taken when wiping off the excess polish residue in order to avoid inducing a new scratch onto the paint. However, the good thing about it was that the paint was able to get corrected with relatively mild abrasives.


The process that worked for me went as follows:


Rotary Application (Major parts of the body):


Meguiar's M105 Ultra-cut Compound on 6.5" Lake Country White Pad

Menzerna 106FA Nano Polish on 6.5" Lake Country Blue Pad

3M Ultra-fine Finishing Polish (Ultrafina) on 6.5" Lake Country Blue Pad


DA Application (Front bumper, Rear deck, Spoiler, and Trunk)


Meguiar's M105 Ultra-Cut Compound on 4" Lake Country White Pad

Meguiar's M205 Finishing Polish on 4" Lake Country Black Pad


Here's the test spot after M105 and 106FA (Ultrafina was used at the very end of the detail to remove any holograms left behind by the rotary and further enhance the gloss of the paint)


IMG_0226.jpg


IMG_0225.jpg


After developing the system to be used around the entire car, I proceeded to compound the entire car. This removed the deepest scratches on the paint, and the non-diminishing abrasives found in M105 made the process very efficient (roughly 1-1.5 hrs, 8-10 seconds each pass @ 1500 RPM). However, since the compound is a very aggressive polish, it left behind marks of its own that needed to be removed with a milder polish (similar to sanding). What amazes me is that there are a few people out there that are able to work M105 and leave the paint's finish nearly ready to apply wax. As you'll see in the next couple pictures, I'm not quite there yet :lol:.


After compounding:

Notice that although there are a large amount of swirls/holograms present, they are very mild and uniform relative to the scratches that they removed. This made it much easier to follow up with a milder polish to further level the paint.


IMG_0234.jpg


IMG_0236.jpg


IMG_0237.jpg


The sideskirts were particularly scratched up, and decided to do a quick application of M105 on a LC 4" orange pad followed by 106FA on a LC 4" white pad.


IMG_0240.jpg


Once the entire car was compounded (I was even more motivated to reach full correction since the car looked terrible at this point), I proceeded to do my second time around the car with 106FA on the blue pad. This process took significantly longer, since the polish used diminishing abrasives that needed to be fully broken down to reach it's maximum potential without leaving any marks behind. Each application took about 2 minutes per 18x18" section, starting at 900 RPM to spread, 1200 RPM to work in the polish, then slowly decreasing the RPMs down to 600 RPM to refine the finish.


After finishing this process, I went around the car a third time with 3M Ultra-fine finishing polish to remove any minor traces of holograms and further enhance the gloss of the car. In fact, the finishing process took longer than the other two processes, since the polish stayed wet for a long time and allowed me to really work the polish to produce a mirror-like finish.


Here's the result:


IMG_0267.jpg


IMG_0269.jpg


IMG_0271.jpg


IMG_0272.jpg


IMG_0277.jpg


IMG_0279.jpg


IMG_0280.jpg


IMG_0282.jpg


IMG_0283.jpg
 
I found this to be a pretty cool shot. Compared the reflection of the glass to the reflection of the car.


IMG_0285.jpg


IMG_0286.jpg


IMG_0287.jpg


IMG_0291.jpg


IMG_0292.jpg


IMG_0293.jpg


Under the halogens:

IMG_0297.jpg


IMG_0299.jpg


---------------------------------------------------------------------

IMG_0301.jpg


IMG_0320.jpg


IMG_0323.jpg


Gotta love orange peel :banana:

IMG_0322.jpg


Remember this?


IMG_0175.jpg


IMG_0304.jpg


IMG_0307.jpg


The wheels and brakes were not forgotten:

IMG_0314.jpg


IMG_0315.jpg


Plast-X was also applied to the tail lights to remove any swirls present:

IMG_0318.jpg


---------------------------------------------------------------------

Final reflections:

IMG_0325.jpg


IMG_0340.jpg


DSC_6955.jpg


DSC_6959.jpg


DSC_6968.jpg


DSC_6973-1.jpg


All that's left is one more cleanup before I can finally rest.

IMG_0336.jpg


Thanks for reading ;)
 
jking said:
Looks nice. I bet that car is a beast?

pampos said:
TOP JOB mate......

OCDinPDX said:
Very, very nice!!

the walrus said:
Great job and sweet ride!

SonicBlue05GT said:
looks good, but what is OBP??

evolutionwc3 said:
Nice turnaround- that car looks great!

bufferbarry said:
looks awesome that thing was hammered!


Thank you for the kind comments guys! :)


UFgatorEE said:
I saw you post on NASIOC, and I'm glad I ran into it again here. Looks real good.


Thanks! And thank you for the support!


757motoring said:
Wow good detail. How do you feel the bleach wite tire cleaner to work on tires compaired to apc/degreasser's?


I LOVE Bleche Wite tire cleaner. I've used my Meguiar's APC 4:1 on the tires in the past until I came across this product. Nothing so far in my experience has been able to get out as much grime from the tires as this cleaner :2thumbs:.
 
Nice Job!


What 4" backing plate do you use on the makita?


I see you are running BFGoodrich KDW/2's .. How you liking them? I have these on my truck but find them a bit slippery in some conditions and noisy.
 
Back
Top