LawrenceSA
New member
Man oh man what a nice car :drool: :drool: :
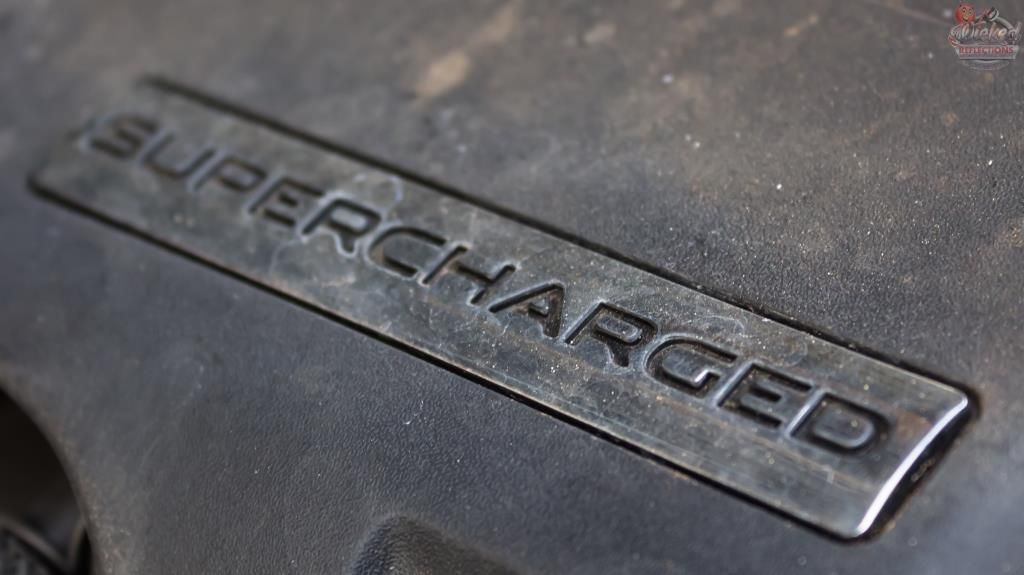
Jag had, for some reason, not even been on my radar (not that I could afford one anyway :lol: ) up until the point the owner bought it around for an inspection.... not only is it one gorgeous car in the metal, but the 5l supercharged V8 sounds epic, be it on start-up, or when the owner left my place in... um.... a little bit of a hurry...
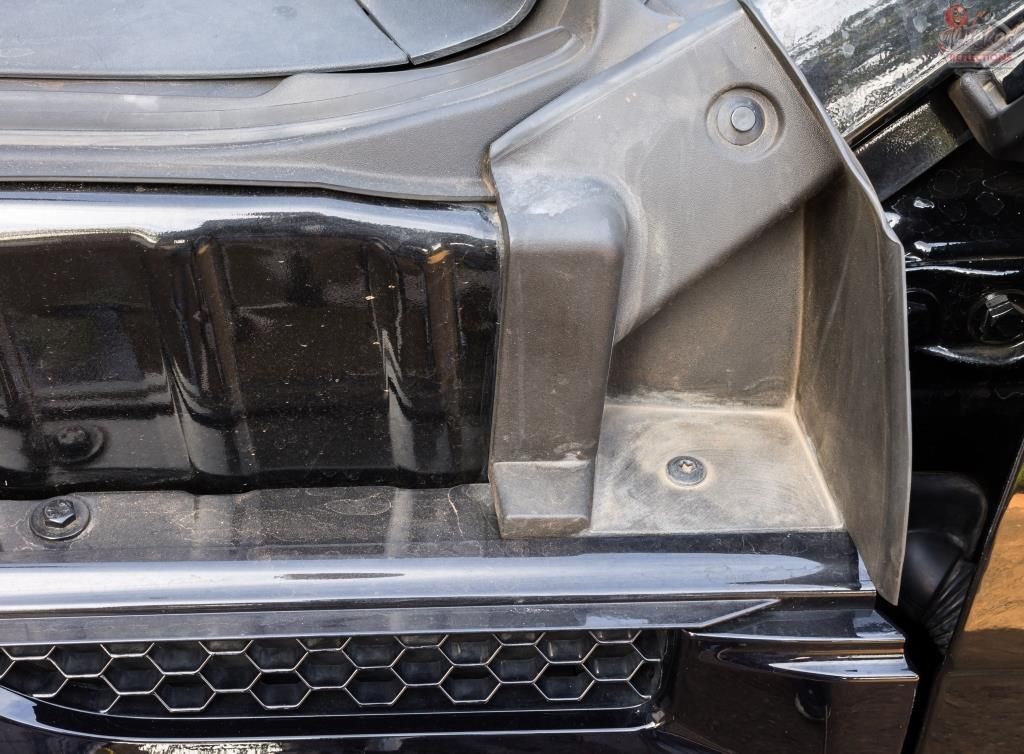
Unfortunately it did need a fair bit of love to get its appearance up to scratch. So, as always I started with the engine bay.
Guess it doesn`t get cleaned in here much :lol:
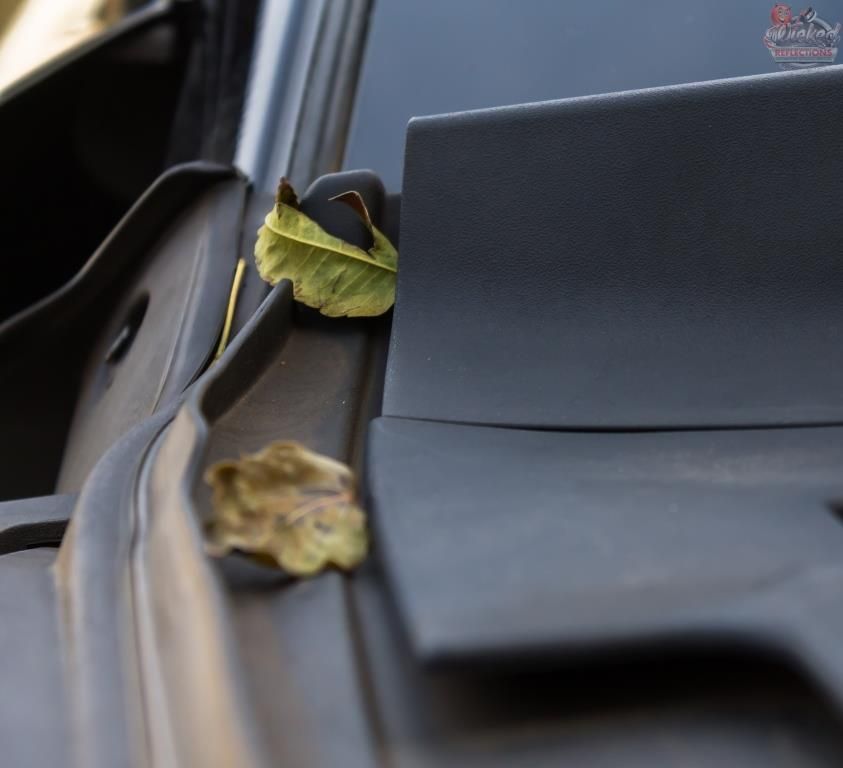
All the leaves and other debris was removed by hand, then the entire area was blown out using an electric blower.
The underside of the bonnet was wiped clean with Carchem APC and MF towels, then polished and protected using Autofinesse Tripple, by hand.
Inside the bay itself was cleaned using Carchem APC, Shield Heavy Duty Rubber Cleaner, ONR, various MF Towels and brushes, Q-tips and an electric blower.
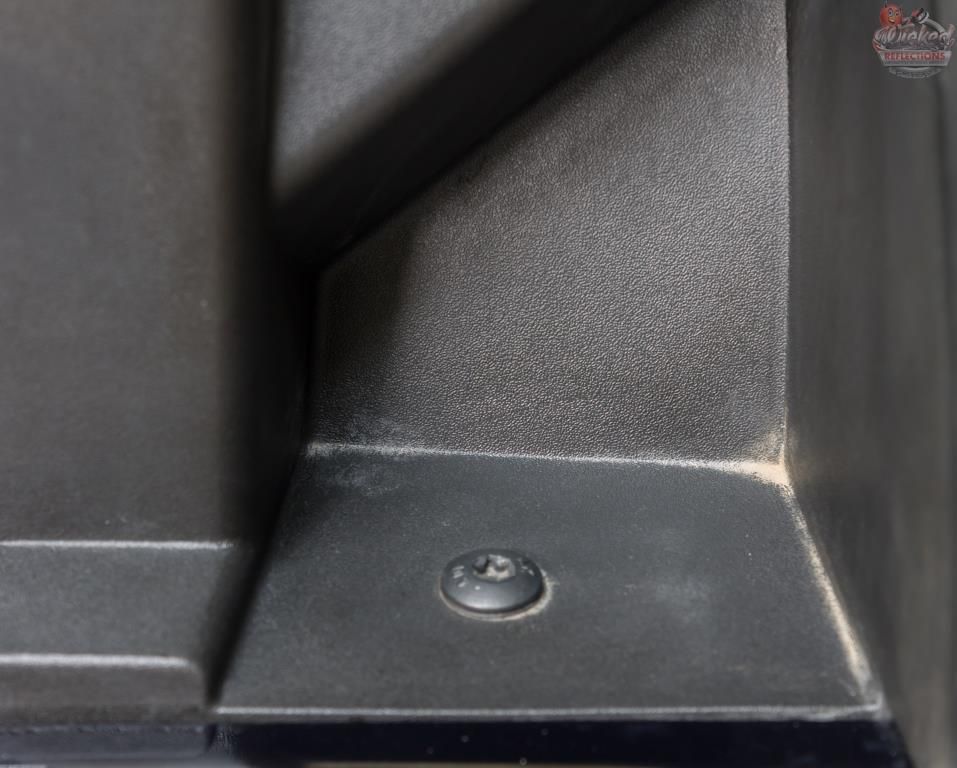
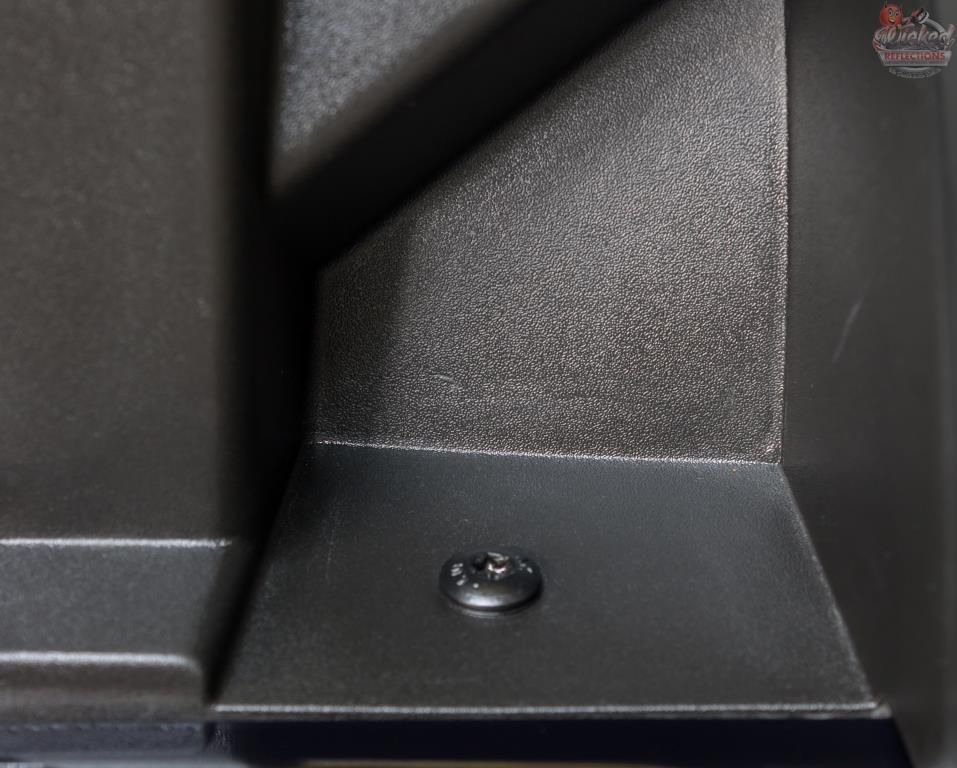
The painted sections were polished by hand using Autofinesse Tripple and a MF applicator.
The plastics were dressed with Carpro Perl @1:1
And..... I then forgot to get any pictures of the completed bay :fear: :banned:
The fender liners, tires, wheels and brake calipers were tackled next.
These received my `normal` approach:
Fender wells : Carchem Citrus APC @ 1:5 though a foaming spray nozzle | Daytona (large & small) | Autofinesse Hogs Hair Brushes | MF wash mitt | Autofinesse Dressel
Tyres : Carchem Citrus APC @ 1:5 though a foaming spray nozzle | Mothers tyre brush | Carpro Perl x 2 coats, neat
Wheels : Valet Pro Billberry @ 1:5 | Valet Pro Citrus Tar and Glue Remover | Carchem Revolt | Wheel Woolies | Autofinesse Hogs Hair Brushes | MF wash mitt | Gyeon Wetcoat on the barrels and calipers | Menzerna Powerlock on the spokes and faces
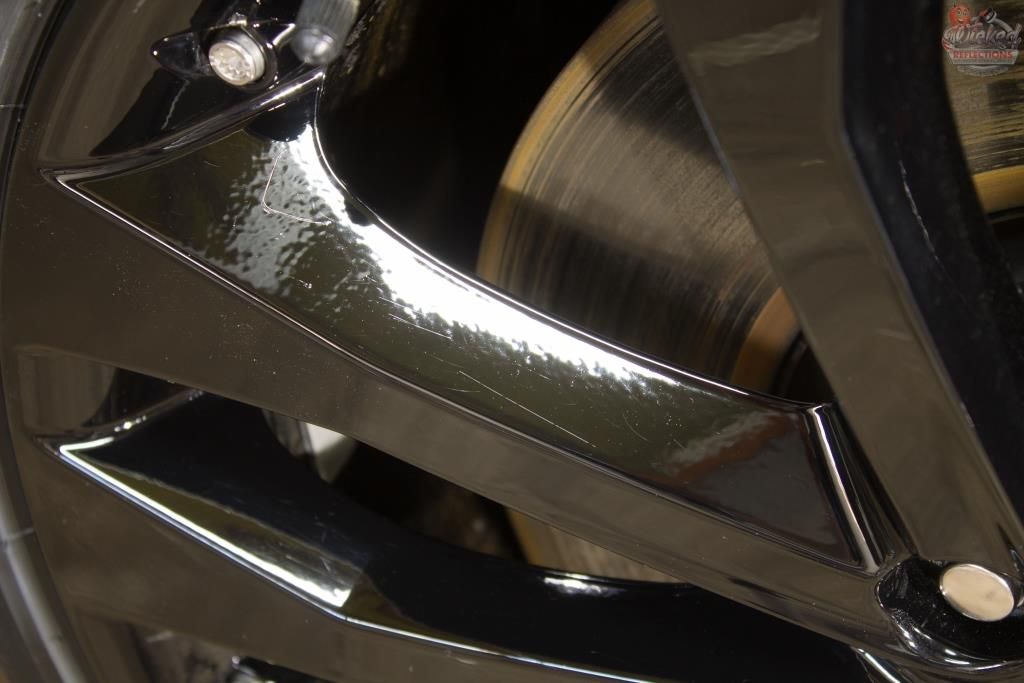
But as you can see, once decontaminated they were looking rather dull, so I polished them using a Mothers Powercone and Menzerna SF4000, wiped them down with Menzerna Top Inspection, and then sealed them with Menzerna Powerlock. Far from perfect (that wasn`t in the scope of the detail) but at least somewhat `shiny` now...
Before
After
So here is what the rest of the car looked like.
It was somewhat dirty.
And the paint had quite a few swirls and deep scratches

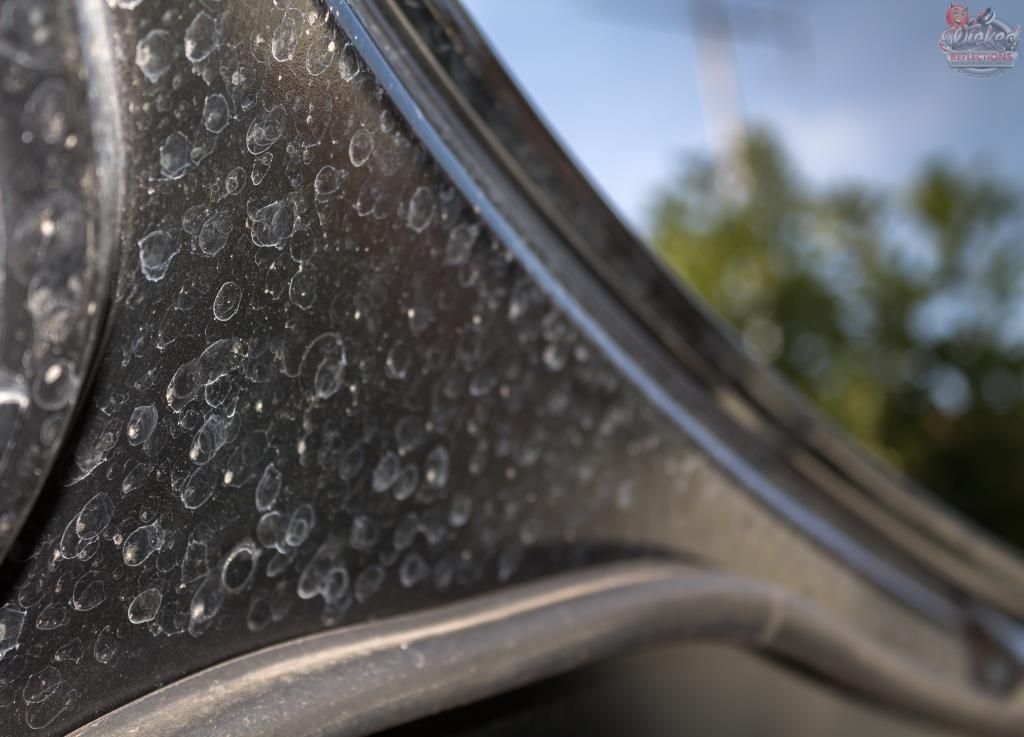
The car was also on the receiving end of some tree sap/pollen/whoknows which is prevalent at the owner`s property
Then the car was given a thorough wash, again following my preferred approach of removing as much dirt as possible prior to making contact with the paint.
Pressure Rinse : Karcher K7
Foam : Valet Pro Advanced Neutral Snow Foam @ 1:6 | MTM Hydro
TFR :Valet Pro Citrus Pre-wash | Pump Sprayer
2BM wash :Carchem Luxury Shampoo | Grit guards | Lambswool Wash Mitts
Dry : ONR | WW Drying Towels
Iron removal: Carchem Revolt
Tar Removal :Valet Pro Citrus Tar and Glue Remover
Remaining Contaminants :Shield Heavy Duty Clay | ONR
Paint readings were taken and were mostly around 120µ to 130µ range, give or take 10µ, and after trying out a few different combinations I eventually settled on Flex 3401 | Menzerna PF2300 | White Lake Country Hybrid followed by Menzerna SF4000 | Black Lake Country Hybrid to remove the hazing from the first step.
The number plate holders were then removed, the double sided tape removed (plastic razor blades), the glue residue removed (Valet Pro Citrus Tar and Glue Remover) and the area corrected.

Now onto the paint correction itself.
I set up this sequence of pics to try and show the sort of difference each step of the process made to the paint.
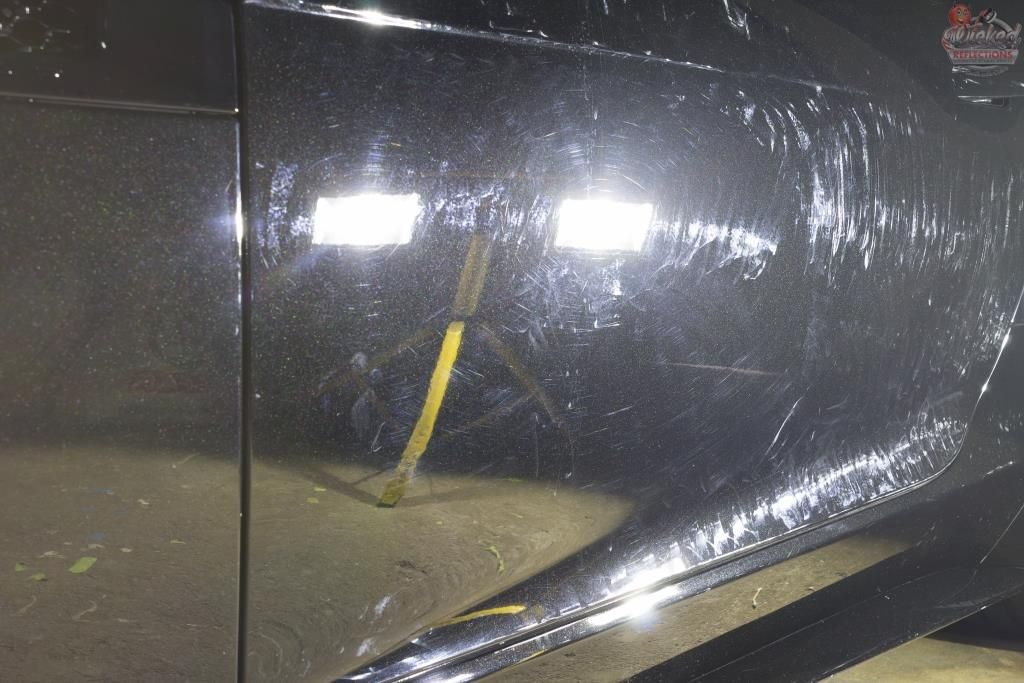
What I started with...
As you can see there is some significant marring from the claying process - these are shallow scratches from the clay itself, and although quite obvious in this case (soft black paint with aggressive clay), marring will happen more often than not, even if you can`t see it, and that is why it is always recommended to polish after claying - the marring mostly runs vertically in this pic, whereas the swirls (scratches from rubbing dirt over the paint during washing or drying) mostly run horizontally (and to some degree appear to run around` the reflection of the light).
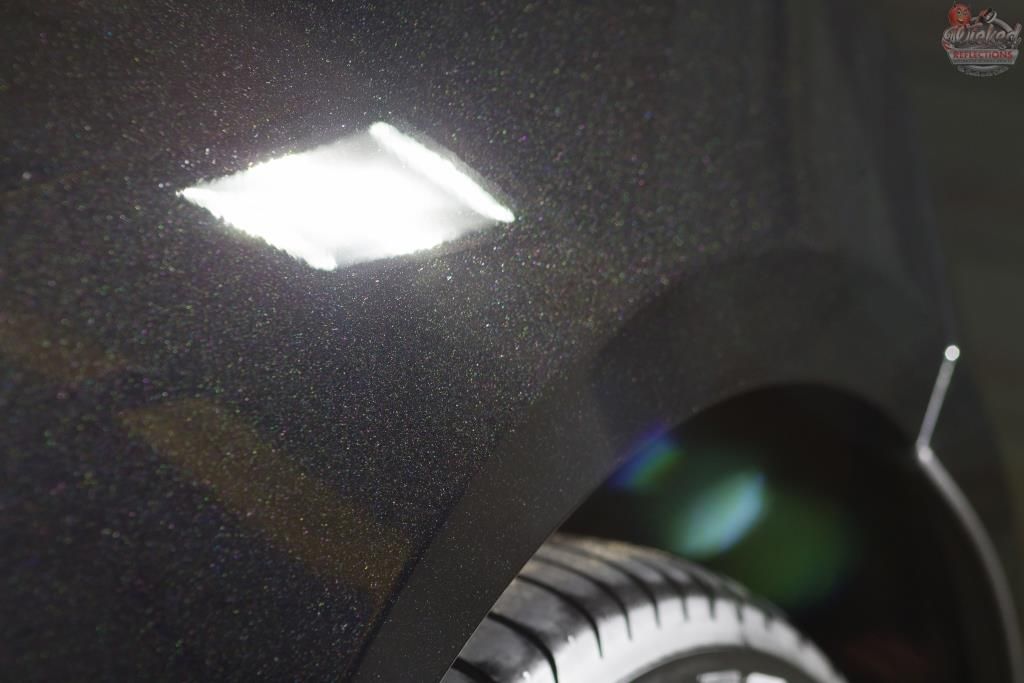
This is now after the initial correction step, with what is effectively a `medium-cut` polish (but which behaves more like a compound because the paint is soft), and so is able to remove almost all of the defects.
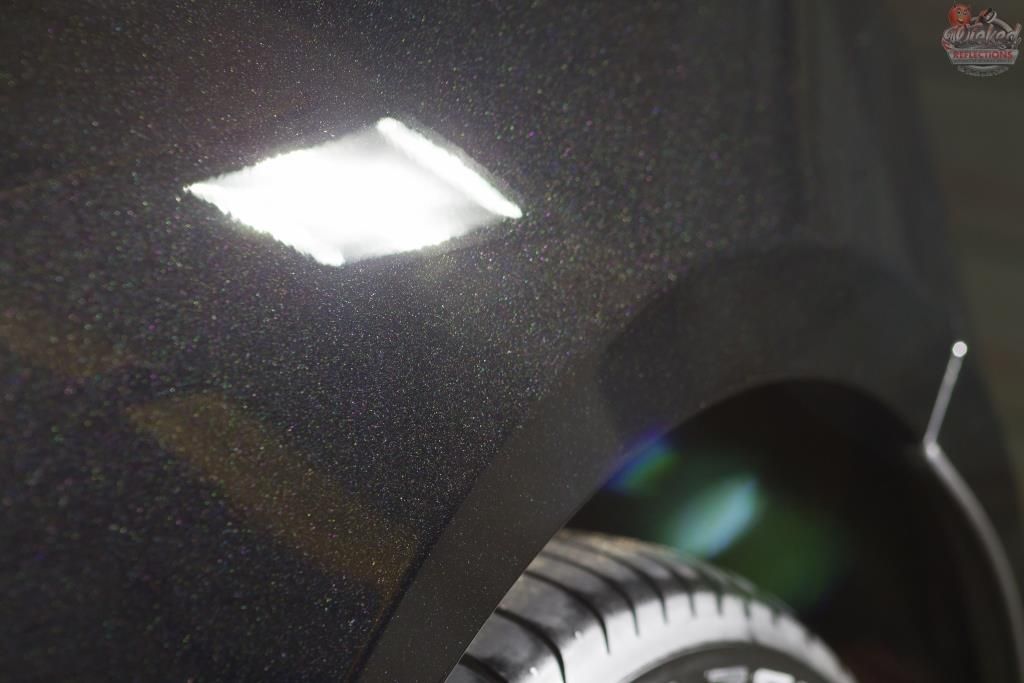
But there is definitely still some improvement to be had. The initial paint correction step has left behind some of its own `scratches`, visible mostly as a `haze` in the paint around the light. By then re-polishing the car using a less aggressive combination of pad/polish, these fine scratch marks can be removed, restoring clarity to the paint. (ignore the little `specks` around the light - its a little bit of lint :bang: )
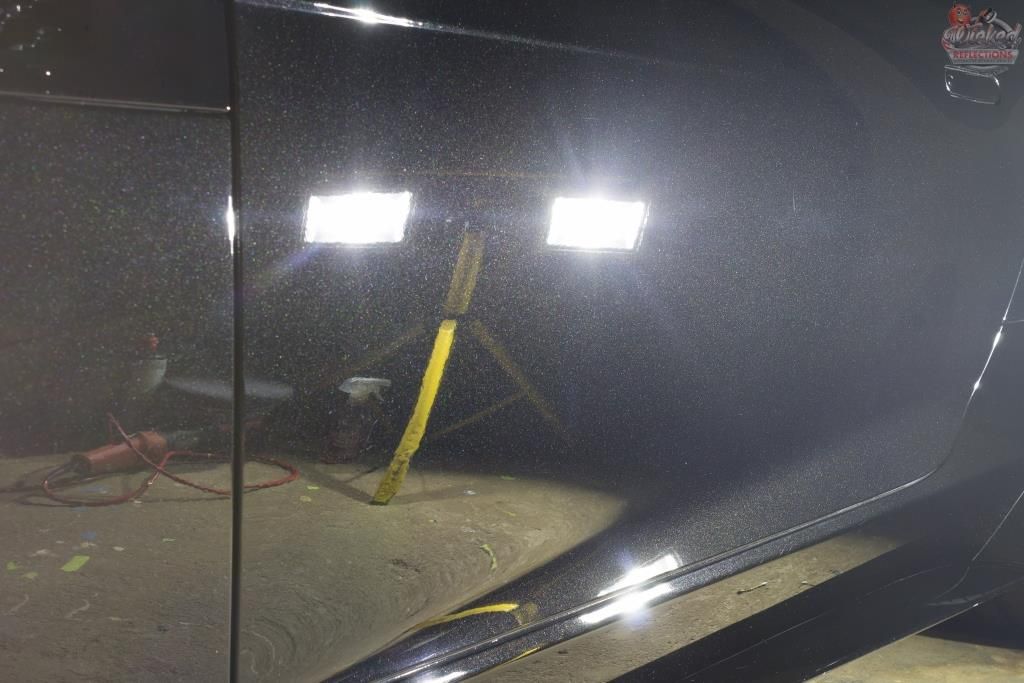
I then decided to see what further improvements could be gained by applying a nice `show car wax` and so hit it with Collinite 915. Honestly, it was really hard to see any further change in the paint - perhaps on less refined paint the difference may have been more noticeable?)
Another before / after
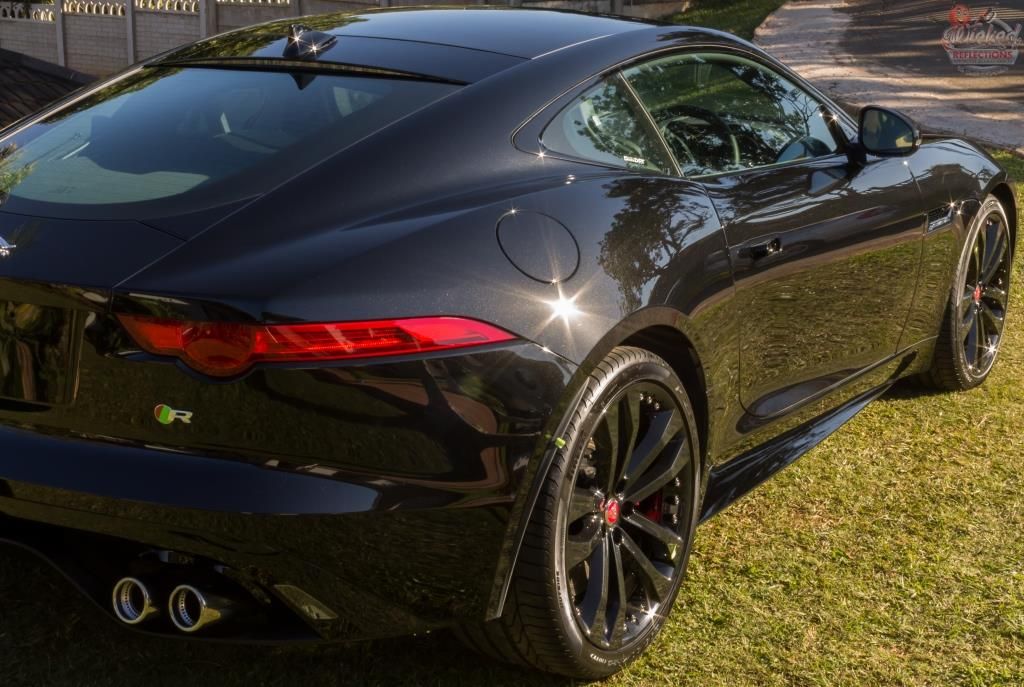
Here is how it looked out in the sun
The rest of the details were then tackled.
Exterior plastics
Clean - Shield Heavy Duty Vinyl and Rubber Cleaner
Protecant - Optimum Optiseal.
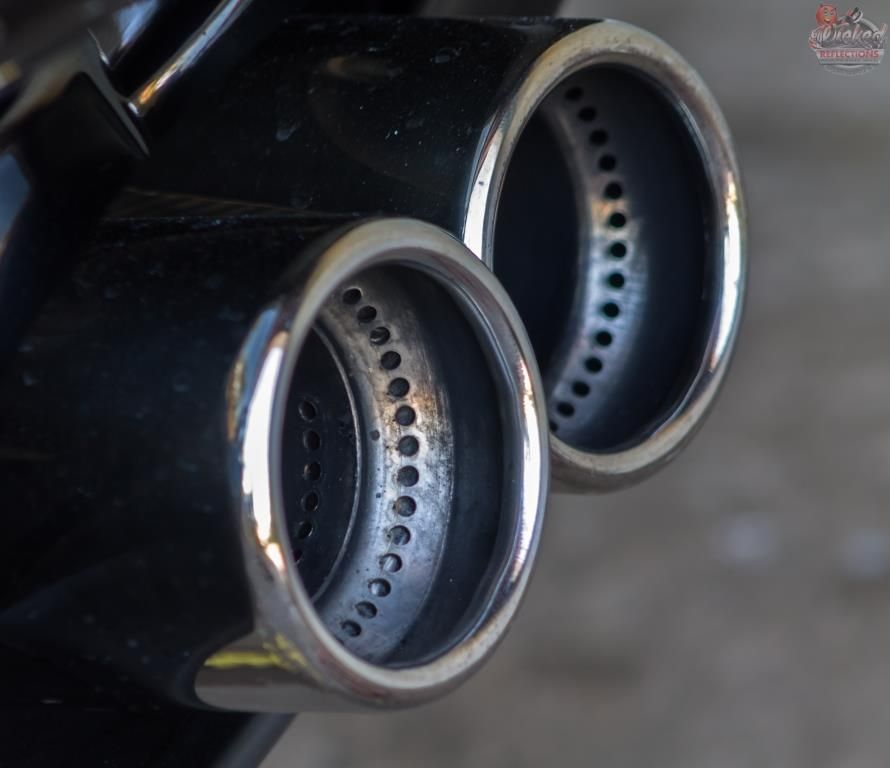
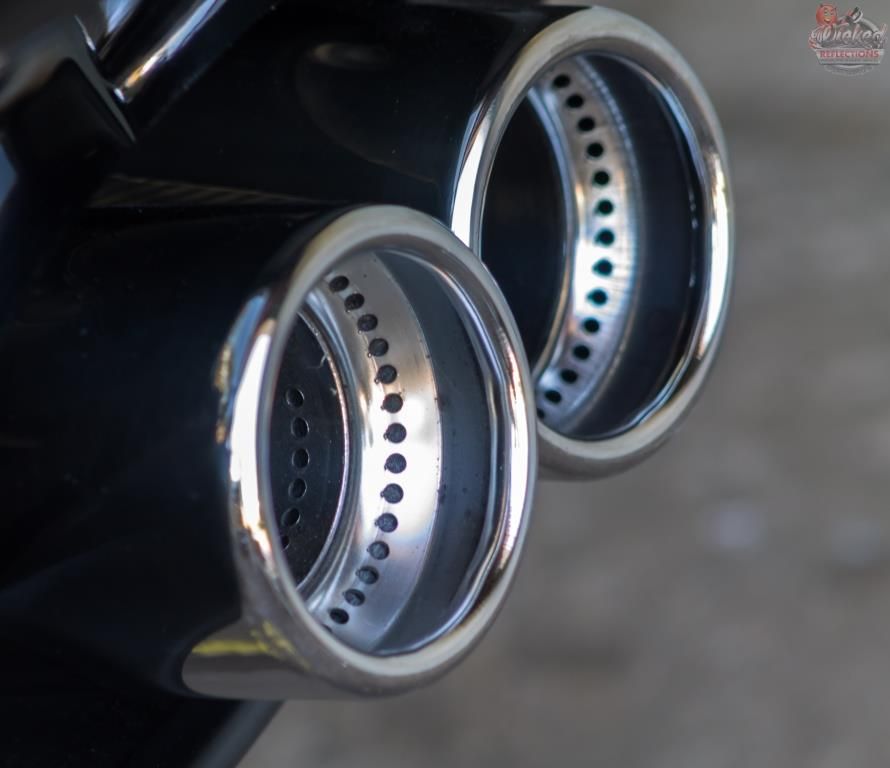
Exhaust tips
Clean - Carchem Citrus APC @1:5
Polish - Meguiars NXT All Metal Polish
Door and window rubbers
Clean - Shield Heavy Duty Vinyl and rubber cleaner
Protect - Aerospace 303
Glass
Clean - Autoglym Fast Glass, multiple MF towels
Badges & Emblems
Clean/polish/protect - Autofinesse Tripple, Q-tips, MF towels
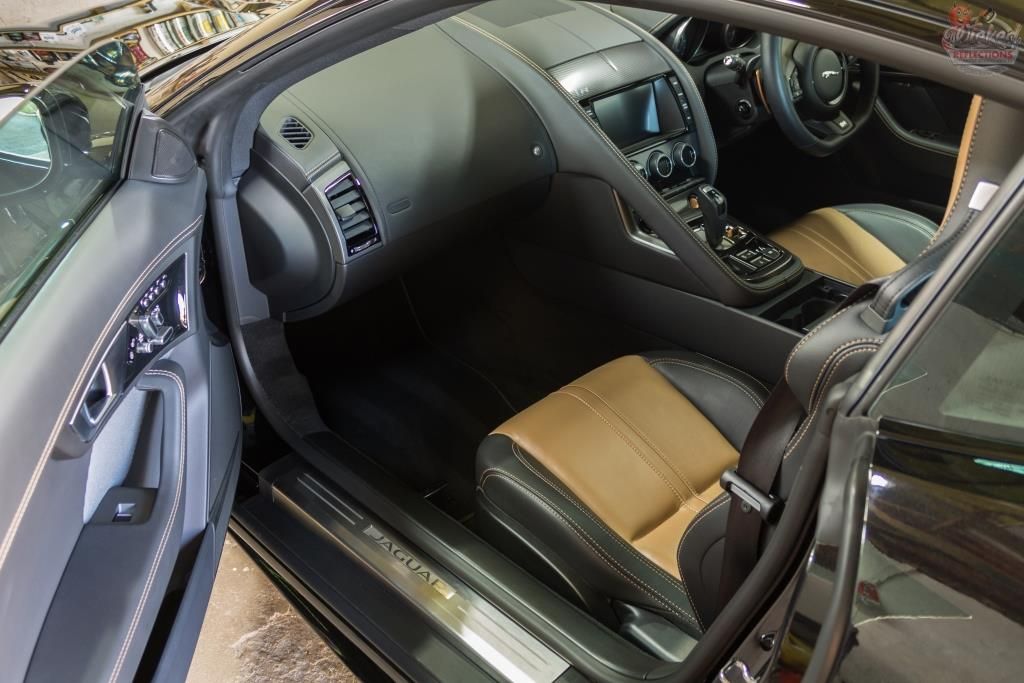
Interior
Vacuum - Flex VL35C
Interior Plastics - Carchem APC @ 1:20, various brushes | Optimum Optiseal
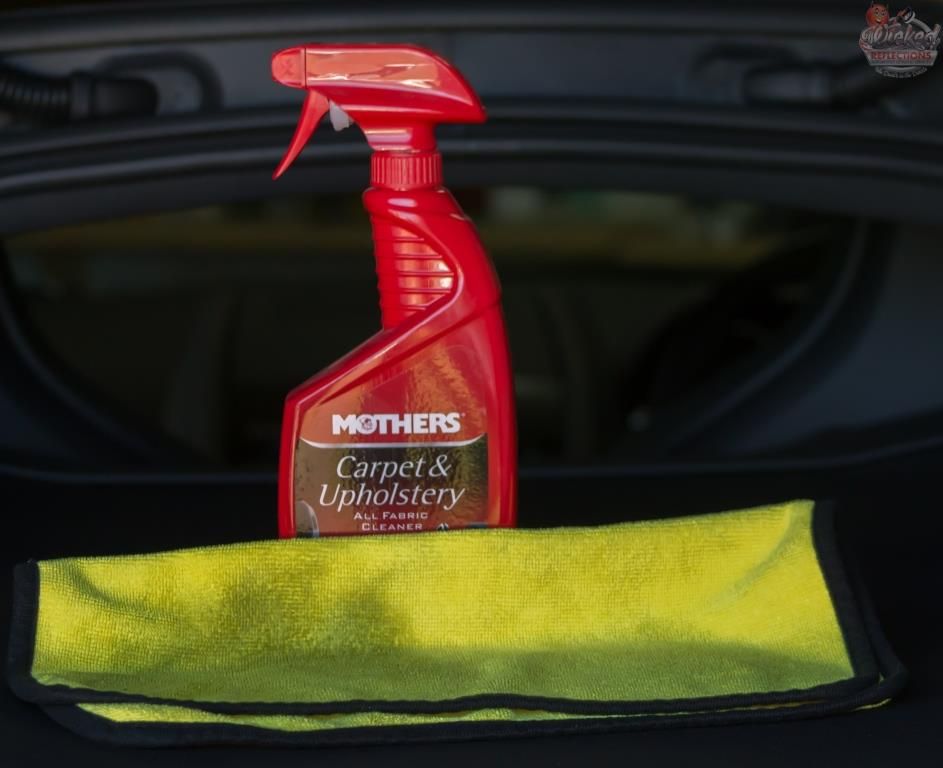
Interior Carpets - Mothers Carpet Brush | Flex VC35 Vacuum | Mothers Carpet and Upholstery Brush | Mothers Carpet and Upholstery Cleaner
Pedals - Carchem APC @ 1:20, various brushes
The paint was then protected using Collinite 915
Jag had, for some reason, not even been on my radar
(not that I could afford one anyway :lol: ) up until the point the owner bought it around for an inspection.... not only is it one gorgeous car in the metal, but the 5l supercharged V8 sounds epic, be it on start-up, or when the owner left my place in... um.... a little bit of a hurry...Unfortunately it did need a fair bit of love to get its appearance up to scratch. So, as always I started with the engine bay.
Guess it doesn`t get cleaned in here much :lol:
All the leaves and other debris was removed by hand, then the entire area was blown out using an electric blower.
The underside of the bonnet was wiped clean with Carchem APC and MF towels, then polished and protected using Autofinesse Tripple, by hand.
Inside the bay itself was cleaned using Carchem APC, Shield Heavy Duty Rubber Cleaner, ONR, various MF Towels and brushes, Q-tips and an electric blower.
The painted sections were polished by hand using Autofinesse Tripple and a MF applicator.
The plastics were dressed with Carpro Perl @1:1
And..... I then forgot to get any pictures of the completed bay :fear: :banned:
The fender liners, tires, wheels and brake calipers were tackled next.
These received my `normal` approach:
Fender wells : Carchem Citrus APC @ 1:5 though a foaming spray nozzle | Daytona (large & small) | Autofinesse Hogs Hair Brushes | MF wash mitt | Autofinesse Dressel
Tyres : Carchem Citrus APC @ 1:5 though a foaming spray nozzle | Mothers tyre brush | Carpro Perl x 2 coats, neat
Wheels : Valet Pro Billberry @ 1:5 | Valet Pro Citrus Tar and Glue Remover | Carchem Revolt | Wheel Woolies | Autofinesse Hogs Hair Brushes | MF wash mitt | Gyeon Wetcoat on the barrels and calipers | Menzerna Powerlock on the spokes and faces
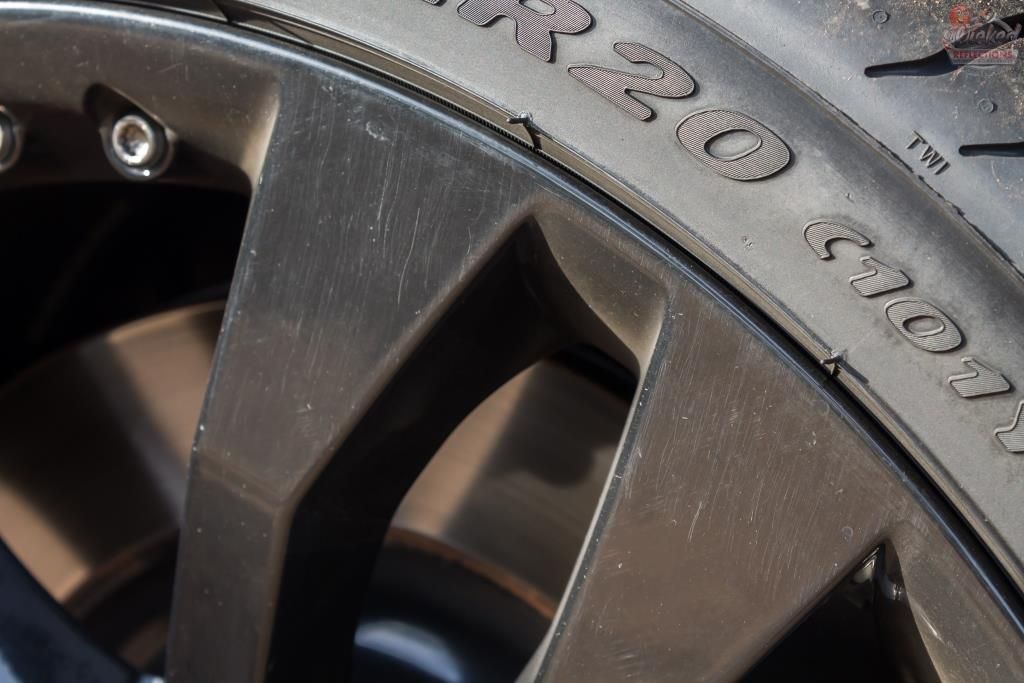
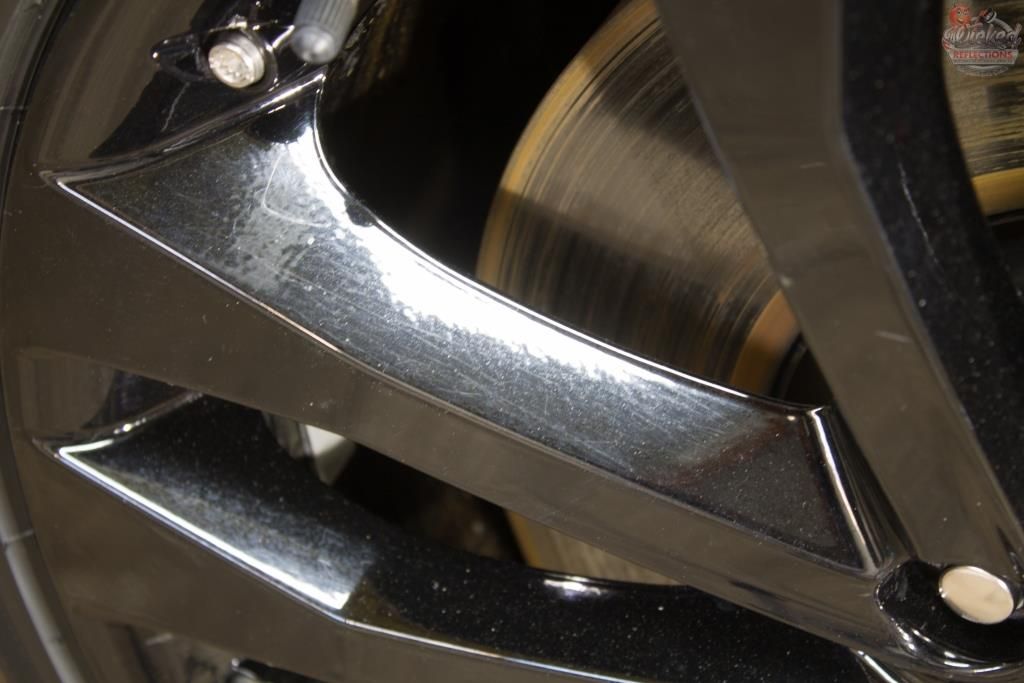
But as you can see, once decontaminated they were looking rather dull, so I polished them using a Mothers Powercone and Menzerna SF4000, wiped them down with Menzerna Top Inspection, and then sealed them with Menzerna Powerlock. Far from perfect (that wasn`t in the scope of the detail) but at least somewhat `shiny` now...
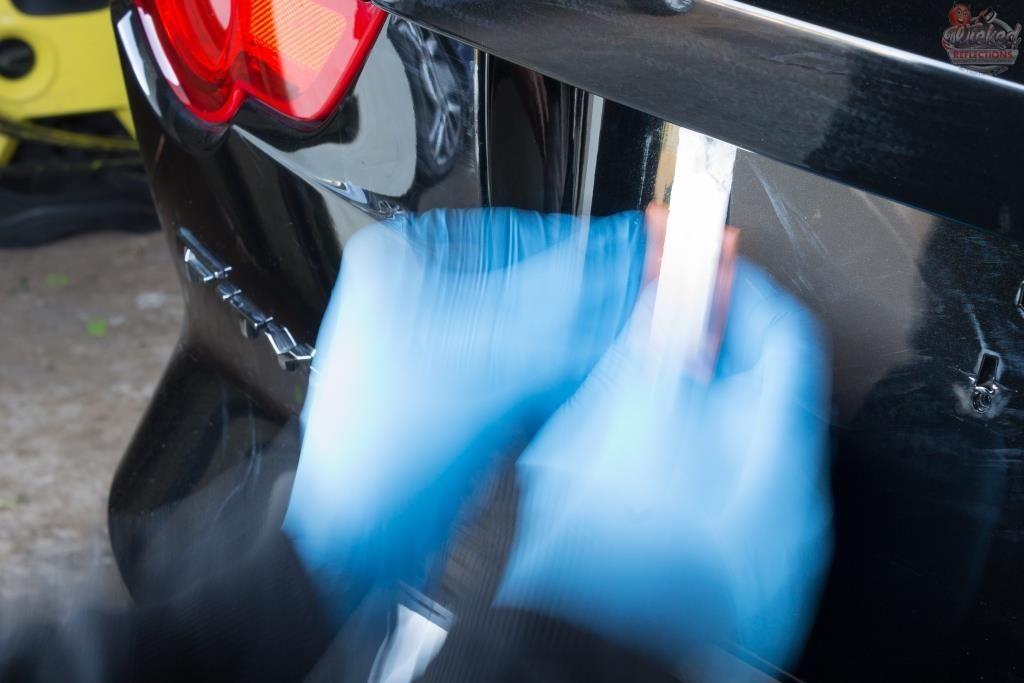
Before
After
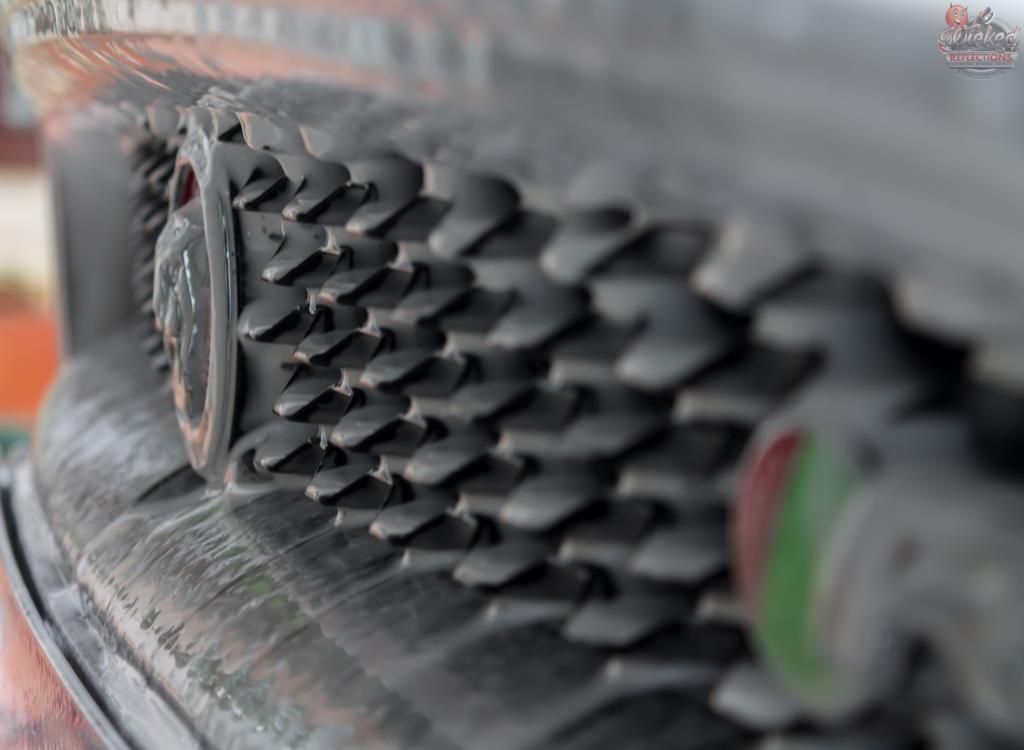
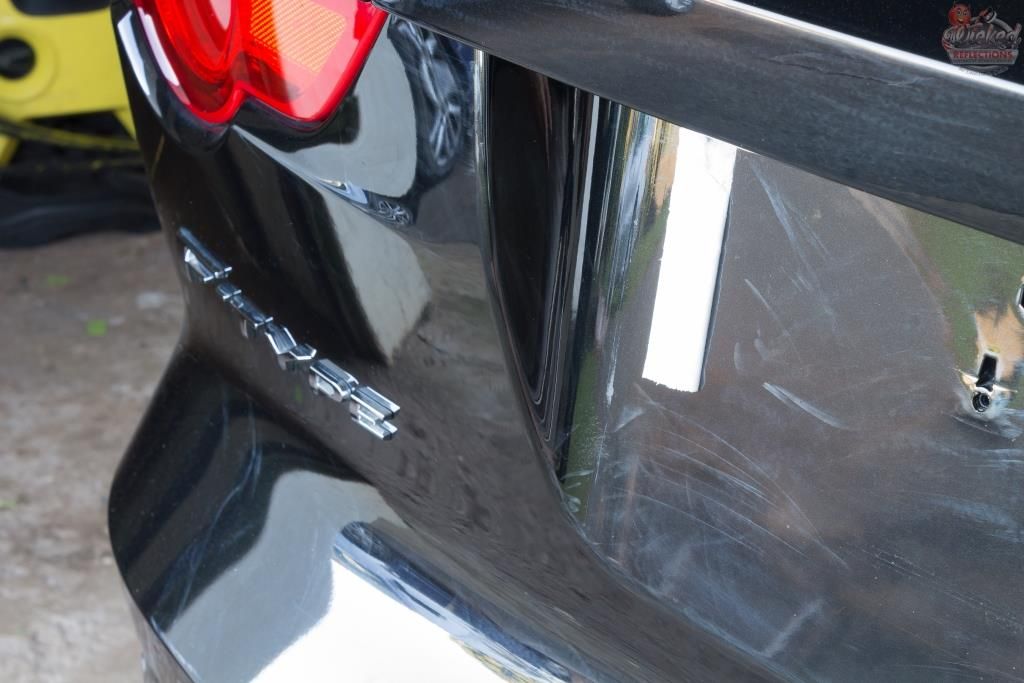
So here is what the rest of the car looked like.
It was somewhat dirty.
And the paint had quite a few swirls and deep scratches
The car was also on the receiving end of some tree sap/pollen/whoknows which is prevalent at the owner`s property
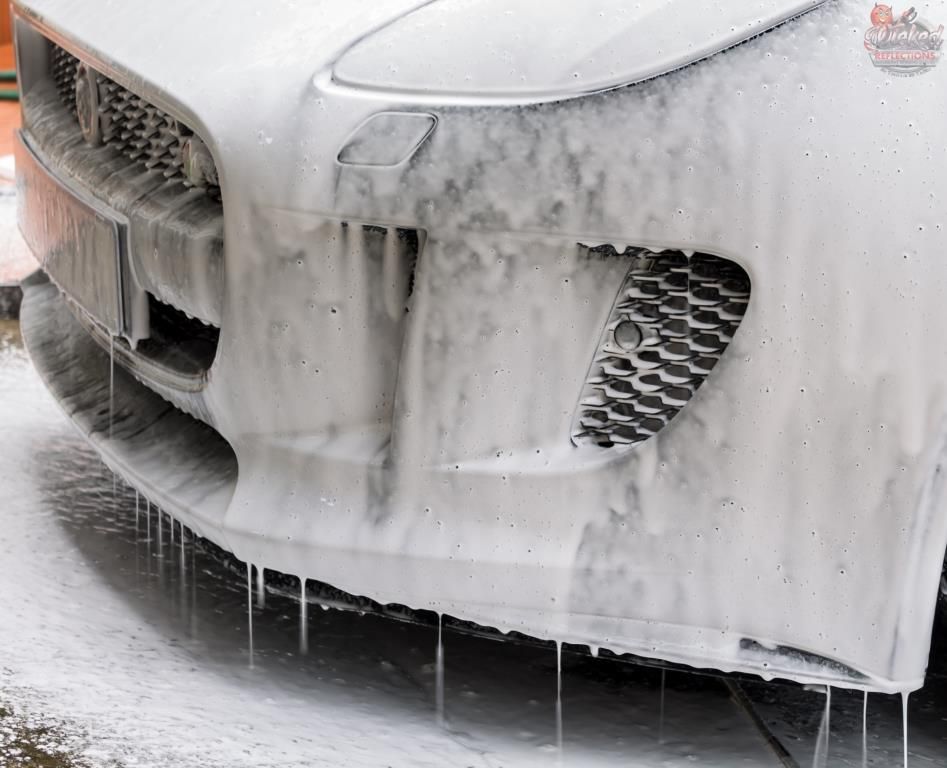
Then the car was given a thorough wash, again following my preferred approach of removing as much dirt as possible prior to making contact with the paint.
Pressure Rinse : Karcher K7
Foam : Valet Pro Advanced Neutral Snow Foam @ 1:6 | MTM Hydro
TFR :Valet Pro Citrus Pre-wash | Pump Sprayer
2BM wash :Carchem Luxury Shampoo | Grit guards | Lambswool Wash Mitts
Dry : ONR | WW Drying Towels
Iron removal: Carchem Revolt
Tar Removal :Valet Pro Citrus Tar and Glue Remover
Remaining Contaminants :Shield Heavy Duty Clay | ONR
Paint readings were taken and were mostly around 120µ to 130µ range, give or take 10µ, and after trying out a few different combinations I eventually settled on Flex 3401 | Menzerna PF2300 | White Lake Country Hybrid followed by Menzerna SF4000 | Black Lake Country Hybrid to remove the hazing from the first step.
The number plate holders were then removed, the double sided tape removed (plastic razor blades), the glue residue removed (Valet Pro Citrus Tar and Glue Remover) and the area corrected.
Now onto the paint correction itself.
I set up this sequence of pics to try and show the sort of difference each step of the process made to the paint.
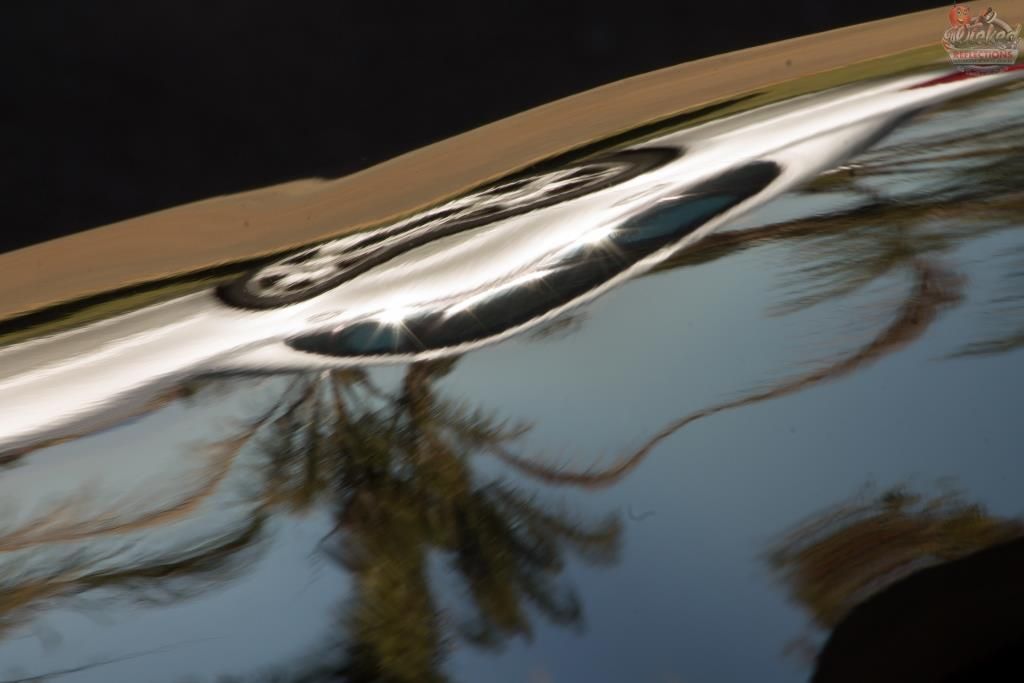
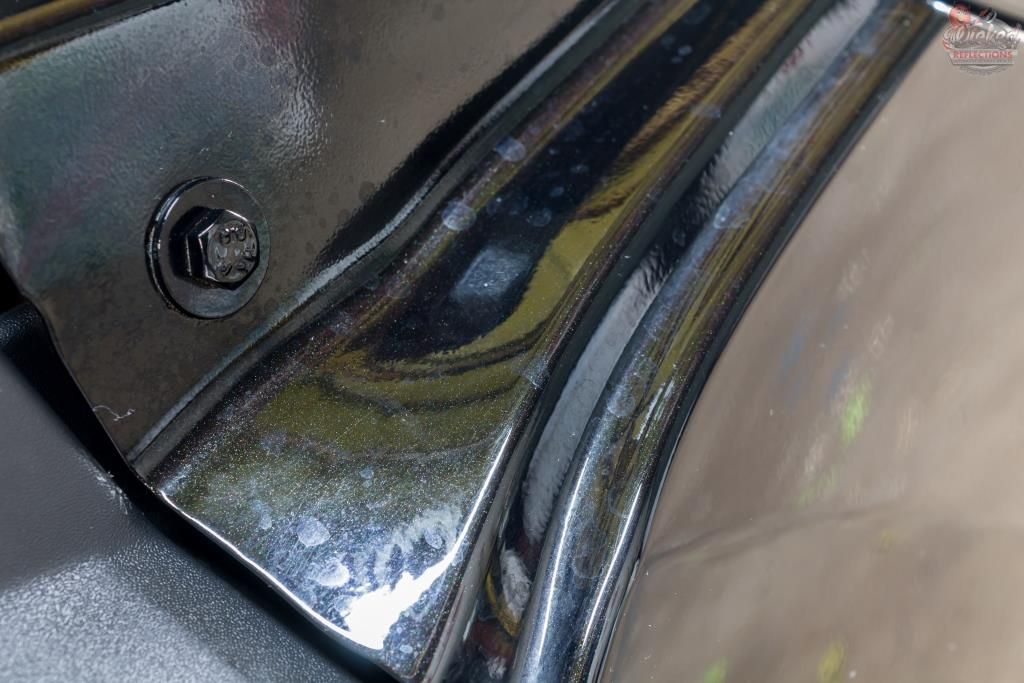
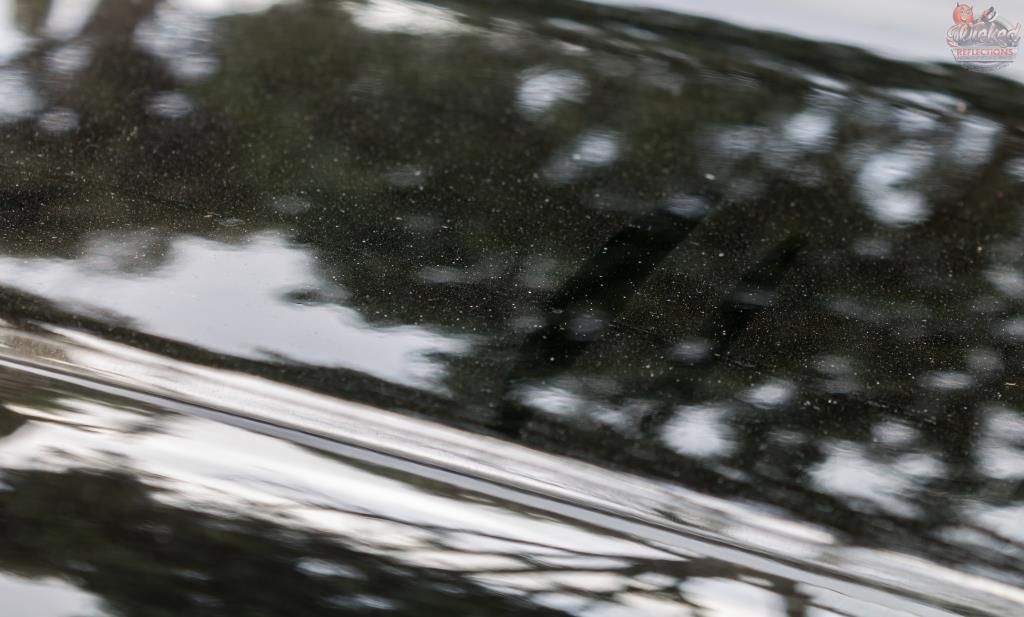
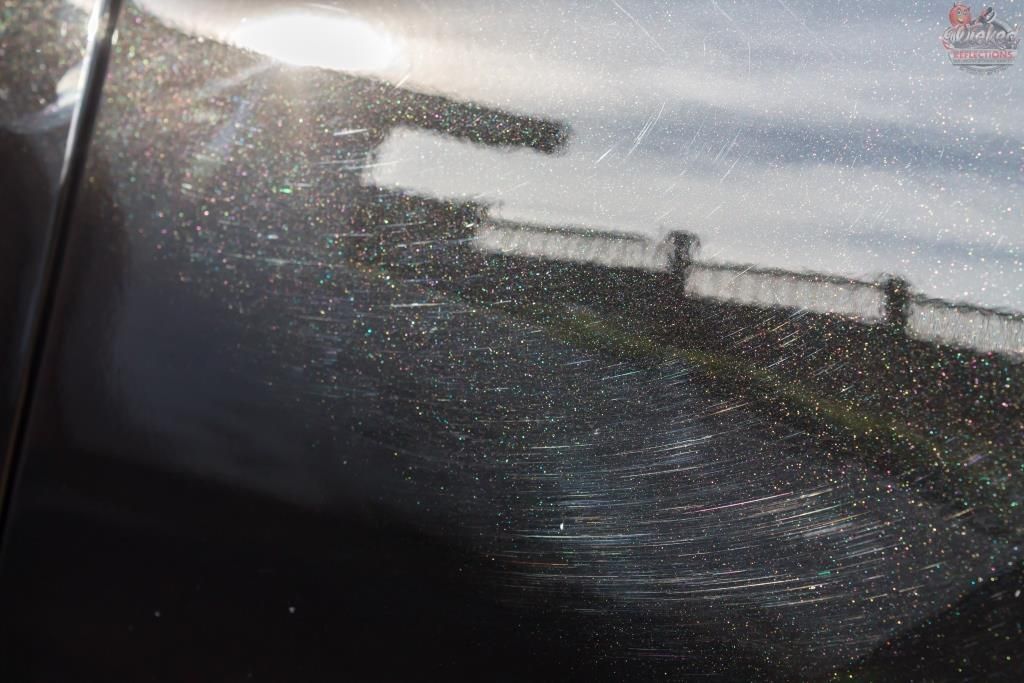
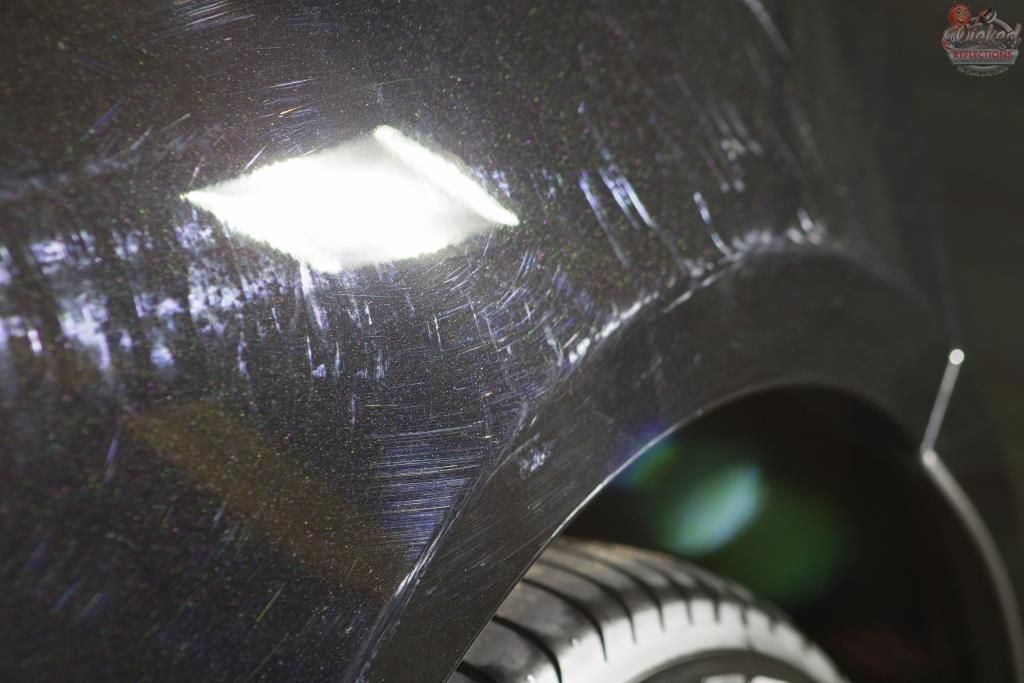
What I started with...
As you can see there is some significant marring from the claying process - these are shallow scratches from the clay itself, and although quite obvious in this case (soft black paint with aggressive clay), marring will happen more often than not, even if you can`t see it, and that is why it is always recommended to polish after claying - the marring mostly runs vertically in this pic, whereas the swirls (scratches from rubbing dirt over the paint during washing or drying) mostly run horizontally (and to some degree appear to run around` the reflection of the light).
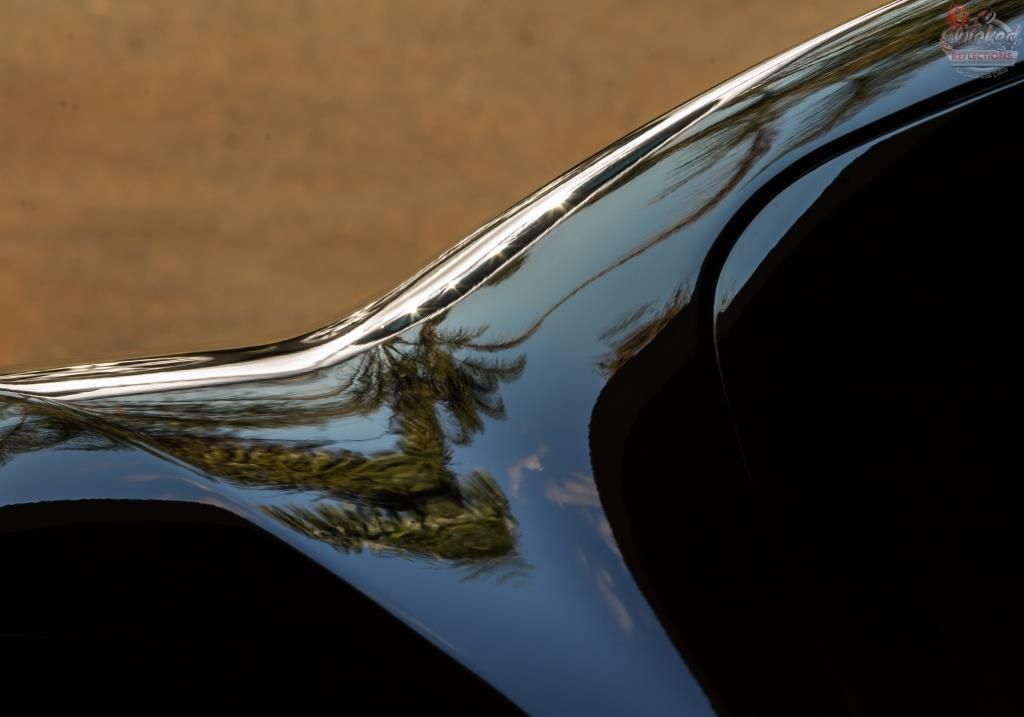
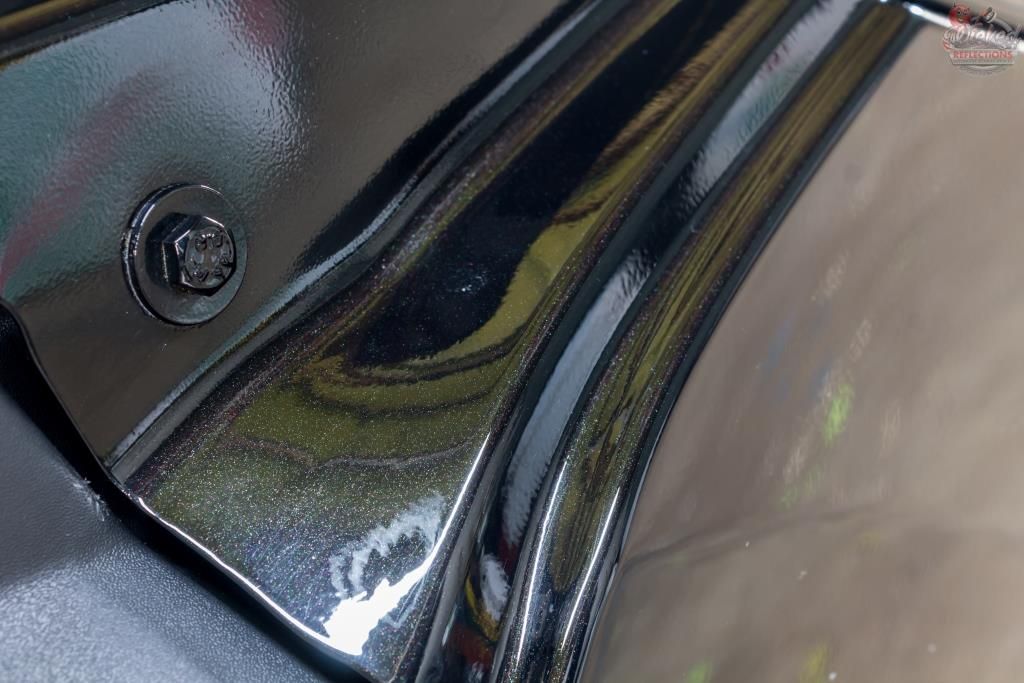
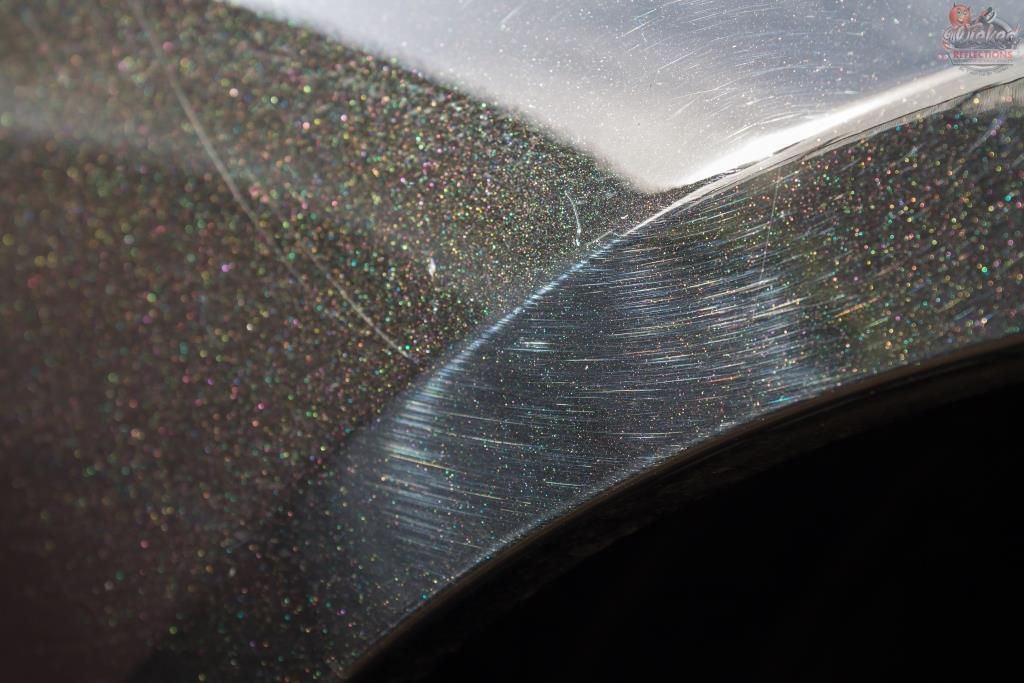
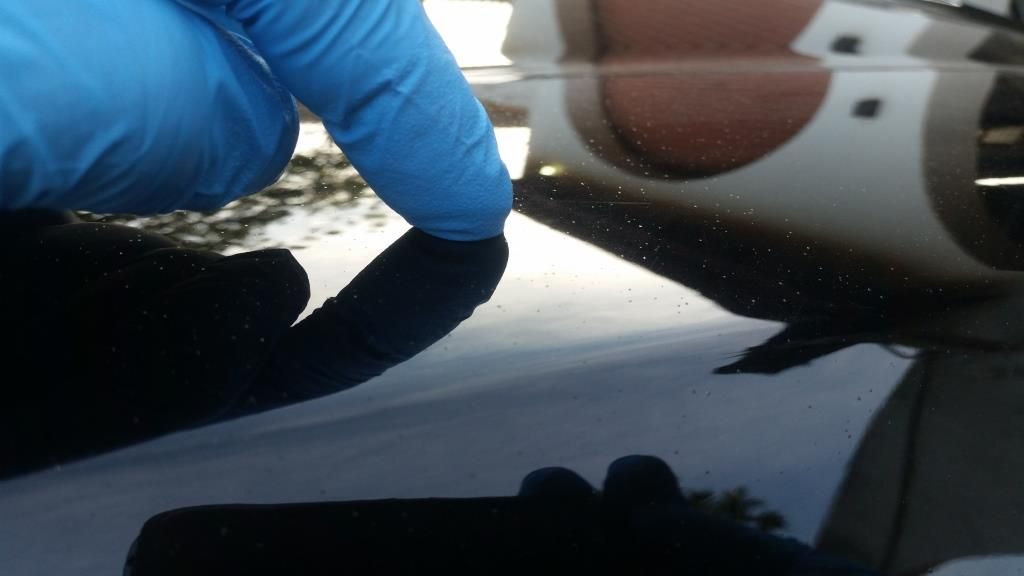
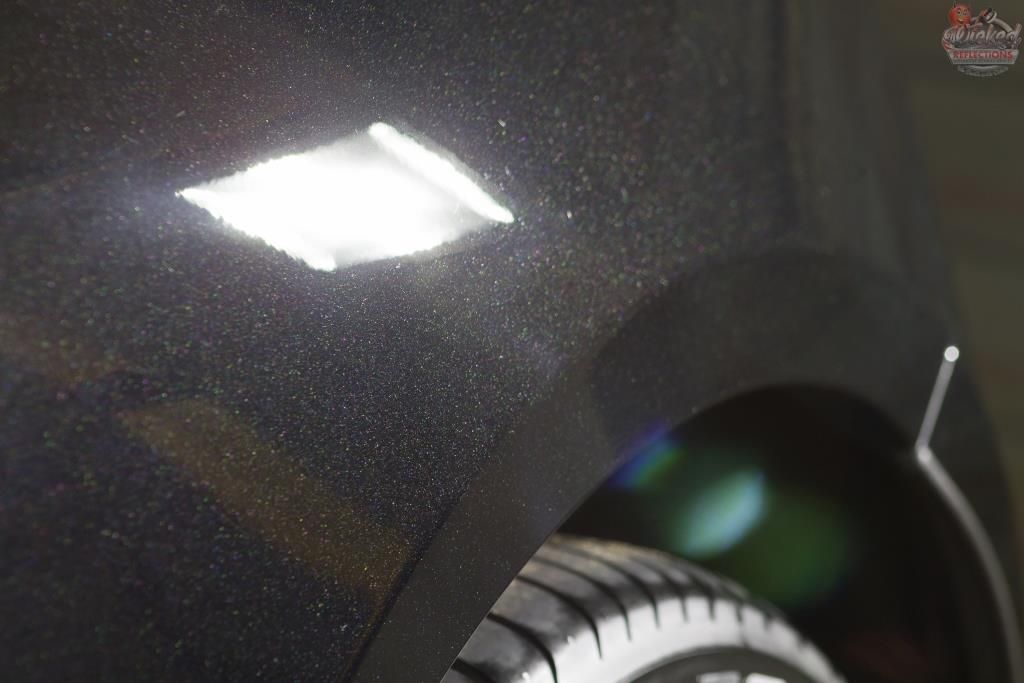
This is now after the initial correction step, with what is effectively a `medium-cut` polish (but which behaves more like a compound because the paint is soft), and so is able to remove almost all of the defects.
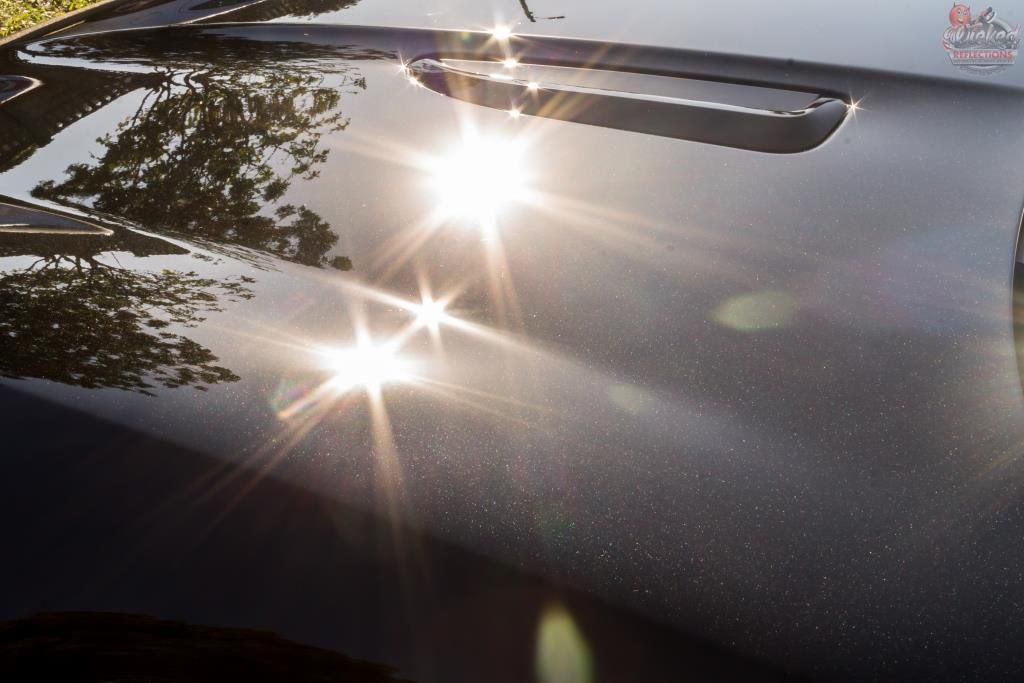
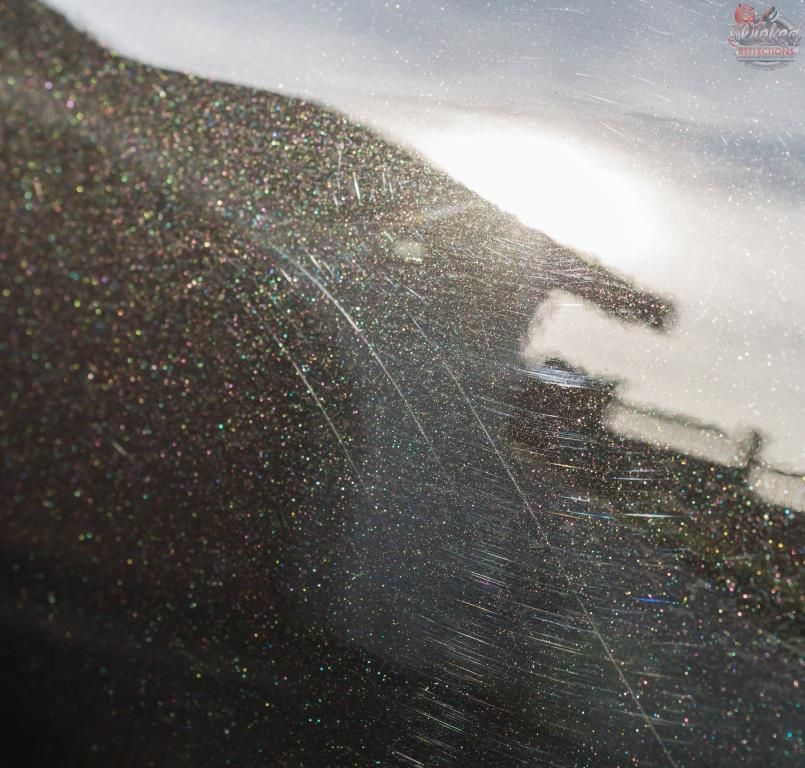
But there is definitely still some improvement to be had. The initial paint correction step has left behind some of its own `scratches`, visible mostly as a `haze` in the paint around the light. By then re-polishing the car using a less aggressive combination of pad/polish, these fine scratch marks can be removed, restoring clarity to the paint. (ignore the little `specks` around the light - its a little bit of lint :bang: )
I then decided to see what further improvements could be gained by applying a nice `show car wax` and so hit it with Collinite 915. Honestly, it was really hard to see any further change in the paint - perhaps on less refined paint the difference may have been more noticeable?)
Another before / after
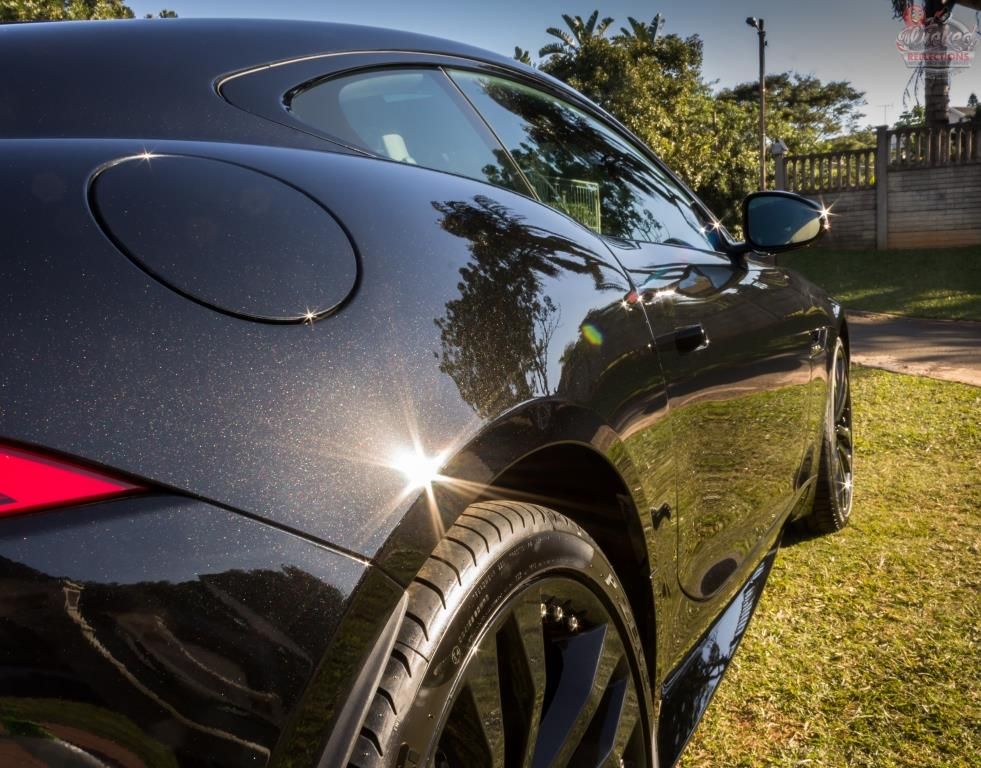
Here is how it looked out in the sun
The rest of the details were then tackled.
Exterior plastics
Clean - Shield Heavy Duty Vinyl and Rubber Cleaner
Protecant - Optimum Optiseal.
Exhaust tips
Clean - Carchem Citrus APC @1:5
Polish - Meguiars NXT All Metal Polish
Door and window rubbers
Clean - Shield Heavy Duty Vinyl and rubber cleaner
Protect - Aerospace 303
Glass
Clean - Autoglym Fast Glass, multiple MF towels
Badges & Emblems
Clean/polish/protect - Autofinesse Tripple, Q-tips, MF towels
Interior
Vacuum - Flex VL35C
Interior Plastics - Carchem APC @ 1:20, various brushes | Optimum Optiseal
Interior Carpets - Mothers Carpet Brush | Flex VC35 Vacuum | Mothers Carpet and Upholstery Brush | Mothers Carpet and Upholstery Cleaner
Pedals - Carchem APC @ 1:20, various brushes
The paint was then protected using Collinite 915