Trim Dream system

SVR

Dream Machines
Finally got around to doing a few quick videos of the system


Steps 3 and 4


YouTube - Step 3 of trim dream

YouTube - Final step of trim dream

YouTube - Results of trim dream


Piccie


bfxr6trimaftertrimdream.jpg


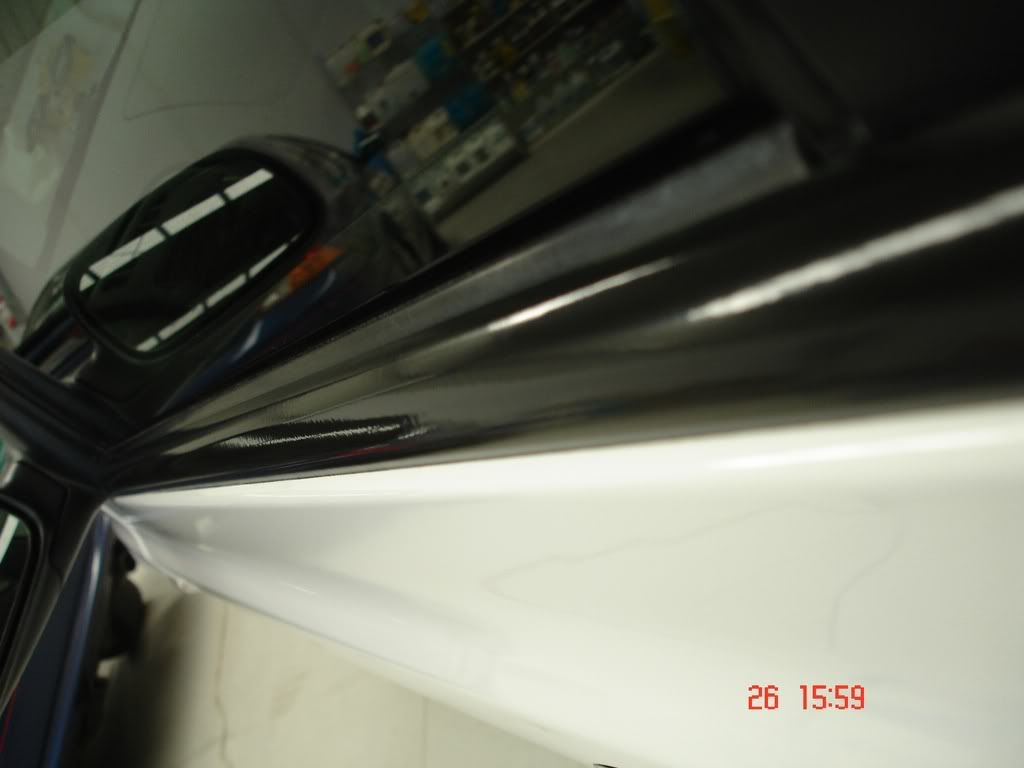
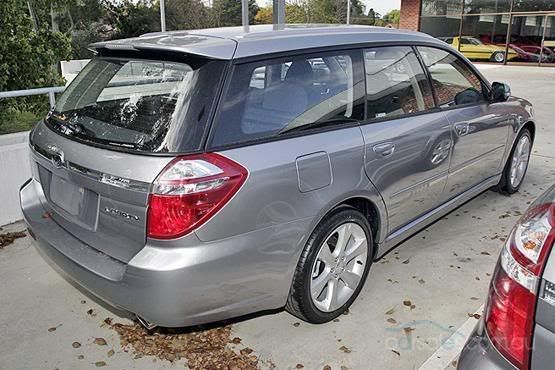
This will work on many vehicles horizontal and vertical trims, side mirror backings and composite materials


Such as 2002 Subaru WRX sedan trim on roof, horizontal, vertical and c pillar trims


The results look much better with human eyes
 
2002wrxsedan.jpg


All that trim can be machined to ultra high gloss black and sealed to last permanently with it

Oh and the wiper arms too


Plus


liberty.jpg


All the exterior trim on the vehicle, especially the weathershield near the roof, which will go from flat brown/grey to a painted and clearcoated high gloss black finish


The more you machine it, the smoother and clearer it becomes

it's the same material as the top wing on my bi plane spoiler


No worries stiffdogg, once I've got more raw ingredients I'll mix you up the entire kit (four bottles)
 
SVR said:
No worries stiffdogg, once I've got more raw ingredients I'll mix you up the entire kit (four bottles)


4 bottles? I assume this is like a mini detail - polish/clean/lsp? Please do tell! :think2
 
Originally it was a two step system but the formula has been seriously improved since then to create the protected glossy finish you see there.


So it's a four step system.


The first step is used with an Orange LC 4 inch CCS pad at 1500 rpm and slowed down to 700 to prevent any burns


It will turn brown trims to black and grey trims to brown

The cleaning power is amazing. Takes out all water marks, white stains from abrasive polishes and lifts up the shine from underneath


Second step is with white LC 4 inch pad, varying speed between 1000 and 1300 until a higher shine appears


Third step is with gray LC pad at 900 to 1200 rpm. This really brings out the true lustre that's been hiding underneath and makes surfaces super slick


Final step is with blue LC pad at 800 to 1000 rpm. Once the maximum gloss appears, stop and remove residue


Apply a coat of the final product and leave to cure for up to 24 hours

Once that's done, regular applications of the protective glossy sealant spray will enhance the colour, slickness and protection


It's not really needed as the shine can not fade away because the surface has been burnished but if you want maximum slickness and an ever improving shine, it's there


This system may not work on textured or very soft brown/black smooth vinyl trims.

The protective spray by rotary or orbital with foam or microfibre towel will work on those


With those special surfaces like the subaru weathershield, the improvement is so great that it's like a metamorphosis has taken place


Gone from a smooth non reflective grey/brown to a surface as shiny and clear as painted plastic and clearcoated black paint
 
when and how will this be avail? able to use cyclo? I do have a cheap rotary but not a backing plate for 4" pads, suppose I could get one as I do not have LC pads just cyclo pads
 
Well you should be able to use a cyclo. Any pads under 5 inches are the best size to use

By hand it will work terrific on most and very well on others.


As far as availability goes, I need to source more of the raw ingredients, they are very expensive. I'll most likely keep the bottle sizes to 236ml
 
NEWS FLASH


I've just improved the formula even more

The ingredients used in the third step have now been changed and by hand on BF Falcon exterior trims (lower), the shine is so black and clear that you could shave your face in it. It is a silky slick wet black mirror with perfect clarity


I'm so excited about this stuff

The great thing is that I applied it by hand today and the finish was better than when machine applied.


Optimum performance is probably achievable by machine applying steps one and two and by hand with the last two
 
Back
Top