Flannigan
New member
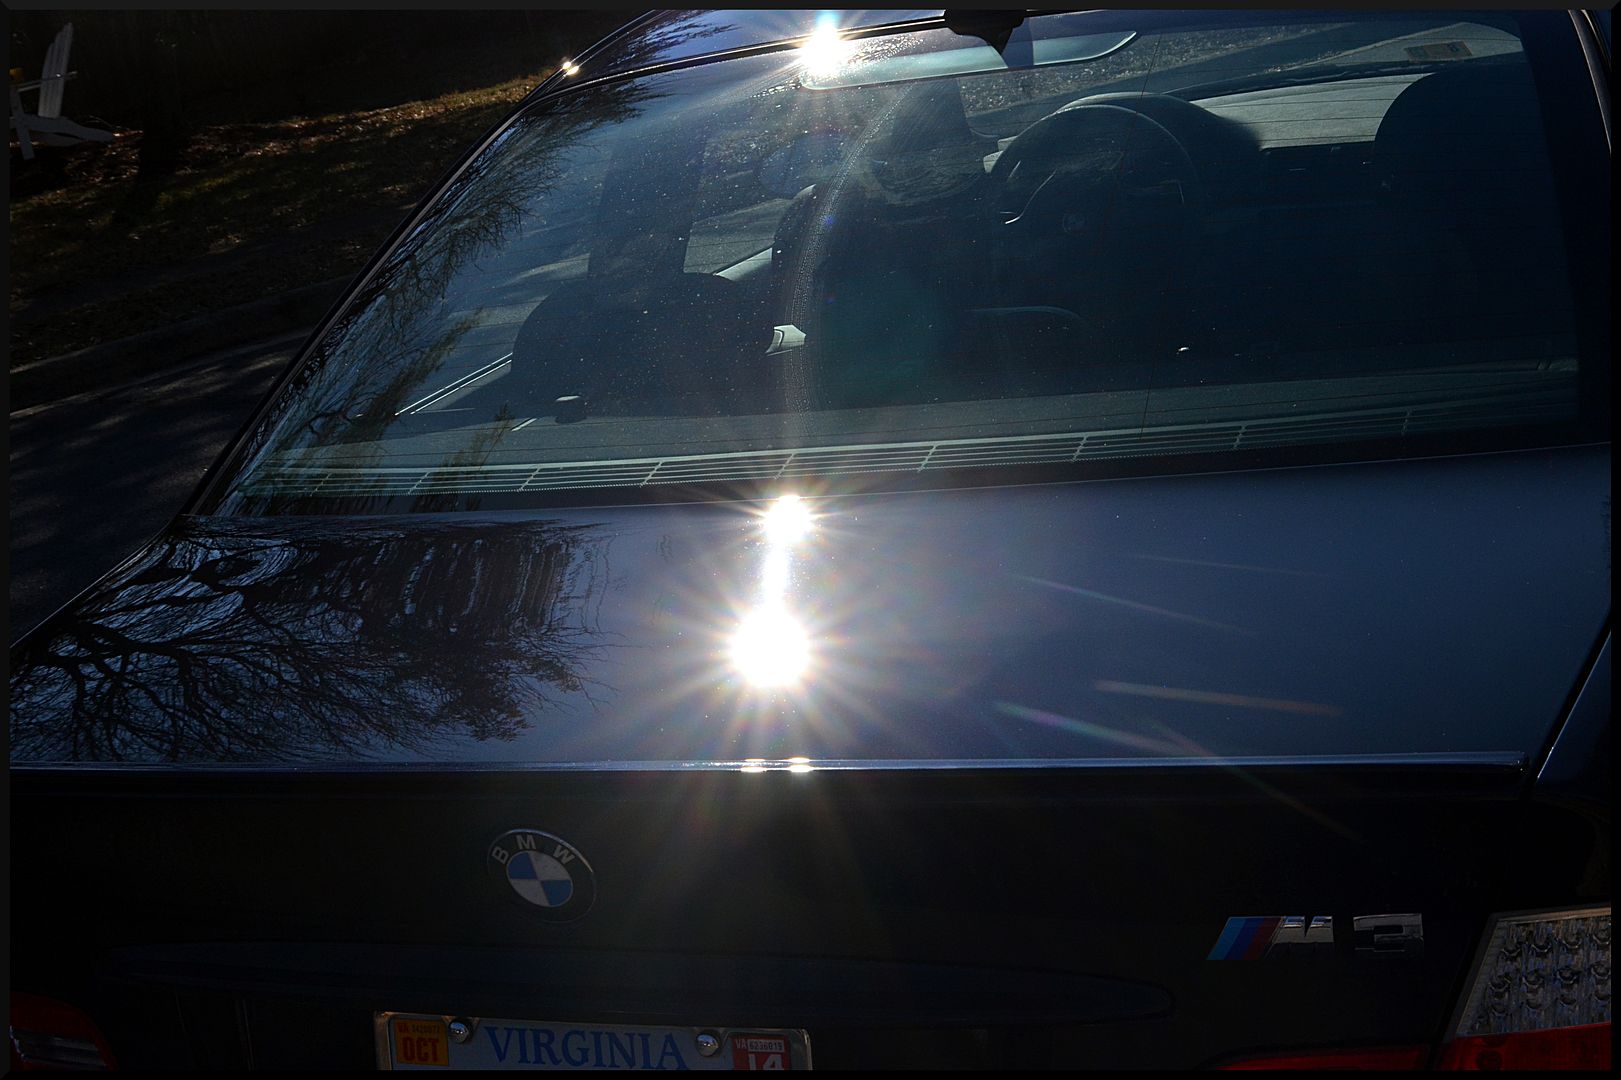
Hey all! Had one of my all time favorite cars come in today, an E46 M3. When I graduated high school this car was at the top of my must buy list. I love the aggressive stance and the lines just can't be beat, even to this day! So this particular car has gotten a few light polishes from me in years past, but this time it was scheduled for a multi-step correction, with the goal of removing some fairly deep scratches from a mischievous cat.
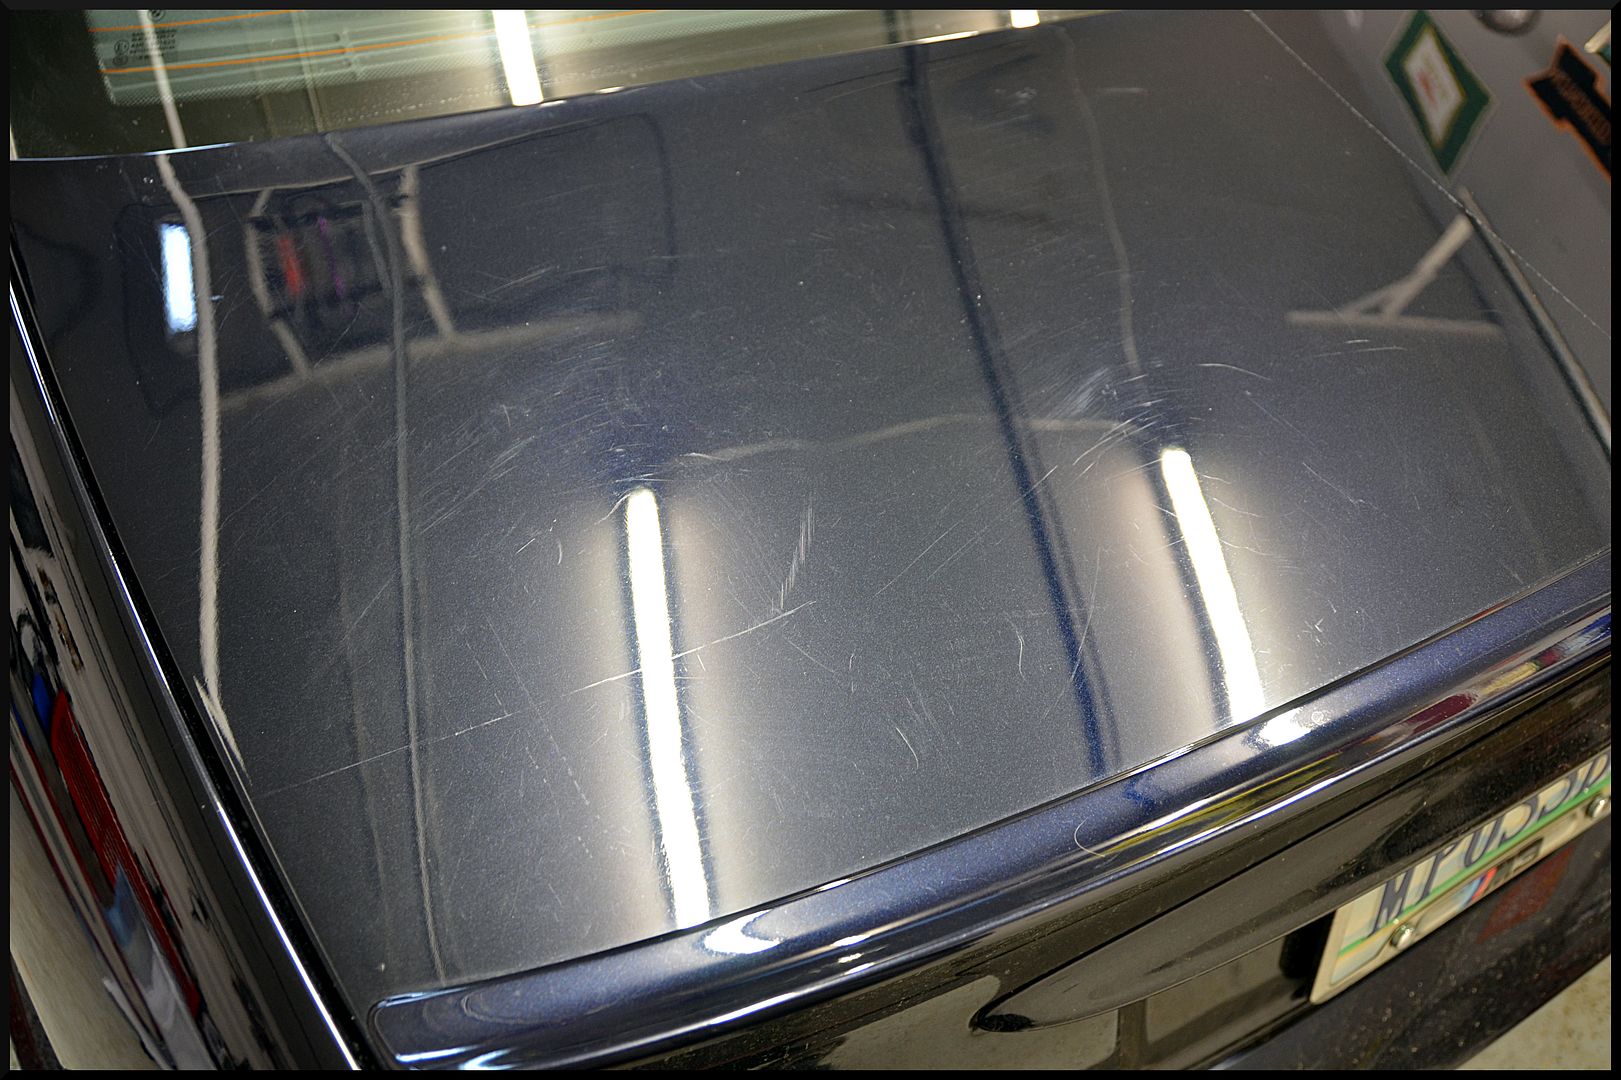
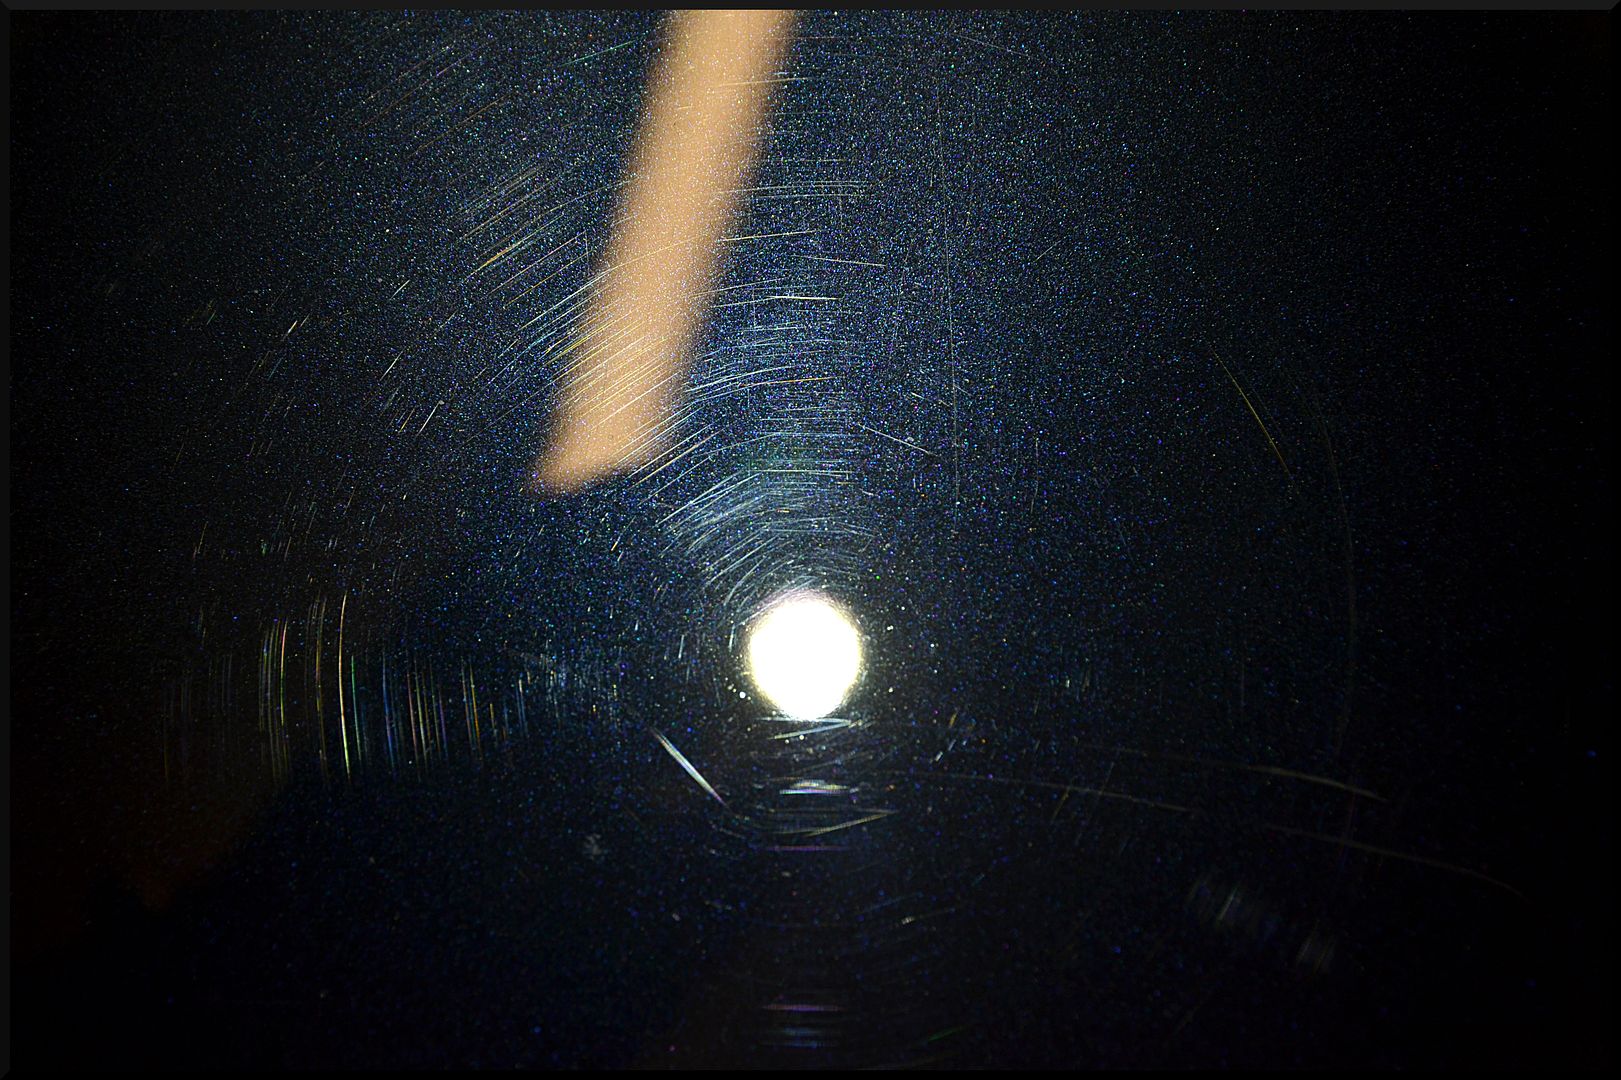
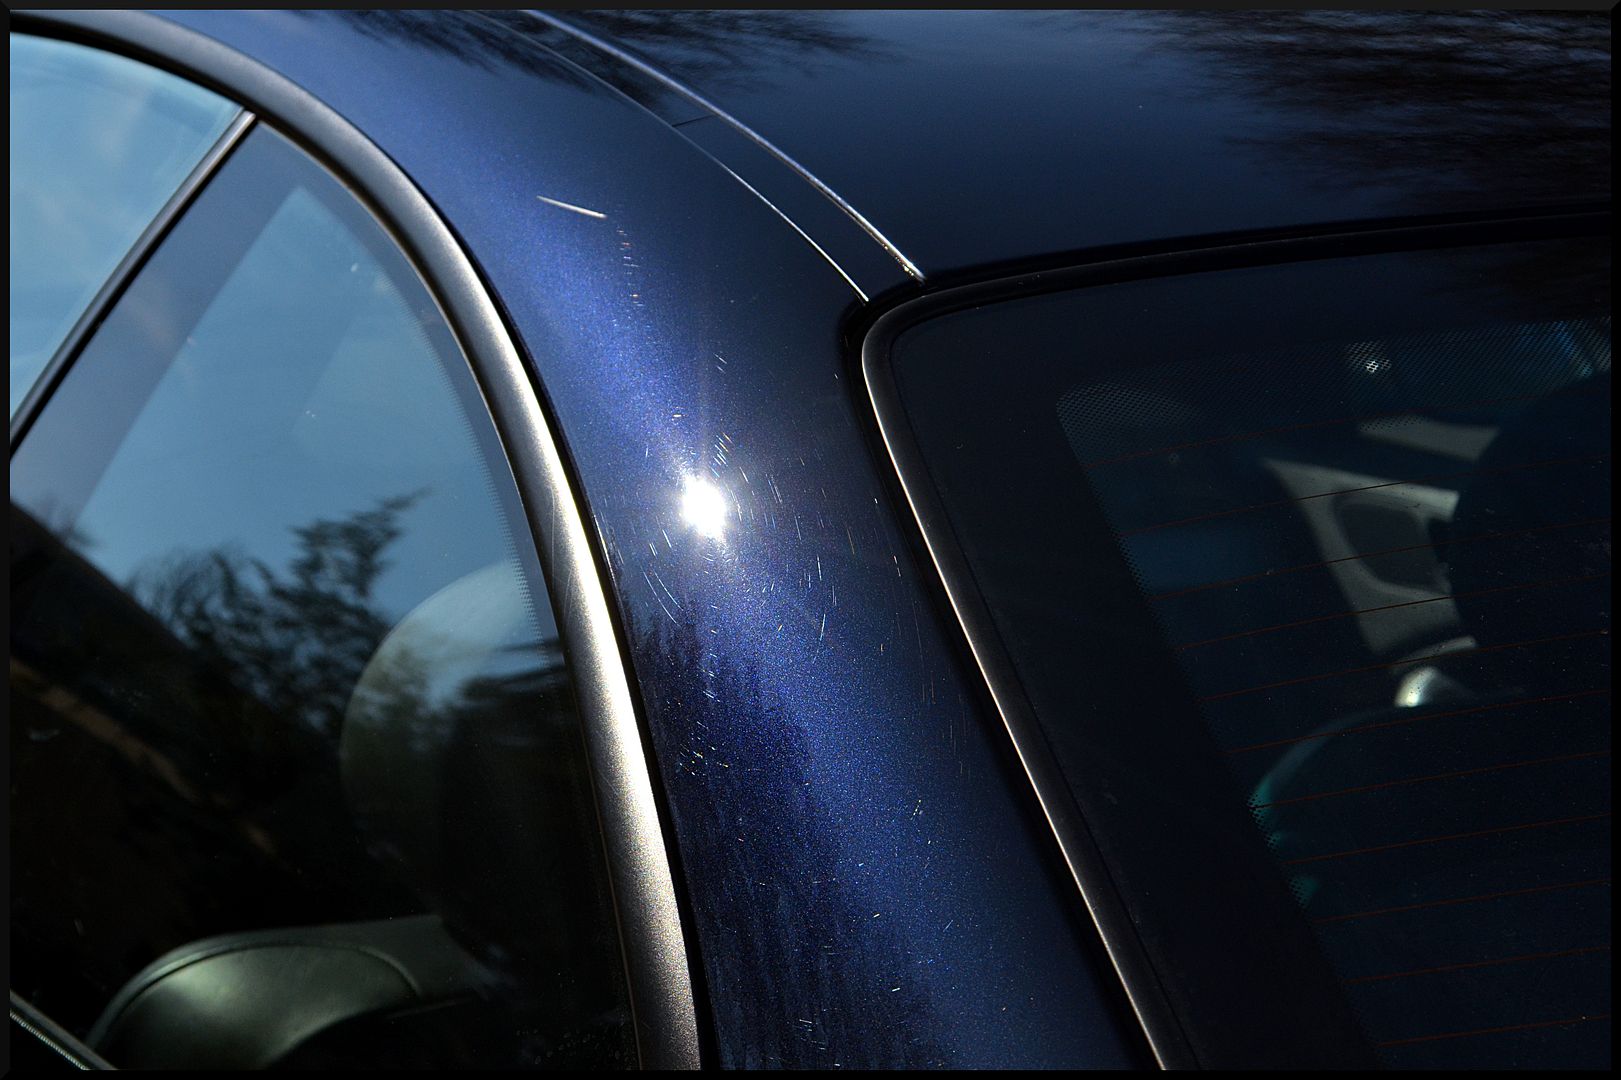
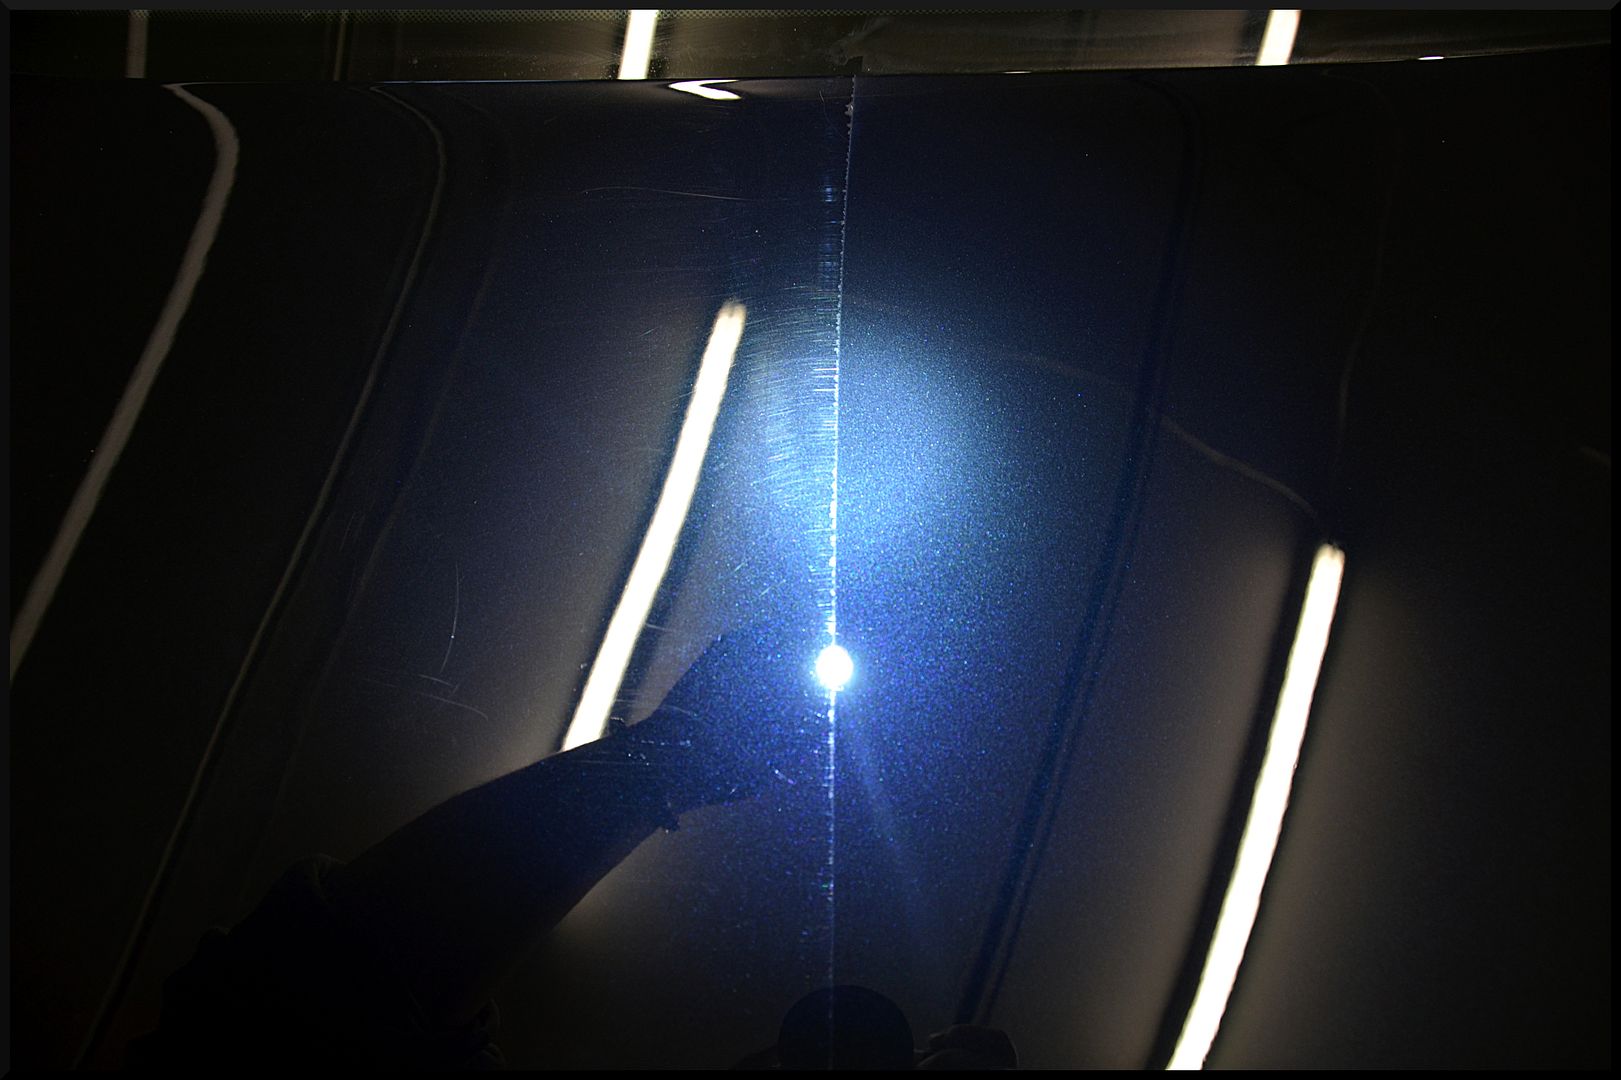
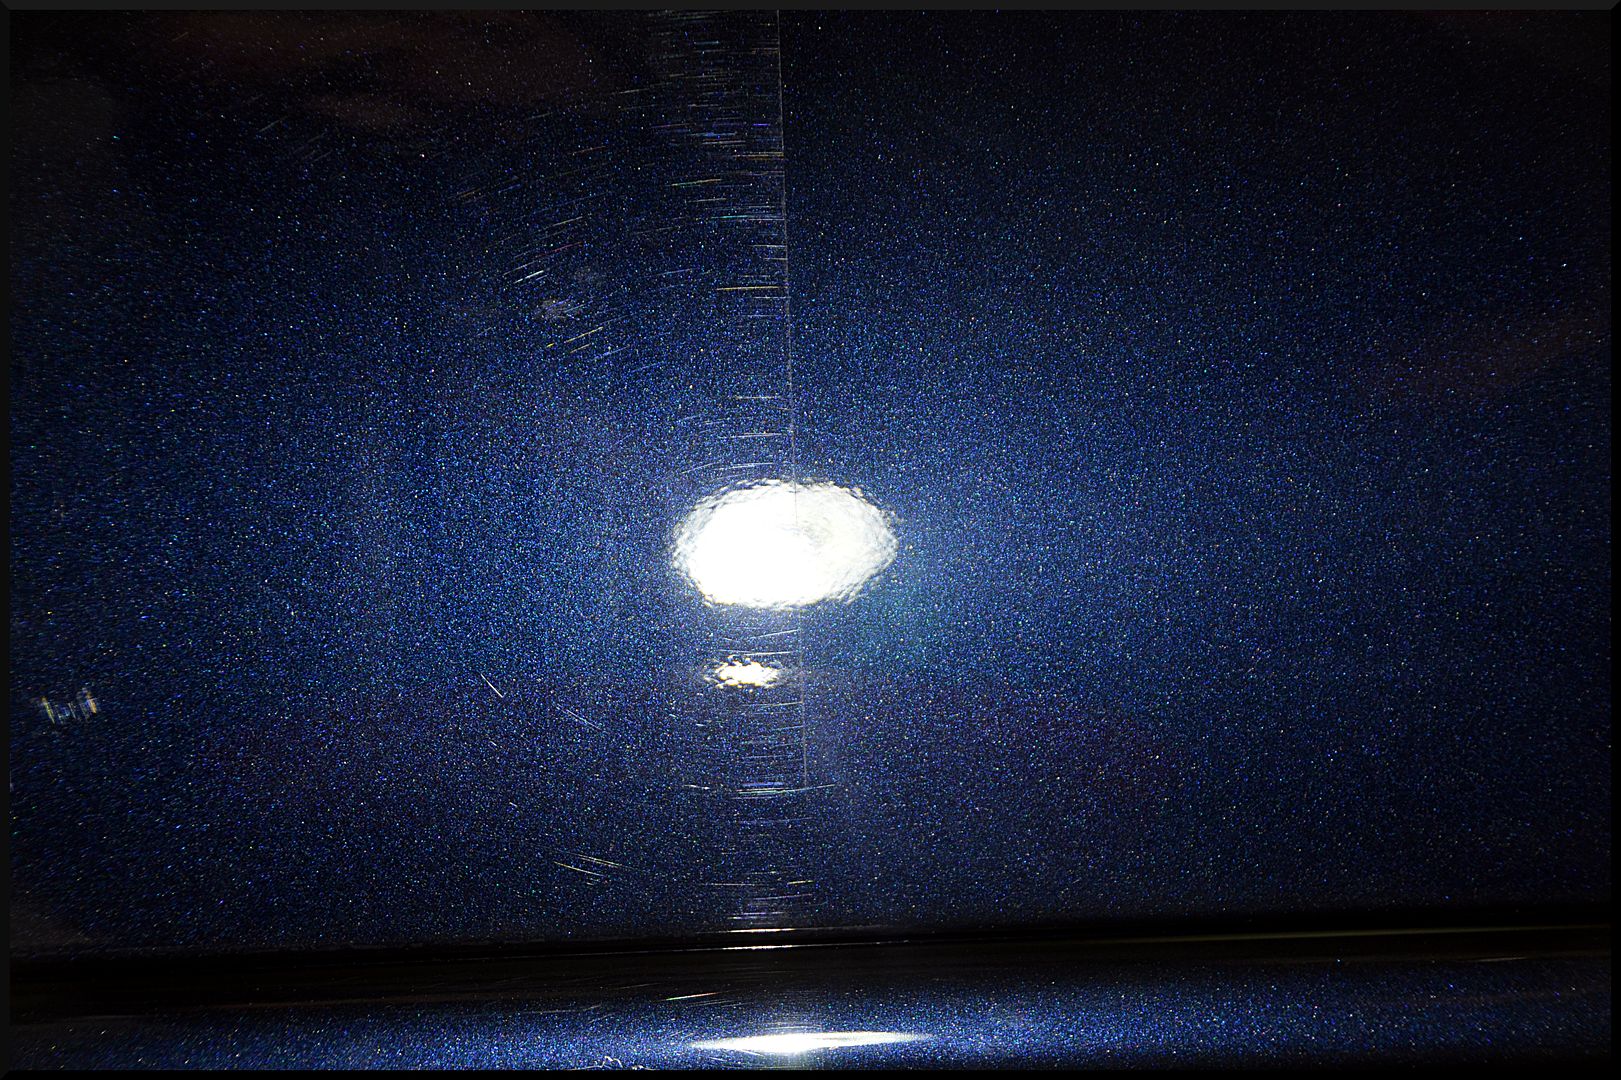
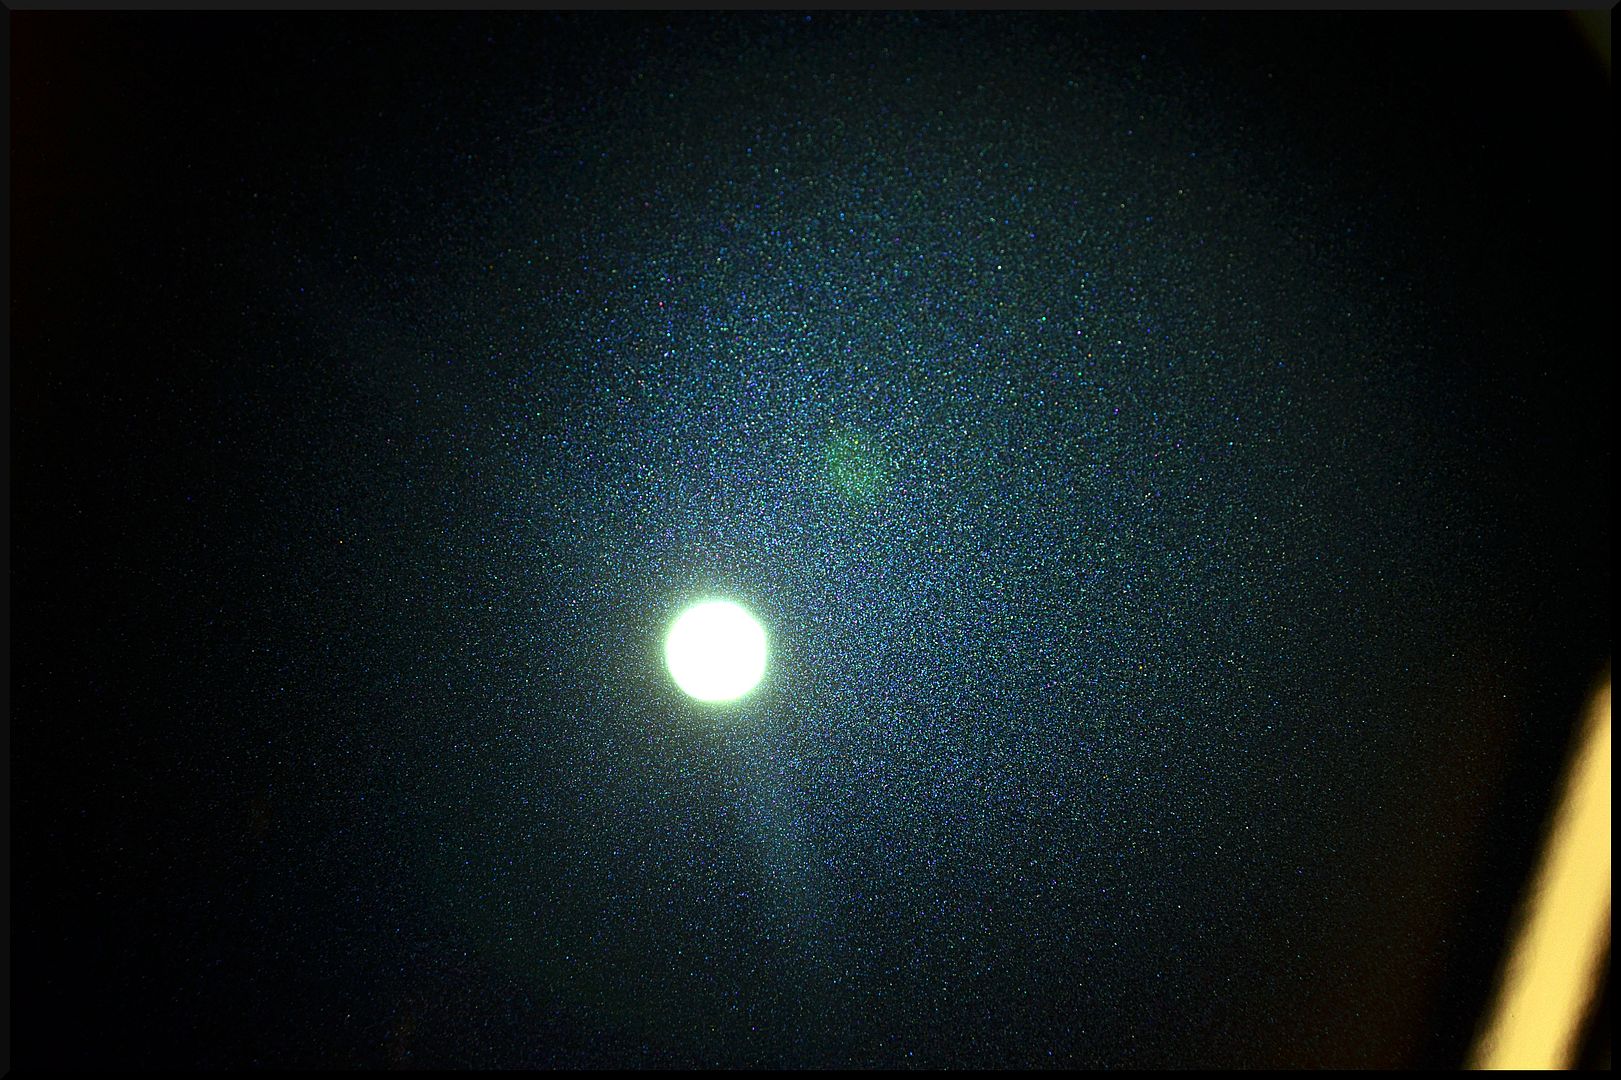
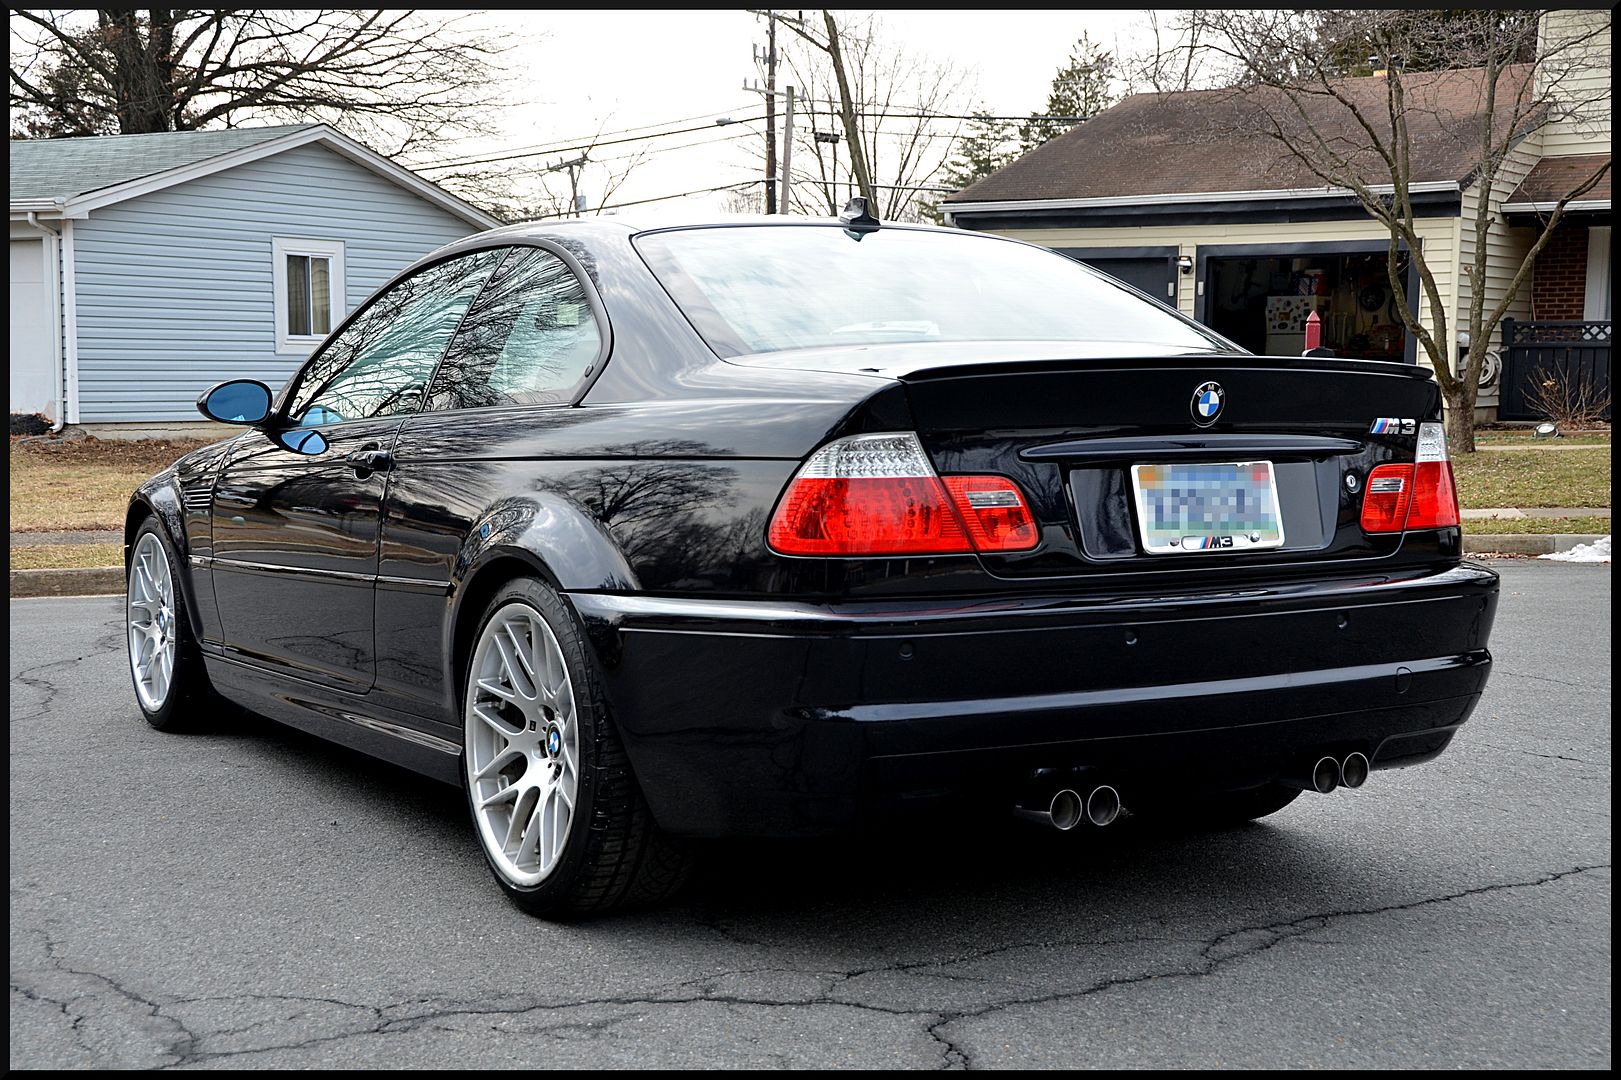
As usual the detail started with a hand wash followed by a light clay bar treatment to remove a little bit of contamination that had been picked up since its last detail. We could now see the true condition of the paint. The trunk was the main area that the cat scratched up, but you can see pretty deep swirls all over.
We took paint readings and had plenty of room to get a bit aggressive. We settled on a two step correction process. The first step was M205 on a microfiber pad with the Rupes, which finished out very well. We followed that up with Car Pro Reflect on a black Car Pro pad for a crystal clear finish.
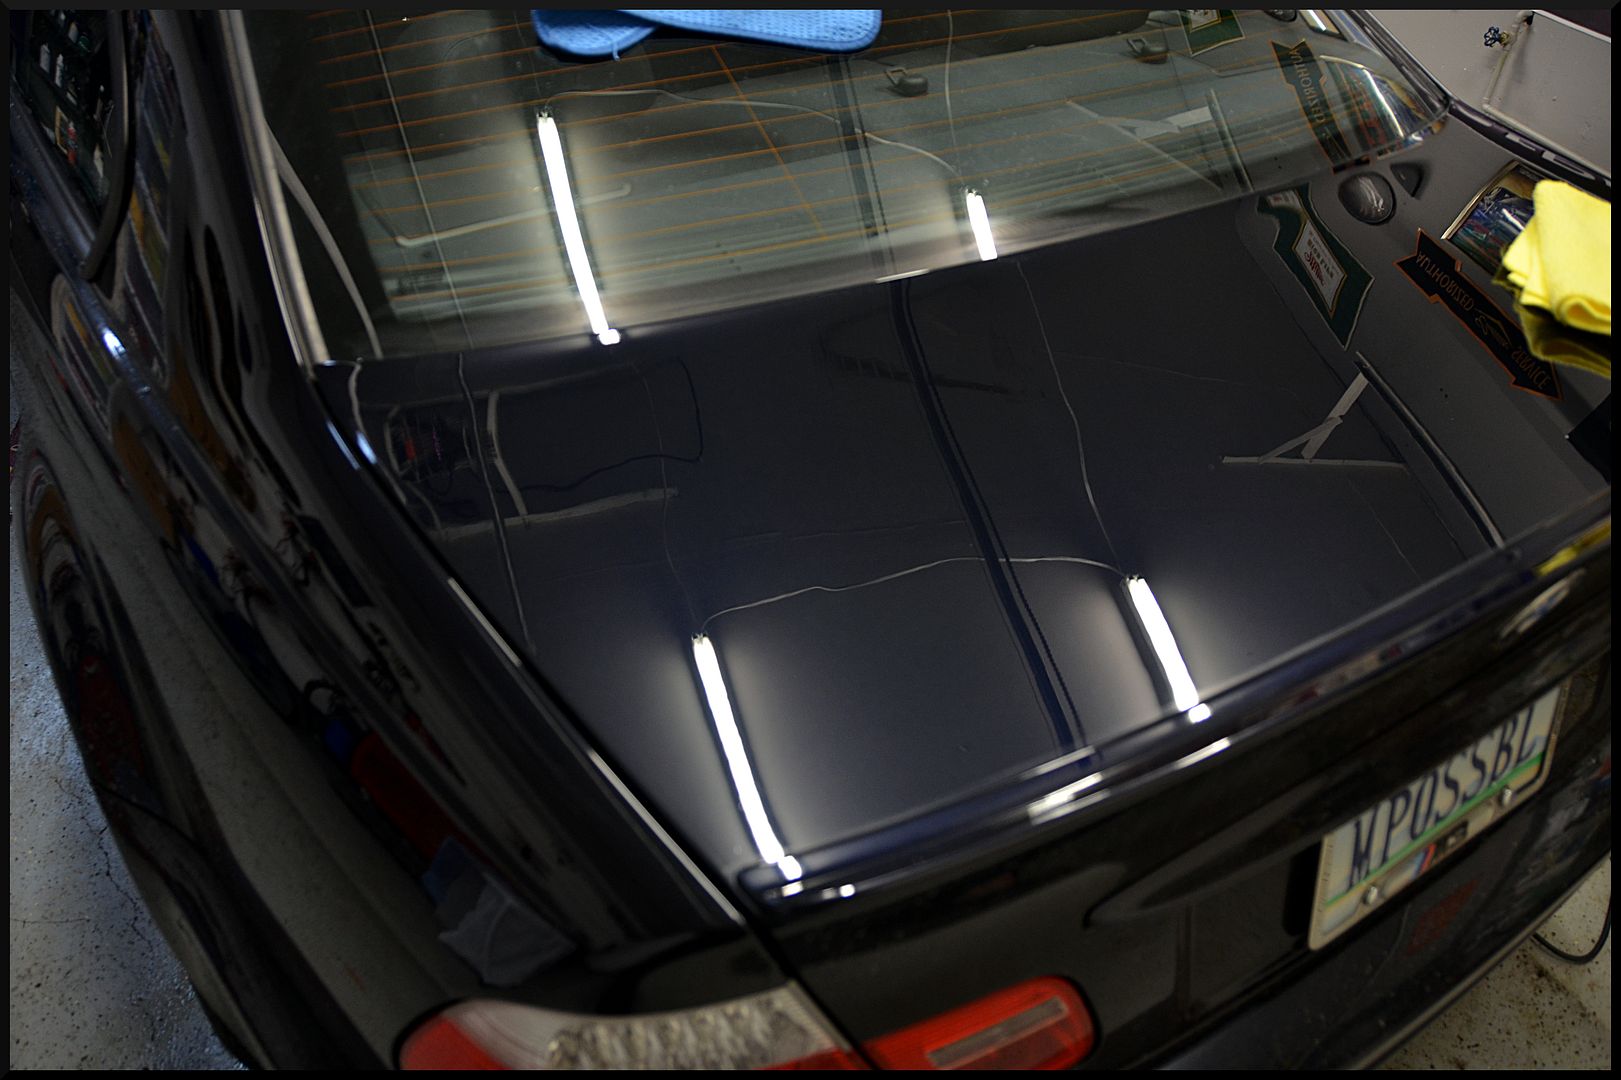
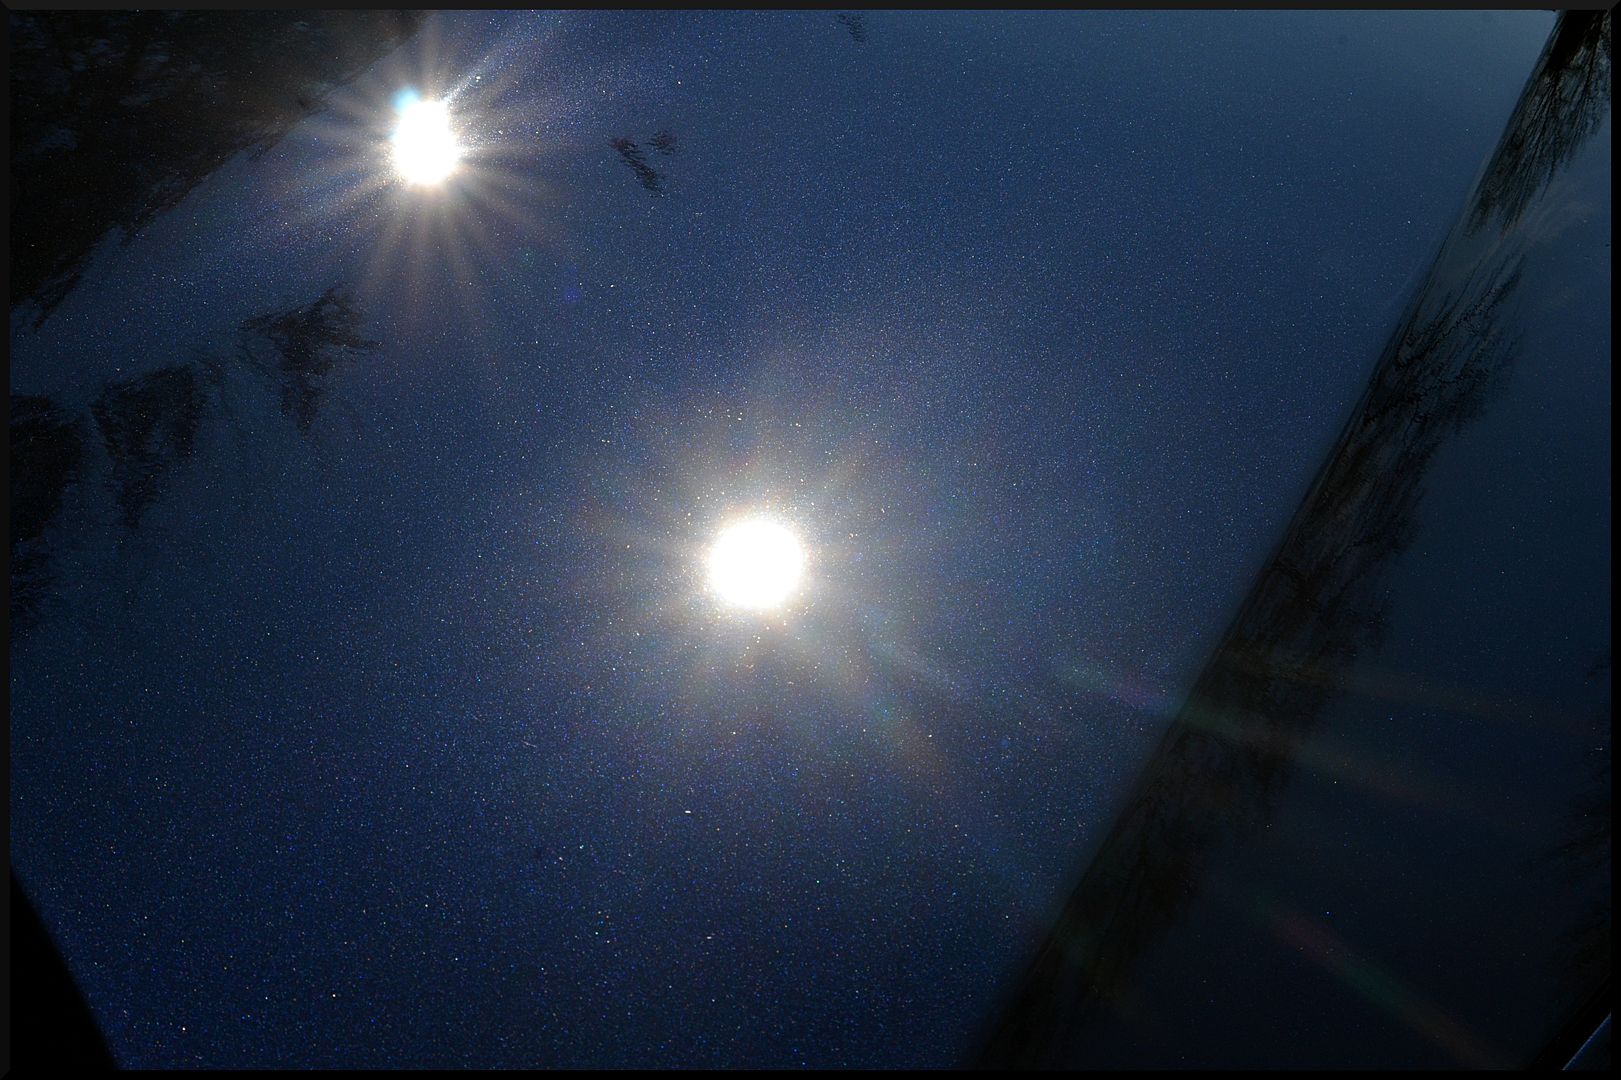
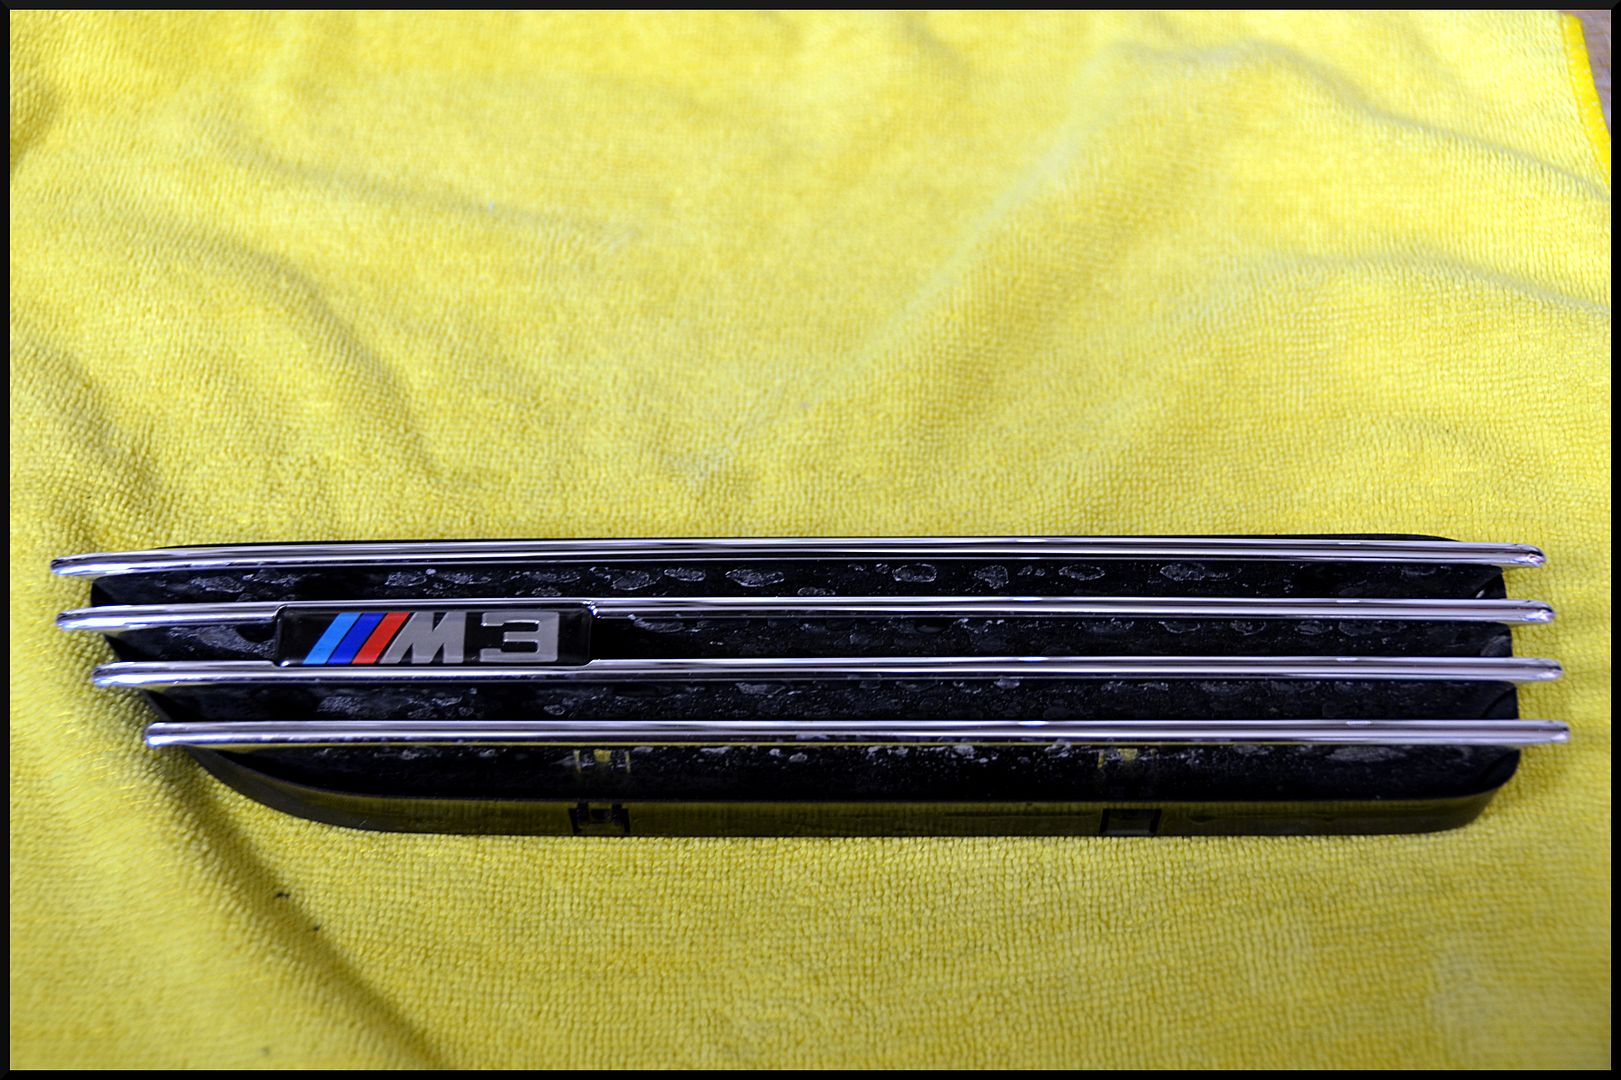
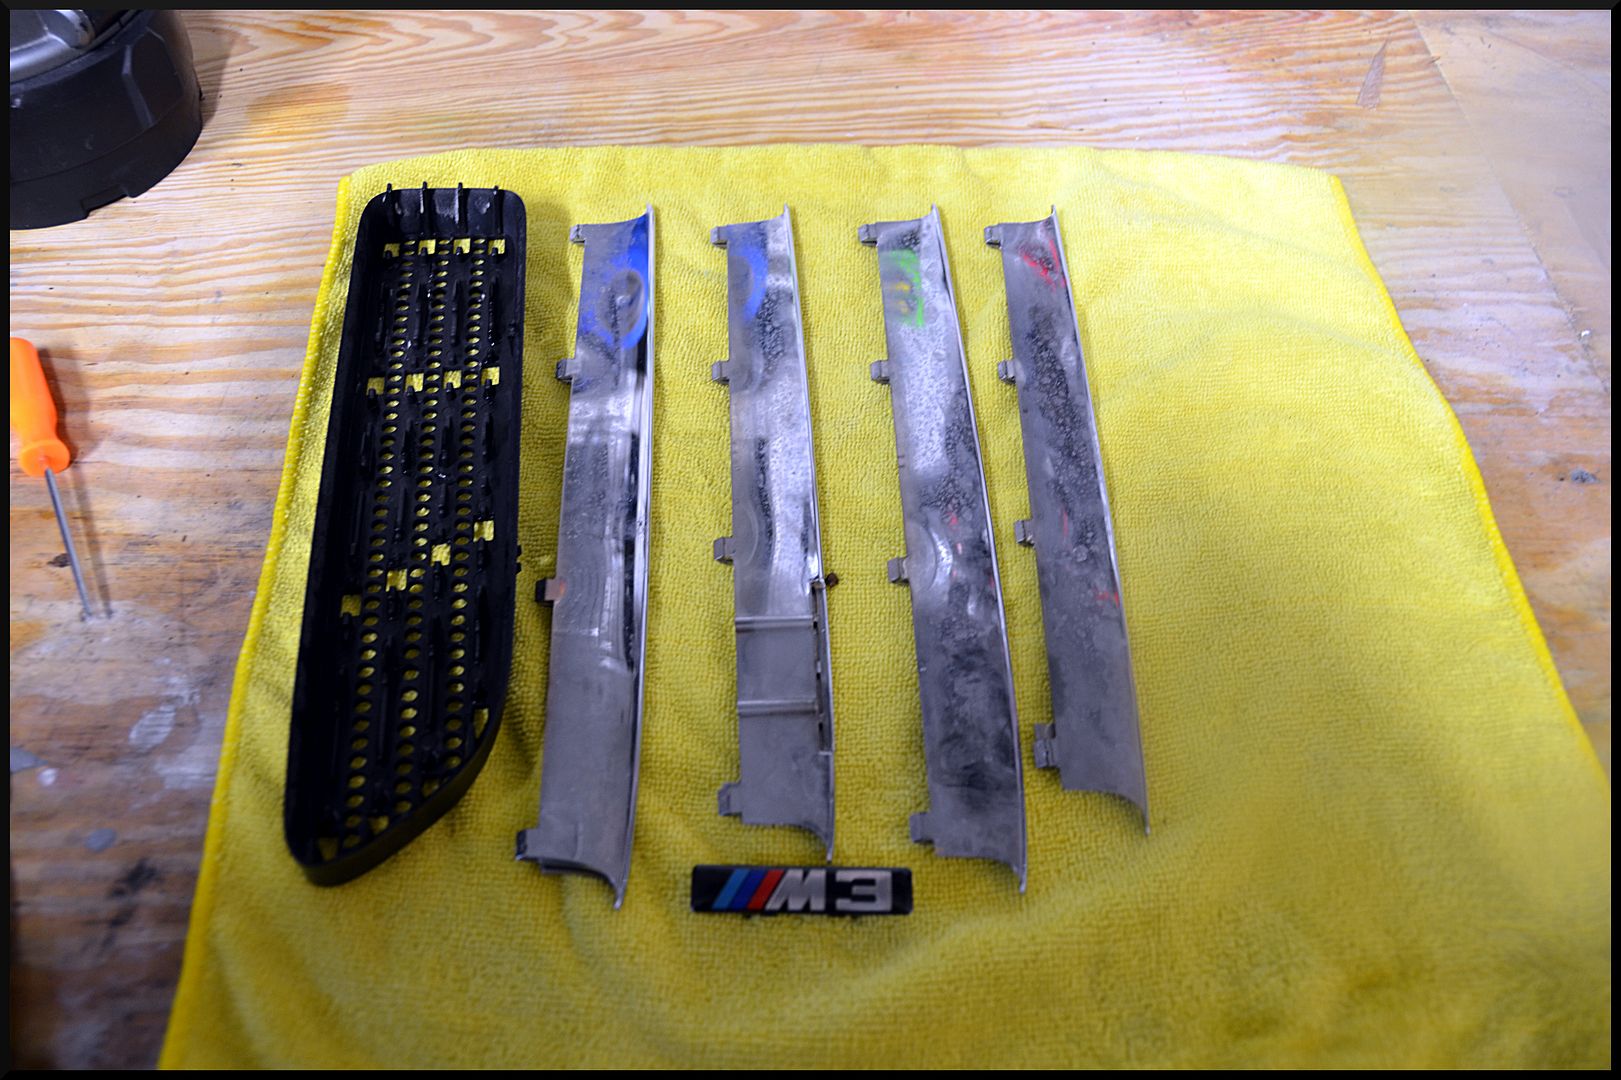
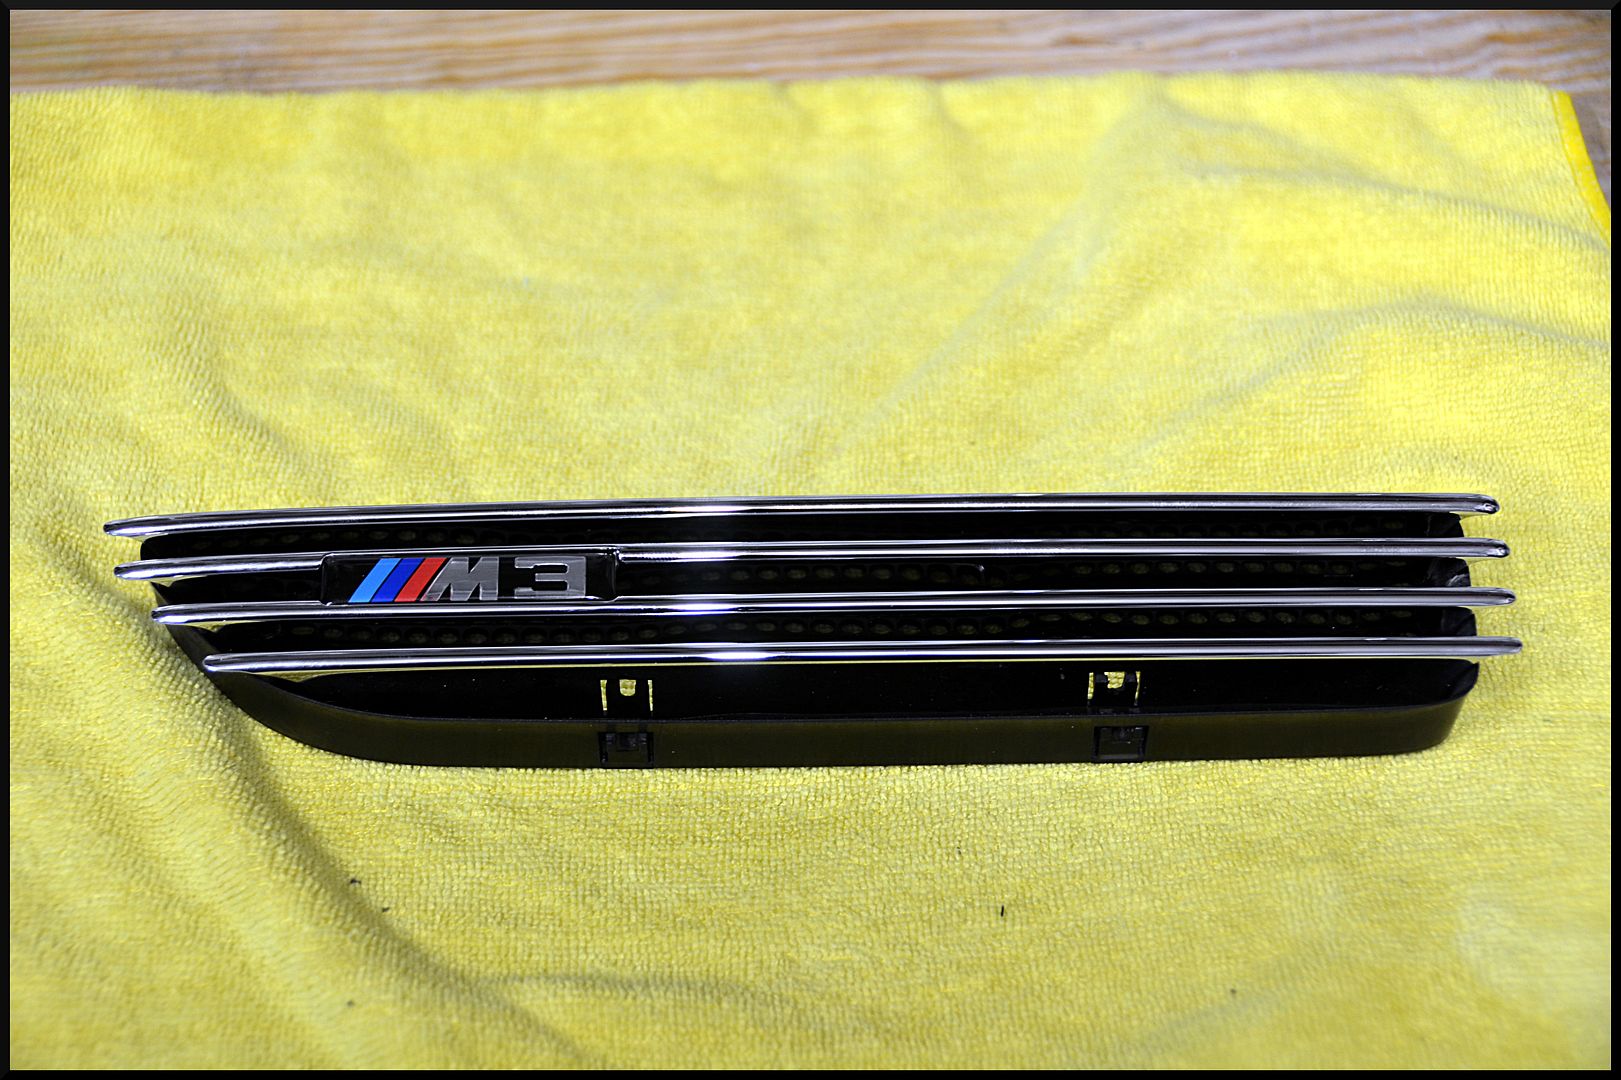
We were very happy with the results that were achieved. The scratches and swirls were all but eliminated from the paint. We also noticed that the fender emblems had seen better days. We removed, disassembled, and polished them to make them look better than new.

Finally, the paint was sealed with Car Pro Reload, the tires dressed with Car Pro PERL, and the glass cleaned inside and out with Car Pro Eraser. Here is how it all turned out.
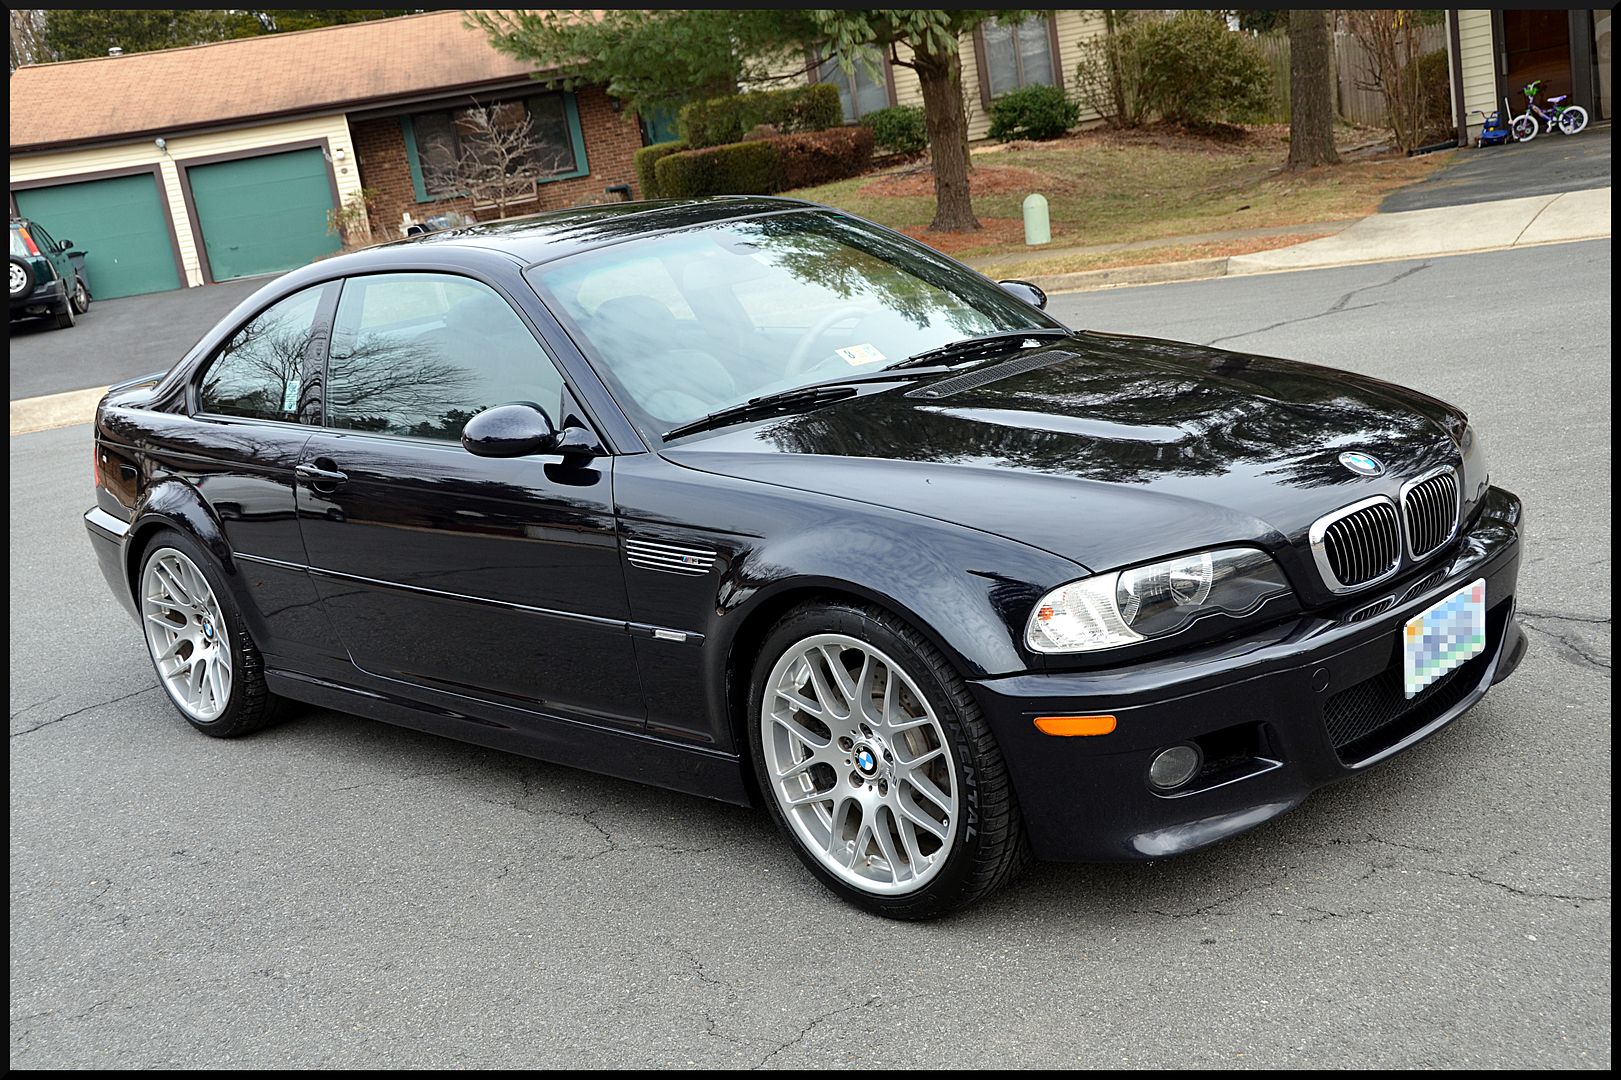
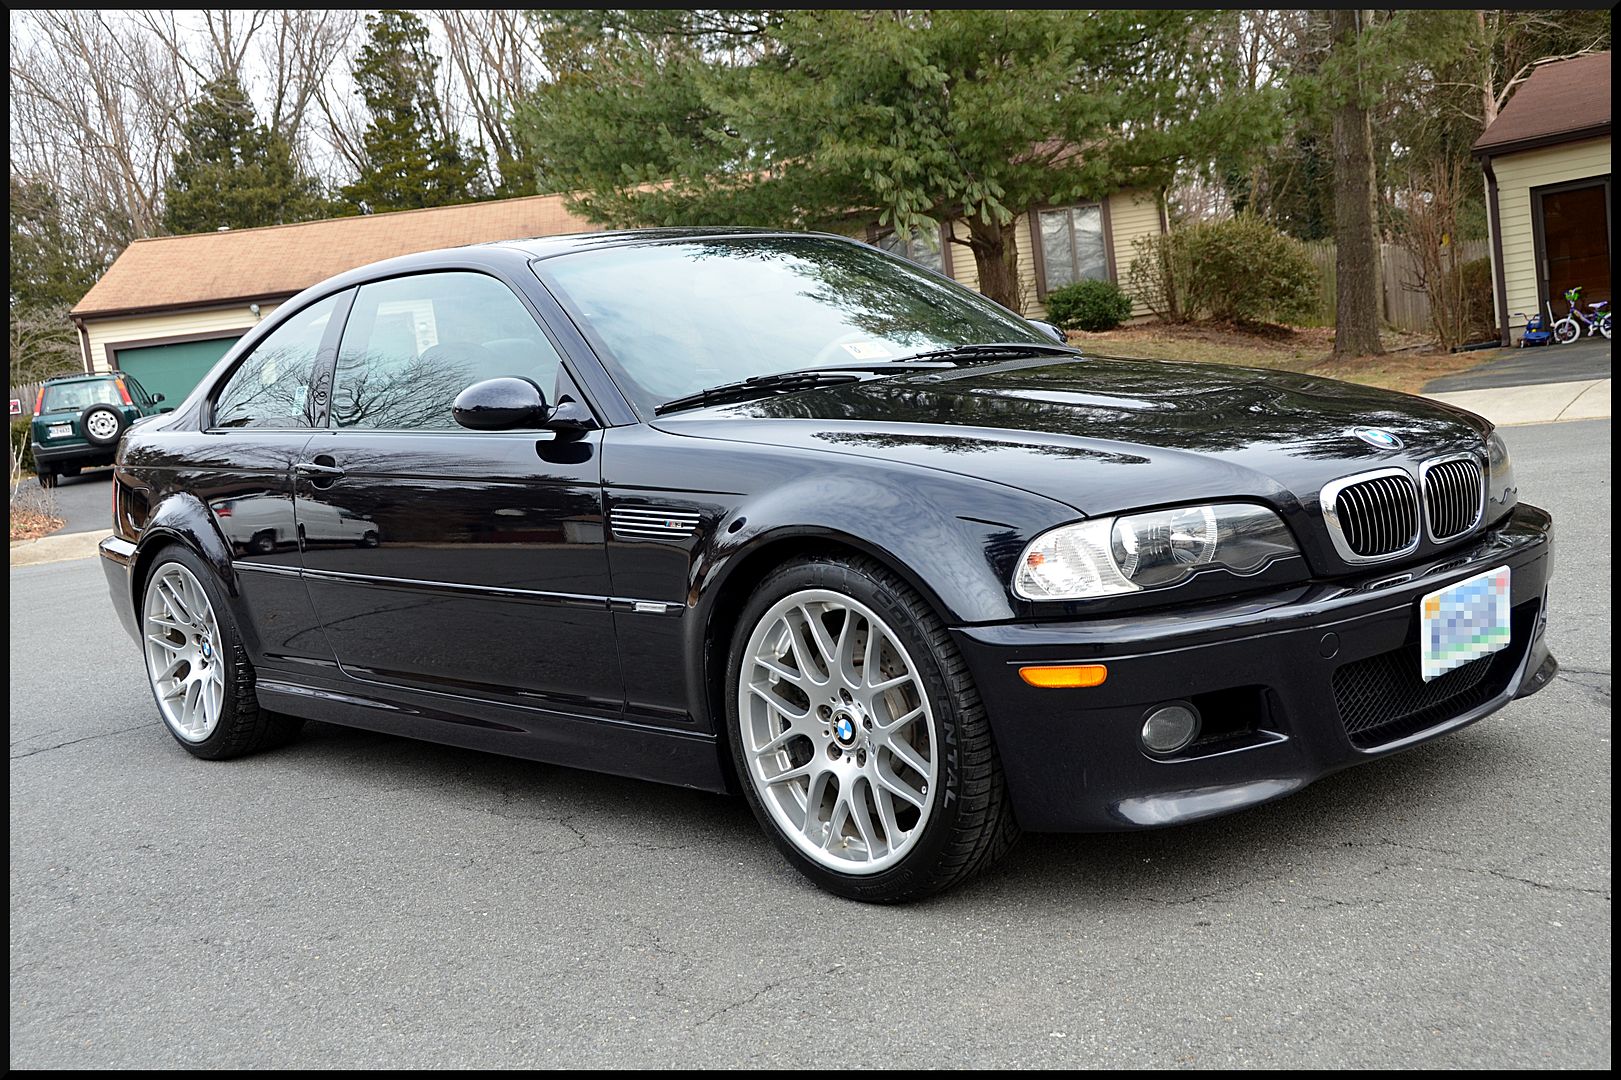
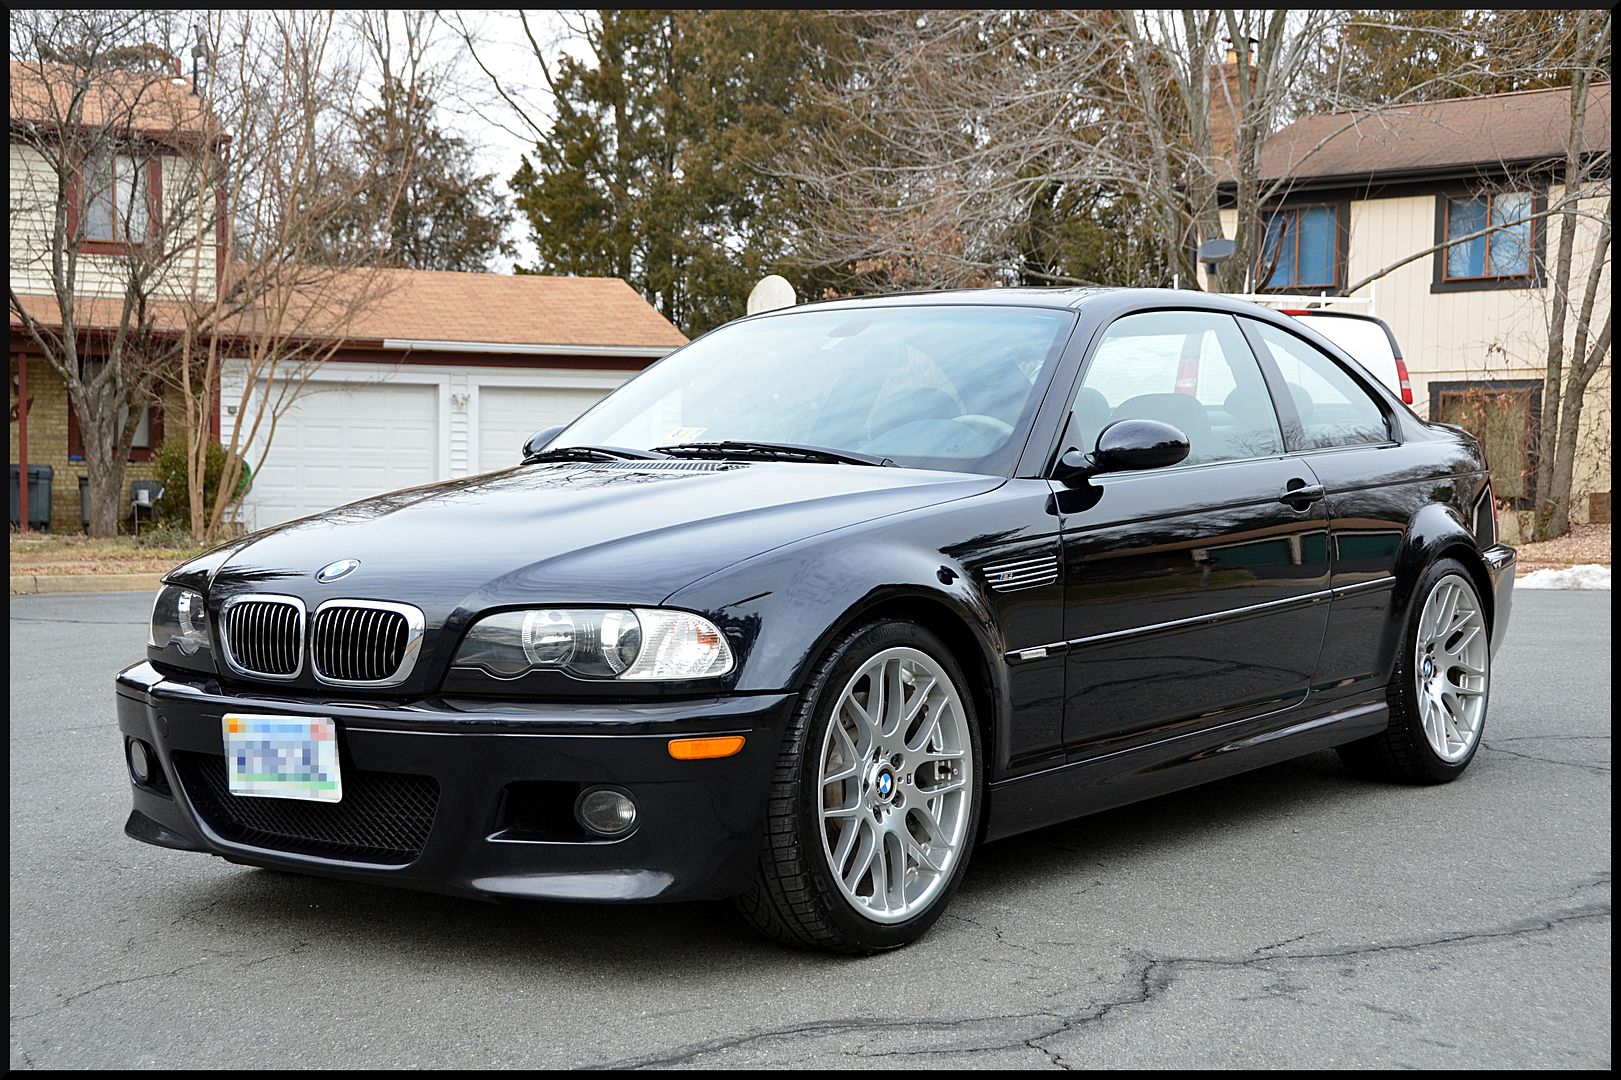
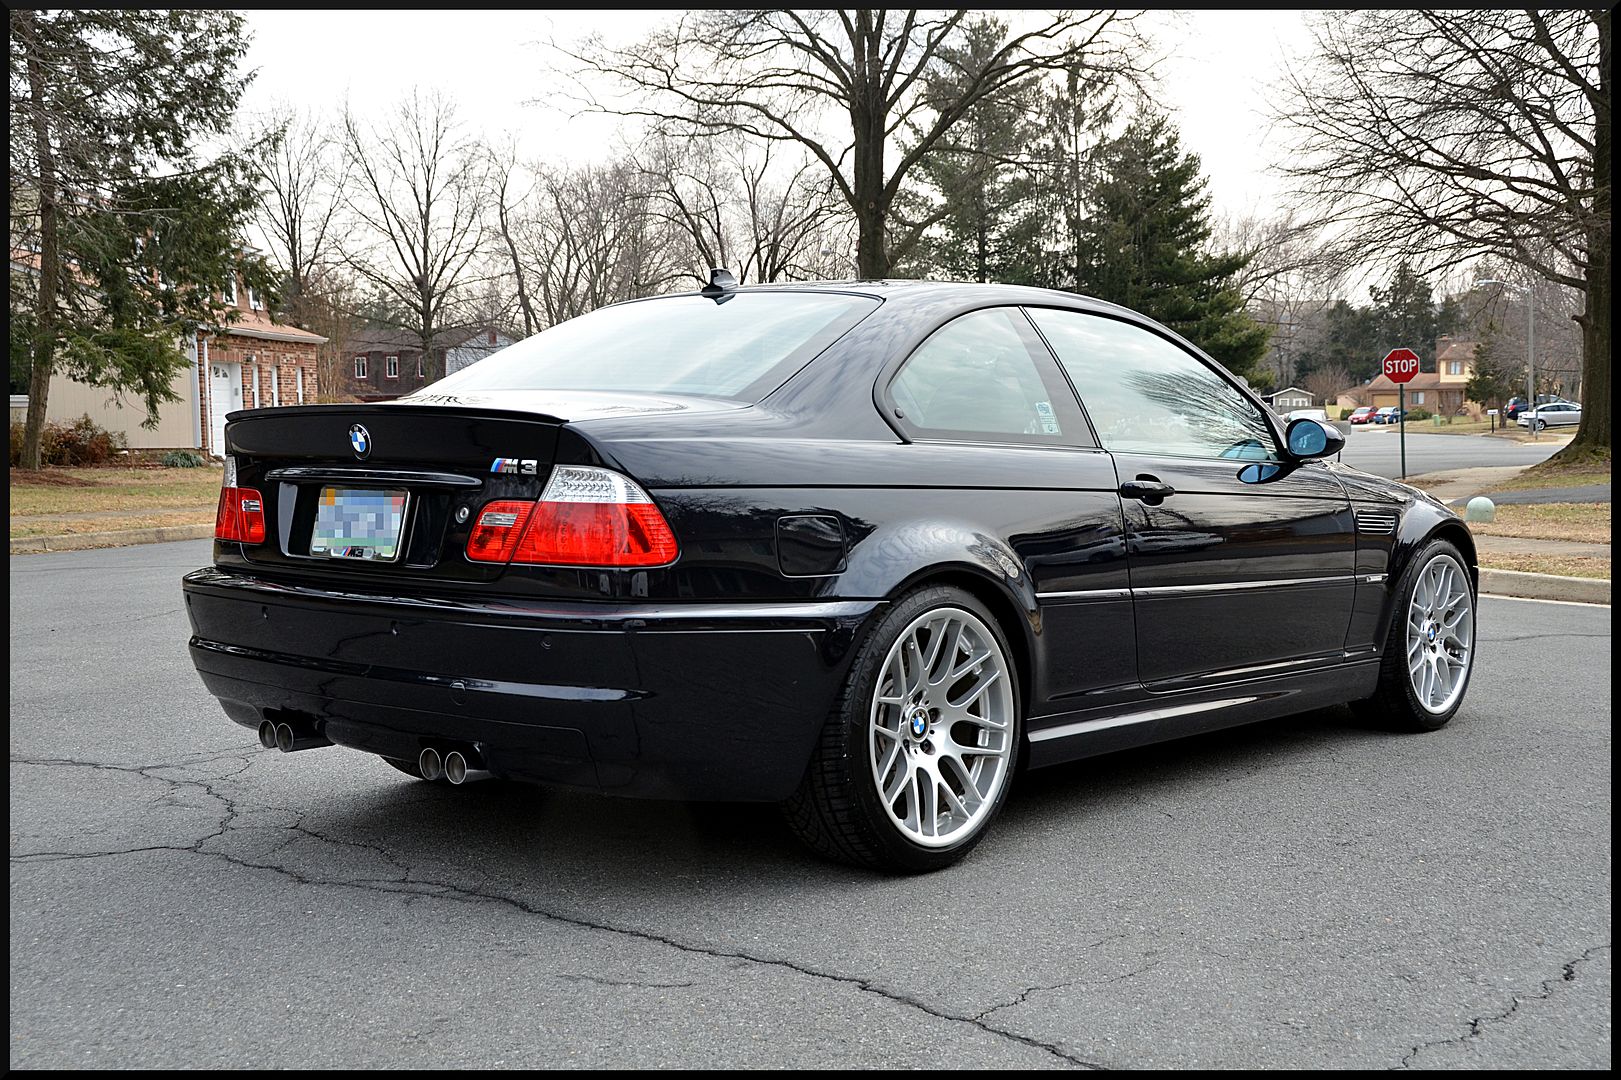
This car was a blast to work on since it is still one of my favorite body styles in my favorite color. As always, we really appreciate you taking the time to check out our write up and leave us feedback.
-Dave
As usual the detail started with a hand wash followed by a light clay bar treatment to remove a little bit of contamination that had been picked up since its last detail. We could now see the true condition of the paint. The trunk was the main area that the cat scratched up, but you can see pretty deep swirls all over.


We took paint readings and had plenty of room to get a bit aggressive. We settled on a two step correction process. The first step was M205 on a microfiber pad with the Rupes, which finished out very well. We followed that up with Car Pro Reflect on a black Car Pro pad for a crystal clear finish.


We were very happy with the results that were achieved. The scratches and swirls were all but eliminated from the paint. We also noticed that the fender emblems had seen better days. We removed, disassembled, and polished them to make them look better than new.


Finally, the paint was sealed with Car Pro Reload, the tires dressed with Car Pro PERL, and the glass cleaned inside and out with Car Pro Eraser. Here is how it all turned out.


This car was a blast to work on since it is still one of my favorite body styles in my favorite color. As always, we really appreciate you taking the time to check out our write up and leave us feedback.
-Dave