Mike Phillips
Administrator
The Reverse Test Spot
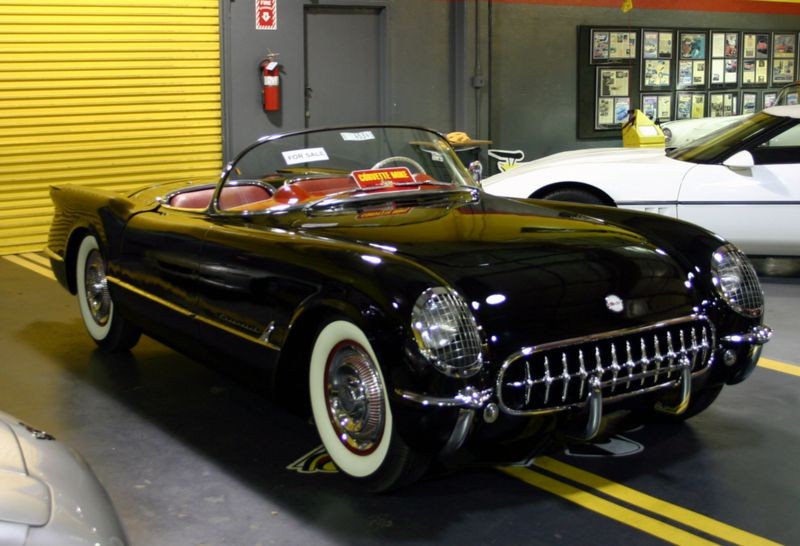
One time I had a chance to work on a very cool 1954 Corvette for Corvette Mike. I had never met Mike before and he hired me based upon a recommendation by Mike Kennedy from Meguiar's.
I showed up for the job with my Brinkman Swirl Finder Light to inspect the finish myself but to also show Mike the true condition of the paint before I started working on it. I found out that Mike would be out of the office till that evening.
While I knew that he knew the finish was a wreck otherwise why would he hire me to work on the car, I also knew that it's easy to forget how horrible a finish started out after it's been restored. Because this was the first time I worked for this gentleman I wanted to make a great first impression and since I couldn't do a normal Test Spot on the hood or deck lid to show him the before and after results BEFORE buffing out the car, I decided to tape off a section on the hood and then buff out the entire car except this one spot.
Then when he arrived I would show him the true before condition of the paint with the Brinkman Swirl Finder Light and after showing him I could then quickly restore that one section to match the rest of the car.
I called this The Reverse Test Spot but never found time to post the write-up for this project. Since I still have all the pictures I'll post the write-up on here in the near future because there's some very interesting procedures I did to this particular car that I think others might enjoy seeing.
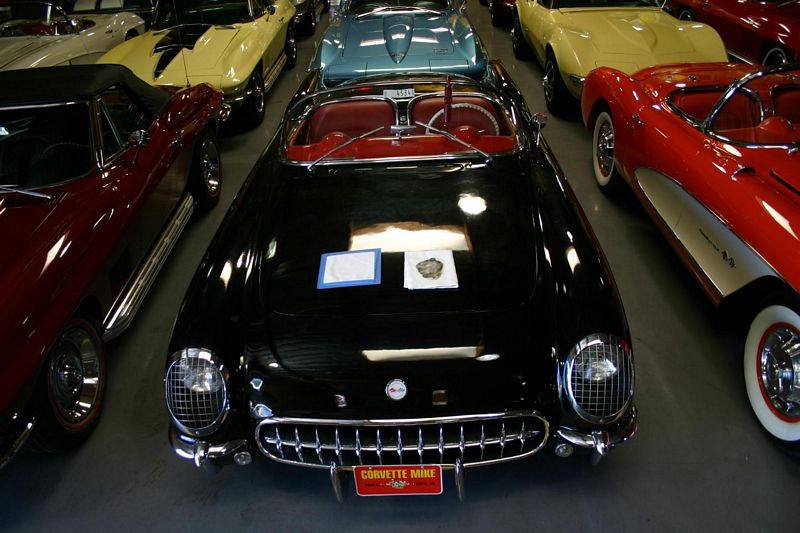
Until then, here's what the Reverse Test Spot looks like; instead of taping off a small section to work on while leaving all the surrounding paint undisturbed, you tape off and cover a small section and then disturb all the surrounding paint.
(The word disturb in this case means to correct and polish the paint to a high gloss
 )
)
The Reverse Test Spot
Here's what the paint looked like before when highlighted with the Brinkman Swirl Finder Light


After shots...


Think outside the spot...
One time I had a chance to work on a very cool 1954 Corvette for Corvette Mike. I had never met Mike before and he hired me based upon a recommendation by Mike Kennedy from Meguiar's.
I showed up for the job with my Brinkman Swirl Finder Light to inspect the finish myself but to also show Mike the true condition of the paint before I started working on it. I found out that Mike would be out of the office till that evening.
While I knew that he knew the finish was a wreck otherwise why would he hire me to work on the car, I also knew that it's easy to forget how horrible a finish started out after it's been restored. Because this was the first time I worked for this gentleman I wanted to make a great first impression and since I couldn't do a normal Test Spot on the hood or deck lid to show him the before and after results BEFORE buffing out the car, I decided to tape off a section on the hood and then buff out the entire car except this one spot.
Then when he arrived I would show him the true before condition of the paint with the Brinkman Swirl Finder Light and after showing him I could then quickly restore that one section to match the rest of the car.
I called this The Reverse Test Spot but never found time to post the write-up for this project. Since I still have all the pictures I'll post the write-up on here in the near future because there's some very interesting procedures I did to this particular car that I think others might enjoy seeing.
Until then, here's what the Reverse Test Spot looks like; instead of taping off a small section to work on while leaving all the surrounding paint undisturbed, you tape off and cover a small section and then disturb all the surrounding paint.
(The word disturb in this case means to correct and polish the paint to a high gloss
The Reverse Test Spot
Here's what the paint looked like before when highlighted with the Brinkman Swirl Finder Light
After shots...
Think outside the spot...

")