We have lots of cars to post up for you guys to read about, but not all can be "feature" cars due to factors such as time constraints, after photos not good enough, etc. For these car who deserve their mention we present:
The Official AutoLavish Ongoing Detail Thread
This thread will get updated each time we have another car to post, so you will want to check in from time to time and get the latest. We will, of course, continue to provide our typical "featured" detailed write-ups posted on a quasi-weekly basis, as we have so far. But this thread will hopefully let us catch up with all the other worthy details!
First, to serve as a repository, here are links to our other posts on the forum:
Twin Turbo Lamborghini Gallardo
1987 Buick Grand National
1929 Ford Roadster
2008 BMW 135i
2010 Chevrolet Camaro RS
2010 Chevrolet Camaro SS
Porsche 996 Turbo
Cadillac CTS-V
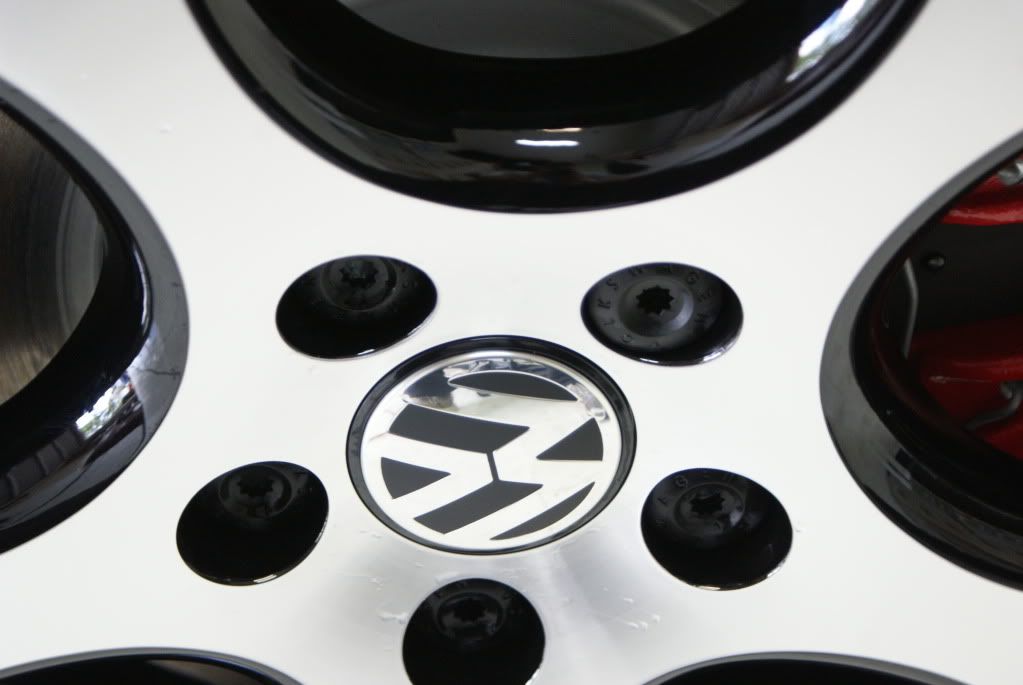
VW Collection
2006 Audi A8L
2009 Porsche 997
Mitsubishi Evo X
Porsche 996 Ruf RTurbo
VW Collections
Second Detailing Trip to Puerto Rico - Intro Thread
Audi RS4
Acura TL
1993 Mazda RX-7
2007 Jeep Wrangler
Ford GT and Lamborghini LP560 - both Twin Turboed!
2007 Porsche 997 Carrera S
Mitsubishi Evo 8
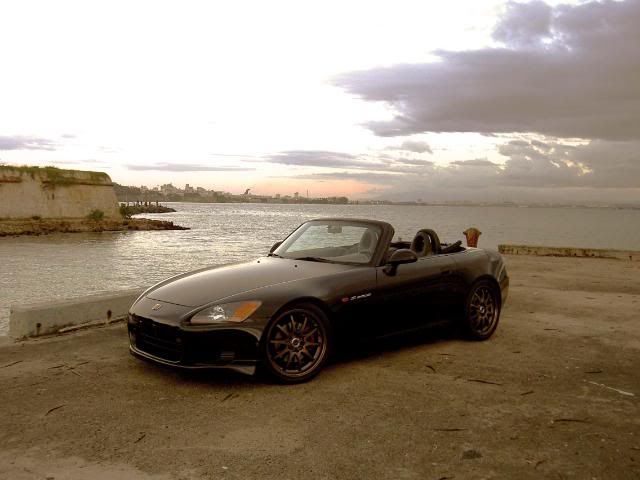
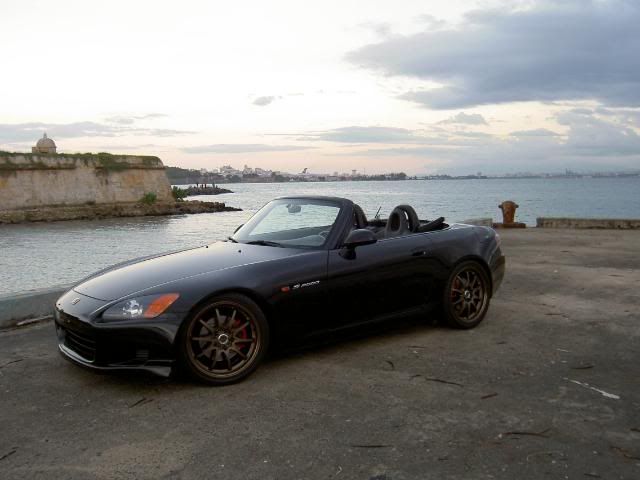
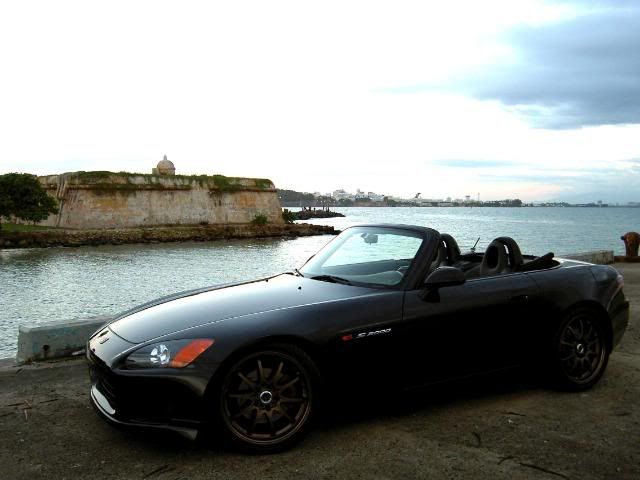
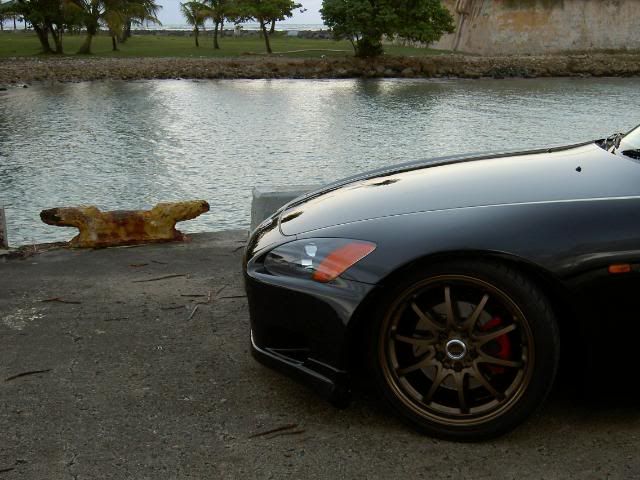
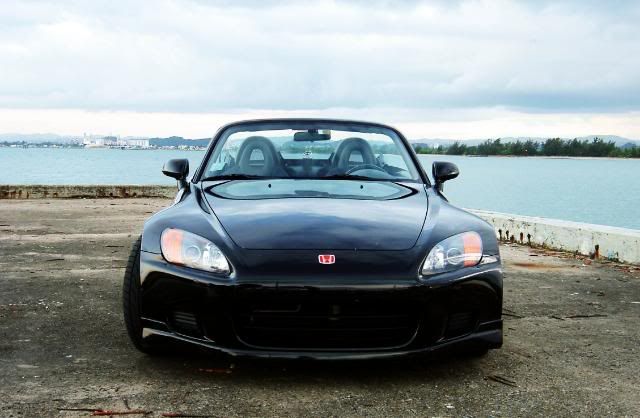
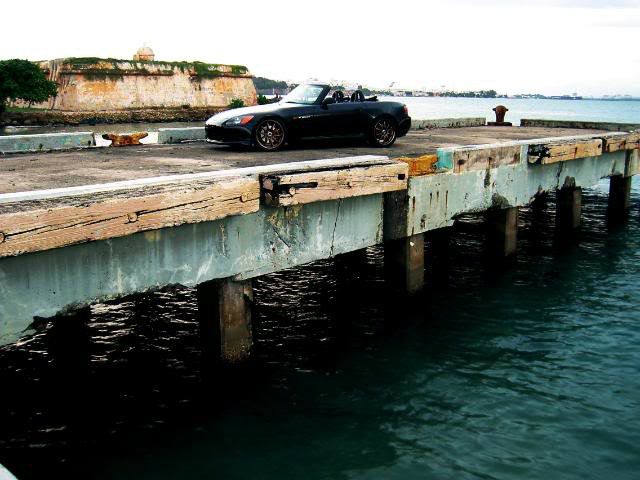
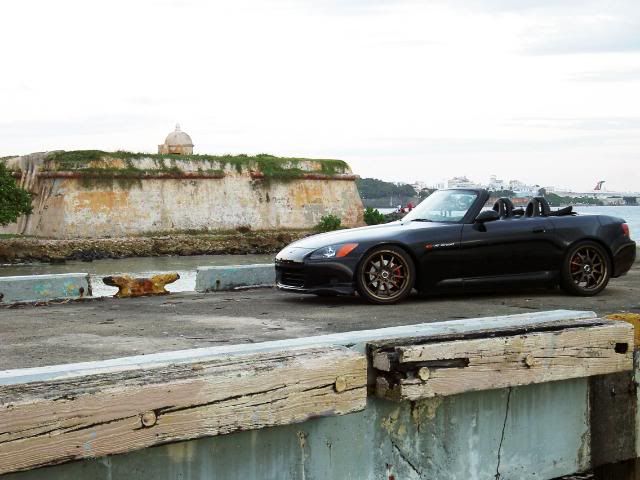
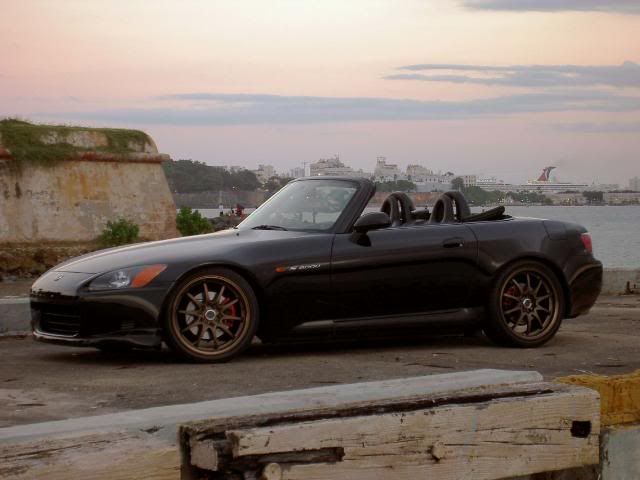
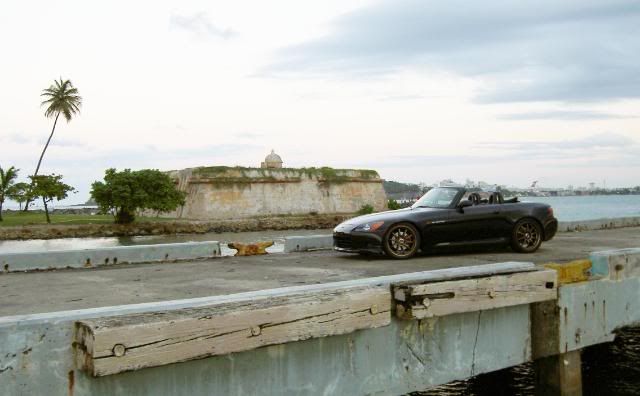
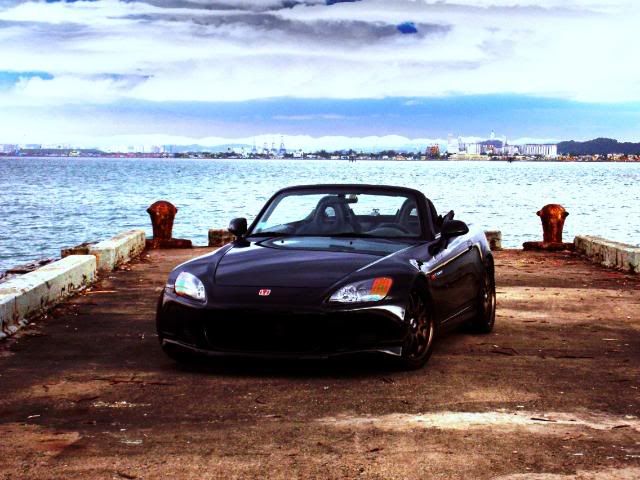
Marc's S2000 gets some love
Mitsubishi Evo 8
2001 Lincoln Continental
Porsche 997 Carrera
Porsche 993 RS CS Race Car
So without further ado, lets get this going!
I will post up a few vehicles done, consecutive, to get this thread "up to date". Then, every few days I will add new ones, and update the title.
Enjoy!
The Official AutoLavish Ongoing Detail Thread
This thread will get updated each time we have another car to post, so you will want to check in from time to time and get the latest. We will, of course, continue to provide our typical "featured" detailed write-ups posted on a quasi-weekly basis, as we have so far. But this thread will hopefully let us catch up with all the other worthy details!
First, to serve as a repository, here are links to our other posts on the forum:
Twin Turbo Lamborghini Gallardo
1987 Buick Grand National
1929 Ford Roadster
2008 BMW 135i
2010 Chevrolet Camaro RS
2010 Chevrolet Camaro SS
Porsche 996 Turbo
Cadillac CTS-V
VW Collection
2006 Audi A8L
2009 Porsche 997
Mitsubishi Evo X
Porsche 996 Ruf RTurbo
VW Collections
Second Detailing Trip to Puerto Rico - Intro Thread
Audi RS4
Acura TL
1993 Mazda RX-7
2007 Jeep Wrangler
Ford GT and Lamborghini LP560 - both Twin Turboed!
2007 Porsche 997 Carrera S
Mitsubishi Evo 8
Marc's S2000 gets some love
Mitsubishi Evo 8
2001 Lincoln Continental
Porsche 997 Carrera
Porsche 993 RS CS Race Car
So without further ado, lets get this going!
I will post up a few vehicles done, consecutive, to get this thread "up to date". Then, every few days I will add new ones, and update the title.
Enjoy!


")


")