CalgaryDetail
Mike
I dont often post my work here but I figured why not.. here are a few I have done
ok so i think i got it... i found the source code.. thanks for the tip spoiled man... I dont know how to remove the water mark as these are on my partners comp so that i cannot do... ill tak tohim but for now i have no idea how :bigups
here is the mdx we did
This was quite the detail, the owner just purchased this vehicle and wanted the vehicle looking its best, this particular vehicle was booked for a full exterior paint correction and it was booked for a full two day. The vehicle:
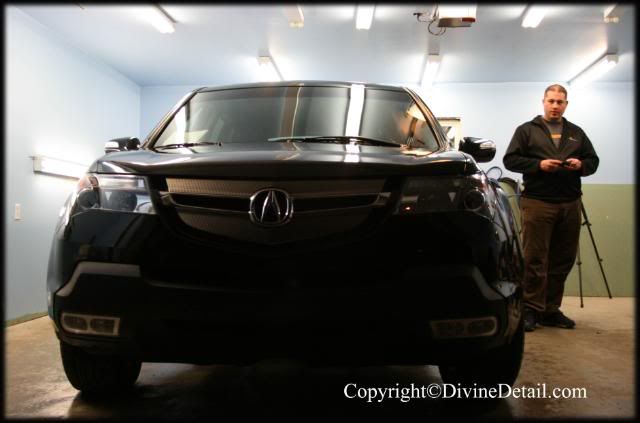
2007 Acura MDX
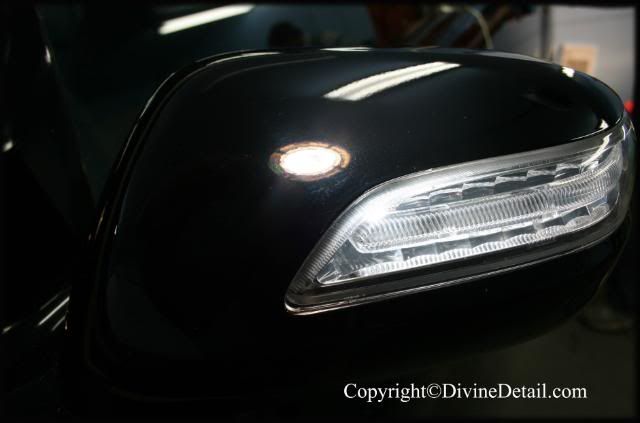
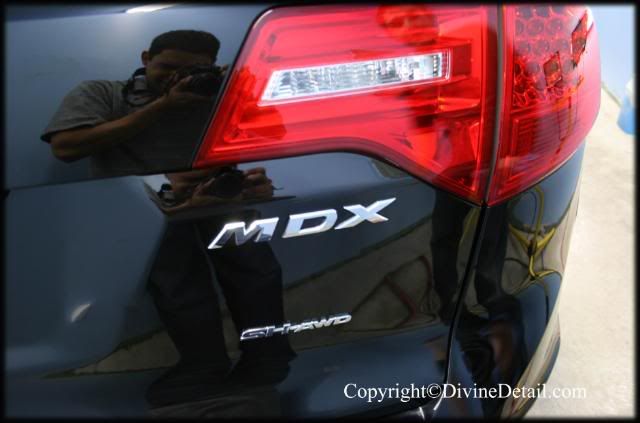
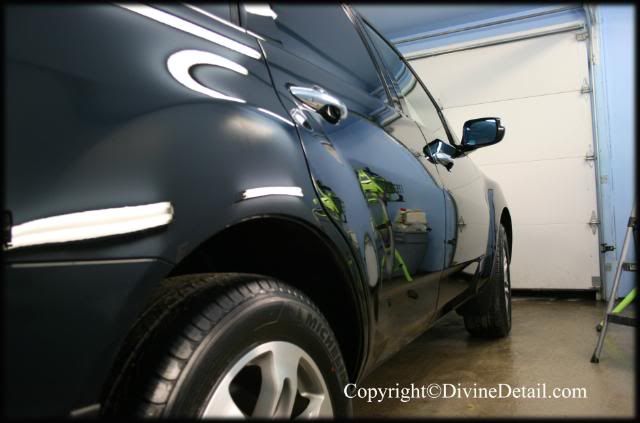
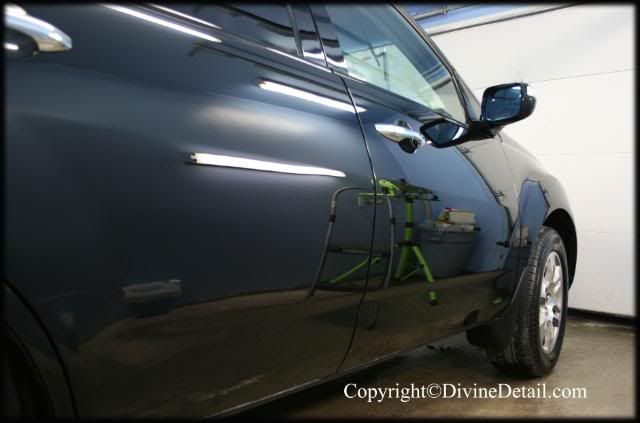
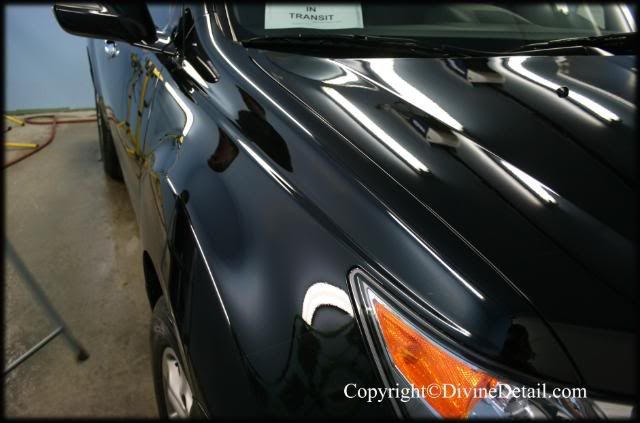
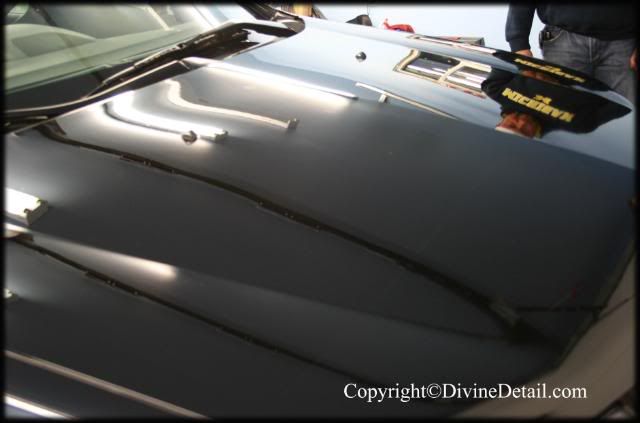
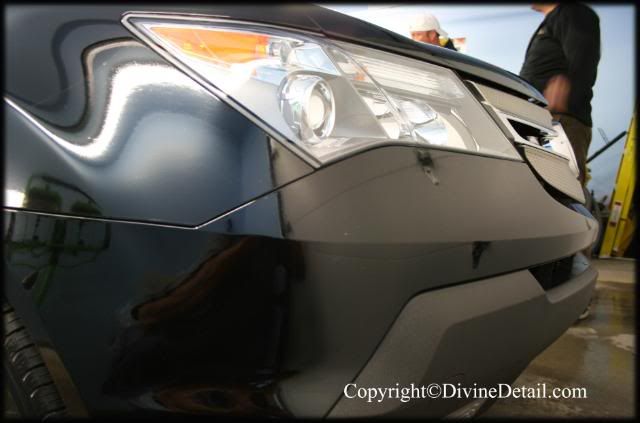
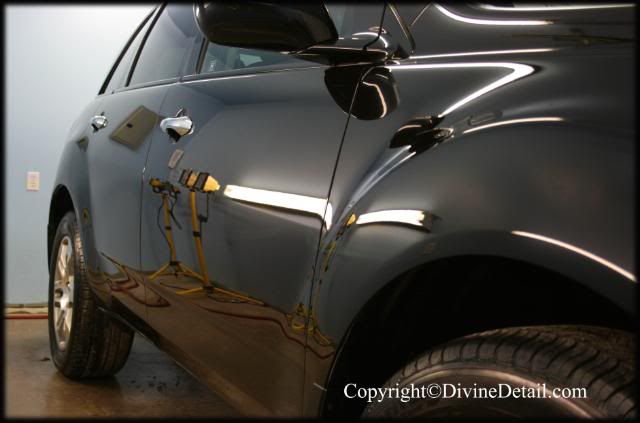
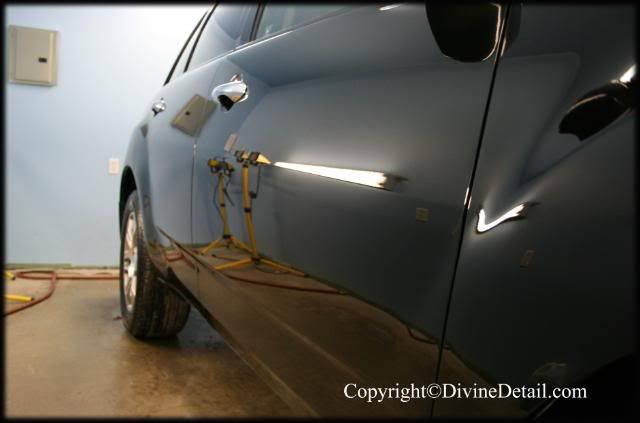
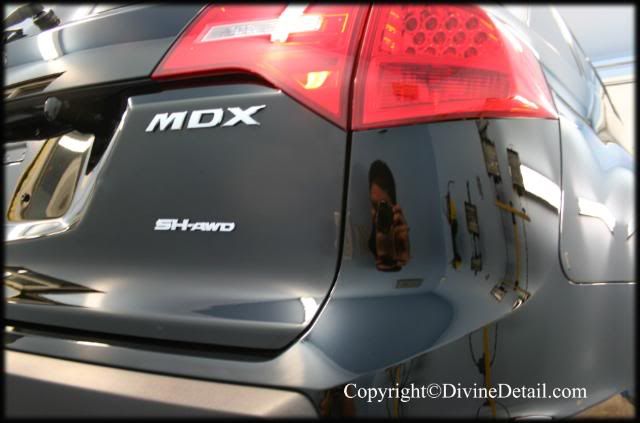
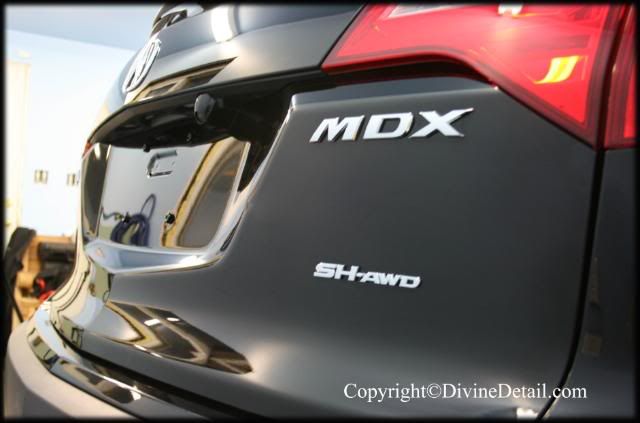
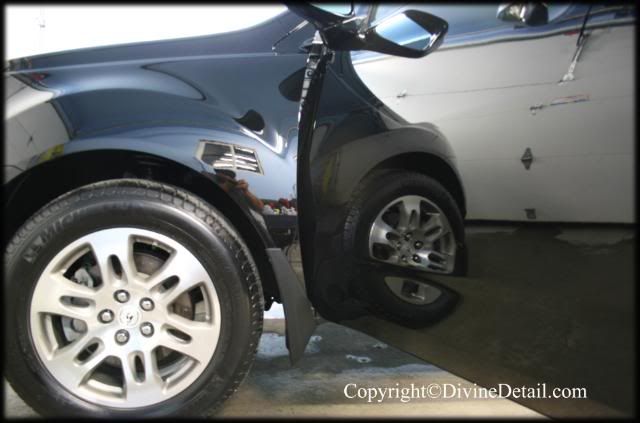
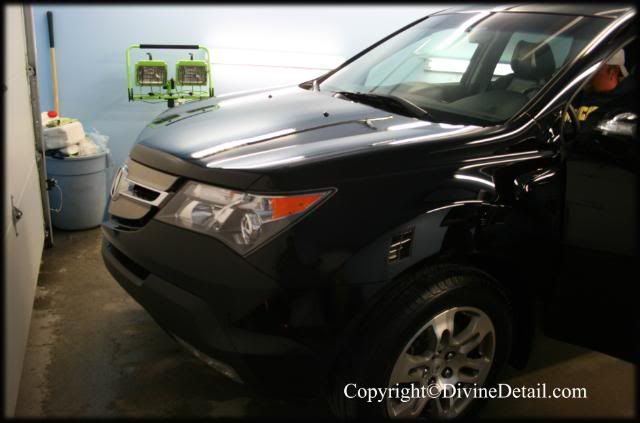
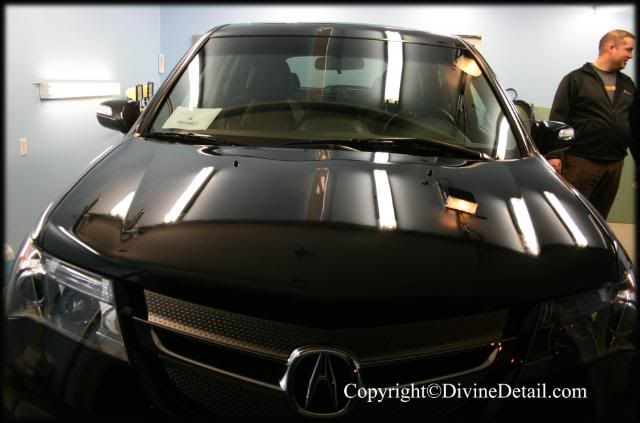
Now this is the vehicle delivered to us:
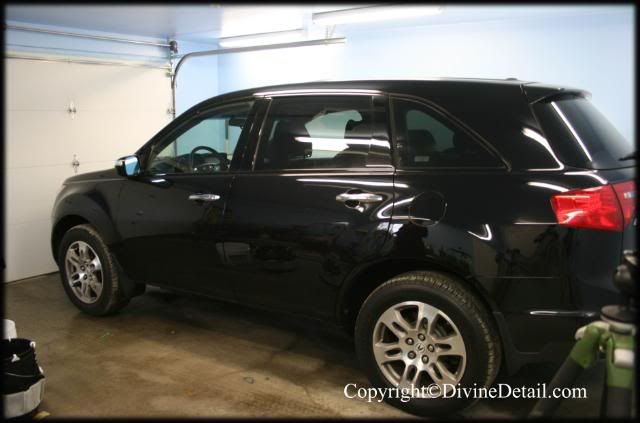
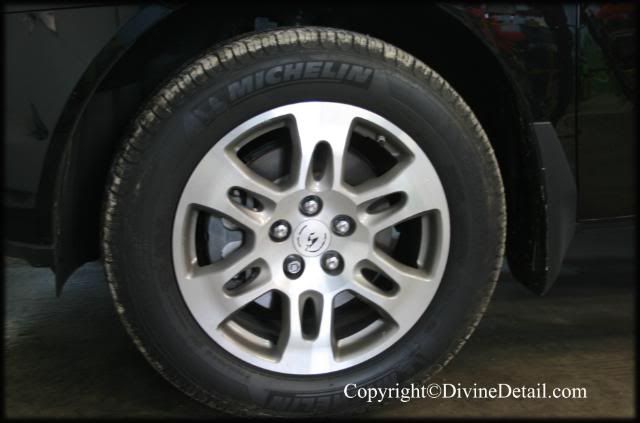
These pictures are quite deceiving as the vehicle “appears� to be in good conditions but it’s far from it. Well on with the detail.
First of all the CR Spotless System is connected and ready to go:
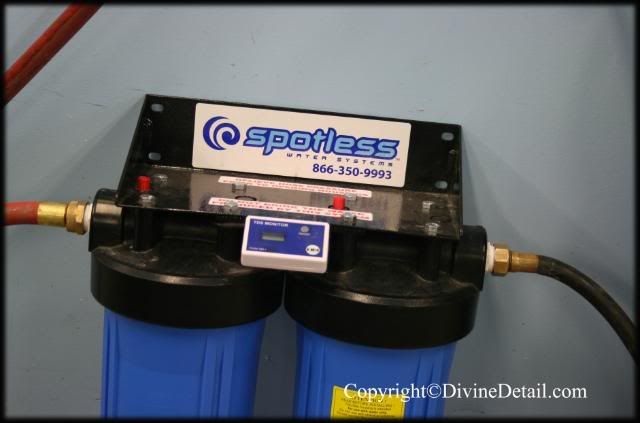
Tools are picked out to start with the wheel wells, rims and tires:
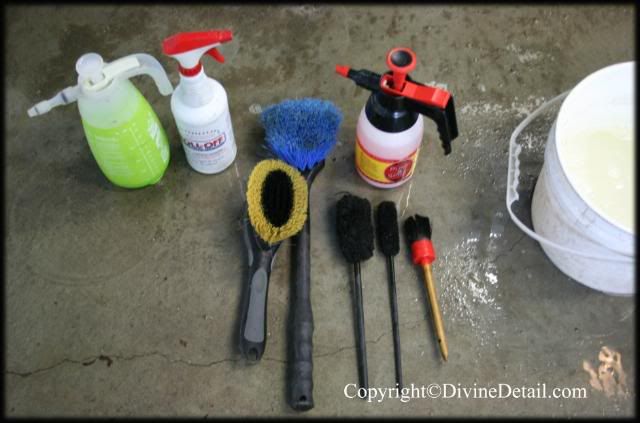
First the entire vehicle was given a rinse, then the wheel wells were given a healthy coat of P21S Total Auto Wash:
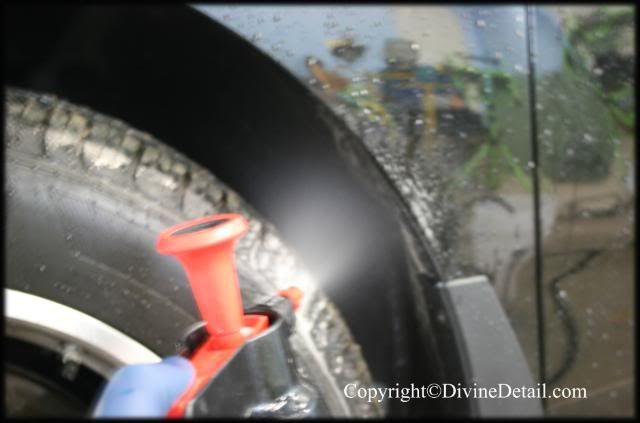
Wile letting Total Auto Wash duel, P21S Gel was used on the rims, first the face of the rims:
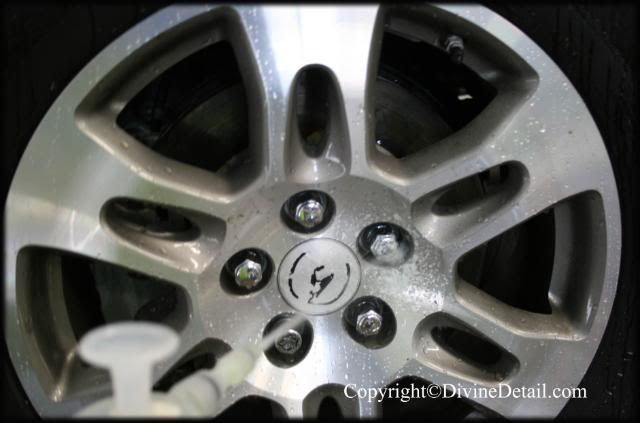
Then we made sure to get the P21S Gel all the way inside the rims:
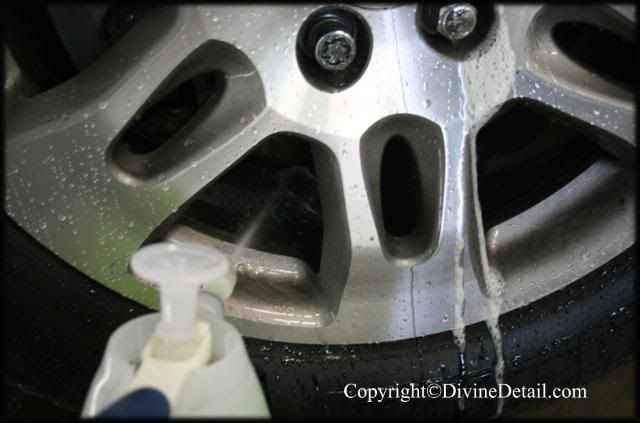
Tires received a coat of Amazing Roll Off:
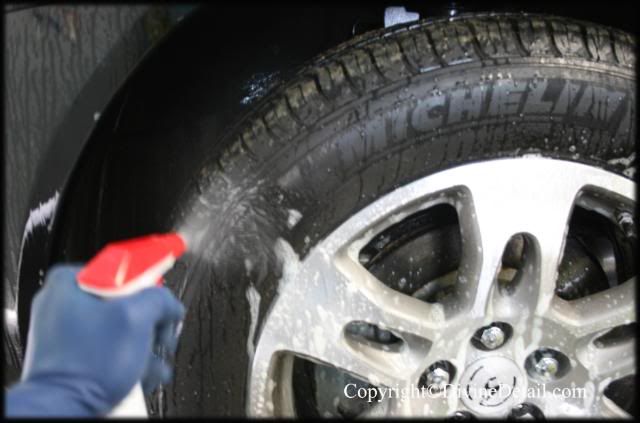
Now it was time to go back to the wheel wells and give them a good scrub with our long handle brush:
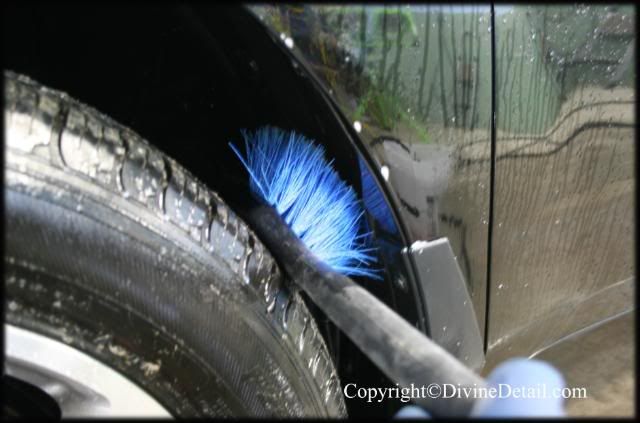
Once satisfied with the wheel wells it was time to focus on the rims. With the help of the two inch wool brush, the inside of the rim was given a thorough scrub:
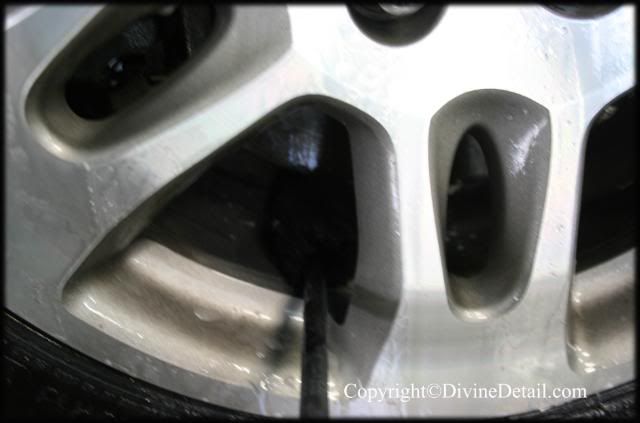
Making sure to get all the way inside the rims:
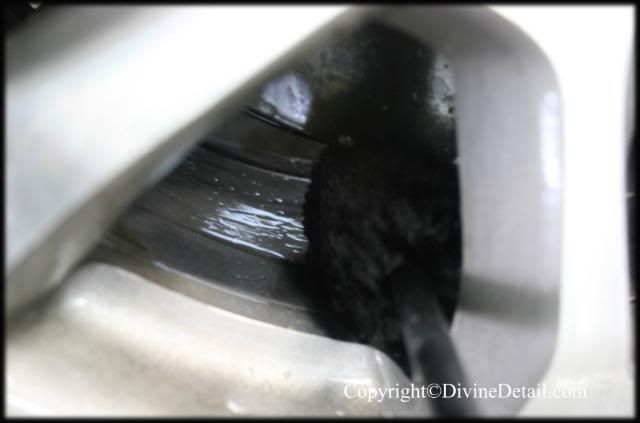
Now the two inch wool brush did not fit around the calipers so the one inch wool brush was used:
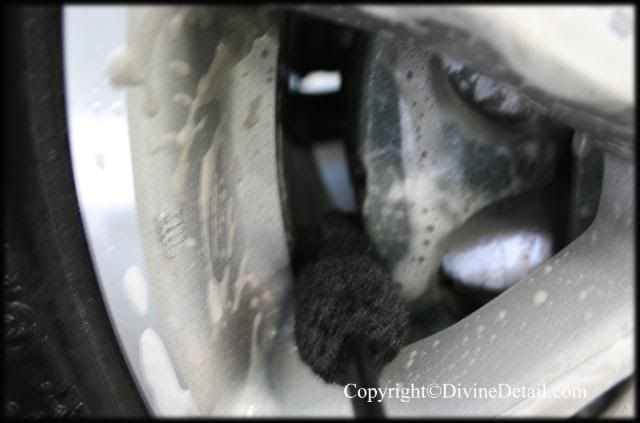
Again making sure to get all the way inside the rim:
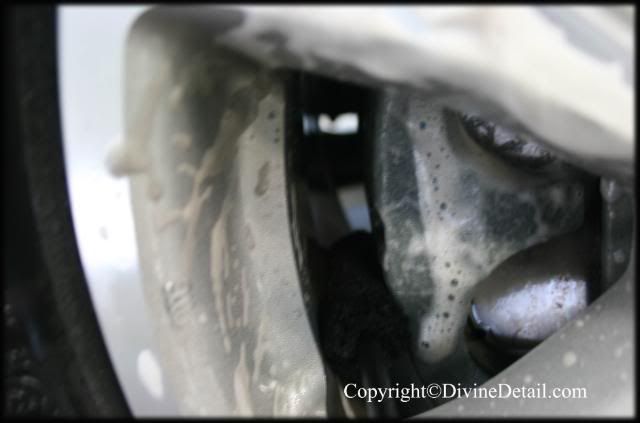
As you can see the one inch wool brush makes it quite easy to get in behind the caliper.
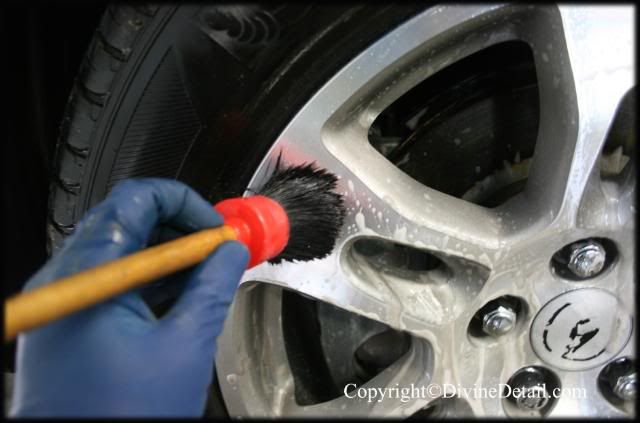
Now it was time to agitate P21S Gel on the face of the rim, with the help of a Swissvax brush the face of the rims were agitated:
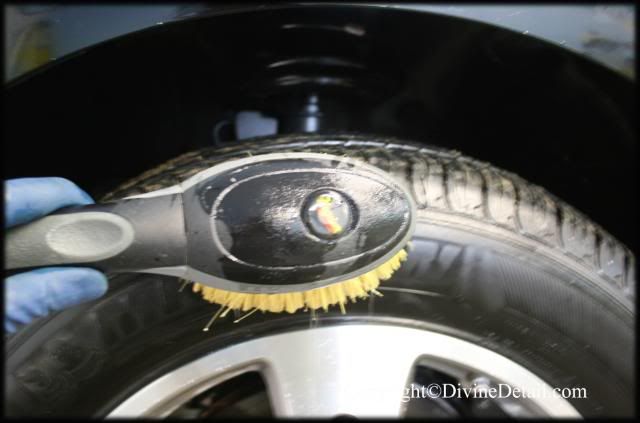
The tires were agitated with a Meg’s tire brush:
All that was left to do was to rinse the wheel wells, rims and tires:
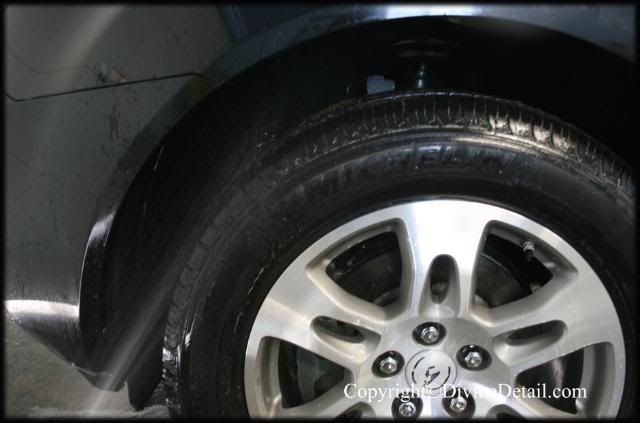
This process was followed for all rims, tires and wheel wells, now it was time to wash the rest of the vehicle. The vehicle was given a good rinse and it was noticed that something was on the surface, something that was causing the water to bead away. It was crucial to remove all previous protection off the vehicle so prior to washing the vehicle it was given a healthy coat of P21S Total Auto Wash:
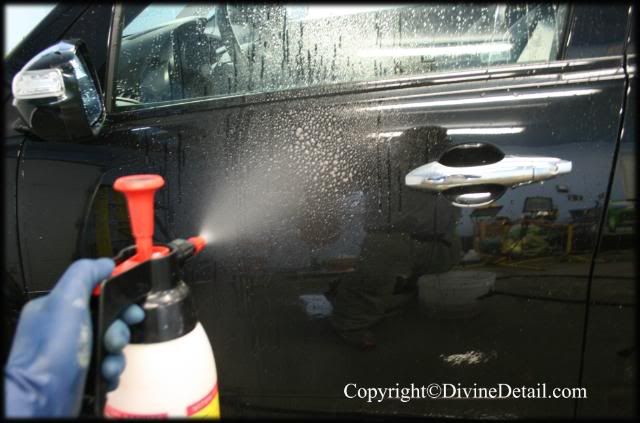
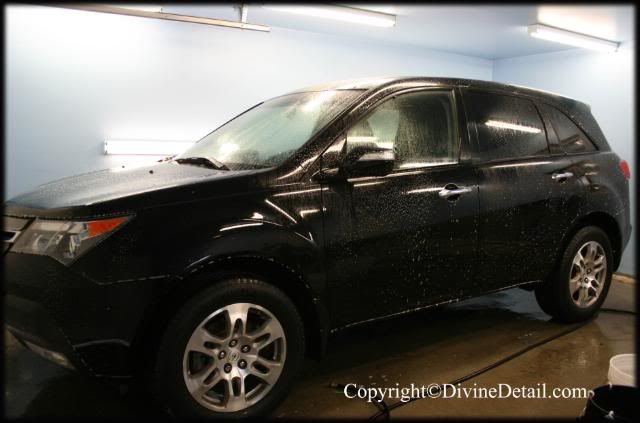
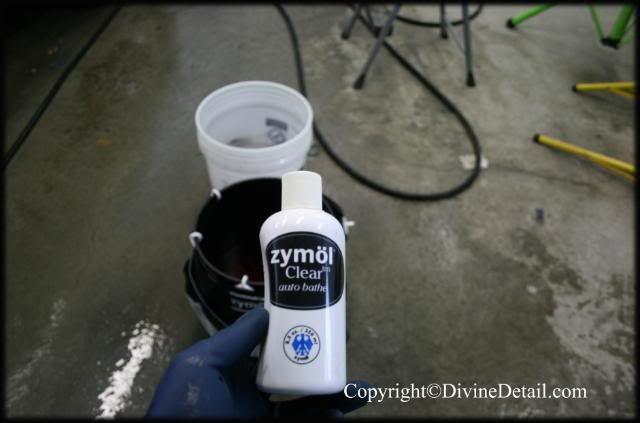
While P21S Total Auto Wash was left to duel on the surface of the vehicle, it was time to get the two bucket’s ready to wash the vehicle. Zymol Clear was used as shampoo.
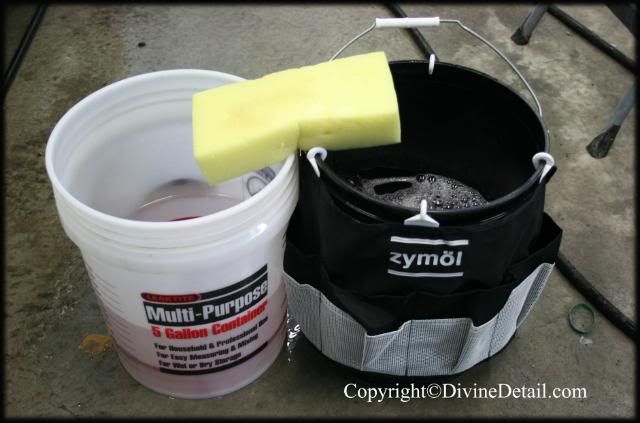
Along with a Zymol sponge:
Vehicle was given a good wash. After the entire vehicle had been washed it was time to start claying the vehicle. The vehicle was clayed with a Riccardo Clay Bar:
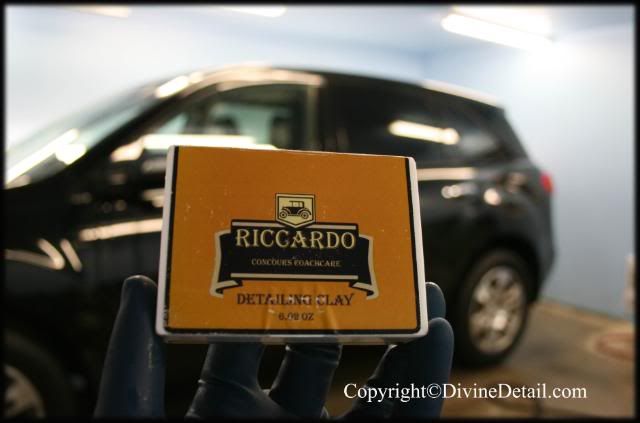
Here is how the clay bar finished off:
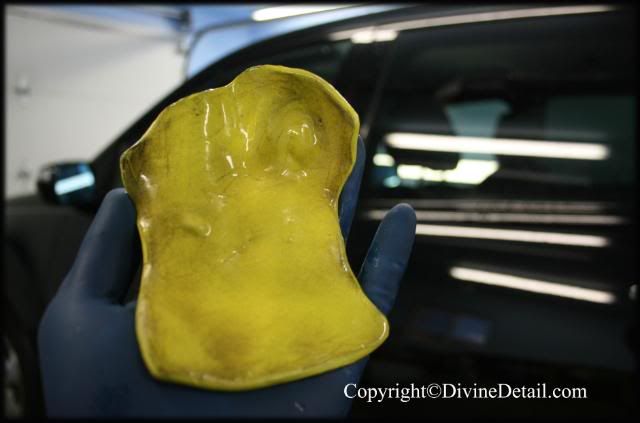
Vehicle had quite a bit of contamination and surprisingly no tar and hardly any tree sap. It has some tree sap but nothing that Riccardo couldn’t take care off.
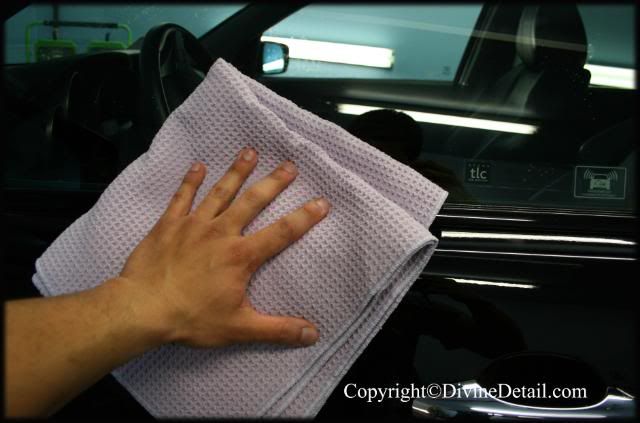
Well the vehicle was given another rinse and dried with our waffle weaved micro fiber towels:
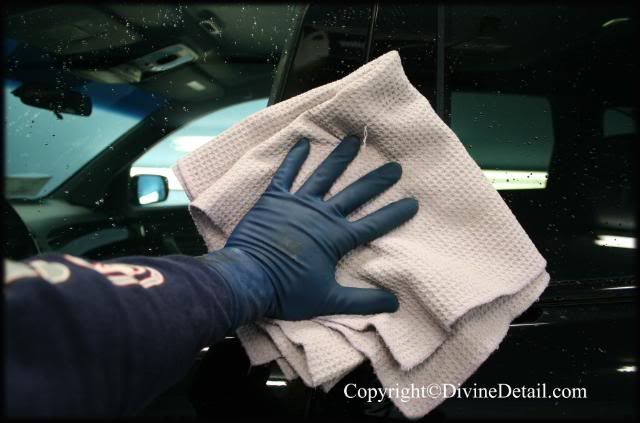
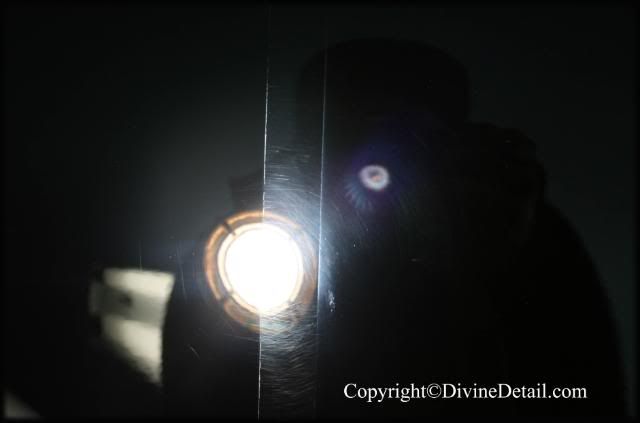
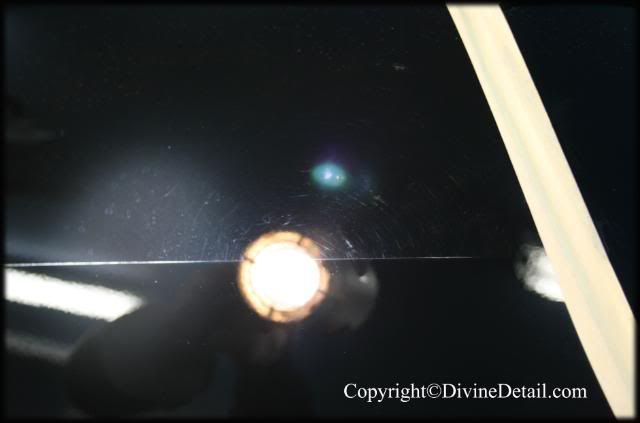
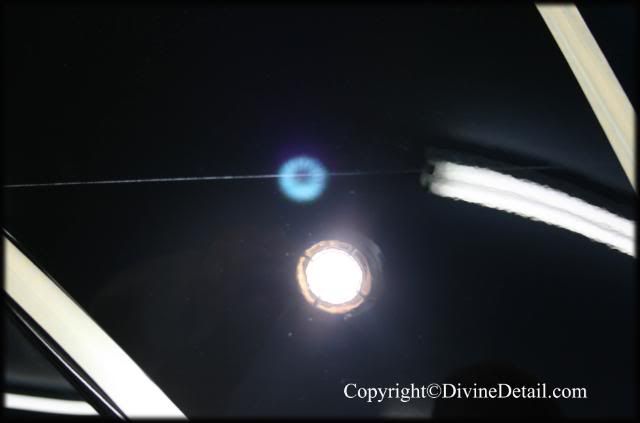
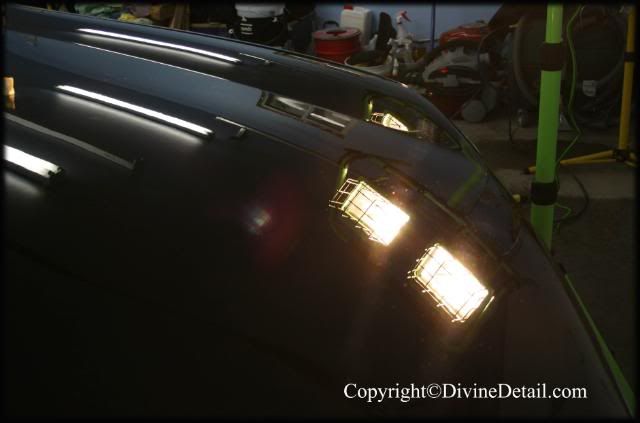
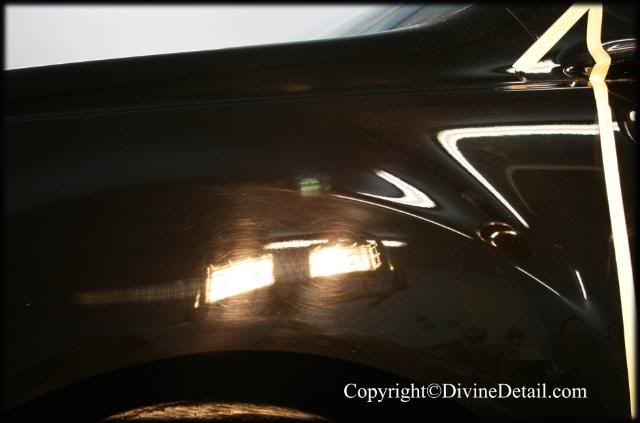
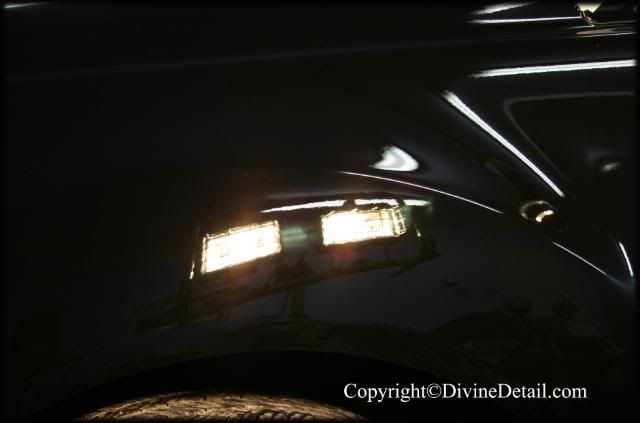
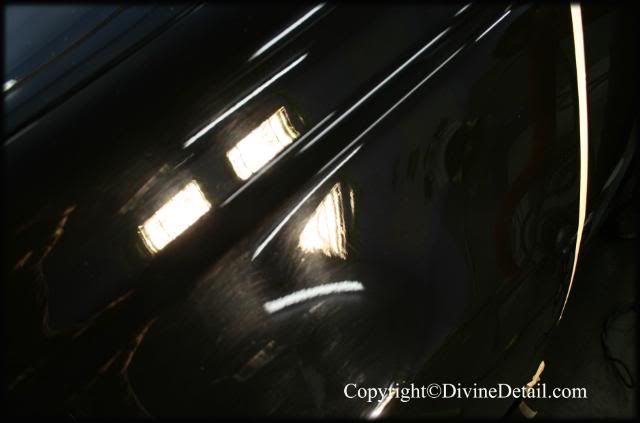
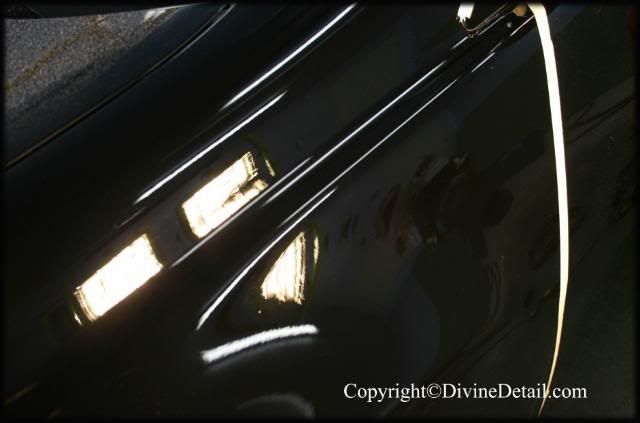
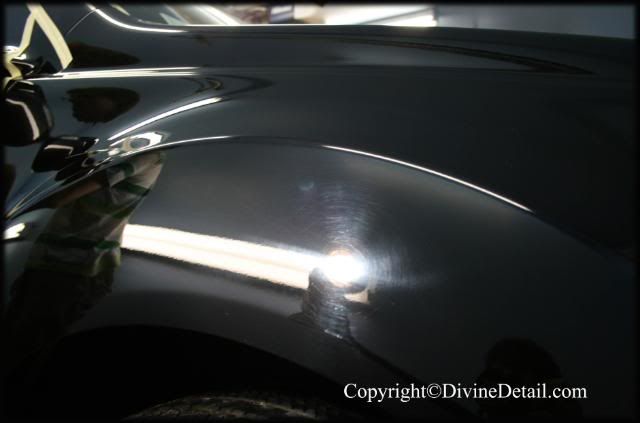
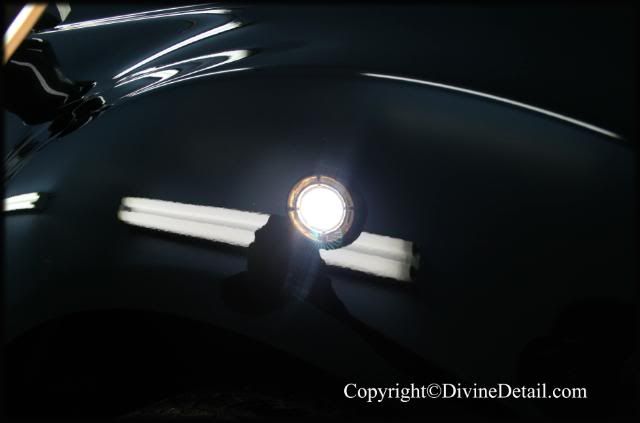
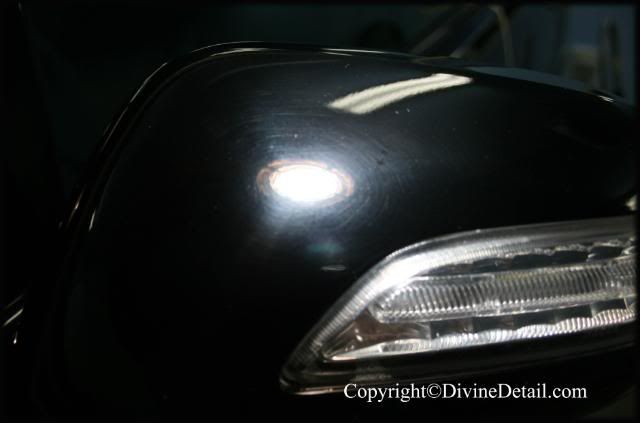
After the vehicle had been completely dried off it was time to tape off the vehicle, once it was taped off with the help of our 3M Sun Gun it was time to see the true condition of the vehicle, here are some pictures as to what we are up against:
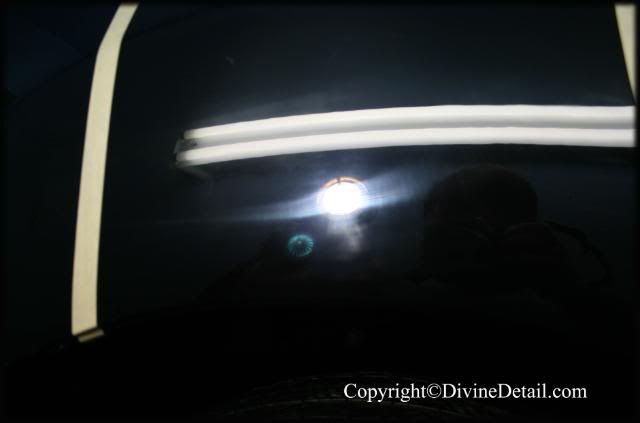
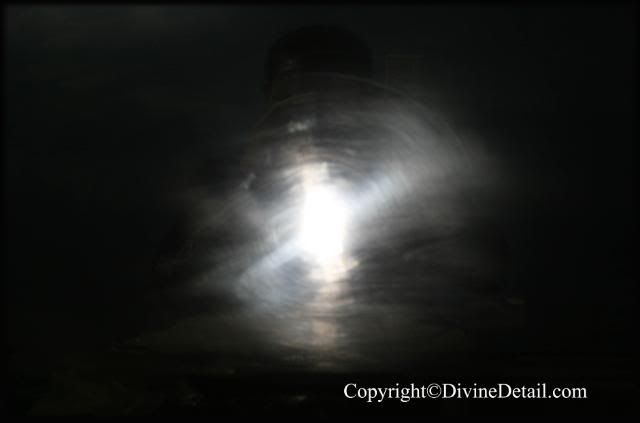
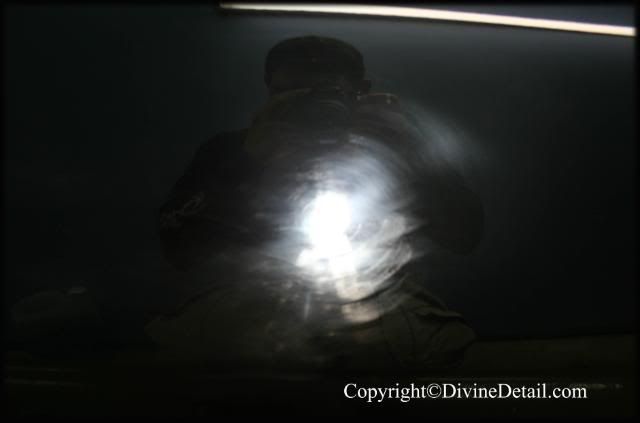
This was quite interesting as this particular section seemed to have been wetsanded but the wetsanding marks were not polished out, a mental note was made on this section as it’s never good to see wetsanding marks.
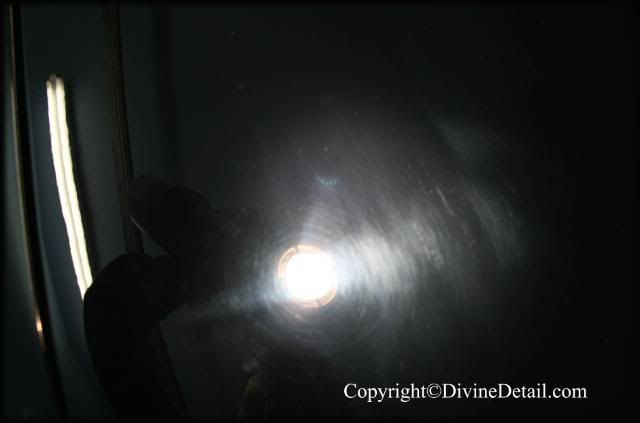
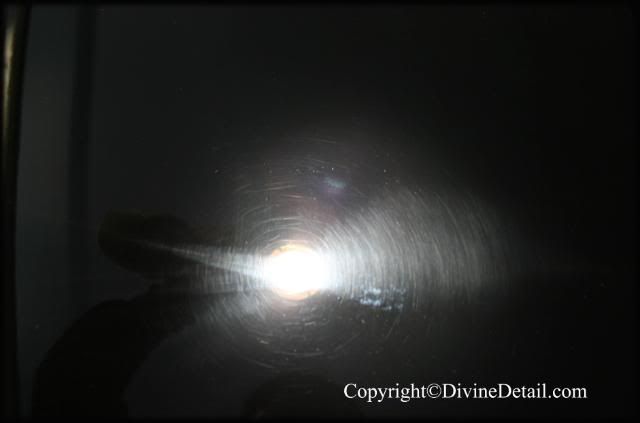
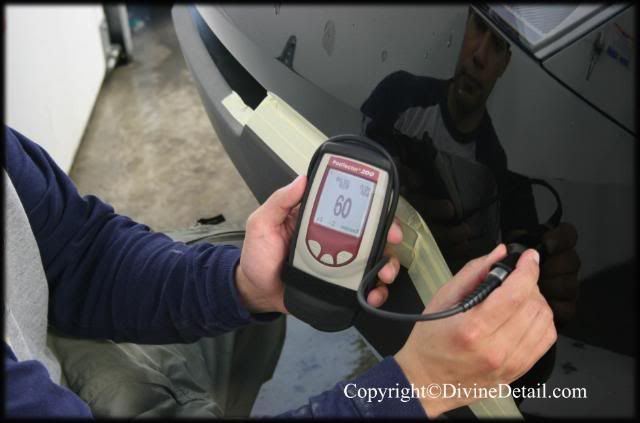
Well as you can see the vehicle was covered in swirls, holograms and shockingly wetsanding marks. Well now that we know what we are up against it was time to use the PosiTector 6000 to see how much clear coat we had to play with:
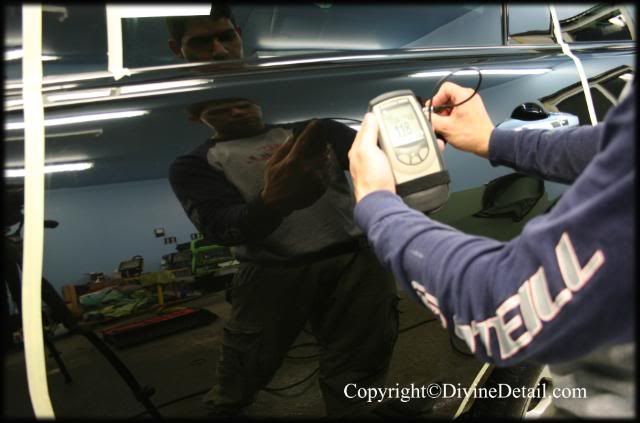
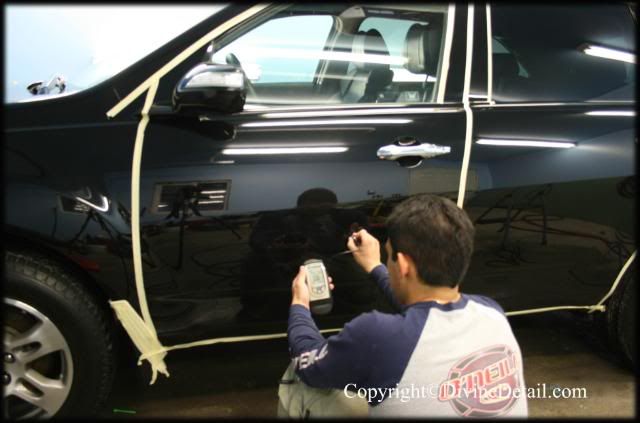
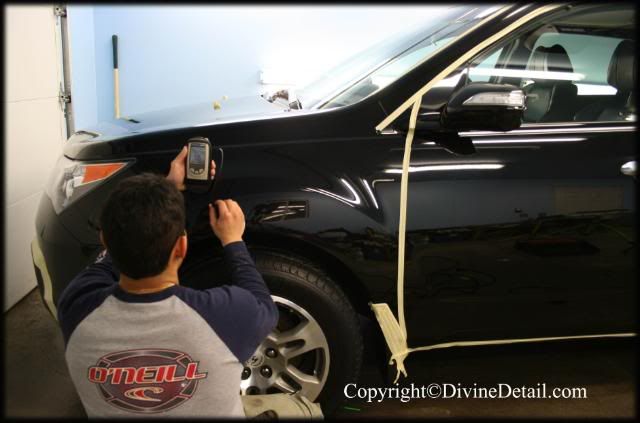
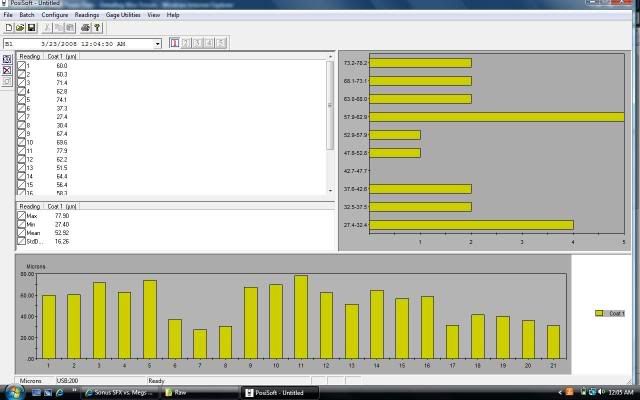
Here are the readings take with the PosiTector 6000 graphed:
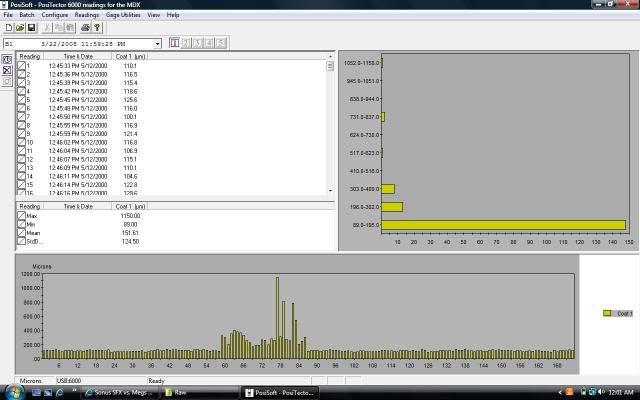
Now remember that section that had wetsanding marks, actually it’s the rear passenger door that had the wetsanding marks. Well from the graph you can see that huge spike, well the very upper portion of the rear passenger door was reading 300 (and more) microns, the mid section of the rear passenger door was reading 500 (and more) microns and the lower section (where the wetsanding marks were located) of the rear passenger door was reading 1,000 microns (and more). Oddly enough the rest of the vehicle gave us average readings ranging from 110 to 130 microns. Well obviously the rear passenger door had some work done on it.
ok so i think i got it... i found the source code.. thanks for the tip spoiled man... I dont know how to remove the water mark as these are on my partners comp so that i cannot do... ill tak tohim but for now i have no idea how :bigups
here is the mdx we did
This was quite the detail, the owner just purchased this vehicle and wanted the vehicle looking its best, this particular vehicle was booked for a full exterior paint correction and it was booked for a full two day. The vehicle:
2007 Acura MDX
Now this is the vehicle delivered to us:


These pictures are quite deceiving as the vehicle “appears� to be in good conditions but it’s far from it. Well on with the detail.
First of all the CR Spotless System is connected and ready to go:

Tools are picked out to start with the wheel wells, rims and tires:

First the entire vehicle was given a rinse, then the wheel wells were given a healthy coat of P21S Total Auto Wash:

Wile letting Total Auto Wash duel, P21S Gel was used on the rims, first the face of the rims:

Then we made sure to get the P21S Gel all the way inside the rims:

Tires received a coat of Amazing Roll Off:

Now it was time to go back to the wheel wells and give them a good scrub with our long handle brush:

Once satisfied with the wheel wells it was time to focus on the rims. With the help of the two inch wool brush, the inside of the rim was given a thorough scrub:

Making sure to get all the way inside the rims:

Now the two inch wool brush did not fit around the calipers so the one inch wool brush was used:

Again making sure to get all the way inside the rim:

As you can see the one inch wool brush makes it quite easy to get in behind the caliper.
Now it was time to agitate P21S Gel on the face of the rim, with the help of a Swissvax brush the face of the rims were agitated:

The tires were agitated with a Meg’s tire brush:

All that was left to do was to rinse the wheel wells, rims and tires:

This process was followed for all rims, tires and wheel wells, now it was time to wash the rest of the vehicle. The vehicle was given a good rinse and it was noticed that something was on the surface, something that was causing the water to bead away. It was crucial to remove all previous protection off the vehicle so prior to washing the vehicle it was given a healthy coat of P21S Total Auto Wash:


While P21S Total Auto Wash was left to duel on the surface of the vehicle, it was time to get the two bucket’s ready to wash the vehicle. Zymol Clear was used as shampoo.

Along with a Zymol sponge:

Vehicle was given a good wash. After the entire vehicle had been washed it was time to start claying the vehicle. The vehicle was clayed with a Riccardo Clay Bar:

Here is how the clay bar finished off:

Vehicle had quite a bit of contamination and surprisingly no tar and hardly any tree sap. It has some tree sap but nothing that Riccardo couldn’t take care off.
Well the vehicle was given another rinse and dried with our waffle weaved micro fiber towels:

After the vehicle had been completely dried off it was time to tape off the vehicle, once it was taped off with the help of our 3M Sun Gun it was time to see the true condition of the vehicle, here are some pictures as to what we are up against:


This was quite interesting as this particular section seemed to have been wetsanded but the wetsanding marks were not polished out, a mental note was made on this section as it’s never good to see wetsanding marks.


Well as you can see the vehicle was covered in swirls, holograms and shockingly wetsanding marks. Well now that we know what we are up against it was time to use the PosiTector 6000 to see how much clear coat we had to play with:


Here are the readings take with the PosiTector 6000 graphed:

Now remember that section that had wetsanding marks, actually it’s the rear passenger door that had the wetsanding marks. Well from the graph you can see that huge spike, well the very upper portion of the rear passenger door was reading 300 (and more) microns, the mid section of the rear passenger door was reading 500 (and more) microns and the lower section (where the wetsanding marks were located) of the rear passenger door was reading 1,000 microns (and more). Oddly enough the rest of the vehicle gave us average readings ranging from 110 to 130 microns. Well obviously the rear passenger door had some work done on it.

