ScheerSpeed
New member
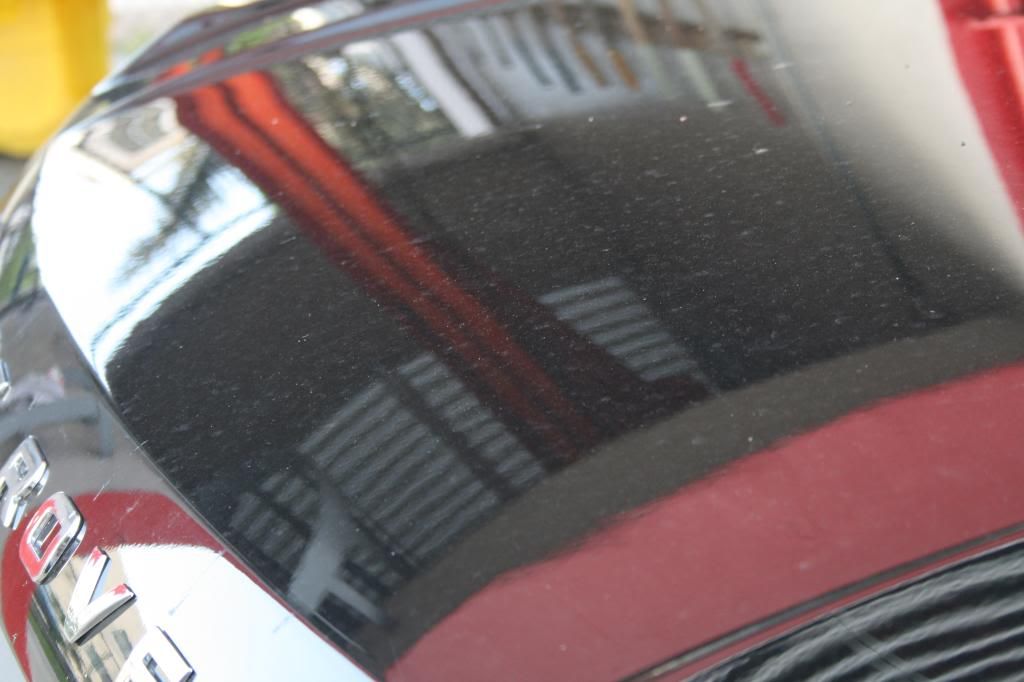
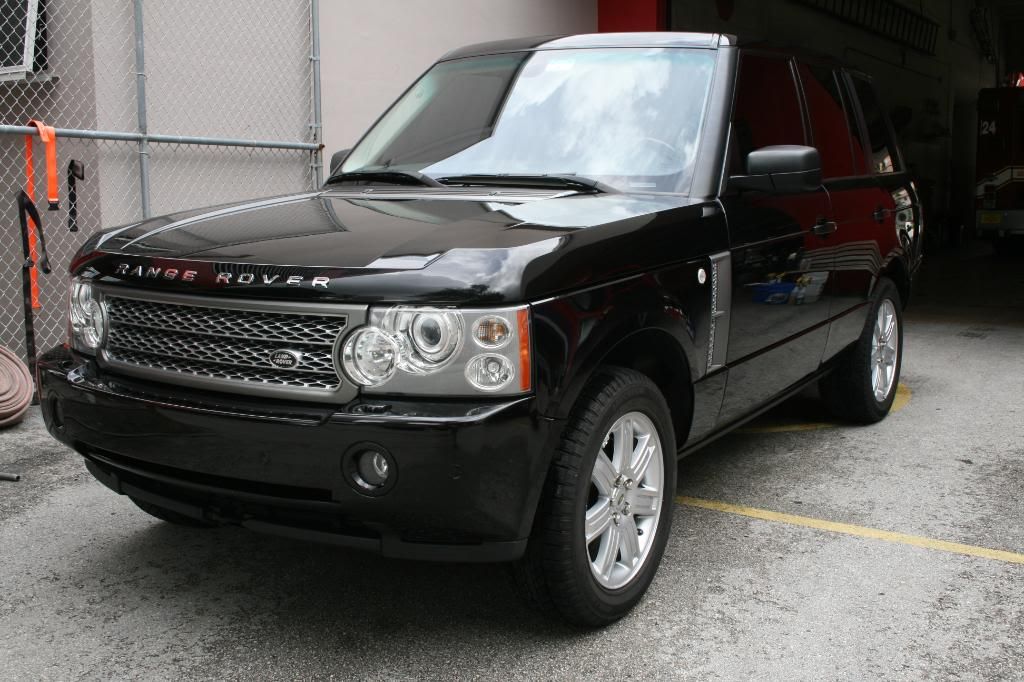
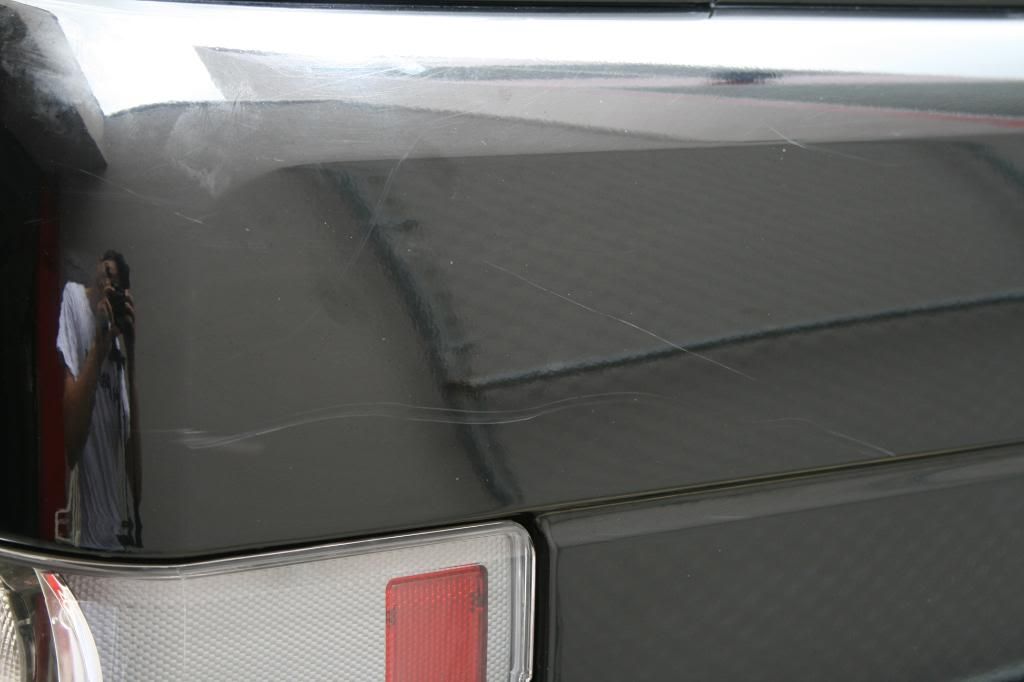
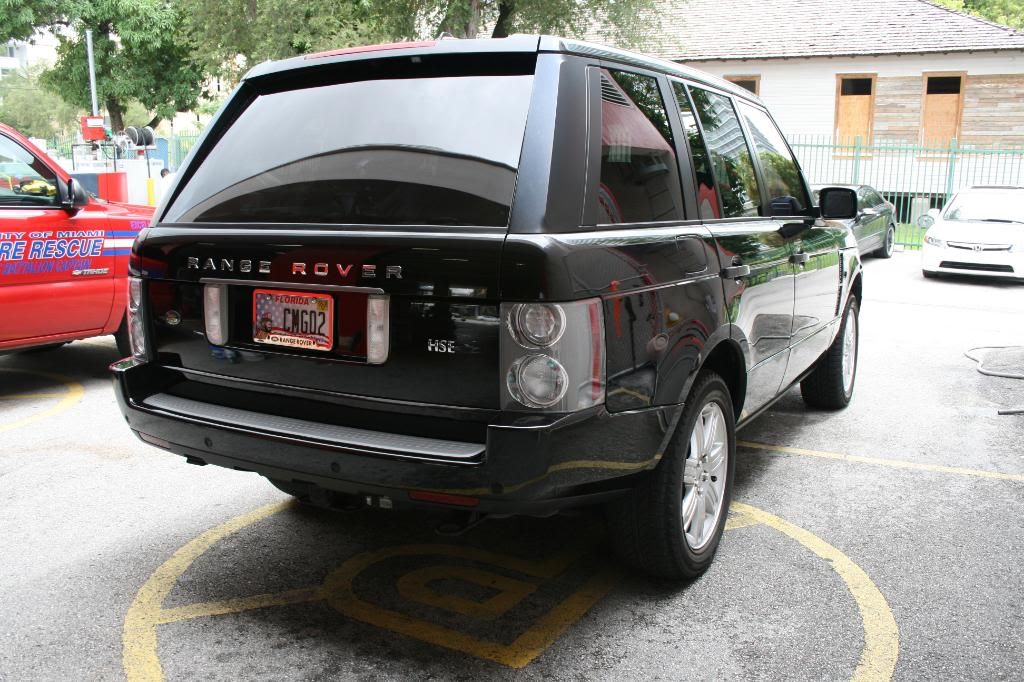
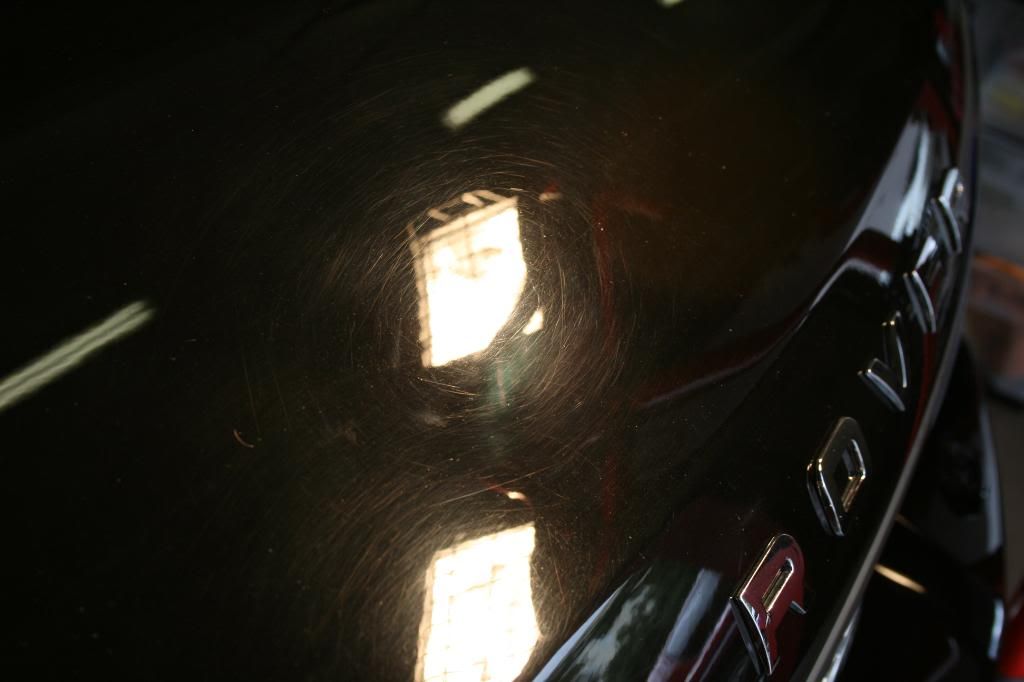
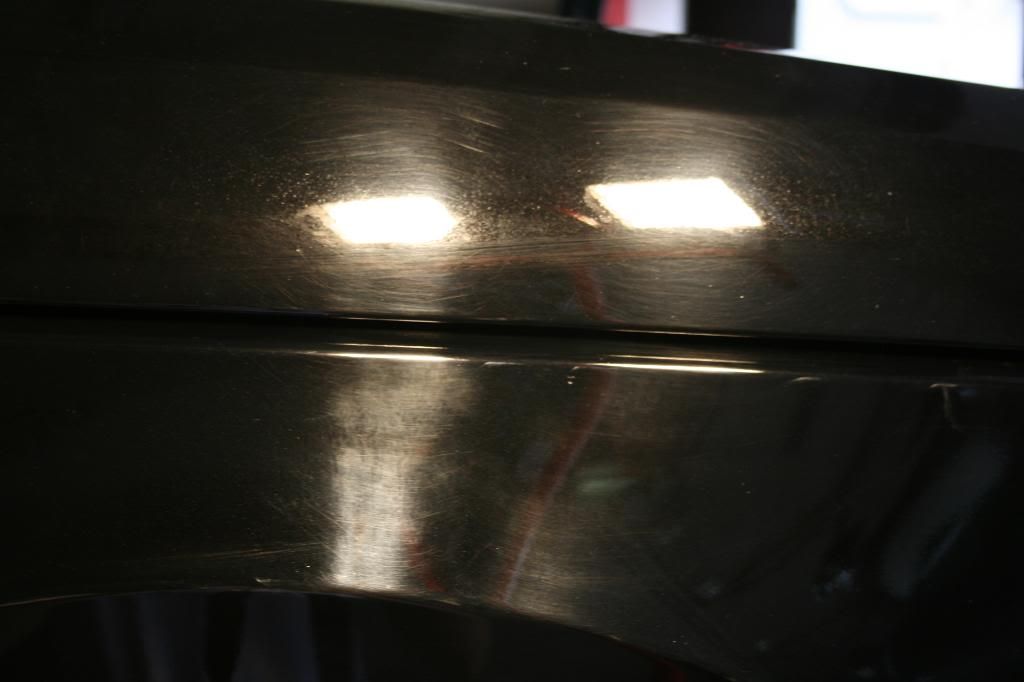
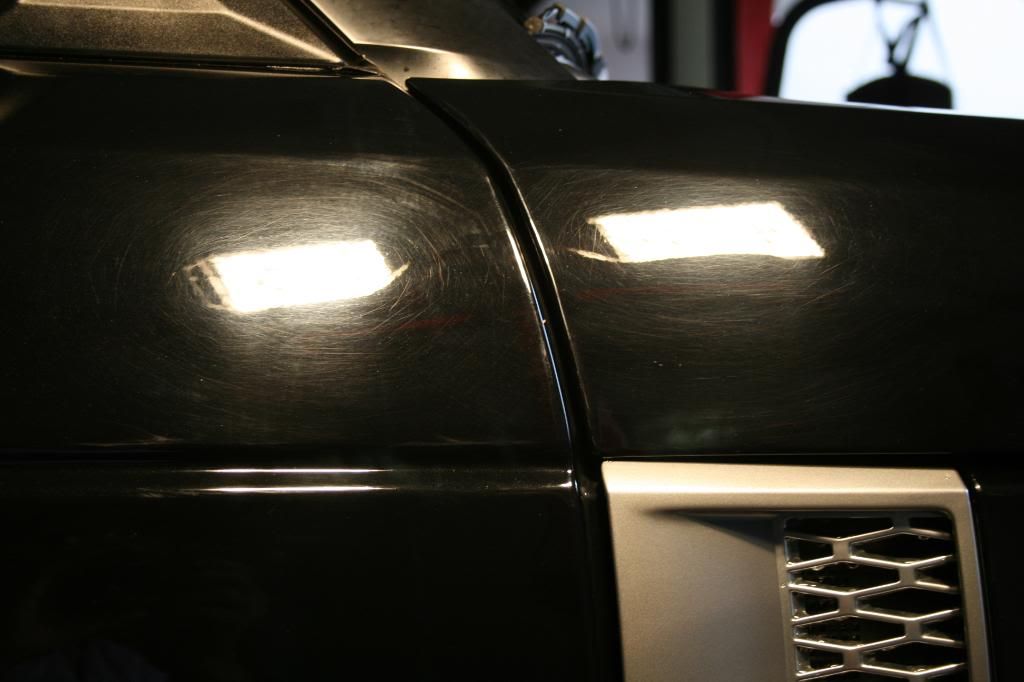
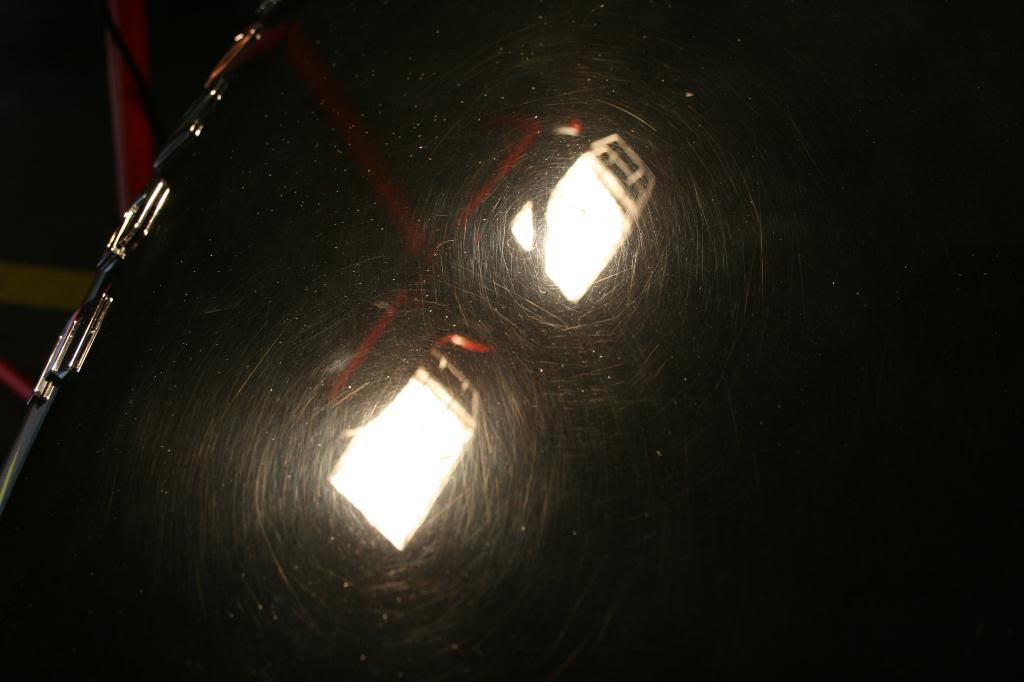
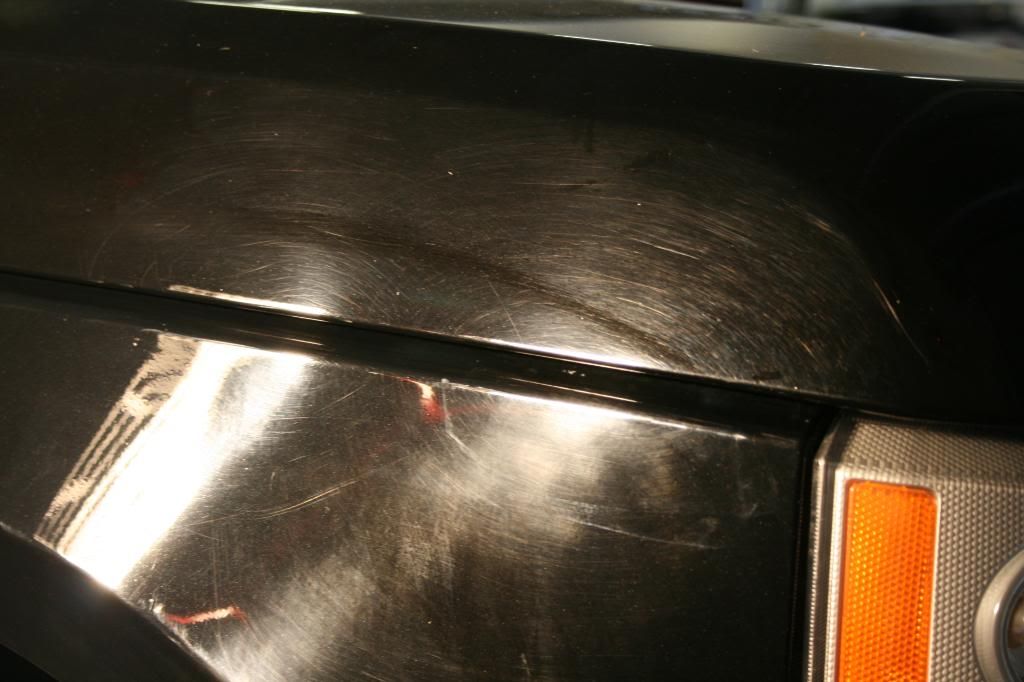
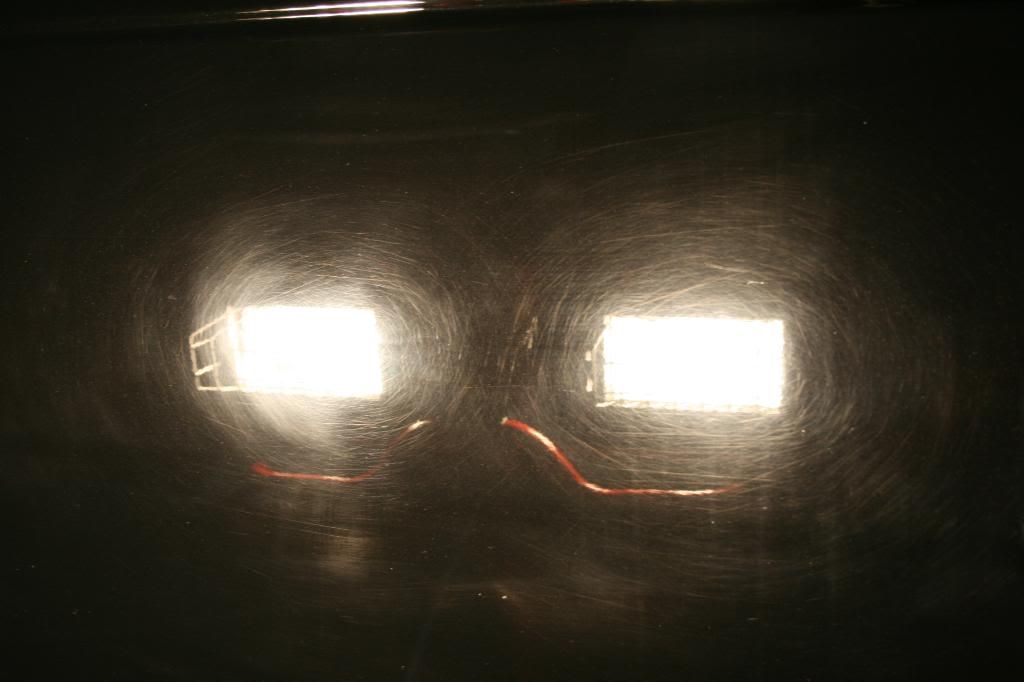
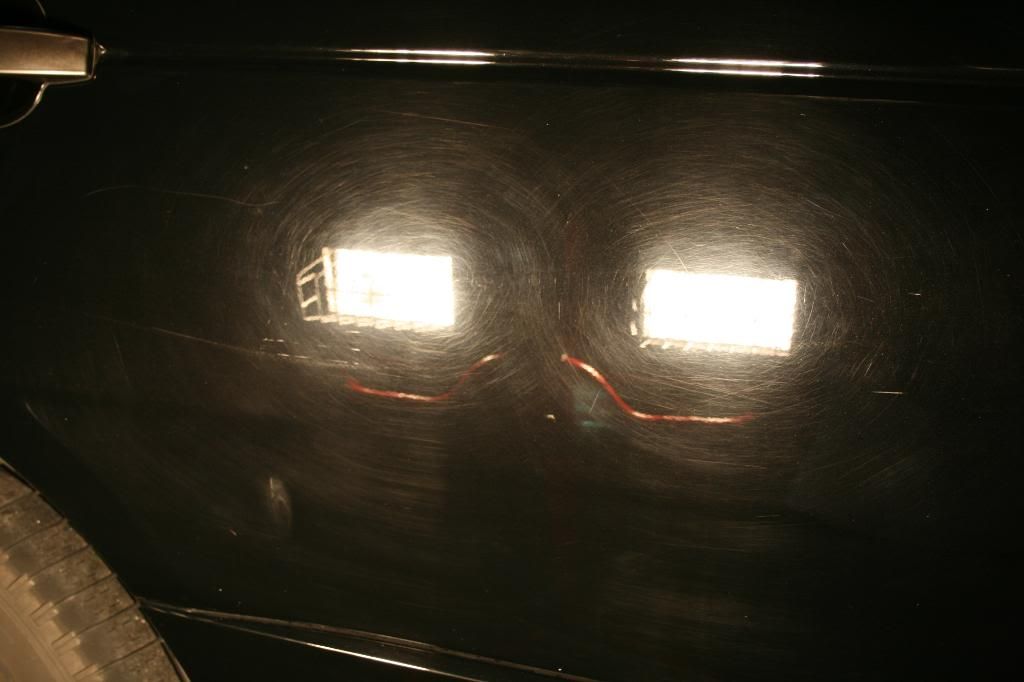
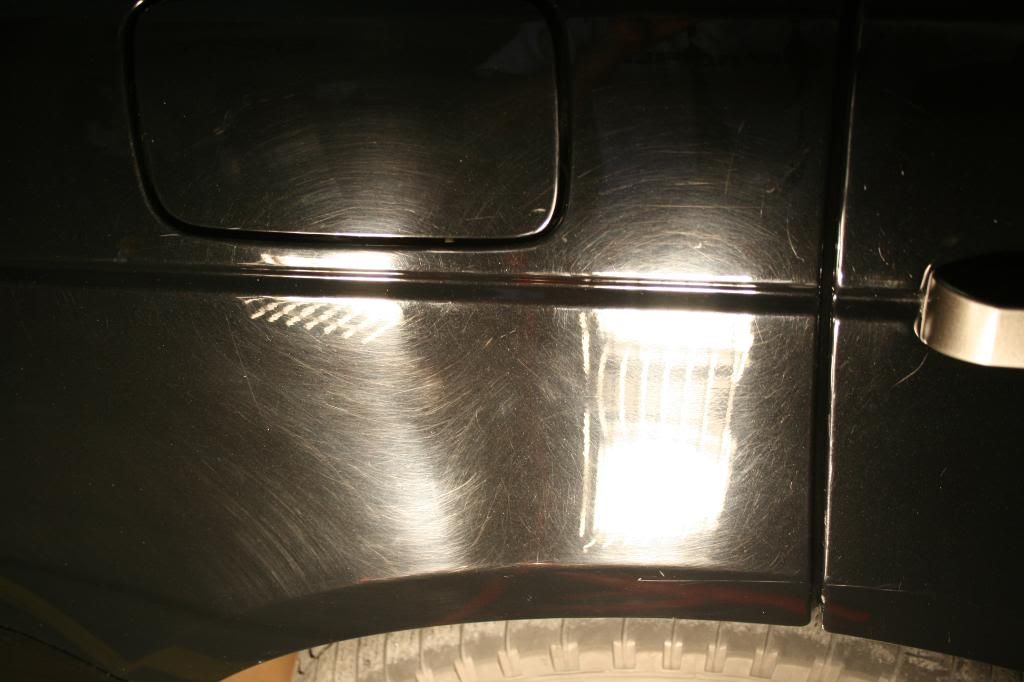
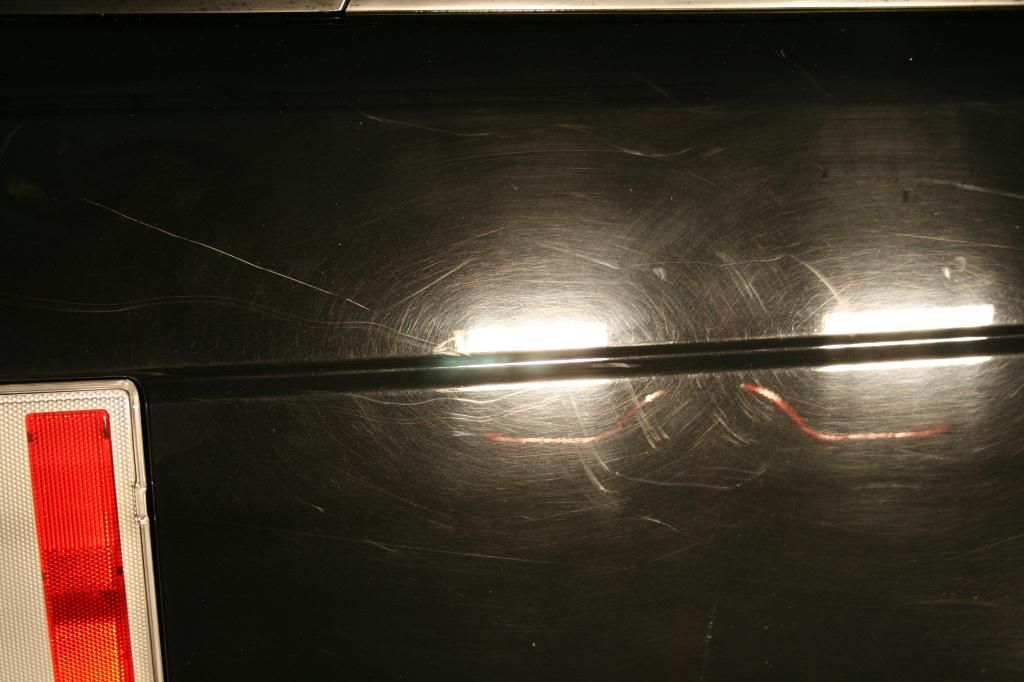
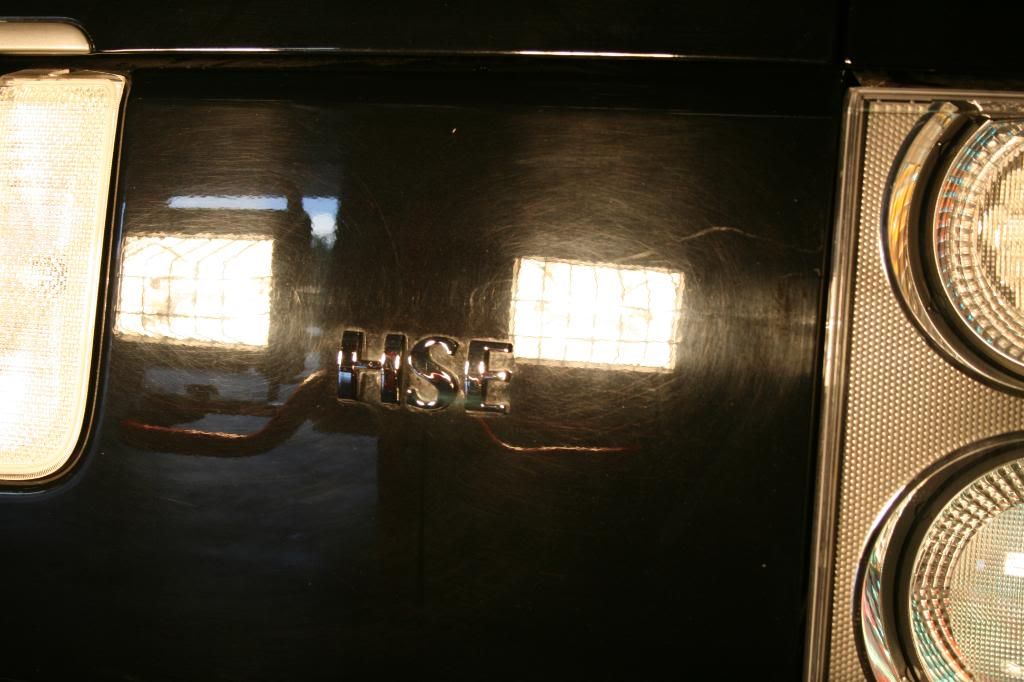
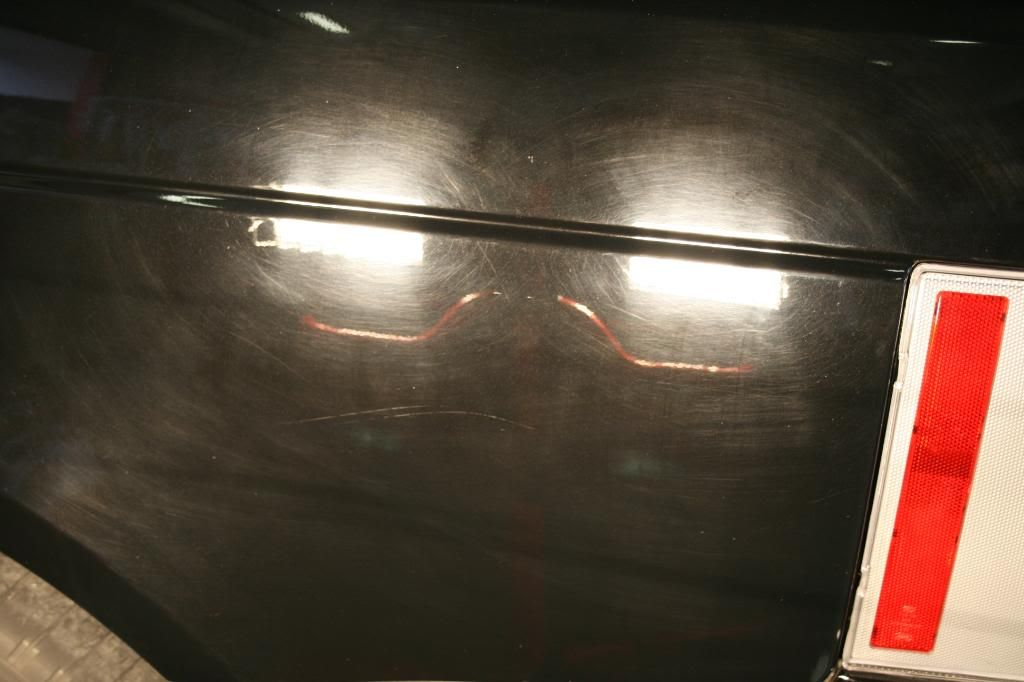
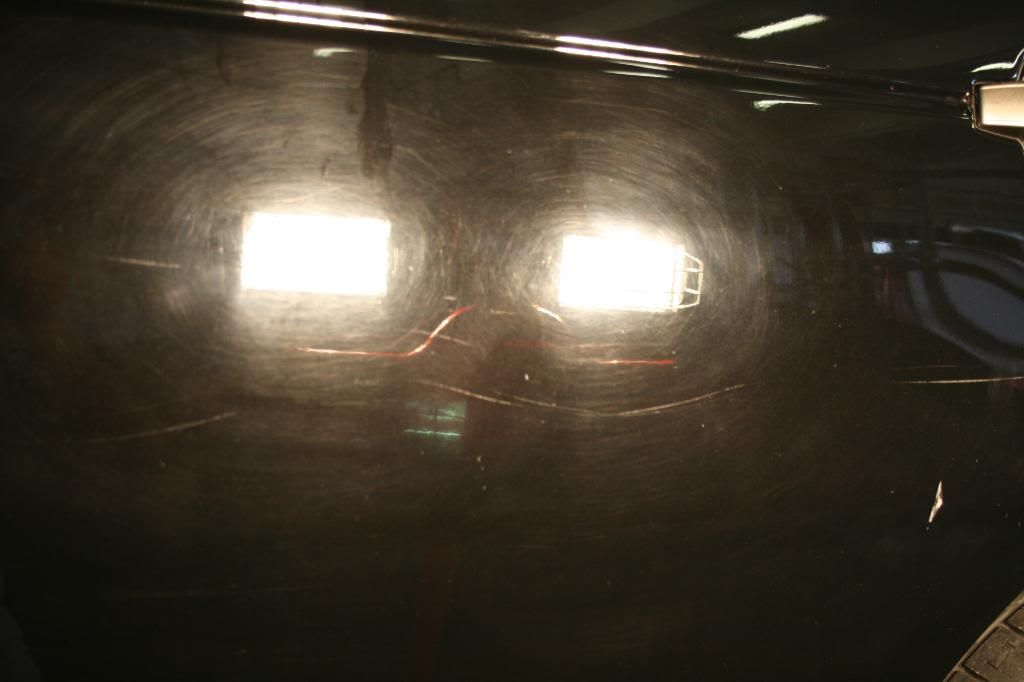
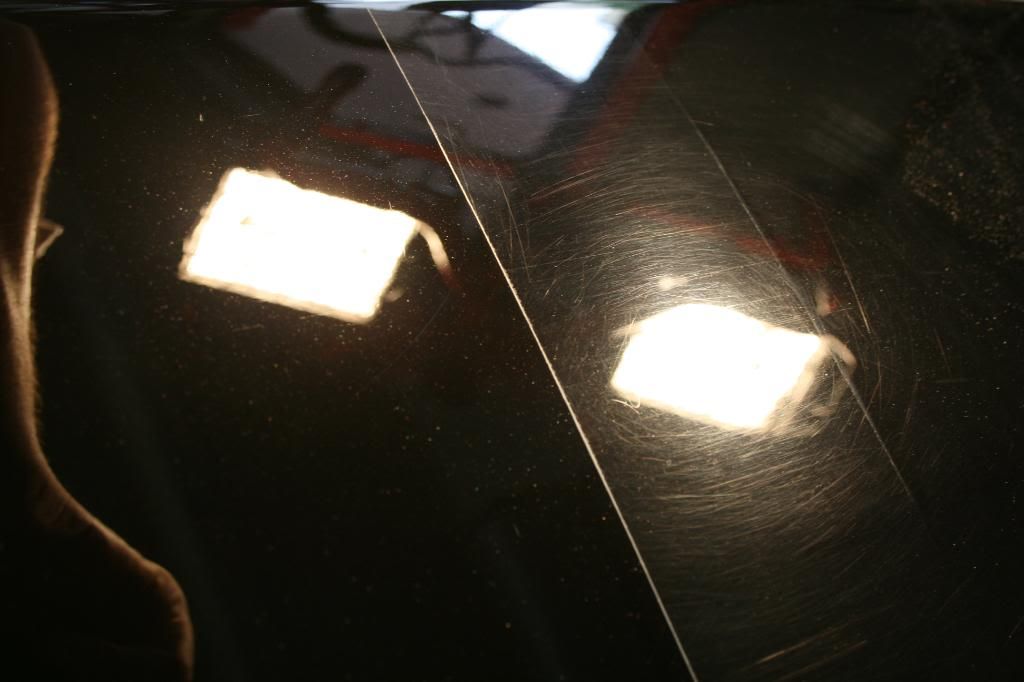
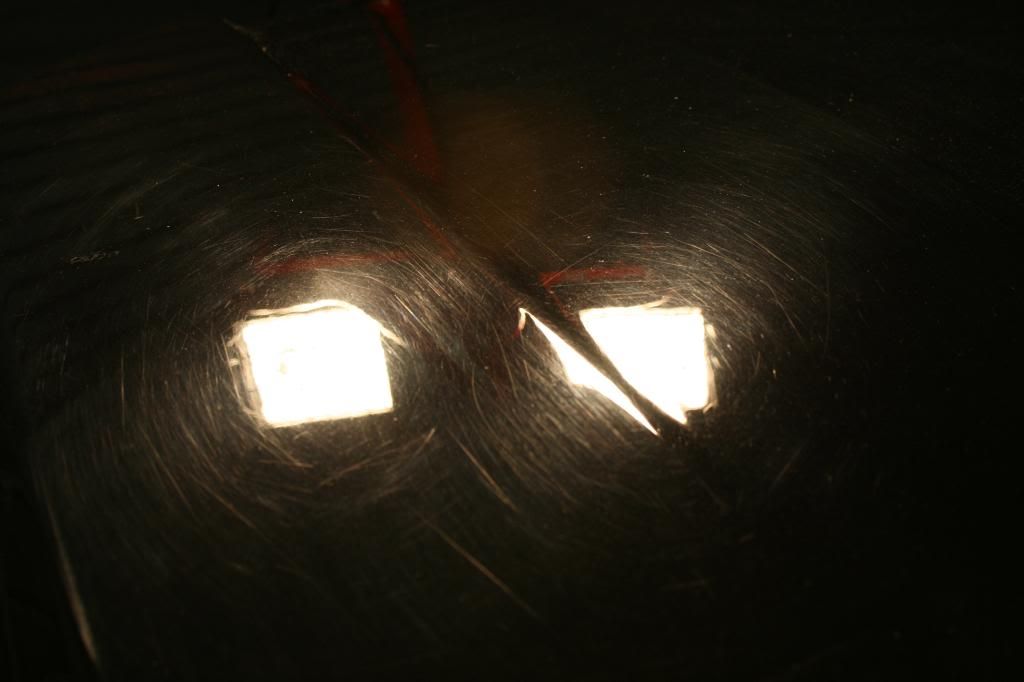
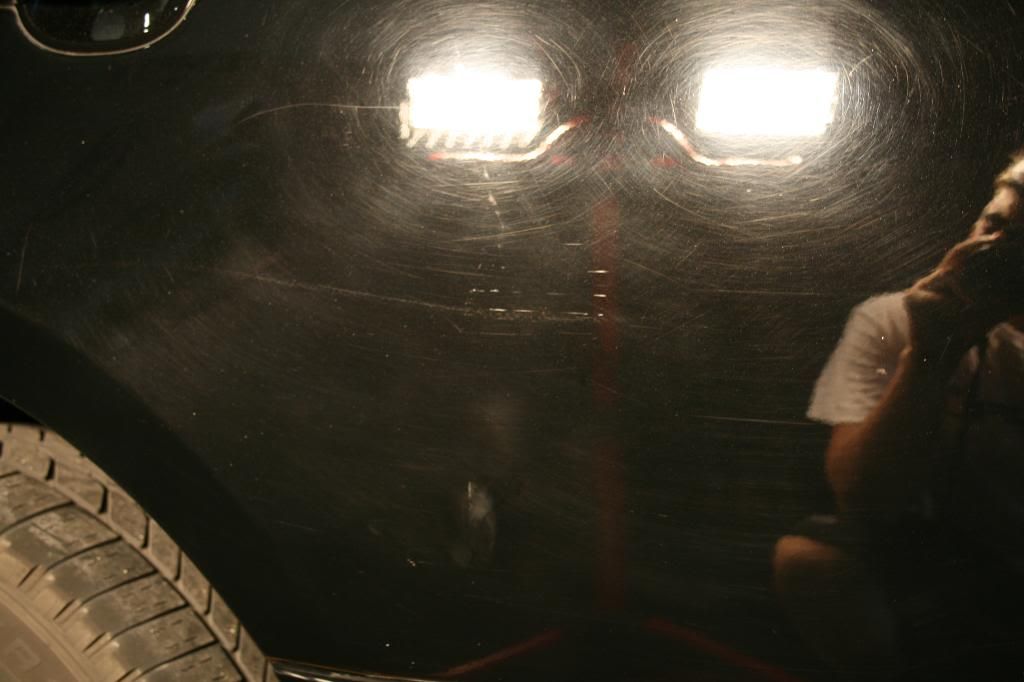
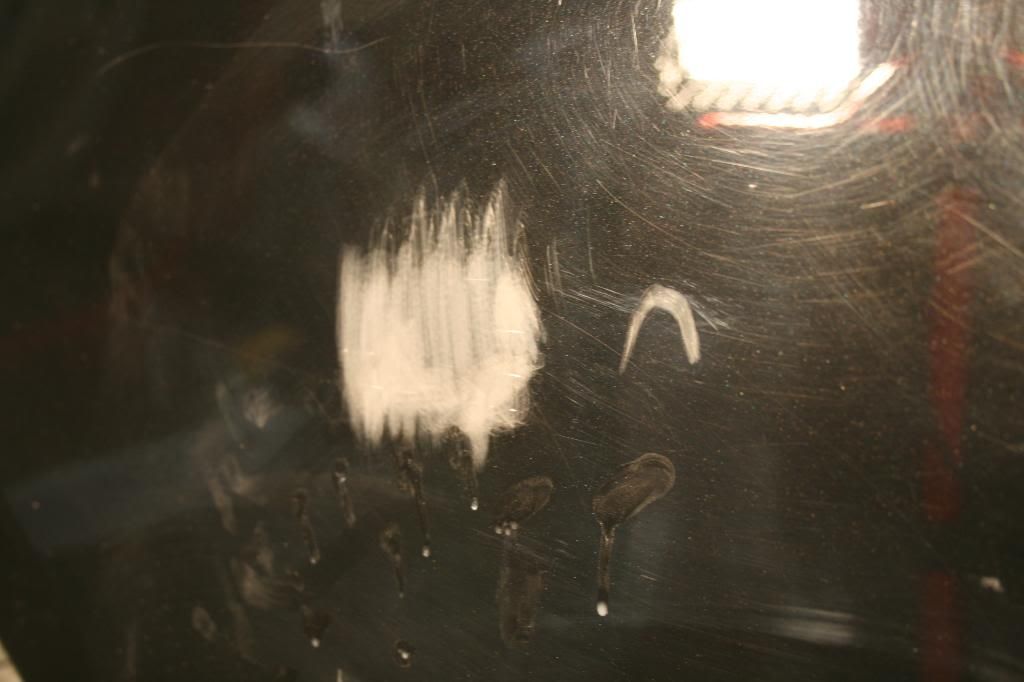
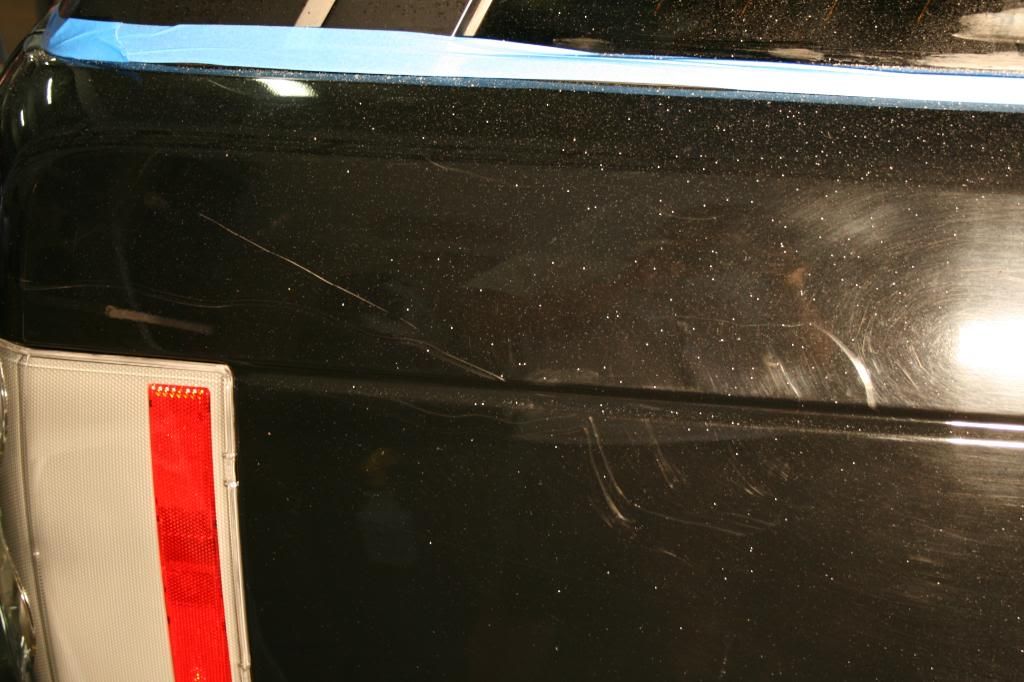
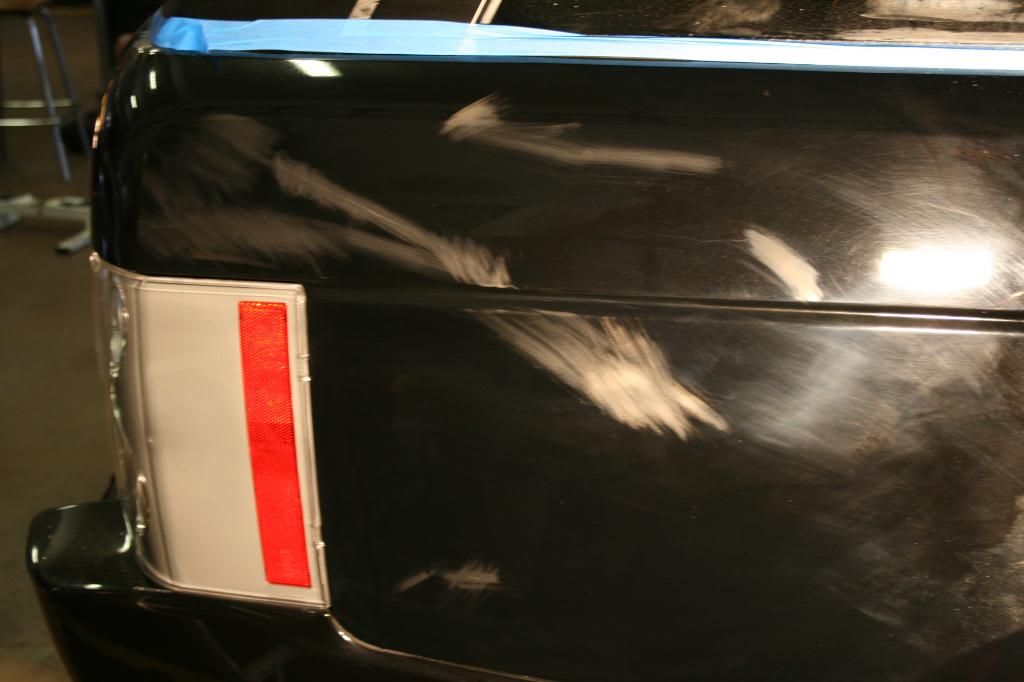
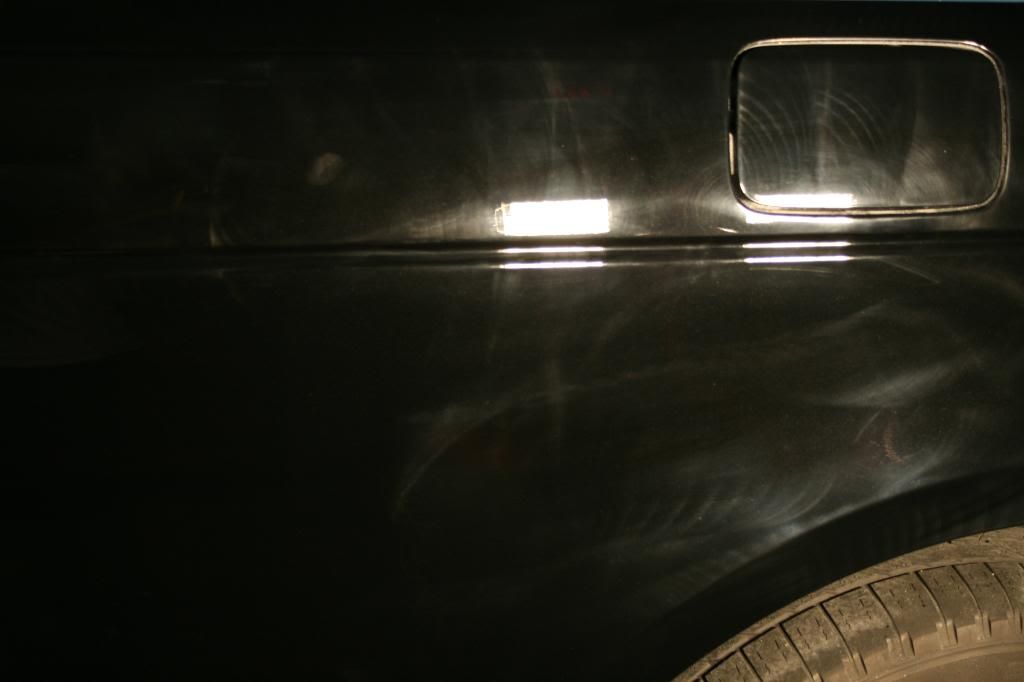
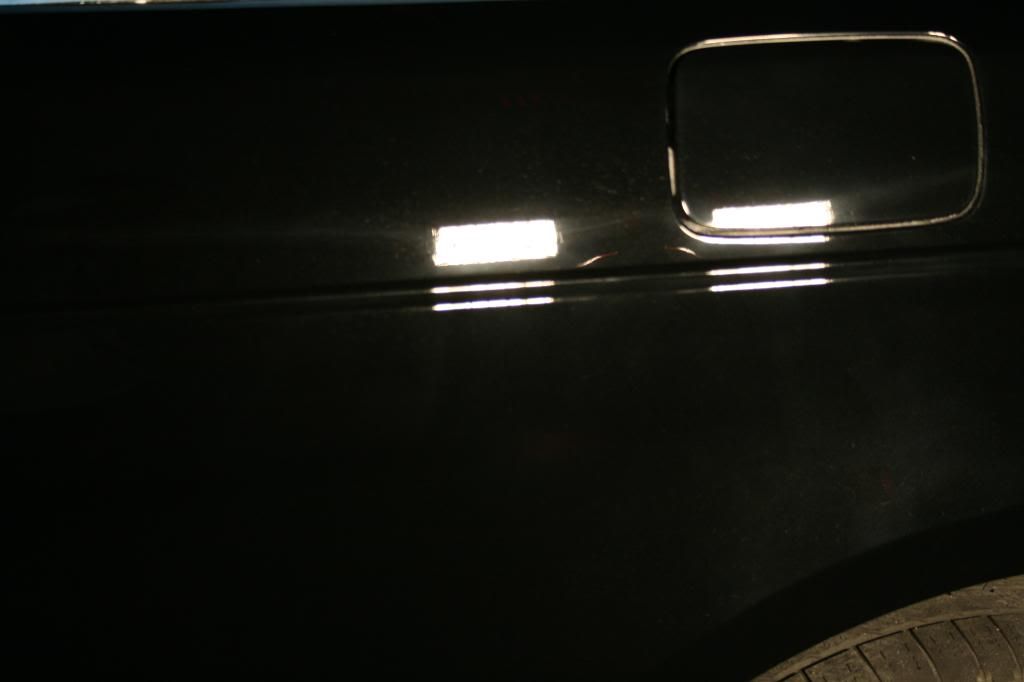
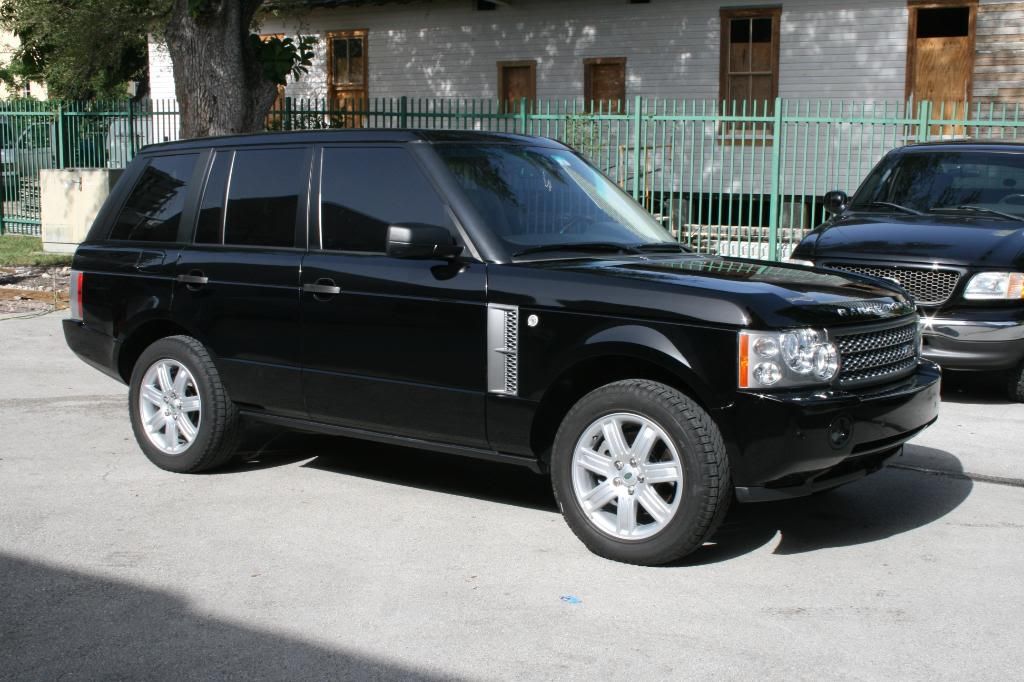
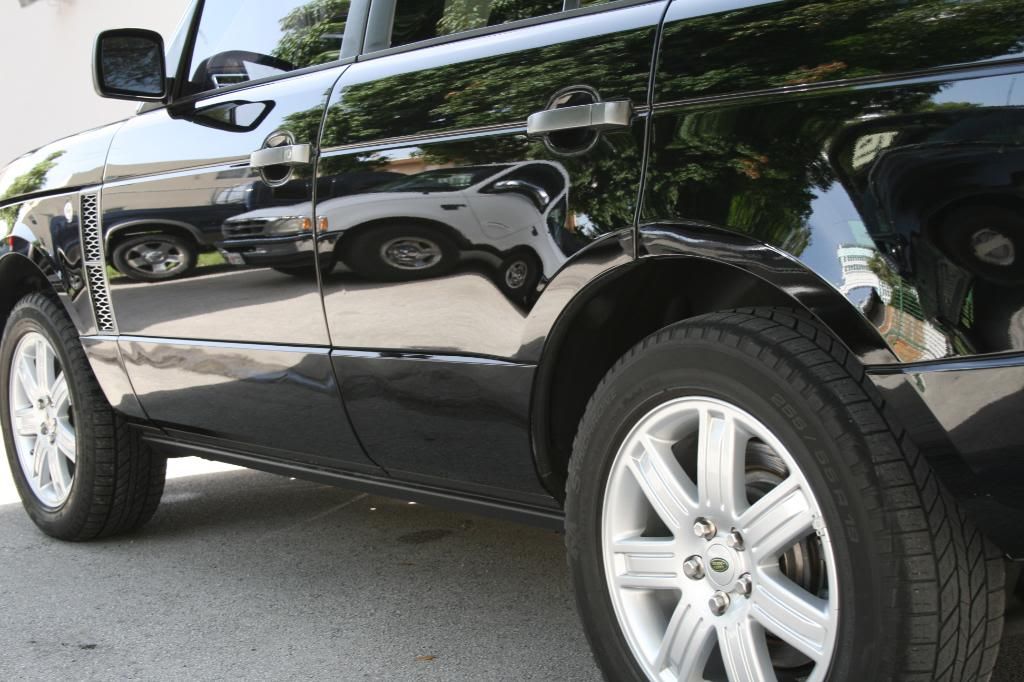
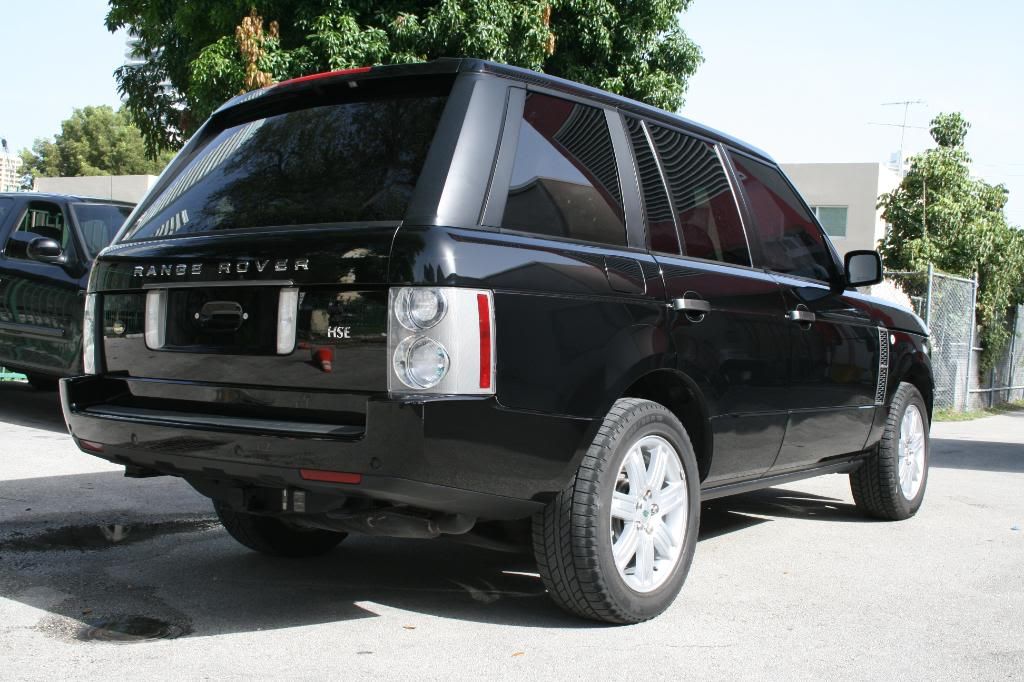
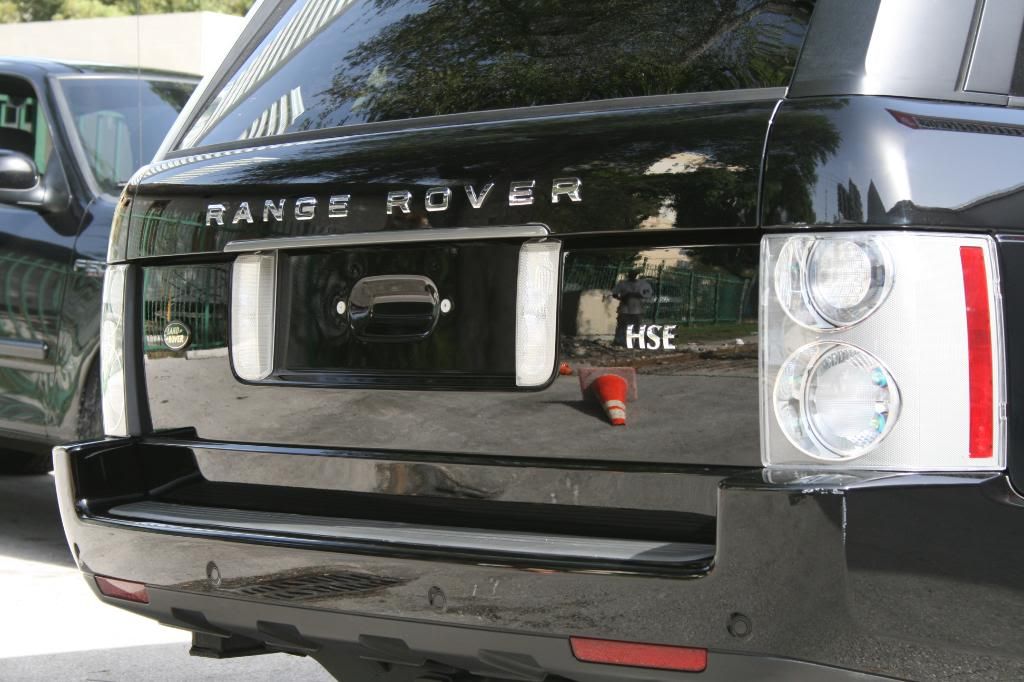
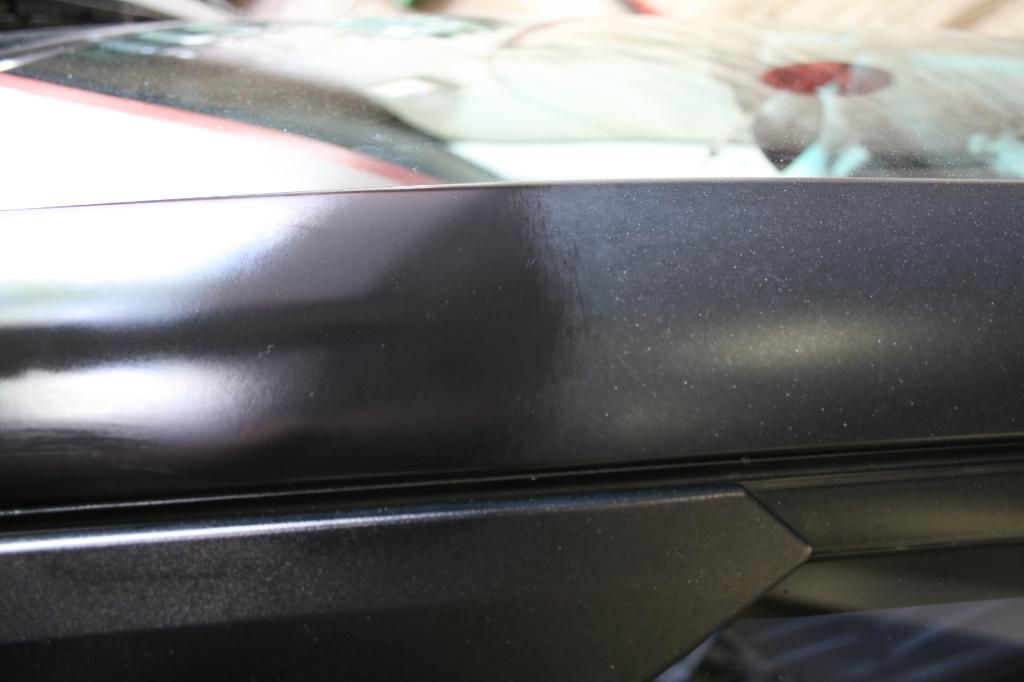
This car had never been detailed. it was about a year old, it has been taken to the car wash for a wax every so often, but this time the owner wanted PERFECTION. and thats just what he got. this car needed wetsanding in some places, and a full 3-step polish. as far as he paint goes, it was in pretty bad shape...
Exterior
-Wash
-P21s TAW Pre-soak
-CG CWG
-CG Waterspot Remover
-White/yellow shMITT
-Engine
-Meguiar's Super Degreaser
-Meguiar's Hyper Dressing
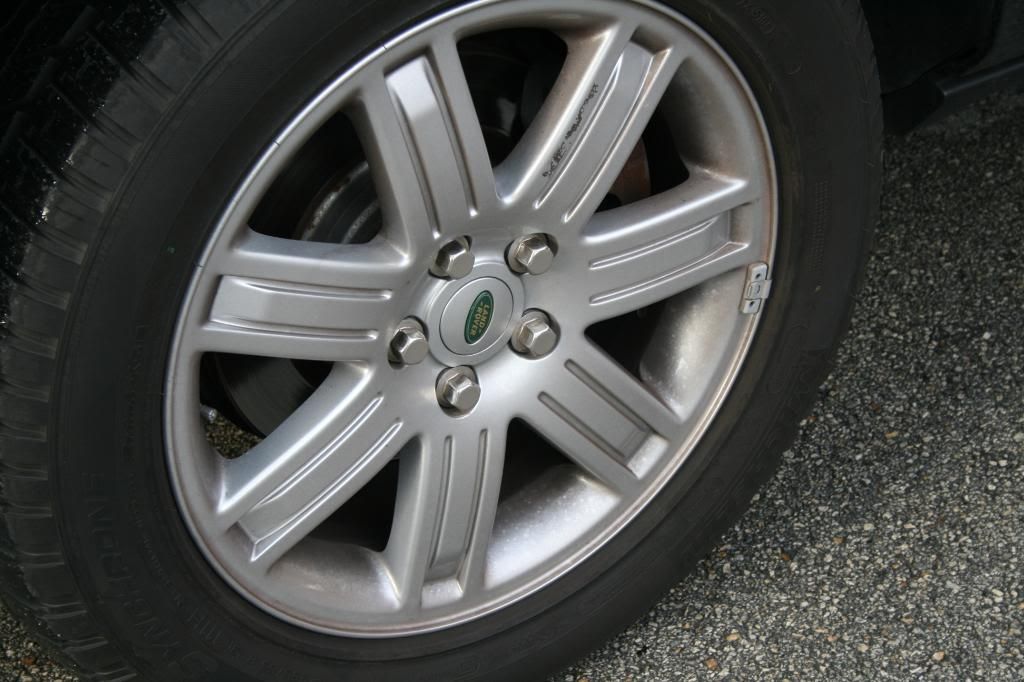
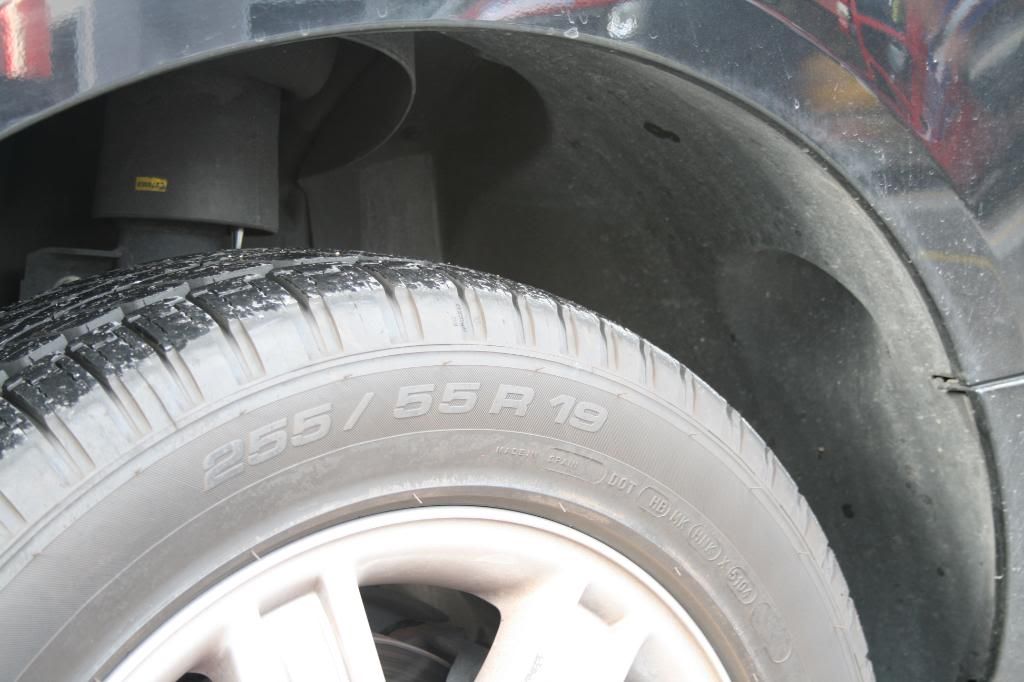
-Wheels
-CG Citrus wheel cleaner
-Meguiar's Wheel brightener
-CG CWG
-EZ detail Brush
-Black shMITT
-Amazing Roll-off (tires)
-Swissvax Autobahn
-Wheel Wells
-Simple Green
-black shMITT
-Meguiar's Hyper Dressing
-Clay
-CG Gray clay
-CG Synthetic QD for lube
-Correction
-2000 grit (3M wet-or-dry) sanding paper
-Menzerna Powergloss
-Menzerna SIP
-Menzerna PO85RD
-LC Foamed Wool
-LC yellow compounding pad
-LC orange pad
-LC white pad
-Sonus SFX white pad
-Sonus SFX blue finishing pad
-Makita 9227C
-3M yellow backing plate
-Edge foam pad cleaner
-ISA wipedown
-LSP
-Collinite 915
-FK1# 425
Interior
-CG leather Cleaner
-CG lightning fast
-1Z cockpit Premium
-1Z Gummi Pflege
-Zaino Z10
-303 protectant
-Stoner's Invisible Glass
Well to start, i arrived at fire station #4 (again!) at 7:00AM. i took a quick look at the car and i told the owner that it didn't look like it was in too bad of shape, except for some big scratches, which i was told to remove. first off i decided it would be better to degrease the engine before moving on the the paint, so that i would not dirty the paint.
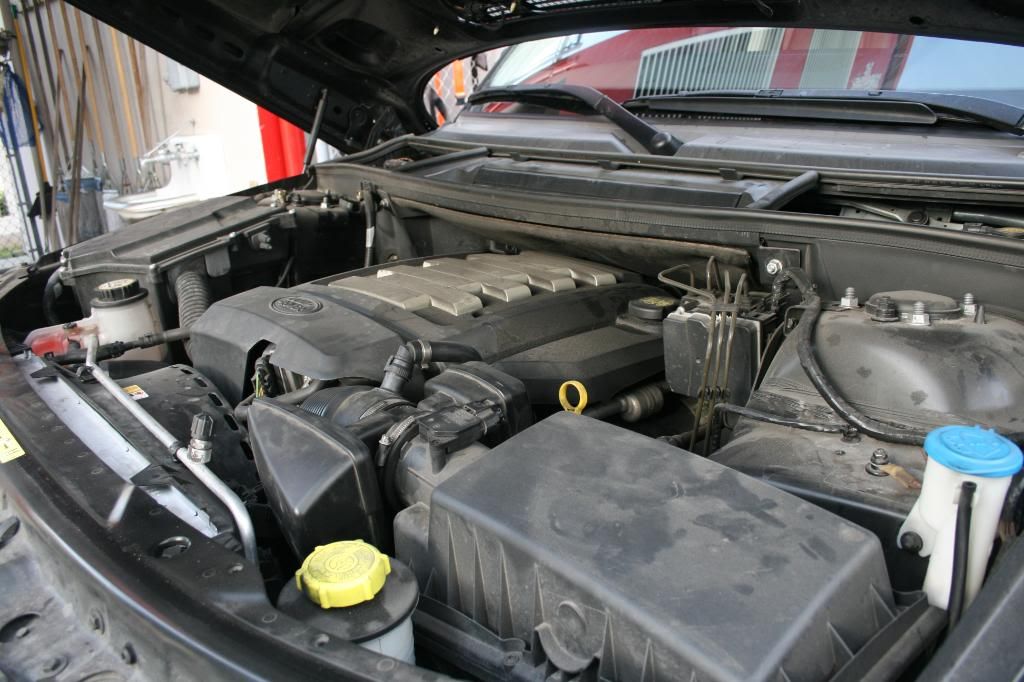
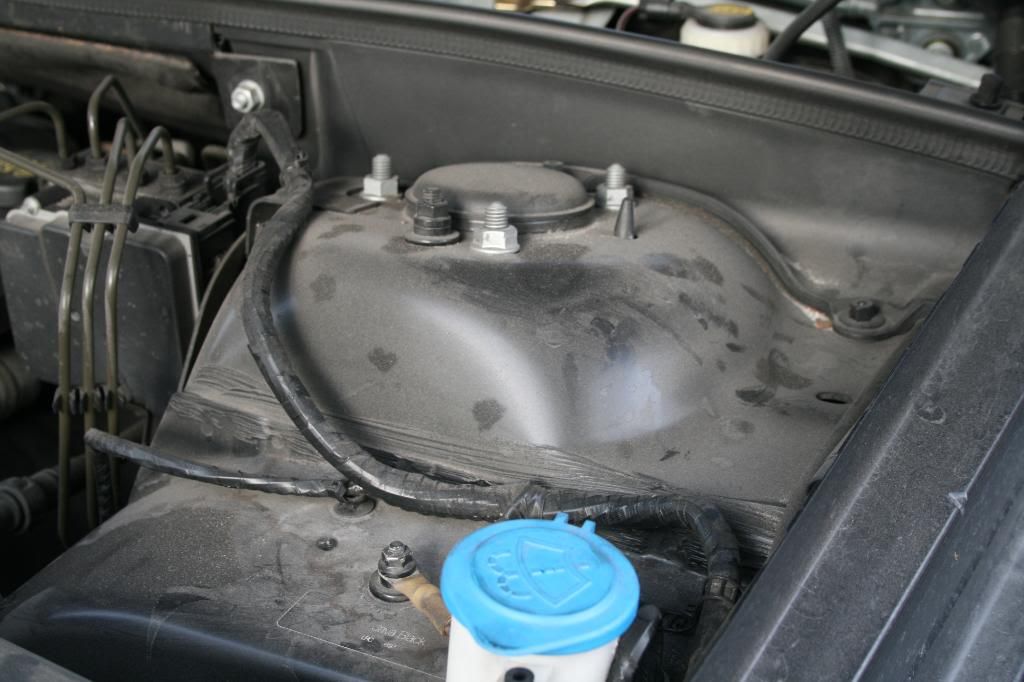
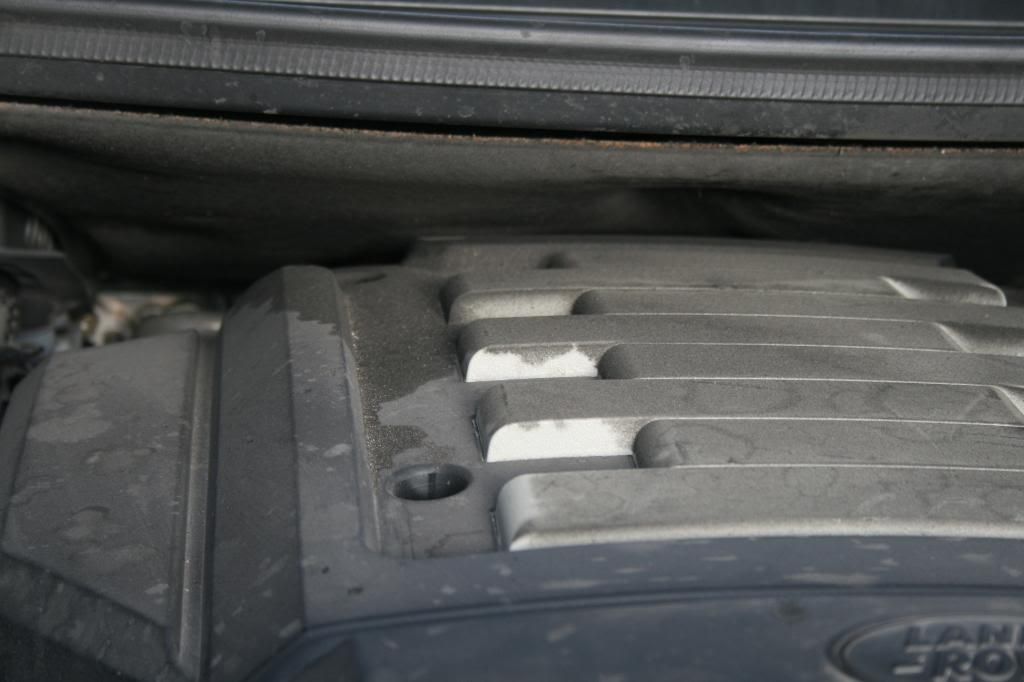
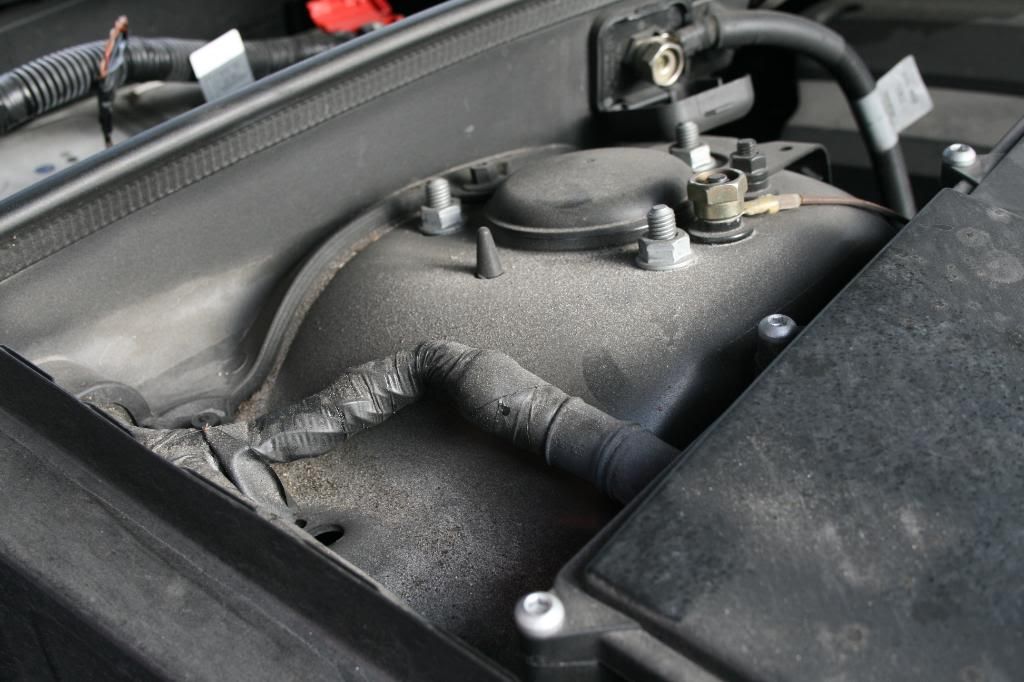
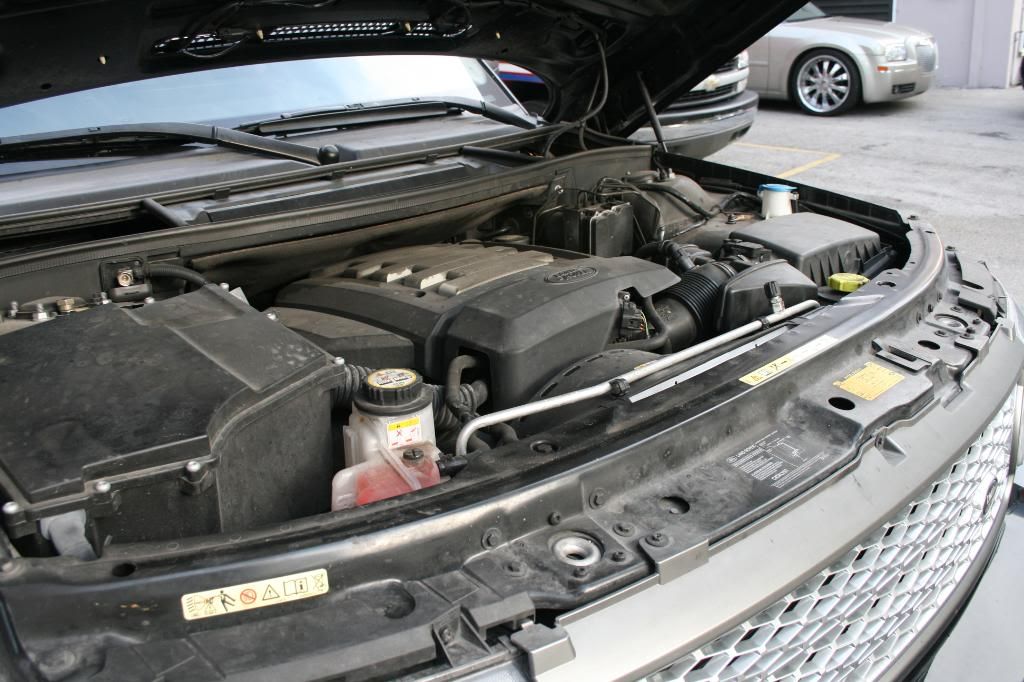
Letting Meguiar's Super Degreaser soak in. then i gave the heavily soiled areas a scrub, then rinsed off.

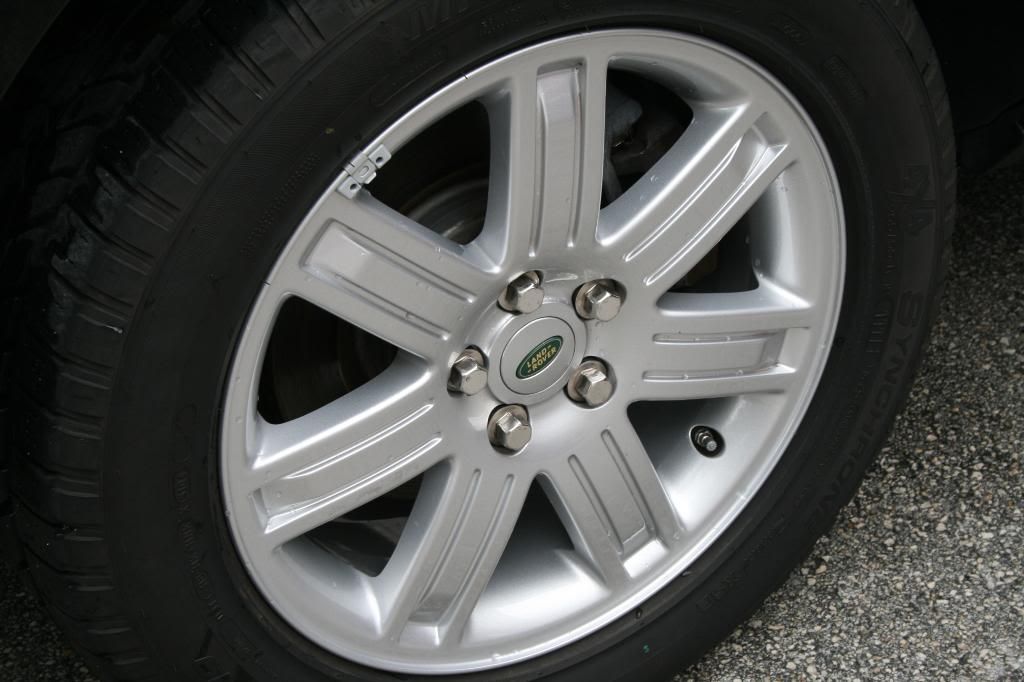
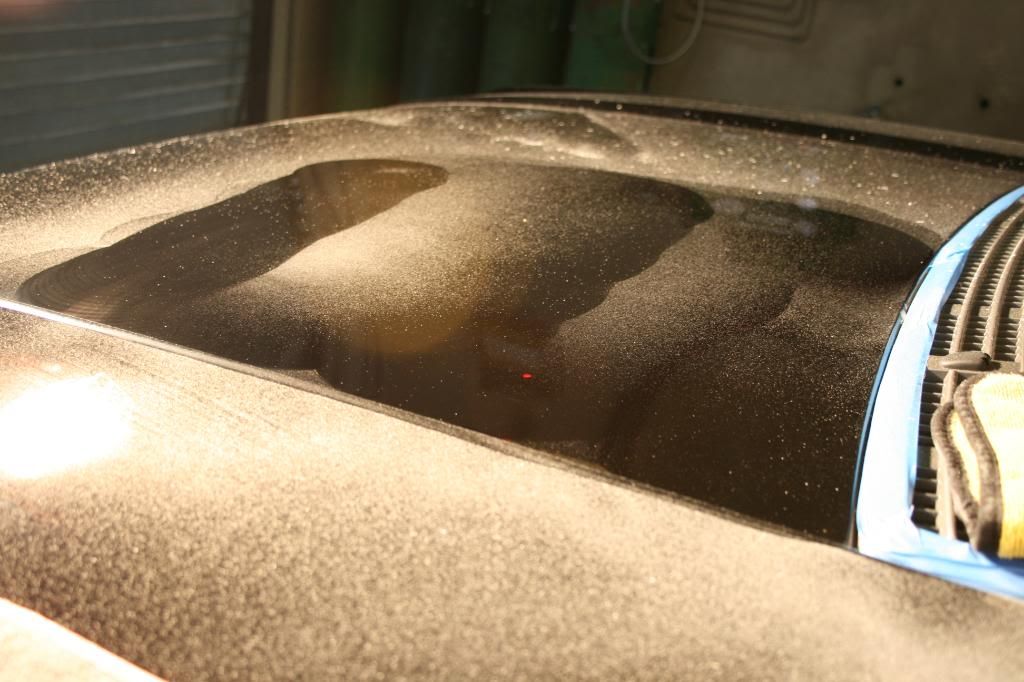
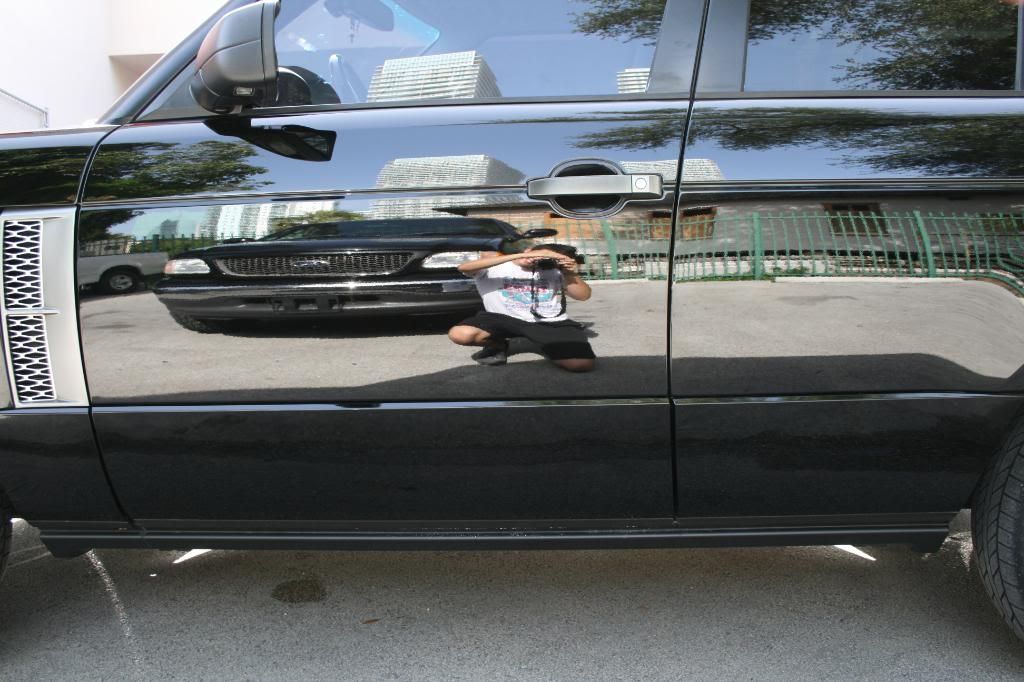
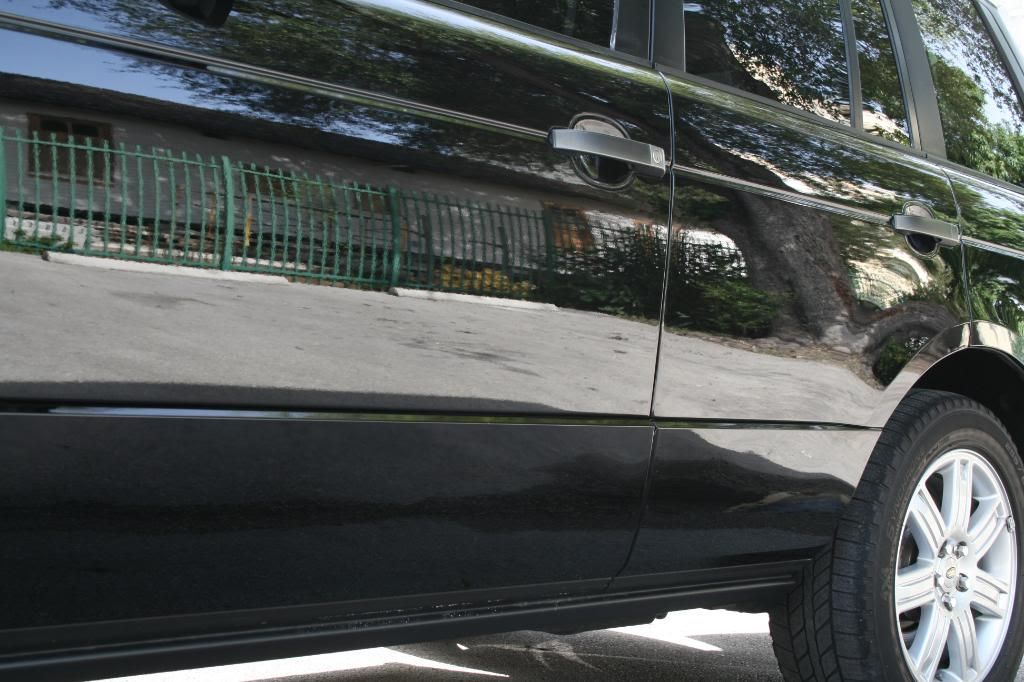
now it's time for the wash. using the two-bucket method with grit guards. i first washed the wheels, then the car. after the wash i clayed the entire car using CG's Gray clay since this car had never been clayed in the past.
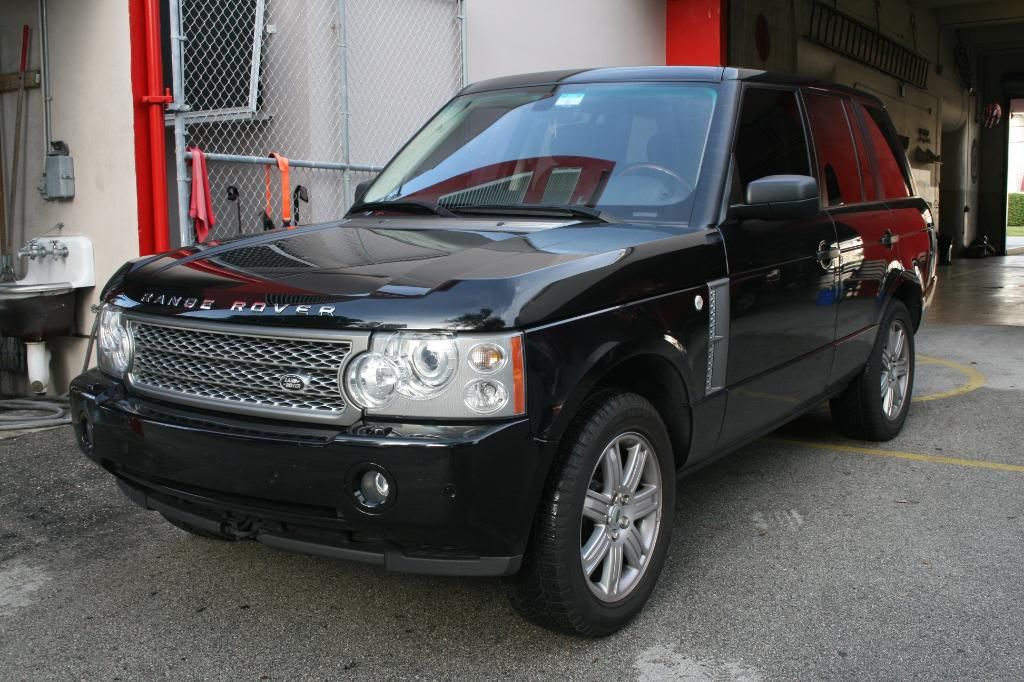
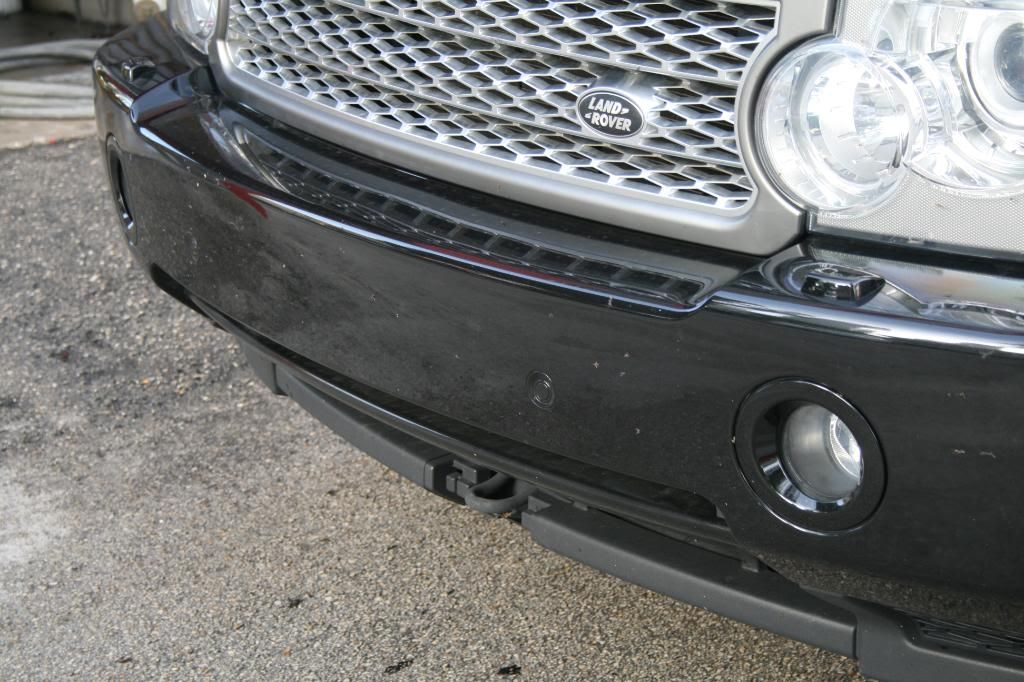
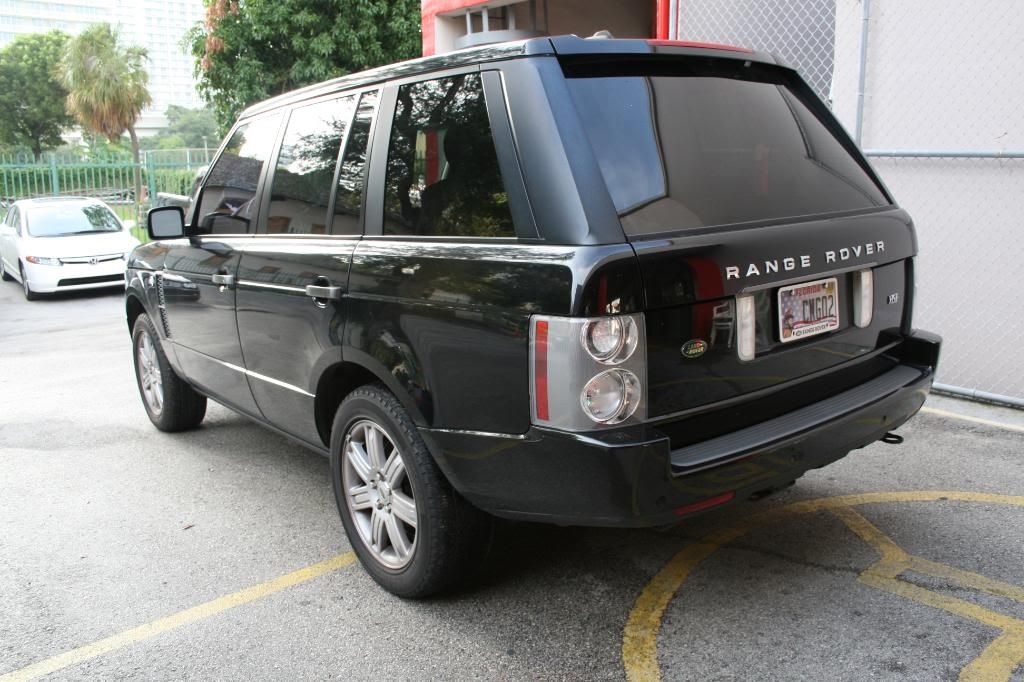
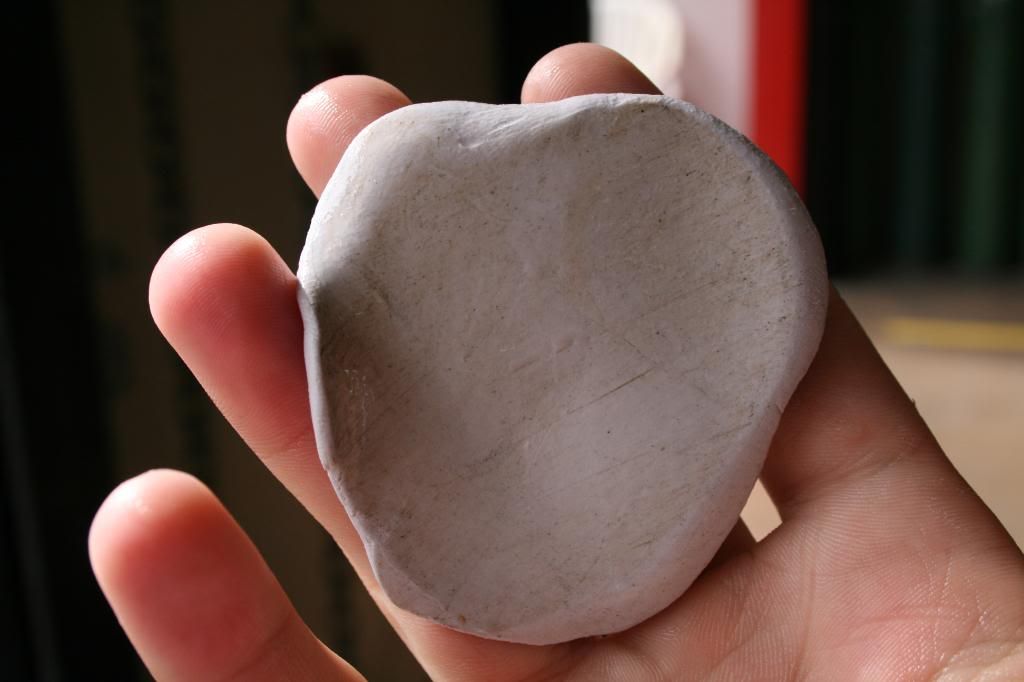
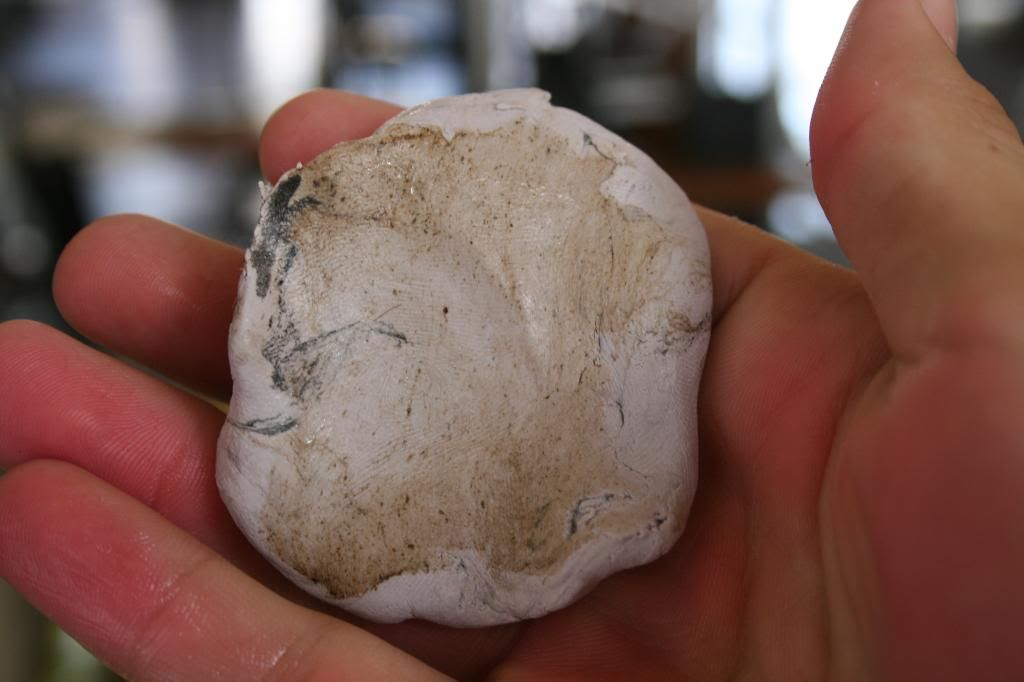
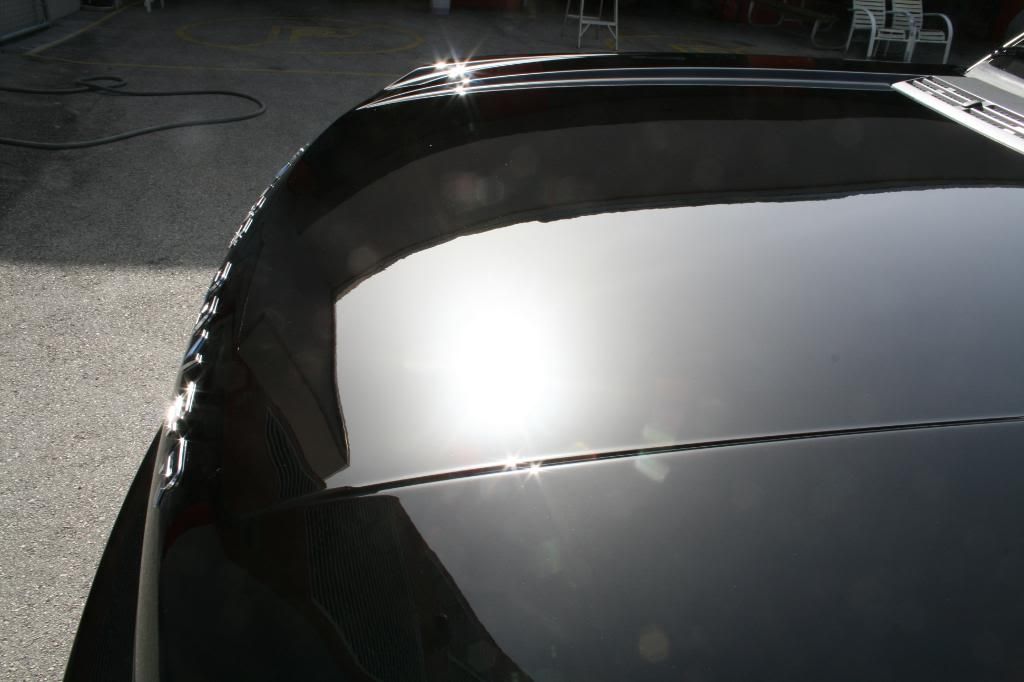
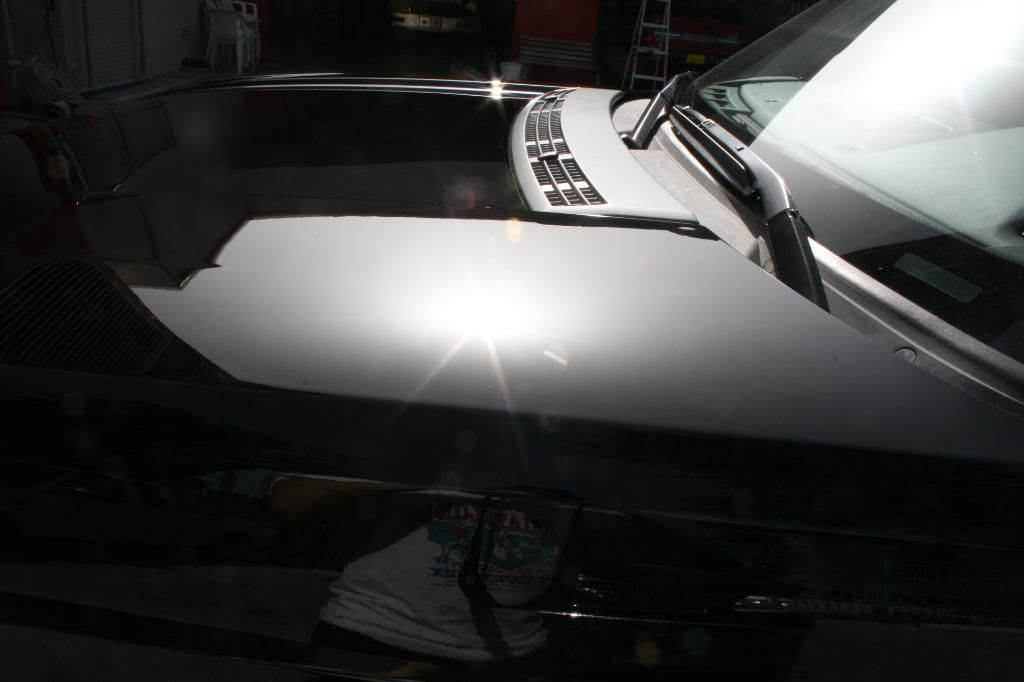
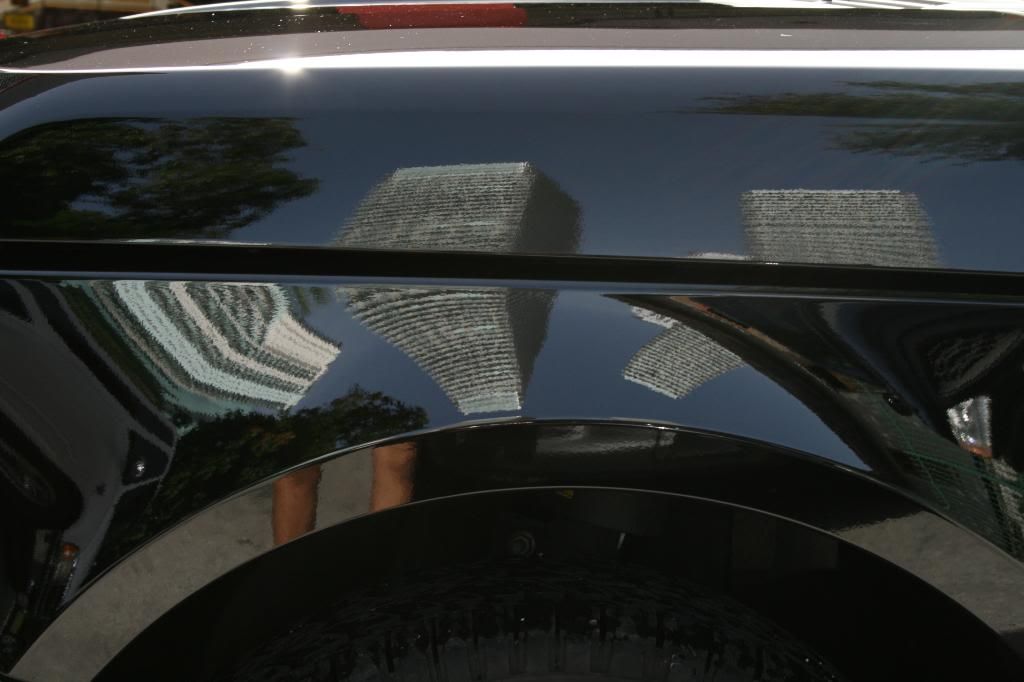
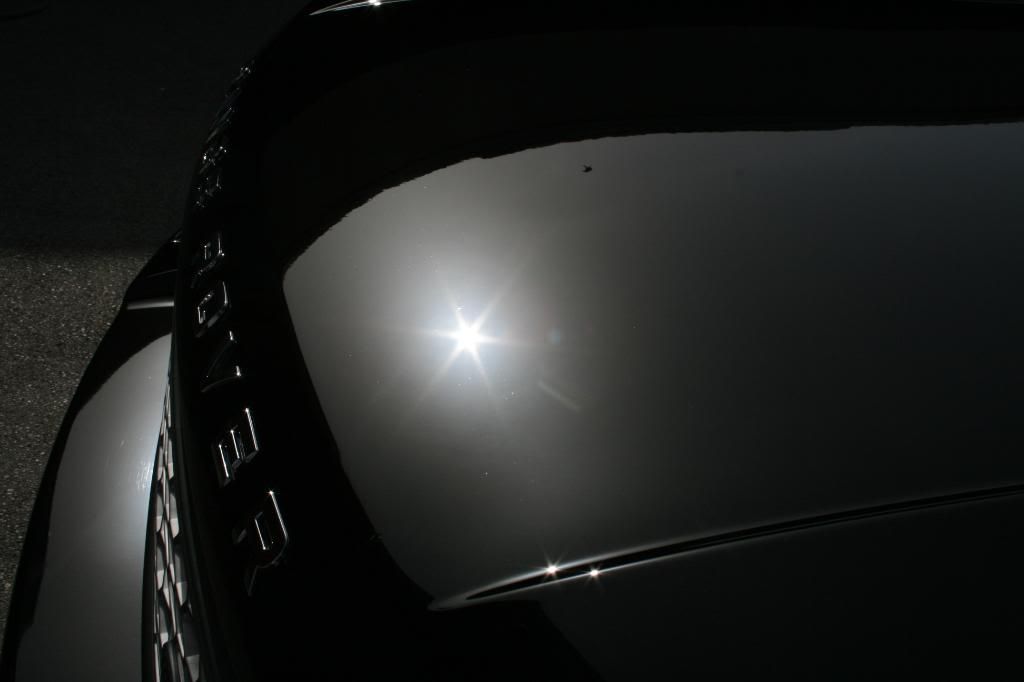
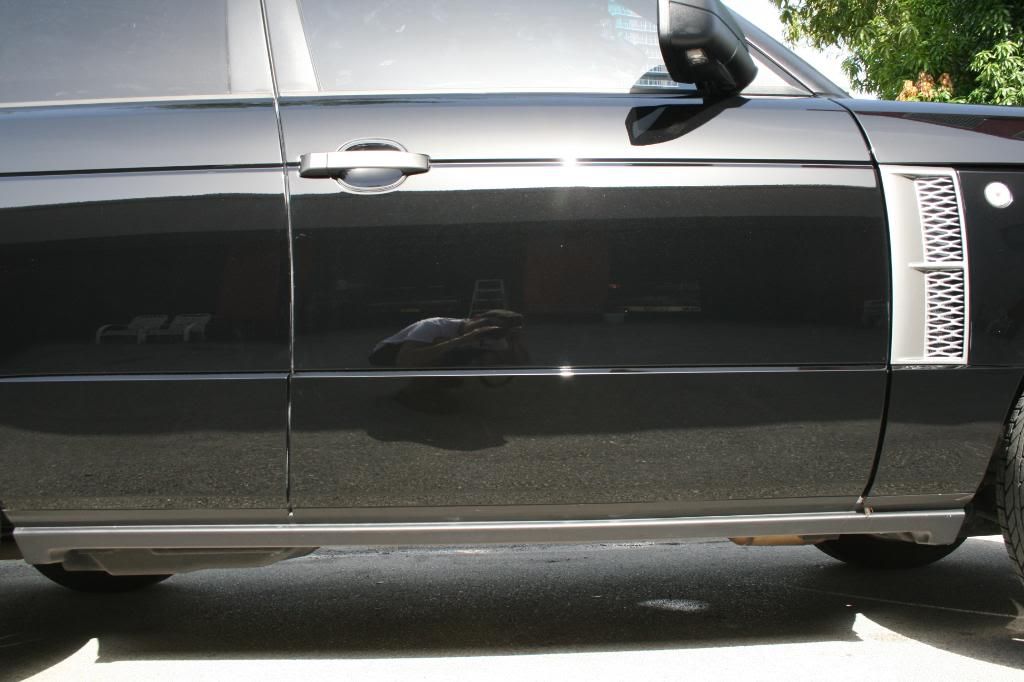
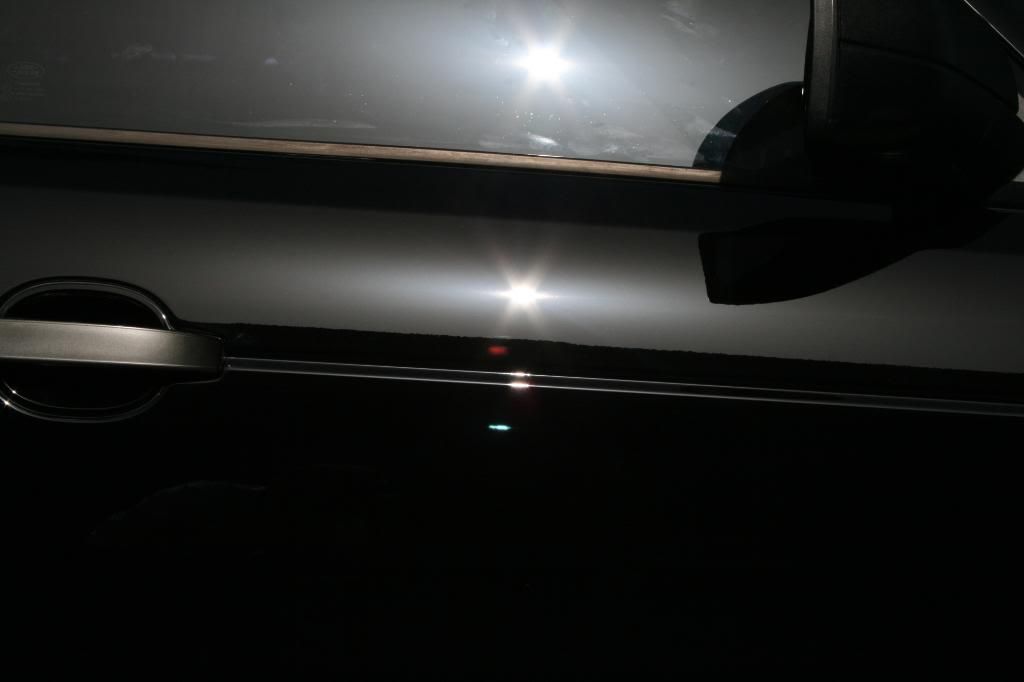
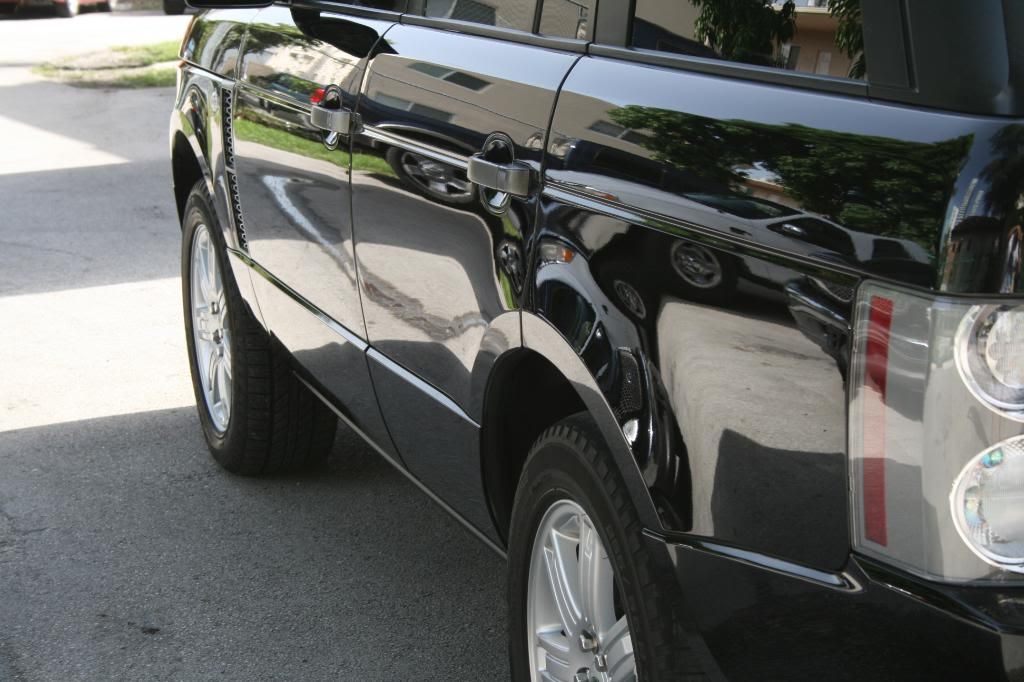
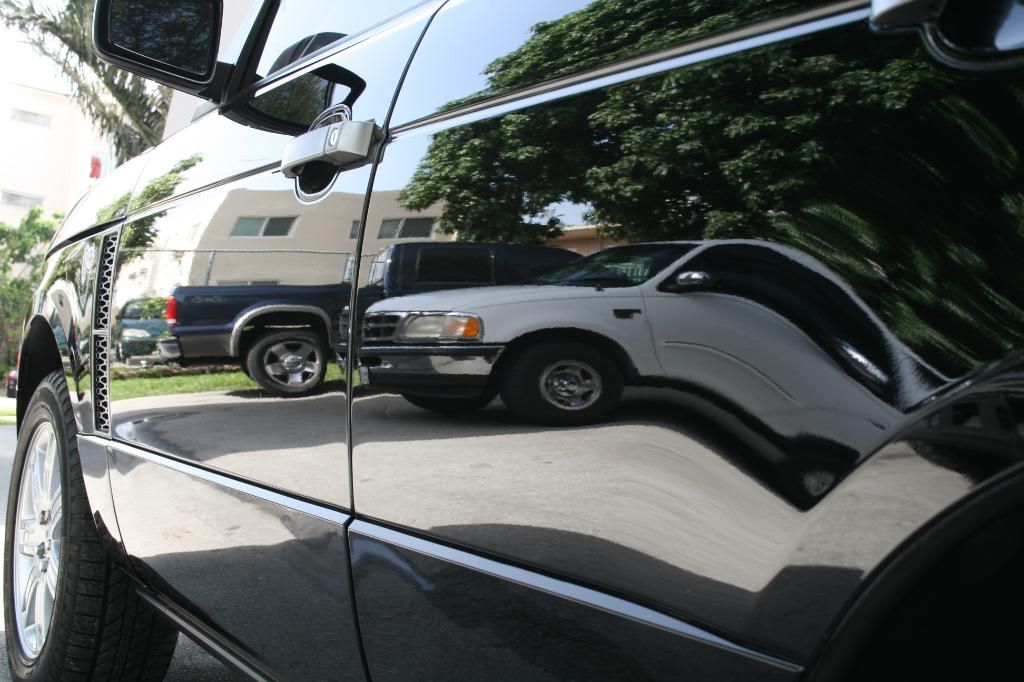
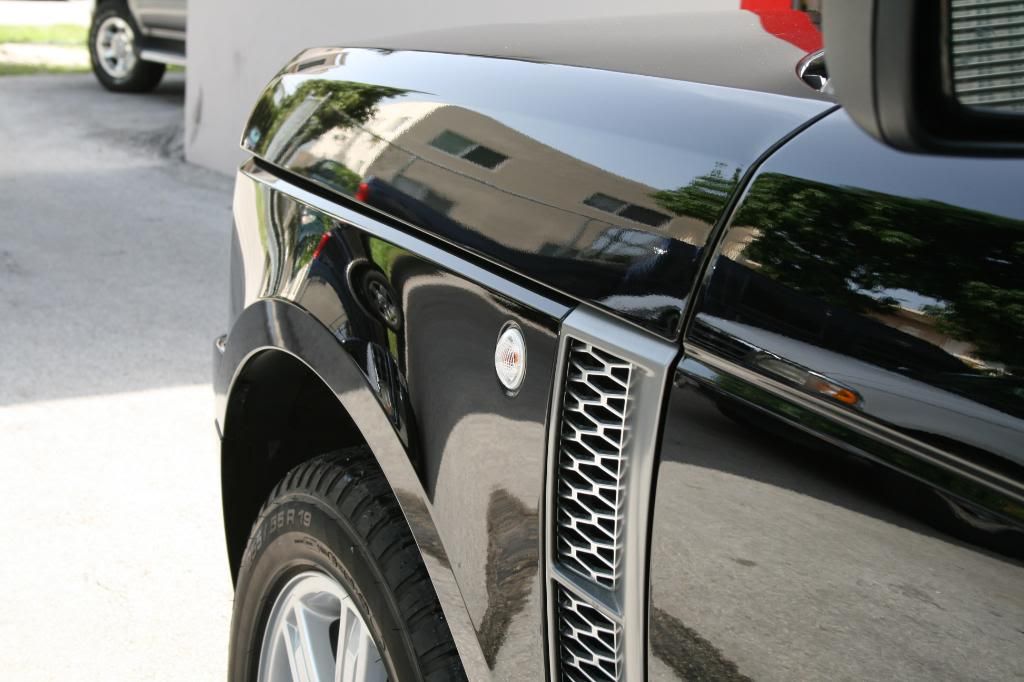
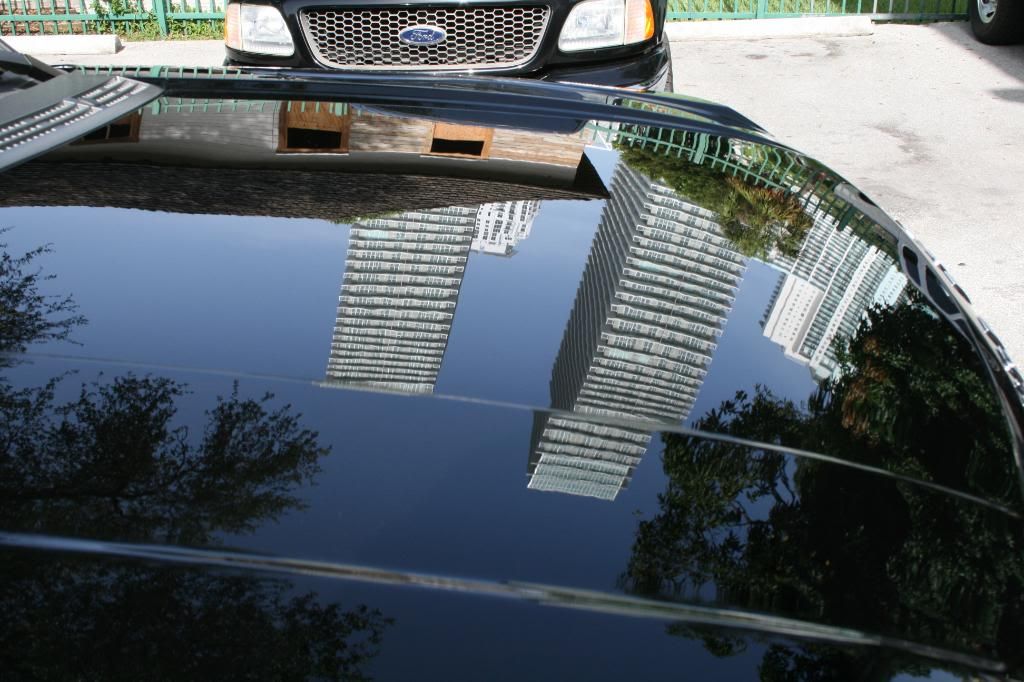
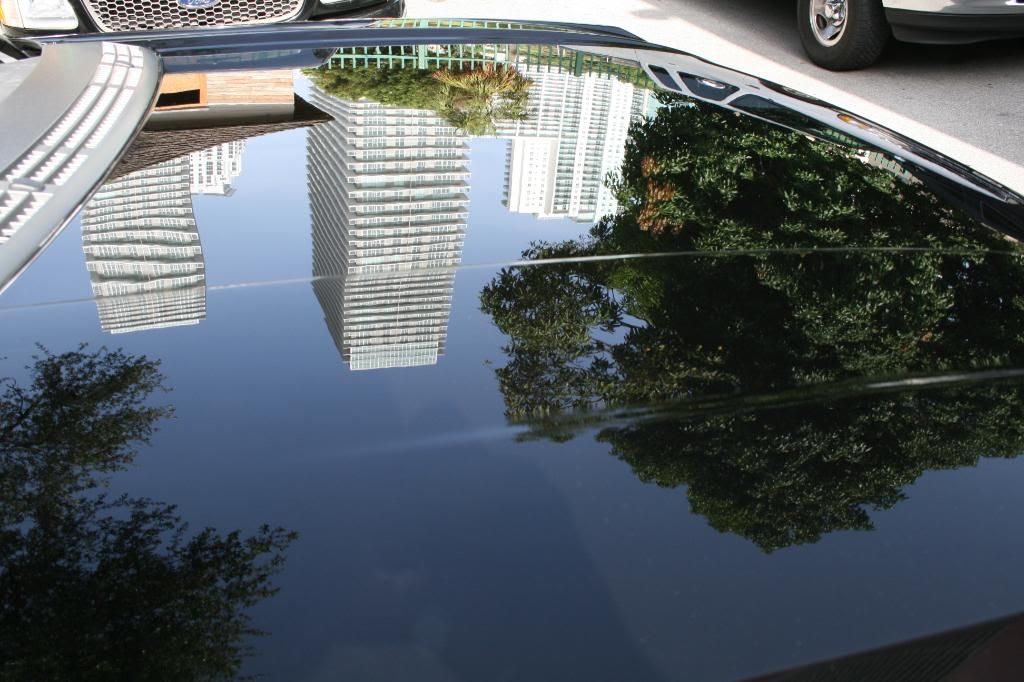
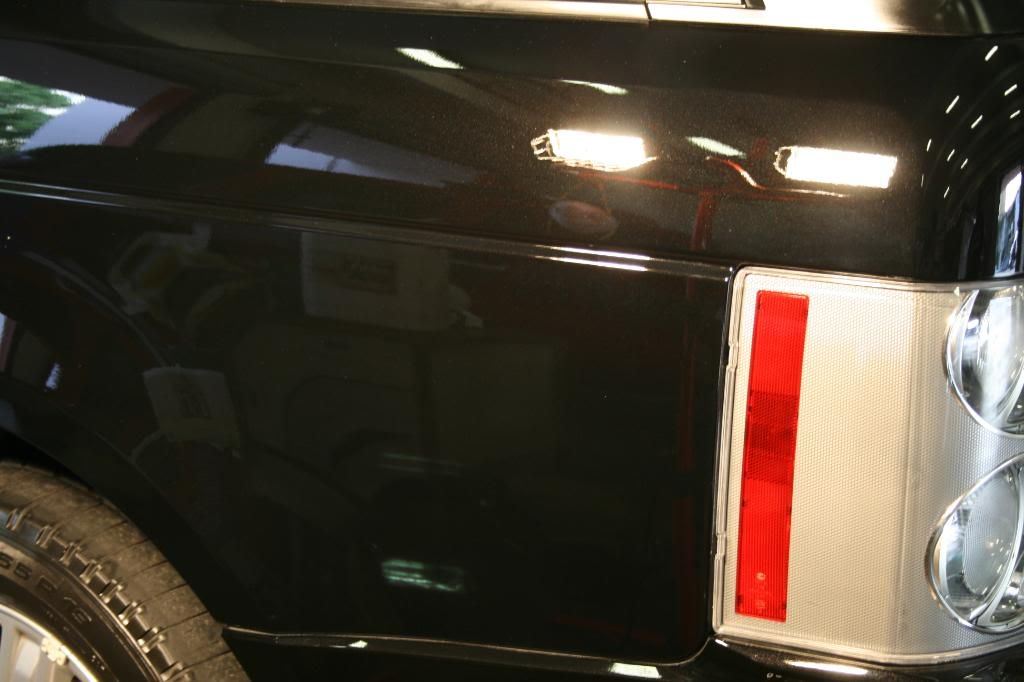
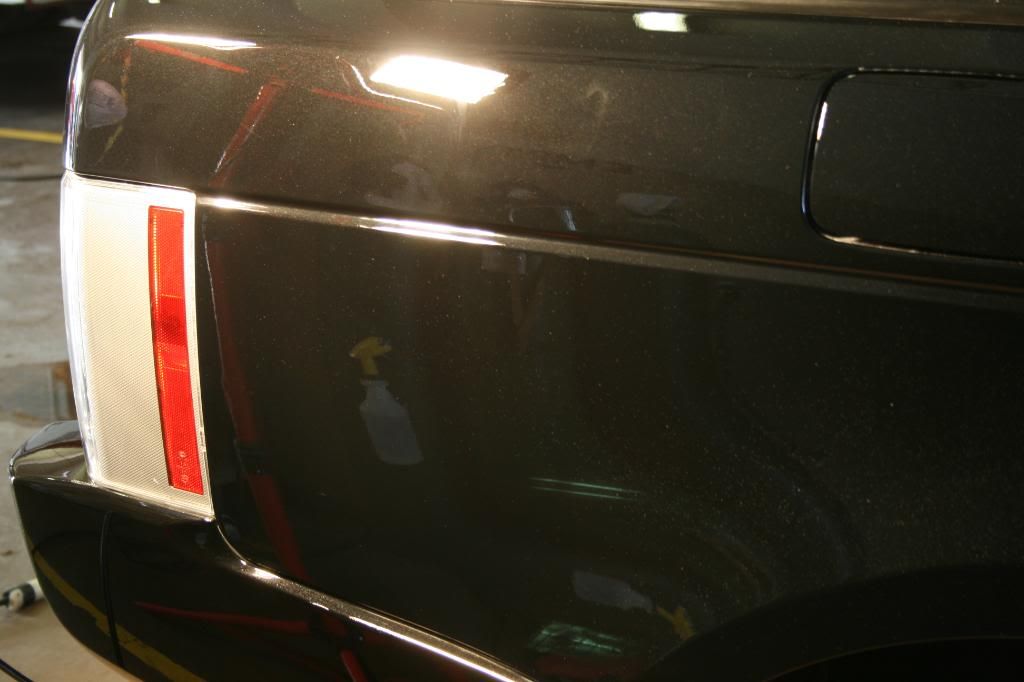
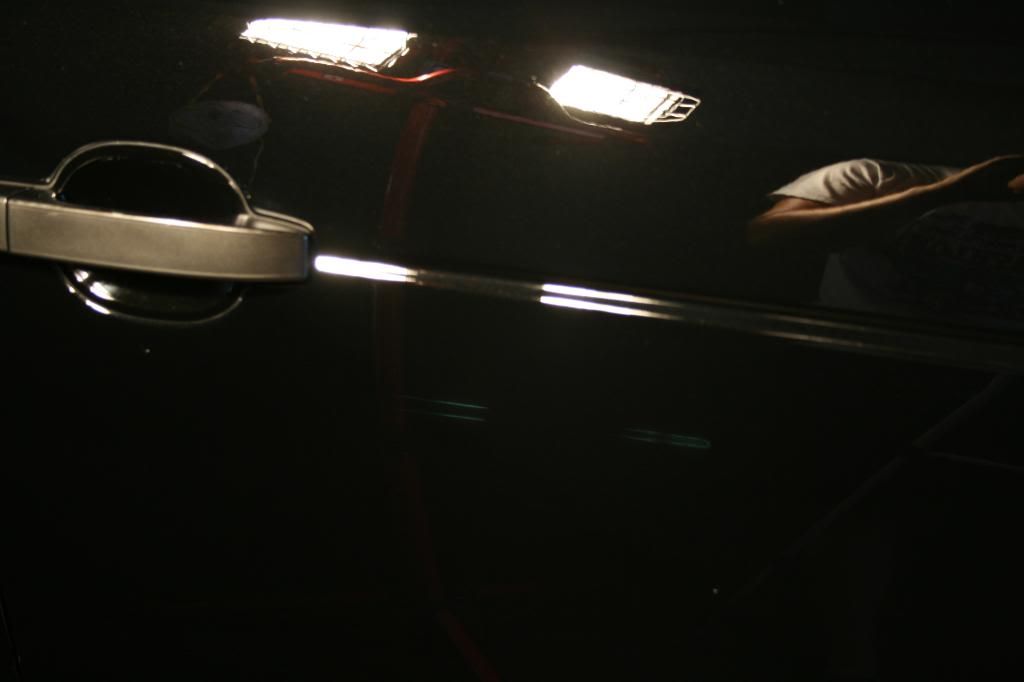
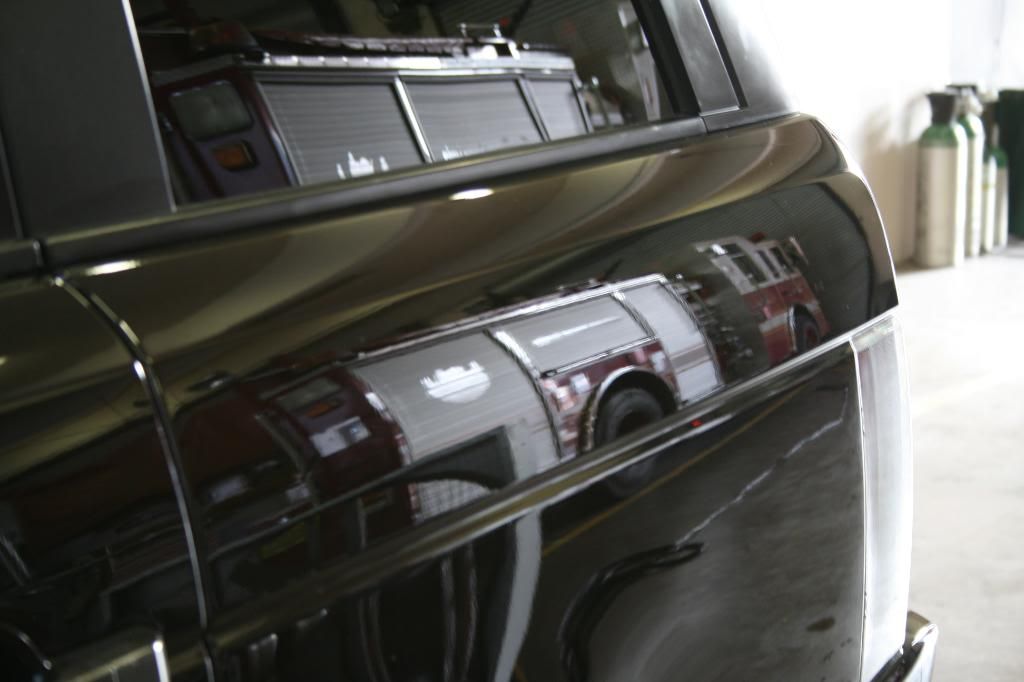
after the wash and clay
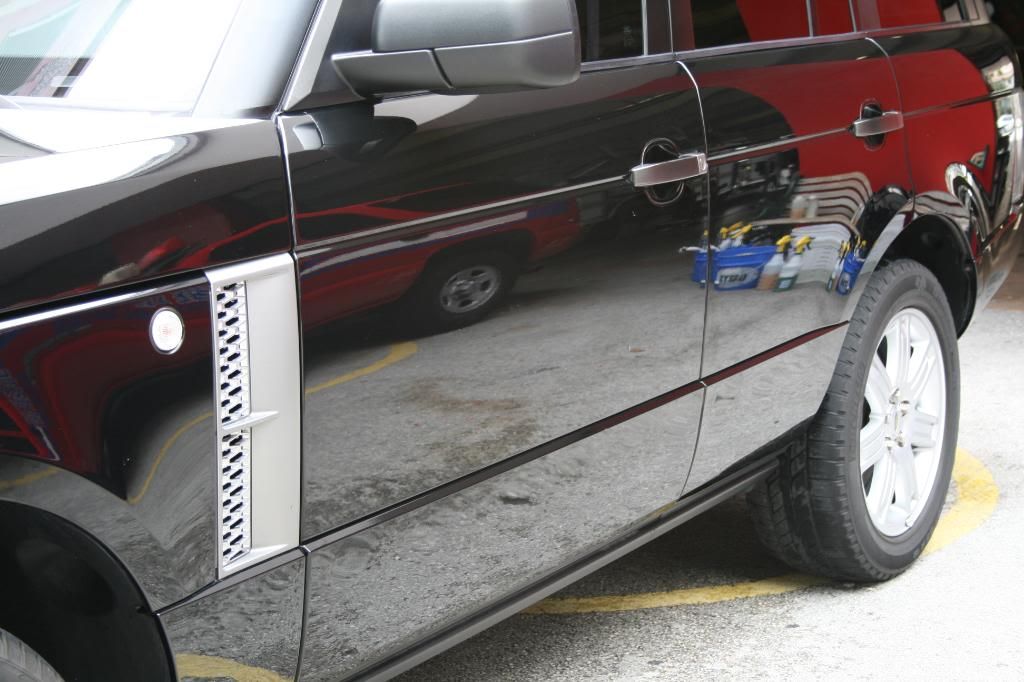

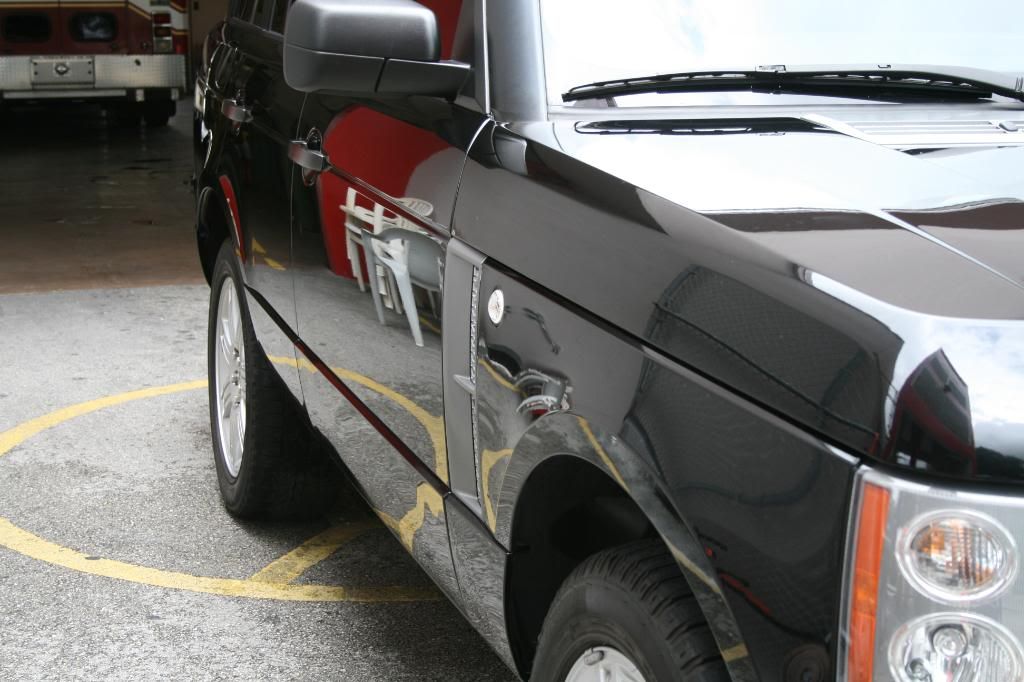
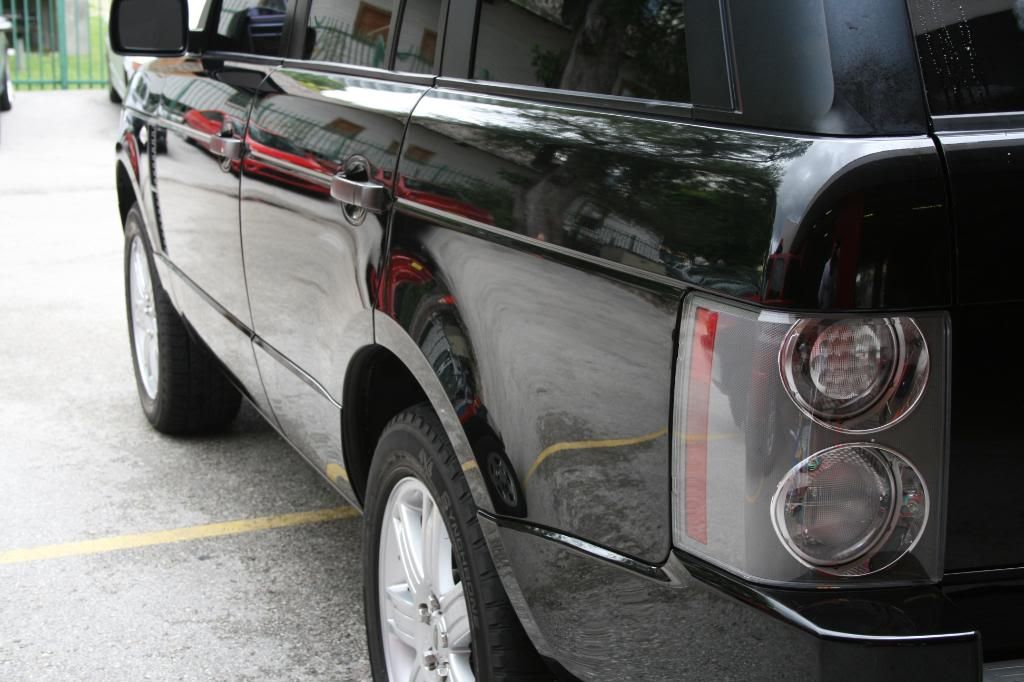
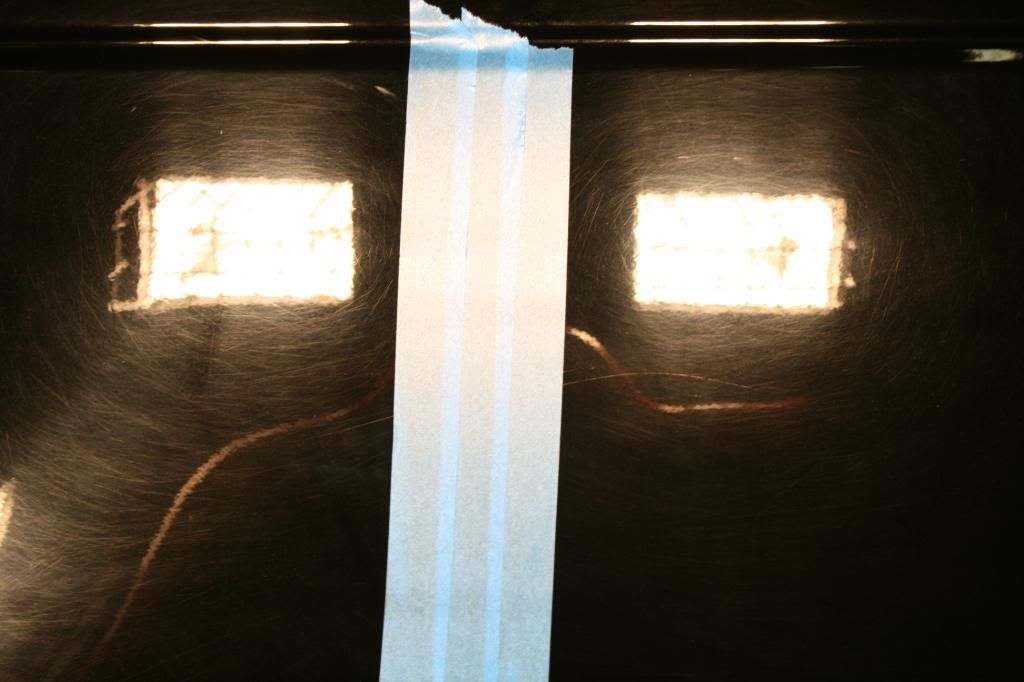
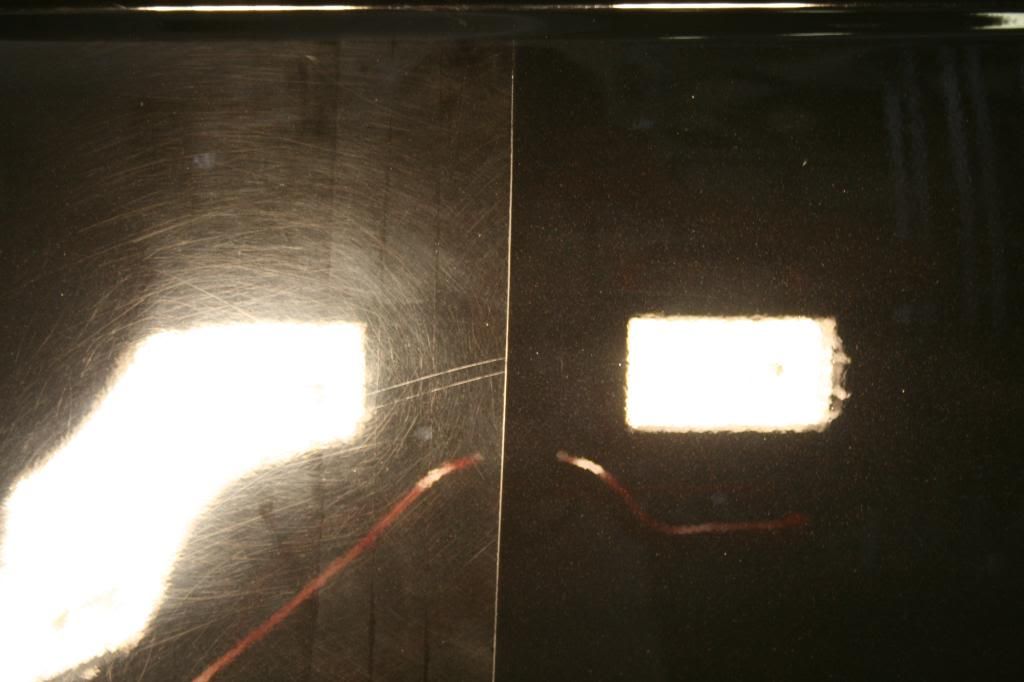
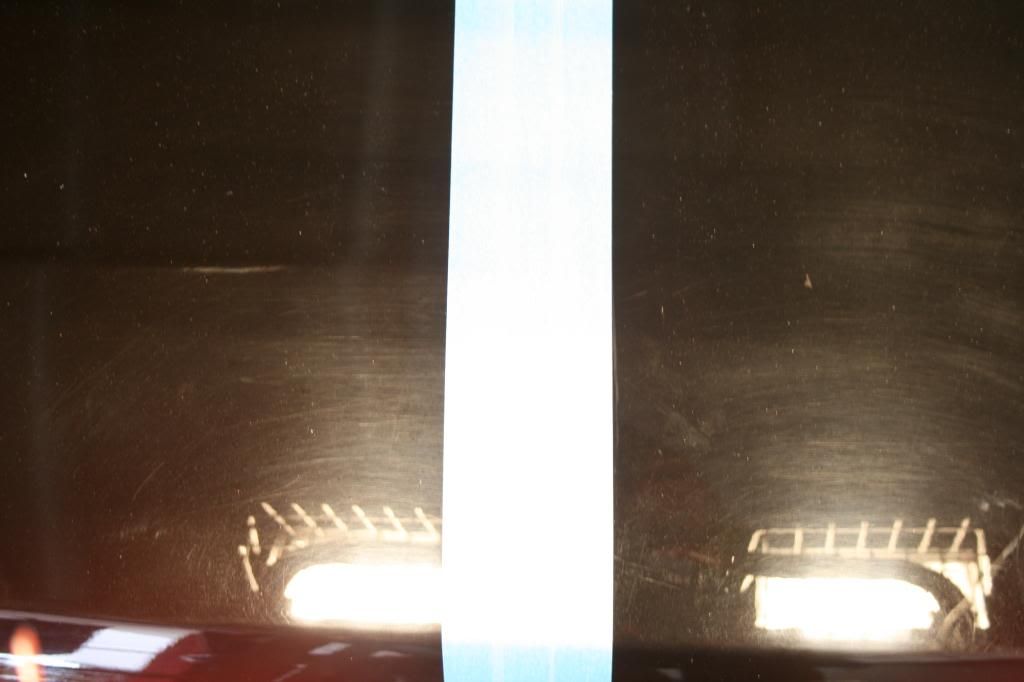
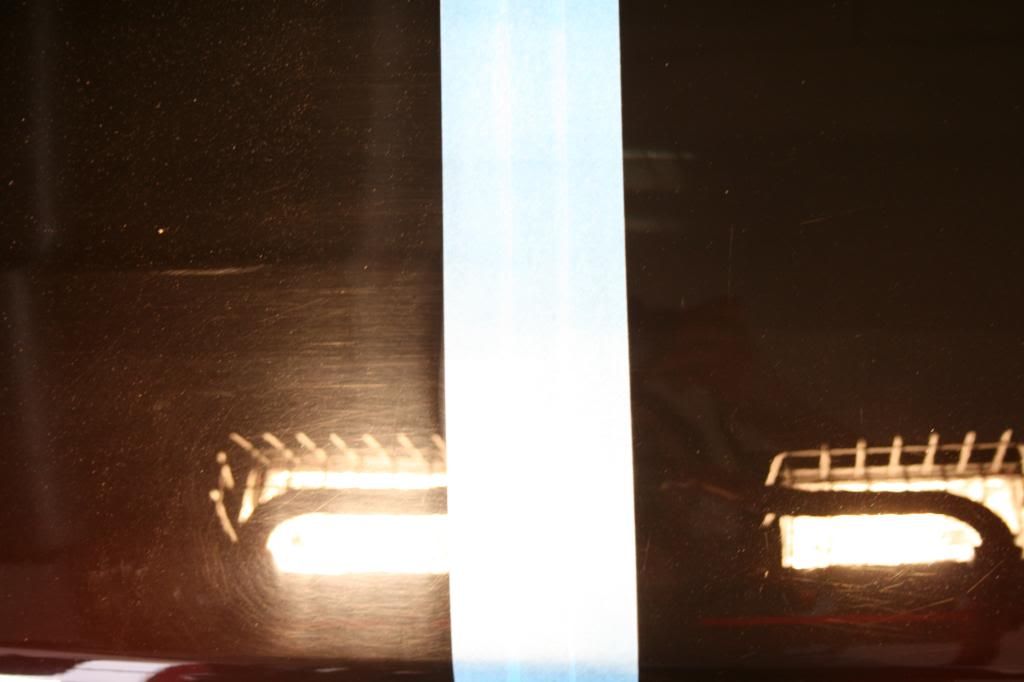
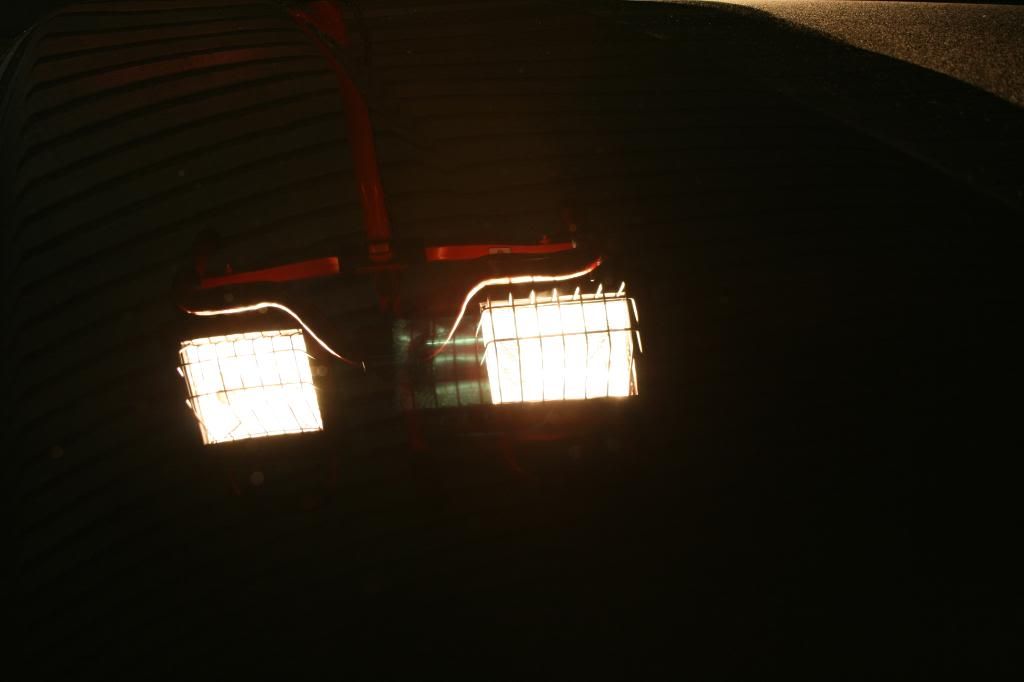
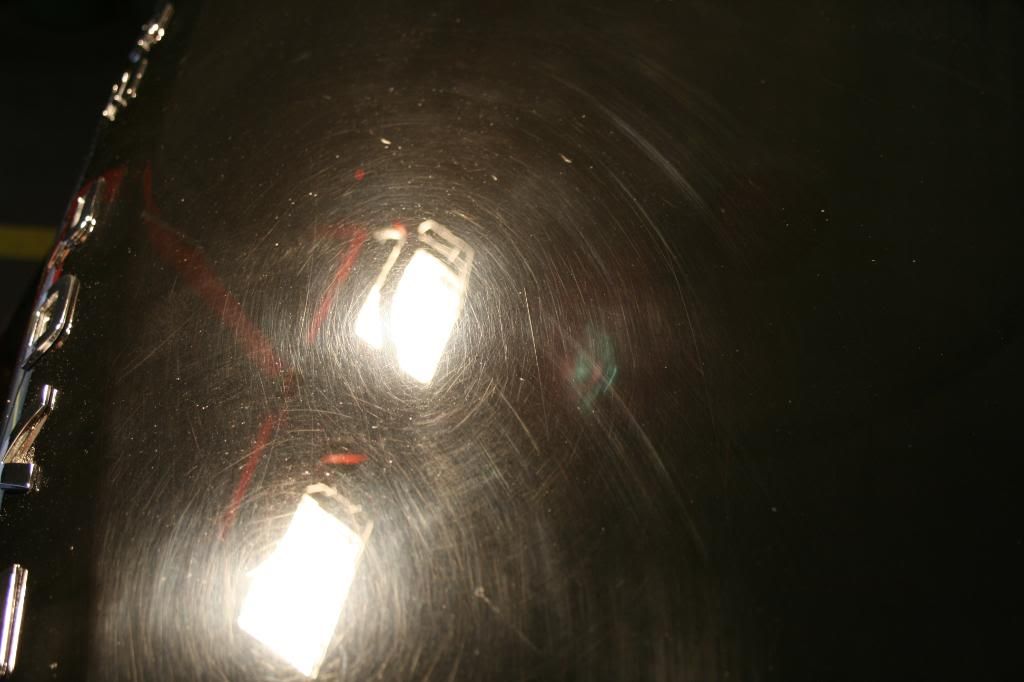
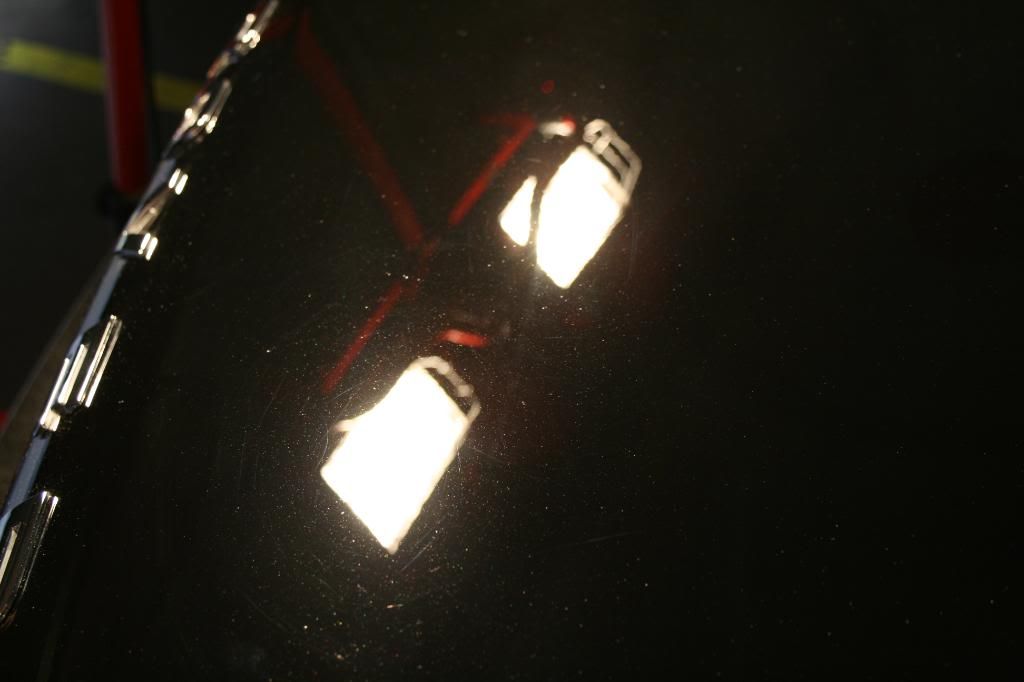
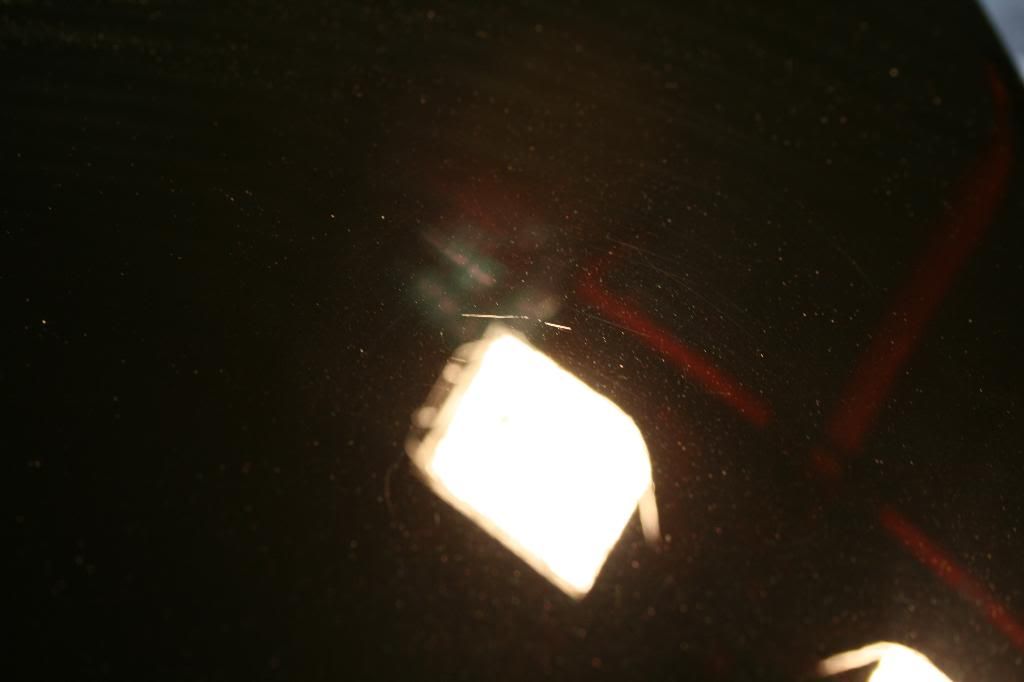
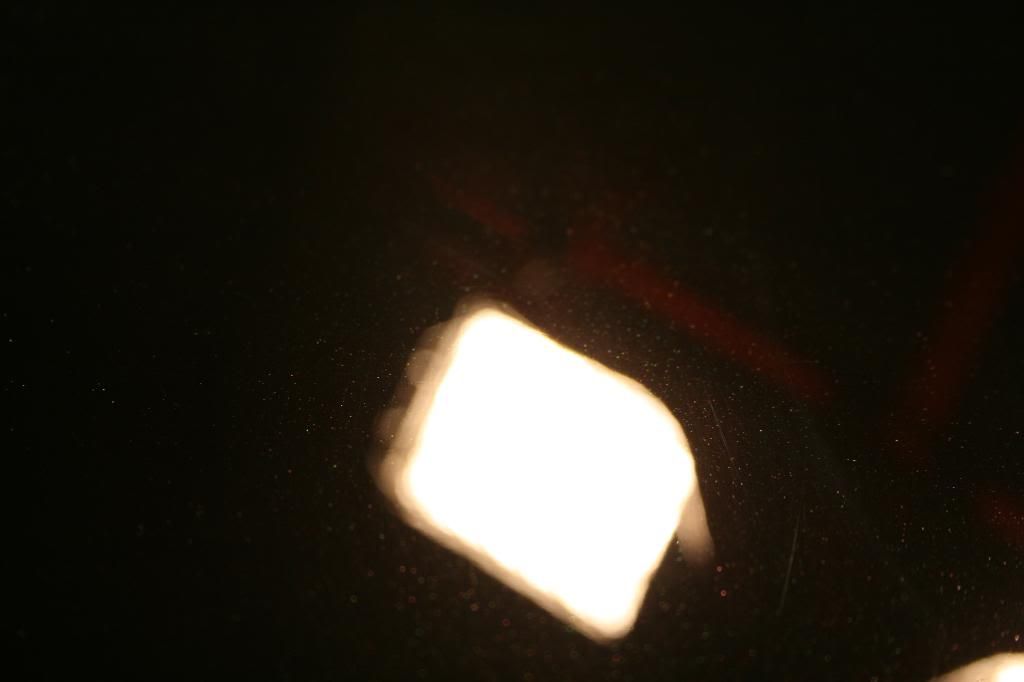
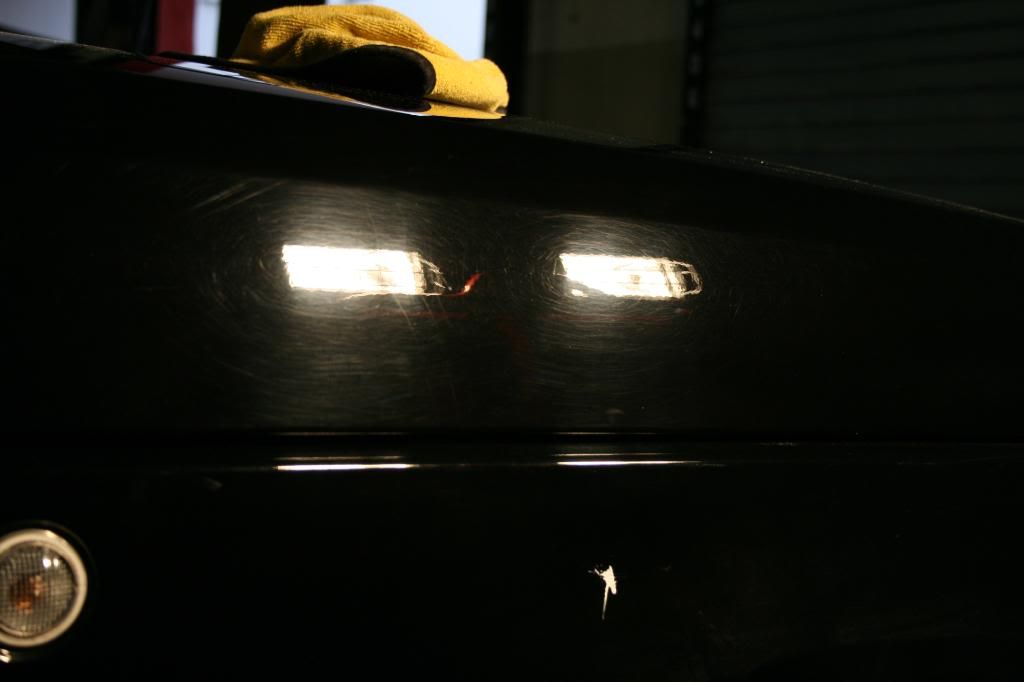
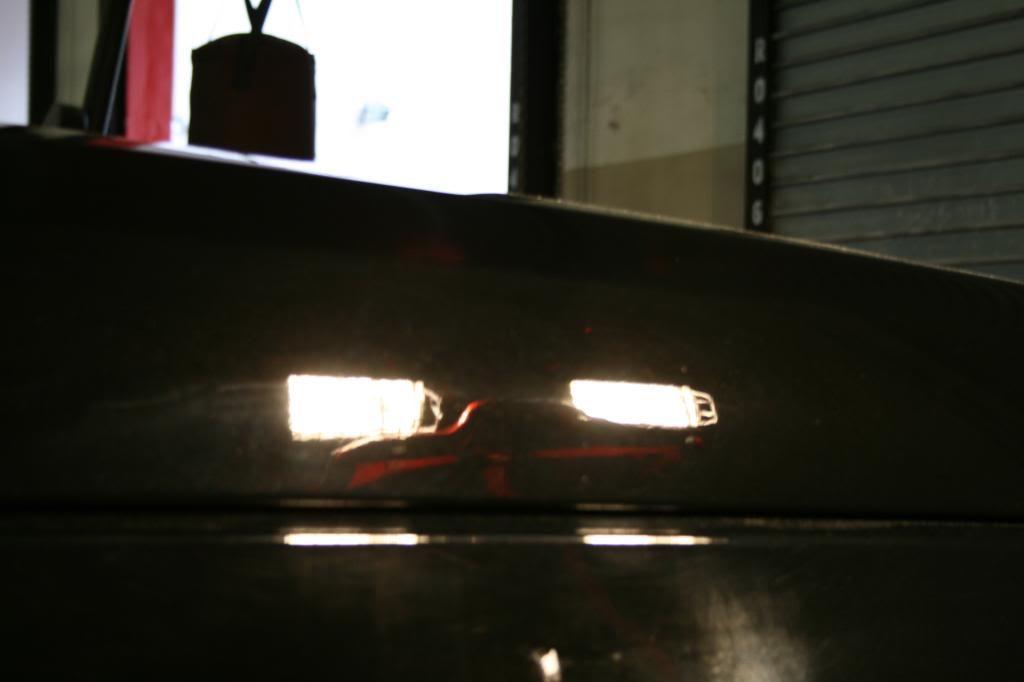
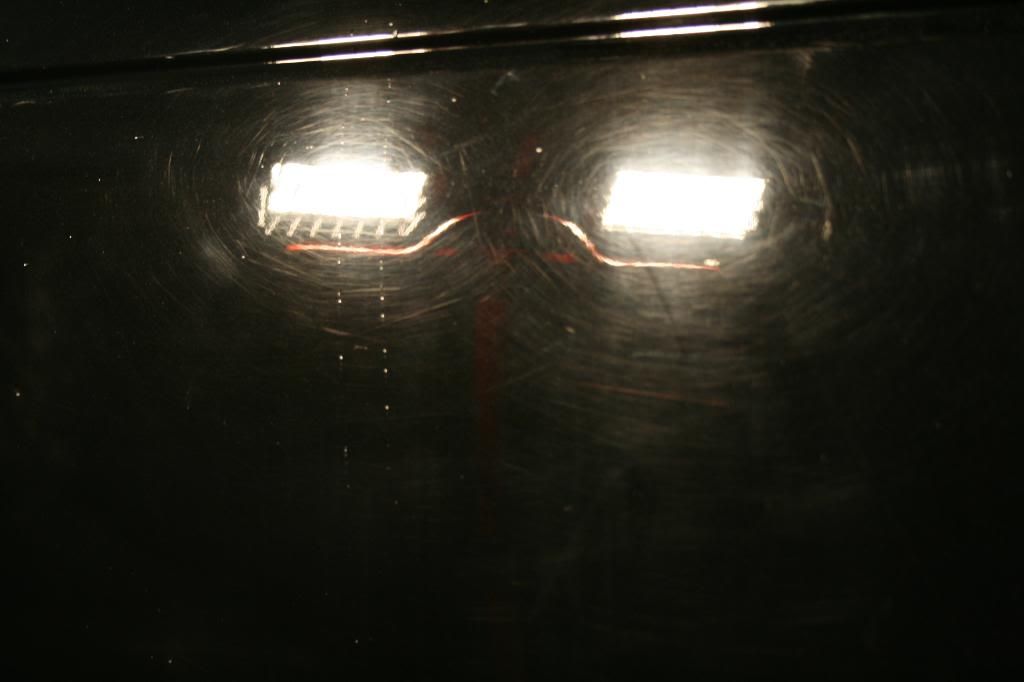
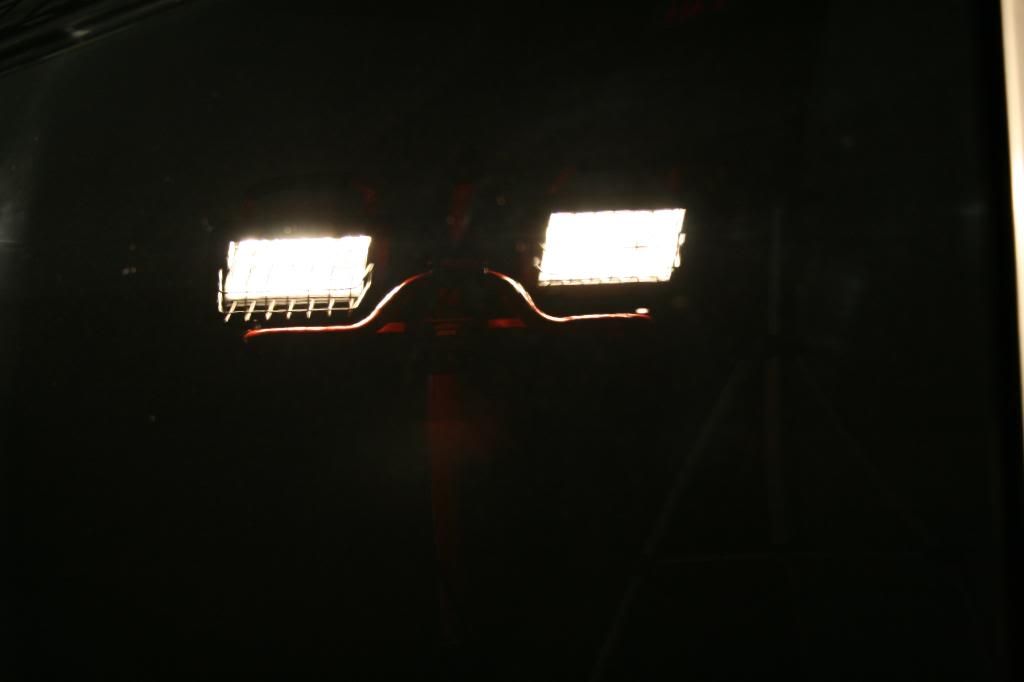
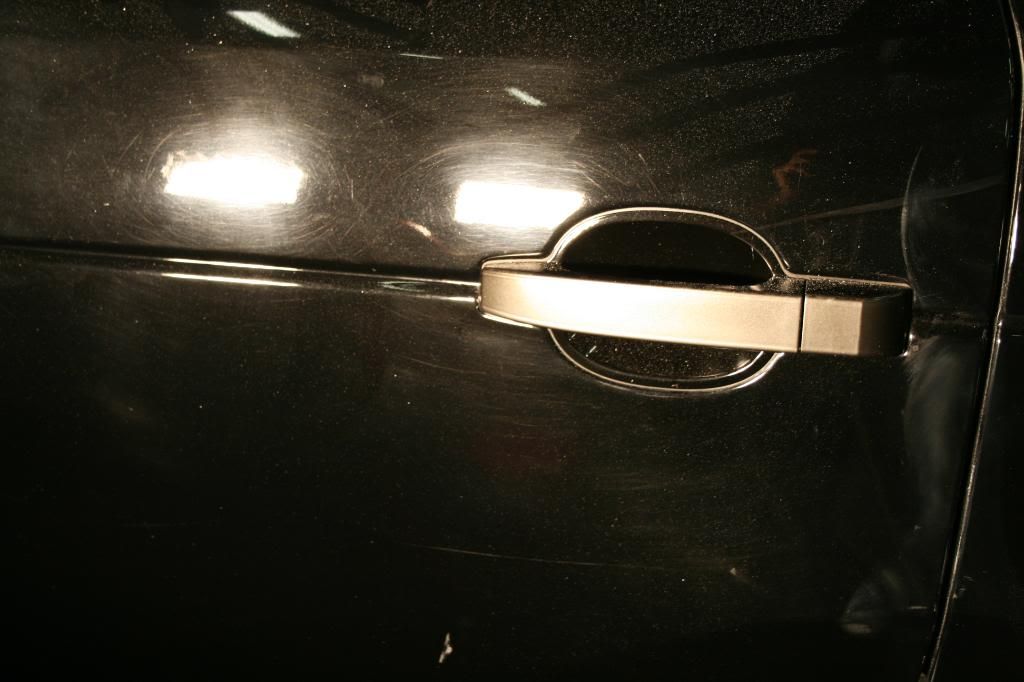
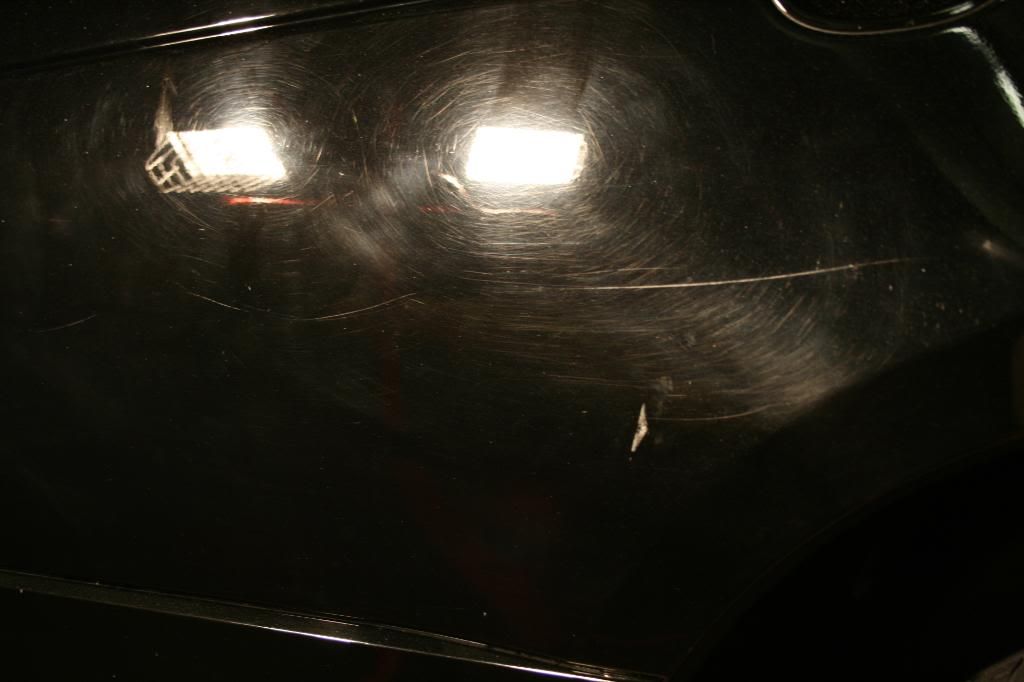
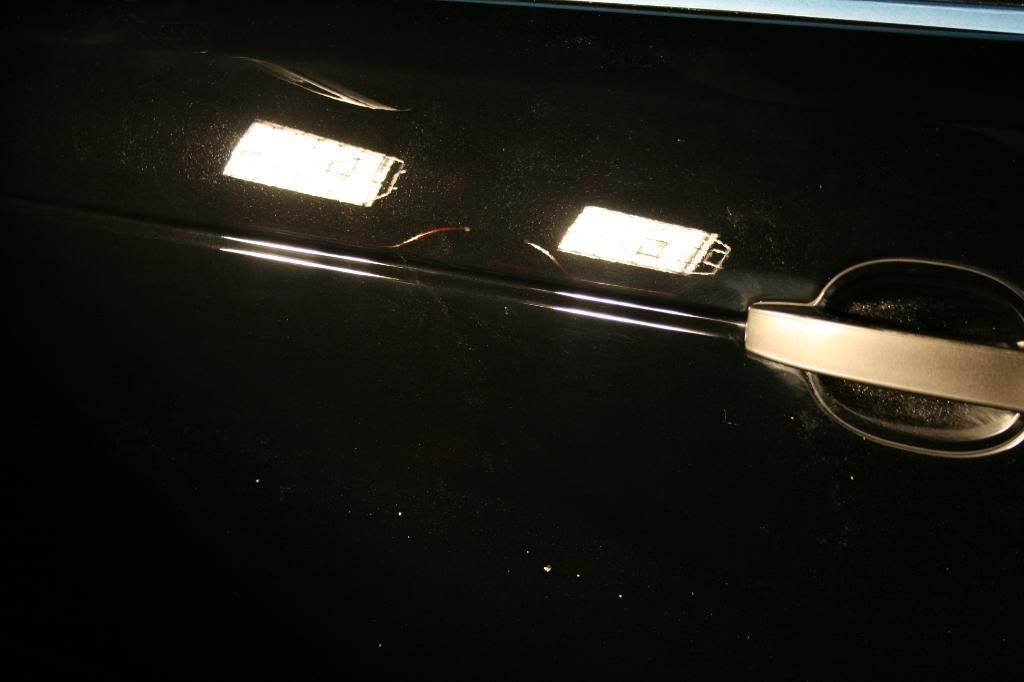
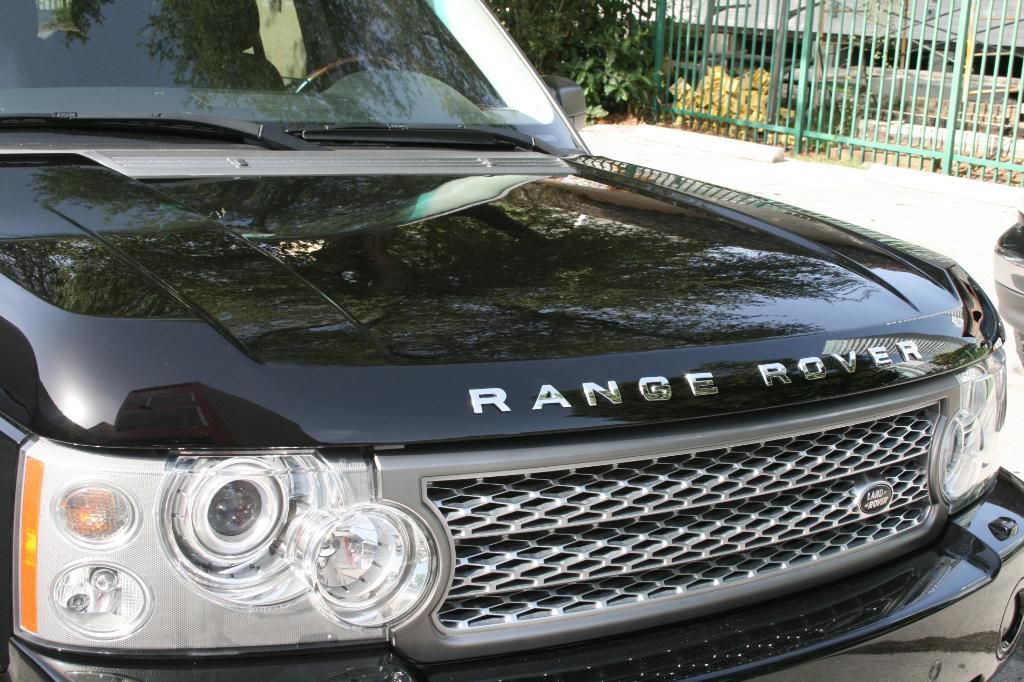
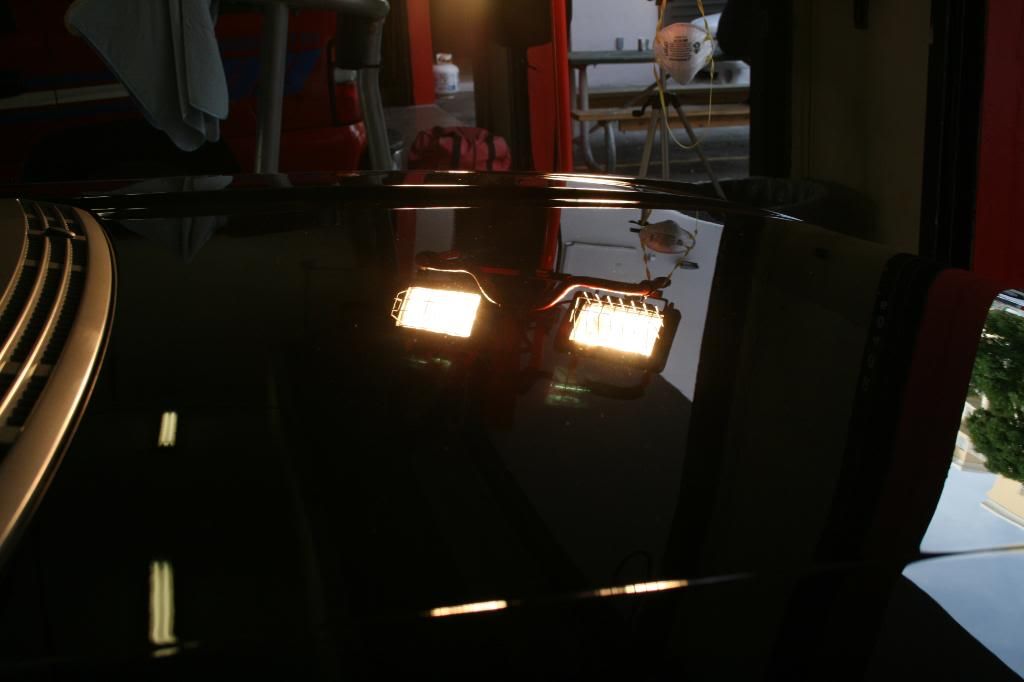
CG's Citrus wah n gloss sure does leave a nice looking shine! but don't be fooled! now onto the halogen lights!

Exterior
-Wash
-P21s TAW Pre-soak
-CG CWG
-CG Waterspot Remover
-White/yellow shMITT
-Engine
-Meguiar's Super Degreaser
-Meguiar's Hyper Dressing
-Wheels
-CG Citrus wheel cleaner
-Meguiar's Wheel brightener
-CG CWG
-EZ detail Brush
-Black shMITT
-Amazing Roll-off (tires)
-Swissvax Autobahn
-Wheel Wells
-Simple Green
-black shMITT
-Meguiar's Hyper Dressing
-Clay
-CG Gray clay
-CG Synthetic QD for lube
-Correction
-2000 grit (3M wet-or-dry) sanding paper
-Menzerna Powergloss
-Menzerna SIP
-Menzerna PO85RD
-LC Foamed Wool
-LC yellow compounding pad
-LC orange pad
-LC white pad
-Sonus SFX white pad
-Sonus SFX blue finishing pad
-Makita 9227C
-3M yellow backing plate
-Edge foam pad cleaner
-ISA wipedown
-LSP
-Collinite 915
-FK1# 425
Interior
-CG leather Cleaner
-CG lightning fast
-1Z cockpit Premium
-1Z Gummi Pflege
-Zaino Z10
-303 protectant
-Stoner's Invisible Glass
Well to start, i arrived at fire station #4 (again!) at 7:00AM. i took a quick look at the car and i told the owner that it didn't look like it was in too bad of shape, except for some big scratches, which i was told to remove. first off i decided it would be better to degrease the engine before moving on the the paint, so that i would not dirty the paint.
Letting Meguiar's Super Degreaser soak in. then i gave the heavily soiled areas a scrub, then rinsed off.
now it's time for the wash. using the two-bucket method with grit guards. i first washed the wheels, then the car. after the wash i clayed the entire car using CG's Gray clay since this car had never been clayed in the past.
after the wash and clay
CG's Citrus wah n gloss sure does leave a nice looking shine! but don't be fooled! now onto the halogen lights!


")