ScheerSpeed
New member
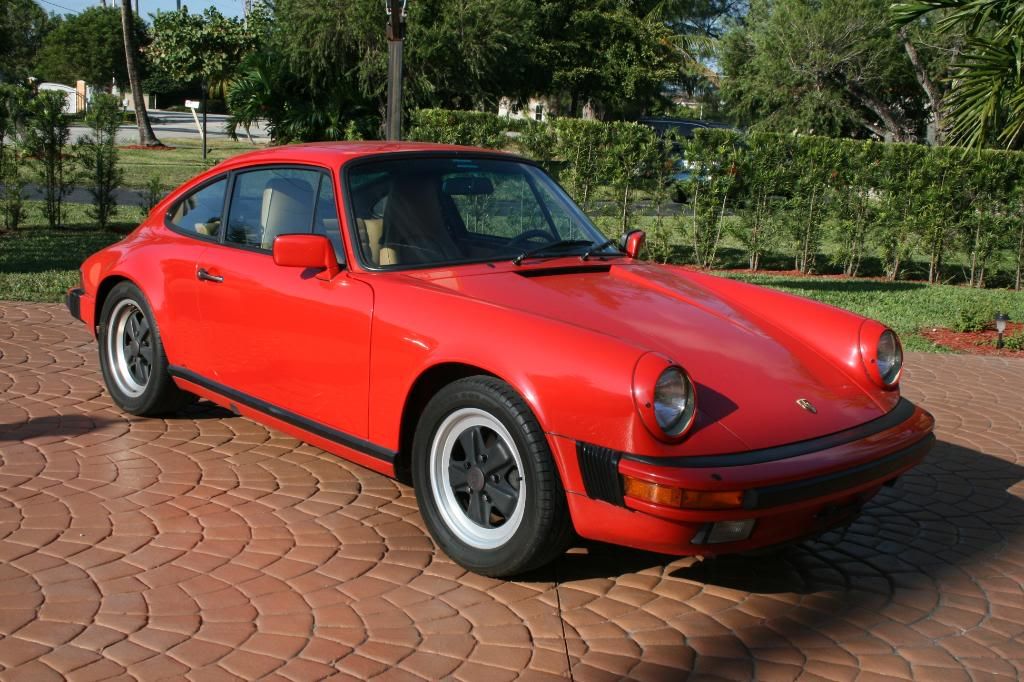
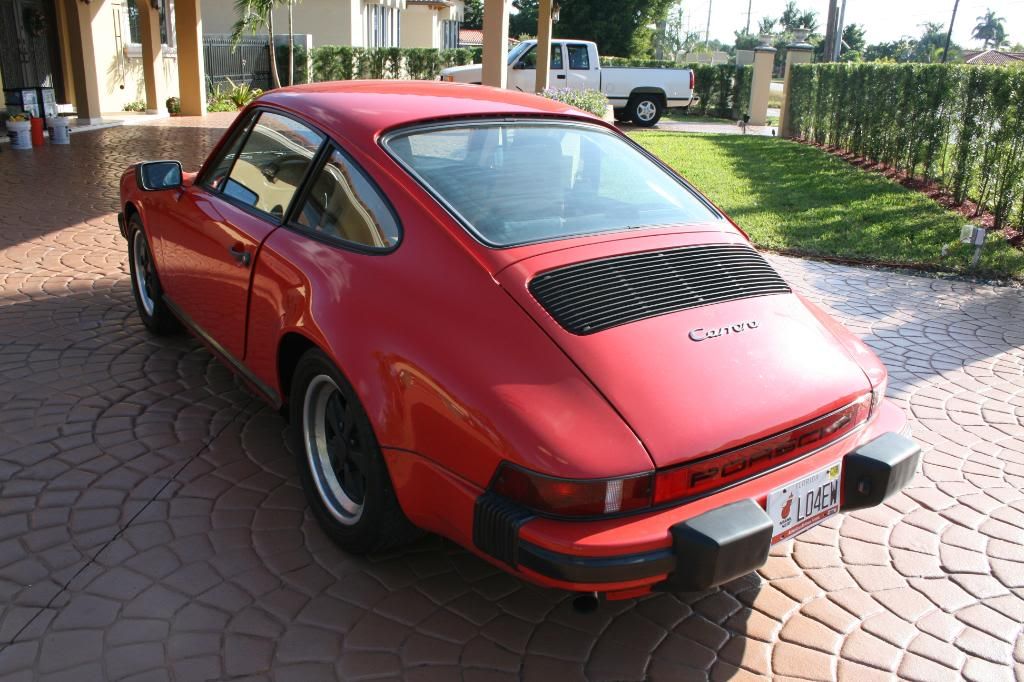
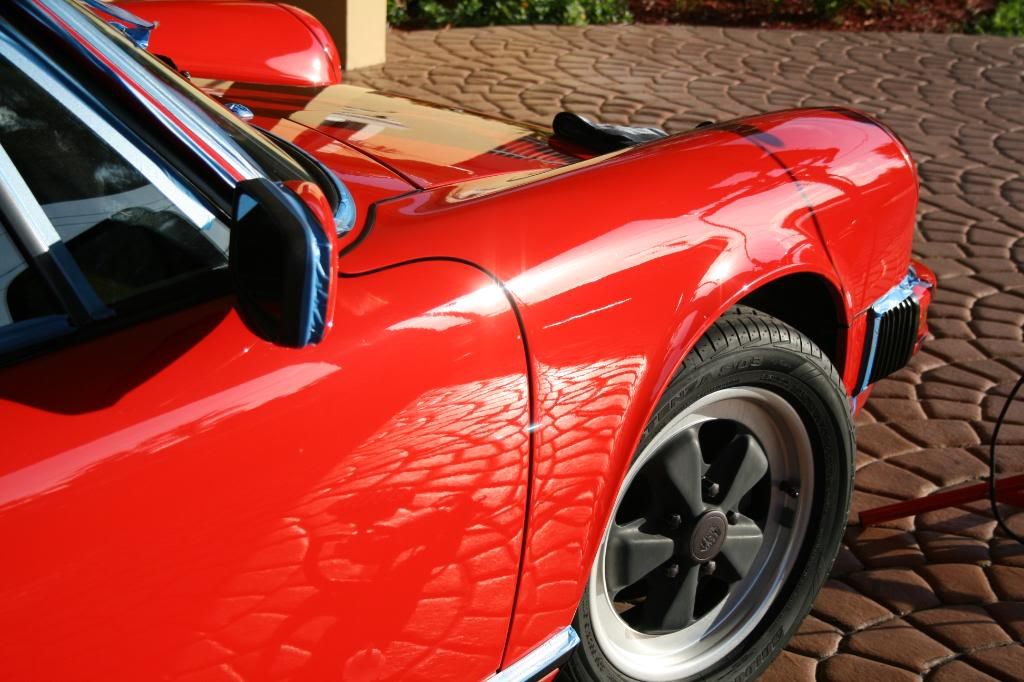
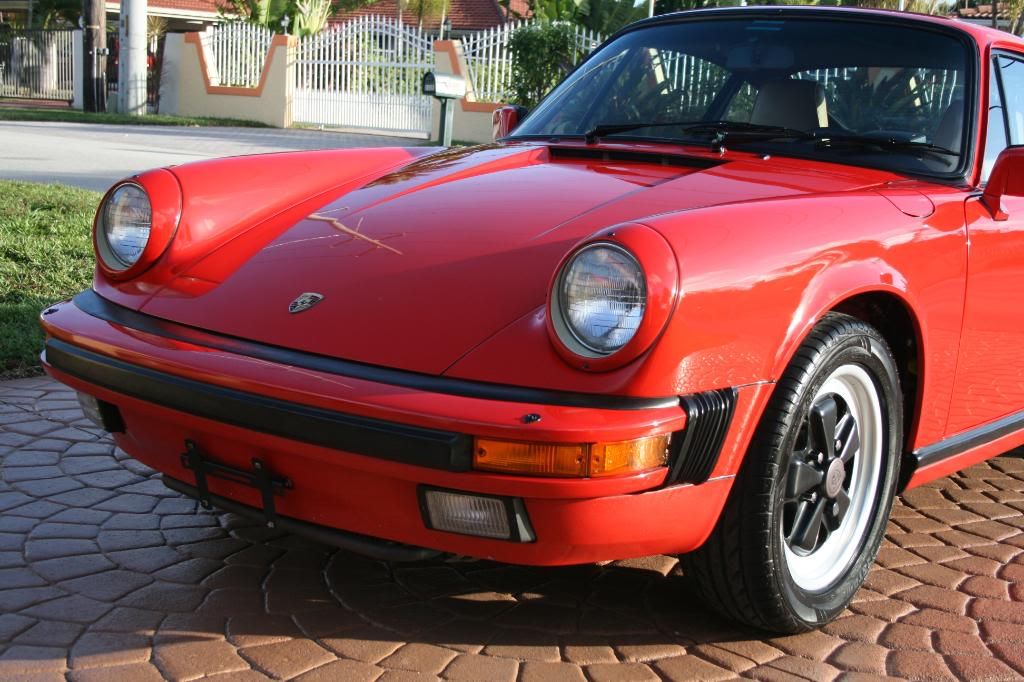
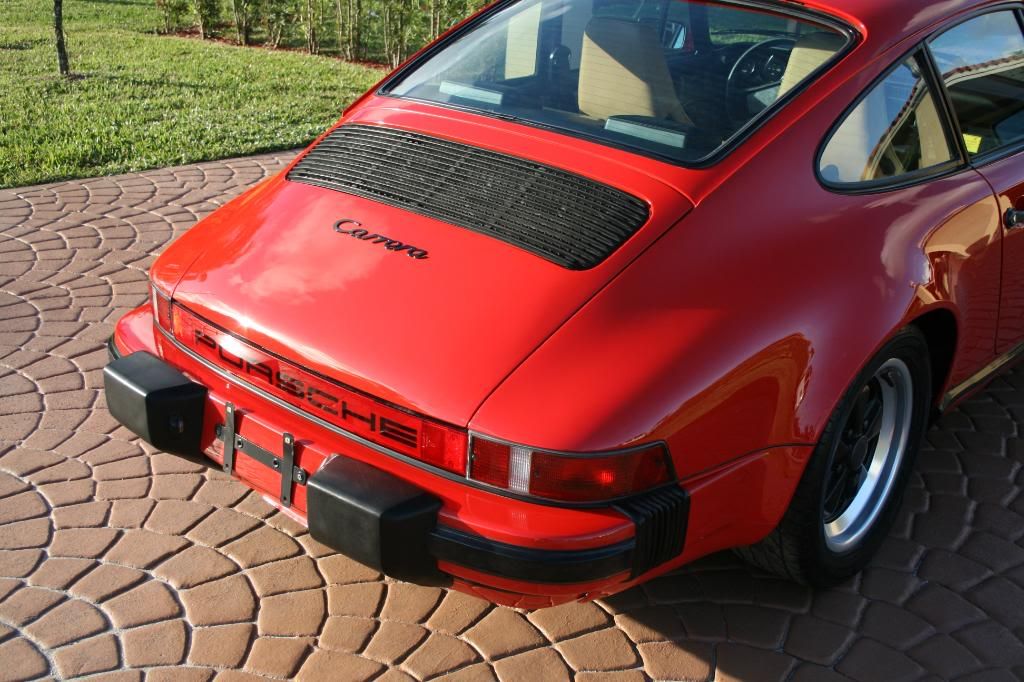
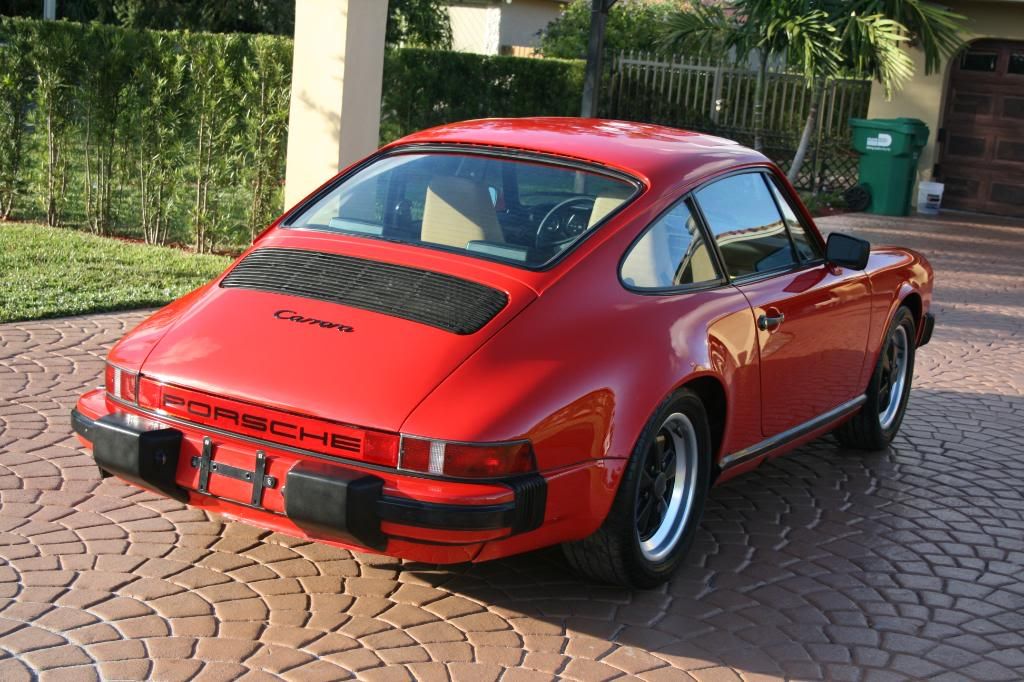
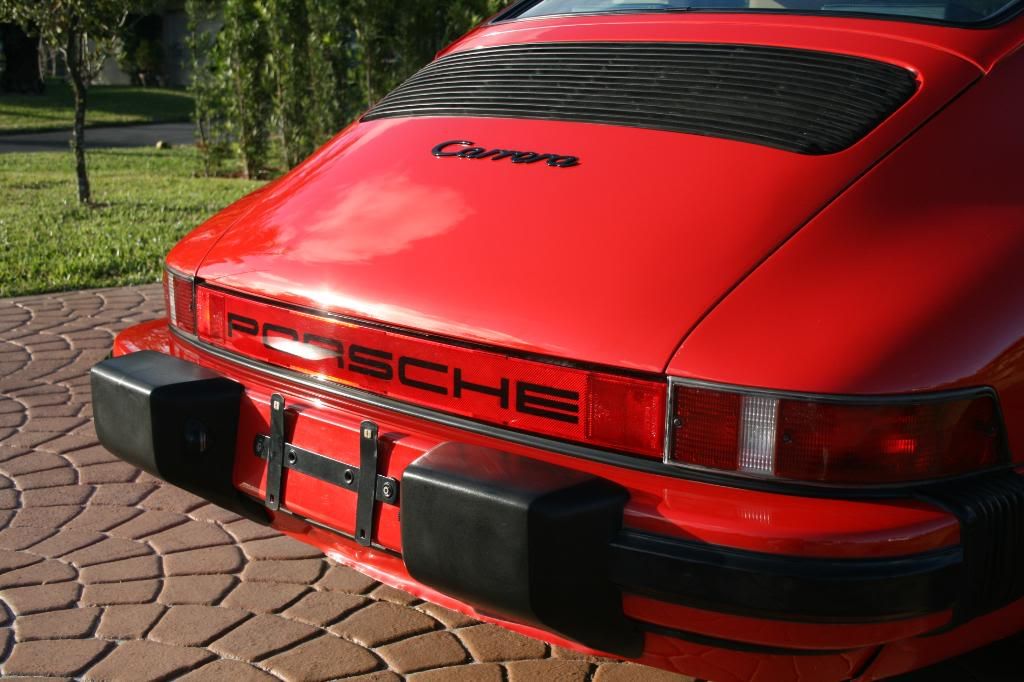
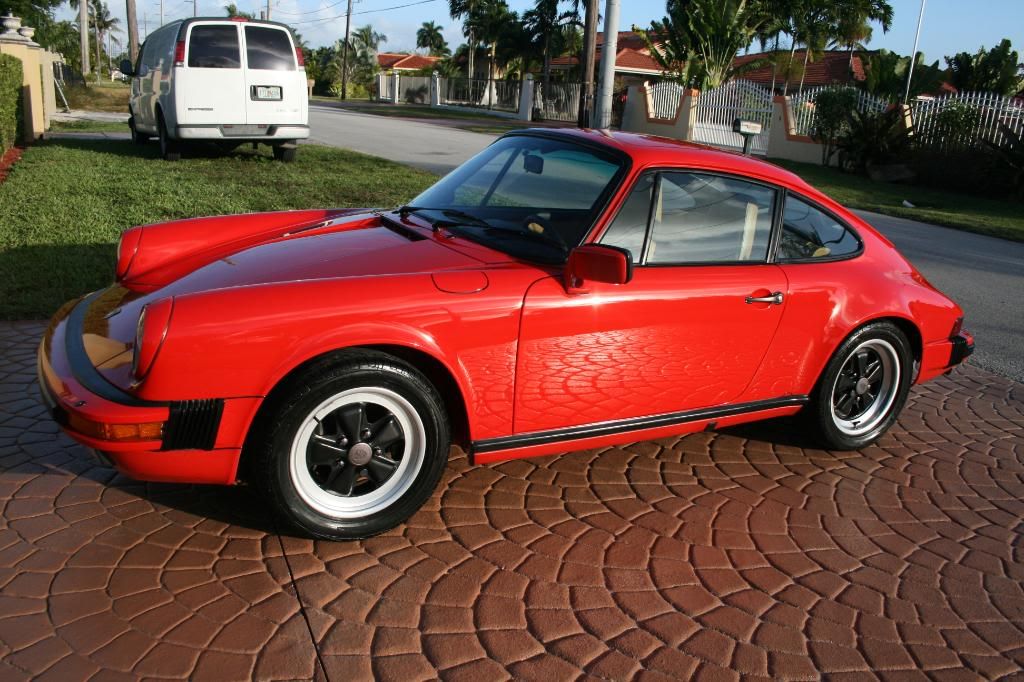
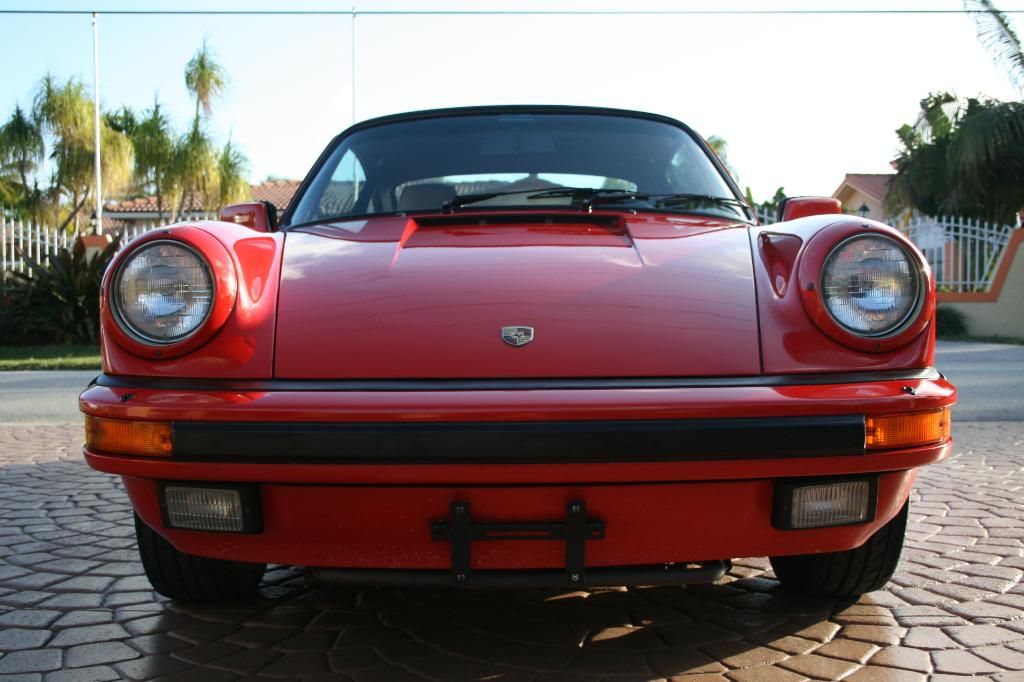
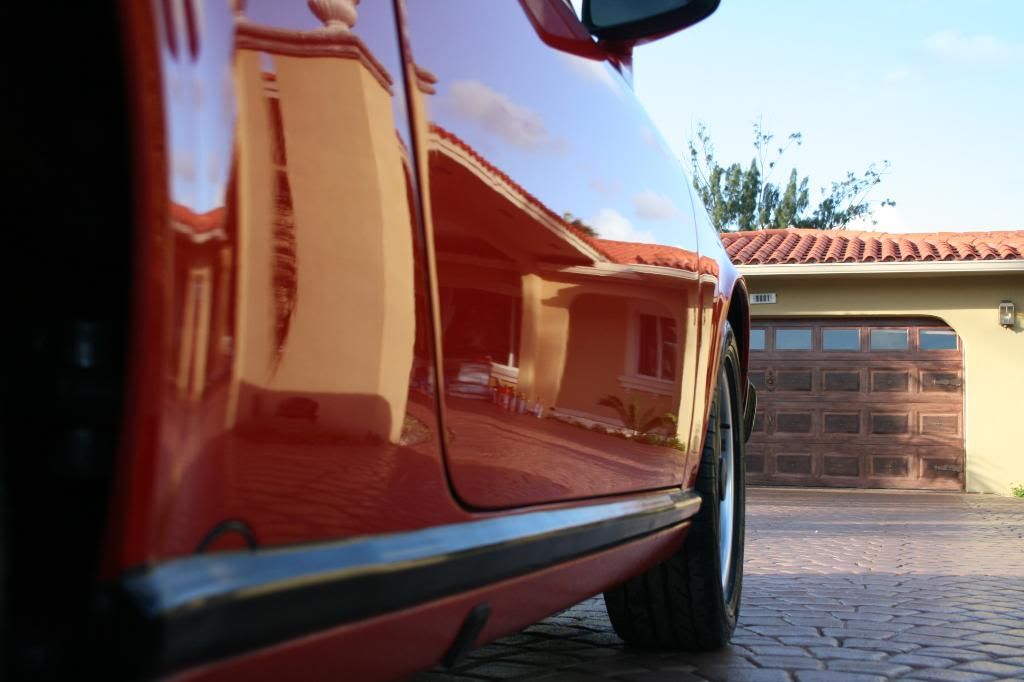
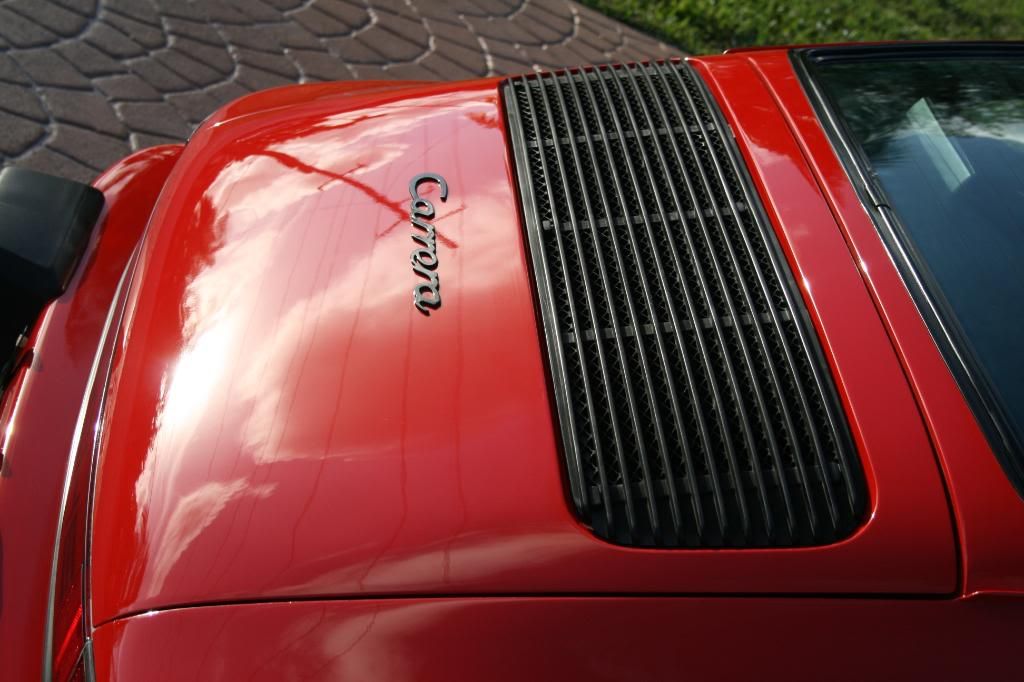
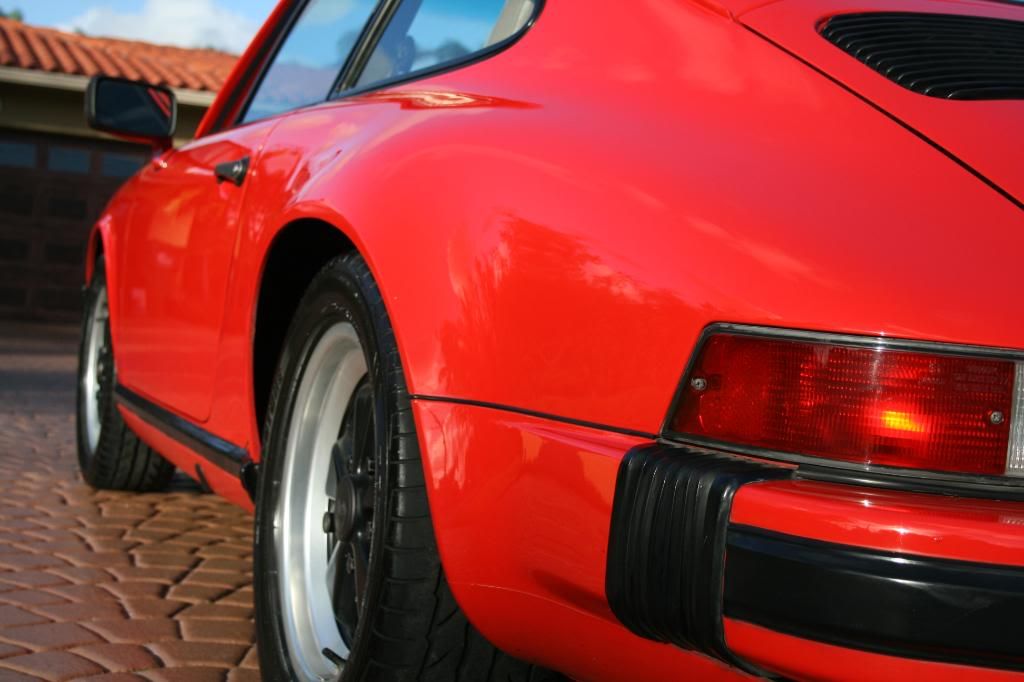
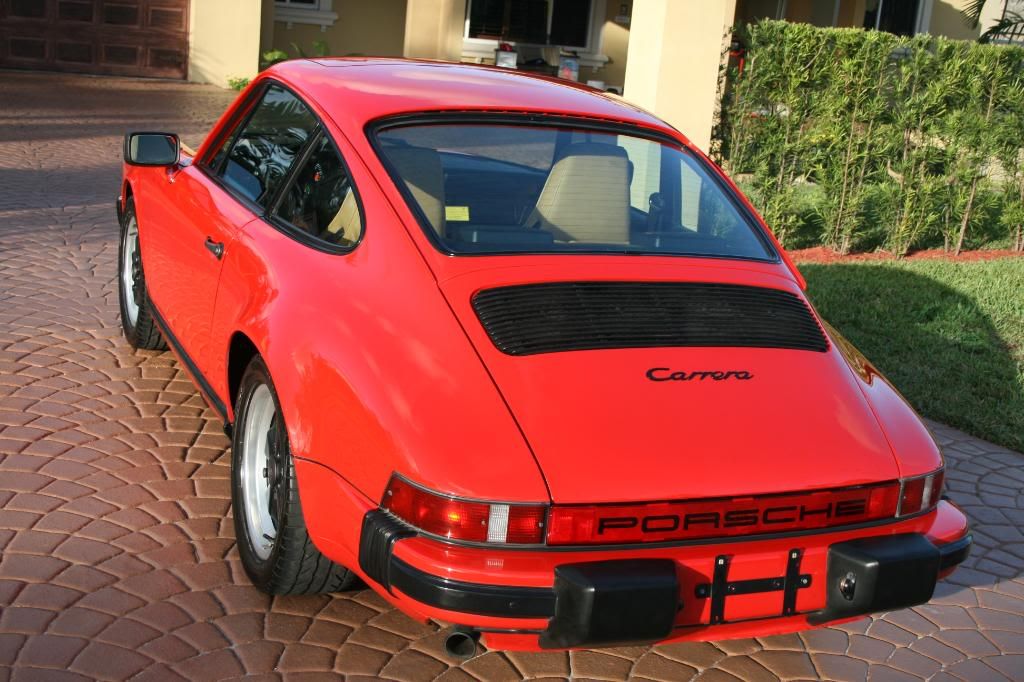
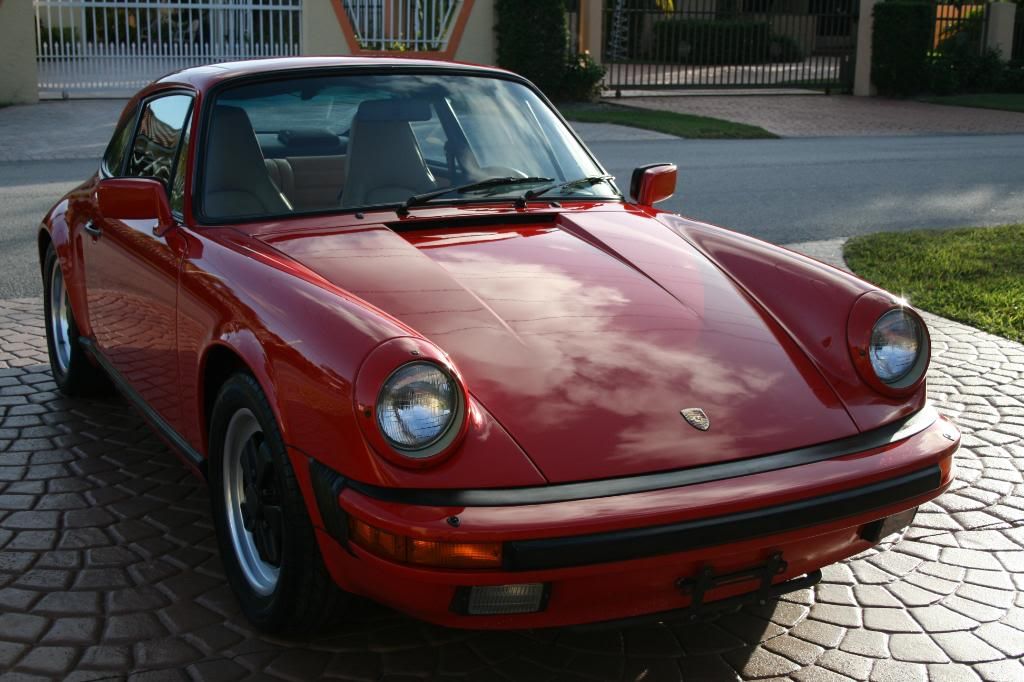
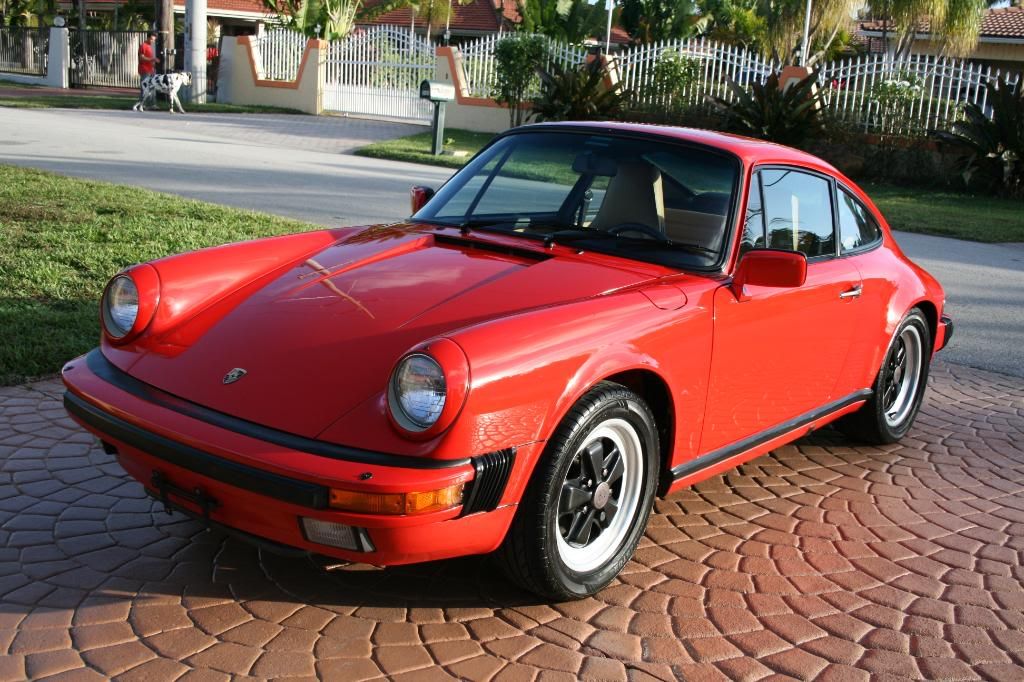
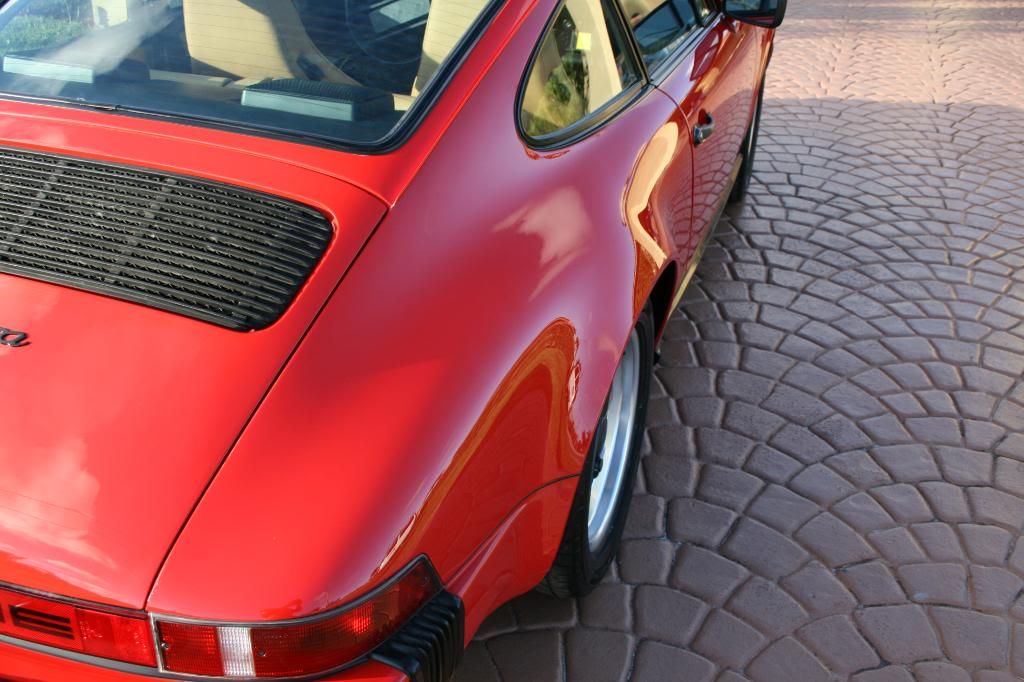
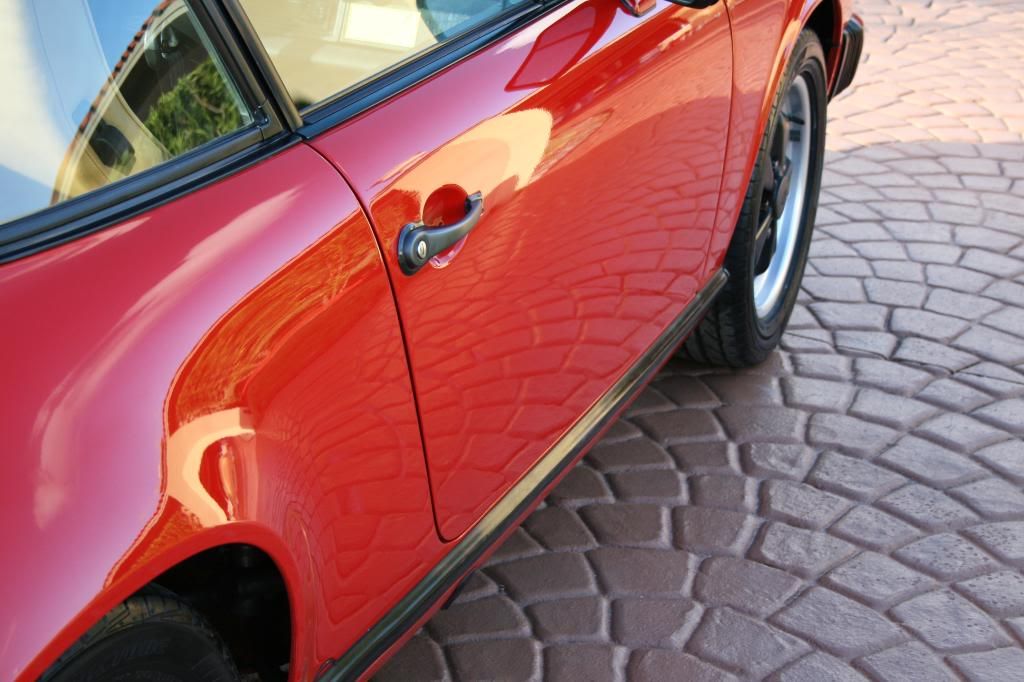
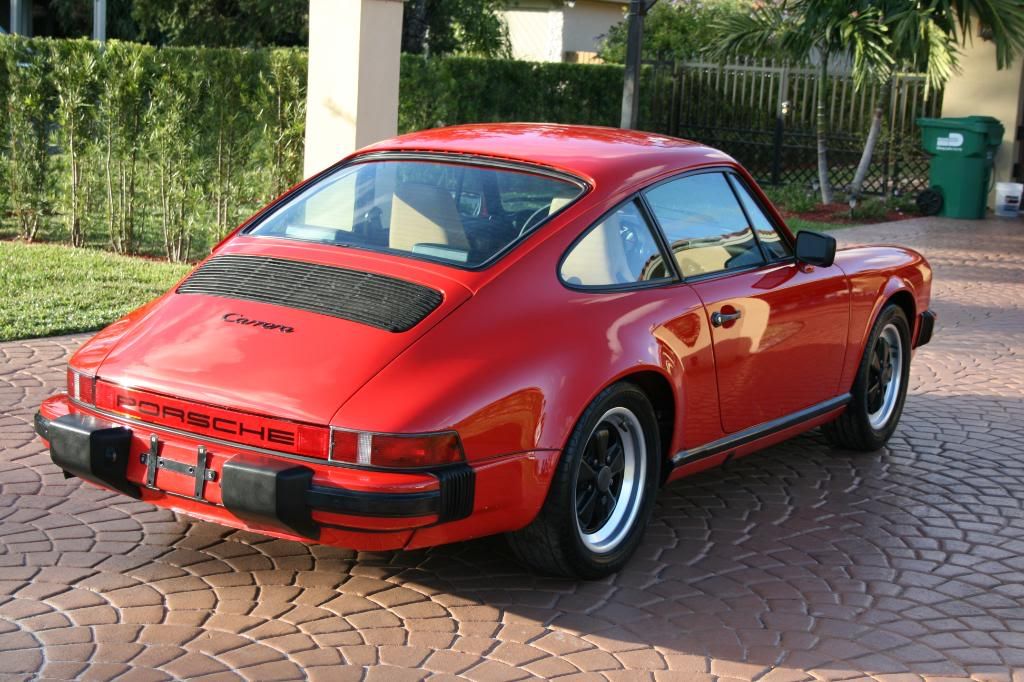
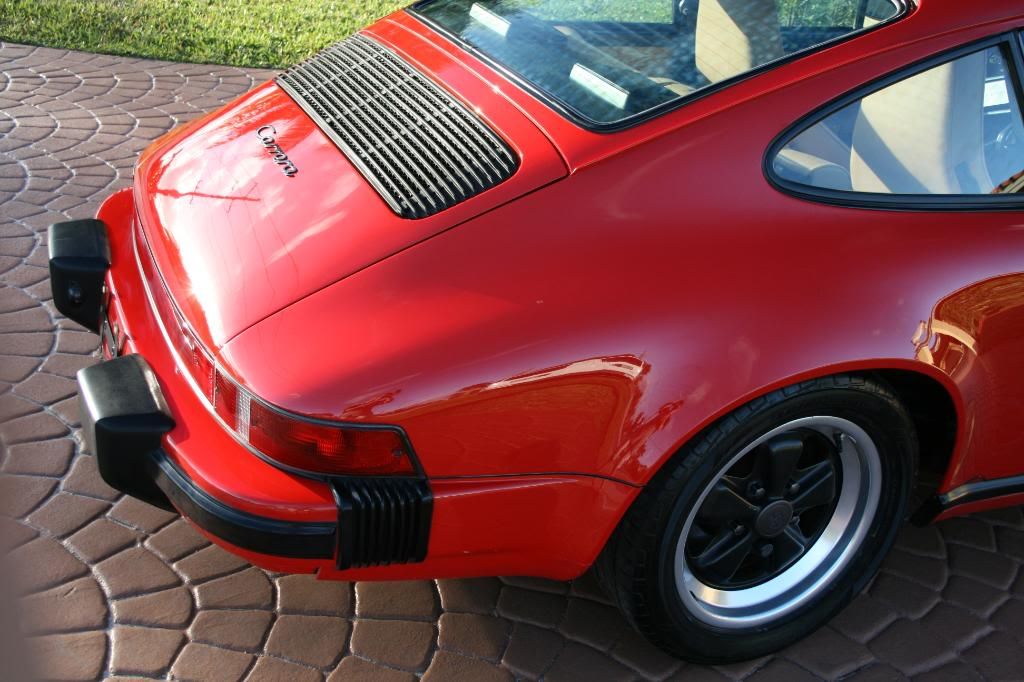
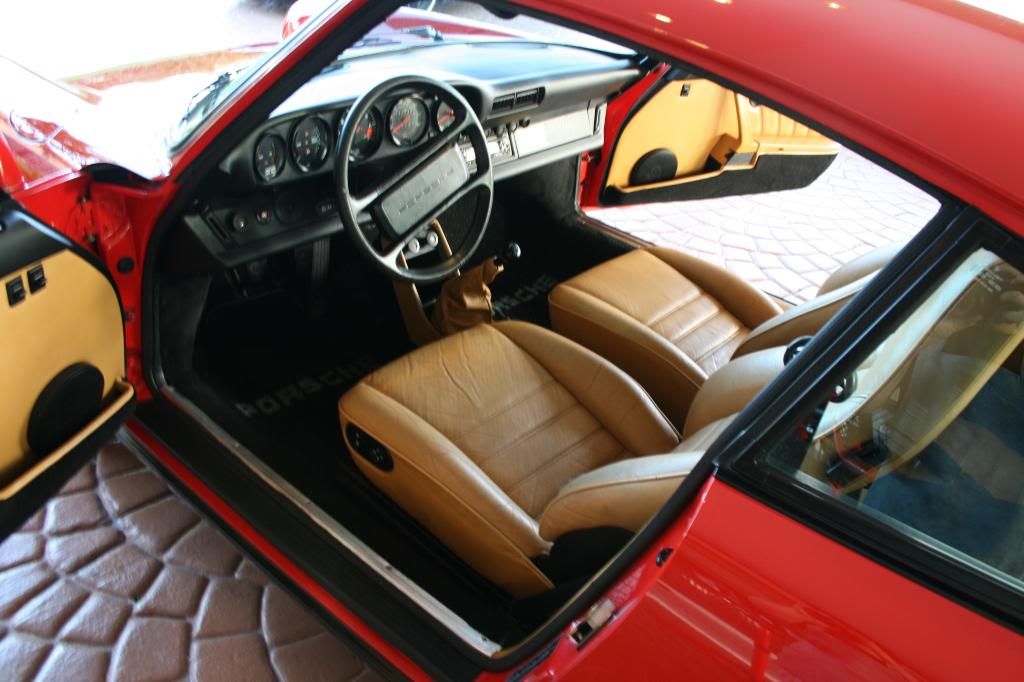
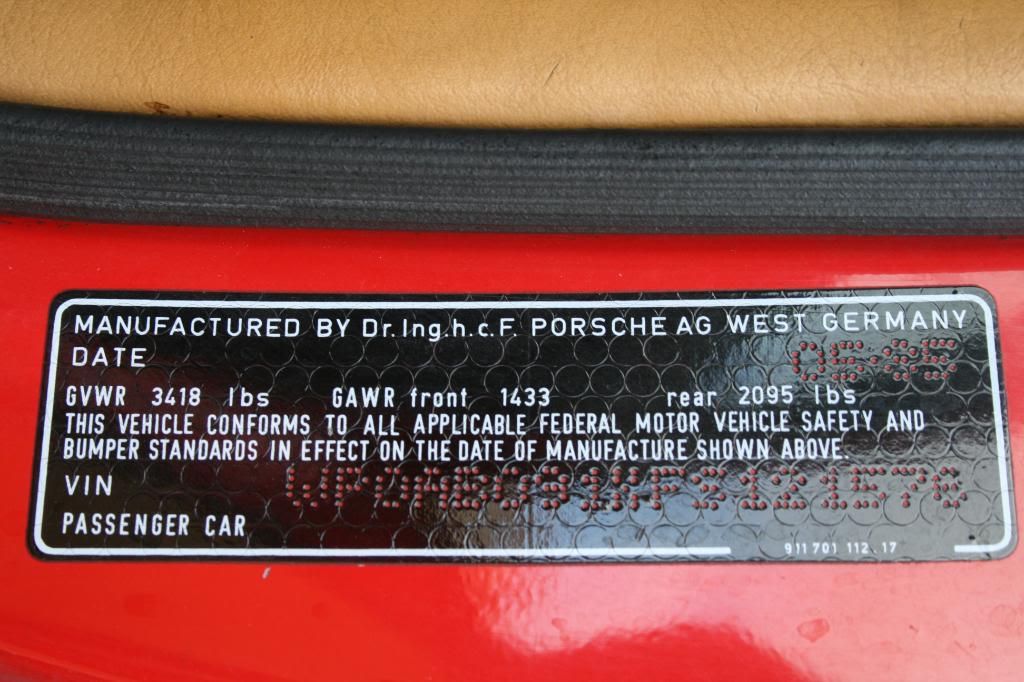
1985 Porsche Carrera
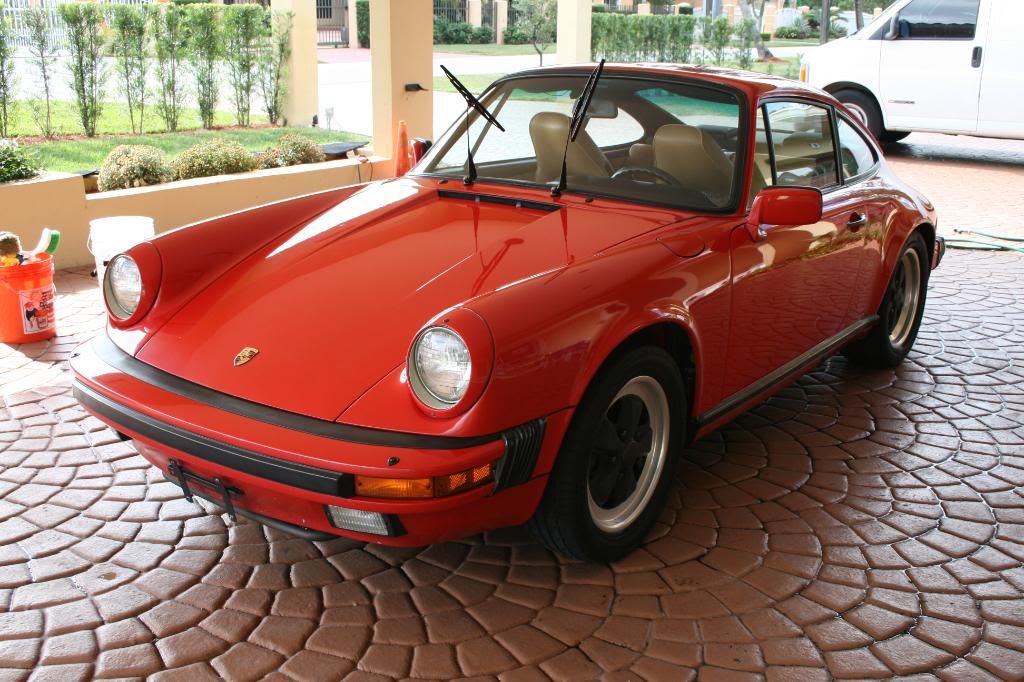
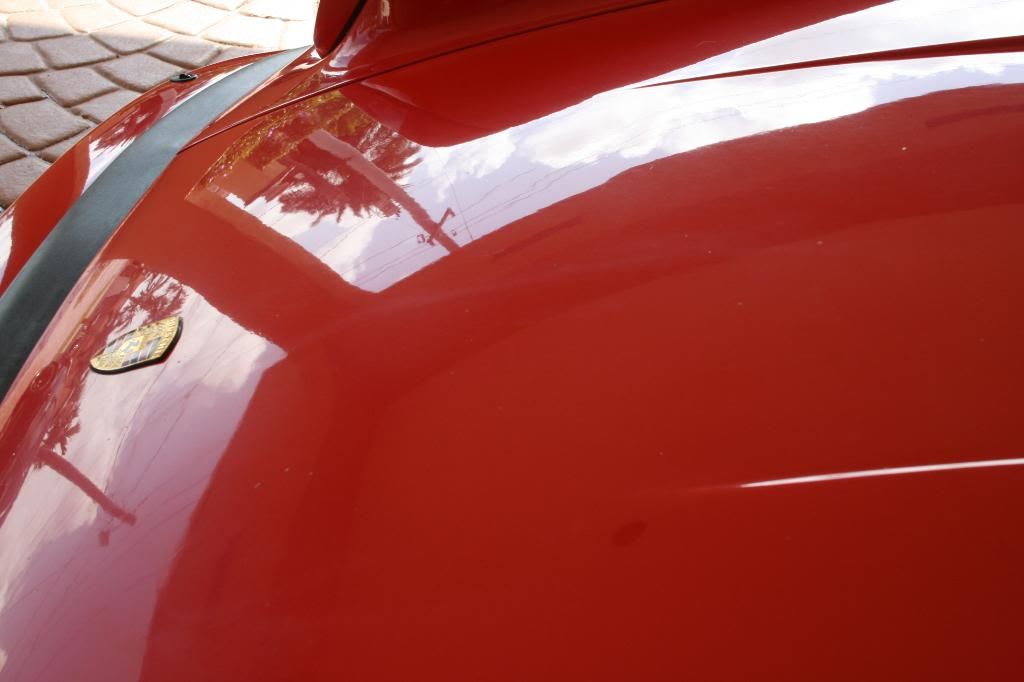
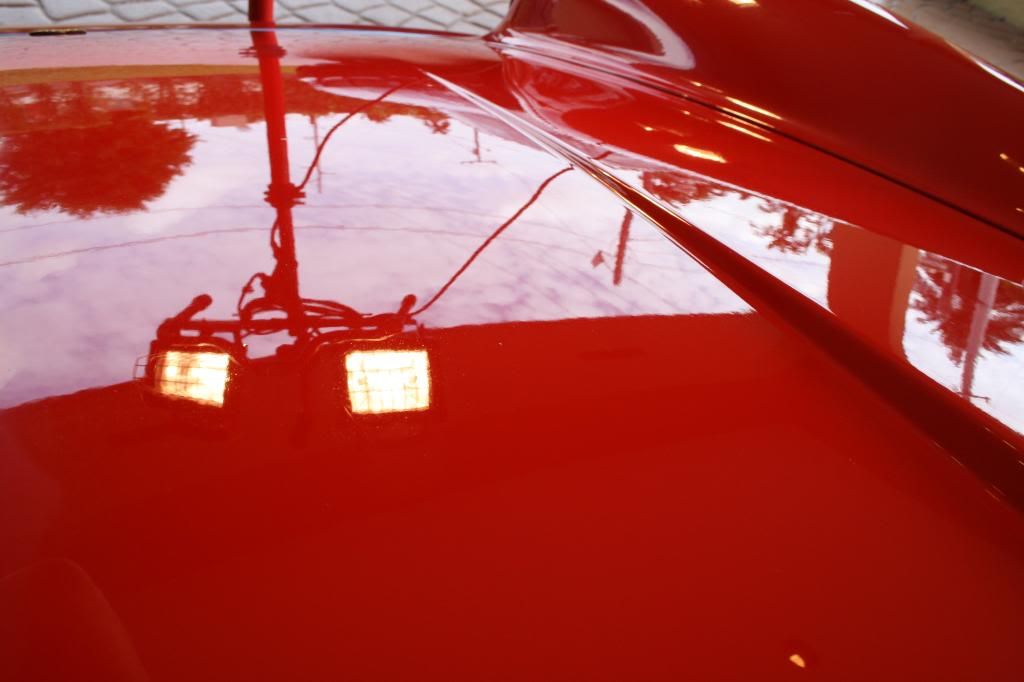
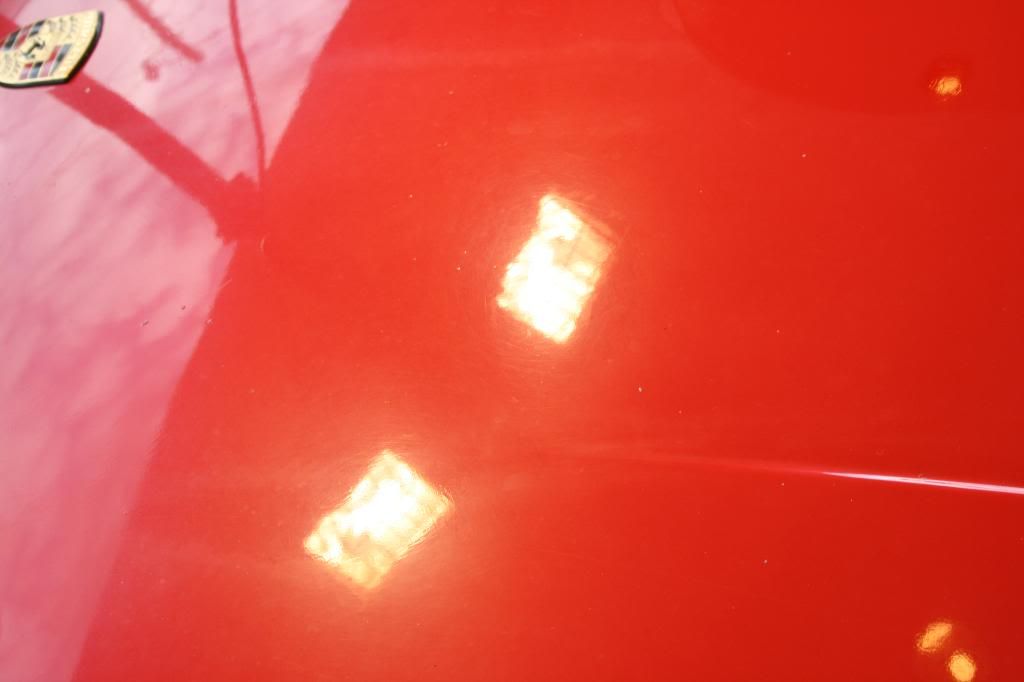
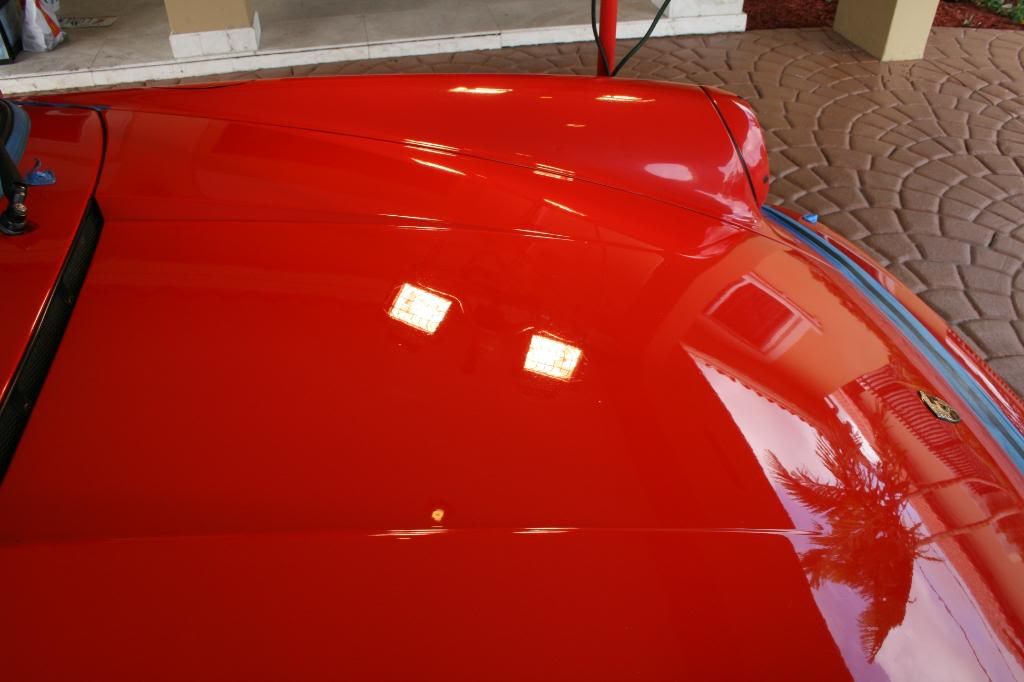
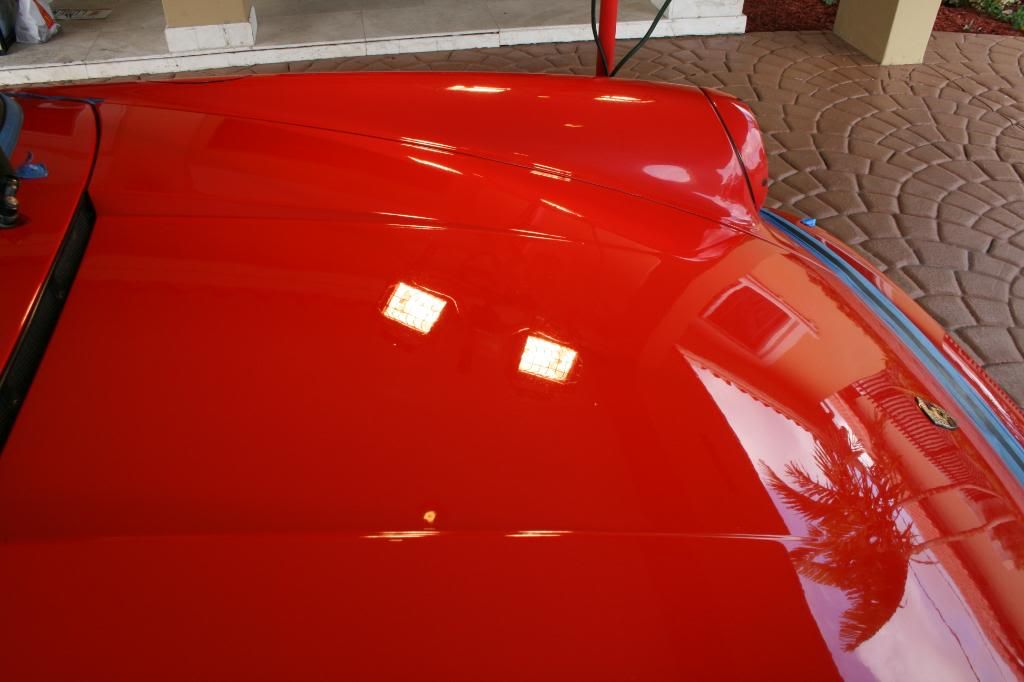
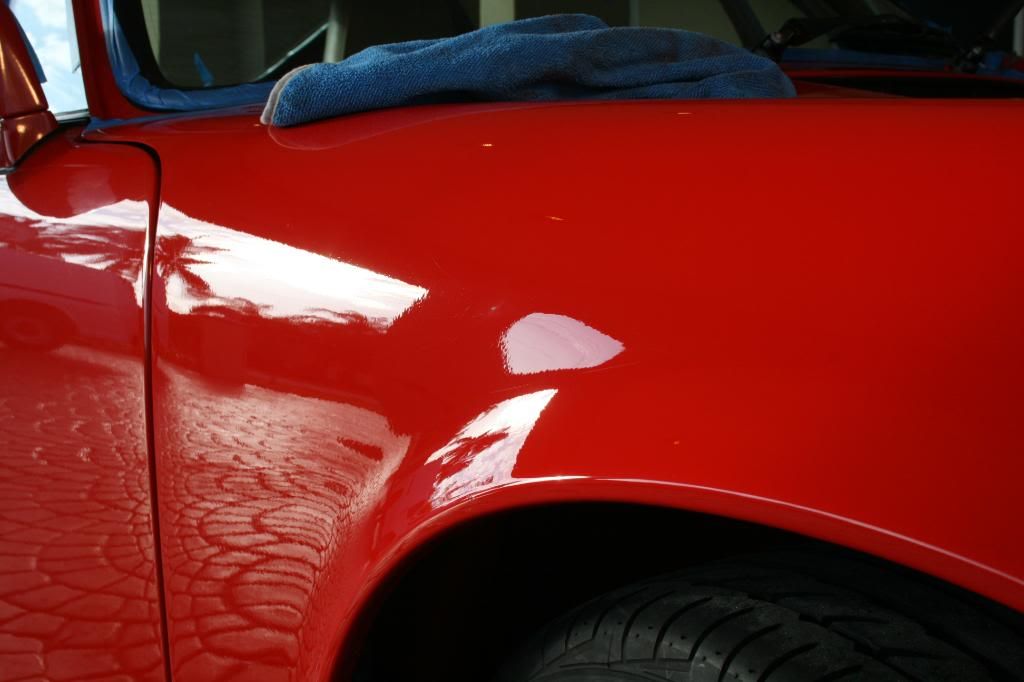
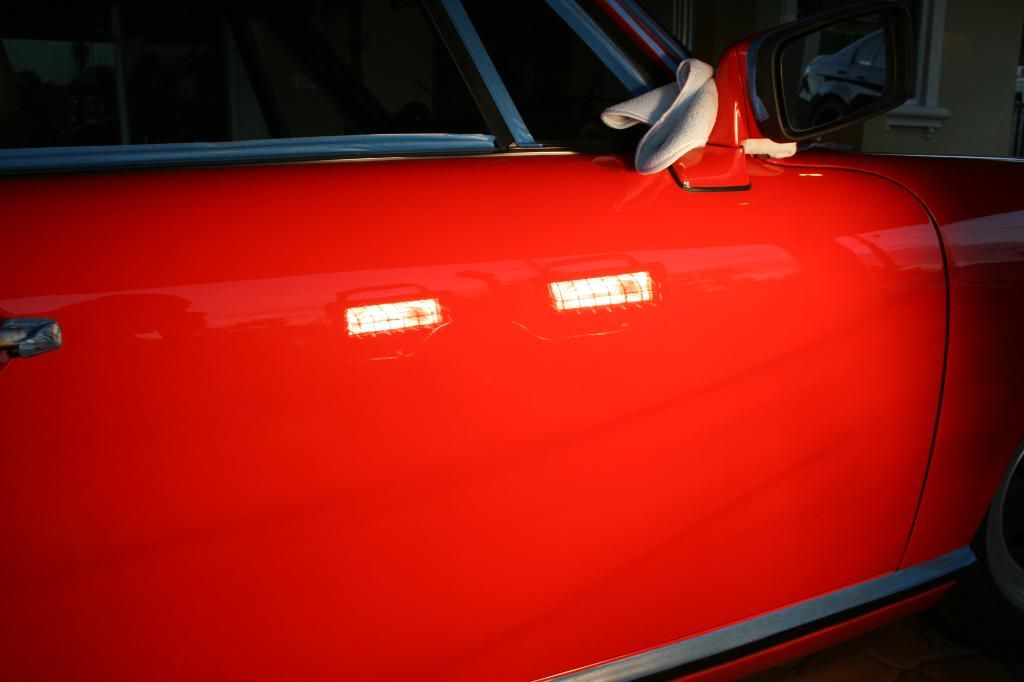
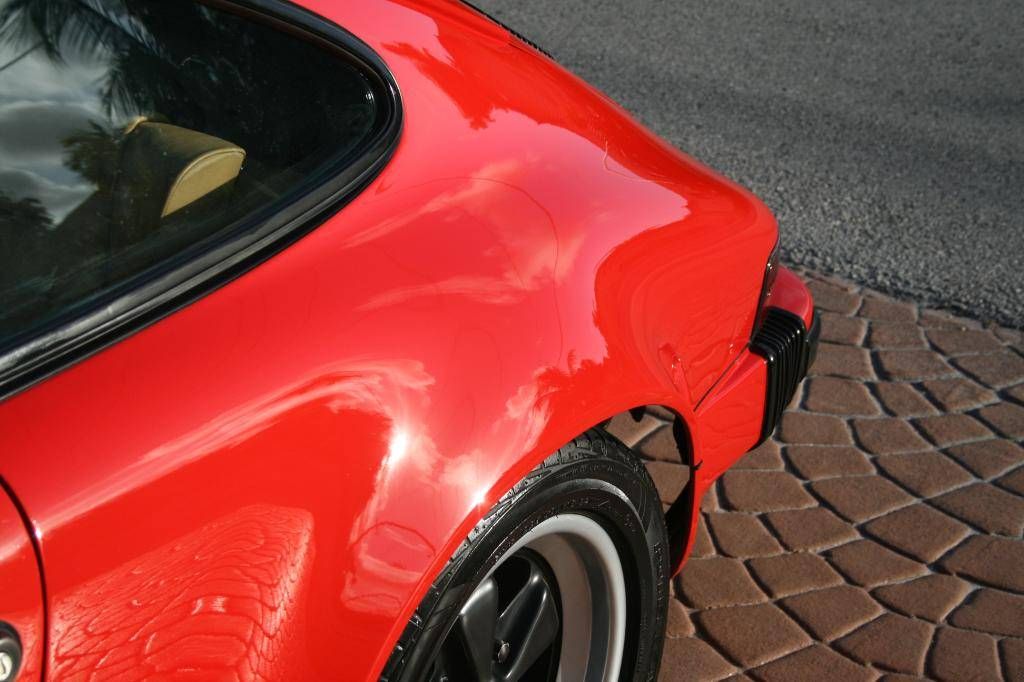
This car was picked up by the current owner two years ago. The current owner hasn't waxed since he bought the car because he was afraid of someone messing the paint up. But once he found me, he knew that i could take care of it. The car has 8x,xxx miles, and overall was in pretty decent condition for being 23 years old. it used to be garage kept, but now it is just kept outside under a car cover. Unfortunately the owner only wanted a two-step polish, so only about 90% of the defects were removed by 2-3 passes of SIP. some RIDE were still too deep to remove without compounding .This was also my 1st time polishing a 1-stage paint.
Exterior
-Wash
-CG CWC
-Meg's mitt
-Meg's APC+ (under front bumper, door jams)
-Wheels
-CG CWC
-CG Citrus Sticky Gel
-EZ detail brush
-Swissvax wheel brush
-OXO tire scrubber
-ARO (tires)
-Wheel Wells
-Simple Green
-Meg's Super Degreaser
-Meg's APC+
-DD wheel well brush
-Black shMITT
Clay
-CG Gray clay
-ONR lube
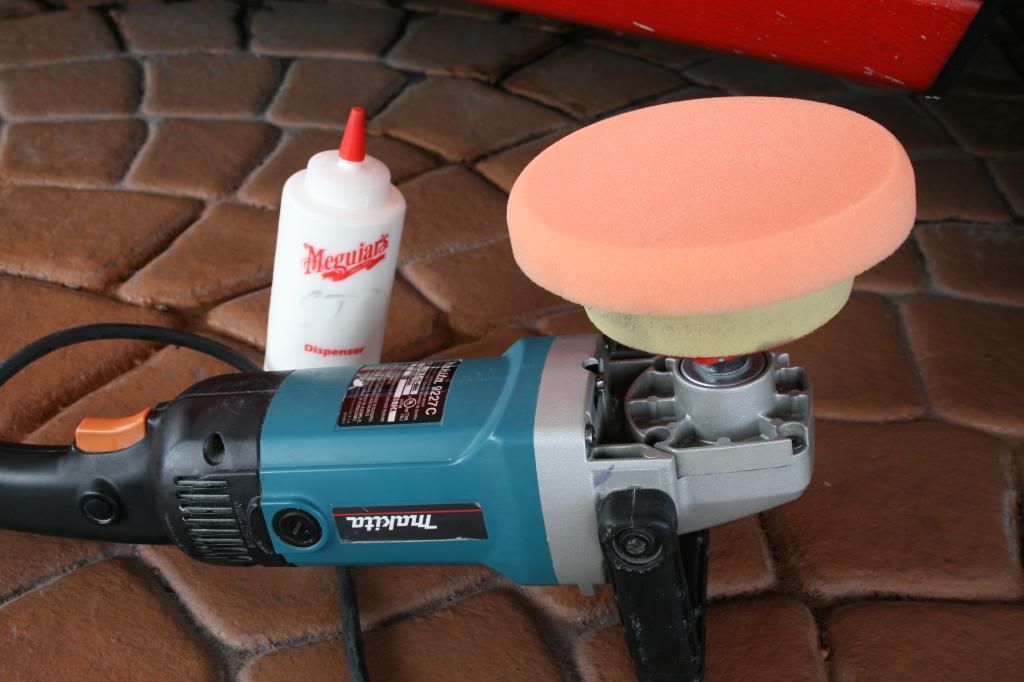
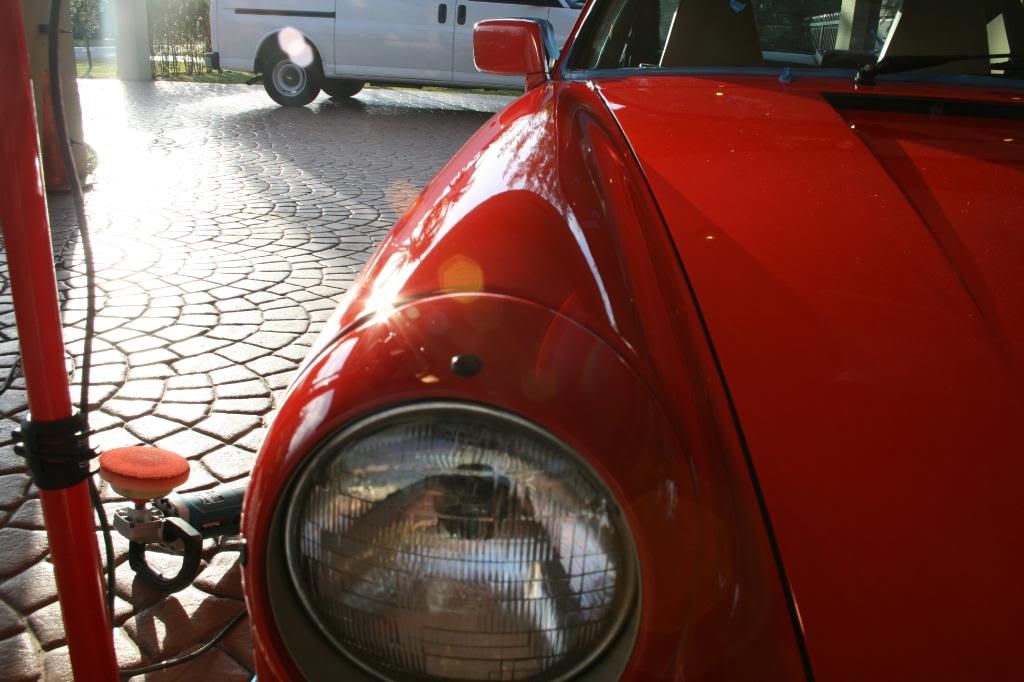
Polishing
-Exterior paint
-Menzerna SIP via Orange 3M pad @ 1000-2000RPM (2-3 passes)
-Menzerna PO85RD via blue 3M UK Ultrafina pad @ 1500-2000RPM
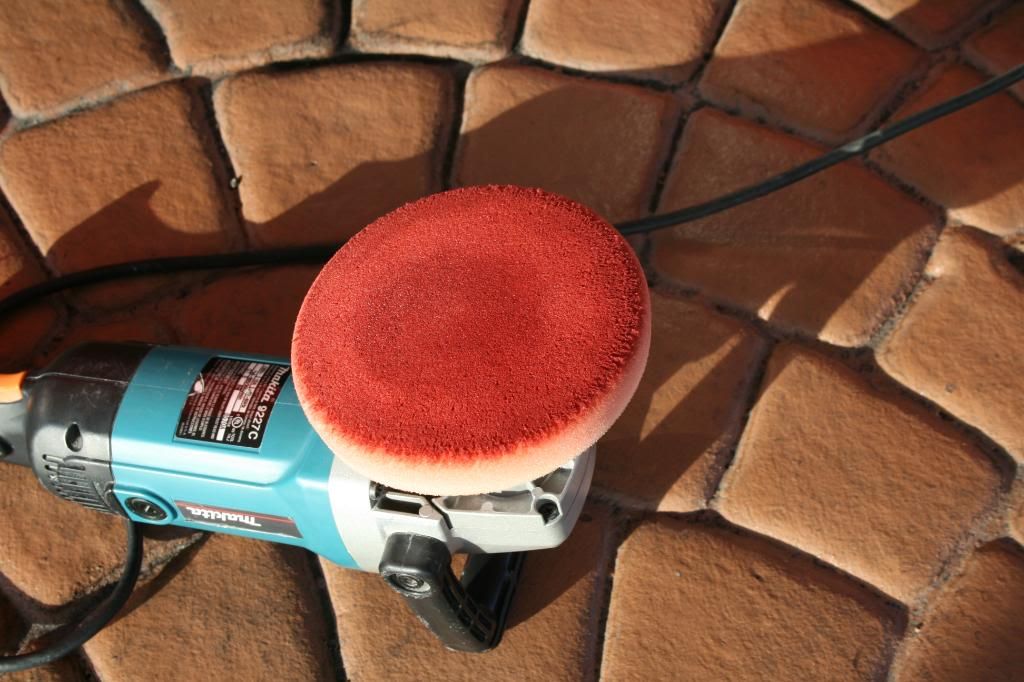
-Makita 9227C
-3M Yellow Foam Backing Plate
-1000w halogen lights
-ISA 50/50 wipedown
-DD Uber MF towels
-Wheels
-Mother's Billet polish
-SIP
LSP
-Paint
-Dodo Juice Lime Prime Lite
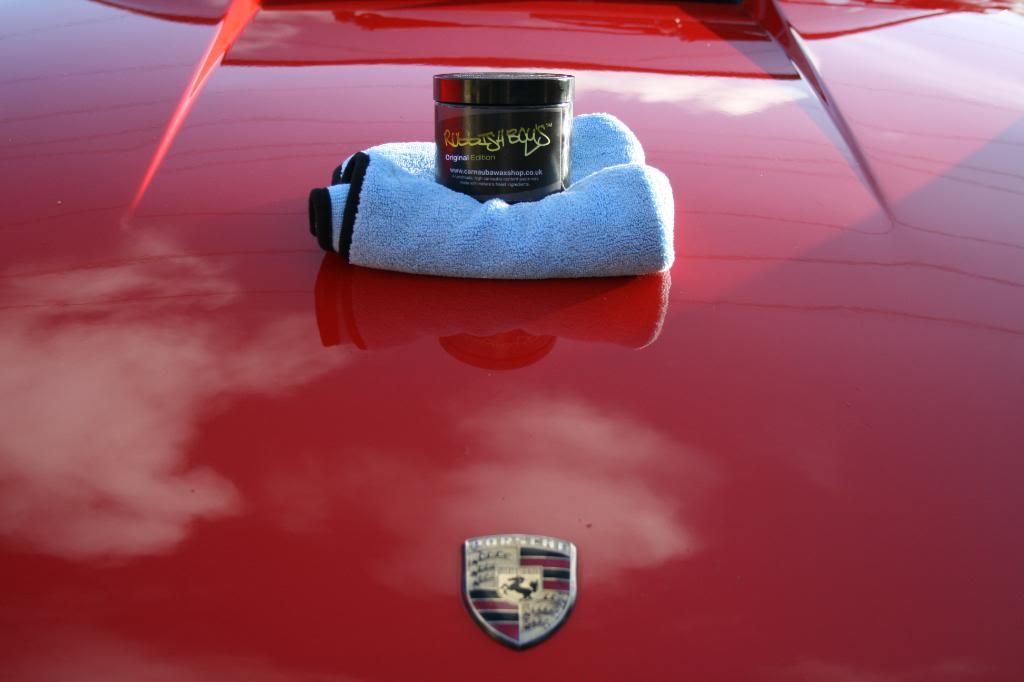
-Rubbish Boy's Original Edition
-FK1 # 425
-CG 530XL MF towels
-Wheels
-CG jetSEAL 109
-FK425
-CG Barebones (wheel wells)
-Optimum Opti-bond (tire gel)
-Rubber
-1Z Gummi Pflege
-Black WOW
-CG Fade2Black
Glass
-Stoner's Invisible Glass
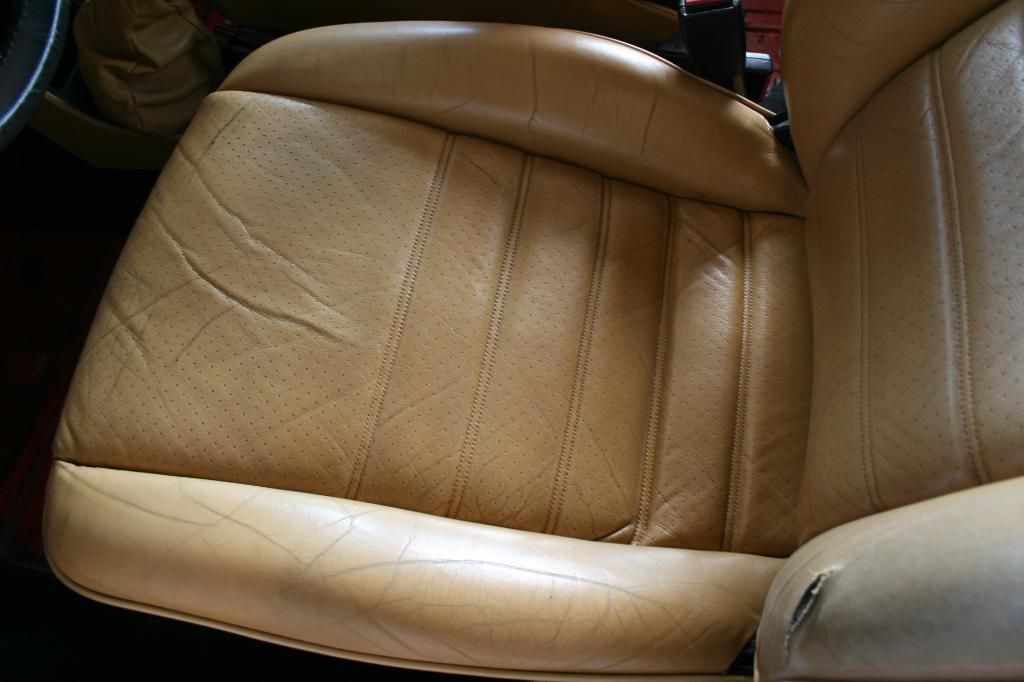
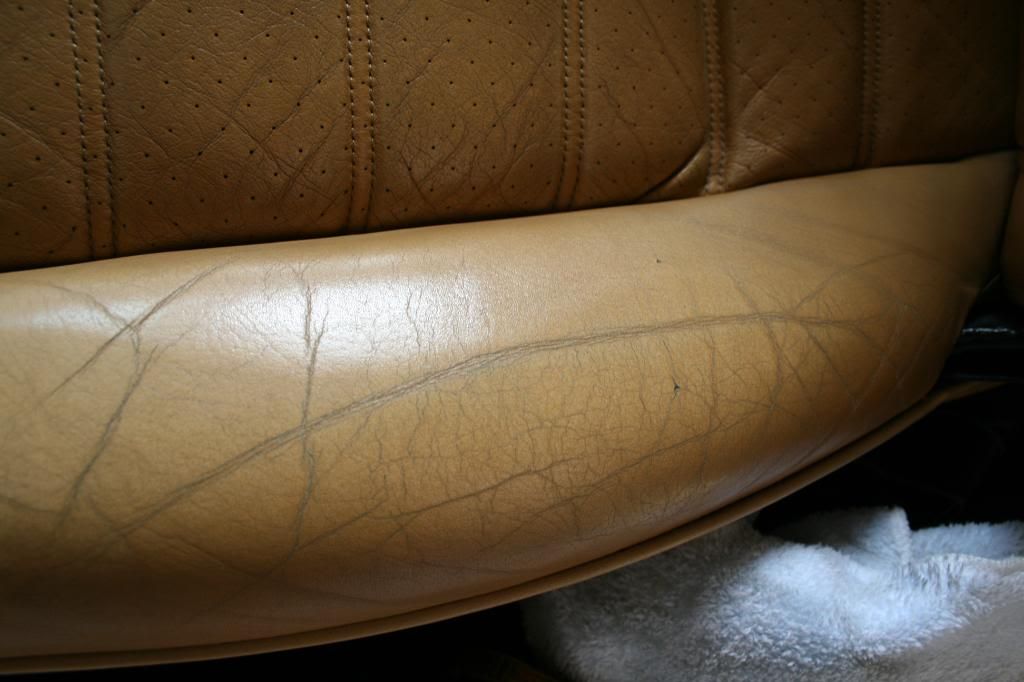
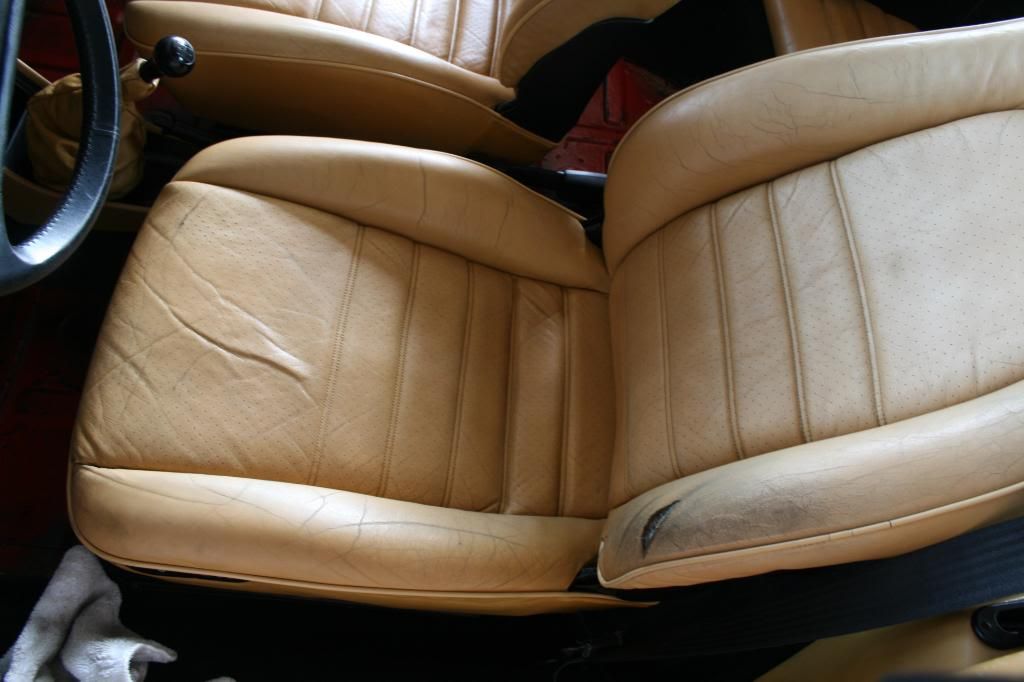
Interior
-CG Lightning Fast
-CG Leather Cleaner
-Swissvax Leather brush
-1Z Cockpit Premium
-Zaino Z10
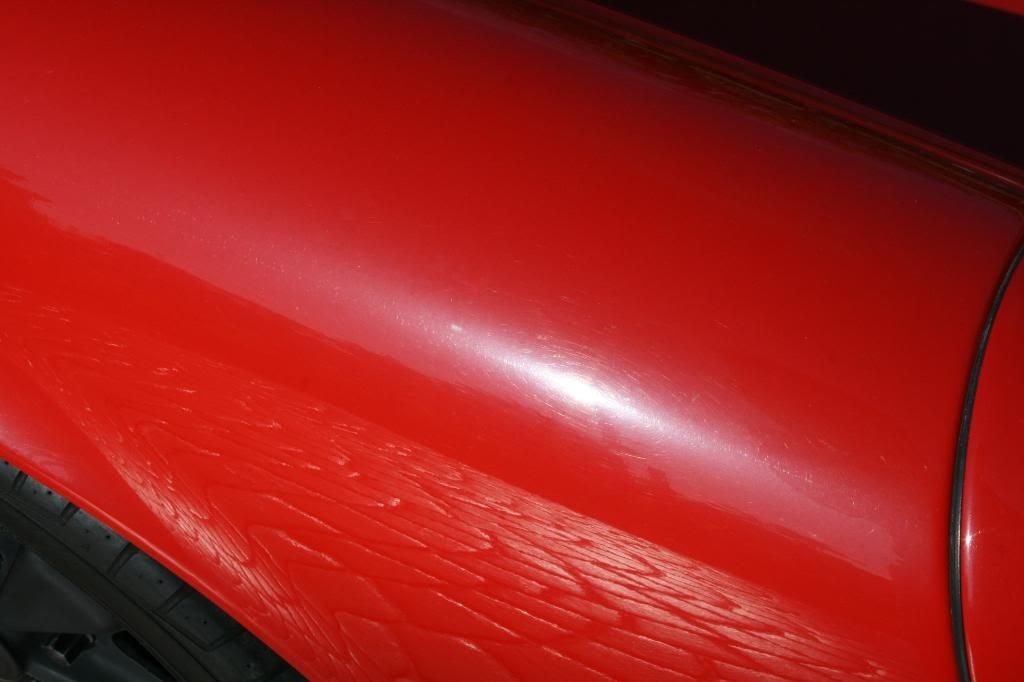
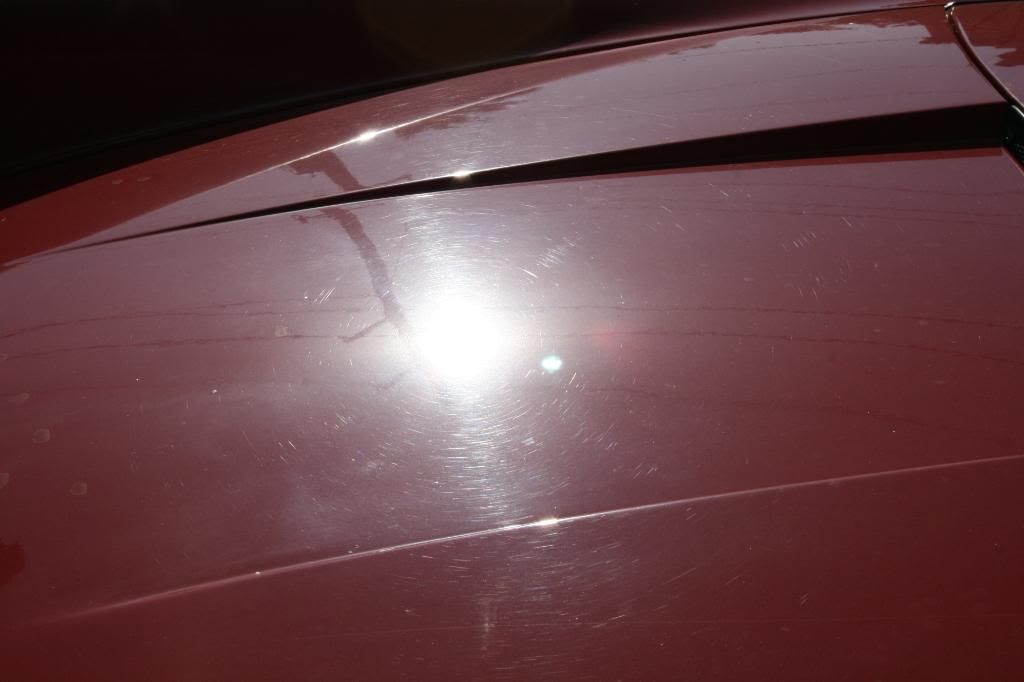
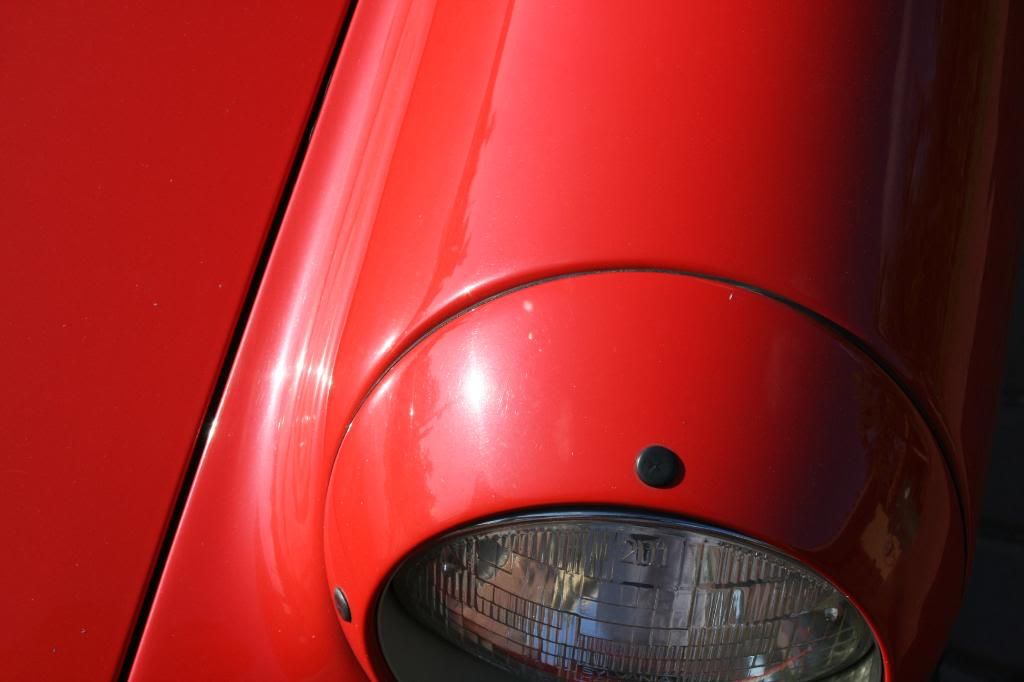
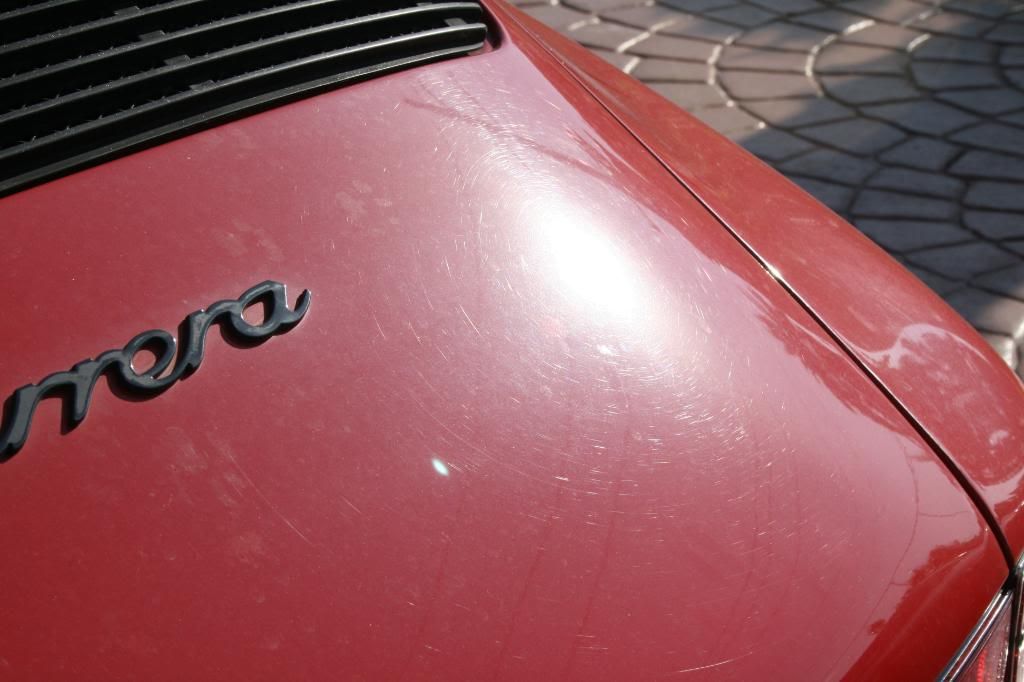
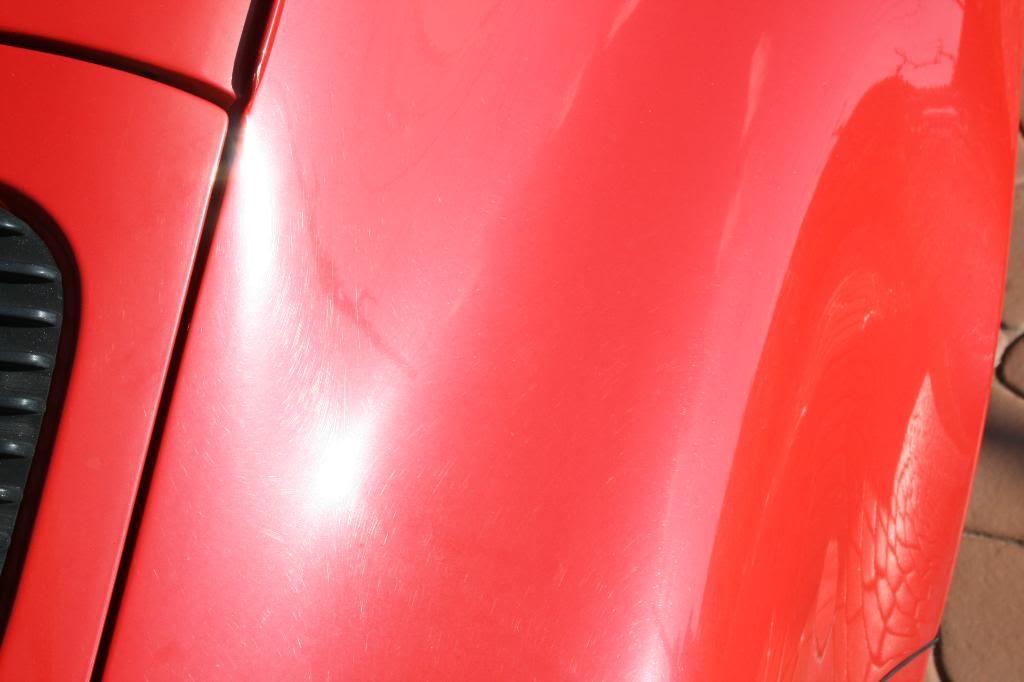
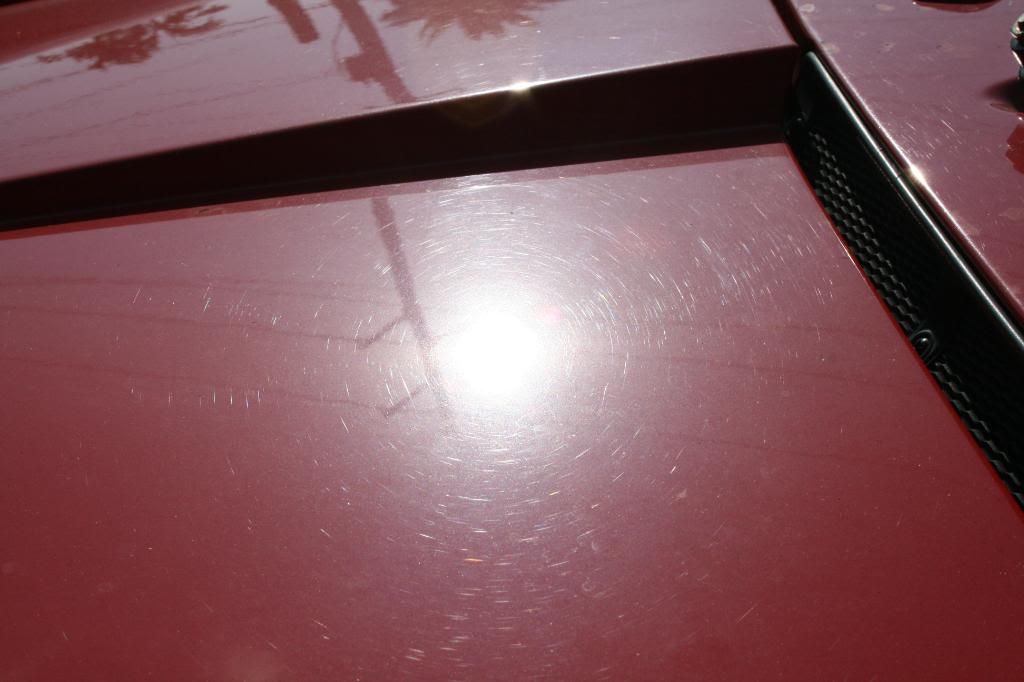
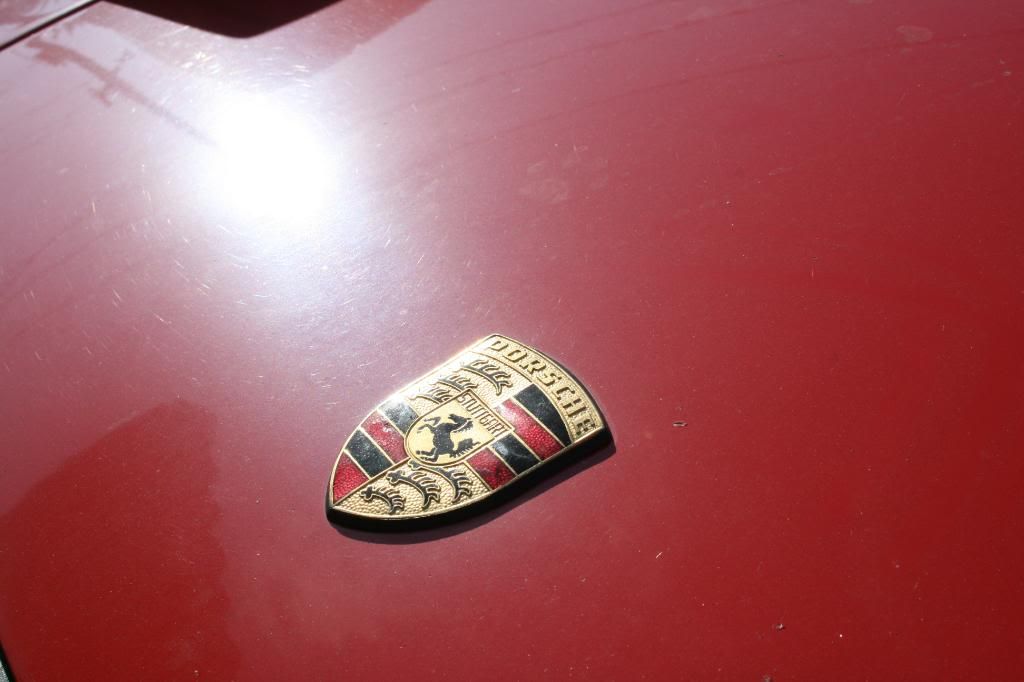
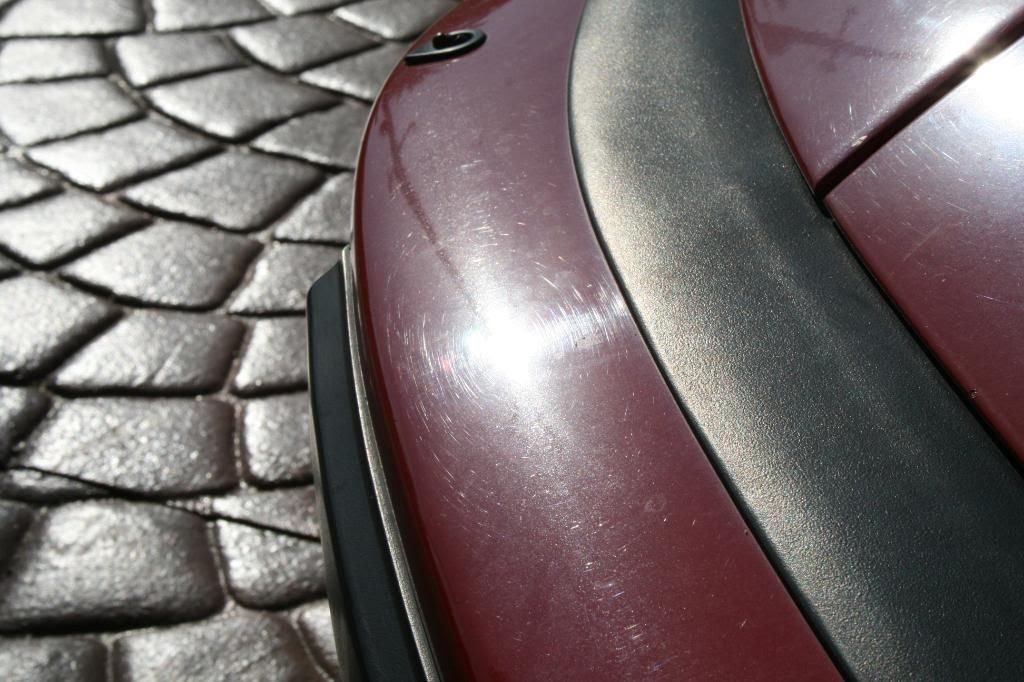
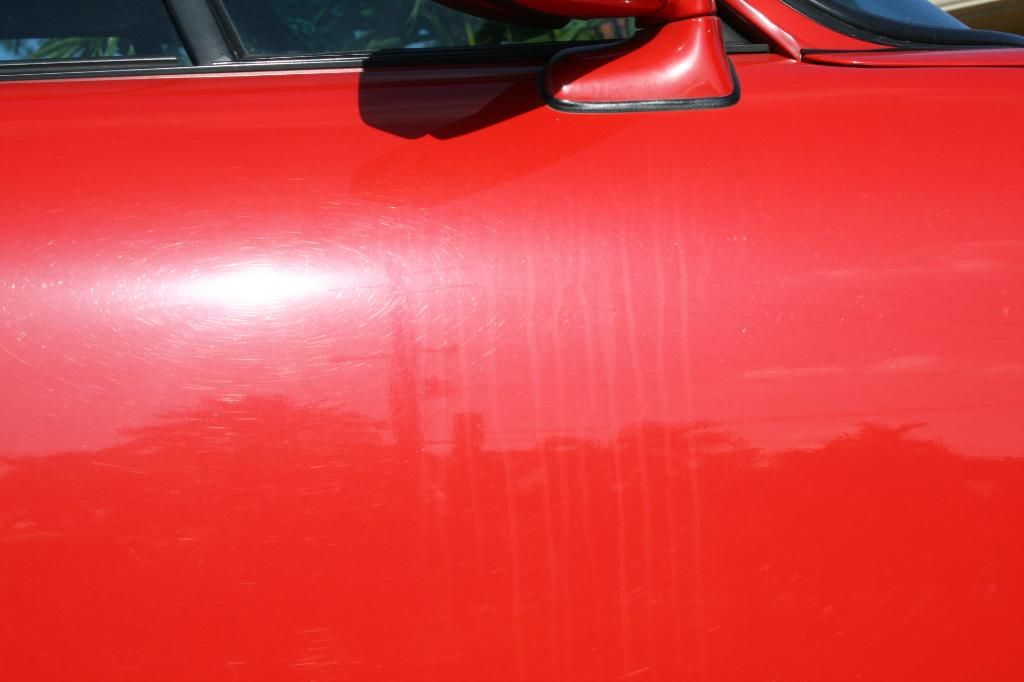
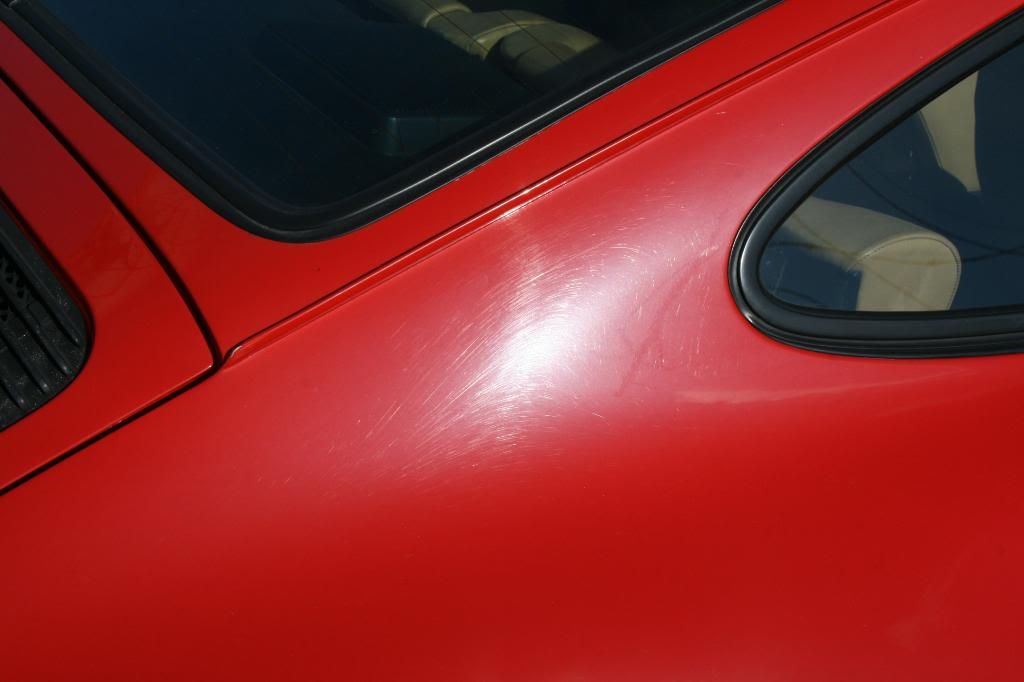
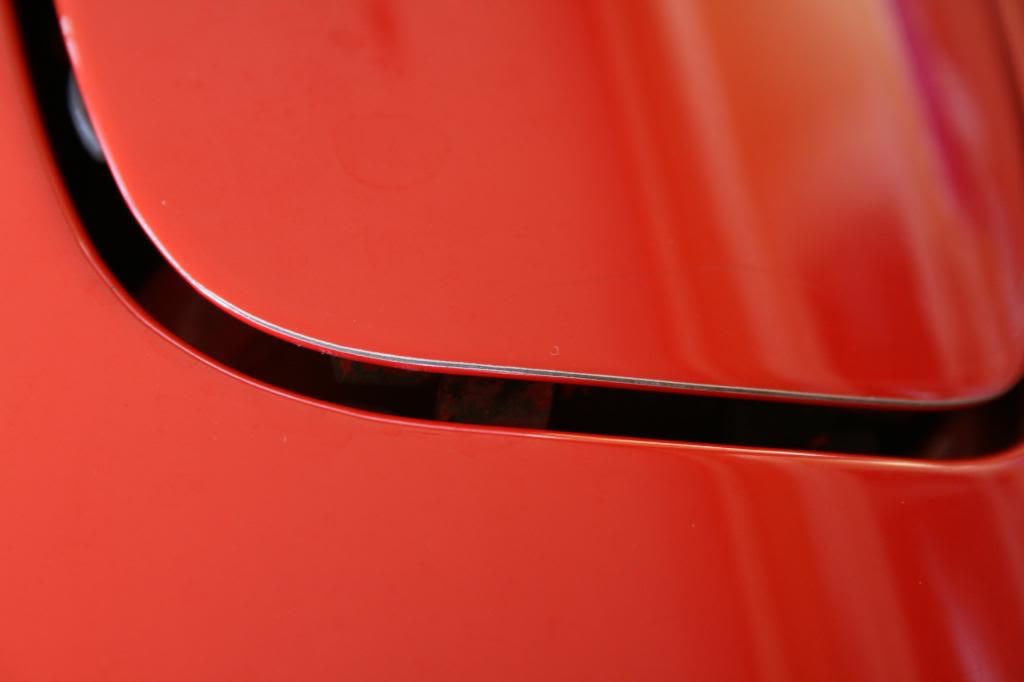
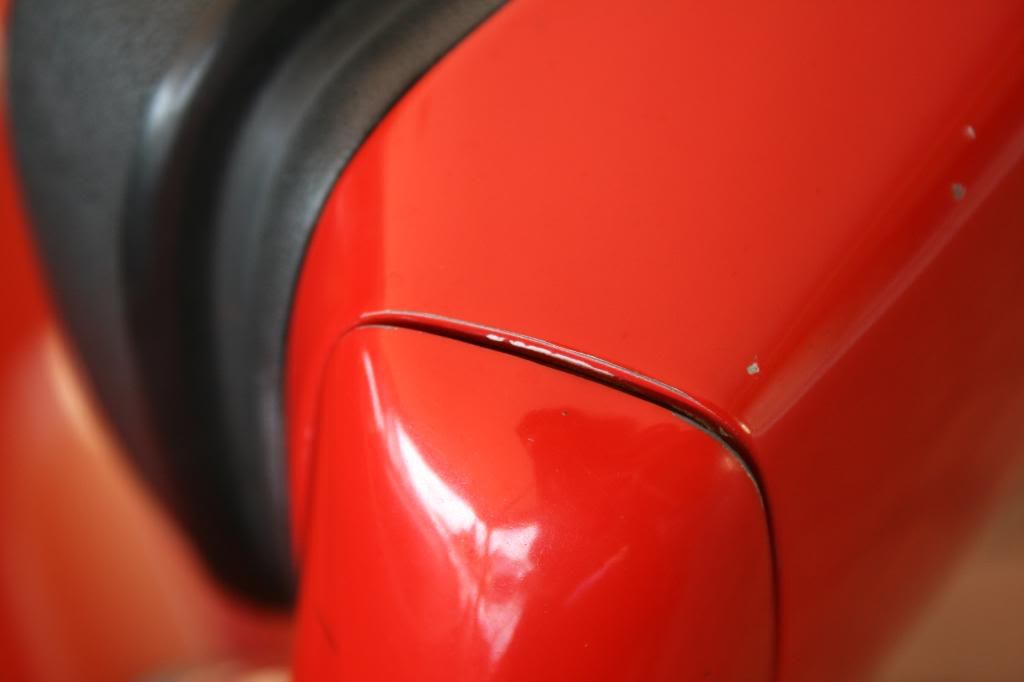
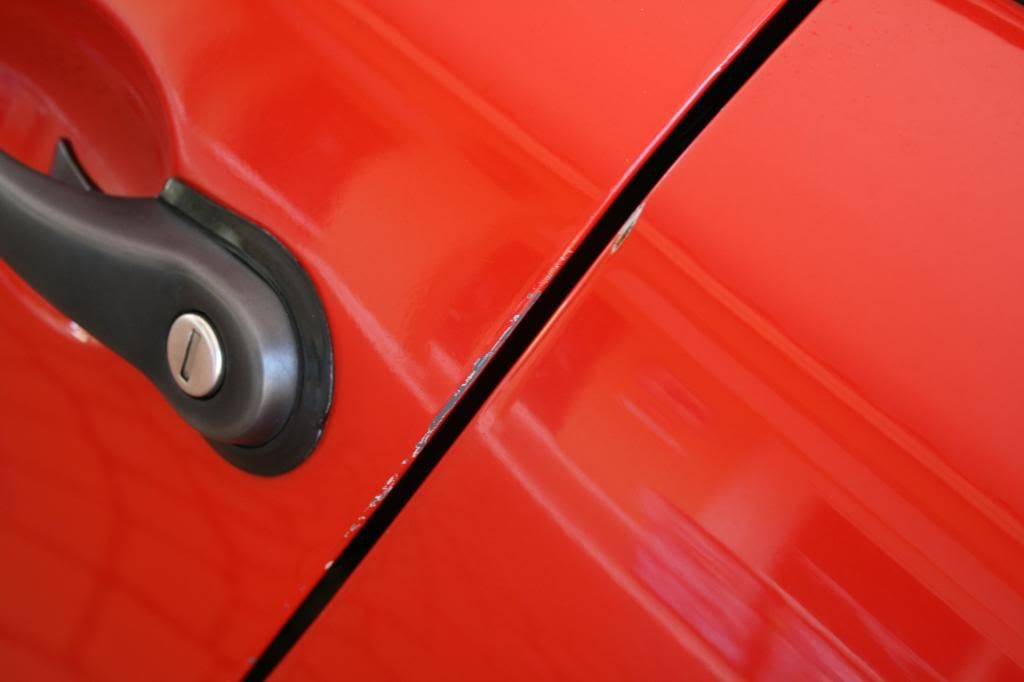
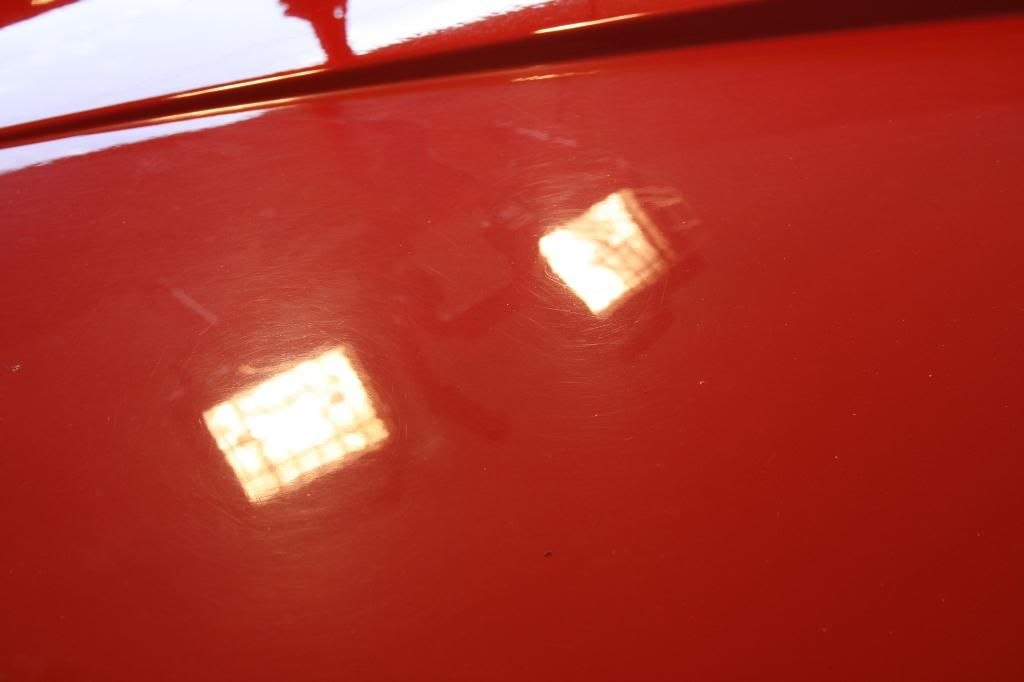
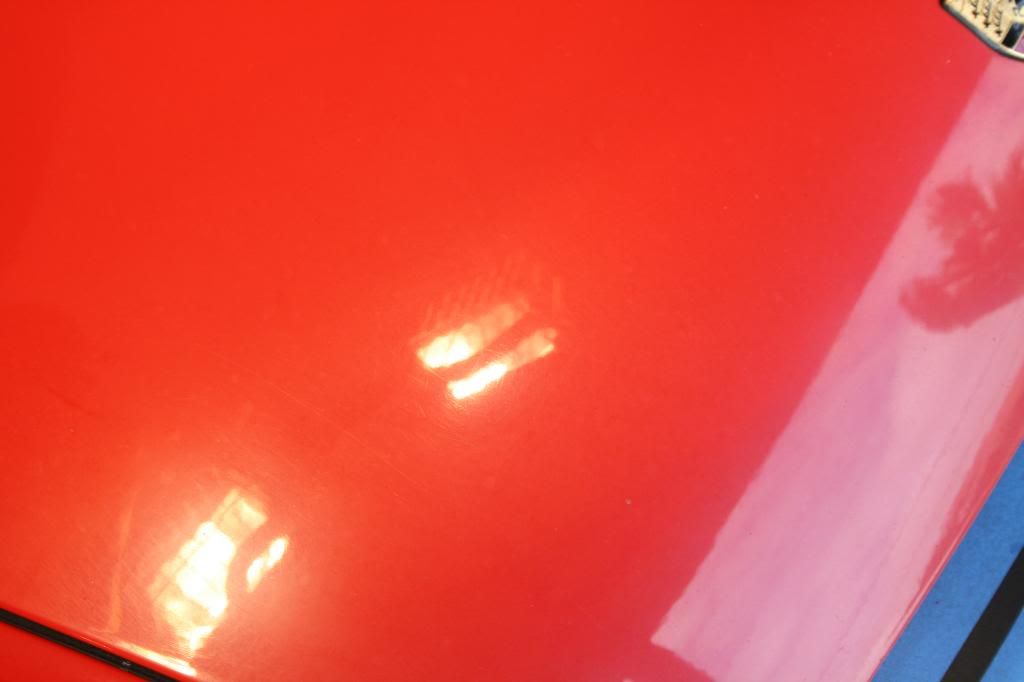
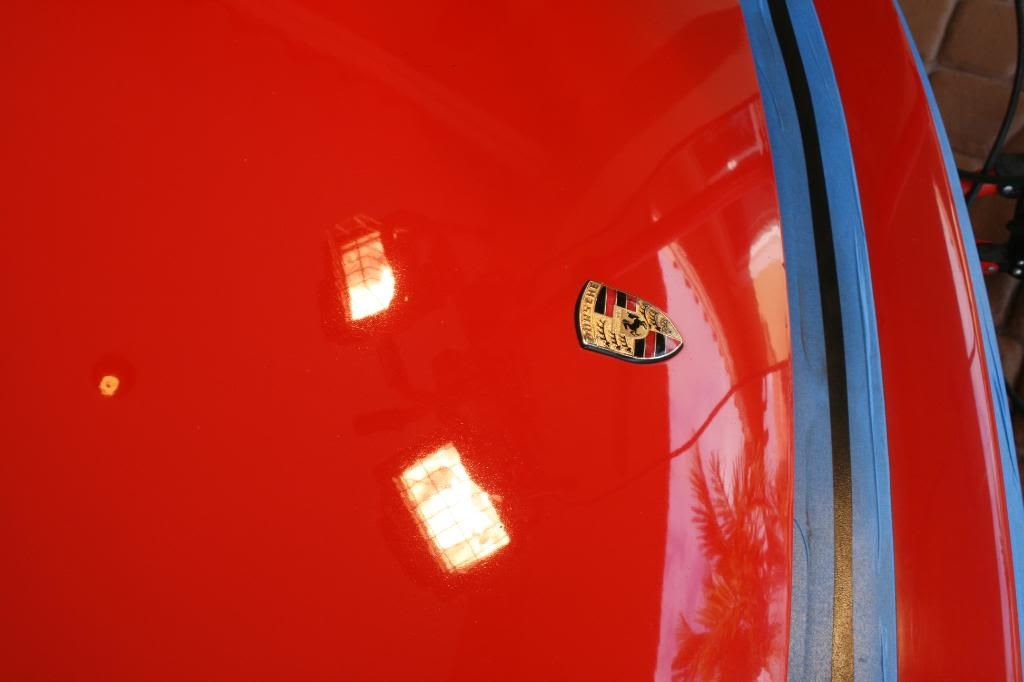
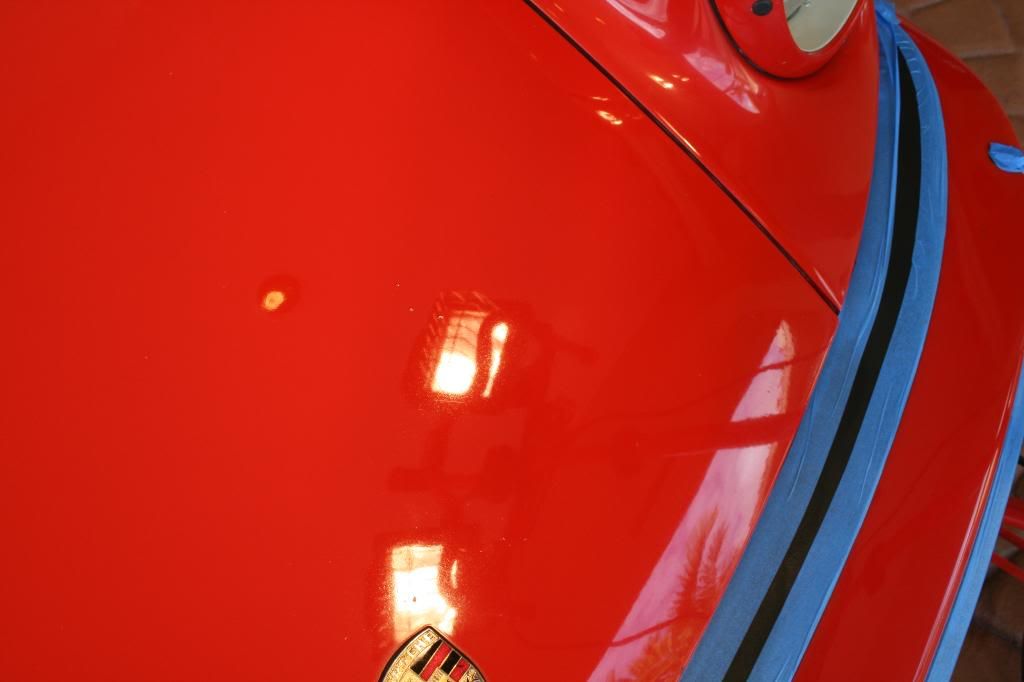
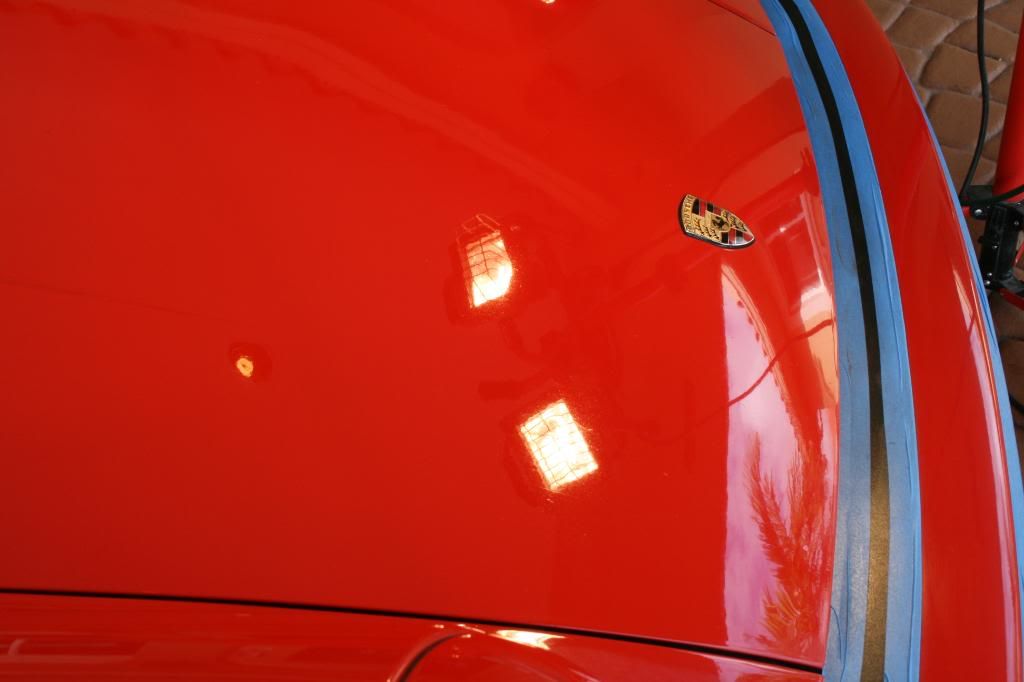
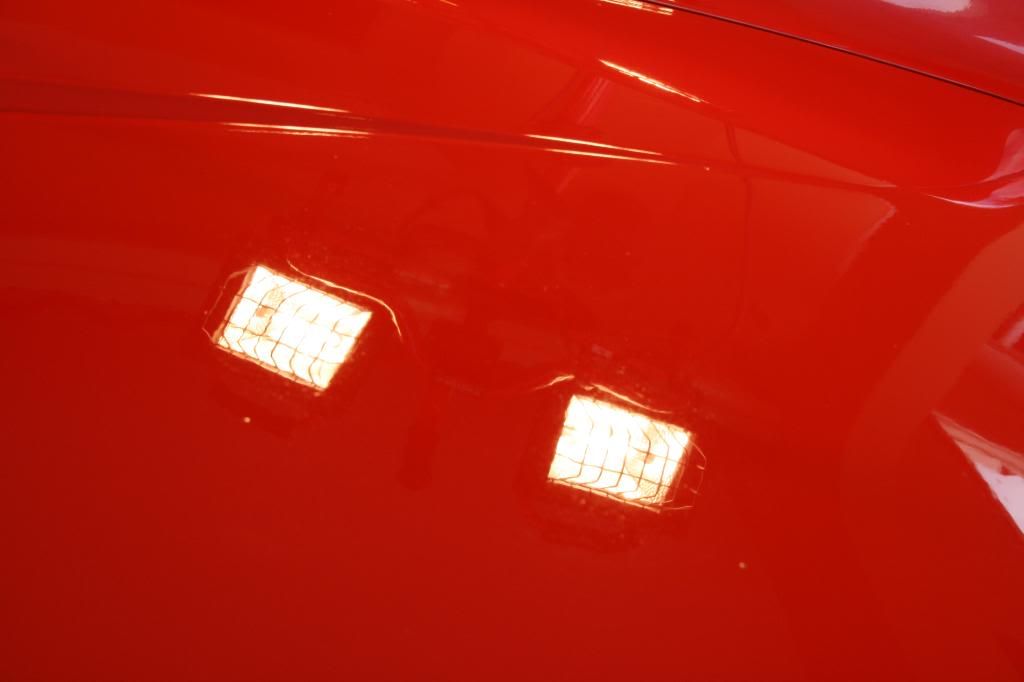
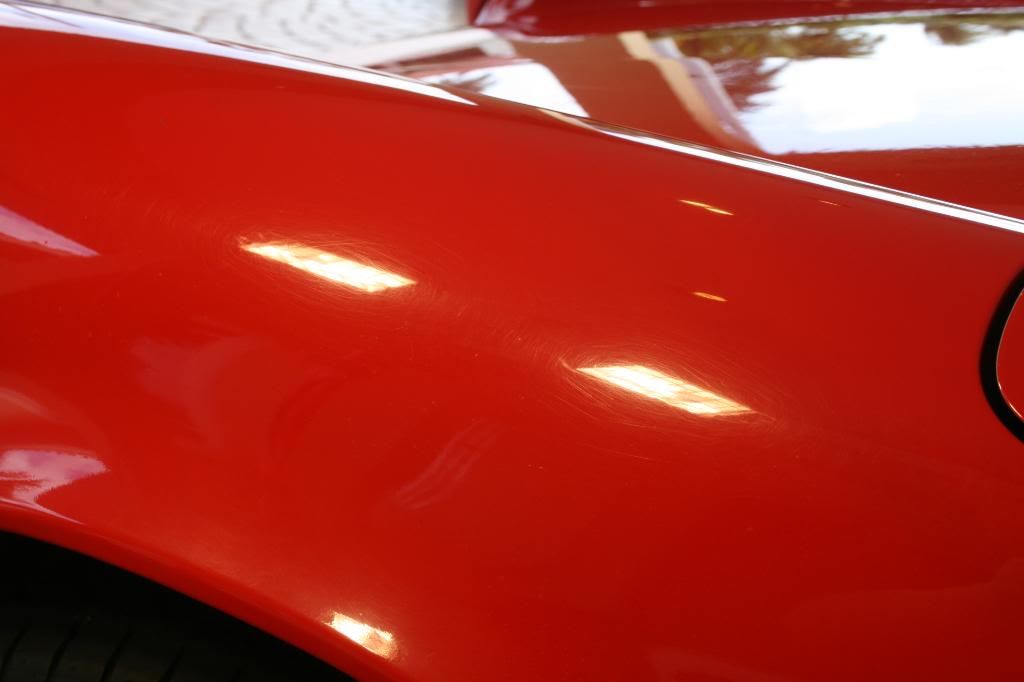
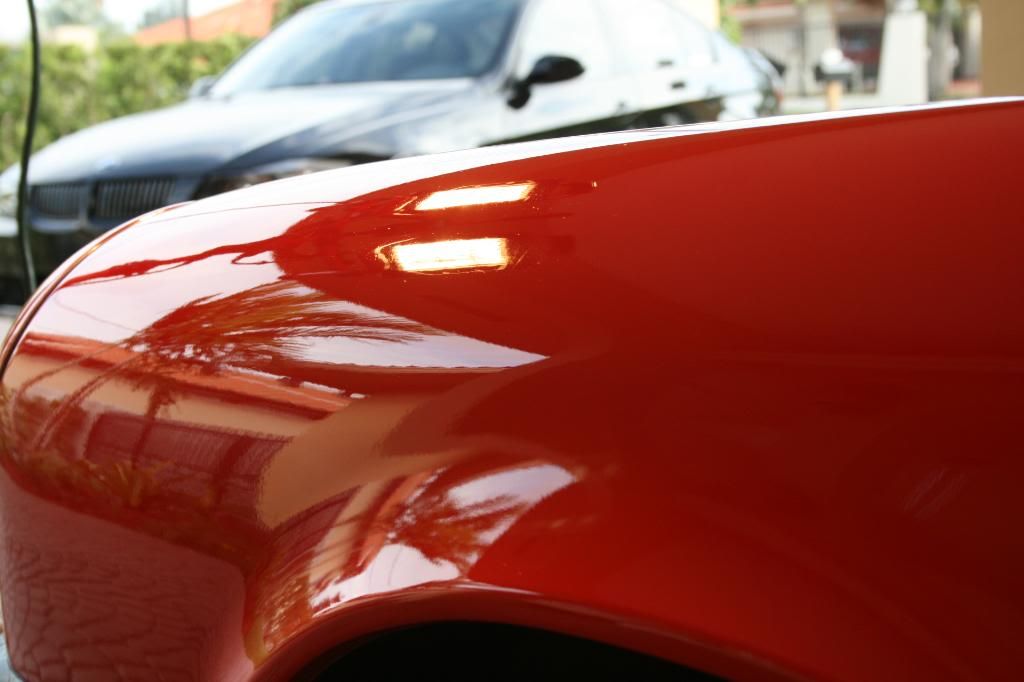
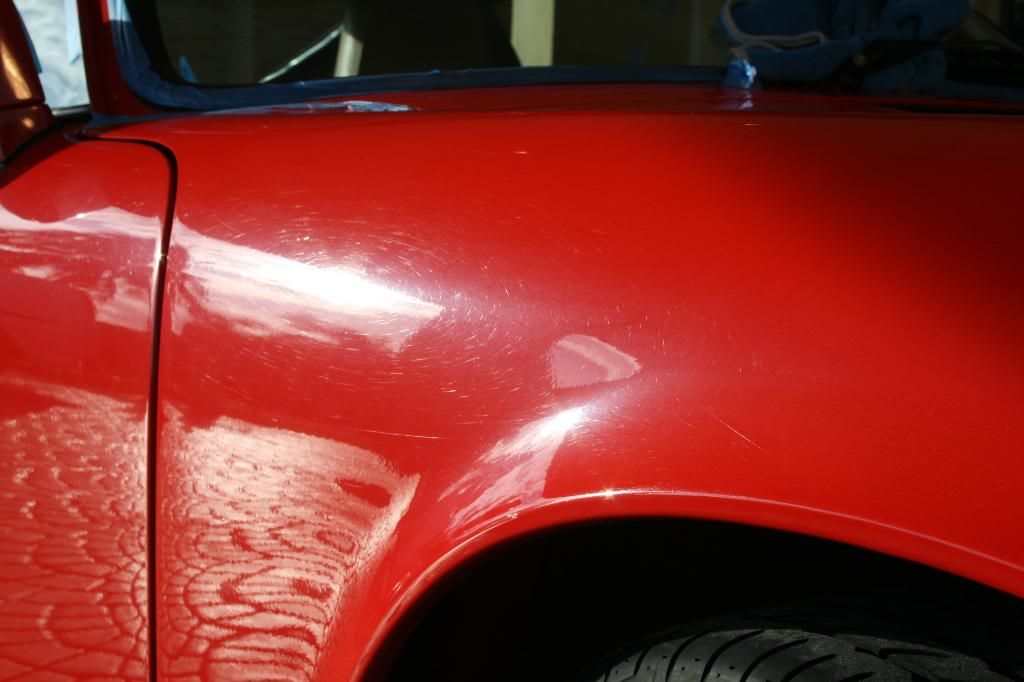
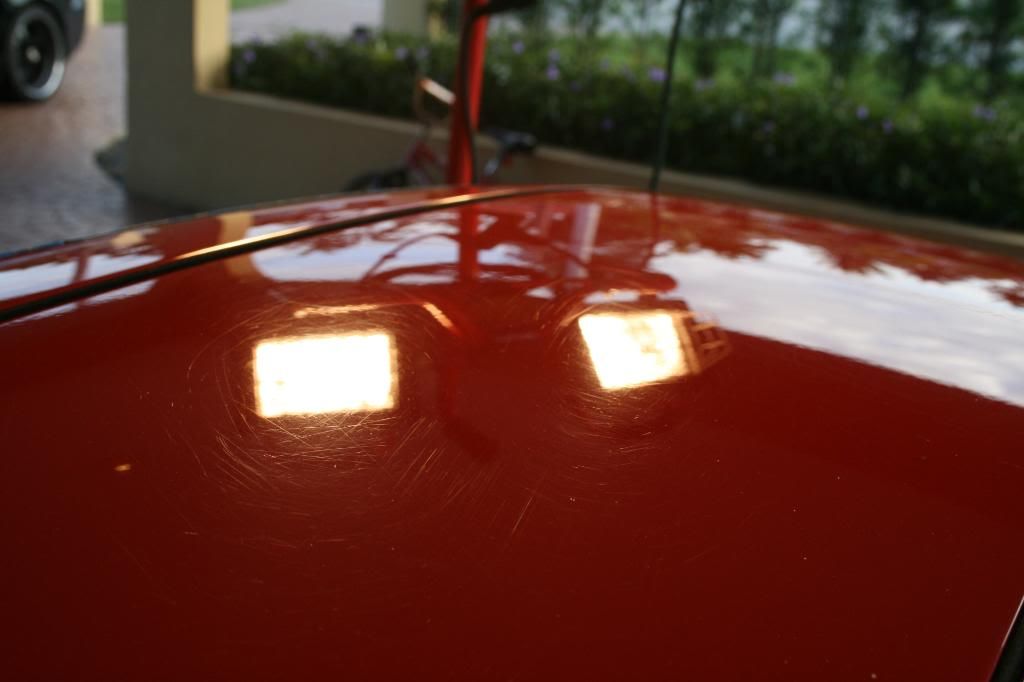
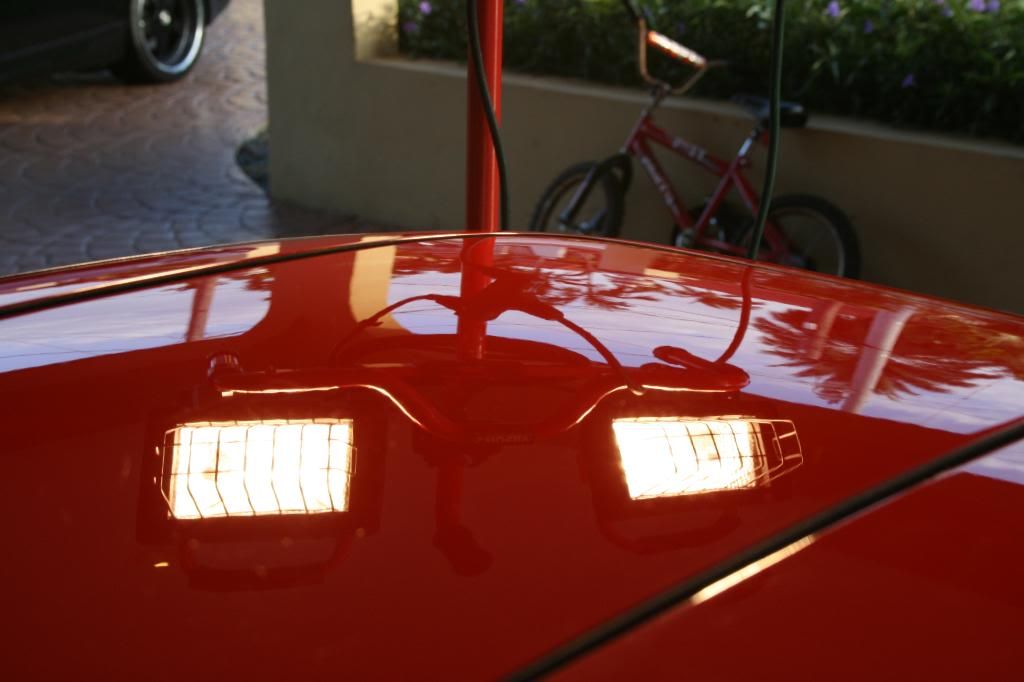
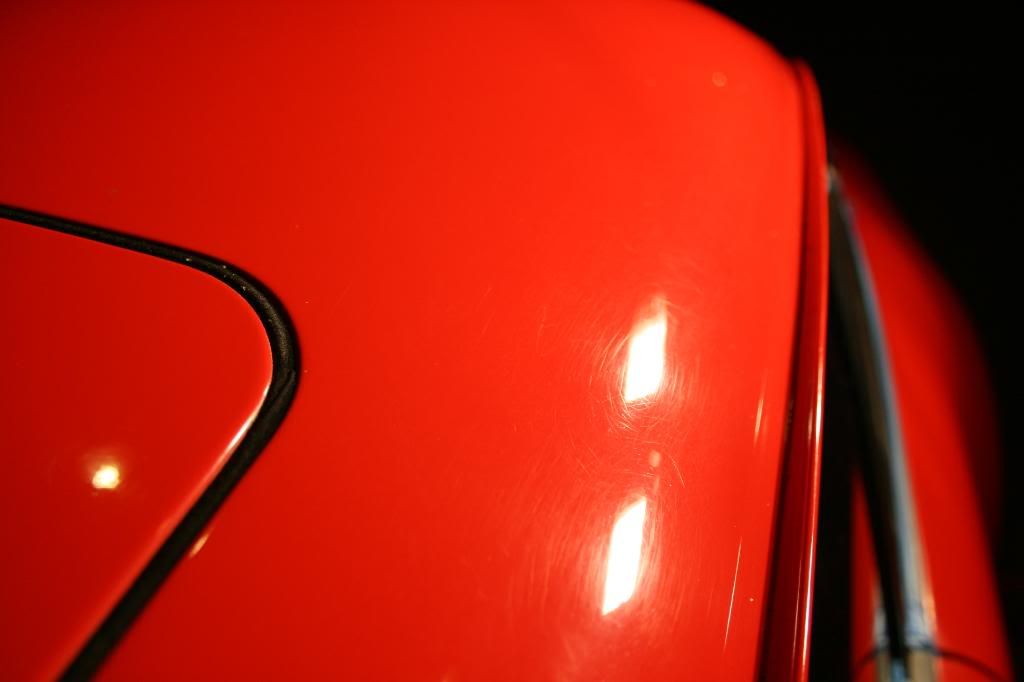
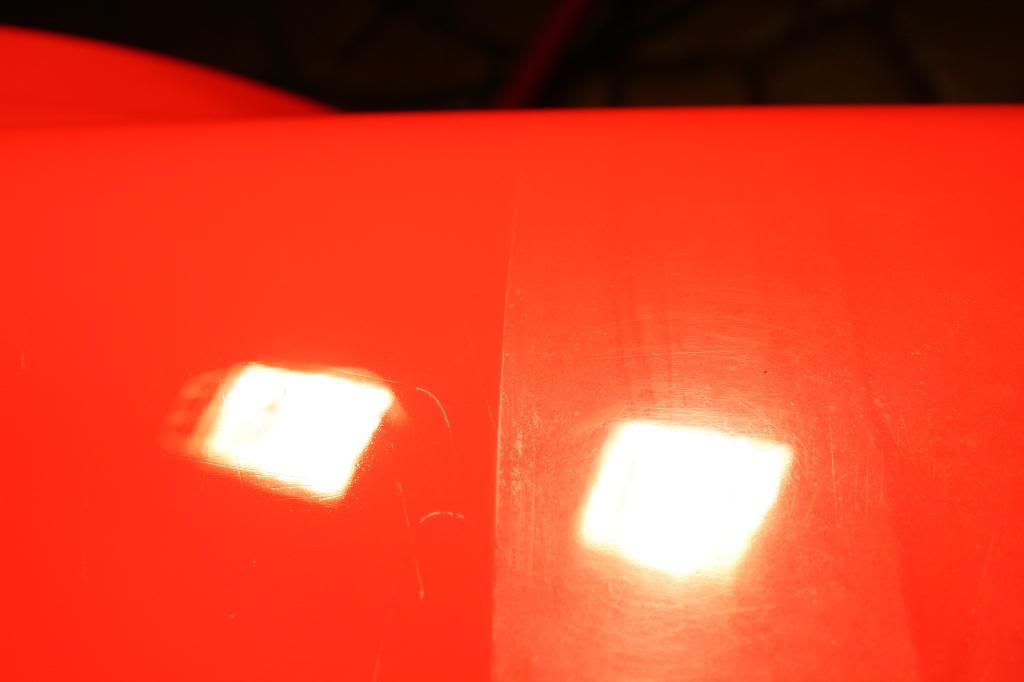
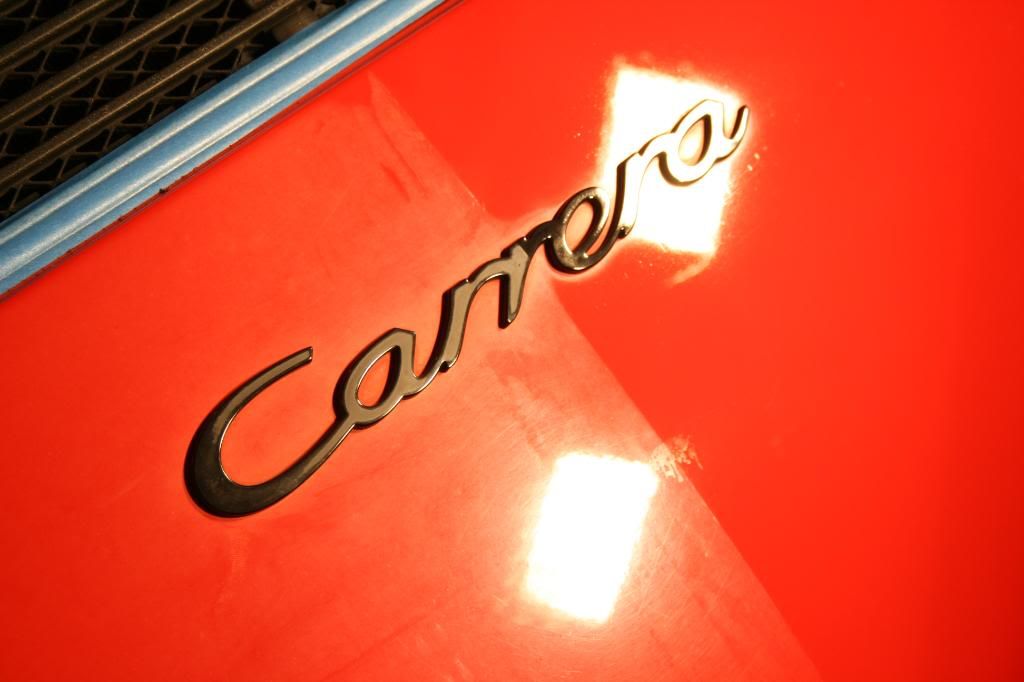
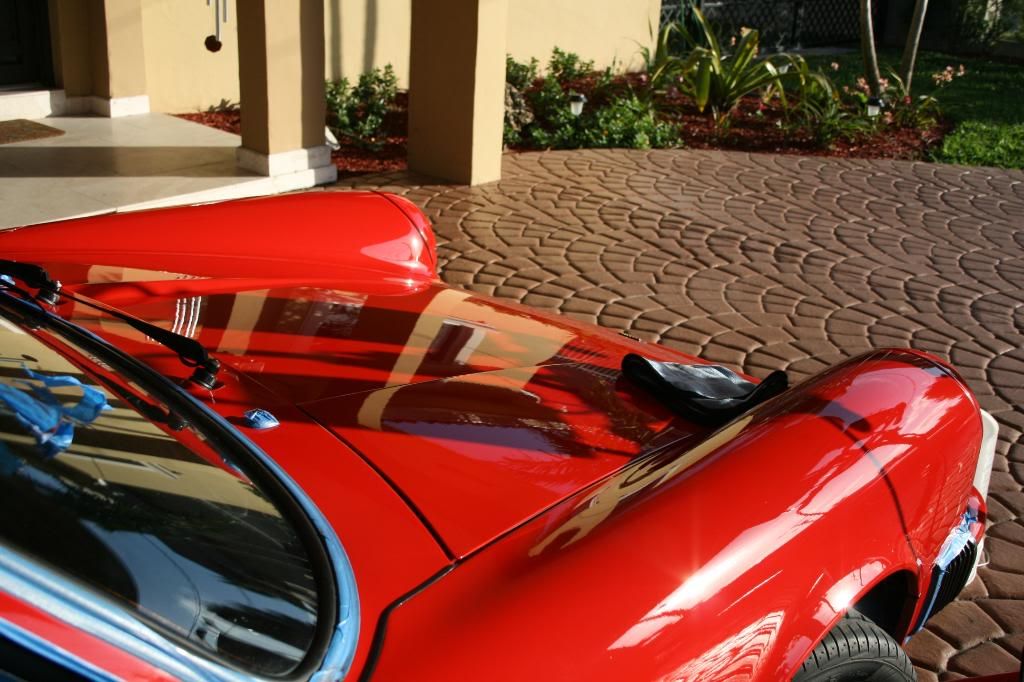
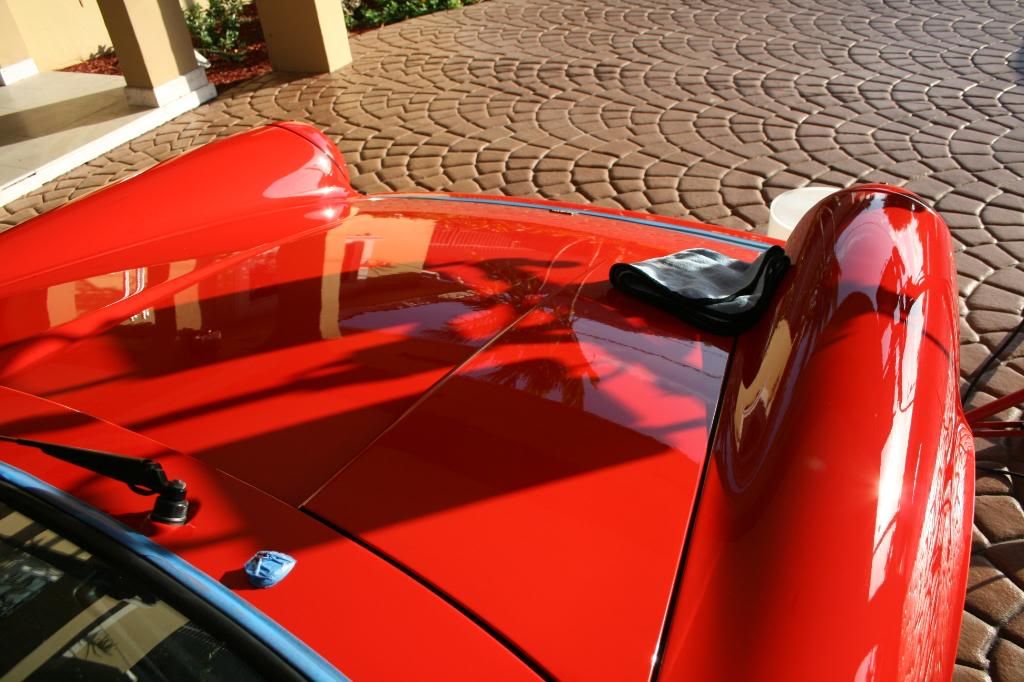
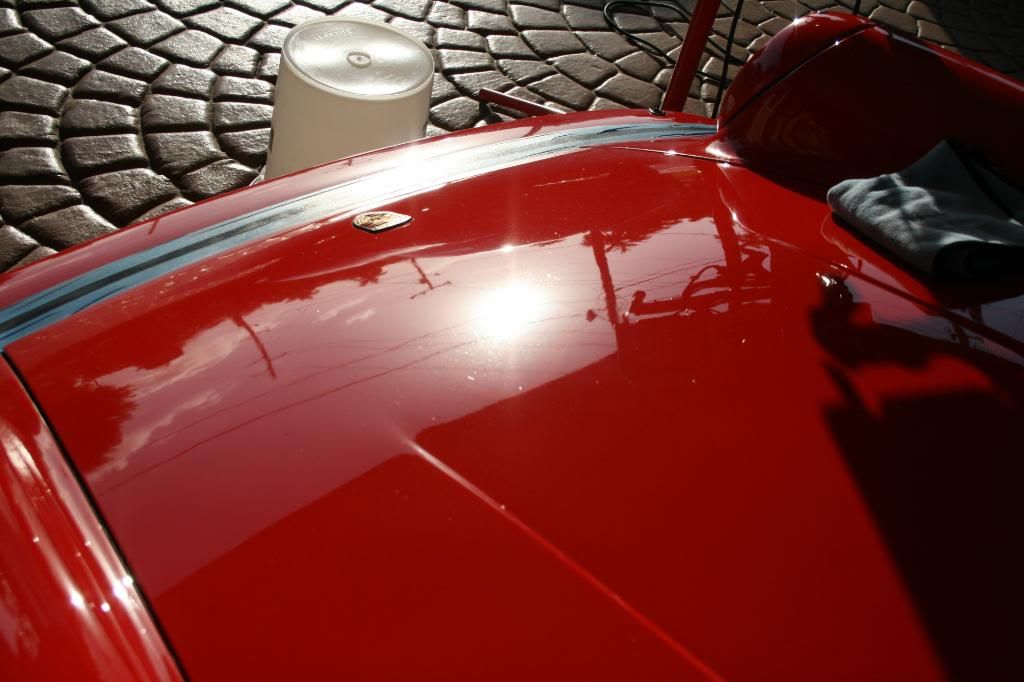
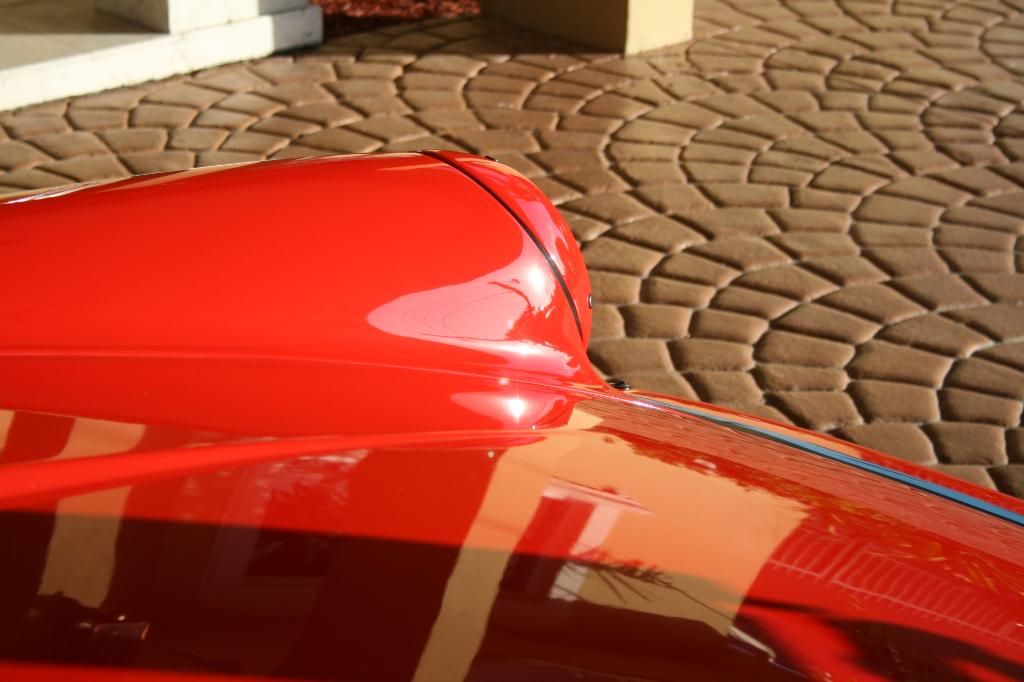
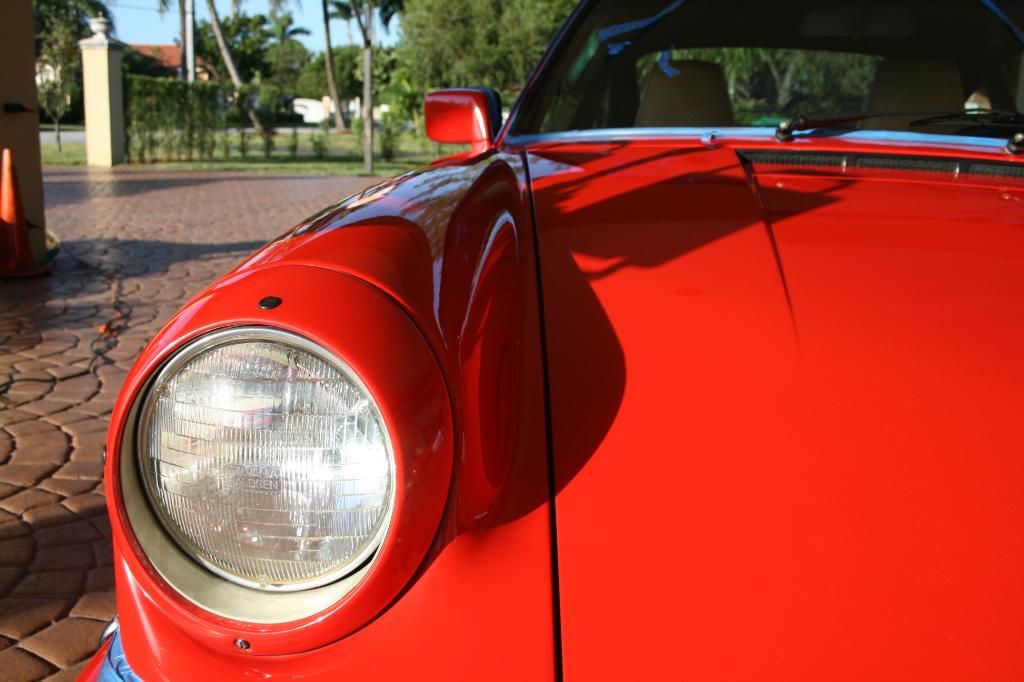
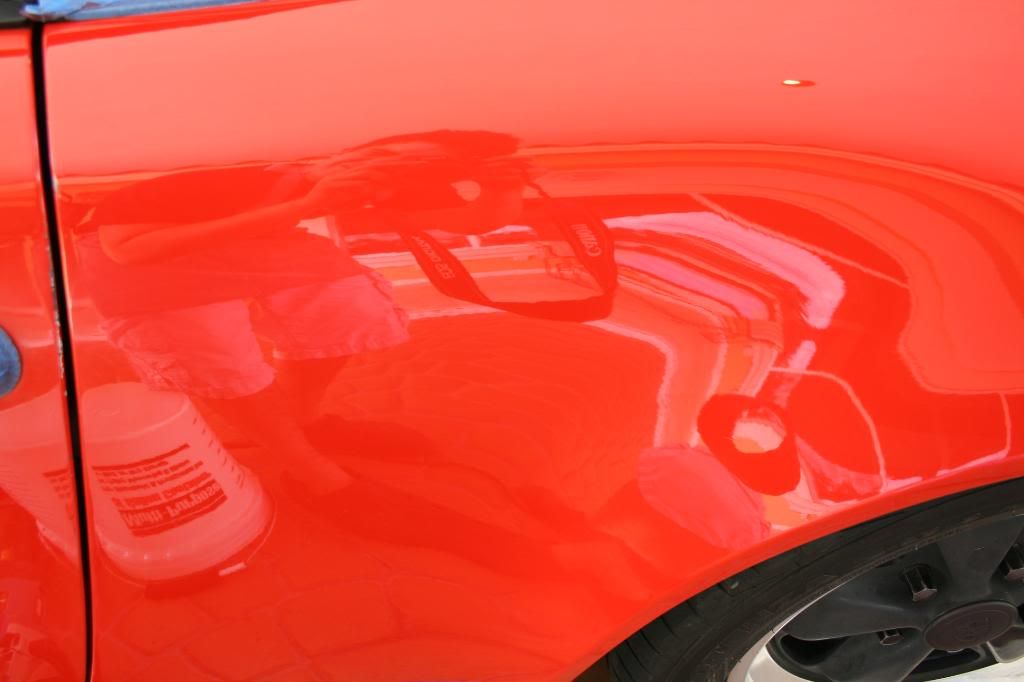
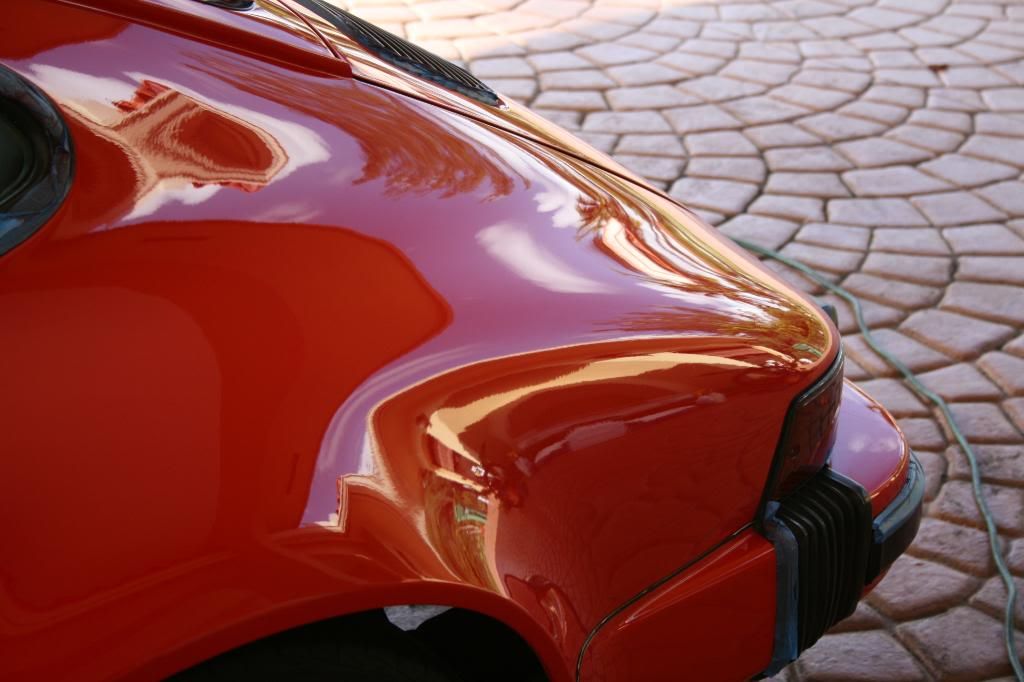
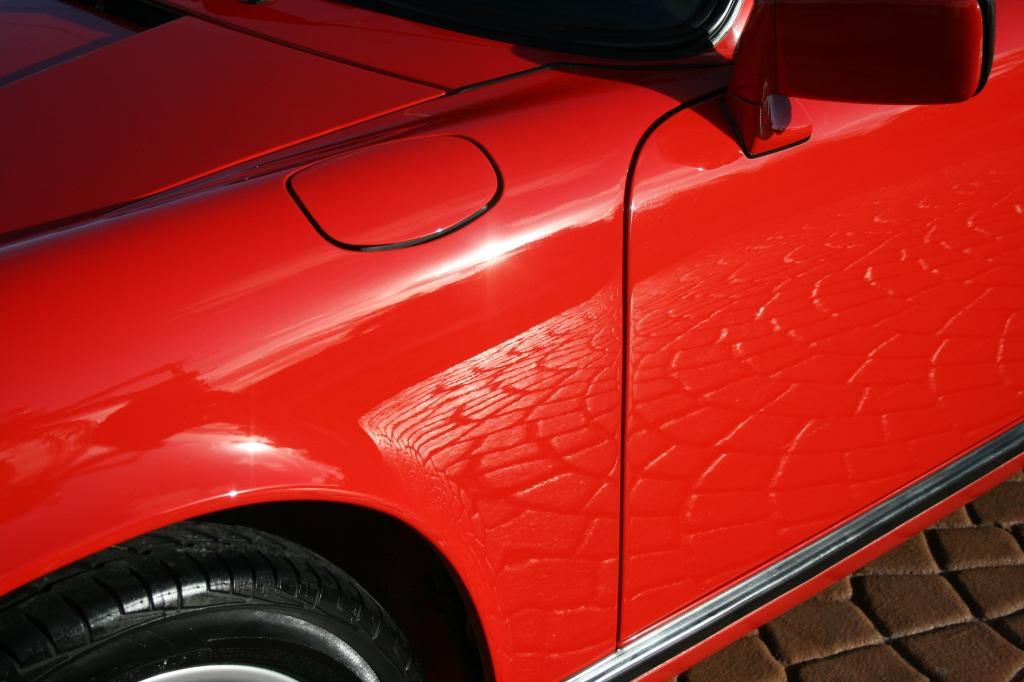
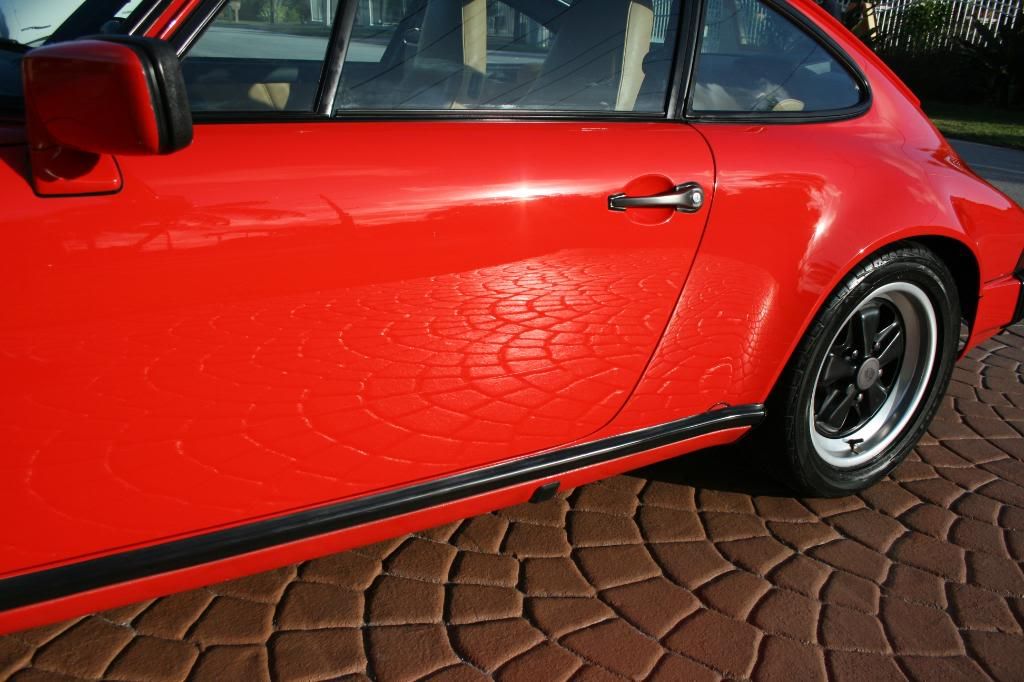
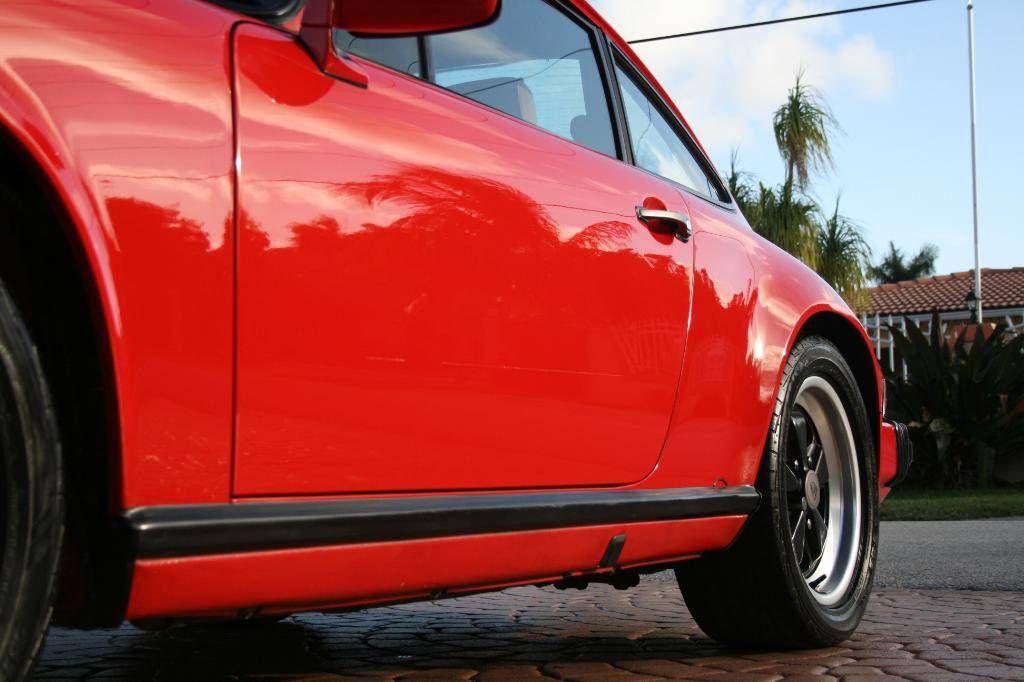
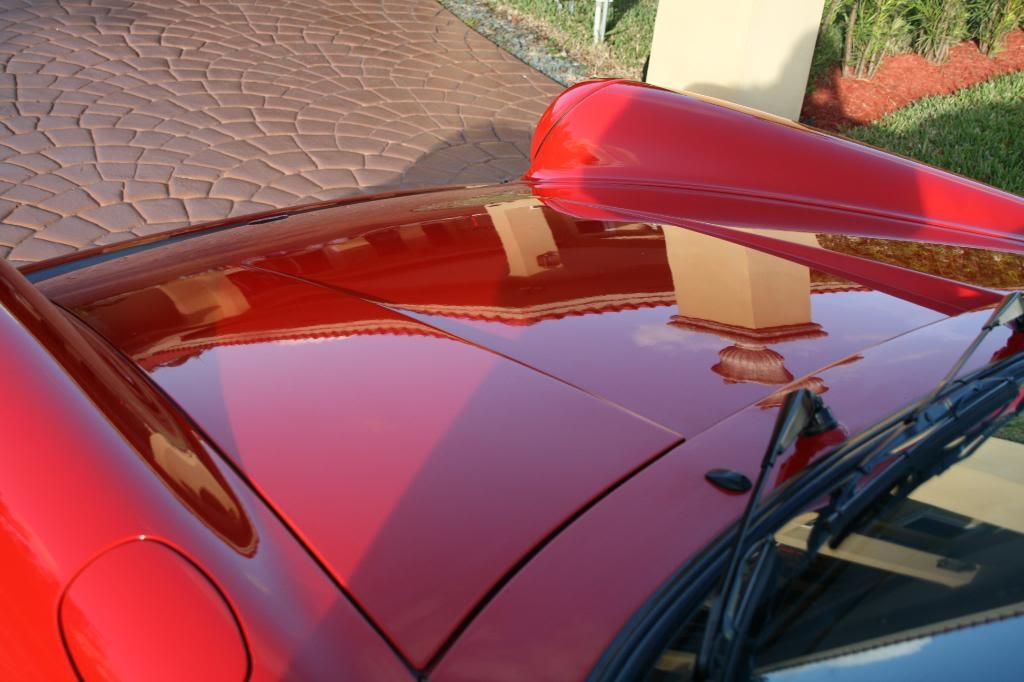
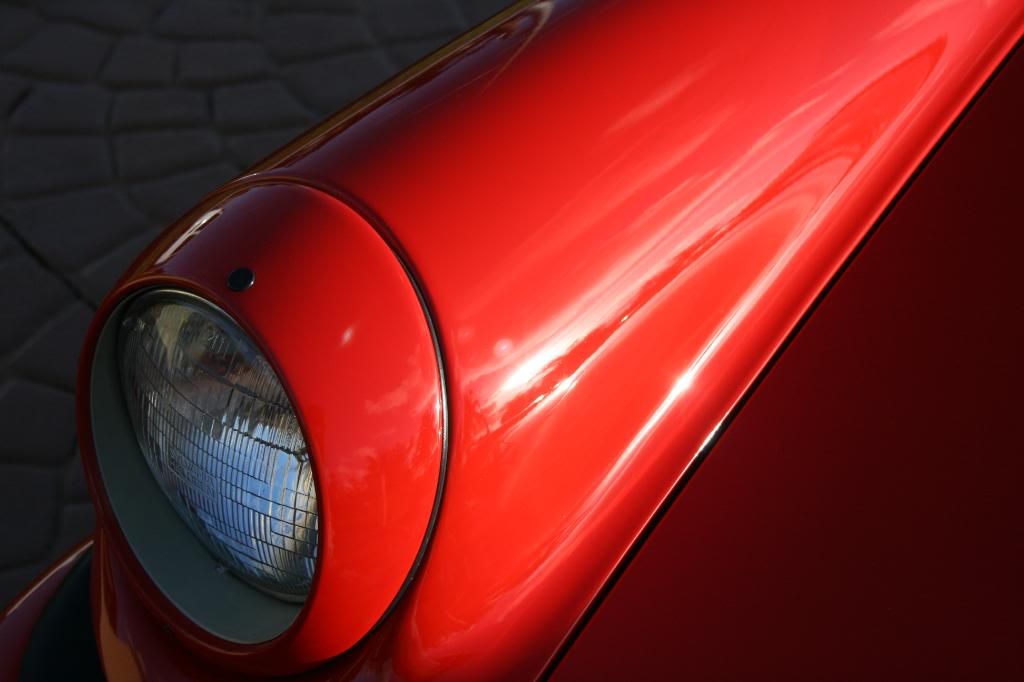
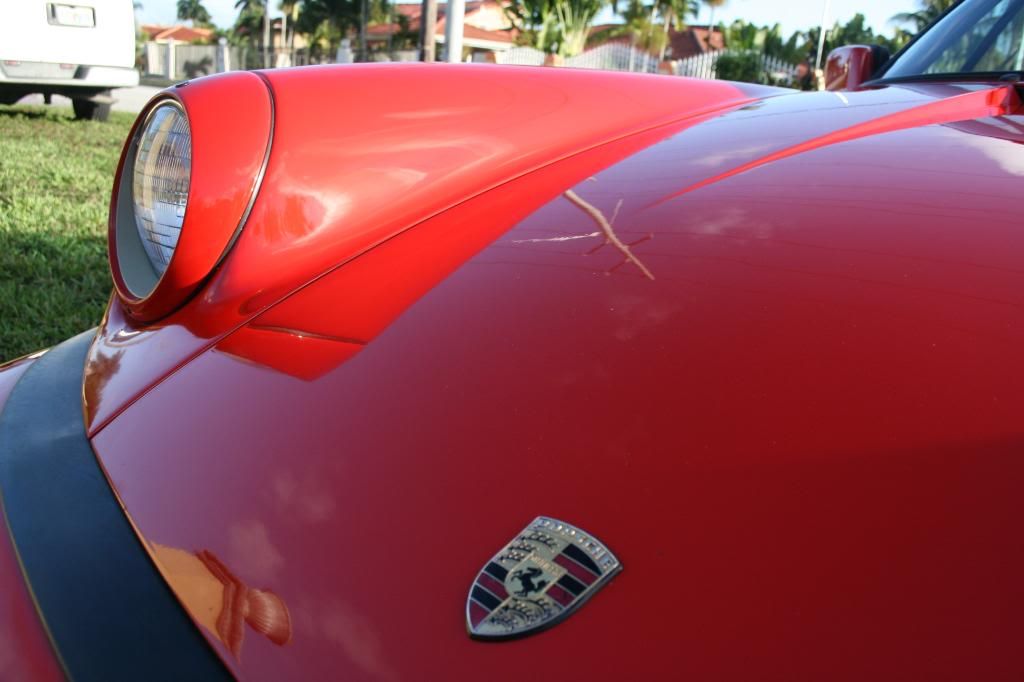
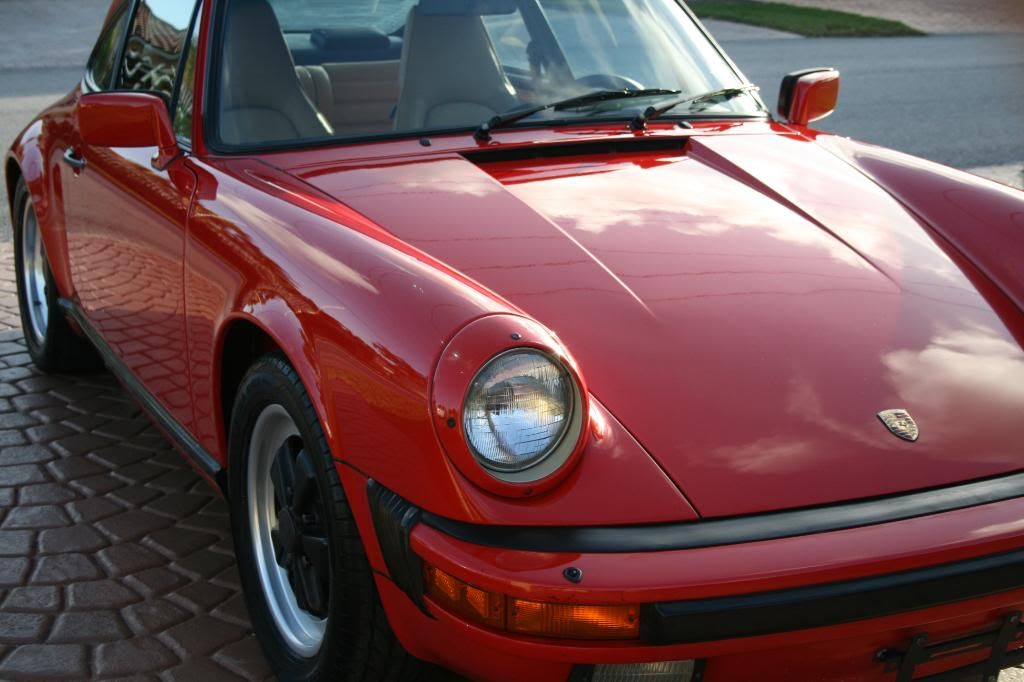
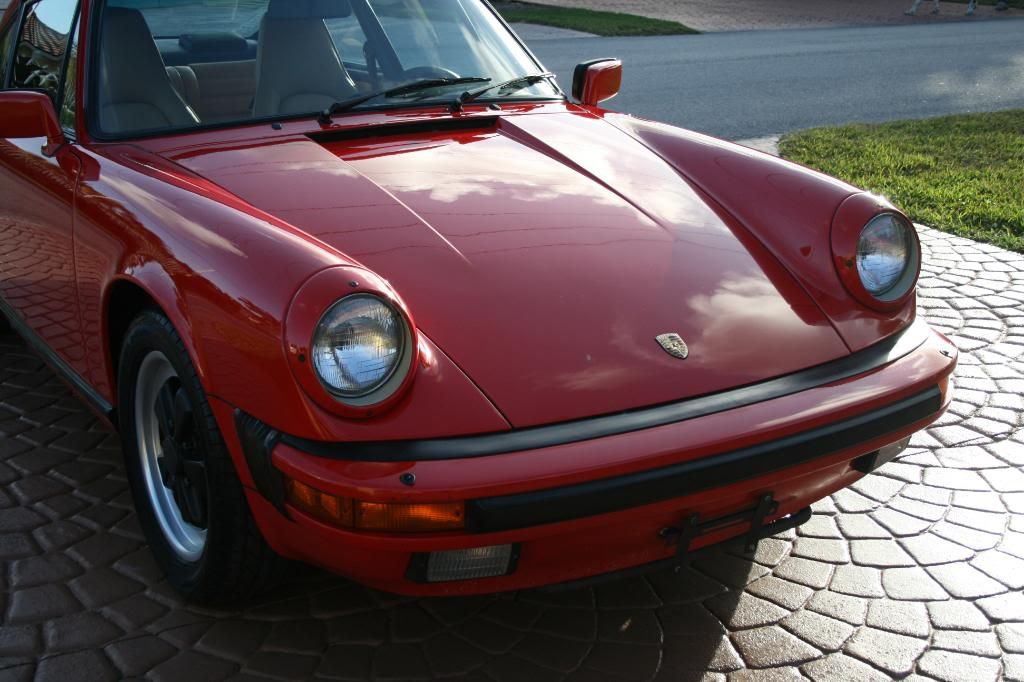
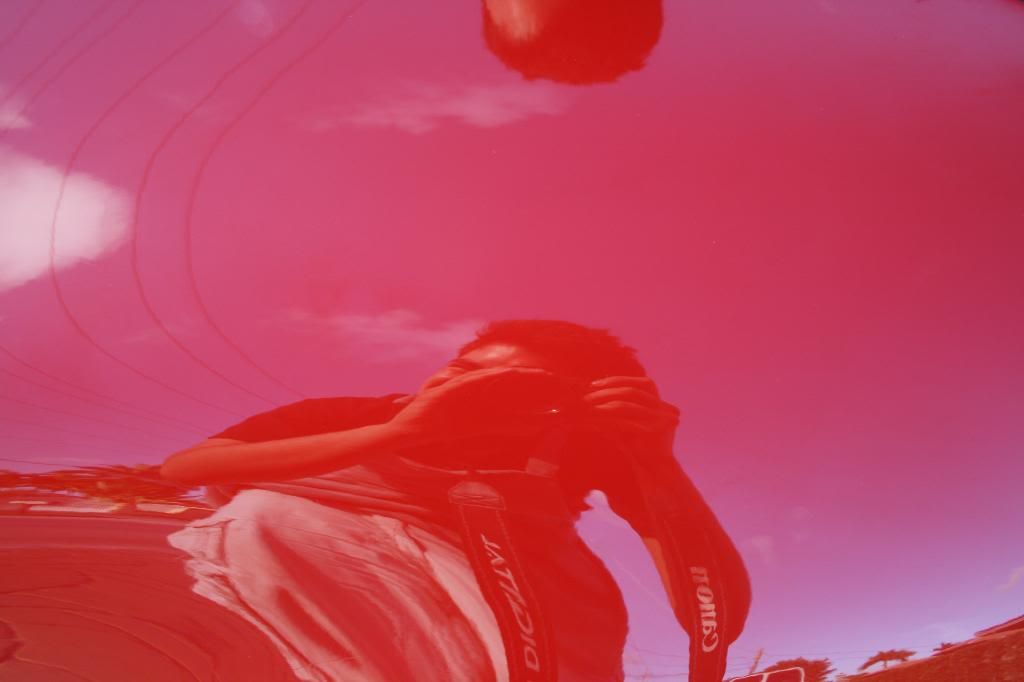
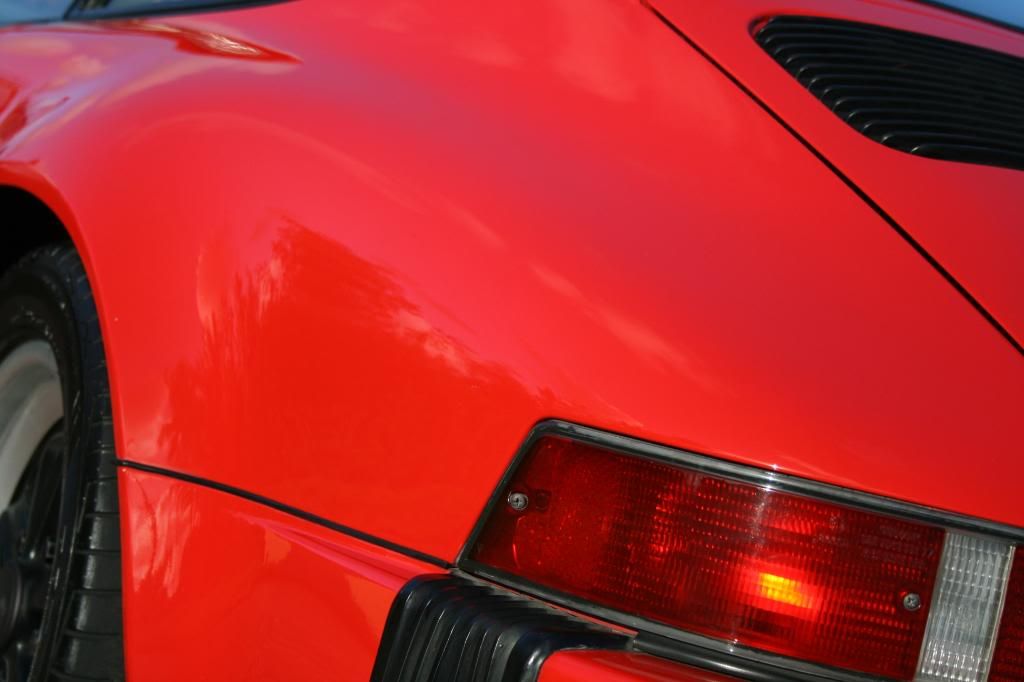
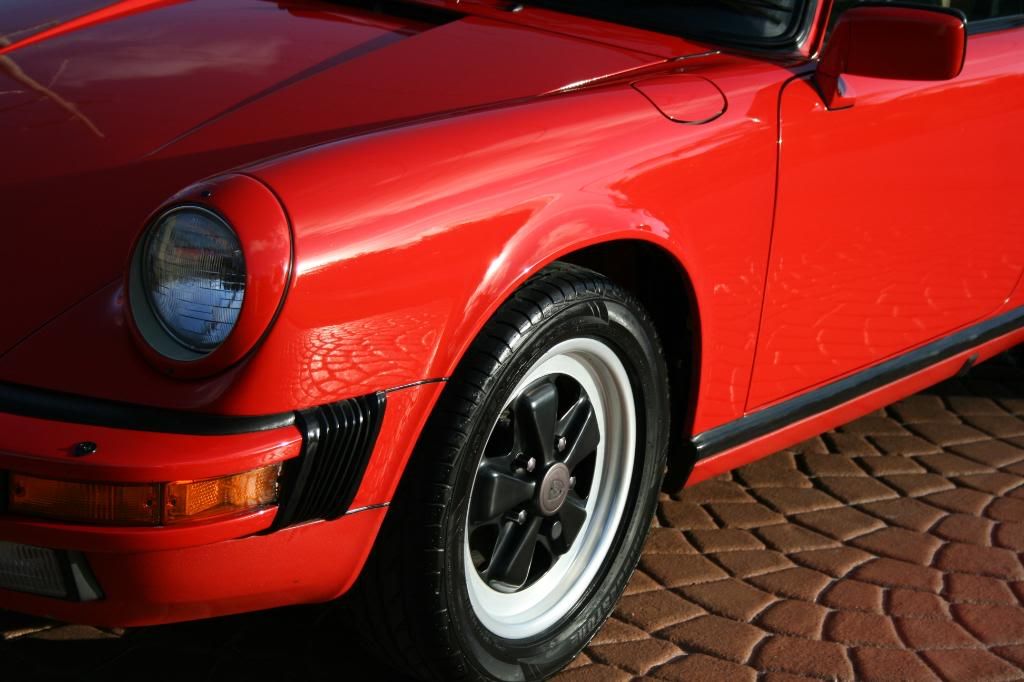
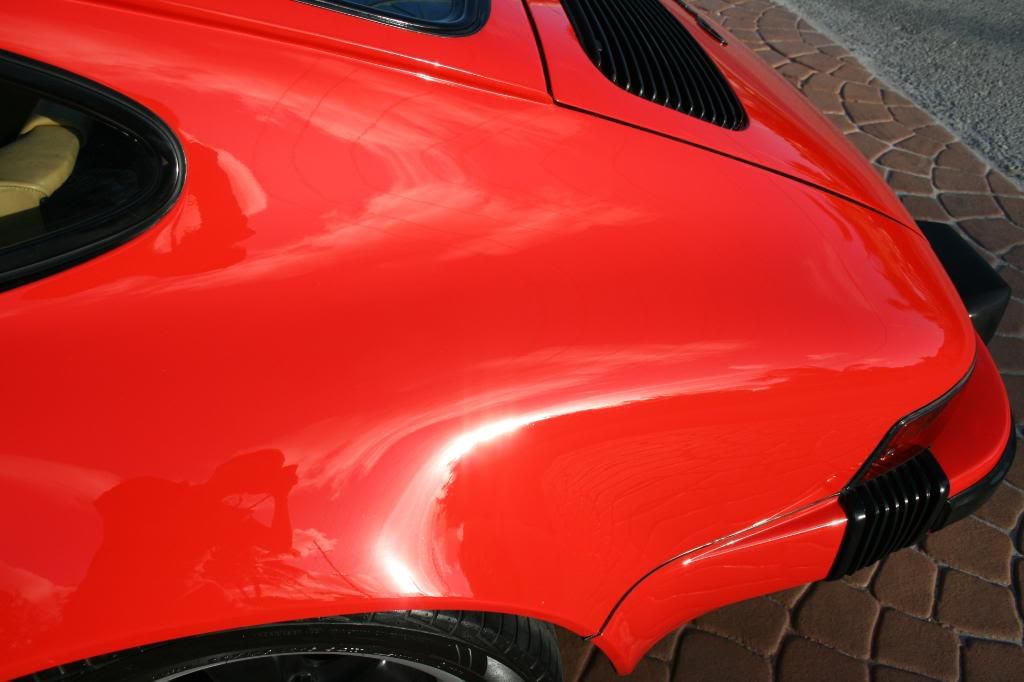
The paint had a lot of oxidation...and some deep RIDS

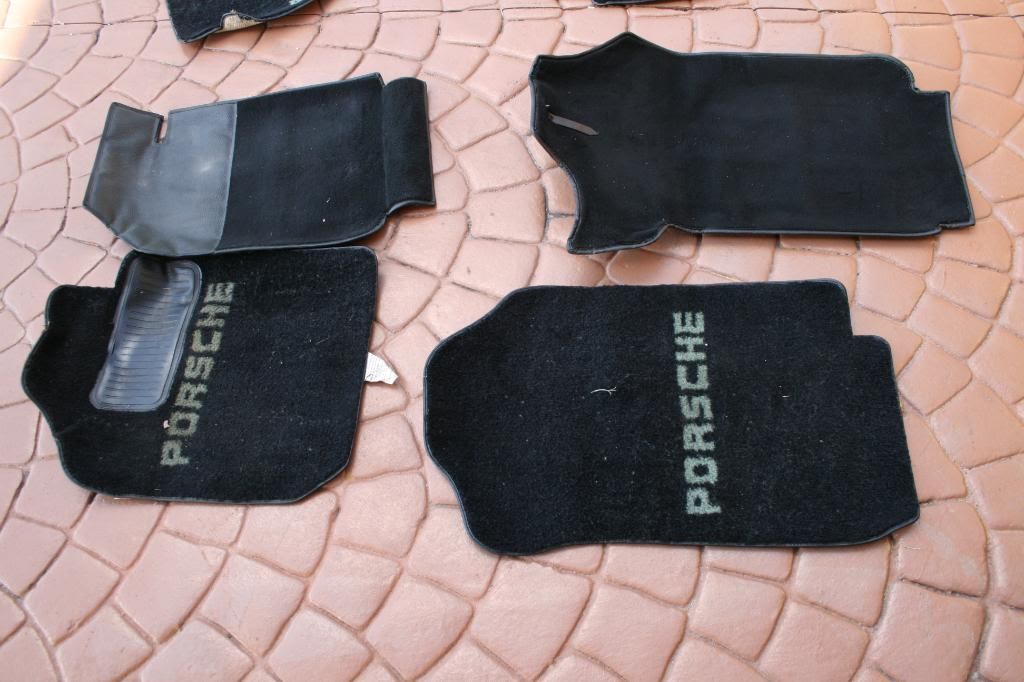
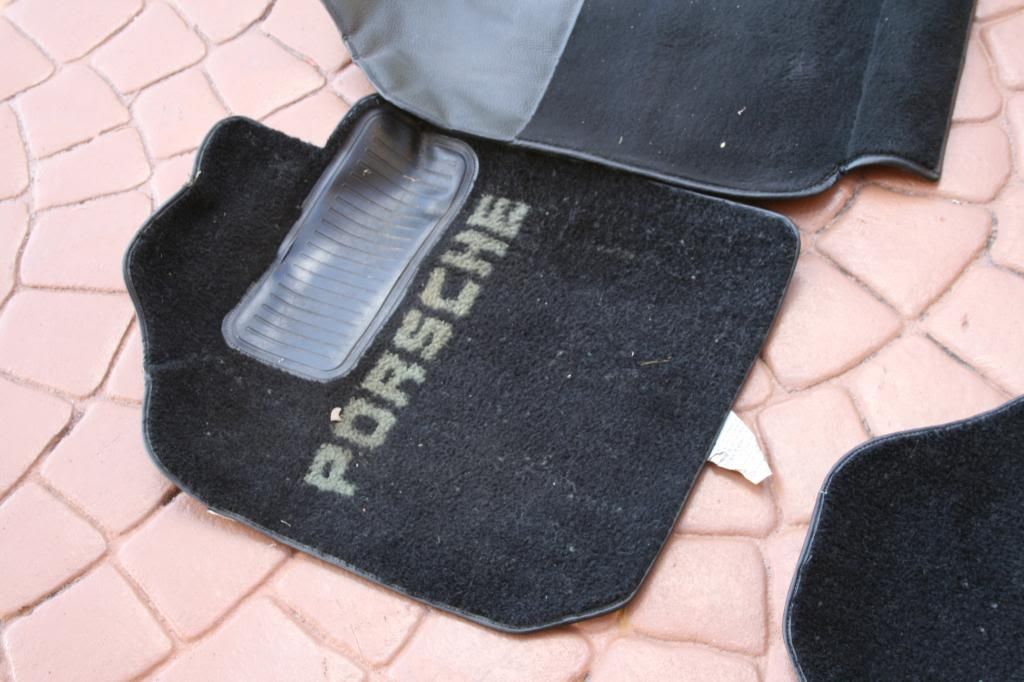
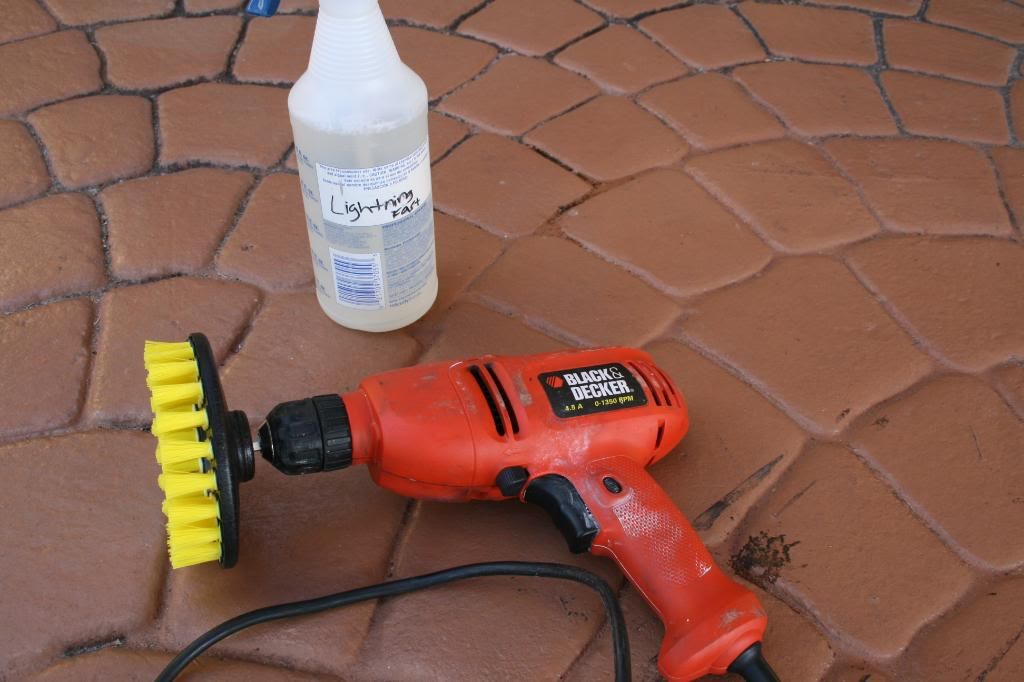
Before i got started with the paint i cleaned the carpets using CG Lightning fast and the drill brush attachment.
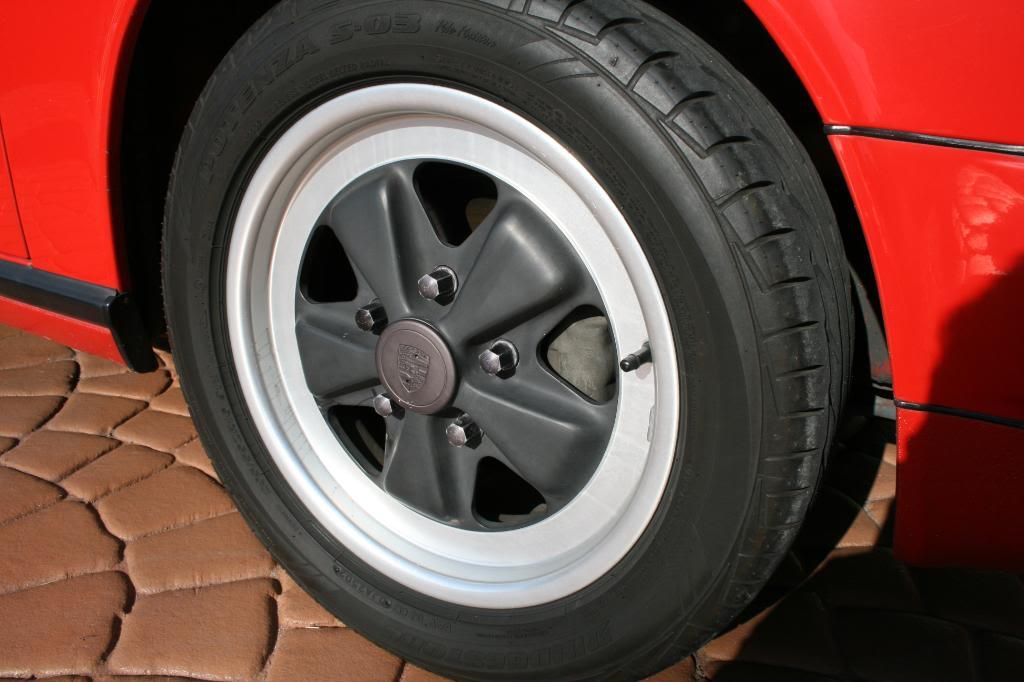
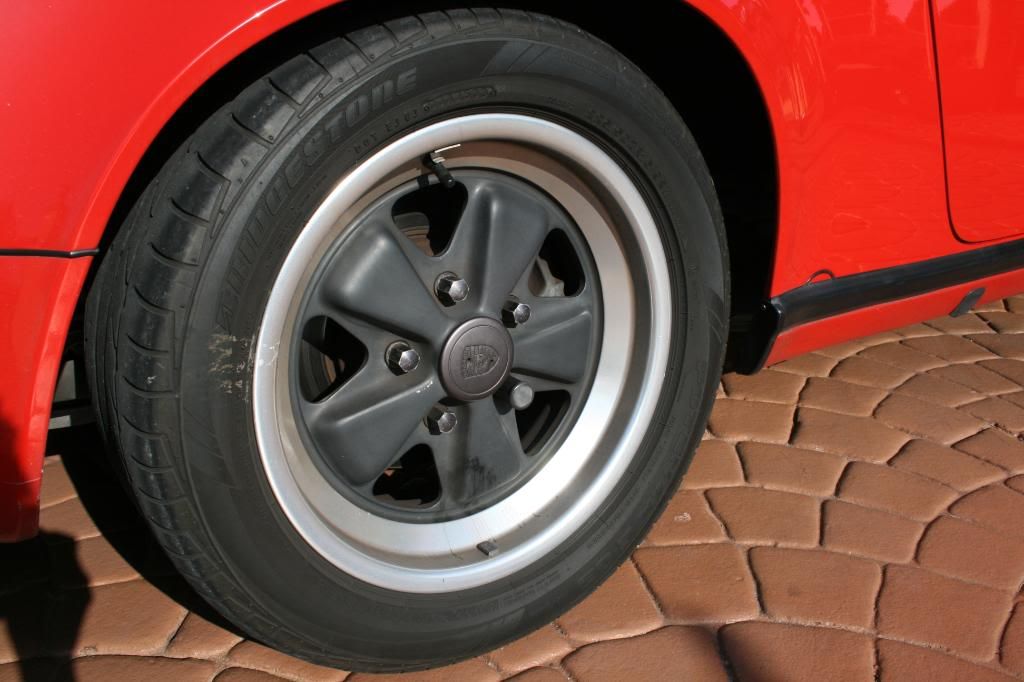
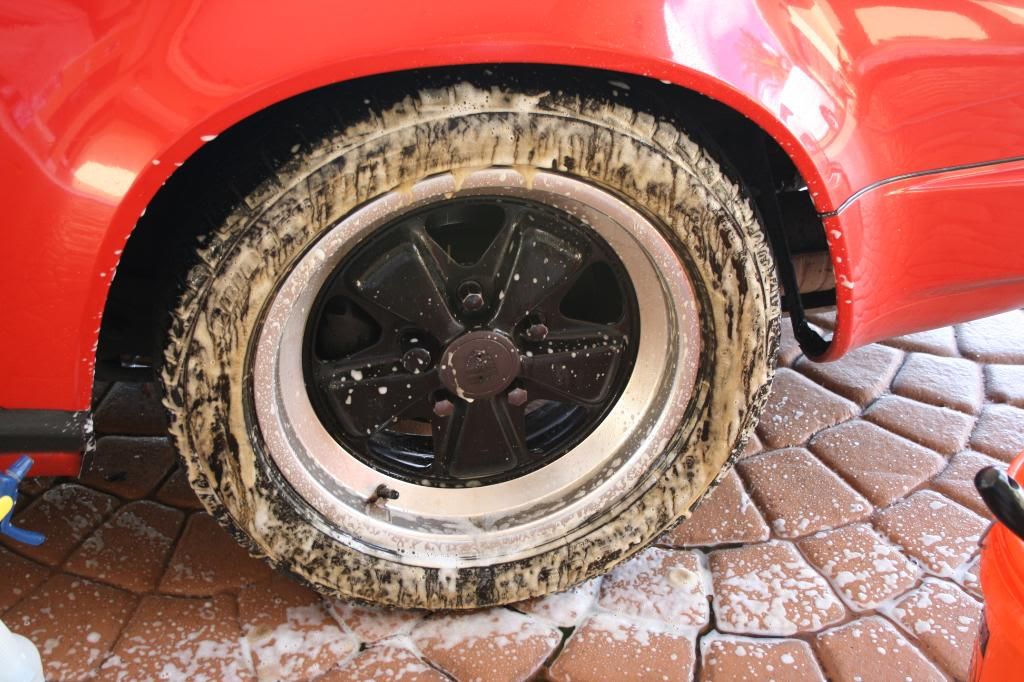
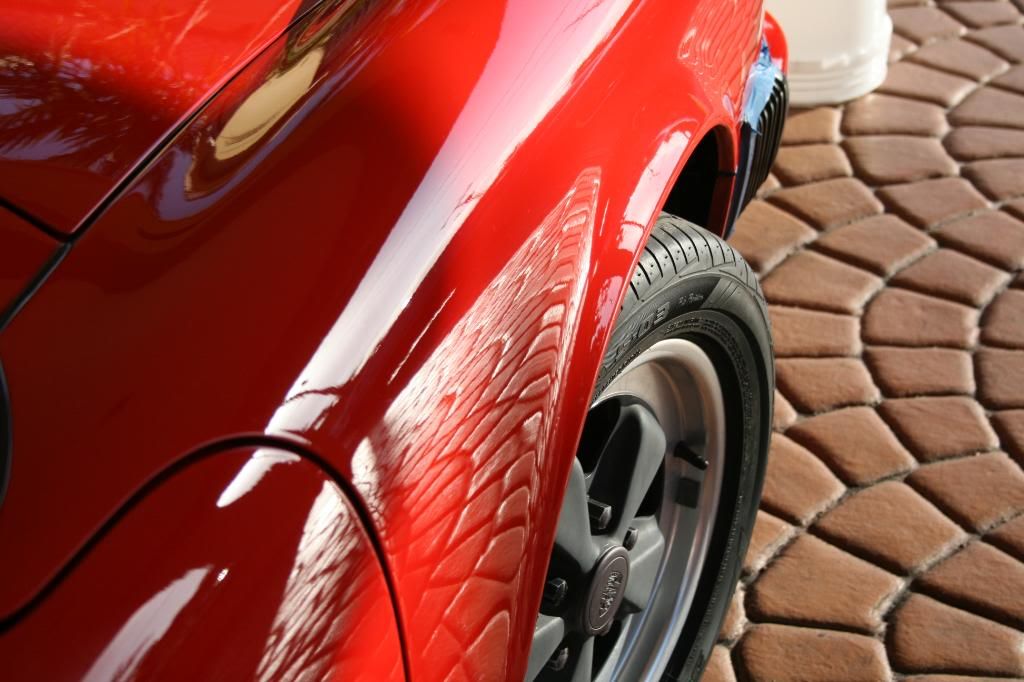
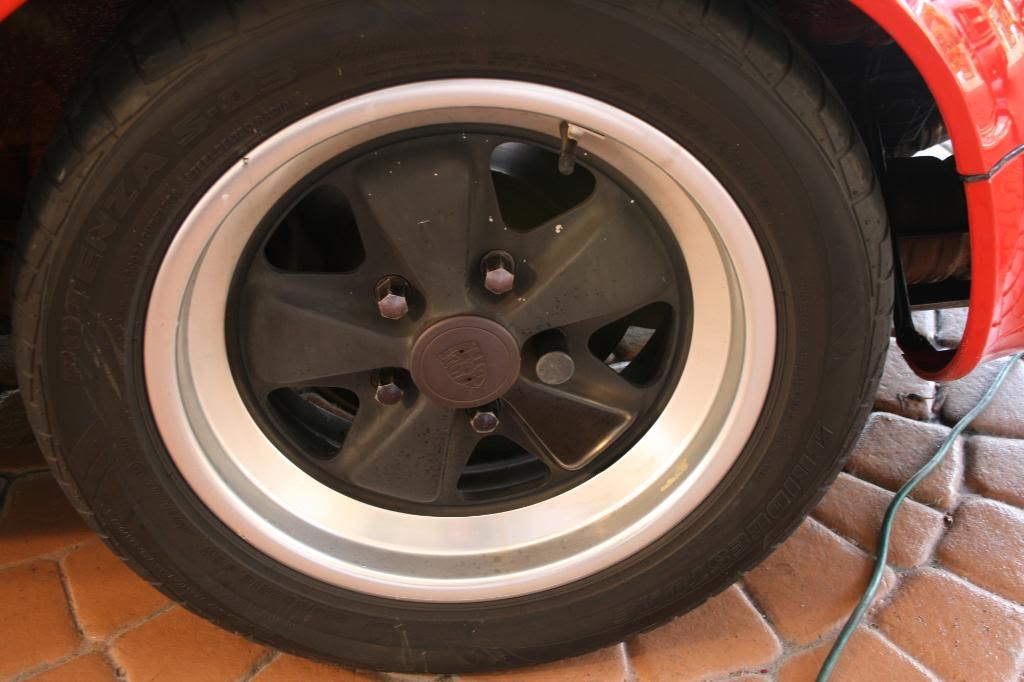
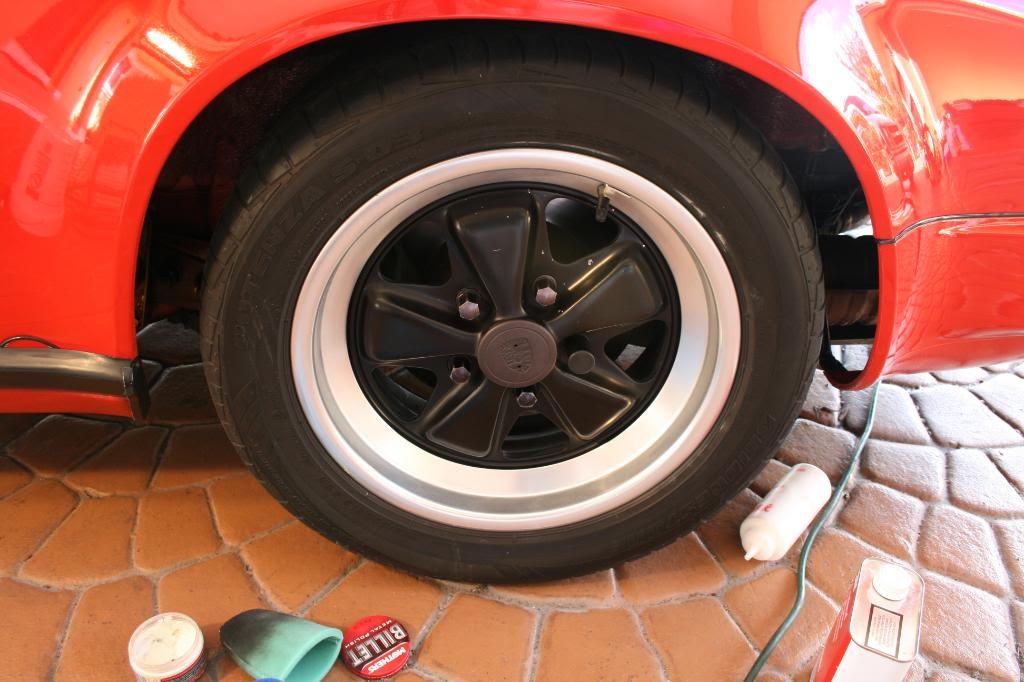
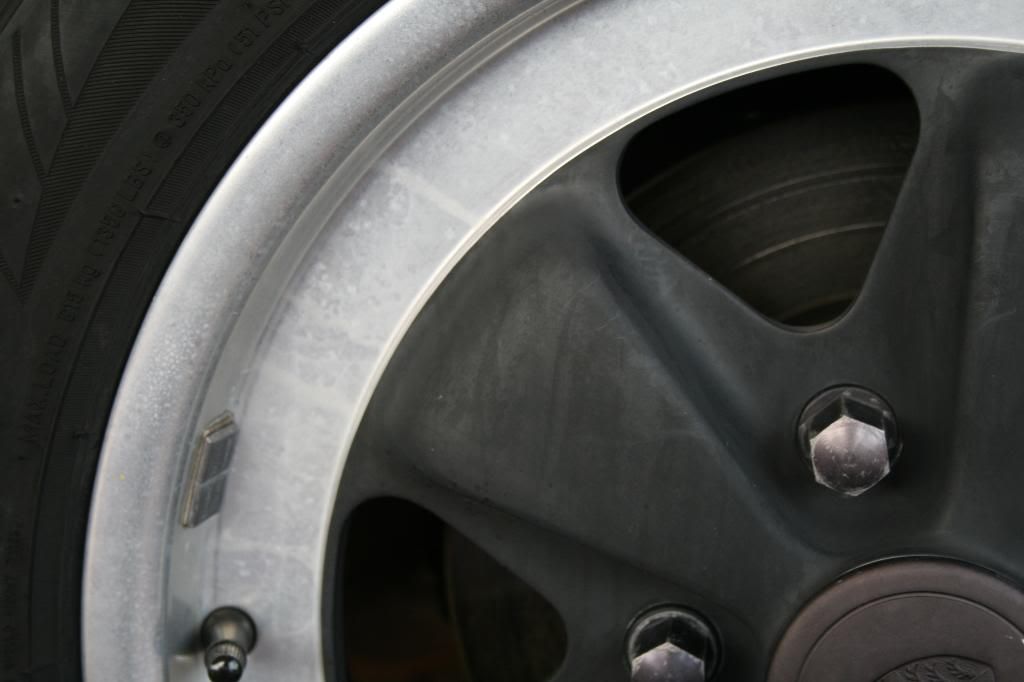
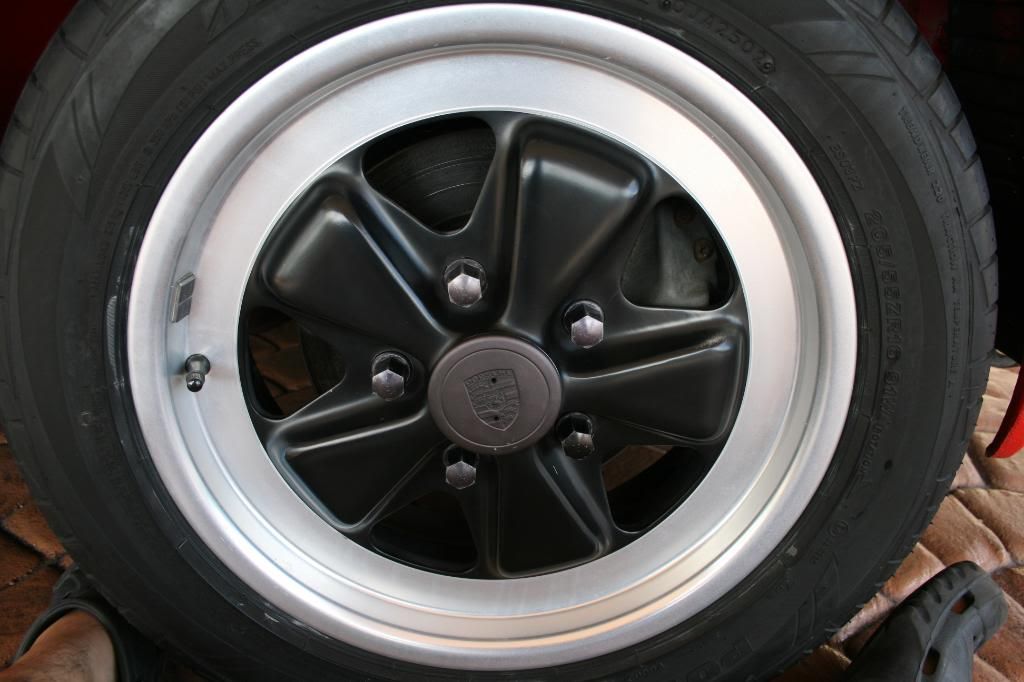
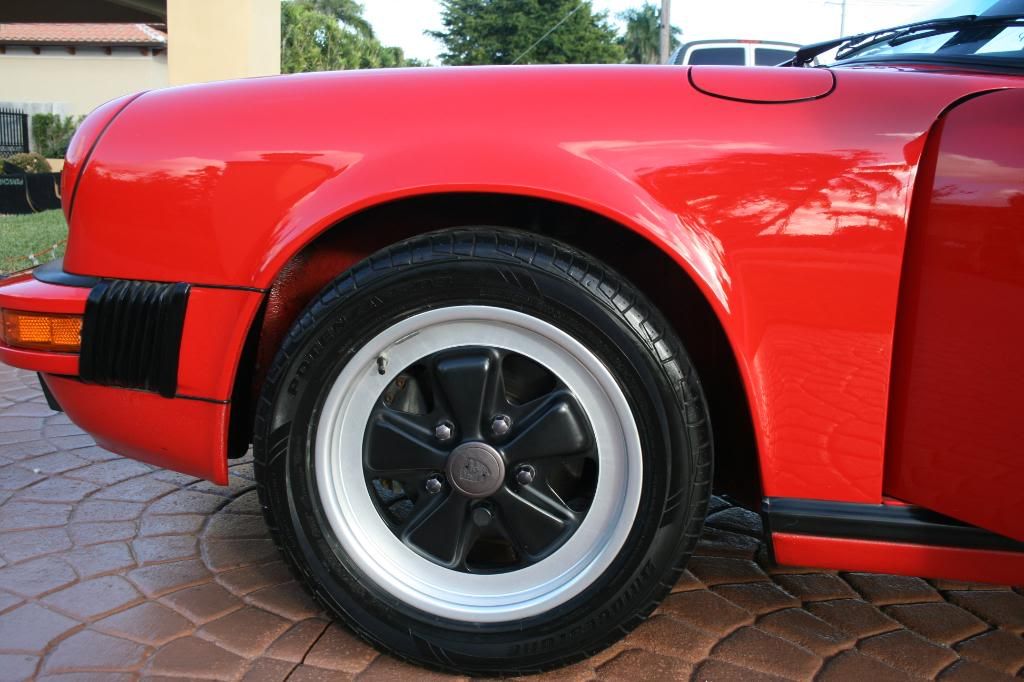
now to start washing the wheels. Look at how the ARO lifts all the dirt out of the tires!!!
This car was picked up by the current owner two years ago. The current owner hasn't waxed since he bought the car because he was afraid of someone messing the paint up. But once he found me, he knew that i could take care of it. The car has 8x,xxx miles, and overall was in pretty decent condition for being 23 years old. it used to be garage kept, but now it is just kept outside under a car cover. Unfortunately the owner only wanted a two-step polish, so only about 90% of the defects were removed by 2-3 passes of SIP. some RIDE were still too deep to remove without compounding
.This was also my 1st time polishing a 1-stage paint.Exterior
-Wash
-CG CWC
-Meg's mitt
-Meg's APC+ (under front bumper, door jams)
-Wheels
-CG CWC
-CG Citrus Sticky Gel
-EZ detail brush
-Swissvax wheel brush
-OXO tire scrubber
-ARO (tires)
-Wheel Wells
-Simple Green
-Meg's Super Degreaser
-Meg's APC+
-DD wheel well brush
-Black shMITT
Clay
-CG Gray clay
-ONR lube
Polishing
-Exterior paint
-Menzerna SIP via Orange 3M pad @ 1000-2000RPM (2-3 passes)
-Menzerna PO85RD via blue 3M UK Ultrafina pad @ 1500-2000RPM
-Makita 9227C
-3M Yellow Foam Backing Plate
-1000w halogen lights
-ISA 50/50 wipedown
-DD Uber MF towels
-Wheels
-Mother's Billet polish
-SIP
LSP
-Paint
-Dodo Juice Lime Prime Lite
-Rubbish Boy's Original Edition
-FK1 # 425
-CG 530XL MF towels
-Wheels
-CG jetSEAL 109
-FK425
-CG Barebones (wheel wells)
-Optimum Opti-bond (tire gel)
-Rubber
-1Z Gummi Pflege
-Black WOW
-CG Fade2Black
Glass
-Stoner's Invisible Glass
Interior
-CG Lightning Fast
-CG Leather Cleaner
-Swissvax Leather brush
-1Z Cockpit Premium
-Zaino Z10
The paint had a lot of oxidation...and some deep RIDS
Before i got started with the paint i cleaned the carpets using CG Lightning fast and the drill brush attachment.
now to start washing the wheels. Look at how the ARO lifts all the dirt out of the tires!!!


")