4u2nvinmtl
New member
Review: CarPro Dlux & Full engine detail write up
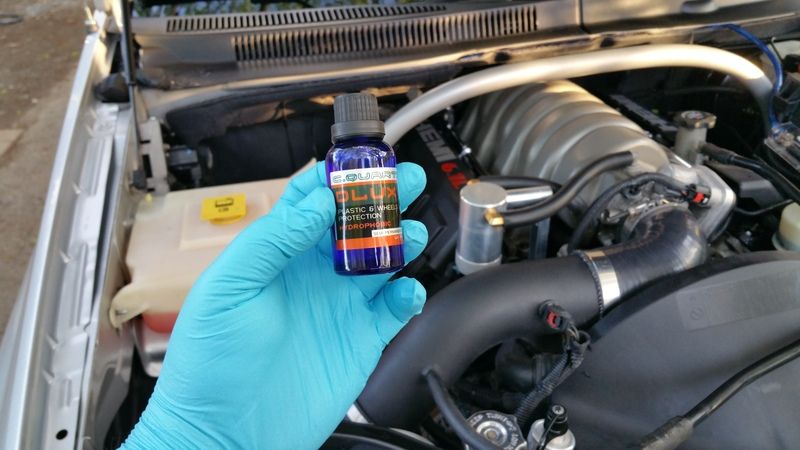
CarPro Dlux (Autopia store link) -> CarPro CQuartz DLux Plastic & Wheel Coating
CarPro Dlux (Autogeek store link) -> CQuartz DLux Plastic & Wheel Coating
Details:
After almost a year of procrastination, I decided it was time to crack open my CarPro Dlux (before it expires). It’s been around 10 months since I last detailed under my hood, so it was more than time.
Products used in this review:
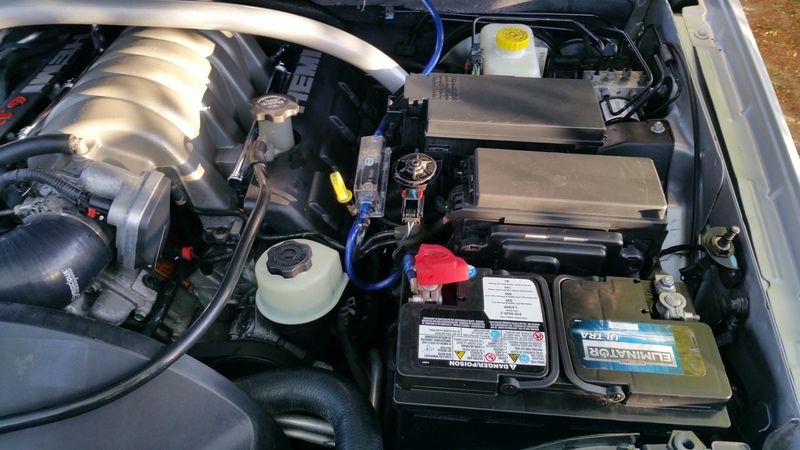
Inspection:
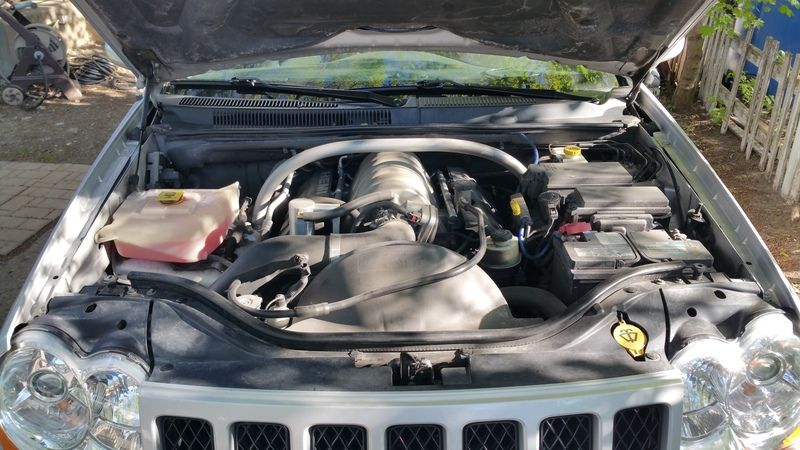
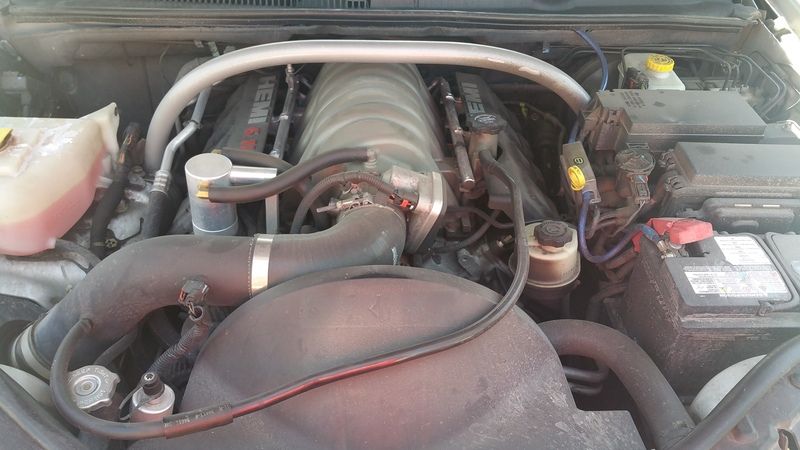
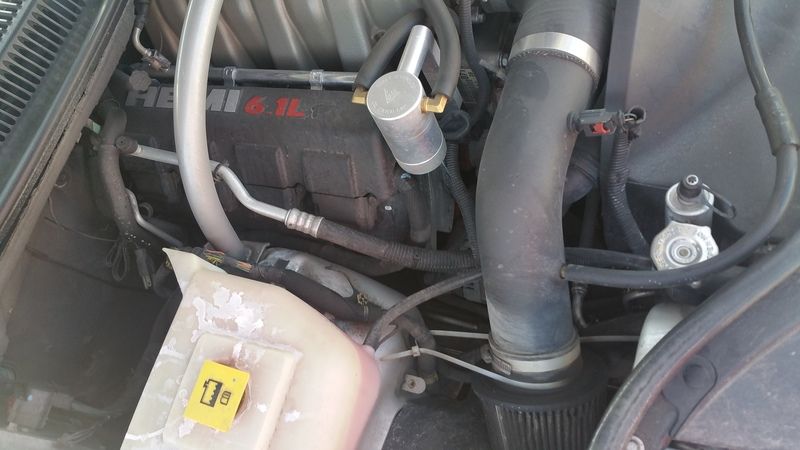
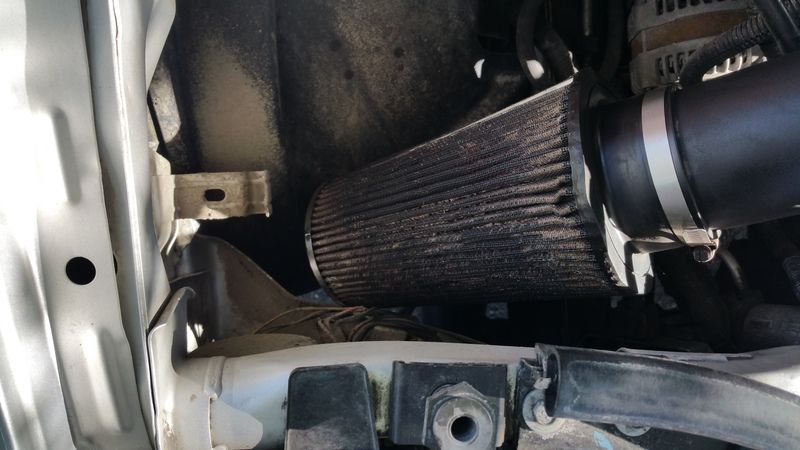
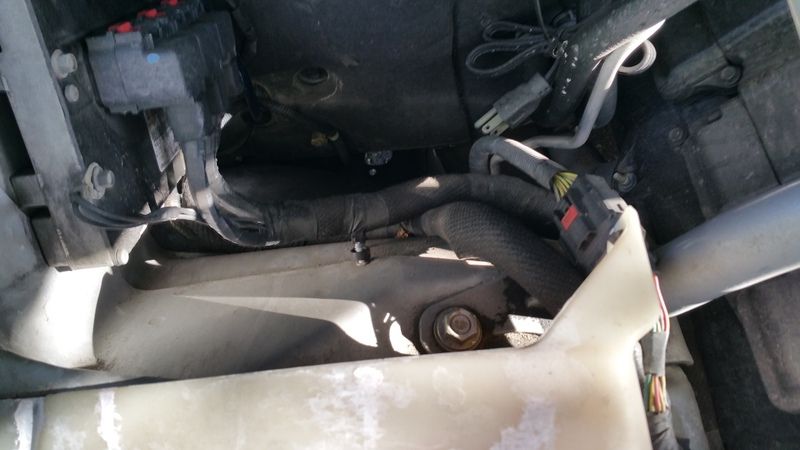
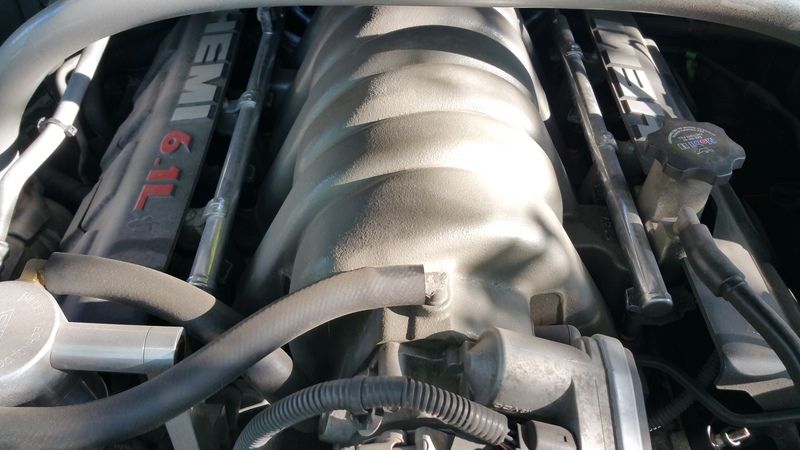
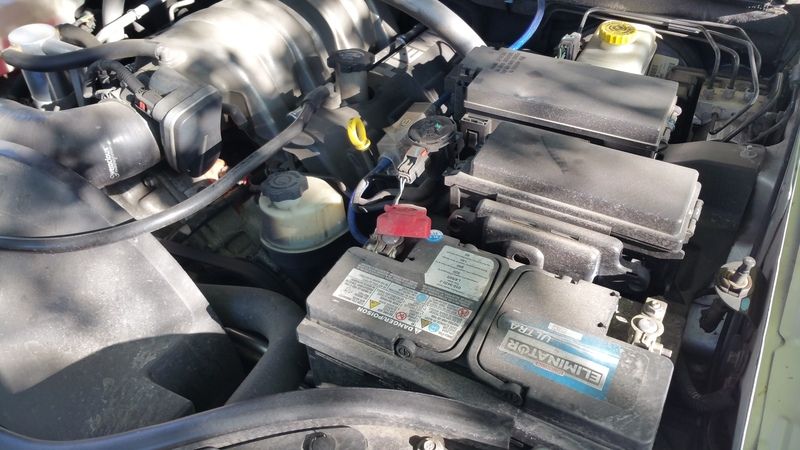
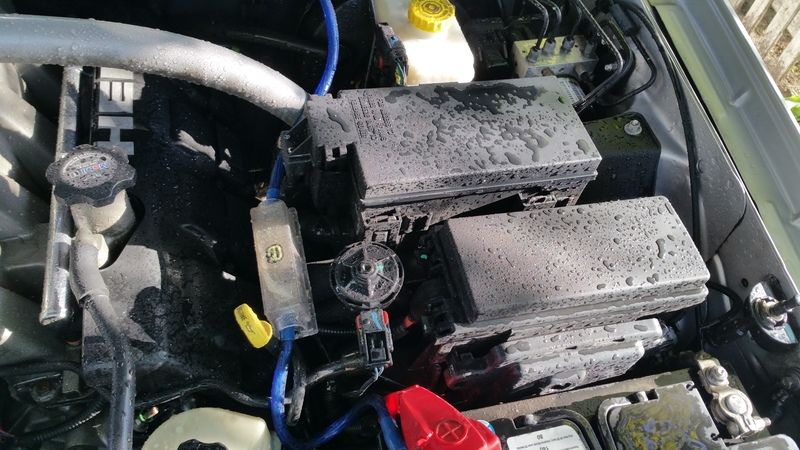
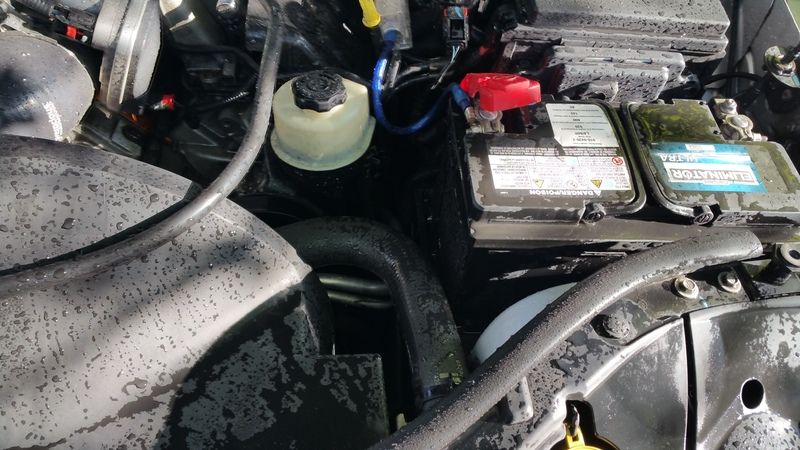
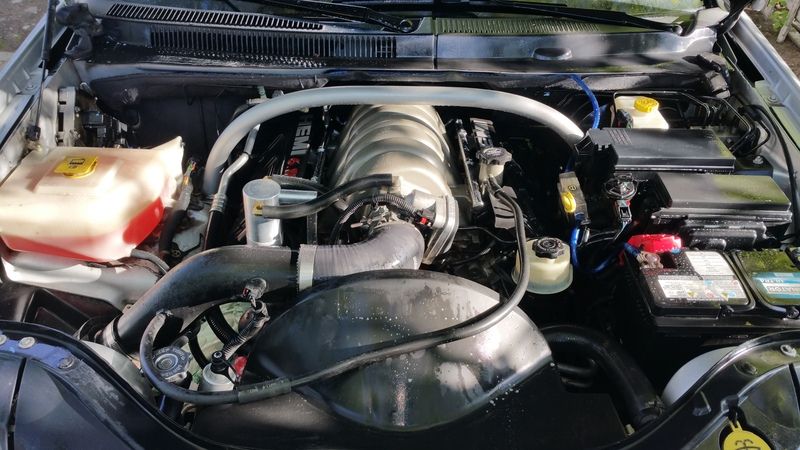
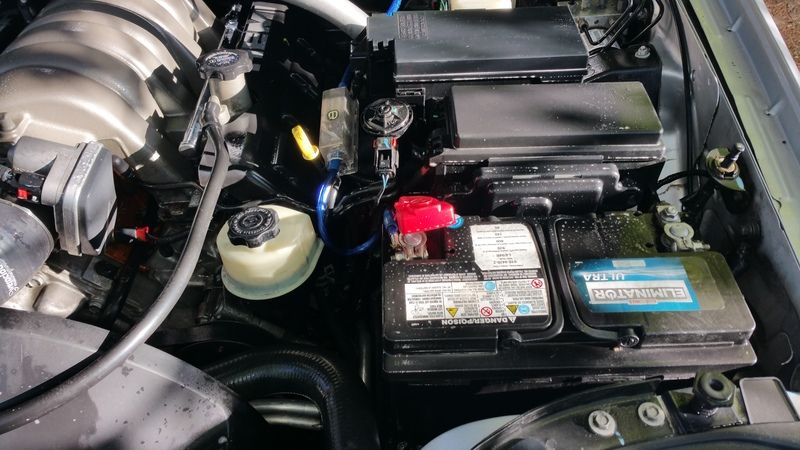
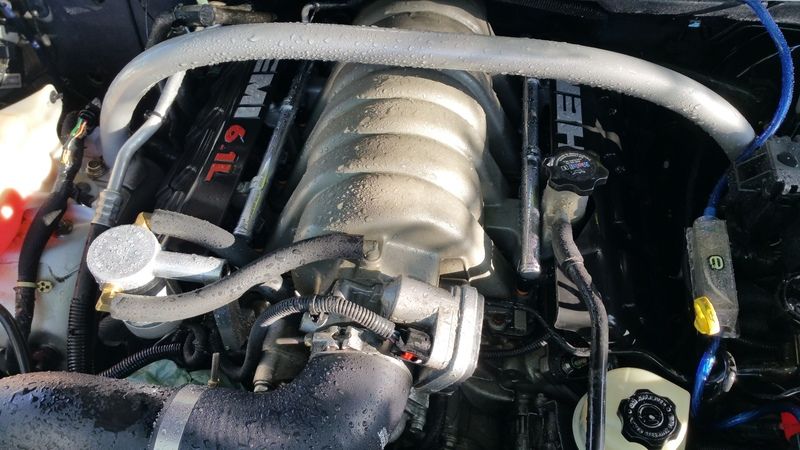
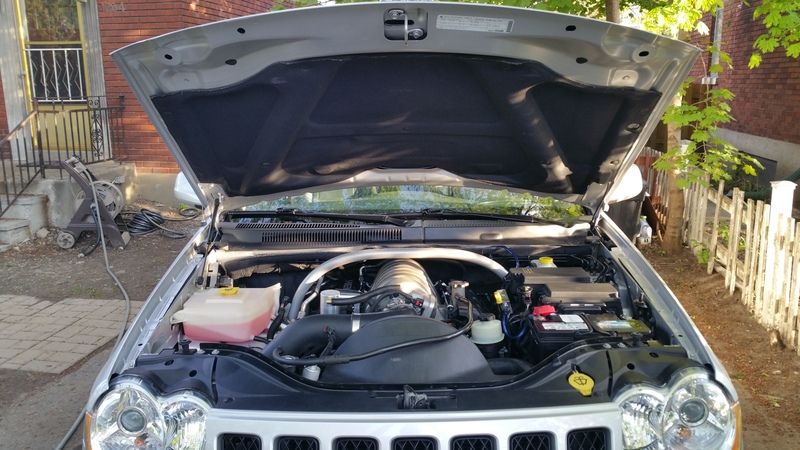
I started my assessing the level of dirt and grime that had accumulated over the 10 months since I last detailed my engine bay. I concluded it would take some aggressive cleaning to get it ready for CarPro Dlux. The photos below are the condition of my engine bay prior to starting.
Wash process:
To thoroughly clean my engine bay I decided to use Meguiar’s Super Degreaser at 1:4 ratio and Meguiar’s All Propose Cleaner at 1:10 ratio.
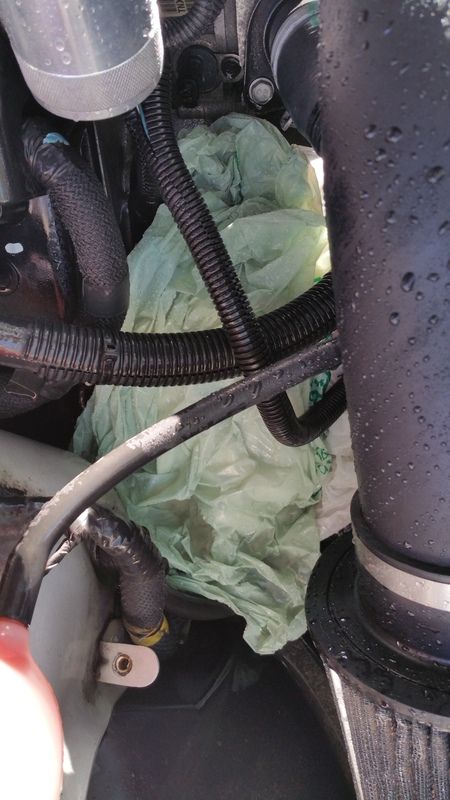
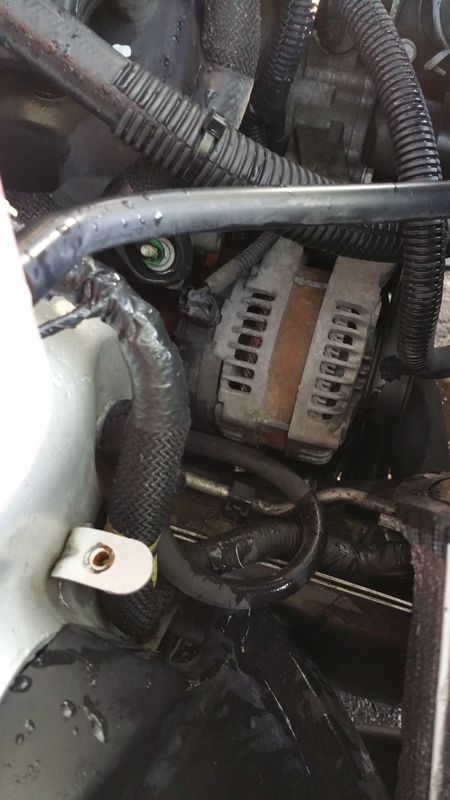
1. Cover the alternator with plastic bags
2. Rinse down the engine bay with hot water
3. Spray liberally with degreaser and let dwell
4. Spray more degreaser and agitate with the EZ detail brush
5. Rinse
6. Spray liberally with APC and let dwell
7. Spray more APC and agitate with the EZ detail brush
8. Rinse
9. Two bucket washed everything
10. Rinse
11. Inspected (failed my quality control, so I repeated steps 3 to 8 until cleaned to my satisfaction)
It took 2 applications of APC and degreaser to get my engine bay clean enough for CarPro Dlux. I also wanted to note that I didn’t use a pressure washer just a hose with a spray gun. I went to town with the water (at least 50 gallons of water was used to rinse) and didn’t have any issues starting it up after.
First rinse:

Alternator all bagged up safely:
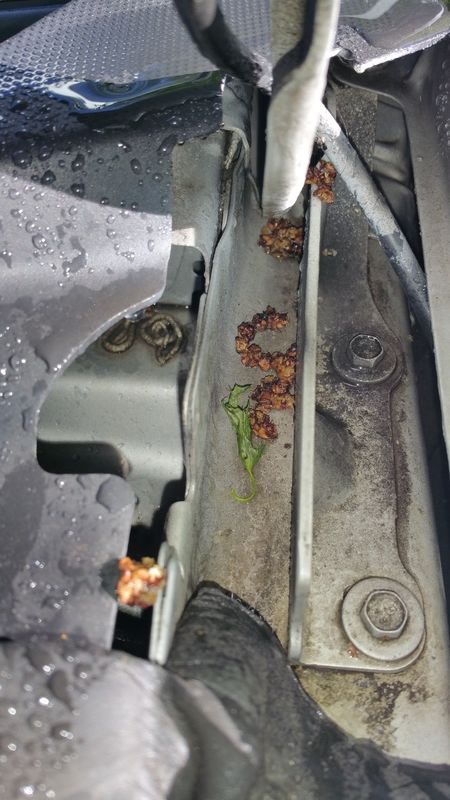
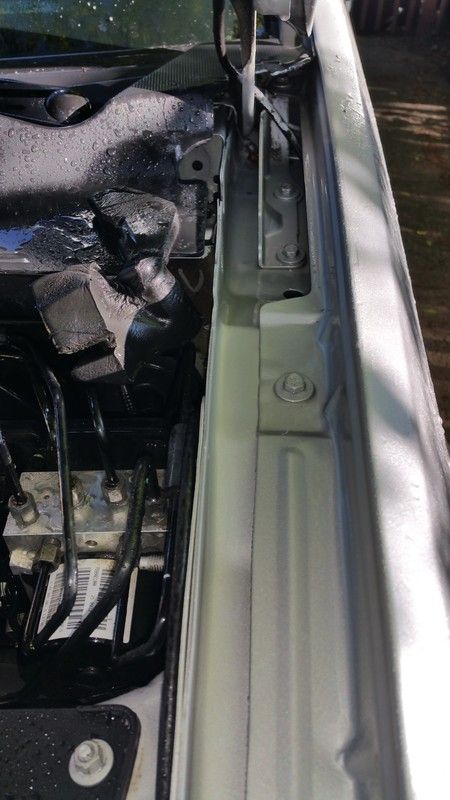
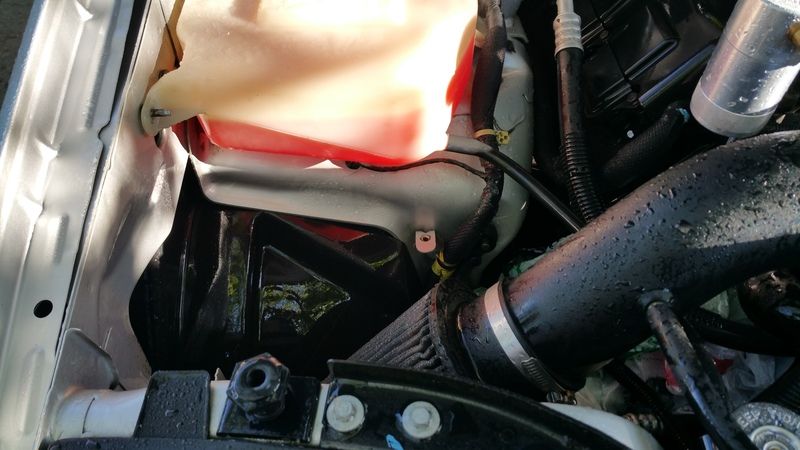
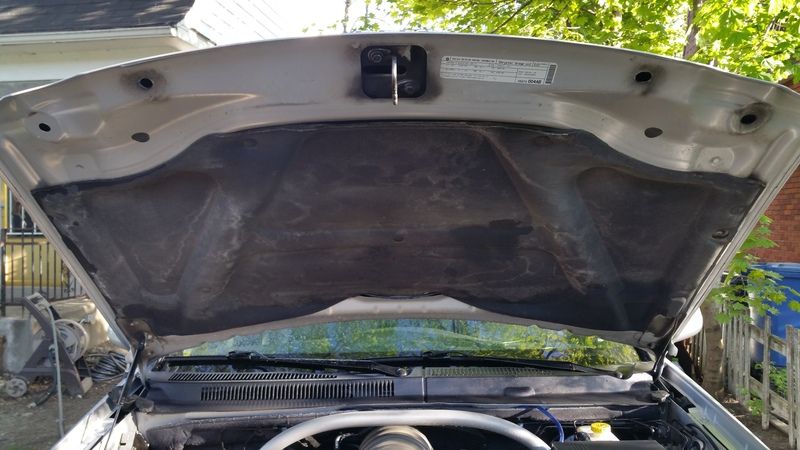
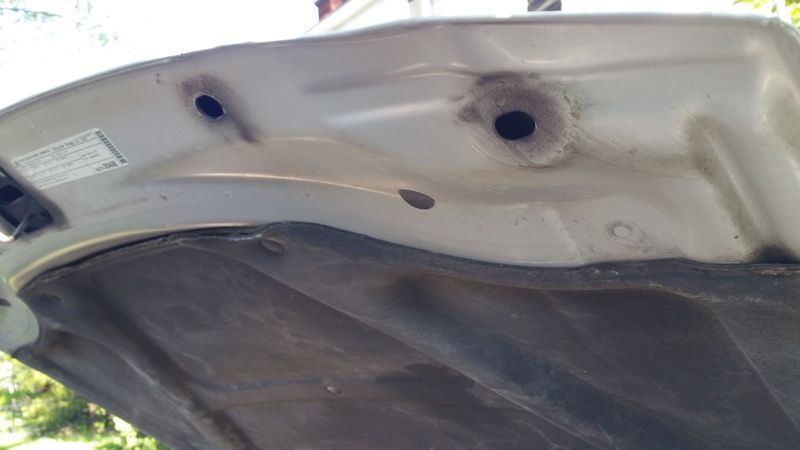
Ended up finding lots of nasty stuff stuck around the hinge:
Degreaser dwelling:
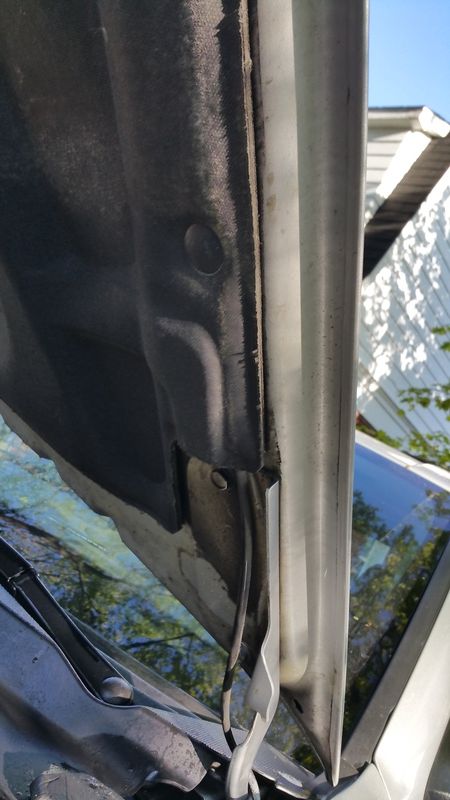
Hinges looking better:
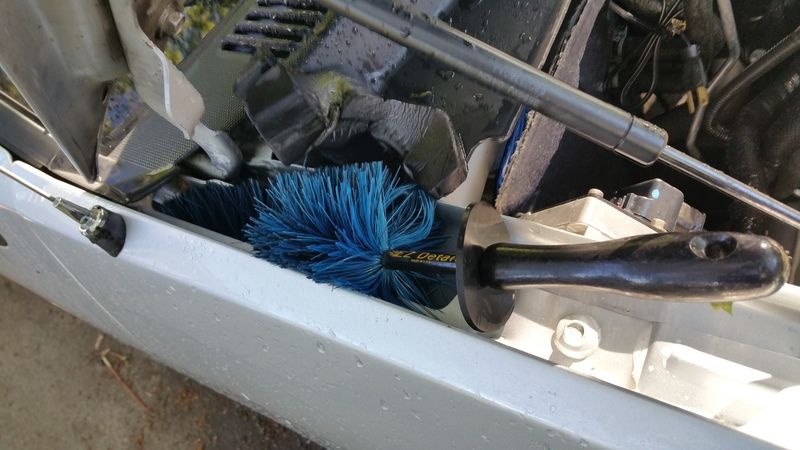
Love the reach on this brush:
After first wash:
Hood before and after:

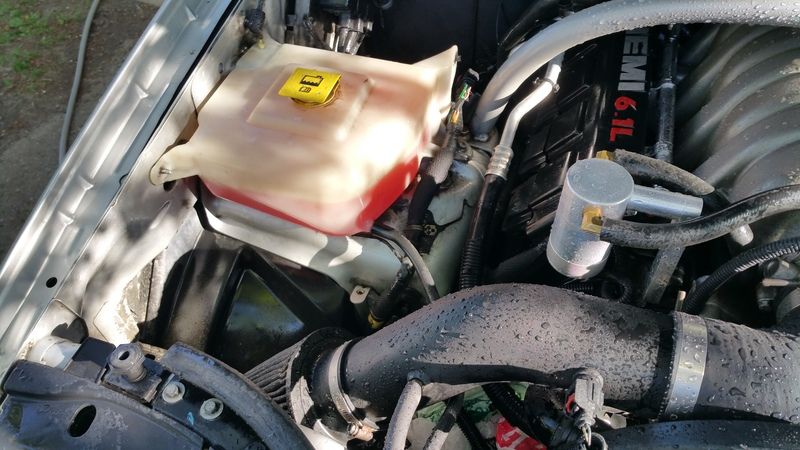
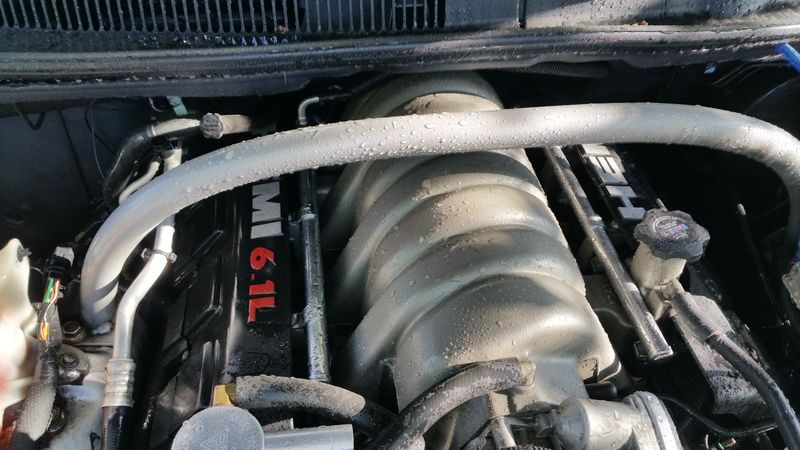
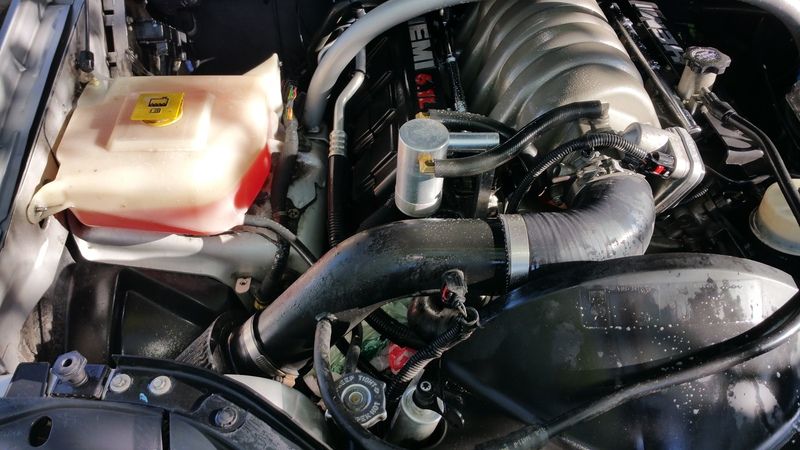
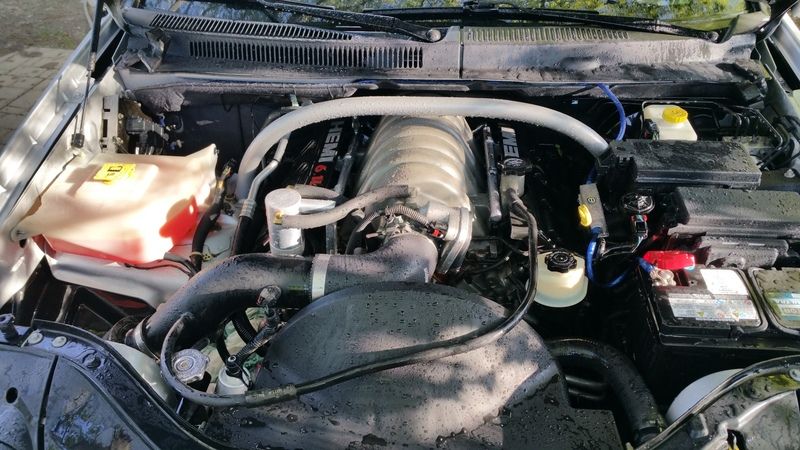
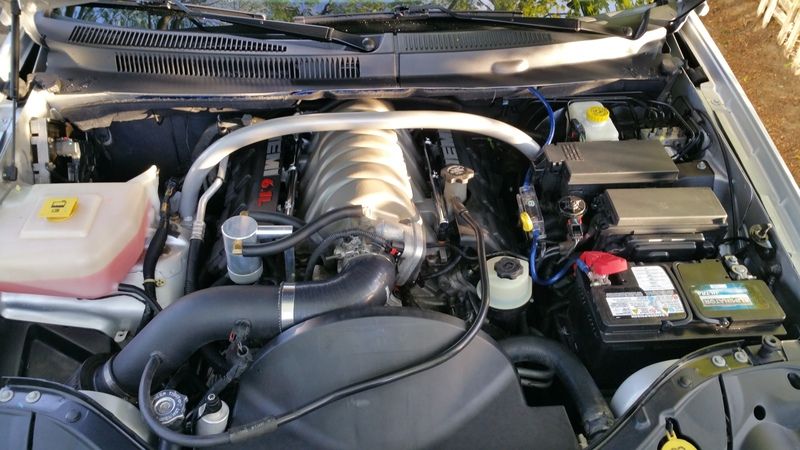
Engine bay finally cleaned and dried:
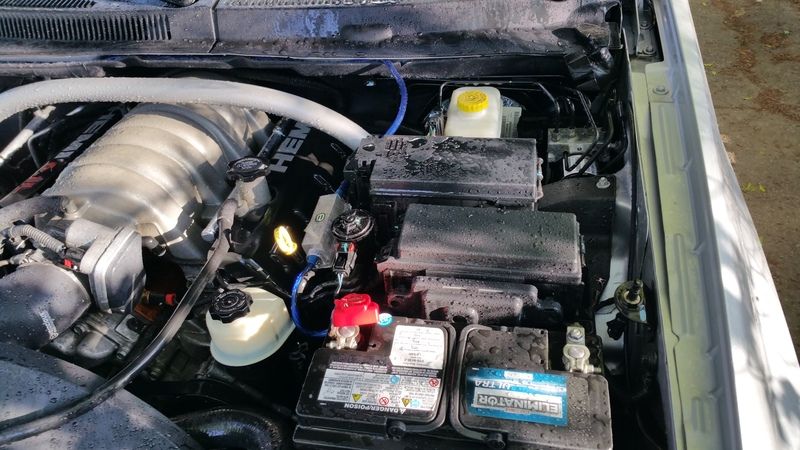
Alternator un-bagged and dry as a bone:
CarPro Dlux (Autopia store link) -> CarPro CQuartz DLux Plastic & Wheel Coating
CarPro Dlux (Autogeek store link) -> CQuartz DLux Plastic & Wheel Coating


Details:
After almost a year of procrastination, I decided it was time to crack open my CarPro Dlux (before it expires). It’s been around 10 months since I last detailed under my hood, so it was more than time.
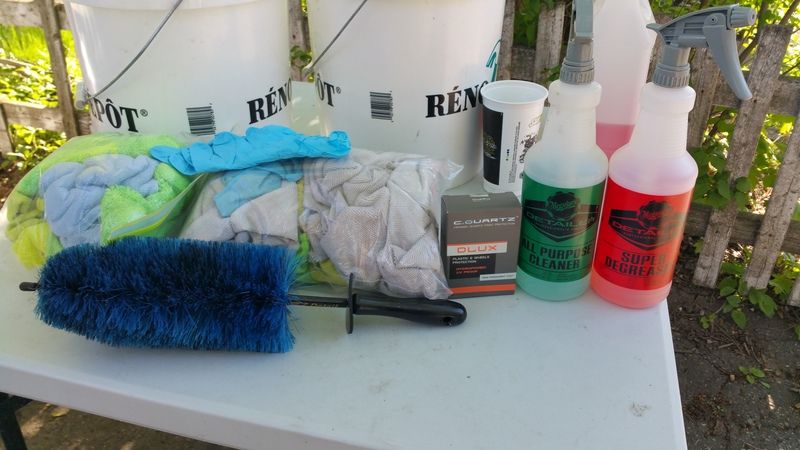
Products used in this review:
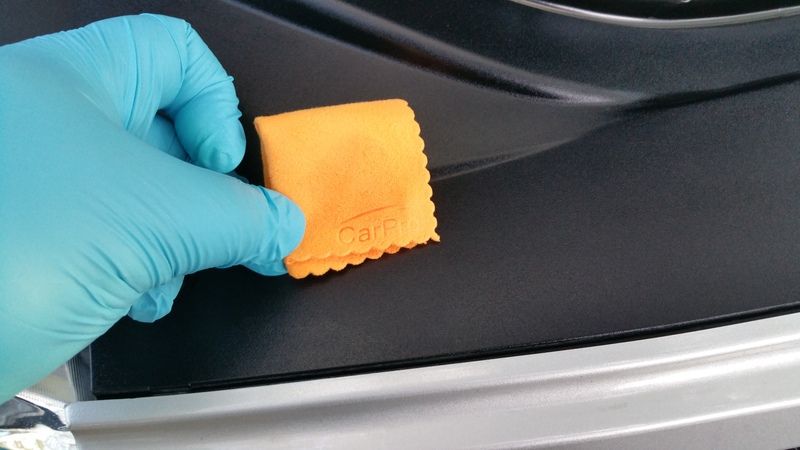
- CarPro Dlux
- Rubber nitrile gloves
- Two buckets with grit guards
- Multiple microfiber wash mitts
- Assorted Microfiber towels
- Meguiar’s App Purpose cleaner (1:10 ratio)
- Meguiar’s Super Degreaser (1:4 ratio)
- Meguiar’s Hyper Wash (1oz in 3gal of warm water)
- ES Detail Brush

Inspection:
I started my assessing the level of dirt and grime that had accumulated over the 10 months since I last detailed my engine bay. I concluded it would take some aggressive cleaning to get it ready for CarPro Dlux. The photos below are the condition of my engine bay prior to starting.


Wash process:
To thoroughly clean my engine bay I decided to use Meguiar’s Super Degreaser at 1:4 ratio and Meguiar’s All Propose Cleaner at 1:10 ratio.
1. Cover the alternator with plastic bags
2. Rinse down the engine bay with hot water
3. Spray liberally with degreaser and let dwell
4. Spray more degreaser and agitate with the EZ detail brush
5. Rinse
6. Spray liberally with APC and let dwell
7. Spray more APC and agitate with the EZ detail brush
8. Rinse
9. Two bucket washed everything
10. Rinse
11. Inspected (failed my quality control, so I repeated steps 3 to 8 until cleaned to my satisfaction)
It took 2 applications of APC and degreaser to get my engine bay clean enough for CarPro Dlux. I also wanted to note that I didn’t use a pressure washer just a hose with a spray gun. I went to town with the water (at least 50 gallons of water was used to rinse) and didn’t have any issues starting it up after.
First rinse:


Alternator all bagged up safely:

Ended up finding lots of nasty stuff stuck around the hinge:

Degreaser dwelling:


Hinges looking better:

Love the reach on this brush:

After first wash:


Hood before and after:


Engine bay finally cleaned and dried:


Alternator un-bagged and dry as a bone:


 ray:
ray:")