Mike Phillips
Administrator
Removing Orange Peel & Sanding Marks with the Griot's ROP and the Wolfgang Twins

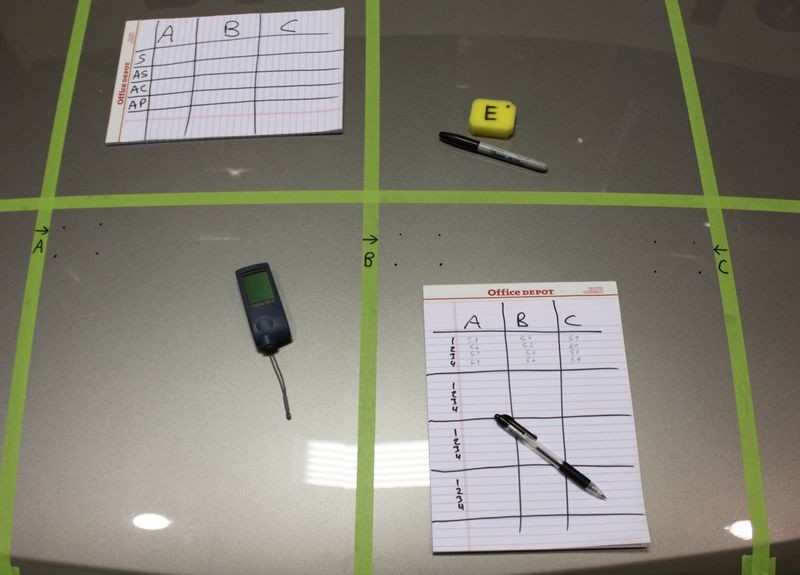
List of products used
Griot's Garage Random Orbital Polisher
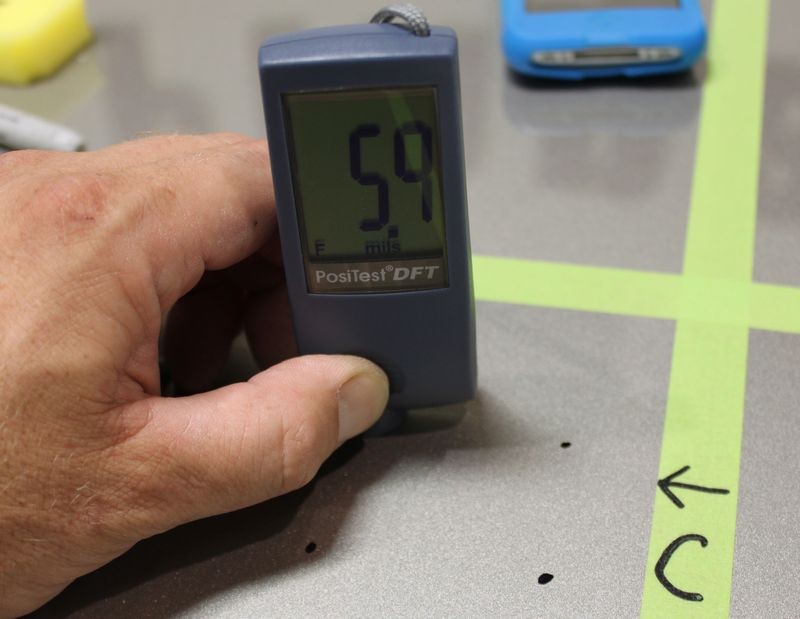
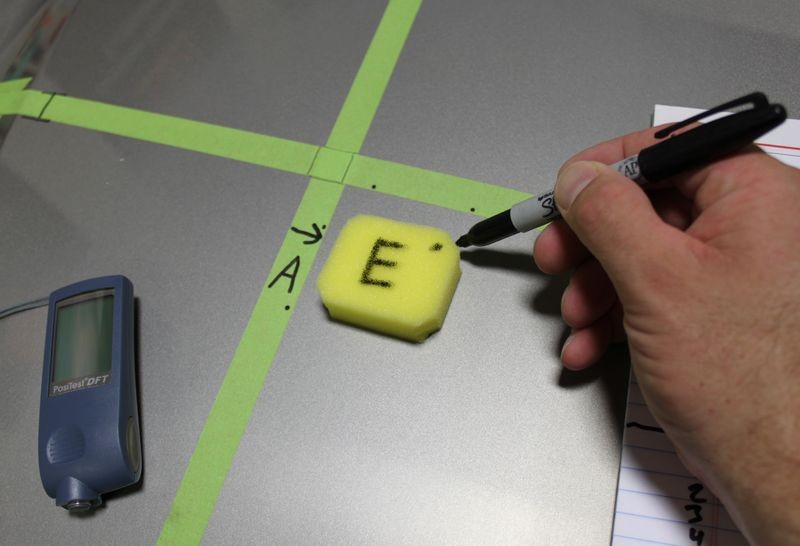
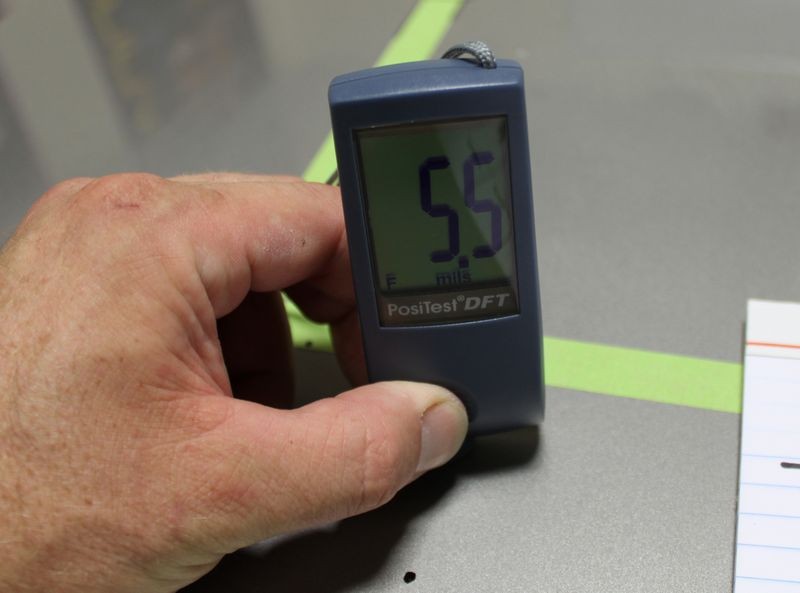
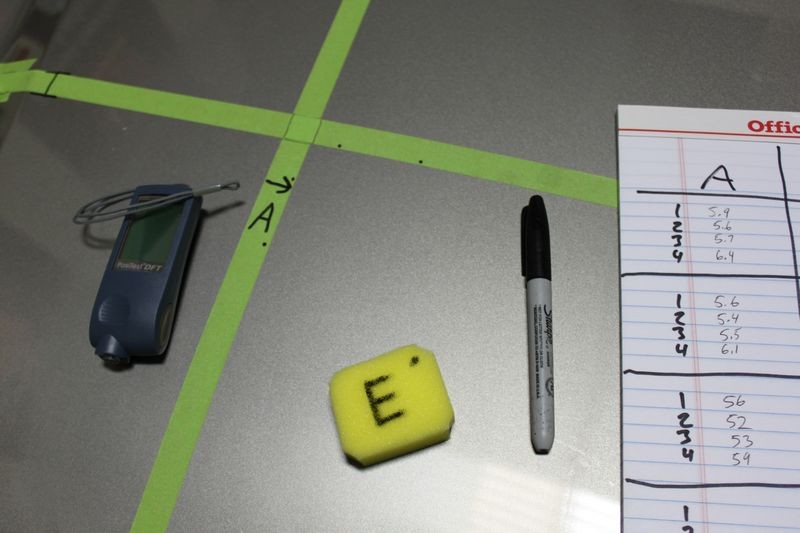
PosiTest Paint Thickness Gauge
Brinkman Swirl Finder Light
Wolfgang Total Swirl Remover 3.0
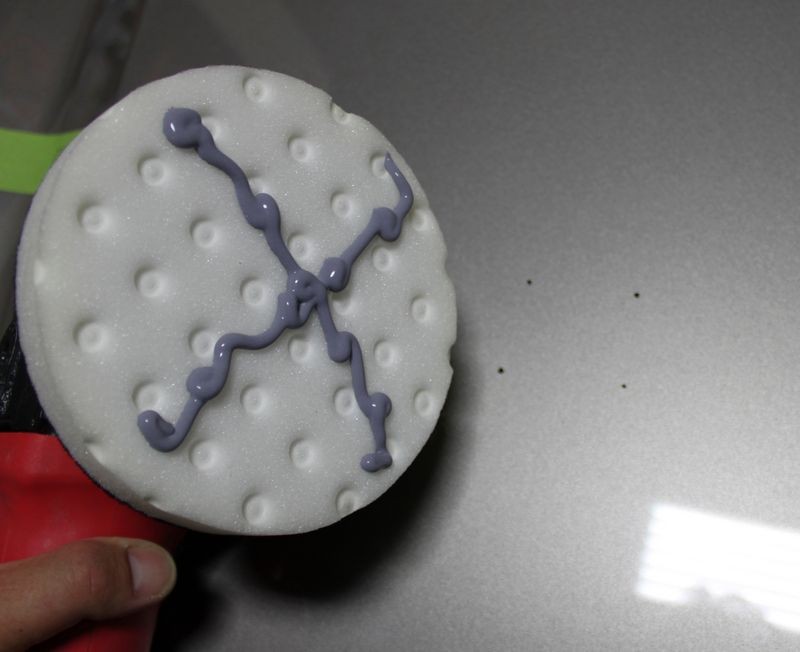
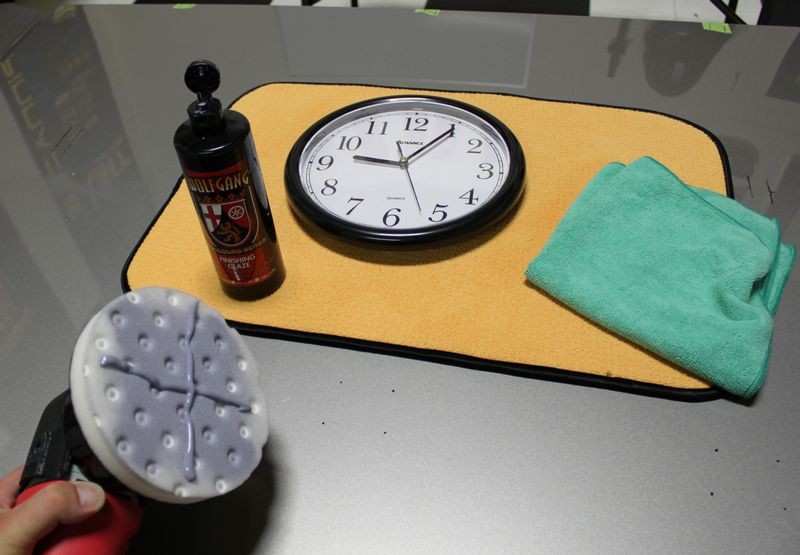
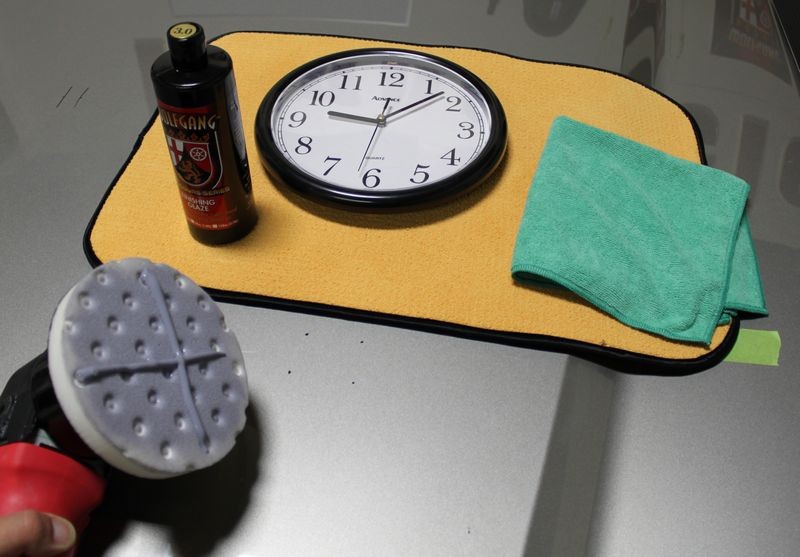
Wolfgang Finishing Glaze 3.0
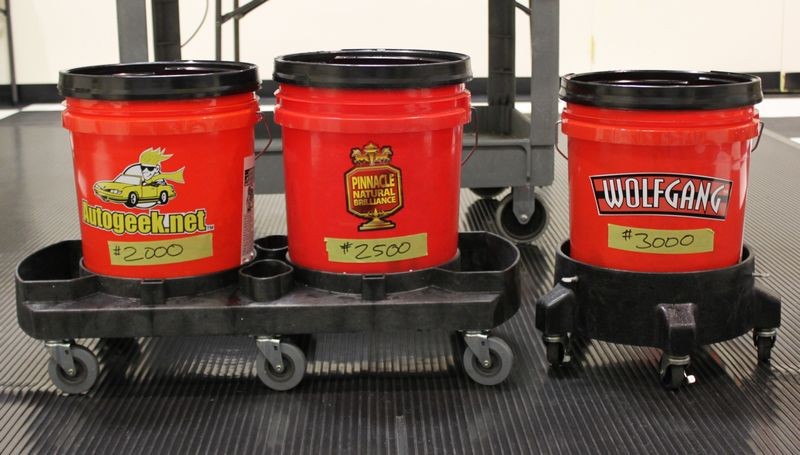
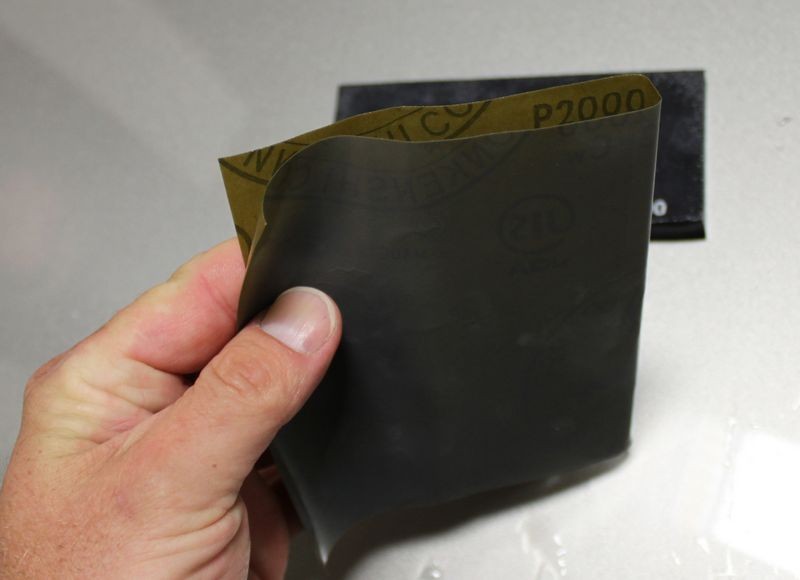
Nikken #2000 Finishing Papers
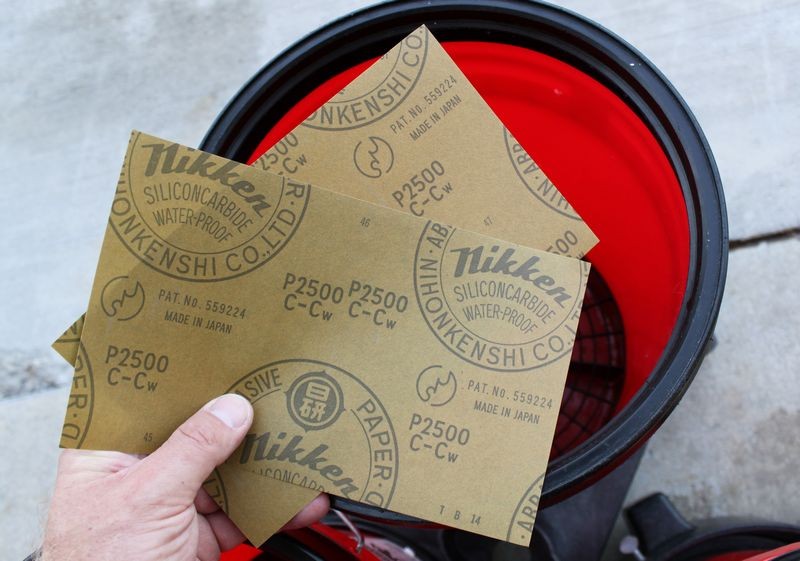
Nikken #2500 Finishing Papers
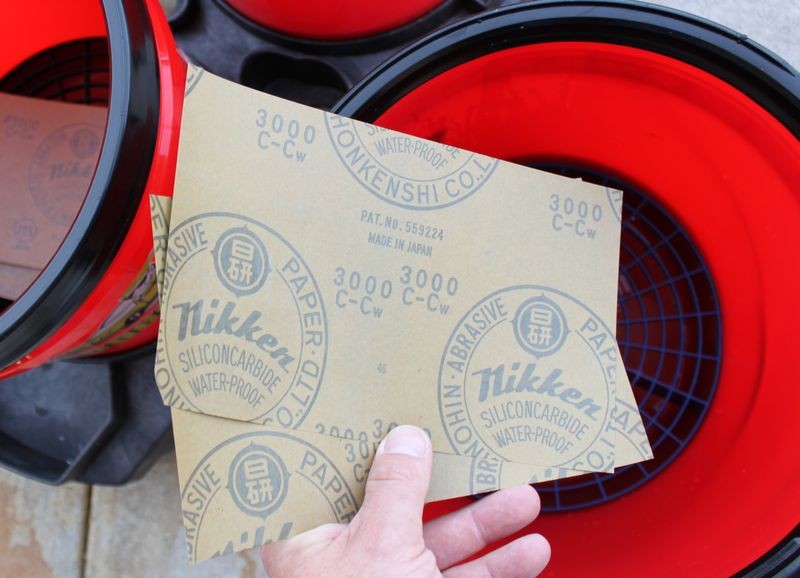
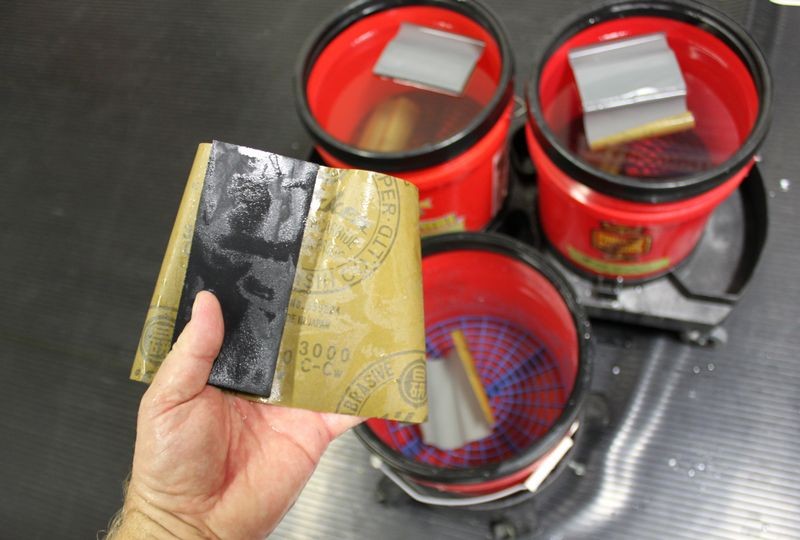
Nikken #3000 Finishing Papers
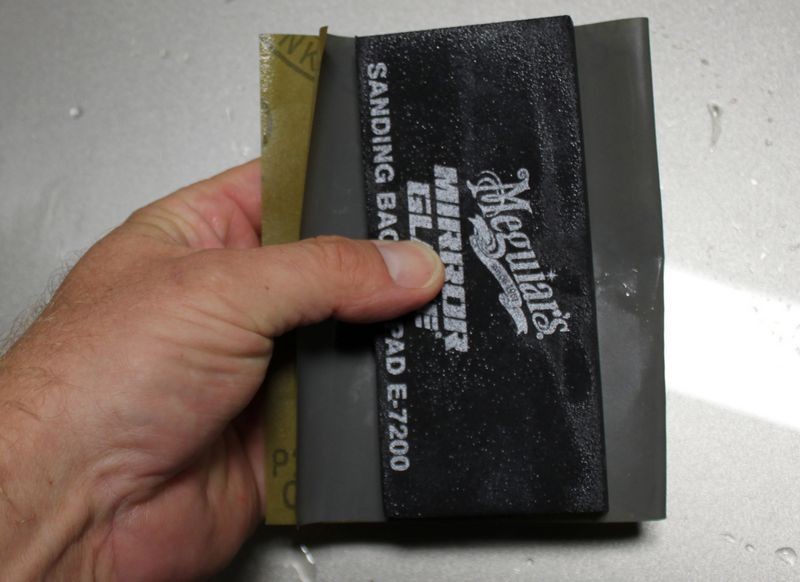
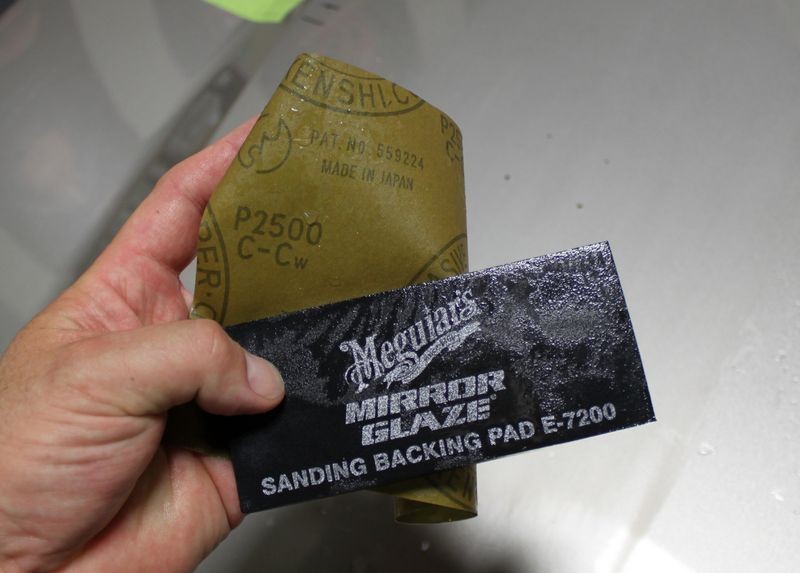
Meguiar's E-7200 Rubber Backing Pad
Lake Country 5.5" Yellow Foam CCS Cutting Pad
Lake Country 5.5" White Foam CCS Polishing Pad
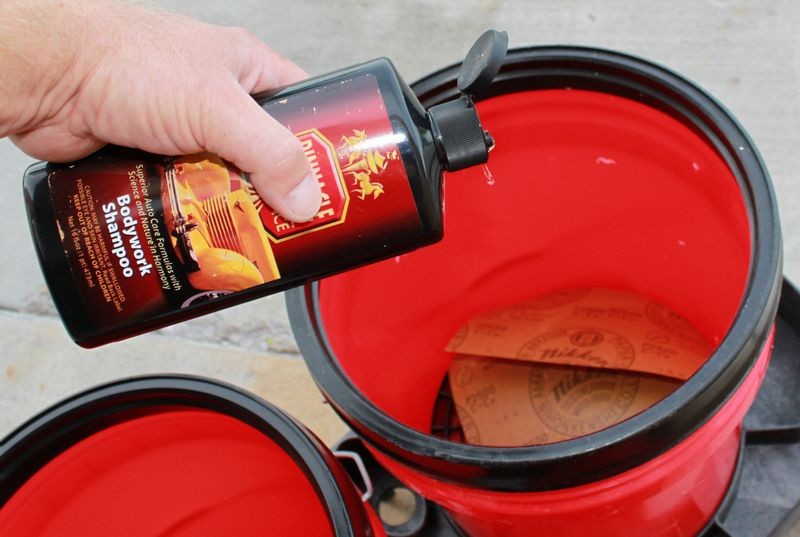
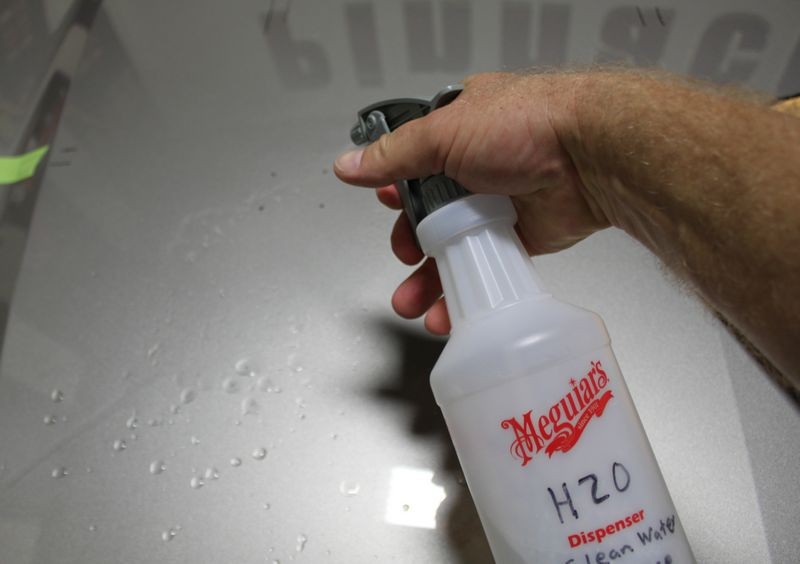
Generic Spray Bottle with Clean water and drop or two of Pinnacle Bodywork Shampoo
3M Scotch 233+ Premium Automotive Masking Tape 18mm x 32m
GritGuard 5-Gallon Bucket System with Dolly - Red
Autogeek Complete Two Bucket Wash System - Red
Brass Shut Off Valve
Brass Quick Connector Set
IMPORTANT
I don't recommend anyone to sand on a factory baked-on clear coat. The paint is thin and usually hard, (relative to fresh paint and most single stage paint), and unless you're very careful it will be very easy to make a mistake. Also, as I listed below, in most cases, a rotary buffer is the best tool option for removing sanding marks out of any kind of paint. That said, I know a lot of enthusiasts are experimenting with wet-sanding factory baked-on finishes and then trying to remove their sanding marks using a dual action polisher. So keep this in mind before you tackle sanding factory paint and trying to remove your sanding marks using a DA style polisher and above all... do a TEST SPOT before attempting to sand and buff the entire car.
A few very important things to keep in mind.
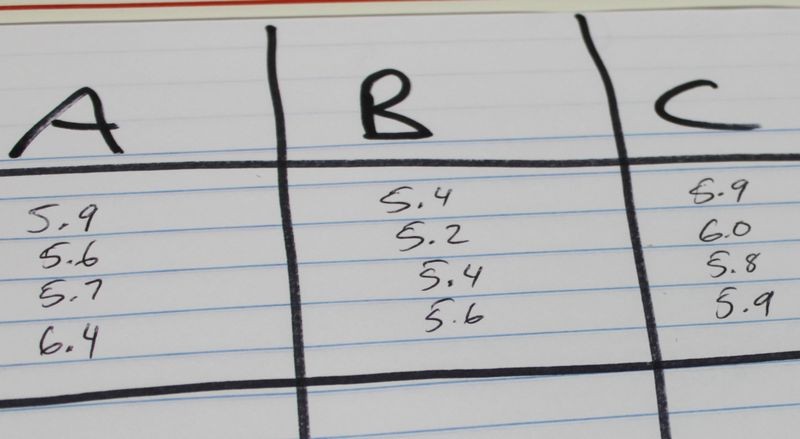
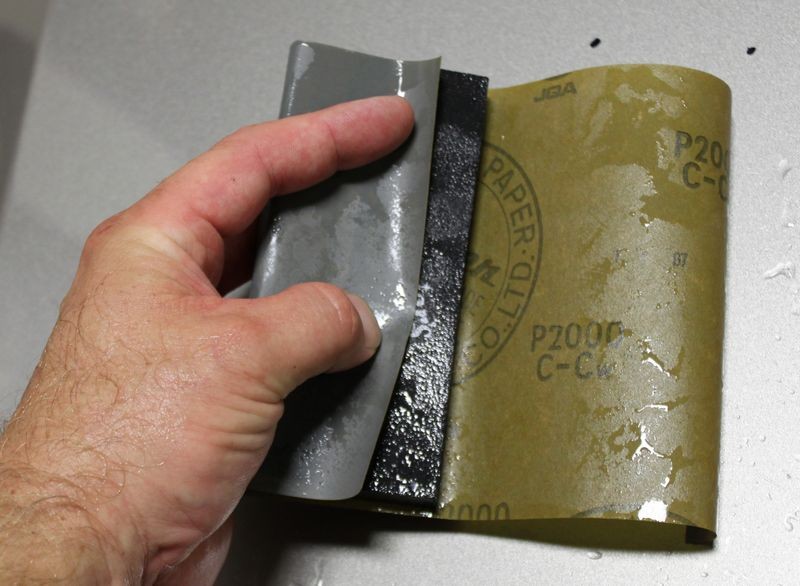
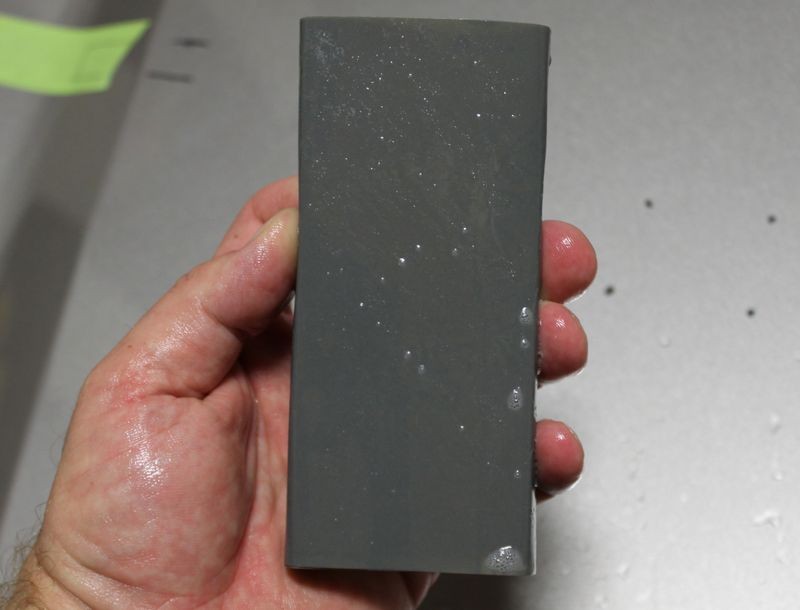
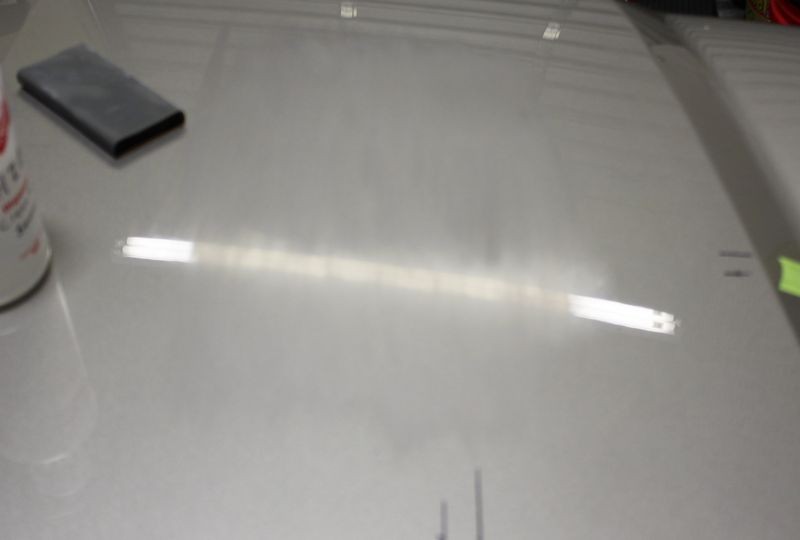
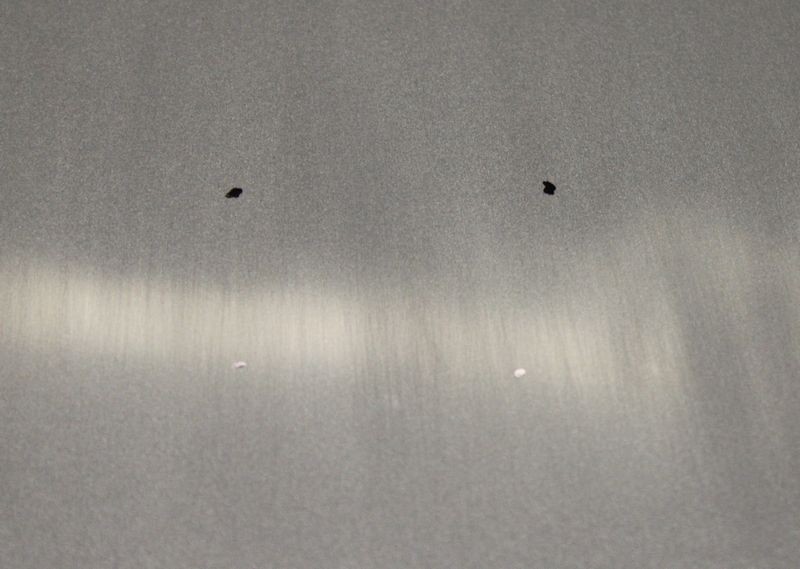
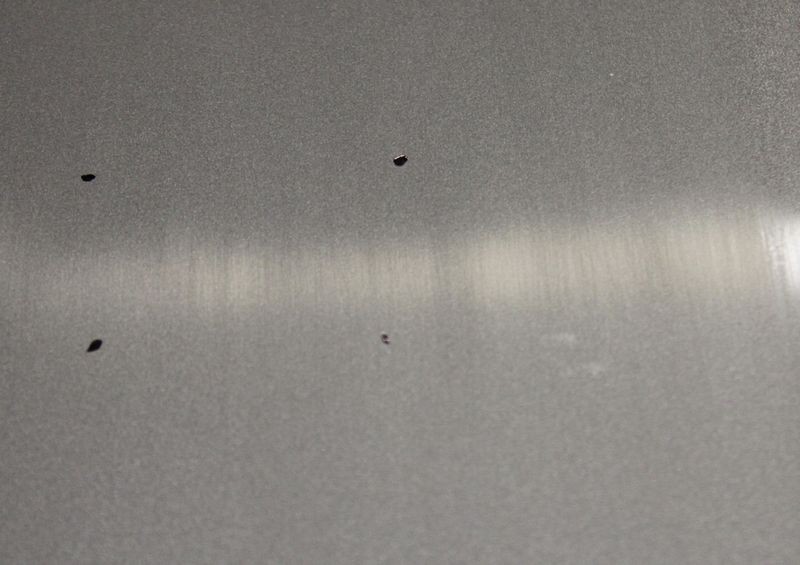
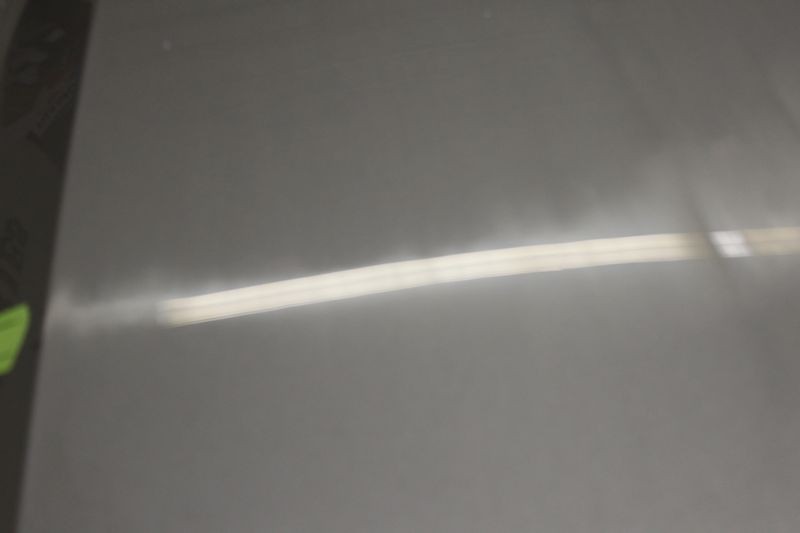
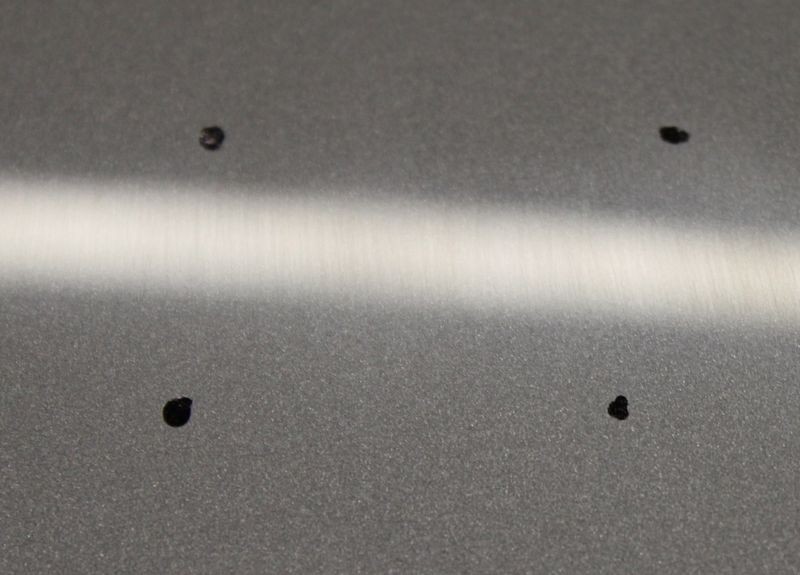
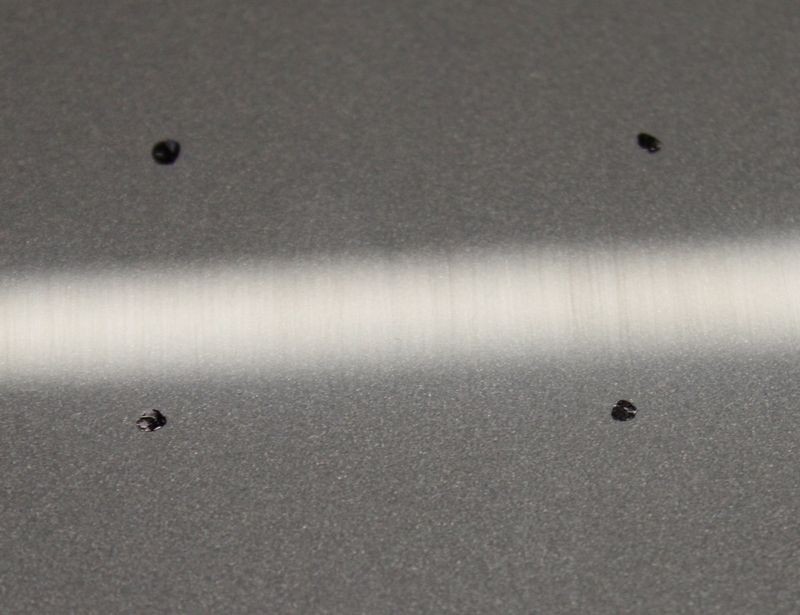
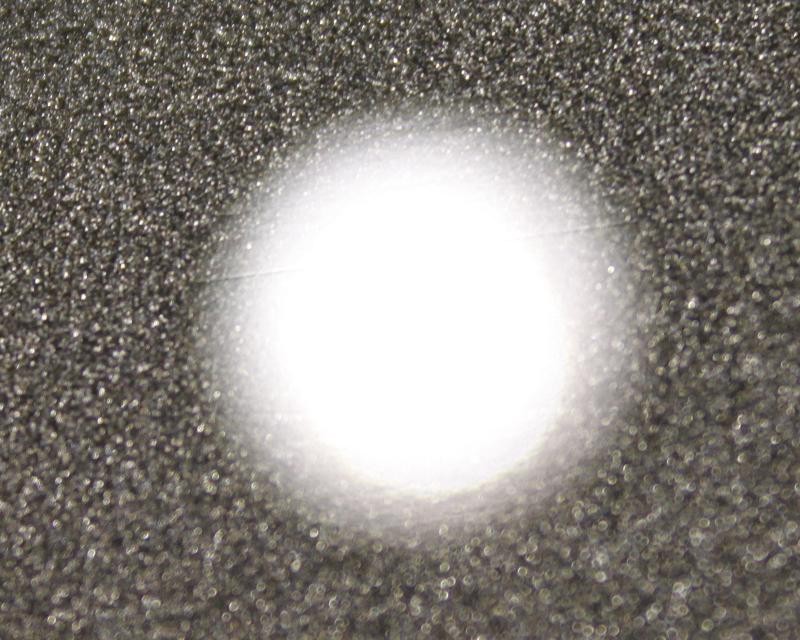
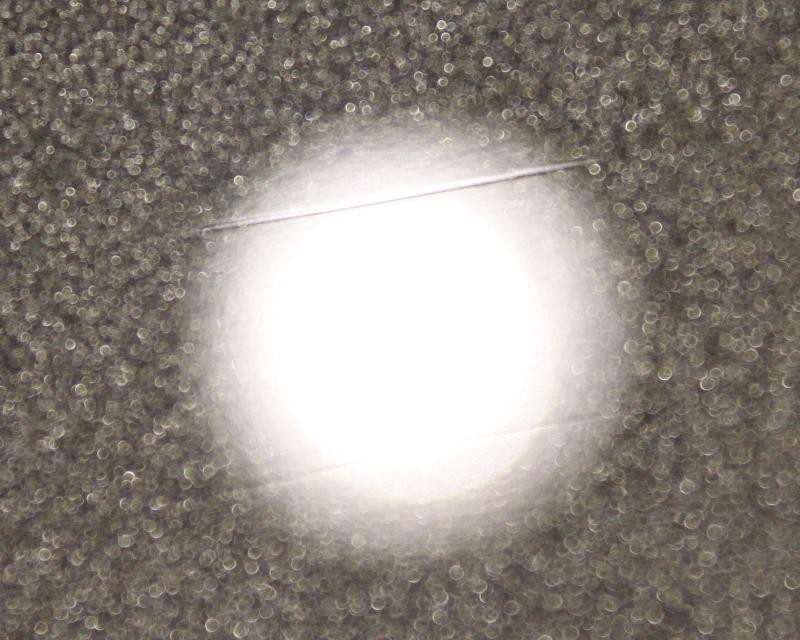
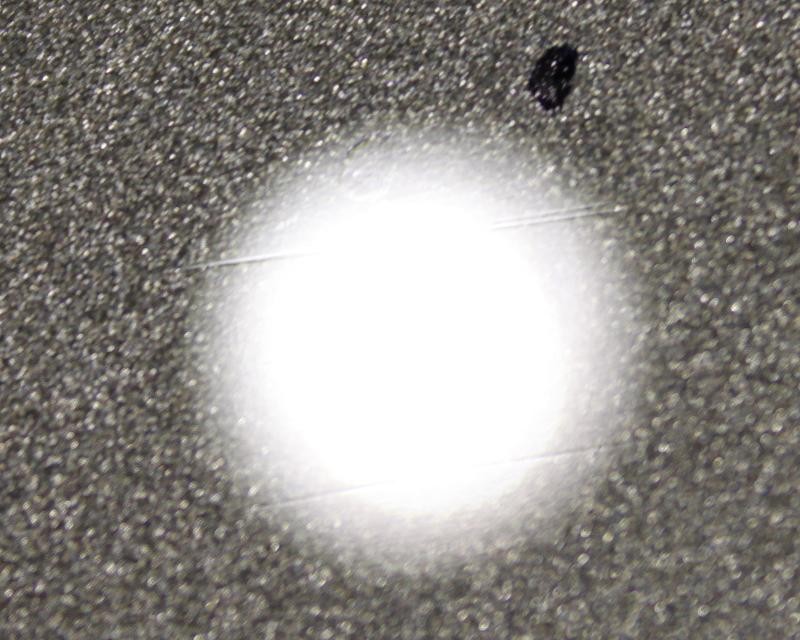
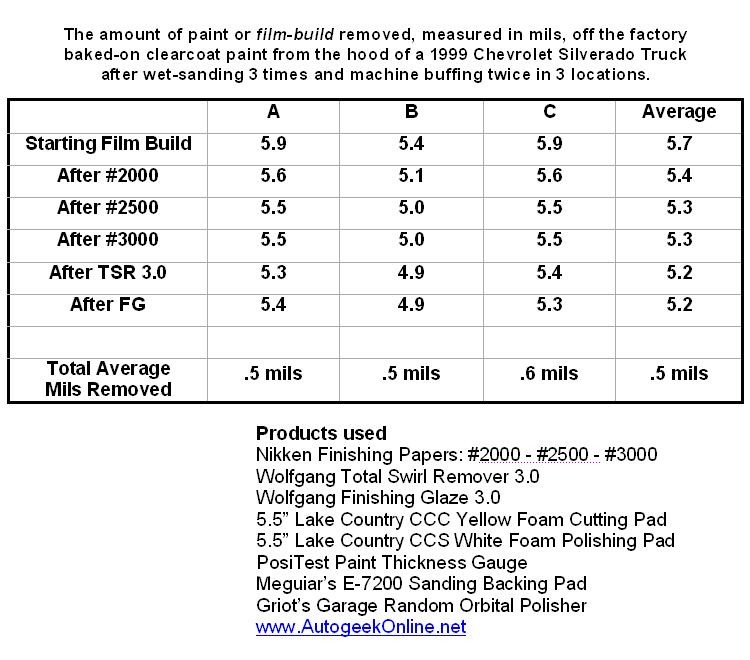
The good news is by using quality products and good technique and finishing out to #3000 grit "Nikken Finishing Papers" it was easy to remove 99.999% of the sanding marks with only one single tracer discovered.
Soak your papers at least 15 minutes before use.
The Nikken Finishing papers have a latex rubber impregnated paper backing that is waterproof and this prevents the finishing paper from breaking-down into pulp from over soaking. I've personally soaked these paper in water for over 2 years with no visible sign of deterioration. (This was by accident as I lost a sealed Tupperware container filled with water and Nikken papers I used to take with me to demonstrations)
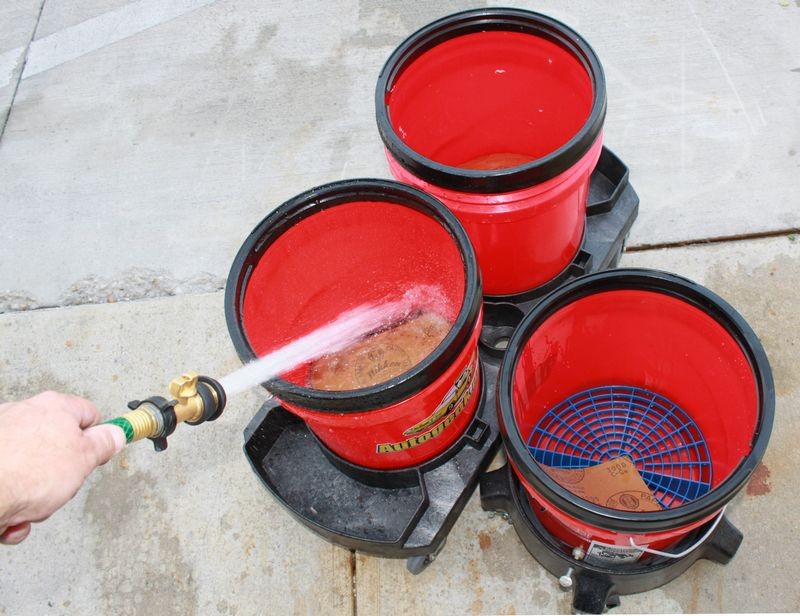
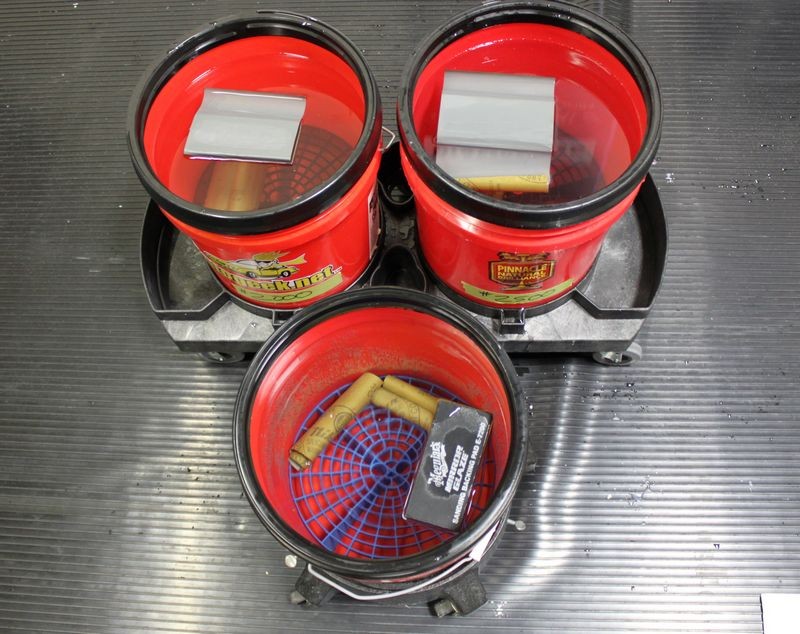
It's possible for grit particles to enter into your water source so if you can, use Grit Guards in the bottom of your bucket.
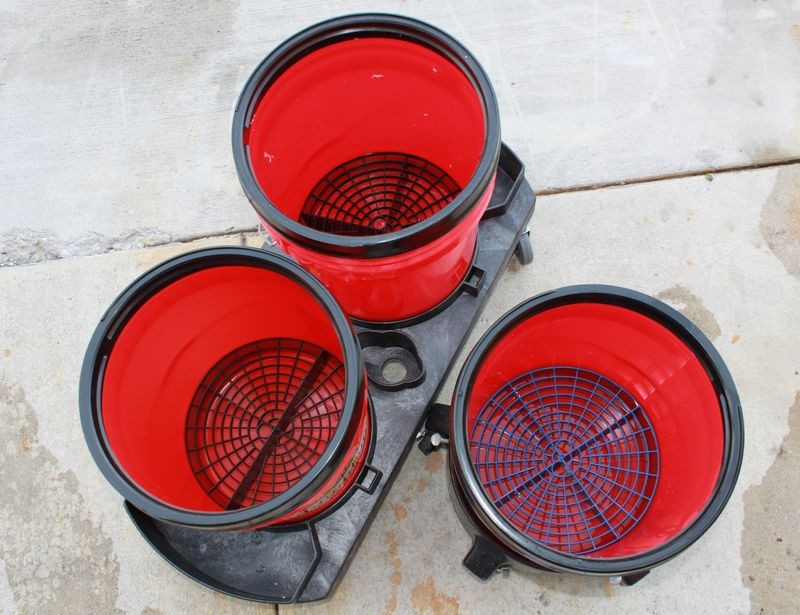
If you want to get really D.O., you can place your papers in dedicated buckets and also use dedicated backing pads for the different grits. The idea is to avoid instilling deeper scratches as you work upward to less aggressive products and to avoid any kind of abrasive particle trapped between your sandpaper and the finish to avoid Tracers.
Dedicated buckets for specific grits of paper. Grit Guard Inserts in the bottom of each bucket.
(You could theoretically use 2, even 3 Grit Guard inserts in each bucket for even more protection)
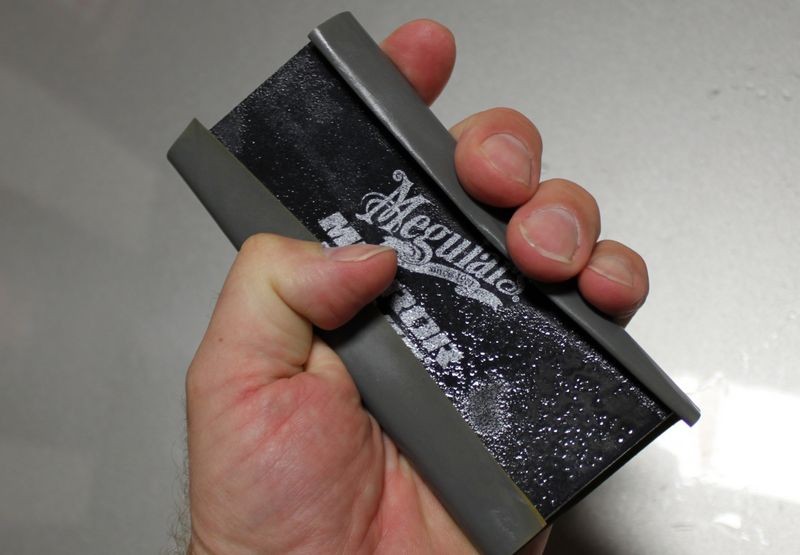
I'll start with Nikken #2000 Grit Finishing Paper

I'll remove the #2000 Grit Sanding Marks and replace them with #2500 Grit Sanding Marks
I'll do my final passes using ultra fine #3000 Grit Nikken Finishing Papers
Add just a few drops of a quality car wash soap to help add lubricity to your water. If you're working on Fresh Paint and/or in a Body Shop, (Fresh Paint Environment), then you want to make sure you're using a body shop safe soap.
Add fresh, clean water. Also be sure to wash and rinse out your buckets before starting, everything must be surgically clean before placing your papers into the buckets.
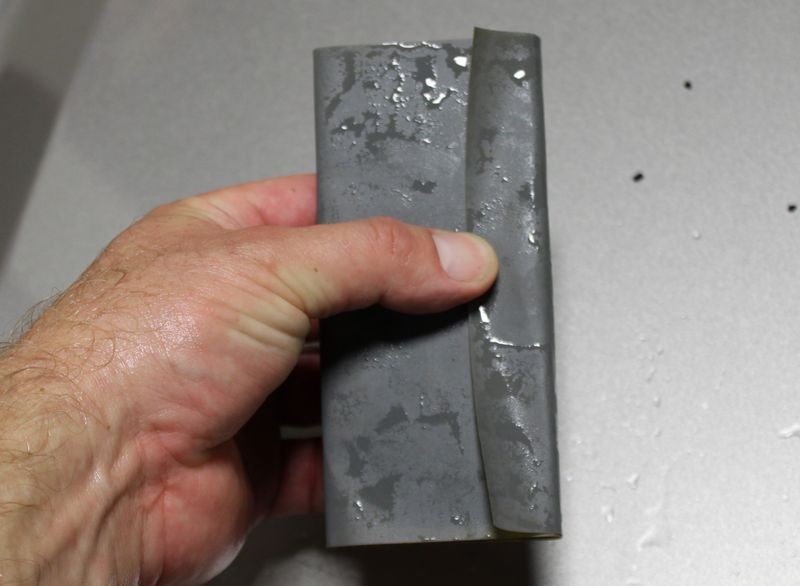
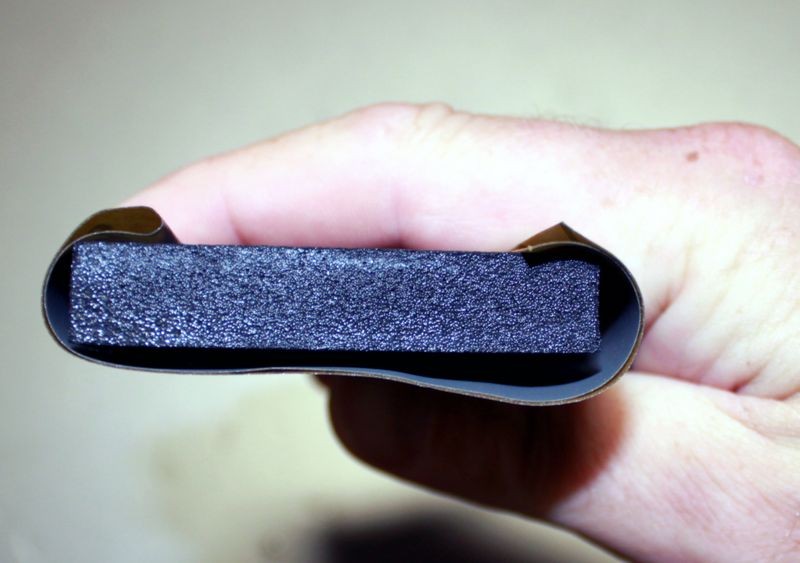
It's normal for your papers to roll up like this,


Mark you buckets so you can quickly and easily identify which buckets hold which papers.
To be continued...

List of products used
Griot's Garage Random Orbital Polisher
PosiTest Paint Thickness Gauge
Brinkman Swirl Finder Light
Wolfgang Total Swirl Remover 3.0
Wolfgang Finishing Glaze 3.0
Nikken #2000 Finishing Papers
Nikken #2500 Finishing Papers
Nikken #3000 Finishing Papers
Meguiar's E-7200 Rubber Backing Pad
Lake Country 5.5" Yellow Foam CCS Cutting Pad
Lake Country 5.5" White Foam CCS Polishing Pad
Generic Spray Bottle with Clean water and drop or two of Pinnacle Bodywork Shampoo
3M Scotch 233+ Premium Automotive Masking Tape 18mm x 32m
GritGuard 5-Gallon Bucket System with Dolly - Red
Autogeek Complete Two Bucket Wash System - Red
Brass Shut Off Valve
Brass Quick Connector Set
IMPORTANT
I don't recommend anyone to sand on a factory baked-on clear coat. The paint is thin and usually hard, (relative to fresh paint and most single stage paint), and unless you're very careful it will be very easy to make a mistake. Also, as I listed below, in most cases, a rotary buffer is the best tool option for removing sanding marks out of any kind of paint. That said, I know a lot of enthusiasts are experimenting with wet-sanding factory baked-on finishes and then trying to remove their sanding marks using a dual action polisher. So keep this in mind before you tackle sanding factory paint and trying to remove your sanding marks using a DA style polisher and above all... do a TEST SPOT before attempting to sand and buff the entire car.
A few very important things to keep in mind.
1. The best tool for the job when it comes to removing sanding marks from an entire car is a rotary buffer with a wool pad, the appropriate compound and a little experience.
2. Factory baked-on paint is usually thin and hard, that's two HUGE negatives working against you should you be in a position to want or need to sand on factory paint.
3. Always use the least aggressive approach to get the job done
4. Always do a Test Spot to a small section and make sure you can get 100% of your sanding marks out before sanding further.
5. Only sand enough to remove or improve the defects you're trying to remove
6. Remember that sanding removes paint as does the compounding and polishing process, so take this into account as you science-out the project.
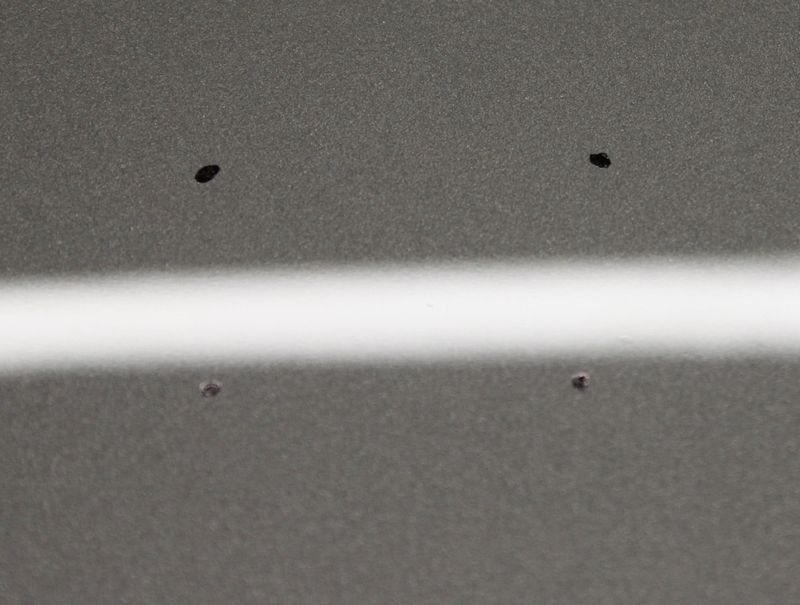
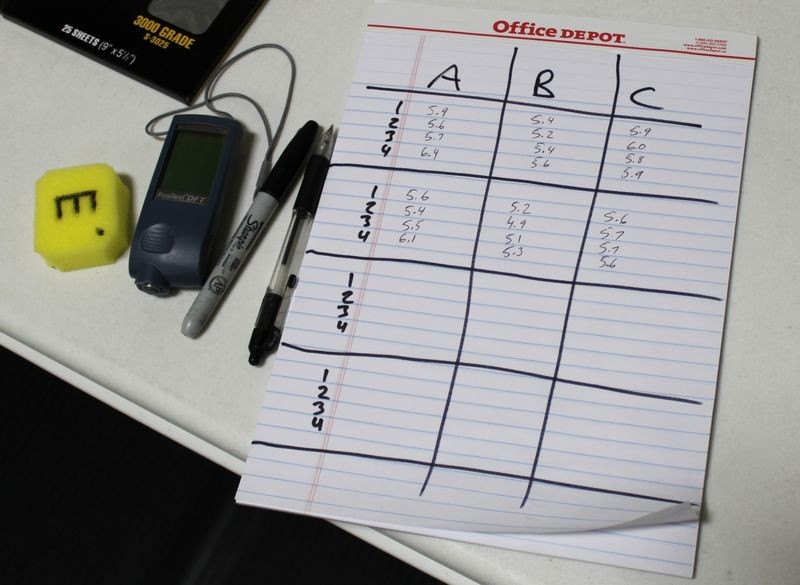
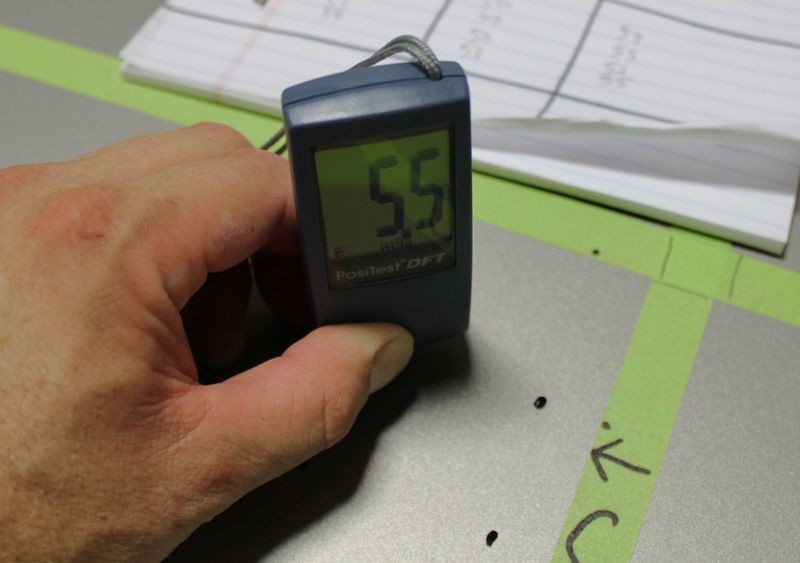
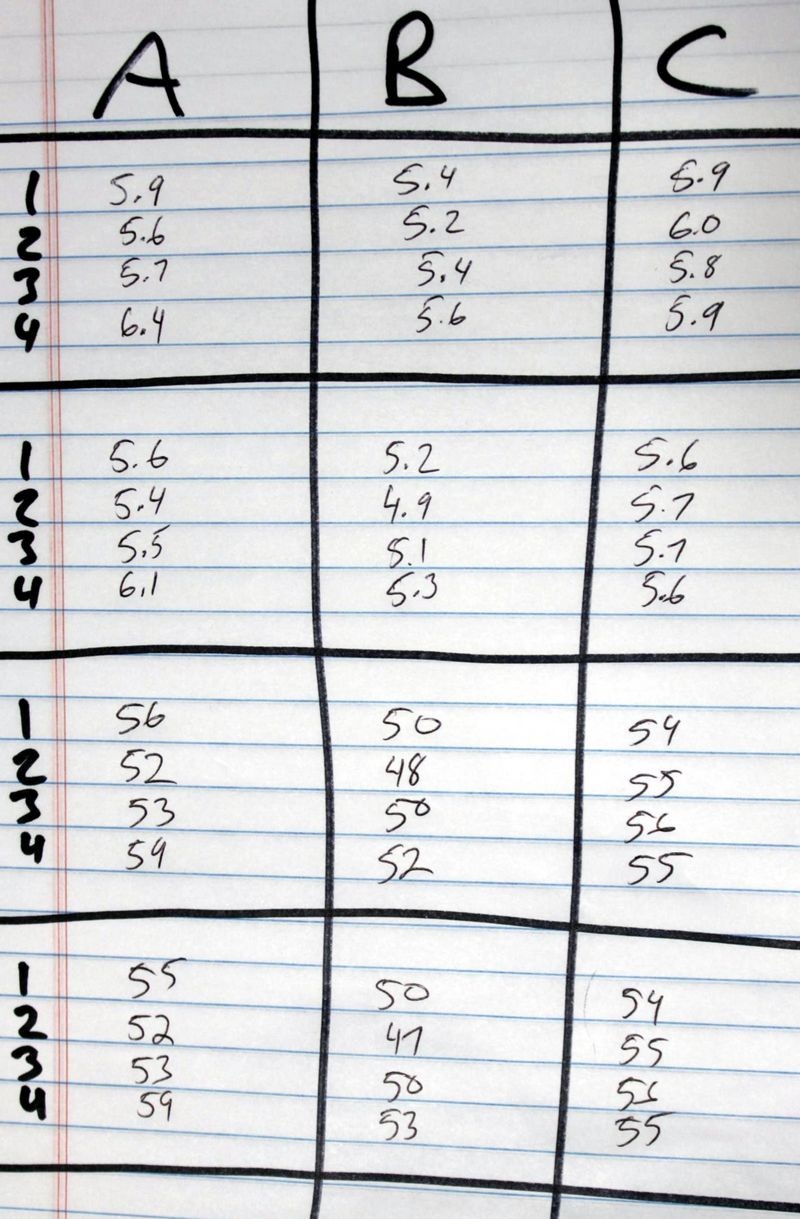
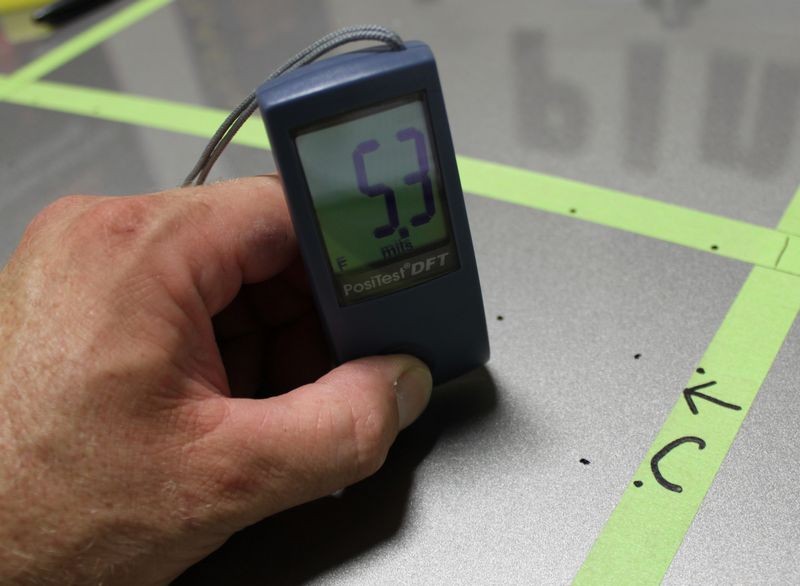
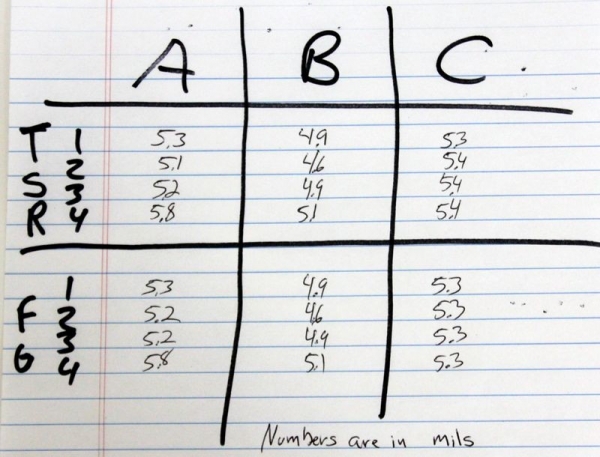
7. If possible, use a Paint Thickness Gage to measure the film-build before sanding an note on a form the reading you take for before, during and after. A Paint Thickness Gauge is a handy tool to give you and indication as to overall paint thickness as well as any bodywork or re-paint that has been done to spot areas or entire panels. (Even an entire car although this articles is focused on factory paint)
8. Don't sand too close to edges or hard/sharp body lines. It's easy to sand paint next to edges and hard/sharp body lines but it's harder to remove your sanding marks by machine in these areas without the risk of buffing on the actual edge or body line and risk burning through the paint. Usually paint is thinner on edges and body lines to start with so it's even riskier than in the middle of a flat horizontal panel. You can come back and remove your sanding marks by hand with a product like M105 or even Ultimate Compound as both of these products are aggressive enough and safe enough to pull sanding marks by hand.
9. Most important - Always work clean. This includes your shop environment, the vehicle, your buffing pads, your tools, your polishing cloths, everything you have control over.
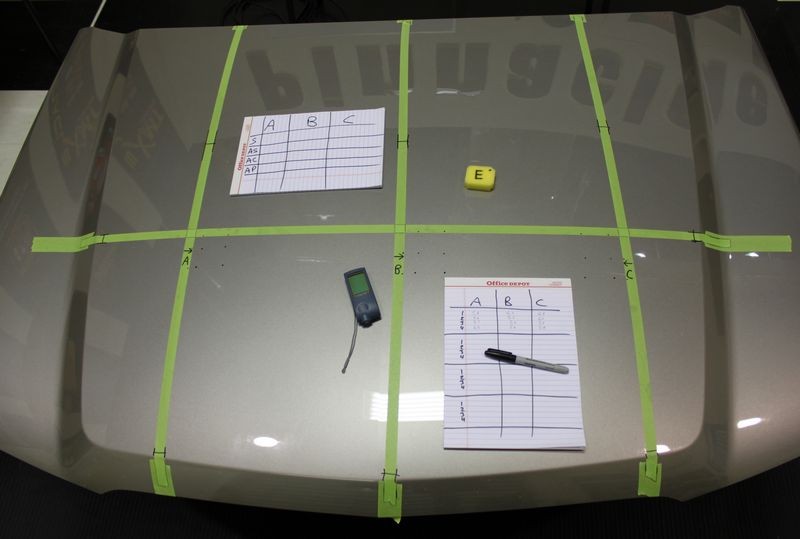
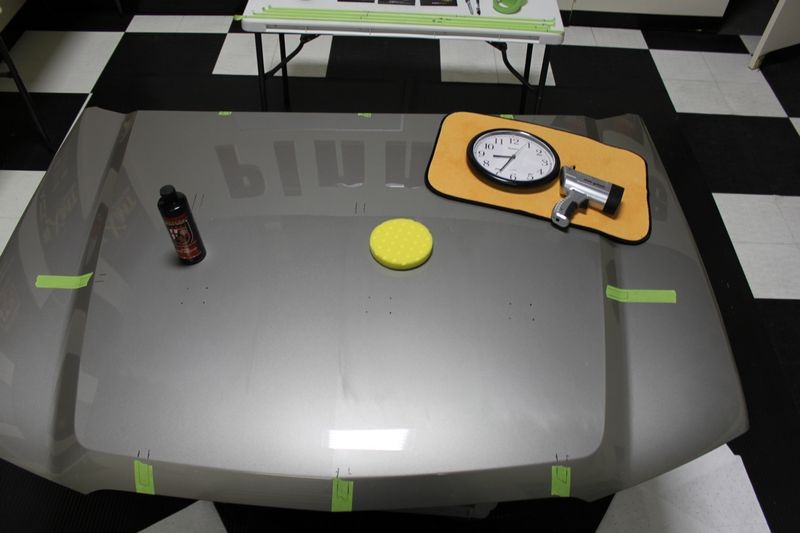
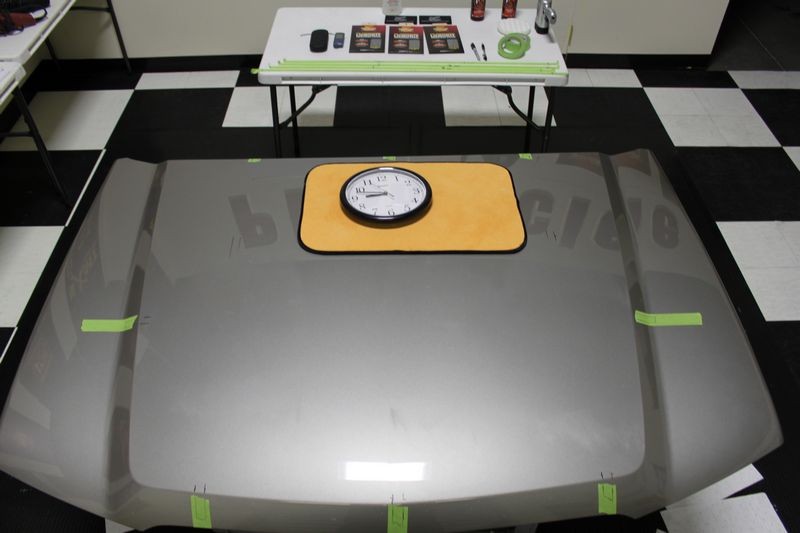
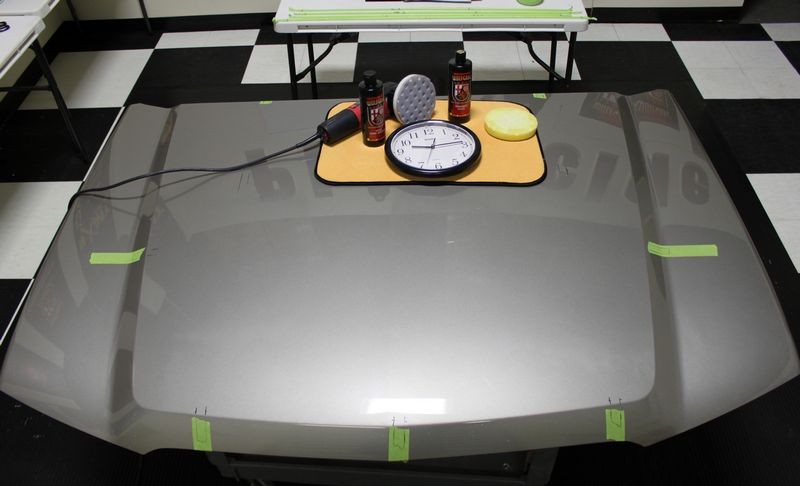
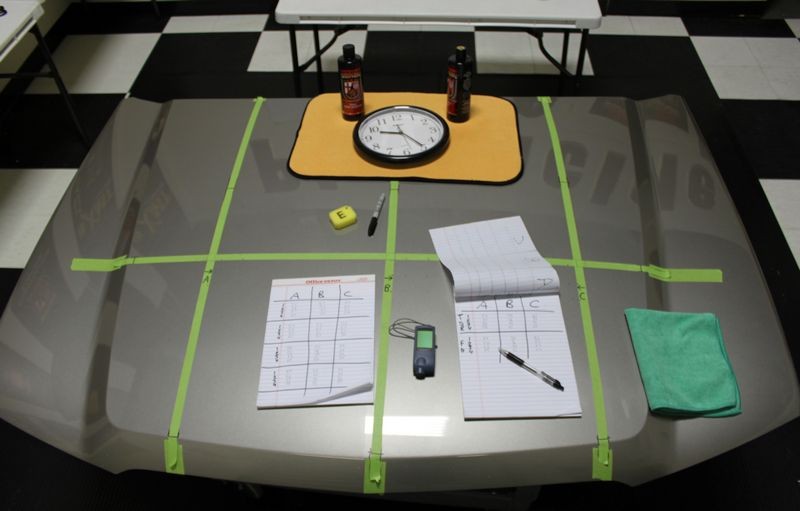
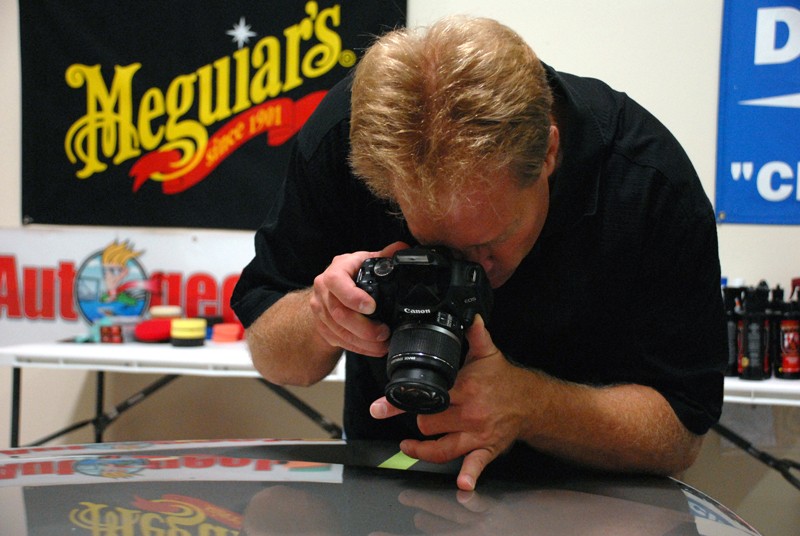
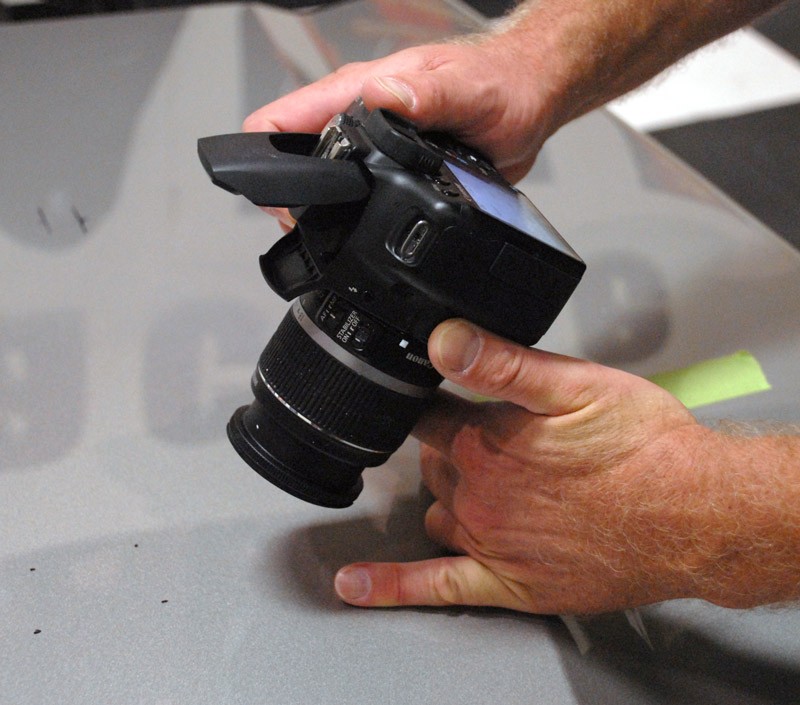
In the below write-up I've included some tips for wet-sanding by hand and documented how much paint is being removed during each step. All the work is being done on the factory finish on a GM Hood so that its' a better comparison of apples to apples for those of you working on factory paint2. Factory baked-on paint is usually thin and hard, that's two HUGE negatives working against you should you be in a position to want or need to sand on factory paint.
3. Always use the least aggressive approach to get the job done
4. Always do a Test Spot to a small section and make sure you can get 100% of your sanding marks out before sanding further.
5. Only sand enough to remove or improve the defects you're trying to remove
6. Remember that sanding removes paint as does the compounding and polishing process, so take this into account as you science-out the project.
7. If possible, use a Paint Thickness Gage to measure the film-build before sanding an note on a form the reading you take for before, during and after. A Paint Thickness Gauge is a handy tool to give you and indication as to overall paint thickness as well as any bodywork or re-paint that has been done to spot areas or entire panels. (Even an entire car although this articles is focused on factory paint)
8. Don't sand too close to edges or hard/sharp body lines. It's easy to sand paint next to edges and hard/sharp body lines but it's harder to remove your sanding marks by machine in these areas without the risk of buffing on the actual edge or body line and risk burning through the paint. Usually paint is thinner on edges and body lines to start with so it's even riskier than in the middle of a flat horizontal panel. You can come back and remove your sanding marks by hand with a product like M105 or even Ultimate Compound as both of these products are aggressive enough and safe enough to pull sanding marks by hand.
9. Most important - Always work clean. This includes your shop environment, the vehicle, your buffing pads, your tools, your polishing cloths, everything you have control over.
The good news is by using quality products and good technique and finishing out to #3000 grit "Nikken Finishing Papers" it was easy to remove 99.999% of the sanding marks with only one single tracer discovered.
Soak your papers at least 15 minutes before use.
The Nikken Finishing papers have a latex rubber impregnated paper backing that is waterproof and this prevents the finishing paper from breaking-down into pulp from over soaking. I've personally soaked these paper in water for over 2 years with no visible sign of deterioration. (This was by accident as I lost a sealed Tupperware container filled with water and Nikken papers I used to take with me to demonstrations)
It's possible for grit particles to enter into your water source so if you can, use Grit Guards in the bottom of your bucket.
If you want to get really D.O., you can place your papers in dedicated buckets and also use dedicated backing pads for the different grits. The idea is to avoid instilling deeper scratches as you work upward to less aggressive products and to avoid any kind of abrasive particle trapped between your sandpaper and the finish to avoid Tracers.
Dedicated buckets for specific grits of paper. Grit Guard Inserts in the bottom of each bucket.
(You could theoretically use 2, even 3 Grit Guard inserts in each bucket for even more protection)
I'll start with Nikken #2000 Grit Finishing Paper
I'll remove the #2000 Grit Sanding Marks and replace them with #2500 Grit Sanding Marks
I'll do my final passes using ultra fine #3000 Grit Nikken Finishing Papers
Add just a few drops of a quality car wash soap to help add lubricity to your water. If you're working on Fresh Paint and/or in a Body Shop, (Fresh Paint Environment), then you want to make sure you're using a body shop safe soap.
Add fresh, clean water. Also be sure to wash and rinse out your buckets before starting, everything must be surgically clean before placing your papers into the buckets.
It's normal for your papers to roll up like this,
Mark you buckets so you can quickly and easily identify which buckets hold which papers.
To be continued...


")
 Video to follow. :rockon