RaskyR1
Rasky's Auto Detailing
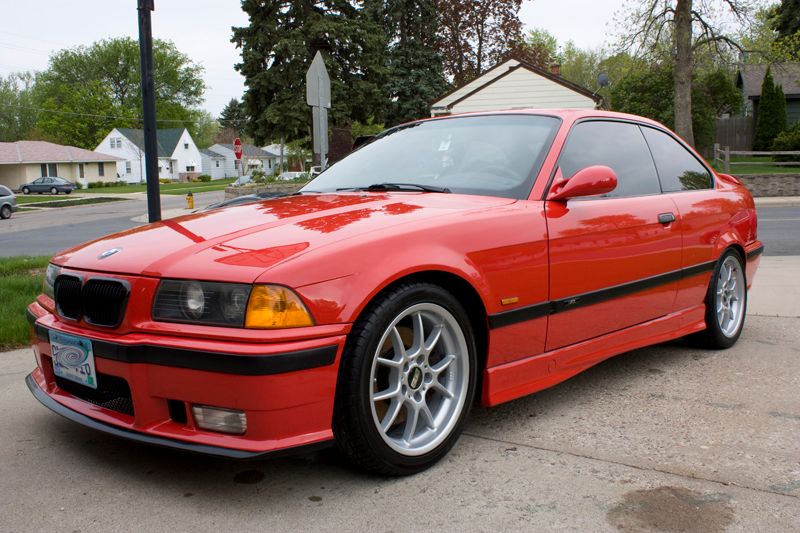
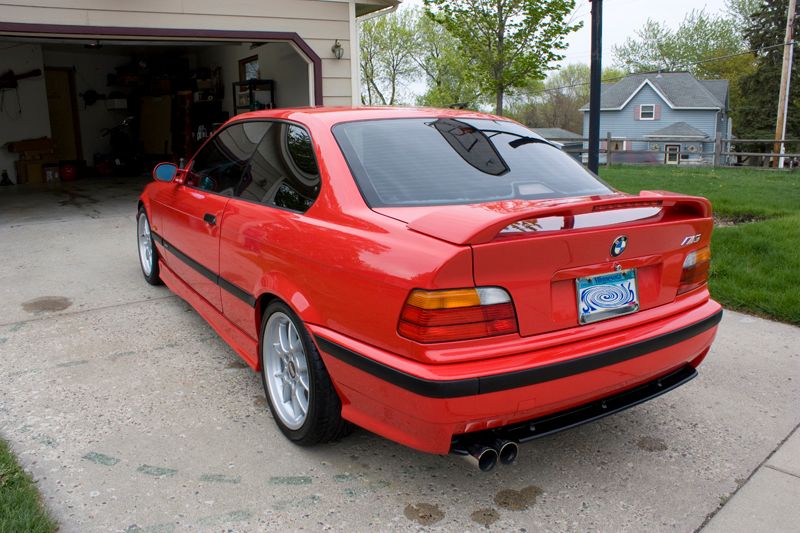
1999 BMW M3, exterior correction and motor detail only.
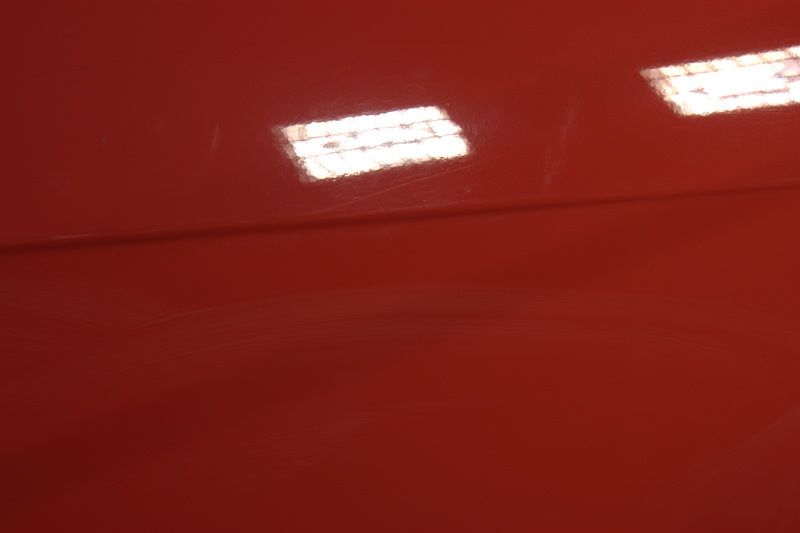
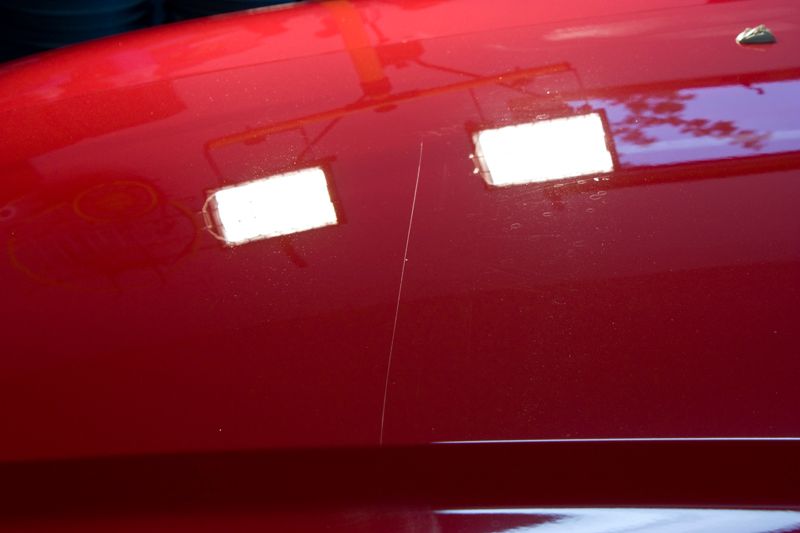
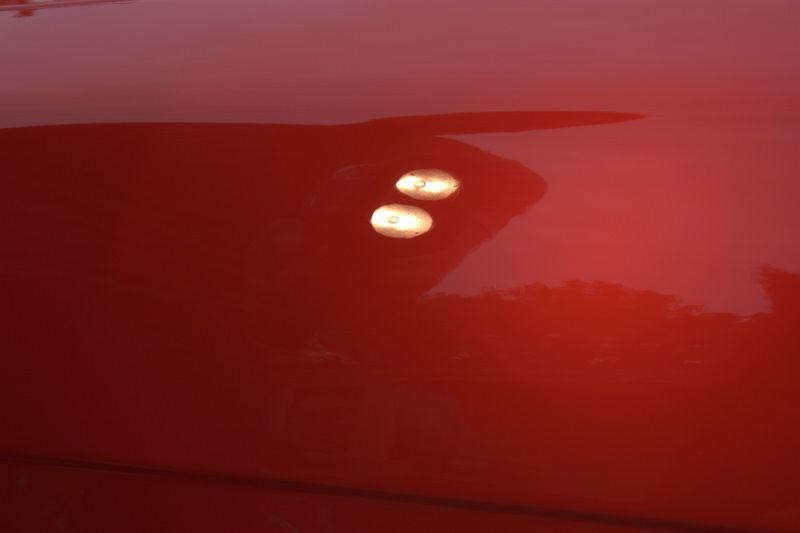
This little beauty recently came in for a 1-step exterior correction and engine detail. Upon inspection the finish actually looked very good, especially for being 11 years old. Still, there was some water spotting, very light swirling, and several light to moderate scratches (RIDS) throughout the finish. I had gone in with the intention of doing a very thorough write up and documentation on this car, but after doing several test spots I realized I was in big trouble and that I was going to be very pressed for time. After trying several 1-step methods of correction, it was clear that a far more aggressive method would be needed to get the level of correction I’d be happy giving it back to the customer with. Of the various correction methods I tried, P203 on the rotary with a Cyan Hydro pad was the most aggressive, and even that still required multiple passes to remove some of the RIDS. At this point I phoned the customer and let him know that I would have to perform a 2-step correction in order to achieve the results we were looking for, and that I would need the car longer.
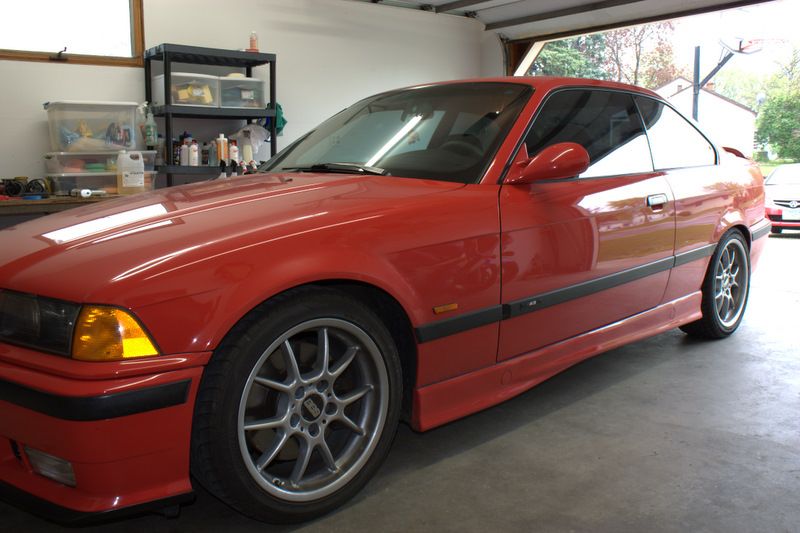
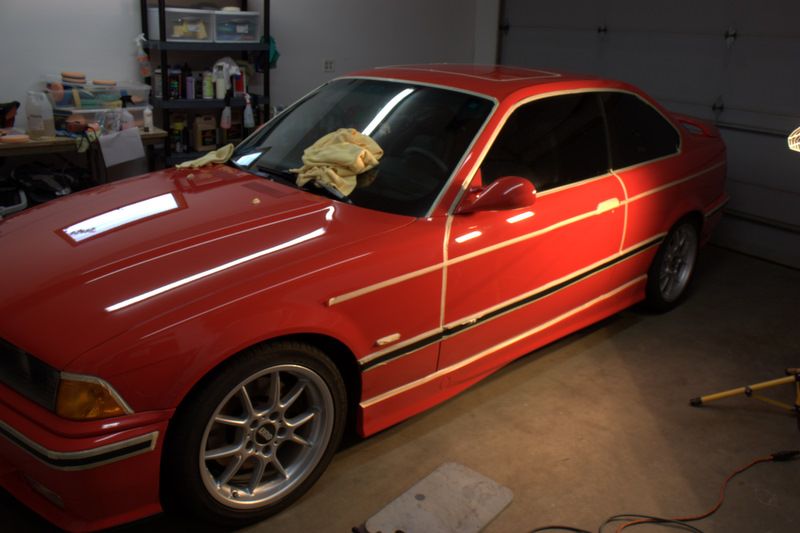
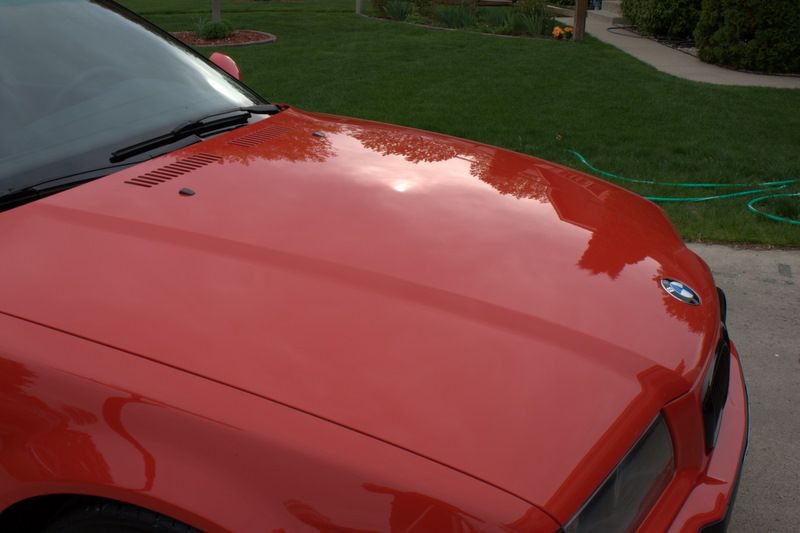
As I opened shop (garage) that morning to start of my work day I noticed my baby sitting outside after a morning rain. The application of Menzerna Power Lock from a month prior still seems to be beading strong.")
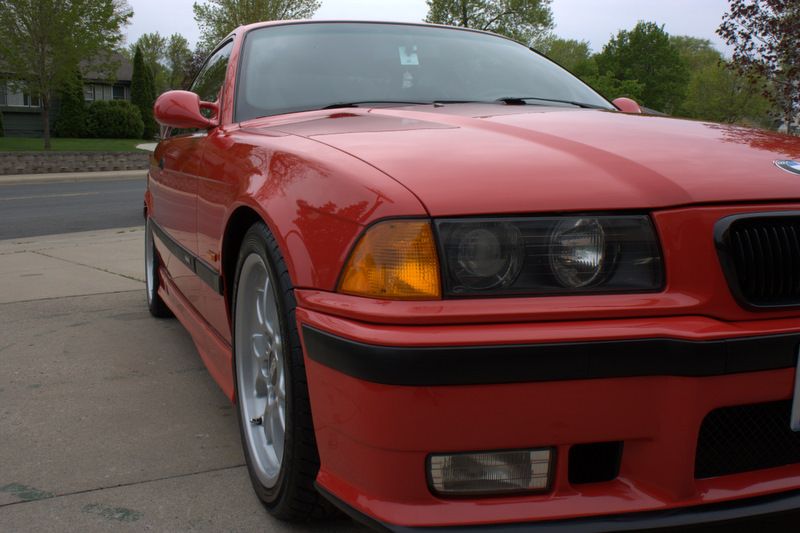
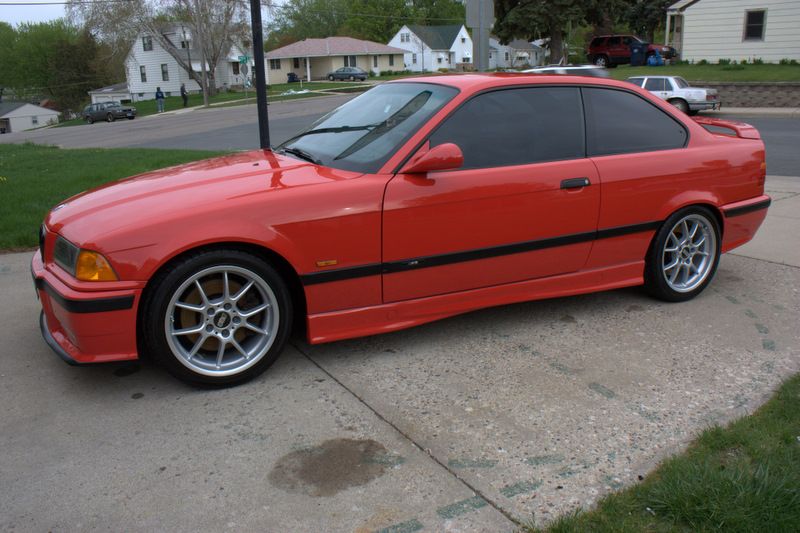
As you can see, the car looked pretty good just the way it was.
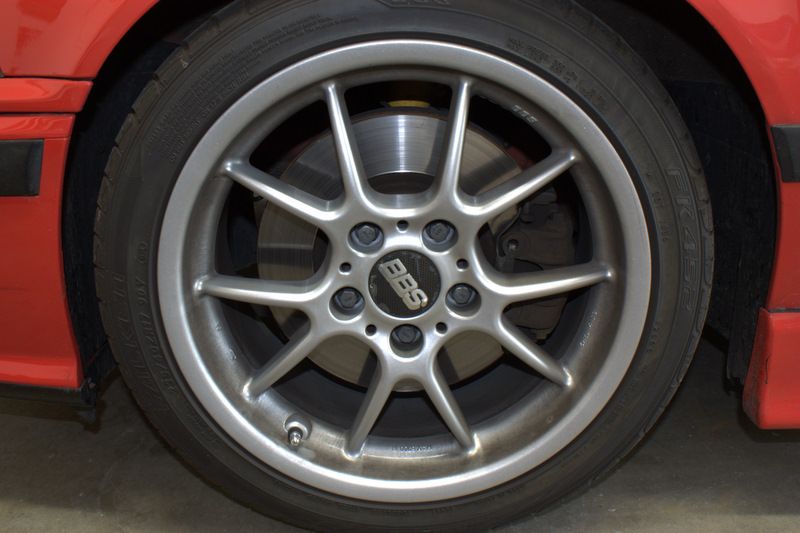
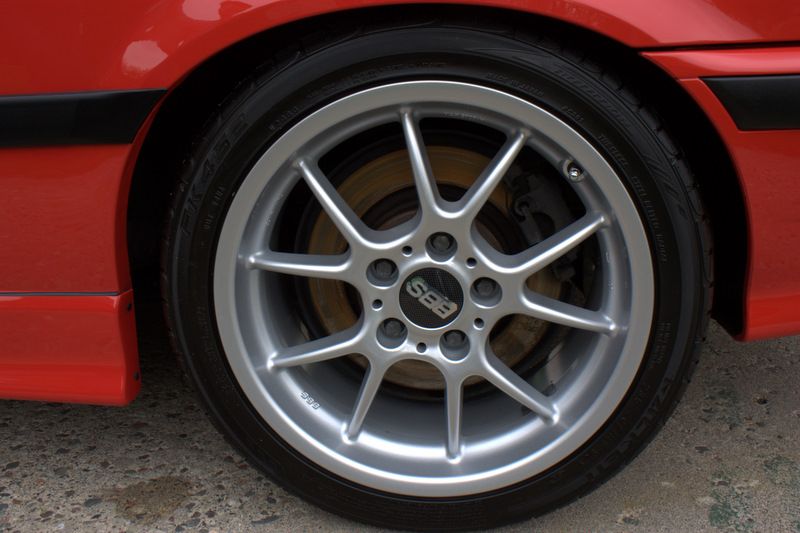
Wheels had a fair amount of break dust but it was obvious the owner did a pretty good job of keeping them clean. P21S Gel was later applied and allowed to dwell for about 20 minutes followed by agitation with various brushes.
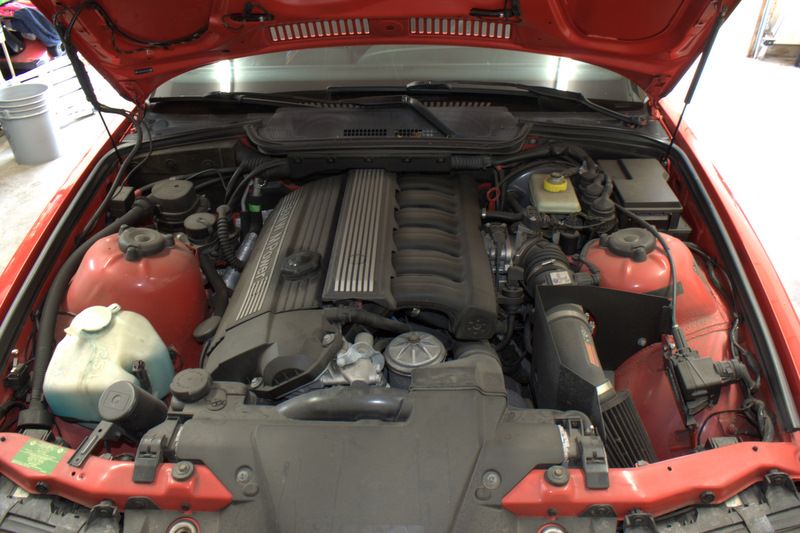
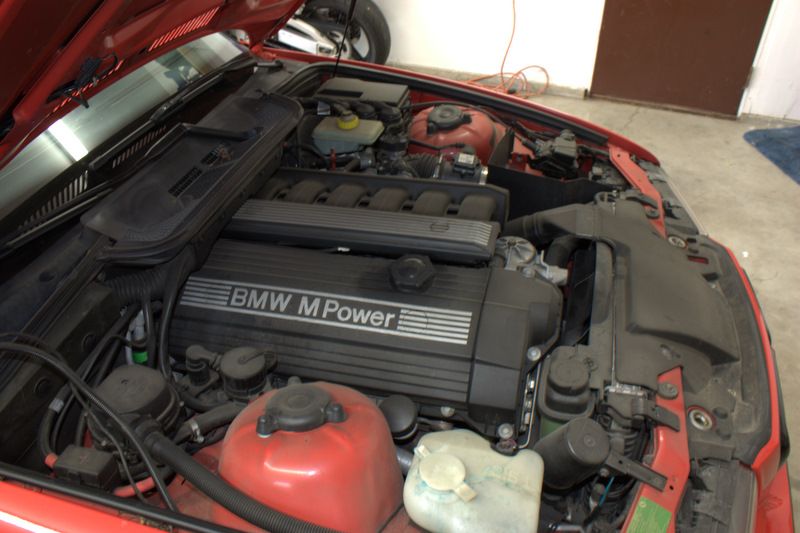
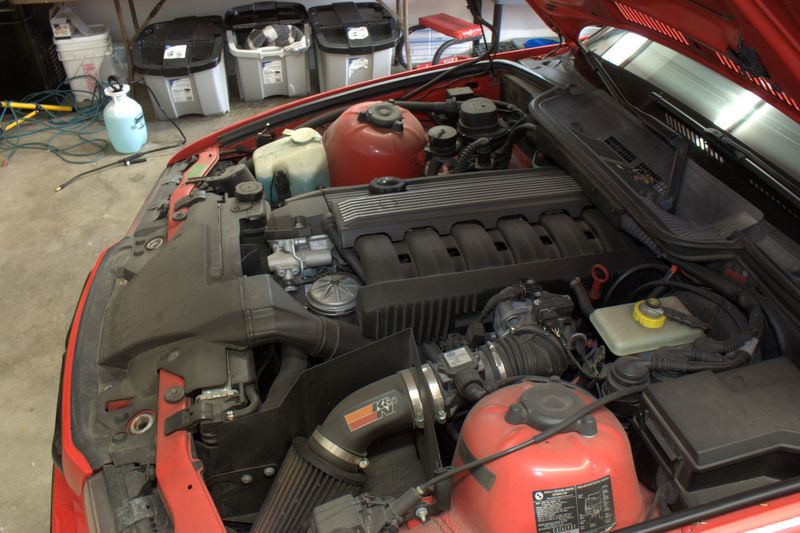
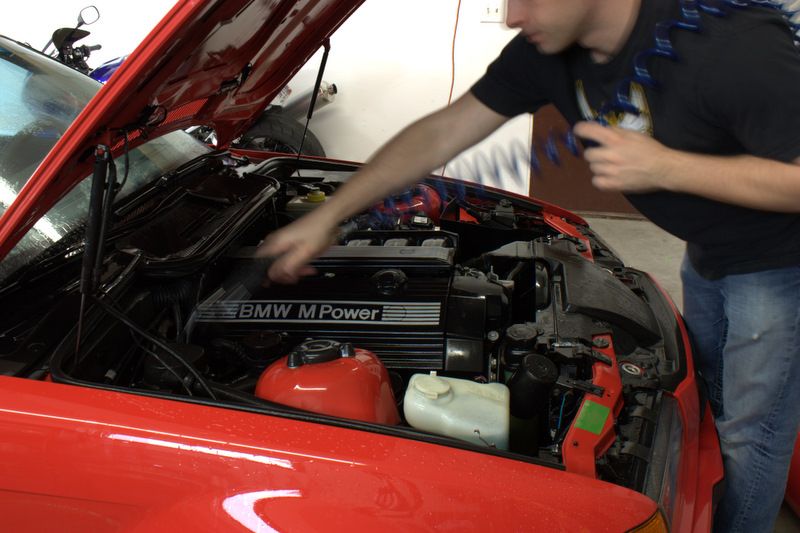
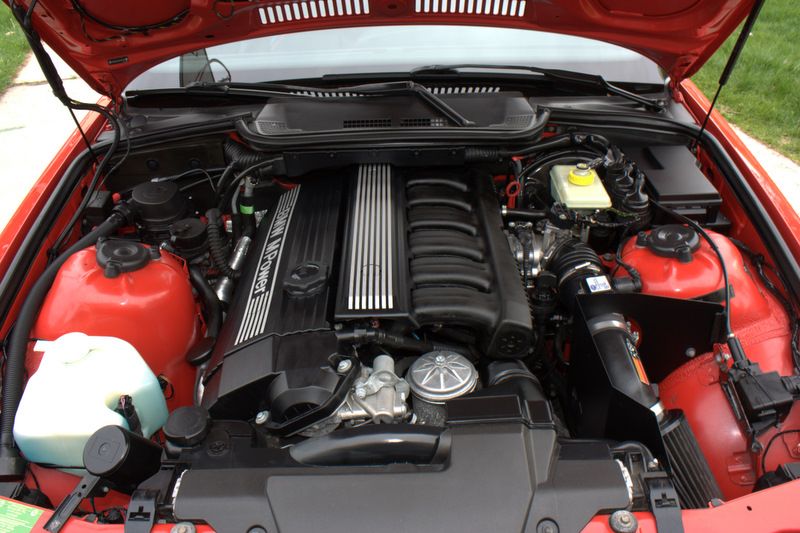
Picture of the engine bay prior to cleaning.
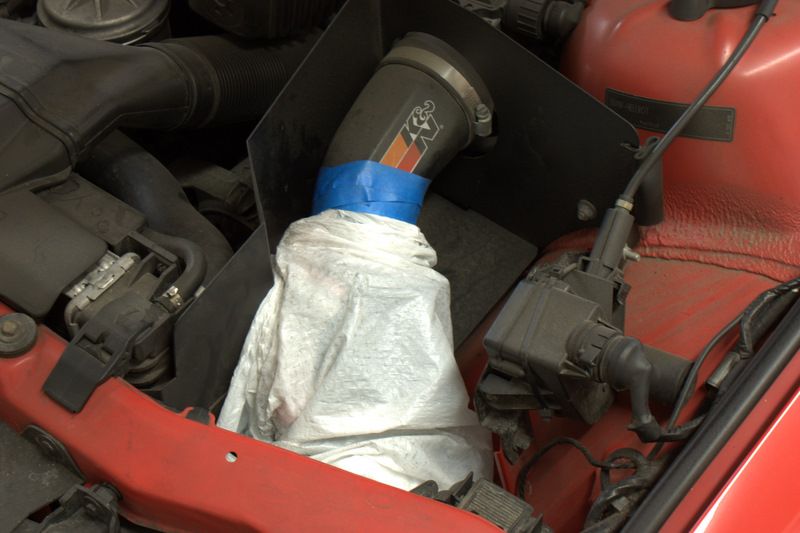
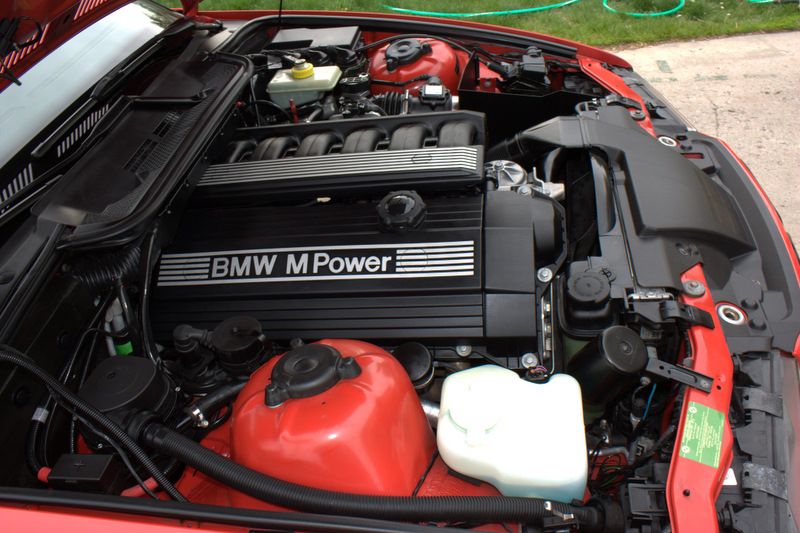
Air intake was covered with a plastic trash bag and sealed shut
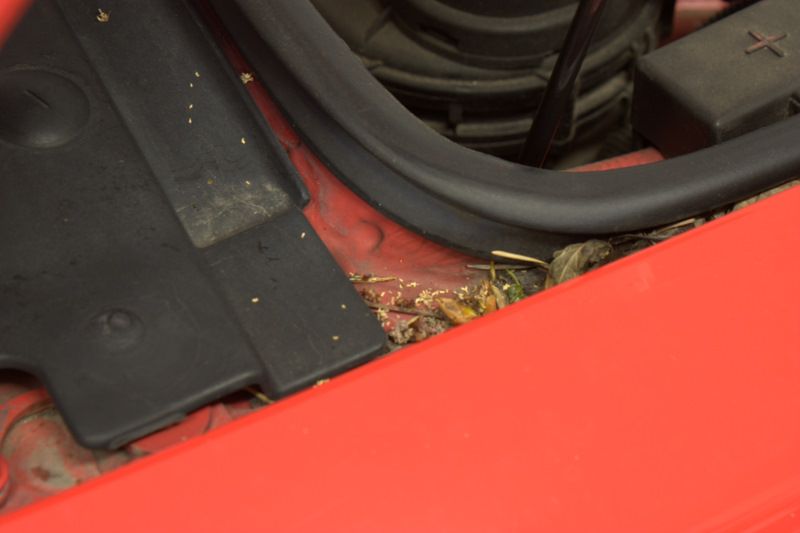
Lots of leaves and seeds were found in the jambs and down around the wipers.
One thing I always like to do when spraying the engines down with any type of APC is to wet the fenders and other painted panels to lessen the risk of staining. I chose to use P21S TAW on this car which is actually a very safe APC, but it’s always better to play it safe IMO, especially on older oxidized finishes.

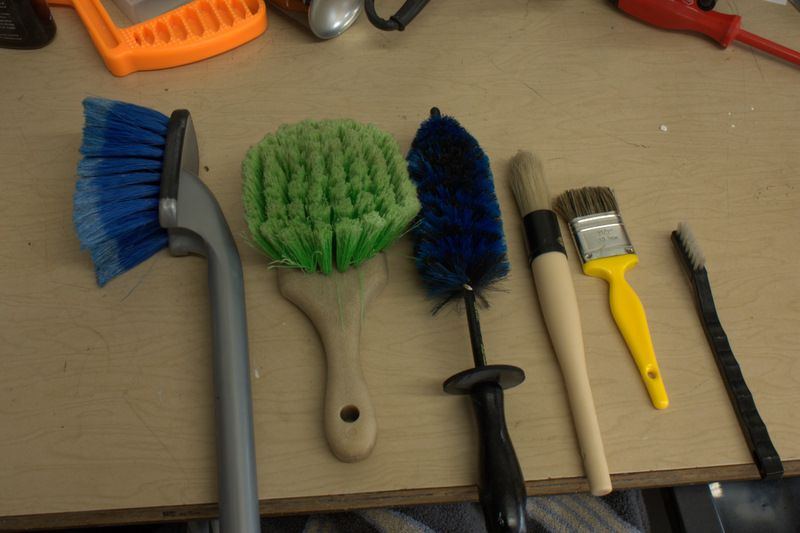
Some of the various brushes used on the engine detail.
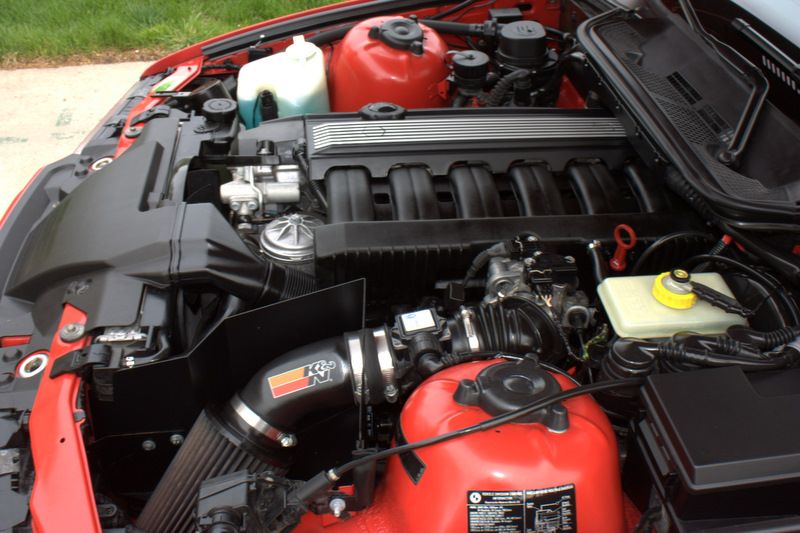
After rinsing off the motor off using a garden sprayer I then blew the engine bay down with compressed air.
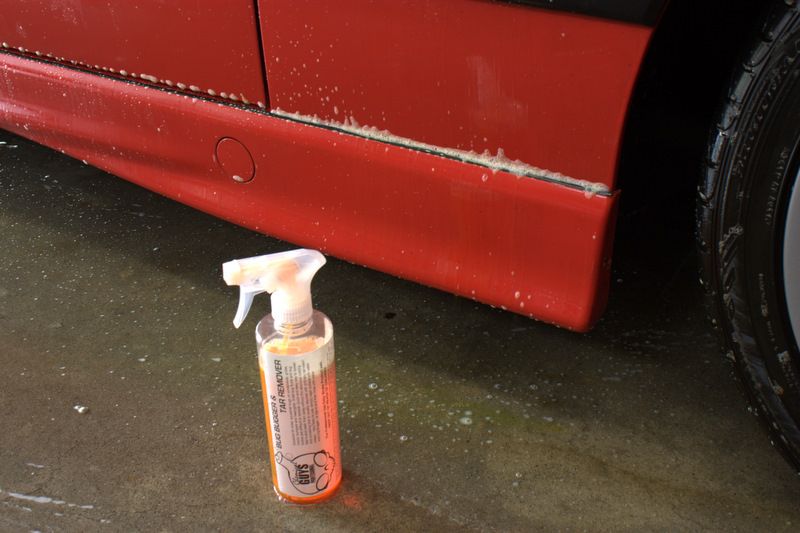
After finishing the motor I proceeded to thoroughly wash the car using Chemical Guys Citrus Wash n’ Clear mixed at a paint prep ratio in conjunction with P21S TAW to help strip off any wax or sealant still left on the paint. Chemical Guys Bug Bugger and Tar removed was also allowed to dwell on the lowers during the wash to help loosed any tar or gunk. Tarminator was later used on any remaining tar.
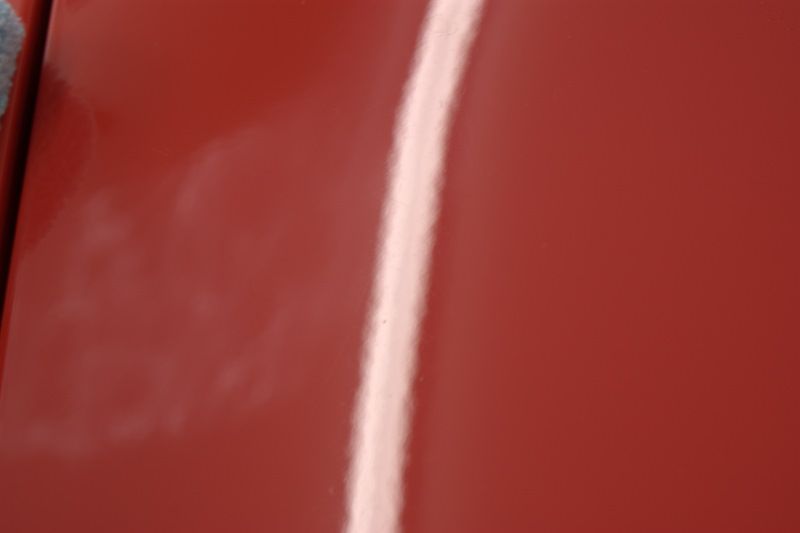
When I was drying the car down I also noticed several areas which had blobs of tree sap and I wanted to address those before claying. IMO tree sap is a very easy way of trashing a clay bar….and we all know how expensive clay is! On the other hand, Isopropyl Alcohol (IPA) is cheap and effective at removing tree sap.
Below you can see on of the blobs

Spray on some IPA and let it dwell for a few seconds

Gently wipe away with a clean MF and buh bye tree sap.
After removing all tree sap from the vehicle I proceeded with claying using a fine grade clay and Meguiars Final Inspection as lube.


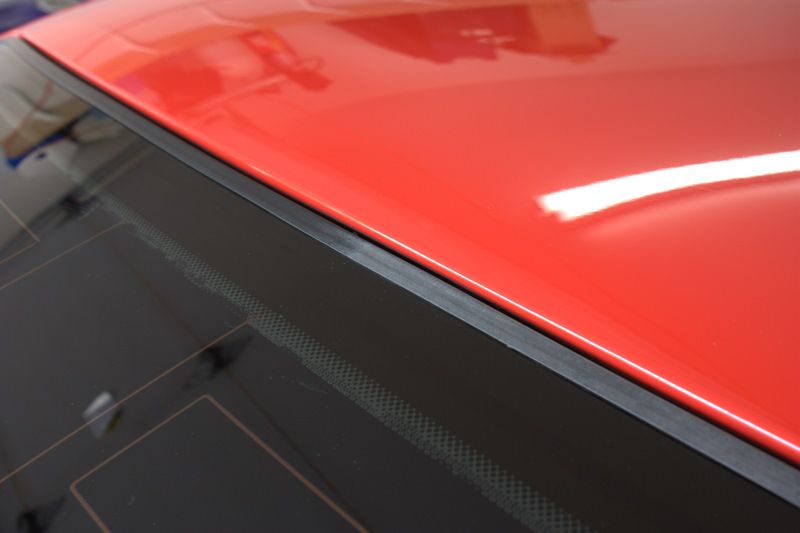
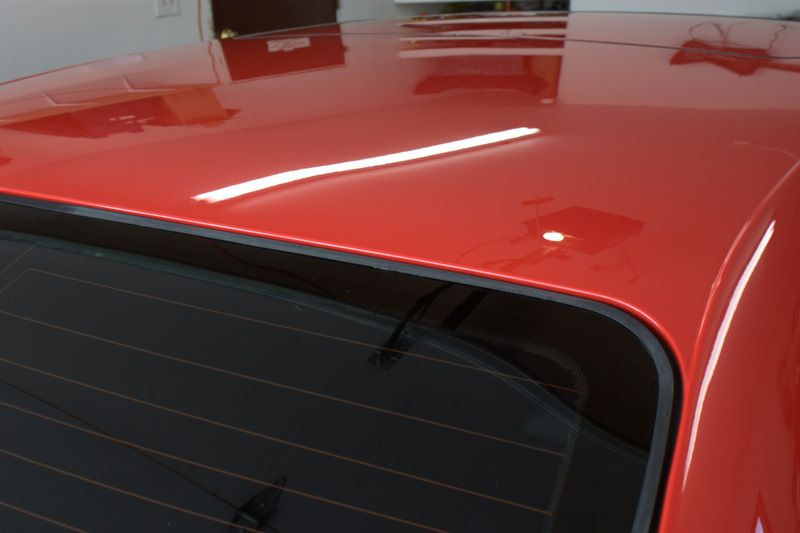
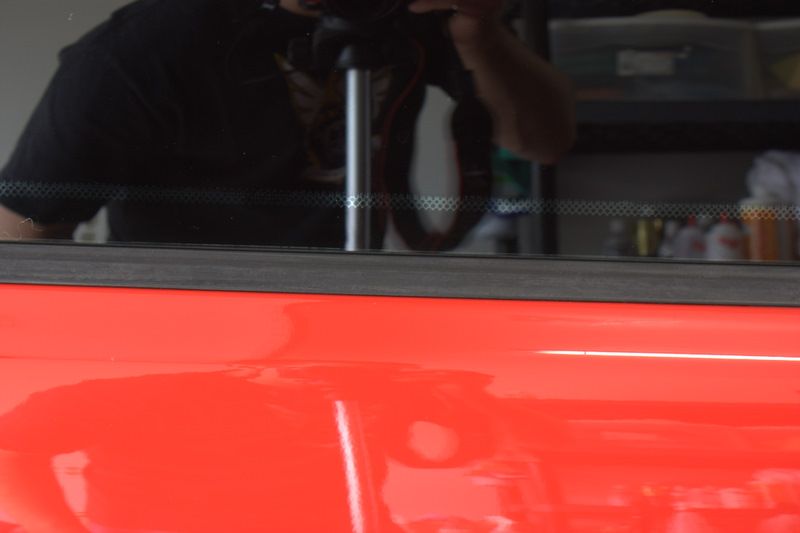
As you can see the rubber trim around both the back glass and side quarter glasses was weathered and grey looking. I learned a trick from a fellow detailer a long time ago on how to get them looking new again. However, it’s something that needs to be used with caution as it’s not safe on all trim and I’d rather not post it in a public forum. Often a cleaner like KAIO will also work effectively.
50/50
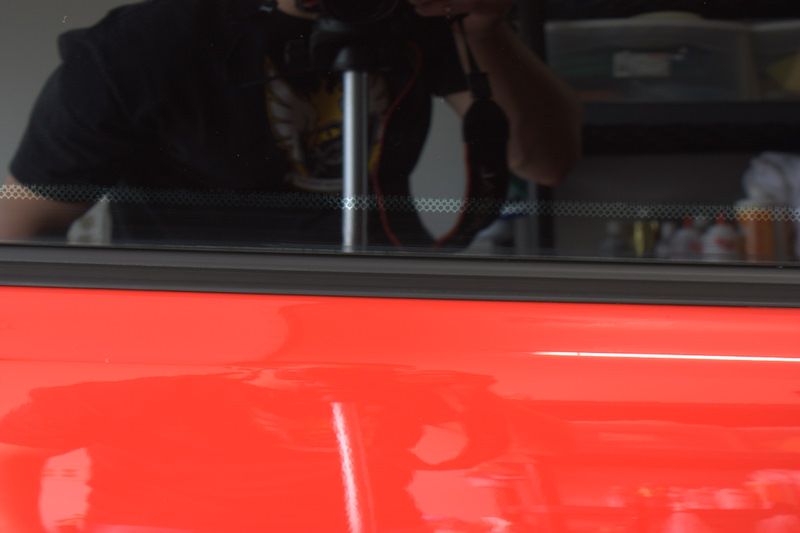
After
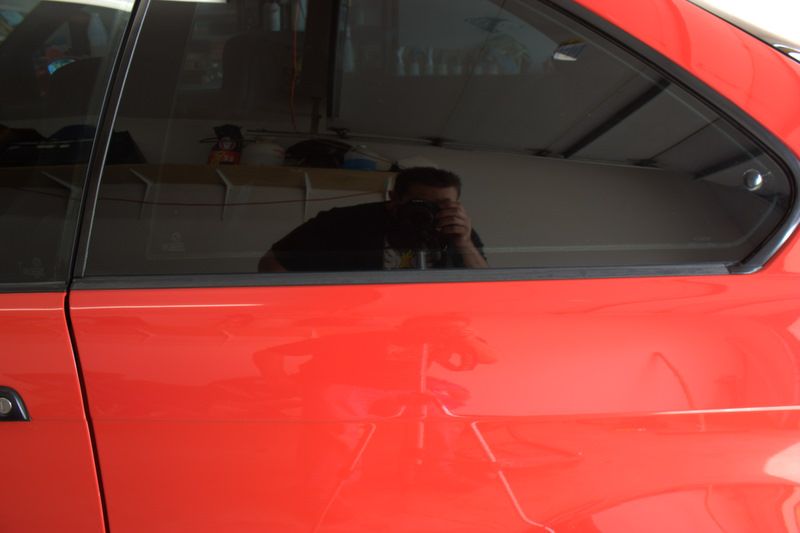
Passenger side quarter glass before
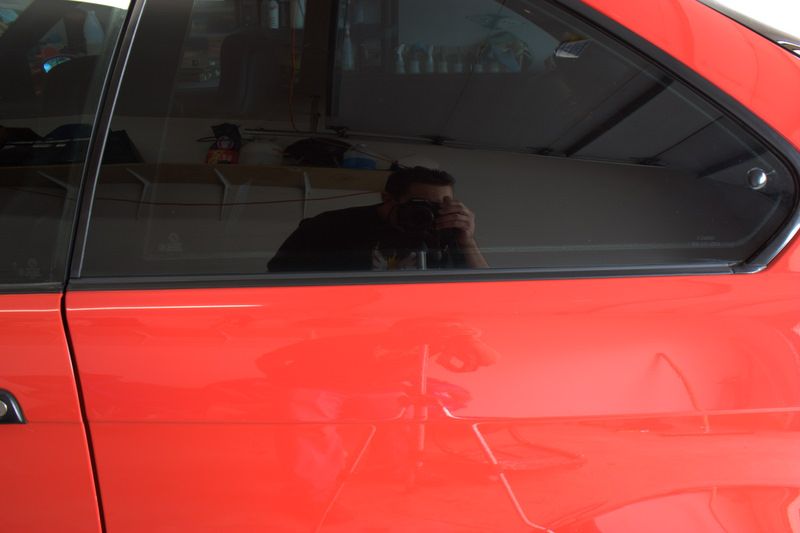
After
Drivers side quarter glass before
After
This little beauty recently came in for a 1-step exterior correction and engine detail. Upon inspection the finish actually looked very good, especially for being 11 years old. Still, there was some water spotting, very light swirling, and several light to moderate scratches (RIDS) throughout the finish. I had gone in with the intention of doing a very thorough write up and documentation on this car, but after doing several test spots I realized I was in big trouble and that I was going to be very pressed for time. After trying several 1-step methods of correction, it was clear that a far more aggressive method would be needed to get the level of correction I’d be happy giving it back to the customer with. Of the various correction methods I tried, P203 on the rotary with a Cyan Hydro pad was the most aggressive, and even that still required multiple passes to remove some of the RIDS. At this point I phoned the customer and let him know that I would have to perform a 2-step correction in order to achieve the results we were looking for, and that I would need the car longer.
As I opened shop (garage) that morning to start of my work day I noticed my baby sitting outside after a morning rain. The application of Menzerna Power Lock from a month prior still seems to be beading strong.
As you can see, the car looked pretty good just the way it was.
Wheels had a fair amount of break dust but it was obvious the owner did a pretty good job of keeping them clean. P21S Gel was later applied and allowed to dwell for about 20 minutes followed by agitation with various brushes.
Picture of the engine bay prior to cleaning.
Air intake was covered with a plastic trash bag and sealed shut
Lots of leaves and seeds were found in the jambs and down around the wipers.
One thing I always like to do when spraying the engines down with any type of APC is to wet the fenders and other painted panels to lessen the risk of staining. I chose to use P21S TAW on this car which is actually a very safe APC, but it’s always better to play it safe IMO, especially on older oxidized finishes.
Some of the various brushes used on the engine detail.
After rinsing off the motor off using a garden sprayer I then blew the engine bay down with compressed air.
After finishing the motor I proceeded to thoroughly wash the car using Chemical Guys Citrus Wash n’ Clear mixed at a paint prep ratio in conjunction with P21S TAW to help strip off any wax or sealant still left on the paint. Chemical Guys Bug Bugger and Tar removed was also allowed to dwell on the lowers during the wash to help loosed any tar or gunk. Tarminator was later used on any remaining tar.
When I was drying the car down I also noticed several areas which had blobs of tree sap and I wanted to address those before claying. IMO tree sap is a very easy way of trashing a clay bar….and we all know how expensive clay is! On the other hand, Isopropyl Alcohol (IPA) is cheap and effective at removing tree sap.
Below you can see on of the blobs
Spray on some IPA and let it dwell for a few seconds
Gently wipe away with a clean MF and buh bye tree sap.
After removing all tree sap from the vehicle I proceeded with claying using a fine grade clay and Meguiars Final Inspection as lube.
As you can see the rubber trim around both the back glass and side quarter glasses was weathered and grey looking. I learned a trick from a fellow detailer a long time ago on how to get them looking new again. However, it’s something that needs to be used with caution as it’s not safe on all trim and I’d rather not post it in a public forum. Often a cleaner like KAIO will also work effectively.
50/50
After
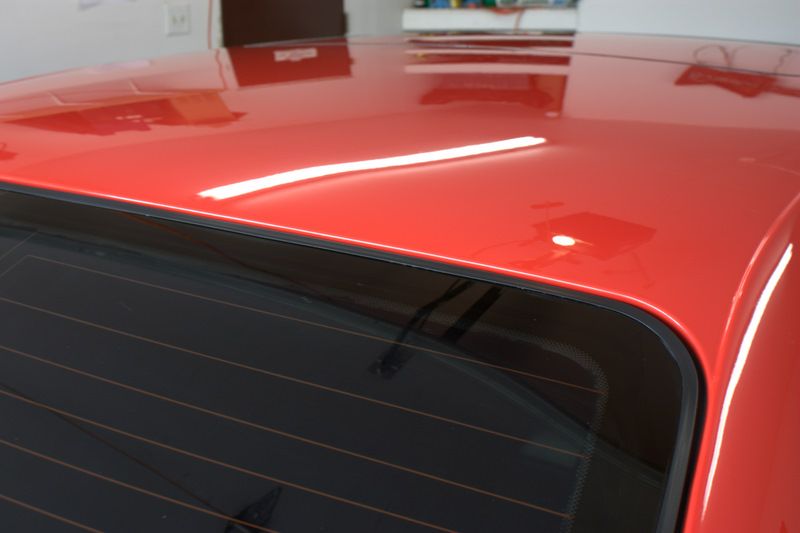
Passenger side quarter glass before
After
Drivers side quarter glass before
After
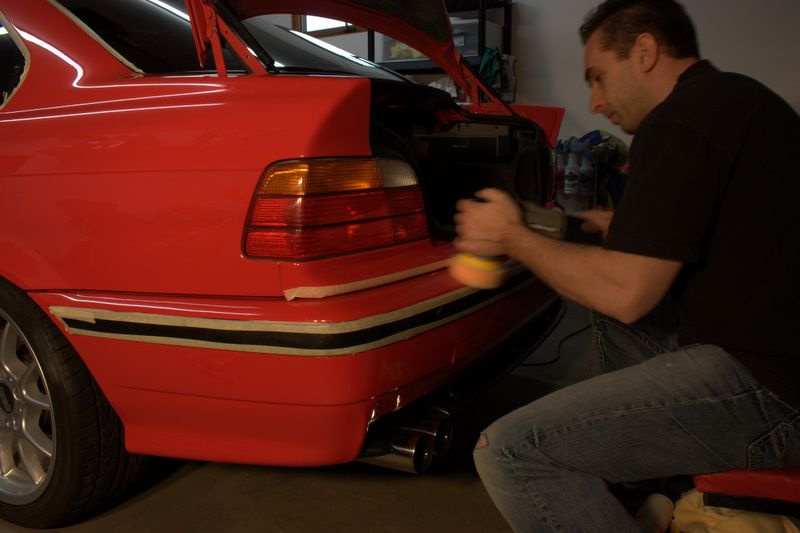


")


