finerdetails
New member
This is the sister to the Aston Martin Vantage I have detailed. The car has had similar car care as the As so I knlkew what I was in for.
On the morning I started the detail the weather was truely shocking so not many pics and some show the weather quite obviously.
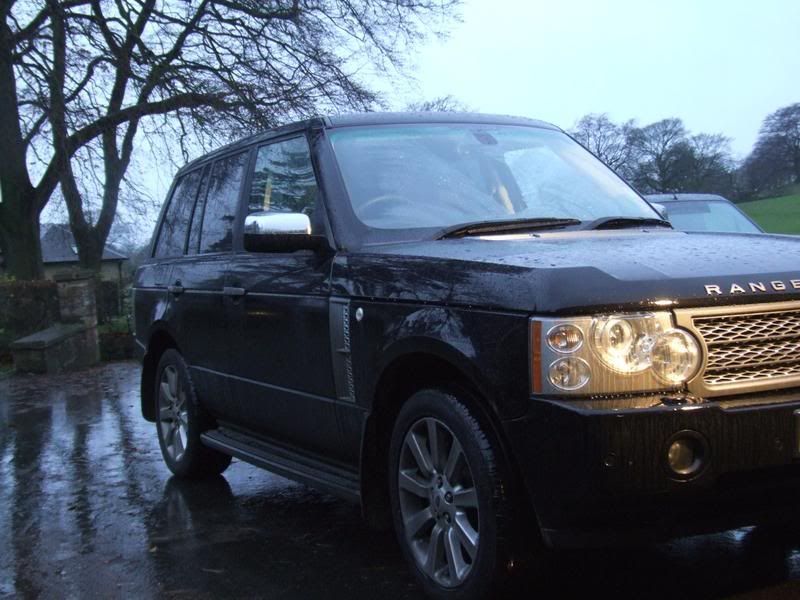
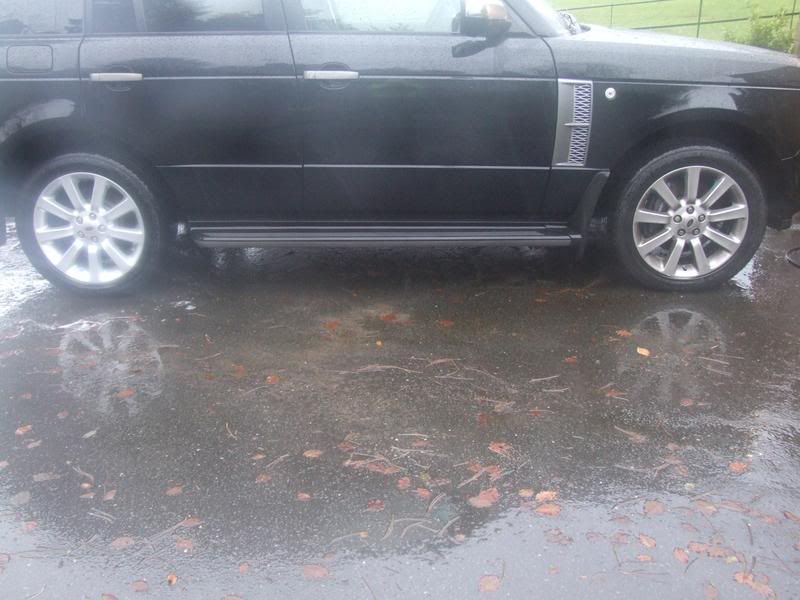
The car before:


washing
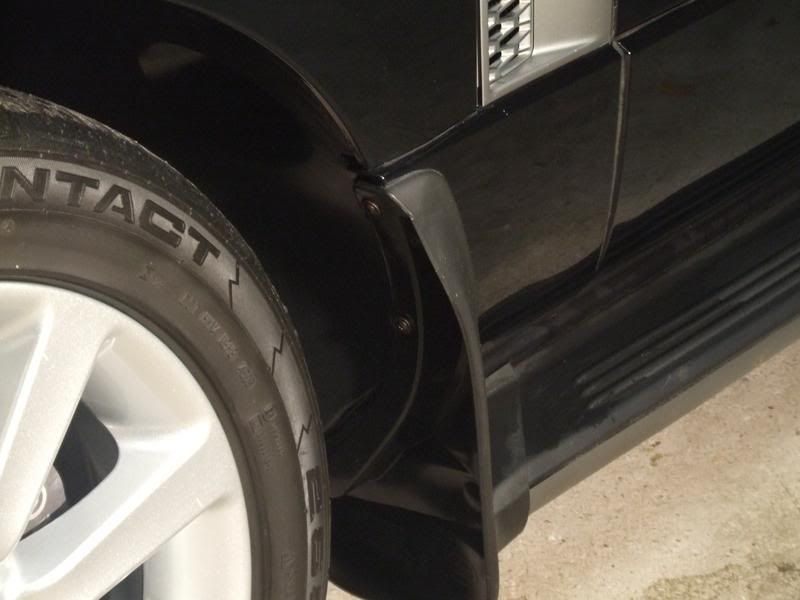
First job was the wheel arches. Using an APC, my long handled brush, the kacrher and lots of elbow I set to. Big clumps of mud falling everywhere was not nice, and the rain was pelting down too!
After the arches I moved to the alloys. Here is one pick showing a cleaned wheel v's a dirty one:
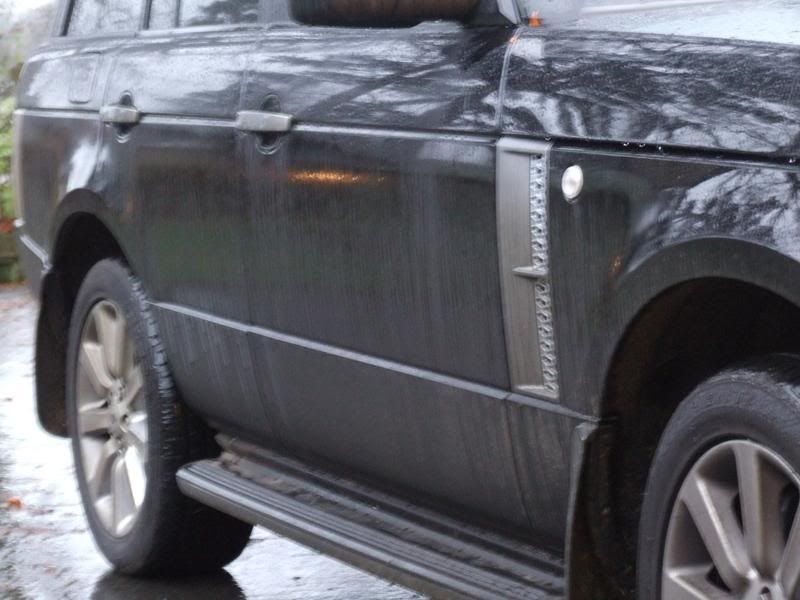
With all the alloys sorted I moved to the paintwork:

After washing I clayed with Swissvax Paint Rubber, a second wash and rinse before drying the RR off. As it had stopped raining I was able to dry the car outside before moving into the garage to find that was 4 fours gone! All i had done was washed, clayed and dried - 4hours! eeek
Once inside I decided to complete all the interior work first. A good vacuuming, leahter cleaned and milked, windows cleaned, all sills cleaned, cleaner fluid and waxed. The dog cage took some time thanks to the wet dog shakes....
The interior work seemed to go on and on, much like the washing. These RR's take forever, hence no pics I was fully occupied with my work today.
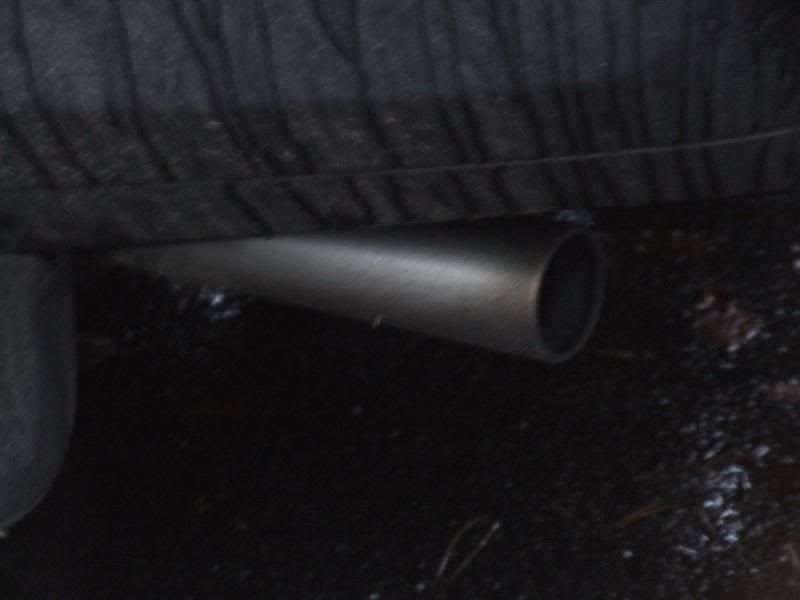
I also sorted the alloys - cleaner fluid and autobahm, and the exhaust - metal polish. Arches, tyres and engine were dressed with Pneu.
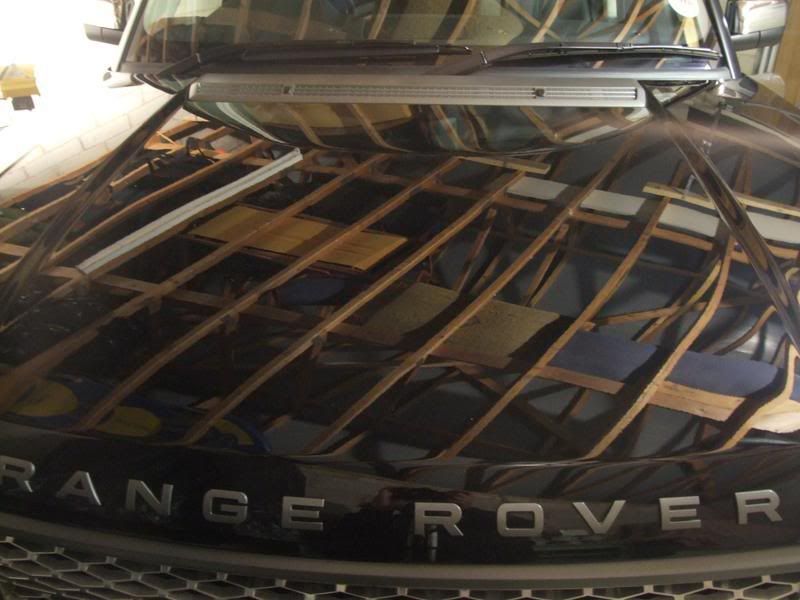
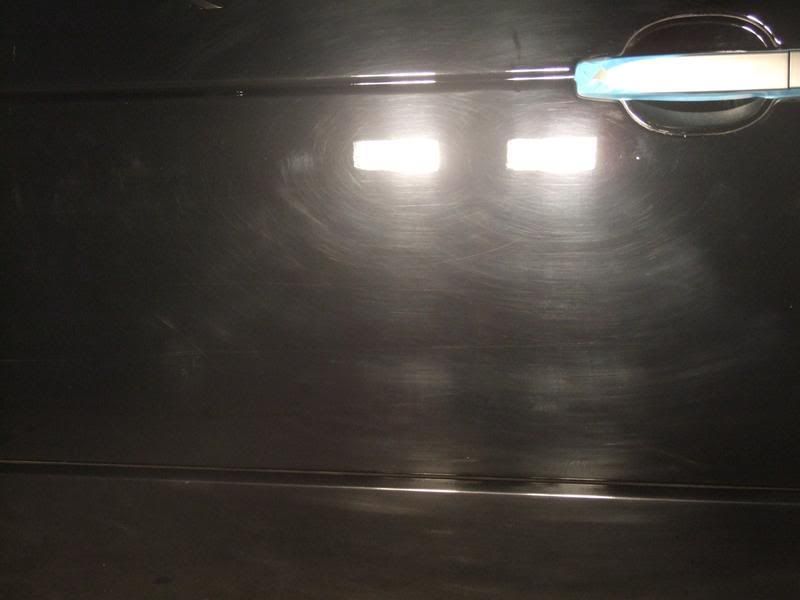
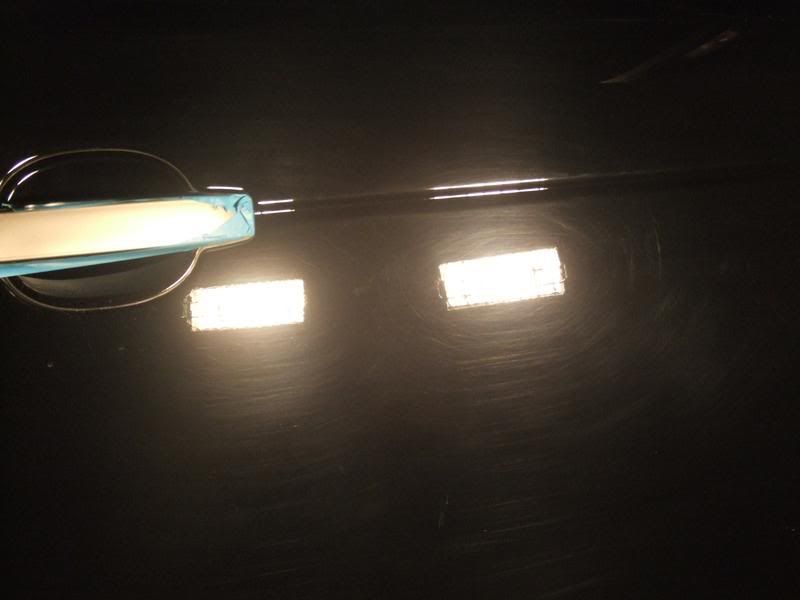
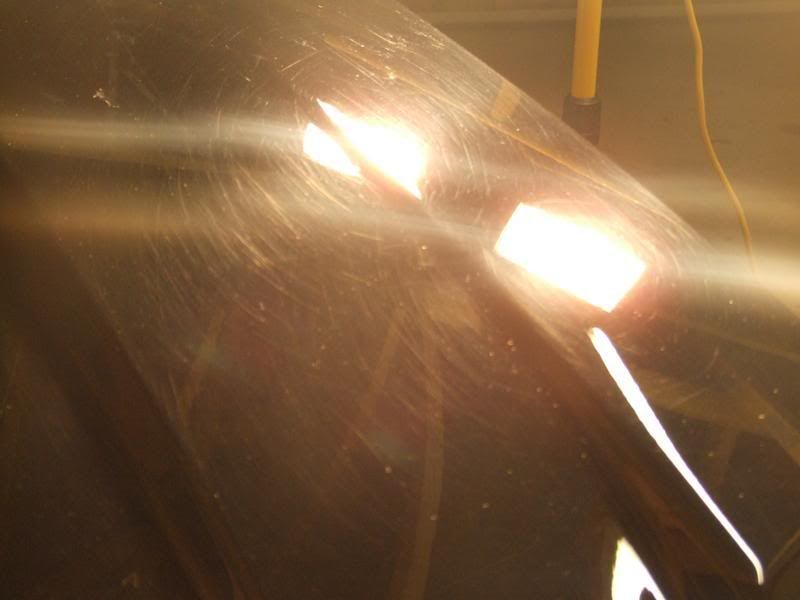
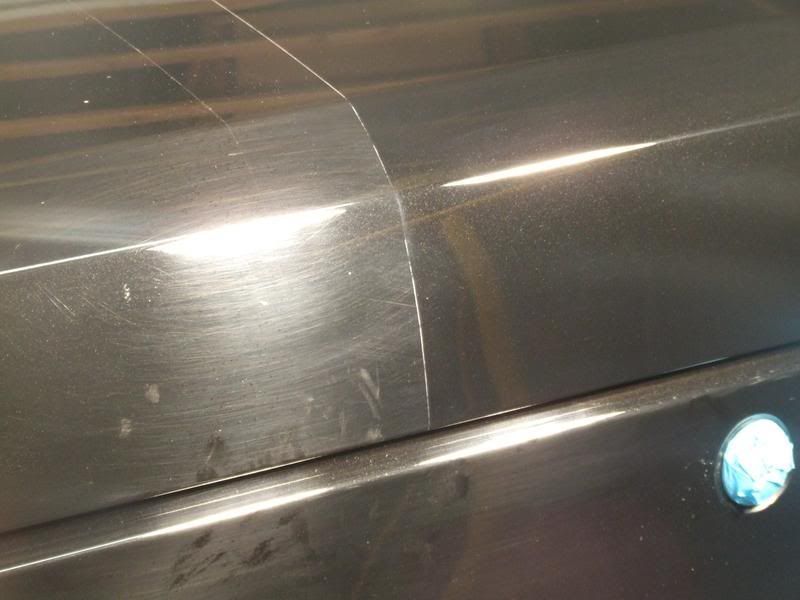
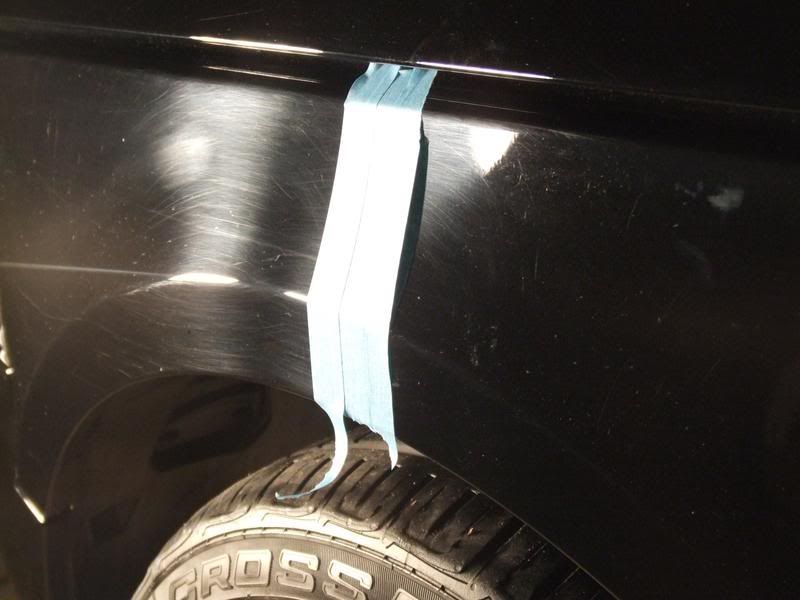
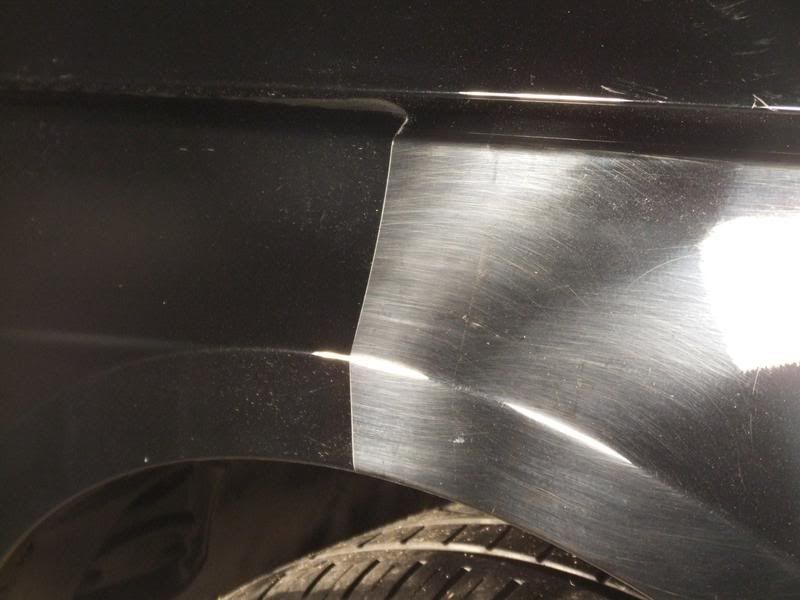
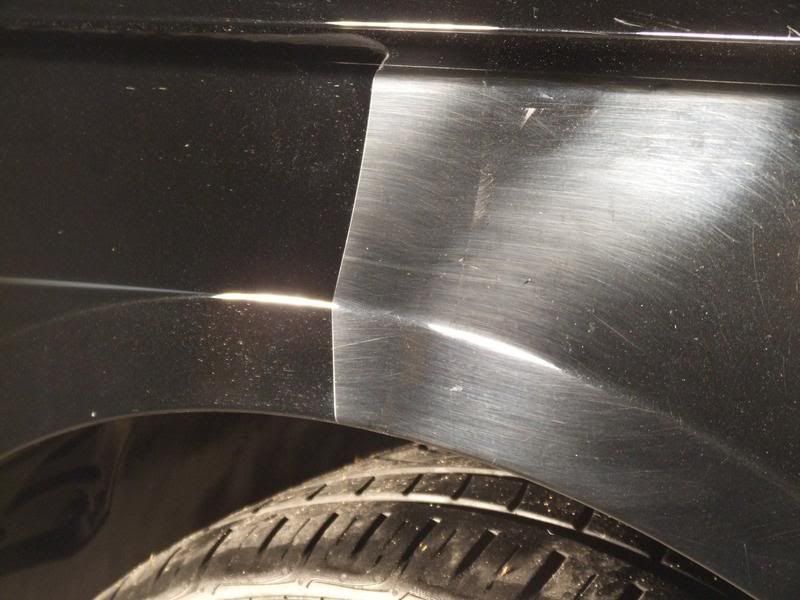
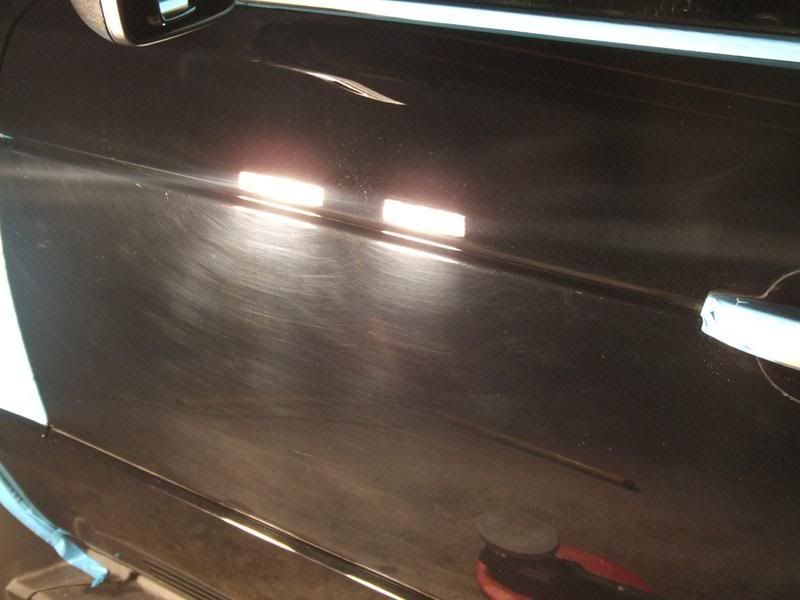
I set to with the 3m 3434 tape and then captured some pics of the defects:


I actually did a test section on the bonnet first:
I then moved straight to the roof and managed to get the roof and half of the bonnet done before calling it a day for the first day of two.
Journey home was to prove a nightmare! The weather had turned again in the afternoon and I found myself swimming out of the Peak District. The puddles were so big and deep that at one point it came over the van bonnet! and when I got home I'd lost a wheel trim too! Removed by the water I guess...
Back next morning, and straight on with the second half of the bonnet. Then into front bumper and side panels:
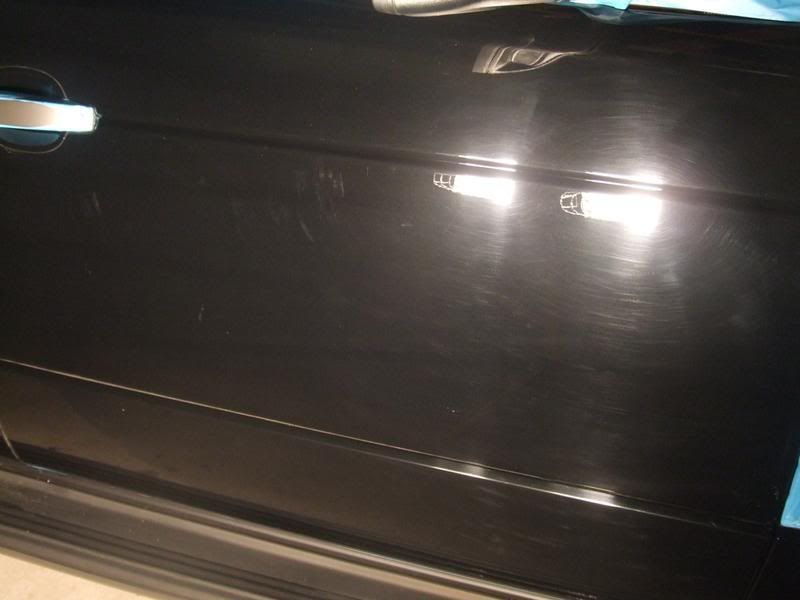
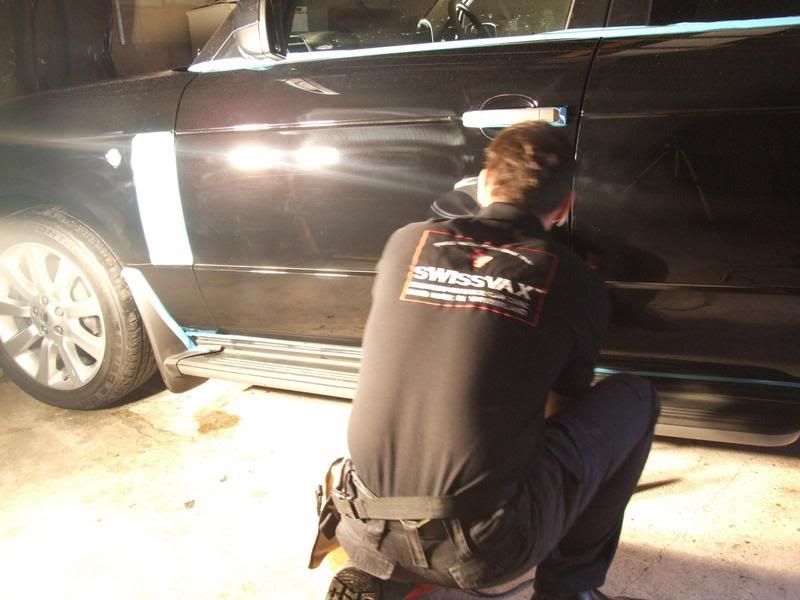
passenger door:

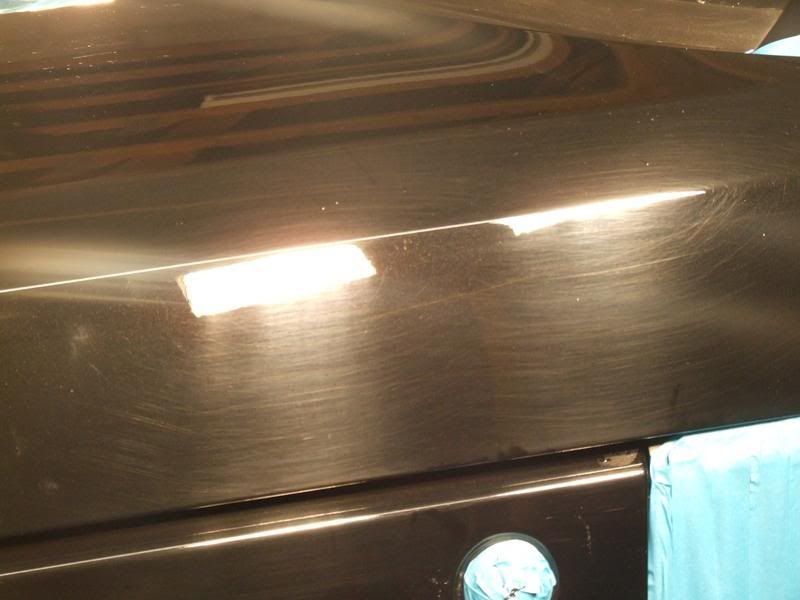
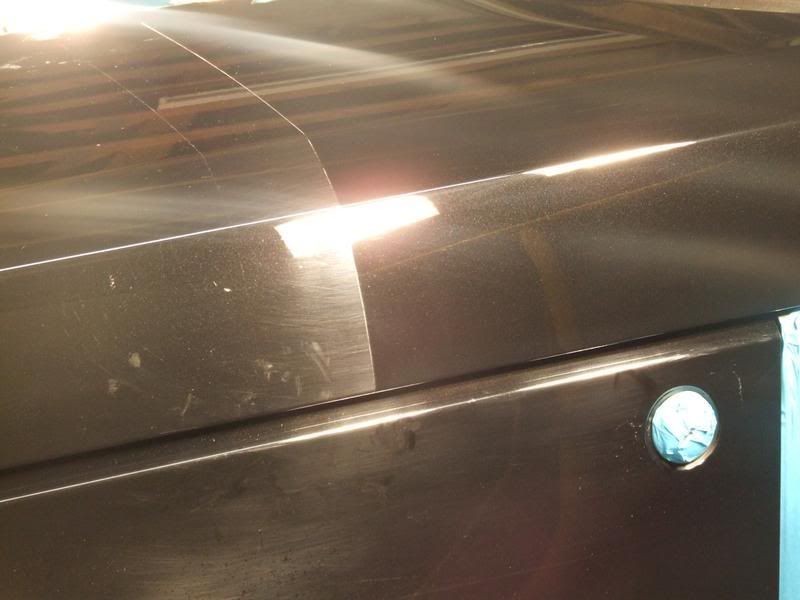
top and botton section done, but note the marring from the first machine polish. This would be cleaned up on round two.

round the back saw the four inch mounting in place:
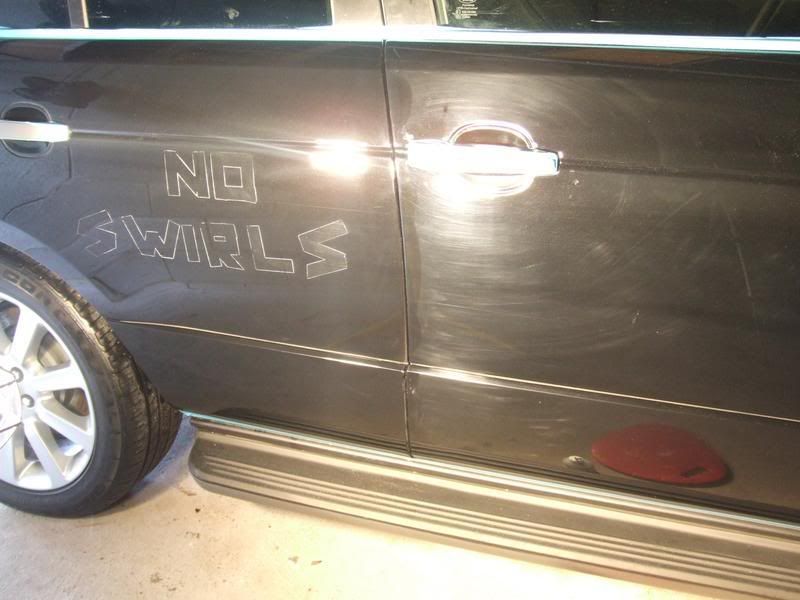
before working my way up the drivers side. Sometimes people dont quite get the message and so I was really please to have this secret message in the paint for the super intelligent people to see.....

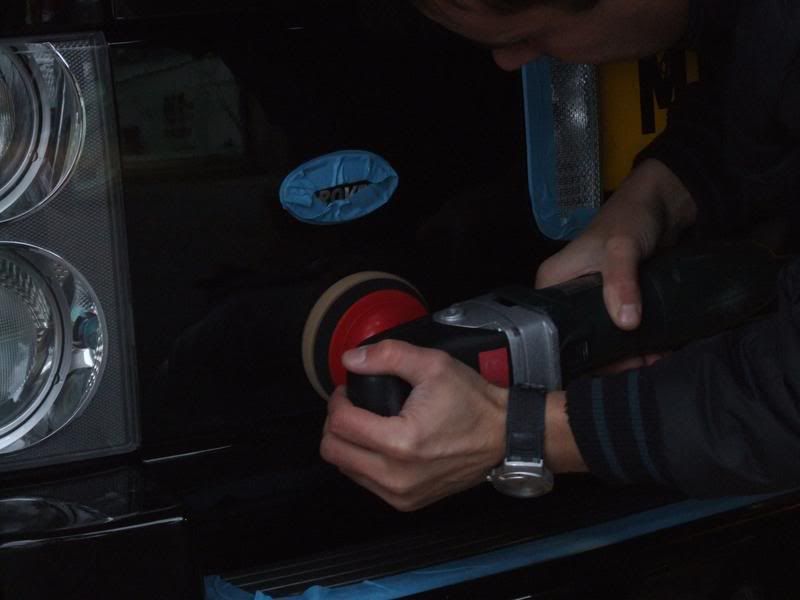
Fun over I polished it out, and then set to for trip two. I spent what seemed like an age sorting pad and polish combos trying to create a sharo finish. As a result pics were not on my mind. I was at 1pm on day two only just finished first machining. In the end SV standard cleaner fluid and a finessing pad came good. Some panels being worked at slow speed to finish up, others needing medium/high. Very odd experience and not one I enjoyed as it proved very demanding.
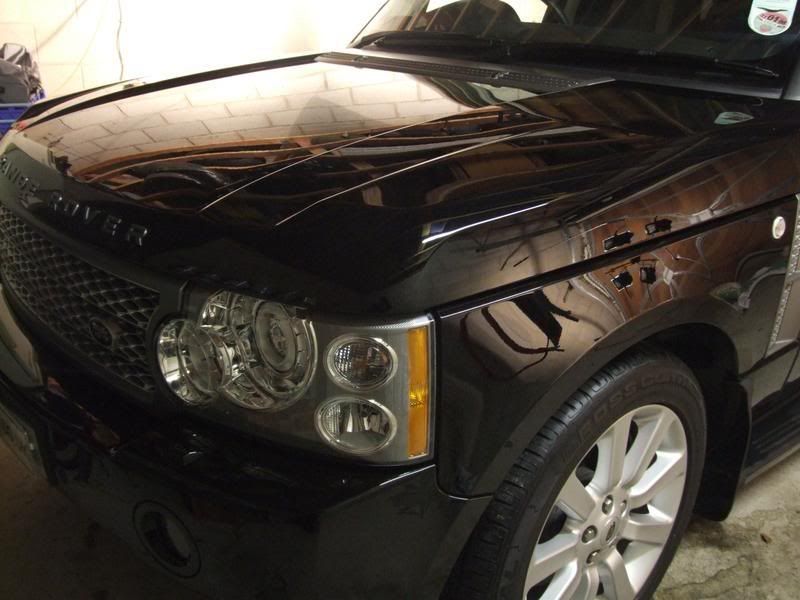
Once all cleaned up I applied Swissvax Divine.
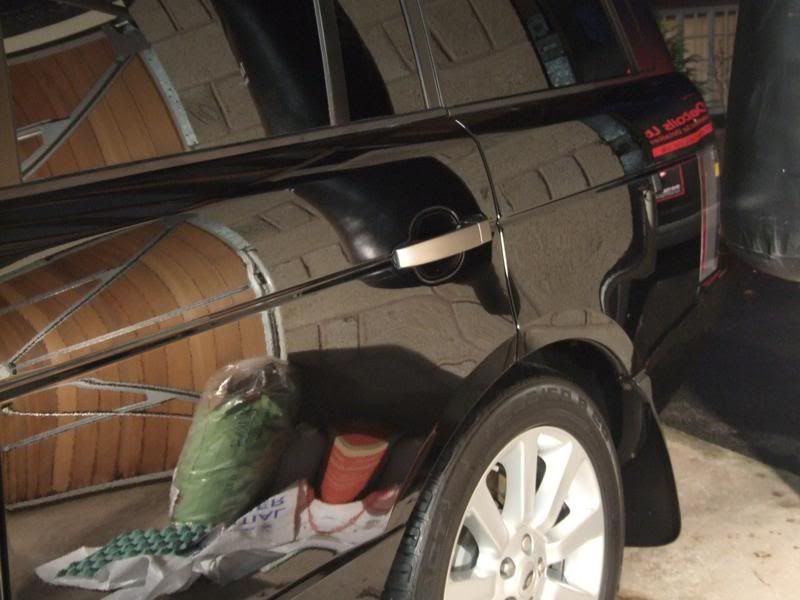
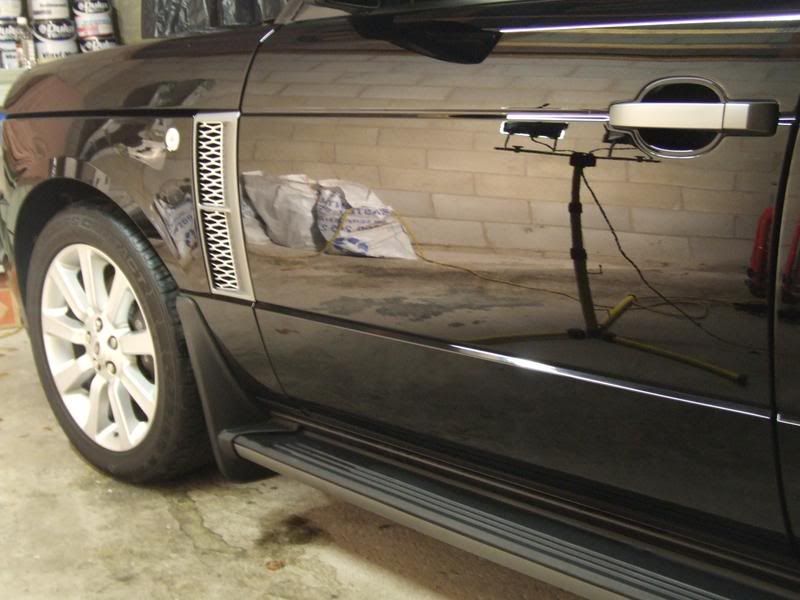
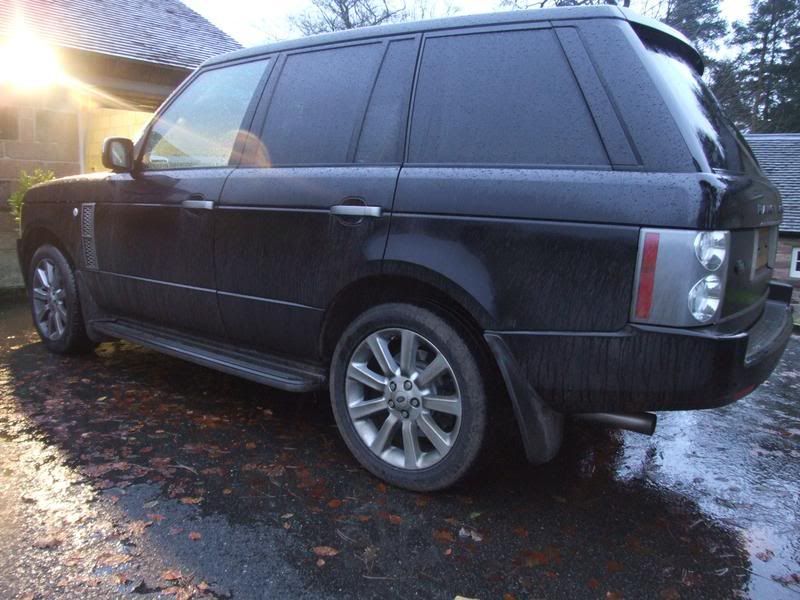
A final run of checks, taking an hours or so to tend to everything and ensure all panel gaps were clean and right.
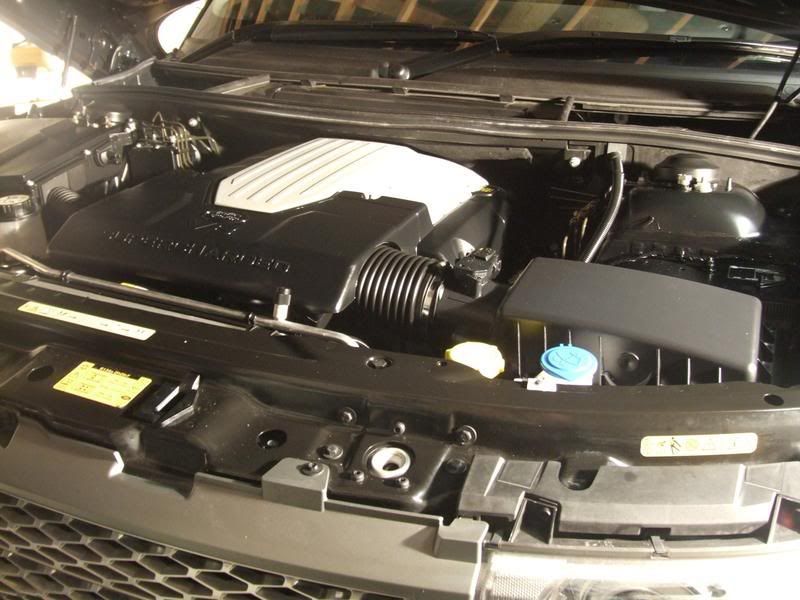
Engine:
Inside:

On the morning I started the detail the weather was truely shocking so not many pics and some show the weather quite obviously.
The car before:
washing
First job was the wheel arches. Using an APC, my long handled brush, the kacrher and lots of elbow I set to. Big clumps of mud falling everywhere was not nice, and the rain was pelting down too!
After the arches I moved to the alloys. Here is one pick showing a cleaned wheel v's a dirty one:
With all the alloys sorted I moved to the paintwork:
After washing I clayed with Swissvax Paint Rubber, a second wash and rinse before drying the RR off. As it had stopped raining I was able to dry the car outside before moving into the garage to find that was 4 fours gone! All i had done was washed, clayed and dried - 4hours! eeek
Once inside I decided to complete all the interior work first. A good vacuuming, leahter cleaned and milked, windows cleaned, all sills cleaned, cleaner fluid and waxed. The dog cage took some time thanks to the wet dog shakes....
The interior work seemed to go on and on, much like the washing. These RR's take forever, hence no pics I was fully occupied with my work today.
I also sorted the alloys - cleaner fluid and autobahm, and the exhaust - metal polish. Arches, tyres and engine were dressed with Pneu.
I set to with the 3m 3434 tape and then captured some pics of the defects:
I actually did a test section on the bonnet first:
I then moved straight to the roof and managed to get the roof and half of the bonnet done before calling it a day for the first day of two.
Journey home was to prove a nightmare! The weather had turned again in the afternoon and I found myself swimming out of the Peak District. The puddles were so big and deep that at one point it came over the van bonnet! and when I got home I'd lost a wheel trim too! Removed by the water I guess...
Back next morning, and straight on with the second half of the bonnet. Then into front bumper and side panels:
passenger door:
top and botton section done, but note the marring from the first machine polish. This would be cleaned up on round two.
round the back saw the four inch mounting in place:
before working my way up the drivers side. Sometimes people dont quite get the message and so I was really please to have this secret message in the paint for the super intelligent people to see.....
Fun over I polished it out, and then set to for trip two. I spent what seemed like an age sorting pad and polish combos trying to create a sharo finish. As a result pics were not on my mind. I was at 1pm on day two only just finished first machining. In the end SV standard cleaner fluid and a finessing pad came good. Some panels being worked at slow speed to finish up, others needing medium/high. Very odd experience and not one I enjoyed as it proved very demanding.
Once all cleaned up I applied Swissvax Divine.
A final run of checks, taking an hours or so to tend to everything and ensure all panel gaps were clean and right.
Engine:
Inside: