prsdntial_dtail
New member
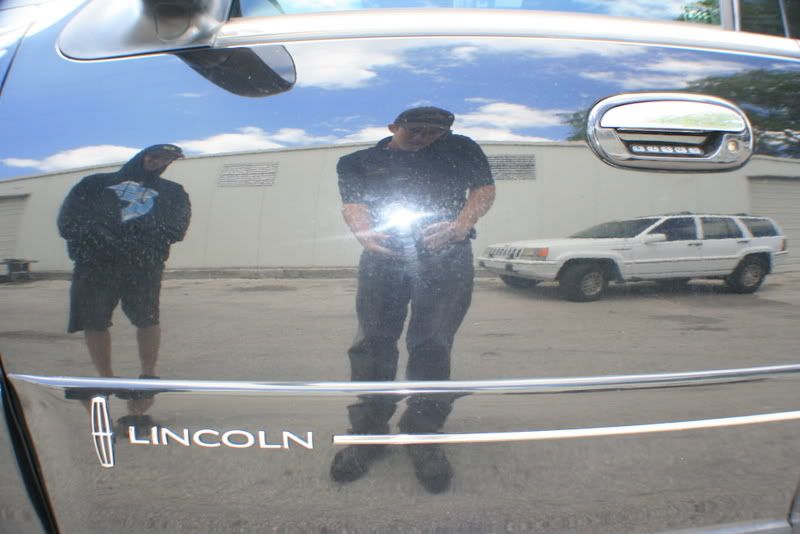
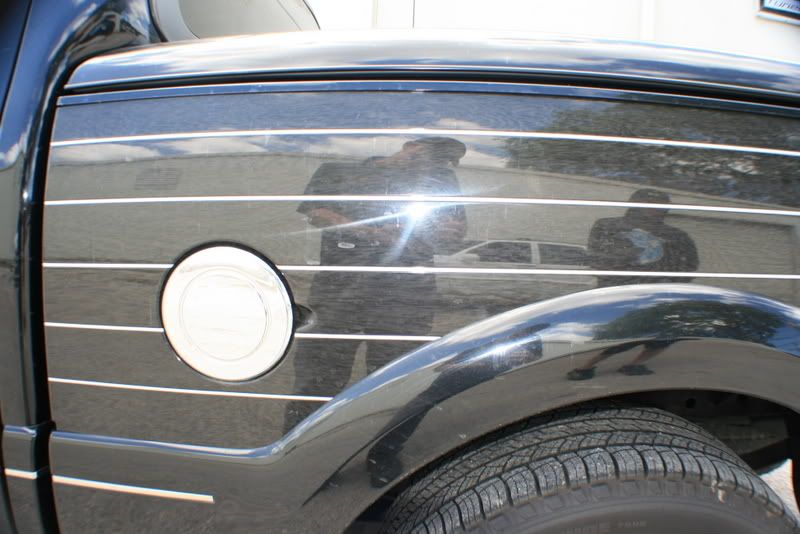
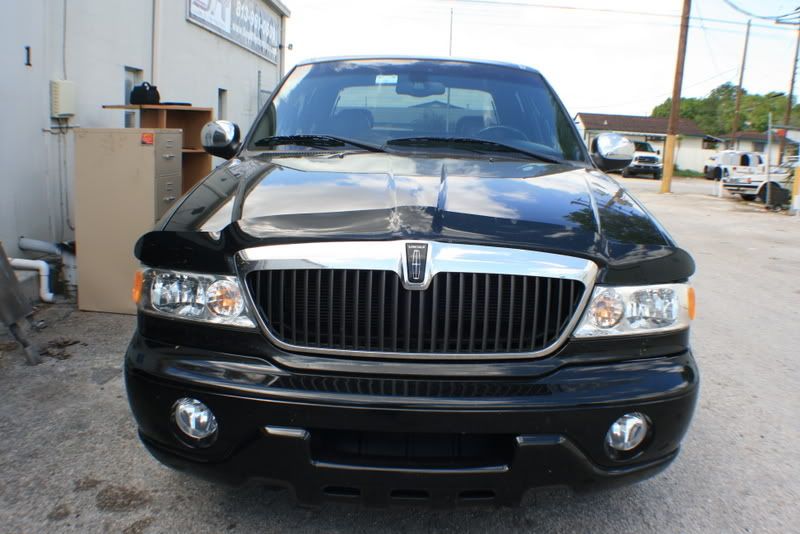
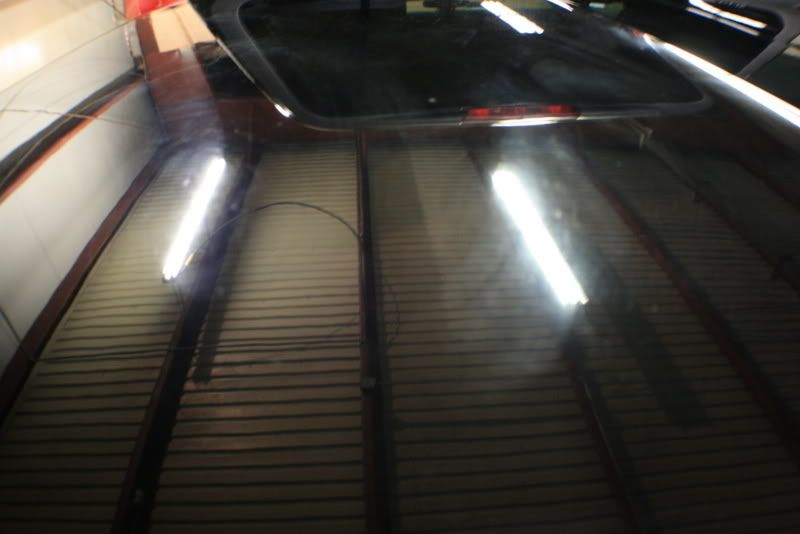
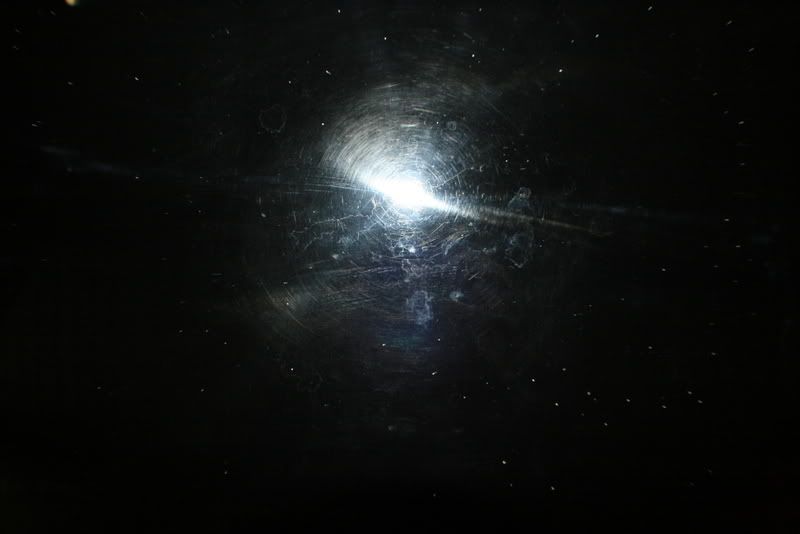
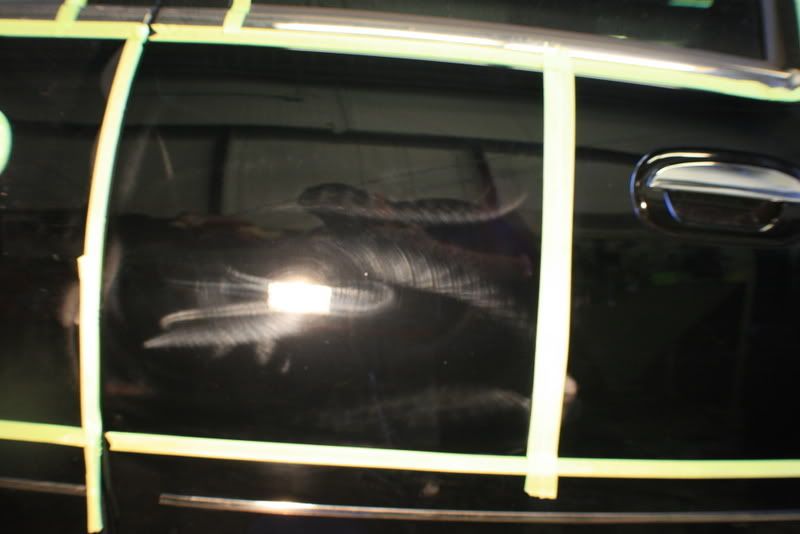
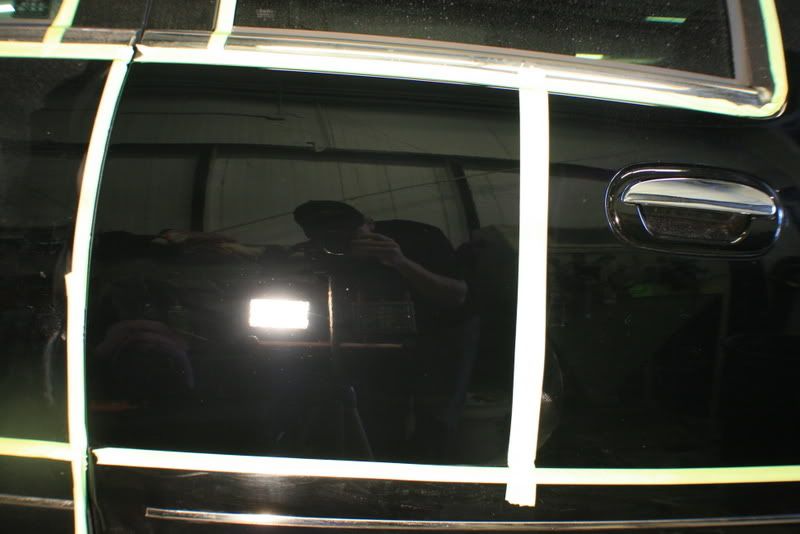
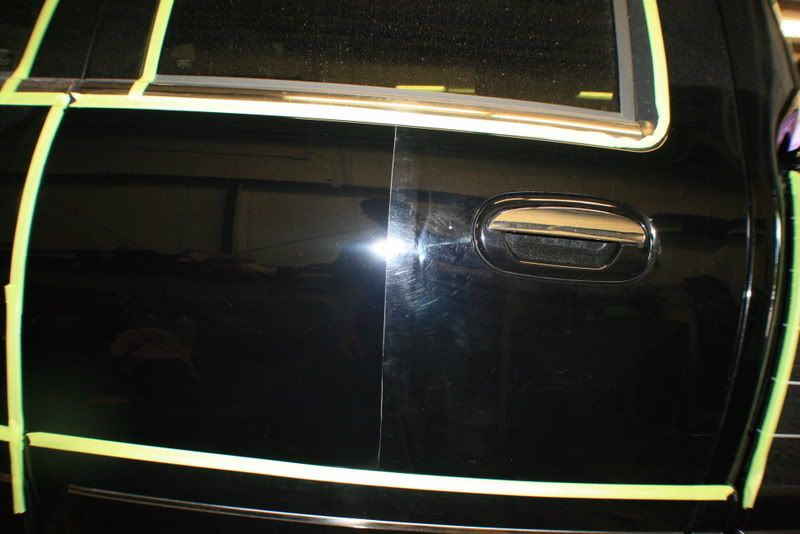
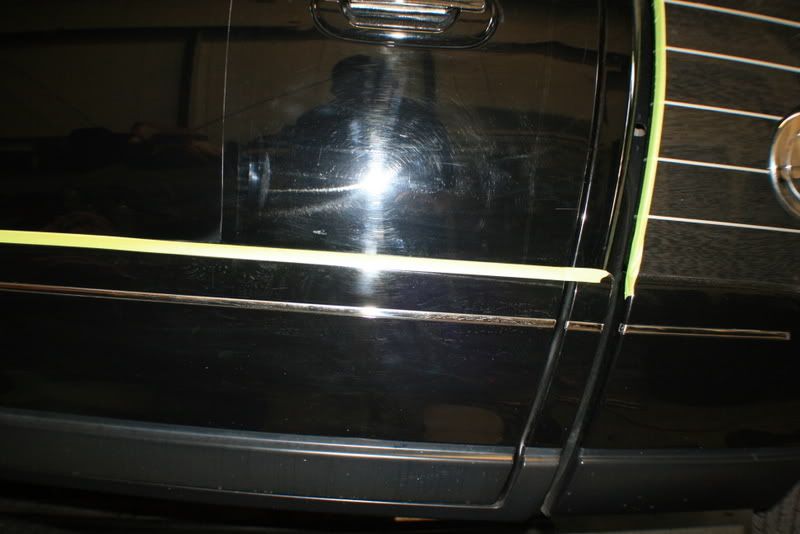
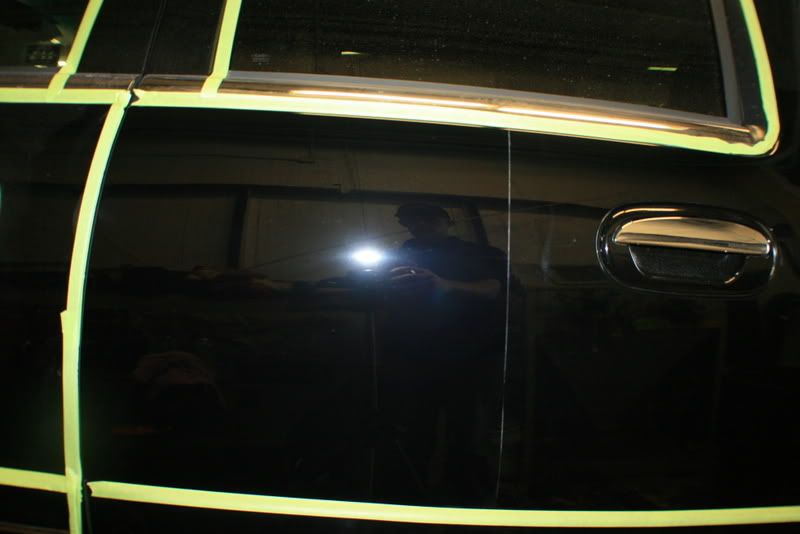
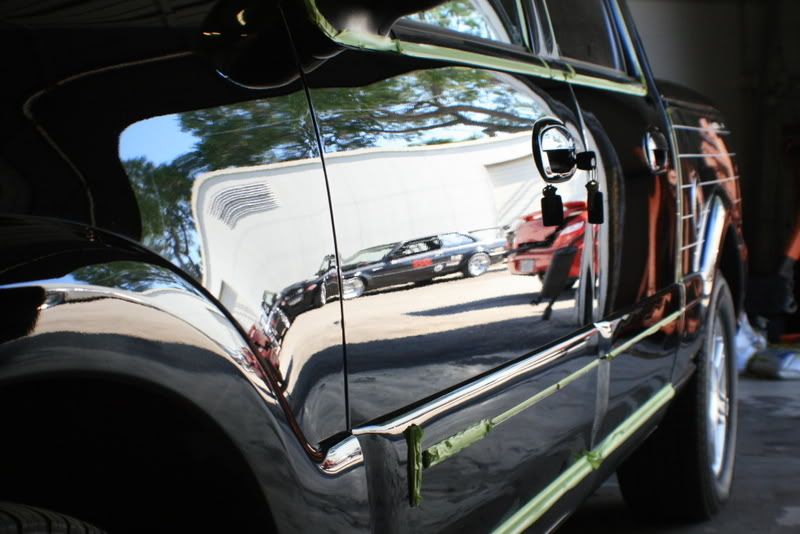
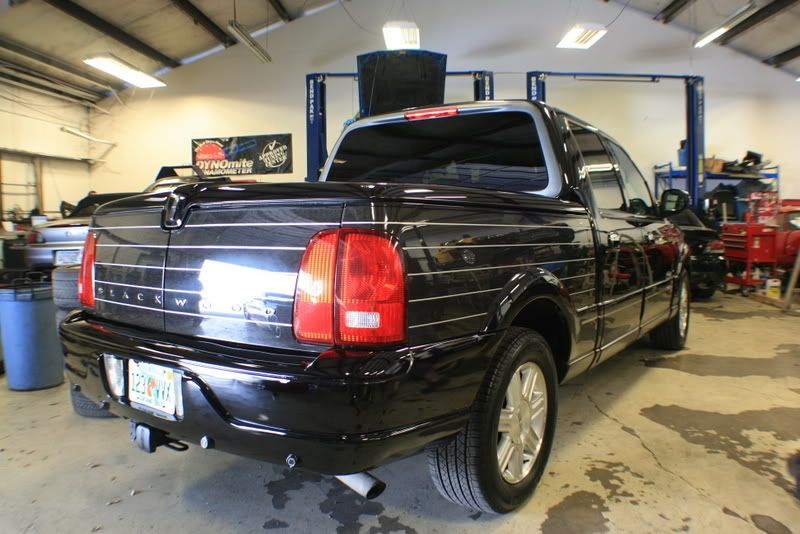
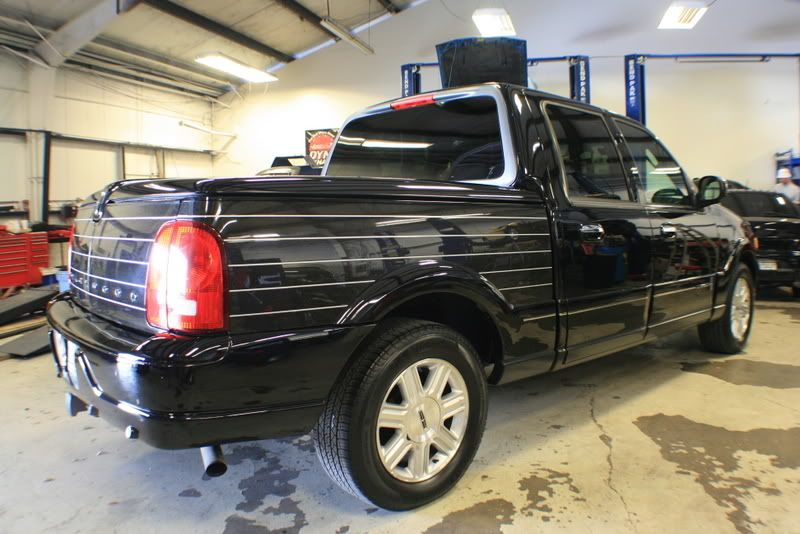
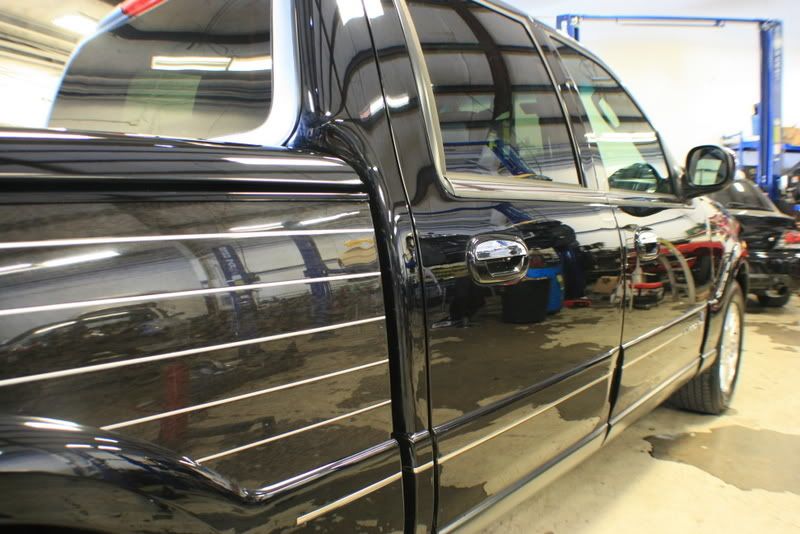
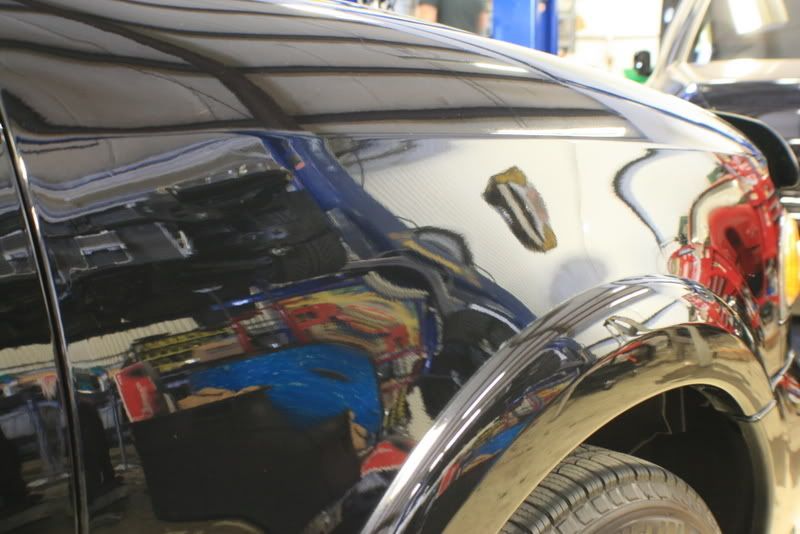
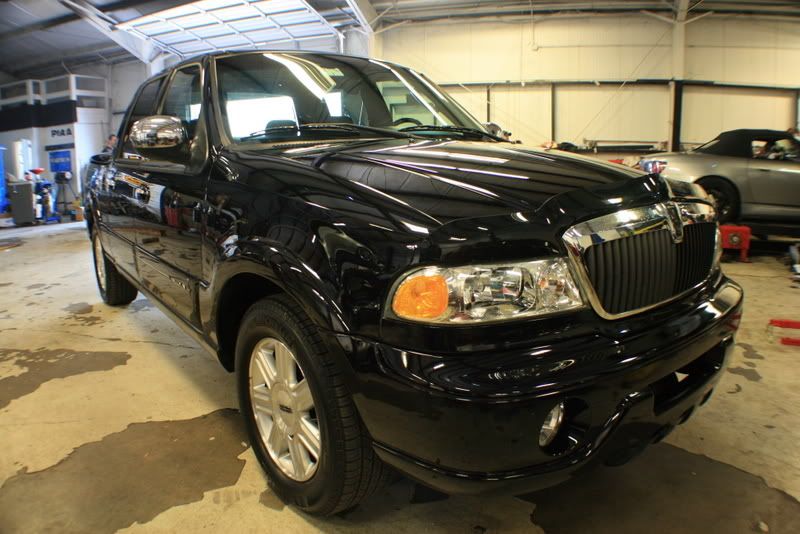
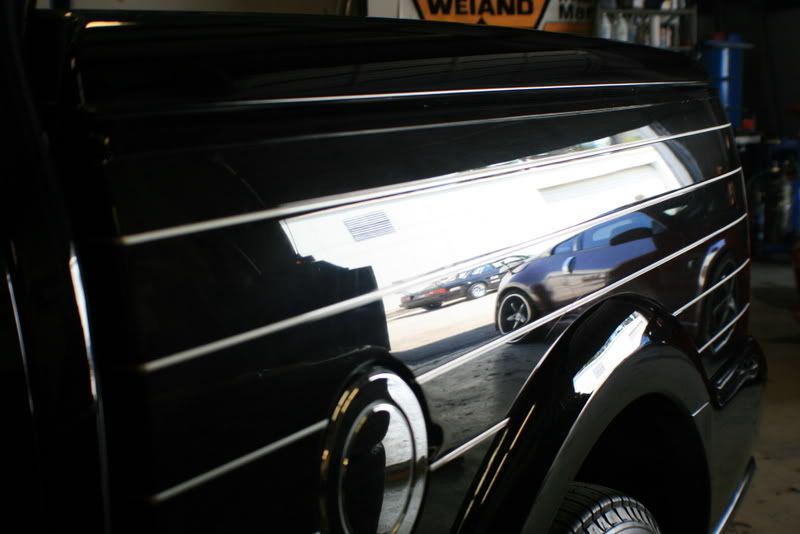
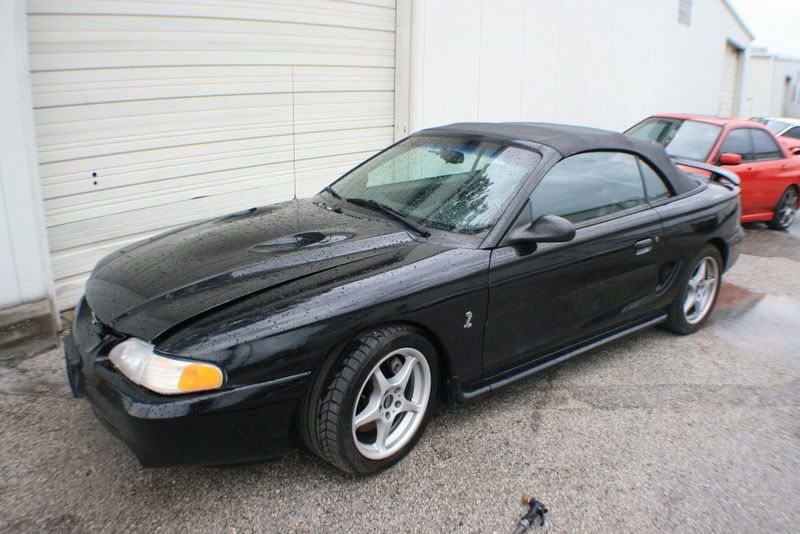
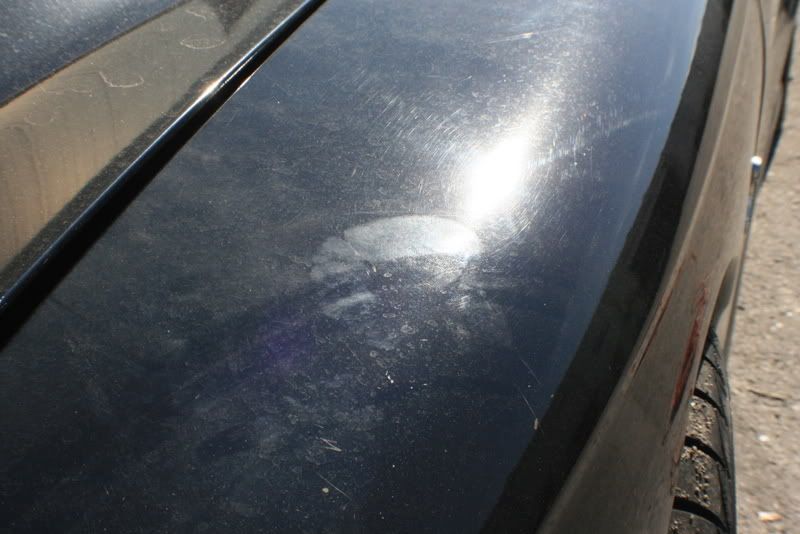
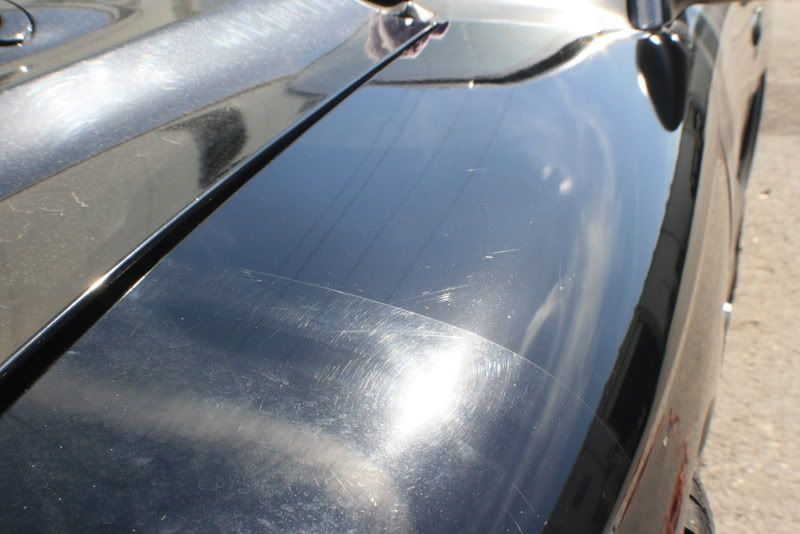
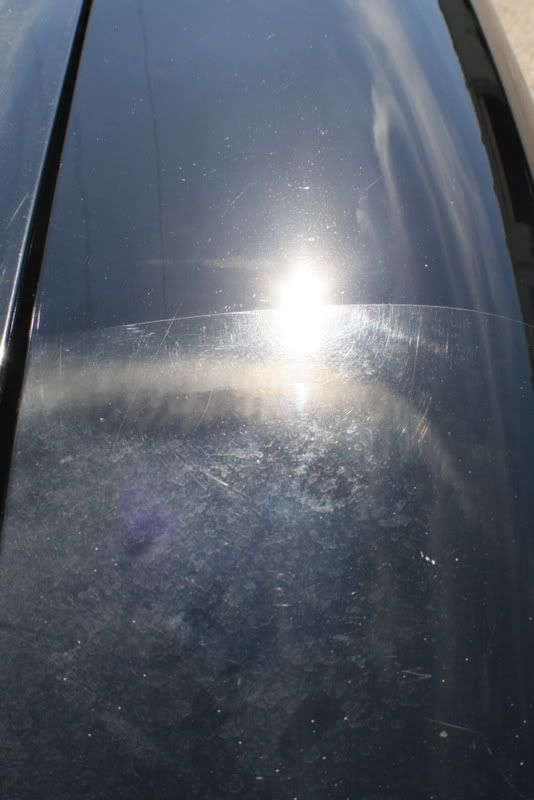
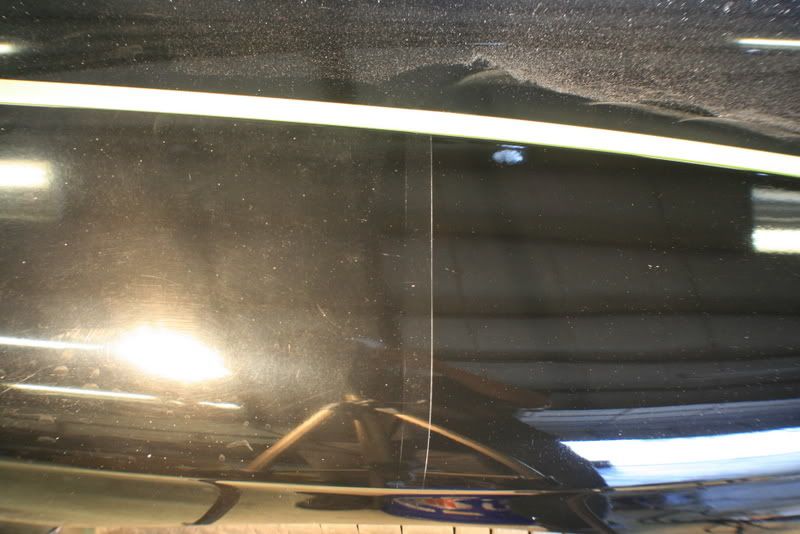
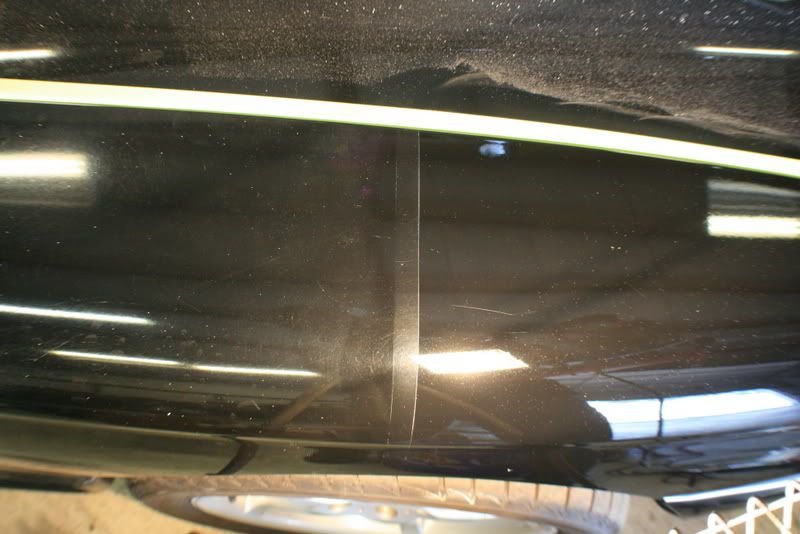
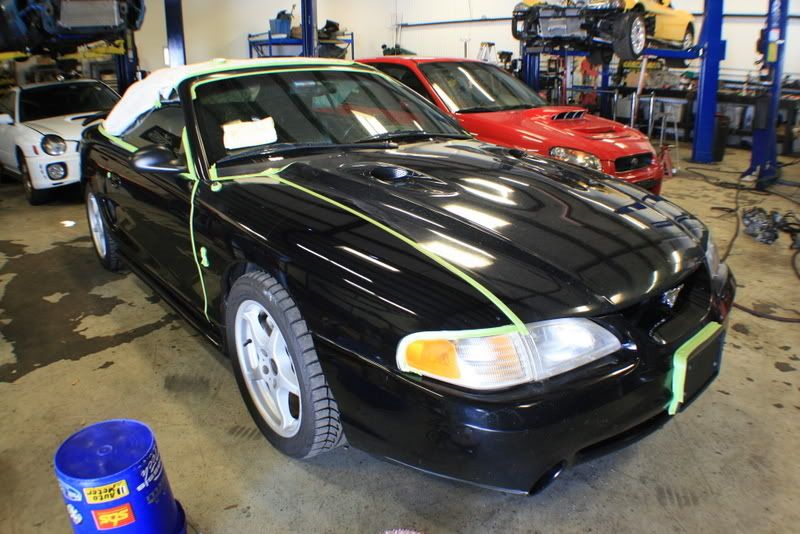
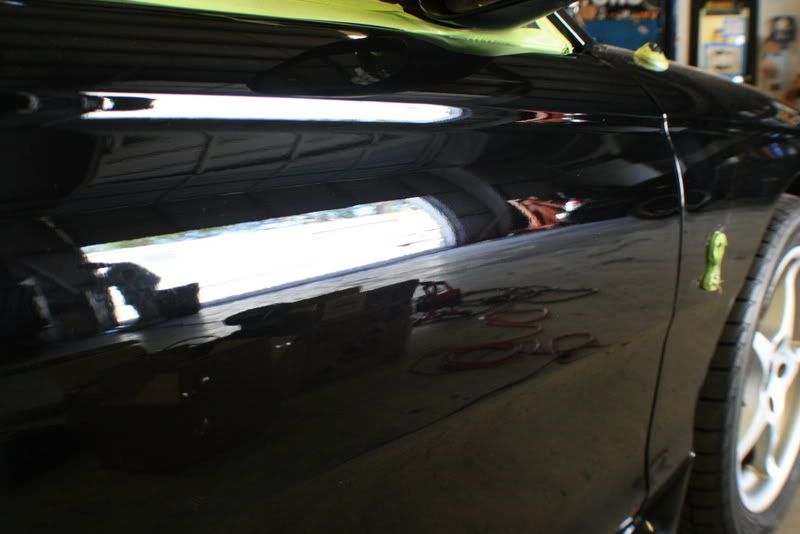
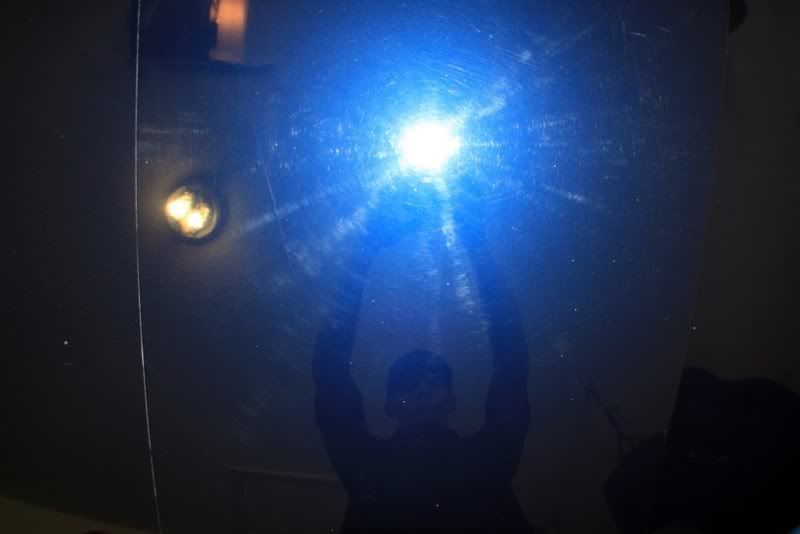
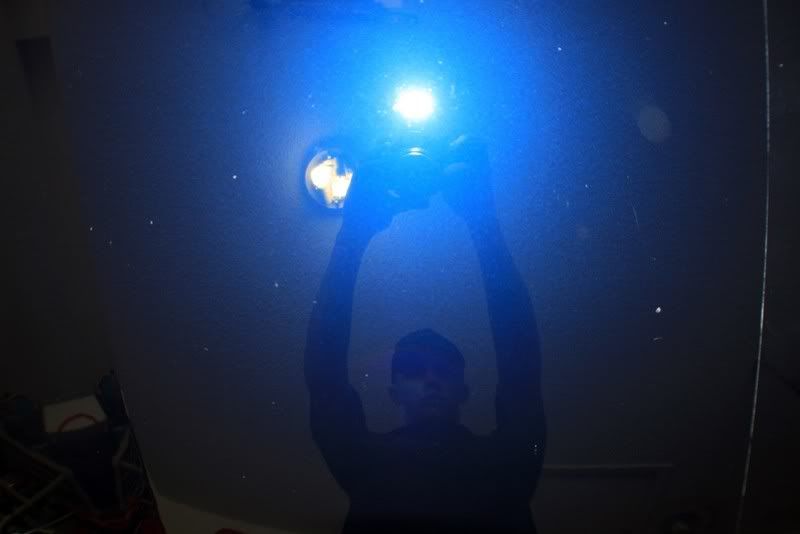
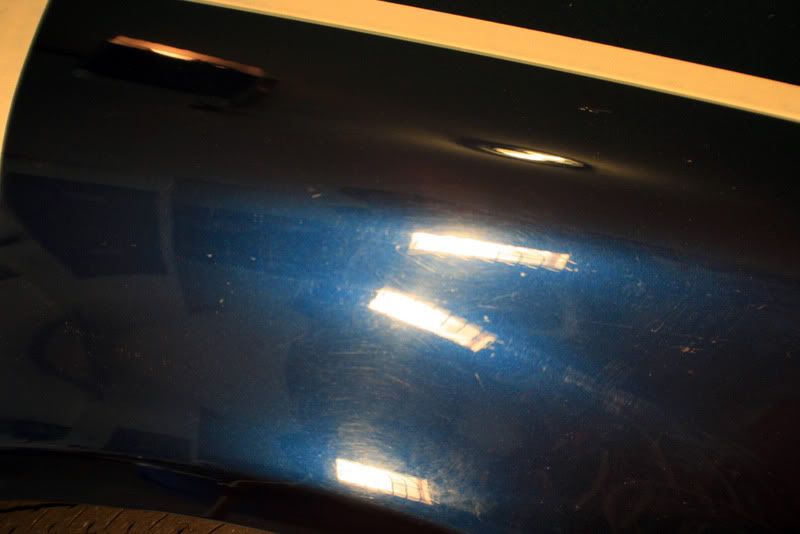
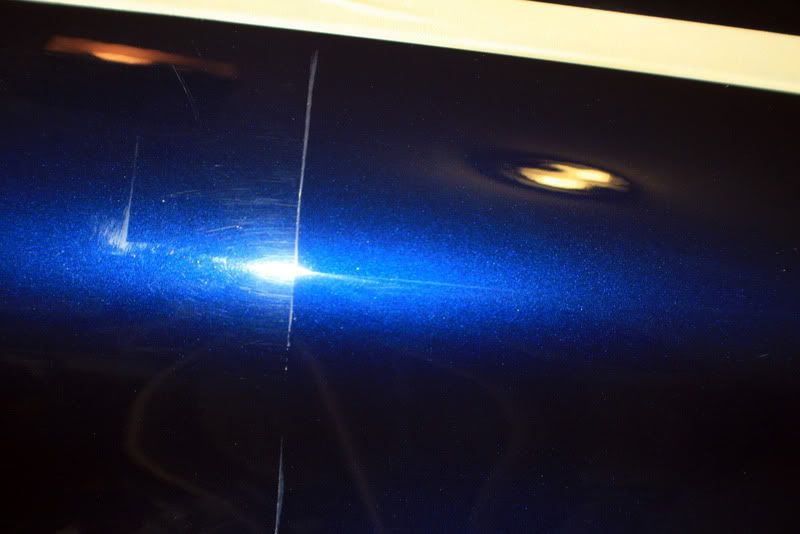
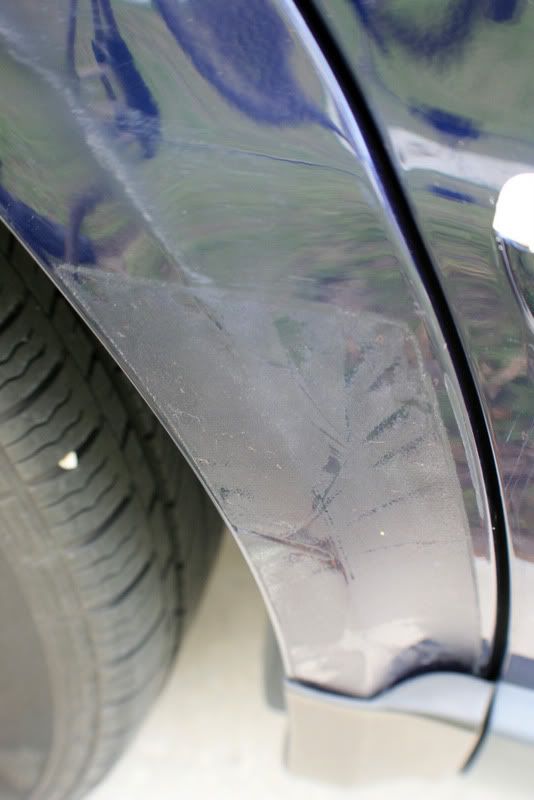
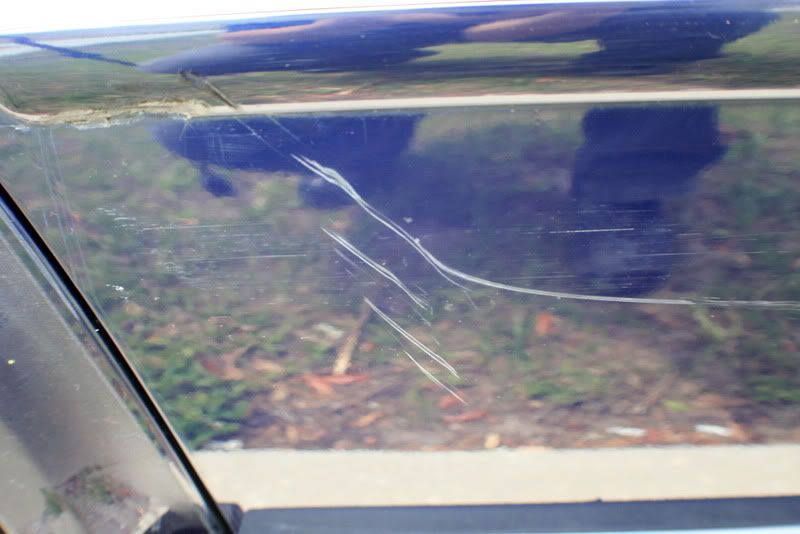
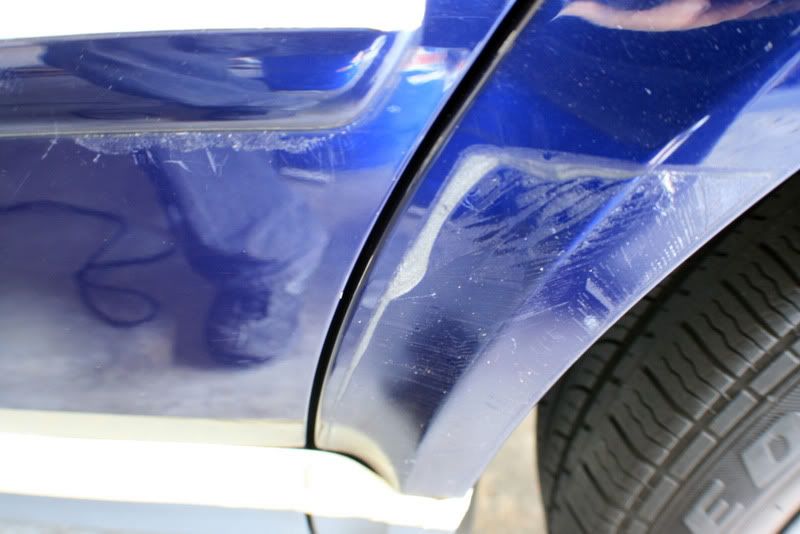
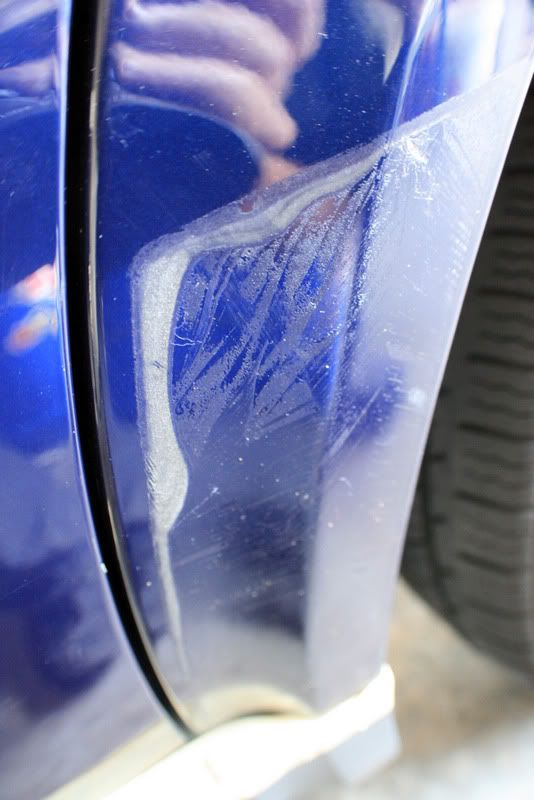
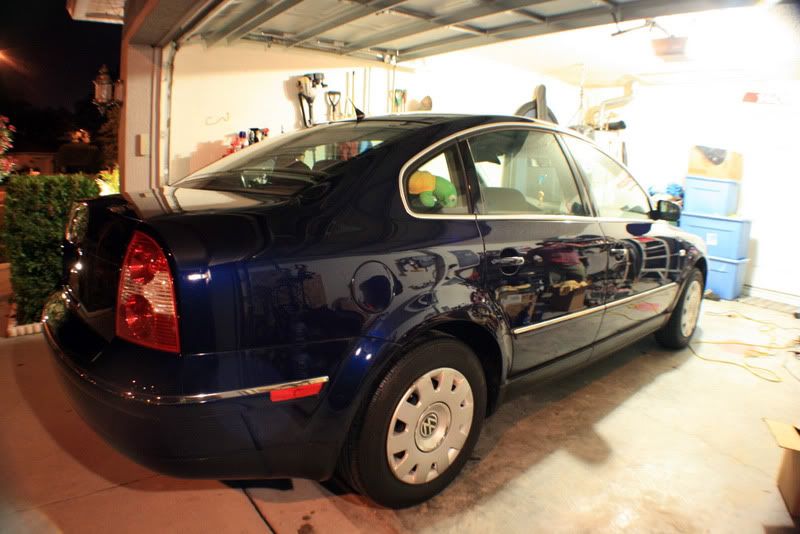
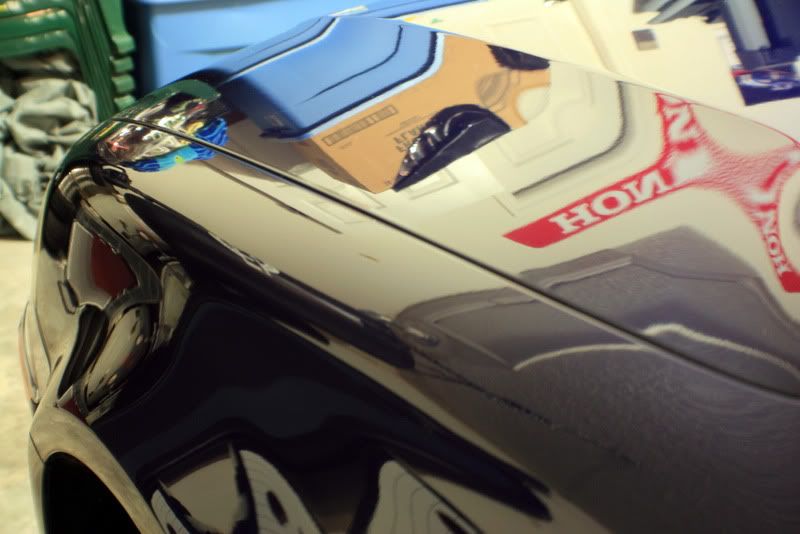
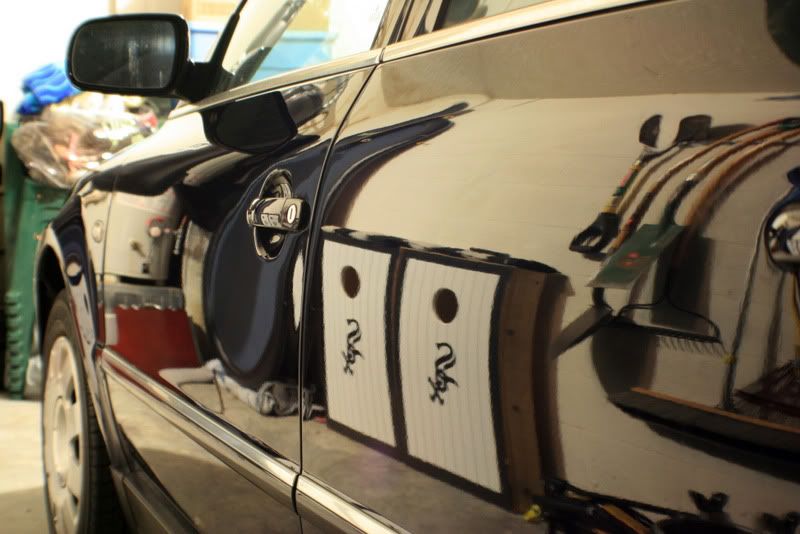
Due to time restraints and the severity of the paint issues on both of these cars I did not get a chance to document the details as well as I wanted, so Im posting them together. SR Performance sent me both of these cars once again, so I gotta give them thanks for sending me work! First up is a 2002 Lincoln Blackwood, the paint on this truck was in pretty rough condition and even with heavy compounding, the paint could only be restored to about a 85-90% finish without sanding.
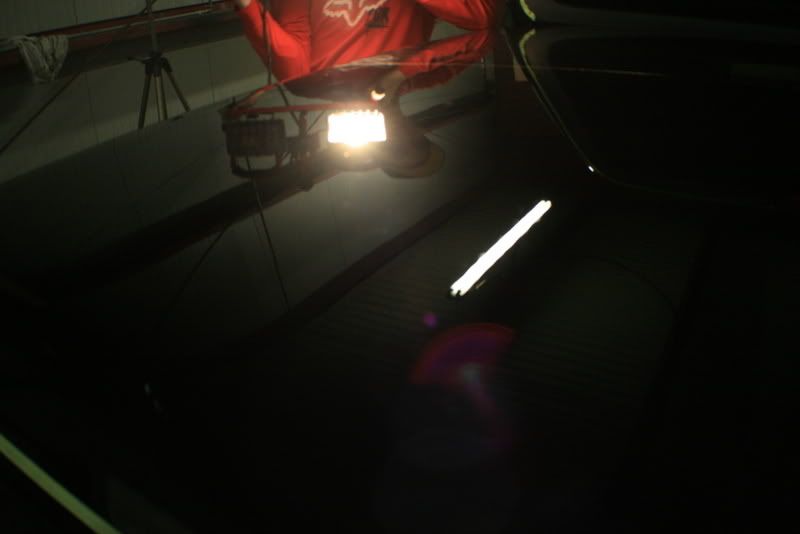
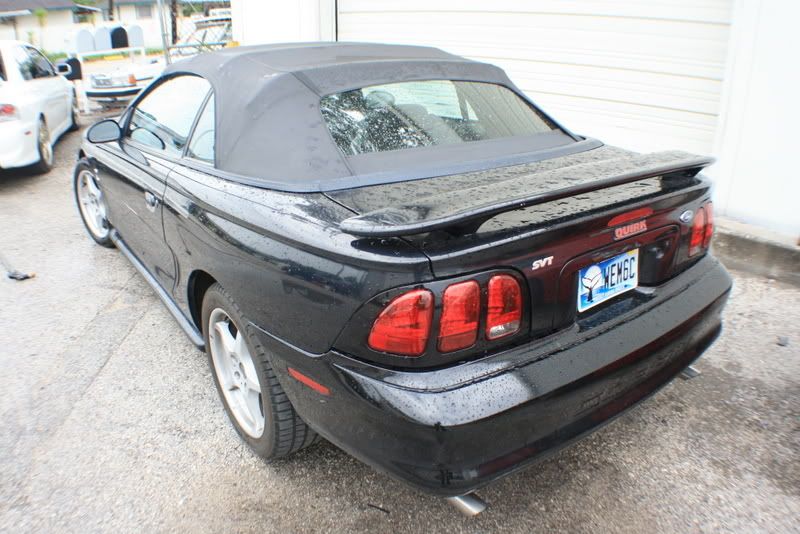
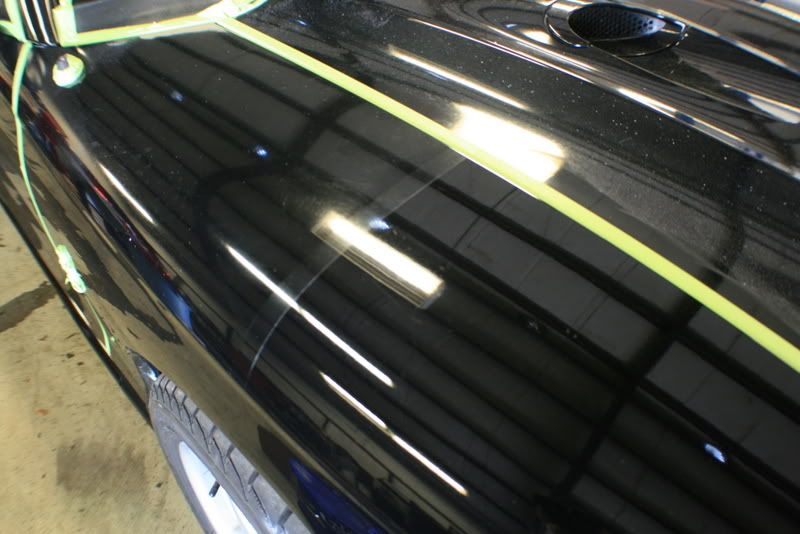
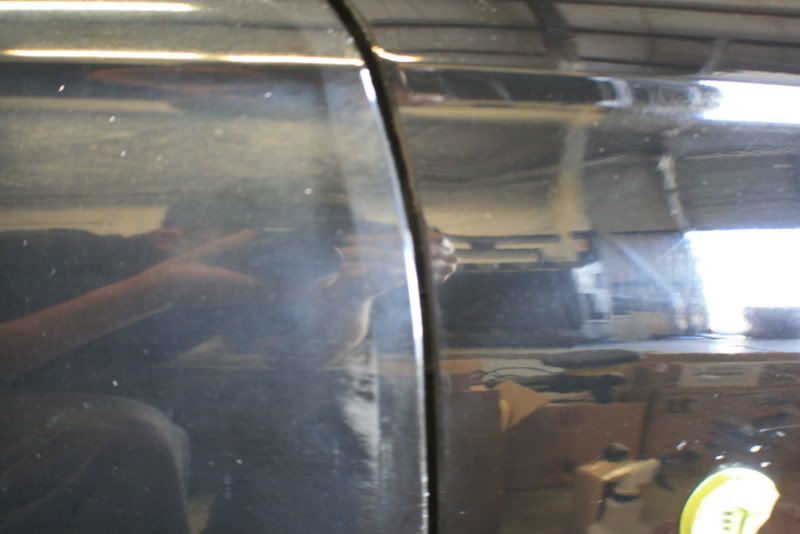
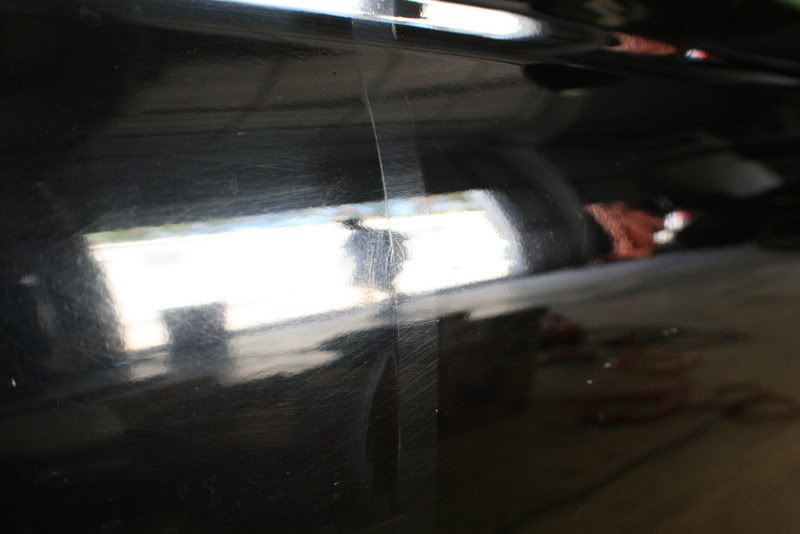
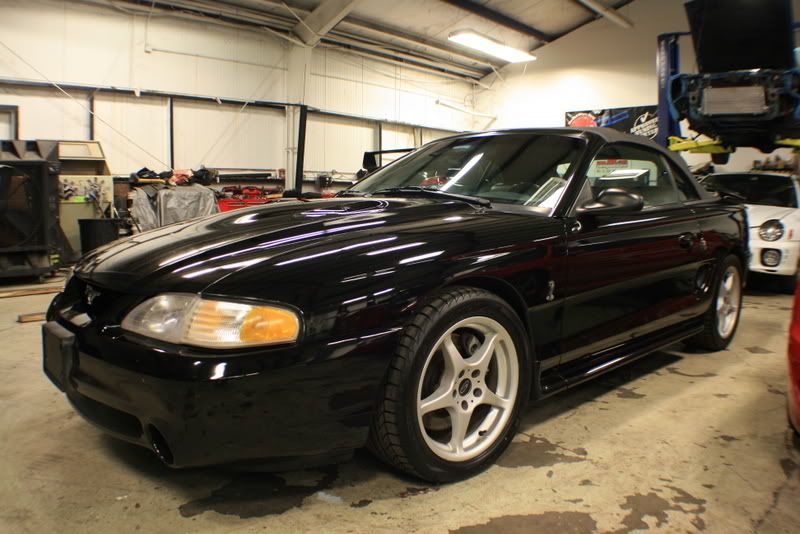
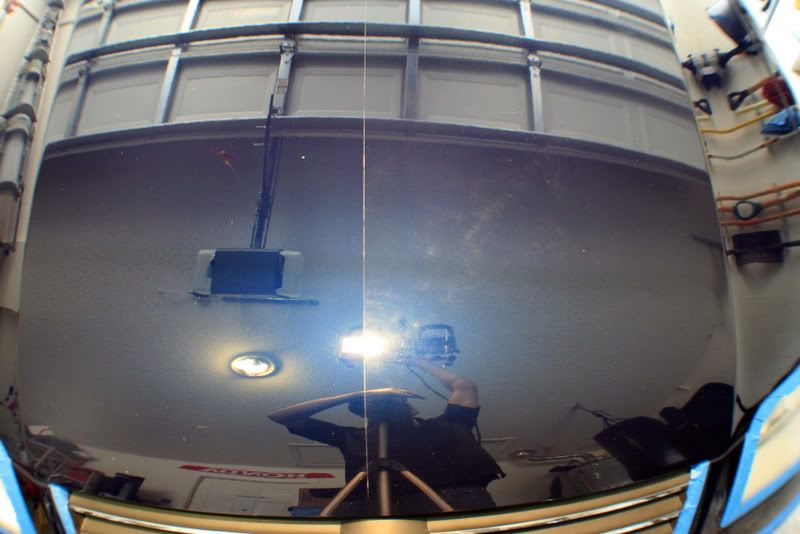
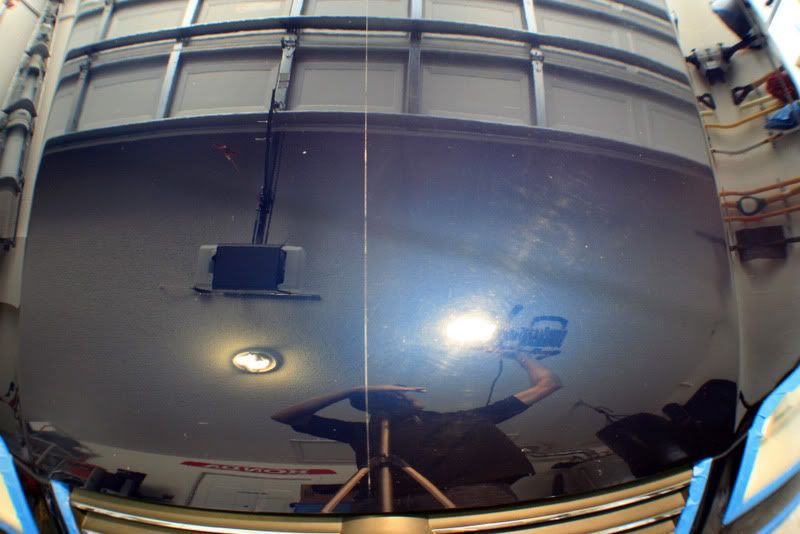
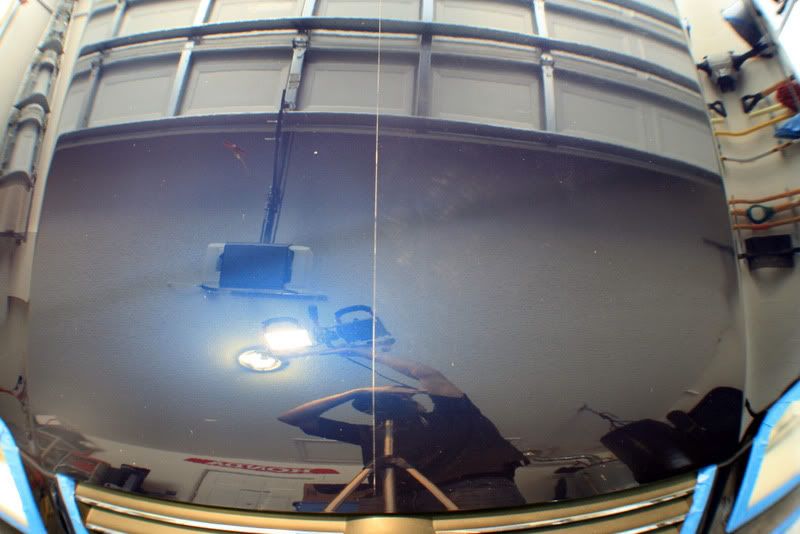
Before.
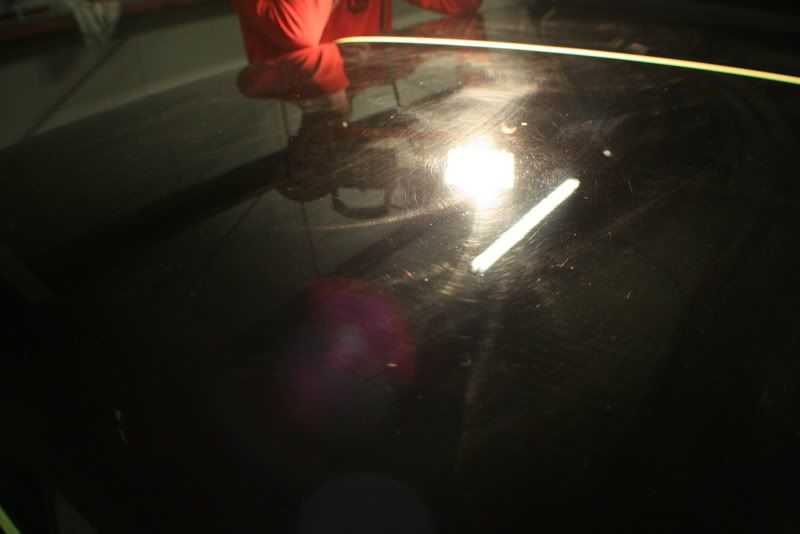
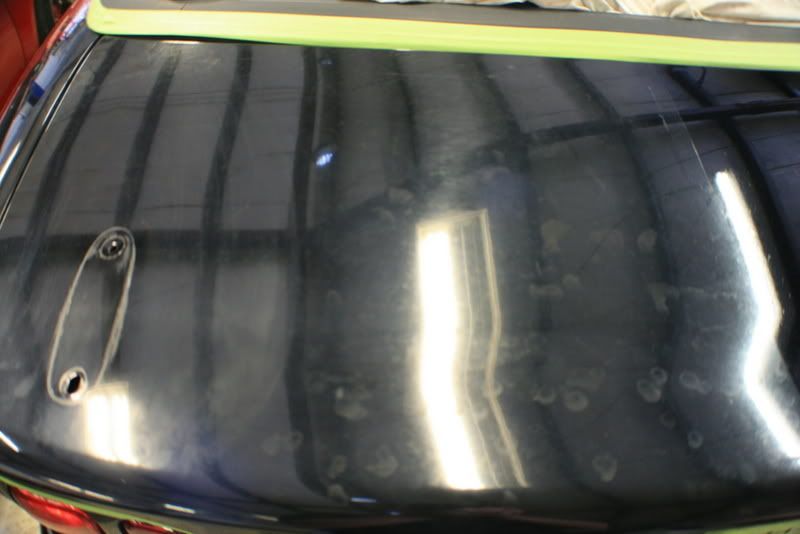
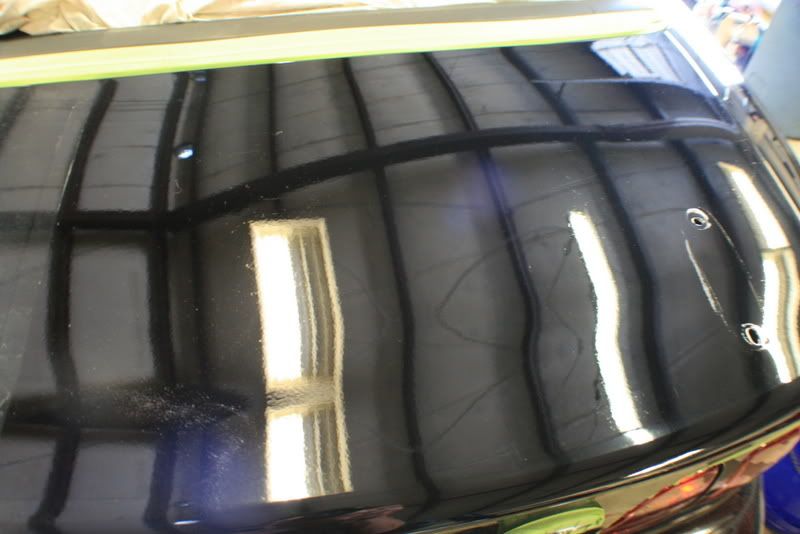
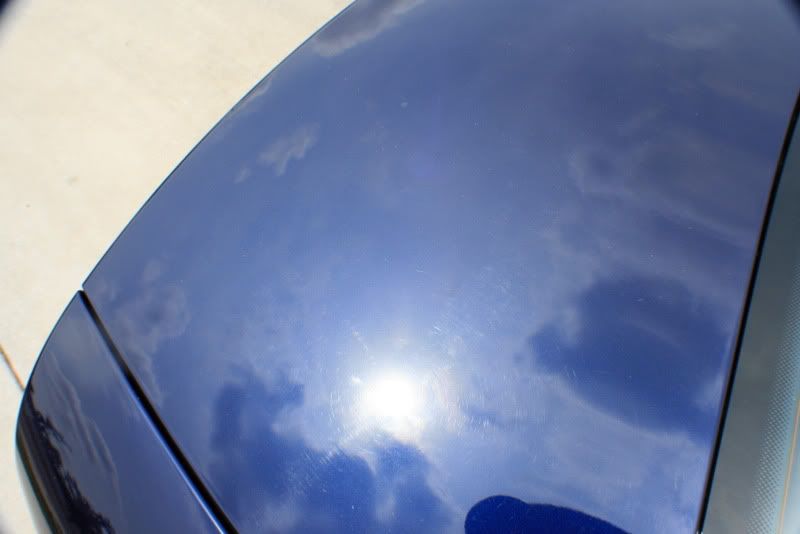
Hood Before.
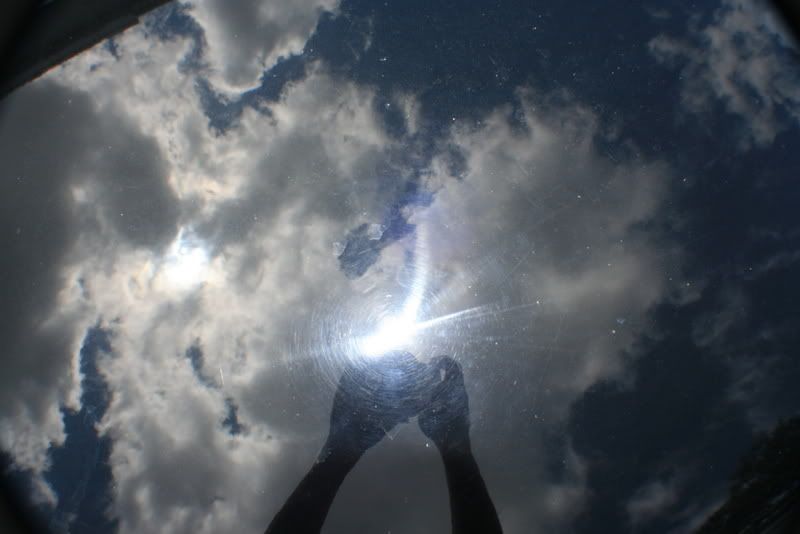
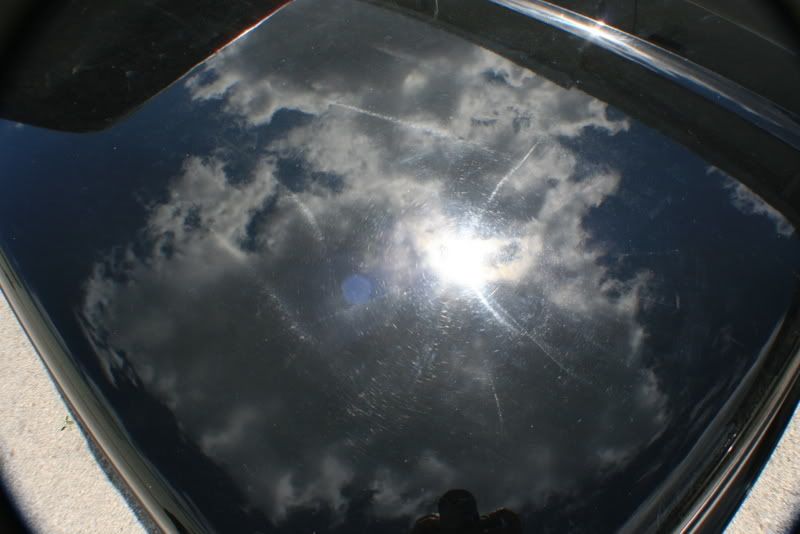
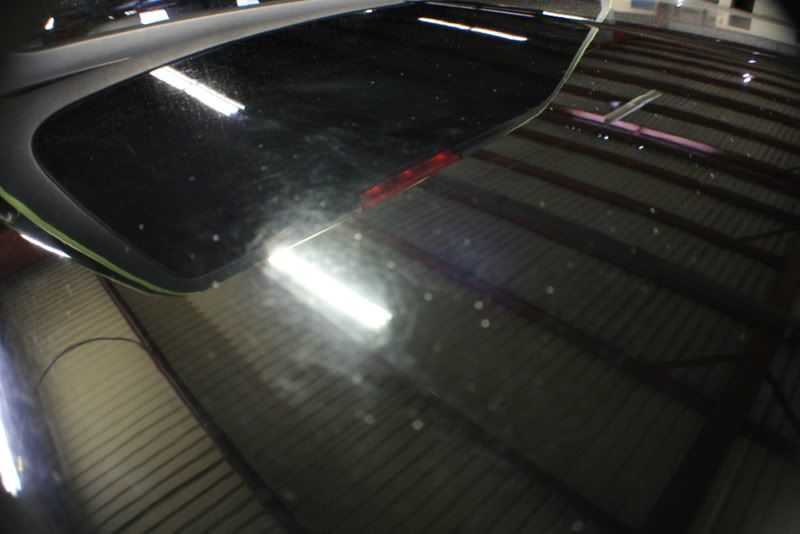
Factory Tonneau Cover Before.
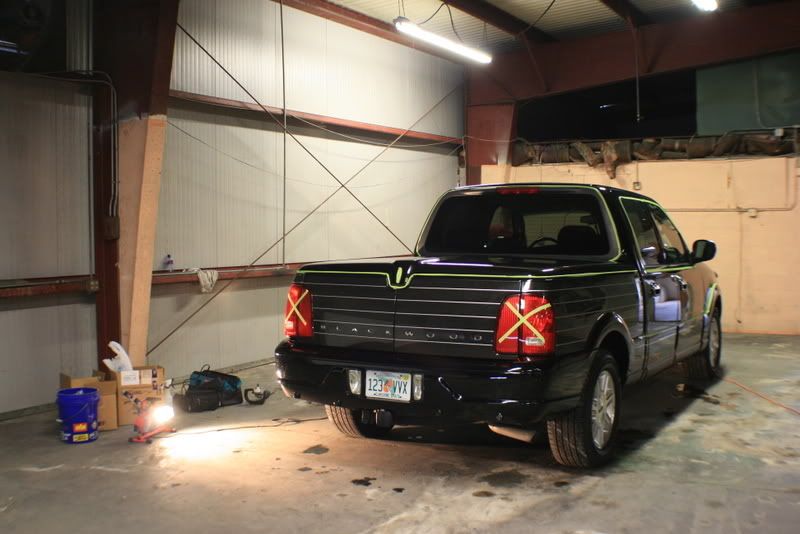
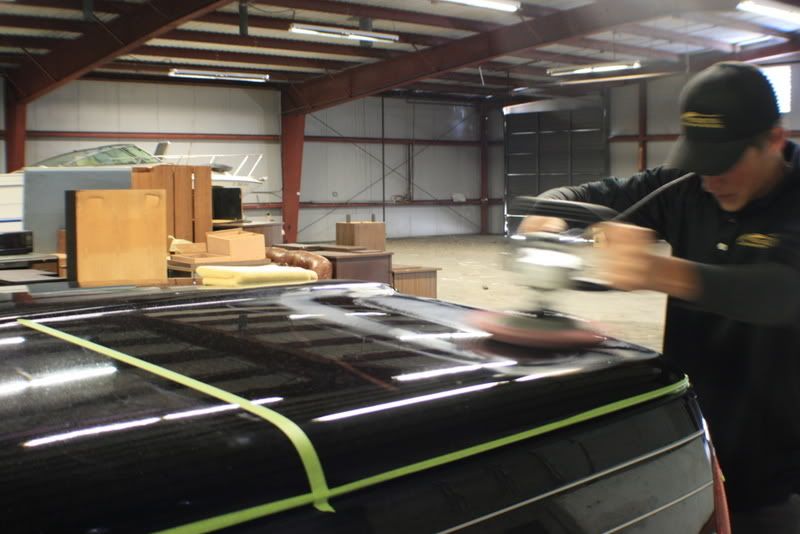
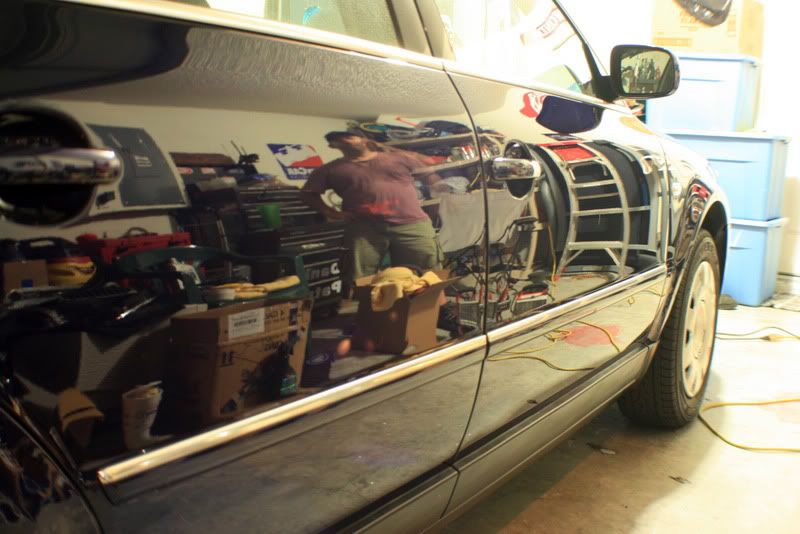
My workspace, if only I had this much room all the time!
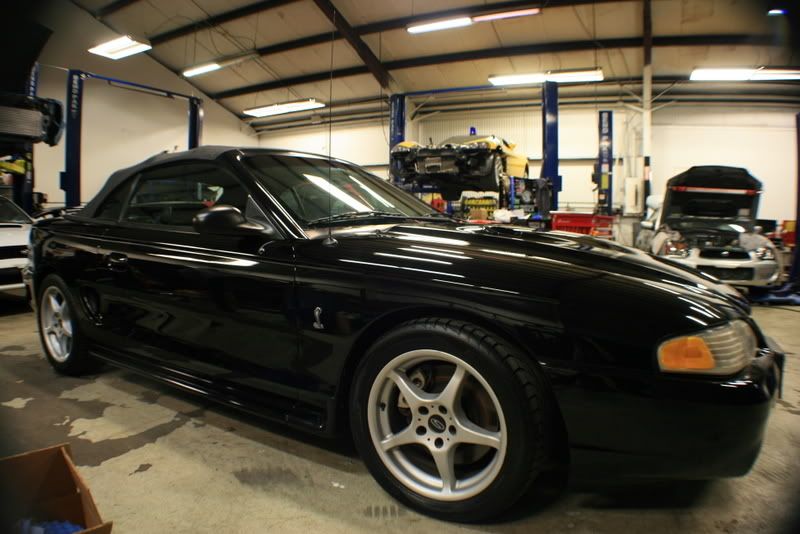
Before.
Hood Before.
Factory Tonneau Cover Before.
My workspace, if only I had this much room all the time!


") ).
).


")