adrock2003
New member
So I got together with another detailer here in town and we decided to give co-detailing a shot. We're both capable detailers, and I've found that I really need some help detailing to the best of my abilities and I believe John of Hill City Auto Detail may be in the same boat, though he has a better idea of what he needs to do in relation to time spent on a detail. I.E. he has better time management skills than I do.
This particular car only took us 5.5 hours to finish, so 11 man-hours, but we would have enough time to do a second car if we had started at 8:30am instead of really getting started at 11am after introducing John to the other lot people and chit-chatting and such. Granted, we didn't make much money on it, but we got it done quickly. We'll get faster as we get to know each other better and once John's Flex DA gets to him!!! :drool:
I went to my lot today and was commissioned to detail a white, 2004 Mustang Mach I with a Procharger Supercharger and gutted cats as it was SEVERELY swirled and had some staining in the paint we were asked to try to get out.
Process:
- Washed Via Super Wash car shampoo with a bit of degreaser mixed in to remove any old polish residue or sealants that may have been lurking in the paint.
- No claying was done and it really didn't need it.
- Dried with 2 absorbers (1 for me and 1 for John.)
- Initial polishing started with John using M105/205 and a PC 7424 and me using M95/82 on my Griot's on the other side. We figured the power of my machine would make the 95 and 82 work at about the same speed as his PC with 105 and 205 and we were right as you'll see in the pics below.
- Once polished out, it got sealed with Poorboy's EX-P.
- John ALSO got to use his headlight restoration kit on this car. The lights came out BEAUTIFULLY, though I'm not sure we took any before and after pictures of them. He might have though.
ONTO THE PICS!!
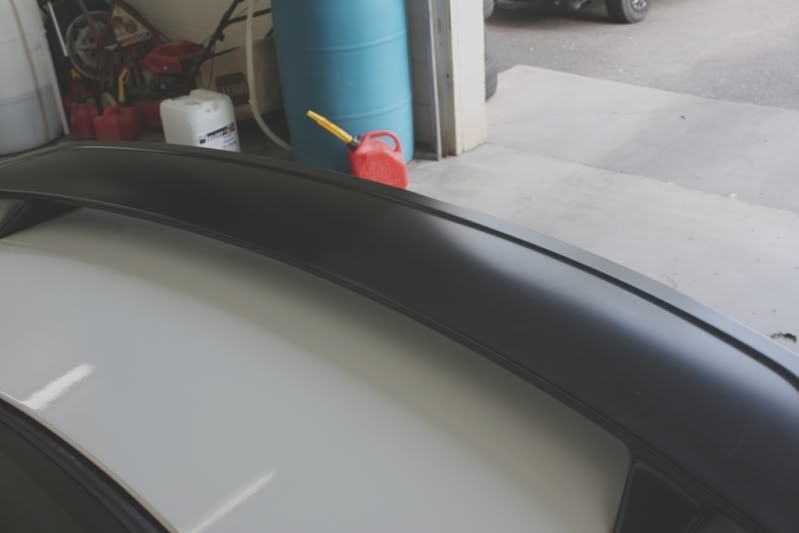
Tons and Tons and TONS of swirls. The roof wasn't too bad, but the hood and trunk were terrible!


Here is a picture of the staining on the front bumper that we couldn't remove. Even wetsanding wouldn't take it out, so we had to leave it alone.

This stain is a chemical burn of some sort and we believe it may have eaten all the way through the clearcoat. We did a lot of work on it though and the color came all out of it and it was white again, though it left a visible defect in the paint in the sunlight.


These swirls were much deeper than the pictures show them to be. By no means, were they superficial.

This particular car only took us 5.5 hours to finish, so 11 man-hours, but we would have enough time to do a second car if we had started at 8:30am instead of really getting started at 11am after introducing John to the other lot people and chit-chatting and such. Granted, we didn't make much money on it, but we got it done quickly. We'll get faster as we get to know each other better and once John's Flex DA gets to him!!! :drool:
I went to my lot today and was commissioned to detail a white, 2004 Mustang Mach I with a Procharger Supercharger and gutted cats as it was SEVERELY swirled and had some staining in the paint we were asked to try to get out.
Process:
- Washed Via Super Wash car shampoo with a bit of degreaser mixed in to remove any old polish residue or sealants that may have been lurking in the paint.
- No claying was done and it really didn't need it.
- Dried with 2 absorbers (1 for me and 1 for John.)
- Initial polishing started with John using M105/205 and a PC 7424 and me using M95/82 on my Griot's on the other side. We figured the power of my machine would make the 95 and 82 work at about the same speed as his PC with 105 and 205 and we were right as you'll see in the pics below.
- Once polished out, it got sealed with Poorboy's EX-P.
- John ALSO got to use his headlight restoration kit on this car. The lights came out BEAUTIFULLY, though I'm not sure we took any before and after pictures of them. He might have though.
ONTO THE PICS!!
Tons and Tons and TONS of swirls. The roof wasn't too bad, but the hood and trunk were terrible!
Here is a picture of the staining on the front bumper that we couldn't remove. Even wetsanding wouldn't take it out, so we had to leave it alone.
This stain is a chemical burn of some sort and we believe it may have eaten all the way through the clearcoat. We did a lot of work on it though and the color came all out of it and it was white again, though it left a visible defect in the paint in the sunlight.
These swirls were much deeper than the pictures show them to be. By no means, were they superficial.


") Now I just need to learn how to best use M105. I invested in the 105/205 combo today and am trying to get this rotary thing down as quickly as possible. Nothing like learning on a 2006 Charcoal Gray Metallic M6 eh? lol
Now I just need to learn how to best use M105. I invested in the 105/205 combo today and am trying to get this rotary thing down as quickly as possible. Nothing like learning on a 2006 Charcoal Gray Metallic M6 eh? lol