finerdetails
New member
thats write, its been an age since I showed an work pond side so thought I'd post one from last month. Only 11 years old...
Welcome to the on-line Detailing Report of a Mazda MX5 from FinerDetails.
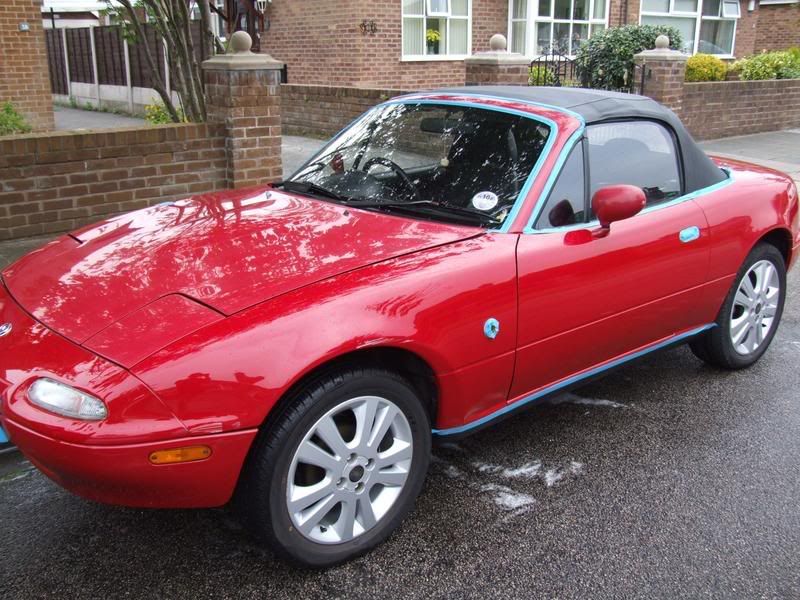
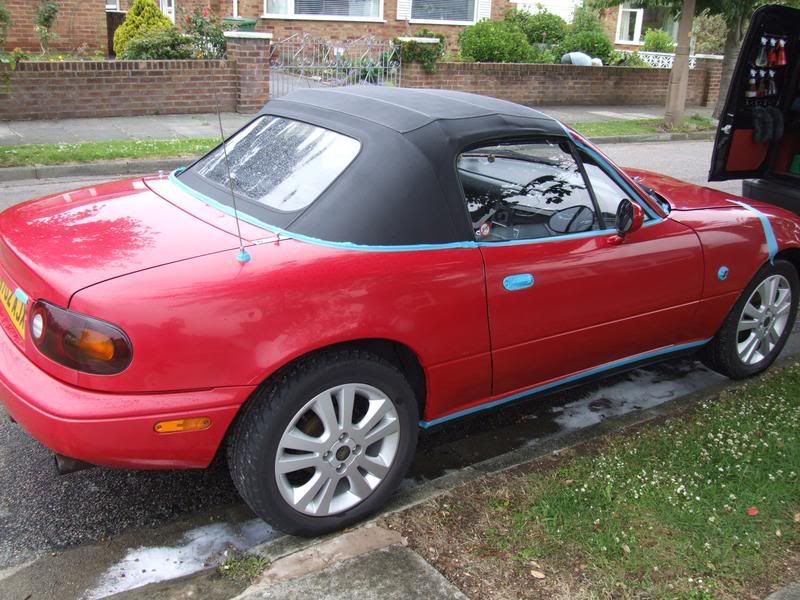
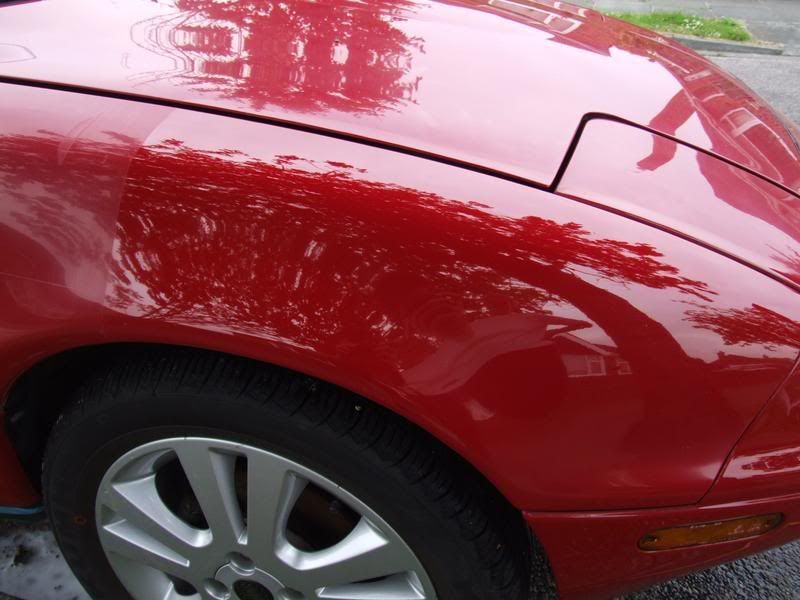
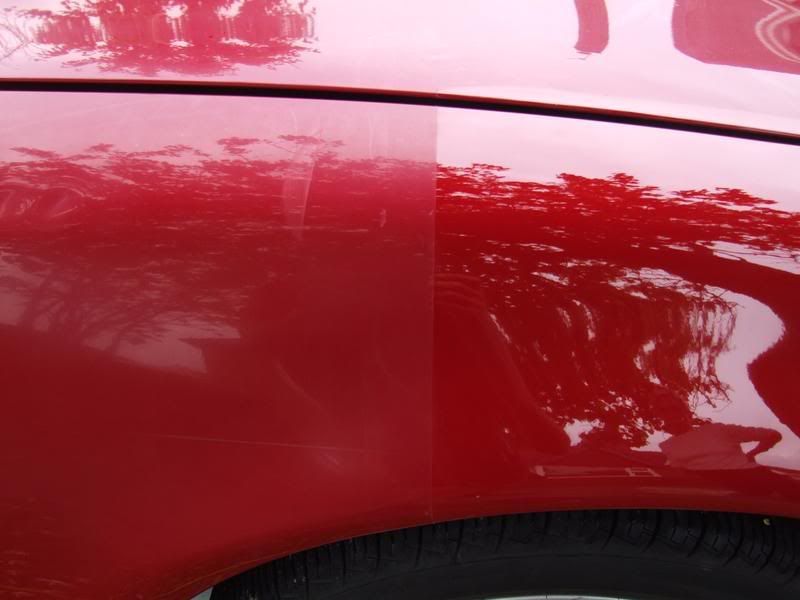
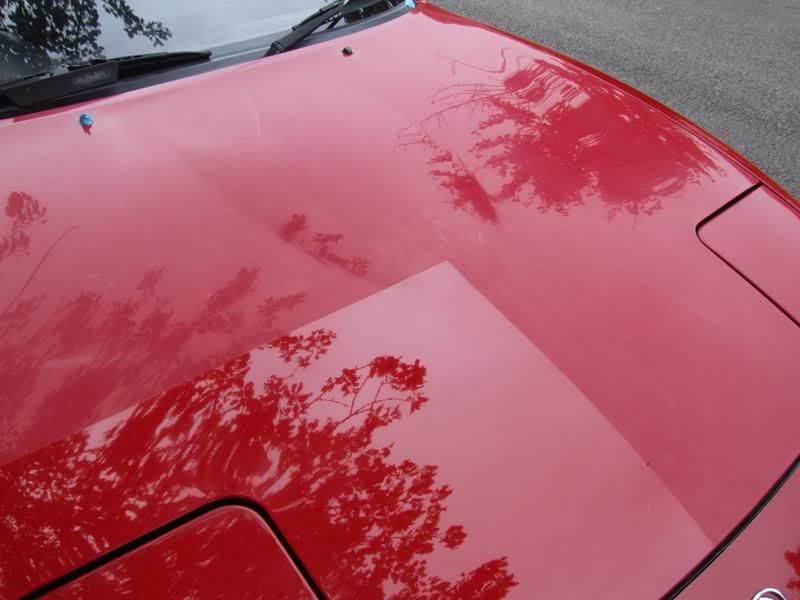
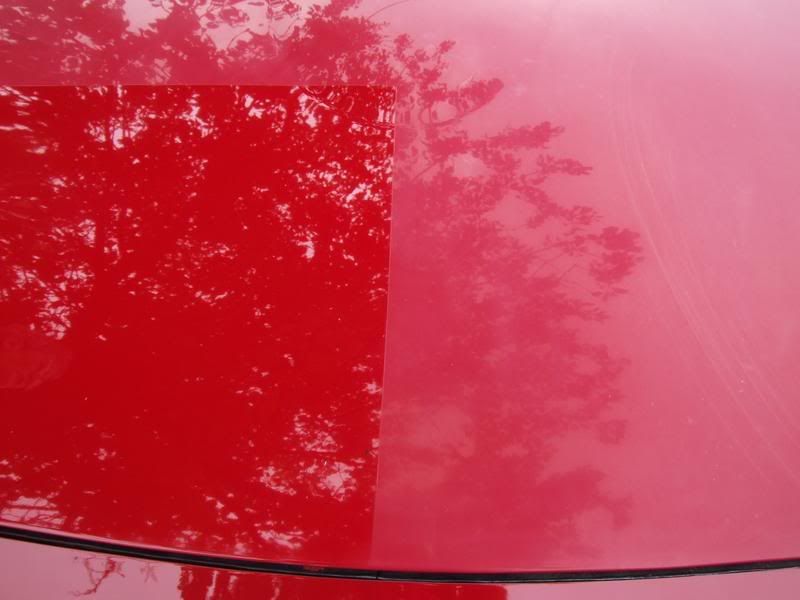
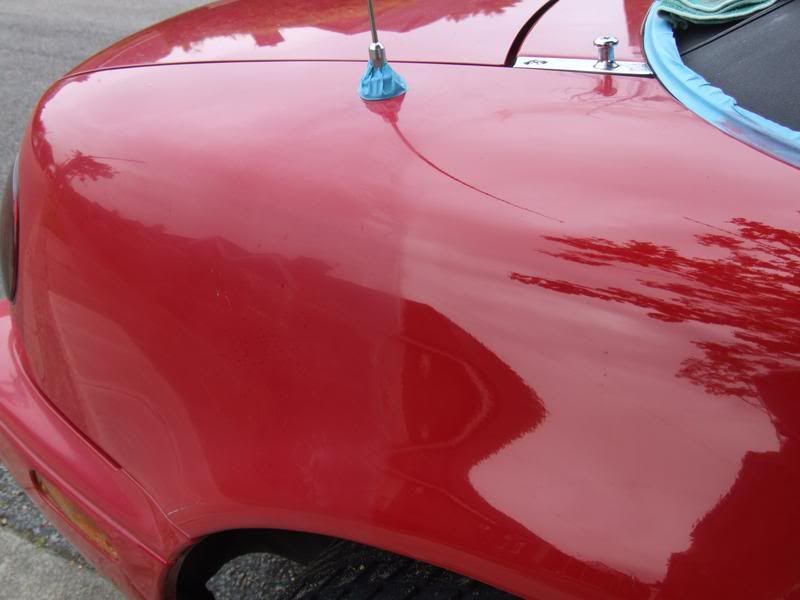
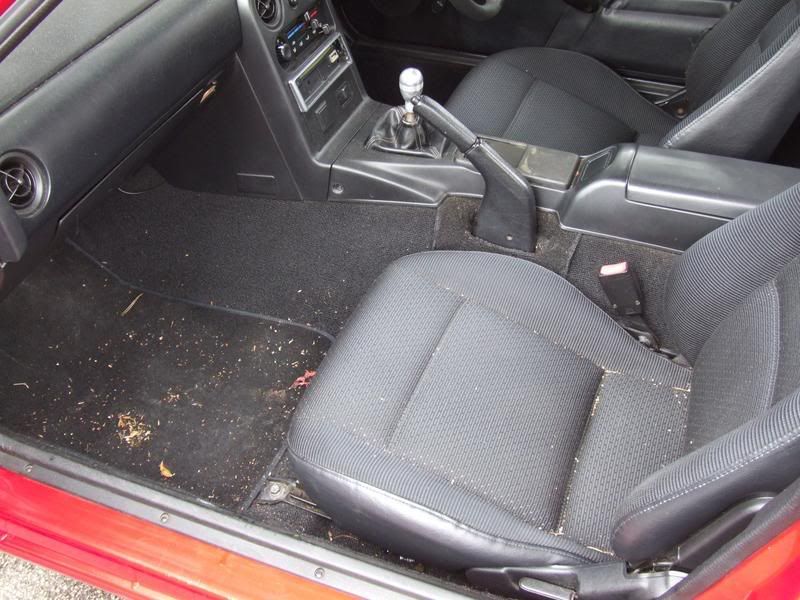
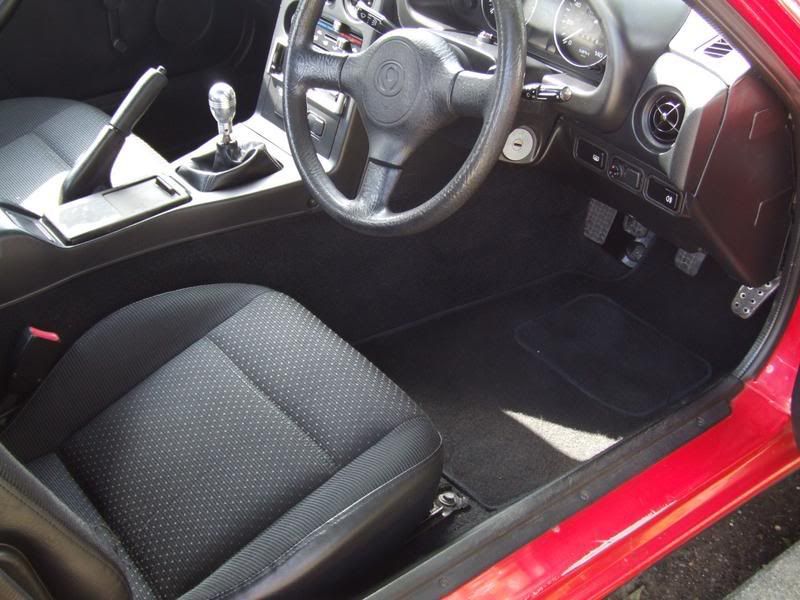
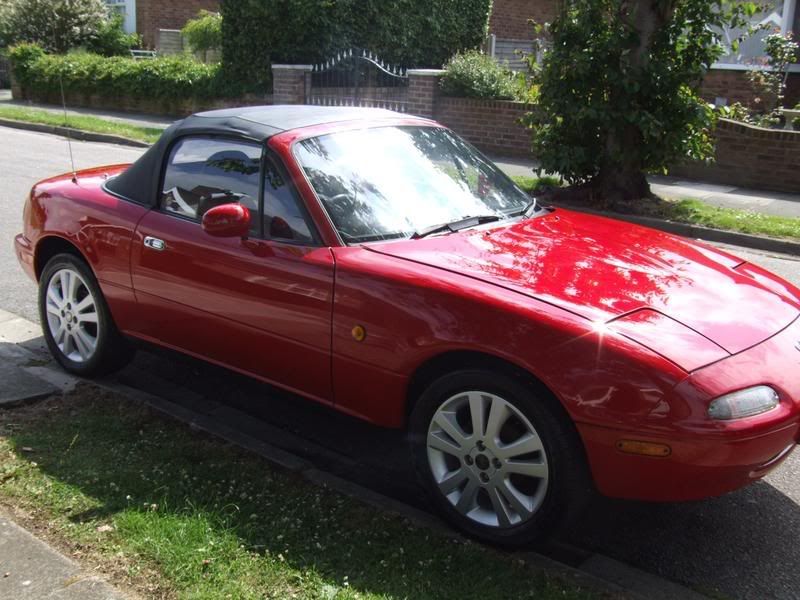
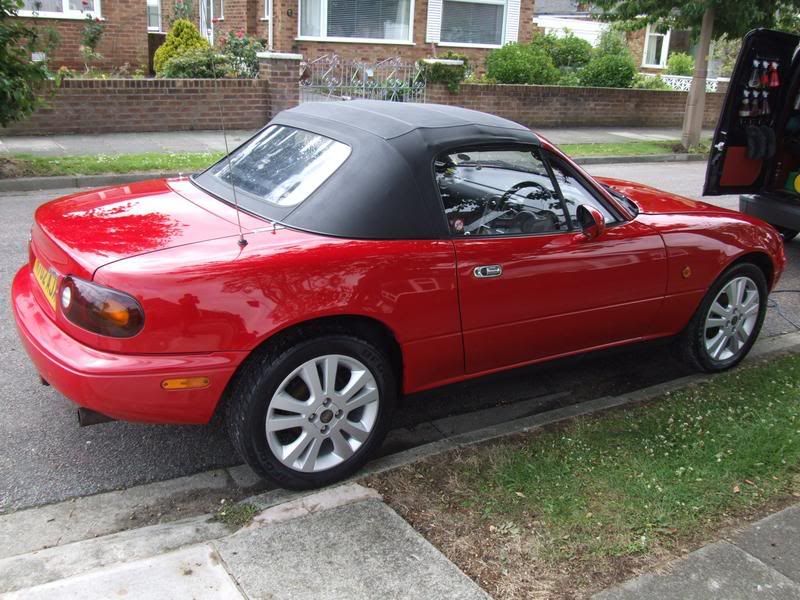
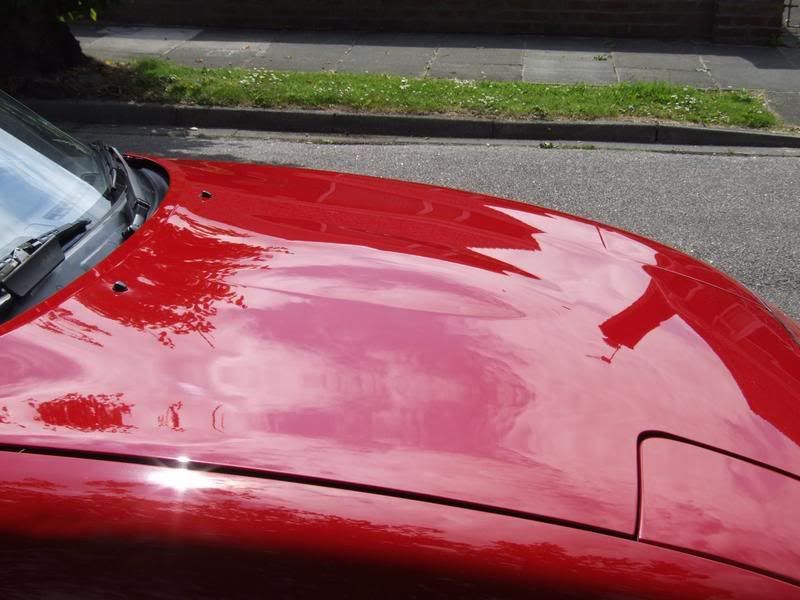
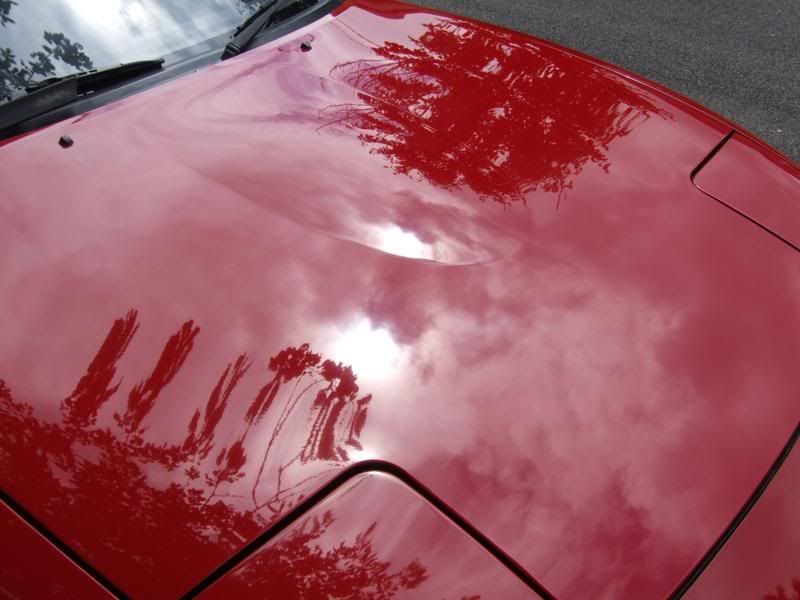
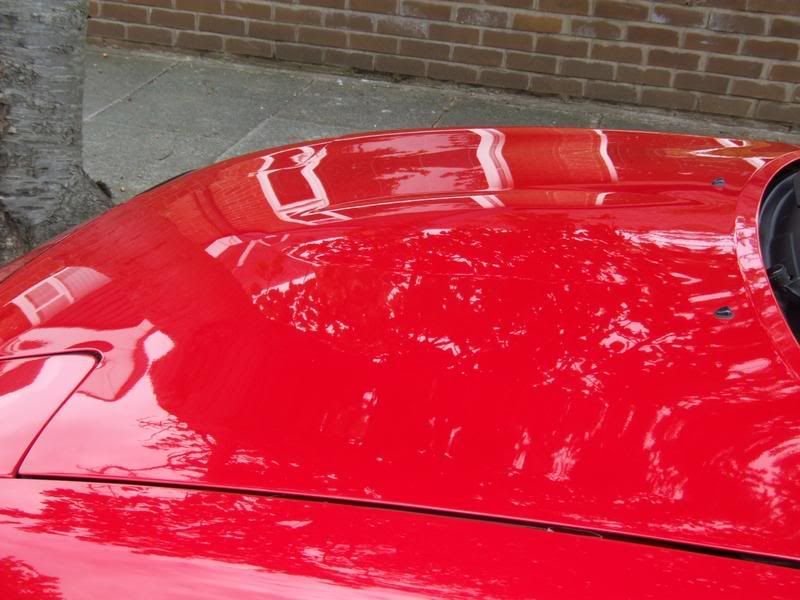
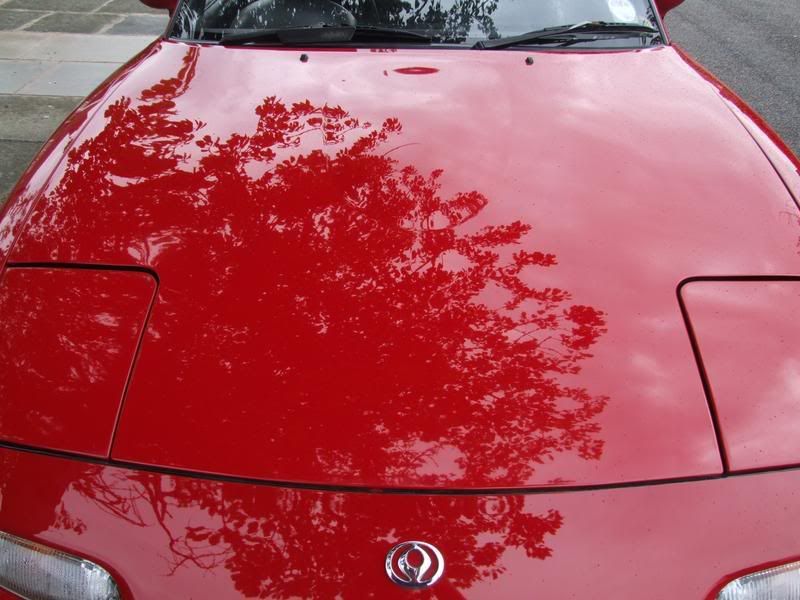
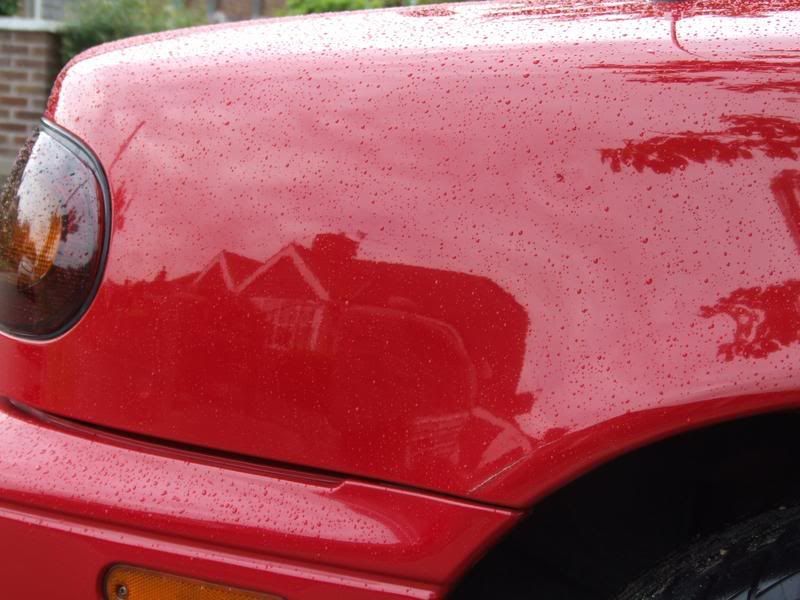
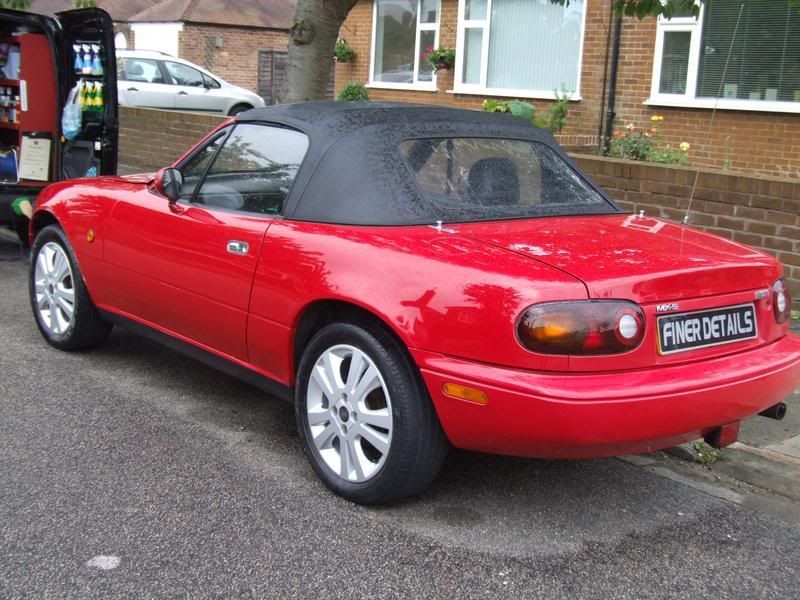
Below are pictures of the car when I arrived to start the work:
Washing and Cleaning Preparation
The first task for me is to start to clean, and prepare the car for the Detailing work. As always, I begin by washing the wheels. I washed the wheels first to ensure that any splashes or dirt which may spray onto the bodywork and paintwork can be cleaned away afterwards. First I rinsed the wheels and wheel arches using a pressure washer. Next I used Pinnacle Wheel Gel to clean the wheels, before spraying the wheels and wheels arches with snowfoam in order to ensure they rinse to a streak free finish.
With the wheels clean, I now started the process of cleaning the paintwork and upper sections of the vehicle. The next task is to pre-soak the upper section with snowfoam. The aim of this is to loosen any surface dirt and dust, before using the pressure washer to rinse the vehicle. This first stage of the upper vehicle wash can in some cases clean the car to almost 98% without any contact. I then applied a second snowfoam layer to the car, and with a lambs wool washmitt and the Pinnacle Bucket with grit guard and dolly he works he way from top to bottom, around the car gently cleaning the upper car panels. All areas likely to carry the greatest amount of dirt and contamination will be cleaned last. This way the car will have the cleanest water, and least likelihood of any surface contamination becoming trapped and/or in contact with the paintwork again.
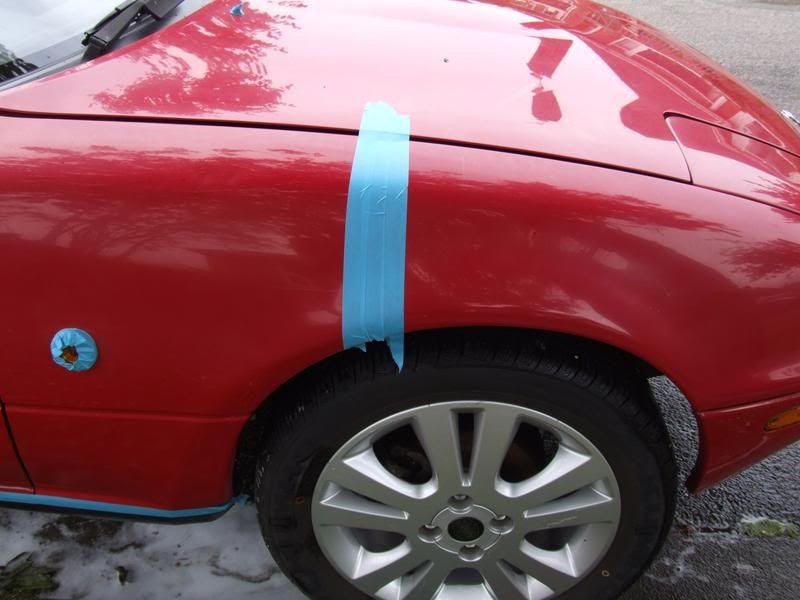
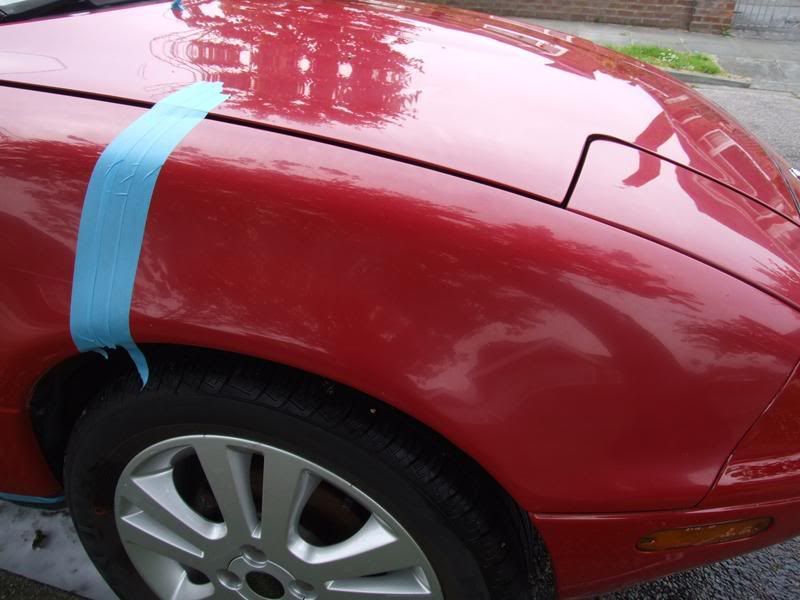
Following a very thorough rinsing, I used a Cobra Guzzler Drying towel to pat, and drag the water from the car. The next two tasks of the detail are the final two of the washing and preparation, Firstly I applied a specialised automotive low tack masking tape to all plastics, rubbers and any areas which require protection from the machine polishing stage. Once fully protected I then used a Digital Paint Depth gauge to check the paintwork on the vehicle, and records all readings. The paint varied from 60ums to 105ums, with an inner door of 75ums.
Welcome to the on-line Detailing Report of a Mazda MX5 from FinerDetails.
Below are pictures of the car when I arrived to start the work:
Washing and Cleaning Preparation
The first task for me is to start to clean, and prepare the car for the Detailing work. As always, I begin by washing the wheels. I washed the wheels first to ensure that any splashes or dirt which may spray onto the bodywork and paintwork can be cleaned away afterwards. First I rinsed the wheels and wheel arches using a pressure washer. Next I used Pinnacle Wheel Gel to clean the wheels, before spraying the wheels and wheels arches with snowfoam in order to ensure they rinse to a streak free finish.
With the wheels clean, I now started the process of cleaning the paintwork and upper sections of the vehicle. The next task is to pre-soak the upper section with snowfoam. The aim of this is to loosen any surface dirt and dust, before using the pressure washer to rinse the vehicle. This first stage of the upper vehicle wash can in some cases clean the car to almost 98% without any contact. I then applied a second snowfoam layer to the car, and with a lambs wool washmitt and the Pinnacle Bucket with grit guard and dolly he works he way from top to bottom, around the car gently cleaning the upper car panels. All areas likely to carry the greatest amount of dirt and contamination will be cleaned last. This way the car will have the cleanest water, and least likelihood of any surface contamination becoming trapped and/or in contact with the paintwork again.
Following a very thorough rinsing, I used a Cobra Guzzler Drying towel to pat, and drag the water from the car. The next two tasks of the detail are the final two of the washing and preparation, Firstly I applied a specialised automotive low tack masking tape to all plastics, rubbers and any areas which require protection from the machine polishing stage. Once fully protected I then used a Digital Paint Depth gauge to check the paintwork on the vehicle, and records all readings. The paint varied from 60ums to 105ums, with an inner door of 75ums.
")