imported_Dave KG
New member
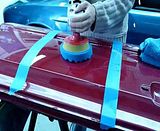
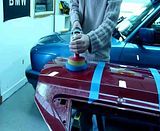
From last week's testing session with Gordon, Allie and myself, this was one was one of the biggest tests! Gordon and myself spent time with the machine doing the sets for this test ")
Polishing technology that many of us are used to uses diminishing abrasives - abrasives that break down as you polish, where the cut gets less and less and you can then burnish the finish with the broken down abrasives to remove or reduce holograms depending on the polish.
However, polishing technology is now adopting abrasives which do no break down - known as non-diminshing abrasives, or constant-cut abrasives. In these polishes, the abrasives remain cutting to the same amount throughout the polishing set. The idea behind them is that you can change the amount of cut by changing the pad or the amount of pressure (or other factors), rather than changing the polish. Naturally, "standard polishes" can also have their cut varied by changing the pad and polishing style, however non-diminishing polishes take this flexibility to another level and respond to a greater degree to changes. With this in mind, this test compares two of the manufacturers who have taken this polishing technology to the market:
Meguiars
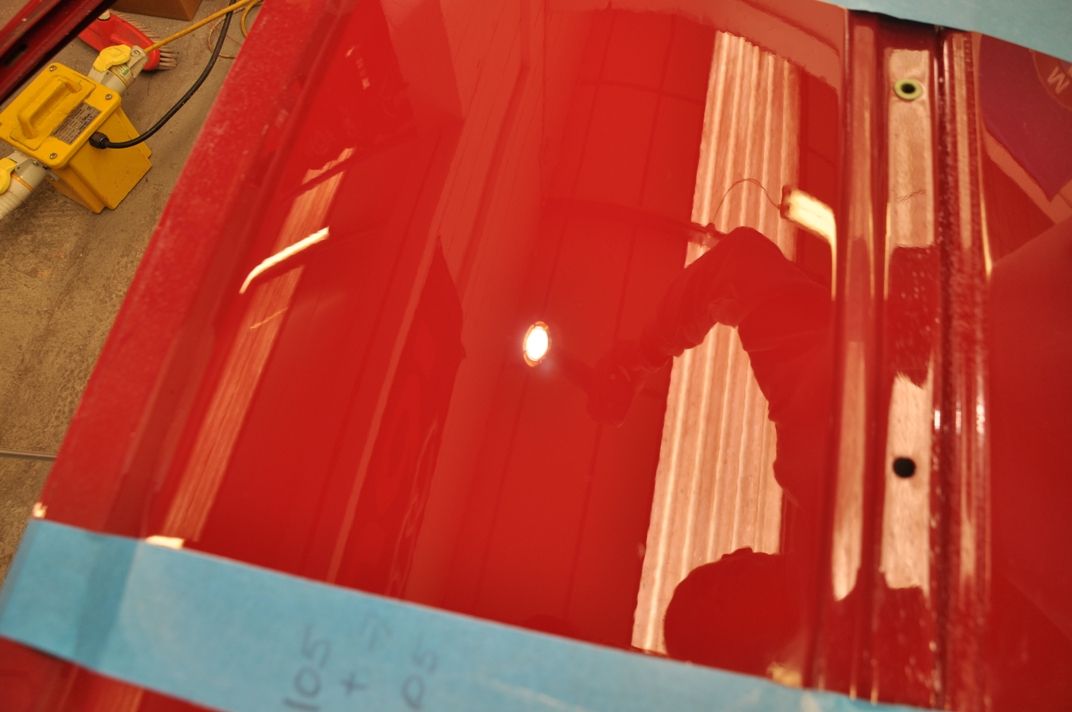
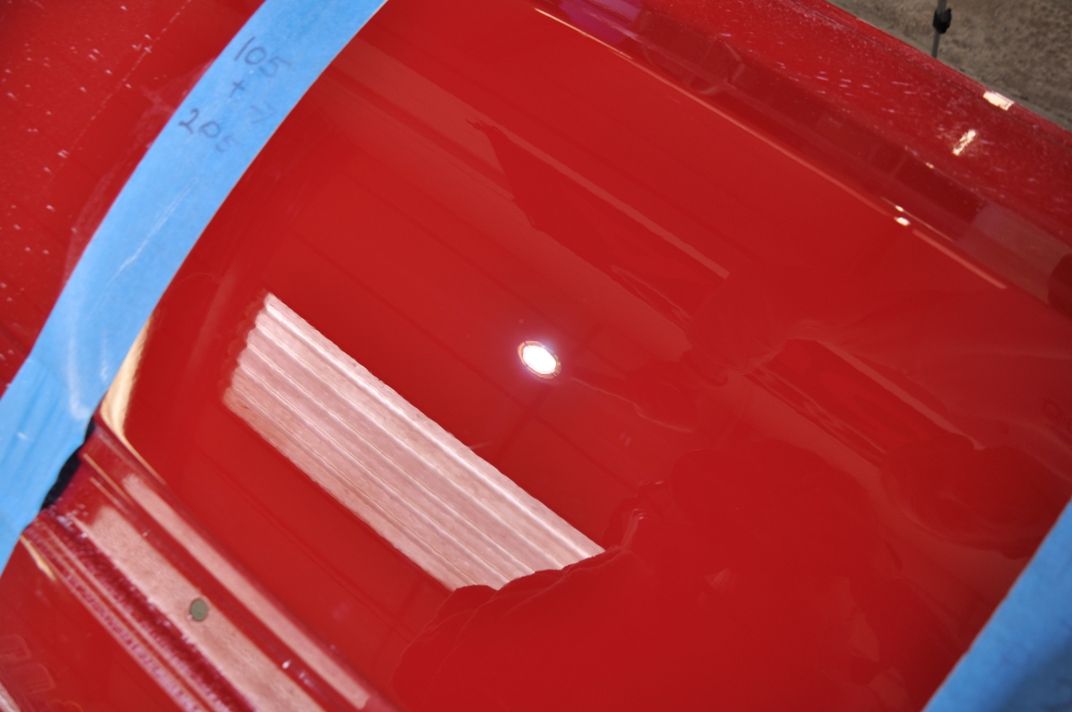
Replacing their #80-series polishes, Meguiars first came to the game with the Solo range, with Solo Polishing Cream and the pad kit... Later to the market are #105 Ultra Cut Compound and #205 Ultra Finishing Polish which use the non-diminishing abrasives (Meguiars' SMAT technology) which are tested here. #105 is the aggressive cutting product for severe defect correction while #205 is the light abrasive product designed for light correction and finishing.
GTechniq
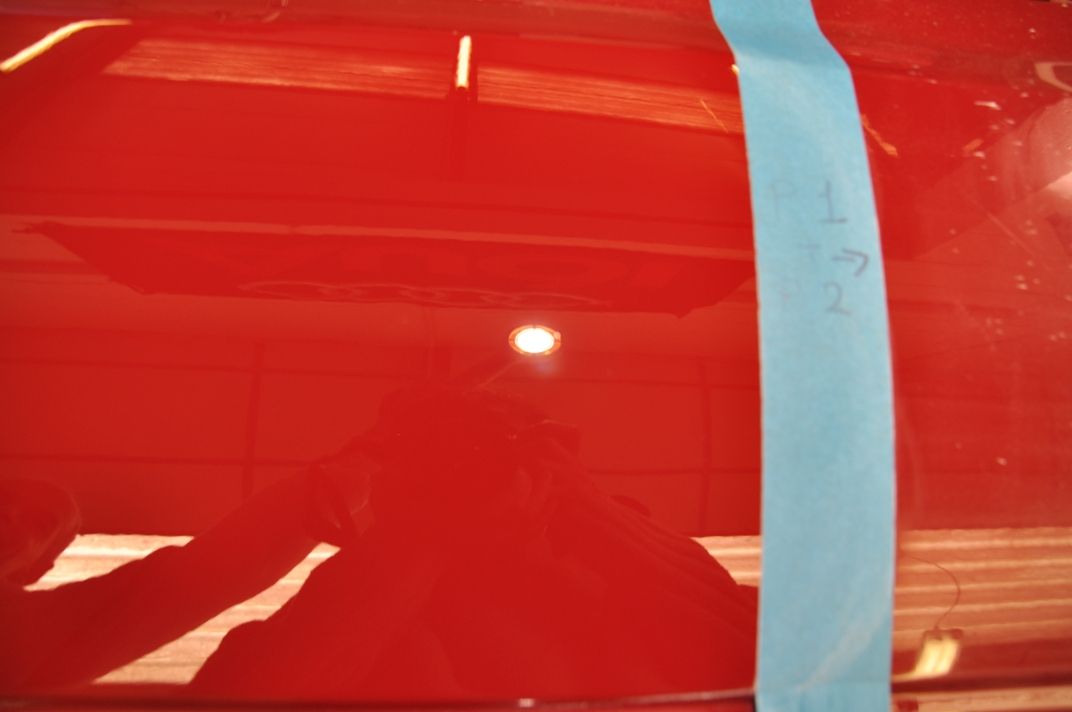
Perhaps less of a known brand, but certainly coming to the fore in the UK market and beyond is GTechniq - and the popularity of the P1 and P2 polishes is a testament to them, as they are making waxes in a market dominated by Menzerna, 3M and Meguiars. P1 uses non-diminishing abrasives, designed to be the only polish you need capable of severe defect correction or lighter correction. P2 is designed as a finishing polish for the removal of any hologramming and sharpening the finish.
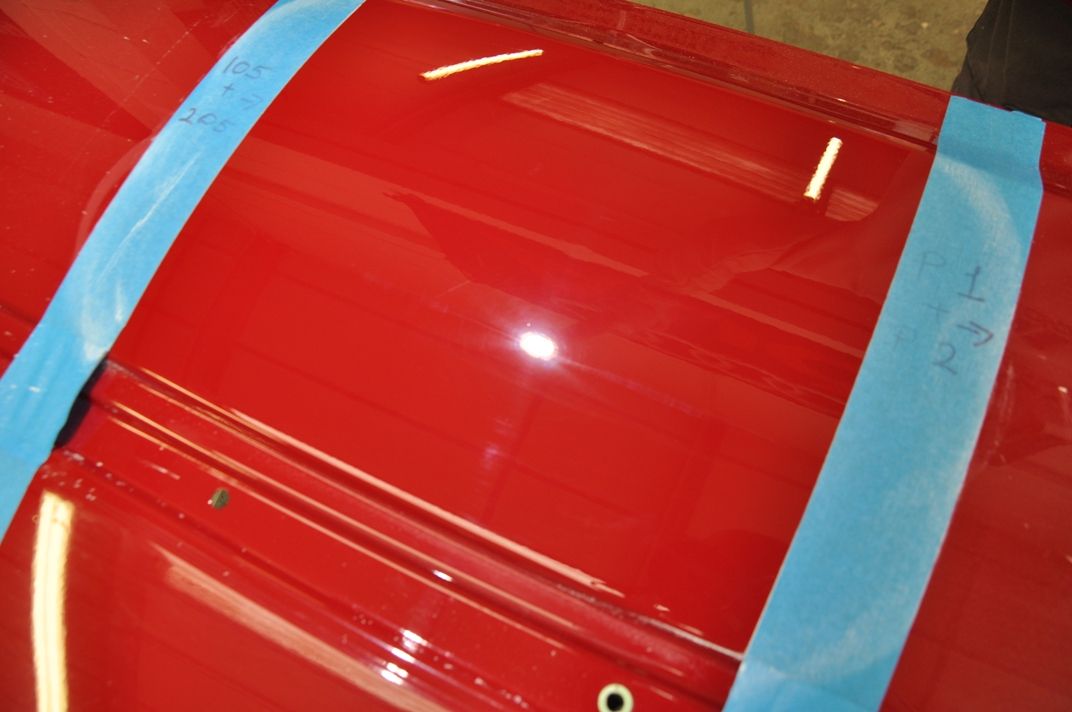
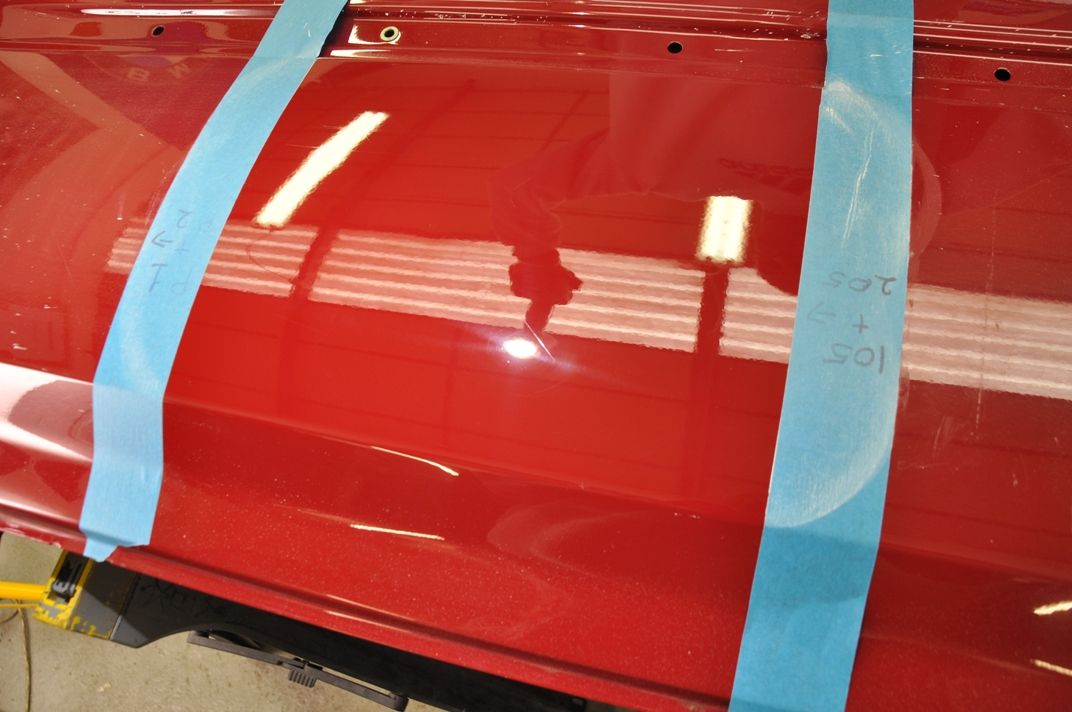
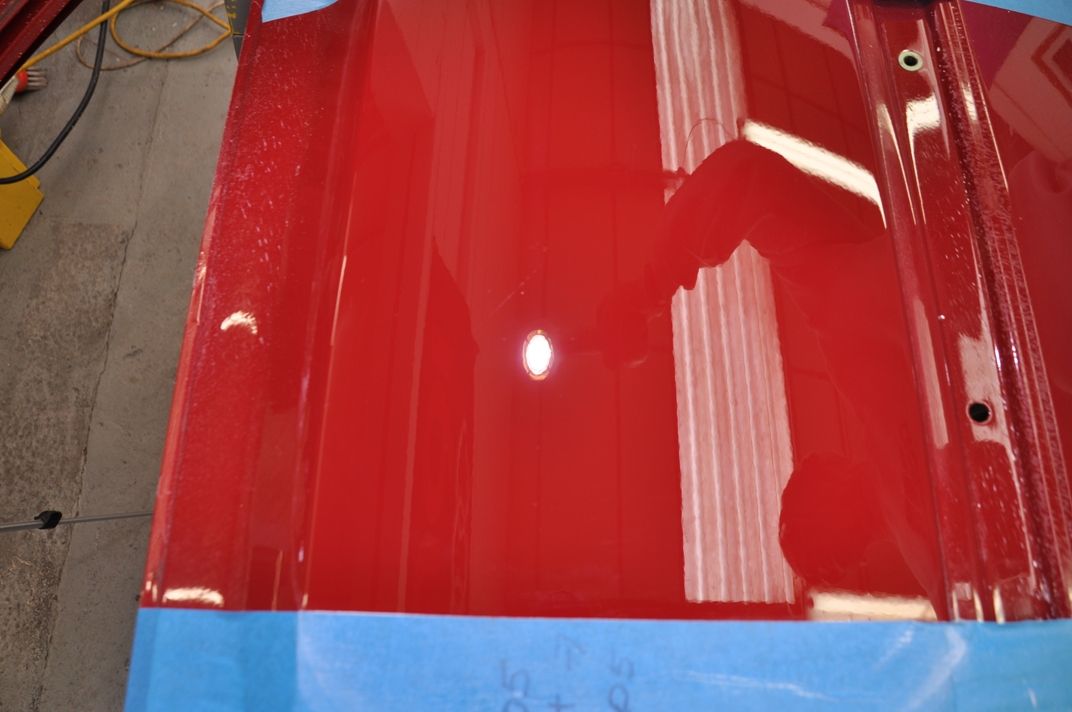
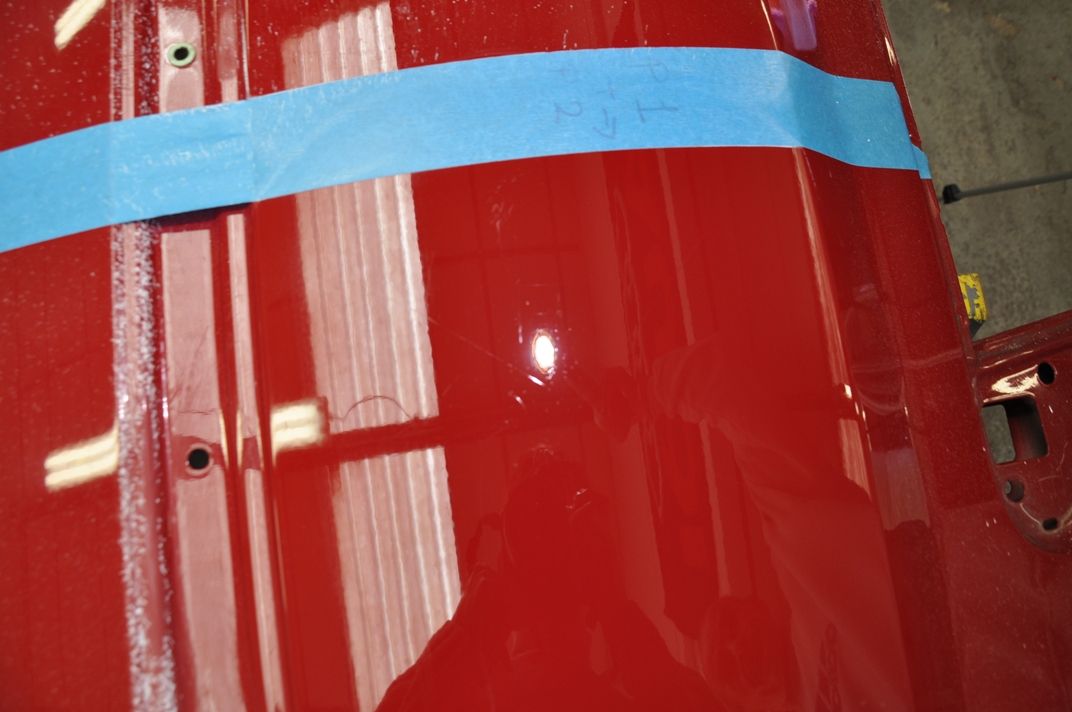
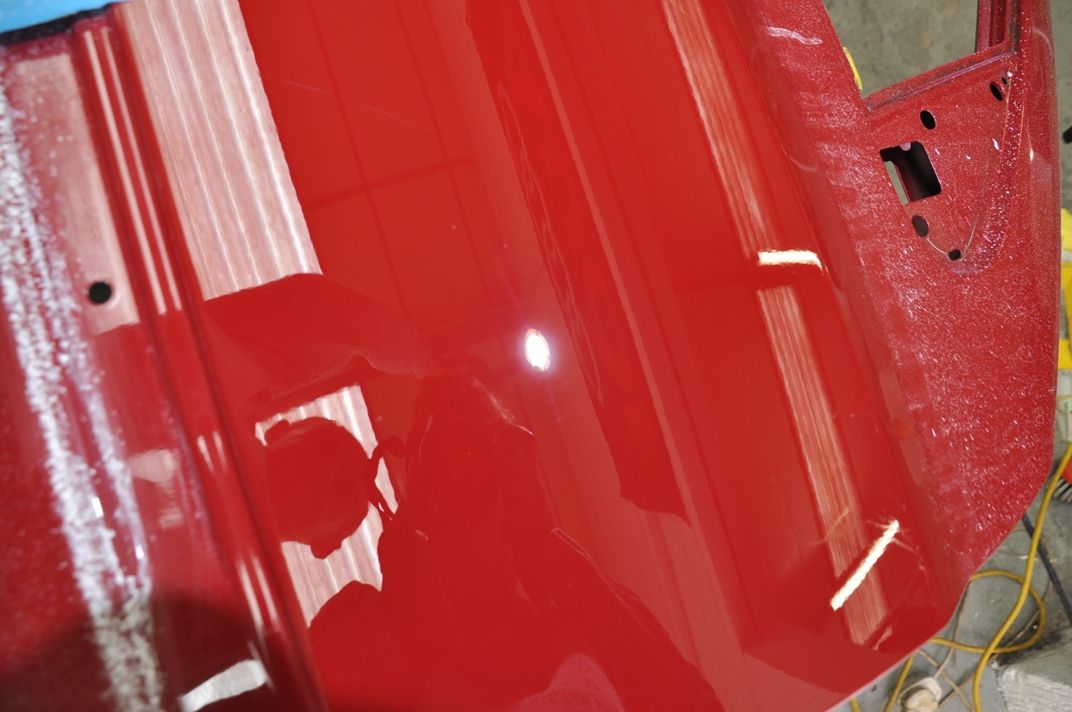
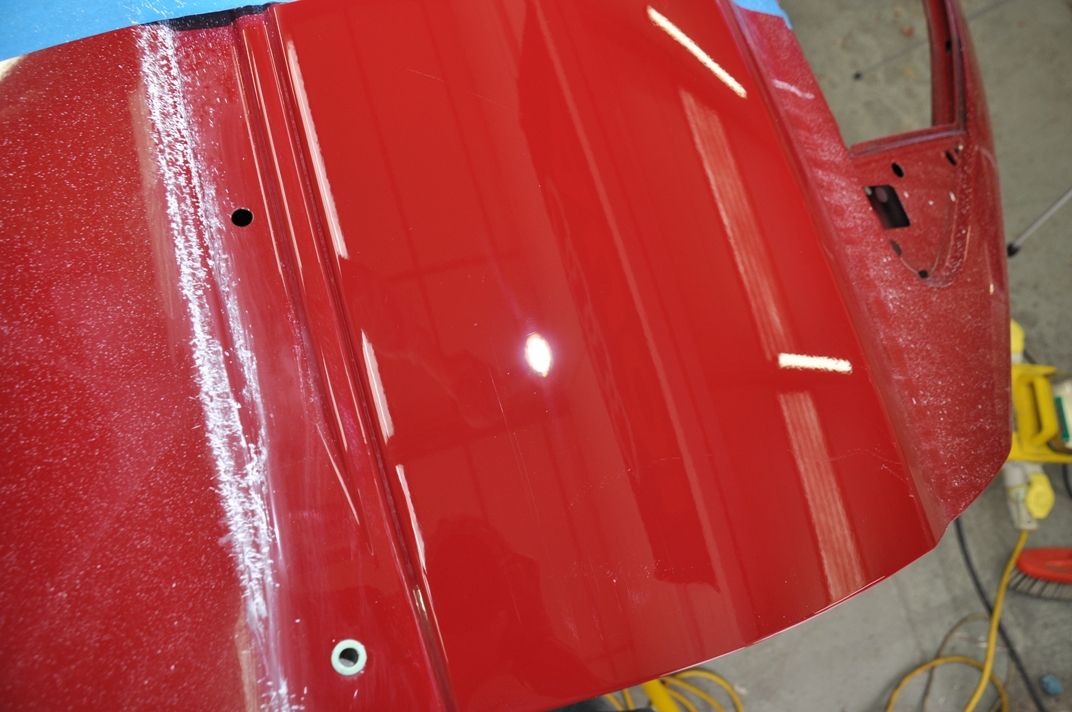
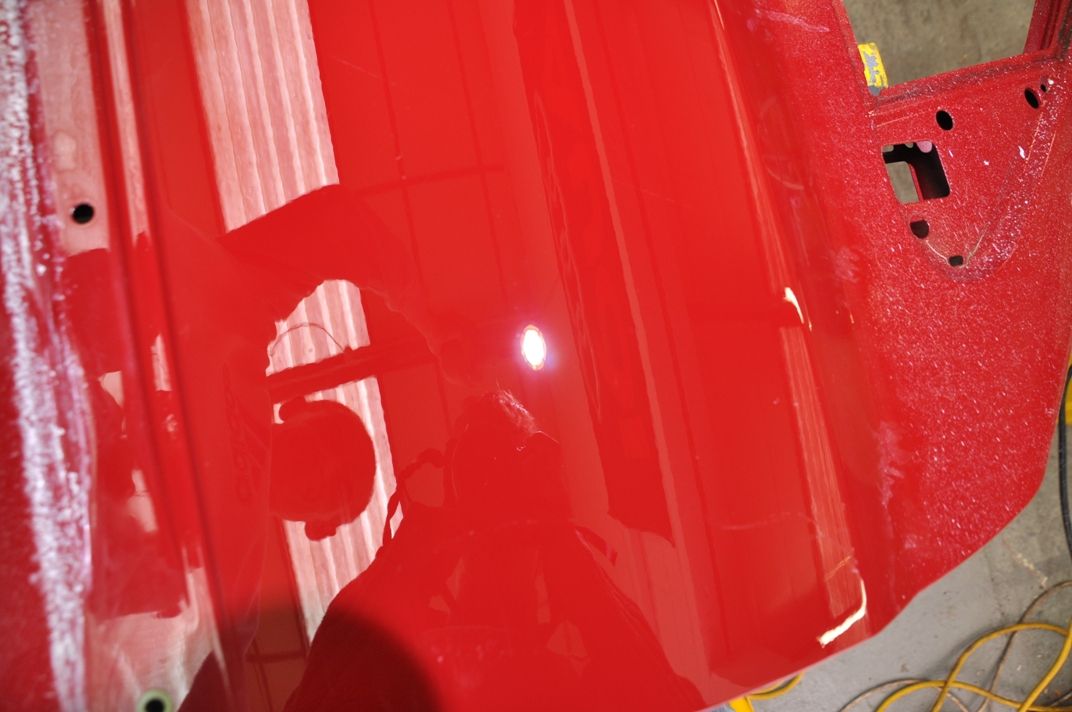
So - the test. Using a VW Golf door, solid red paint with clearcoat and known to be hard paint from removal rates test, the heavy cutting products were first of all tested by foam for correction of defects and possible refinement. They were also tested by wool for severe defect correction. The finishing products were tested for the removal of holograms, both from foam and wool. IPA was used throughout for wipedowns and we have had good success with this in tests for removing oils so long as you saturate the panel and wipe in straight lines with moderate pressure... rather than just a cursory wipe over with a light mist of IPA. Results of our tests:
Meguiars #105 and #205
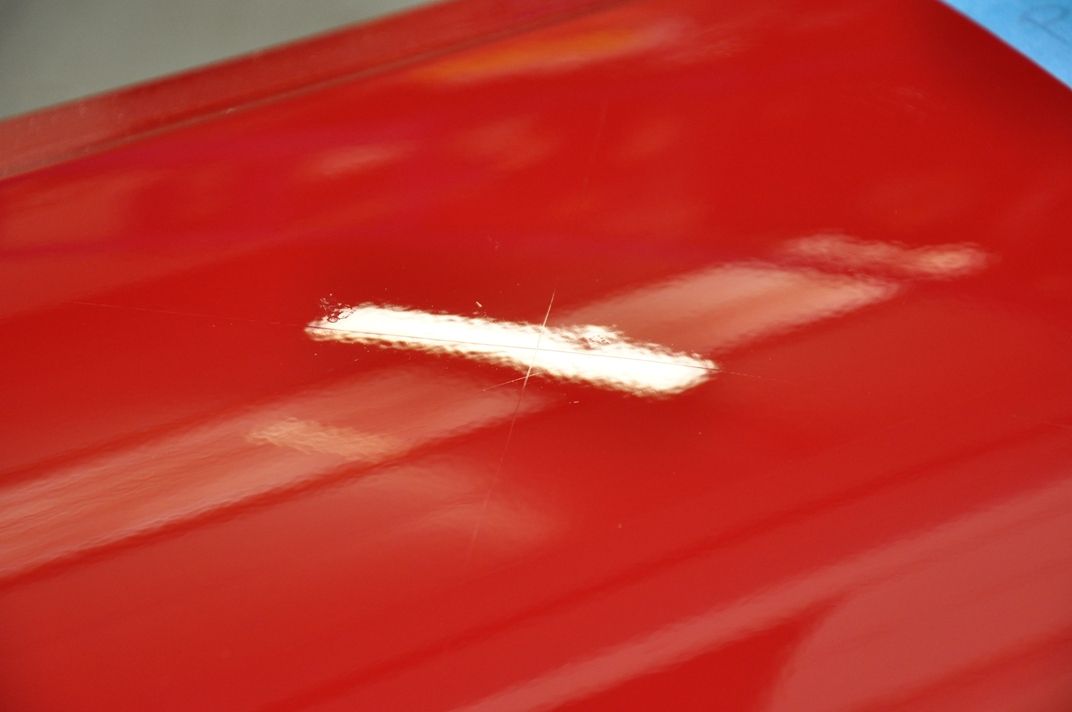
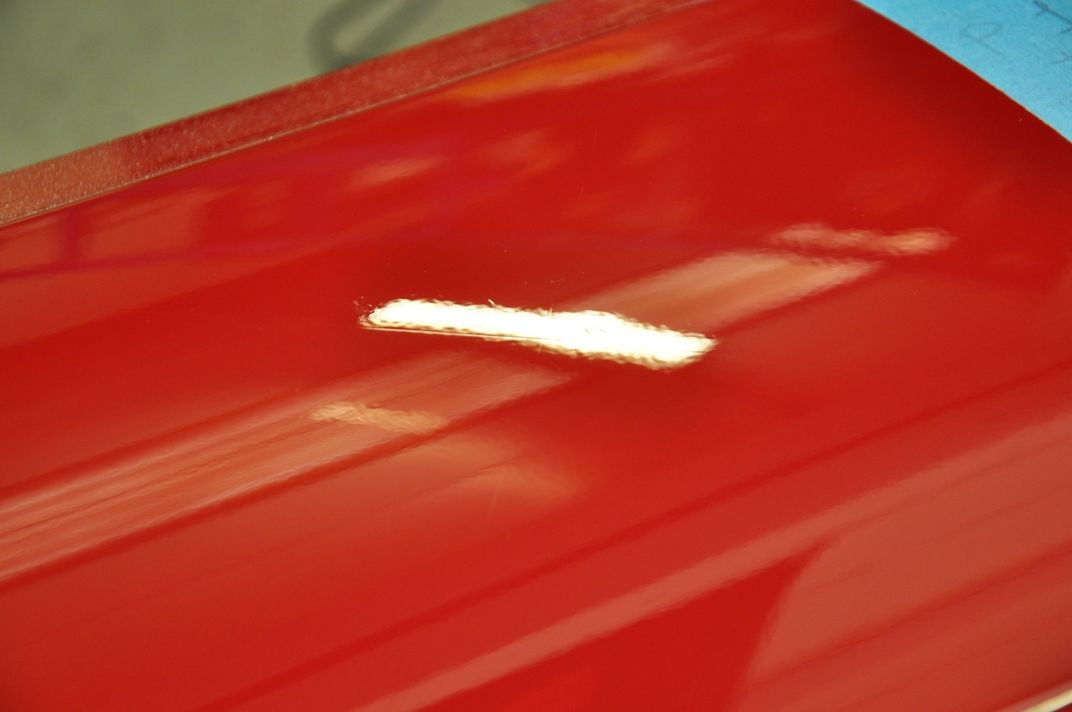
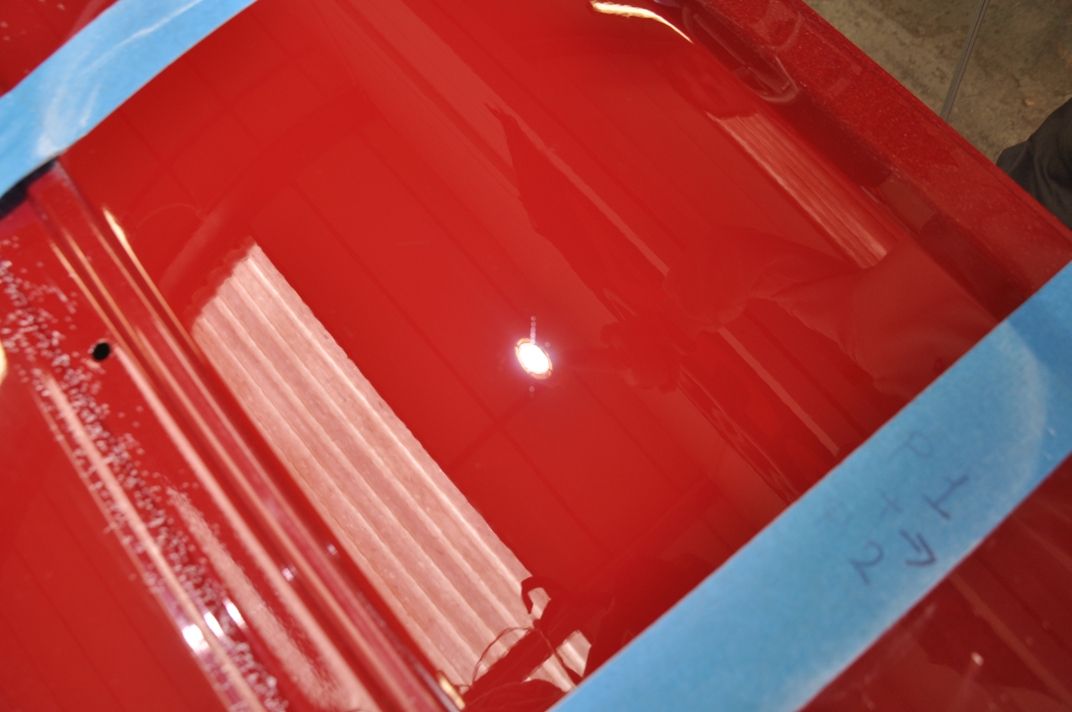
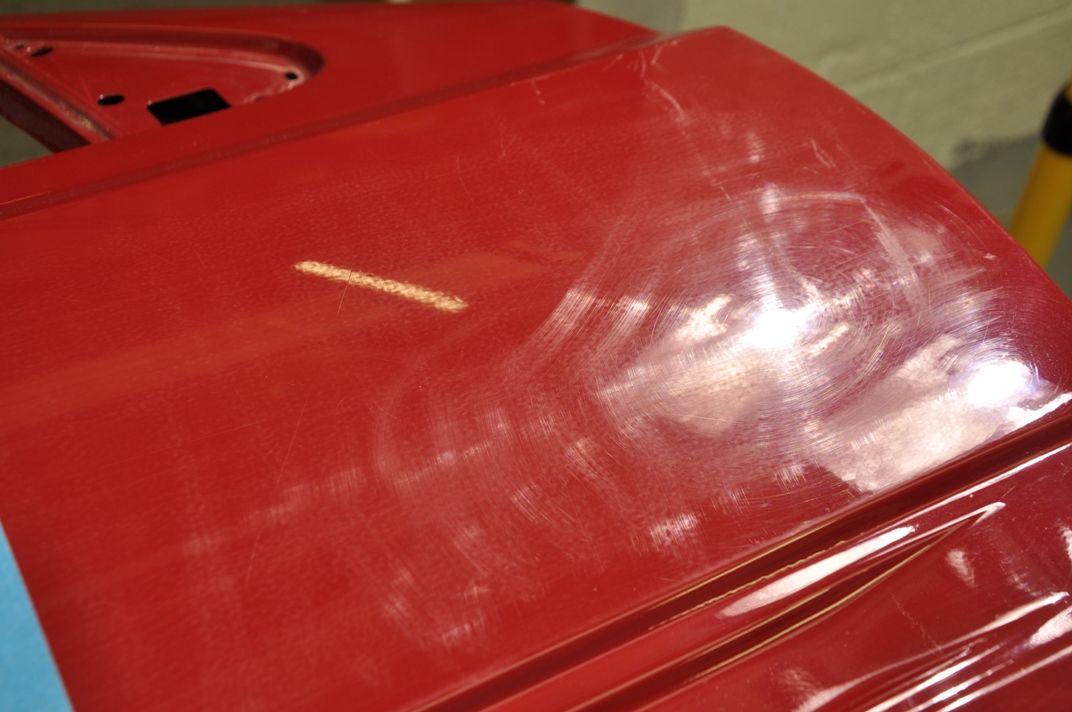
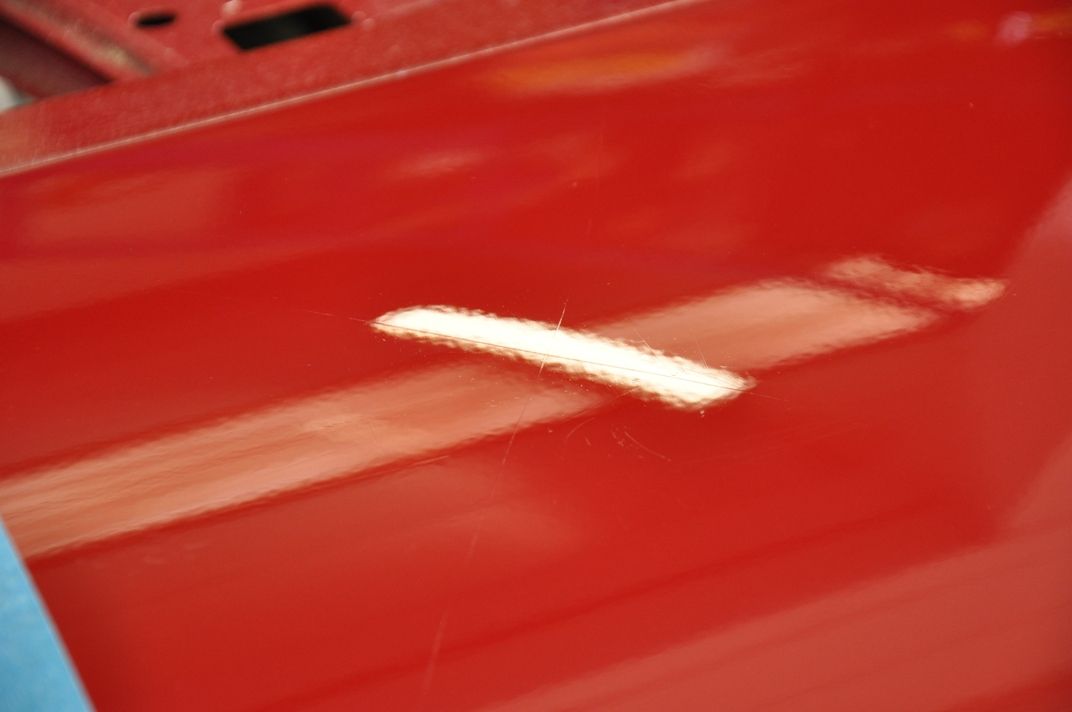
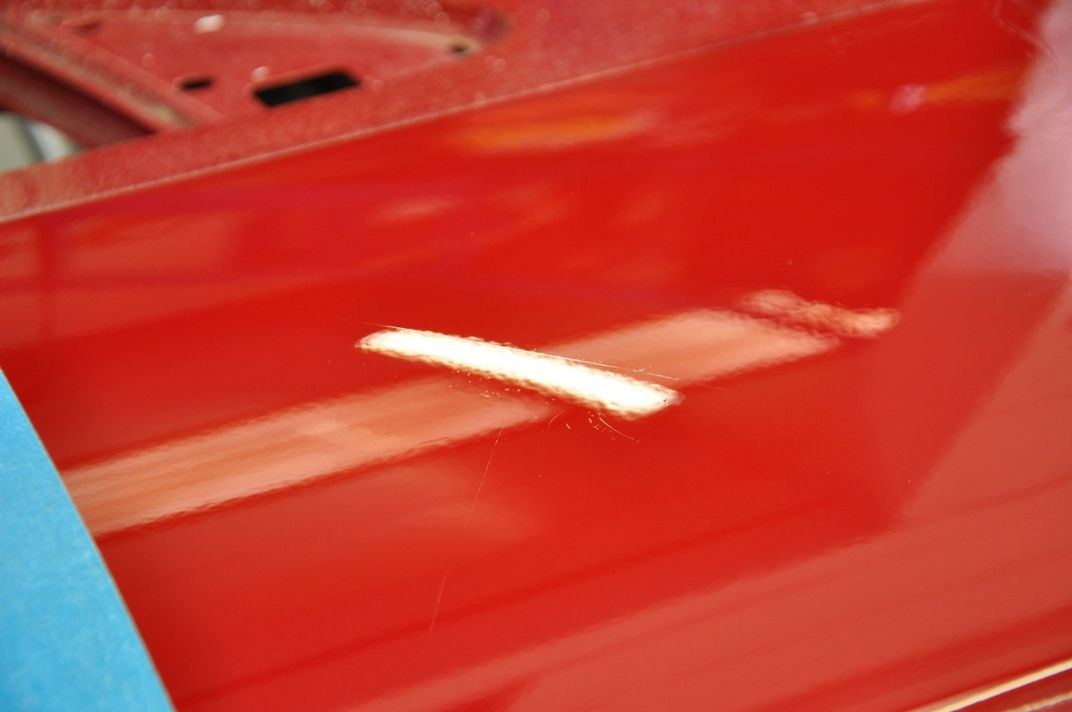
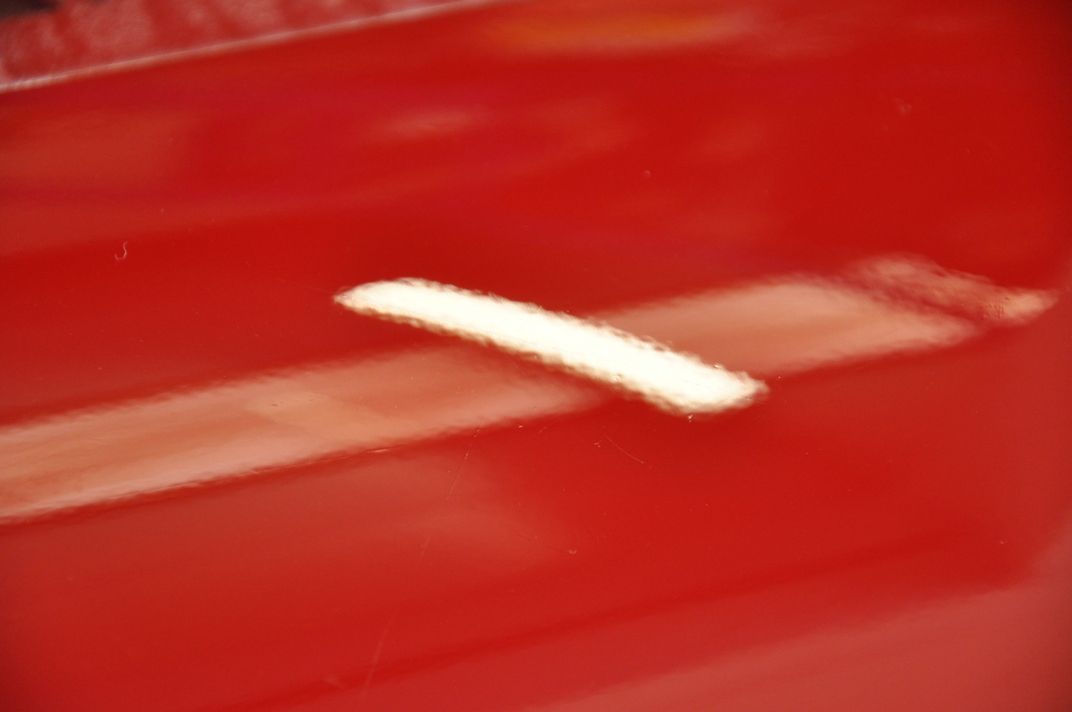
First up, the Meguiars polishes. We started with a nicely marred door (courtesy of sand paper and a gritty cloth):
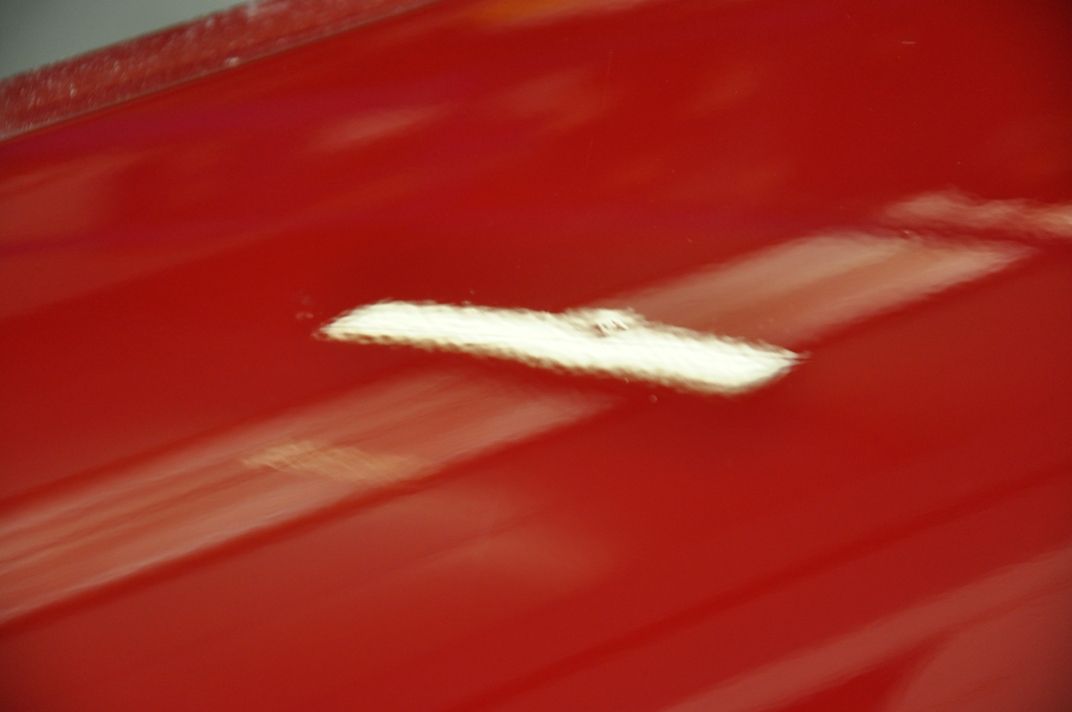
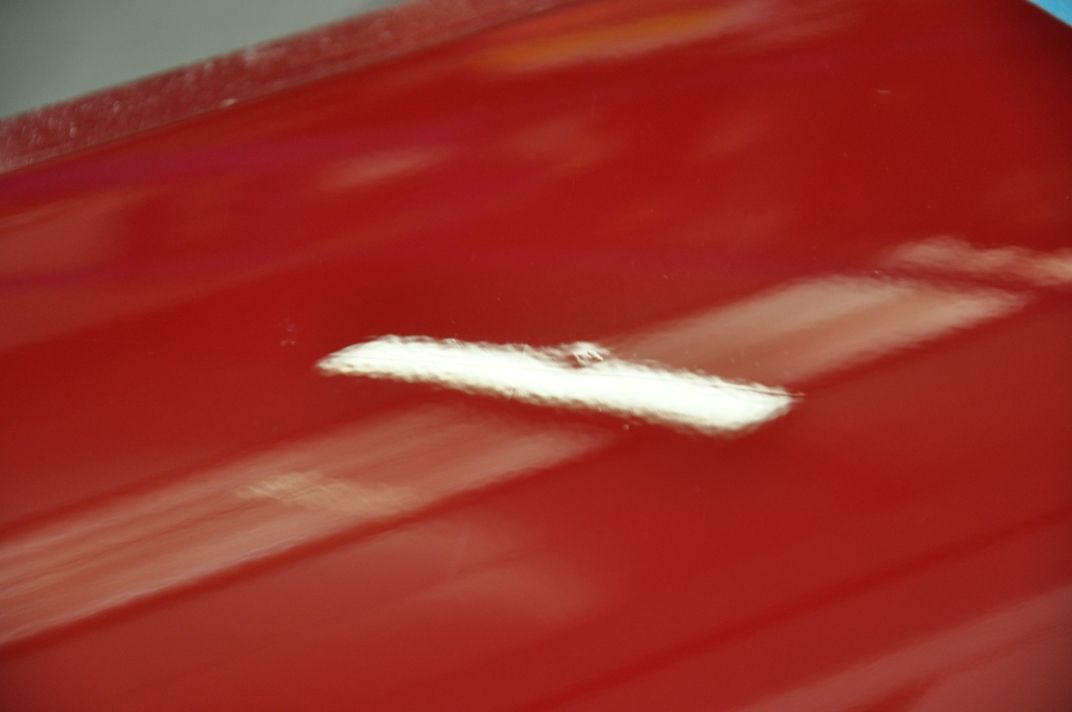
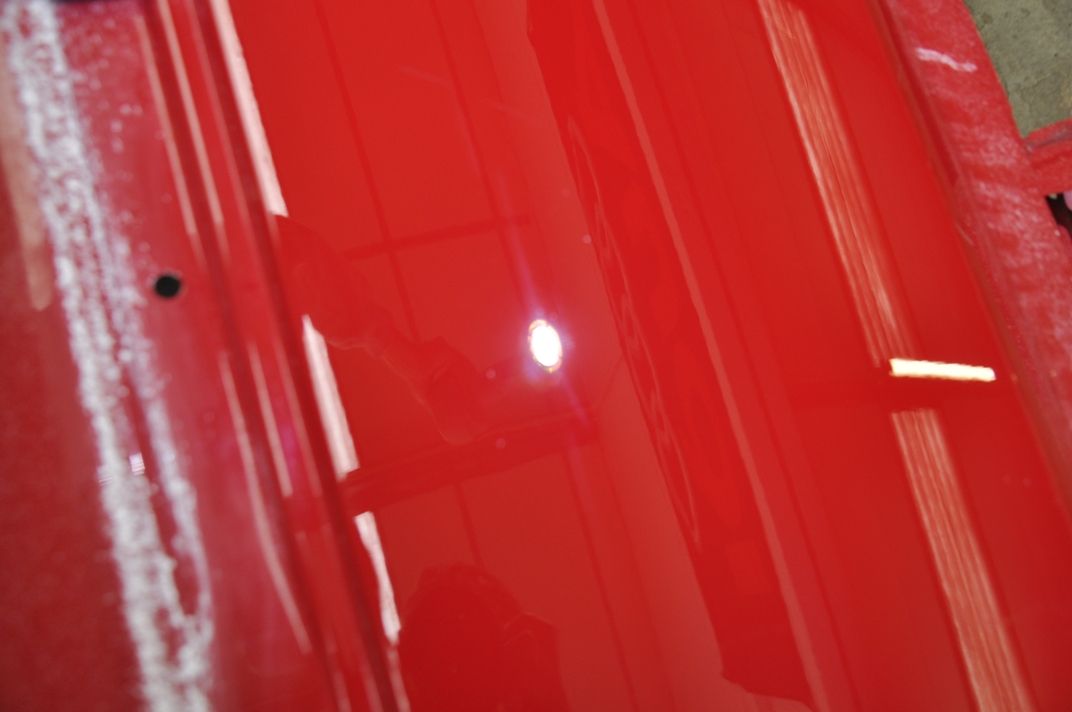
and a key used to inflict an X as a deeper mark to challenge the correction power of the product:
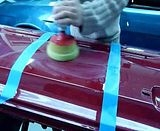
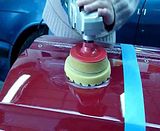
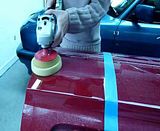
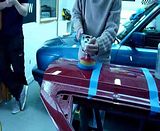
The first test was carried out using a yellow Hexlogic cutting pad. The product was spread and then worked up to around 1800rpm and worked with moderate pressure by rotary polisher, as shown in the video below. No refinement stage was carried out, and the product was worked until it seemed to dry and go slightly tacky:
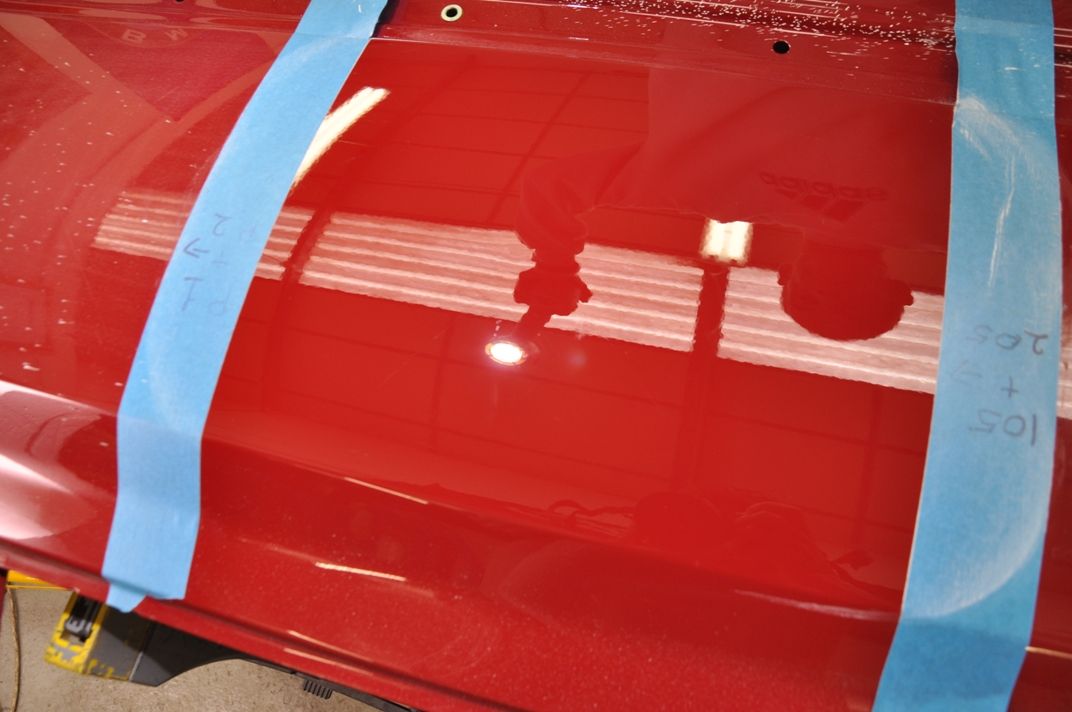
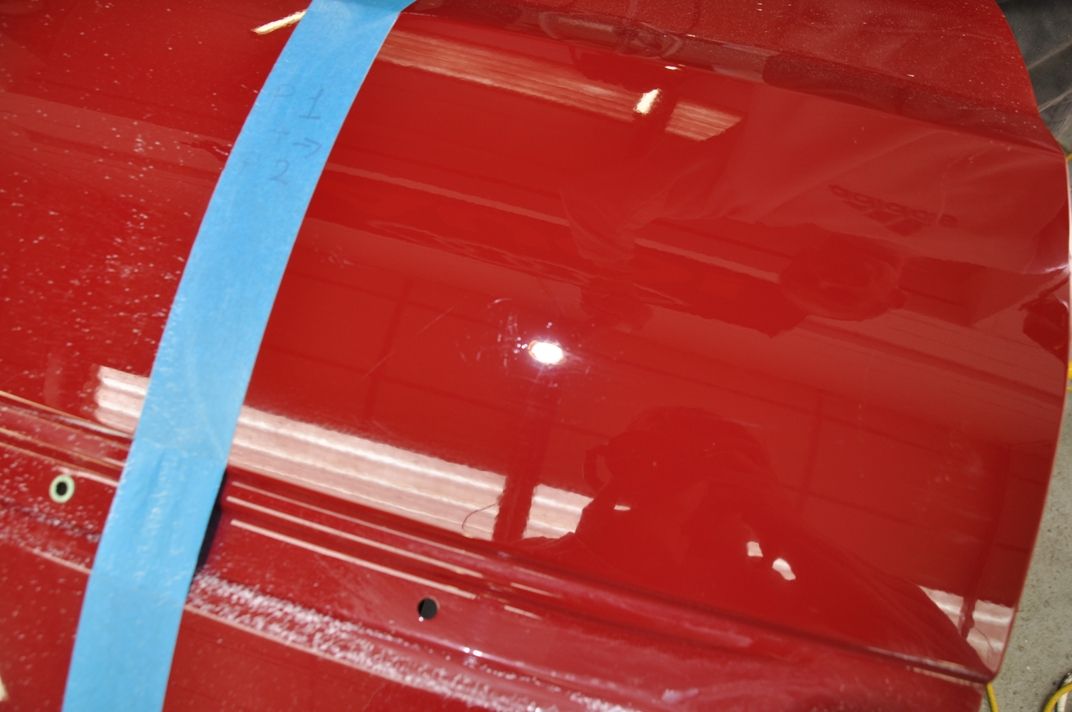
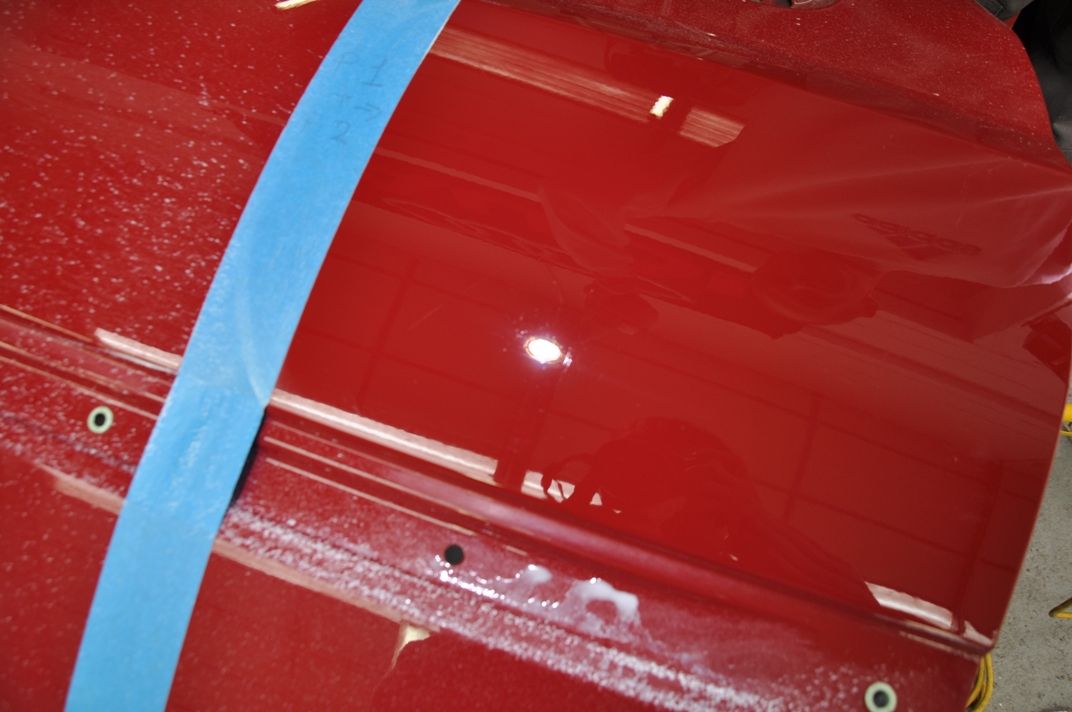
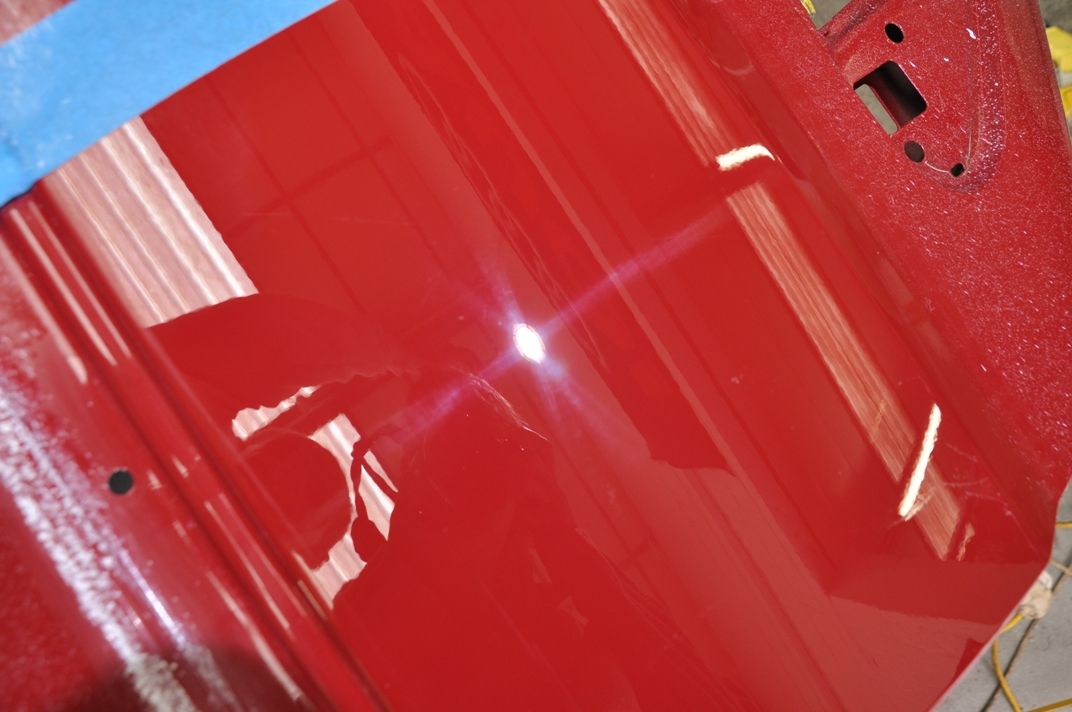
The results of the first compounding set:
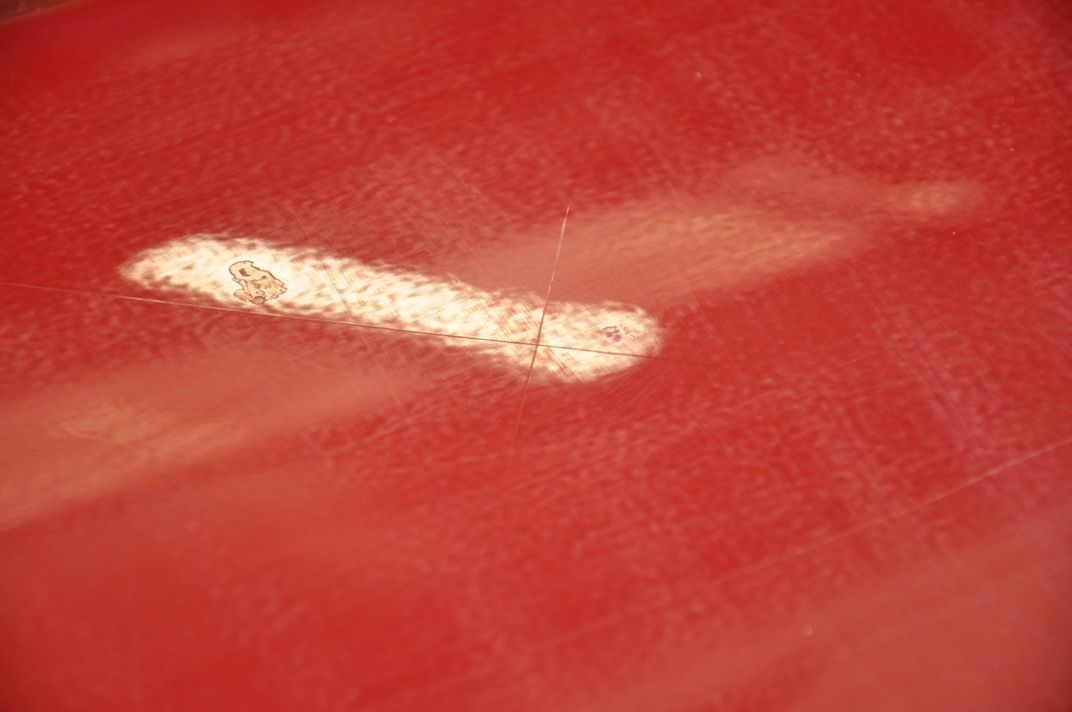
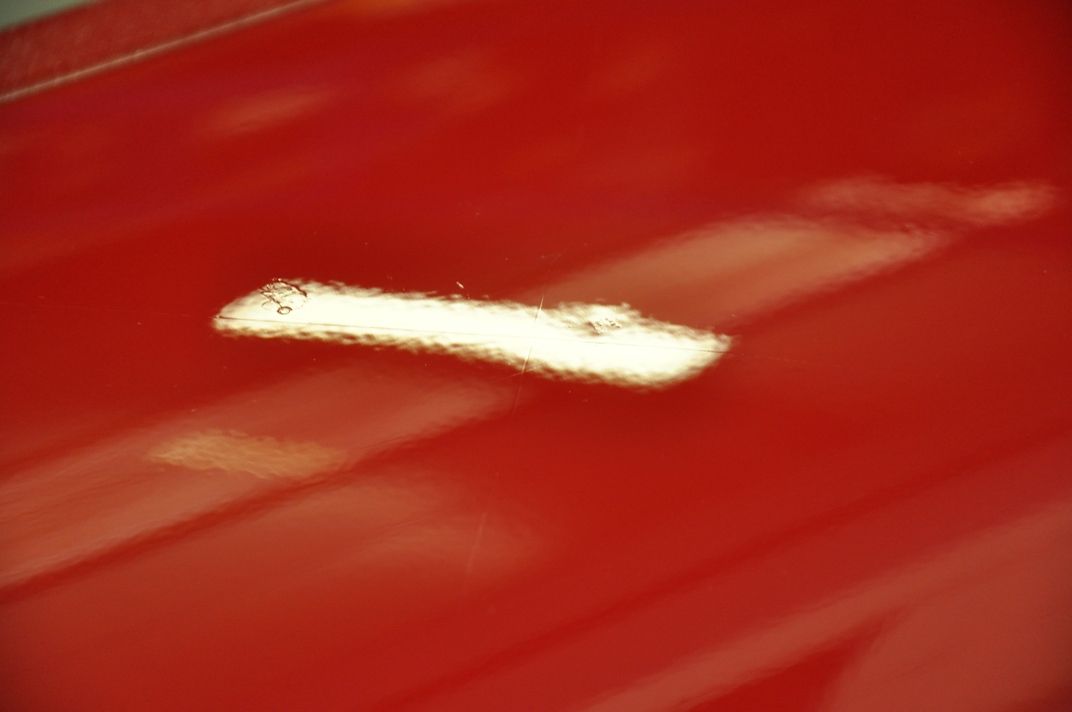
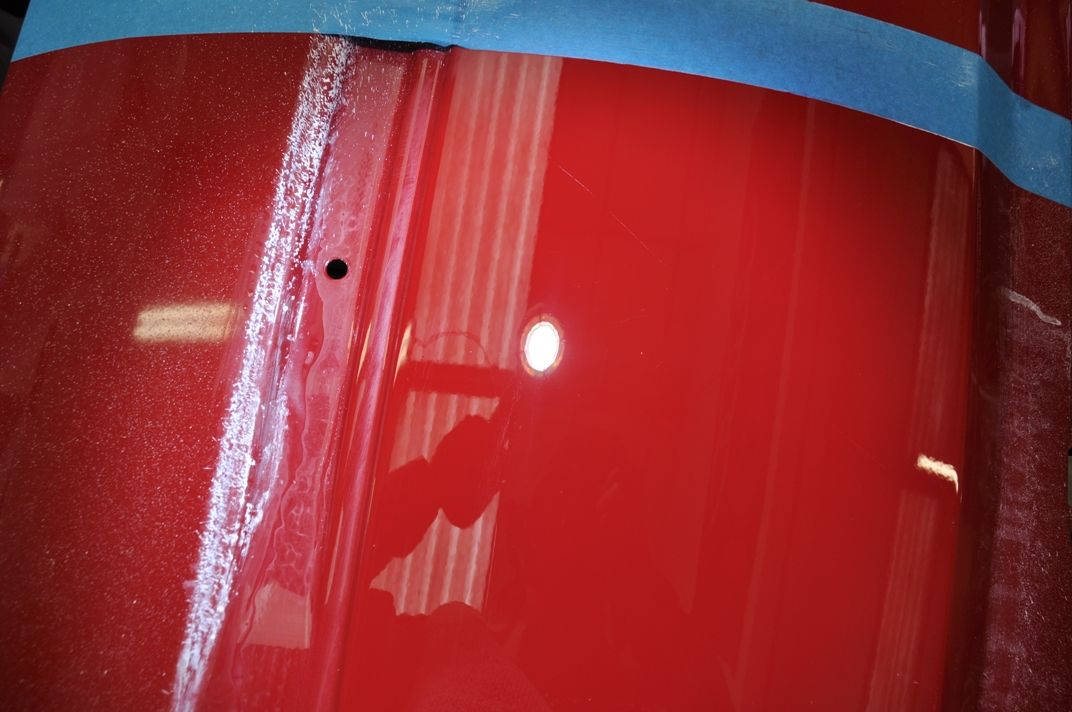
The finish looks good in terms of correction, however you can see light holograms formed as you can see under the Sun Gun. Using the strip light, which is better for looking at deeper marks as the Sun Gun can sometimes bleach out deeper marks through glare, we can still see the X in the finish, although it has been reduced:

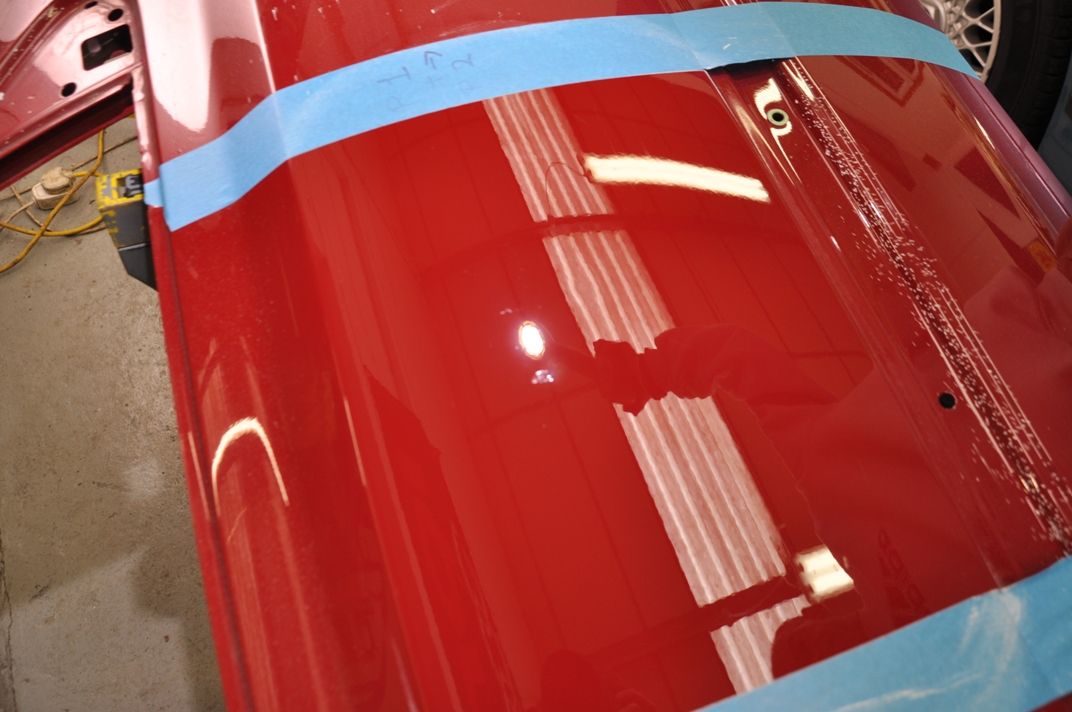
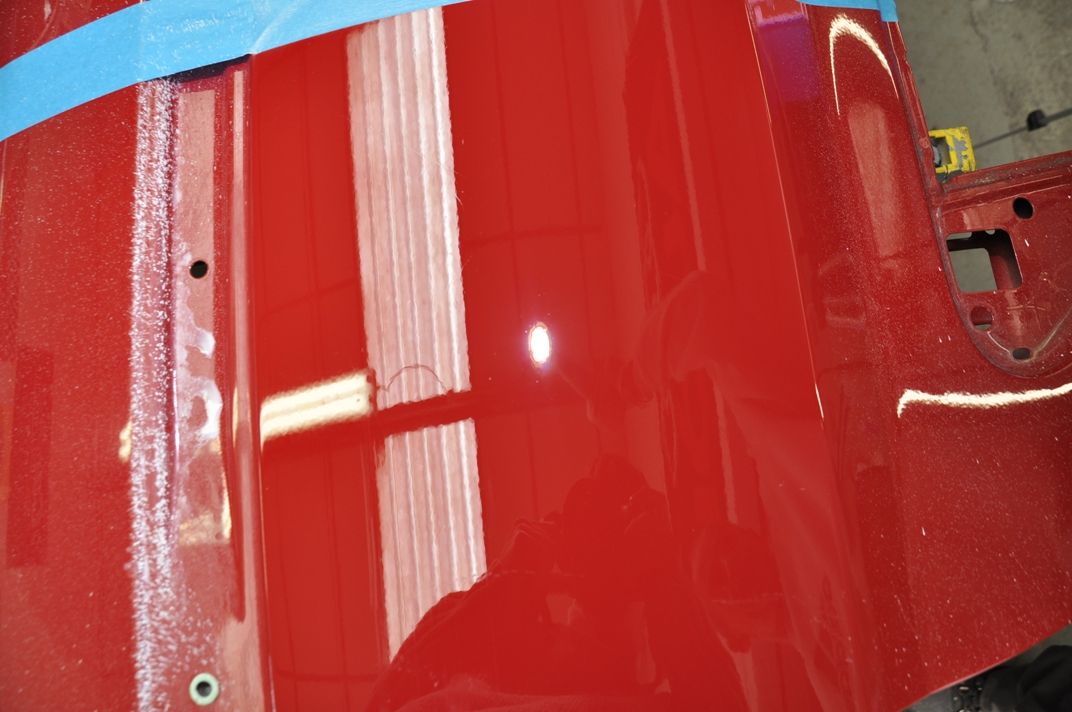
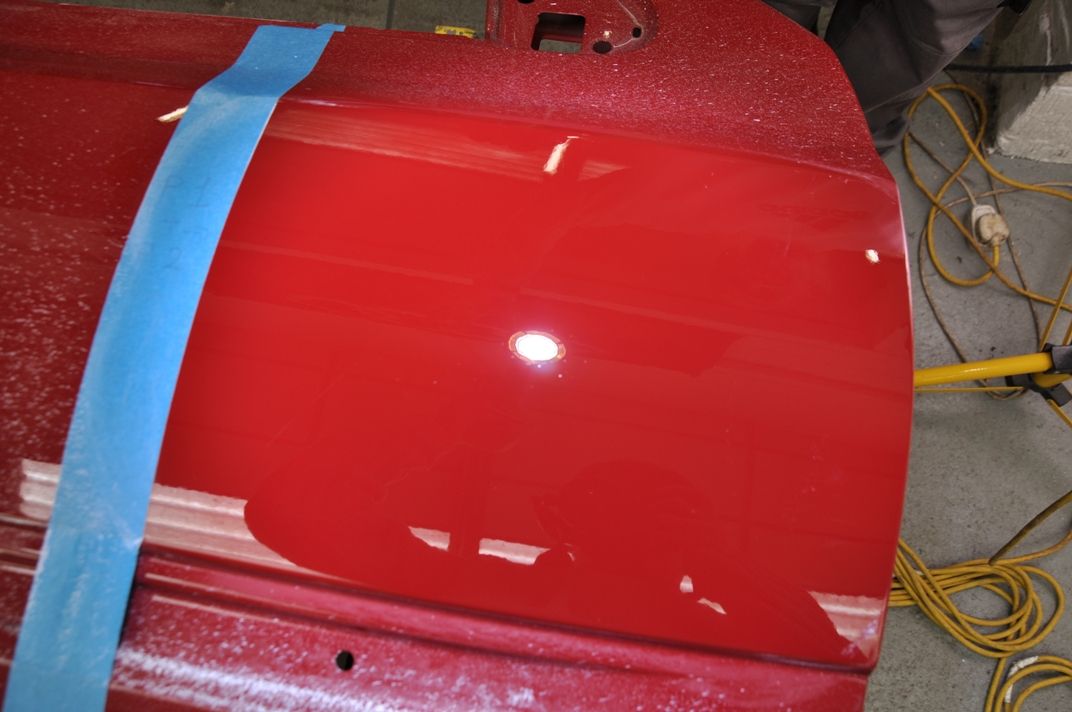
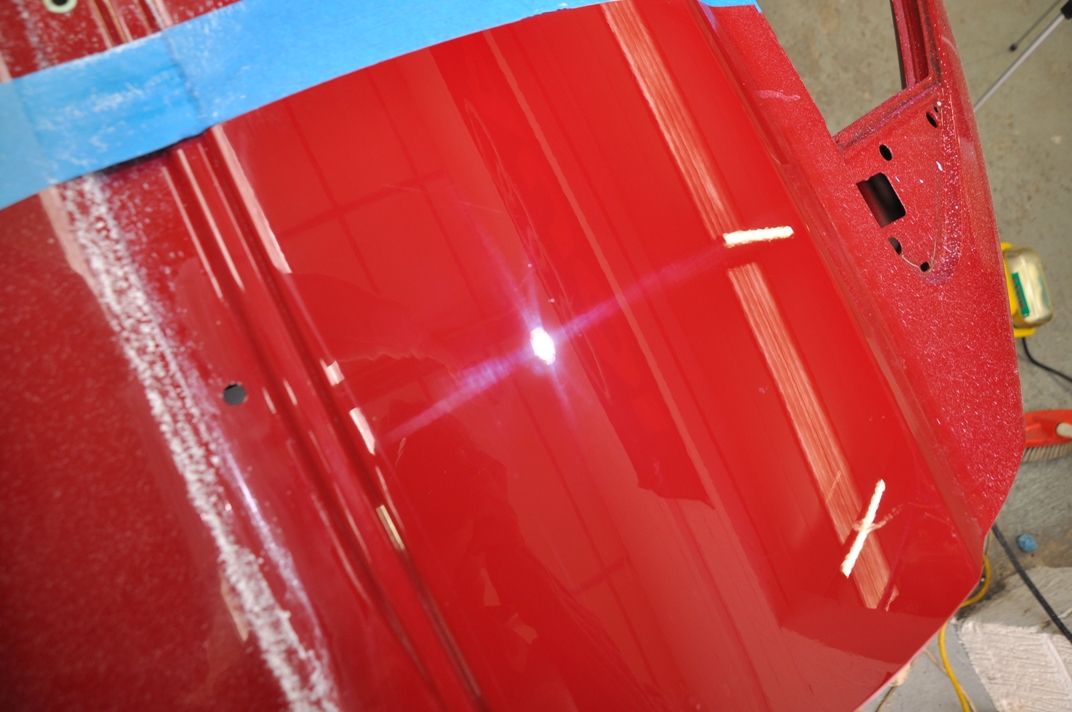
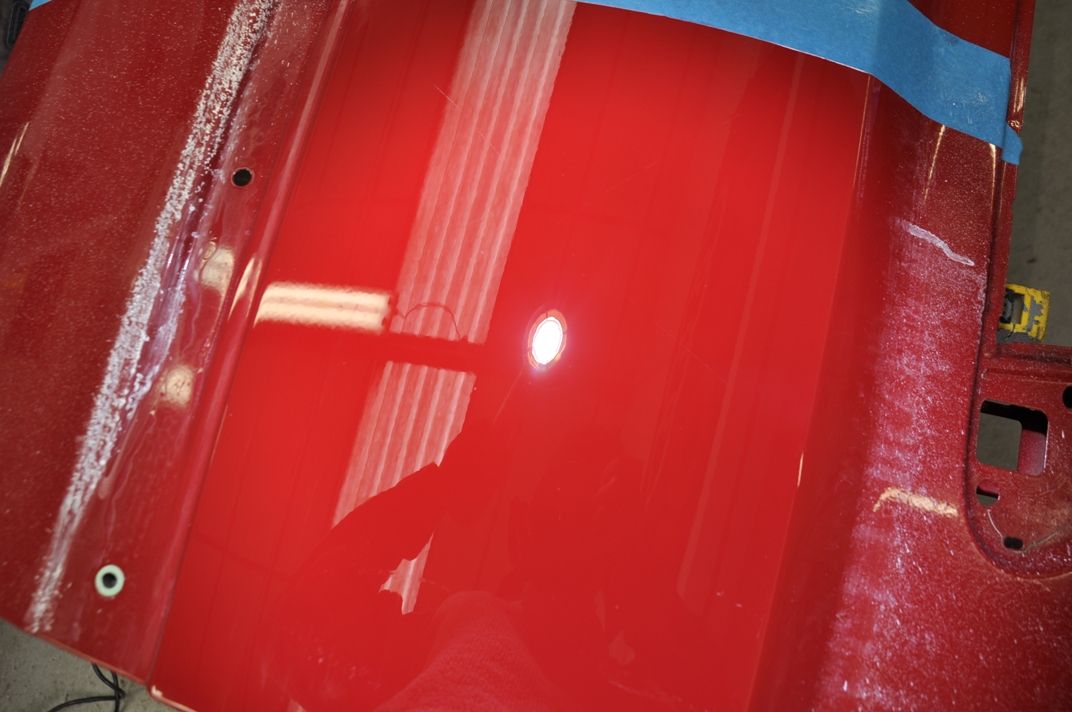
A repeat of this set, with an extended set length, achieved the following results under the Sun Gun:


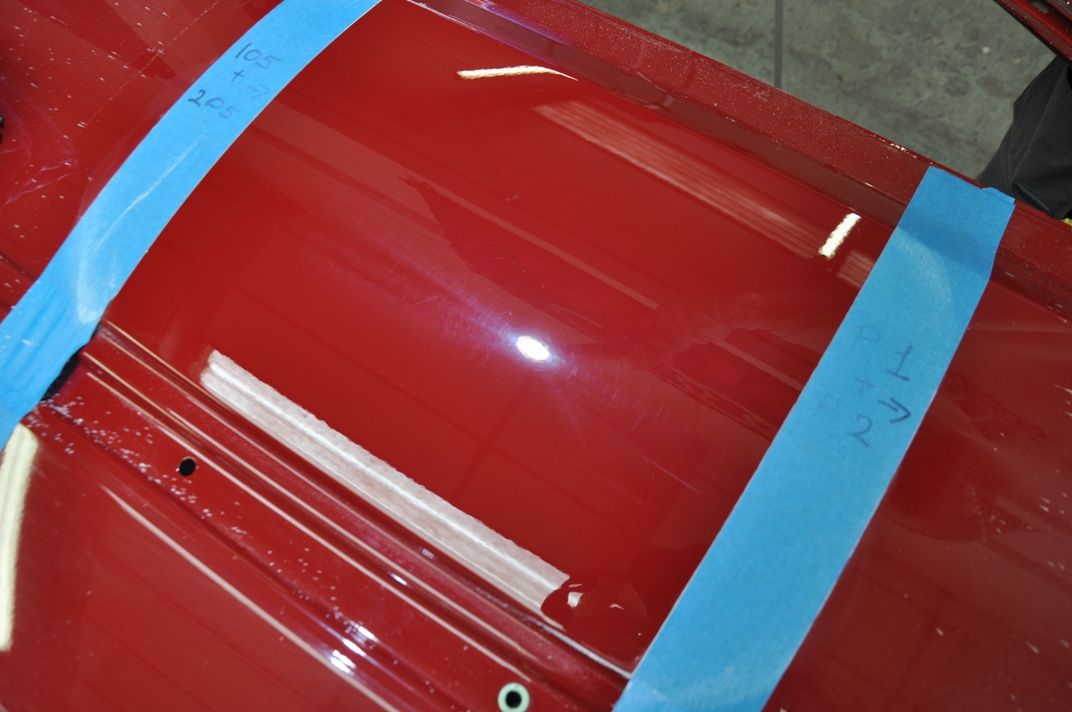
Good level of correction, and a nice sharpness to the Sun Gun reflection although as you can see there is some hologramming which I would expect with no effort made to refine the finish. The deep X has also been significantly reduced again:
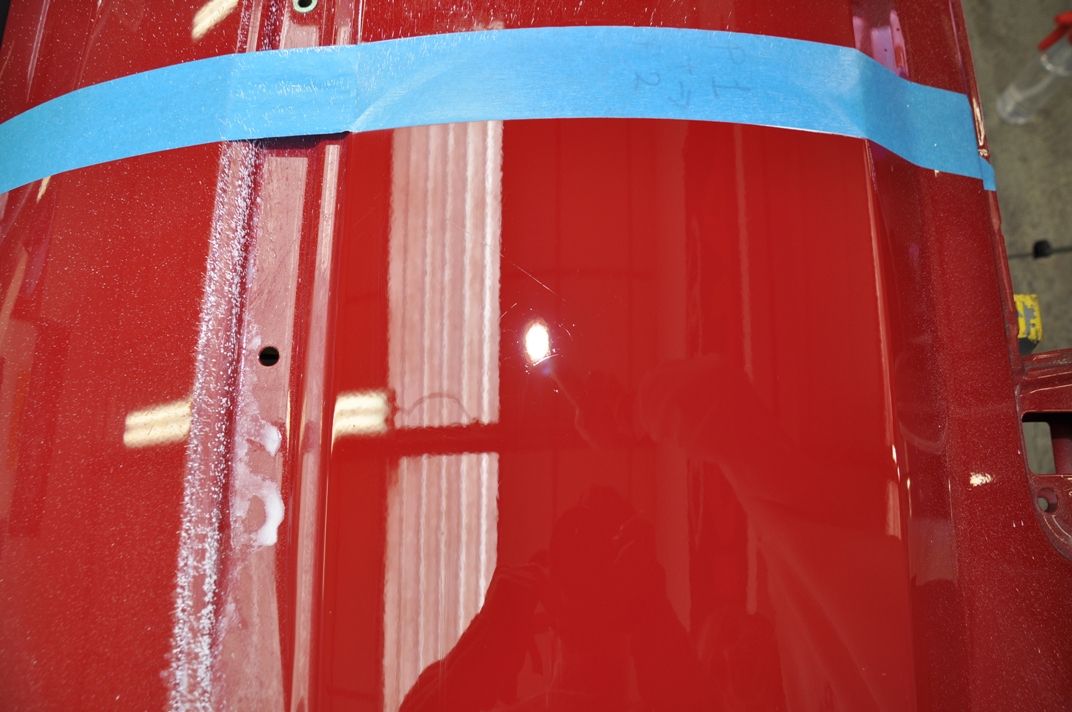
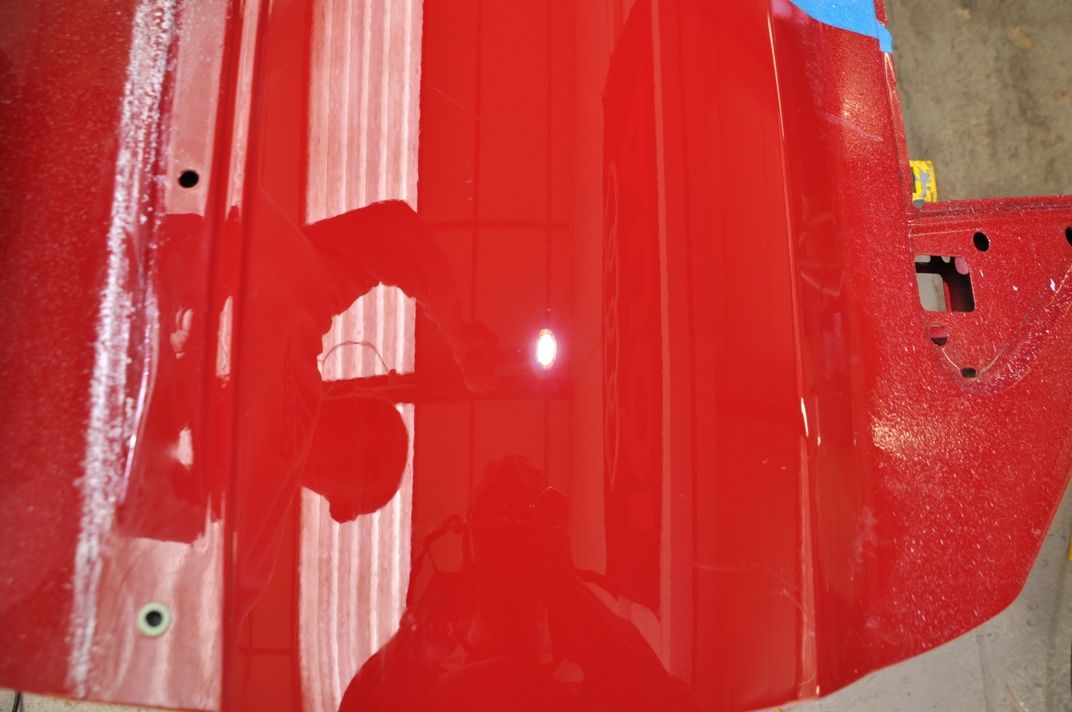
Now - for a moment of truth... IPA wipedown, and check again under the Sun Gun and we can see more holograms revealed, suggesting that #105 has acted to mask the holograms to a degree:

A good first blow here, good levels of correction achieved and the holograms were to be expected given the cutting pad and the pressure used during the polishing set. However, a point to note here was the masking that #105 achieved as well, something to definitely be aware of.
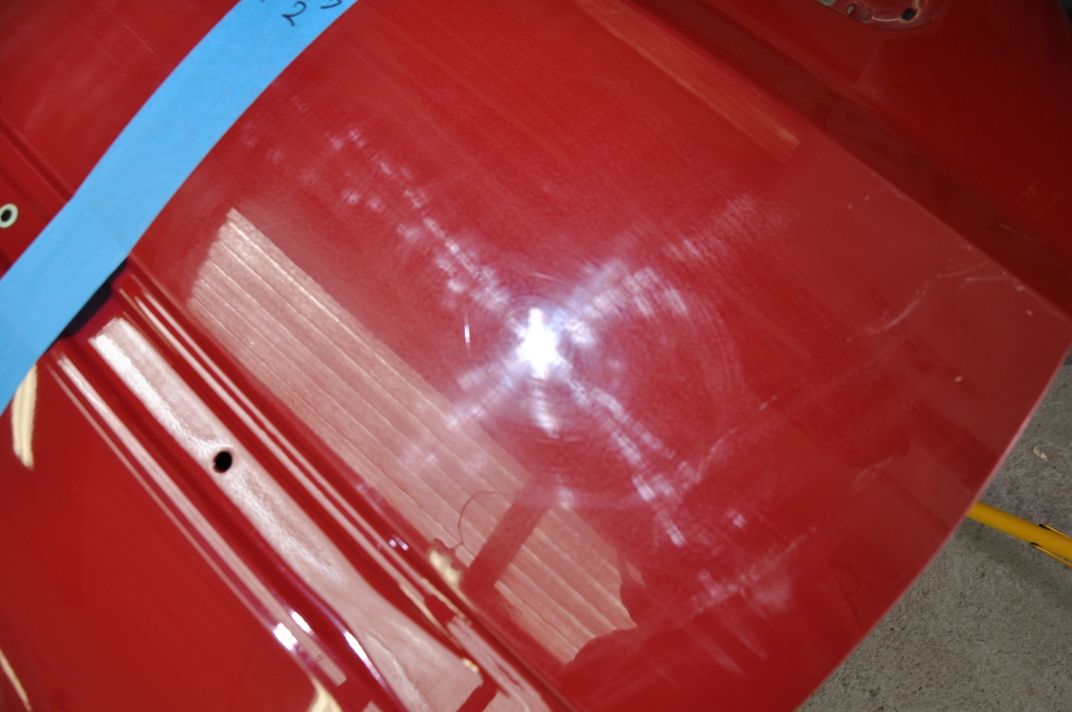
The next test was to look more at the flexibility of #105 - using it with a 3M polishing pad, and using a Zenith point application method, refining with light pressure and slow speeds. The aim here is to get the best finish from #105 in terms of clarity while still achieving a cut. The video shows the application method - note, at the end of the set, the pad is barely in contact with the finish in order to give as light pressure as possible with the weight of the rotary being supported with the second arm:

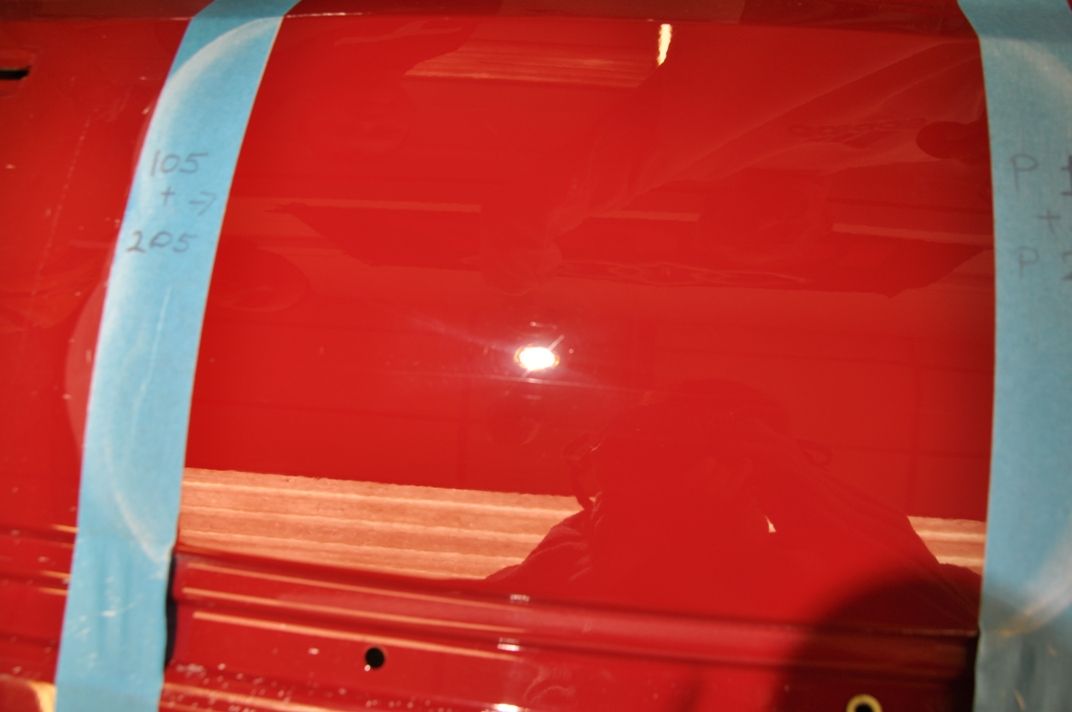
The results of this investigated under the Sun Gun:
Looks good to me so far, however a wipe down was then performed to really assess the finish - IPA has removed a filling effect from #105 above, so it was used again to check here. After wipe down:
Carefully examining the results, there was perhaps very slight evidence of faint rotary tails but it was hard to differentiate between this and glare on the camera lens... in the flesh, the finish was arguably hologram free, perhaps very faint tails, ultimately hard to call! However, bearing in mind that this is an aggressive cutting compound used here, the clarity of the finish achieved I regard as very impressive and is a true testament to the flexibility of this product. So far, #105 is impressing
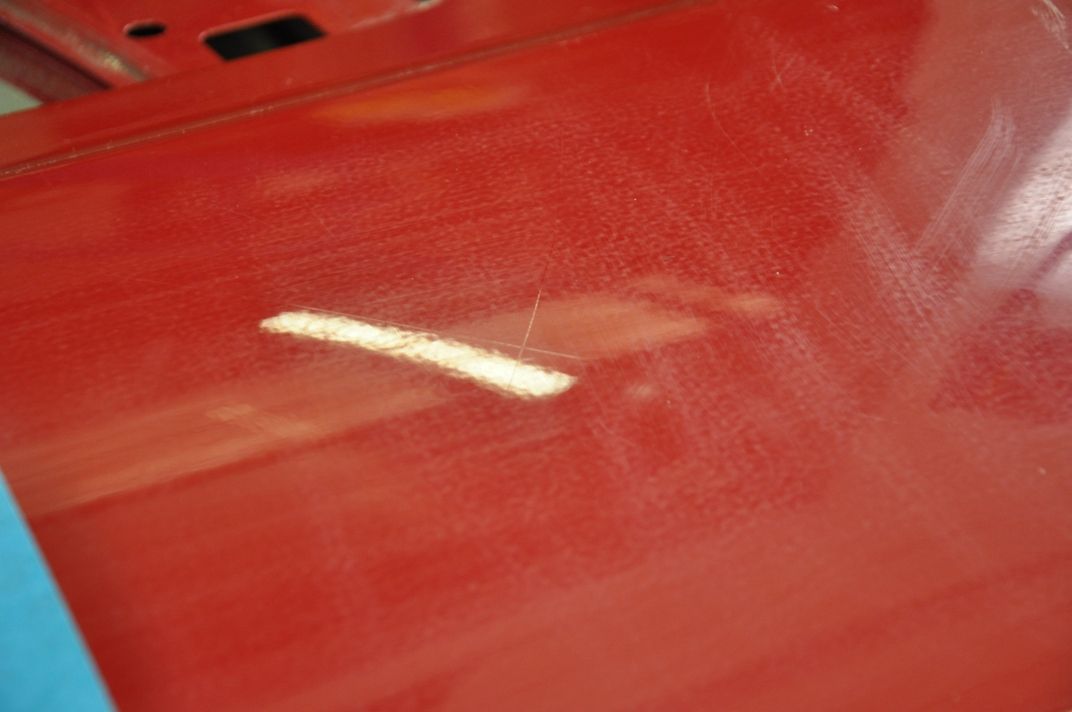
The next stage of the test was to test the cut of #105 closer to its limit using an aggressive wool mop - a Makita cutting wool. The set, shown in the video below, works #105 at 2000rpm with firm pressure until the deep X was removed - no refinement attempted, and the product just worked until the deeper marks removed...
The results:
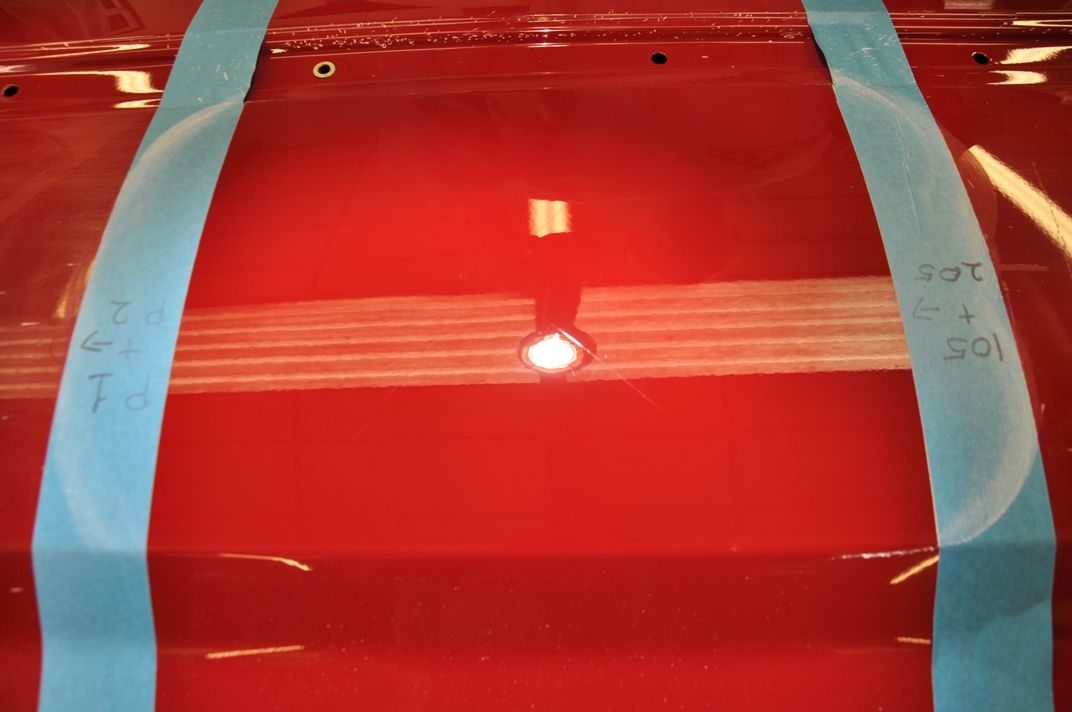
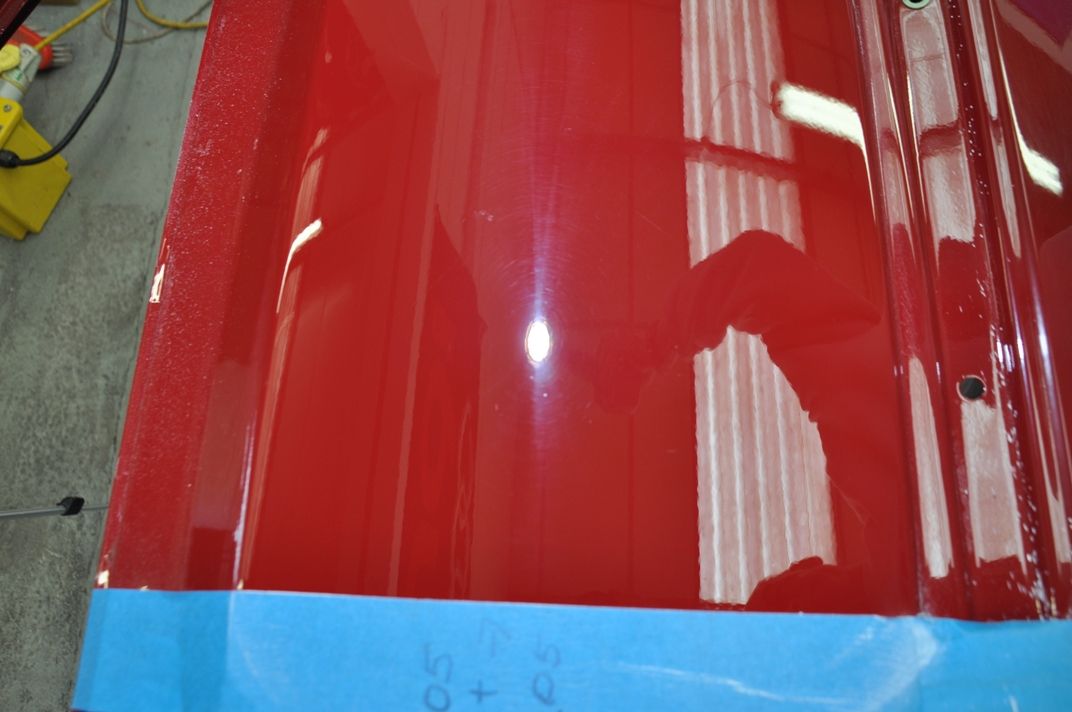
Deep mark removed, however, some lovely holograms left!:
Polishing technology that many of us are used to uses diminishing abrasives - abrasives that break down as you polish, where the cut gets less and less and you can then burnish the finish with the broken down abrasives to remove or reduce holograms depending on the polish.
However, polishing technology is now adopting abrasives which do no break down - known as non-diminshing abrasives, or constant-cut abrasives. In these polishes, the abrasives remain cutting to the same amount throughout the polishing set. The idea behind them is that you can change the amount of cut by changing the pad or the amount of pressure (or other factors), rather than changing the polish. Naturally, "standard polishes" can also have their cut varied by changing the pad and polishing style, however non-diminishing polishes take this flexibility to another level and respond to a greater degree to changes. With this in mind, this test compares two of the manufacturers who have taken this polishing technology to the market:
Meguiars
Replacing their #80-series polishes, Meguiars first came to the game with the Solo range, with Solo Polishing Cream and the pad kit... Later to the market are #105 Ultra Cut Compound and #205 Ultra Finishing Polish which use the non-diminishing abrasives (Meguiars' SMAT technology) which are tested here. #105 is the aggressive cutting product for severe defect correction while #205 is the light abrasive product designed for light correction and finishing.
GTechniq
Perhaps less of a known brand, but certainly coming to the fore in the UK market and beyond is GTechniq - and the popularity of the P1 and P2 polishes is a testament to them, as they are making waxes in a market dominated by Menzerna, 3M and Meguiars. P1 uses non-diminishing abrasives, designed to be the only polish you need capable of severe defect correction or lighter correction. P2 is designed as a finishing polish for the removal of any hologramming and sharpening the finish.
So - the test. Using a VW Golf door, solid red paint with clearcoat and known to be hard paint from removal rates test, the heavy cutting products were first of all tested by foam for correction of defects and possible refinement. They were also tested by wool for severe defect correction. The finishing products were tested for the removal of holograms, both from foam and wool. IPA was used throughout for wipedowns and we have had good success with this in tests for removing oils so long as you saturate the panel and wipe in straight lines with moderate pressure... rather than just a cursory wipe over with a light mist of IPA. Results of our tests:
Meguiars #105 and #205
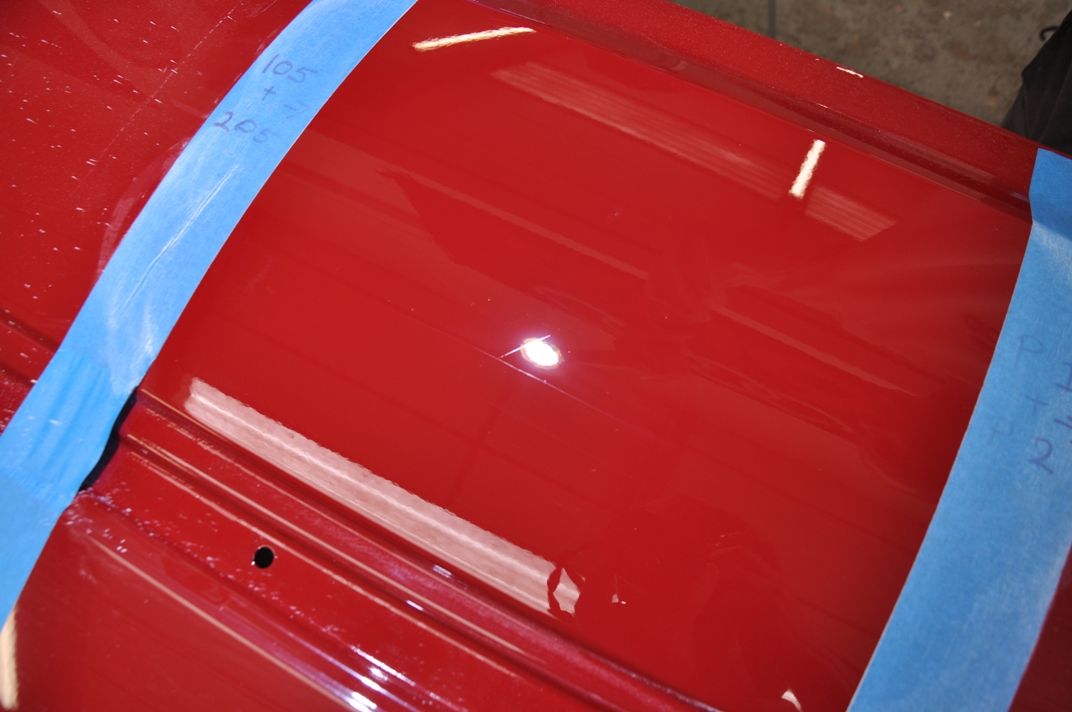
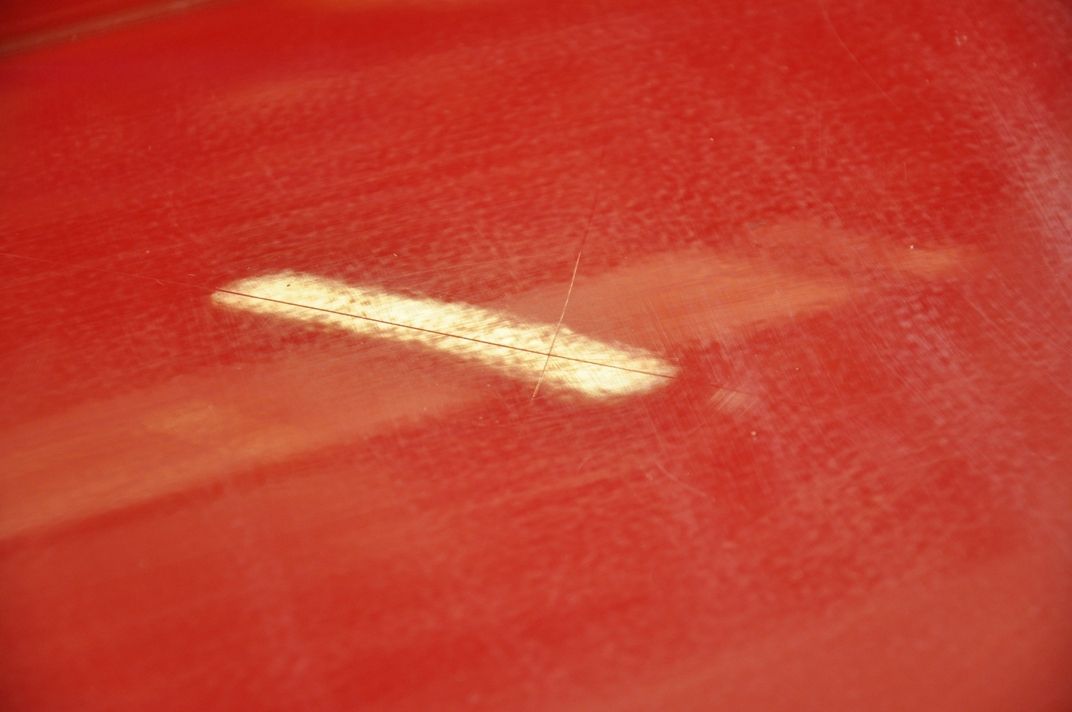
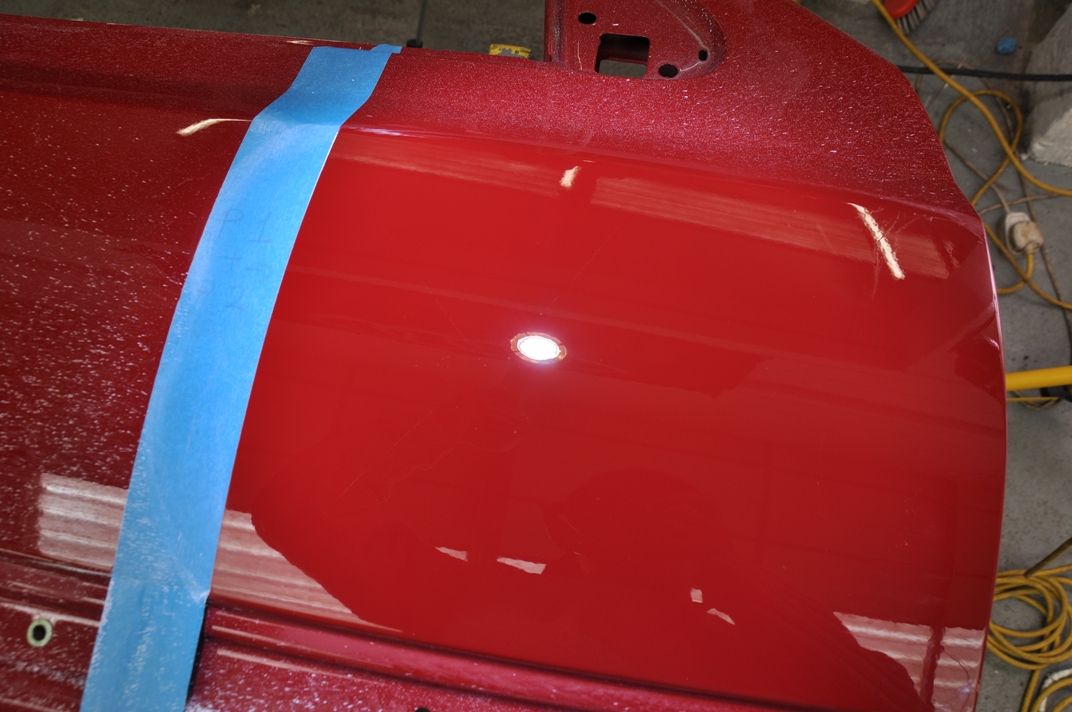
First up, the Meguiars polishes. We started with a nicely marred door (courtesy of sand paper and a gritty cloth):
and a key used to inflict an X as a deeper mark to challenge the correction power of the product:
The first test was carried out using a yellow Hexlogic cutting pad. The product was spread and then worked up to around 1800rpm and worked with moderate pressure by rotary polisher, as shown in the video below. No refinement stage was carried out, and the product was worked until it seemed to dry and go slightly tacky:
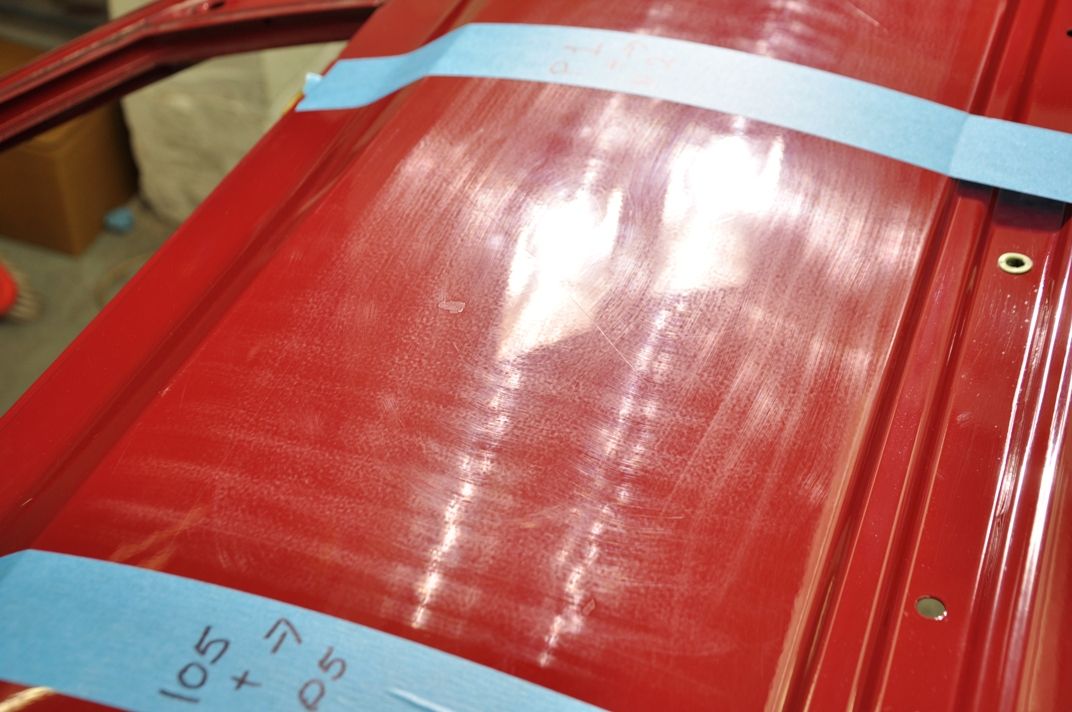
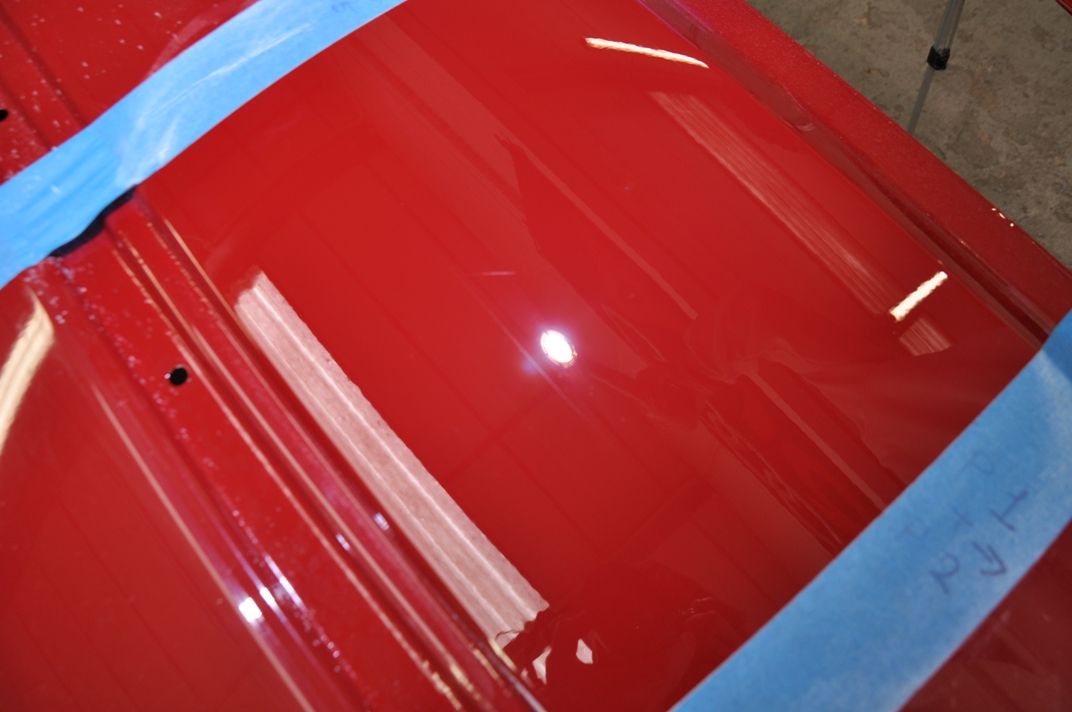
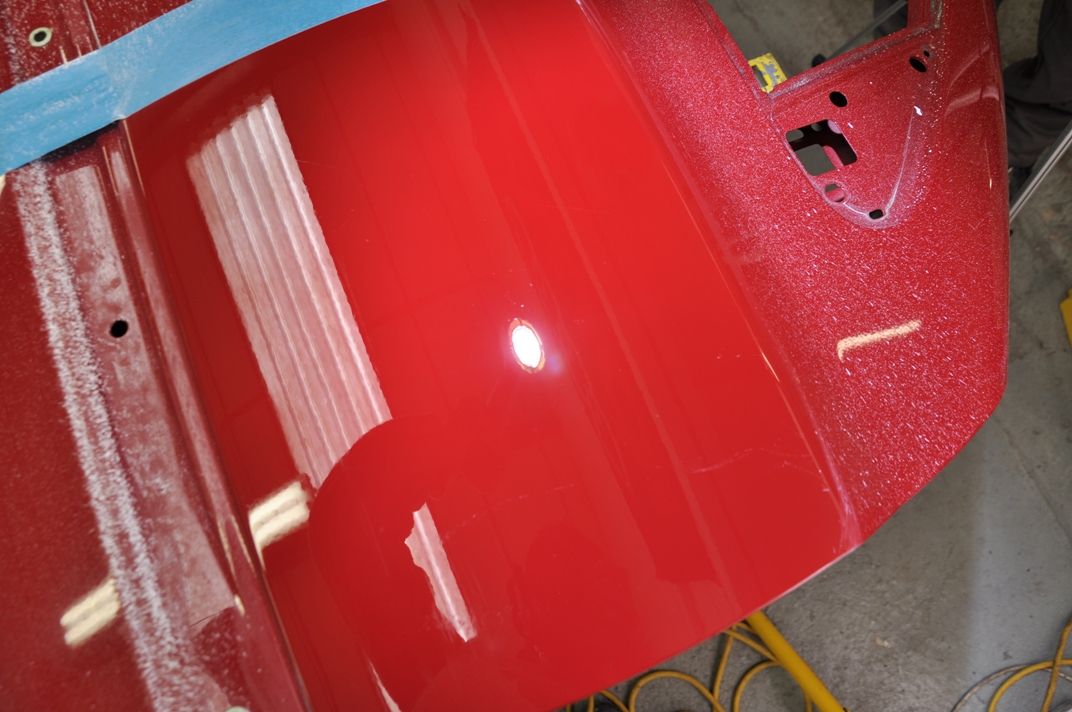
The results of the first compounding set:
The finish looks good in terms of correction, however you can see light holograms formed as you can see under the Sun Gun. Using the strip light, which is better for looking at deeper marks as the Sun Gun can sometimes bleach out deeper marks through glare, we can still see the X in the finish, although it has been reduced:
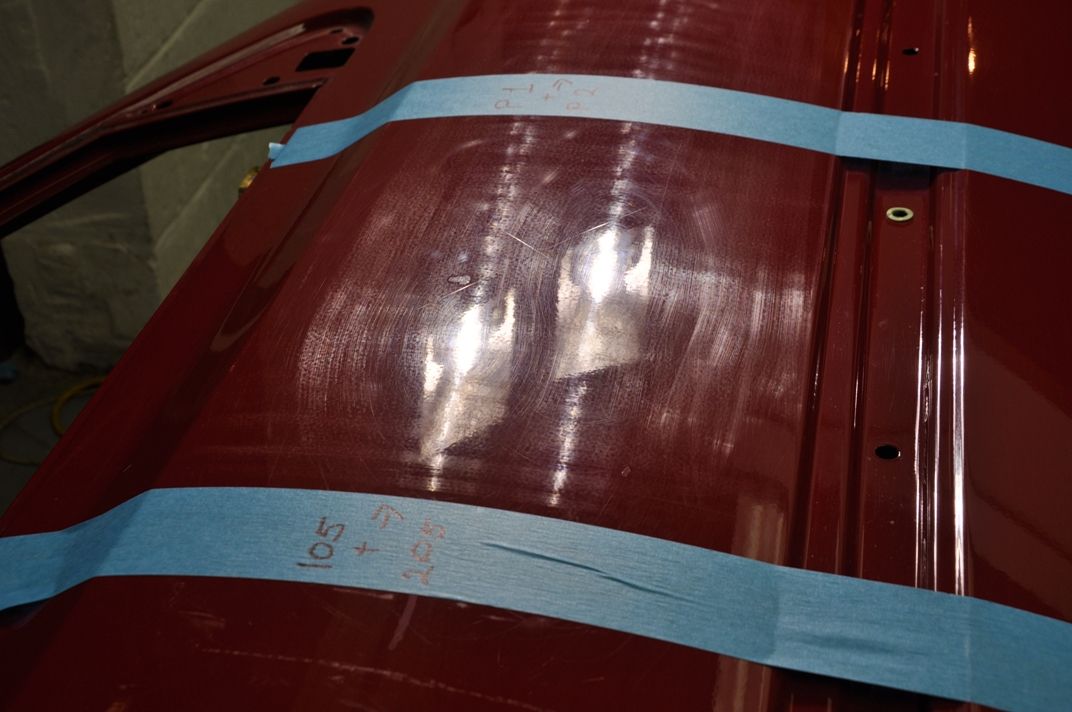
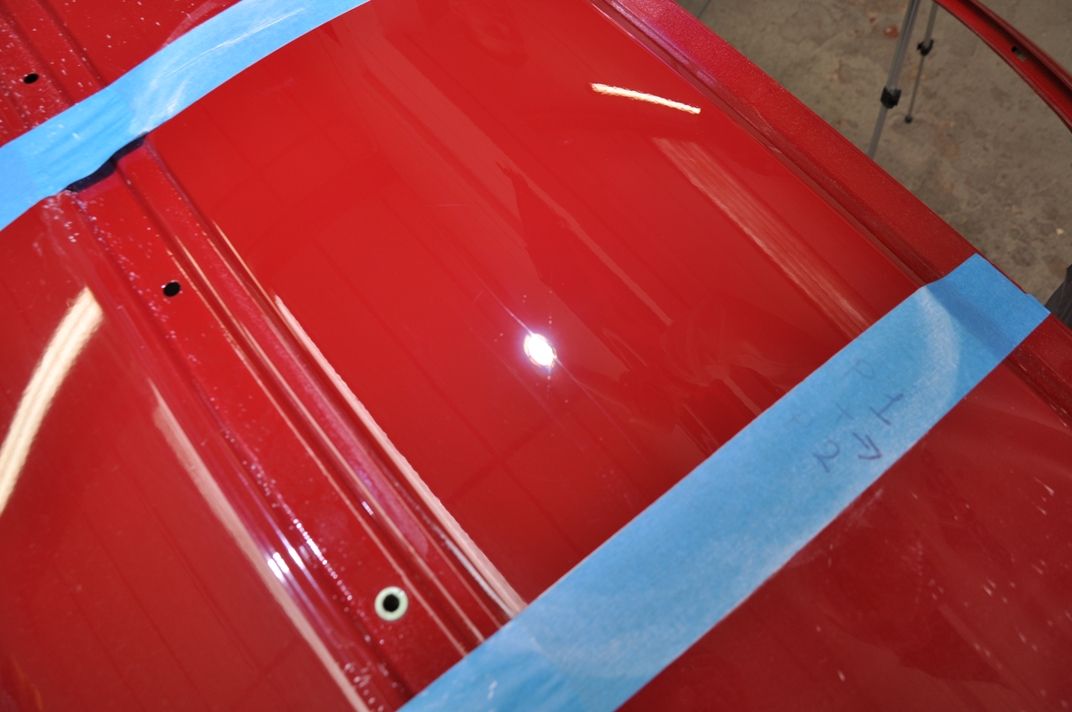
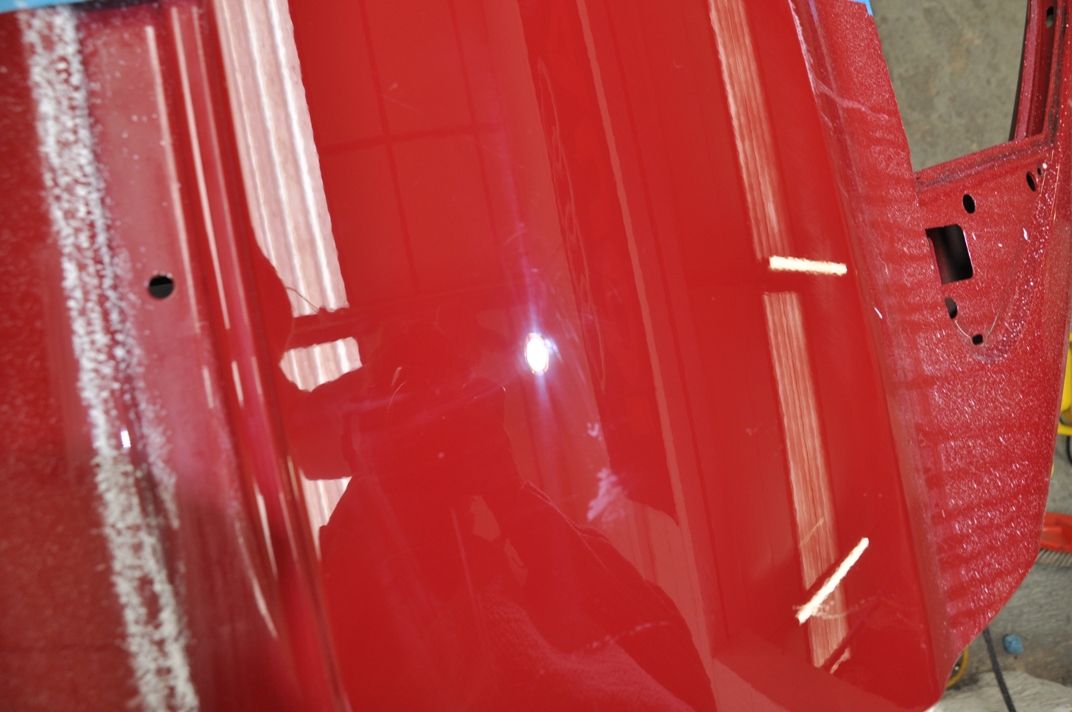
A repeat of this set, with an extended set length, achieved the following results under the Sun Gun:
Good level of correction, and a nice sharpness to the Sun Gun reflection although as you can see there is some hologramming which I would expect with no effort made to refine the finish. The deep X has also been significantly reduced again:
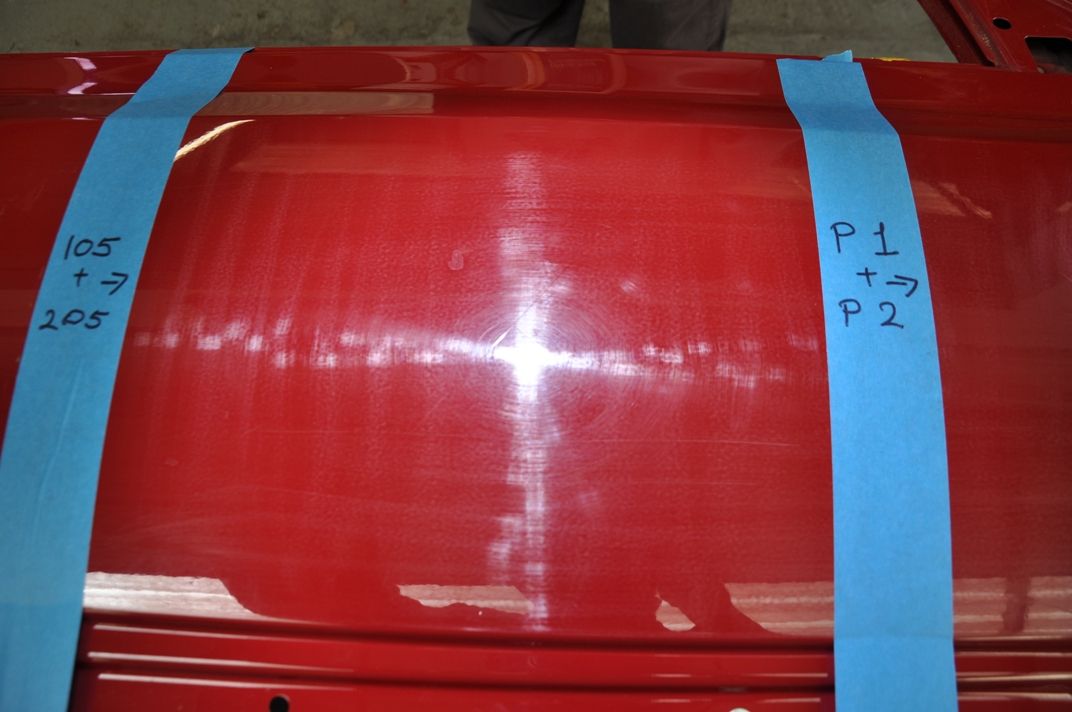
Now - for a moment of truth... IPA wipedown, and check again under the Sun Gun and we can see more holograms revealed, suggesting that #105 has acted to mask the holograms to a degree:
A good first blow here, good levels of correction achieved and the holograms were to be expected given the cutting pad and the pressure used during the polishing set. However, a point to note here was the masking that #105 achieved as well, something to definitely be aware of.
The next test was to look more at the flexibility of #105 - using it with a 3M polishing pad, and using a Zenith point application method, refining with light pressure and slow speeds. The aim here is to get the best finish from #105 in terms of clarity while still achieving a cut. The video shows the application method - note, at the end of the set, the pad is barely in contact with the finish in order to give as light pressure as possible with the weight of the rotary being supported with the second arm:
The results of this investigated under the Sun Gun:
Looks good to me so far, however a wipe down was then performed to really assess the finish - IPA has removed a filling effect from #105 above, so it was used again to check here. After wipe down:
Carefully examining the results, there was perhaps very slight evidence of faint rotary tails but it was hard to differentiate between this and glare on the camera lens... in the flesh, the finish was arguably hologram free, perhaps very faint tails, ultimately hard to call! However, bearing in mind that this is an aggressive cutting compound used here, the clarity of the finish achieved I regard as very impressive and is a true testament to the flexibility of this product. So far, #105 is impressing
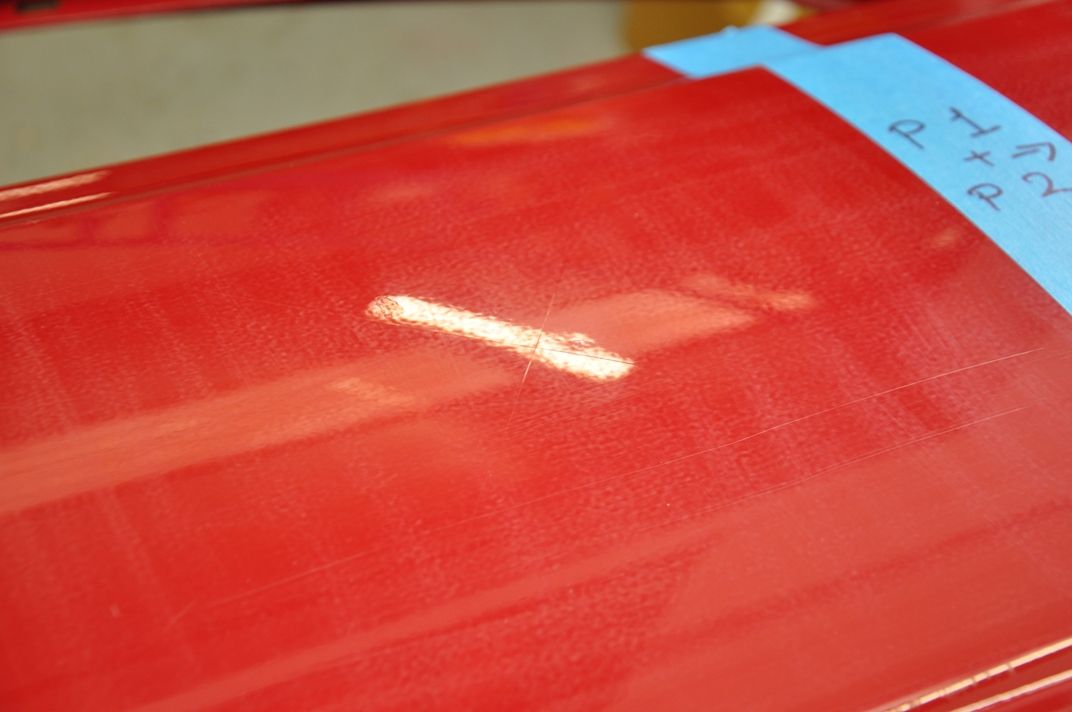
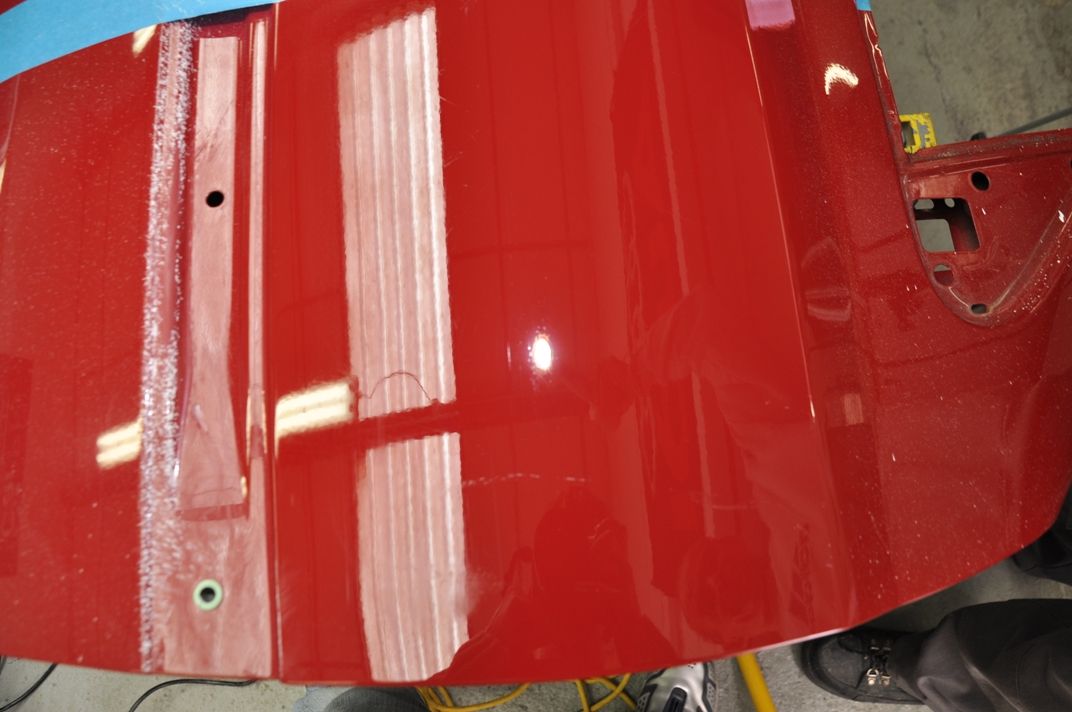
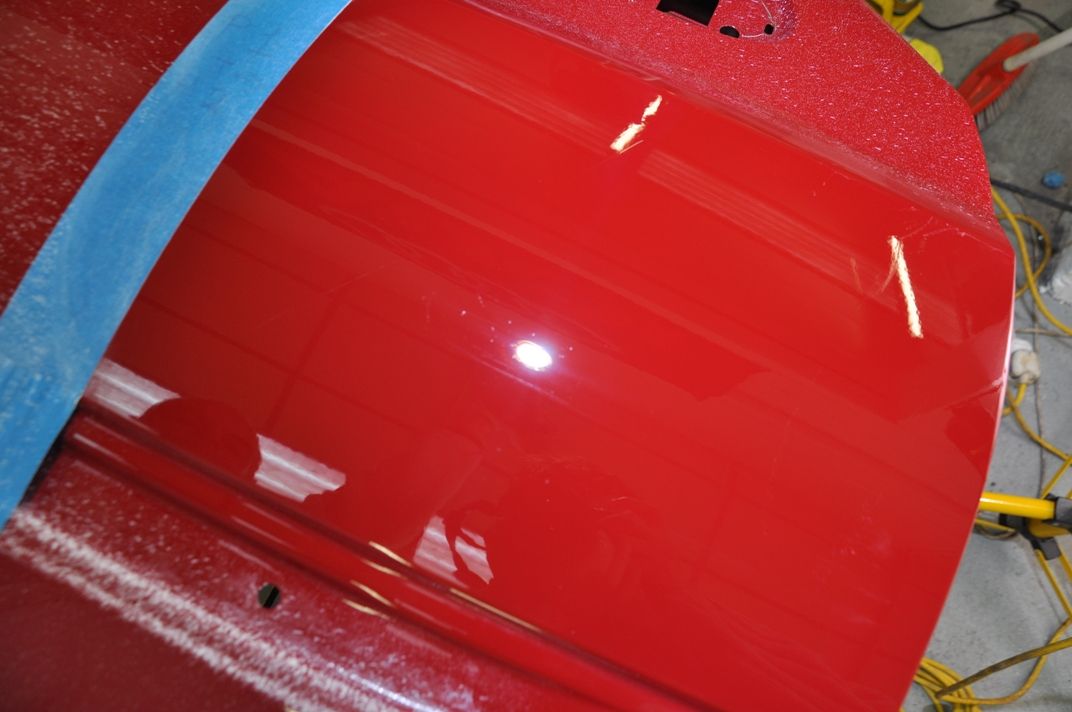
The next stage of the test was to test the cut of #105 closer to its limit using an aggressive wool mop - a Makita cutting wool. The set, shown in the video below, works #105 at 2000rpm with firm pressure until the deep X was removed - no refinement attempted, and the product just worked until the deeper marks removed...
The results:
Deep mark removed, however, some lovely holograms left!:


 :
:


")