Ray in Kigwood
New member
My Friday afternoon and Saturday with the The Flex 3401.
First off I washed it well with a lambwool mid and Mothers deep sudsing shampoo utilizing the 2bucket method and grit guards. Then I made up a 3 gallon buket of sudsy solution as a lubricant and using the saturated mitt I clayed the entire vehicle. I first started off with the yellow bar of Mothers from the kit, but it was too fine and took tot damn long. So I went with a purple clay I had purchased and it worked wonderfully and required a lot of lubricant so as not to drag. Then I did a rinse and blew it off with the lleafblower.
Then per the advice on the detailing forums, I used a white pad and went straight with the Menzerna Final polish to level the paint. My paint was relatively new with no swirls and in good condition so I bypassed the Super Intensive Polish and went straight to the Final Polish.
Using the techniques I read on the detailing forums I first misted my white pad with XMC pad conditioner and put a a couple of dime sized product on the pad. Started on 1 to spread the product over a 2 by 2 area, sped things up to 6 and made a double overlapping pass, and slowed to 3 till the polish broke down exactly as I saw in the videos on Youtube.
I then buffed off the product utilizing a microfiber towel turning frequently.
Once this was completed, I had to chase down 4 asperin with a beer cuz doggone it......all this bending and wiping got my old wrinkled butt sore. So, another quick Hieniken and I washed the entire vehicle again prior to LSP sealant. I know some washed and some did not after polishing, I just felt a good wash would get rid of all traces of polish leftovers. Then it was a blowjob with the leafblower, a wipe down with MF to get rid of grrrrr damn water spots..
Final sealant I applied with the machind and a microfiber applicator for the places I could not reach with the machine. I applied using the GREY pad. Once again first dampening with XMC pad conditioner as this was a new pad. I used Wolfgangs Deep Gloss paint sealant. After application, I let it dry for 3 Heinikens and now the asperin has kicked in so I feel better.
Buffed it all off by hand with a MF towel. It came off really easy and looked fine so I saw no need to use the machine.
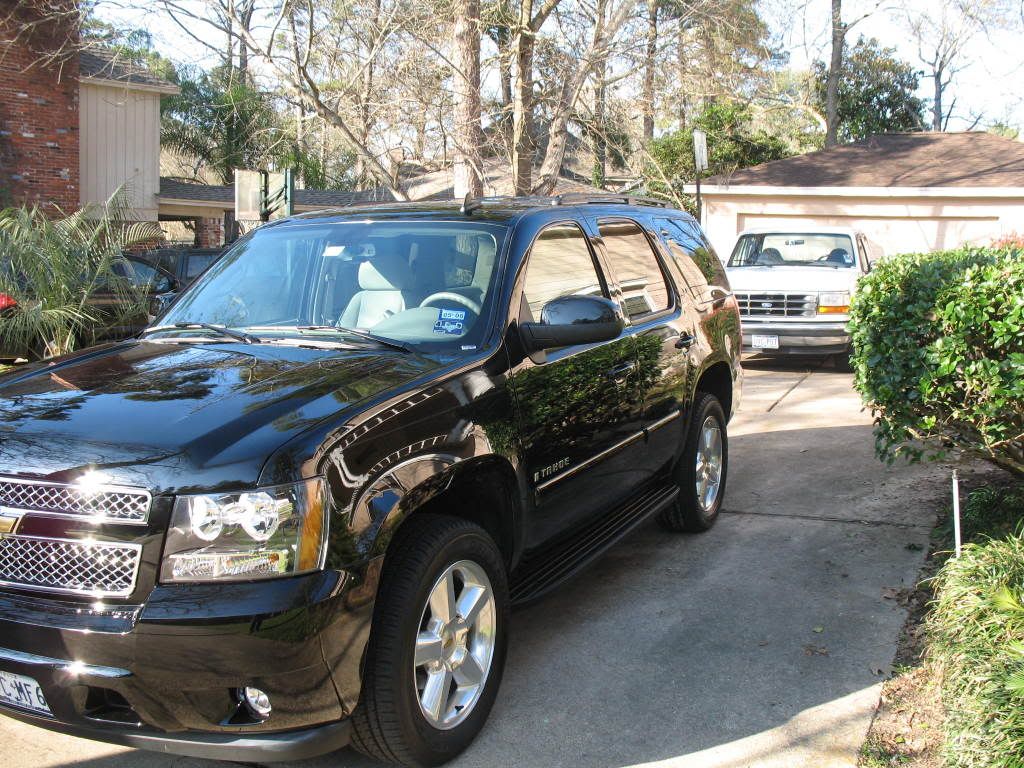
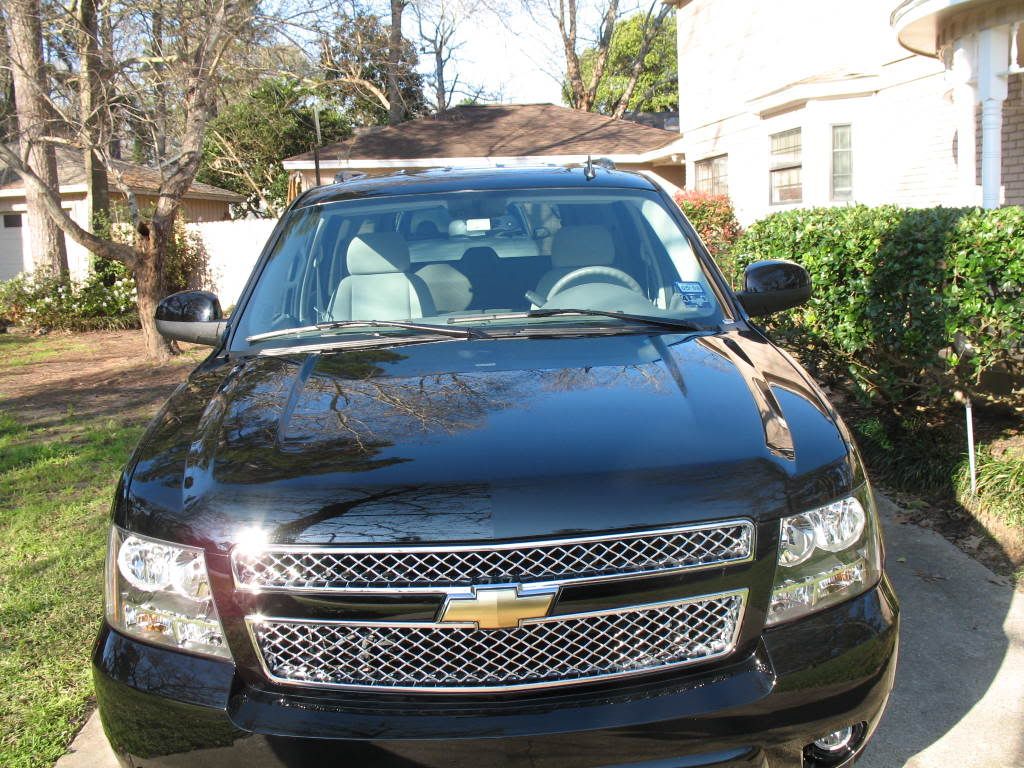
Here is an overalll view of the Tahoe.
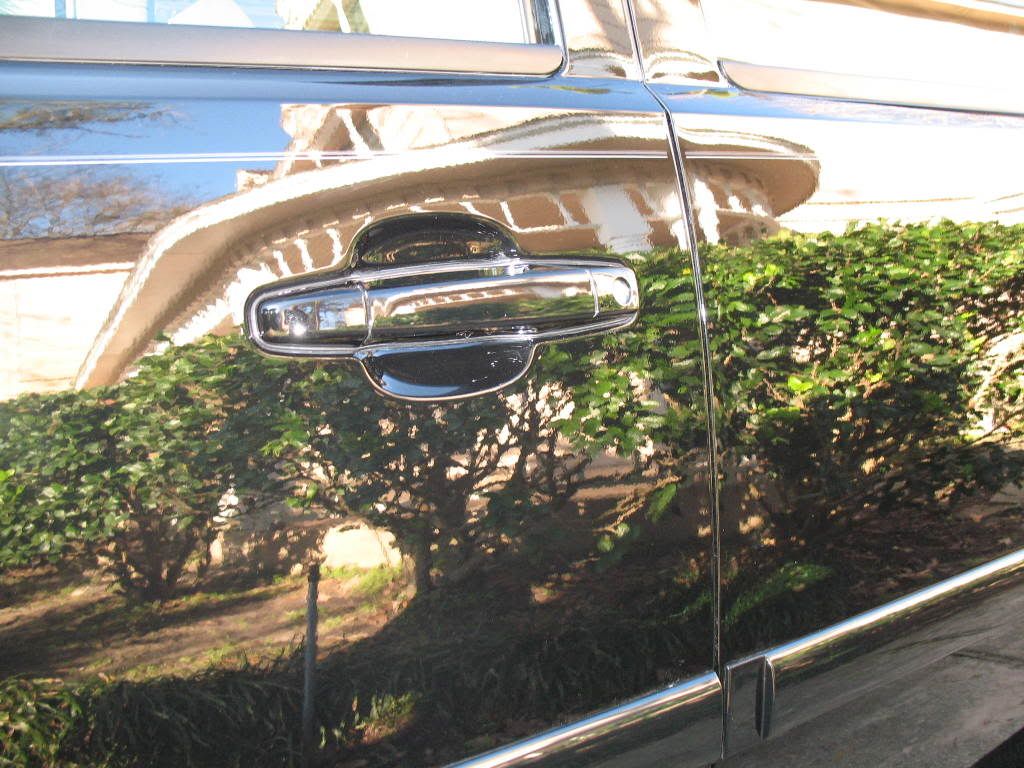
I went back after this pic and wiped off the polish just above the handle. Thats what it was, I thought it was a swirl in the paint..
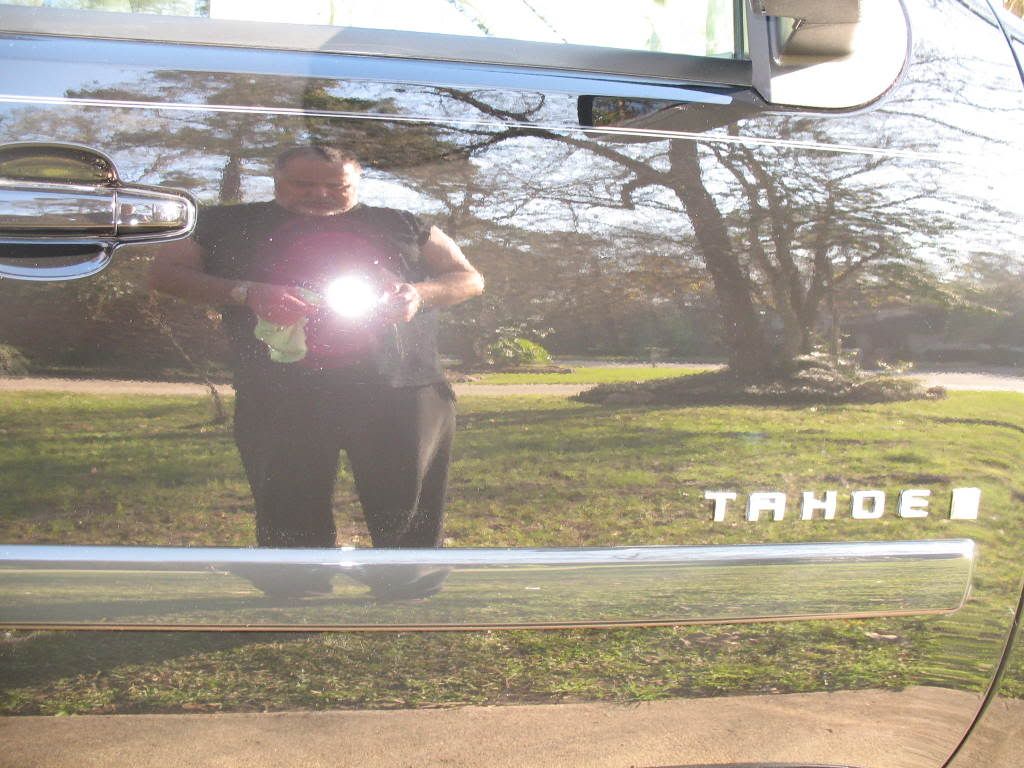
Nice reflection off of drivers door.
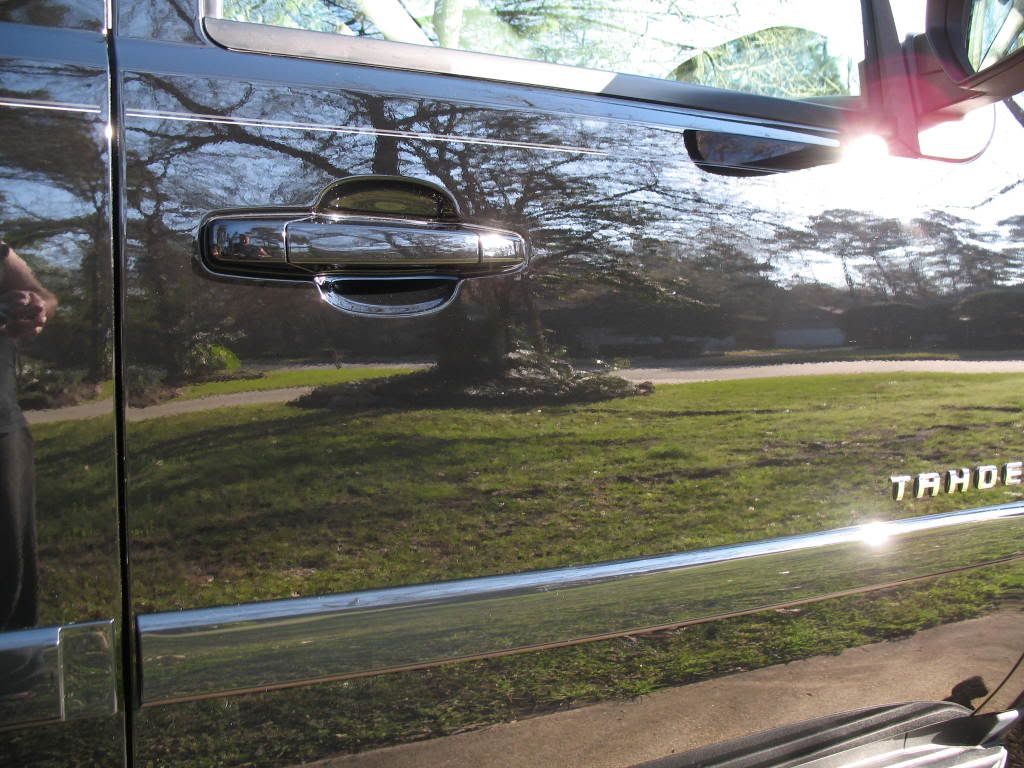
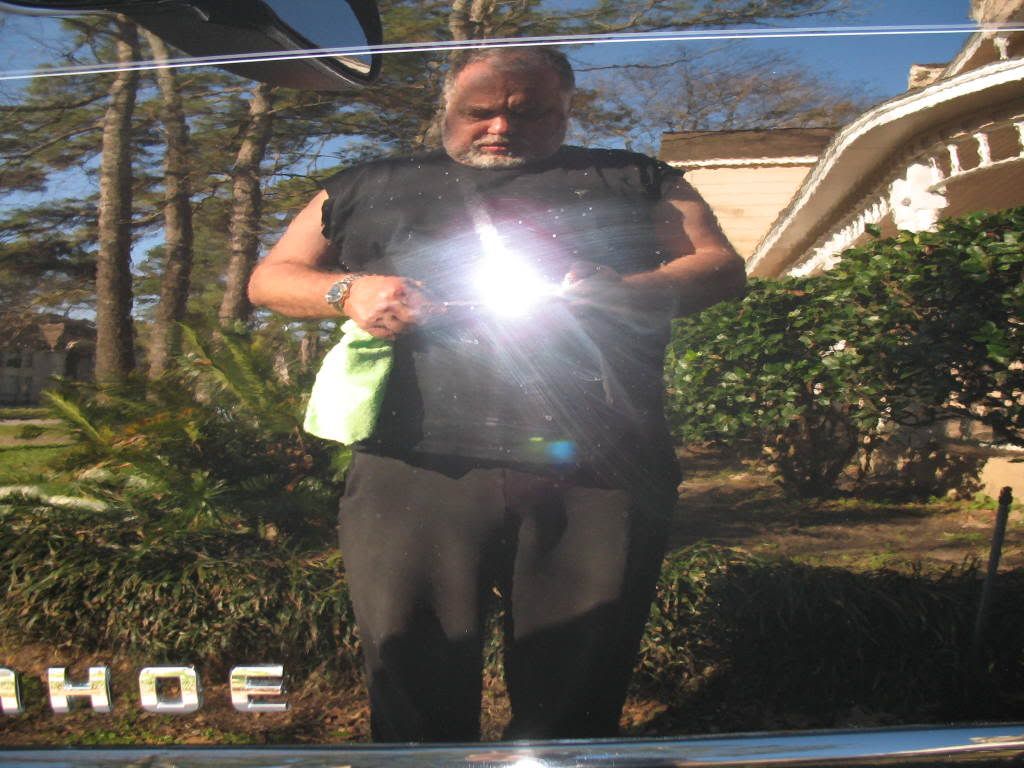
Same goes for the passenger side
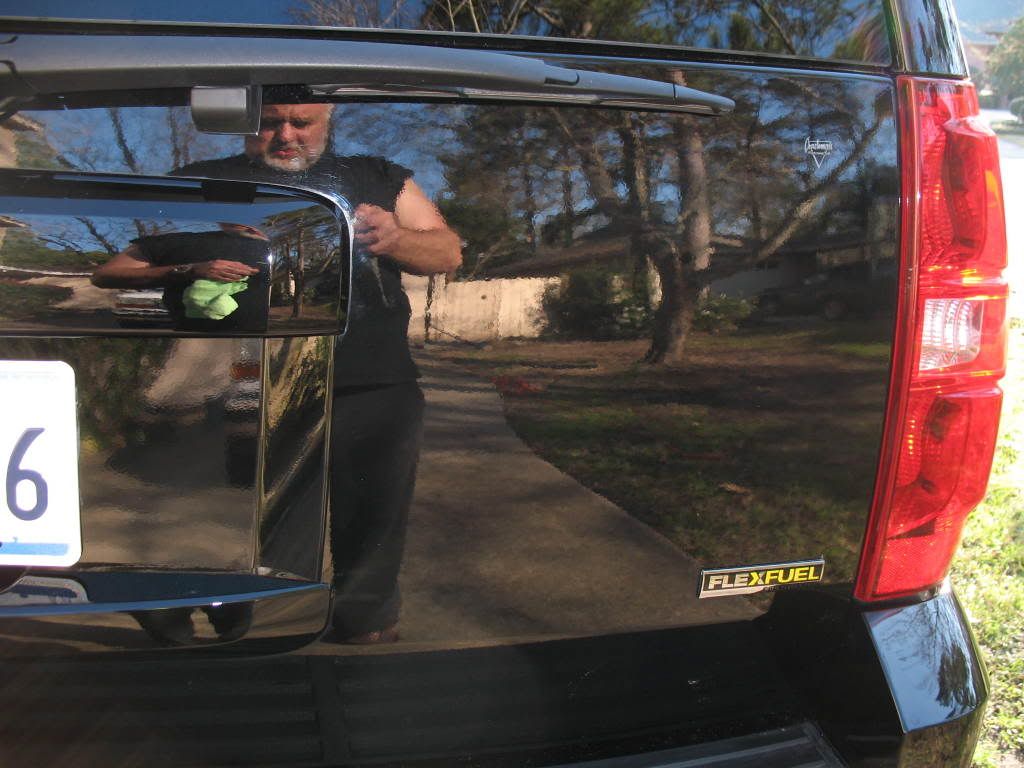
See the spots in the pic?
and the spots in this one! Grrrrrrr I went back and looked, wiped and double checked......not a single spot on the panel. Then I realized.......it was on the camera, the body and the lens. I had some spots on in from the Wolfgangs ....doggone it..So I wiped it clean, and Voila! check out the next few. ( I blame the Heinikens at this point") )
)
These next two show how well the hood came out....

And finally an overall shot of the vehicle. Now remember, I have only sealed this with the Wolfgangs sealant. It requires at least 12 hours to cure. I will let it cure a few days and then WAX. I have NOT waxed this truck yet. The difference from stock paint to this is astounding. I would like to thank all you fellers for the tips and techniques I would never have learned on my own. I am well pleased with the results so far.
My experience with the Flex 3401
I bought this unit based on the reviews I had read on the detailing forums on the net. I cannot compare it to a rotary as I had not used one, nor a pc for that matter. I find this to be a well engineered product that performs its intended function quite well. Some feel its pricey, personally I think cheap tools are very expensive, and a quality tool results in a quality job done. I found I did not like holding the tool at 12 and 6 oclock as it came configured and opted instead for the handle. MUCH better and easier to control. I like the soft start so that you dont fling product all over the vehicle. As I was about 35 feet from my garage, I made sure I had provided the flex with plenty of electrons using a 10 guage extension cord with a gfi just in case II happened to spill a Heiny.
Overall I am quite pleased with my purchase of the Flex and feel it was worth the $$$. This is my very first detail of a vehicle and so far I am happy with the results. I suspect it will look even better with a good coat of premium wax...
.....but that is next weekend.
So there iit is fella's, hope you enjoyed the review.

:spot :spot :spot :tumblewee :tumblewee :bigups :cooleek:
First off I washed it well with a lambwool mid and Mothers deep sudsing shampoo utilizing the 2bucket method and grit guards. Then I made up a 3 gallon buket of sudsy solution as a lubricant and using the saturated mitt I clayed the entire vehicle. I first started off with the yellow bar of Mothers from the kit, but it was too fine and took tot damn long. So I went with a purple clay I had purchased and it worked wonderfully and required a lot of lubricant so as not to drag. Then I did a rinse and blew it off with the lleafblower.
Then per the advice on the detailing forums, I used a white pad and went straight with the Menzerna Final polish to level the paint. My paint was relatively new with no swirls and in good condition so I bypassed the Super Intensive Polish and went straight to the Final Polish.
Using the techniques I read on the detailing forums I first misted my white pad with XMC pad conditioner and put a a couple of dime sized product on the pad. Started on 1 to spread the product over a 2 by 2 area, sped things up to 6 and made a double overlapping pass, and slowed to 3 till the polish broke down exactly as I saw in the videos on Youtube.
I then buffed off the product utilizing a microfiber towel turning frequently.
Once this was completed, I had to chase down 4 asperin with a beer cuz doggone it......all this bending and wiping got my old wrinkled butt sore. So, another quick Hieniken and I washed the entire vehicle again prior to LSP sealant. I know some washed and some did not after polishing, I just felt a good wash would get rid of all traces of polish leftovers. Then it was a blowjob with the leafblower, a wipe down with MF to get rid of grrrrr damn water spots..
Final sealant I applied with the machind and a microfiber applicator for the places I could not reach with the machine. I applied using the GREY pad. Once again first dampening with XMC pad conditioner as this was a new pad. I used Wolfgangs Deep Gloss paint sealant. After application, I let it dry for 3 Heinikens and now the asperin has kicked in so I feel better.
Buffed it all off by hand with a MF towel. It came off really easy and looked fine so I saw no need to use the machine.
Here is an overalll view of the Tahoe.
I went back after this pic and wiped off the polish just above the handle. Thats what it was, I thought it was a swirl in the paint..
Nice reflection off of drivers door.
Same goes for the passenger side
See the spots in the pic?
and the spots in this one! Grrrrrrr I went back and looked, wiped and double checked......not a single spot on the panel. Then I realized.......it was on the camera, the body and the lens. I had some spots on in from the Wolfgangs ....doggone it..So I wiped it clean, and Voila! check out the next few. ( I blame the Heinikens at this point
)
These next two show how well the hood came out....
And finally an overall shot of the vehicle. Now remember, I have only sealed this with the Wolfgangs sealant. It requires at least 12 hours to cure. I will let it cure a few days and then WAX. I have NOT waxed this truck yet. The difference from stock paint to this is astounding. I would like to thank all you fellers for the tips and techniques I would never have learned on my own. I am well pleased with the results so far.
My experience with the Flex 3401
I bought this unit based on the reviews I had read on the detailing forums on the net. I cannot compare it to a rotary as I had not used one, nor a pc for that matter. I find this to be a well engineered product that performs its intended function quite well. Some feel its pricey, personally I think cheap tools are very expensive, and a quality tool results in a quality job done. I found I did not like holding the tool at 12 and 6 oclock as it came configured and opted instead for the handle. MUCH better and easier to control. I like the soft start so that you dont fling product all over the vehicle. As I was about 35 feet from my garage, I made sure I had provided the flex with plenty of electrons using a 10 guage extension cord with a gfi just in case II happened to spill a Heiny.
Overall I am quite pleased with my purchase of the Flex and feel it was worth the $$$. This is my very first detail of a vehicle and so far I am happy with the results. I suspect it will look even better with a good coat of premium wax...
.....but that is next weekend.
So there iit is fella's, hope you enjoyed the review.
:spot :spot :spot :tumblewee :tumblewee :bigups :cooleek:
