imported_Dave KG
New member
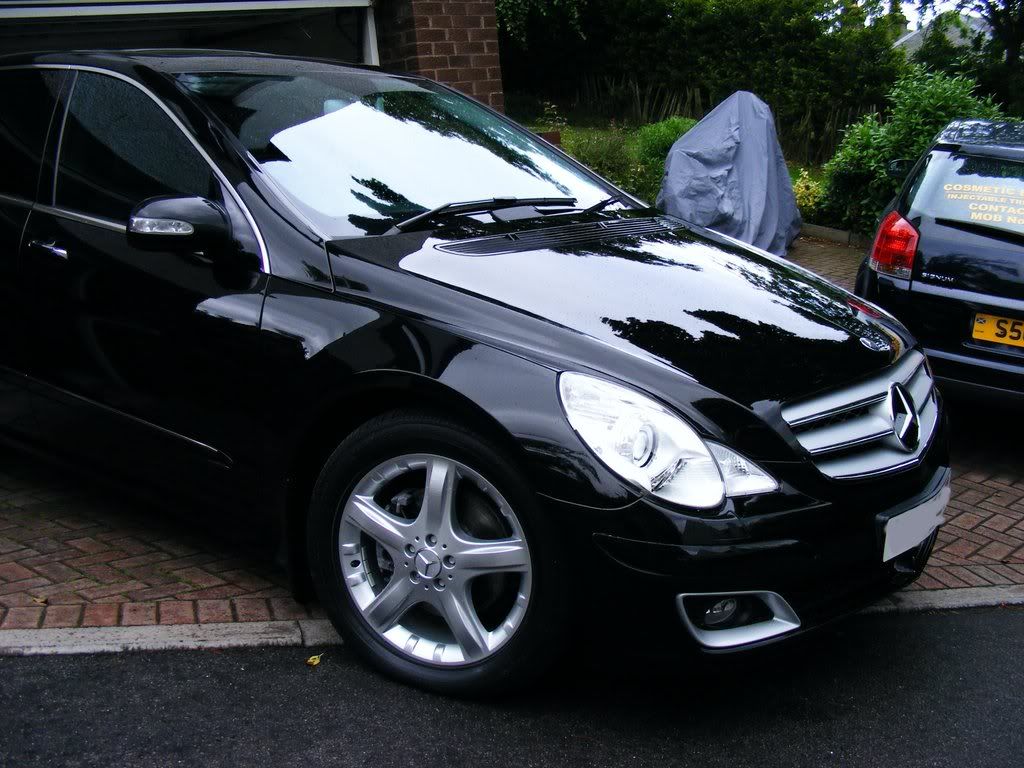
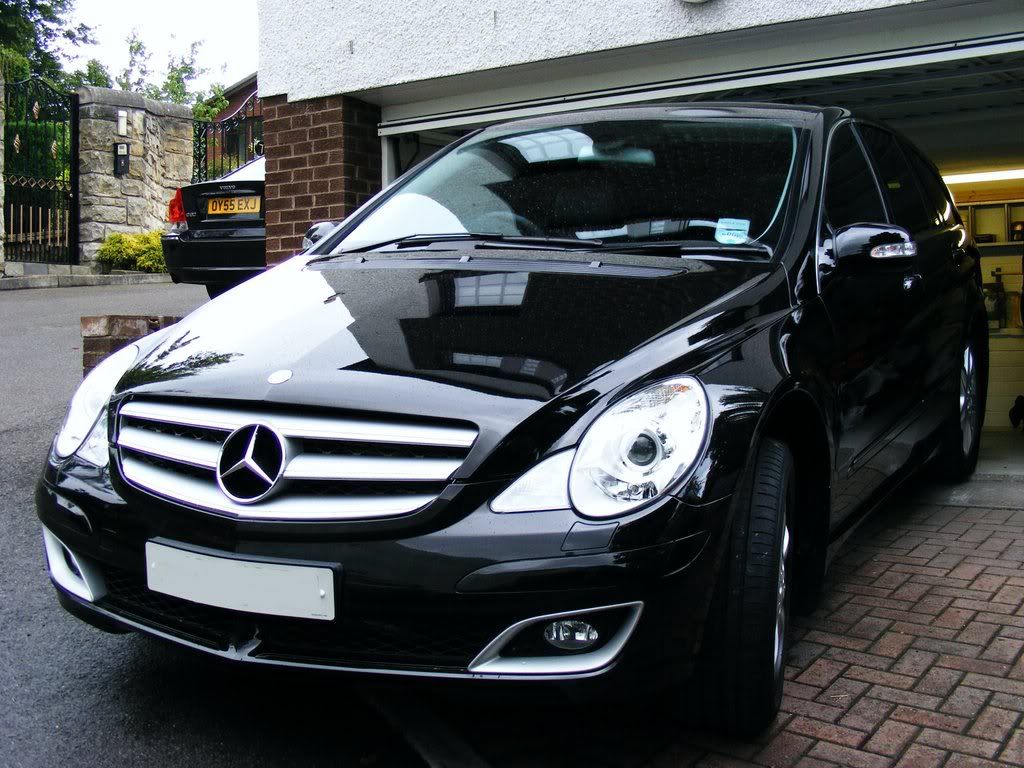
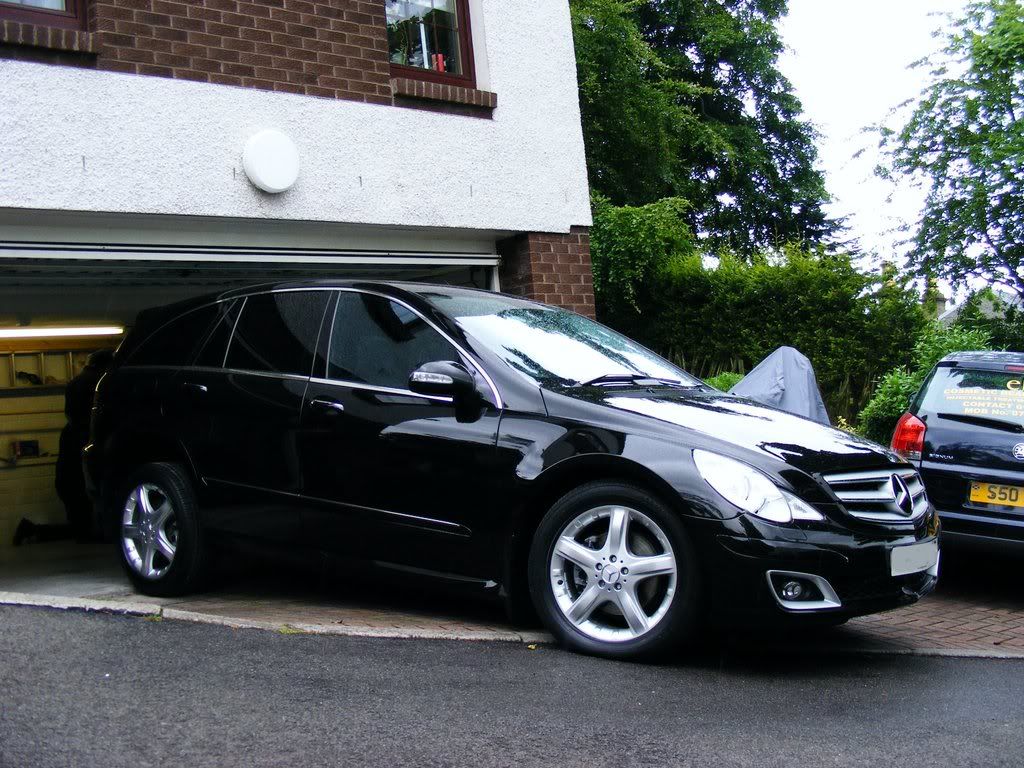
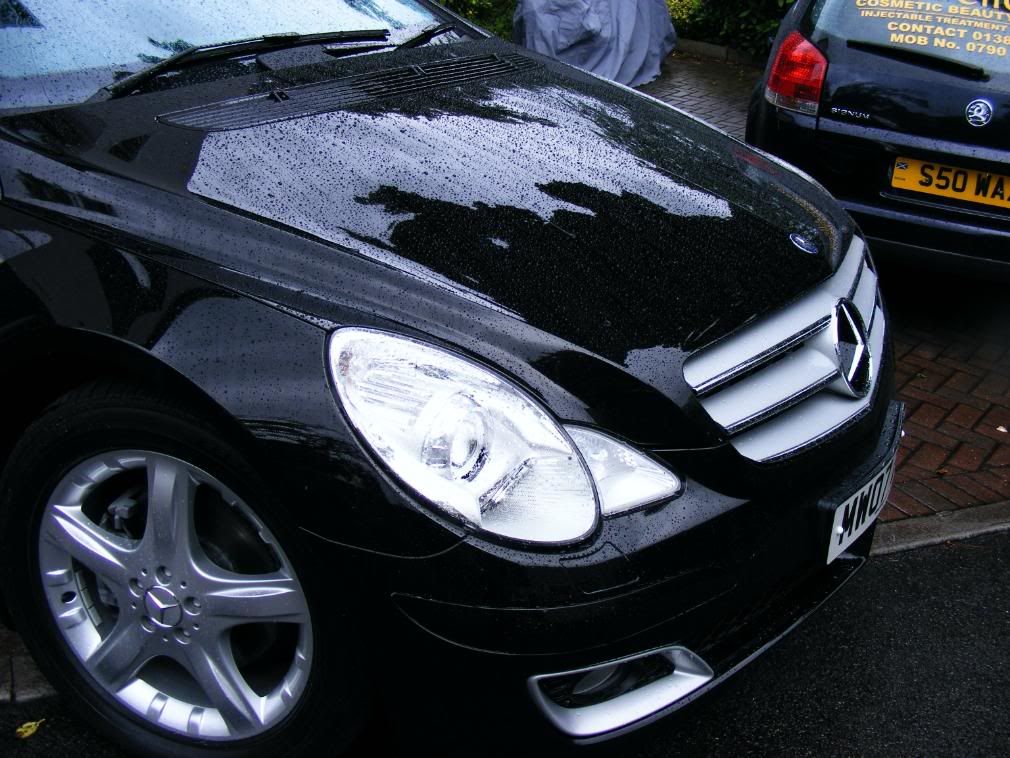
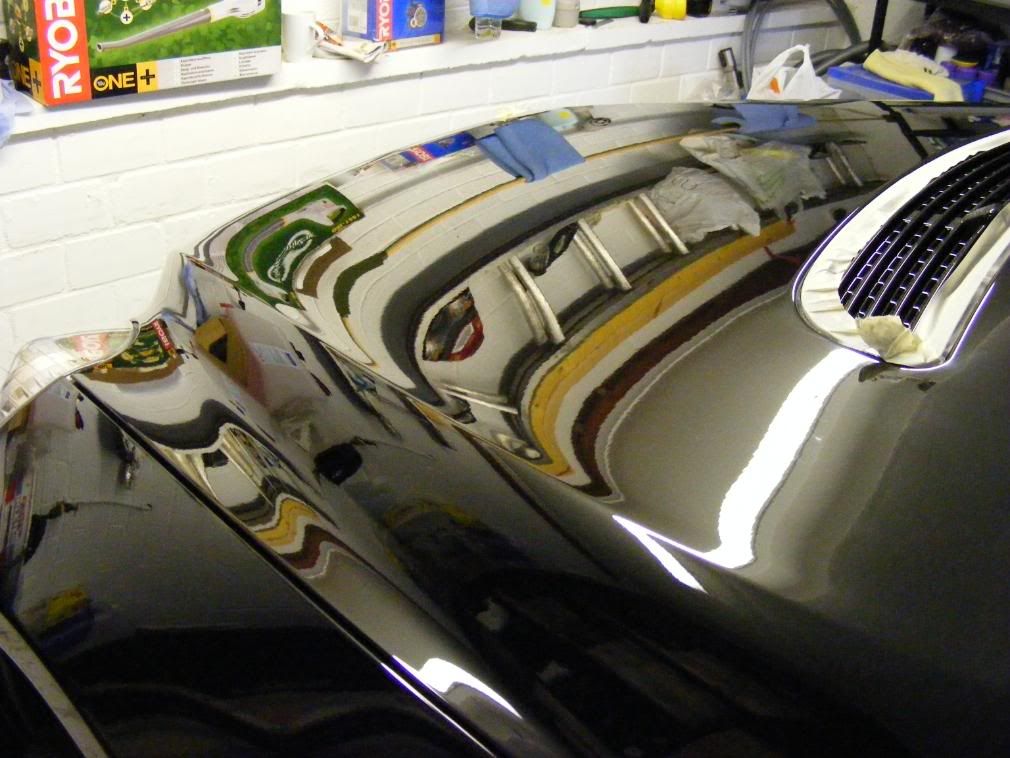
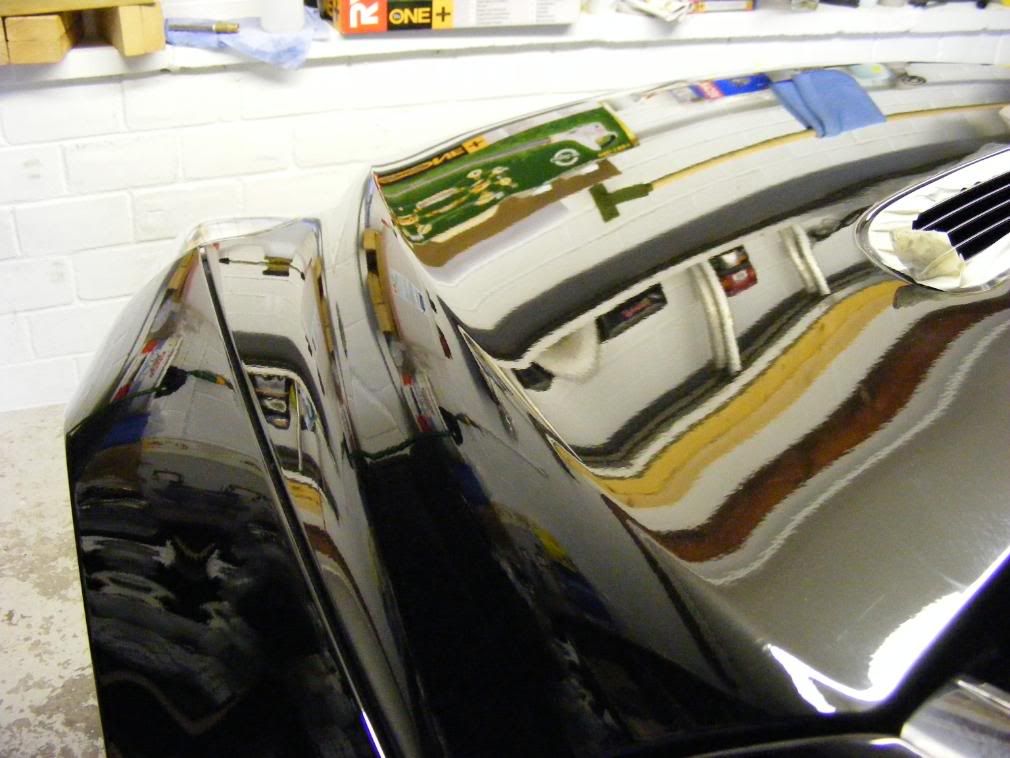
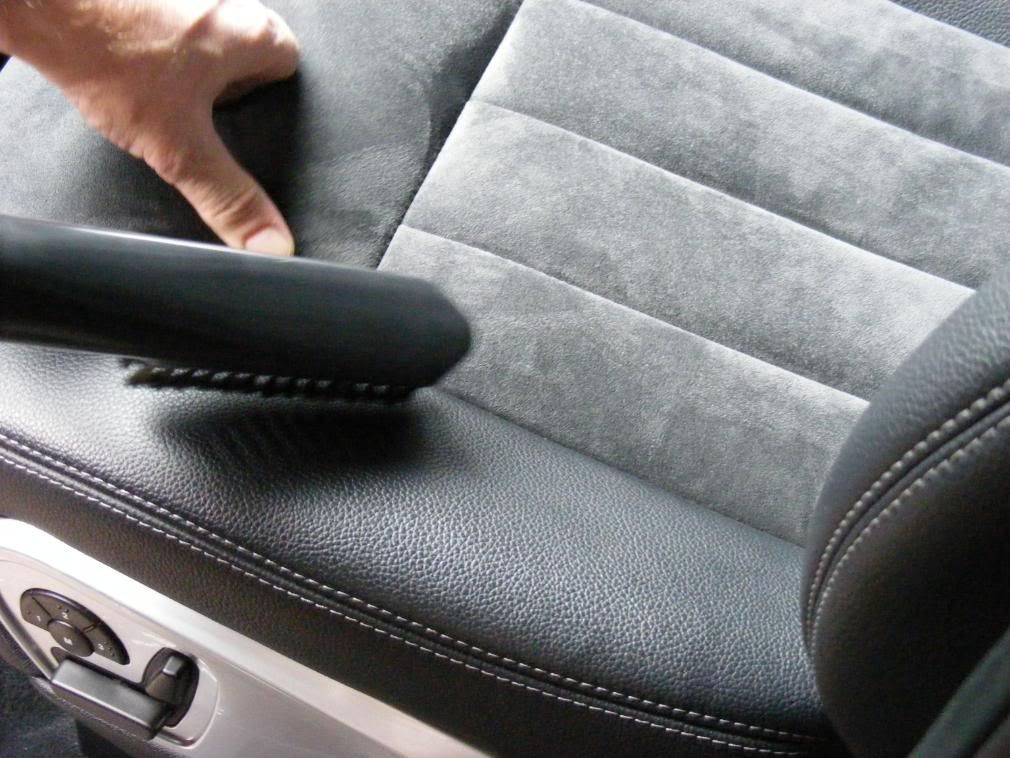
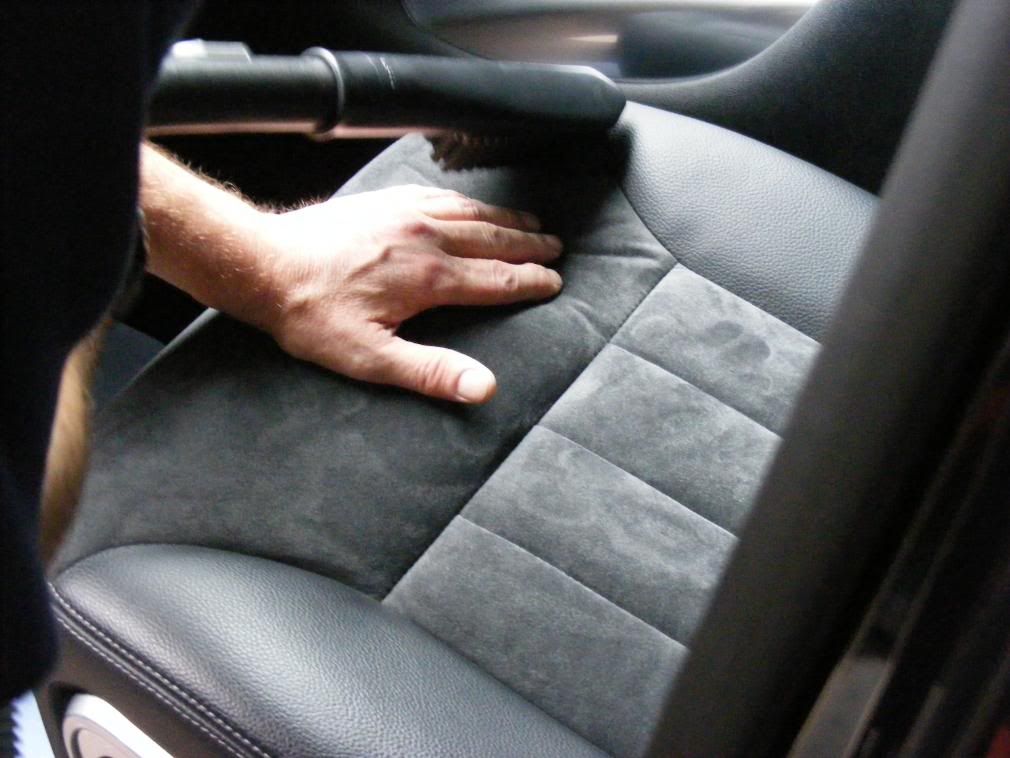
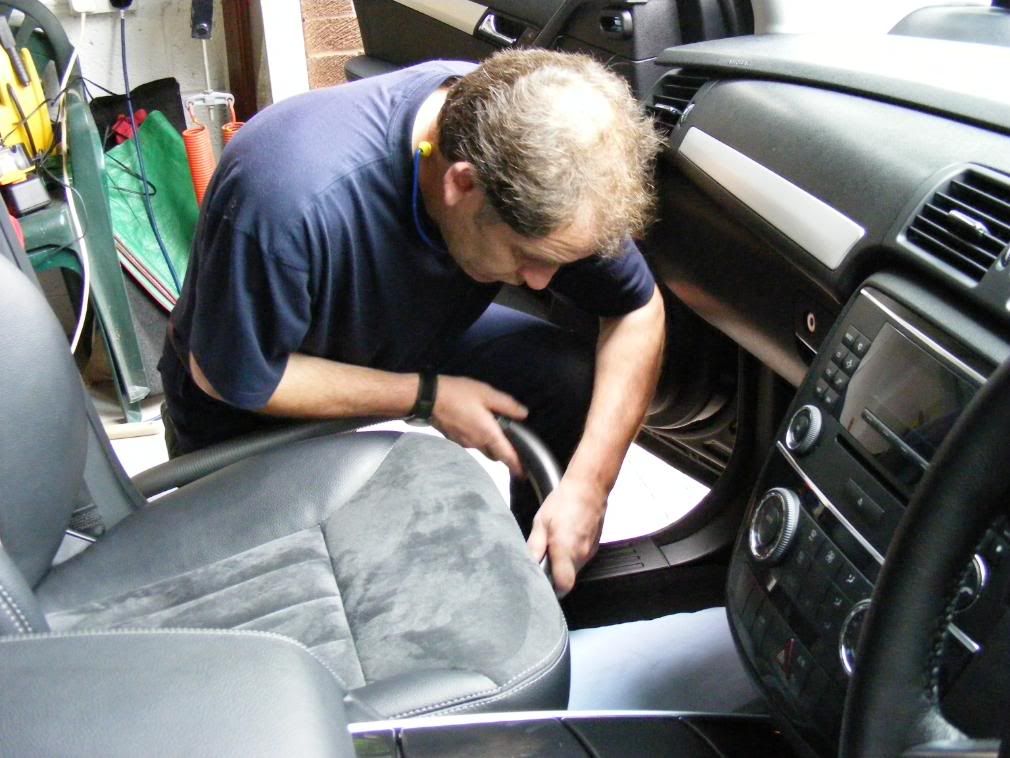
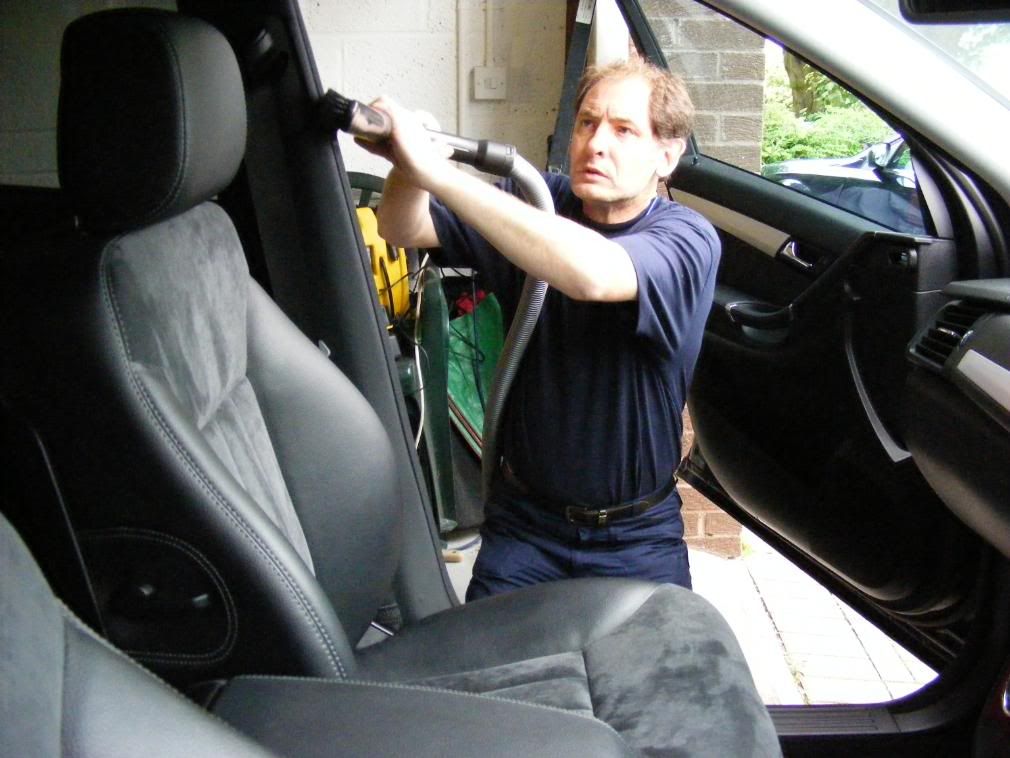
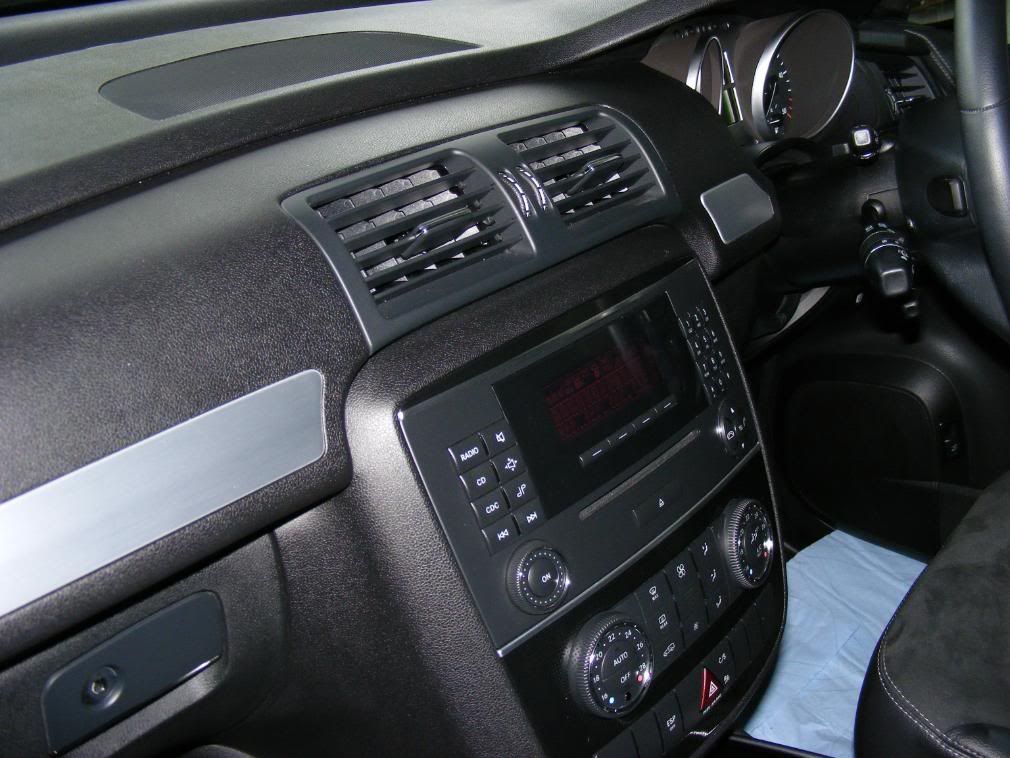
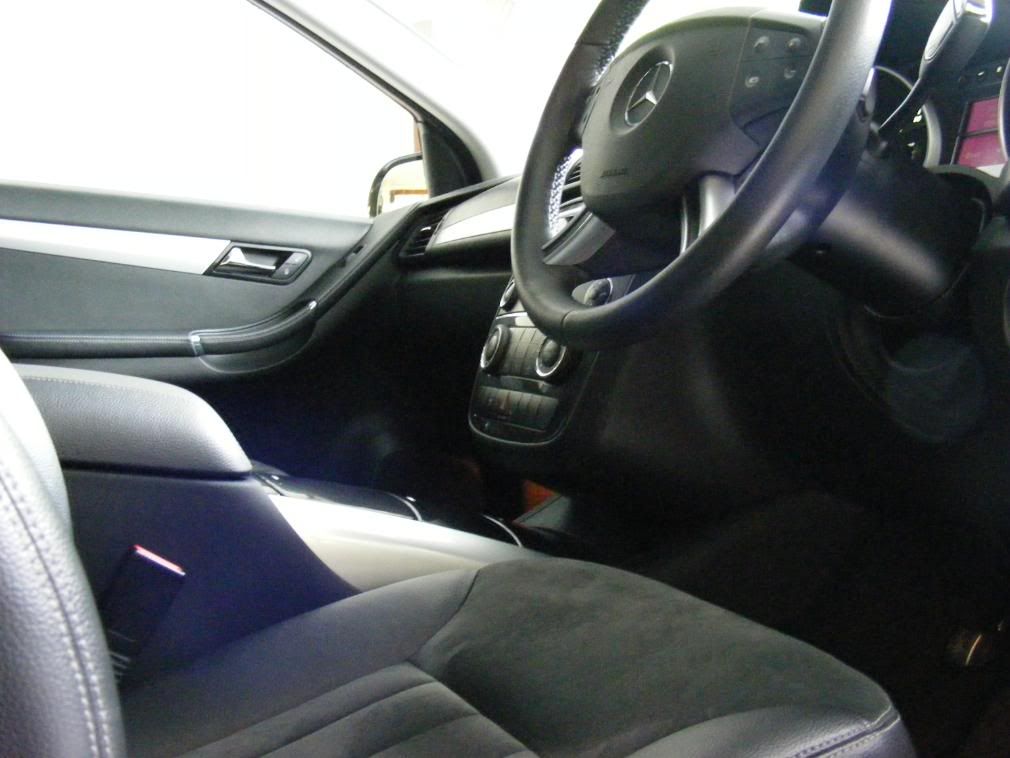
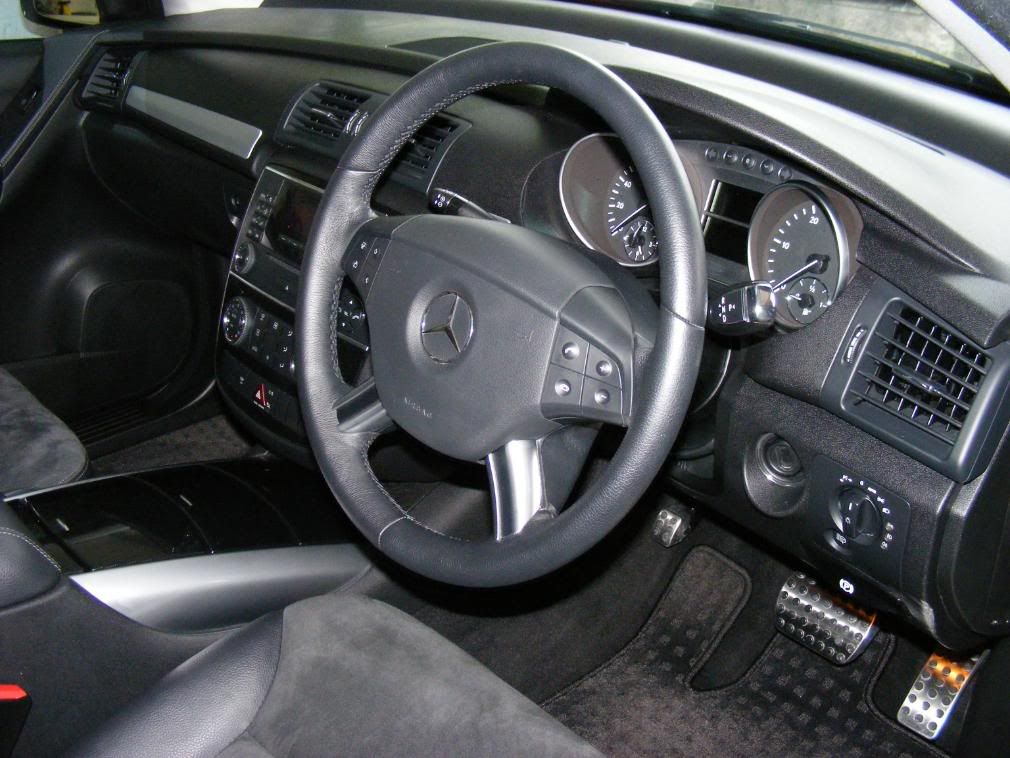
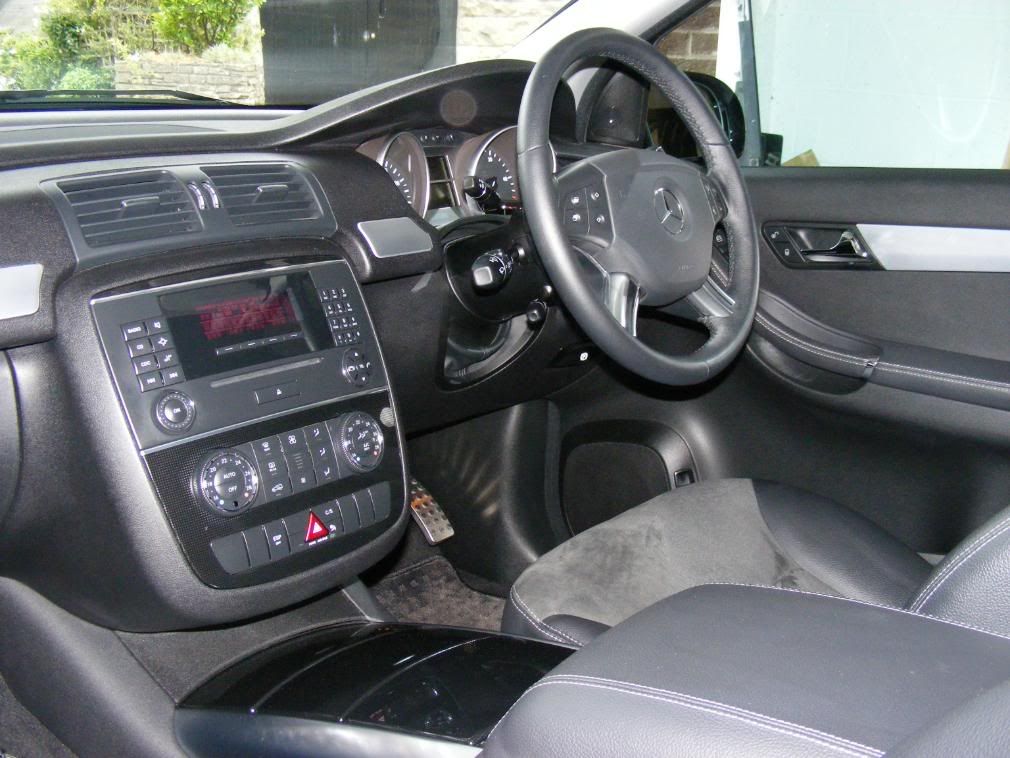
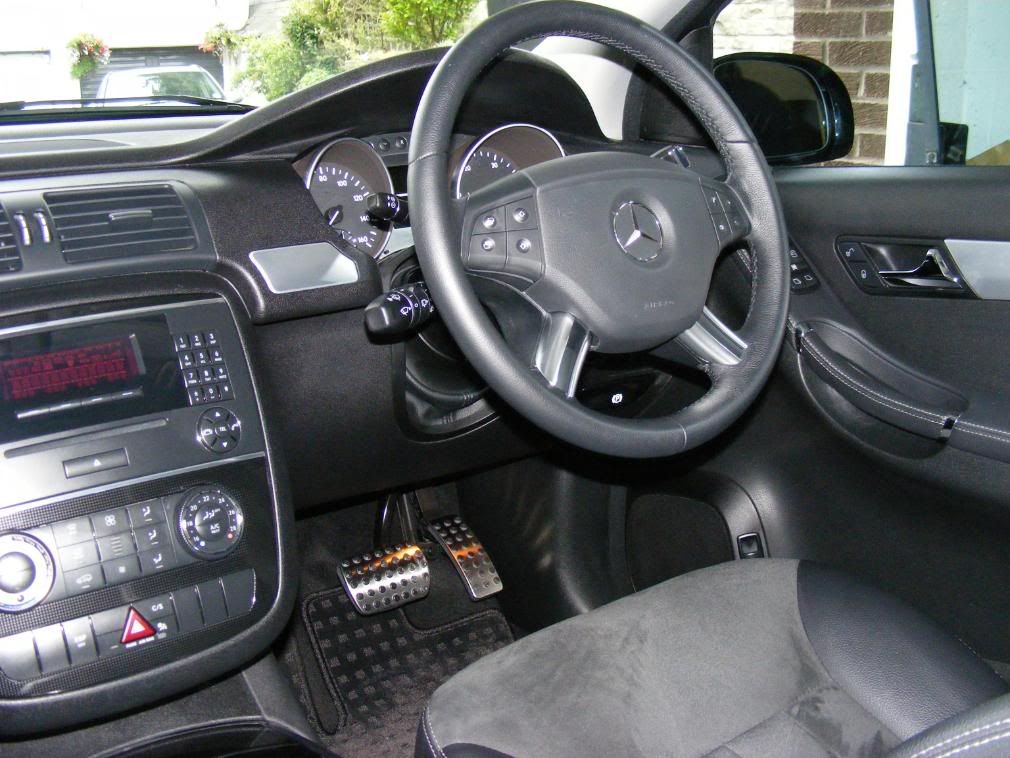
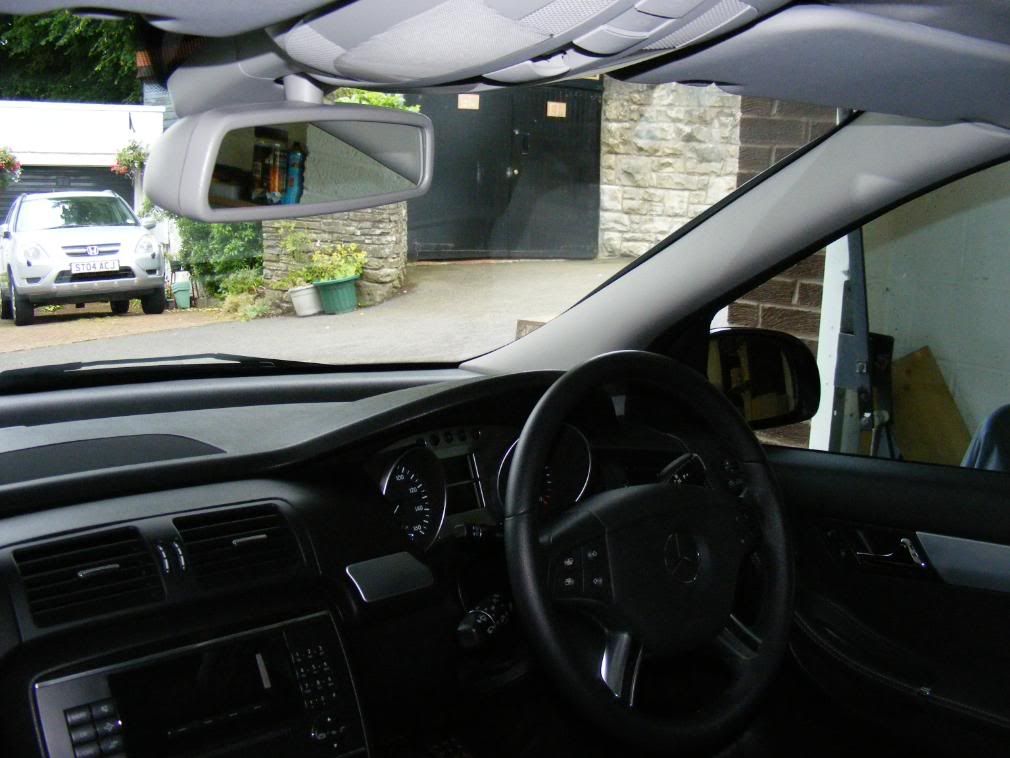
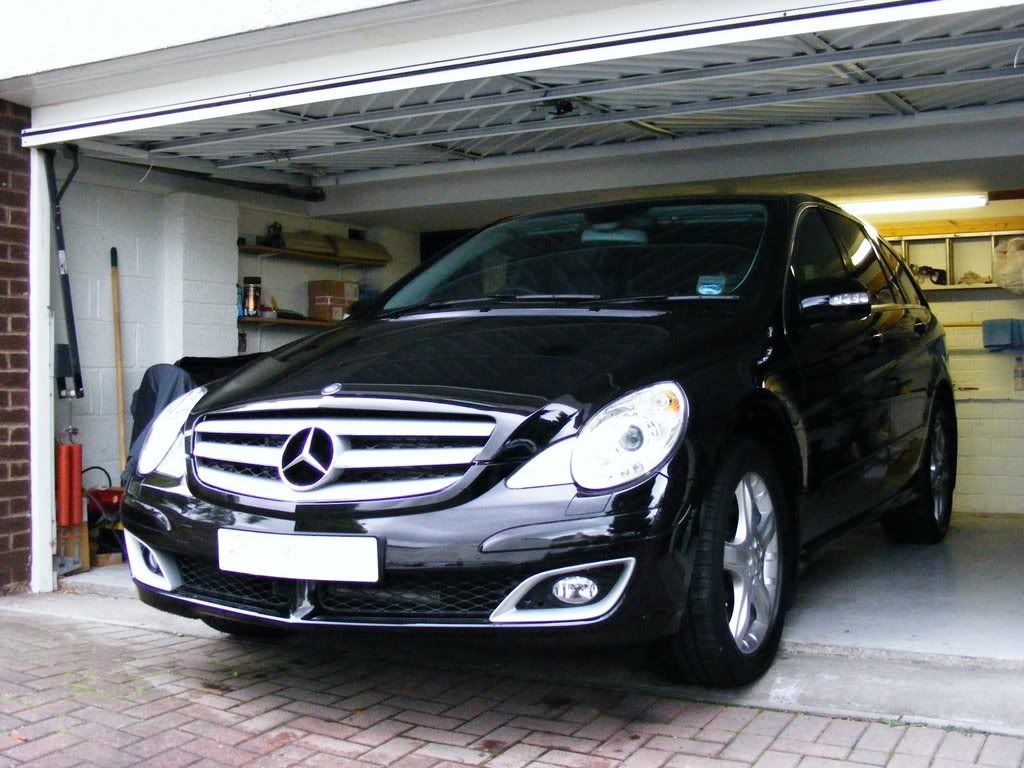
The past two days have been spent by Bryan and I working on a Mercedes R Class, in black, which was looking a little more grey at the front than black... Big car this, definitely needed the two days as I did the exterior paint while Bryan worked on the interior on this one.
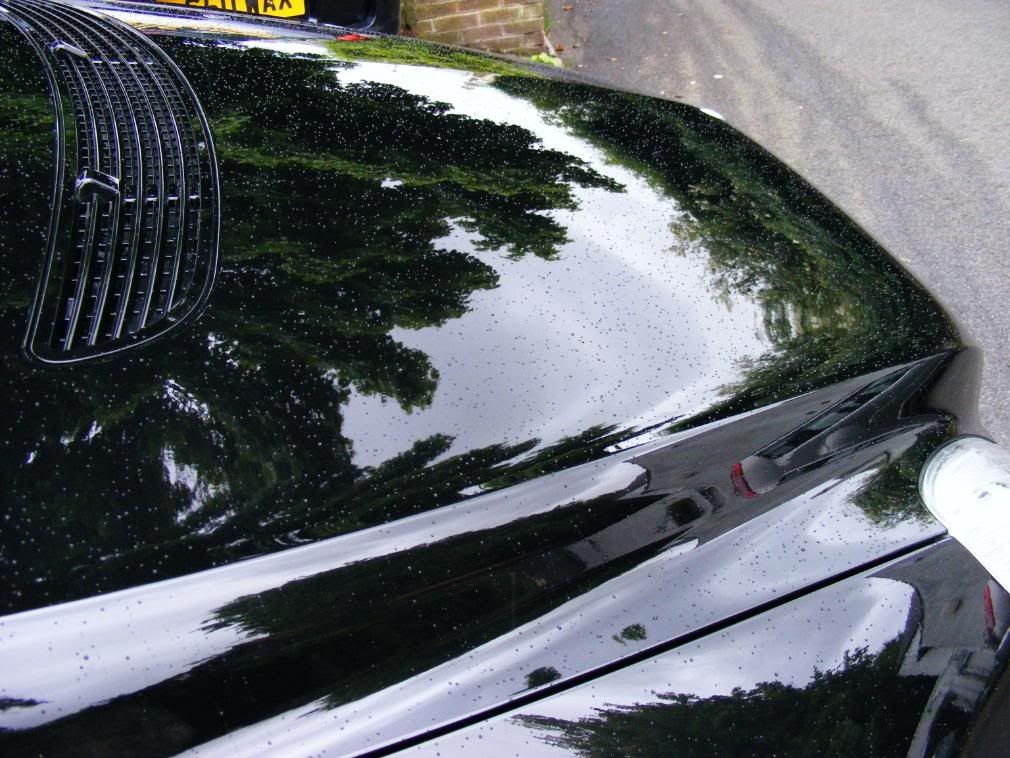
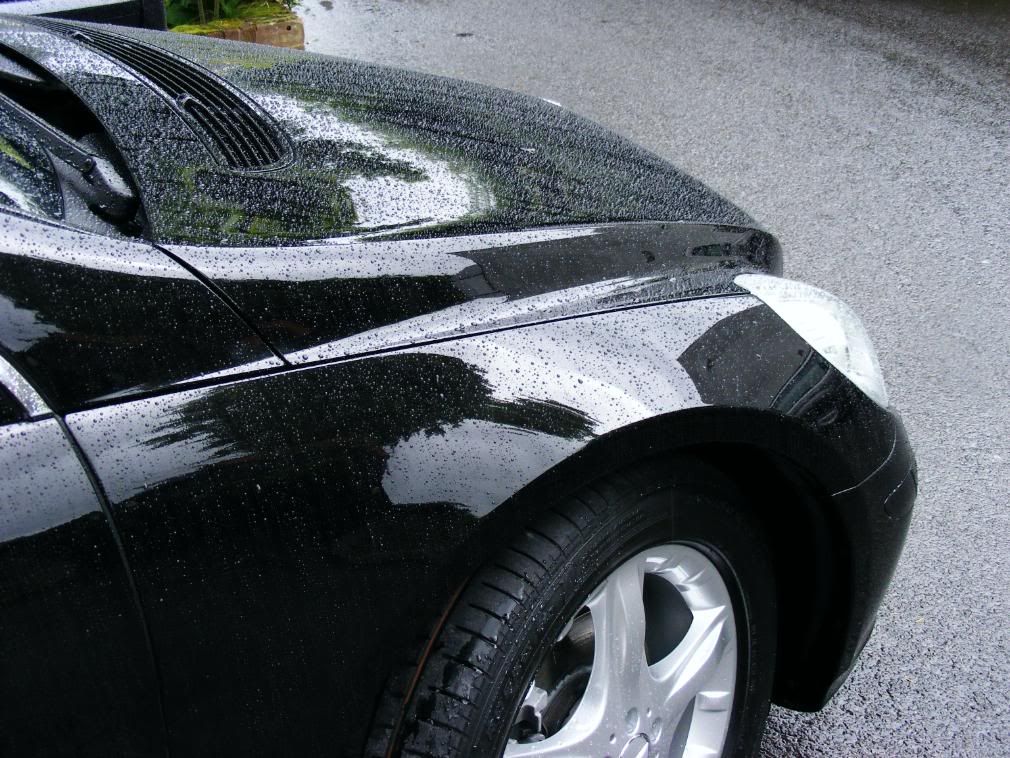
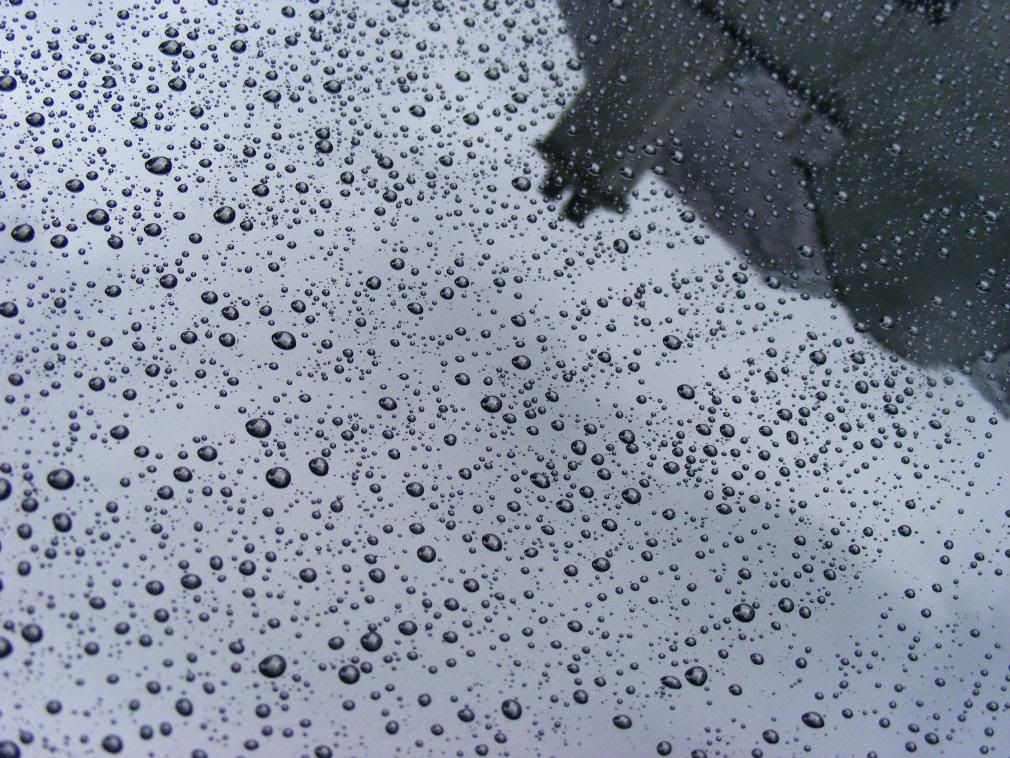
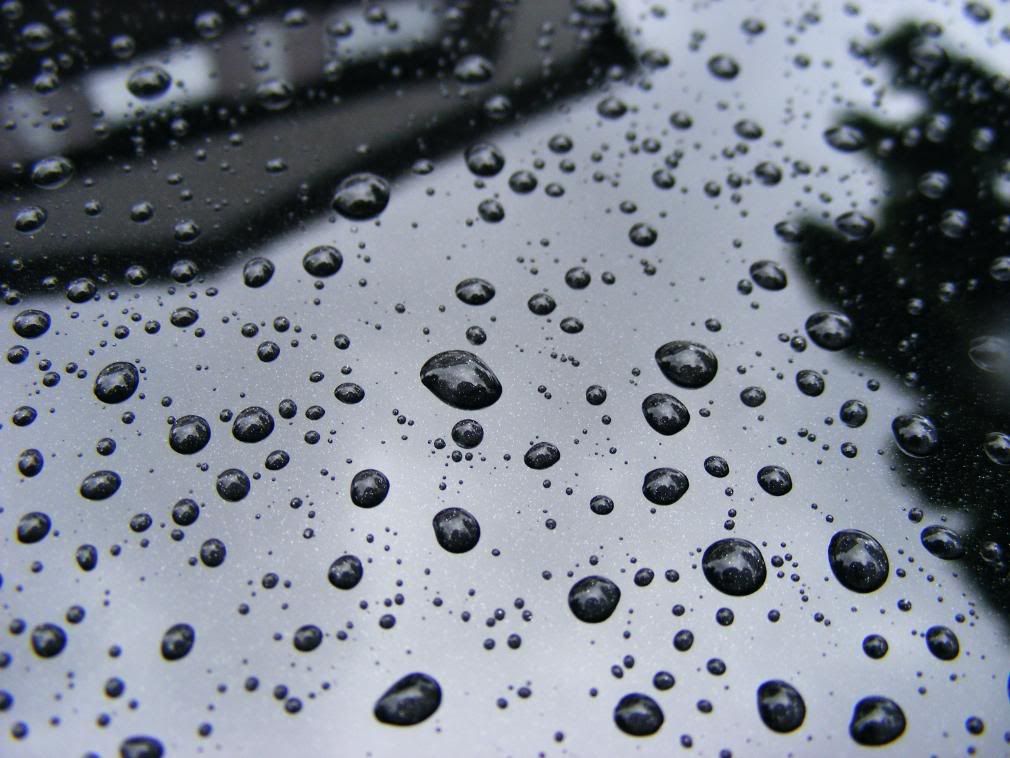
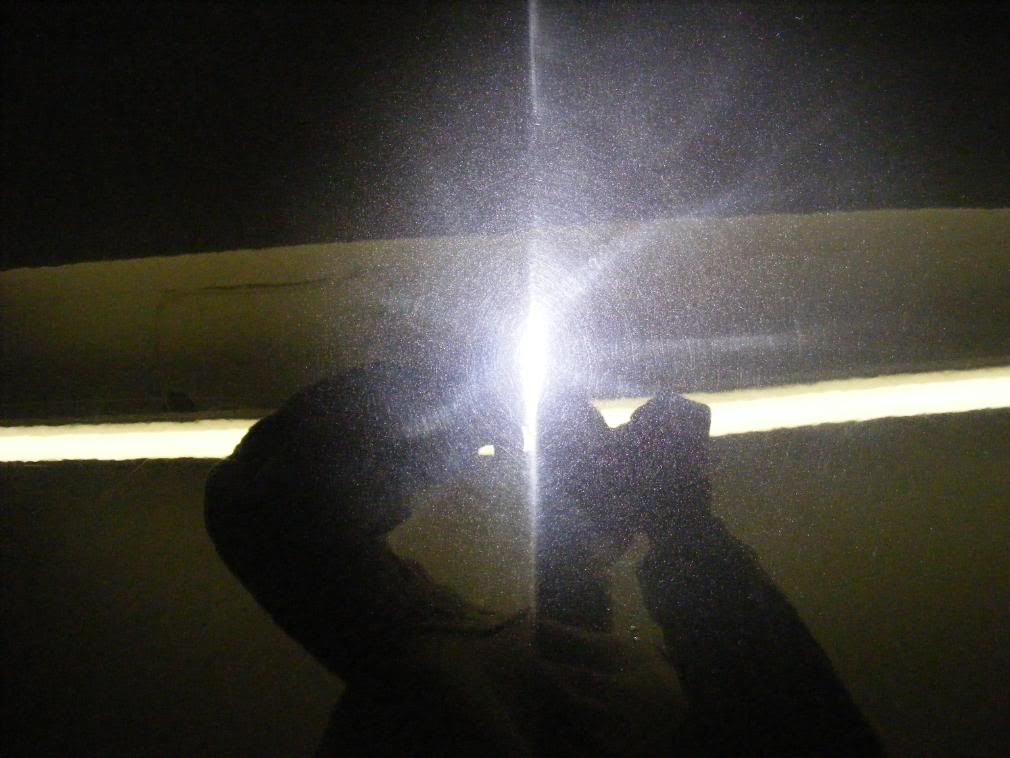
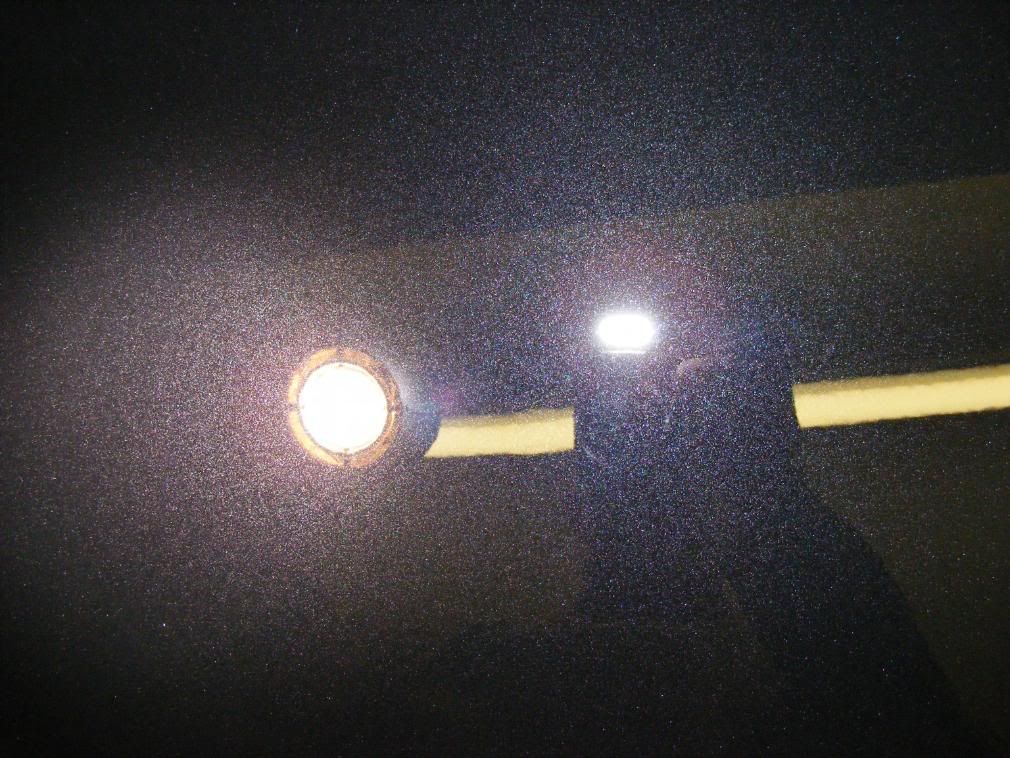
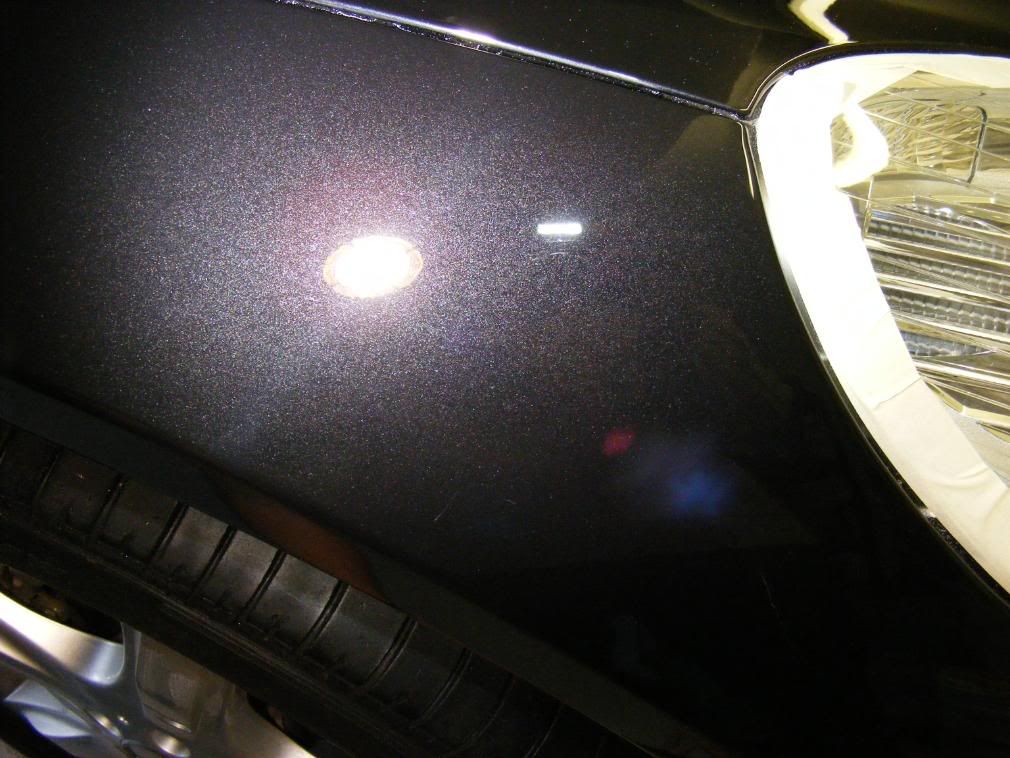
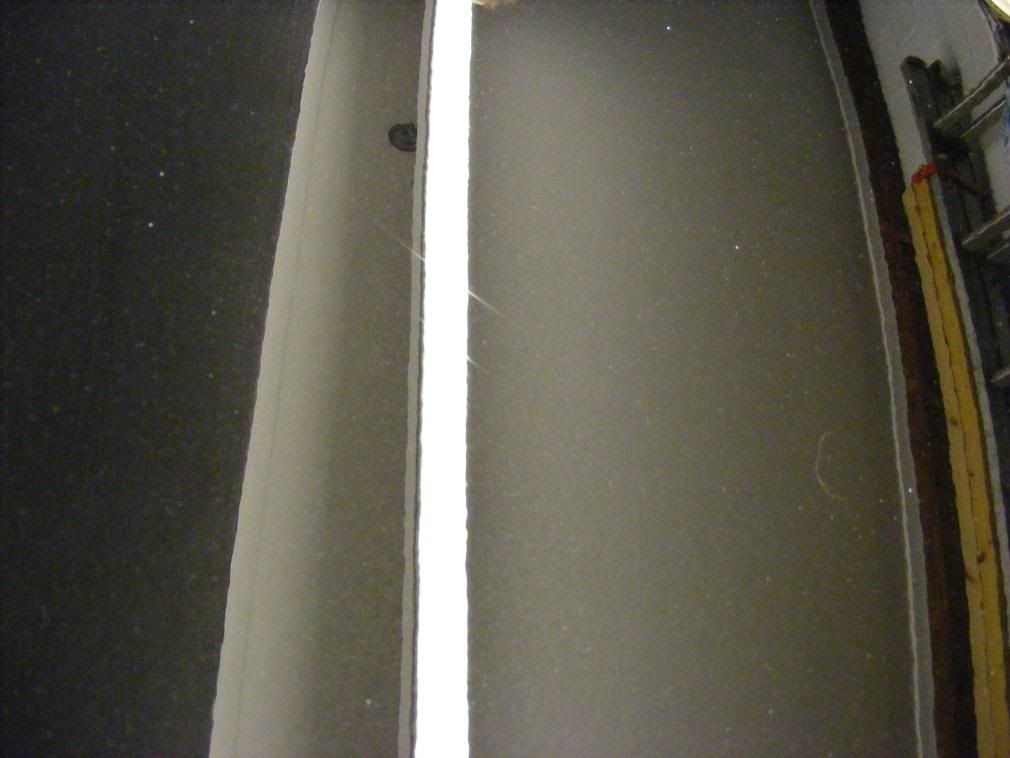
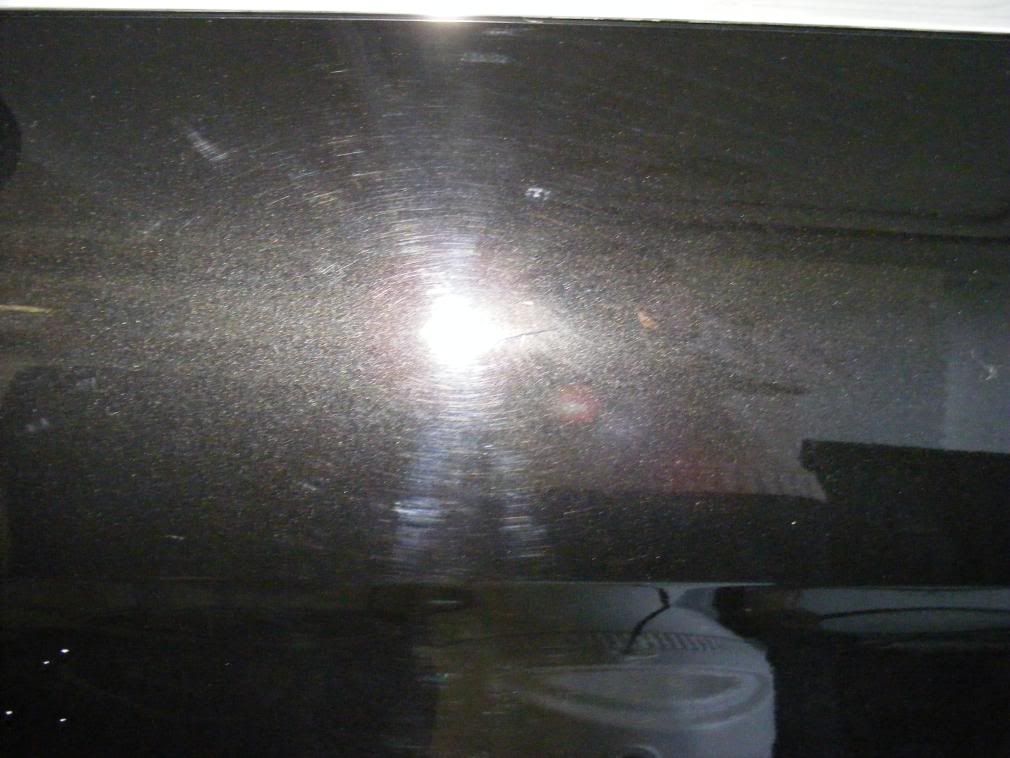
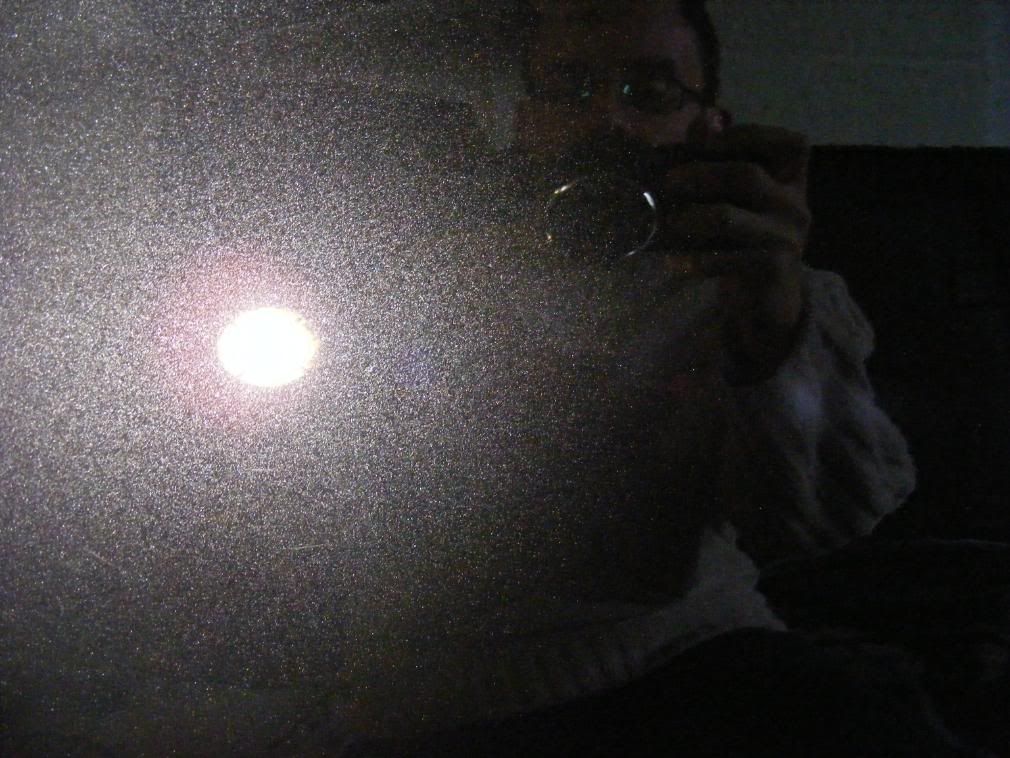
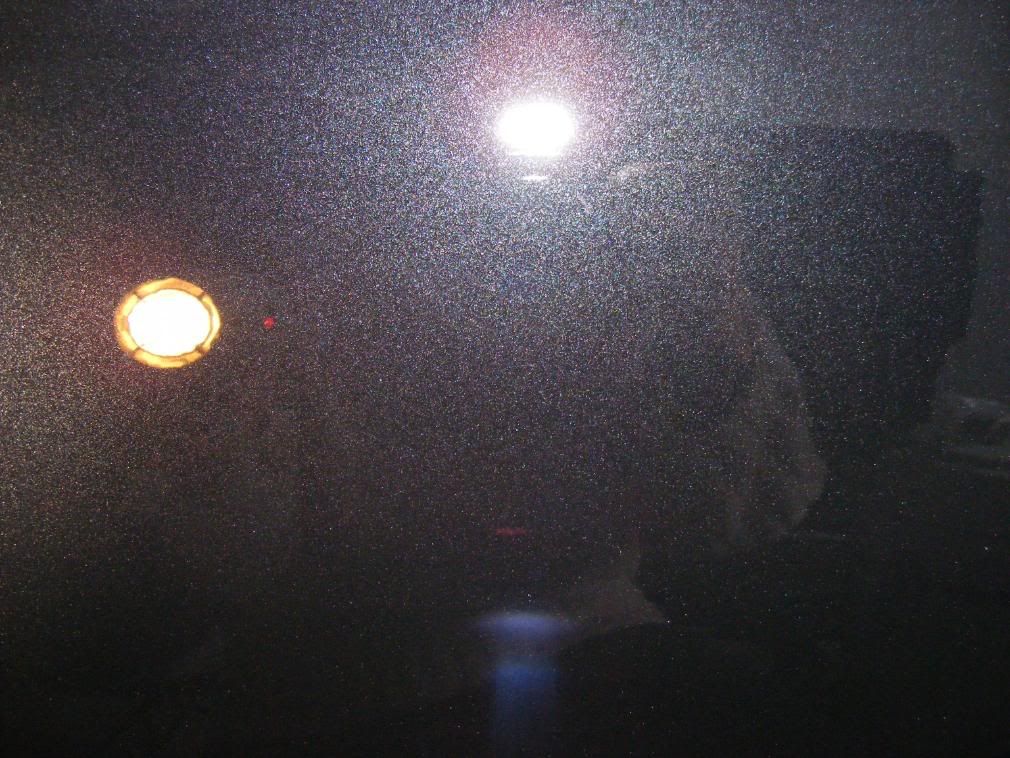
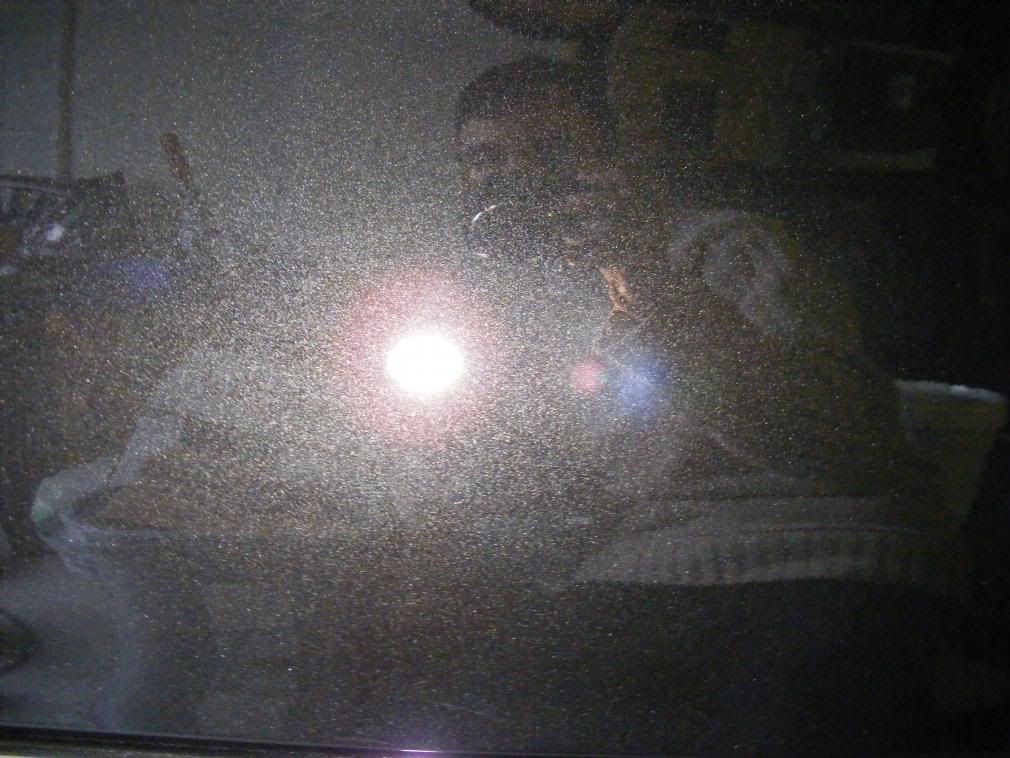
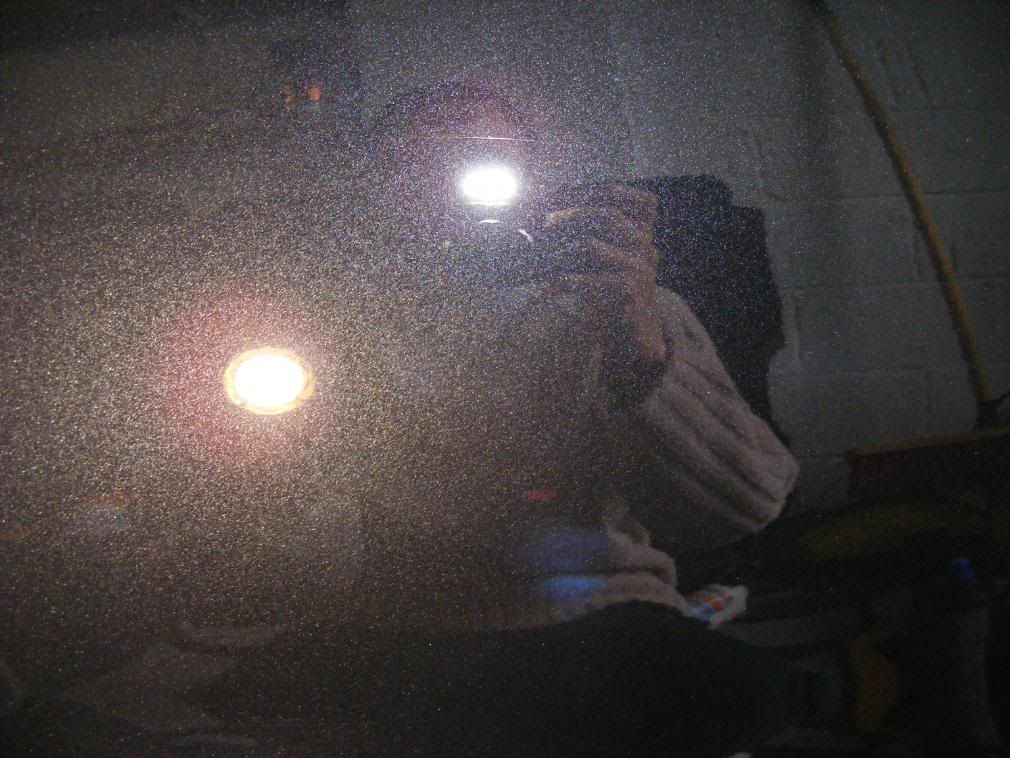
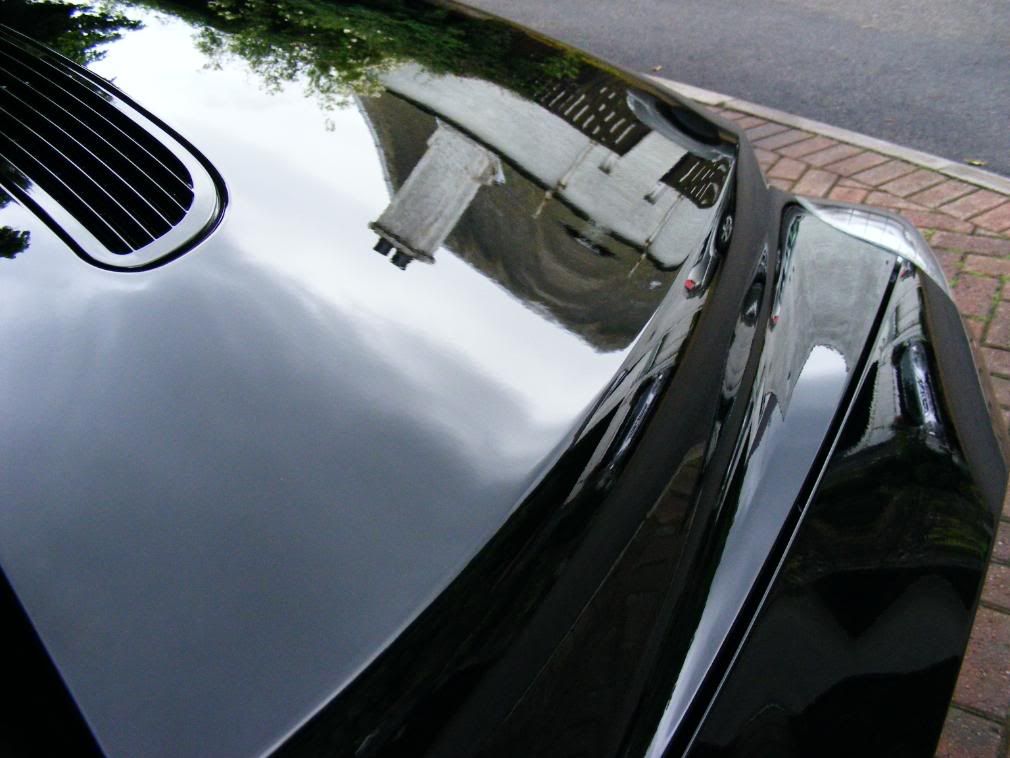
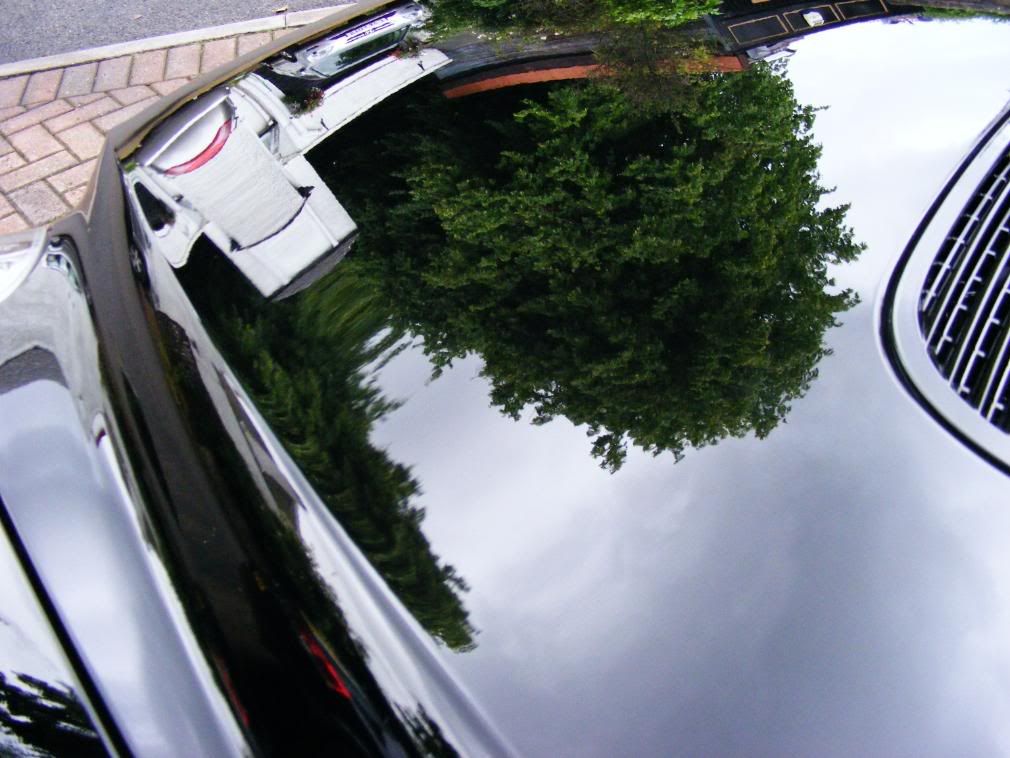
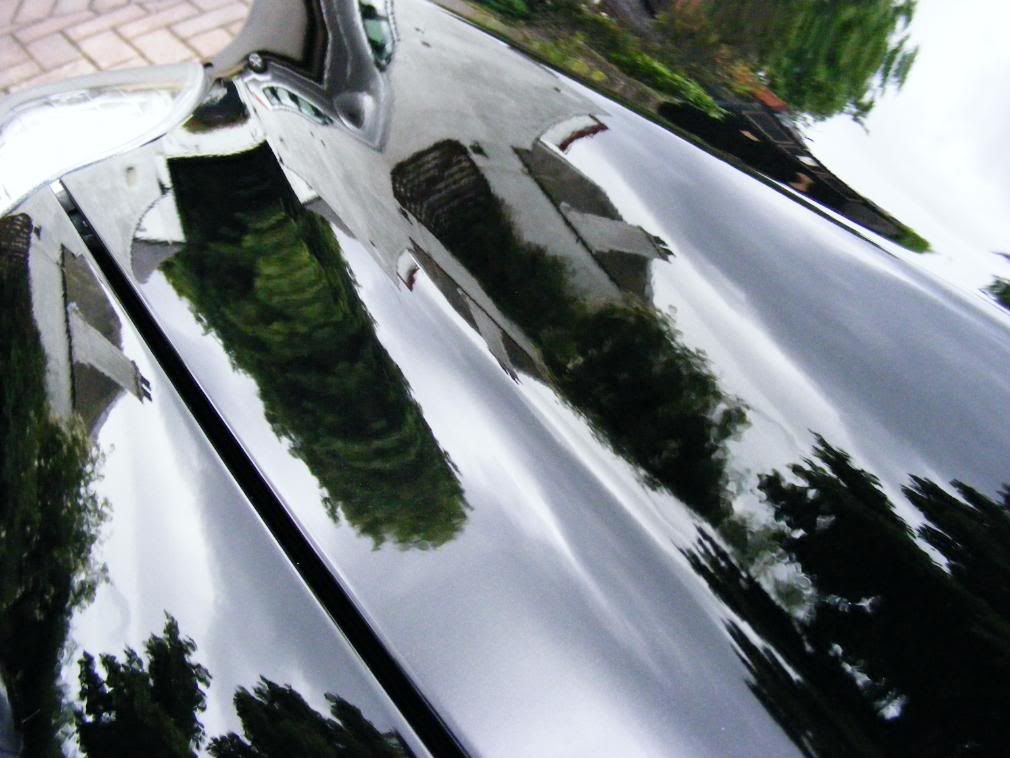
Beginning with the exterior, after washing and claying it soon became obvious why the front of the car was looking more grey than black - hologramming, this car had been polished before:
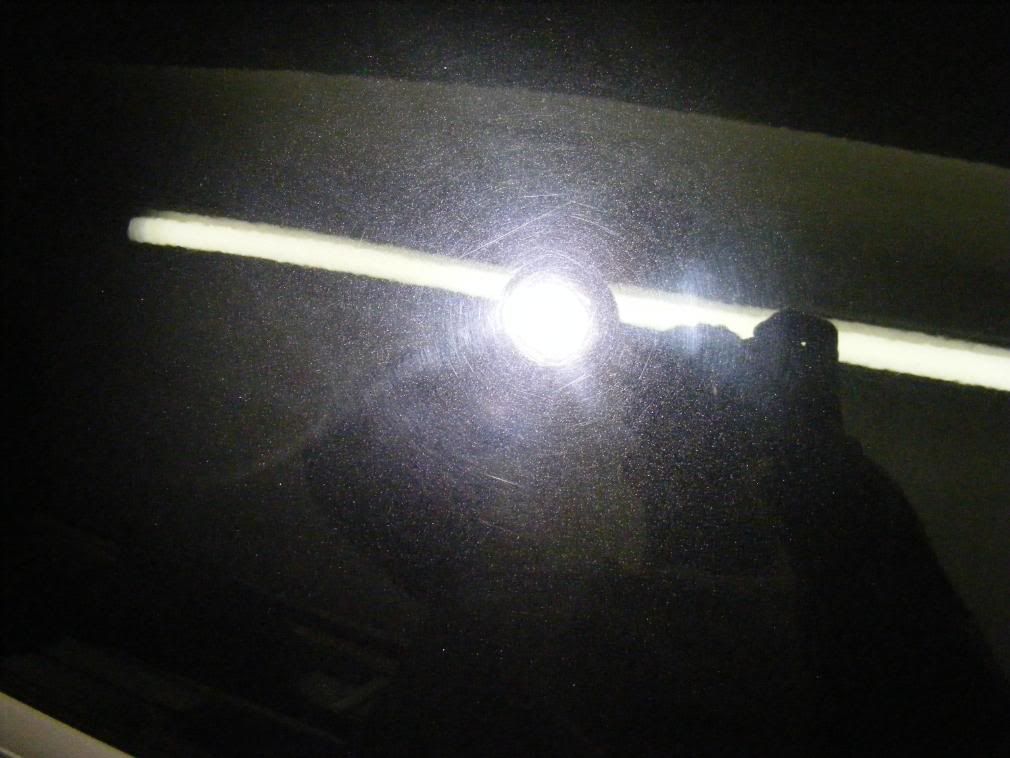
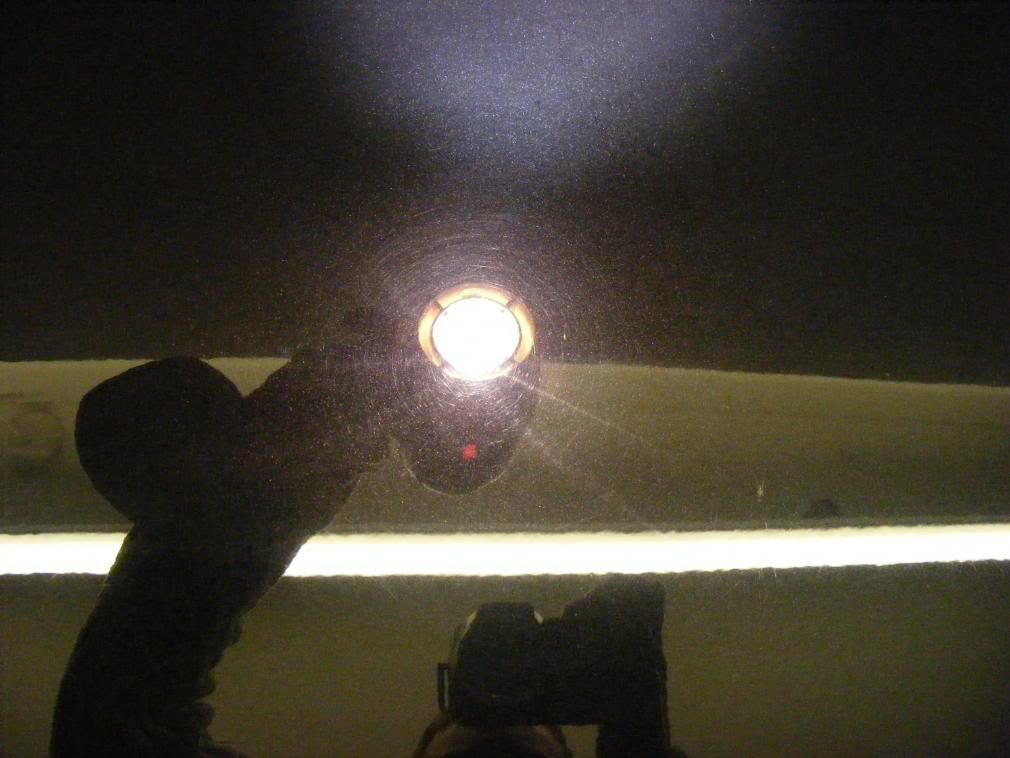
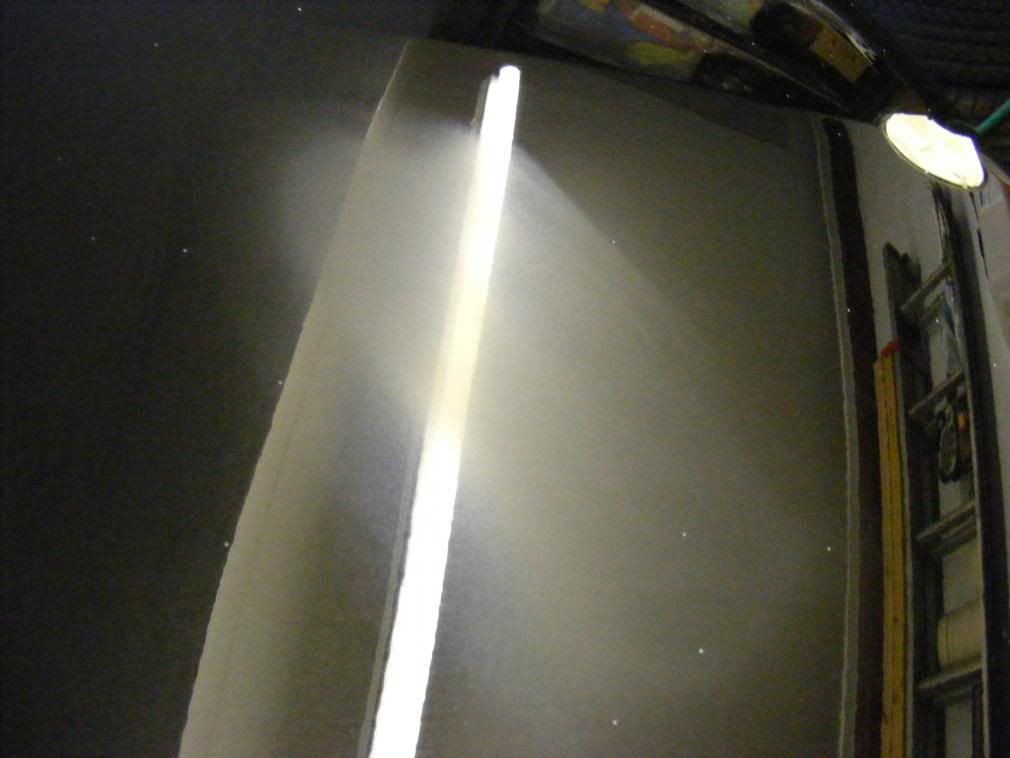
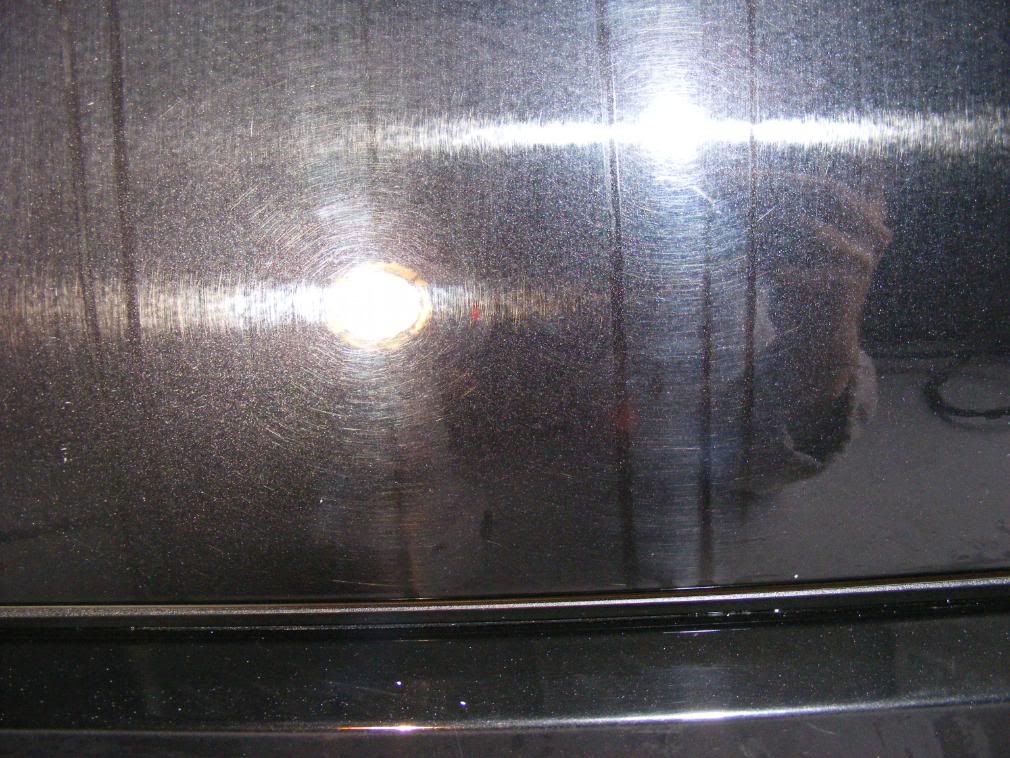
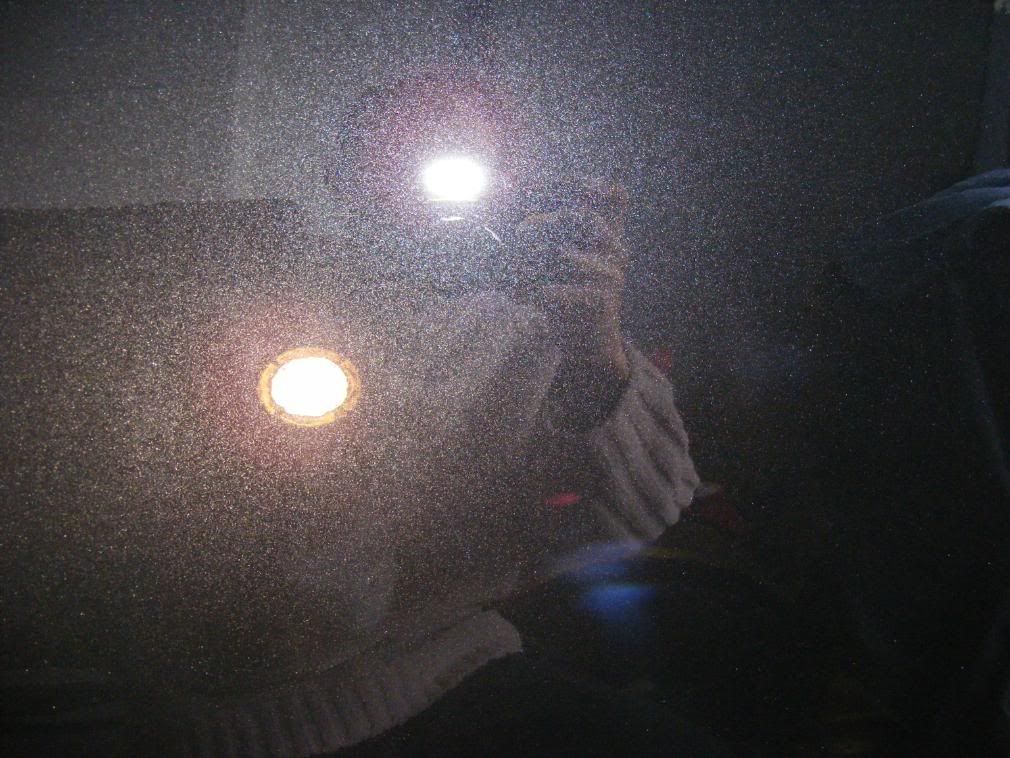
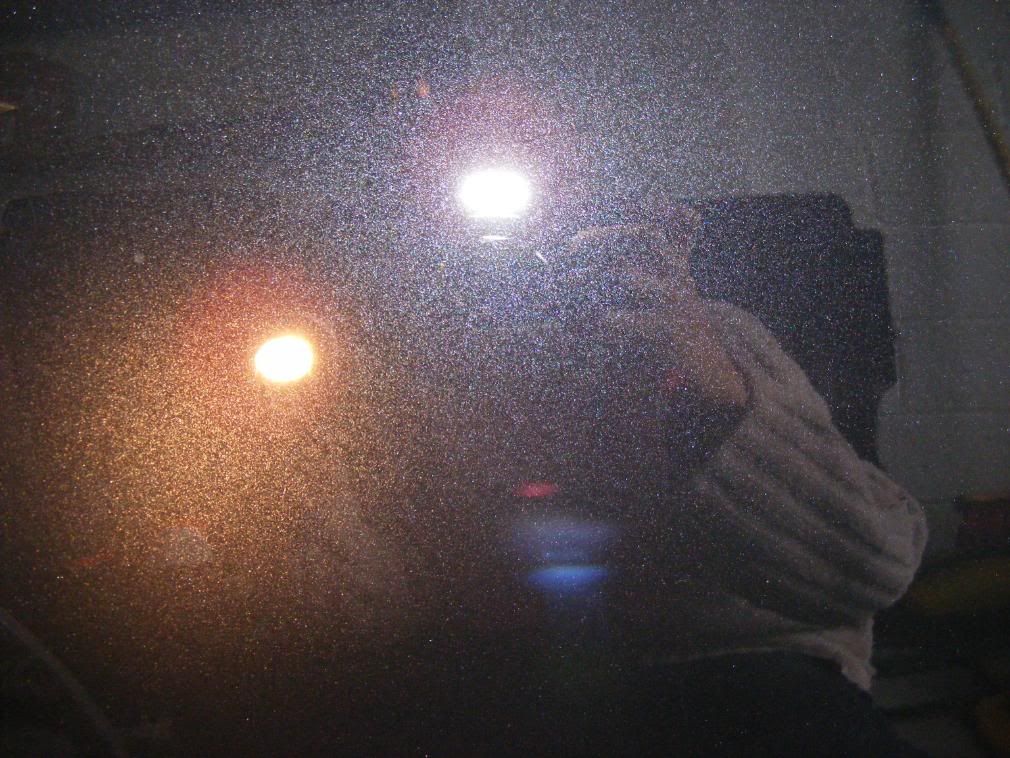
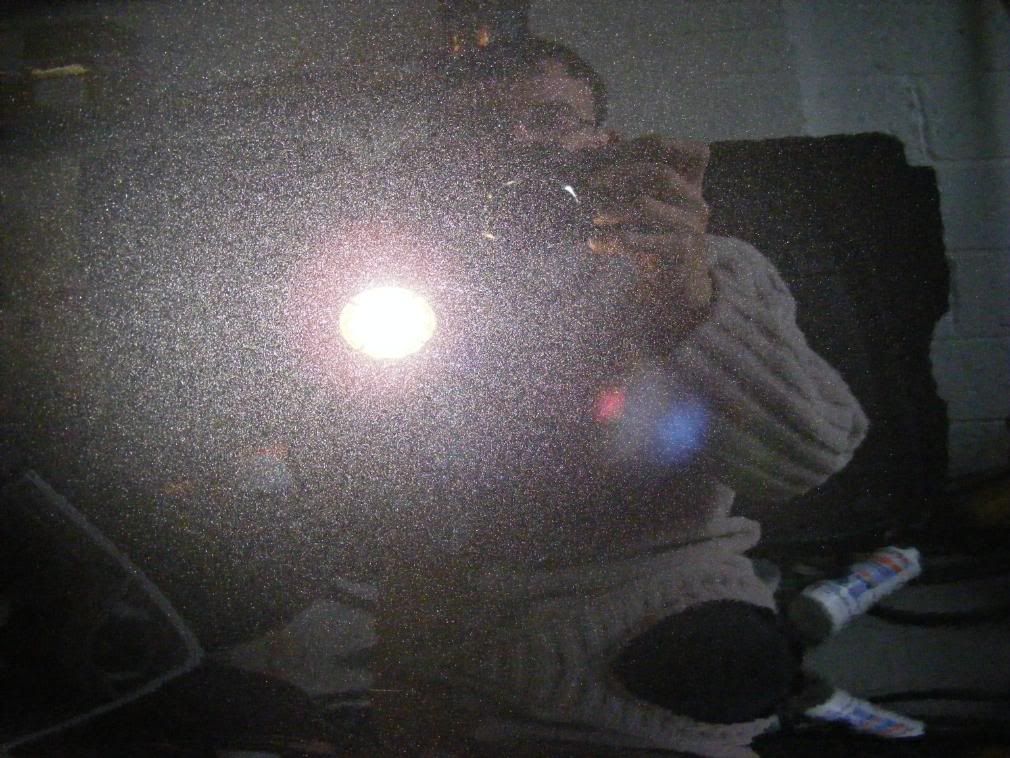
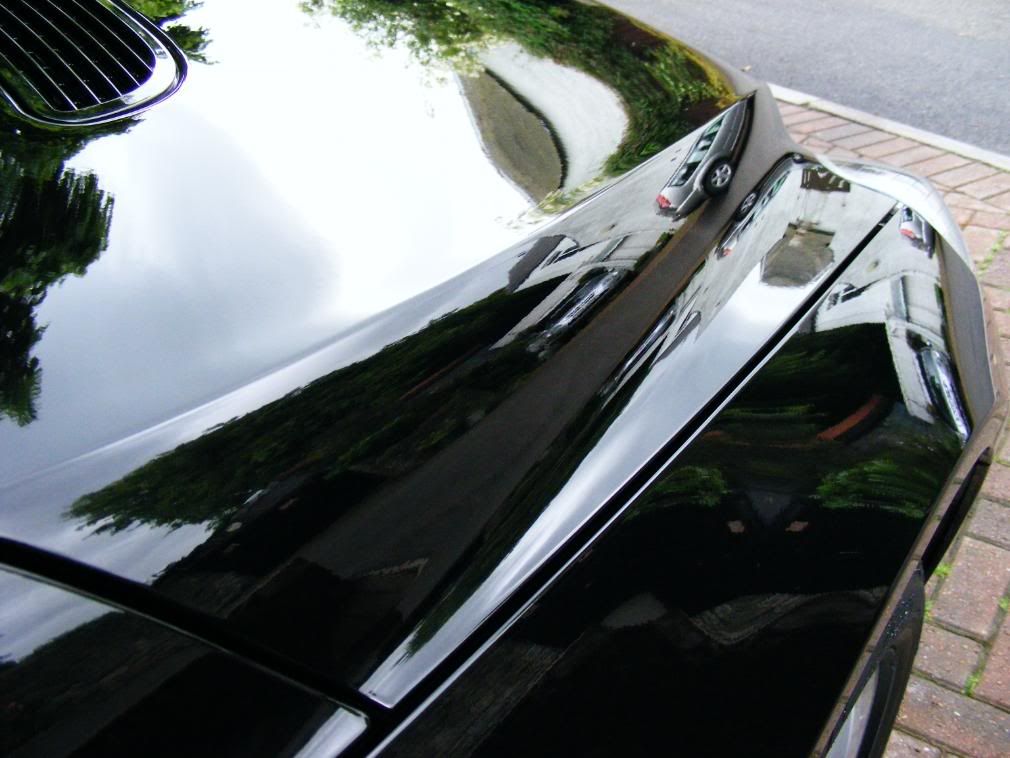
Tilting the Sun Gun can also highlight lighter hologramming more clearly:
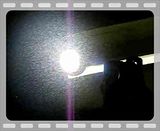
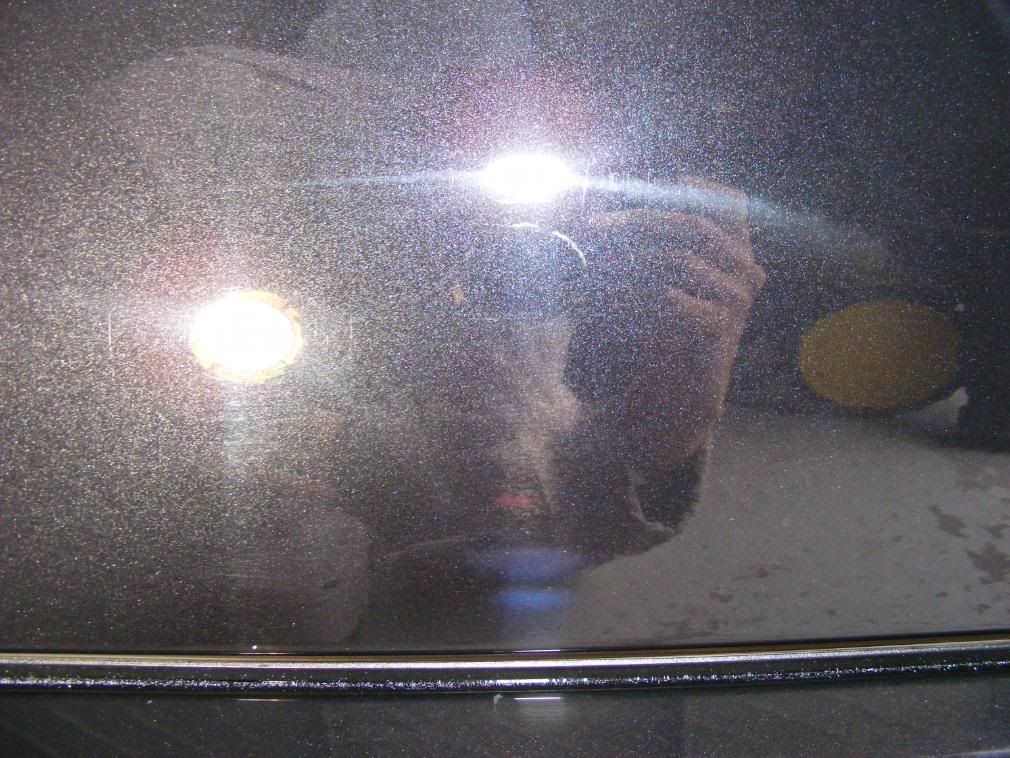
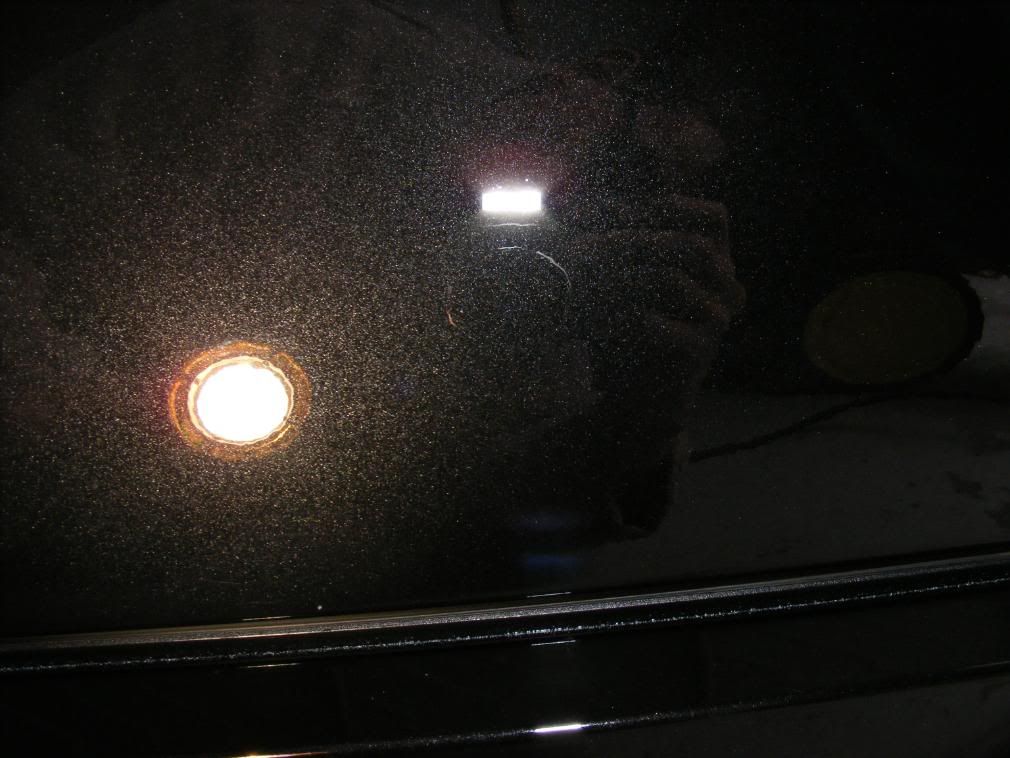
A short video here also shows the extent of the hologramming - the clouds moving around under the light source are the hologram effect:

The hologramming was removed, after trialling various combos, using Menzerna PO85RD3.02 Intensive Polish with the Zenith Point Technique as follows:
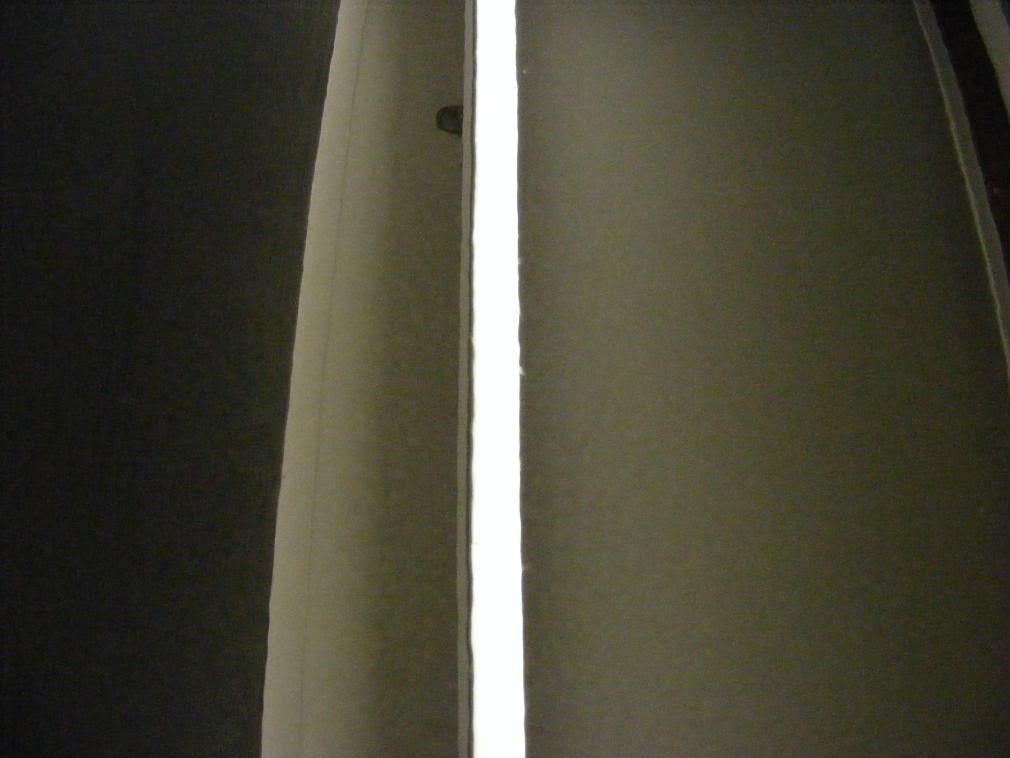
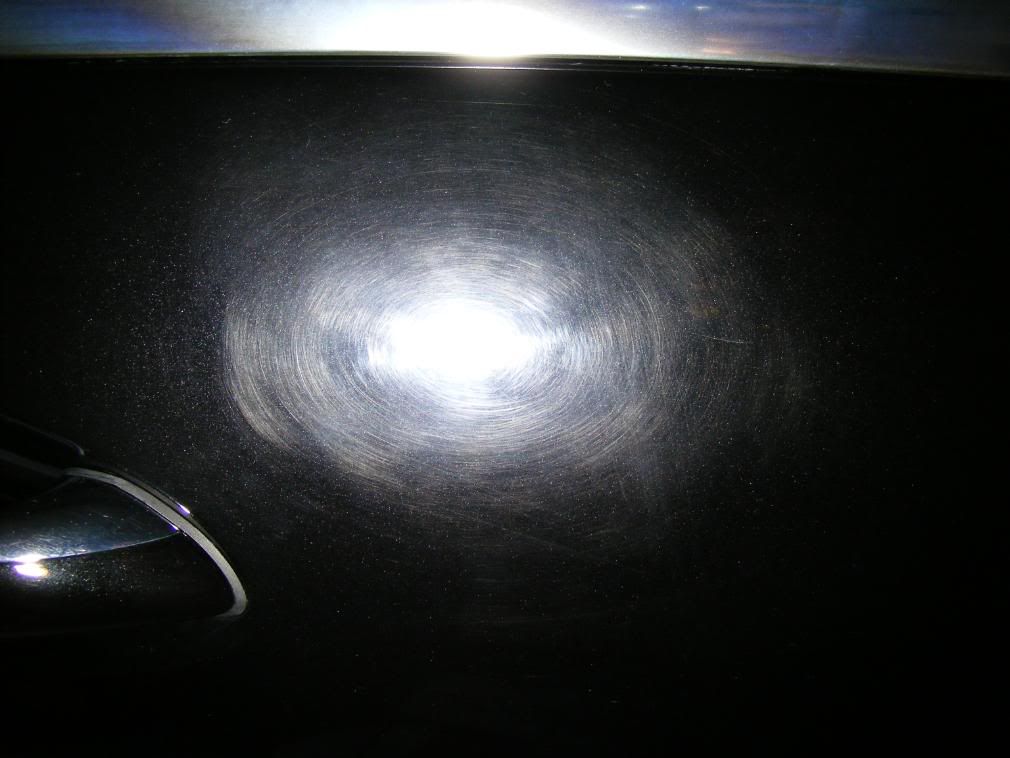
The results:
On the video, we can see the region which is polishes which is free from holograms but the region unpolished still has the hologram effect:
However, what was left on the finish was some RDS and with the paint thickness looking healthy, I decided to step up the correction to 3M Fast Cut Plus, applied using the "Cut & Dash" as follows:
This was then refined with a dedicated (and IMHO best on the market) finishing polish: Menzerna PO85RD Final Finish applied using the Zenith Point Technique as follows:
The video below shows the state of the wing before cutting and reifning:

And the results after:

Before picture on the front wing:
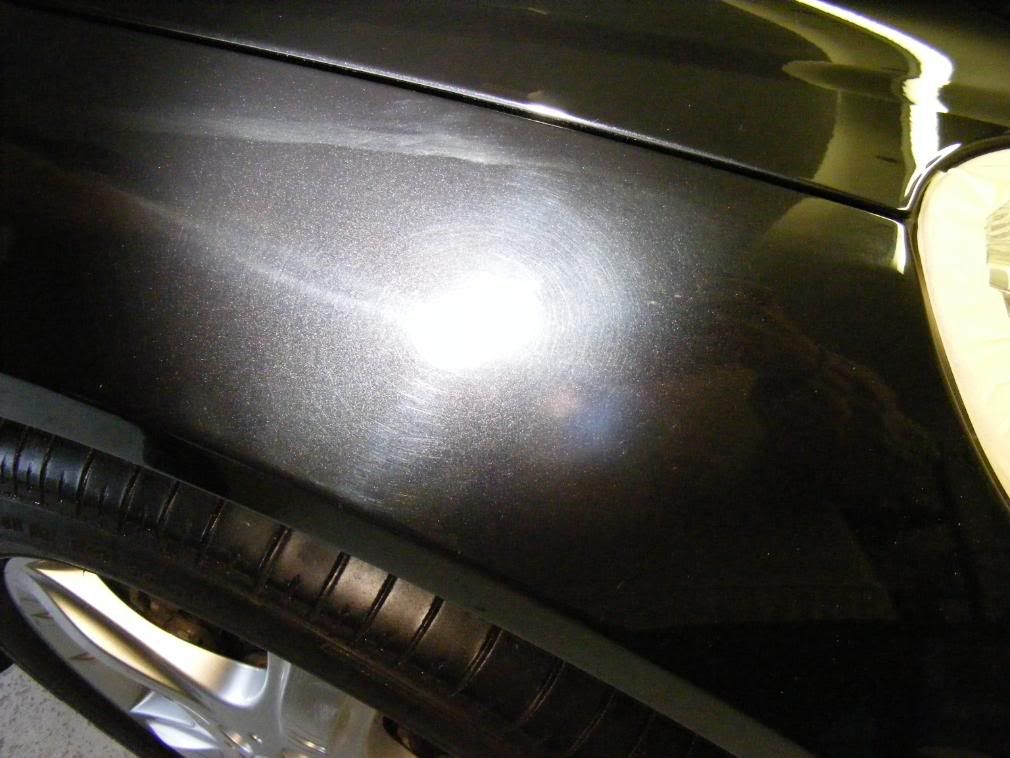
After:
A little bit of wet sanding was required in isolated places to remove deeper scratches, like the following:
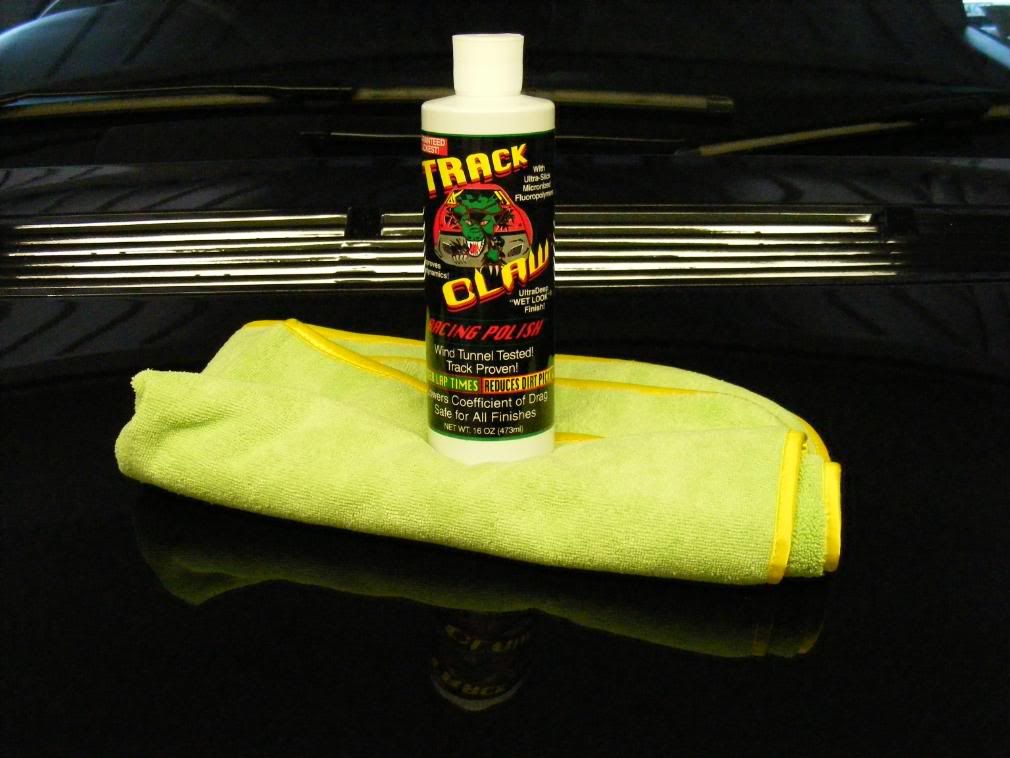
Porter Cable was used, along with Abralon 4000 discs and a concentrated Shampoo Plus solution to lube the pad and the paint. Applied using speed 3 on the PC with no pressure and steady passes to remove the scratches, leaving a sanding haze:
After cutting and refining to remove the sanding marks:
The video below shows the bonnet after the correction and refining stage, wiped down with IPA ready to accept the sealent of choice:
The bonnet after polishing, before any LSP:
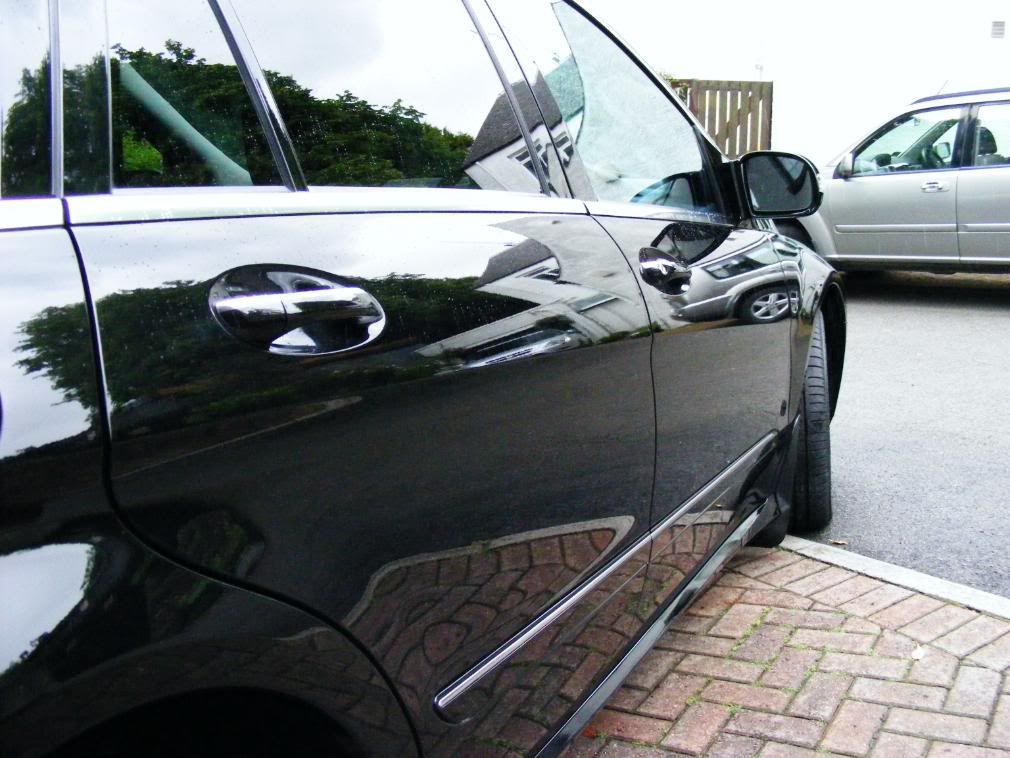
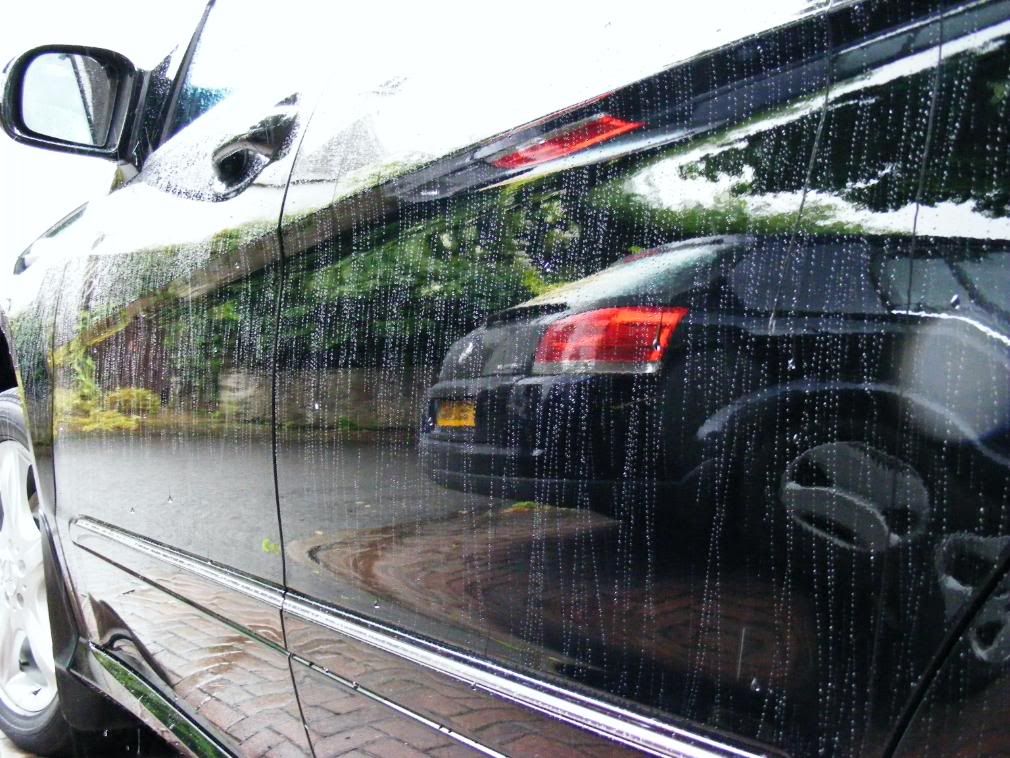
Moving away from the front and onto the doors, the hologramming was gone but there were general swirls:
Trialling combos again where the paint condition had clearly changed, I still settled on the Fast Cut Plus followed by Final Finish as although the marring did not look bad, it was quite deep in places and coupled to hard paint I felt this warranted the cutting compound method.
After cutting and refining:
The odd dull spot was found around the car:
Looked like T-Cut not being properly worked...
This easily removed using the above technique though:
One region on the car which seemed to have bad marring was below the styling lines on the doors:
Two hits of Fast Cut required here to get good correction, this is the result before refining:
After refining:
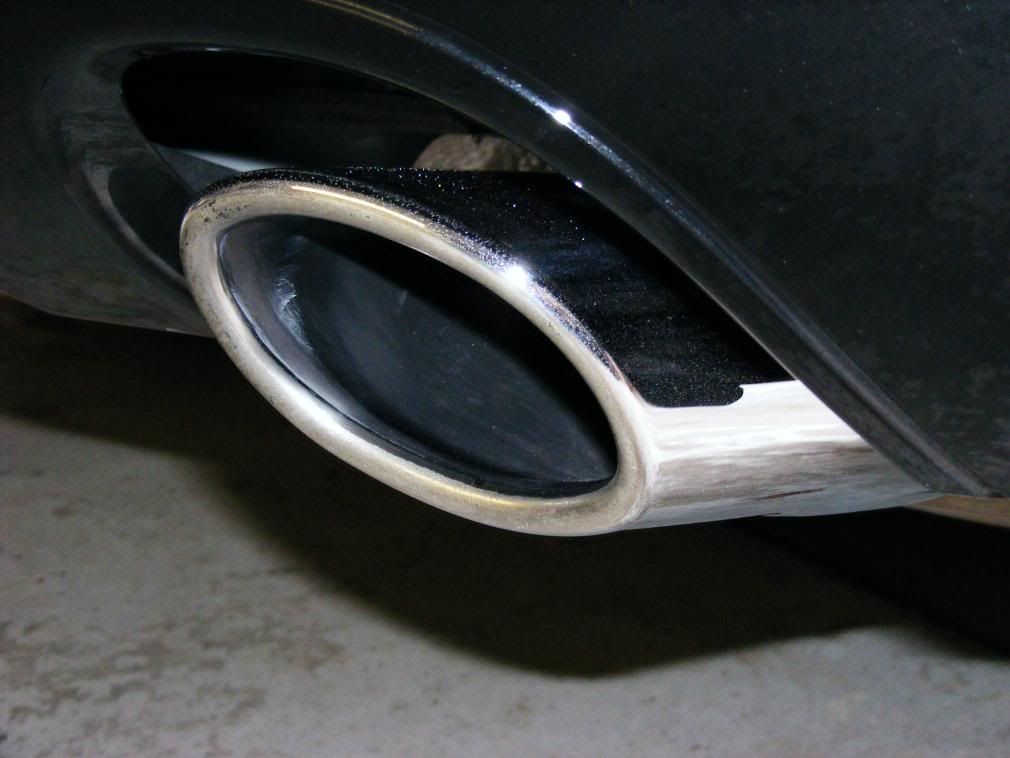
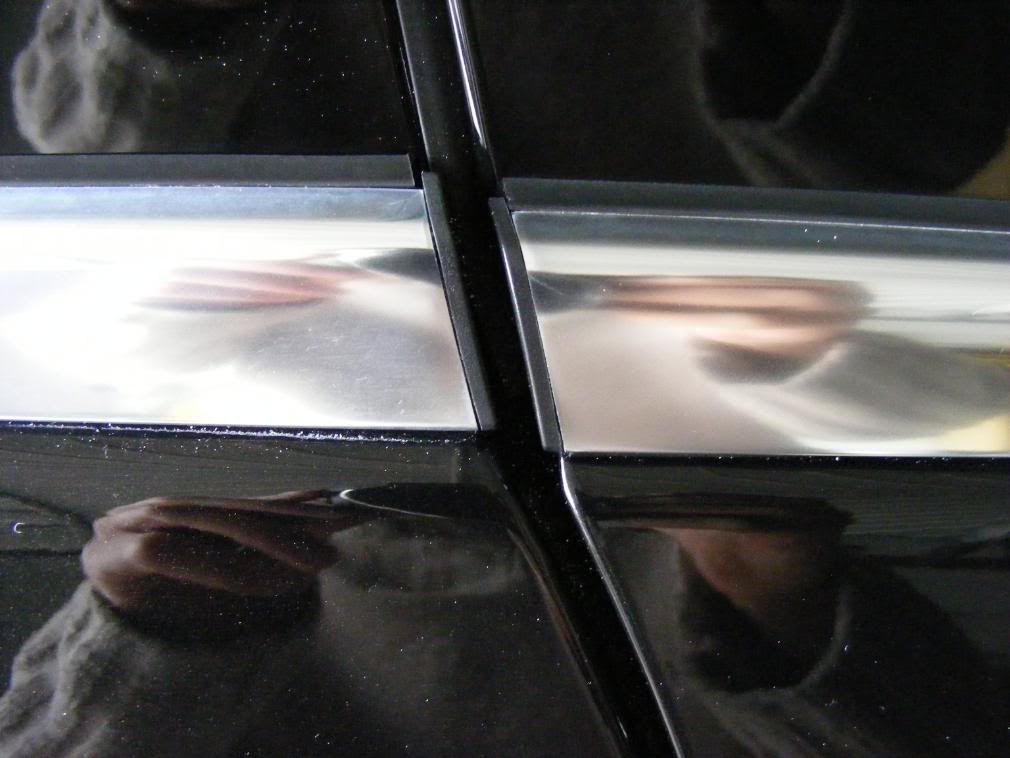
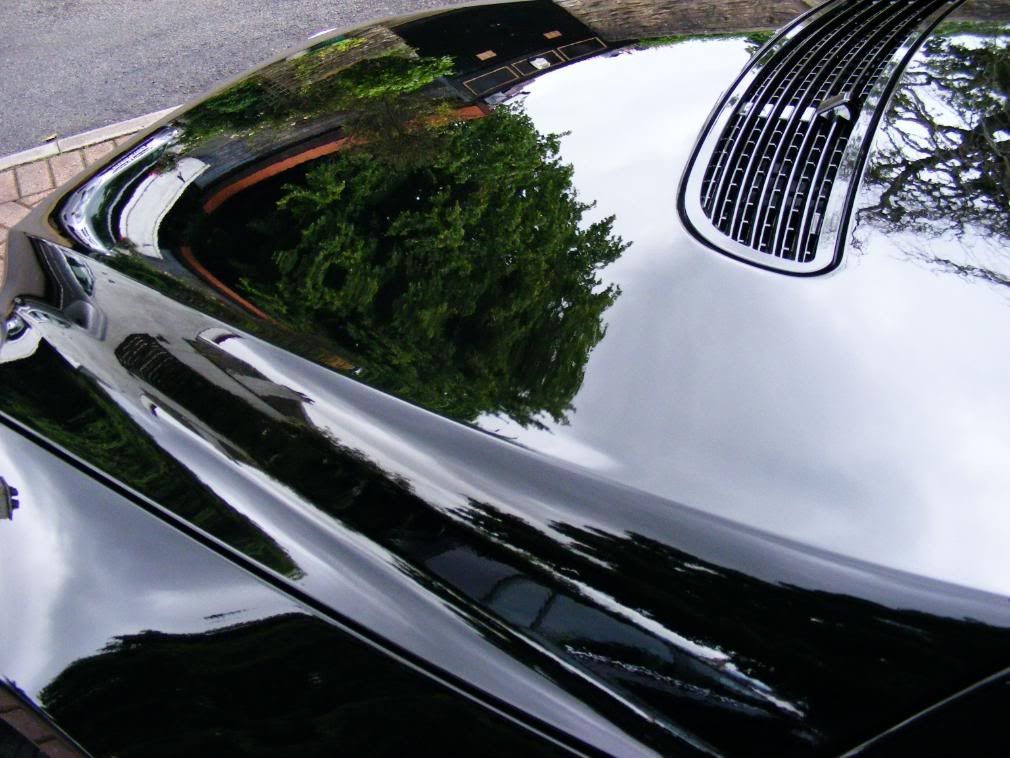
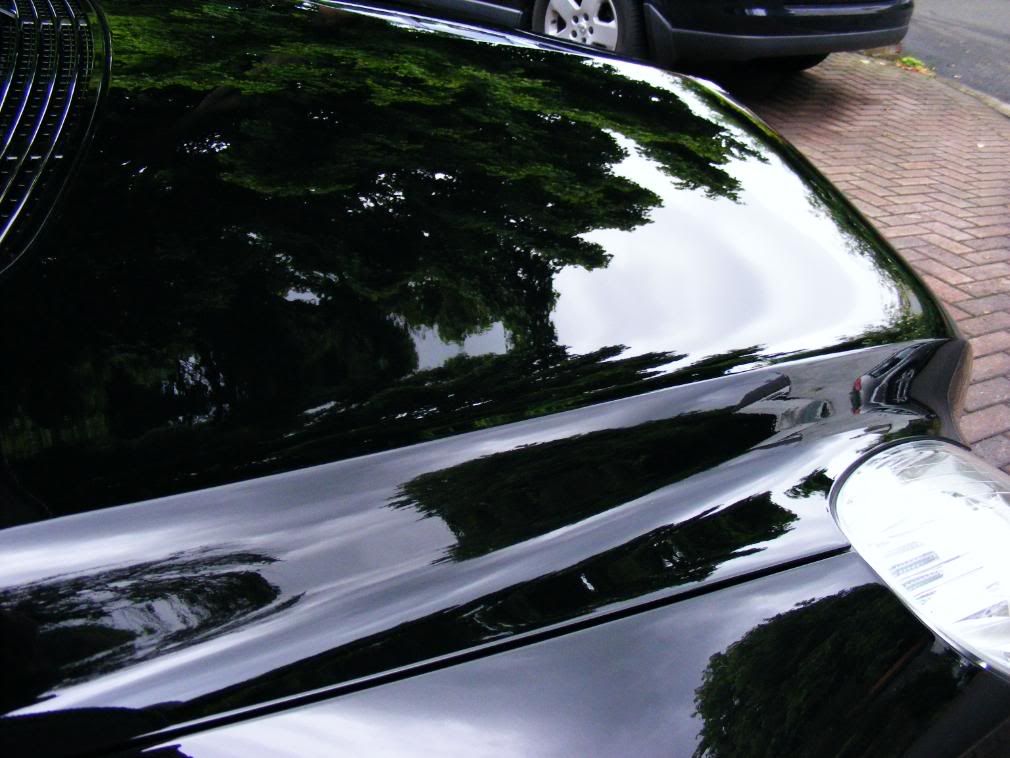
More post correction shots around the car:
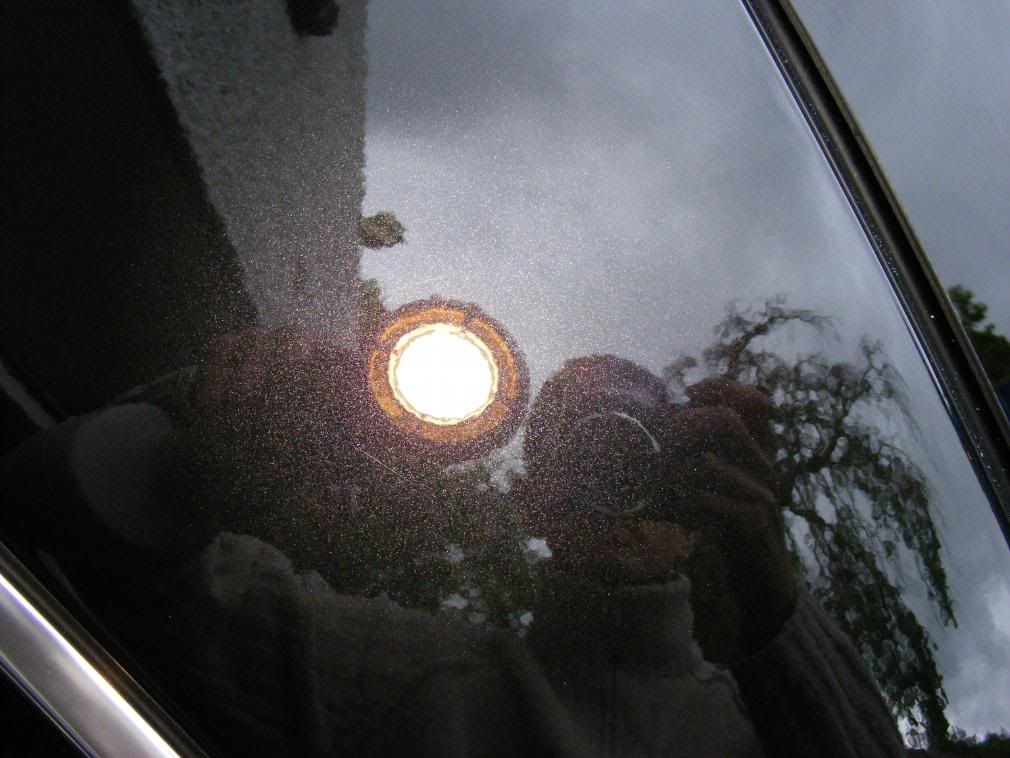
Beginning with the exterior, after washing and claying it soon became obvious why the front of the car was looking more grey than black - hologramming, this car had been polished before:
Tilting the Sun Gun can also highlight lighter hologramming more clearly:
A short video here also shows the extent of the hologramming - the clouds moving around under the light source are the hologram effect:
The hologramming was removed, after trialling various combos, using Menzerna PO85RD3.02 Intensive Polish with the Zenith Point Technique as follows:
- Spread at 600rpm, 1 pass
- Begin working at 1200rpm, 3 - 4 passes
- Work at 1500rpm, 10 passes until residue clear
- Refine at 1200rpm, 3 - 4 passes
The results:
On the video, we can see the region which is polishes which is free from holograms but the region unpolished still has the hologram effect:
However, what was left on the finish was some RDS and with the paint thickness looking healthy, I decided to step up the correction to 3M Fast Cut Plus, applied using the "Cut & Dash" as follows:
- Spread at 600rpm, 1 pass
- Begin working at 1200rpm, 2 - 3 passes
- Work at 1500rpm, 3 - 4 passes until residue spread evenly
- Work at 1800 - 2000rpm, until defects removed (<10 passes)
This was then refined with a dedicated (and IMHO best on the market) finishing polish: Menzerna PO85RD Final Finish applied using the Zenith Point Technique as follows:
- Spread at 600rpm, 1 pass
- Begin working at 900rpm, 2 - 3 passes until residue evenly spread
- Work at 1200rpm, 3 - 4 passes
- Work at 1500rpm, around 10 passes until residue clear
- Refine at 1200rpm, 3 - 4 passes
- Burnish at 900rpm, 2 - 3 passes
The video below shows the state of the wing before cutting and reifning:
And the results after:
Before picture on the front wing:
After:
A little bit of wet sanding was required in isolated places to remove deeper scratches, like the following:
Porter Cable was used, along with Abralon 4000 discs and a concentrated Shampoo Plus solution to lube the pad and the paint. Applied using speed 3 on the PC with no pressure and steady passes to remove the scratches, leaving a sanding haze:
After cutting and refining to remove the sanding marks:
The video below shows the bonnet after the correction and refining stage, wiped down with IPA ready to accept the sealent of choice:
The bonnet after polishing, before any LSP:
Moving away from the front and onto the doors, the hologramming was gone but there were general swirls:
Trialling combos again where the paint condition had clearly changed, I still settled on the Fast Cut Plus followed by Final Finish as although the marring did not look bad, it was quite deep in places and coupled to hard paint I felt this warranted the cutting compound method.
After cutting and refining:
The odd dull spot was found around the car:
Looked like T-Cut not being properly worked...
This easily removed using the above technique though:
One region on the car which seemed to have bad marring was below the styling lines on the doors:
Two hits of Fast Cut required here to get good correction, this is the result before refining:
After refining:
More post correction shots around the car:


")