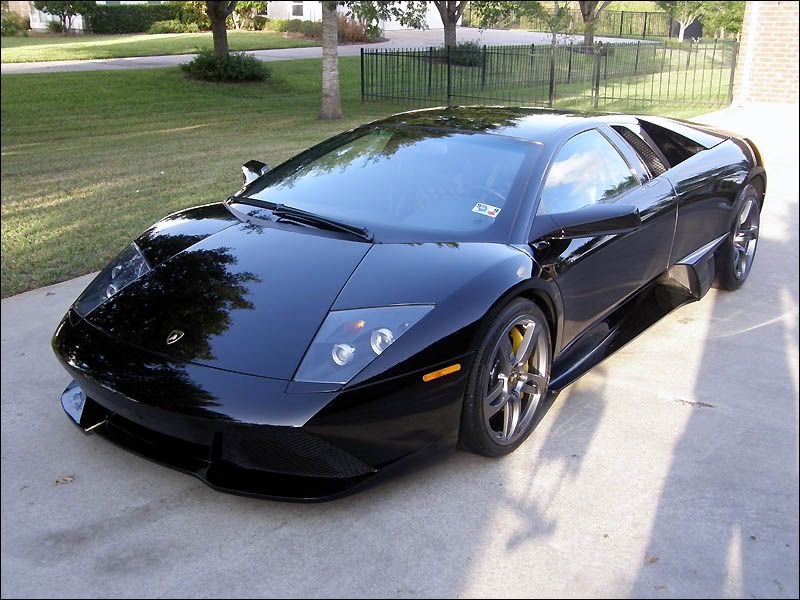
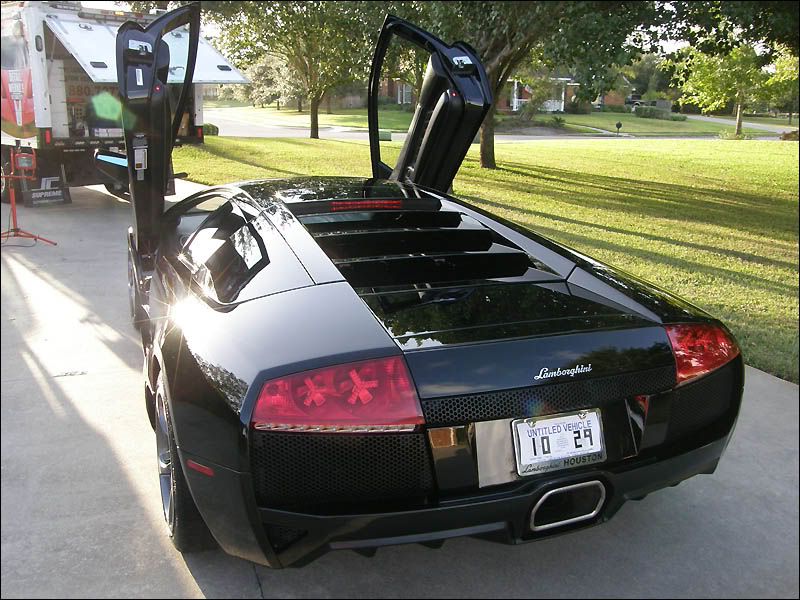
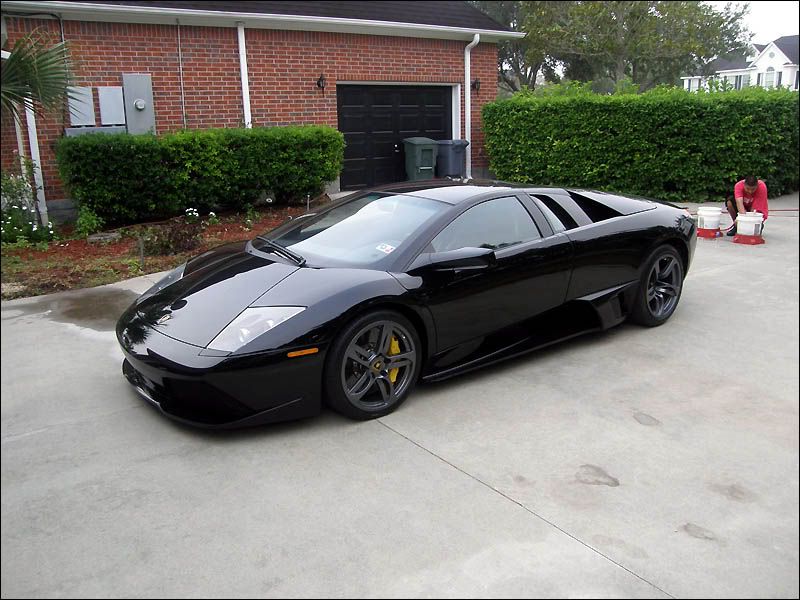
I received a call from a gentleman who was referred to me by an old friend who is the General Manager of Lamborghini of Houston. He told me he just bought a used LP640 from Lamborghini of Houston and wanted to get the car back in correct condition. After speaking with this Dr for a few hours we concluded that I would make a trip to his vacation home in Victoria Texas. We scheduled my 1-on-1 Gloss Treatment.
Myself and one of my employees made the 6 hour trip and meet up with the client who then took us out to a very nice restaurant and we got our EAT on! . During dinner I found out as much as I could about just what this guy is going to expect from this trip. After dinner we drove over to his house so I could inspect the vehicle. It was very dark and his garage did not have good lighting but from what I could see it was swirled up pretty good, but they did not look like deep RIDS, just superficial scratching caused by a bad wash mitt or drying towels. There was a few deeper scratches on the door and I knew that I was going to have to sand those out.
He took us back to our hotel that he booked for us and we crashed as we were really tired from the long drive.
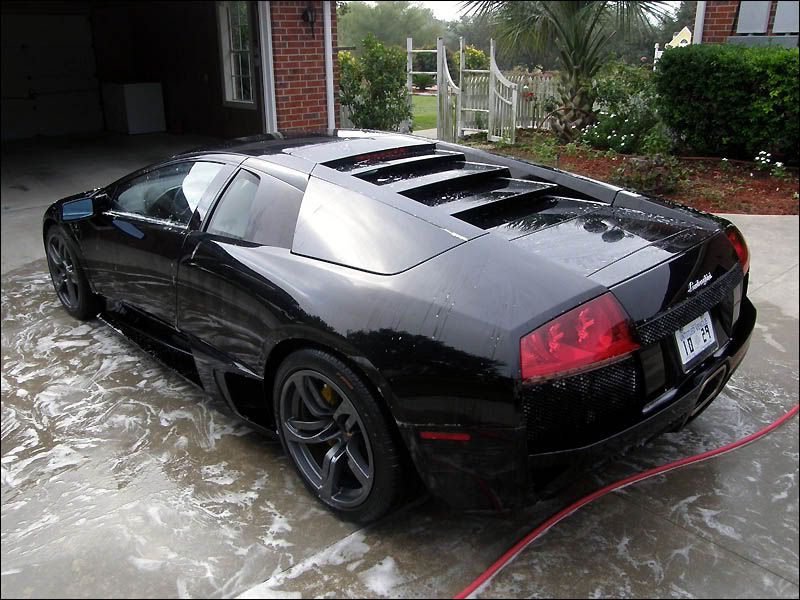
Nine came very quickly and we left the hotel and headed to his home to start working on this vehicle. There was some bad weather approaching and I really did not know how long till the sky dropped on us so we started knocking out the washing and clay pronto.
We washed the car using a strong concentrate of Dawn and Jose and I went around the vehicle two times. We then dried the vehicle and started our panel by panel clay treatment.
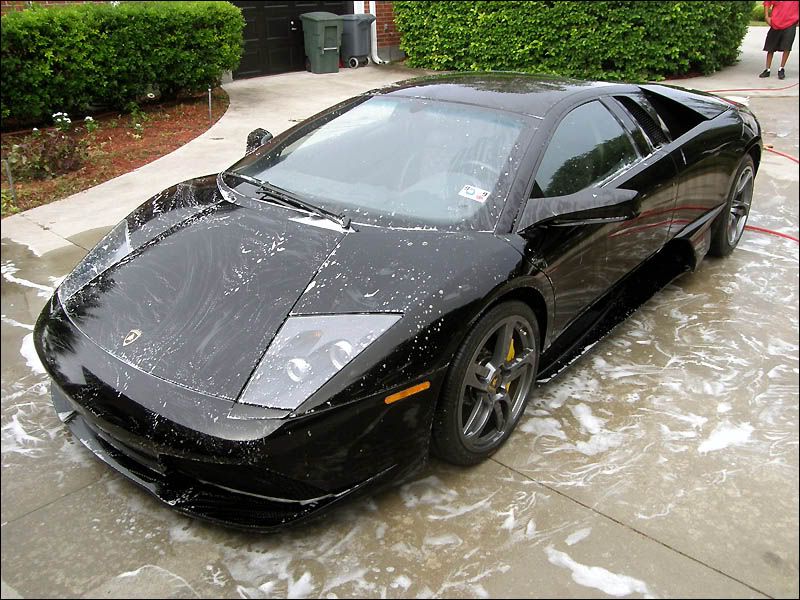

I decided to use the GI Green clay and use the Dawn for the lube. I would spray a panel and clay it till it felt smooth and I did not hear any more noise, dry it off with a microfiber drying towel and feel with my palm to make sure it was contamination free. If I still felt something I would clay the panel again. This took us almost hour/half to do the whole car this way but it ensured me that the car was properly clayed.
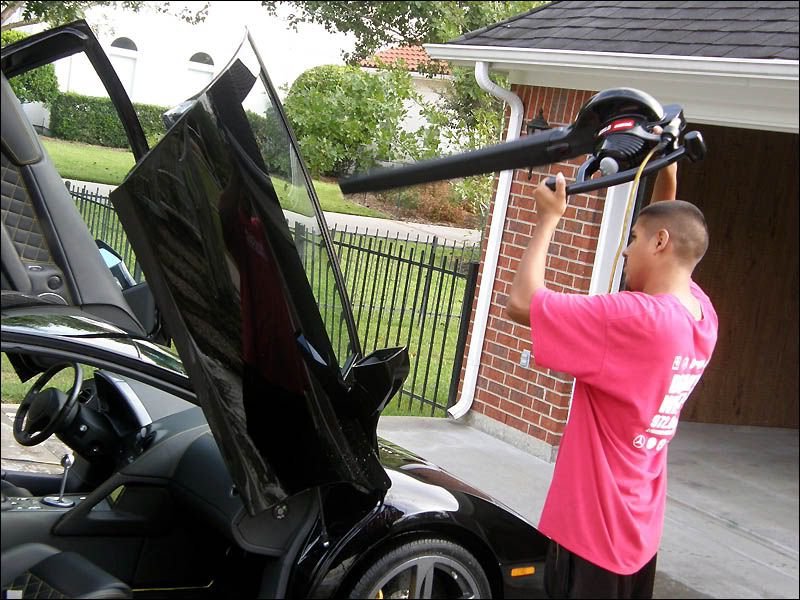
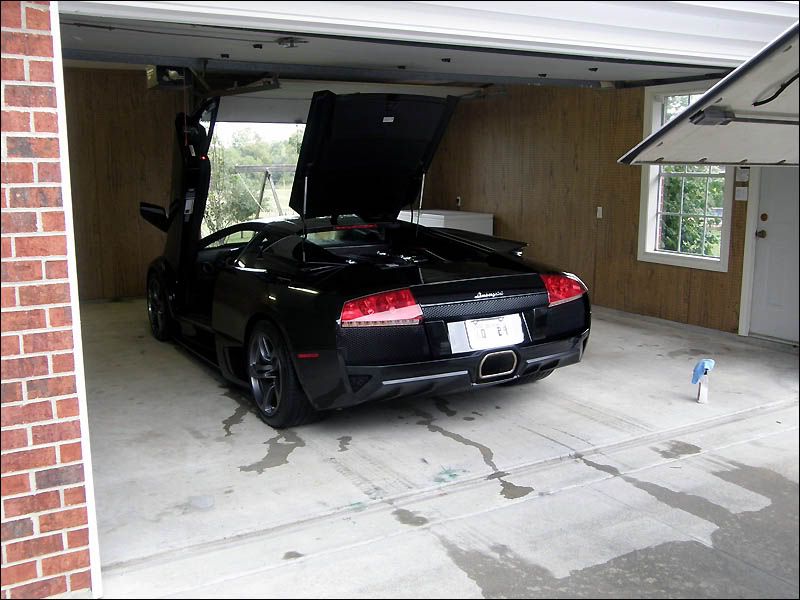
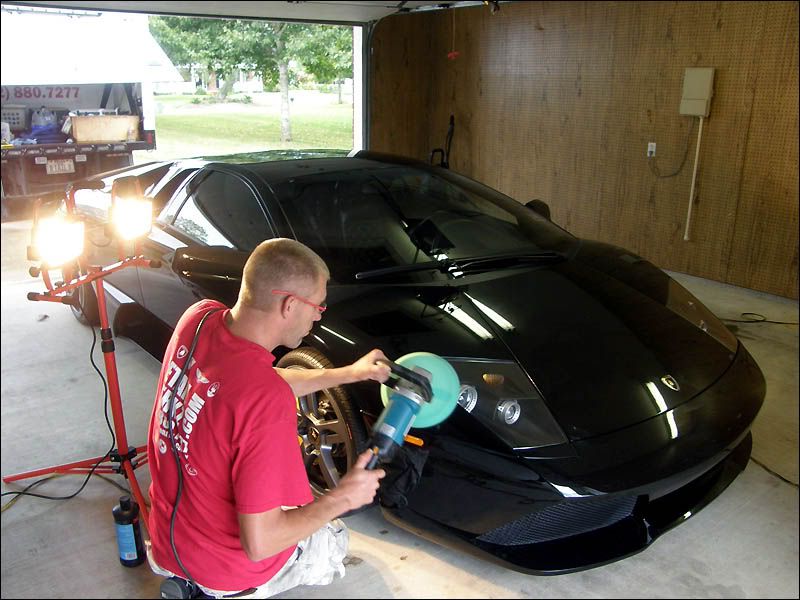
I pulled the LP back into the garage and set up my studio with my lights. The weather was really getting bad and I could hear thunder in the distance.
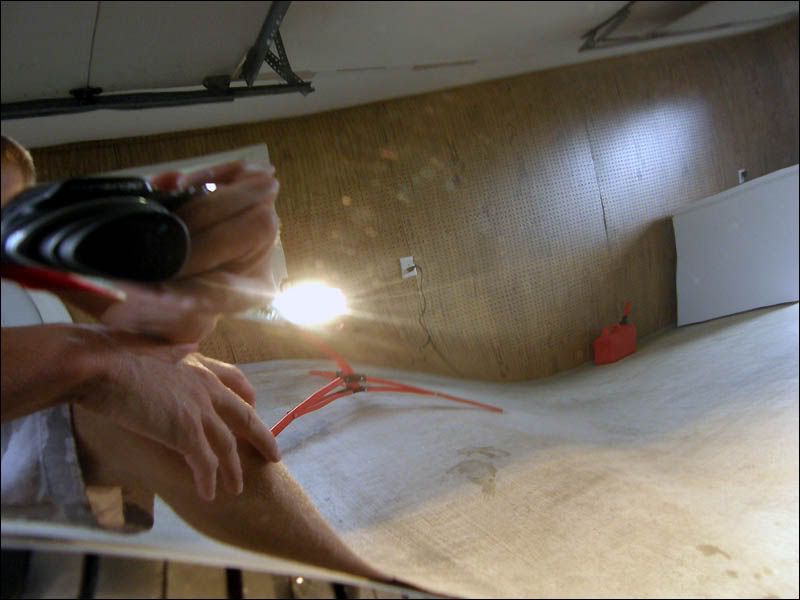
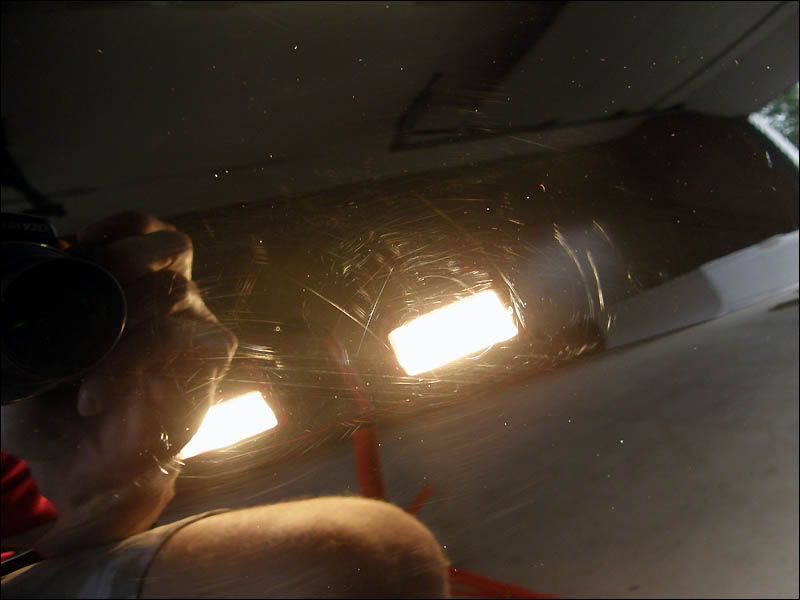
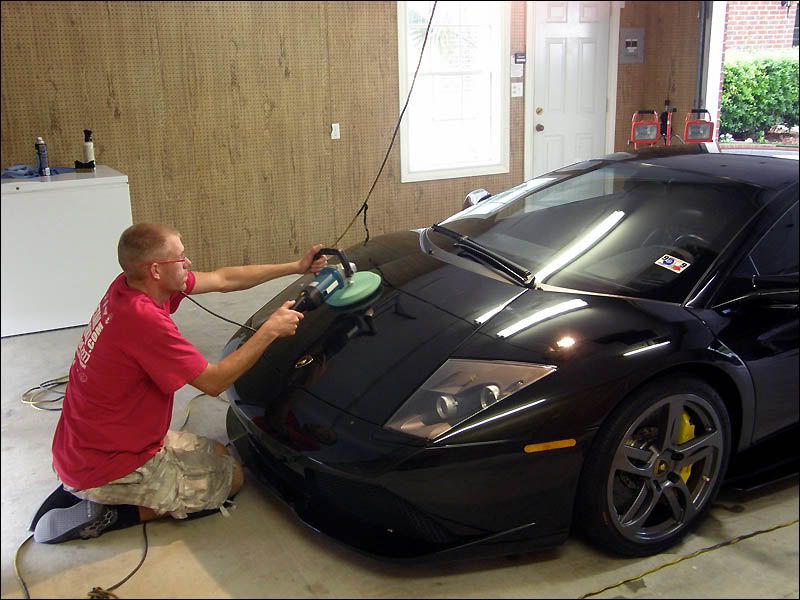
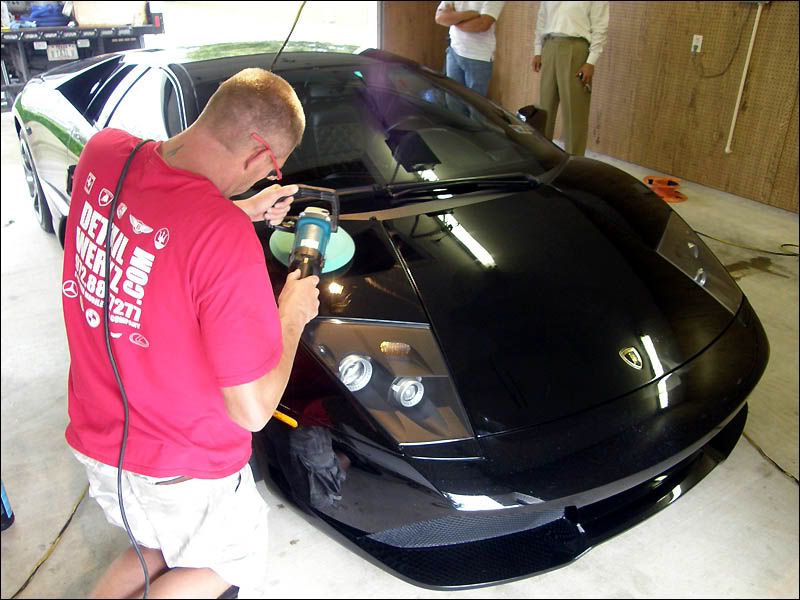
I started accessing the vehicle panel by panel on the passenger side first. What I saw was typical paint damage like swirls, holograms and slight RIDS.

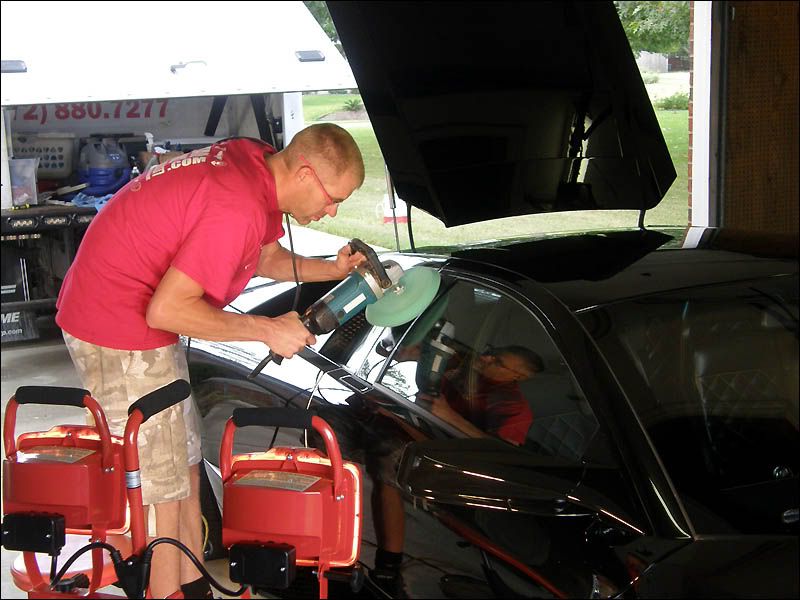
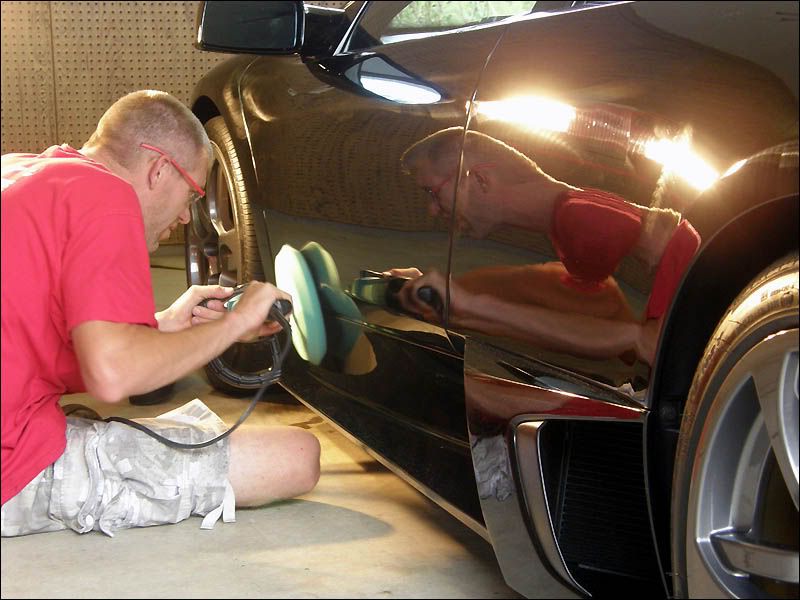
I started out with my makita and LC green 8 inch foam pad using the GI Extreme Cut polish.


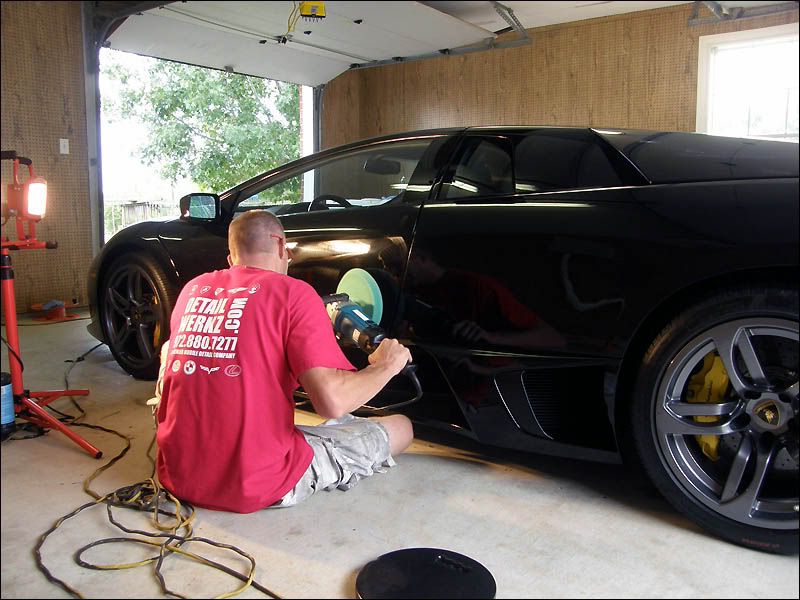
I continued down the driver side panel by panel. I really did not take any shots of a corrected panel after I had worked it. I was pressed for time and I was in a grove and was cruising to get this correction done in a timely manner.
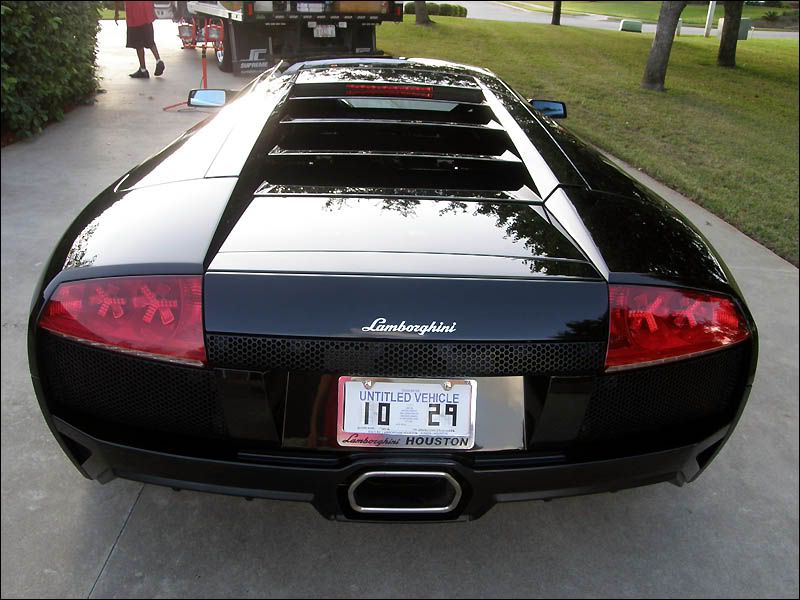
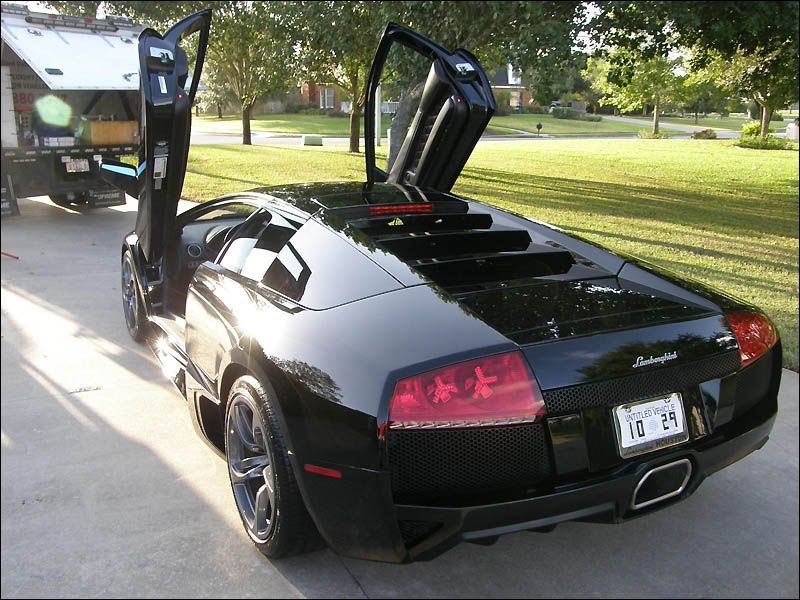
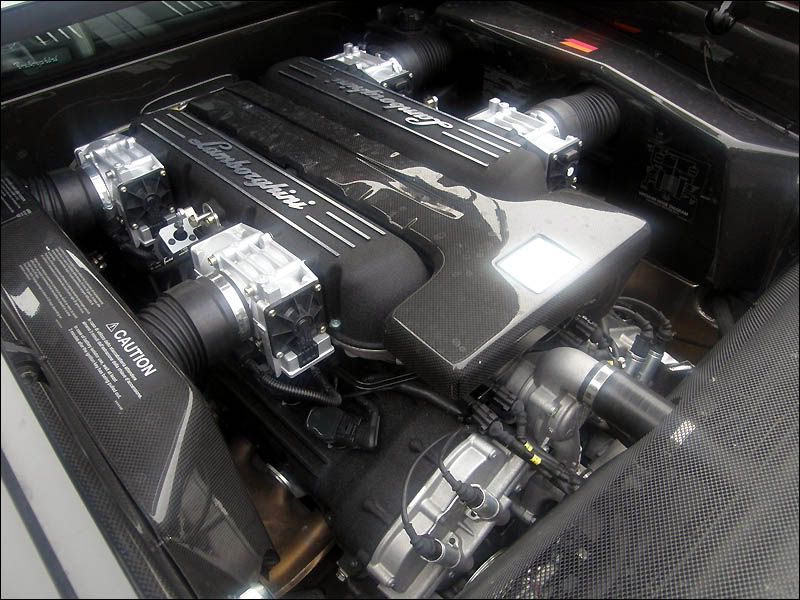
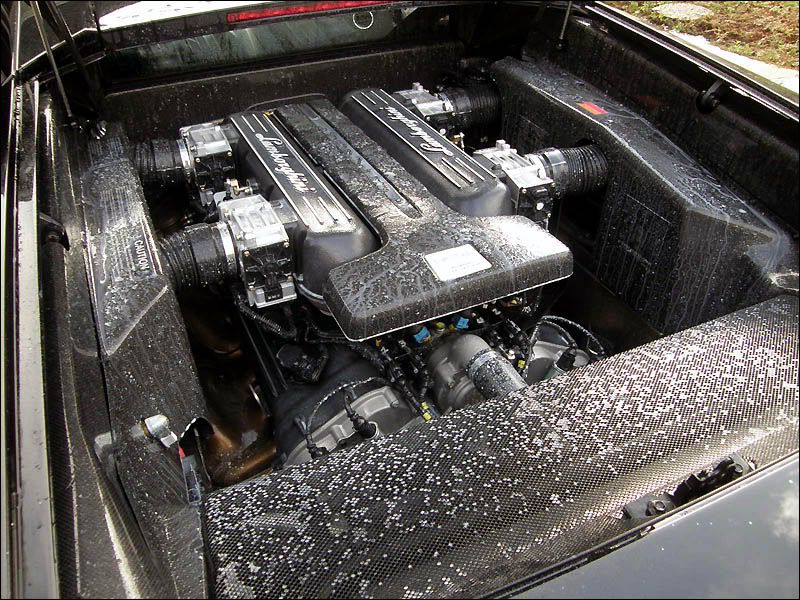
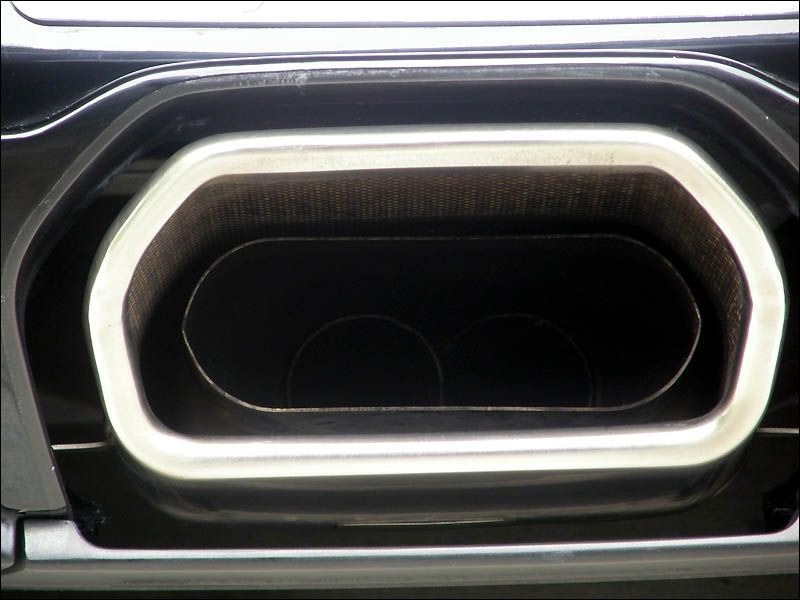
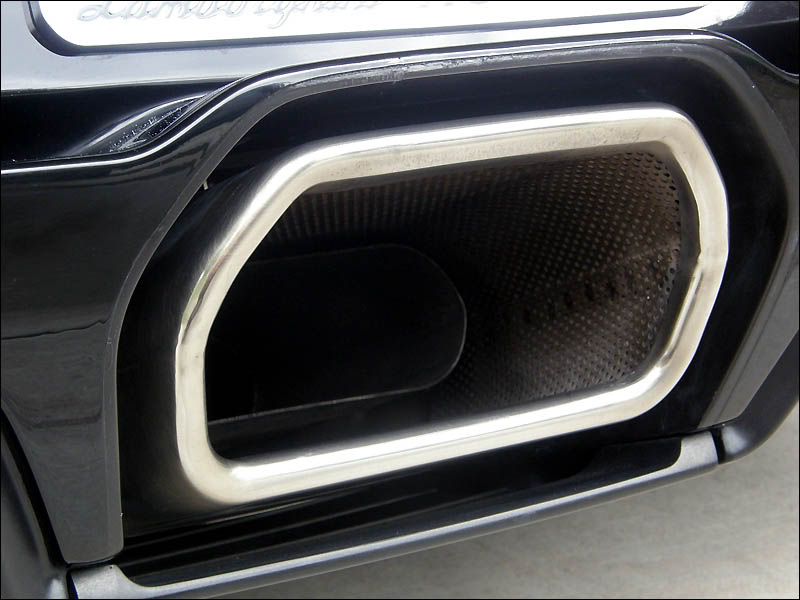
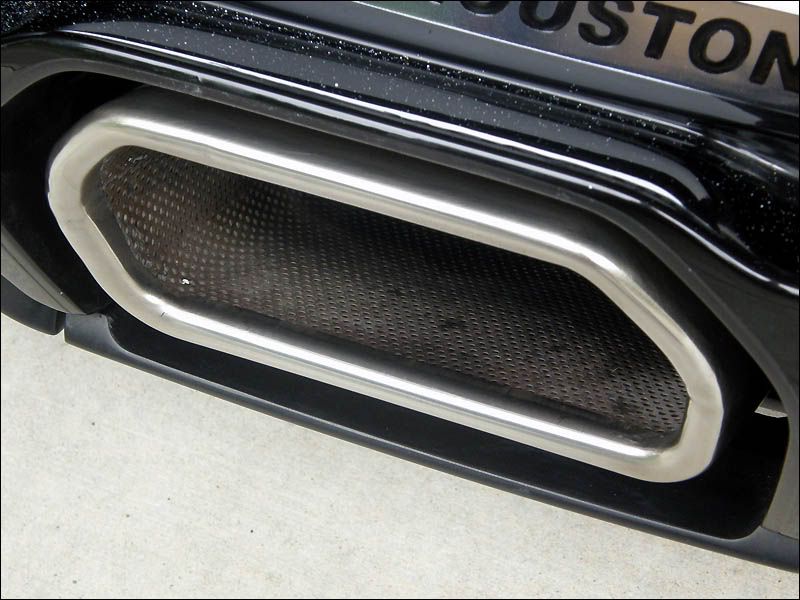
Once I had the correction process completed we addressed the rest of the car including the exhaust. It was looking very dirty so I grabbed some White Diamond metal polish and went to town.
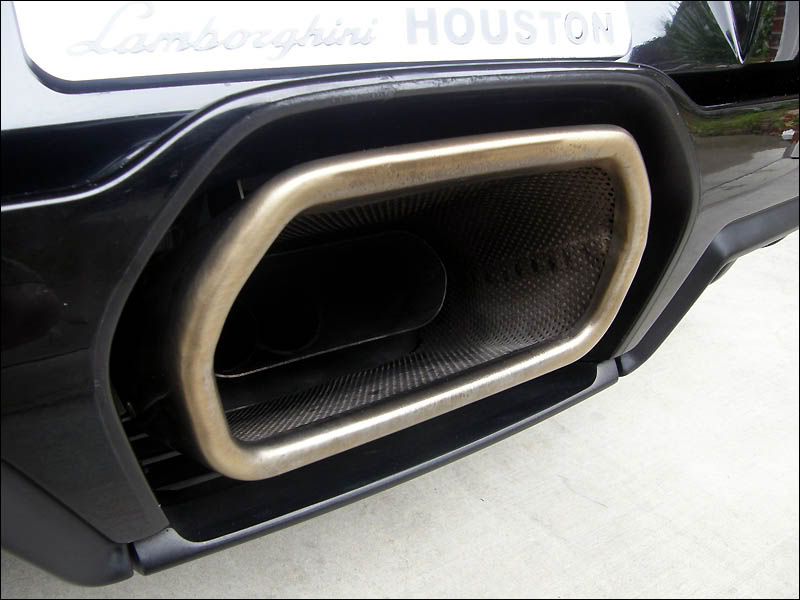
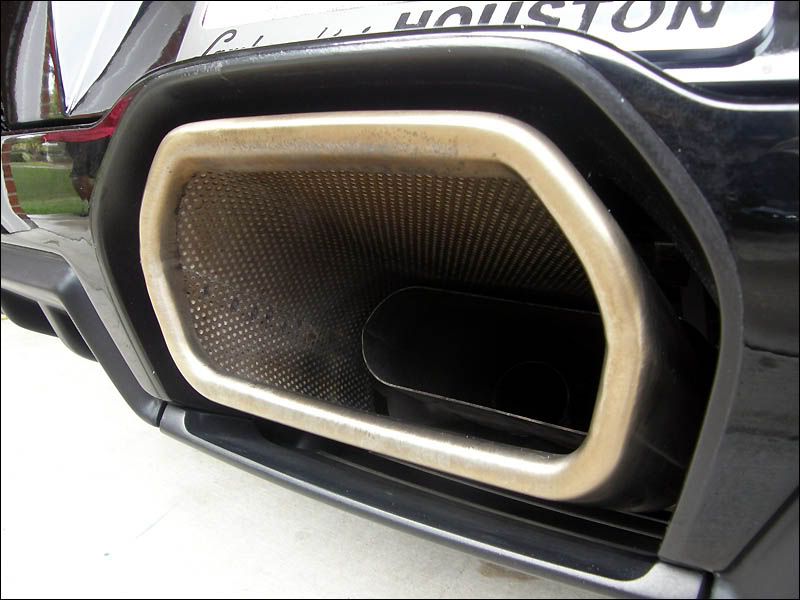
In a short time It was looking almost as shinny as chrome.
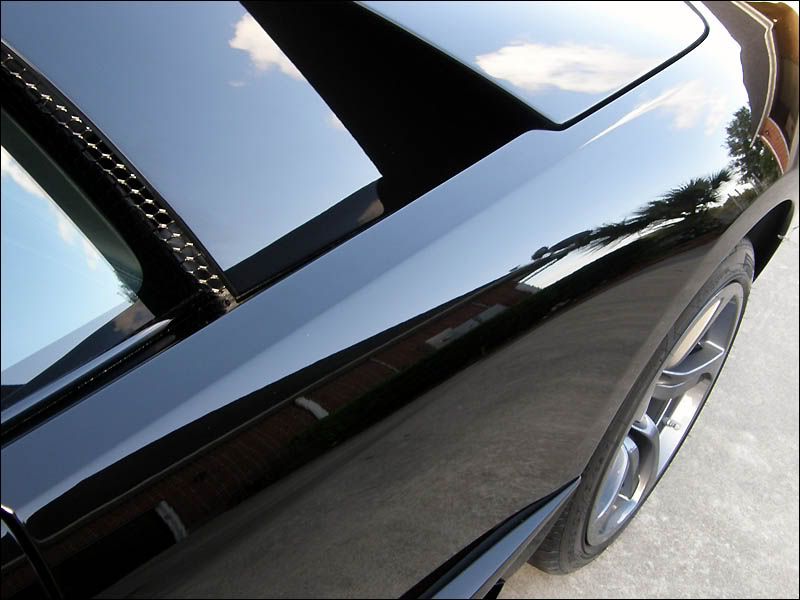
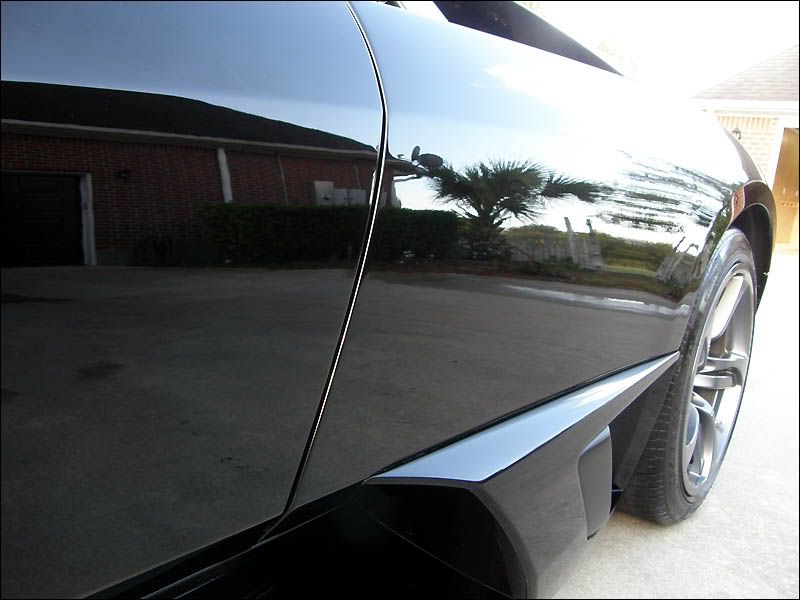
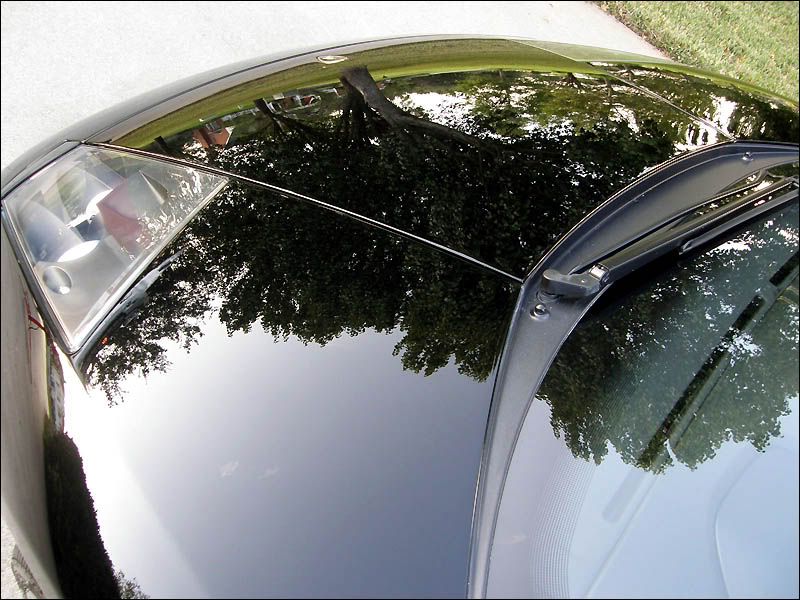
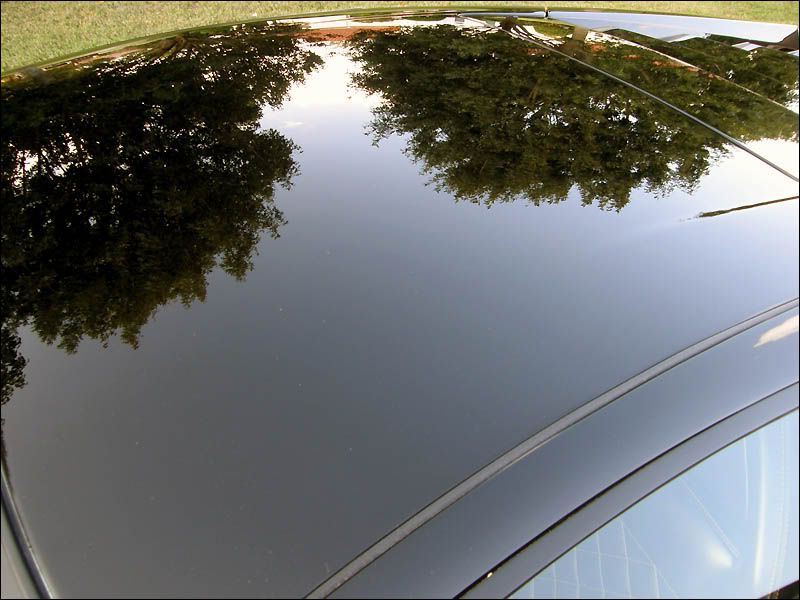
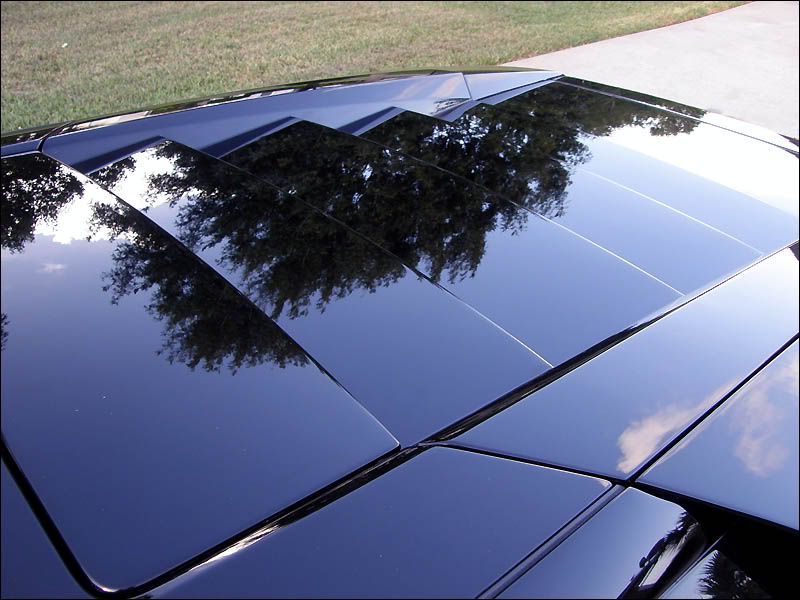
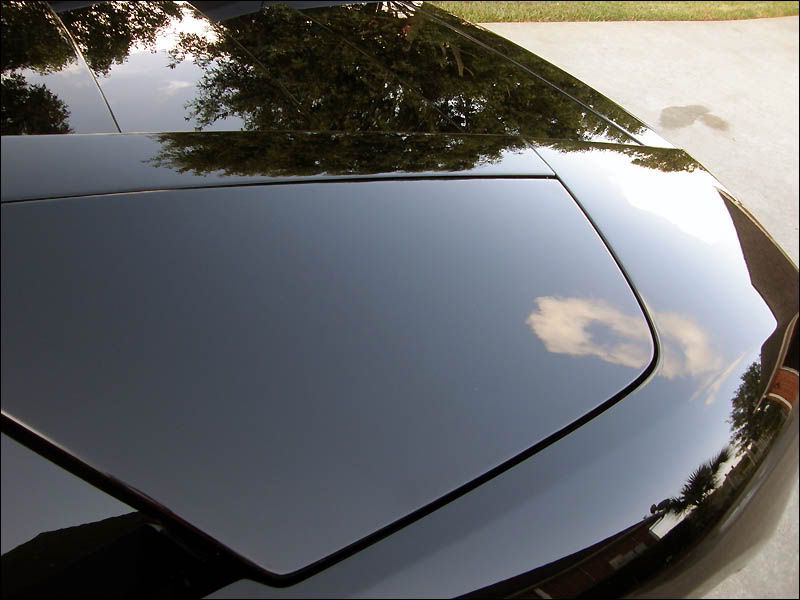
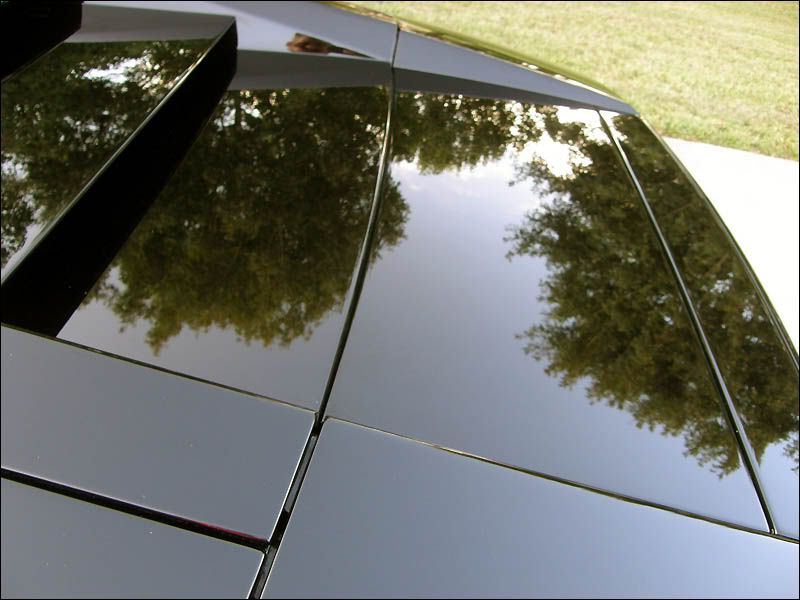
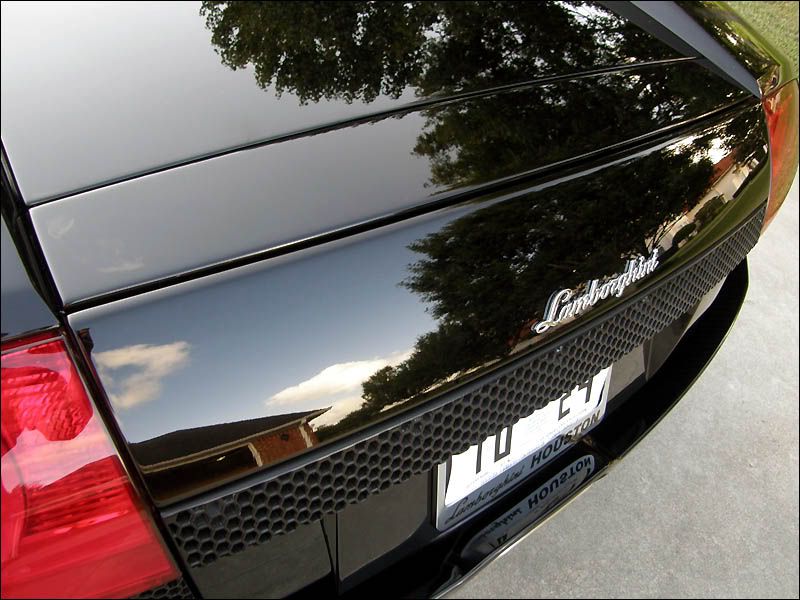
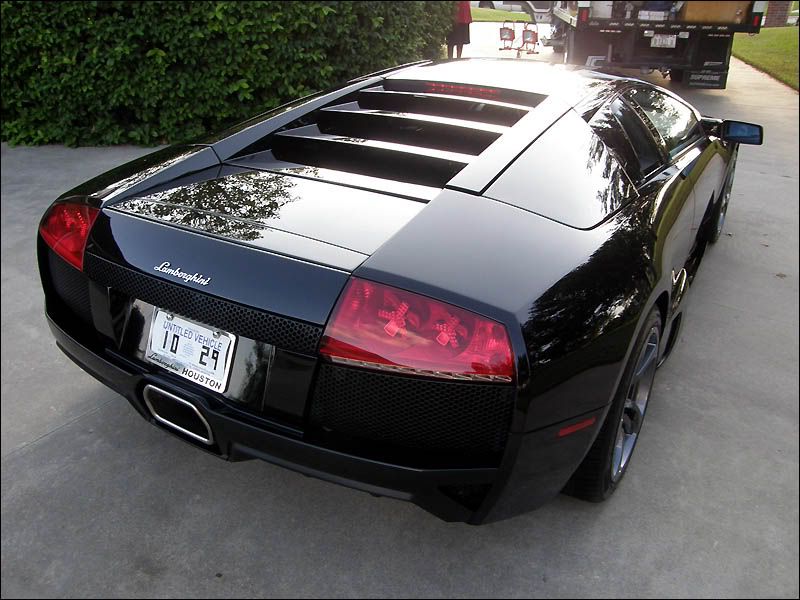
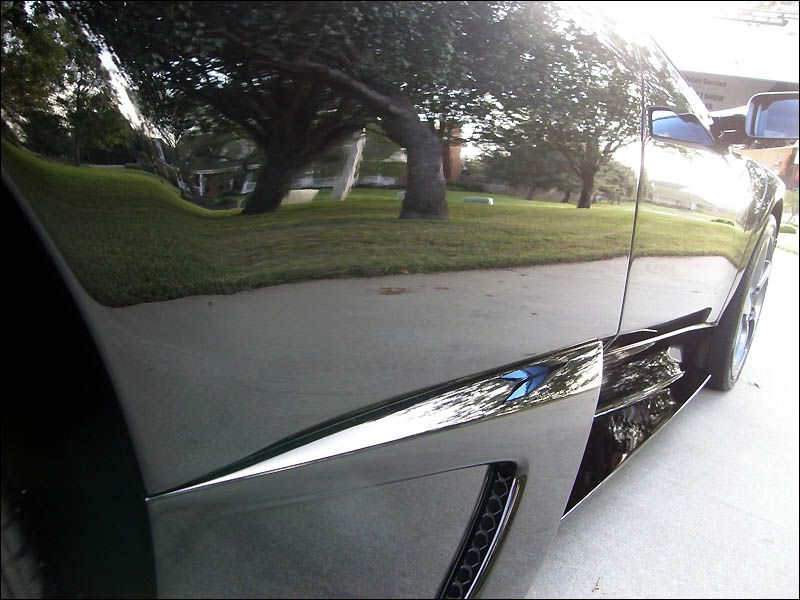
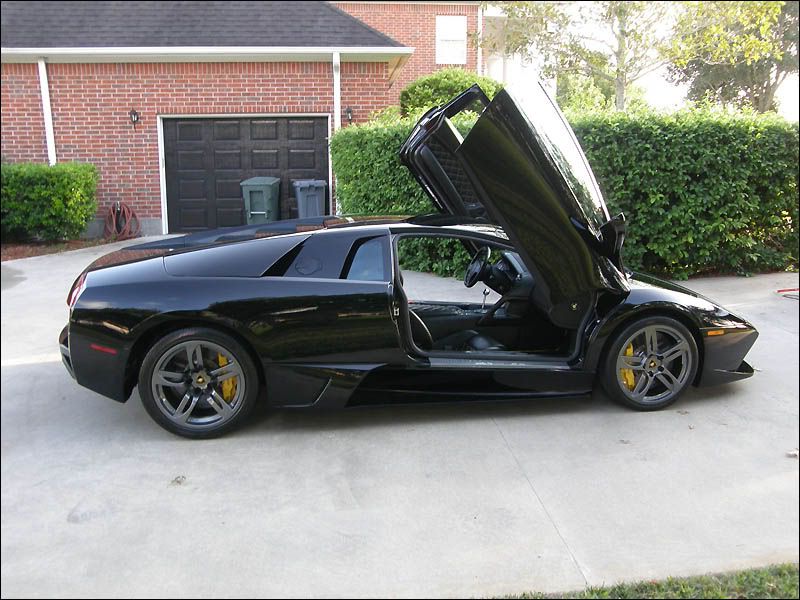
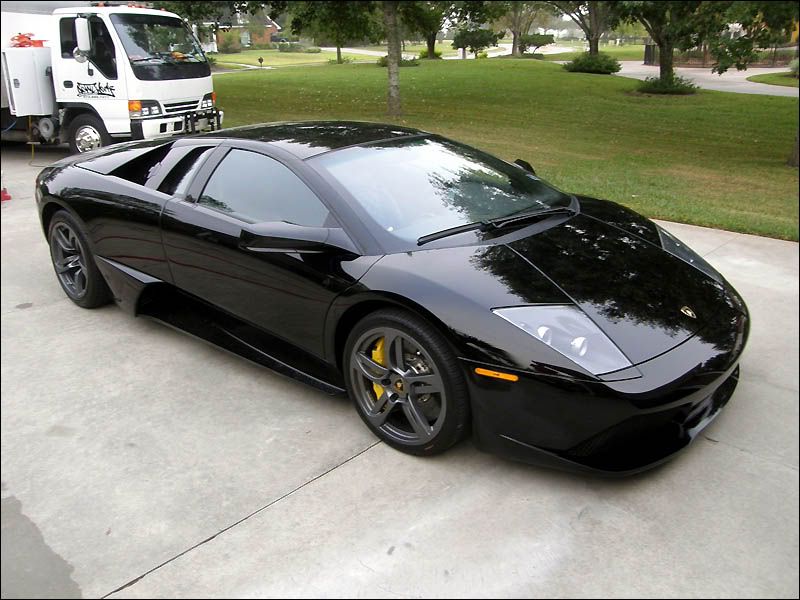
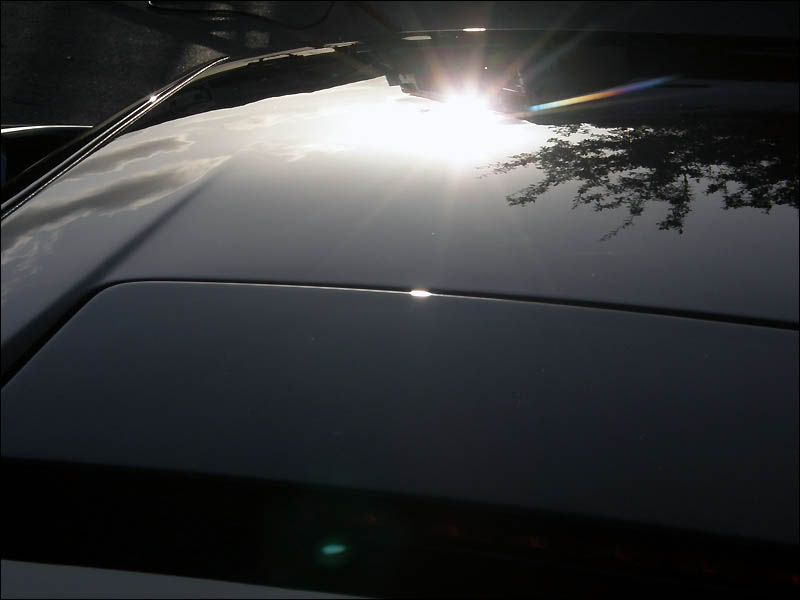
I went back over the whole car using the 7424 and a green pad with GI Evolution Polish and then applied the GI Signature Gloss topped with GI Gloss Finish. We applied the GI Signature Tire Gloss on the tires and also applied the GI Gloss Finish on the rims and barrels of the rims. We applied GI T.R.V. on the wheel wells.
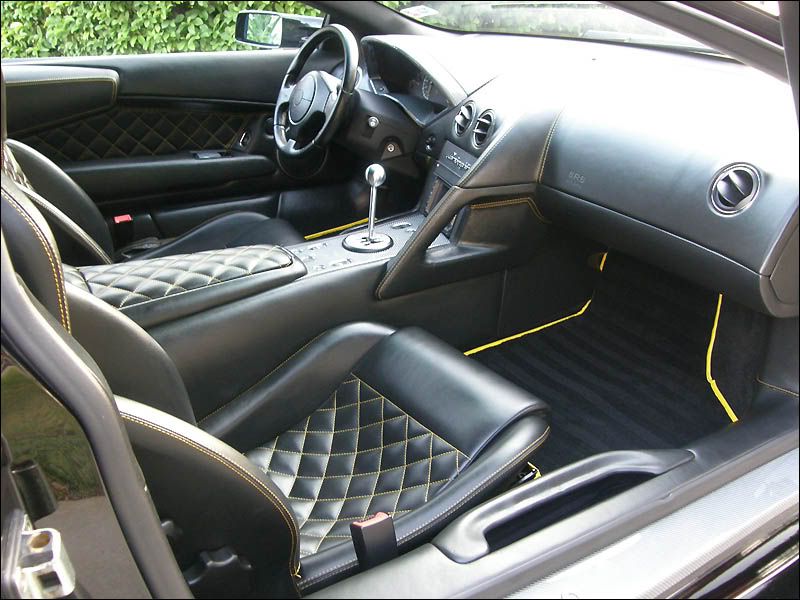
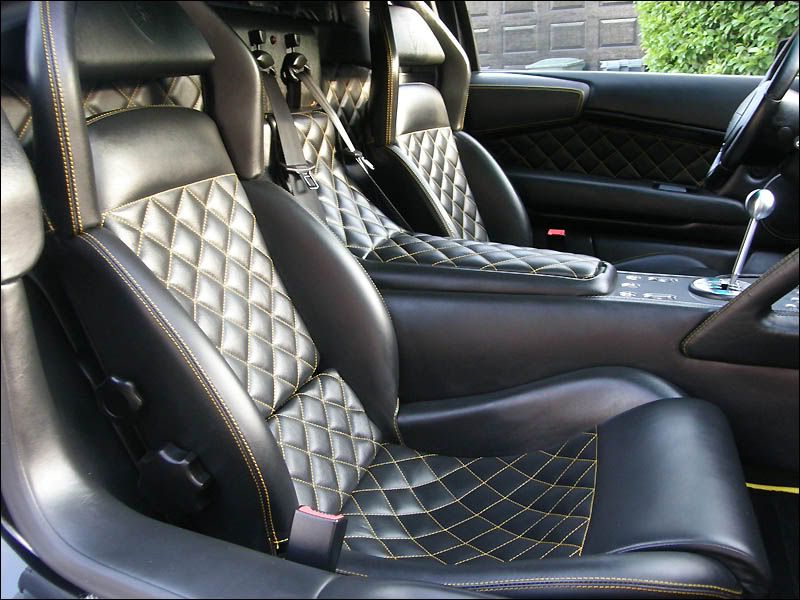
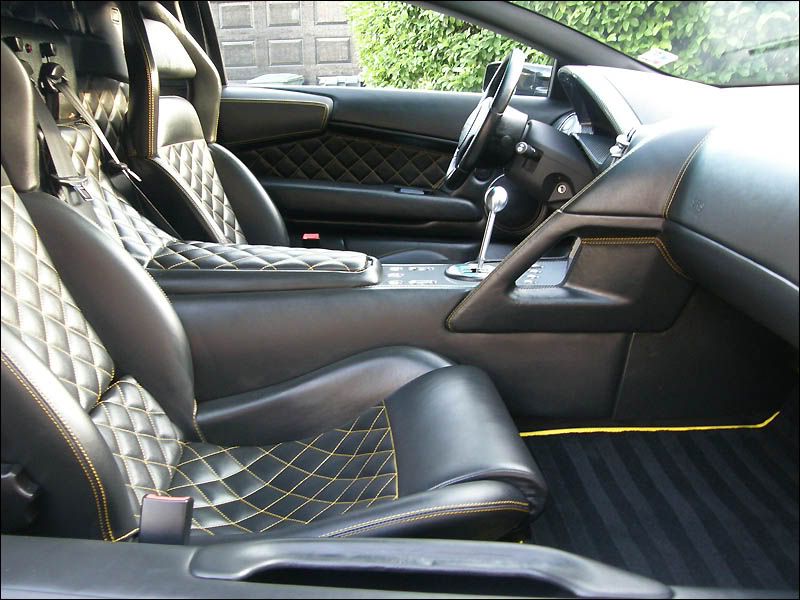
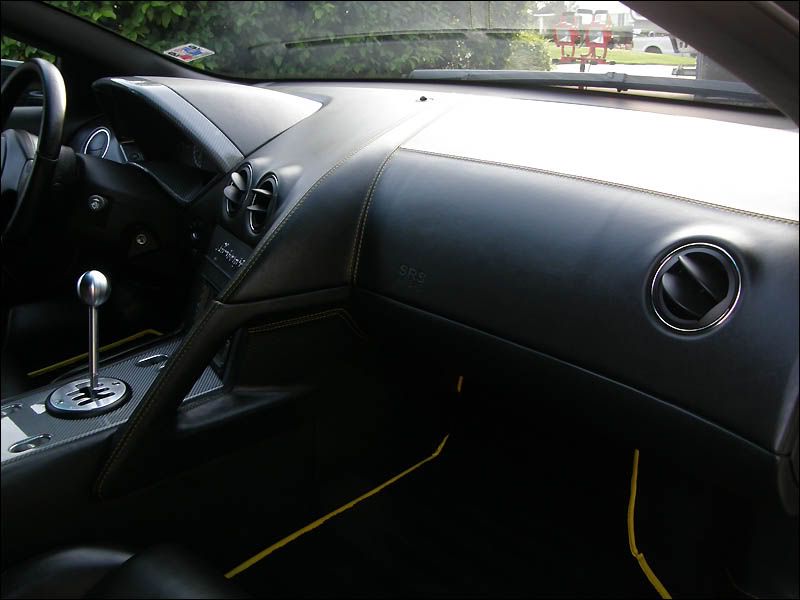
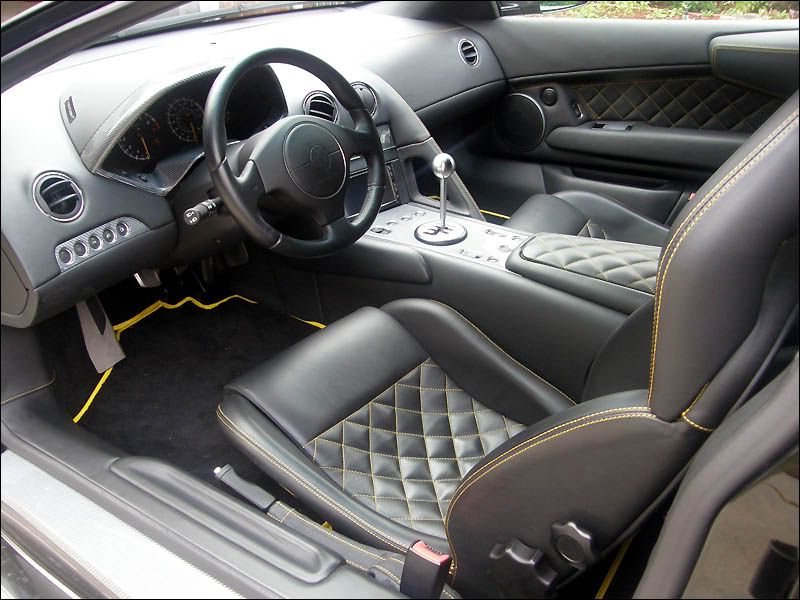
The interior was PH-cleaned using the GI Satin Leather Cleaner and GI T.R.V. was applied to everything in the interior and the seats where then topped with GI Satin Leather Polish.
The glass was cleaned using Stoner Invisible Glass. And a final wipe down was performed using GI Gloss Enhancer QD spray.
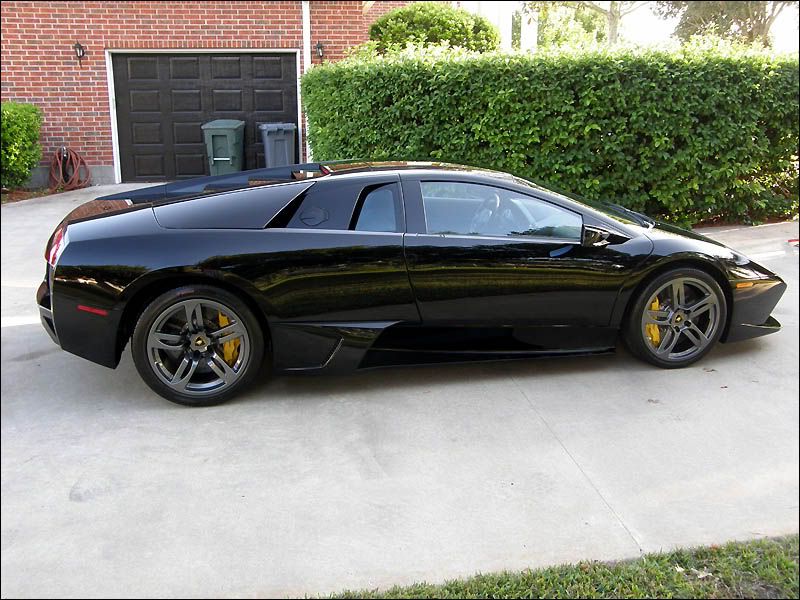
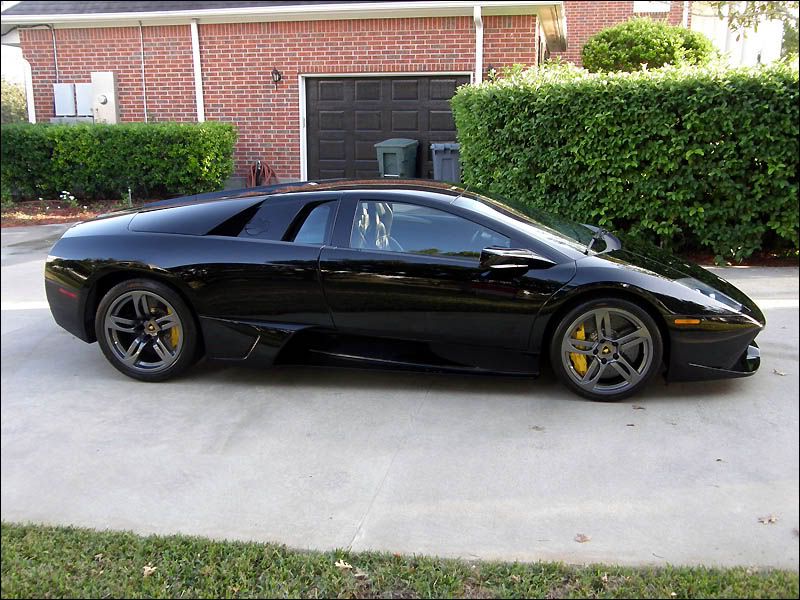
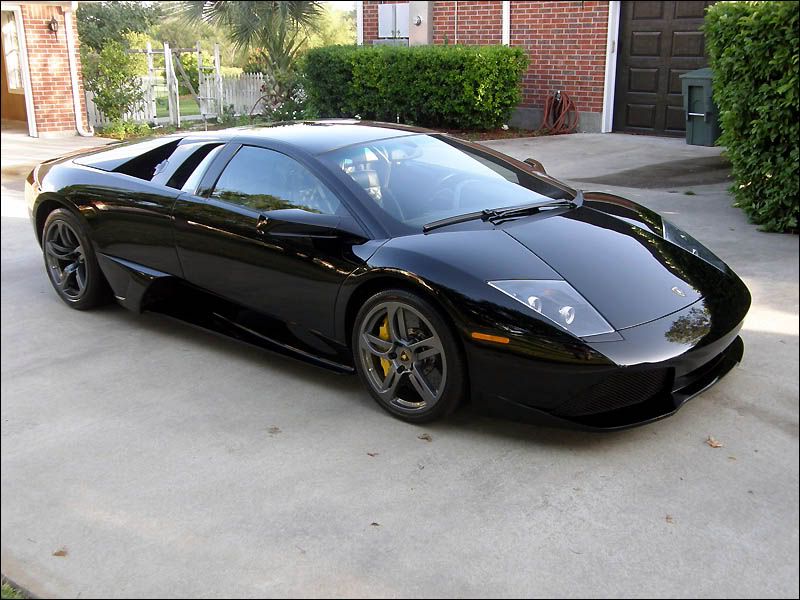
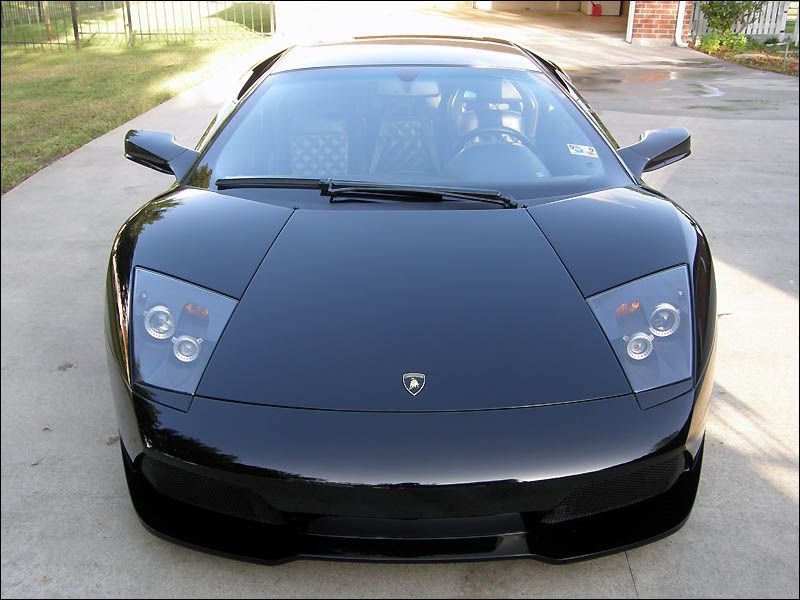
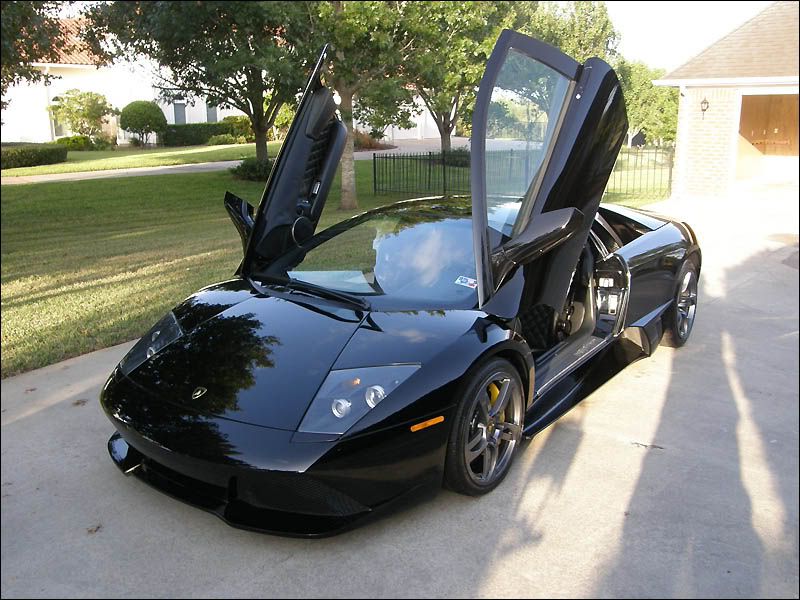
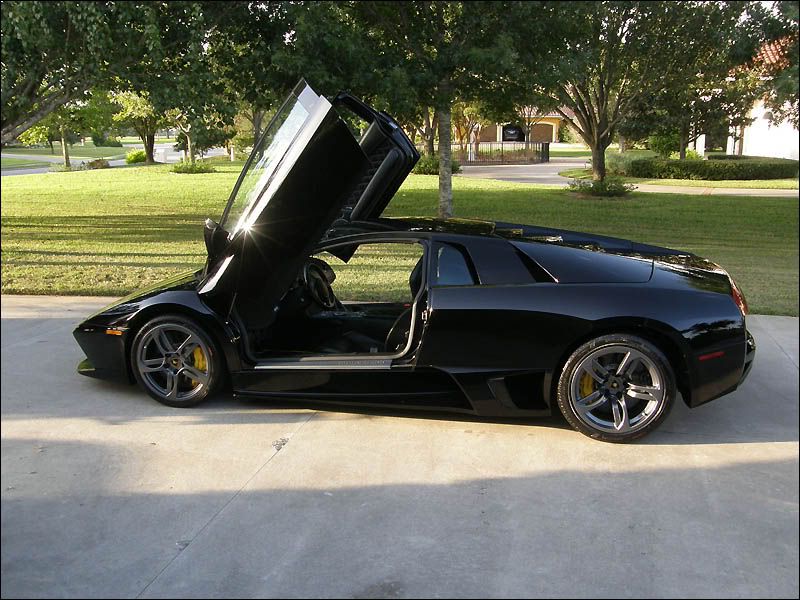
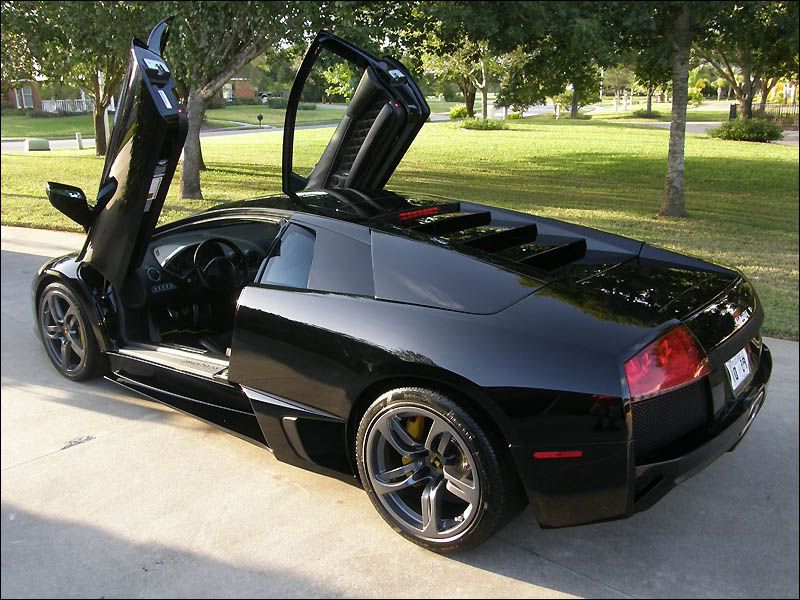
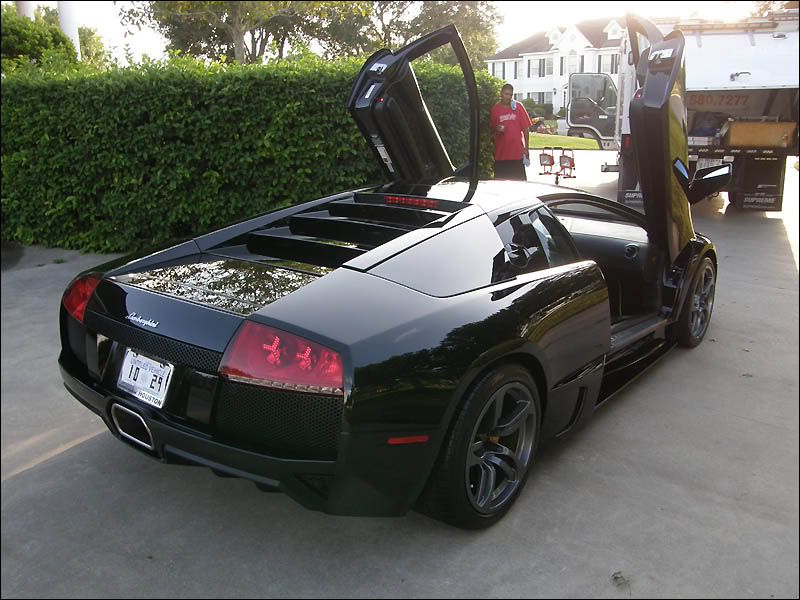
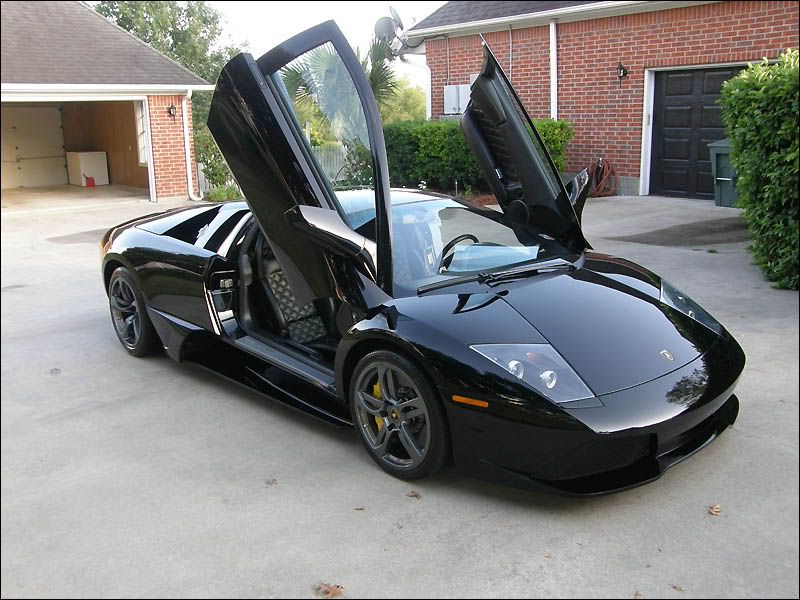
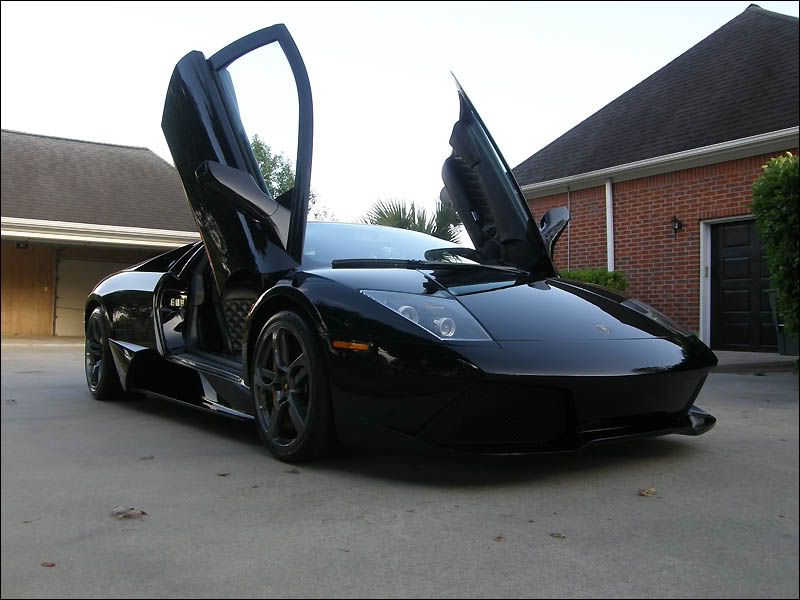
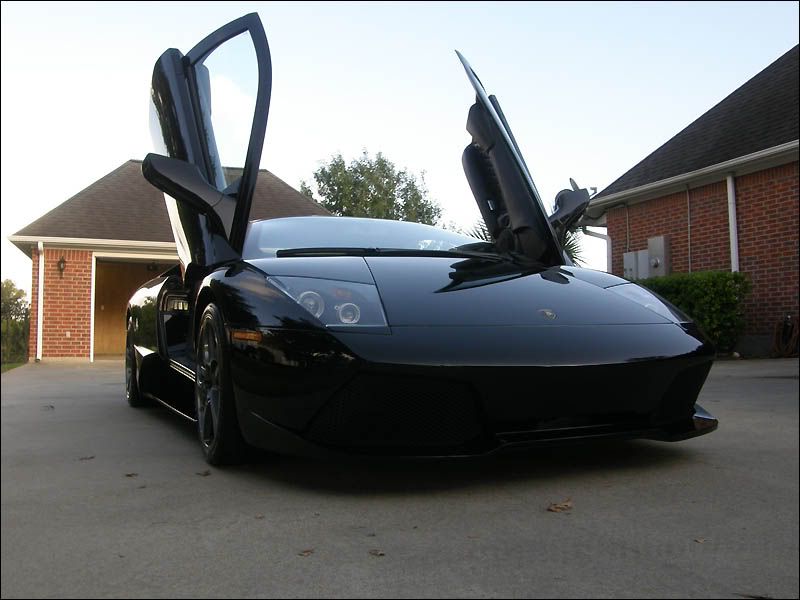
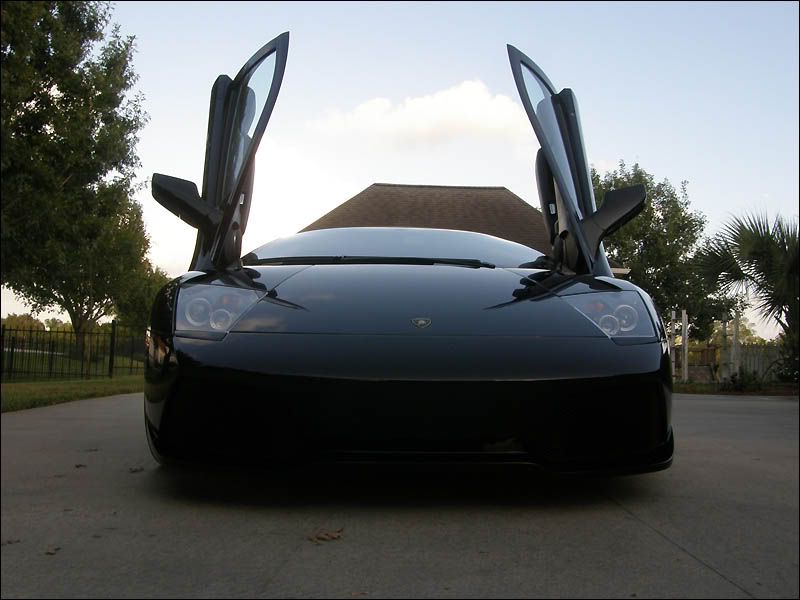
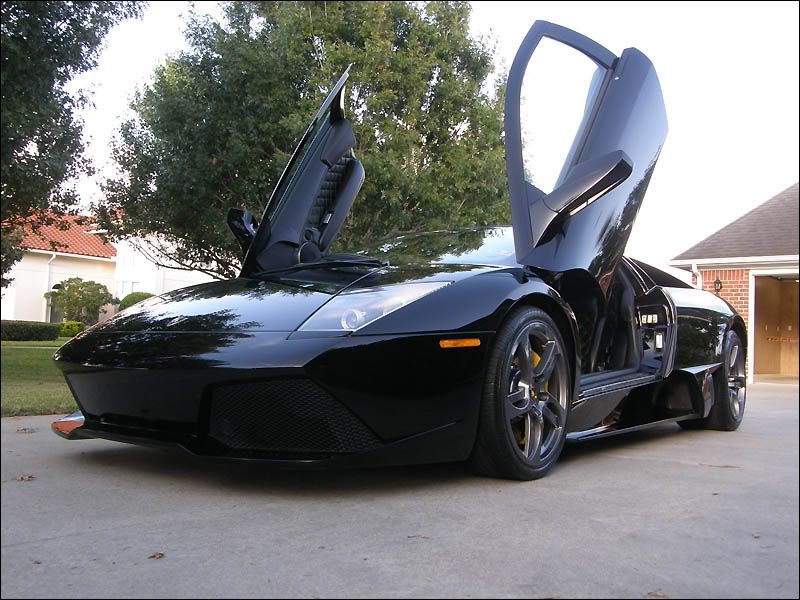
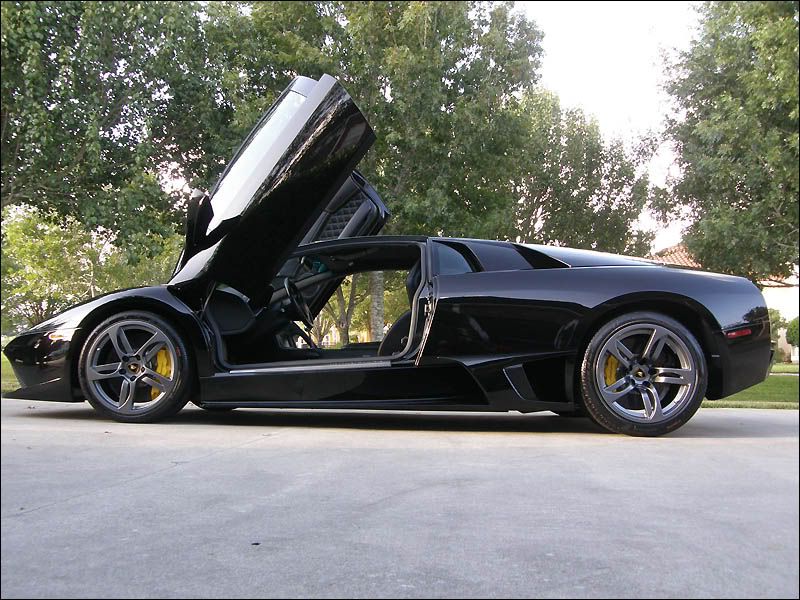
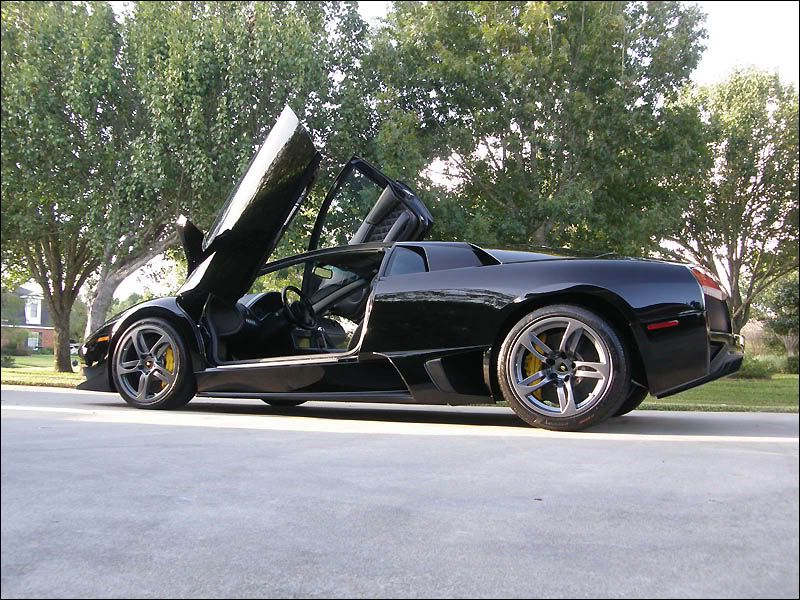
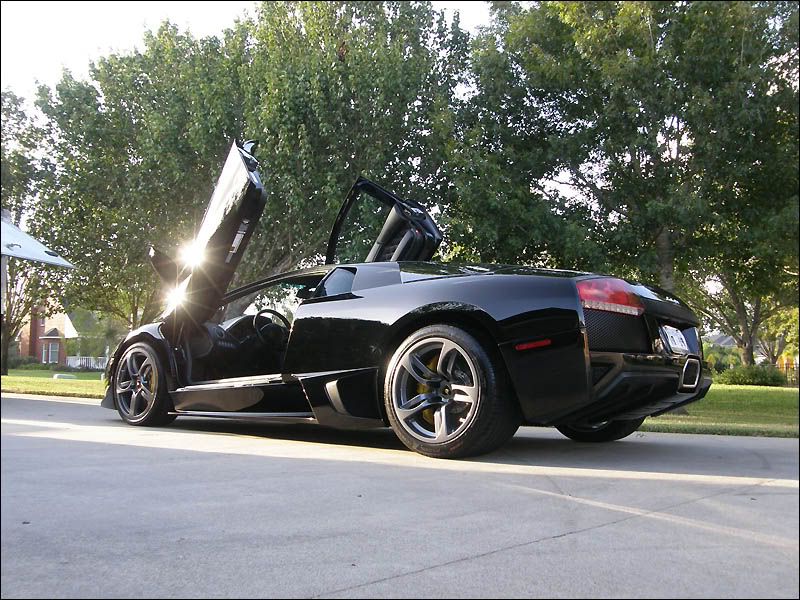
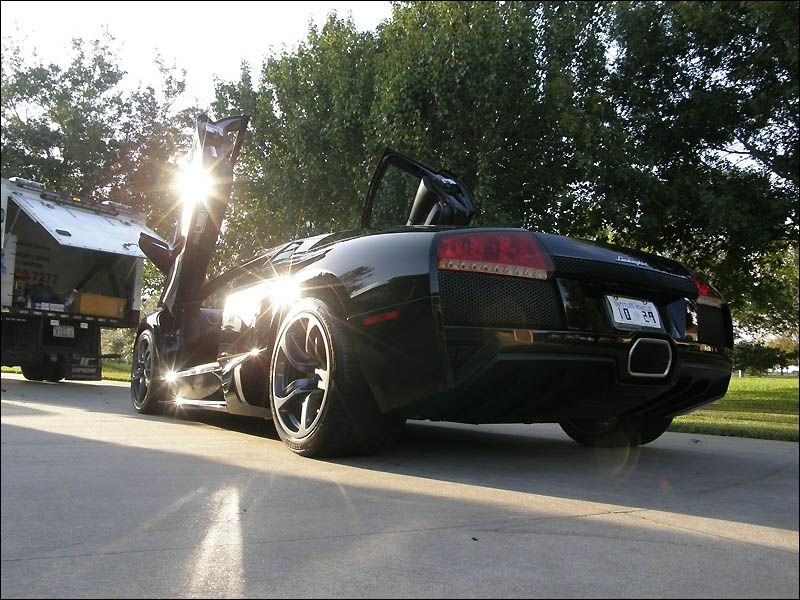
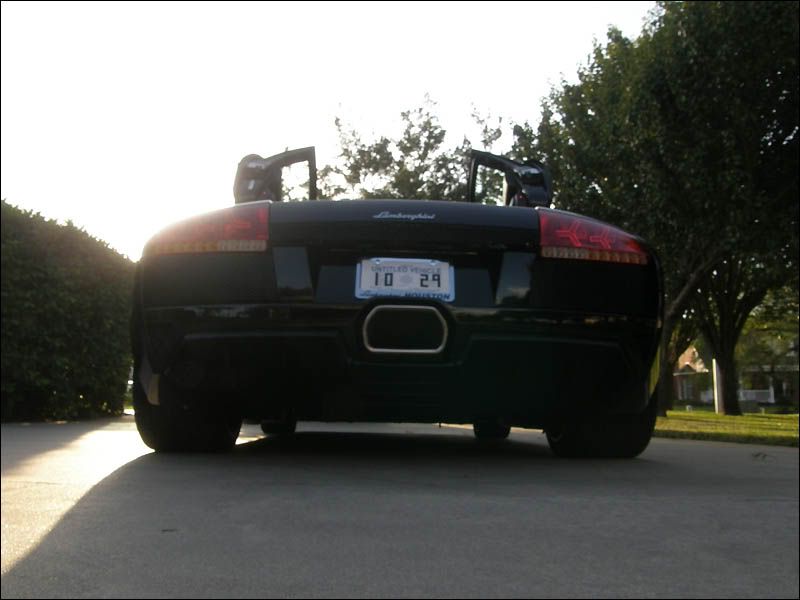
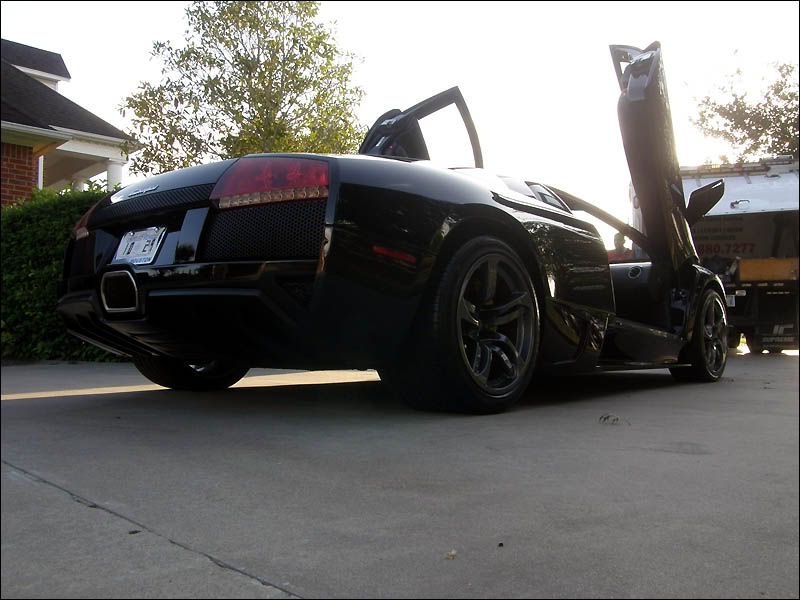
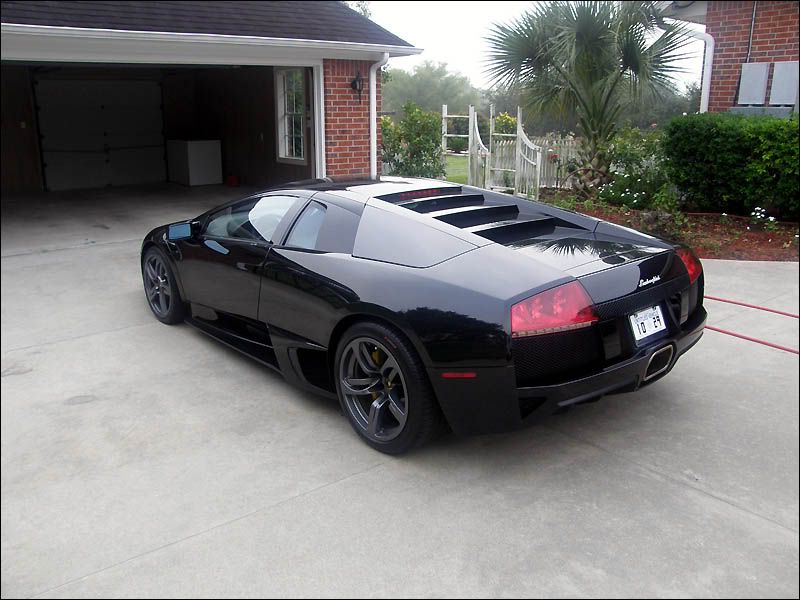
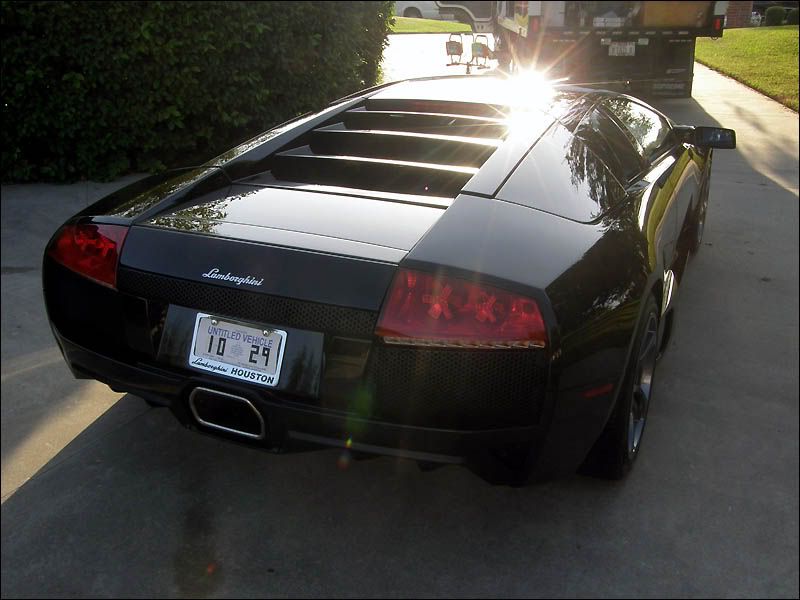
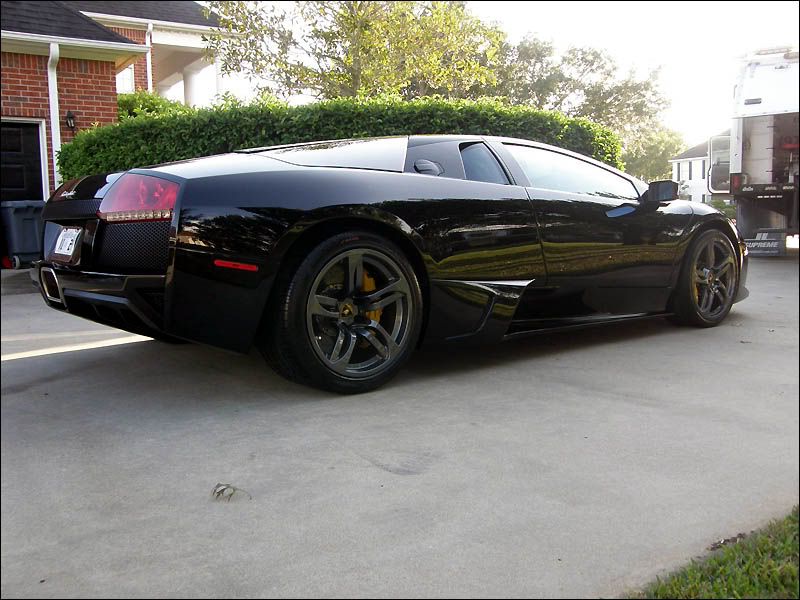
We finished up the vehicle just before the sun was about to set. 10 hours was the total time making it around 20 man hours of work.
The client was more than excited with the outcome and we plan to travel every 8 months to do a work on this vehicle and his other two daily drivers.
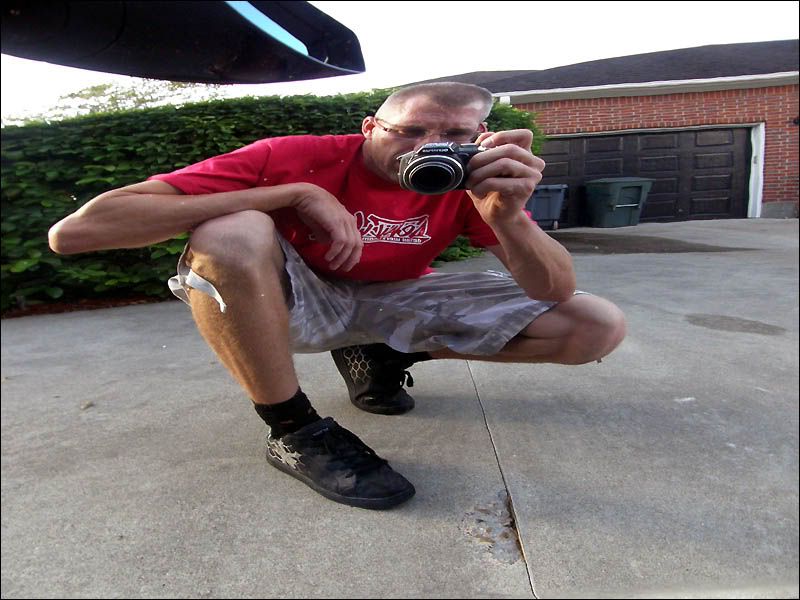
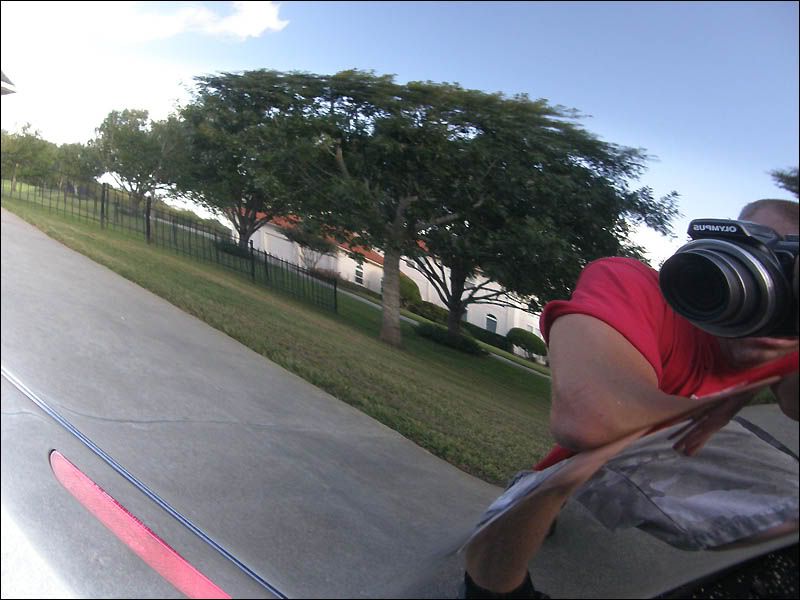
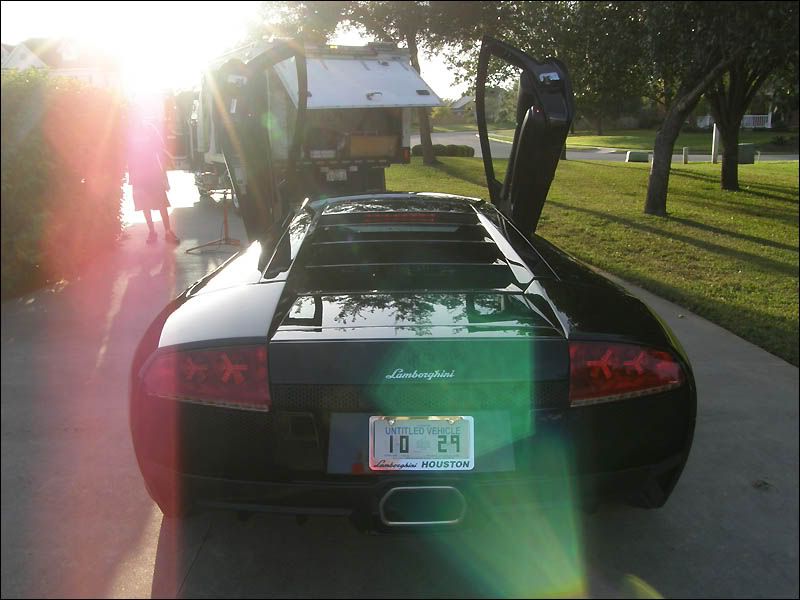
Enjoy the photo shoot....
Myself and one of my employees made the 6 hour trip and meet up with the client who then took us out to a very nice restaurant and we got our EAT on! . During dinner I found out as much as I could about just what this guy is going to expect from this trip. After dinner we drove over to his house so I could inspect the vehicle. It was very dark and his garage did not have good lighting but from what I could see it was swirled up pretty good, but they did not look like deep RIDS, just superficial scratching caused by a bad wash mitt or drying towels. There was a few deeper scratches on the door and I knew that I was going to have to sand those out.
He took us back to our hotel that he booked for us and we crashed as we were really tired from the long drive.
Nine came very quickly and we left the hotel and headed to his home to start working on this vehicle. There was some bad weather approaching and I really did not know how long till the sky dropped on us so we started knocking out the washing and clay pronto.
We washed the car using a strong concentrate of Dawn and Jose and I went around the vehicle two times. We then dried the vehicle and started our panel by panel clay treatment.
I decided to use the GI Green clay and use the Dawn for the lube. I would spray a panel and clay it till it felt smooth and I did not hear any more noise, dry it off with a microfiber drying towel and feel with my palm to make sure it was contamination free. If I still felt something I would clay the panel again. This took us almost hour/half to do the whole car this way but it ensured me that the car was properly clayed.
I pulled the LP back into the garage and set up my studio with my lights. The weather was really getting bad and I could hear thunder in the distance.
I started accessing the vehicle panel by panel on the passenger side first. What I saw was typical paint damage like swirls, holograms and slight RIDS.
I started out with my makita and LC green 8 inch foam pad using the GI Extreme Cut polish.
I continued down the driver side panel by panel. I really did not take any shots of a corrected panel after I had worked it. I was pressed for time and I was in a grove and was cruising to get this correction done in a timely manner.
Once I had the correction process completed we addressed the rest of the car including the exhaust. It was looking very dirty so I grabbed some White Diamond metal polish and went to town.
In a short time It was looking almost as shinny as chrome.
I went back over the whole car using the 7424 and a green pad with GI Evolution Polish and then applied the GI Signature Gloss topped with GI Gloss Finish. We applied the GI Signature Tire Gloss on the tires and also applied the GI Gloss Finish on the rims and barrels of the rims. We applied GI T.R.V. on the wheel wells.
The interior was PH-cleaned using the GI Satin Leather Cleaner and GI T.R.V. was applied to everything in the interior and the seats where then topped with GI Satin Leather Polish.
The glass was cleaned using Stoner Invisible Glass. And a final wipe down was performed using GI Gloss Enhancer QD spray.
We finished up the vehicle just before the sun was about to set. 10 hours was the total time making it around 20 man hours of work.
The client was more than excited with the outcome and we plan to travel every 8 months to do a work on this vehicle and his other two daily drivers.
Enjoy the photo shoot....