Lamborghini Gallardo, Ferrari, Aston Martin, GT3, M5 and others....

JoshVette

New member
This is my first thread here so I thought I'd make it a good one.

Got a call from a client about doing his 3 cars, I thought if I got there early enough I'd have enough time to get them all done in one day.....

All were done with the same process and no real polishing was done even though they really needed it, the owner wasn't concerned about swirls and honestly I didn't have time to do any polishing if I was to finish all three in one day.

Process basically:
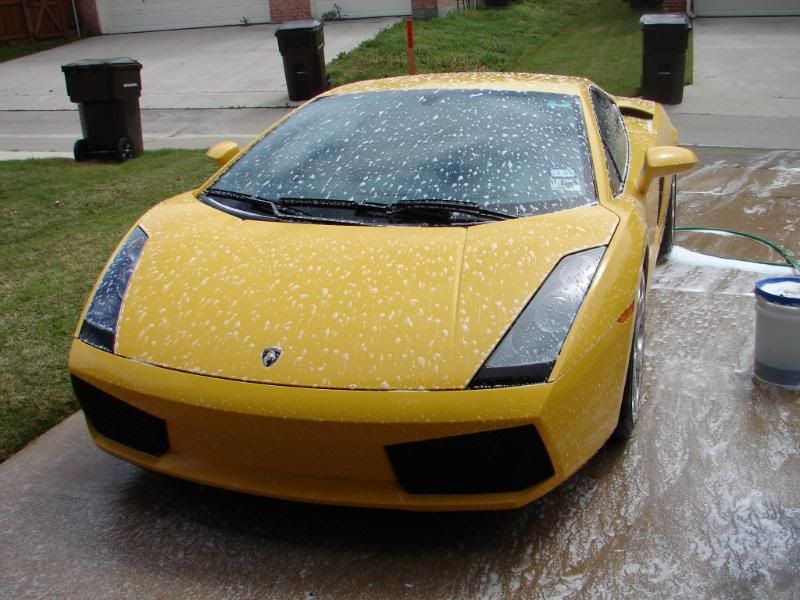
Three bucket washing, one bucket solely for the rims, tires and wheels wells.
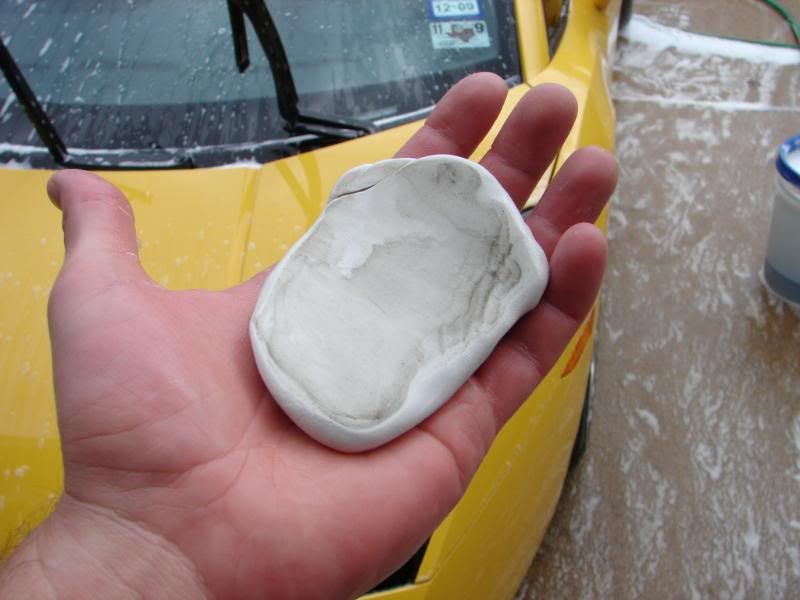
Clayed while wet with Megs white clay
Rinsed and blow dried
Paint sealed with Zaino ZAIO
Wipe down with Gloss It QD
Tires treated with Megs Hyper Shine 2.5:1 ratio
Rims and door jambs treated with Zaino Z8 spray sealant for extra shine and slickness
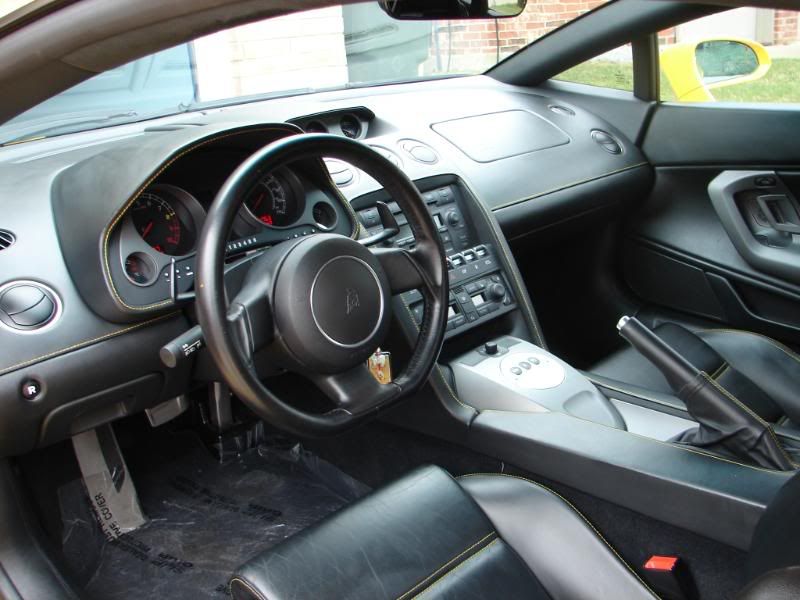
Interior:
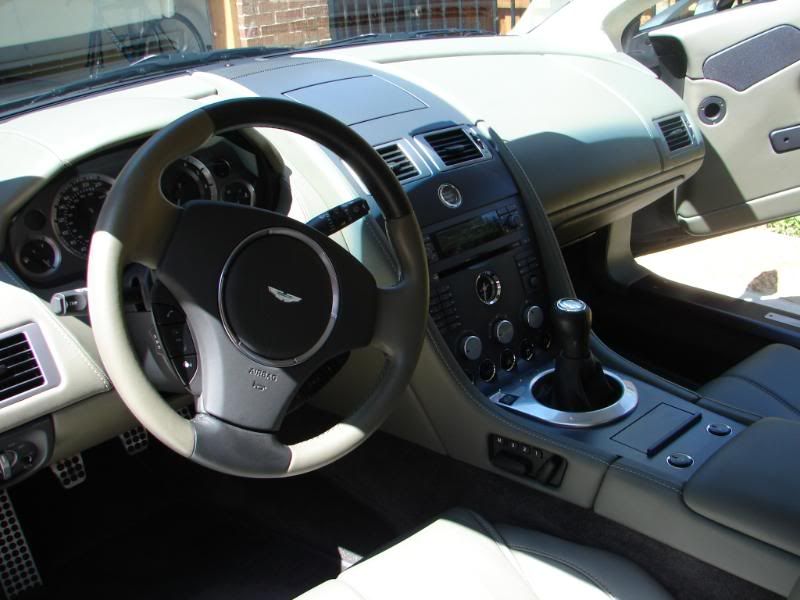
Dusted, Vacuumed, 303 wipe down of panels and leather
Zaino Z10 leather conditioner on all leathers top to bottom.

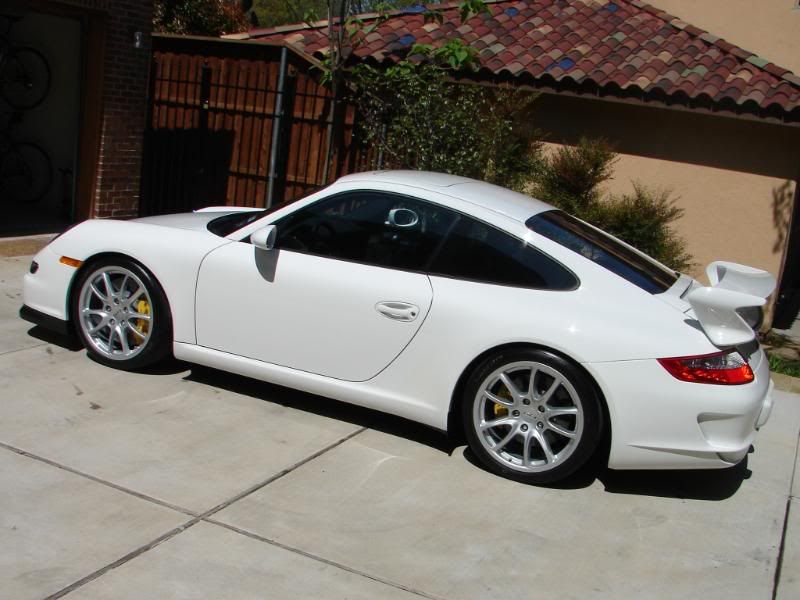
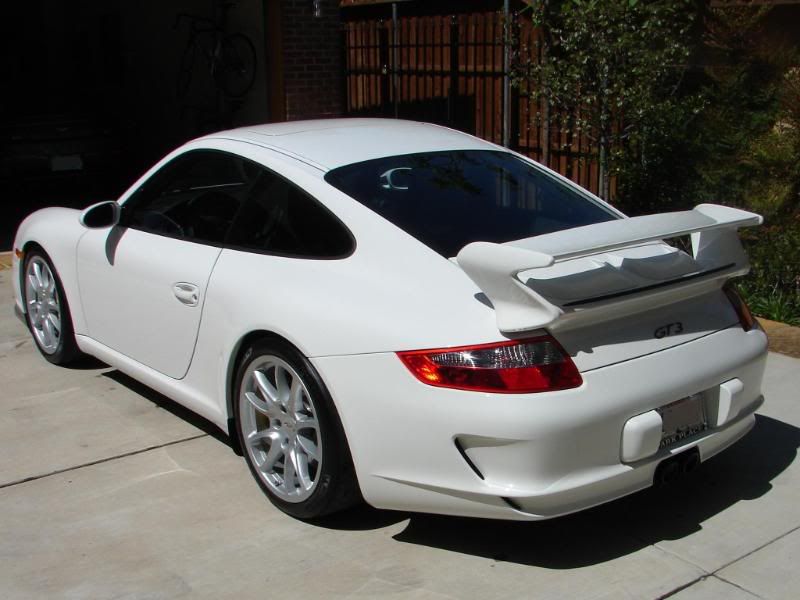
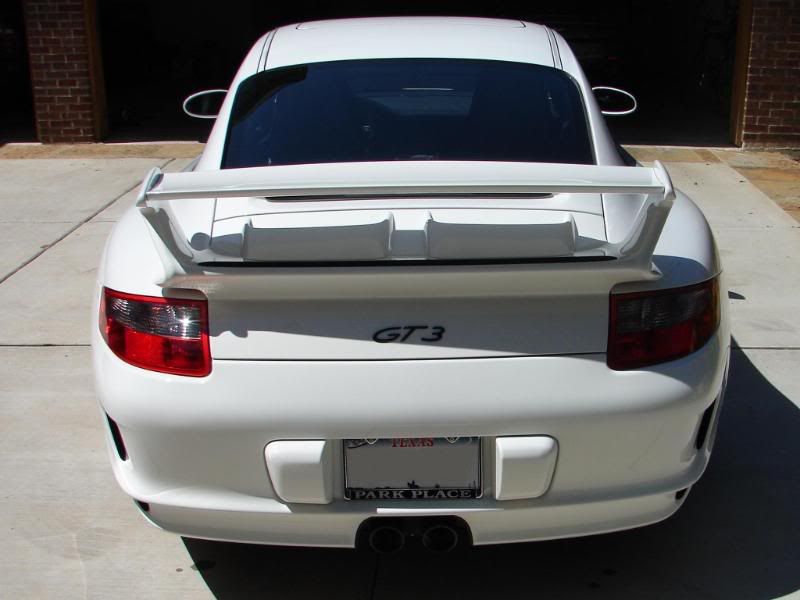
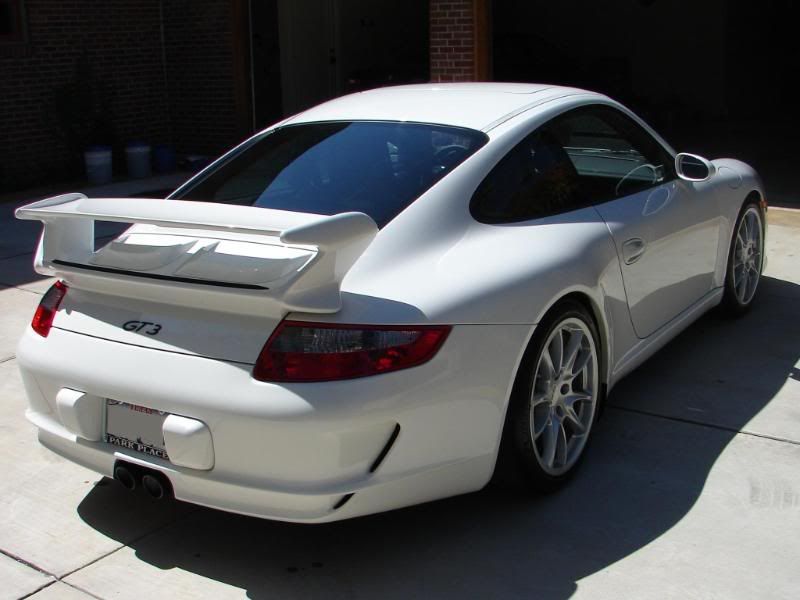
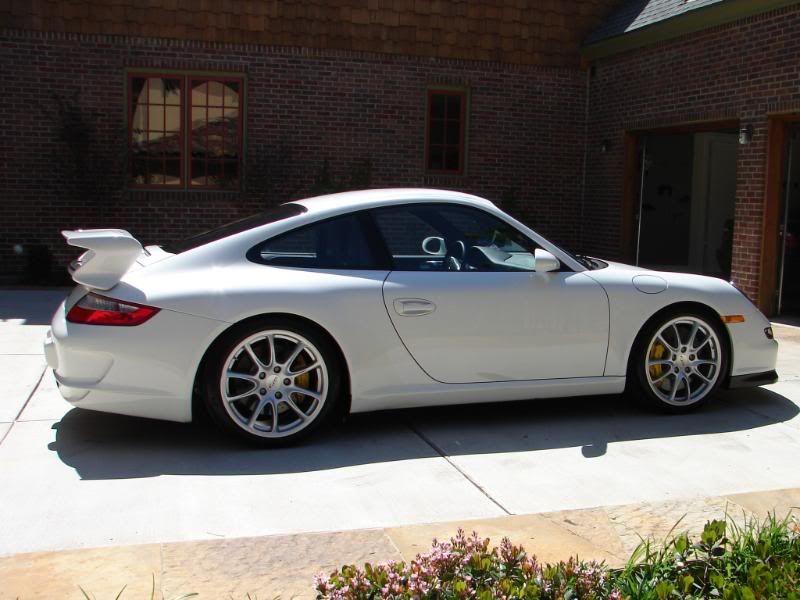
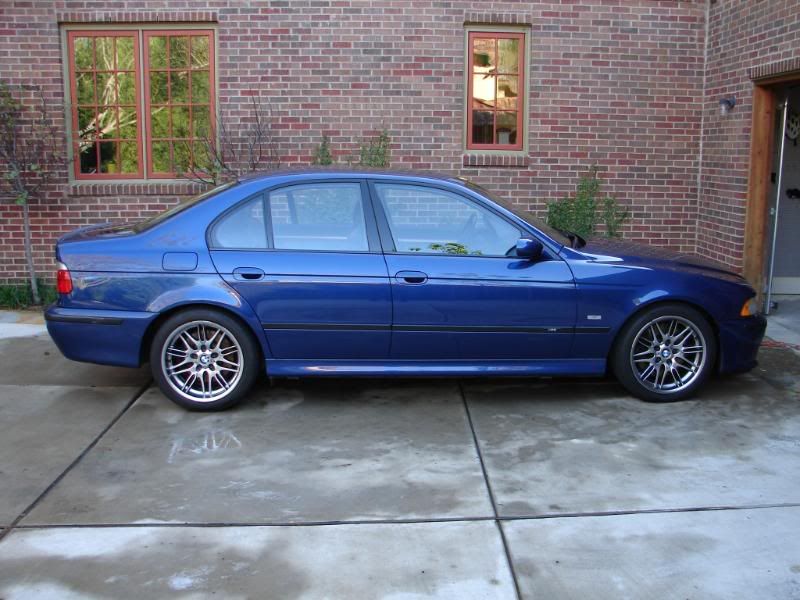
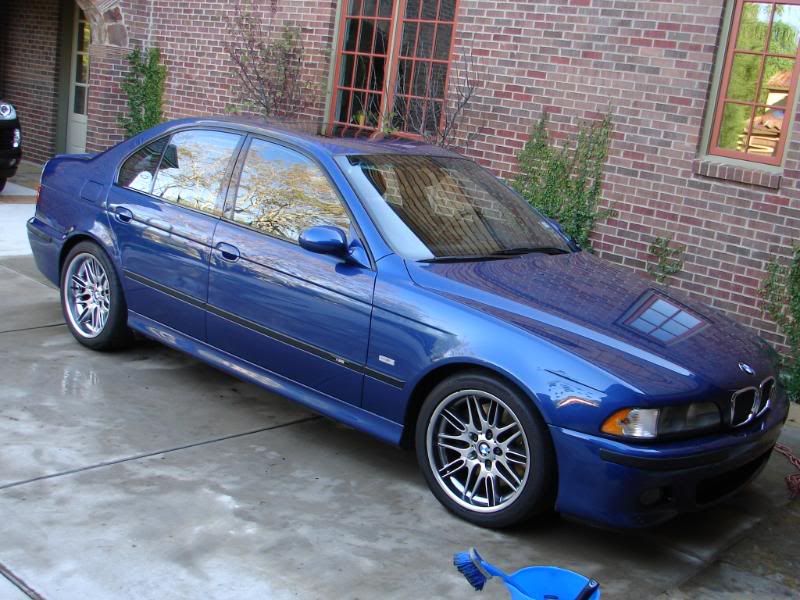
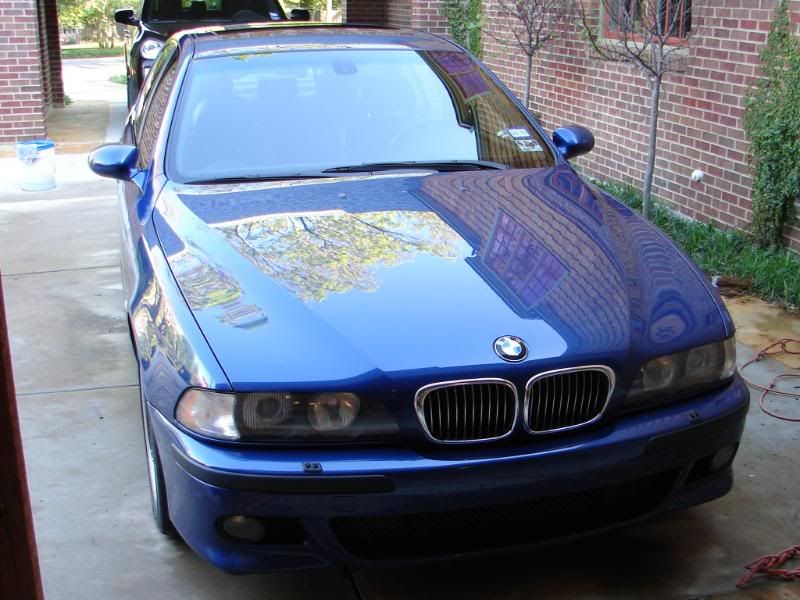
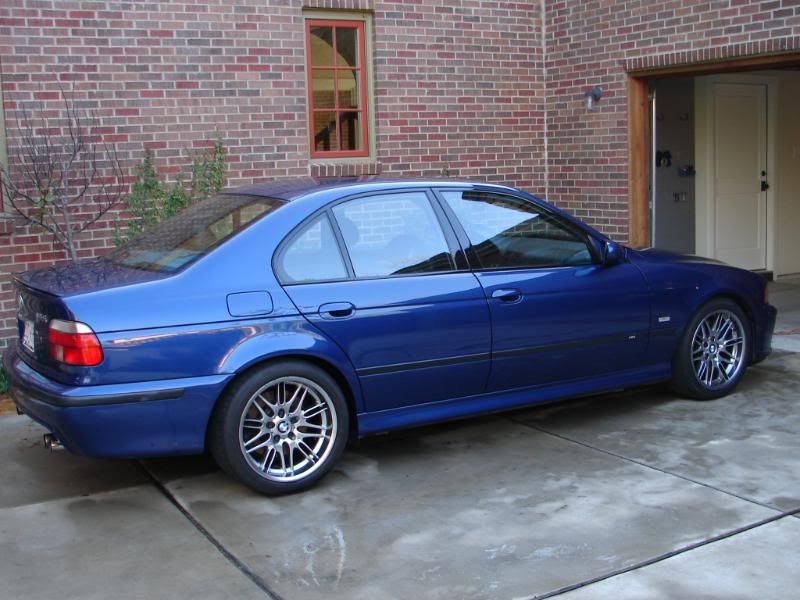
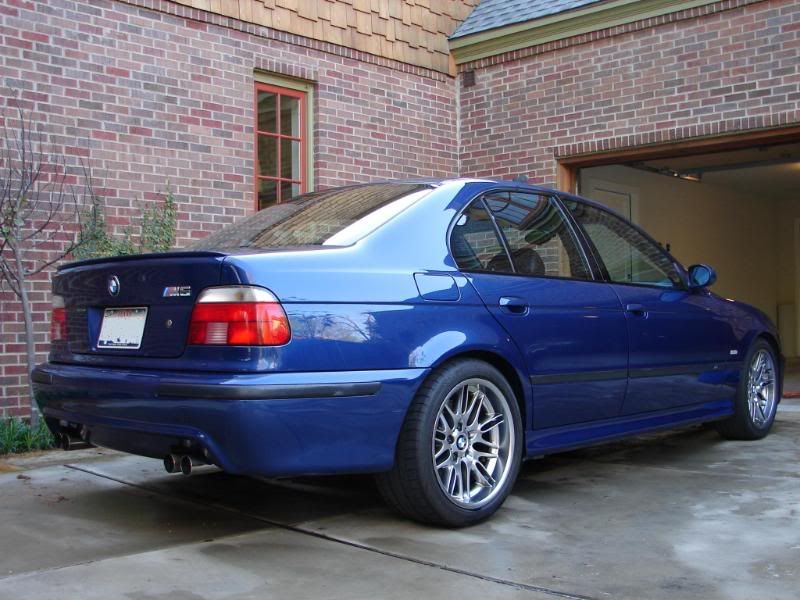
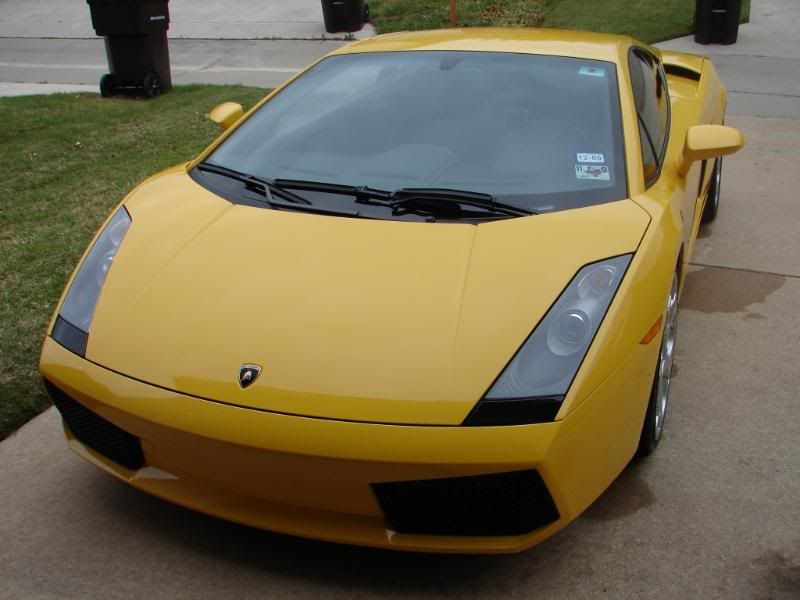
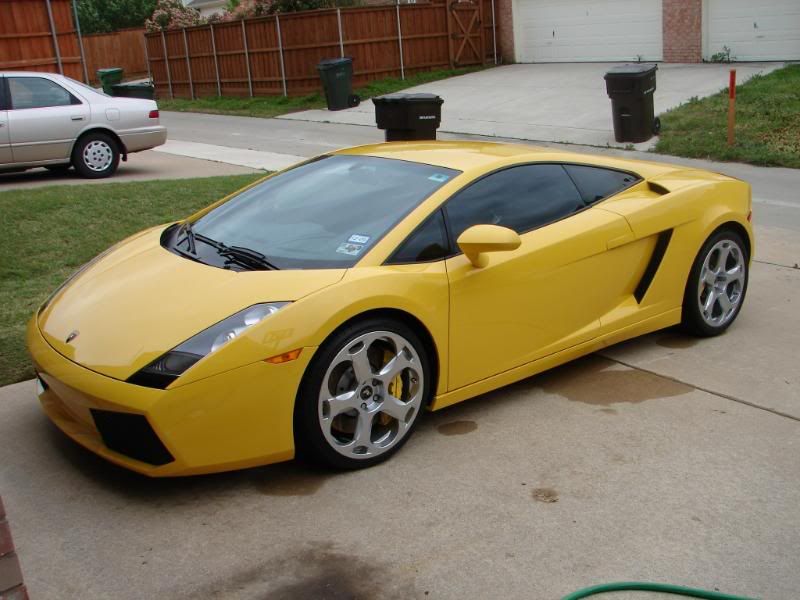
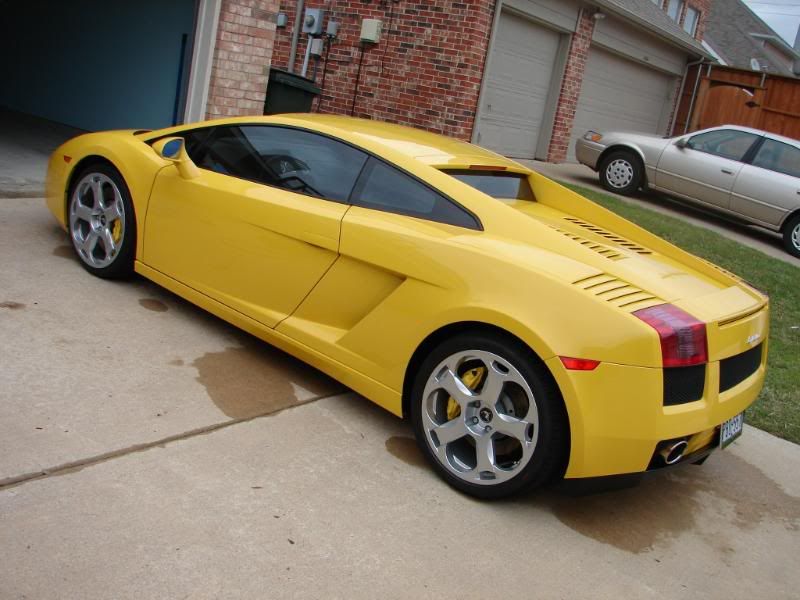
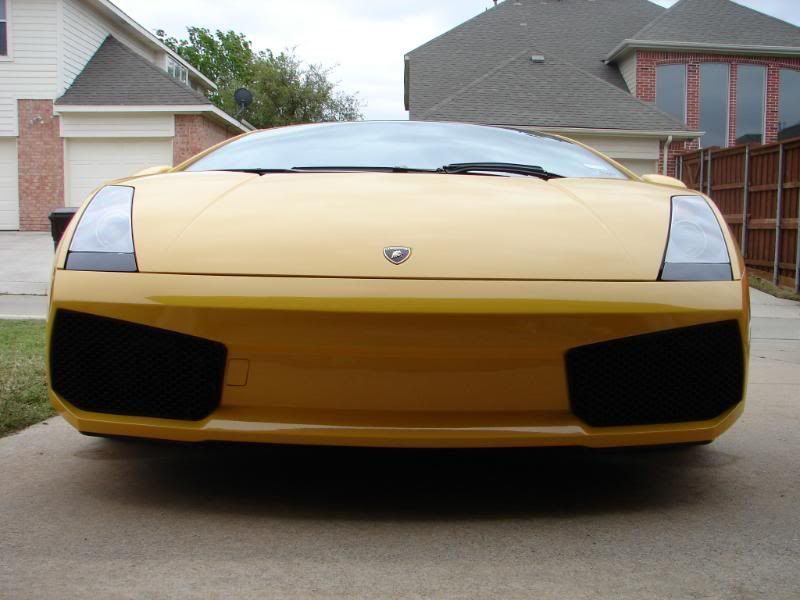
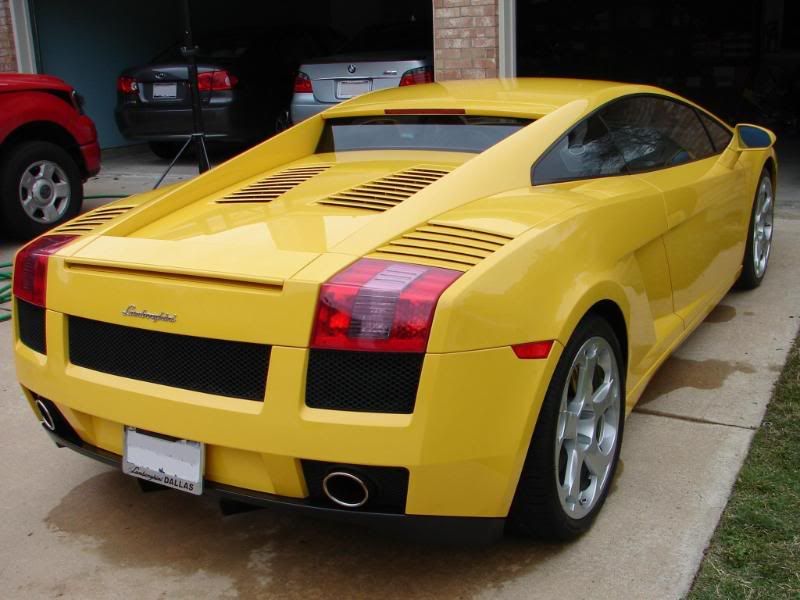
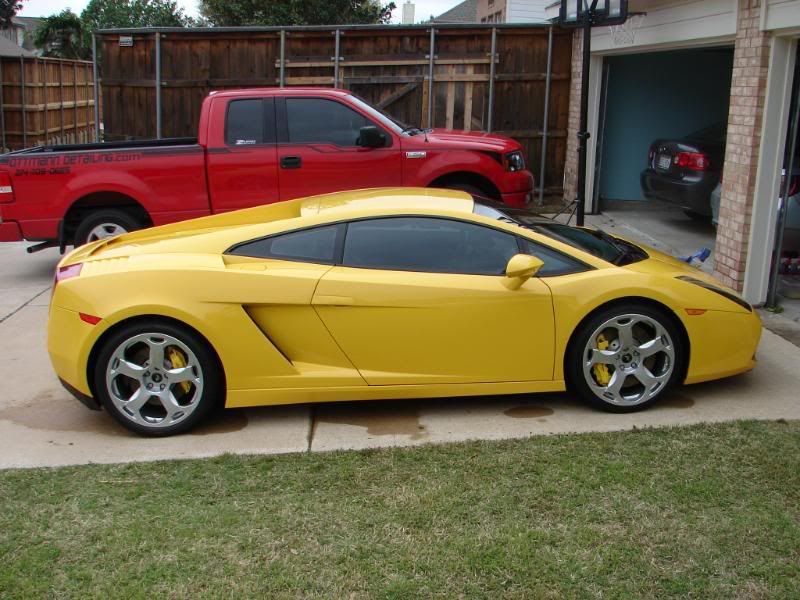
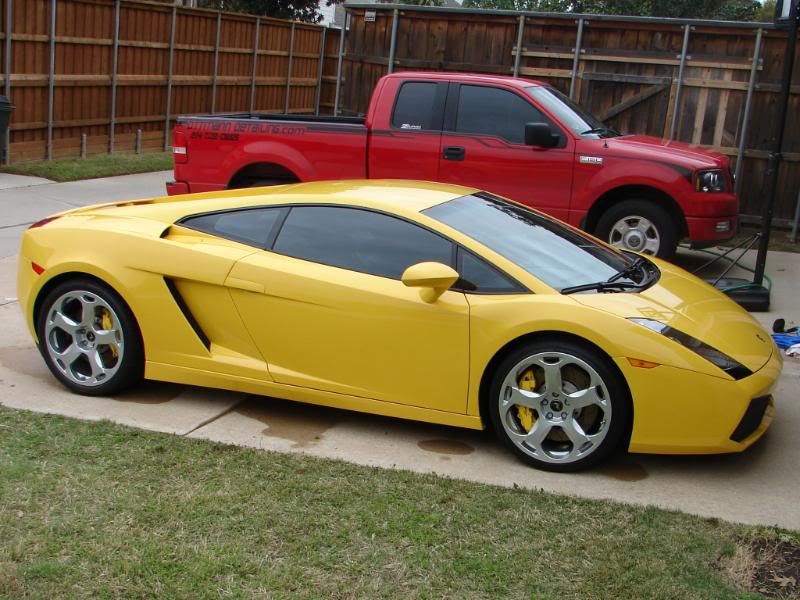
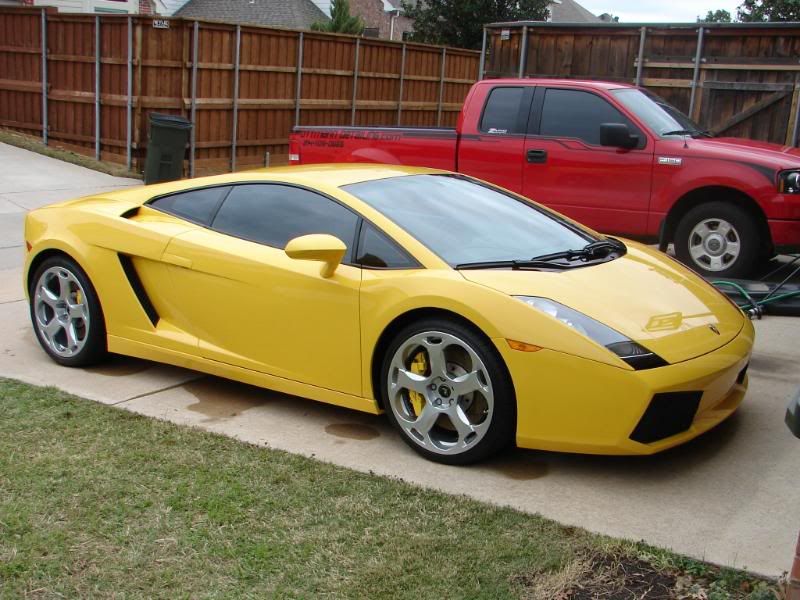
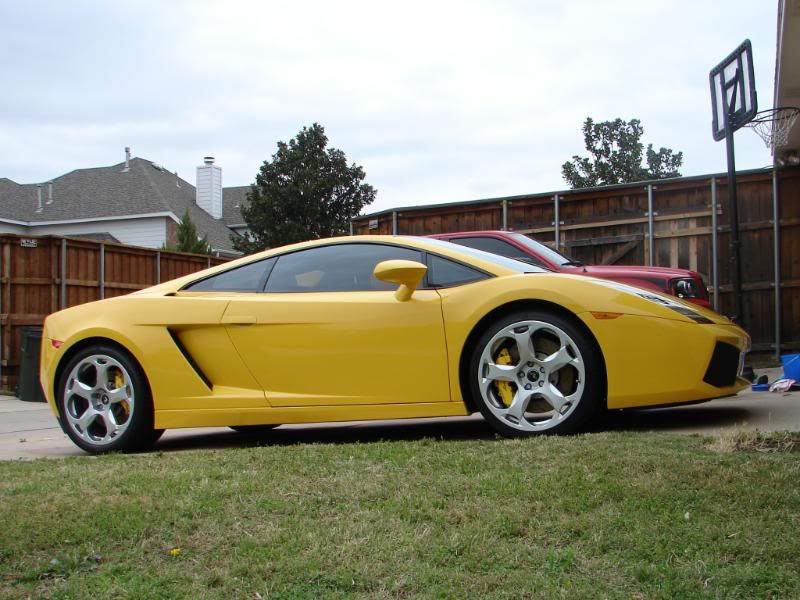
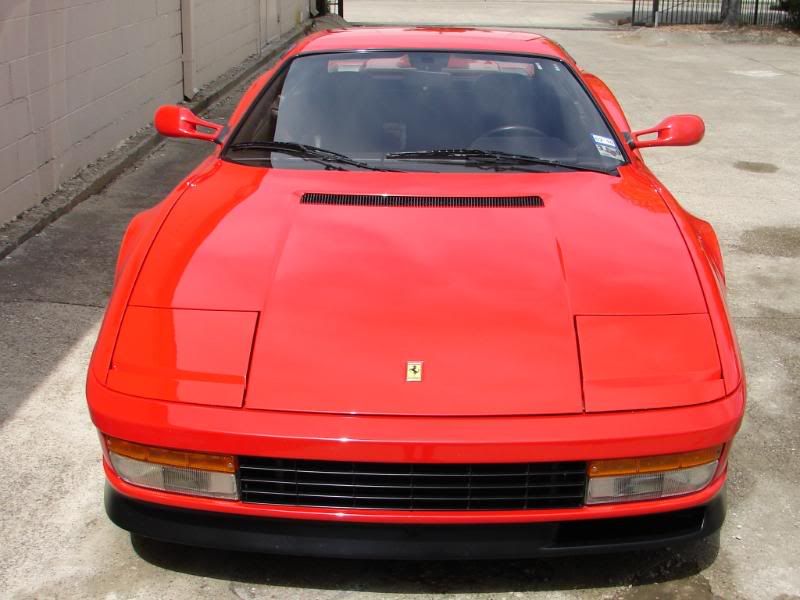
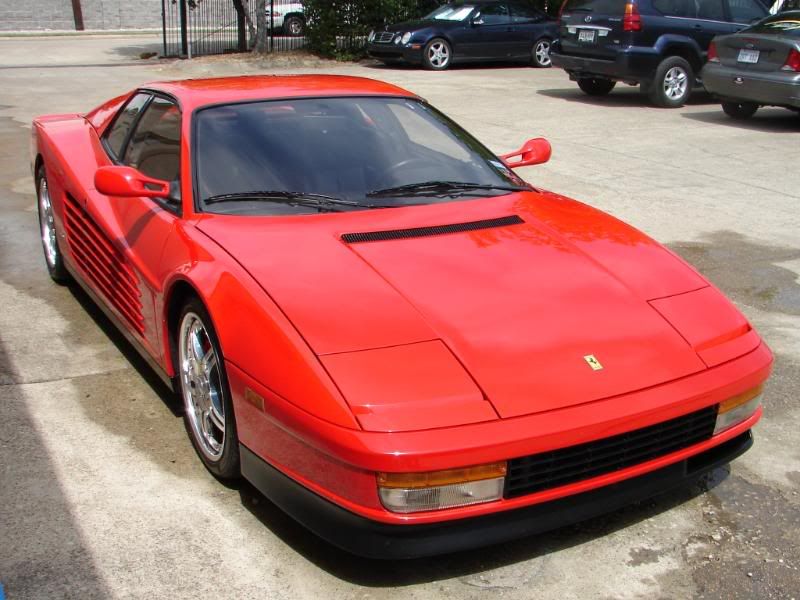
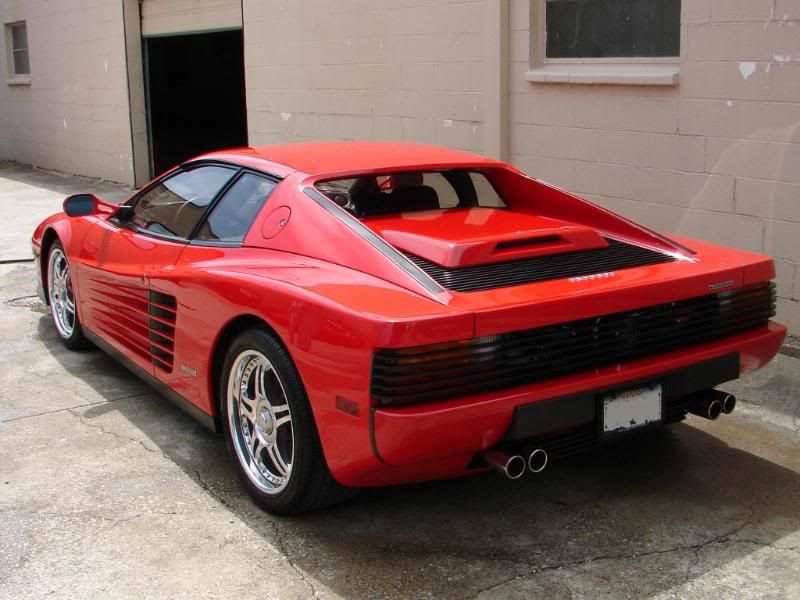
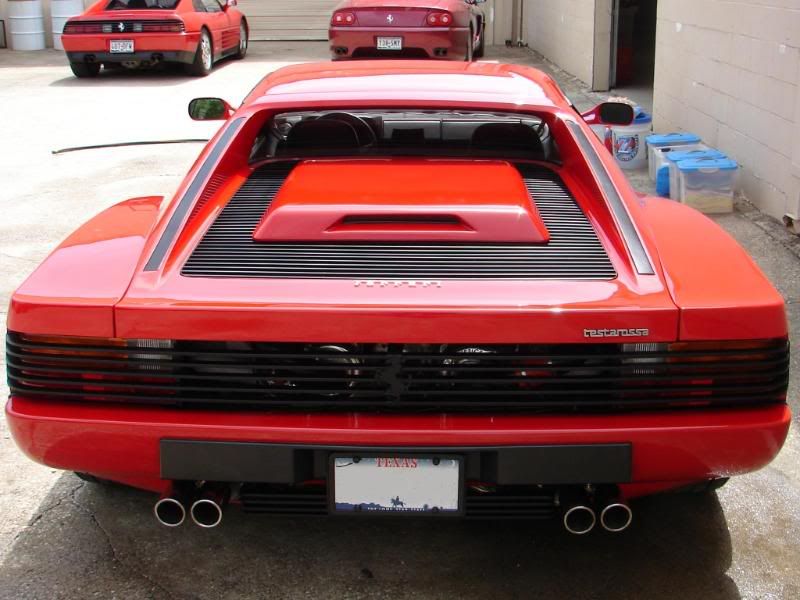
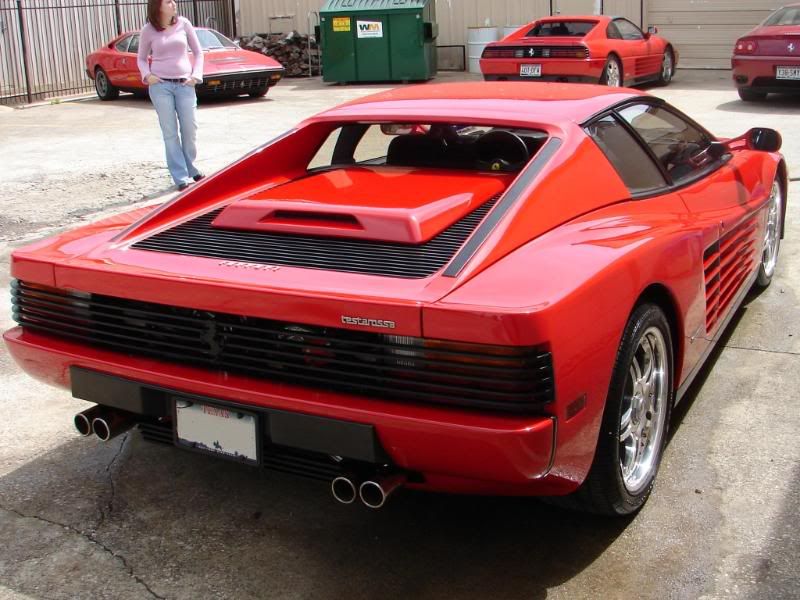
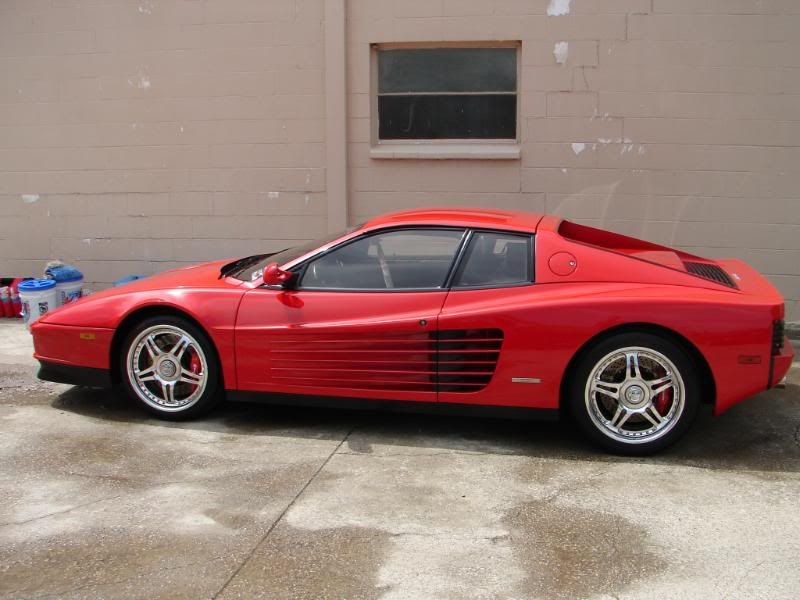
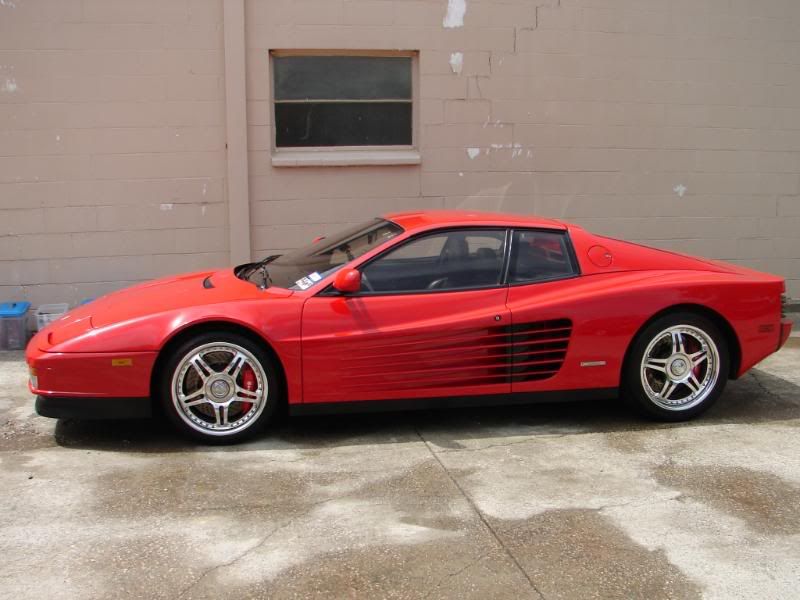
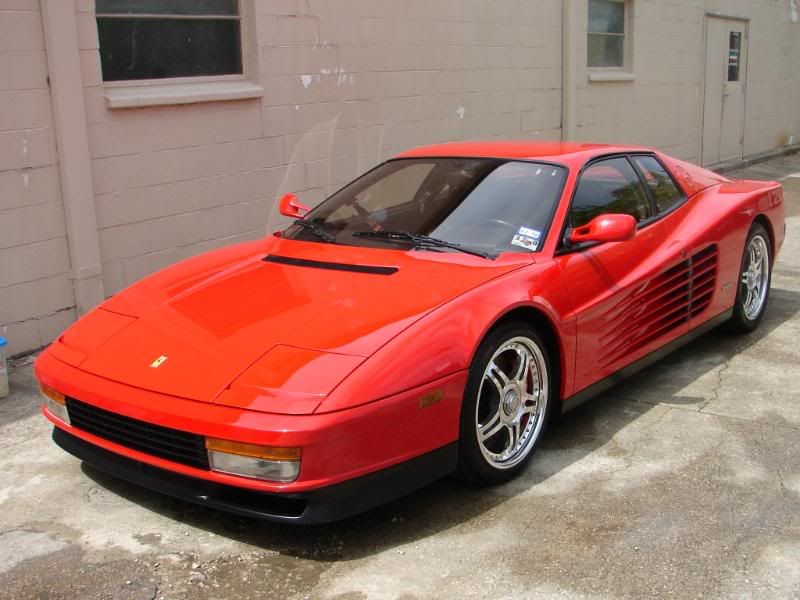
This is the same process on all 3 cars.

I'll start with the AM.

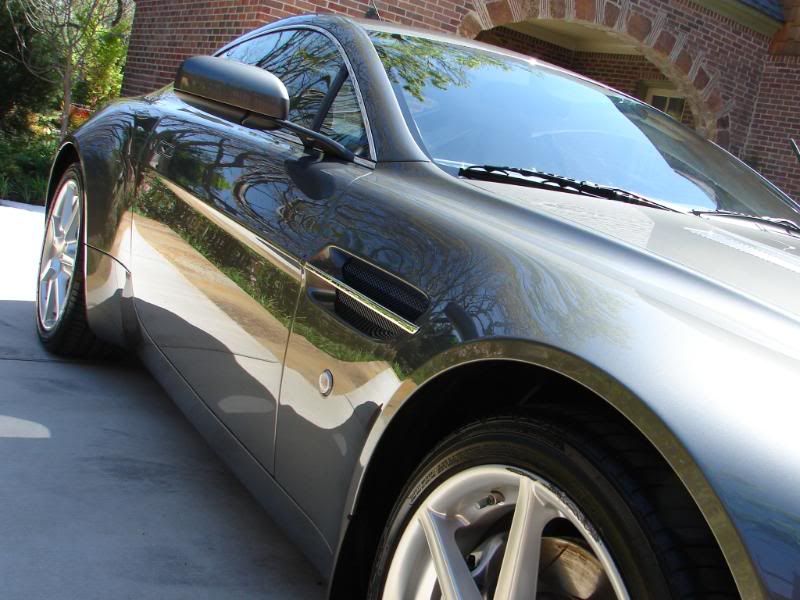
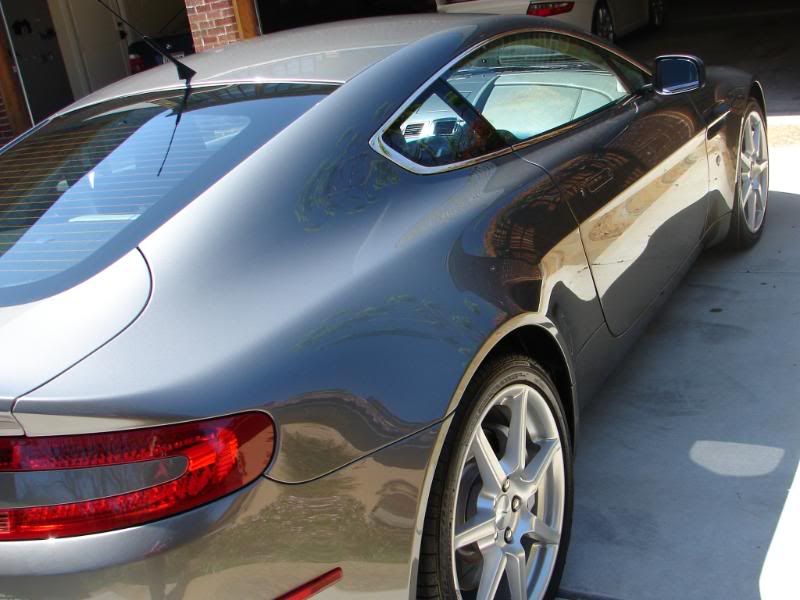
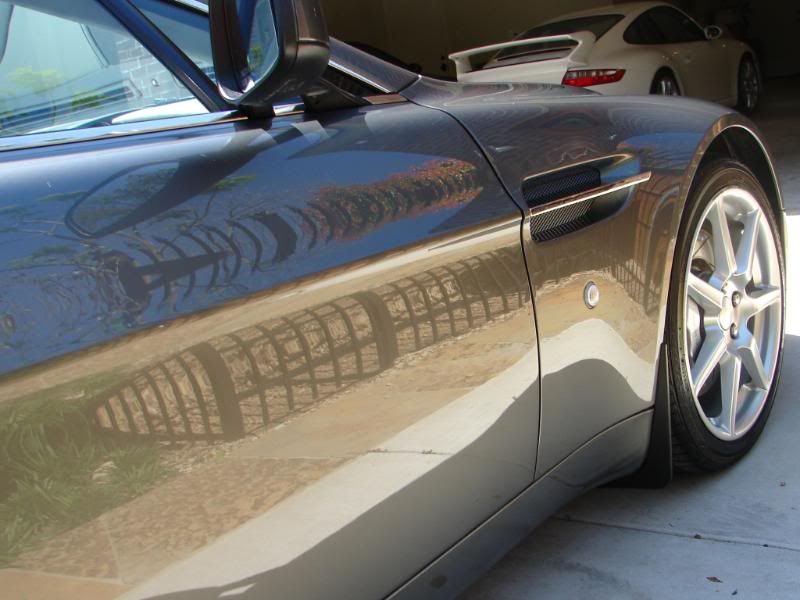
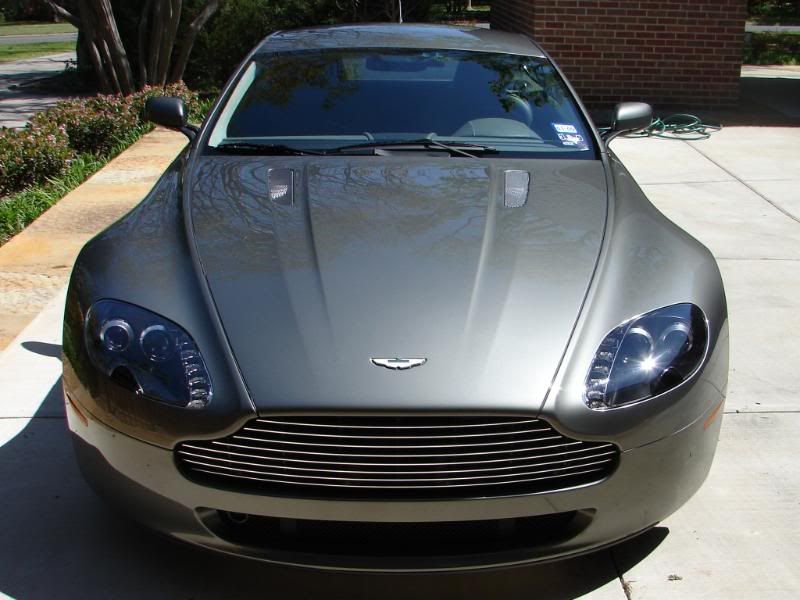
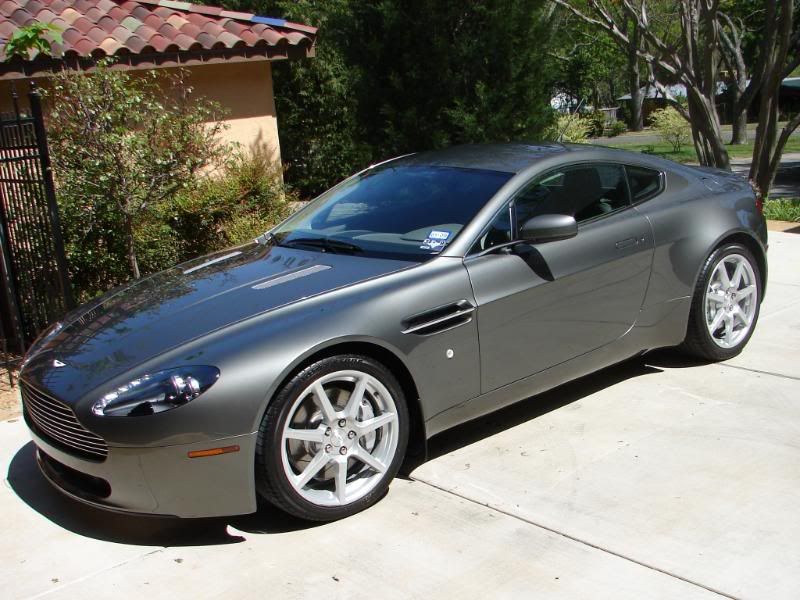
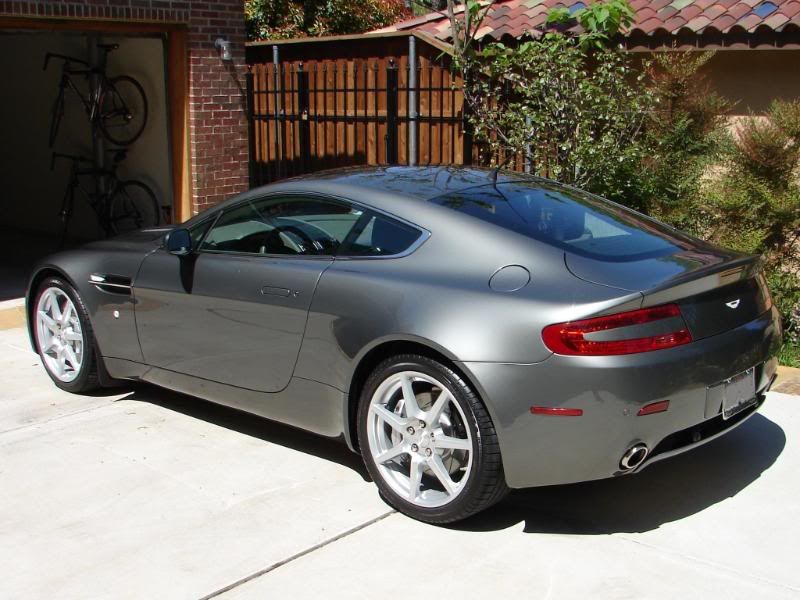
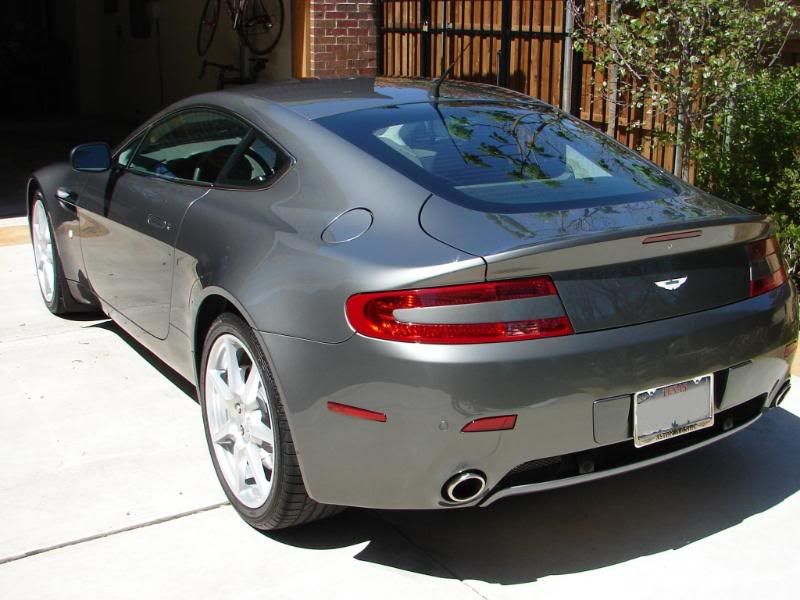
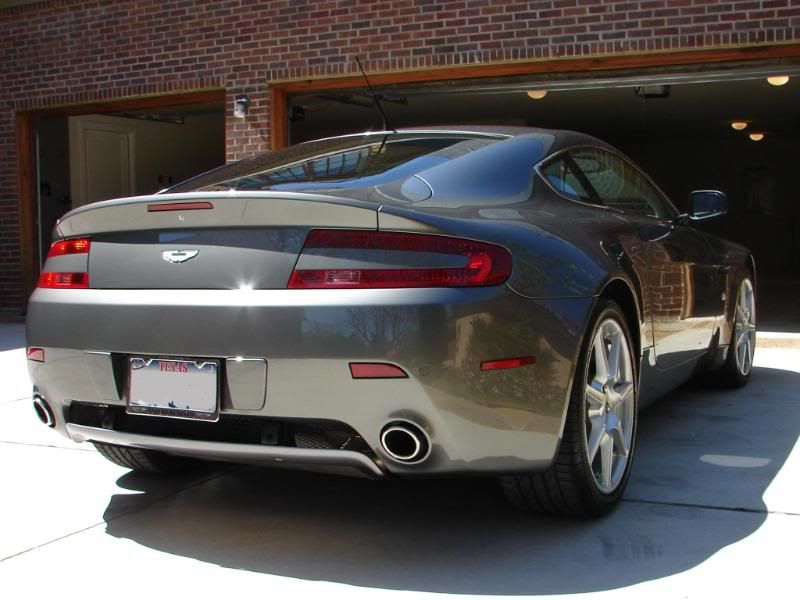
This is an 07 Aston Martin Vantage.
I really like how the doors open with a slight upward angle.
DSC02331.jpg


DSC02332.jpg


DSC02333.jpg


DSC02334.jpg


DSC02335.jpg


Getting a bath, thought I'd take a couple pics while the suds are soaking in.
DSC02385.jpg


DSC02386.jpg


DSC02388.jpg


Now that she's dried, sealed and the final touches have been done I will show the after shots, sorry but I don't have any in-step process pics as this was a basic detail and I still had 2 more cars to do this day.
 
That's some introduction Joshvette

Great attention to detail, as always
 
Next up is an 07 Porsche Carrera GT3.

Same process as before.

I did not take pics of the interior cause I already have tons of Porsche interior pics so I felt no need to take more.

To note the owner of these cars mentioned to me that he's used a few other detailers and just has not been happy with them so we talked about his expectations and the other detailers quality of work and after that discussion I felt confident I could get the job done to his standards. I think he was just using "car washers" and expecting serious attention to detail and never got what he was looking for.

This is what happens when you let the dealership prep the car.
Even Porsche dealerships do not do the quality work that most of us pro detailers do. It's really quite a shame.

If you look closer in these next few pics you'll see the adhesive lines from when they took the plastics off the panels but failed to remove the adhesive. The owner just figured he was stuck with them and let them be so he was very excited when I showed him the final results.

A little 3M adhesive remover or even Goo Gone will easily take care of this.
DSC02300.jpg


Keep in mind this is after washing and claying.
DSC02301.jpg


DSC02302.jpg


DSC02303.jpg


DSC02304.jpg


DSC02305.jpg


DSC02306.jpg


DSC02307.jpg


These were all over the car and I forgot to take after pics but I hope you all will take my word for it that I got them removed with no issues.

Now for the glamor shots after all's said and done.
And yes this car is tracked regularly.
DSC02421.jpg


DSC02422.jpg


DSC02424.jpg


DSC02426.jpg


Gotta love those huge Carbon Ceramic Brakes huh
DSC02429.jpg


DSC02431.jpg


DSC02433.jpg


DSC02434.jpg


DSC02436.jpg


DSC02438.jpg


DSC02441.jpg


DSC02443.jpg


Needless to say before I even finished he was extremely happy with the overall condition of his cars and his expectations were definitely exceeded I'm happy to say.

Next up is an M5, then onto the Gallardo and F cars.....
 
Next up is a 2000 model M5, one of my personal favorites.

It was getting late so the pics are even more limited on this one, but I think I got a few afters to show you before I even sealed the paint.

The paint was in bad condition and required double claying to remove all the contamination but just after claying it looked like a different car and the gloss factor was already being restored.

Not quite finished with the car, still have to touch up the rims, door jams, tires and such, but the big parts are done and ready to be sealed. Sorry for the incomplete documentation but the sun was going down and I had to get pics of something.....

DSC02377.jpg


DSC02446.jpg


DSC02447.jpg


DSC02448.jpg


DSC02452.jpg


DSC02453.jpg


DSC02454.jpg


Next up a Lambo and Ferrari
 
Now up an 04 Lambo Gallardo, this is a different client fyi.

Again, this was not a correction process, the owner just wanted the paint to "feel smooth again".

I did the usual on the interior and then got to the paint.

I washed the car and the paint felt rough even with the mitt on my hand washing I could feel the roughness.

When I clayed the hood all this black stuff was coming off it and I was really surprised cause how clean the car was before I started.

Just cause it's an exotic and looks clean doesn't mean it's properly cared for.

Here's presoaking just before I wash and clay it.
DSC02232.jpg


I had to clay each panel 2 times to get it to feel smooth again and this is what the clay looked like after the second time, the first time over was even worse.
DSC02233.jpg


Some interior shots
DSC02261.jpg


DSC02260.jpg


DSC02259.jpg


DSC02257.jpg


DSC02258.jpg


Now for some full body shots.
Unfortunately it was a very overcast day out so no real sun shots and these pics really do not do the car justice.
DSC02236.jpg


DSC02237.jpg


DSC02238.jpg


DSC02239.jpg


DSC02254.jpg


DSC02255.jpg
 
Next up is a Testerossa I did for a Ferrari shop. For this shop I only do very basic detailing, mainly a thorough washing, interior cleaning and a wipe down with a gloss enhancer. (actually a little more then that but you get the idea.) Just enough to make it look presentable for when the owner picks it up.

This is a Twin Turbo Testerossa putting out a ton of power, but the turbo's are pretty well tucked under so you don't see them if looking in the engine bay.

All these are after pics.

Final wipe down with Gloss It QD.

I've always liked the TR design, it's just unique.
DSC02481.jpg


DSC02480.jpg


DSC02476.jpg


DSC02477.jpg


Here you can just make out the turbo set up behind the vents.
DSC02478.jpg


DSC02479.jpg


DSC02475.jpg


DSC02474.jpg


DSC02472.jpg


Next up is a black 993 I did a one step correction on, I was absolutely blown away by how much this one step corrected.
 
I have more but this will be the last I post up about for today.

This is a 96 993 C4S.

The owner is having the hood repainted so I did everything but the hood.

Basic process:
3 bucket wash,
clay while wet
blow dry
polish with PC LC white pad and M105 (I used considerable down pressure and went liberal with M105 as I always have)
sealed with Zaino Z5 and Gloss It QD wipe down. All and All I would say the paint was corrected a good 75%.

Rims were cleaned then #0000 steel wool and in some area a steel wool tooth brush to carefully get up the grim.

Rims alone took me over 1 1/2 hours as they were in real bad shape. I did not have time to take them the distance but maybe in future jobs for this client I'll get the rims to a higher level.

Interior took me over 1 1/2 hours as well as it was pretty old and dusty.
Dusted
Vacuumed
Serious wipe down with 303 1:1 ratio
Leather cleaned and conditioned with Zaino Z9 Z10.

Total time spent on this car was close to 8 hours.

Well I just looked at the pics and was surprised to notice I didn't take any before pics, I've very disappointed as I was intending on bringing some real meat to the table. sorry, you get busy and you don't think of the before/after pics, you just think about getting the job done and this one was a big exhausting job.

Well here are the afters for what it's worth.

These pics are all after the second rewashing to remove dust and polishing lubes so that the sealant will better bond to the raw paint. I think you can tell by the pics that the paint has been polished.

DSC02509.jpg


DSC02520.jpg


DSC02525.jpg


DSC02526.jpg


Can you tell the difference in the clarity between the unpolished hood and the rest of the car?? The hood is being repainted next week so we only washed, clayed and QD'd it.
DSC02527.jpg


DSC02528.jpg


DSC02529.jpg


DSC02530.jpg


DSC02535.jpg


DSC02536.jpg


DSC02537.jpg


DSC02533.jpg


DSC02531.jpg


DSC02532.jpg


All and all I would say the paint corrected a good 75% with a simple one step polishing.


Thanks,
Josh
 
Josh,
Great job on all the car's, but please tell me the 96' 993 you only did M105 on the finish and didn't even have to go to the M205 step and got that wonderful finish????
 
That's some introduction Joshvette

Great attention to detail, as always

Thanks, there's always soooo much more that goes into these details I wish I could document it all and post it all up, each of those first 3 cars took me about 4 hours just for a basic detailing and they were very clean to begin with as well.:cool:

Ouch! He did a number on that wheel.

I LOVE AMs! Gorgeous cars.

Nice job and great line up of cars Josh.

Yea, almost all 4 rims on the AM had rash..... I think he's going to have them refinished.

Josh,
Great job on all the car's, but please tell me the 96' 993 you only did M105 on the finish and didn't even have to go to the M205 step and got that wonderful finish????

I will say this, not all cars will turn out like that every time. The 993's paint was pretty hammered to begin with so I only used M105 with white pad to test to see how much would come out and I was really surprised with the results so I stuck with it.

White pad doesn't do much cutting at all with a PC so it really lets the polish do most of the work I did not find any micro marring when I inspected it with my 500W. But that's not to say a different car with different paint won't mare or with a real cutting pad won't mare.

With the PC and that combo on that particular paint, it cleaned up the swirls about 70% but if I was using a rotary with this soft Porsche paint I would have to use a white pad with a less aggressive polish like Menz IP or SIP not M105 and finish it down with an additional final polish step with a black pad to ensure no holograms left behind....... but it would be 100% and look a lot better too.:smile:

You really just have to understand abilities of the polishes and pads with certain amounts of down force with each particular types of paints to get the best results, it takes aloooooot of practice. No two car paints are alike either, as soon as you think you've got it down you come across a car you think will be easy and turns out to be difficult.:out:

Josh
 
Back
Top