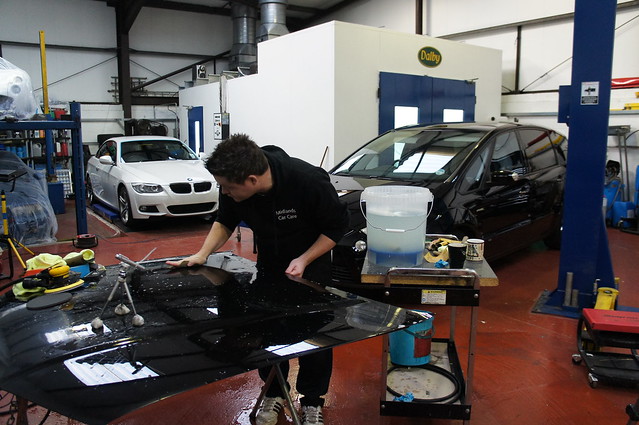
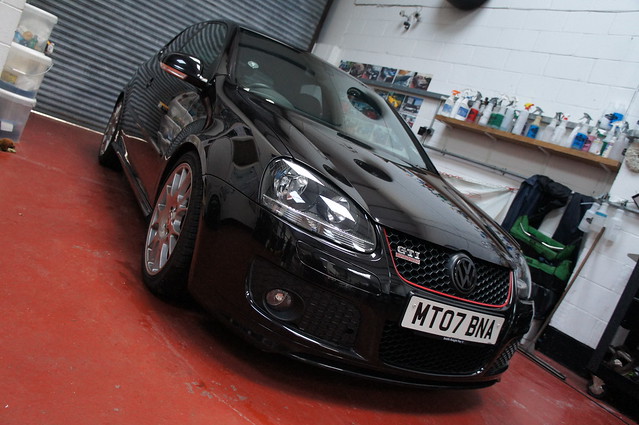
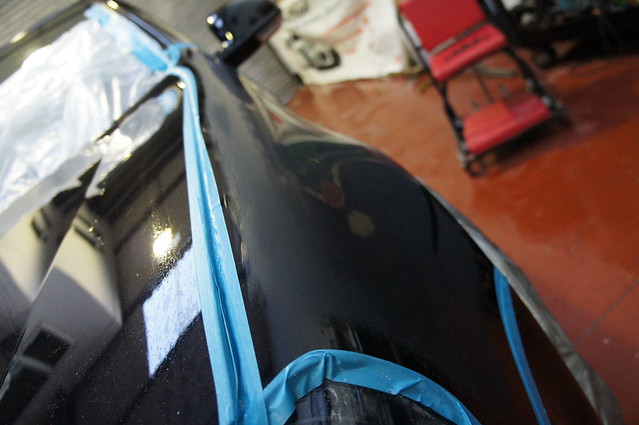
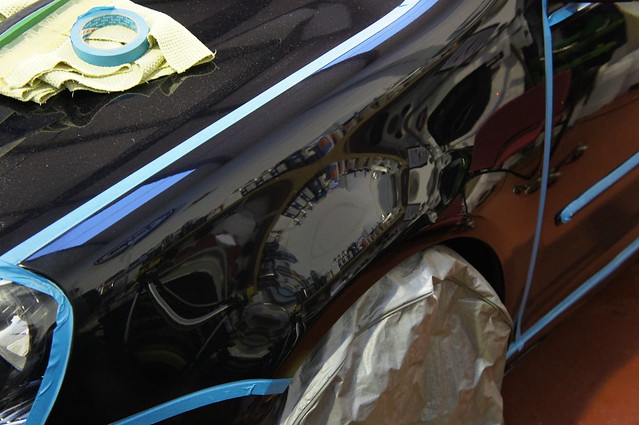
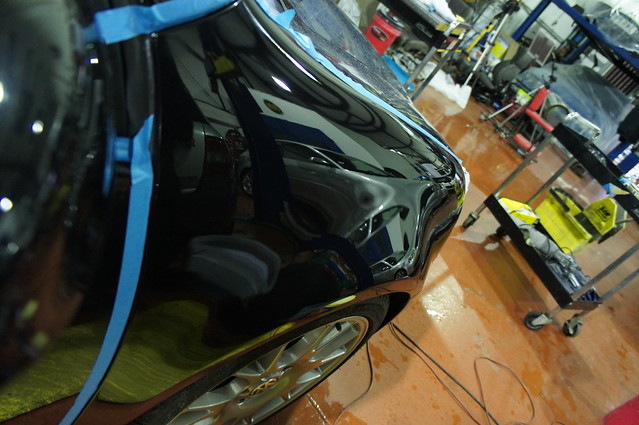
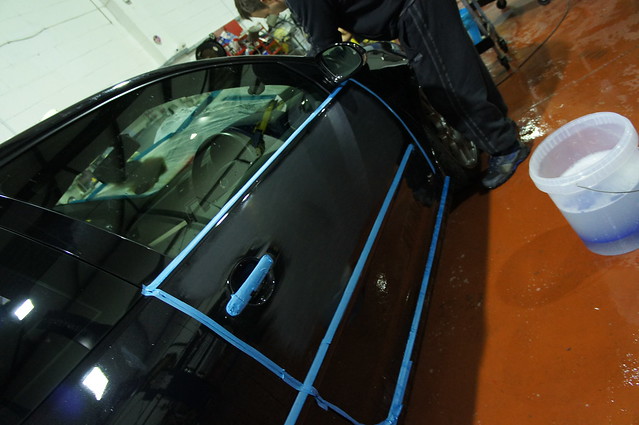
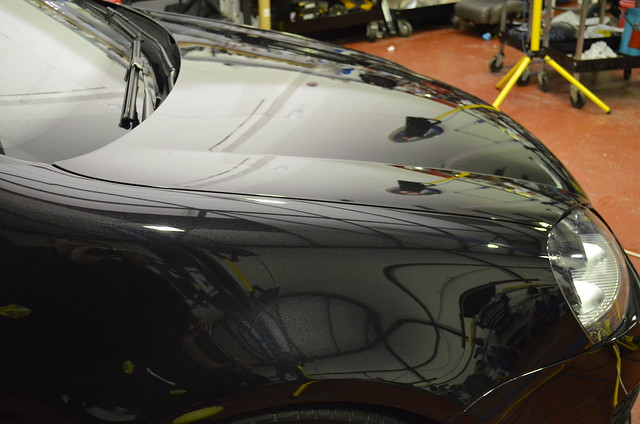
I’ve just been lucky enough to spend three days down at KDS Keltec with Kelly and his team, learning how to wet sand with the main aim of removing orange peel. Uniquely, this training was concluded on my very own car – a Golf GTI Edition 30 – with the aim of removing as much of the orange peel in my clearcoat as possible.
This thread shares my thoughts and experiences on the time spent with Kelly, and gives an overview from the perspective of a trainee on KDS’s course.
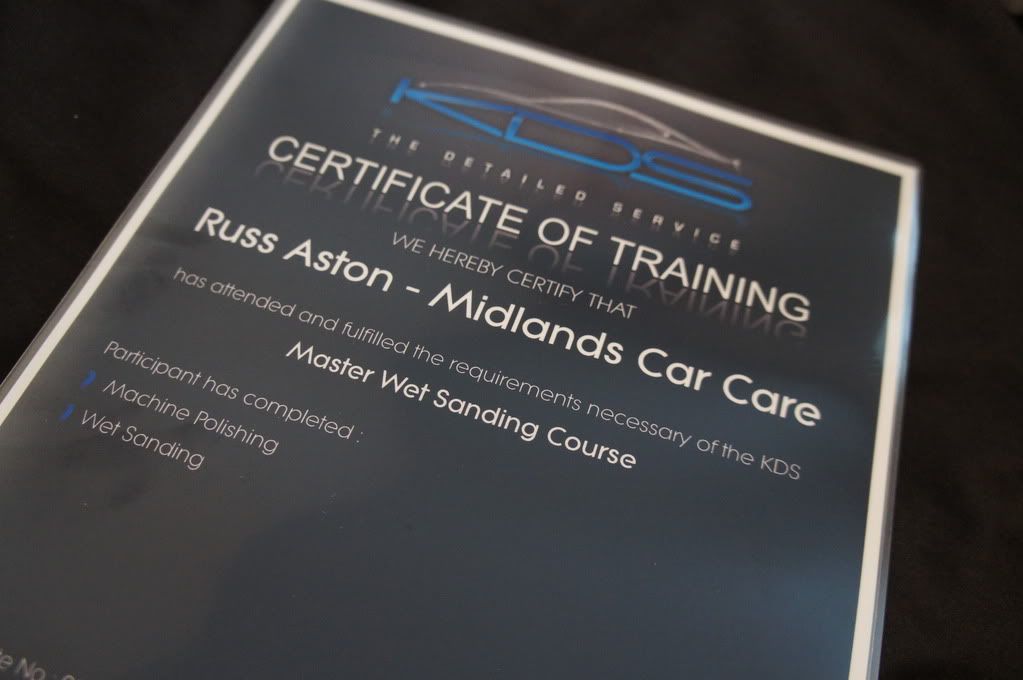
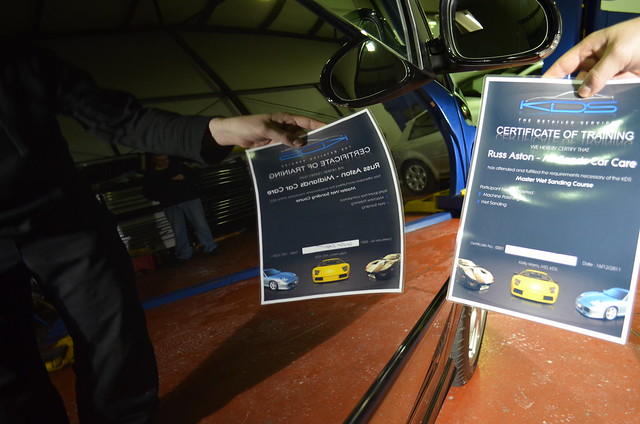
I am also very fortunate to be the first - I have Certificate 0001!!
Day One :
It’s not very often I get out of bed at 5am, but I needed to be at KDS for 9am for my wet sanding training, so like an excited child on Christmas morning, I was up bright and early and set on my way. I’d forgotten just how bad the M1 and M25 were and unfortunately arrived 15 minutes late!
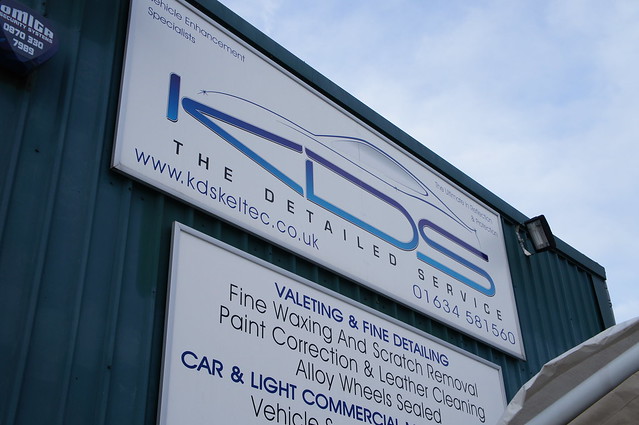
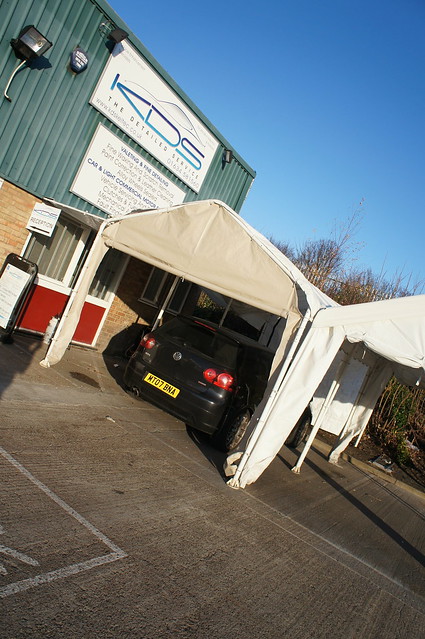
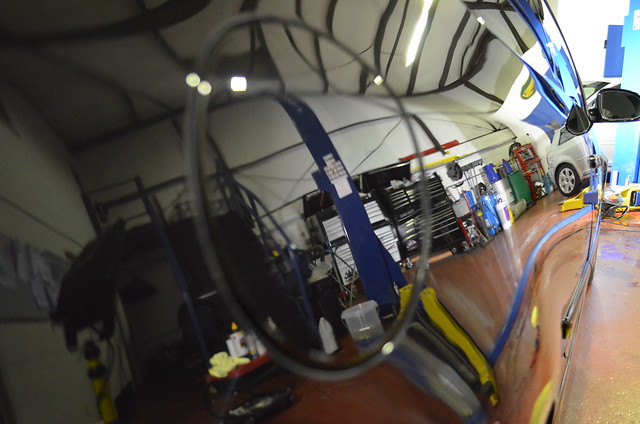
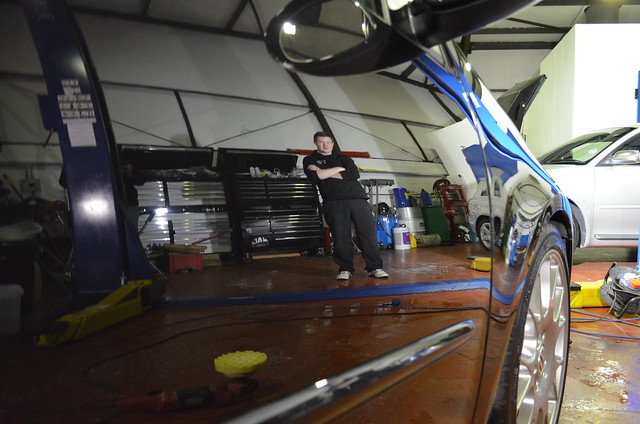
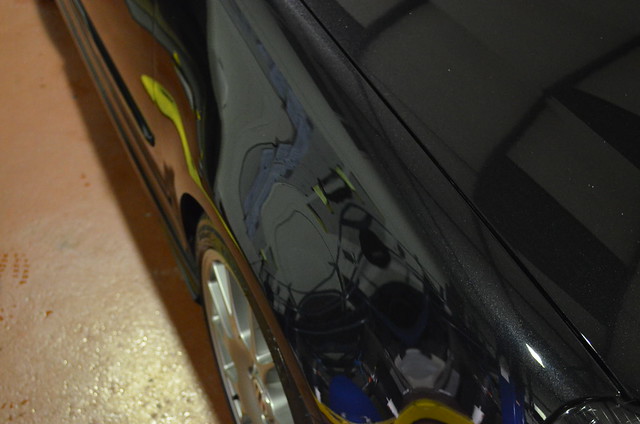
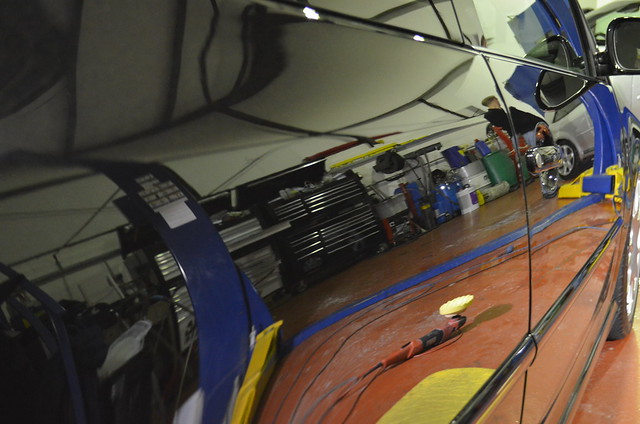
Upon arrival at KDS’s unit in Gillingham, Kent:

DSC01420 by RussZS, on Flickr
DSC01421 by RussZS, on Flickr
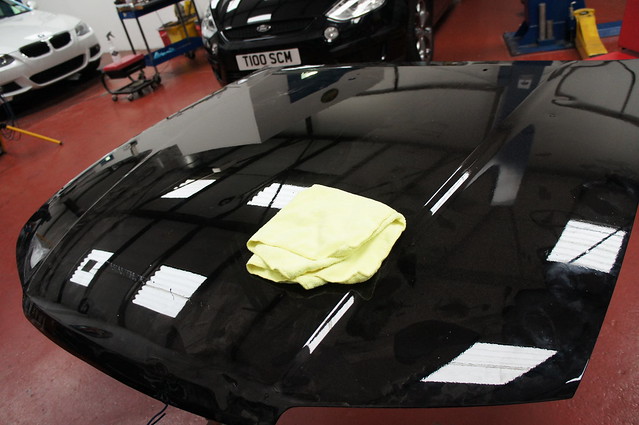
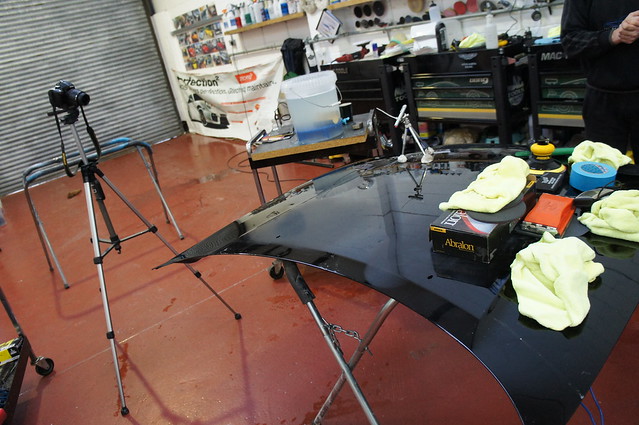
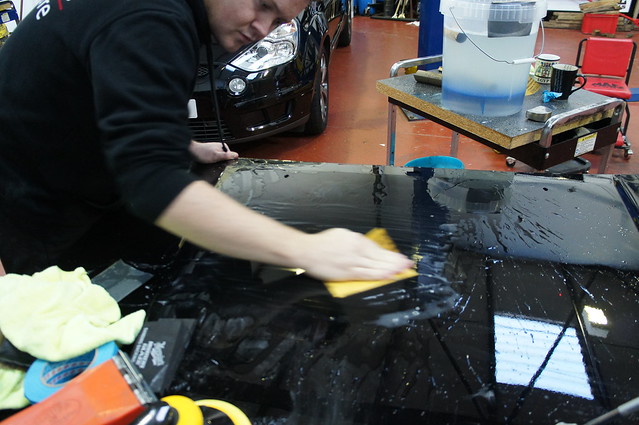
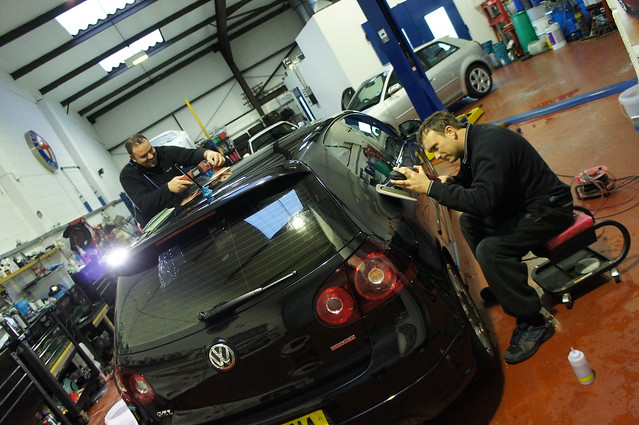
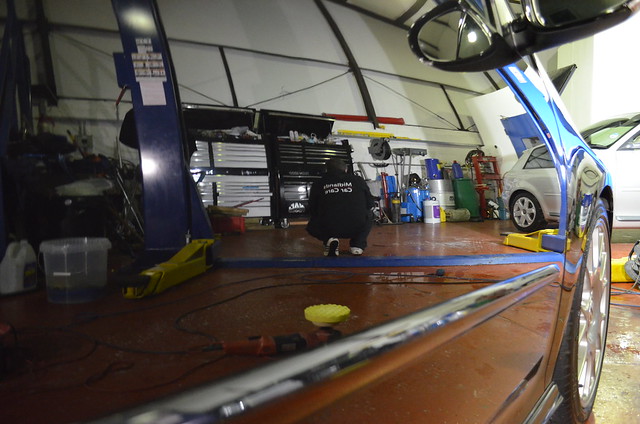
With introductions out of the way (Kelly has a team of 4 including himself), Kelly began to prepare a bonnet which would be the test panel for the first days worth of tuition:
DSC01422 by RussZS, on Flickr
The aim of the first day was to cover the following areas:
- Use of a Laser Pointer to create a fixed point to assess clearcoat removal rates
- How to use a PDG effectively, including how to calibrate one correctly
- The differences between using a DA Sander, working by bare hand and using a block
- Risks around scorelines, pigtailing and dirt/grit
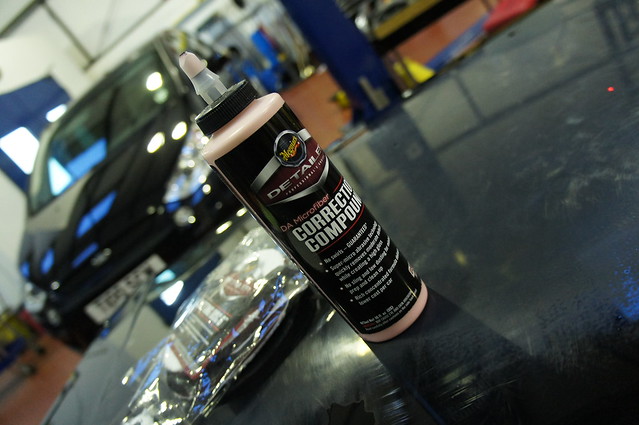
- Using compounds and polishes to remove sanding marks and restoring the gloss to the paint
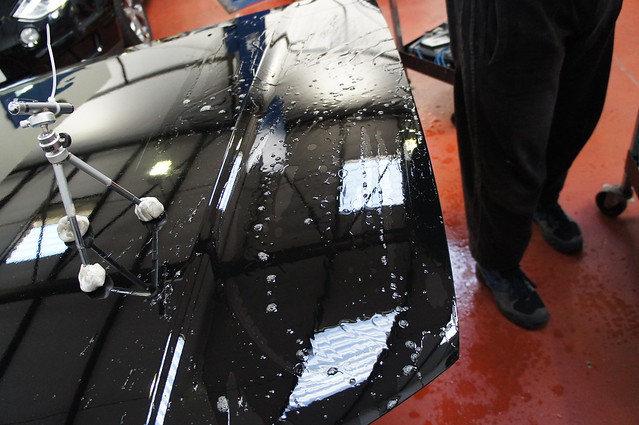
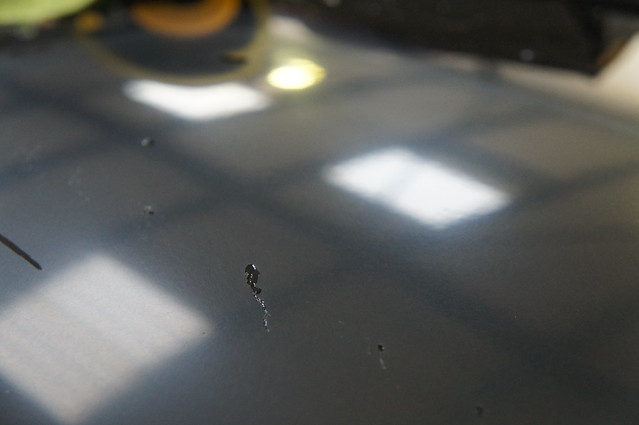
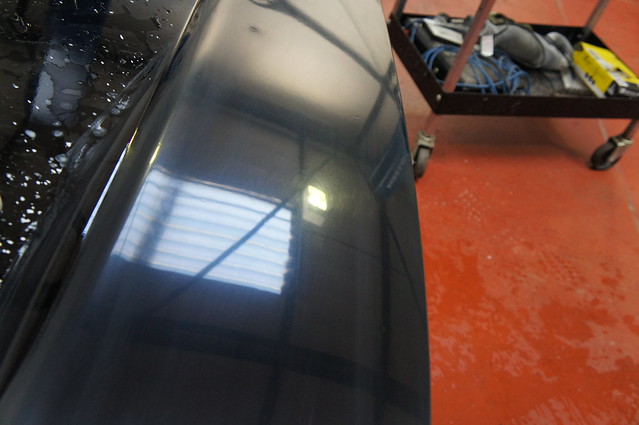
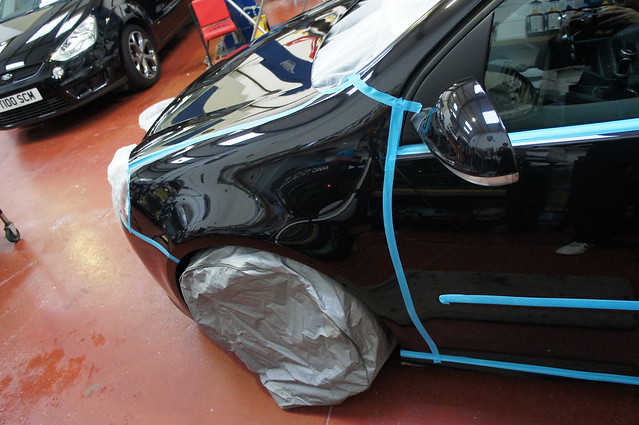
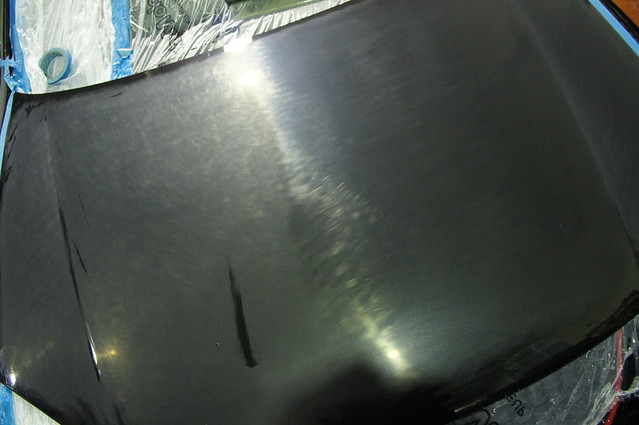
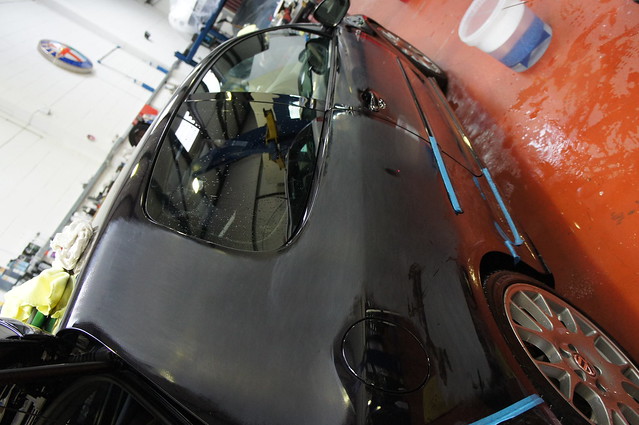
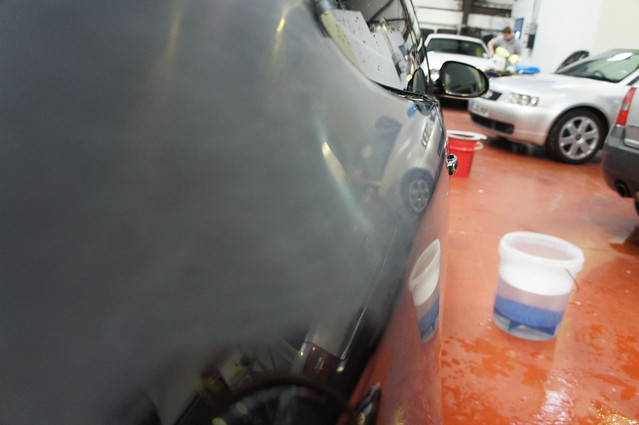
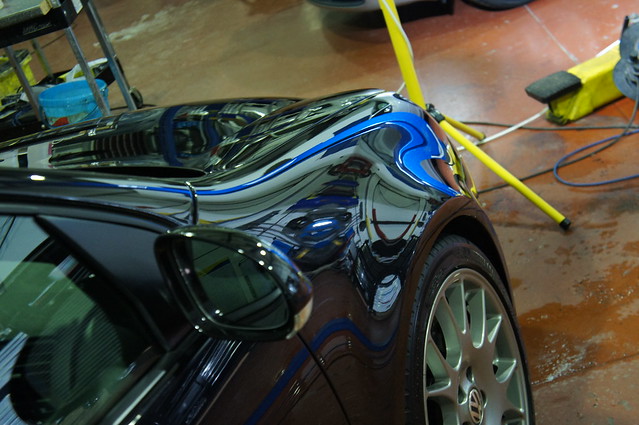
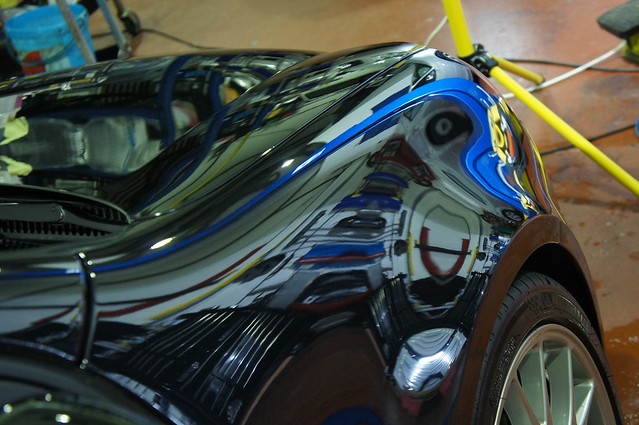
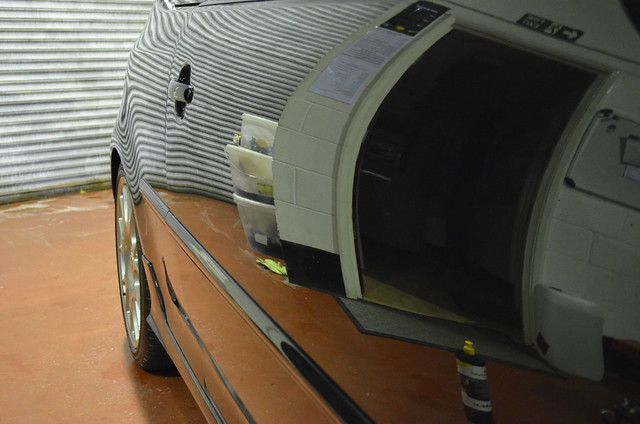
The test panel itself was absolutely ideal – covered in dents, RDS’s and crucially orange peel:
DSC01430 by RussZS, on Flickr
DSC01428 by RussZS, on Flickr
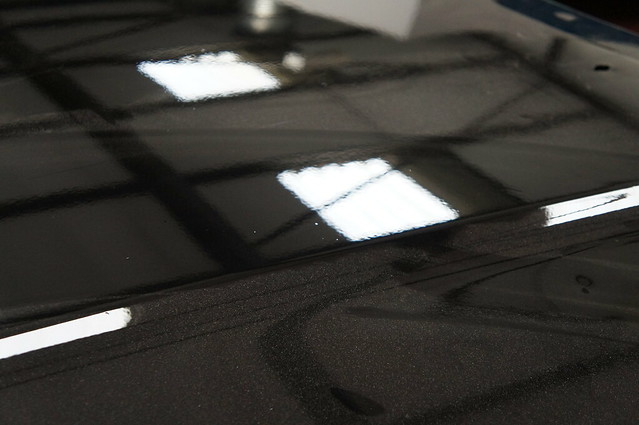
DSC01432 by RussZS, on Flickr
It’s almost as bad as a new BMW!!:lol:
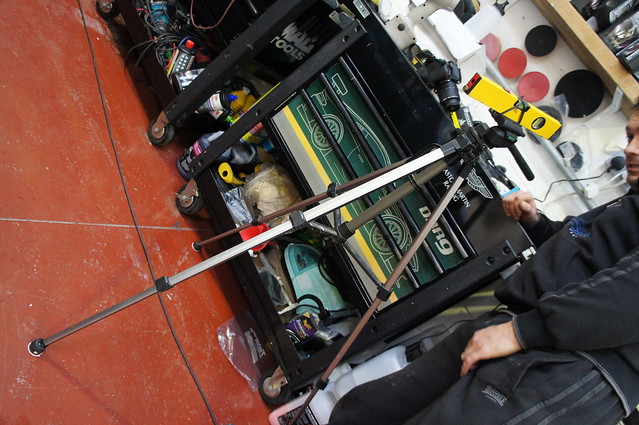
Here are some pics of the tools we used during the first day:

DSC01435 by RussZS, on Flickr
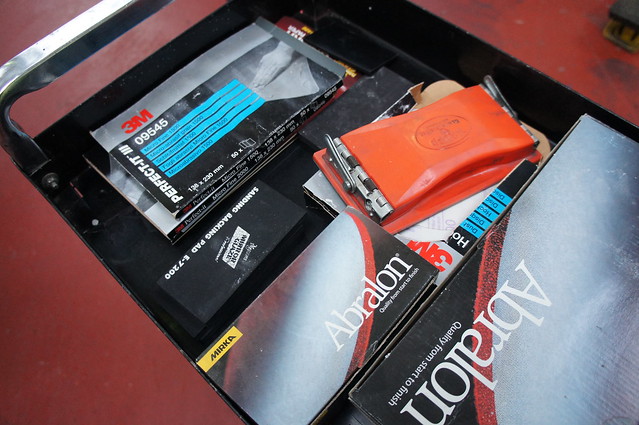
DSC01436 by RussZS, on Flickr
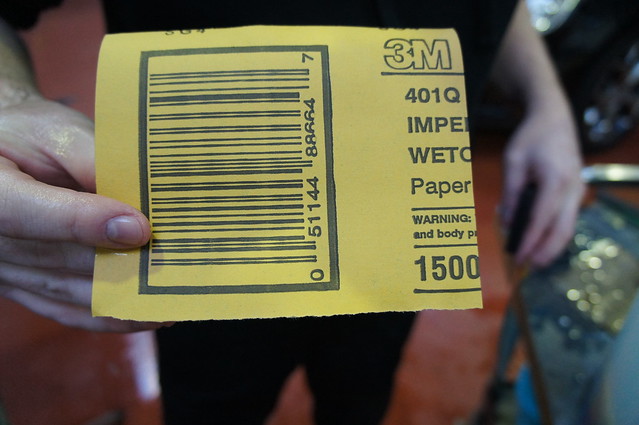
So we have:
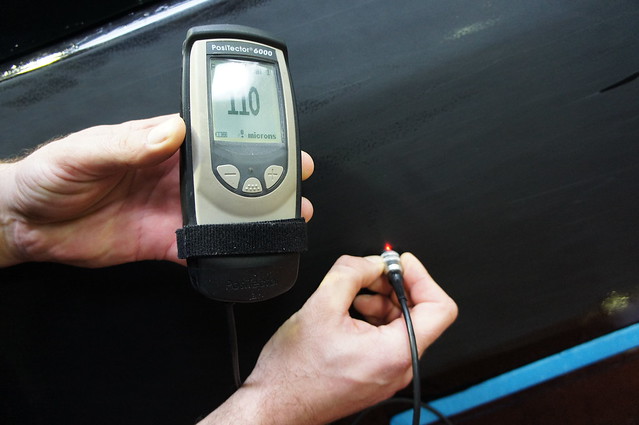
- PosiTector 6000
- Mirka DA Sanders and Abralon Discs
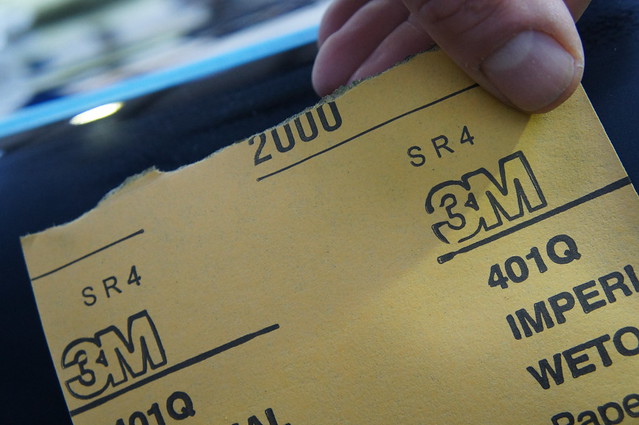
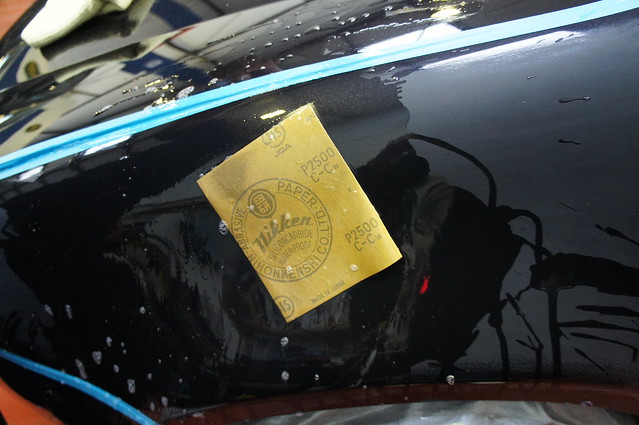
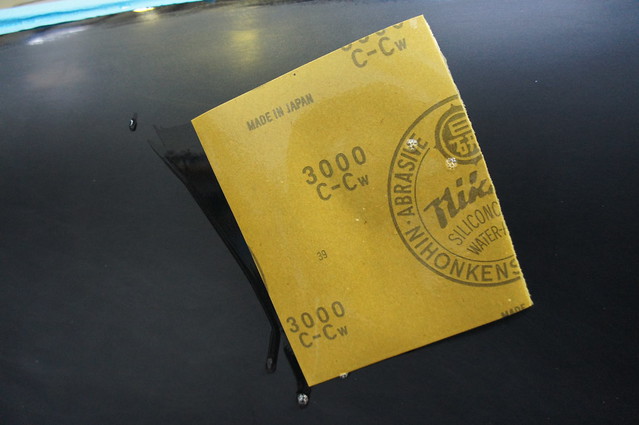
- 3M 1200, 1500 and 2000 grade sand paper
- Meguiars 2500, 3000 and 4000 grade sand paper
- Sanding Blocks
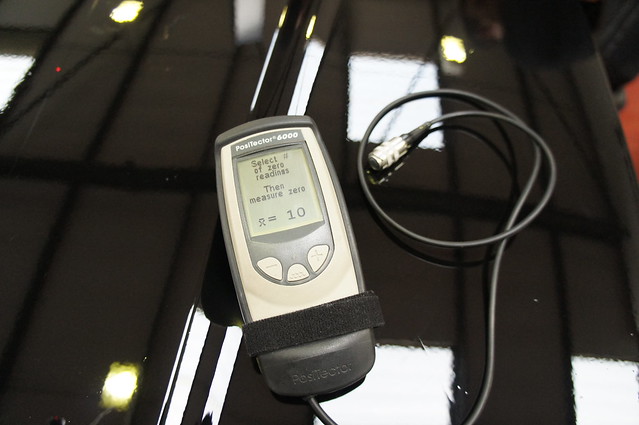
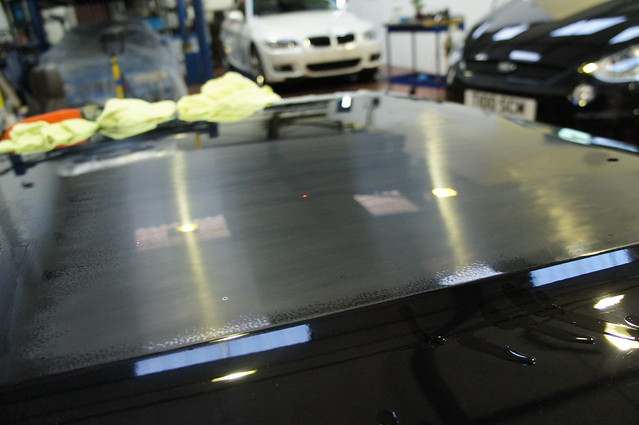
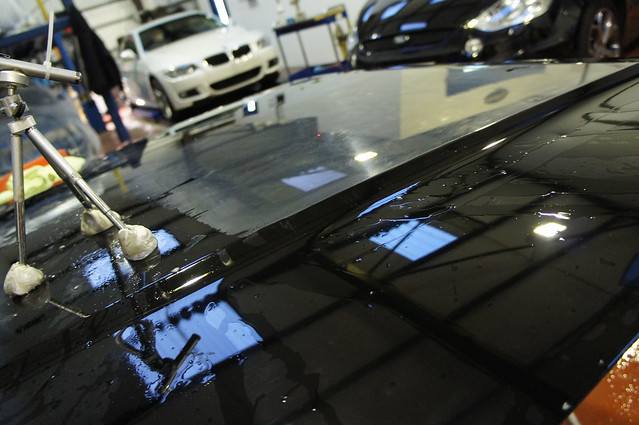
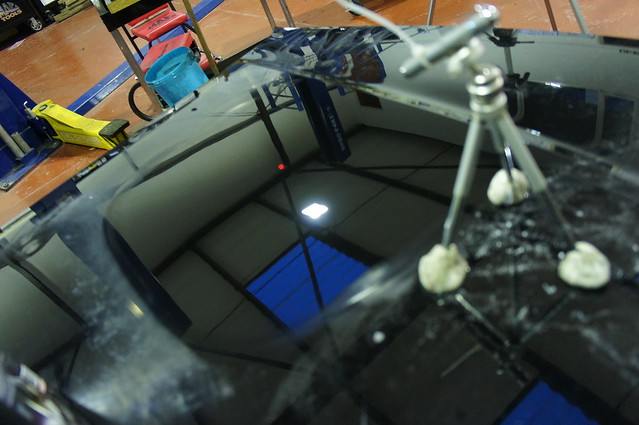
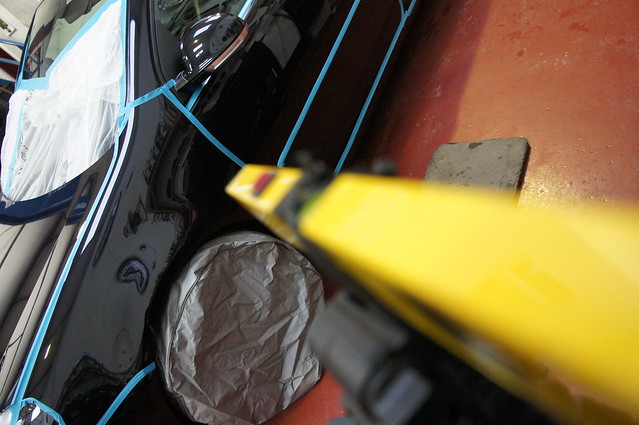
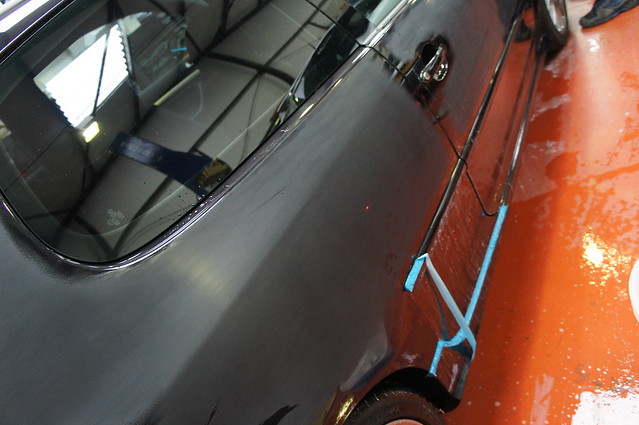
We set up the laser pointer on a tripod, secured by clay, to create a fixed point to allow us to as accurately as possible assess the removal rate of whatever we were doing.
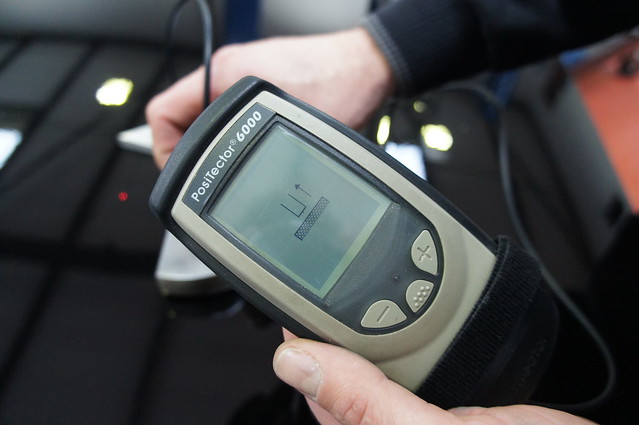
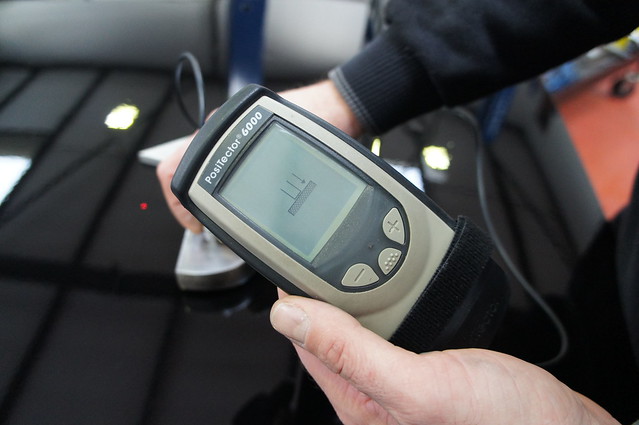
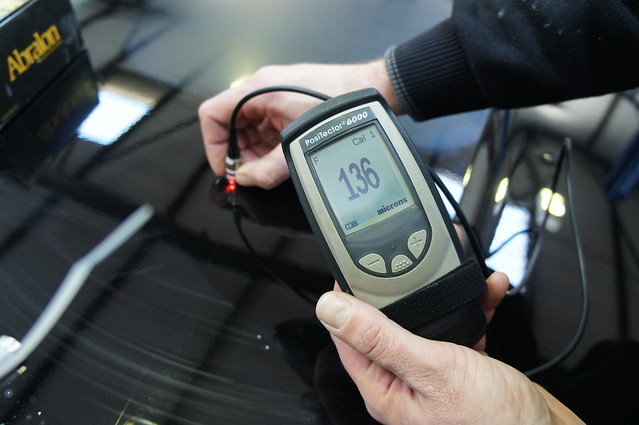
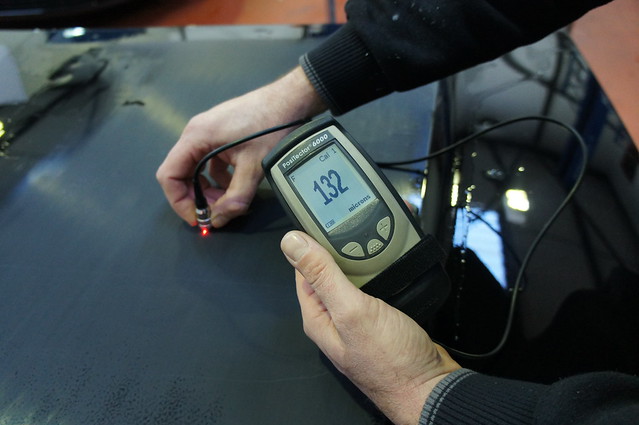
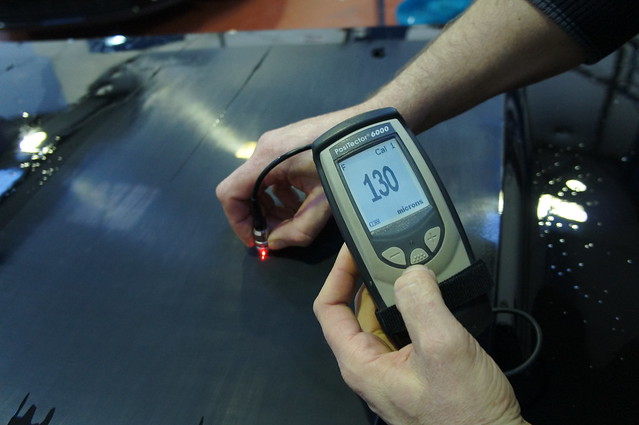
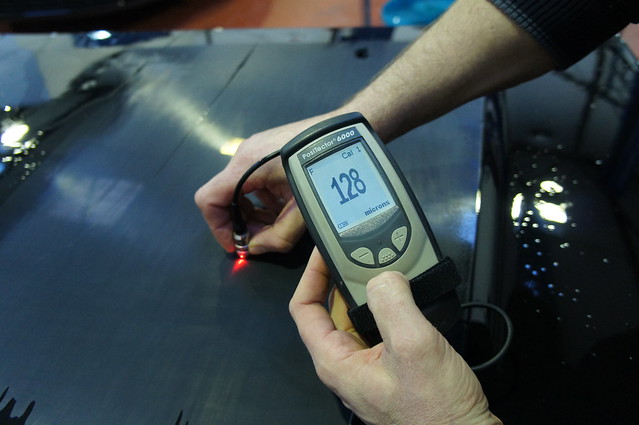
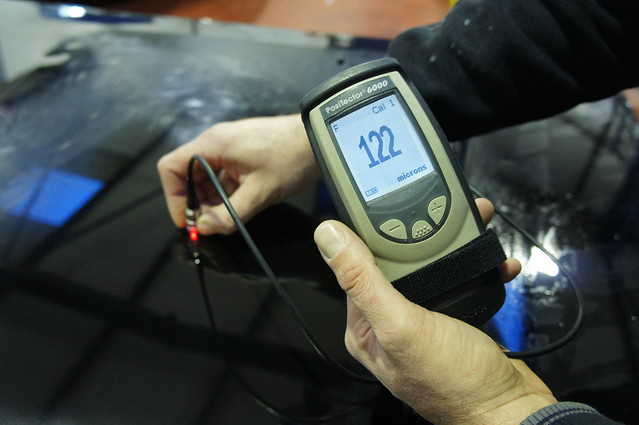
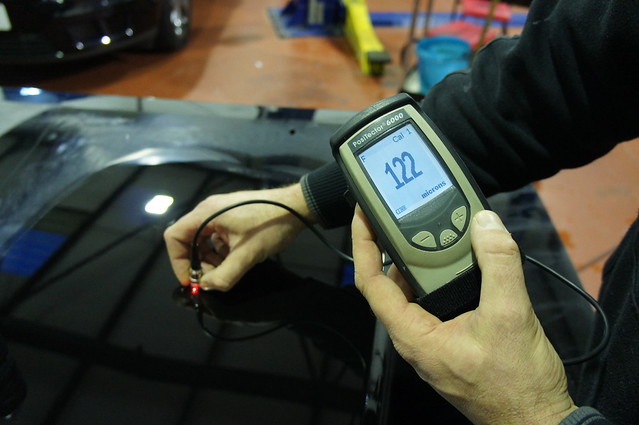
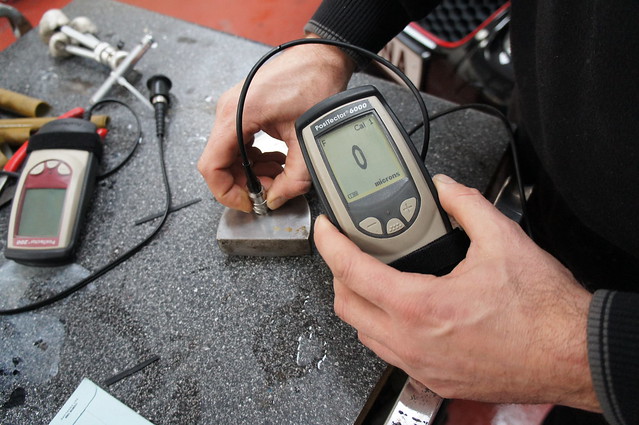
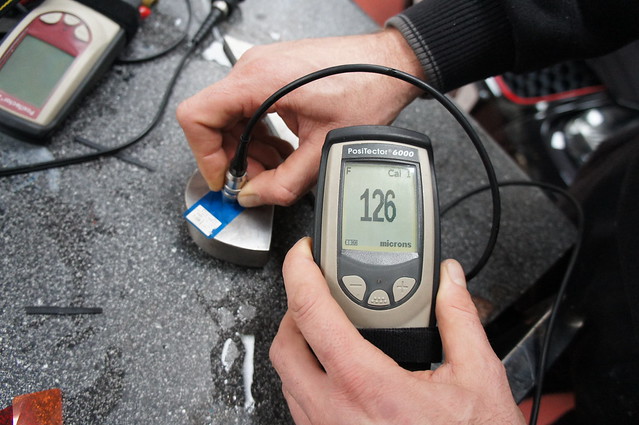
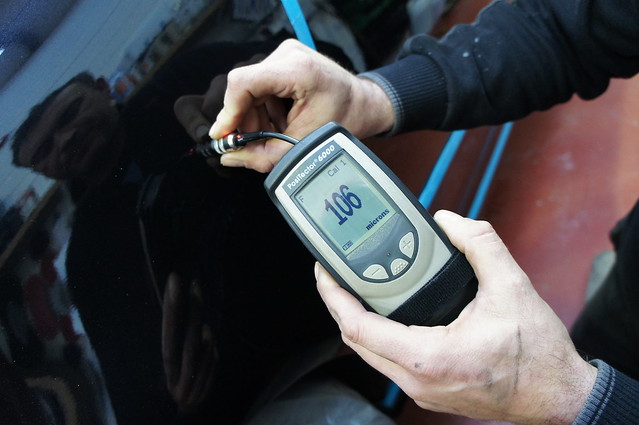
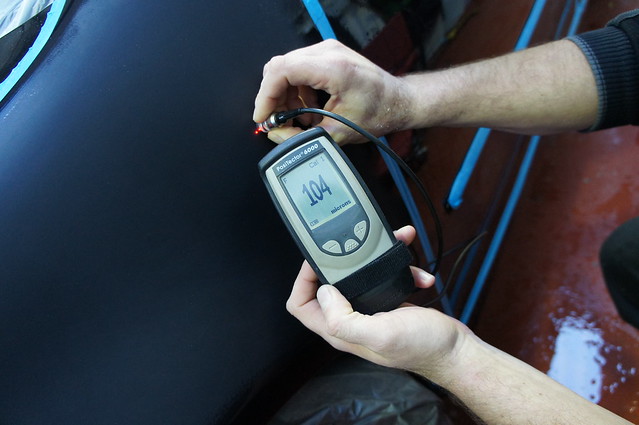
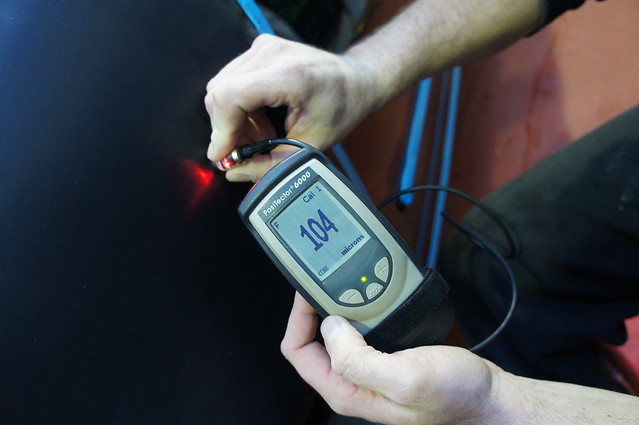
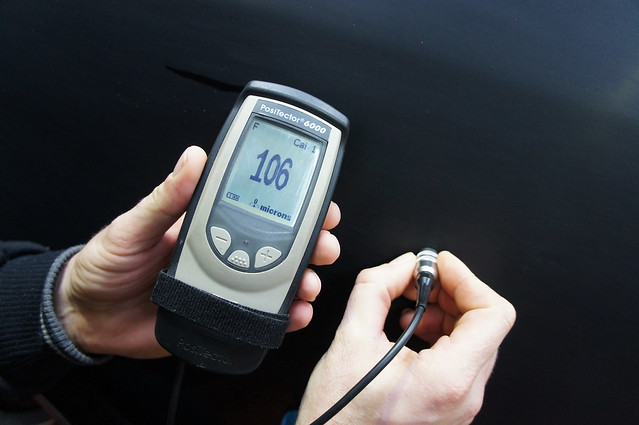
Next Kelly showed me how to correctly calibrate the PosiTector 6000:
DSC01448 by RussZS, on Flickr
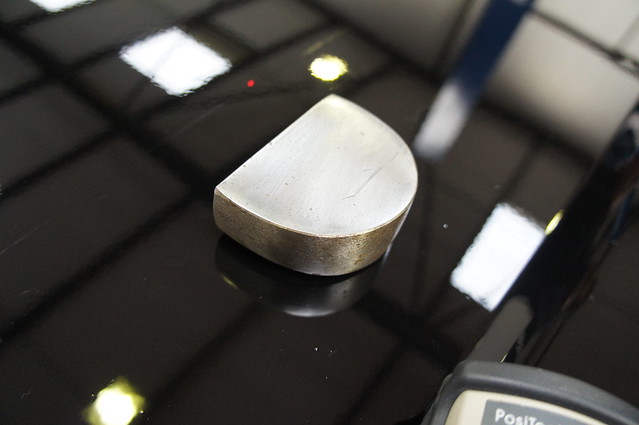
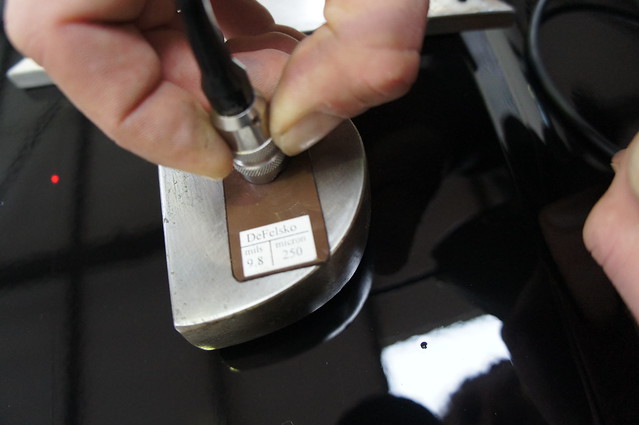
A bare metal block was used to create a reference point:
DSC01453 by RussZS, on Flickr
DSC01454 by RussZS, on Flickr
DSC01455 by RussZS, on Flickr

DSC01463 by RussZS, on Flickr
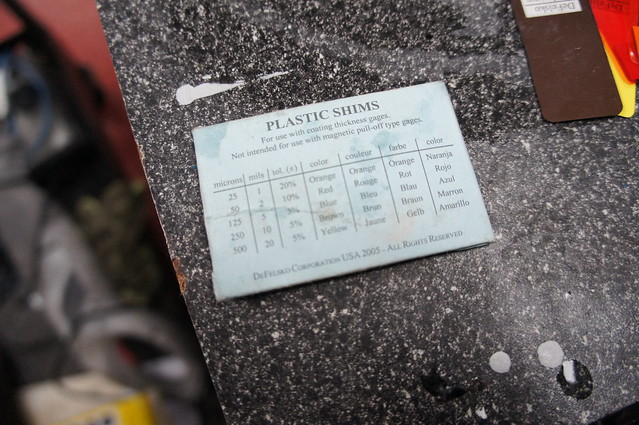
Next we tested with a shim:
DSC01467 by RussZS, on Flickr

DSC01468 by RussZS, on Flickr
That’s pretty close…
Now on a 125 shim:
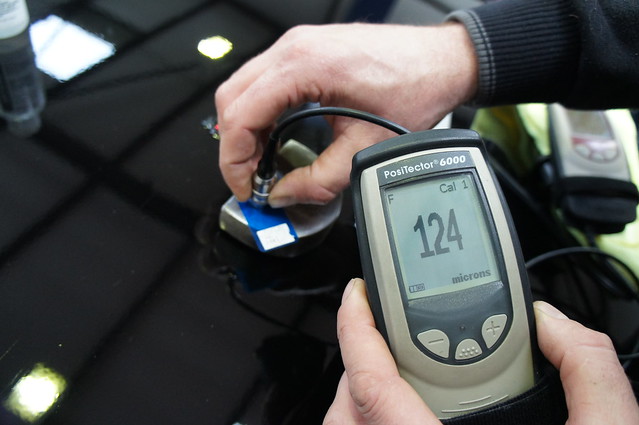
DSC01484 by RussZS, on Flickr
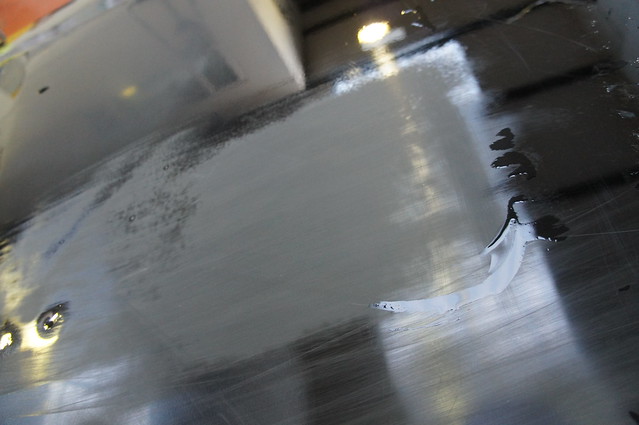
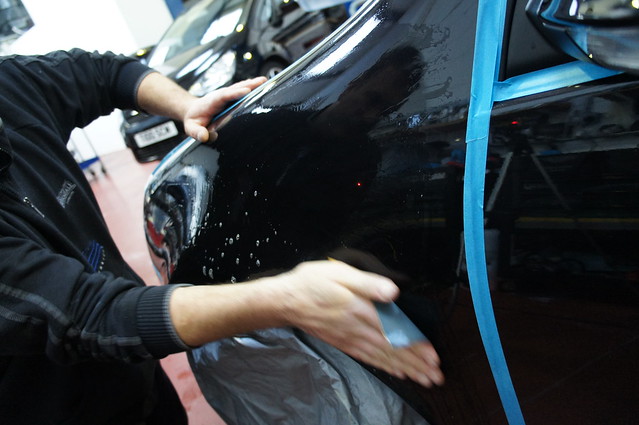
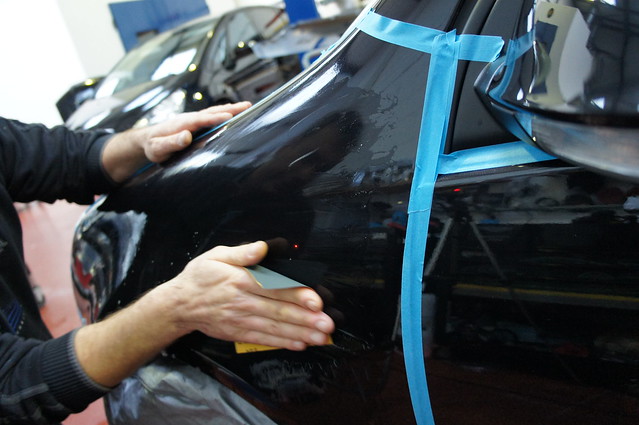
With the P6000 appropriately calibrated, Kelly moved on to begin the wet sanding demonstration. The key thing I have learnt about wet sanding is how important cleanliness is. If you catch a single dirt particle between the paper and the panel, the consequences can be severe. We began by flooding the panel, to remove any traces of dirt or dust:
DSC01499 by RussZS, on Flickr
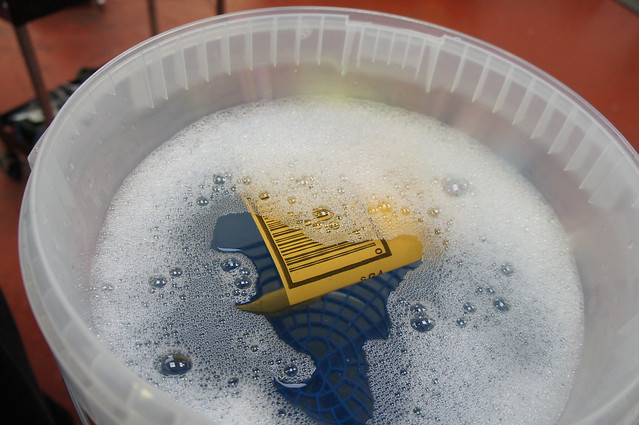
We began with 1500 grit. The paper was put into a bucket with warm water and hand wash (to help with lubricity):
DSC01502 by RussZS, on Flickr
Kelly began wet sanding by hand with 3M 1500
DSC01500 by RussZS, on Flickr
DSC01504 by RussZS, on Flickr
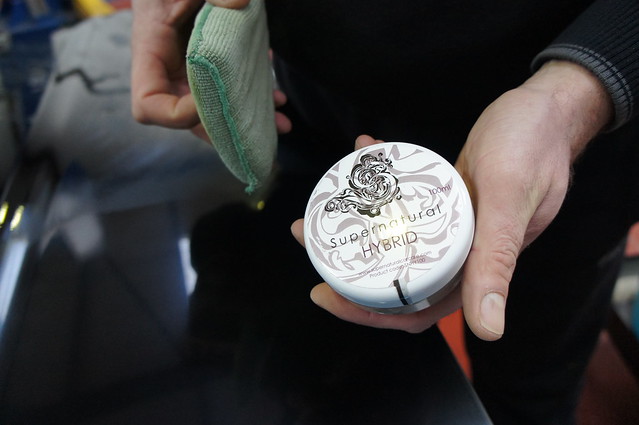
To deomstrate just how fine the ‘scratches’ from 1500 are, Kelly went over a test section with Lime Prime and Super Natural Hybrid:
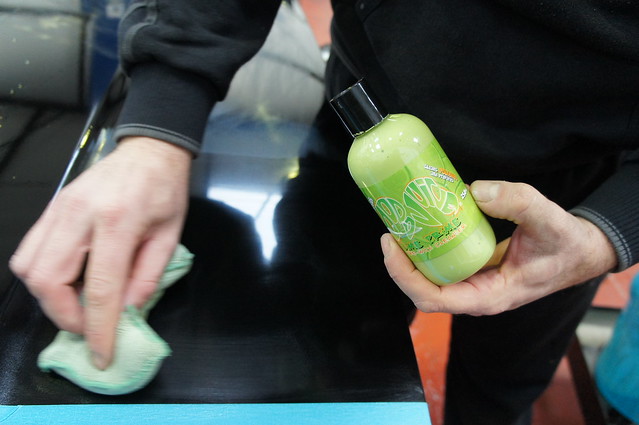
DSC01514 by RussZS, on Flickr
DSC01516 by RussZS, on Flickr
DSC01519 by RussZS, on Flickr
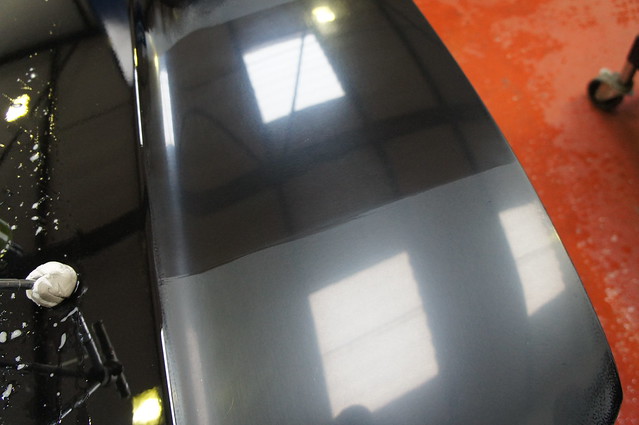
Impressive stuff!! However, up close…
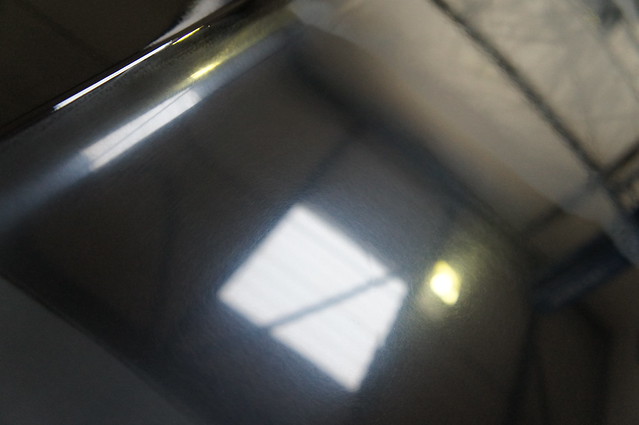
DSC01522 by RussZS, on Flickr
It just goes to show how deceiving some photos could be…
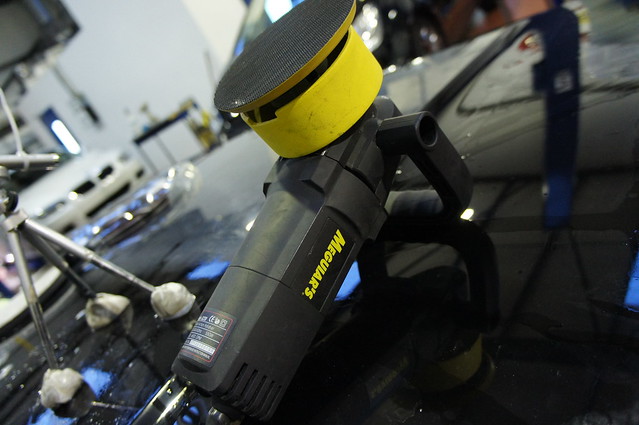
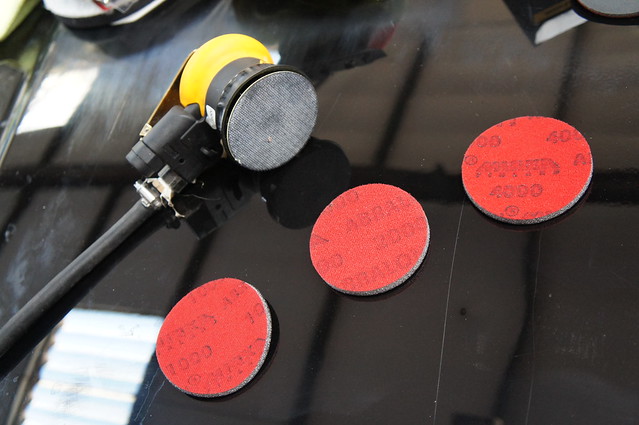
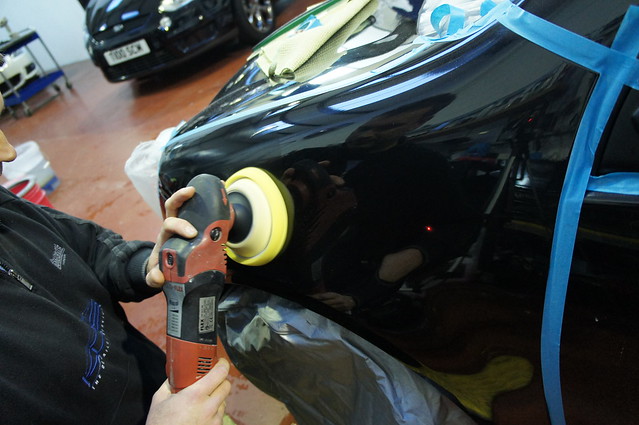
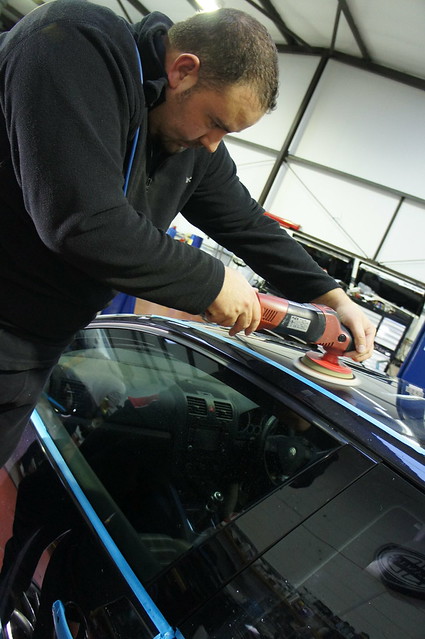
Next Kelly showed me how to use a Mirka DA Sander with 2000 grade disc:
DSC01528 by RussZS, on Flickr

DSC01535 by RussZS, on Flickr
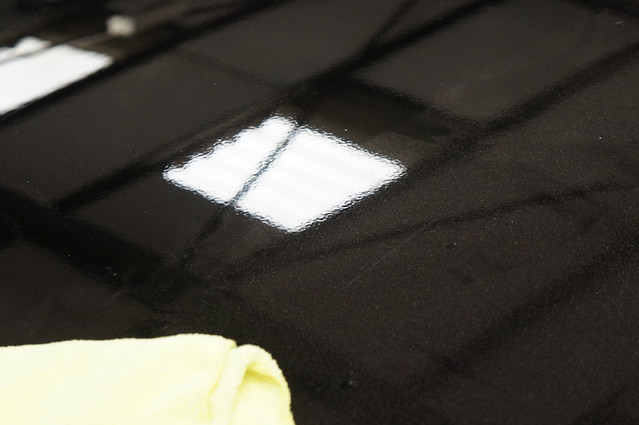
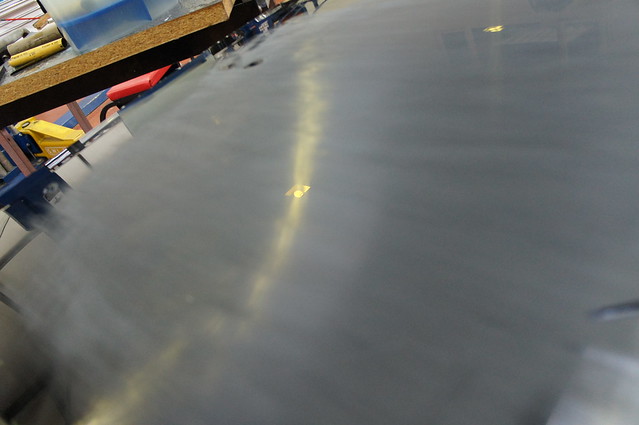
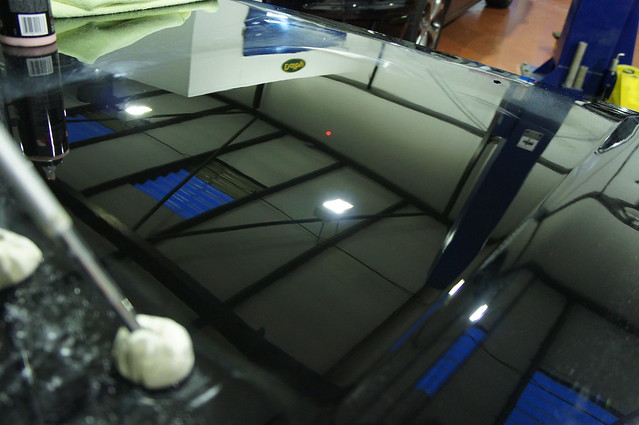
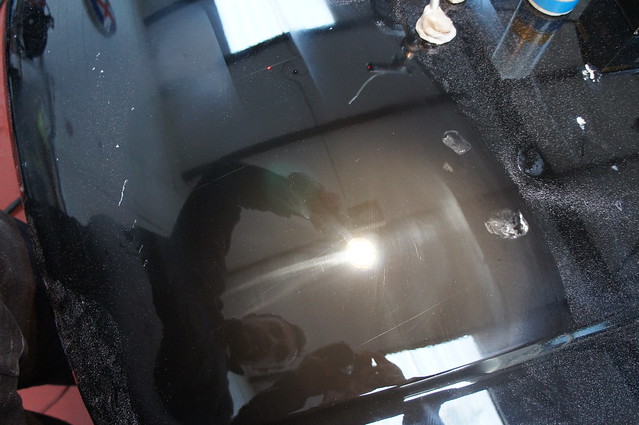
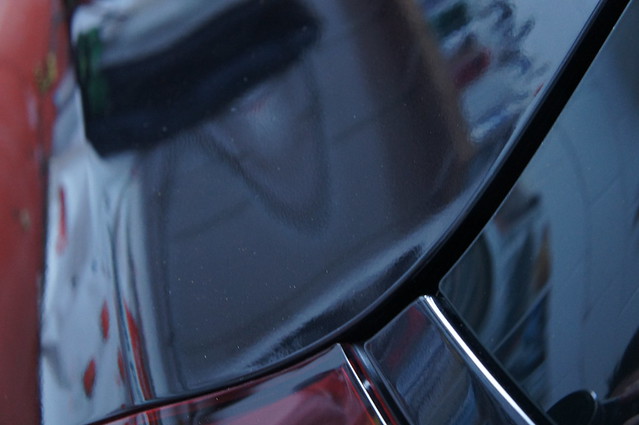
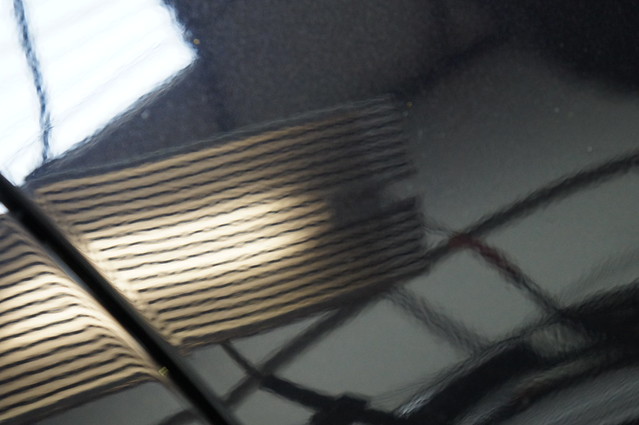
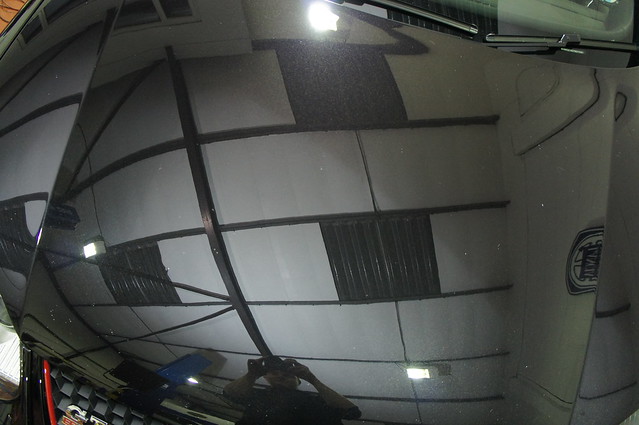
Now from certain angles, it would appear that the orange peel has been fully removed. I’ve seen a couple of threads where this process has been used, and from certain angles it looks perfectly flat:

DSC01533 by RussZS, on Flickr
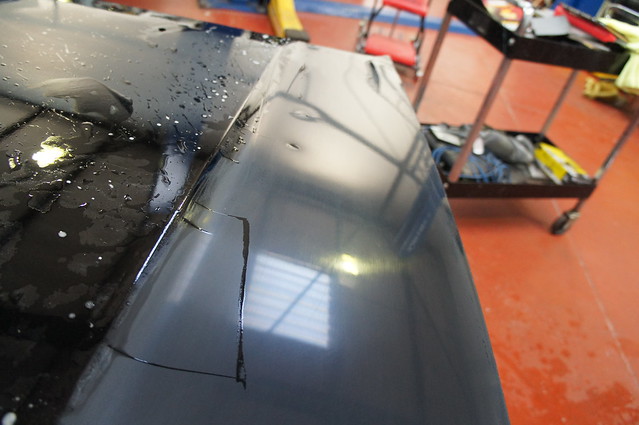
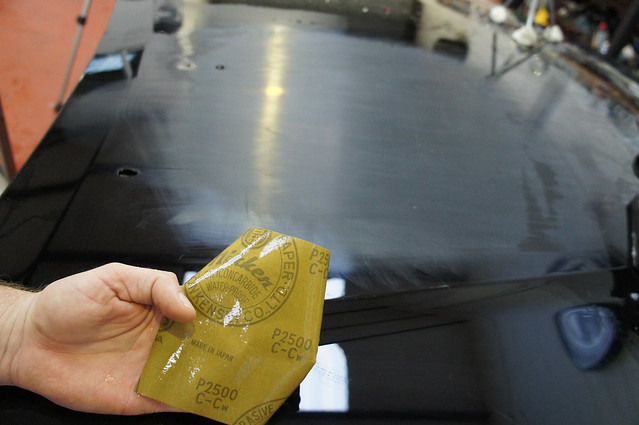
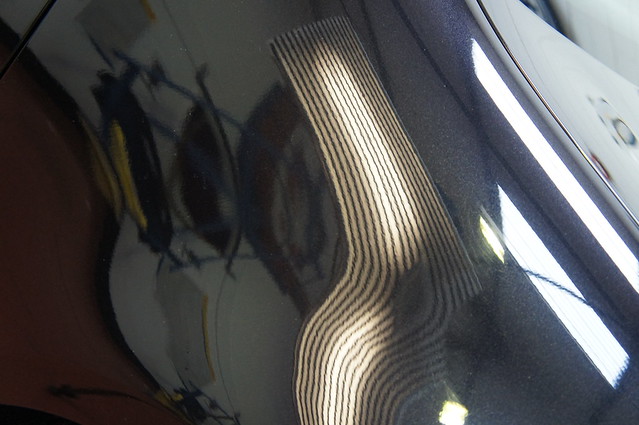
However up close, at the right angle we can see the peel is still very much there!!
DSC01530 by RussZS, on Flickr
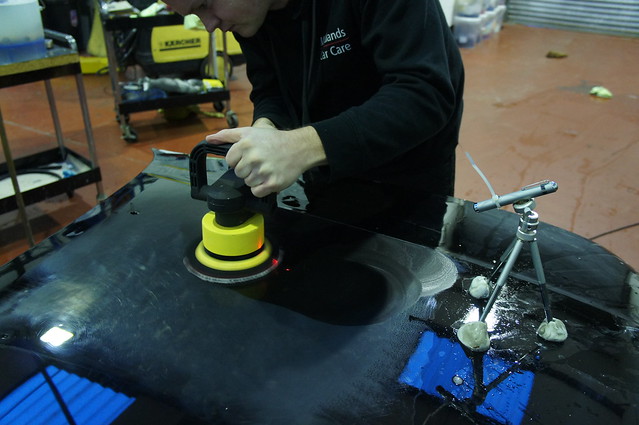
I then had my first go! 4000 Grit Abralon Pad on the Mirka, to refine the finish of the 2000:

DSC01542 by RussZS, on Flickr
DSC01541 by RussZS, on Flickr
I was keen to try the 2000 myself to see if orange peel could be removed on a different part of the test panel:
DSC01548 by RussZS, on Flickr
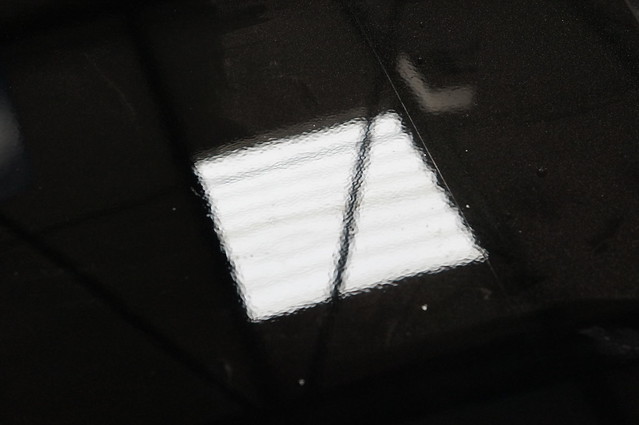
However again, from certain angles it looks great – very flat:

DSC01551 by RussZS, on Flickr
However, catch the lighting correctly and we can see the peel is still present:
DSC01552 by RussZS, on Flickr
Meanwhile Kelly just off refining the other part of the test panel so that it was all at 4000 grit level:
DSC01560 by RussZS, on Flickr
For fun, we tried P1 via a 4000 Grit Pad…
DSC01562 by RussZS, on Flickr
DSC01565 by RussZS, on Flickr
DSC01569 by RussZS, on Flickr
Not bad!!
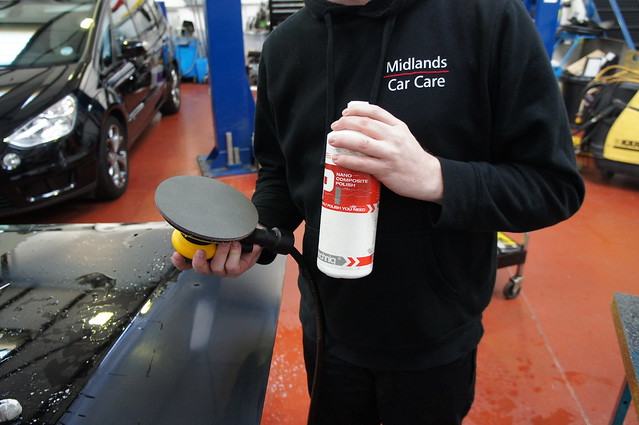
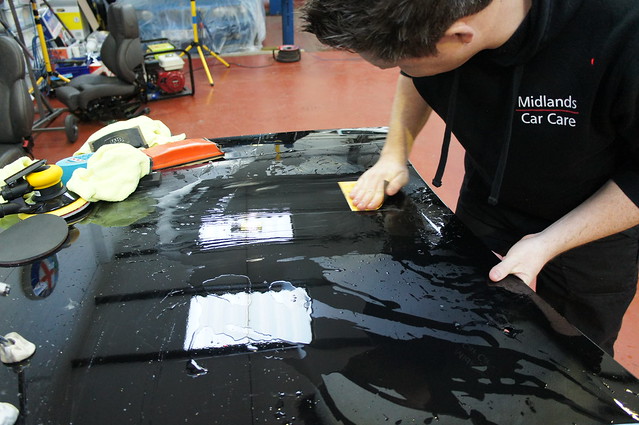
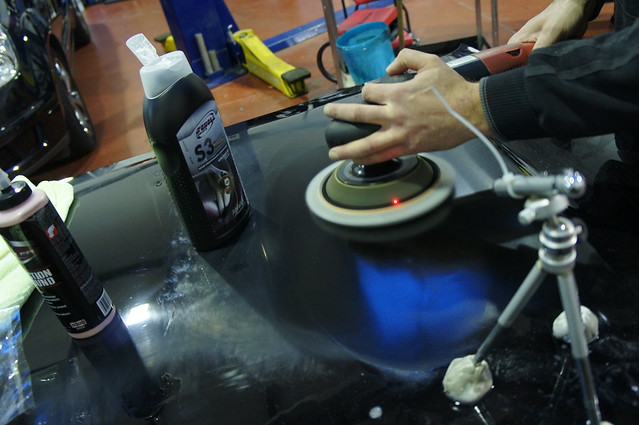
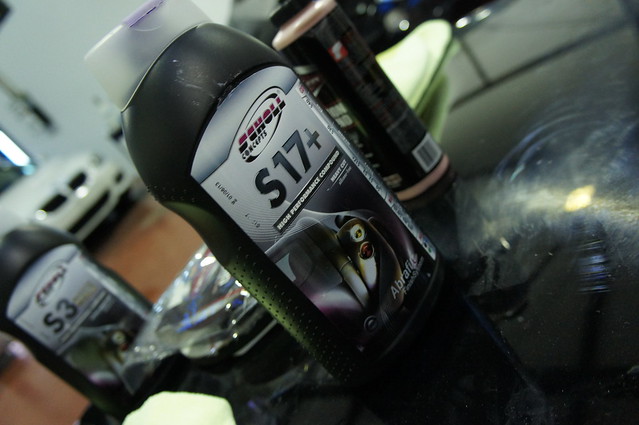
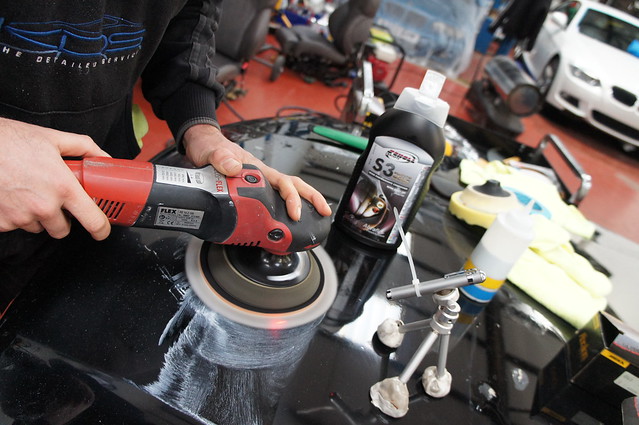
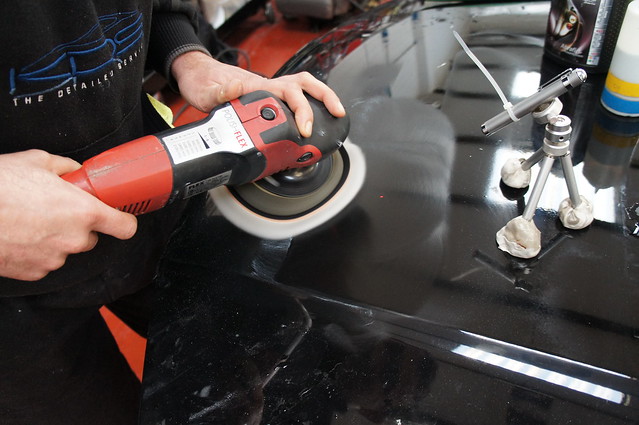
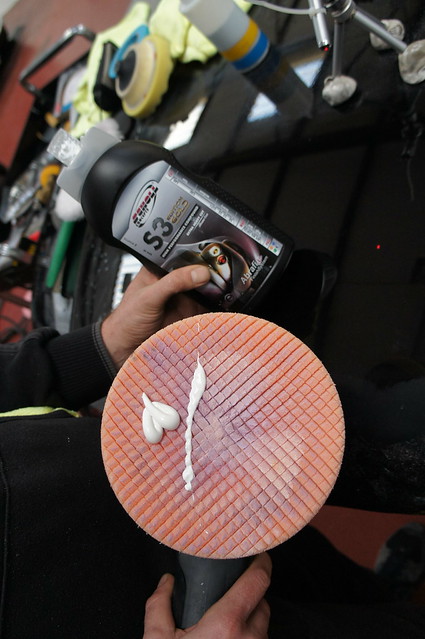
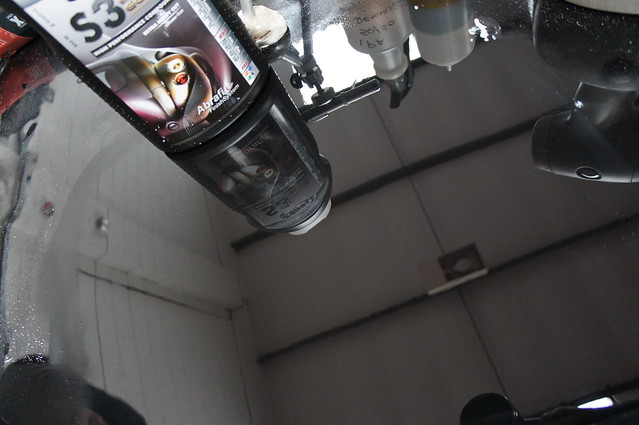
However, clearly not perfect… so next Kelly polished the panel up with Scholl S3 and a Scholl Wool Pad via Flex Rotary:

DSC01573 by RussZS, on Flickr

DSC01576 by RussZS, on Flickr
So the top half of his section of the panel was all done by machine (2000 then 4000 as I’ve seen on here many times) and the bottom part was all done by hand 1500, 2000, 2500, 3000 and 4000 (done properly IMO!).
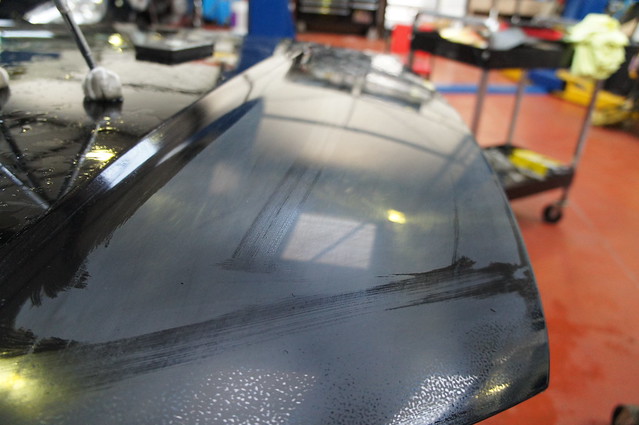
Using a PDR light, we can see the bottom half of the panel (done by hand)
DSC01584 by RussZS, on Flickr
(Note the dent)
Now the top half, done by machine:
DSC01586 by RussZS, on Flickr
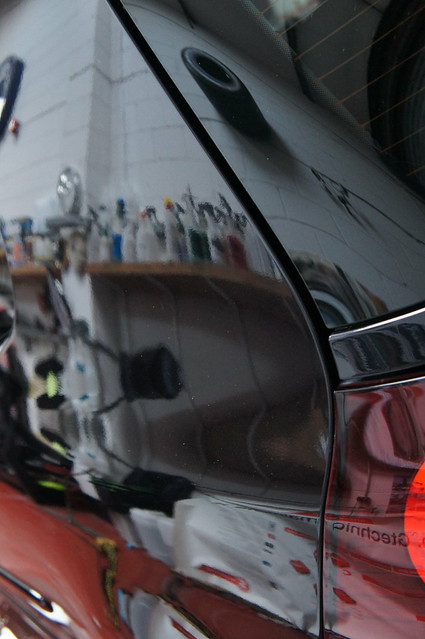
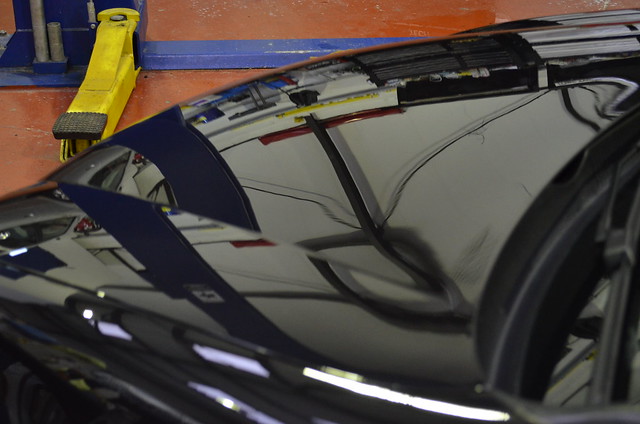
Now we can see that the orange peel has been flattened to an extent, but has not been removed entirely. From my perspective, it was clear to see that sanding by machine was not only very quick but also very easy to do – easier than correcting paint with a rotary certainly! Whilst it did flatten a little, it was beginning to become clear that to remove orange peel correctly and fully, then it needed to be done by hand.
Further pics of the panel:
Top Half (machine)

DSC01590 by RussZS, on Flickr
Low Half (hand)
DSC01593 by RussZS, on Flickr
Then it was my turn….!!!
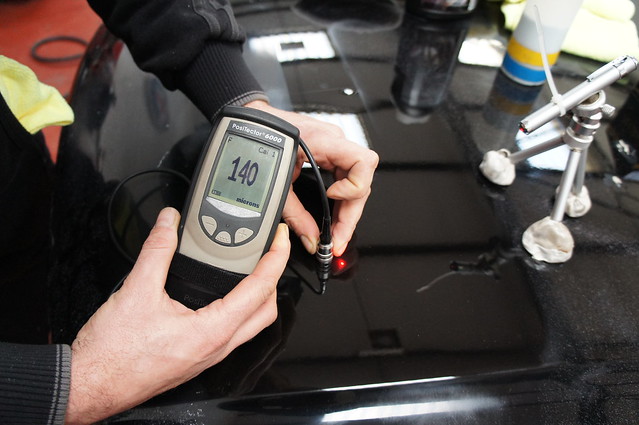
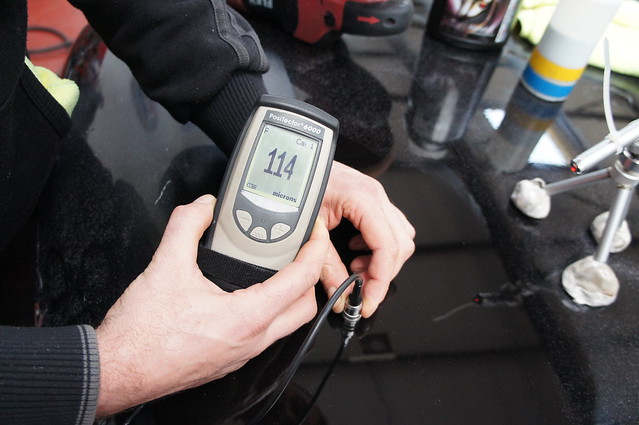
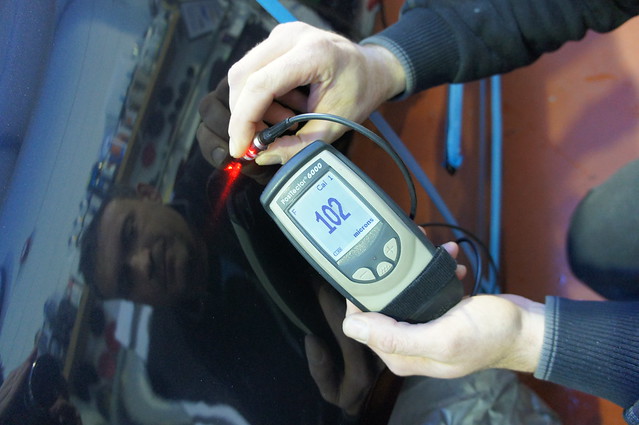
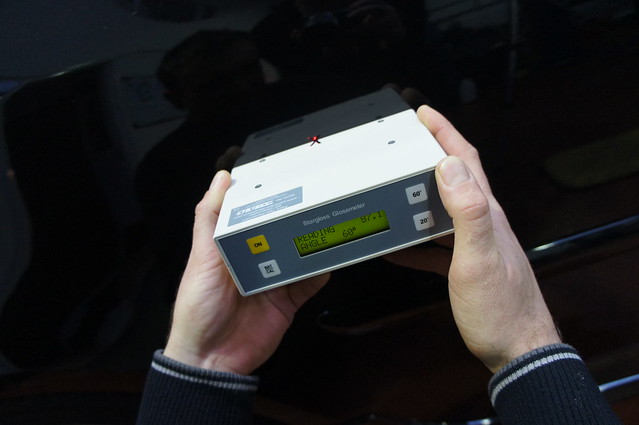
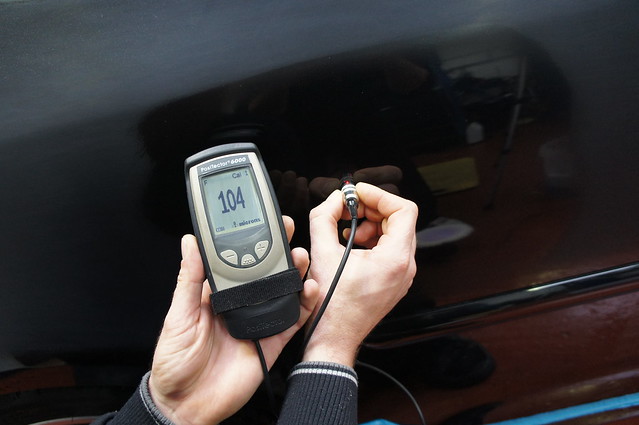
So, before I started, we took a paint reading:
DSC01597 by RussZS, on Flickr
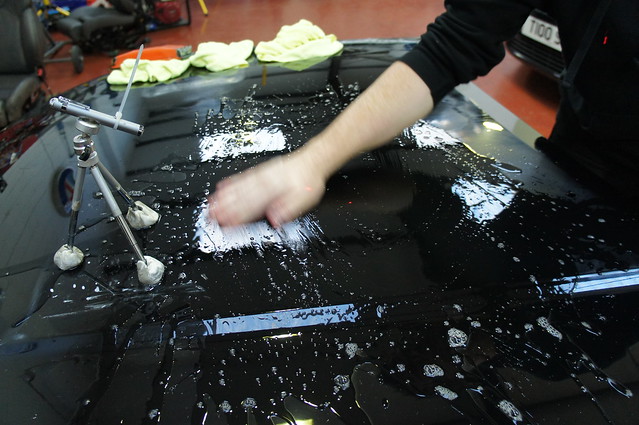
I started, like Kelly did, with 1500 grit:

DSC01601 by RussZS, on Flickr
DSC01600 by RussZS, on Flickr
DSC01599 by RussZS, on Flickr
Very scary stuff at first! It needed another pass to completely flatten the remaining peel:
DSC01603 by RussZS, on Flickr
DSC01605 by RussZS, on Flickr
Much better… much more even coverage and crucially, the peel is all but removed:
DSC01606 by RussZS, on Flickr
2000 grade was next, then 2500:
DSC01608 by RussZS, on Flickr

DSC01609 by RussZS, on Flickr
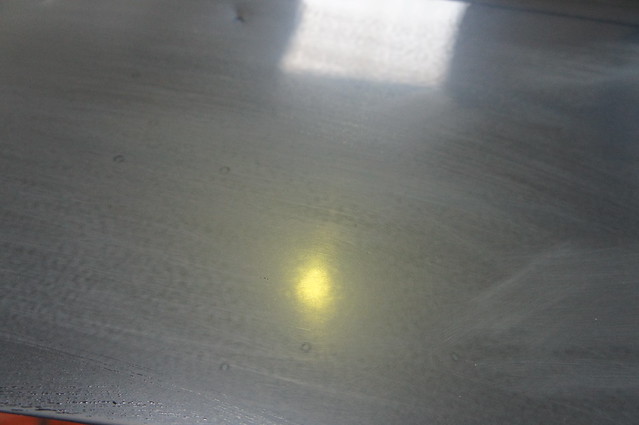
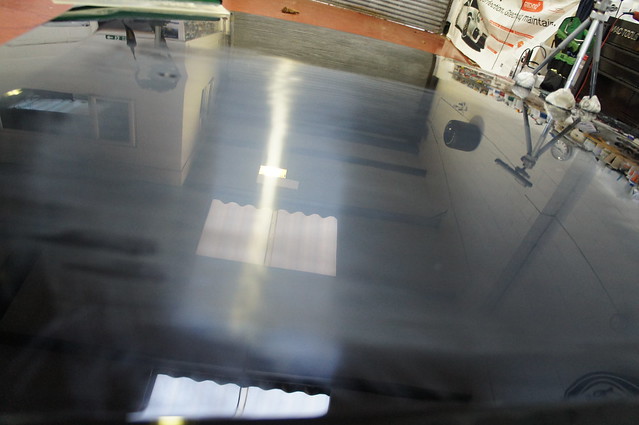
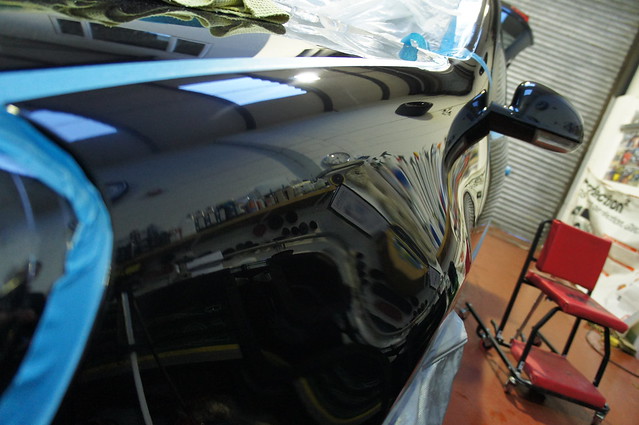
You can see the gloss starting to return to the paint at this stage, it becomes far more reflective.
DSC01611 by RussZS, on Flickr
We finished with 3000:
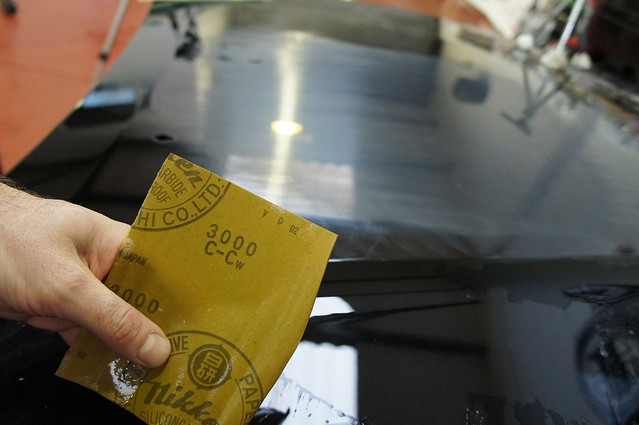
DSC01613 by RussZS, on Flickr
DSC01612 by RussZS, on Flickr
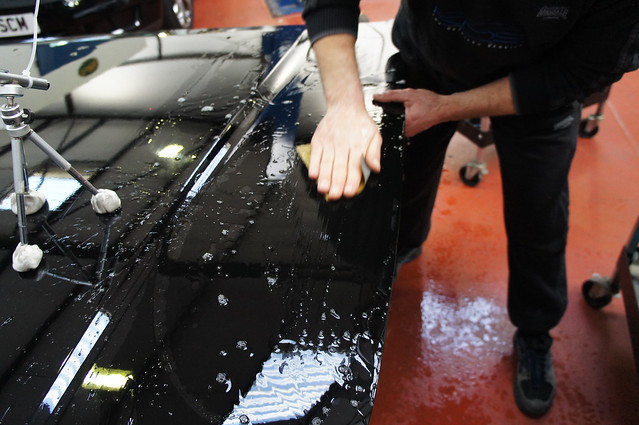
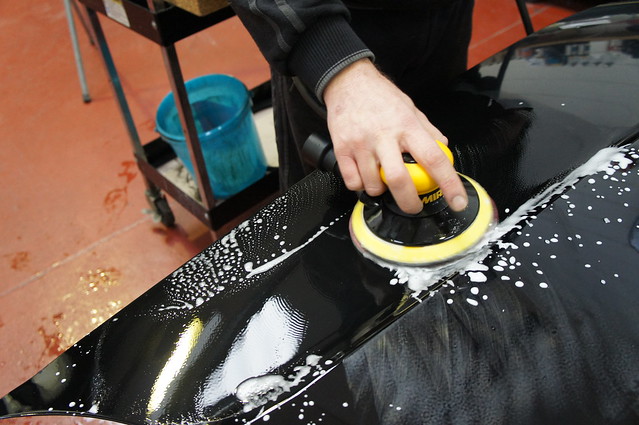
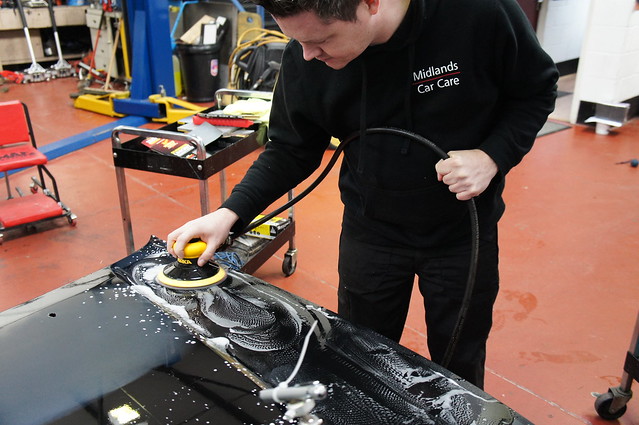
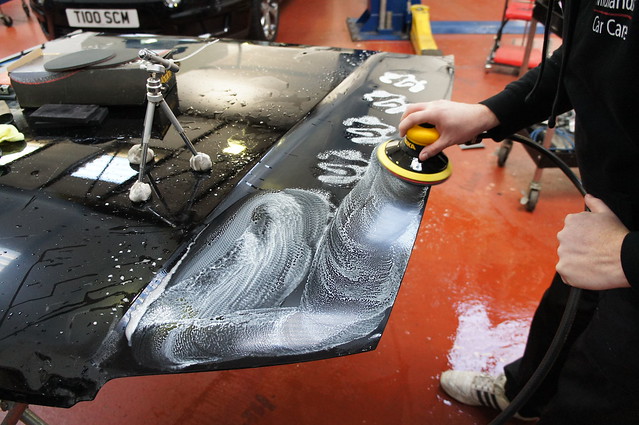
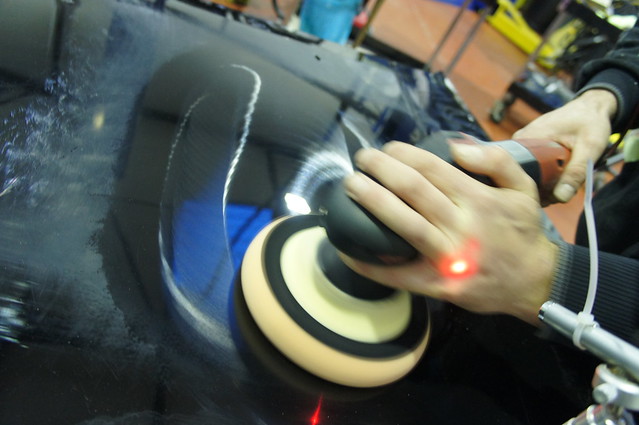
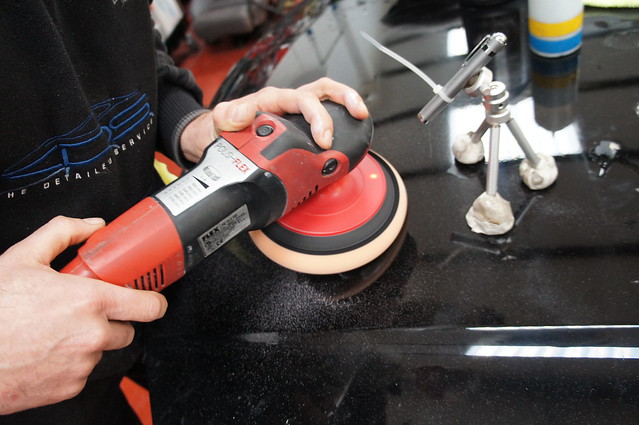
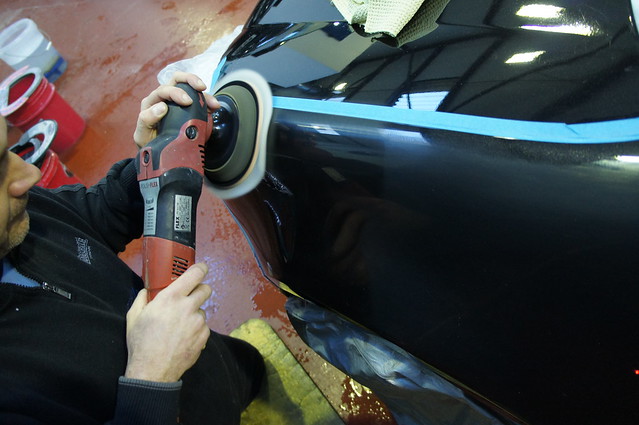
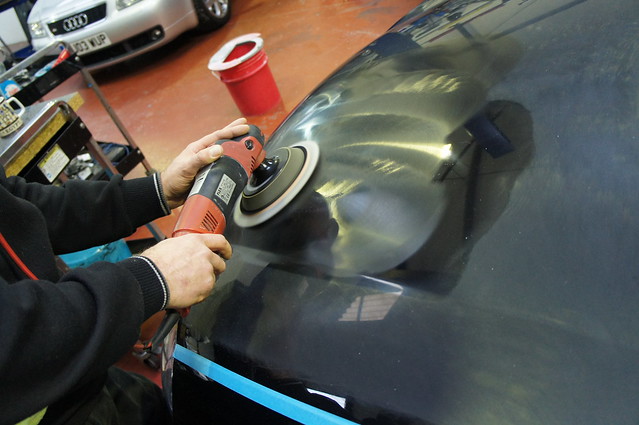
Next I used the Flex/S3/Wool combination to remove the sanding marks:
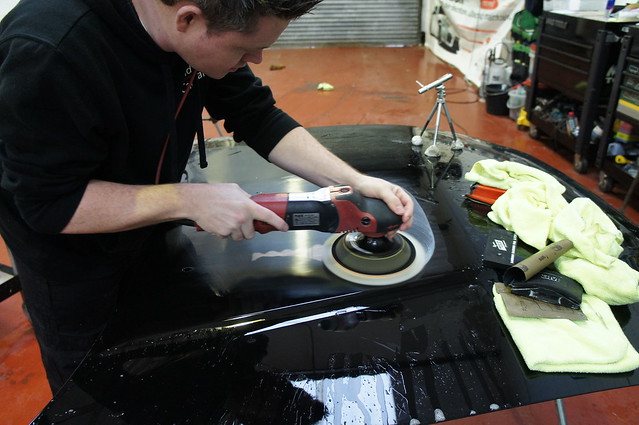
DSC01614 by RussZS, on Flickr
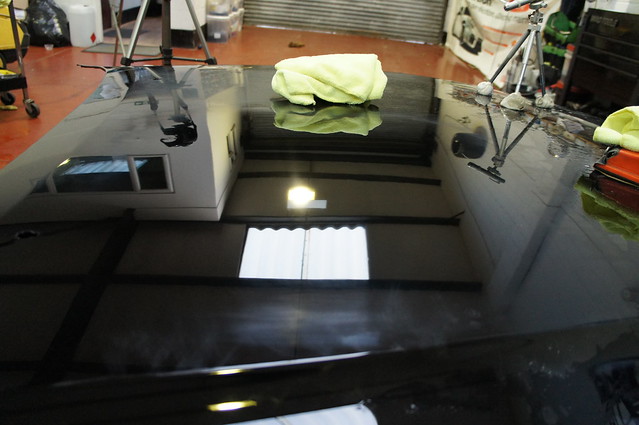
DSC01617 by RussZS, on Flickr
This thread shares my thoughts and experiences on the time spent with Kelly, and gives an overview from the perspective of a trainee on KDS’s course.
I am also very fortunate to be the first - I have Certificate 0001!!
Day One :
It’s not very often I get out of bed at 5am, but I needed to be at KDS for 9am for my wet sanding training, so like an excited child on Christmas morning, I was up bright and early and set on my way. I’d forgotten just how bad the M1 and M25 were and unfortunately arrived 15 minutes late!
Upon arrival at KDS’s unit in Gillingham, Kent:
DSC01420 by RussZS, on Flickr
DSC01421 by RussZS, on Flickr
With introductions out of the way (Kelly has a team of 4 including himself), Kelly began to prepare a bonnet which would be the test panel for the first days worth of tuition:
DSC01422 by RussZS, on Flickr
The aim of the first day was to cover the following areas:
- Use of a Laser Pointer to create a fixed point to assess clearcoat removal rates
- How to use a PDG effectively, including how to calibrate one correctly
- The differences between using a DA Sander, working by bare hand and using a block
- Risks around scorelines, pigtailing and dirt/grit
- Using compounds and polishes to remove sanding marks and restoring the gloss to the paint
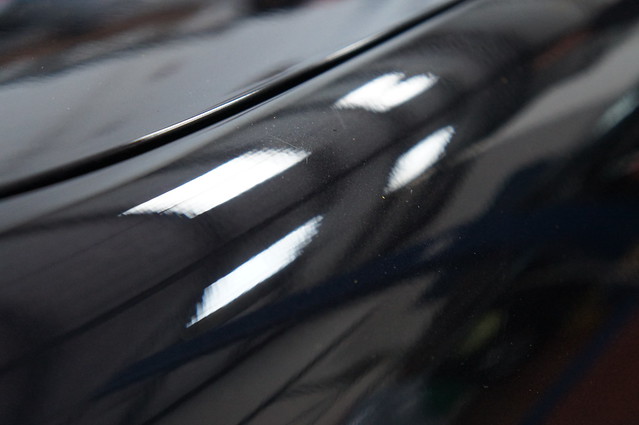
The test panel itself was absolutely ideal – covered in dents, RDS’s and crucially orange peel:
DSC01430 by RussZS, on Flickr
DSC01428 by RussZS, on Flickr
DSC01432 by RussZS, on Flickr
It’s almost as bad as a new BMW!!:lol:
Here are some pics of the tools we used during the first day:
DSC01435 by RussZS, on Flickr
DSC01436 by RussZS, on Flickr
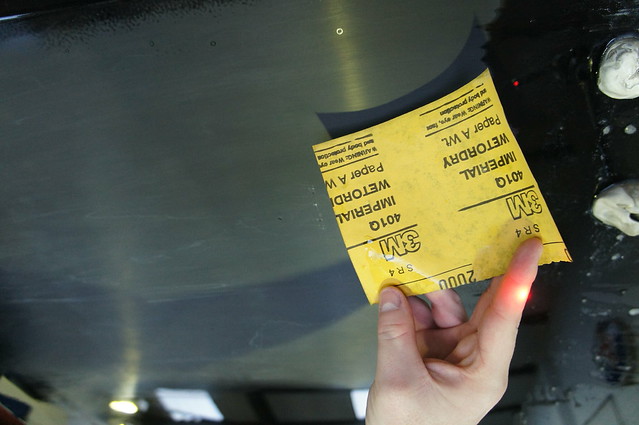
So we have:
- PosiTector 6000
- Mirka DA Sanders and Abralon Discs
- 3M 1200, 1500 and 2000 grade sand paper
- Meguiars 2500, 3000 and 4000 grade sand paper
- Sanding Blocks
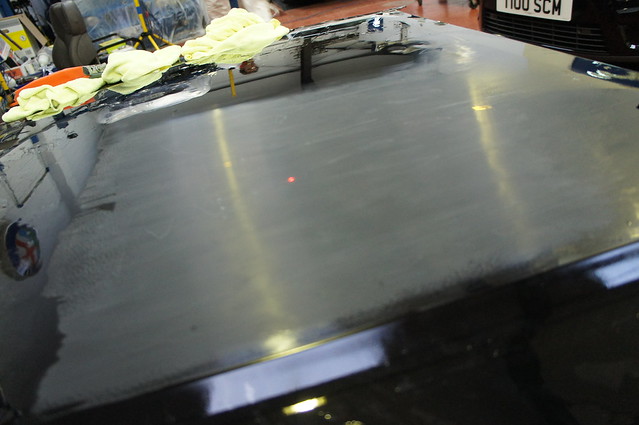
We set up the laser pointer on a tripod, secured by clay, to create a fixed point to allow us to as accurately as possible assess the removal rate of whatever we were doing.
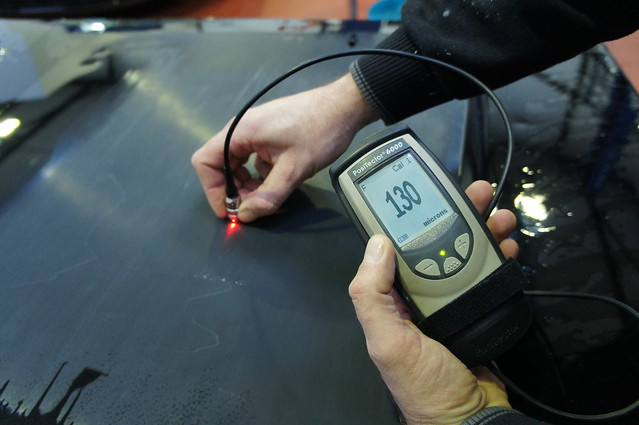
Next Kelly showed me how to correctly calibrate the PosiTector 6000:
DSC01448 by RussZS, on Flickr
A bare metal block was used to create a reference point:
DSC01453 by RussZS, on Flickr
DSC01454 by RussZS, on Flickr
DSC01455 by RussZS, on Flickr
DSC01463 by RussZS, on Flickr
Next we tested with a shim:
DSC01467 by RussZS, on Flickr
DSC01468 by RussZS, on Flickr
That’s pretty close…
Now on a 125 shim:
DSC01484 by RussZS, on Flickr
With the P6000 appropriately calibrated, Kelly moved on to begin the wet sanding demonstration. The key thing I have learnt about wet sanding is how important cleanliness is. If you catch a single dirt particle between the paper and the panel, the consequences can be severe. We began by flooding the panel, to remove any traces of dirt or dust:
DSC01499 by RussZS, on Flickr
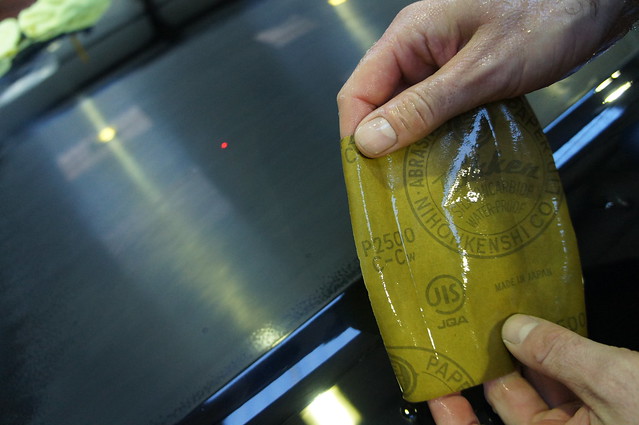
We began with 1500 grit. The paper was put into a bucket with warm water and hand wash (to help with lubricity):
DSC01502 by RussZS, on Flickr
Kelly began wet sanding by hand with 3M 1500
DSC01500 by RussZS, on Flickr
DSC01504 by RussZS, on Flickr
To deomstrate just how fine the ‘scratches’ from 1500 are, Kelly went over a test section with Lime Prime and Super Natural Hybrid:
DSC01514 by RussZS, on Flickr
DSC01516 by RussZS, on Flickr
DSC01519 by RussZS, on Flickr
Impressive stuff!! However, up close…
DSC01522 by RussZS, on Flickr
It just goes to show how deceiving some photos could be…
Next Kelly showed me how to use a Mirka DA Sander with 2000 grade disc:
DSC01528 by RussZS, on Flickr
DSC01535 by RussZS, on Flickr
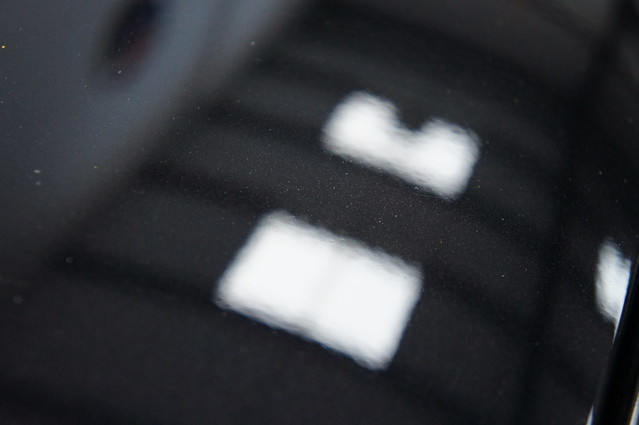
Now from certain angles, it would appear that the orange peel has been fully removed. I’ve seen a couple of threads where this process has been used, and from certain angles it looks perfectly flat:
DSC01533 by RussZS, on Flickr
However up close, at the right angle we can see the peel is still very much there!!
DSC01530 by RussZS, on Flickr
I then had my first go! 4000 Grit Abralon Pad on the Mirka, to refine the finish of the 2000:
DSC01542 by RussZS, on Flickr
DSC01541 by RussZS, on Flickr
I was keen to try the 2000 myself to see if orange peel could be removed on a different part of the test panel:
DSC01548 by RussZS, on Flickr
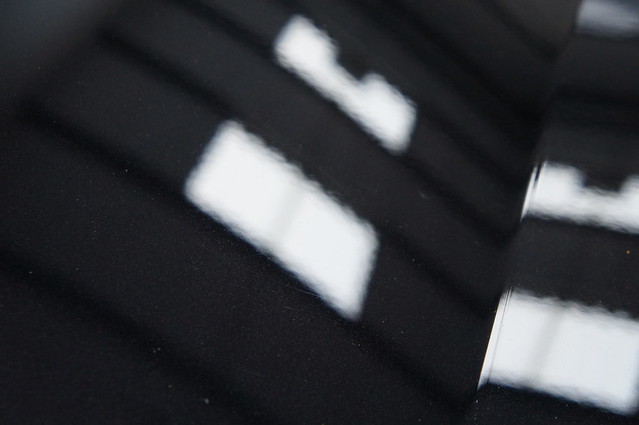
However again, from certain angles it looks great – very flat:
DSC01551 by RussZS, on Flickr
However, catch the lighting correctly and we can see the peel is still present:
DSC01552 by RussZS, on Flickr
Meanwhile Kelly just off refining the other part of the test panel so that it was all at 4000 grit level:
DSC01560 by RussZS, on Flickr
For fun, we tried P1 via a 4000 Grit Pad…
DSC01562 by RussZS, on Flickr
DSC01565 by RussZS, on Flickr
DSC01569 by RussZS, on Flickr
Not bad!!
However, clearly not perfect… so next Kelly polished the panel up with Scholl S3 and a Scholl Wool Pad via Flex Rotary:
DSC01573 by RussZS, on Flickr
DSC01576 by RussZS, on Flickr
So the top half of his section of the panel was all done by machine (2000 then 4000 as I’ve seen on here many times) and the bottom part was all done by hand 1500, 2000, 2500, 3000 and 4000 (done properly IMO!).
Using a PDR light, we can see the bottom half of the panel (done by hand)
DSC01584 by RussZS, on Flickr
(Note the dent)
Now the top half, done by machine:
DSC01586 by RussZS, on Flickr
Now we can see that the orange peel has been flattened to an extent, but has not been removed entirely. From my perspective, it was clear to see that sanding by machine was not only very quick but also very easy to do – easier than correcting paint with a rotary certainly! Whilst it did flatten a little, it was beginning to become clear that to remove orange peel correctly and fully, then it needed to be done by hand.
Further pics of the panel:
Top Half (machine)
DSC01590 by RussZS, on Flickr
Low Half (hand)
DSC01593 by RussZS, on Flickr
Then it was my turn….!!!
So, before I started, we took a paint reading:
DSC01597 by RussZS, on Flickr
I started, like Kelly did, with 1500 grit:
DSC01601 by RussZS, on Flickr
DSC01600 by RussZS, on Flickr
DSC01599 by RussZS, on Flickr
Very scary stuff at first! It needed another pass to completely flatten the remaining peel:
DSC01603 by RussZS, on Flickr
DSC01605 by RussZS, on Flickr
Much better… much more even coverage and crucially, the peel is all but removed:
DSC01606 by RussZS, on Flickr
2000 grade was next, then 2500:
DSC01608 by RussZS, on Flickr
DSC01609 by RussZS, on Flickr
You can see the gloss starting to return to the paint at this stage, it becomes far more reflective.
DSC01611 by RussZS, on Flickr
We finished with 3000:
DSC01613 by RussZS, on Flickr
DSC01612 by RussZS, on Flickr
Next I used the Flex/S3/Wool combination to remove the sanding marks:
DSC01614 by RussZS, on Flickr
DSC01617 by RussZS, on Flickr


")