imported_Dave KG
New member
Videos: please note they have been speeded up, and the sound and picture don't quite allign!
The DA (Dual Action) polisher is considered by many to be the machine to use if you are new to machine polishing, though as discussed elsewhere, this is not always the case - rather, you should try wherever possible to try both styles of machine (DA and rotary) and see which suit your style the best as many will find the vibrations of DA polisher unsettling and this struggle with the control of the machine can actually make it more dangerous than the smoother rotary.
Additionally, you can often read on forums that DA polishers are not capable of correction, especially on hard finishes... this, in my opinion, is just a complete myth and one which needs to be busted! Used correctly, the DA polisher is a very capable machine - a little slower on some paints (but not all!) than a rotary, but no less capable in most cases! The key is in the technique and there are a few key points to keep in mind...
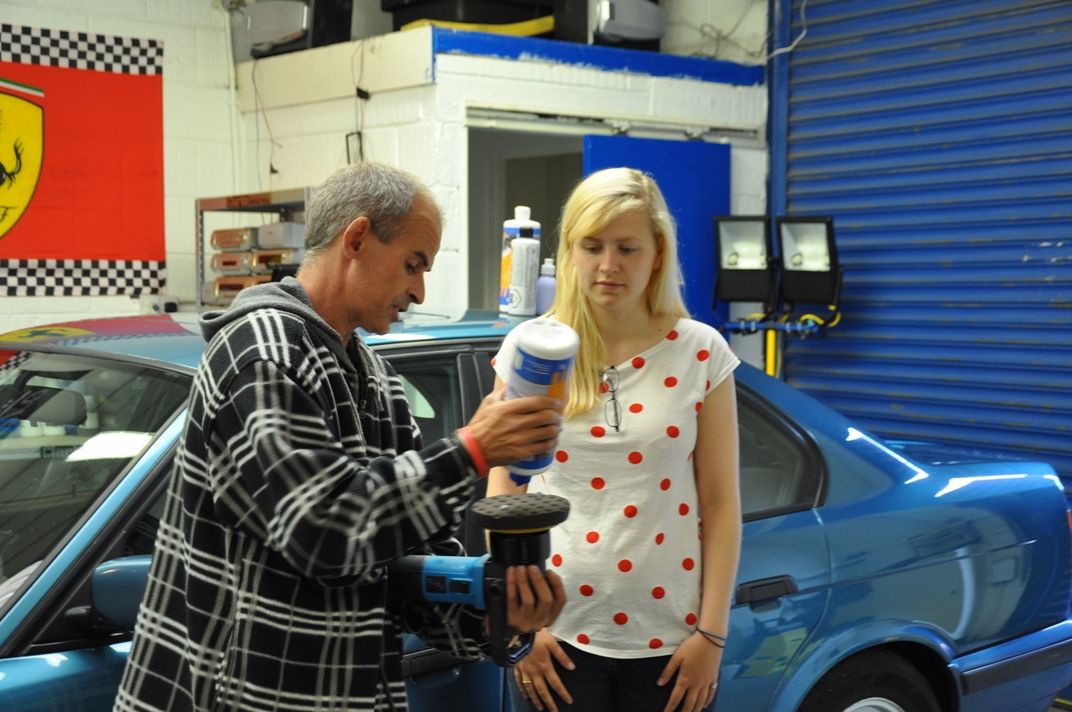
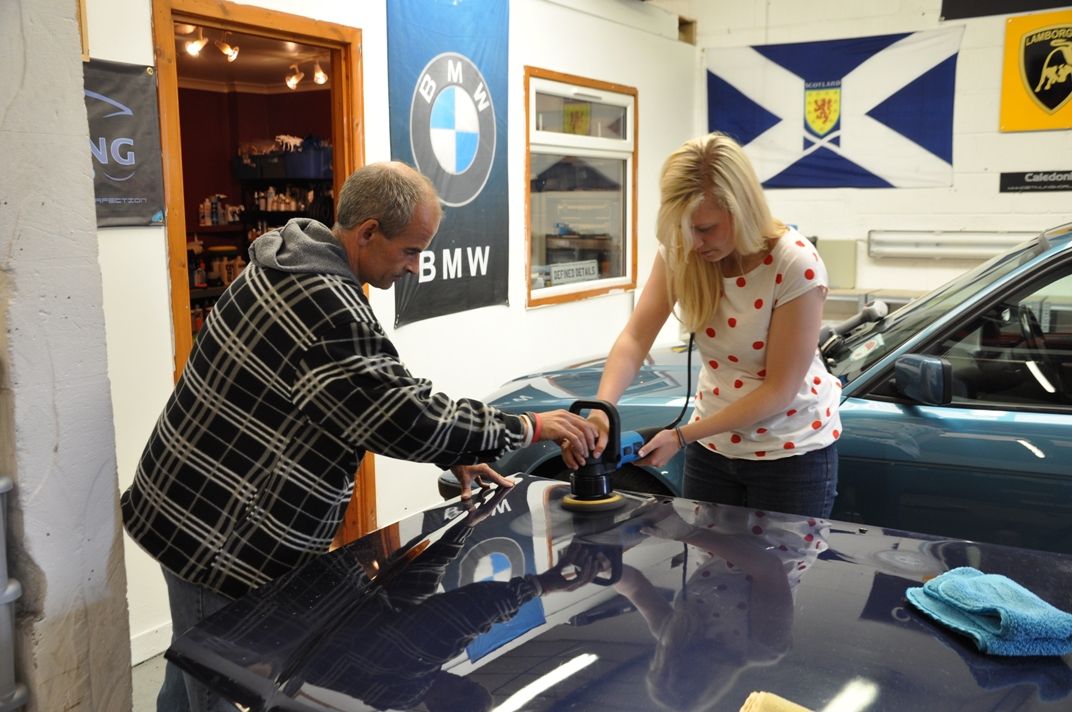
Putting this all into practice, Gordon starts off by demonstrating a typical DA set to our willing newbie, Allie")
Polish on the pad - new pad of the day, so in addition to the two blobs of polish we have a line of polish which will prime the pad through the first set:

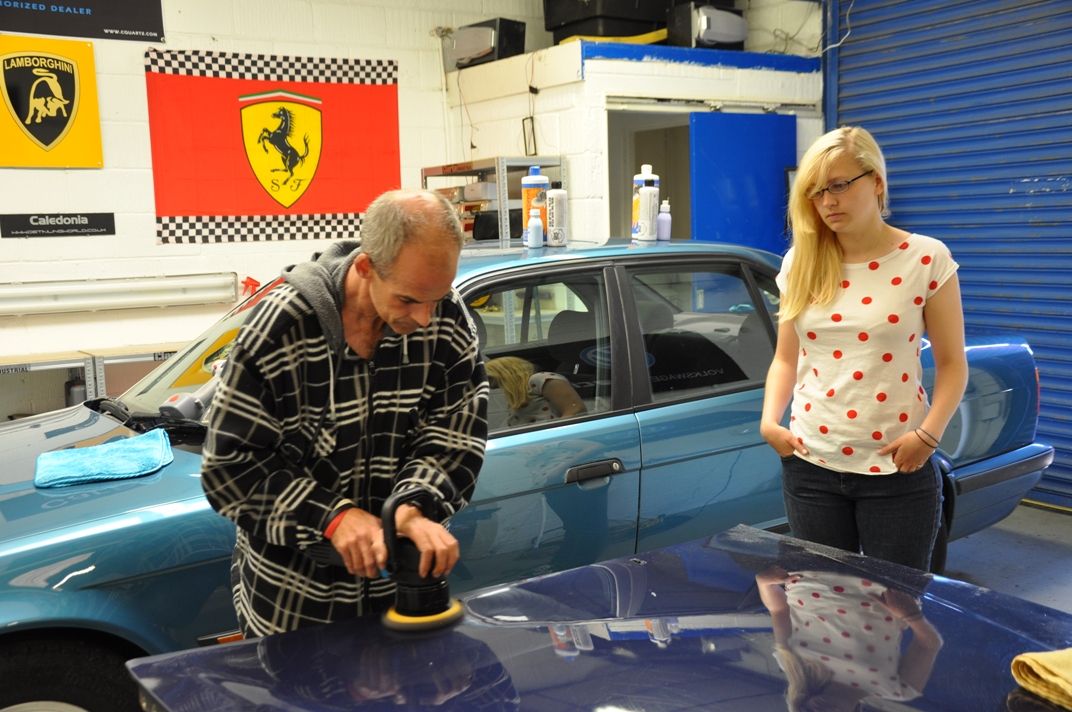
Select a low speed of around 1 - 3 for spreading the polish:
Always start and stop the machine on the paintwork, otherwise polish and pad will take off in all directions! Funny the first time, embarassing the second...
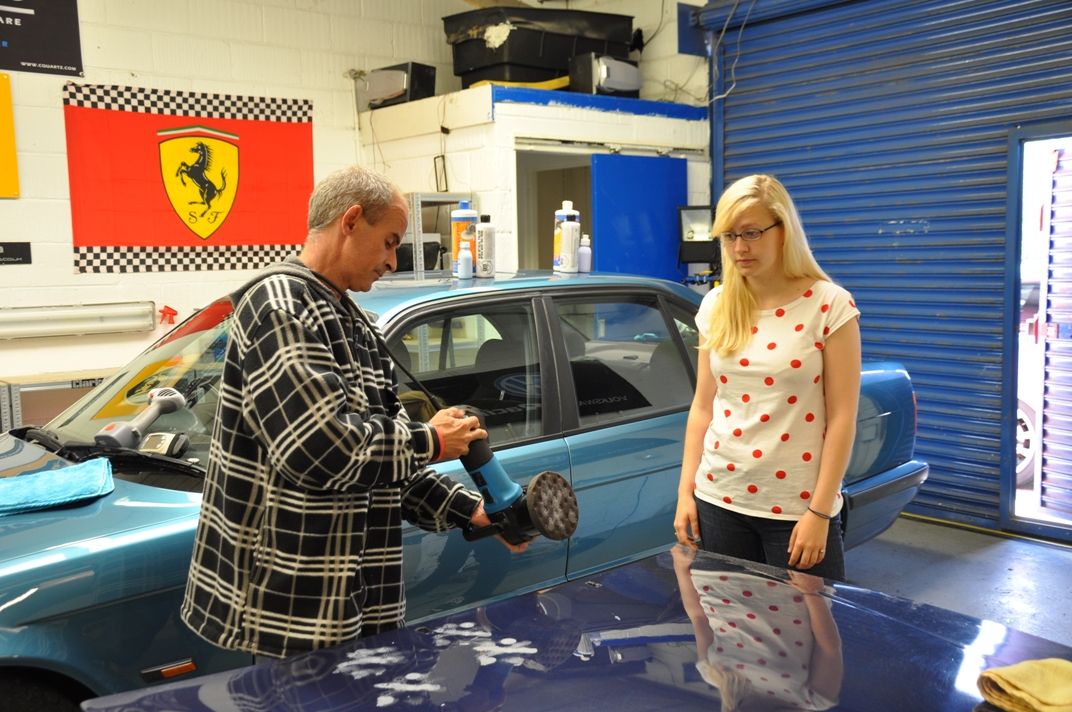
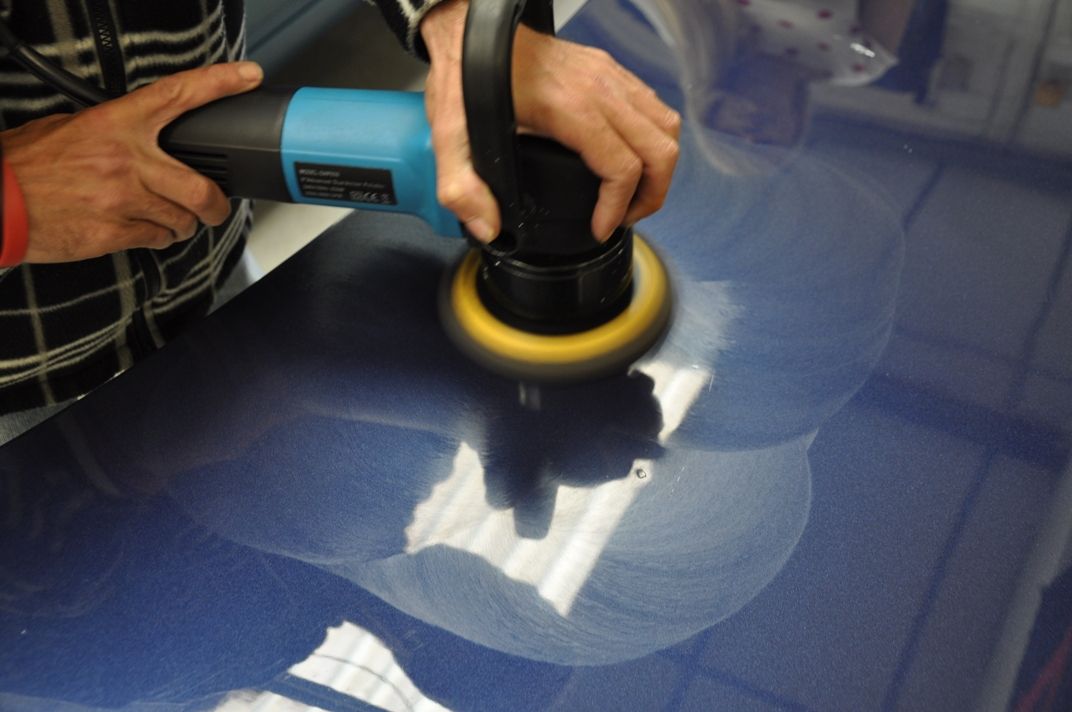
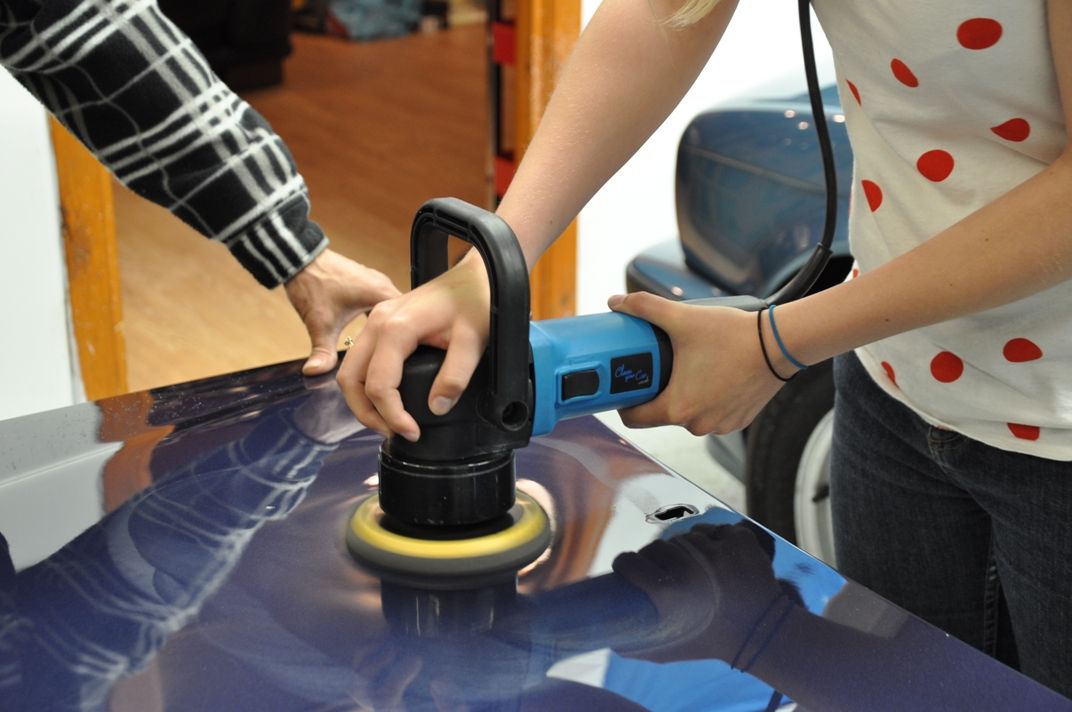
Gordon is right handed, holding the back of the machine in his right hand which will control the movement of the machine. The left hand deals with the pressure and is placed over the head of the machine to push down for the required pressure. Note the mark on the backing plate which allows you to see easily whether or not the backing plate is spinning.

Once spread, the machine is moved to its working speed of between 4 and 5.5, and slow steady passes made to work the polish... this series of pictures shows the residue as the polish (Menzerna PO85RD Final Finish in this case) breaks down, getting clearer and clearer...
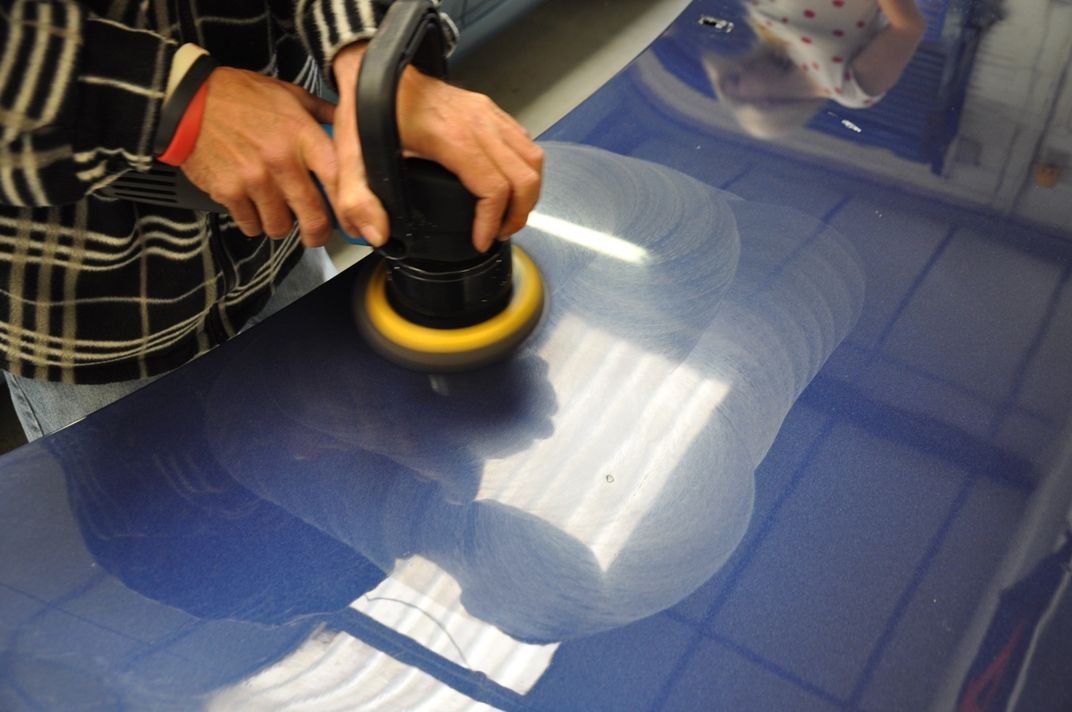
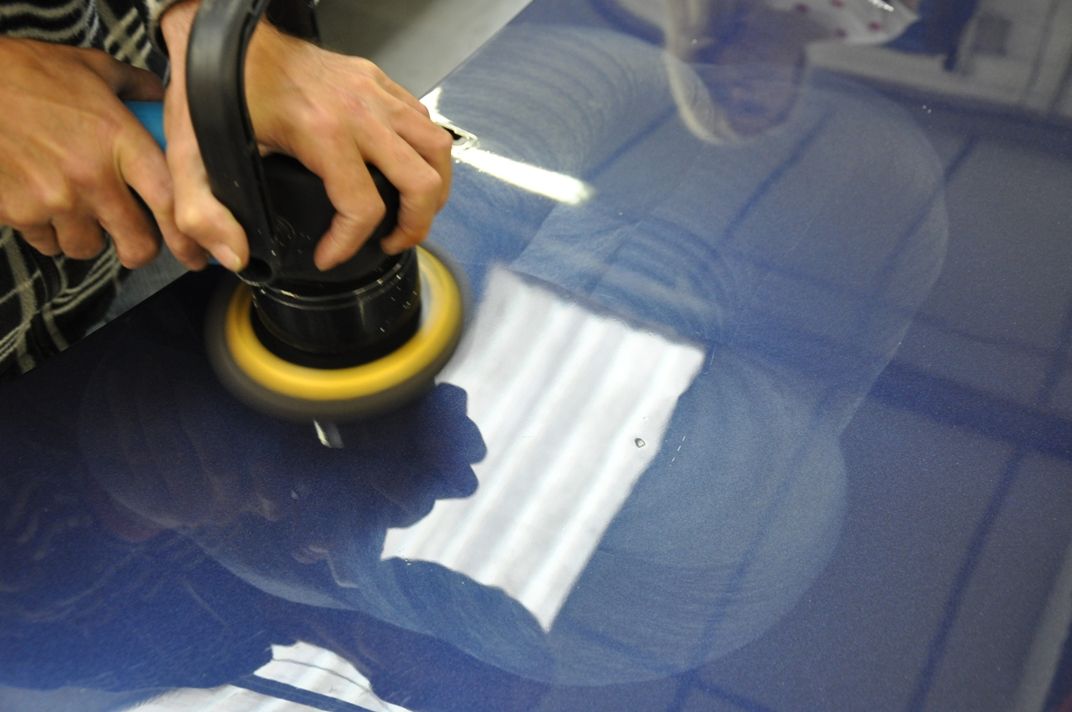
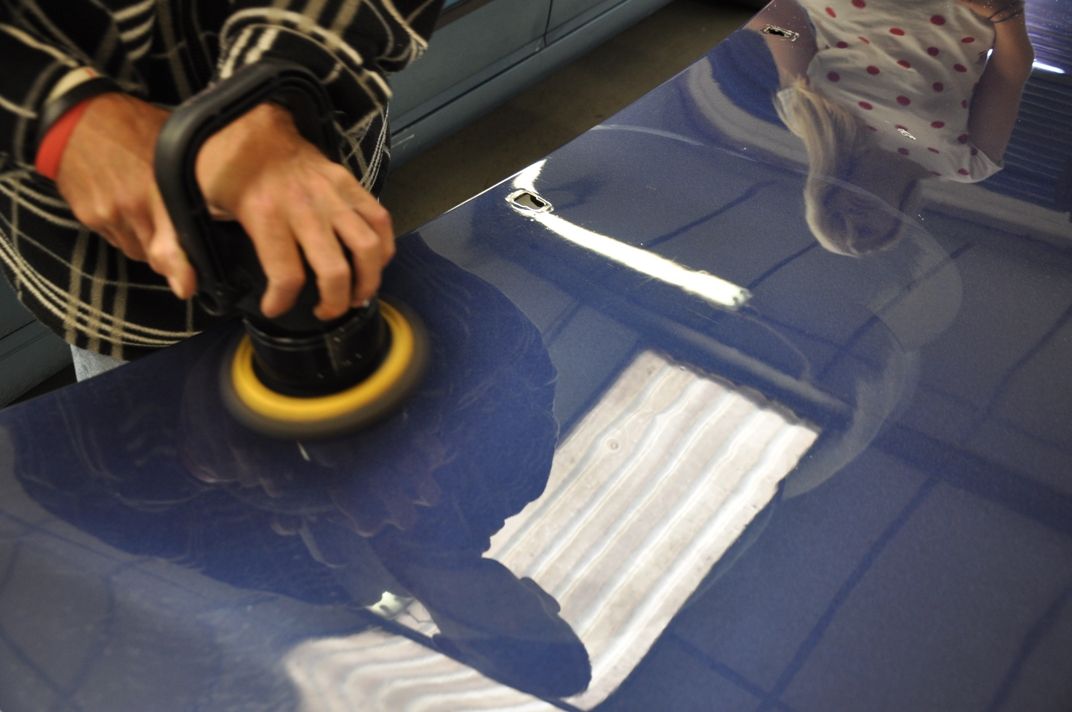
Last picture shows the polish, fully worked with just an oily glazing residue left - at this stage, the polish abrasives have broken down and the only refining you will be seeing is from the pad working with the glazing oils: you can prolong your set beyond this (ideally at a slower speed) so long as these oils do not break down, a technique many refer to as jeweling, and on some finishes this may deliver an extra advantage in terms of gloss enhancement.
Speeded up to double-speed (perhaps slightly faster), this is how the set looks on video:

Note at the end, when the pressure is released, you get additional lubrication return to the finish and this can be used if desired to lengthen the set for additional jeweling: pressure compresses this into the pad. The release of these is a key to the "rejuvenating technique" that we use for PO85RD3.02 Intensive Polish which will be a subject of another thread. Note the small working area, slow movement speed (this video is sped up remember!), long working time and the pressure over the machine and what this looks to be doing to the pad movement.
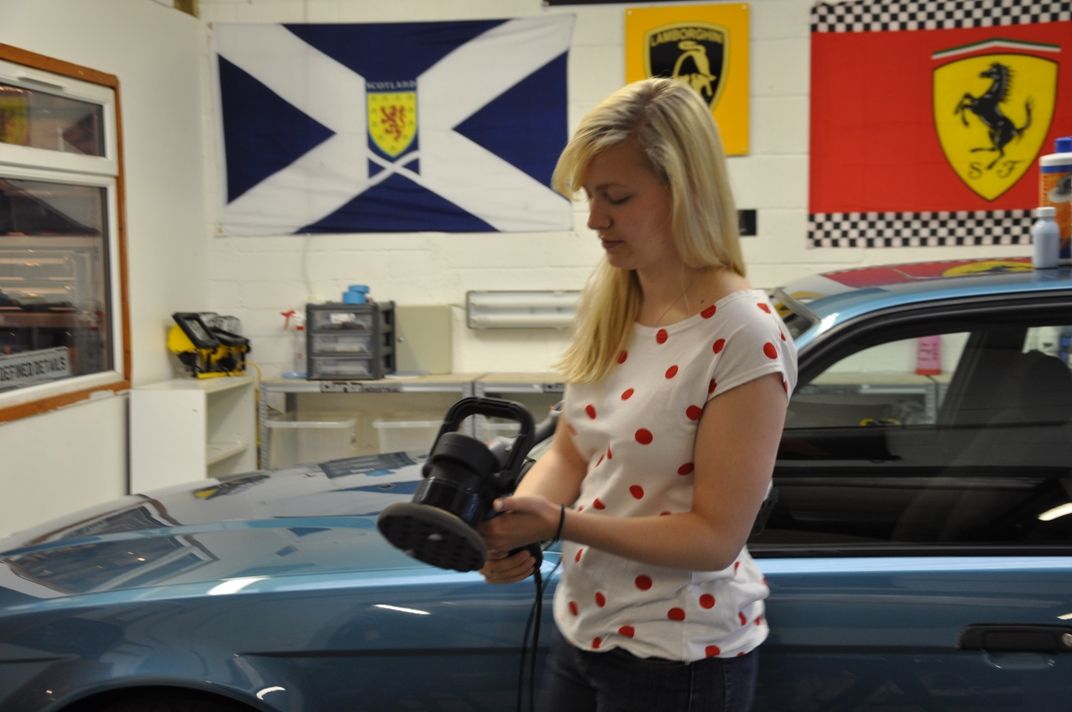
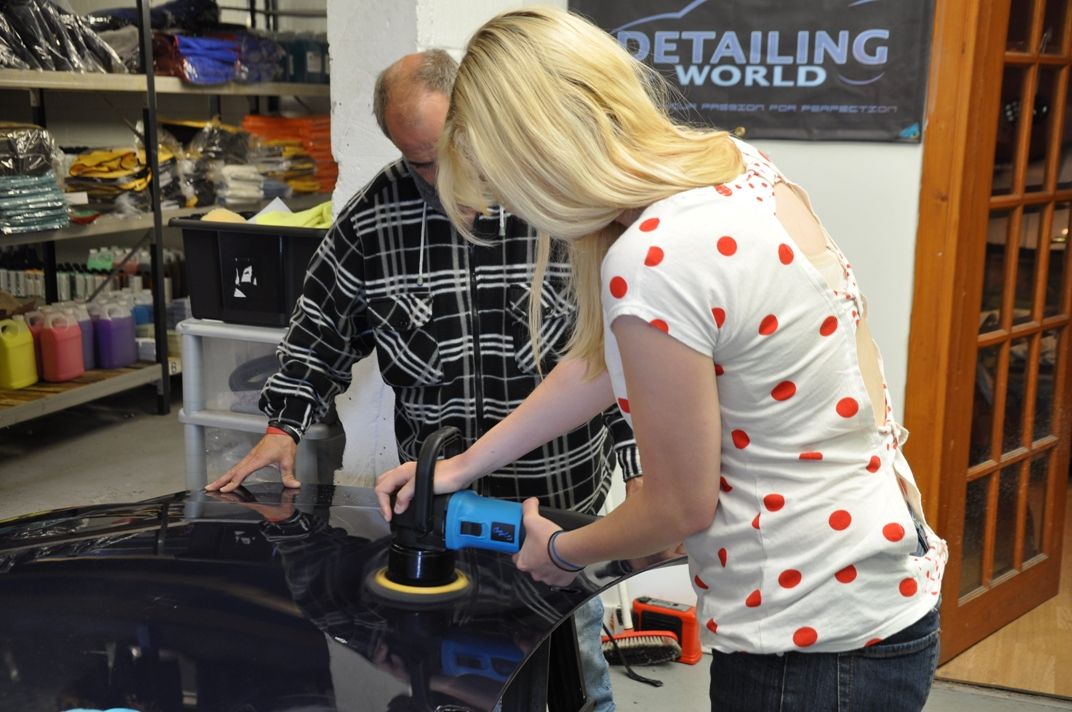
Now, over to our newbie:

Note the initial newbie mistake - machine off the paint switched on! Own up, seasoned machiners, how many of us have done that? :wave:
Gordon keeps Allie on track for her first go with the DA polisher - I'm sure she'll share her feelings of the DA, she didn't seem to enjoy it compared to the rotary in terms of comfort! But she made a good go at getting the machine to do its job, and demonstrated that a newbie can get going with a DA polisher...


:buffer::thumb:
The DA (Dual Action) polisher is considered by many to be the machine to use if you are new to machine polishing, though as discussed elsewhere, this is not always the case - rather, you should try wherever possible to try both styles of machine (DA and rotary) and see which suit your style the best as many will find the vibrations of DA polisher unsettling and this struggle with the control of the machine can actually make it more dangerous than the smoother rotary.
Additionally, you can often read on forums that DA polishers are not capable of correction, especially on hard finishes... this, in my opinion, is just a complete myth and one which needs to be busted! Used correctly, the DA polisher is a very capable machine - a little slower on some paints (but not all!) than a rotary, but no less capable in most cases! The key is in the technique and there are a few key points to keep in mind...
- Pressure - you need some! Enought to slow down the pad rotations, or change the tone of the motor of the machine but not so much as to stop the pad rotating altogether (about 10lbs of pressure)
- Slow movement speed - yes, very slow - about 1" per second maximum when correcting
- Small work area: be focussed on this, no more than 1' square ar the start extending to a maximum of 18" square.
- Long work times - longer than you think, work until the products are fully broken down (for diminshing abrasives), circa 3 - 5 minutes work time
Putting this all into practice, Gordon starts off by demonstrating a typical DA set to our willing newbie, Allie
Polish on the pad - new pad of the day, so in addition to the two blobs of polish we have a line of polish which will prime the pad through the first set:
Select a low speed of around 1 - 3 for spreading the polish:
Always start and stop the machine on the paintwork, otherwise polish and pad will take off in all directions! Funny the first time, embarassing the second...
Gordon is right handed, holding the back of the machine in his right hand which will control the movement of the machine. The left hand deals with the pressure and is placed over the head of the machine to push down for the required pressure. Note the mark on the backing plate which allows you to see easily whether or not the backing plate is spinning.
Once spread, the machine is moved to its working speed of between 4 and 5.5, and slow steady passes made to work the polish... this series of pictures shows the residue as the polish (Menzerna PO85RD Final Finish in this case) breaks down, getting clearer and clearer...
Last picture shows the polish, fully worked with just an oily glazing residue left - at this stage, the polish abrasives have broken down and the only refining you will be seeing is from the pad working with the glazing oils: you can prolong your set beyond this (ideally at a slower speed) so long as these oils do not break down, a technique many refer to as jeweling, and on some finishes this may deliver an extra advantage in terms of gloss enhancement.
Speeded up to double-speed (perhaps slightly faster), this is how the set looks on video:
Note at the end, when the pressure is released, you get additional lubrication return to the finish and this can be used if desired to lengthen the set for additional jeweling: pressure compresses this into the pad. The release of these is a key to the "rejuvenating technique" that we use for PO85RD3.02 Intensive Polish which will be a subject of another thread
. Note the small working area, slow movement speed (this video is sped up remember!), long working time and the pressure over the machine and what this looks to be doing to the pad movement.Now, over to our newbie:
Note the initial newbie mistake - machine off the paint switched on! Own up, seasoned machiners, how many of us have done that? :wave:
Gordon keeps Allie on track for her first go with the DA polisher - I'm sure she'll share her feelings of the DA, she didn't seem to enjoy it compared to the rotary in terms of comfort! But she made a good go at getting the machine to do its job, and demonstrated that a newbie can get going with a DA polisher...
:buffer::thumb:
") lol)
lol)