** Imola Red BMW M3 Paint Correction by Unique Car Care **

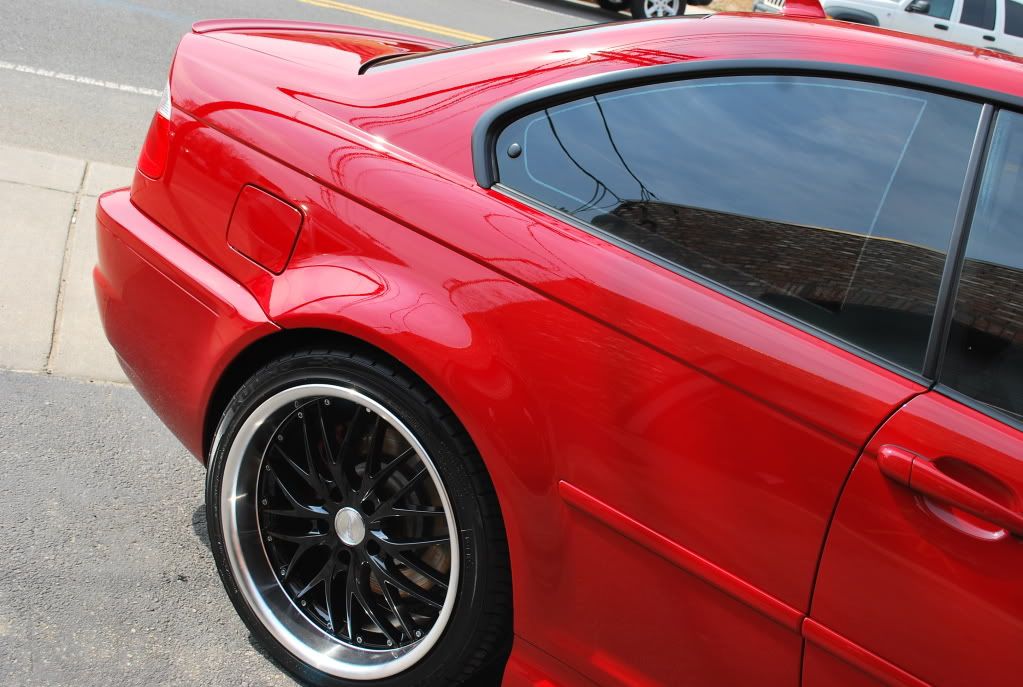
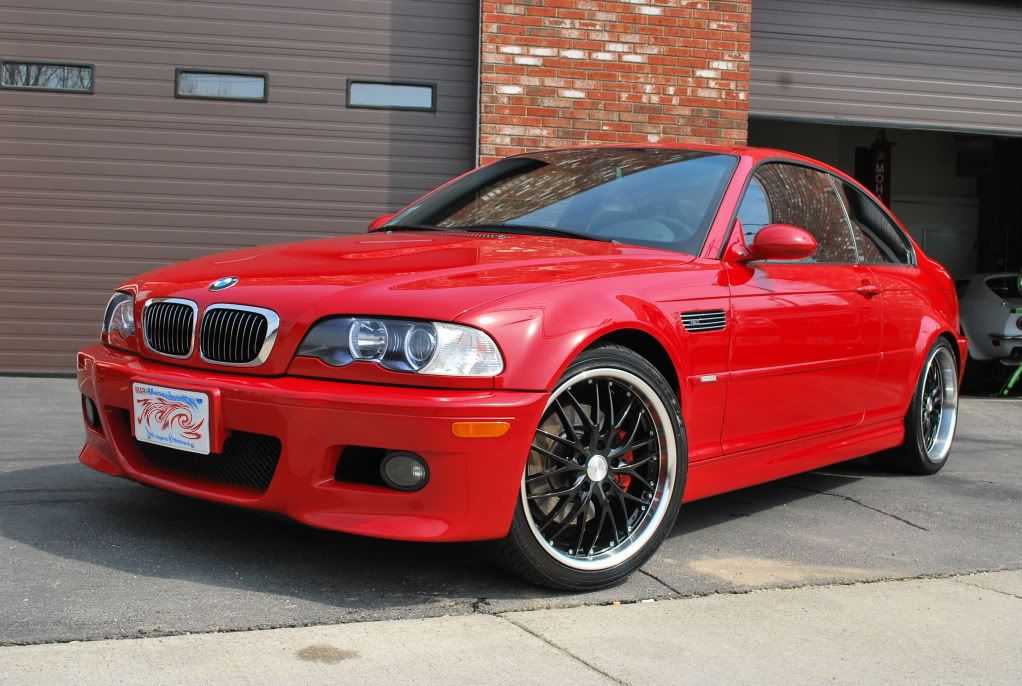
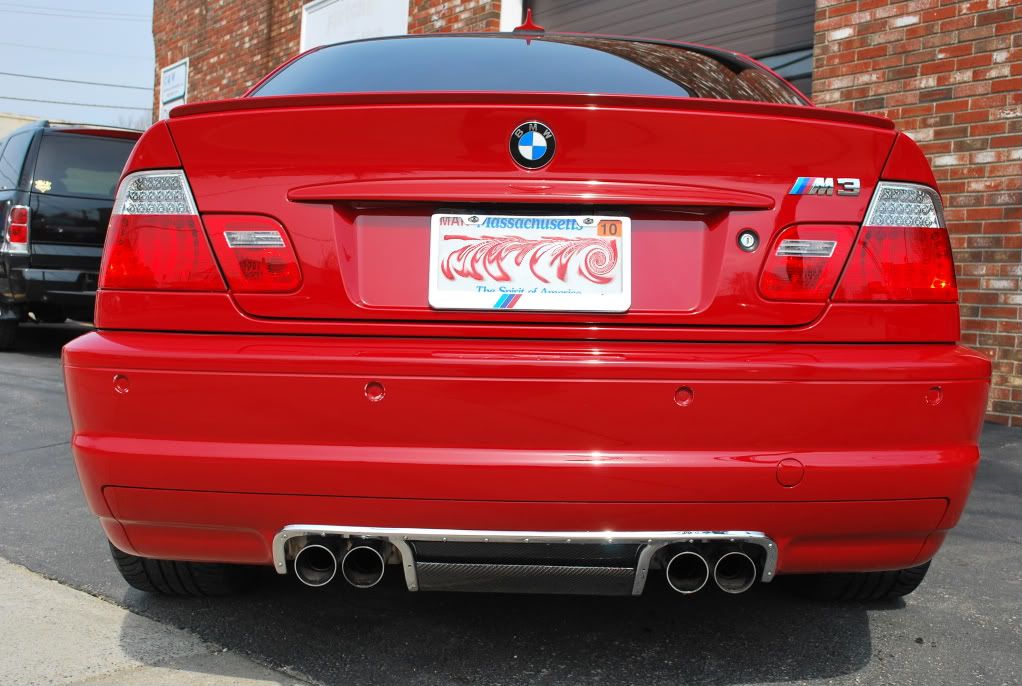
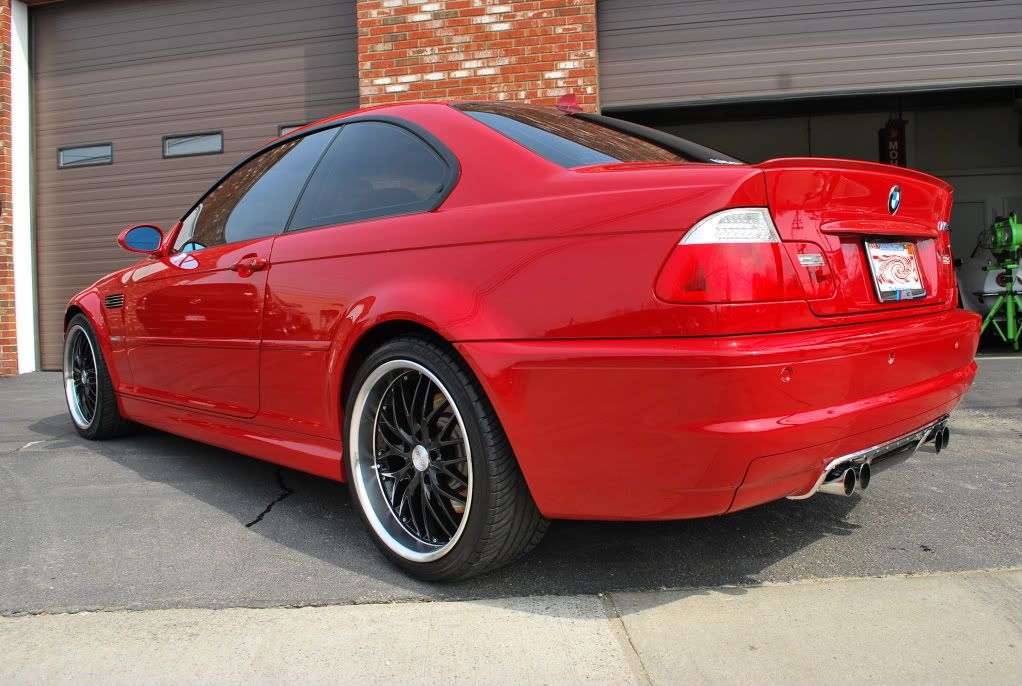
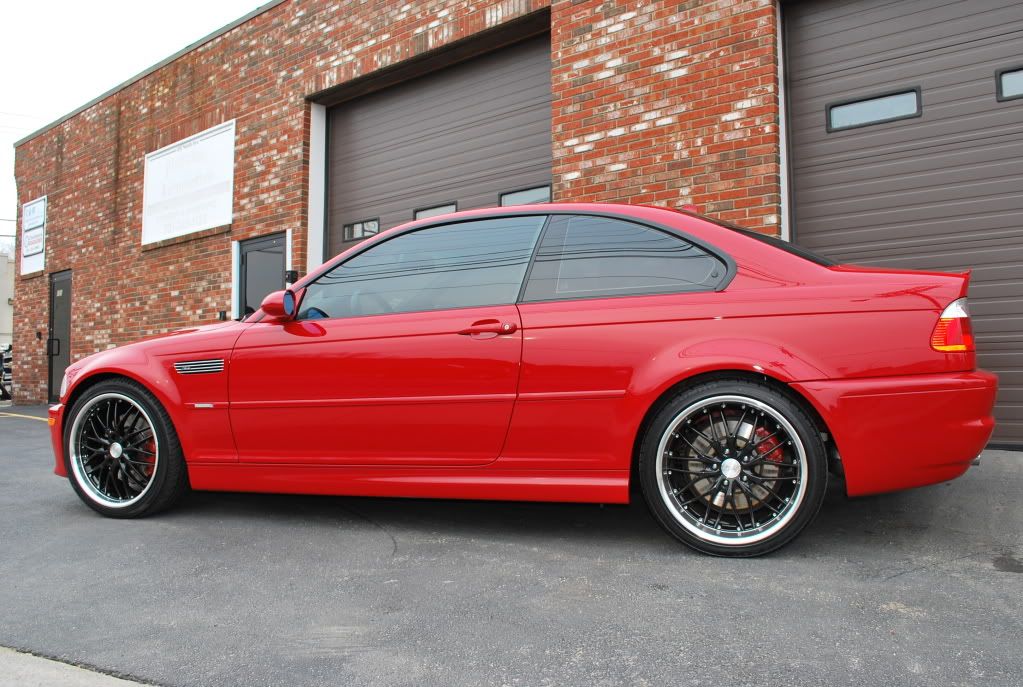
This beautiful Imola Red BMW M3 Coupe was scheduled for just a basic exterior detail, which of course turned into a bit more. It belongs to a first time customer, who had seen some of my past work online and booked an appointment. Come to find out, I know the owners brother really well, so I ended up spending more time than I had originally planned.


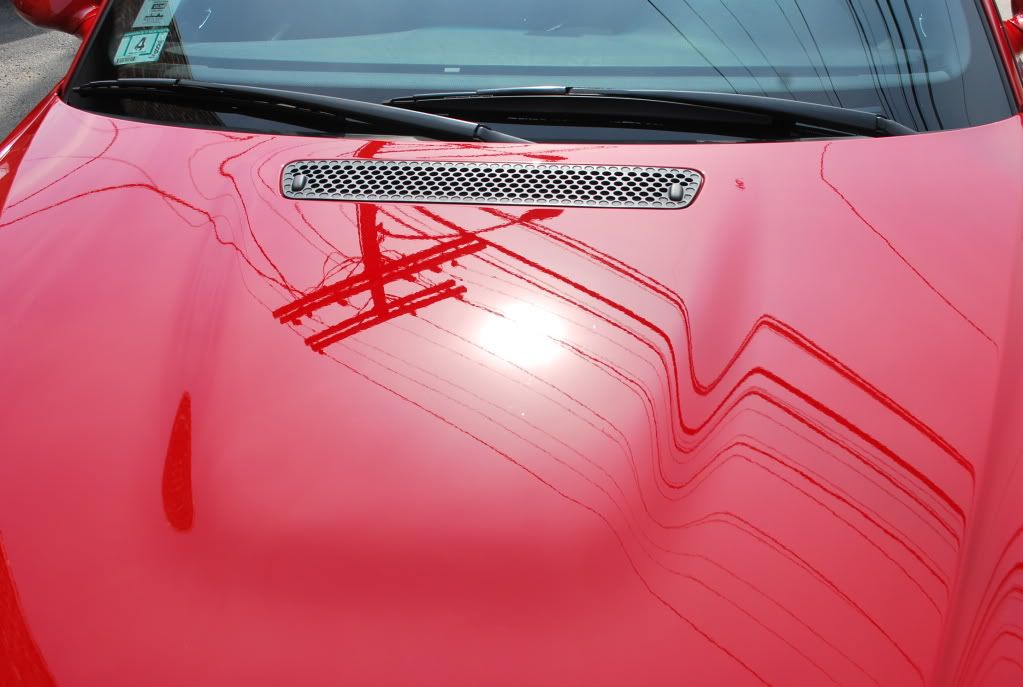
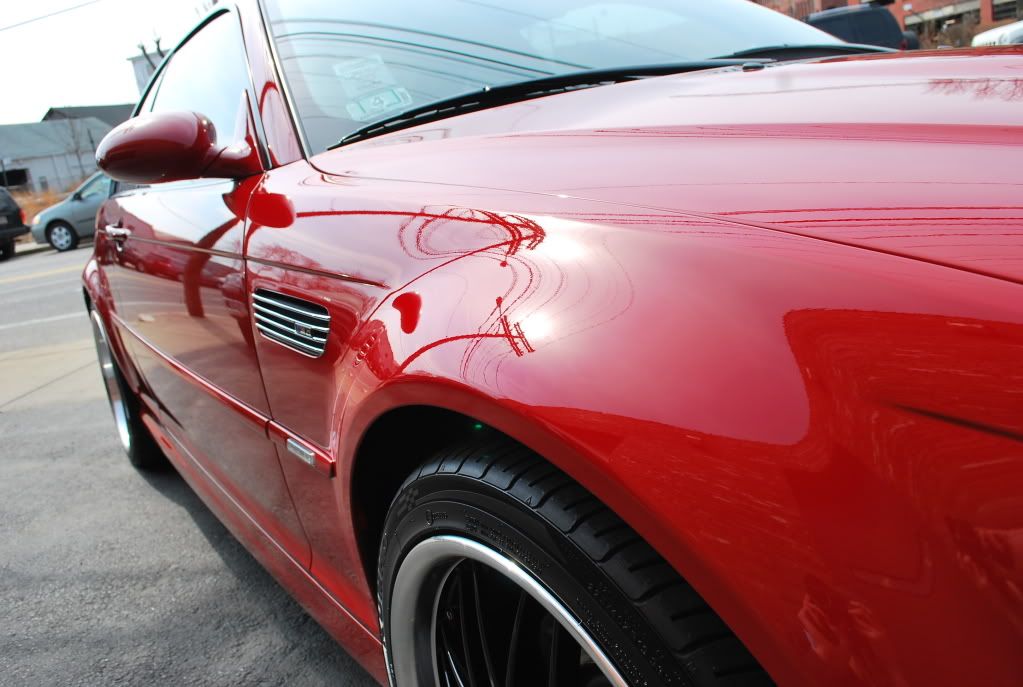
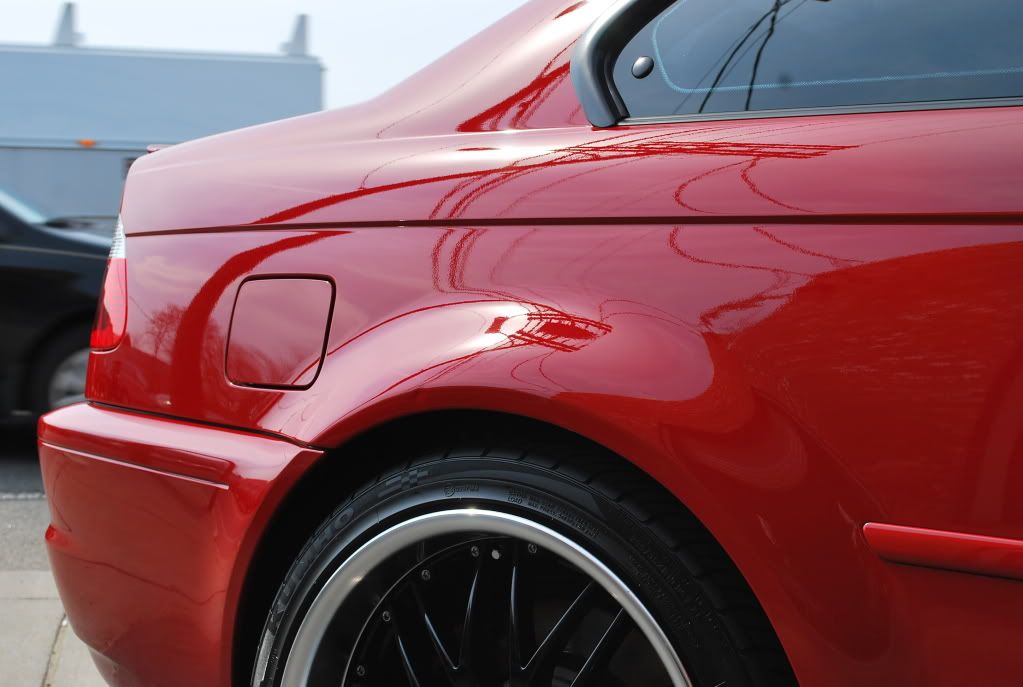
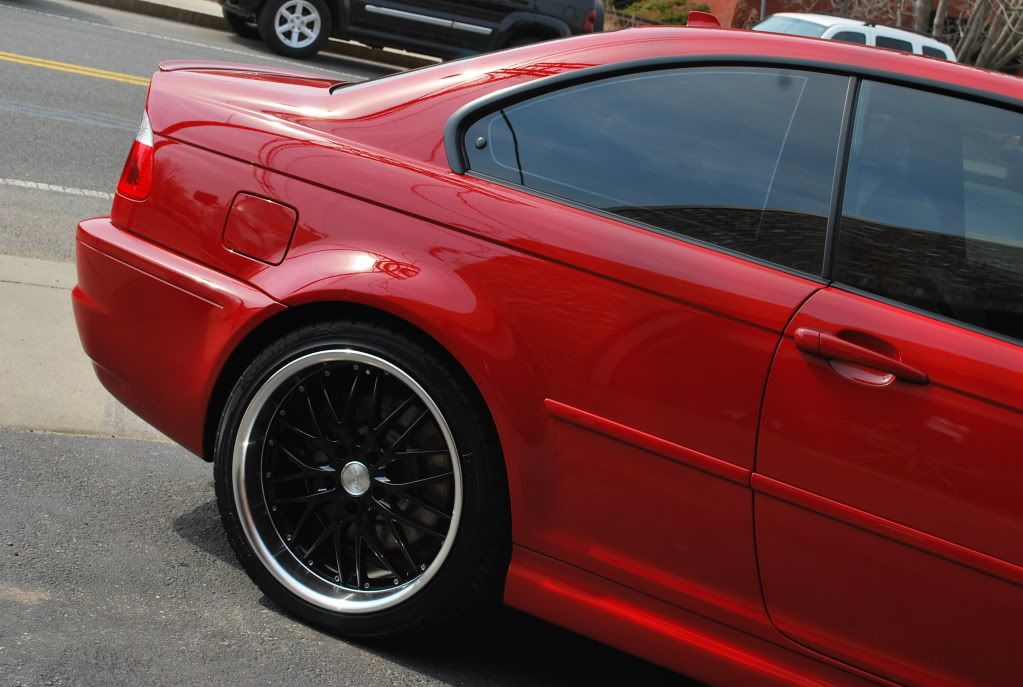
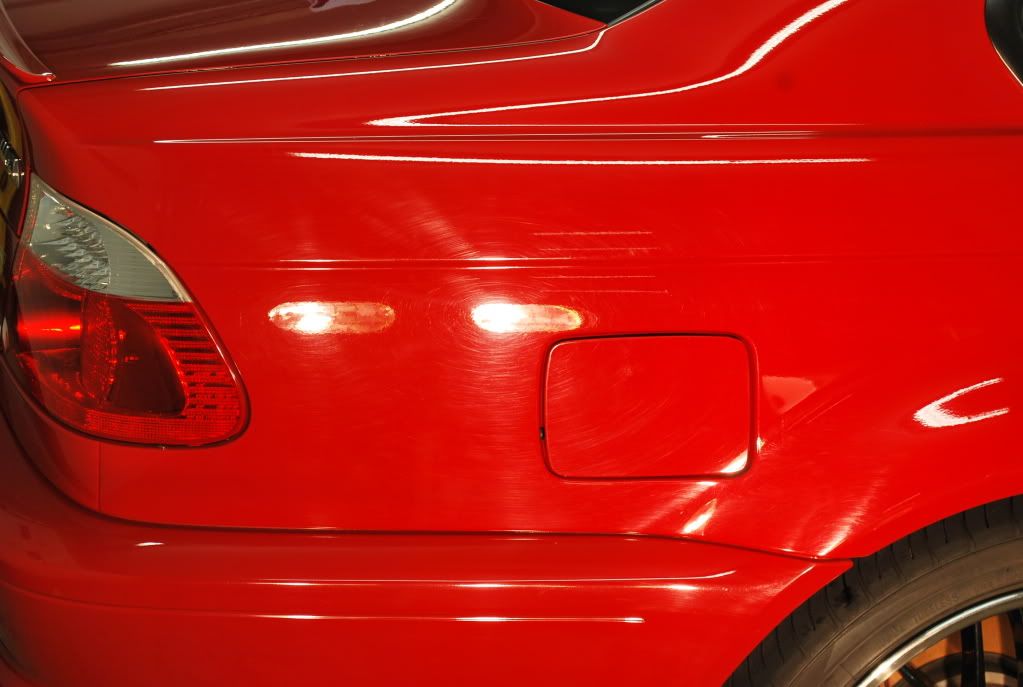
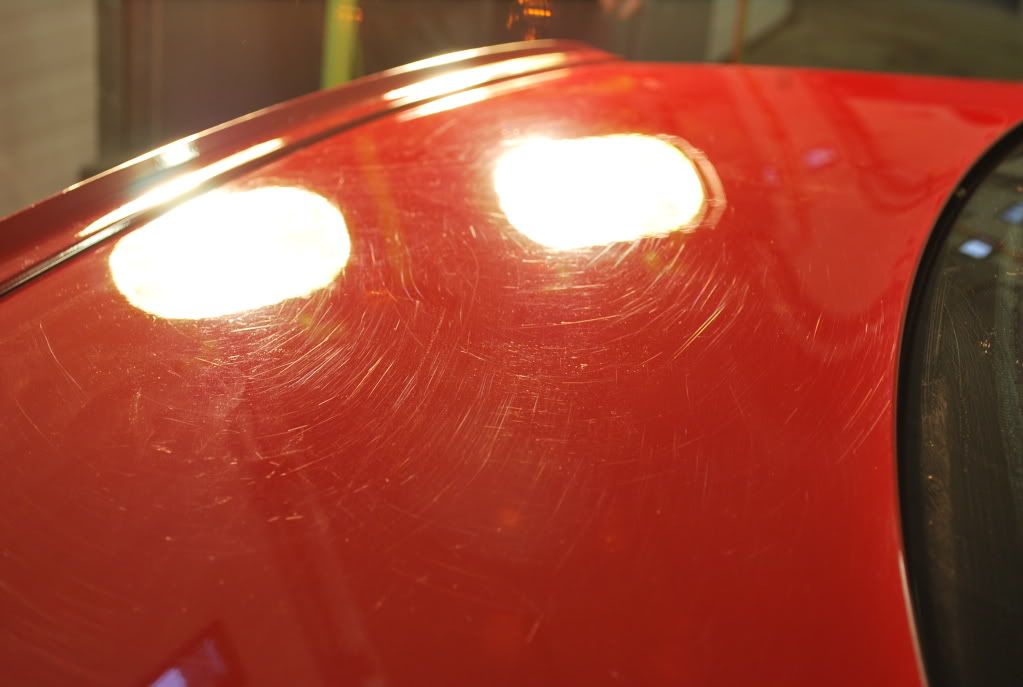
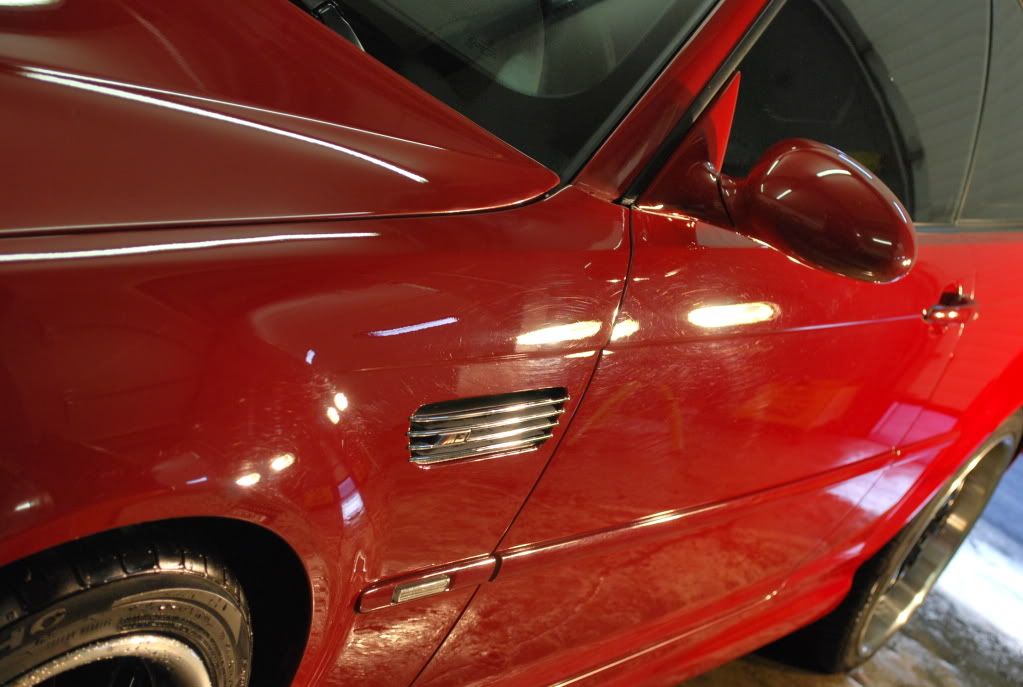
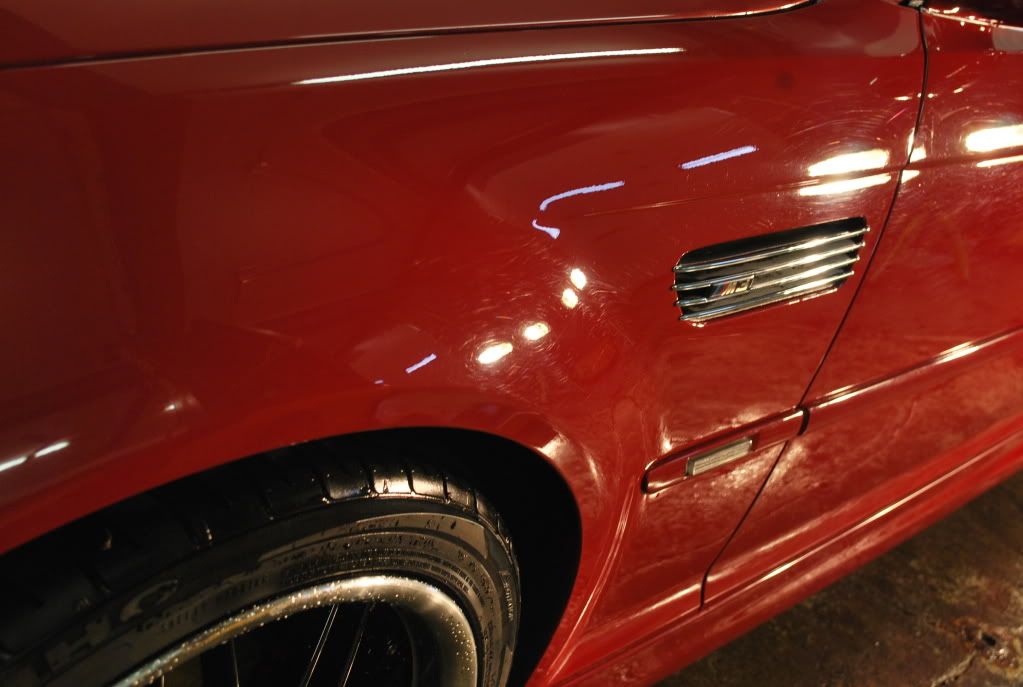
The car was fairly beat up from the wonderful New England winter it had just endured. I had a busy week planned, so my goal was to have the car in & out in no more than 24 hours. Due to the limited time frame to complete the detail, I didn?t have the time to document everything. I only got to take pictures before and after the detail, so no during pics.


I started by foaming the car down, let it dwell for several minutes and rinsed the car thoroughly. Next, I gave the car a basic hand wash and cleaned the wheels, tires & wheel wells. I gave it a quick rinse, foamed the car down again and clayed the exterior using a green Sonus clay bar (good stuff!) to remove any bonded contaminants from the surface. Since the car was heavily contaminated, I tried my new bottle of Blackfire Clay Cleaner to remove most of the contamination from the clay bar. The car was rinsed, dried and all door, hood and trunk jambs were wiped clean. All cracks & crevices were purged with compressed air and all trim / moldings were masked off with blue painters tape. I gave the exterior a quick alcohol wipedown before any polishing was done.


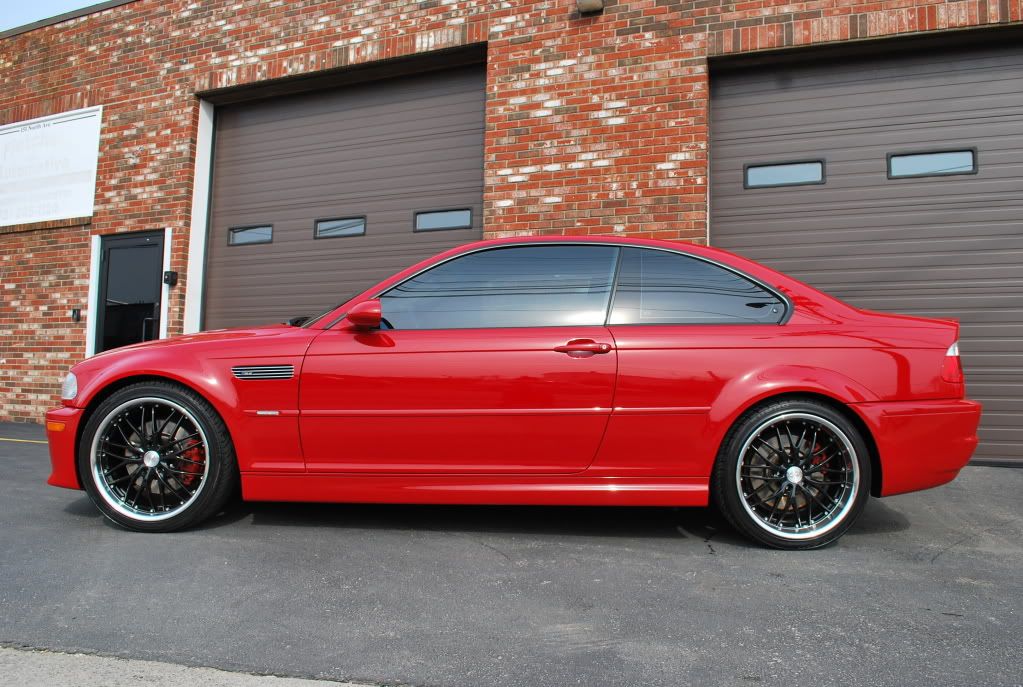
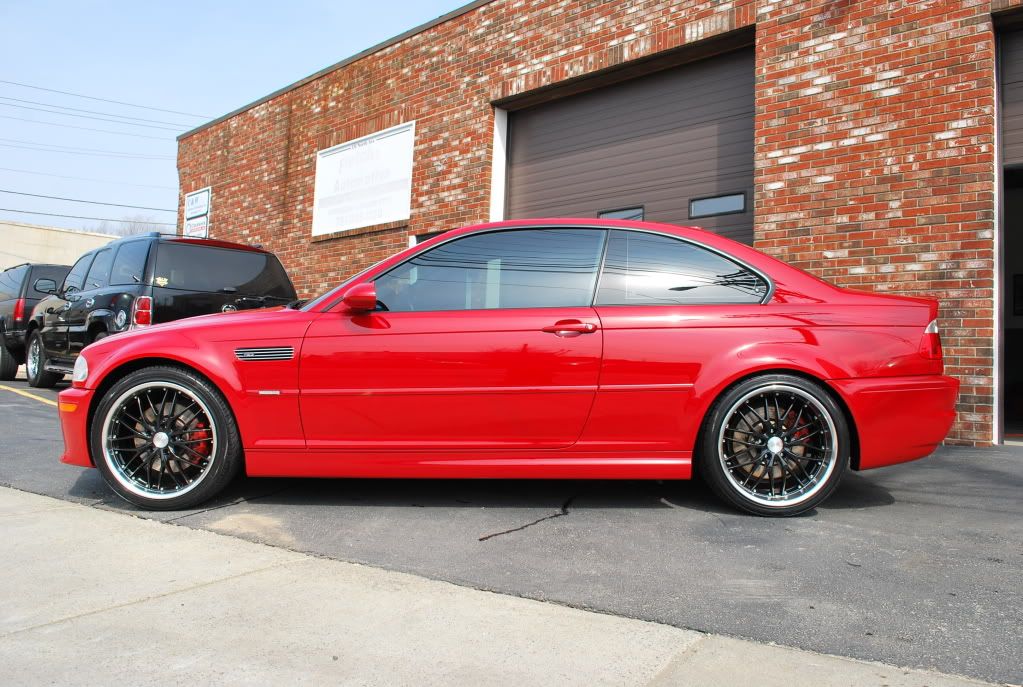
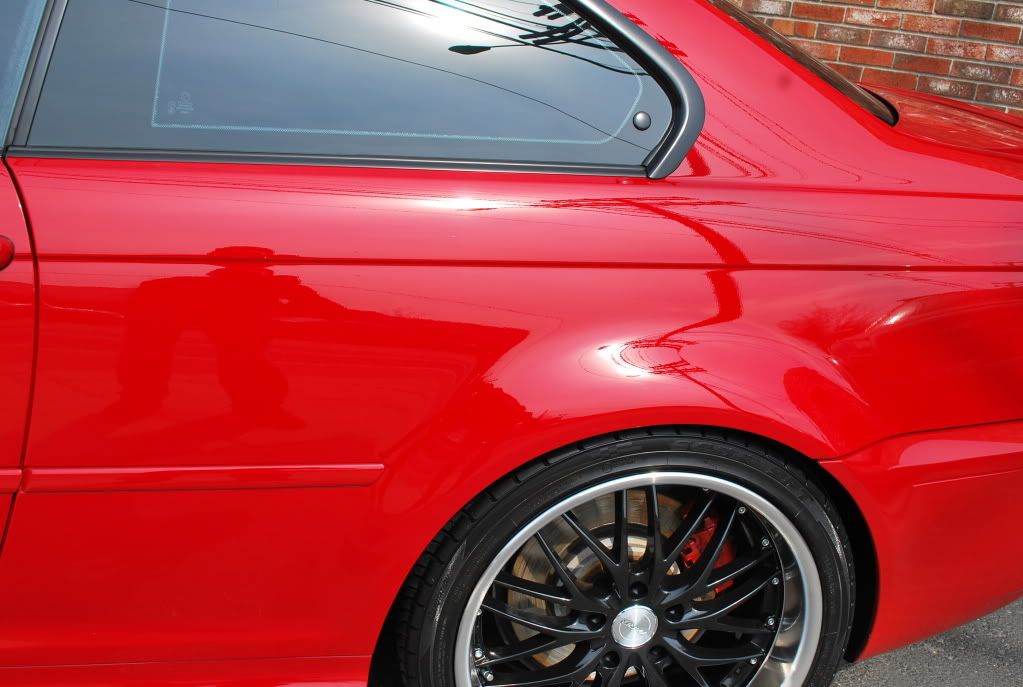
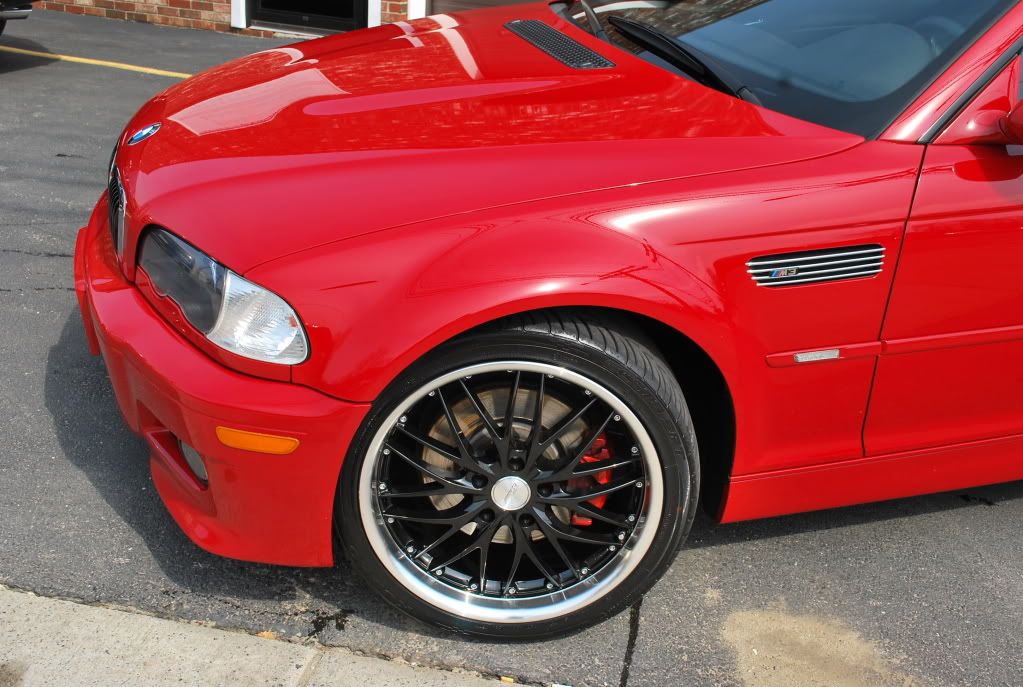
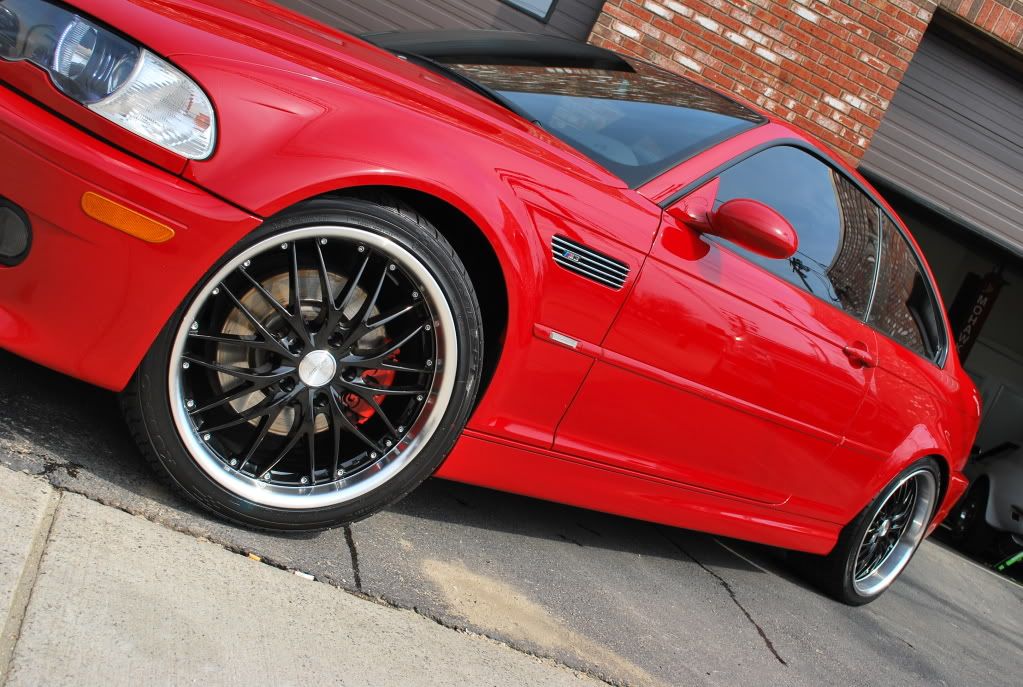
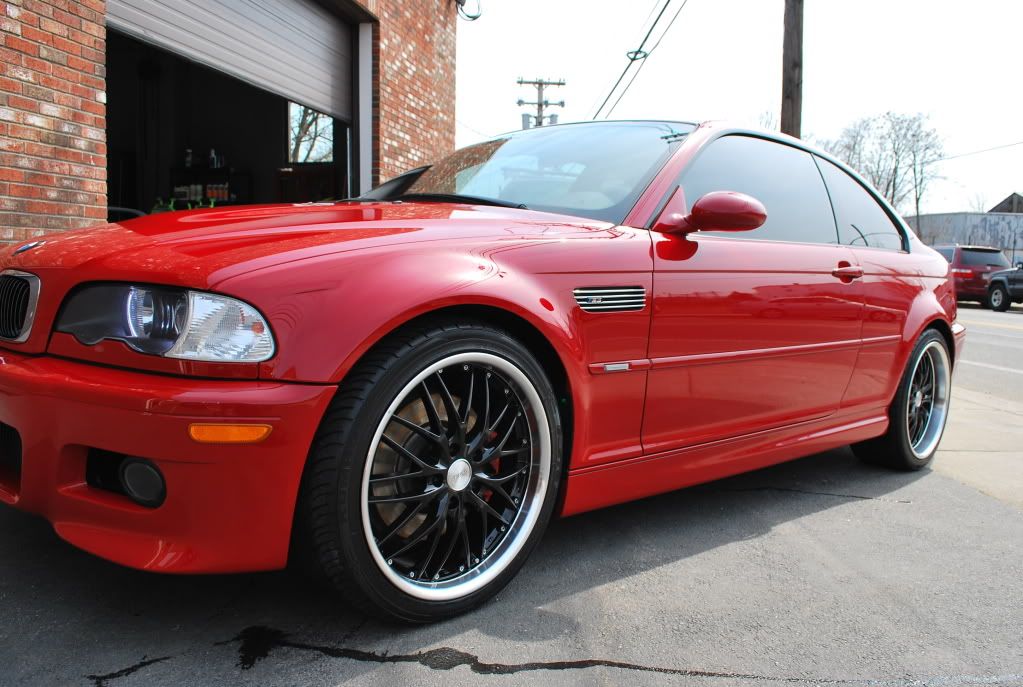
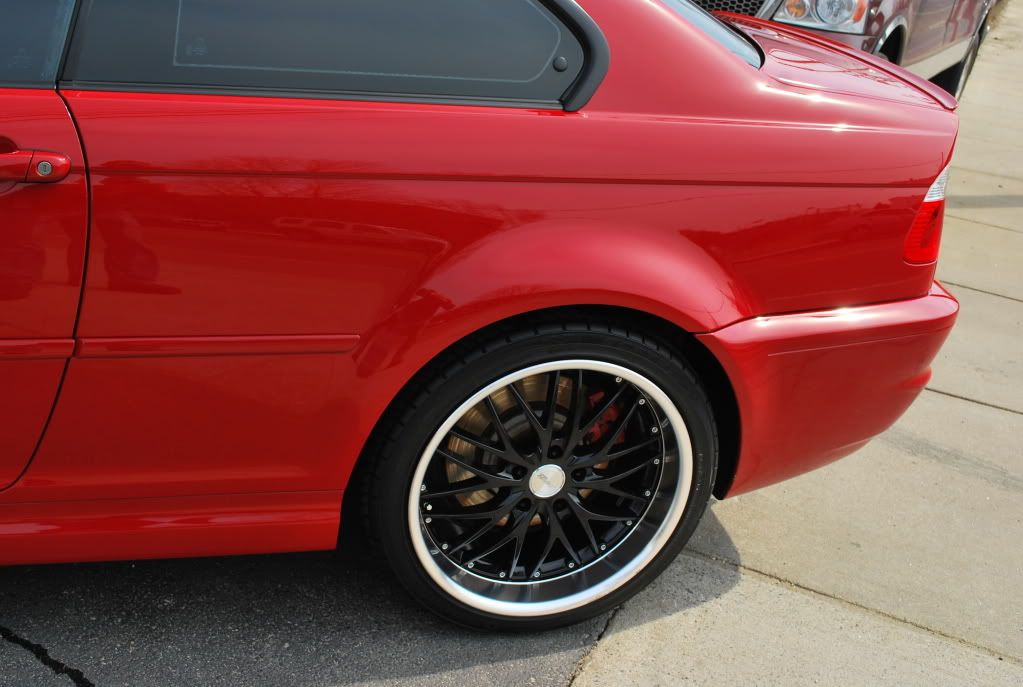
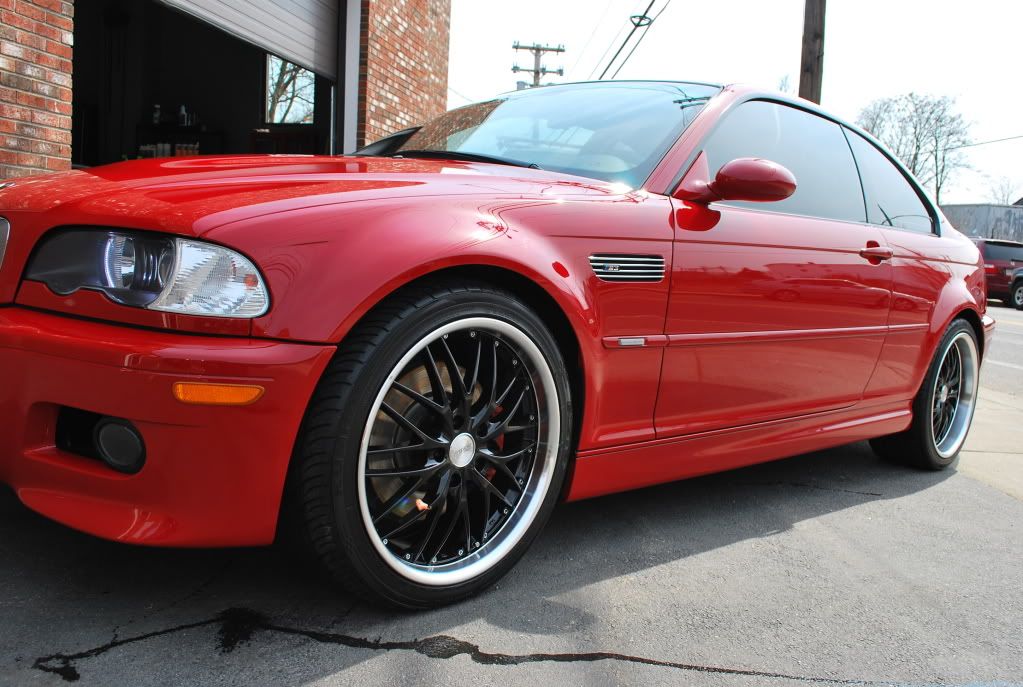
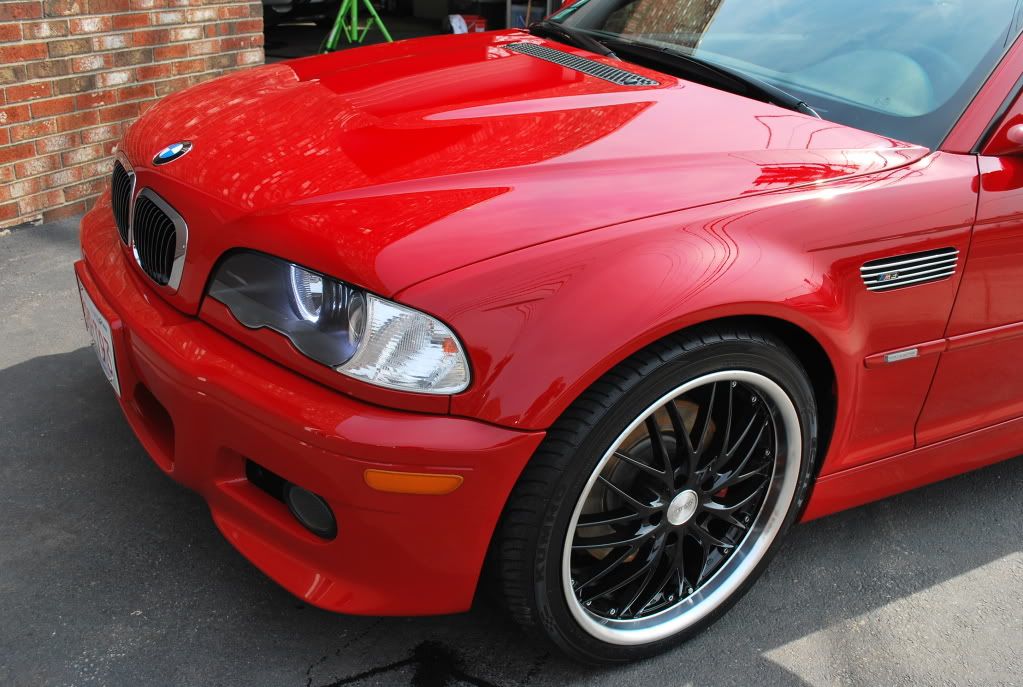
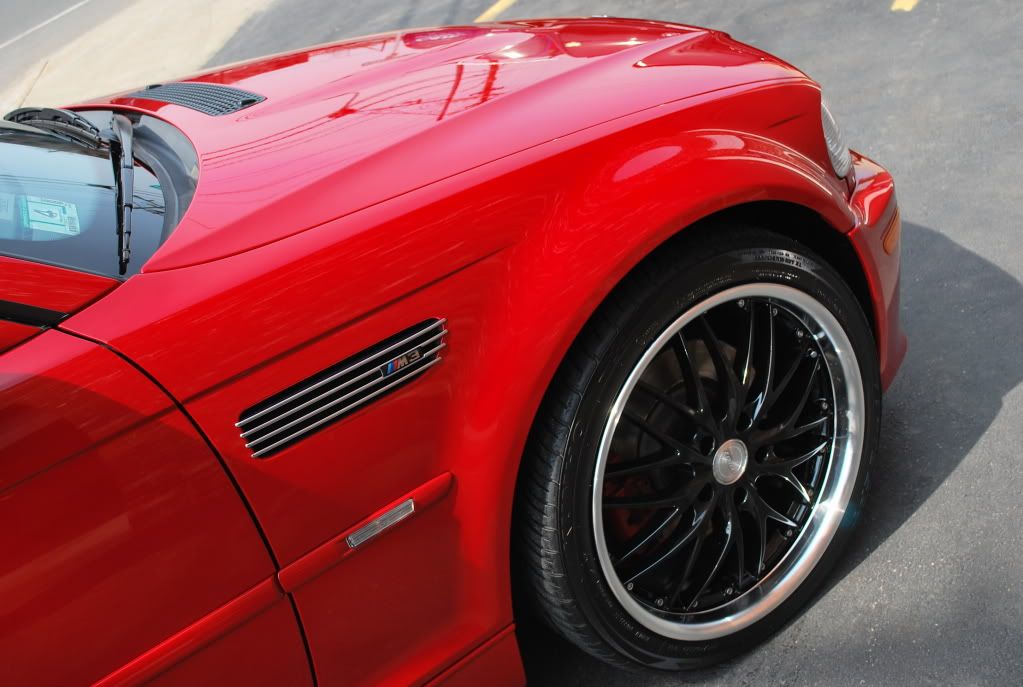
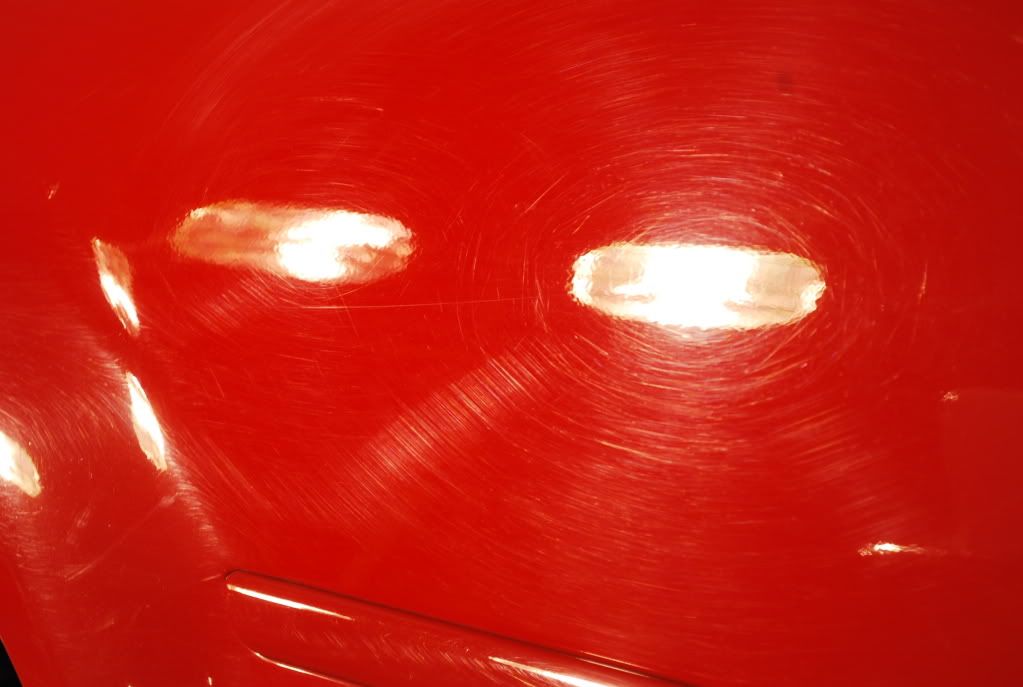
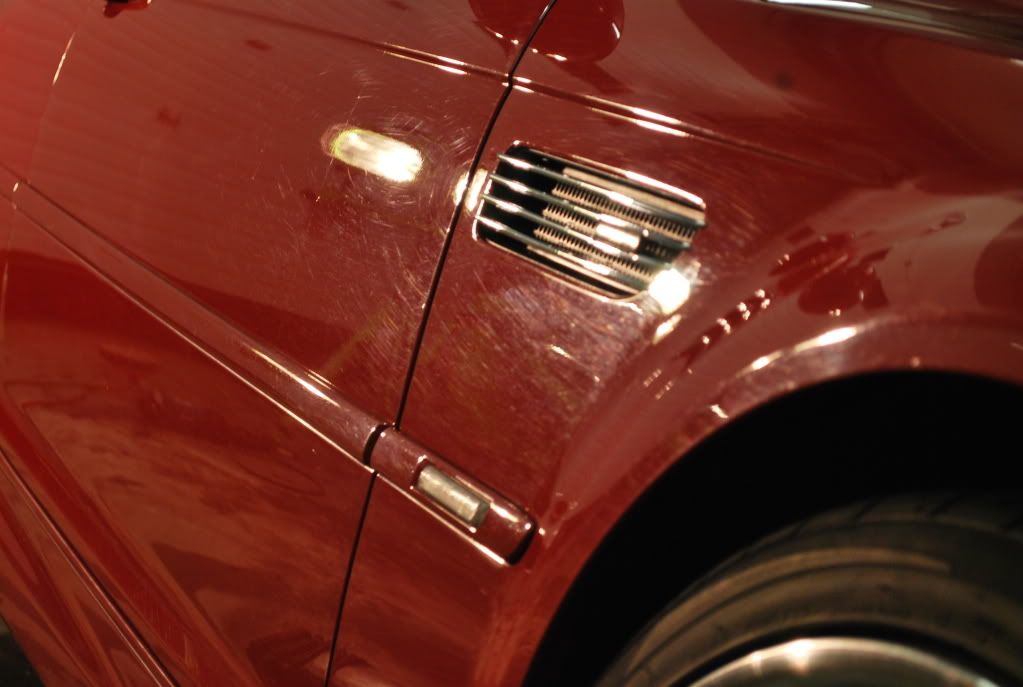
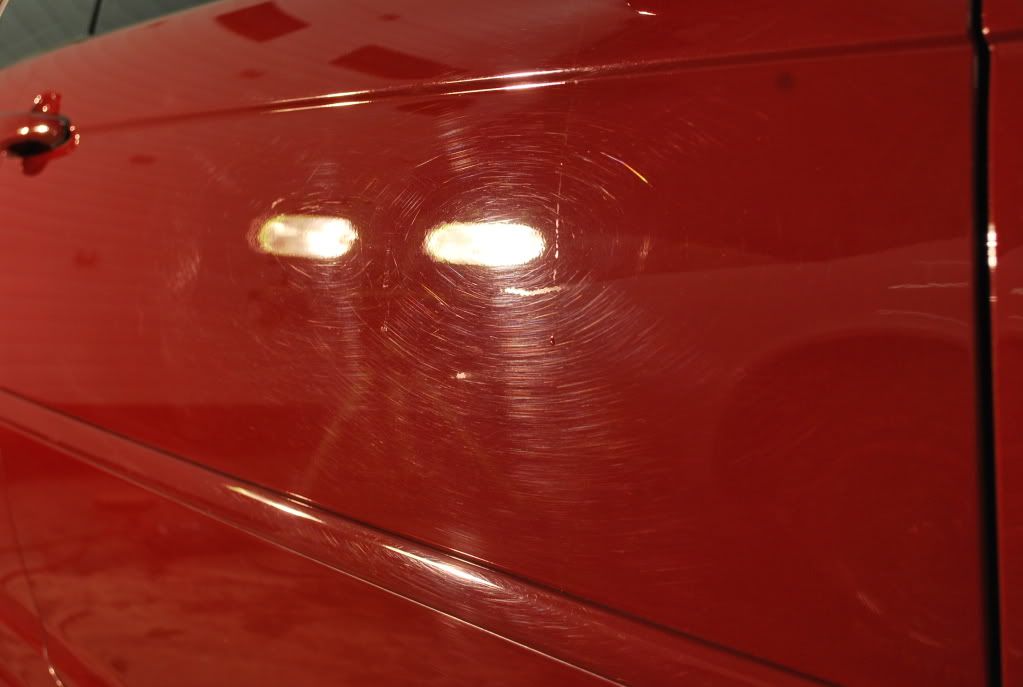
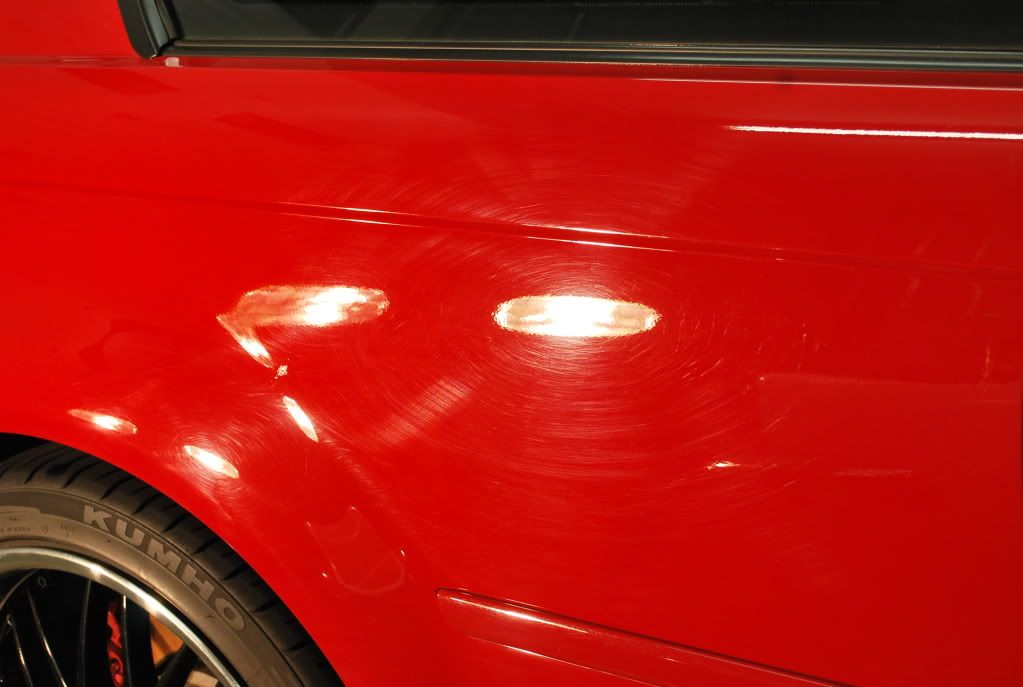
Here is what the car looked like after the wash & prep?
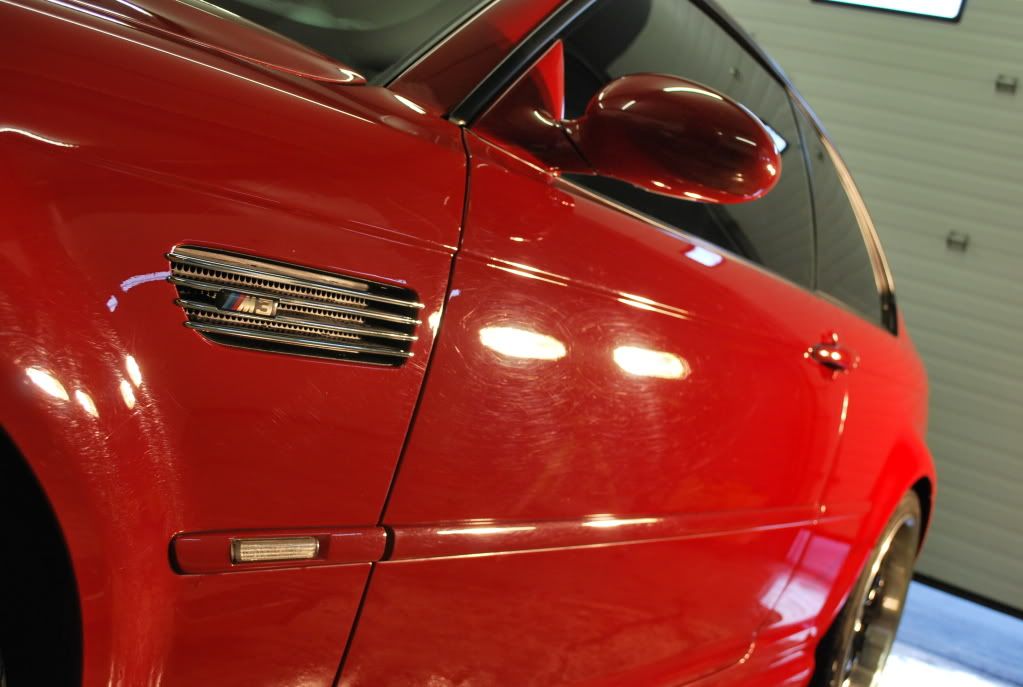
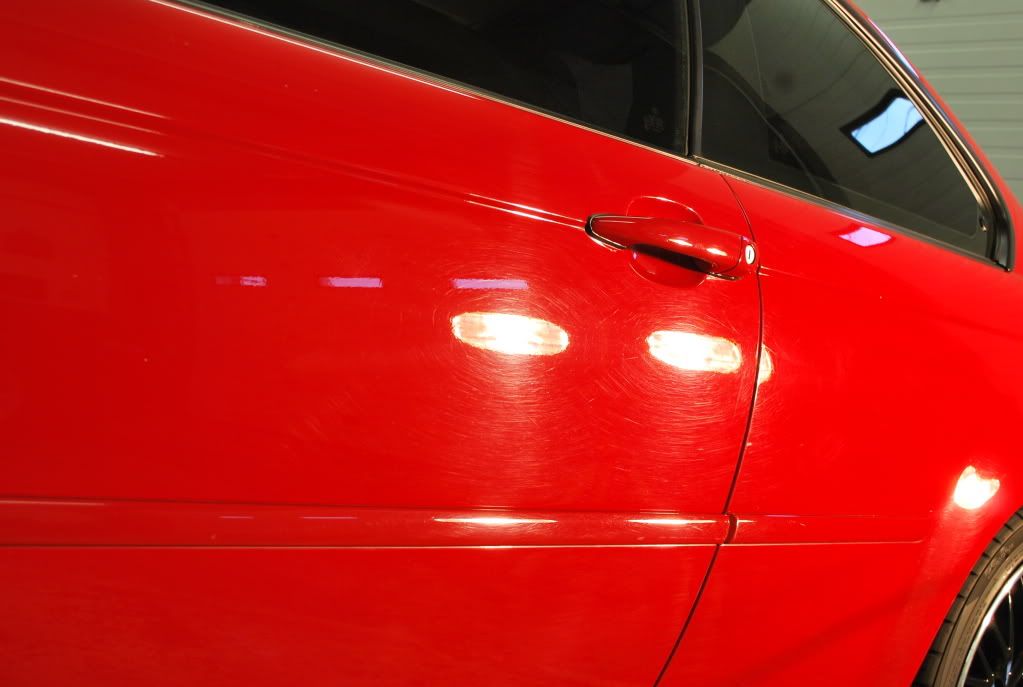
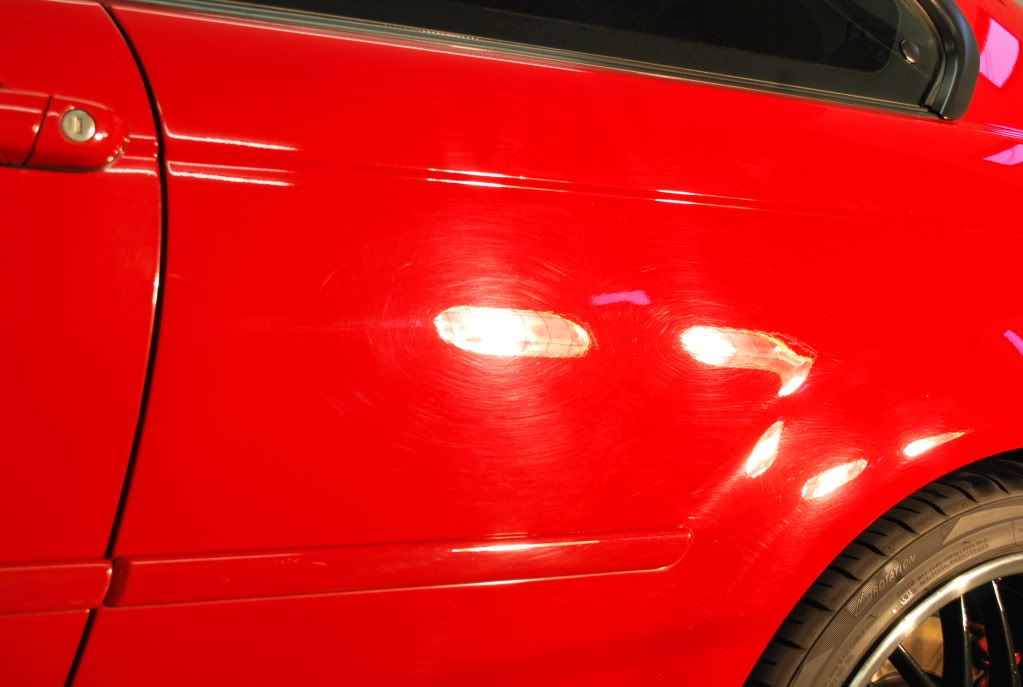
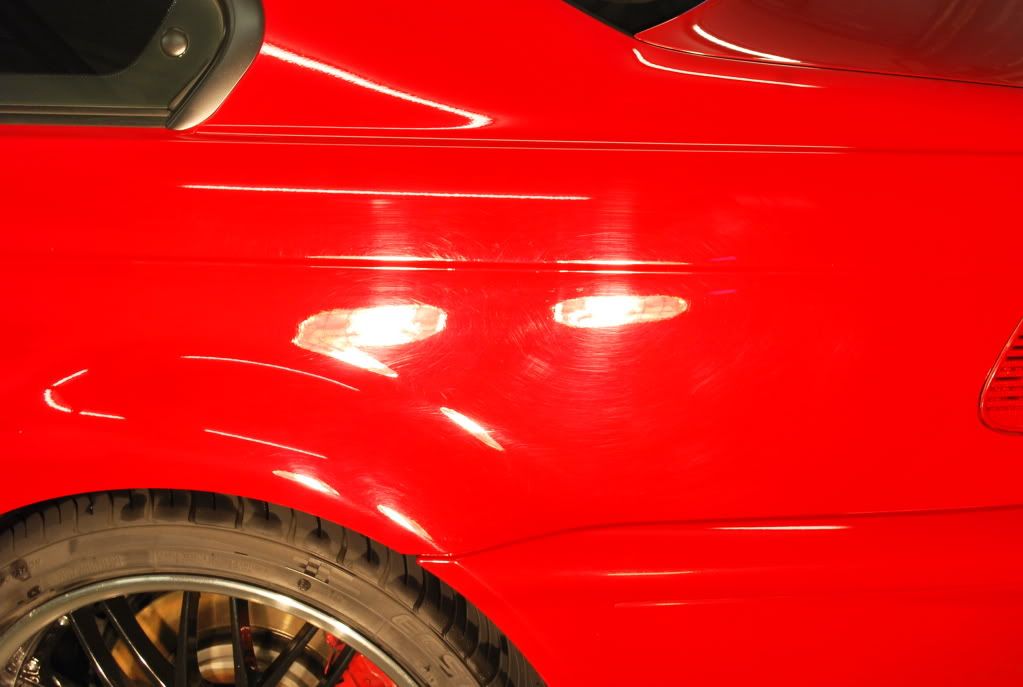
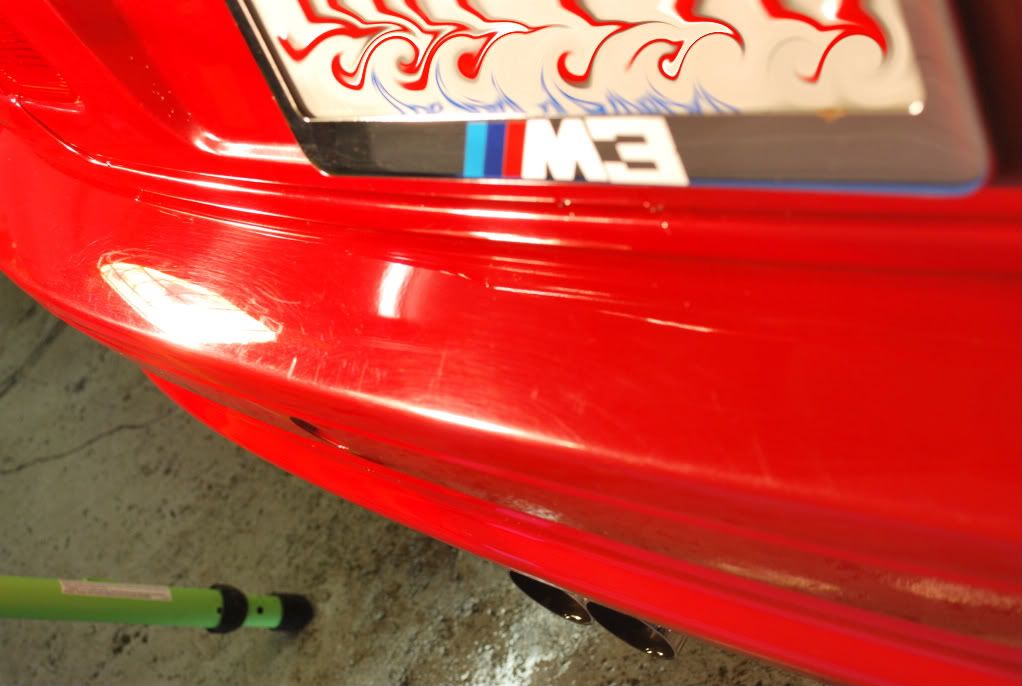

Gray550i-SilverM3-1-series-RedM3485.jpg


Gray550i-SilverM3-1-series-RedM3484.jpg


Gray550i-SilverM3-1-series-RedM3480.jpg


Gray550i-SilverM3-1-series-RedM3478.jpg


Gray550i-SilverM3-1-series-RedM3476.jpg


Gray550i-SilverM3-1-series-RedM3474.jpg


Gray550i-SilverM3-1-series-RedM3470.jpg


Gray550i-SilverM3-1-series-RedM3469.jpg


Gray550i-SilverM3-1-series-RedM3468.jpg


Gray550i-SilverM3-1-series-RedM3467.jpg


Gray550i-SilverM3-1-series-RedM3466.jpg


Gray550i-SilverM3-1-series-RedM3465.jpg


Gray550i-SilverM3-1-series-RedM3471.jpg
 
To remove the serious defects, I used Mark-V MV-350 on a green German CCS foam pad. I was reluctant to use wool, because time was limited and I didn?t have time to remove wool pad marring. I worked the MV-350 into the paint using various speeds and pressure techniques to get the correction I was looking for. Some panels required 2-3 sets of polishing to fully remove the serious defects. I spent the most time on this step trying to get the surface as perfect as possible, which would make the next steps even quicker. Surprisingly, I was able to remove 98% of the major defects and did my best to burnish the other areas which I could not get a full 100% correction. More times than not, these kinds of things can be seen under halogen lighting, but cannot be seen in outside, so I did the best I could.


For the next step, I gave the exterior an alcohol wipedown and polished the complete exterior with Menzerna SIP using the same green German CCS foam pad. This really brought the paint back to life and created a really nice glow. At this point, it was after midnight and I was getting pretty tired. My shoulder was killing me, so I decided to to the final step using the PC, which I rarely use.


For the final step, I used Menzerna 106fa on a flat white LC foam pad using the PC. This went pretty quick and probably saved me a couple hours versus using the rotary. It was now about 2:00 am, so I gave the car a quick wash and left the rest for later. I went home to bed and planned on waking up early to finish things up.


I arrived back at the shop around 9:00 am the same morning and continued where I had left off just a few hours before. It honestly felt like I never left! I wiped the exterior down with alcohol, followed by a Zaino Z6 wipedown. All door, hood and trunk jambs were wiped down with OCW on a microfiber towel and all emblems / badges were detailed using a horse hair brush to remove any possible polishing residue. All windows were cleaned using Eimann Fabrik Clear Vision II and the exhaust tips were polished with Wicked Metal Polish.


For the LSP, I wanted something that would look nice, but didn?t require lots of time to apply and remove. I decided to go with Ultima Paint Guard Plus, which was really easy to use and gave the paint a really nice look. While the Ultima was curing, I polished the wheels with Werkstatt prime and dressed all tires & wheel wells with Super Blue dressing. All exterior glass was treated with Opti-Seal, including the wheels.


Here are the final results?


Gray550i-SilverM3-1-series-RedM3487.jpg


Gray550i-SilverM3-1-series-RedM3519.jpg


Gray550i-SilverM3-1-series-RedM3504.jpg


Gray550i-SilverM3-1-series-RedM3503.jpg


Gray550i-SilverM3-1-series-RedM3551.jpg


Gray550i-SilverM3-1-series-RedM3541.jpg


Gray550i-SilverM3-1-series-RedM3529.jpg


Gray550i-SilverM3-1-series-RedM3527.jpg


Gray550i-SilverM3-1-series-RedM3523.jpg


Gray550i-SilverM3-1-series-RedM3521.jpg


Gray550i-SilverM3-1-series-RedM3520.jpg


Gray550i-SilverM3-1-series-RedM3517.jpg


Gray550i-SilverM3-1-series-RedM3515.jpg


Gray550i-SilverM3-1-series-RedM3511.jpg


Gray550i-SilverM3-1-series-RedM3510.jpg


Gray550i-SilverM3-1-series-RedM3509.jpg


Gray550i-SilverM3-1-series-RedM3501.jpg


Gray550i-SilverM3-1-series-RedM3498.jpg


Gray550i-SilverM3-1-series-RedM3494.jpg


Gray550i-SilverM3-1-series-RedM3490.jpg
 
very nice...I always struggle to capture defects on red...any tips as you did a very good job of getting them photographed
 
Back
Top