Swirls are tiny scratches that can develop in a vehicle’s paint. The number one cause of swirl marks is improper washing. These swirls reflect light back off of the car preventing the true color of the car from reflecting. If a car is improperly washed for a long period of time the swirls can get extremely bad and take many hours to fix. So the easiest way to make sure your car has the best finish possible is to prevent swirl marks from forming.
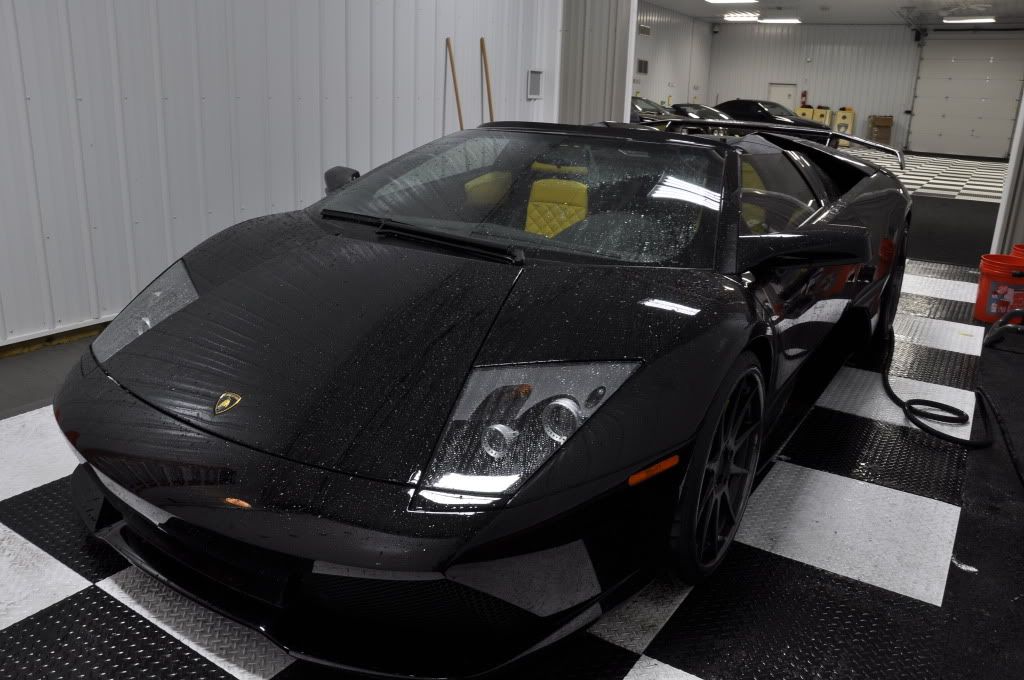
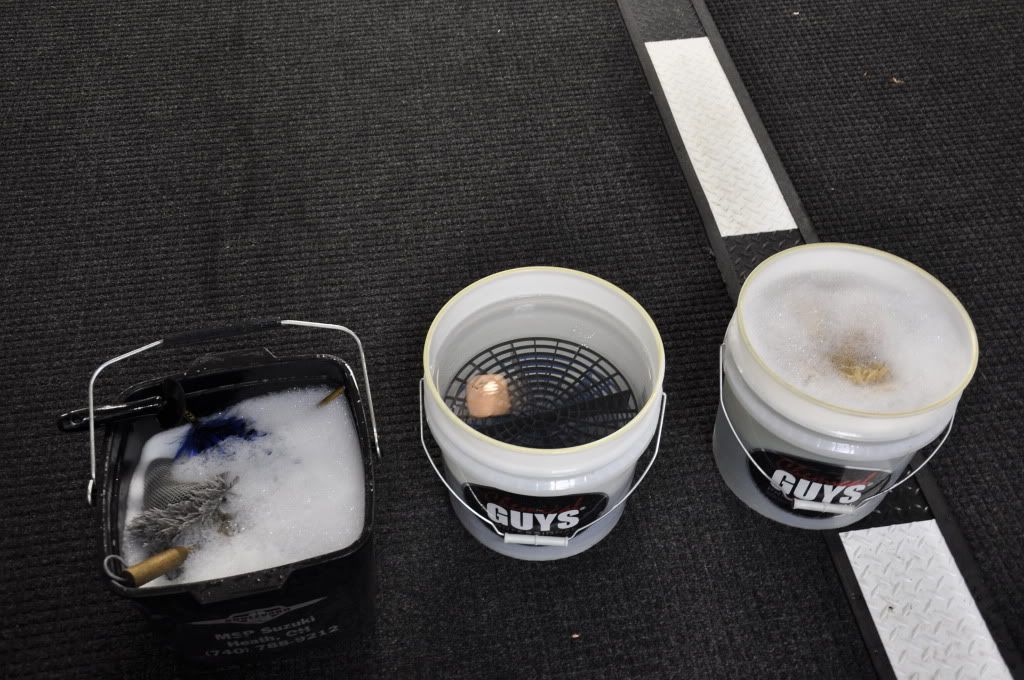
This Lamborghini Murcilago had a full paint correction performed not too long ago. These situations always make me very nervous because it is so easy to produce swirl marks if you do not take your time or know what you are doing. First off you want to have three buckets, two to wash the body with and one to wash the wheels with. In the buckets that you are going to wash the car with you want to make sure you have two grits guards in each bucket. These grit guards prevent the dirt in the bottom of the bucket being stirred up and possibly making their way back into your wash mitt. You want to have one bucket with just water called the dirty bucket and the other bucket filled with soapy water called the soap bucket. Your wheel bucket will be filled with soapy water and any various brushes or mitts you want to use on your wheels.
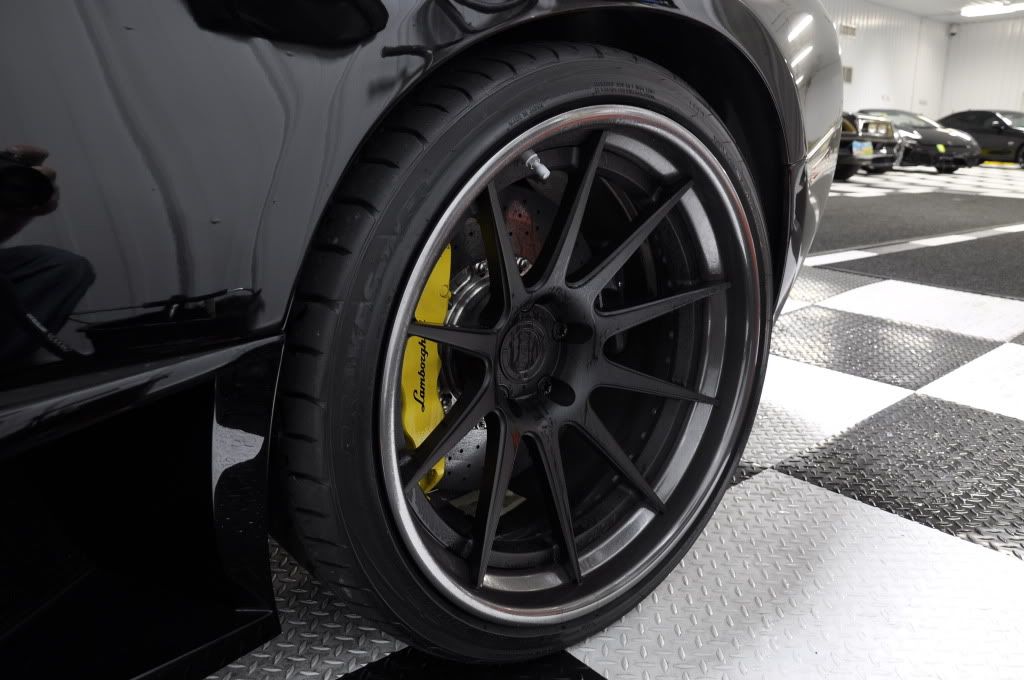
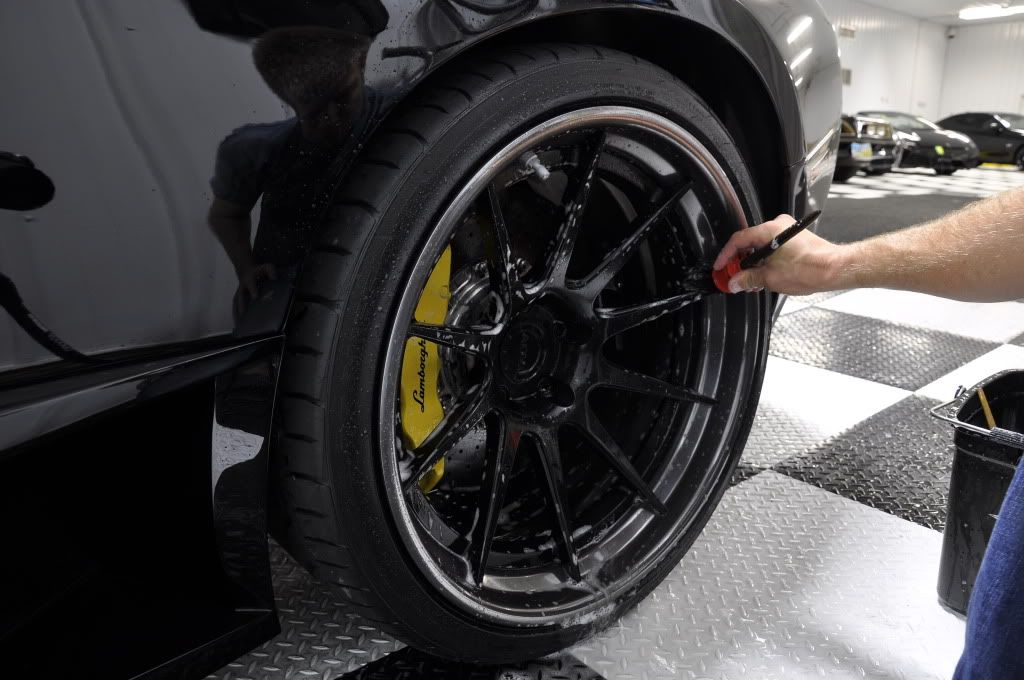
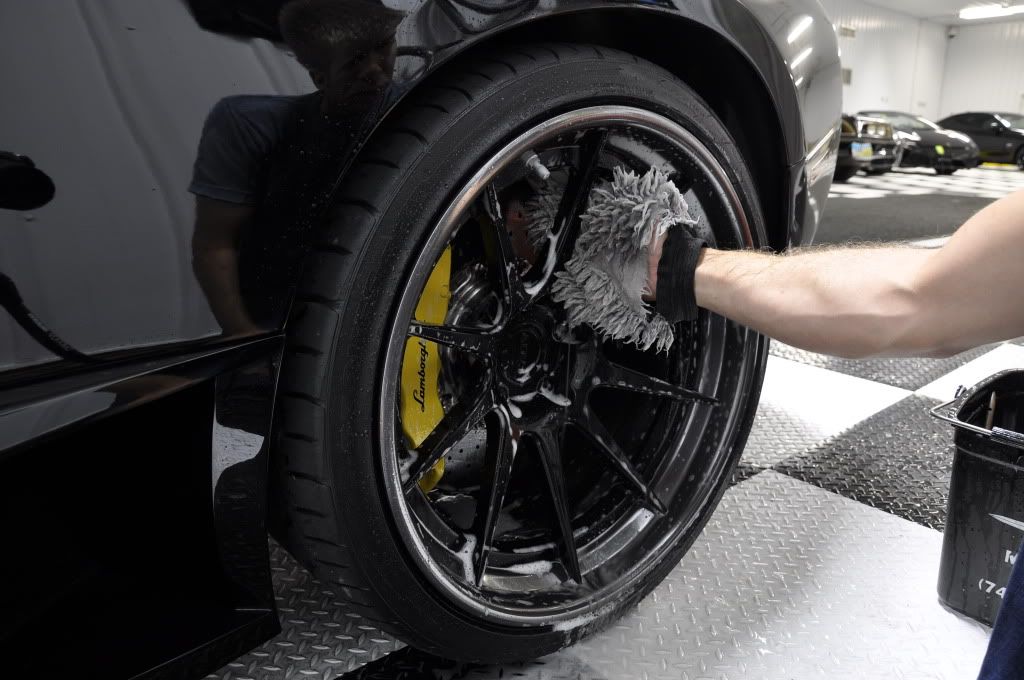
First you want to start on the wheels. This is to prevent any dirt from the wheels getting on the body after you have just washed it. These wheels were not to dirty so I sprayed some Chemical Guys Diablo on them to get the process started. The Diablo will start the break the dirt away from the wheels so it can easily be removed. If the wheels were really dirty I would use some Sonax Wheel Gel, this stuff is unbelievable. Once the Diablo Wheel Gel has had time to do its job you will want to get your wheel bucket out and starts cleaning. Make sure you get every part of the wheel and brake assembly; this includes this inside of the wheel, caliper, all spokes, back of wheel and the outside of the wheel.
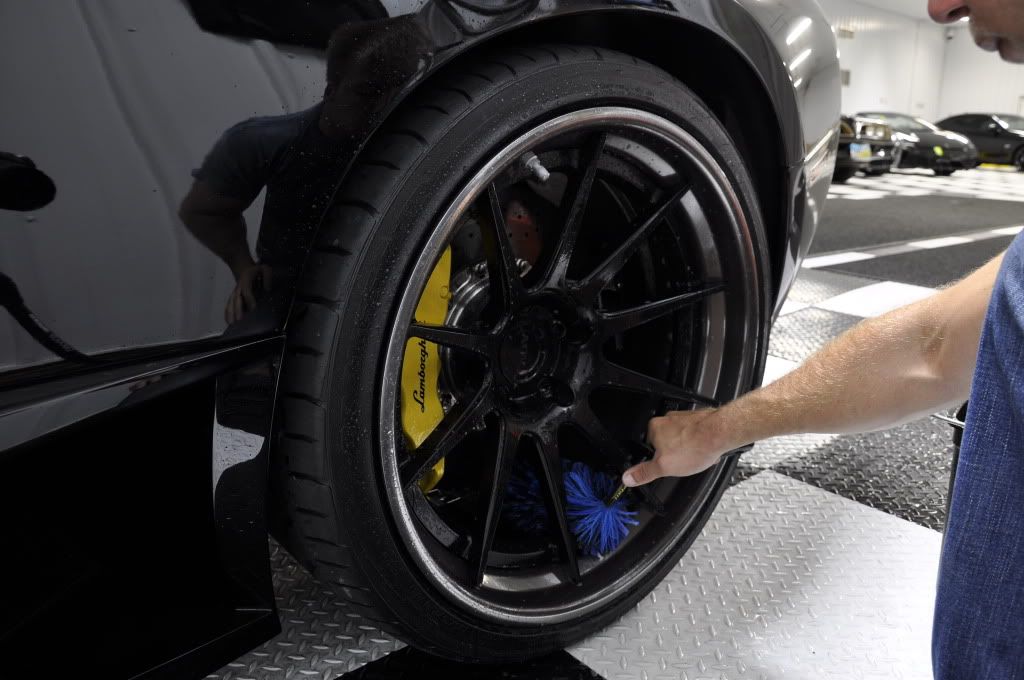
Using a variety of brushes in different sizes makes it a lot easier to hit every part of the wheel including the crevices and hard to reach areas. After you use a brush it is important to rinse it off with a hose before you put it back into your wheel bucket. If you don't the water will get very dirty very fast and cleaning a wheel with dirty water does no good at all. Also you want to keep as much dirt out of the brush as you can to prevent the dirt from being ground into the finish of the wheels. Of the wheels are painted this will produce swirls marks and it is a huge pain to try and polish a whole wheel back to perfection.

Once you have cleaned the wheel you need to clean the tire and the wheel well. Optimum Powerclean is a great product for spraying into the wheel wells to break down dirt. Just like the wheel you want to use various brushes and mitts to get deep into the wheel wells. Once you are done with the car these little details will make a huge difference in the overall look of the car. After you have cleaned the wheel and wheel wells spray them down good to wash away all the dirt you have removed.
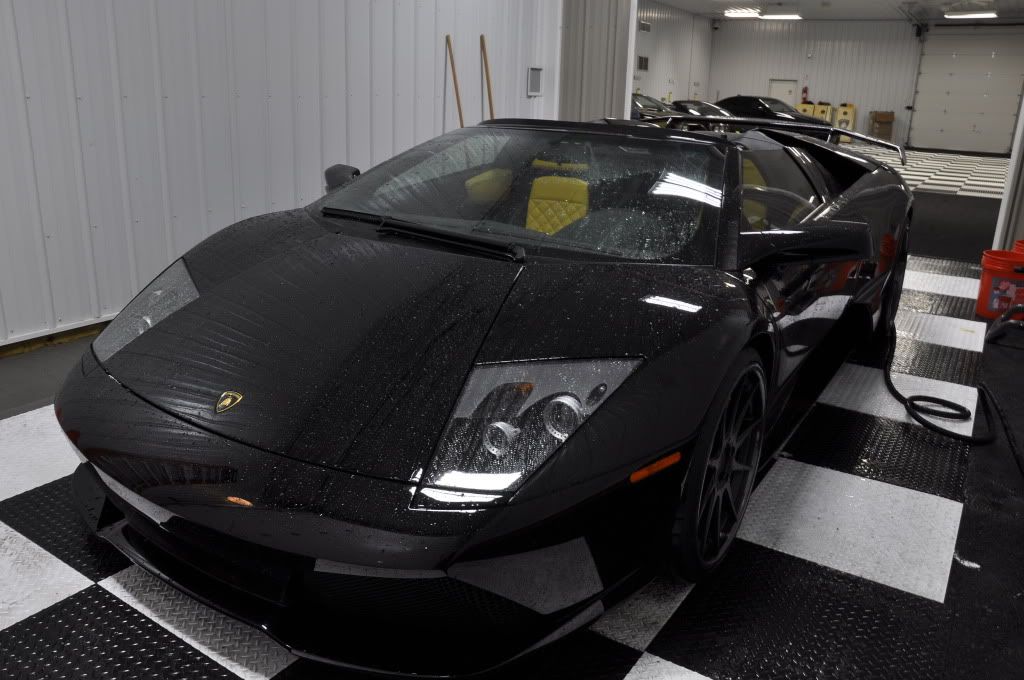
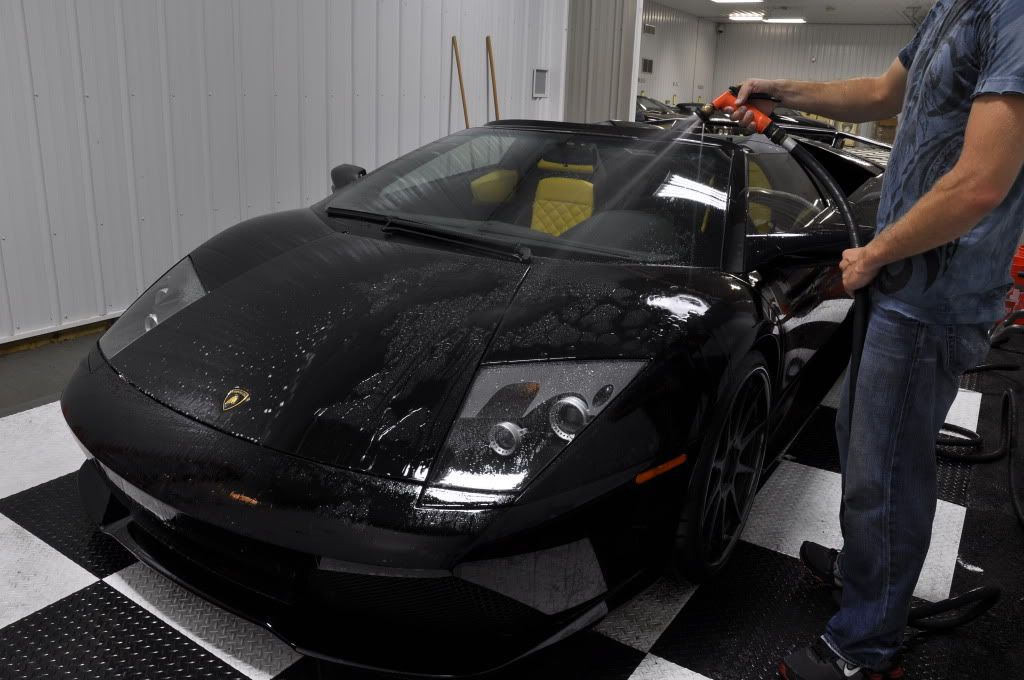
Now onto the body. First you want to rinse the car off with a hose to wash away any loose dirt that is sitting on the surface of the paint. Once you have done that you will want to use a foam gun to completely soak the car in soap. The soap will start to break the dirt away from the paint so it can easily be washed away later in the process. Throughout this whole process it is important that you use no pressure at all on the paint. What we are trying to do here is loosen the dirt with soap and gently wash it away without it being pushed around on the surface.
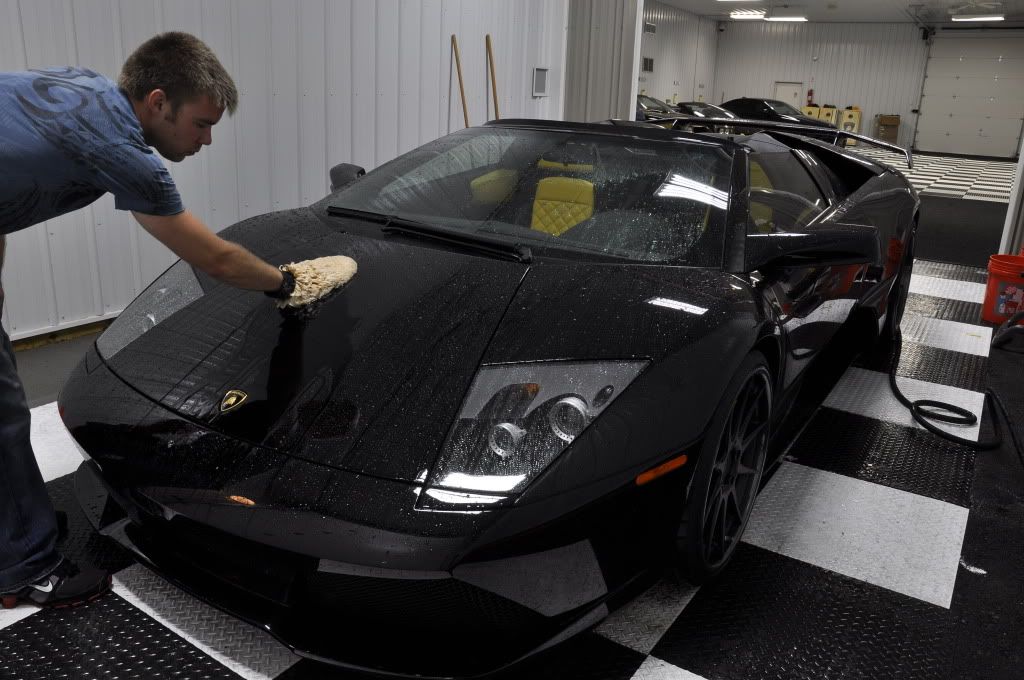
After the car has sat for a minute we need to get out two wash buckets and a clean lamb’s wool mitt. DONT USE MICROFIBER. Microfiber is designed to trap dirt. If you wash one panel of the car then the microfiber mitt will be saturated with dirt. Even if you rinse it out you still won’t get all the dirt out of the mitt. Lamb’s wool will not absorb any dirt and will release any dirt that it has picked up with a few flushing in your wash buckets.
You only want to work on one panel at a time before you rinse your mitt out. Flush you Mitt in the soap bucket a few times then go to a panel. Gently rub the mitt on the panel in a back and forth motion to help break the dirt away from the paint. NEVER GO IN A CIRCULAR MOTION, this will create marring. Once you are done with that panel rinse your mitt out in the dirty water bucket making sure you run it back and forth on the grit guard in the bottom. Then go to your soap bucket and do the same procedure. This will ensure that your mitt is free of dirt and has not trapped any dirt to produce swirl marks on the next panel. It is even a good idea to inspect the mitt before going back to the car to clean the next panel. Repeat these steps until you are done with the entire car. If a car is extremely dirty you might even have to rinse your mitt our a few times per panel. The last thing we want to be doing is pushing dirt around on the surface of the paint.
Now that you are done washing you need to rinse the car off thoroughly to rinse away all the dirt you just broke away from the paint. Using de-ionized water is the best thing for this step as it helps to prevent water spots.
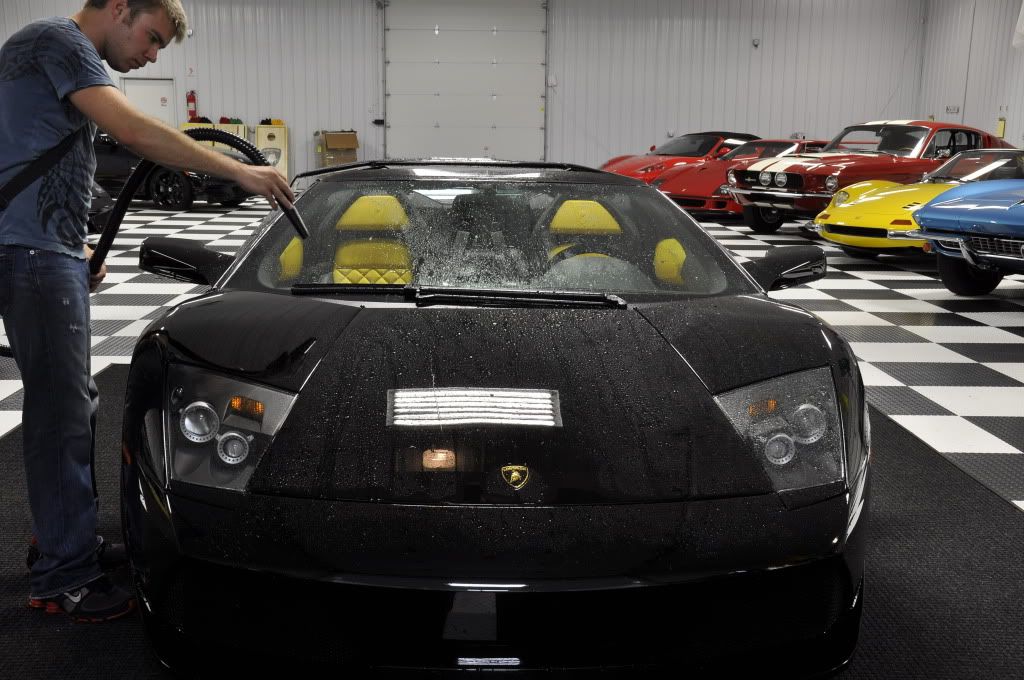
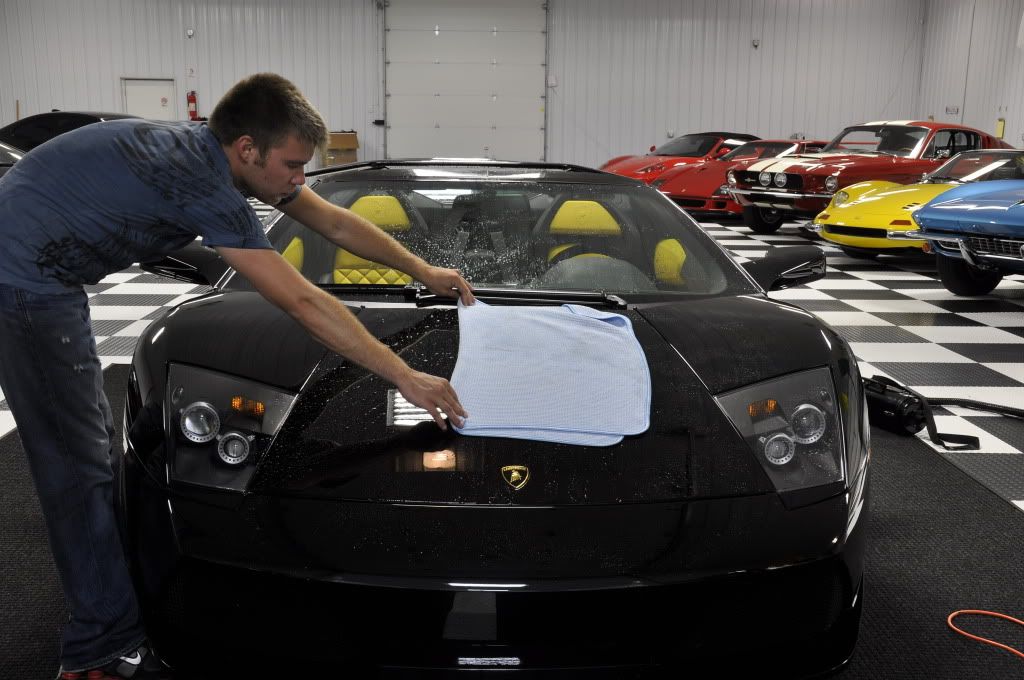
The drying process is a very tricky process. Anytime you rub a towel or anything on the surface you are at risk of swirl marks. First to dry you want to use a vac n' blow or compressed air to remove the majority of the water, this will also help get the water out of the cracks and crevices that will eventually run down the side of the car later after it is already dry. After you have removed the majority of the water get out a CLEAN waffle weave drying towel. Take the side you are going to use first and spray it with some quick detailer. This will give some lubrication between the towel and the paint to make it glide across the surface easier. Again we don't want to use any pressure at all. Keep flipping the towel and using different side until you are down. Make sure when you move to a different side of the towel that you first prep it with some quick detailer before you use it on the paint.
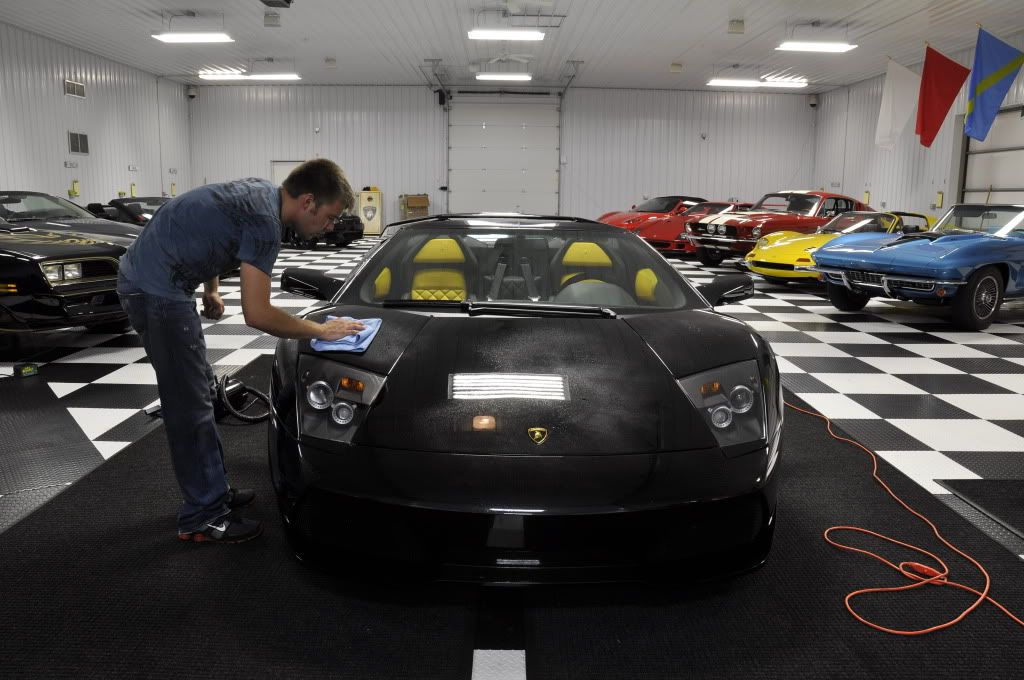
At this point there still might be some very small water spots but you will want to get those off with a microfiber towel. I use Detailed Image Great White towels for this. These are very soft and will not put swirls in the paint. Another thing you can do is a good quick wax on the car to remove the remaining water spot. Chemical Guys V7 hybrid spray is a great product for this and really brings out some gloss from the paint.
After Shots
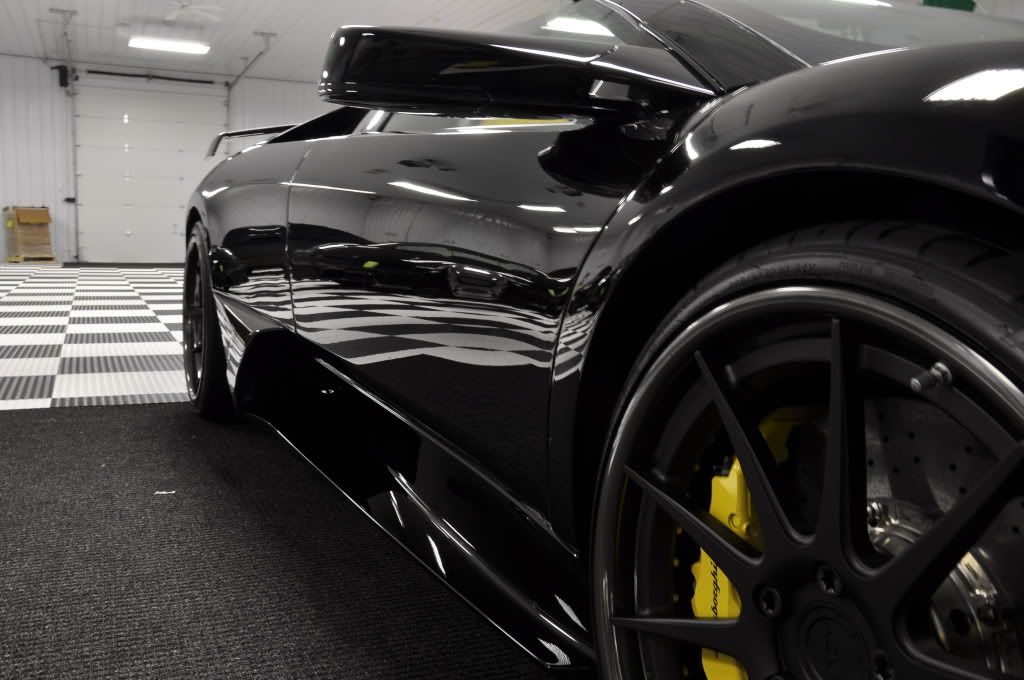
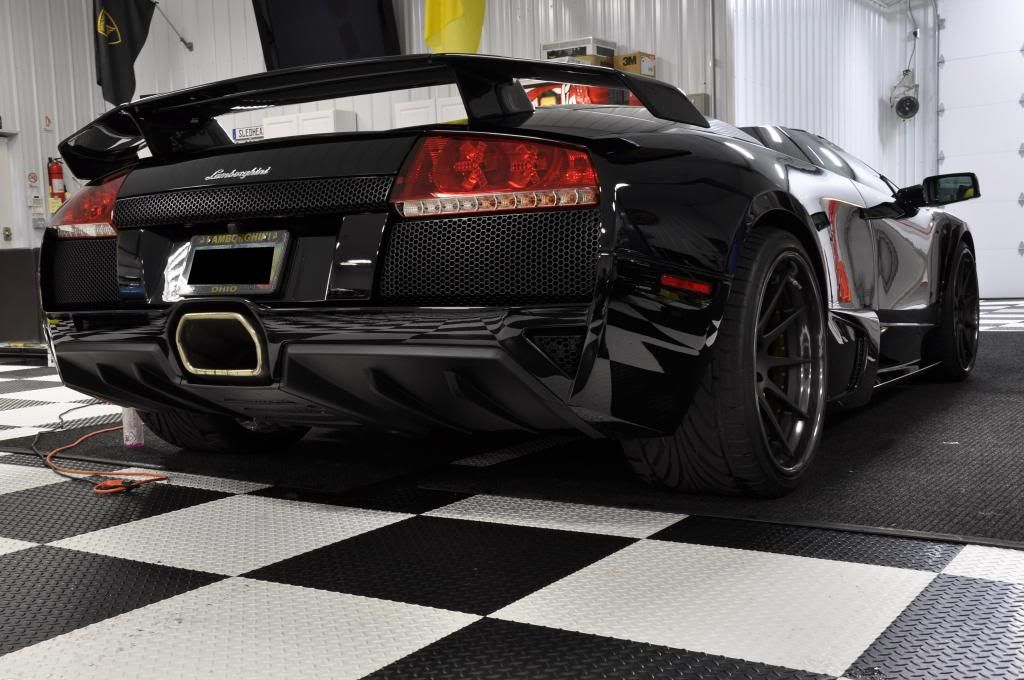
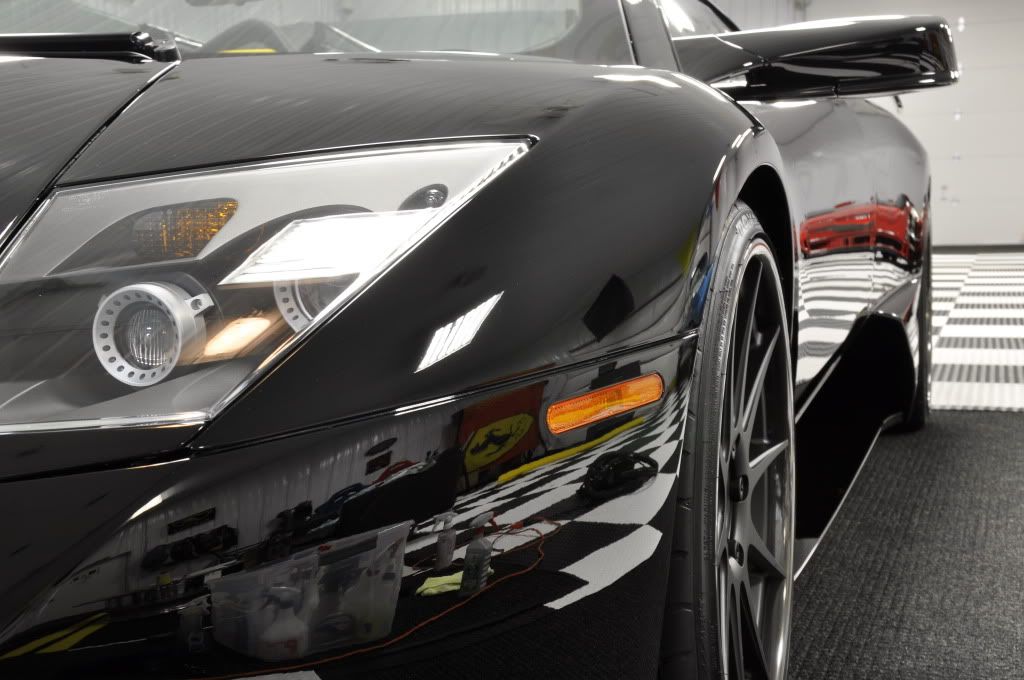
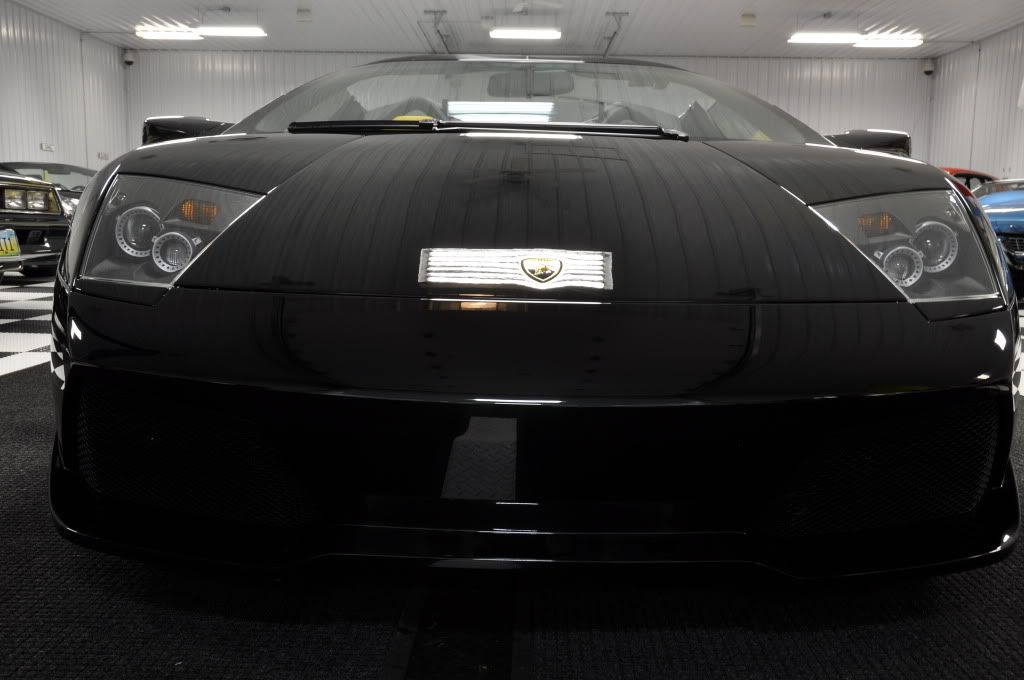
Using high quality products and especially high quality towels are also a key point in properly washing a car. Also remember to use little to no pressure on the surface and take your time to do it right.
Hope this helpful and please enjoy!!!!
This Lamborghini Murcilago had a full paint correction performed not too long ago. These situations always make me very nervous because it is so easy to produce swirl marks if you do not take your time or know what you are doing. First off you want to have three buckets, two to wash the body with and one to wash the wheels with. In the buckets that you are going to wash the car with you want to make sure you have two grits guards in each bucket. These grit guards prevent the dirt in the bottom of the bucket being stirred up and possibly making their way back into your wash mitt. You want to have one bucket with just water called the dirty bucket and the other bucket filled with soapy water called the soap bucket. Your wheel bucket will be filled with soapy water and any various brushes or mitts you want to use on your wheels.
First you want to start on the wheels. This is to prevent any dirt from the wheels getting on the body after you have just washed it. These wheels were not to dirty so I sprayed some Chemical Guys Diablo on them to get the process started. The Diablo will start the break the dirt away from the wheels so it can easily be removed. If the wheels were really dirty I would use some Sonax Wheel Gel, this stuff is unbelievable. Once the Diablo Wheel Gel has had time to do its job you will want to get your wheel bucket out and starts cleaning. Make sure you get every part of the wheel and brake assembly; this includes this inside of the wheel, caliper, all spokes, back of wheel and the outside of the wheel.
Using a variety of brushes in different sizes makes it a lot easier to hit every part of the wheel including the crevices and hard to reach areas. After you use a brush it is important to rinse it off with a hose before you put it back into your wheel bucket. If you don't the water will get very dirty very fast and cleaning a wheel with dirty water does no good at all. Also you want to keep as much dirt out of the brush as you can to prevent the dirt from being ground into the finish of the wheels. Of the wheels are painted this will produce swirls marks and it is a huge pain to try and polish a whole wheel back to perfection.
Once you have cleaned the wheel you need to clean the tire and the wheel well. Optimum Powerclean is a great product for spraying into the wheel wells to break down dirt. Just like the wheel you want to use various brushes and mitts to get deep into the wheel wells. Once you are done with the car these little details will make a huge difference in the overall look of the car. After you have cleaned the wheel and wheel wells spray them down good to wash away all the dirt you have removed.
Now onto the body. First you want to rinse the car off with a hose to wash away any loose dirt that is sitting on the surface of the paint. Once you have done that you will want to use a foam gun to completely soak the car in soap. The soap will start to break the dirt away from the paint so it can easily be washed away later in the process. Throughout this whole process it is important that you use no pressure at all on the paint. What we are trying to do here is loosen the dirt with soap and gently wash it away without it being pushed around on the surface.
After the car has sat for a minute we need to get out two wash buckets and a clean lamb’s wool mitt. DONT USE MICROFIBER. Microfiber is designed to trap dirt. If you wash one panel of the car then the microfiber mitt will be saturated with dirt. Even if you rinse it out you still won’t get all the dirt out of the mitt. Lamb’s wool will not absorb any dirt and will release any dirt that it has picked up with a few flushing in your wash buckets.
You only want to work on one panel at a time before you rinse your mitt out. Flush you Mitt in the soap bucket a few times then go to a panel. Gently rub the mitt on the panel in a back and forth motion to help break the dirt away from the paint. NEVER GO IN A CIRCULAR MOTION, this will create marring. Once you are done with that panel rinse your mitt out in the dirty water bucket making sure you run it back and forth on the grit guard in the bottom. Then go to your soap bucket and do the same procedure. This will ensure that your mitt is free of dirt and has not trapped any dirt to produce swirl marks on the next panel. It is even a good idea to inspect the mitt before going back to the car to clean the next panel. Repeat these steps until you are done with the entire car. If a car is extremely dirty you might even have to rinse your mitt our a few times per panel. The last thing we want to be doing is pushing dirt around on the surface of the paint.
Now that you are done washing you need to rinse the car off thoroughly to rinse away all the dirt you just broke away from the paint. Using de-ionized water is the best thing for this step as it helps to prevent water spots.
The drying process is a very tricky process. Anytime you rub a towel or anything on the surface you are at risk of swirl marks. First to dry you want to use a vac n' blow or compressed air to remove the majority of the water, this will also help get the water out of the cracks and crevices that will eventually run down the side of the car later after it is already dry. After you have removed the majority of the water get out a CLEAN waffle weave drying towel. Take the side you are going to use first and spray it with some quick detailer. This will give some lubrication between the towel and the paint to make it glide across the surface easier. Again we don't want to use any pressure at all. Keep flipping the towel and using different side until you are down. Make sure when you move to a different side of the towel that you first prep it with some quick detailer before you use it on the paint.
At this point there still might be some very small water spots but you will want to get those off with a microfiber towel. I use Detailed Image Great White towels for this. These are very soft and will not put swirls in the paint. Another thing you can do is a good quick wax on the car to remove the remaining water spot. Chemical Guys V7 hybrid spray is a great product for this and really brings out some gloss from the paint.
After Shots
Using high quality products and especially high quality towels are also a key point in properly washing a car. Also remember to use little to no pressure on the surface and take your time to do it right.
Hope this helpful and please enjoy!!!!
")
 Mine usually last many months with virtually zero care :nixweiss