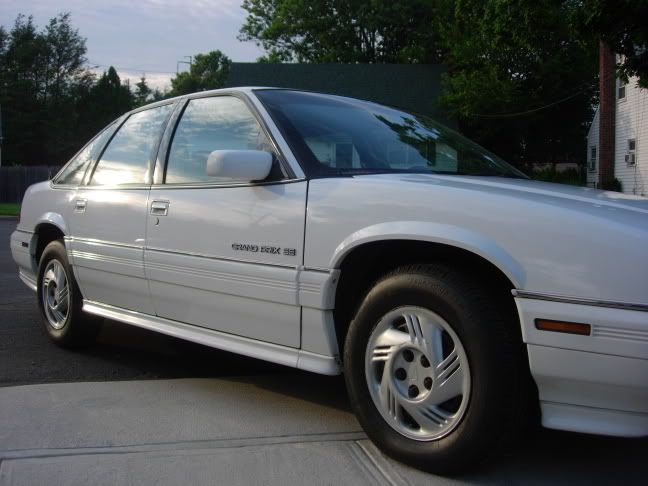
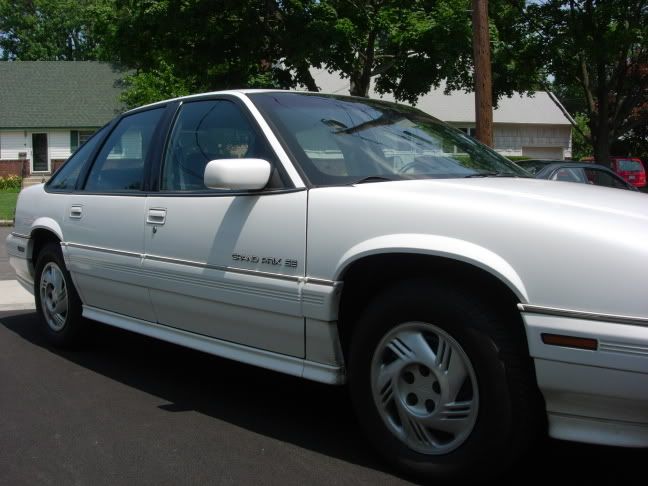
A vendor of mine bought a hooptie for when she is home (IE not living in Manhattan). She picked up a mid-late 90's grand prix that was a former station car (Read: Never washed and about 50lbs of rail dust). Well, my brain filter wasn't working and before I knew it, I offered to detail her car while I was on vacation, gratis (Cute girls have it easy!) I wanted the opportunity to use the rotary on a car since I haven't used it (On a car) in a few years. I figured what better way to dust off the cobwebbs then with an old white hooptie!
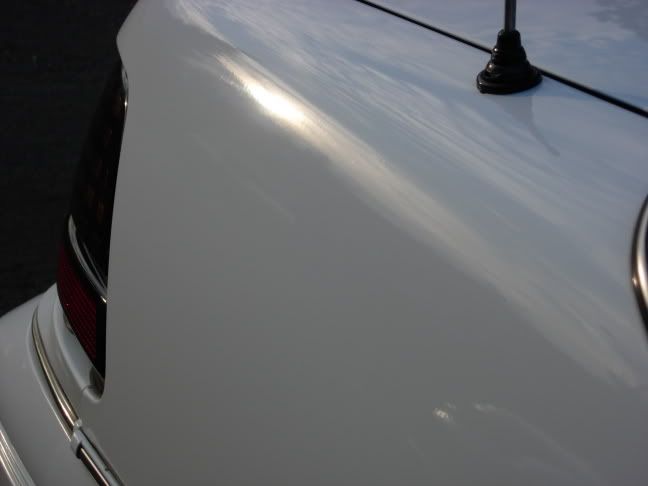
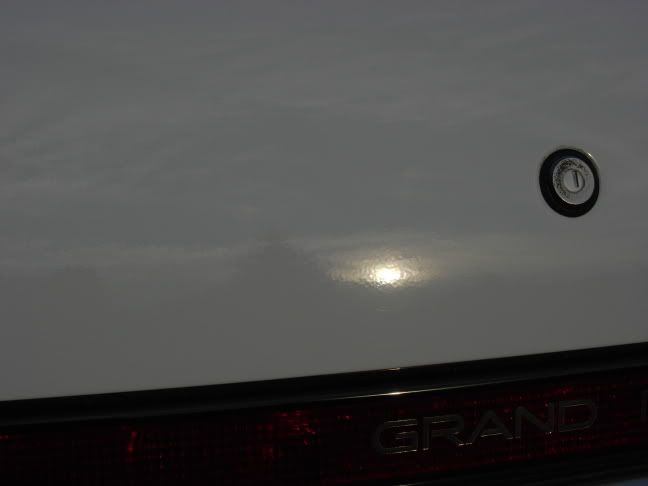
Unfortunately, I only have a few decent afters and the befores were tough to capture just how much rail dust was trapped in the paint. I think it took me almost 1.5hrs to clay it. It was like claying 400 grit sandpaper! The rail dust was so bad that the next day I noticed that it actually stained my driveway (Luckily a quick rinse with degreaser etc took care of the stain).
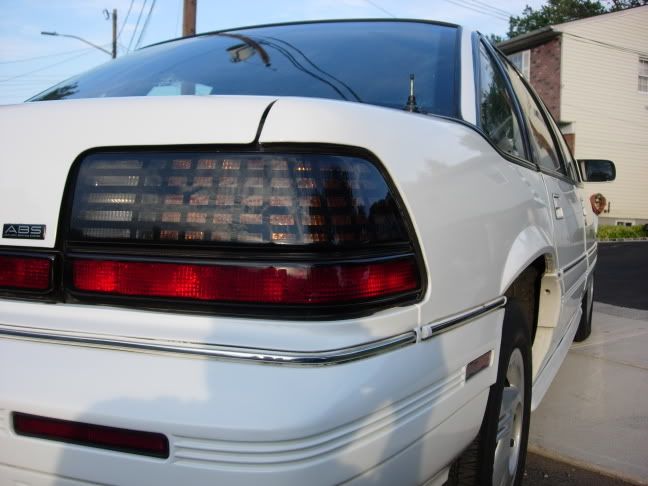
I wasn't about to go too crazy for a freebie and a beater car so it's not the best detailed work. If you look close, it some pics you can pick out the rust spots on the (Passenger side roof, drivers side A pillar, etc)
Process:
Wash & Clay
Castrol APC diluted for tires n wells
Wetsand headlights to remove haze/yellowing. Followed with polishing.
Makita rotary with Orange Excel propel pad from Excel detail (Great service). After trying a few products and combos, I found that Menzerna PG mixed with IP and RMG worked teh best. I never realized PG was so damn thick and sticky. It totally gummed up the pad when I tried it straight. Mix wise, I used about 1/3 each. On the flat panels I used a lil more PG and on the sides a lil more IP.
Followed up with either IP/RMG or FPII/RMG (Sorry it was a few weeks ago and I forgot) with the cyclo and green cyclo pads.
Zaino Z5 Pro w/ ZFX x 2
IG on glass
I think that's about it. Again, I was not about to go crazy in the heat for a beater!
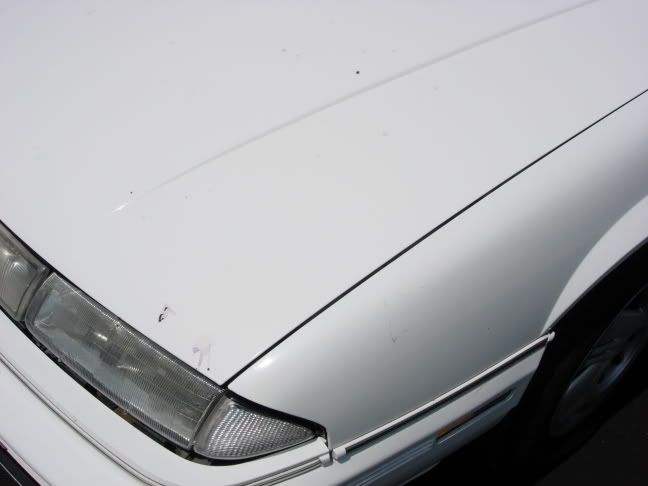
Unfortunately you can't really see all the rail dust and marring in the before's, but trust me it was the worst rail dust I have ever seen!
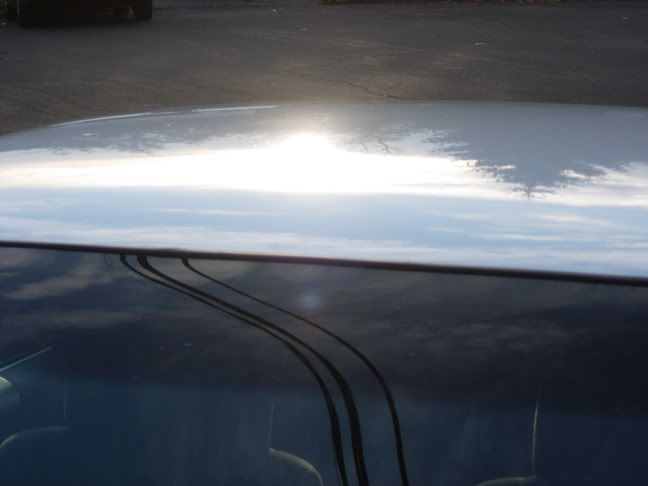
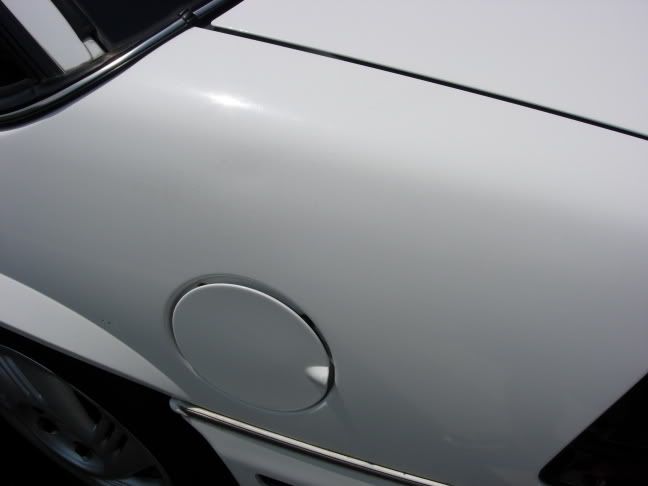
Before's (Damn it's hard to photograph white!!!!)

Unfortunately, I only have a few decent afters and the befores were tough to capture just how much rail dust was trapped in the paint. I think it took me almost 1.5hrs to clay it. It was like claying 400 grit sandpaper! The rail dust was so bad that the next day I noticed that it actually stained my driveway (Luckily a quick rinse with degreaser etc took care of the stain).
I wasn't about to go too crazy for a freebie and a beater car so it's not the best detailed work. If you look close, it some pics you can pick out the rust spots on the (Passenger side roof, drivers side A pillar, etc)
Process:
Wash & Clay
Castrol APC diluted for tires n wells
Wetsand headlights to remove haze/yellowing. Followed with polishing.
Makita rotary with Orange Excel propel pad from Excel detail (Great service). After trying a few products and combos, I found that Menzerna PG mixed with IP and RMG worked teh best. I never realized PG was so damn thick and sticky. It totally gummed up the pad when I tried it straight. Mix wise, I used about 1/3 each. On the flat panels I used a lil more PG and on the sides a lil more IP.
Followed up with either IP/RMG or FPII/RMG (Sorry it was a few weeks ago and I forgot) with the cyclo and green cyclo pads.
Zaino Z5 Pro w/ ZFX x 2
IG on glass
I think that's about it. Again, I was not about to go crazy in the heat for a beater!
Unfortunately you can't really see all the rail dust and marring in the before's, but trust me it was the worst rail dust I have ever seen!
Before's (Damn it's hard to photograph white!!!!)