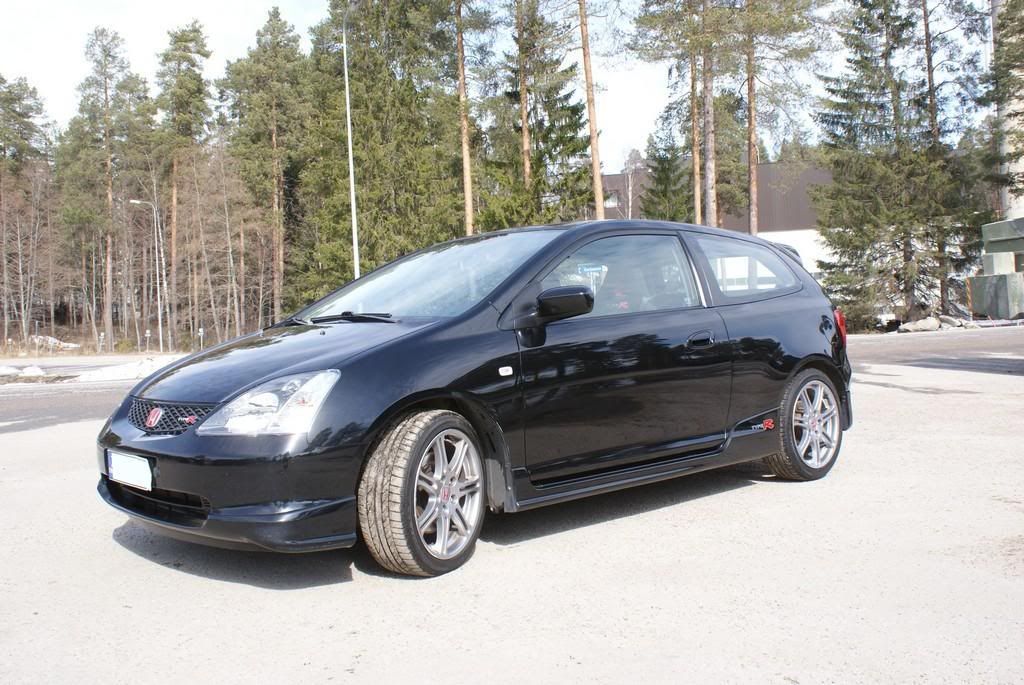
This is my coworkers Honda Civic Type R. It's from between 2001-05, but unfortunately I don't know the specific year of this one.
However, my coworker asked to do something for the swirls. I thought "Ok, let me see it..." without knowing the coming annihilation.... of my arms and back :lol:!
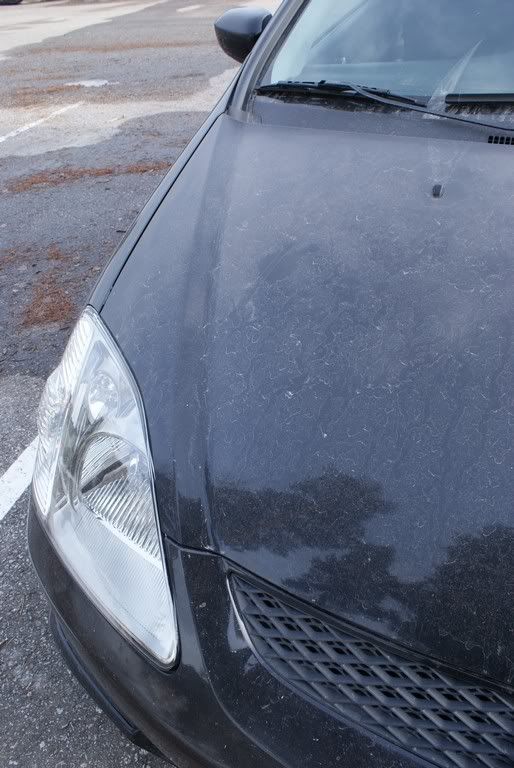
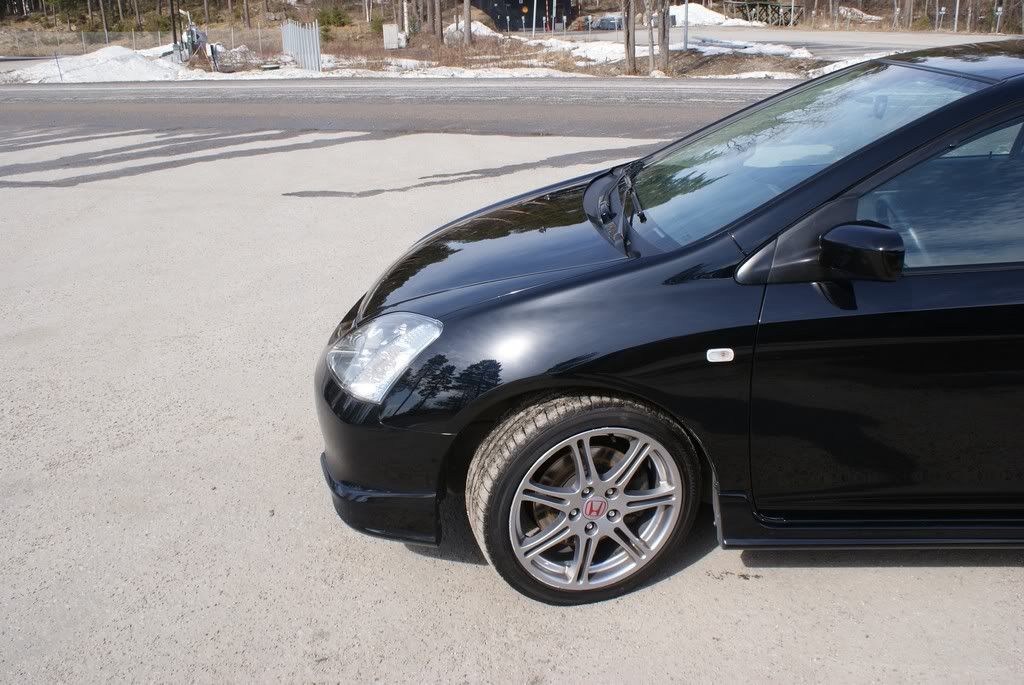
So the paint condition was pretty bad. The worst was (and still is) the front end, which was ravished by rock chips. I couldn't do anything on them, but the overall looks improved a lot! I spend 1,5 days doing this (14h + 5h) . My friend hasn't seen the car yet, but will do on Tuesday. I hope he's satisifed with the results.
I did the outside detailing only.
The process was:
1) Pre-wash
- Korrek Lensitil BR Solvent Wash Spray
- Bilt-Hamber Autofoam
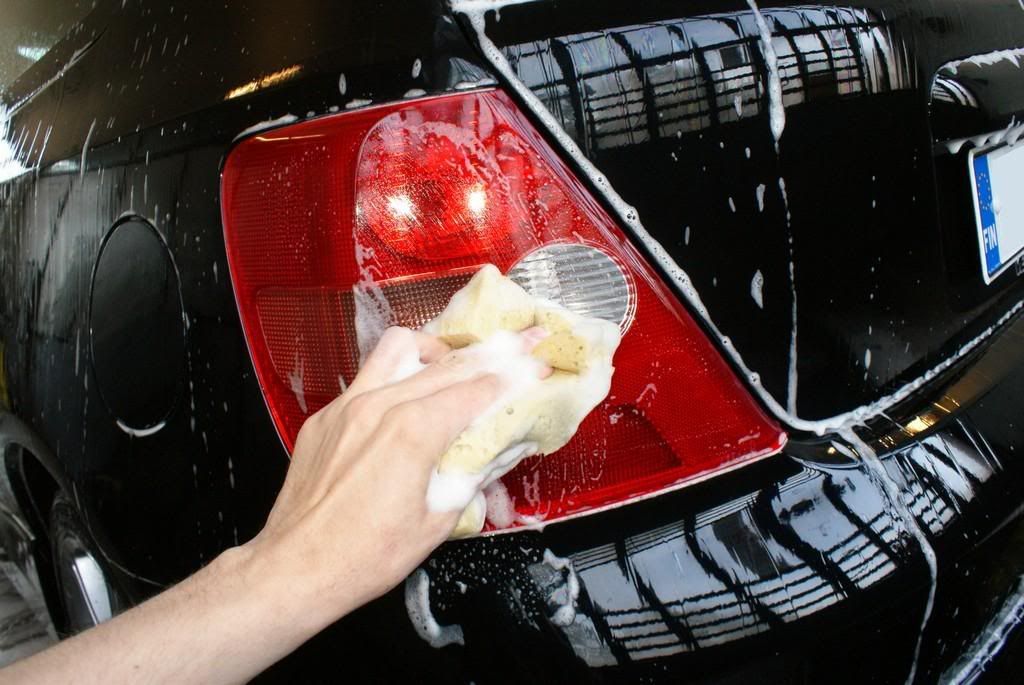
2) Wash
- Turtle Wax Big Orange
- Two bucket method + Mother's Sheepskin Mitts + sponges
3) Claying
- Zaino Z-18 clay
- Turtle Wax Big Orange as lubricant
4) Polish
- Presta Ultra Cutting Creme Light + Lake Country CCA Orange pad
- Menzerna PO105RD+ Lake Country CCA White pad
- WÃœRTH Fast Wax (A quick detailer actually, not a wax) as moisturizer
- Flex XC 3401 VRG
5) Wax
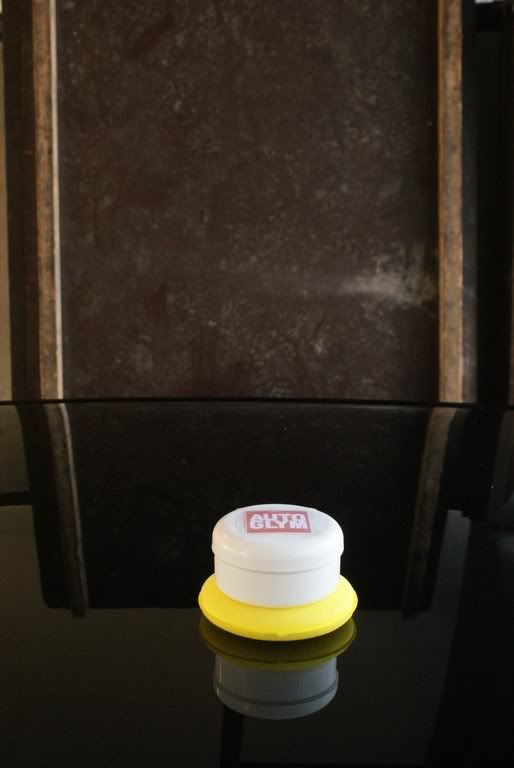
- Autoglym Super Resin Polish
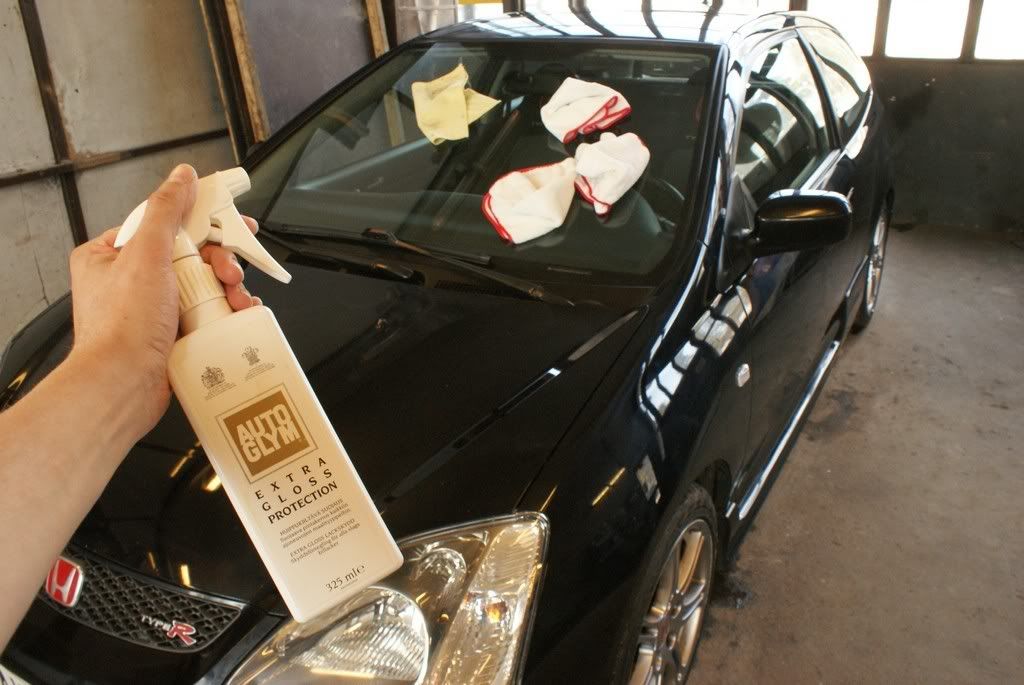
- Autoglym Extra Gloss Protection
- Meguiar's Ultimate Quick Detailer
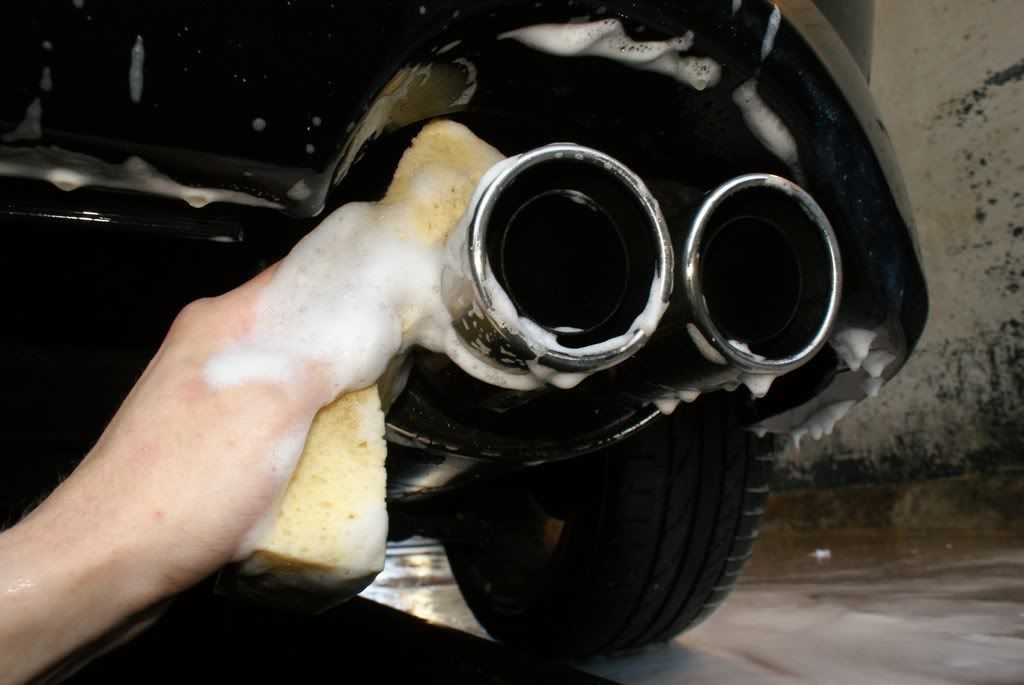
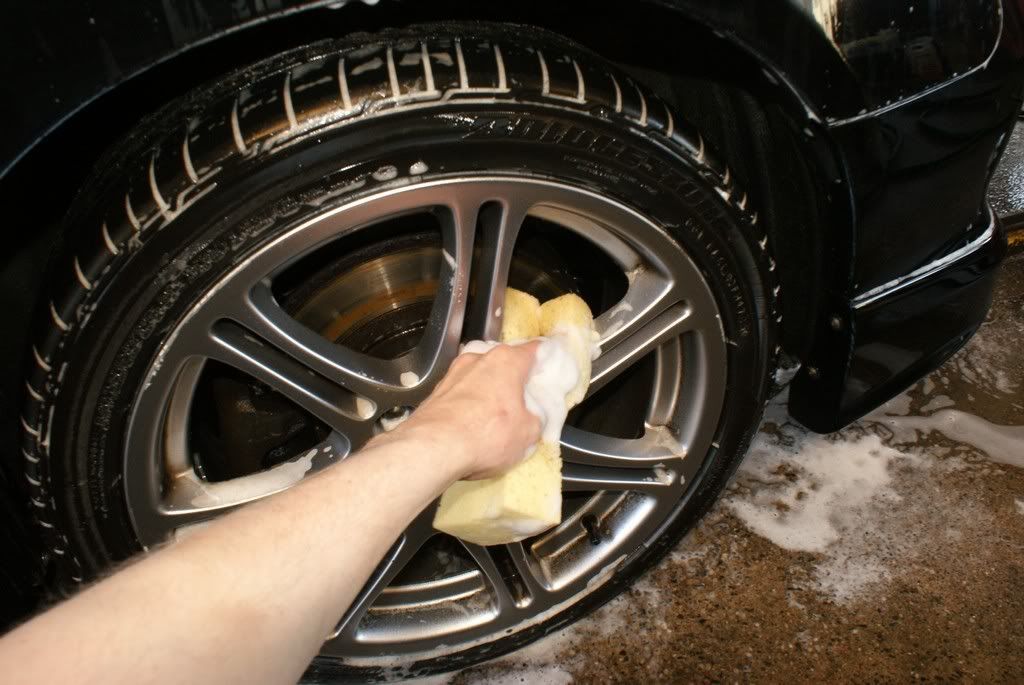
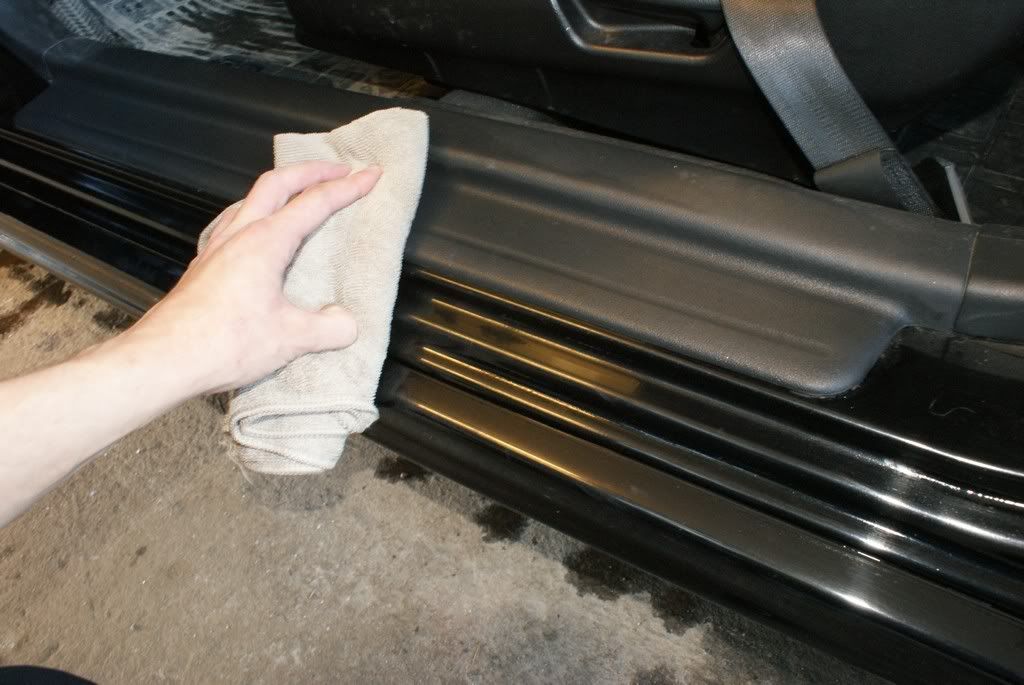
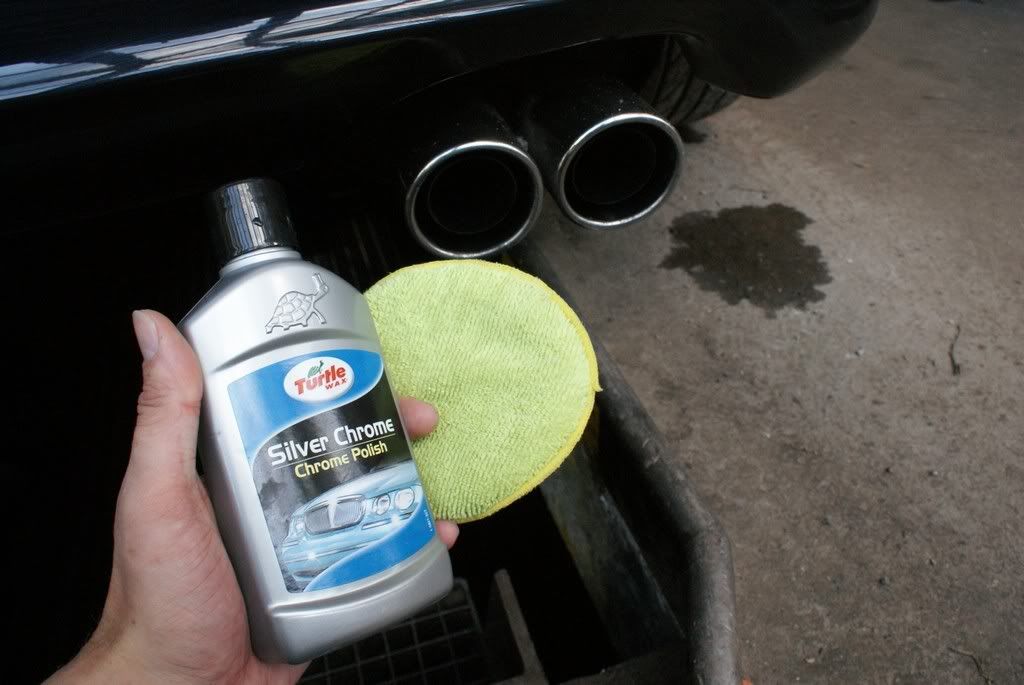
6) Tires, black plastics and exhaust tips
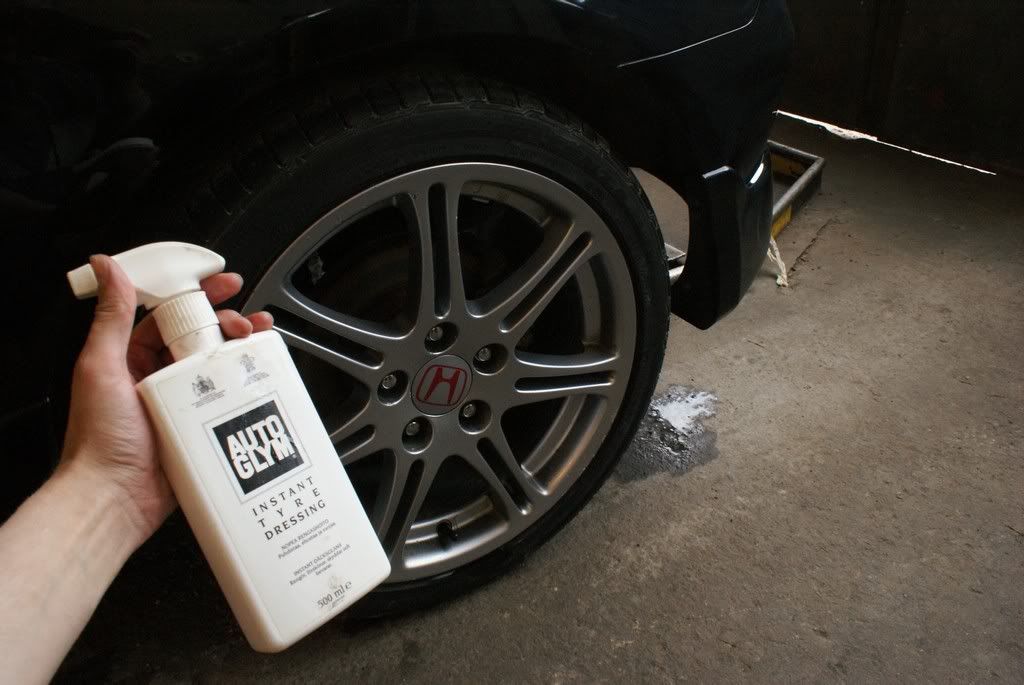
- Autoglym Instant Tyre Dressing
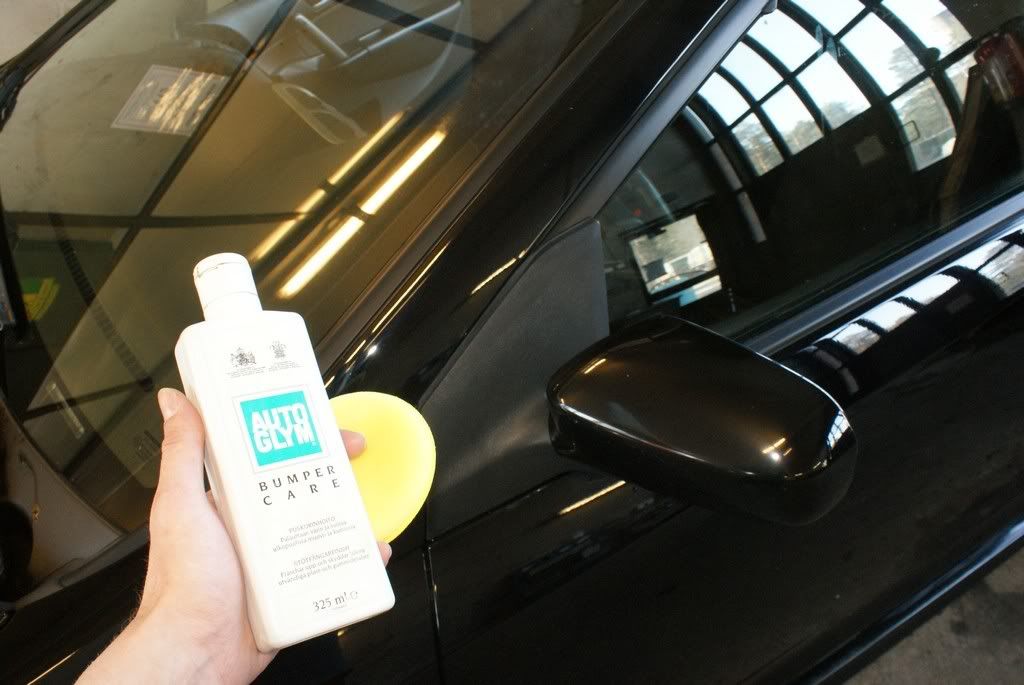
- Autoglym Bumper Care
- Turtle Wax Chrome Polish
-----------------------------------------------------------------
Befores:
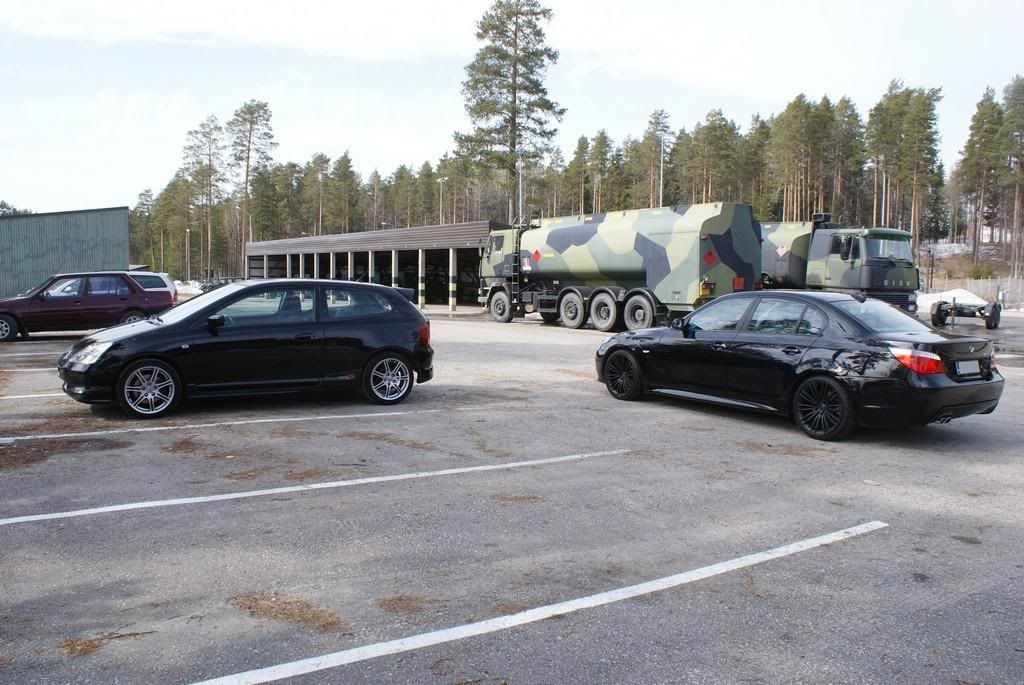
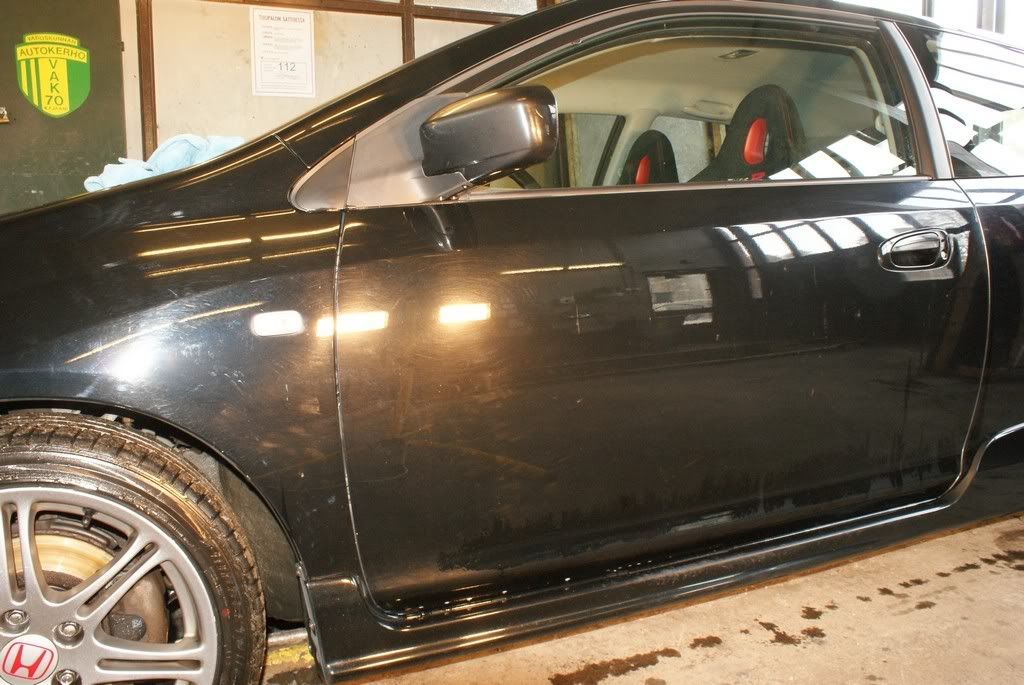
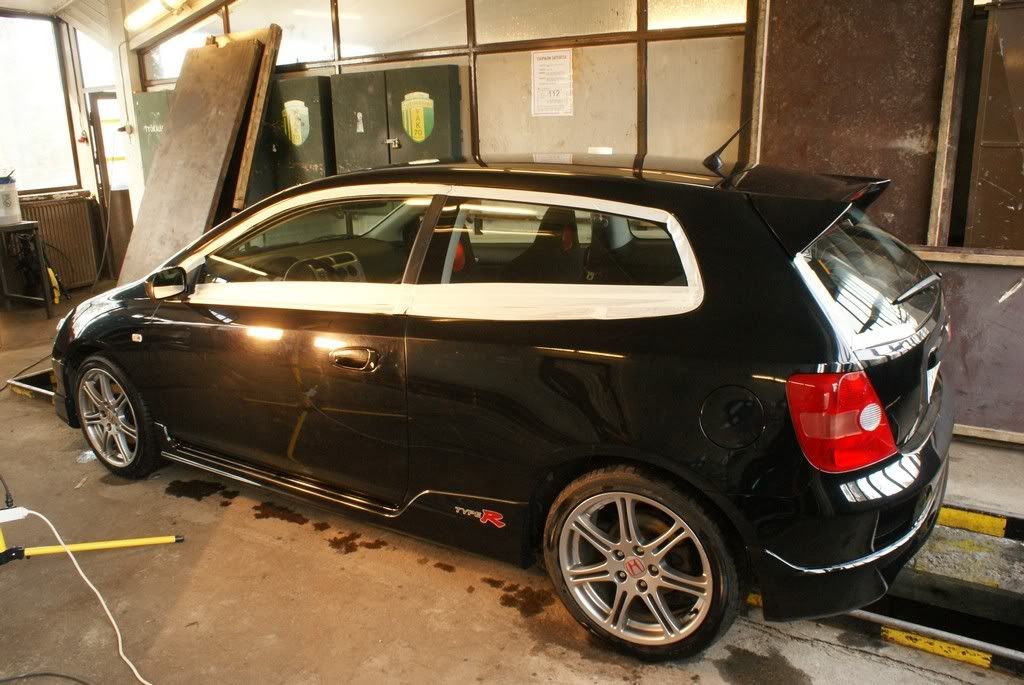
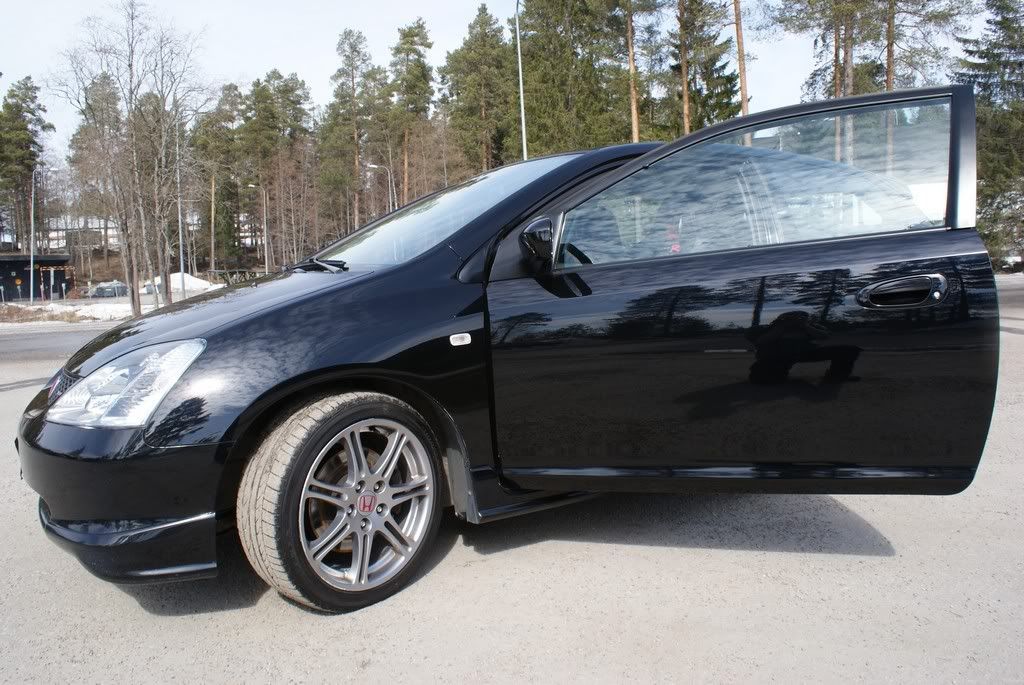
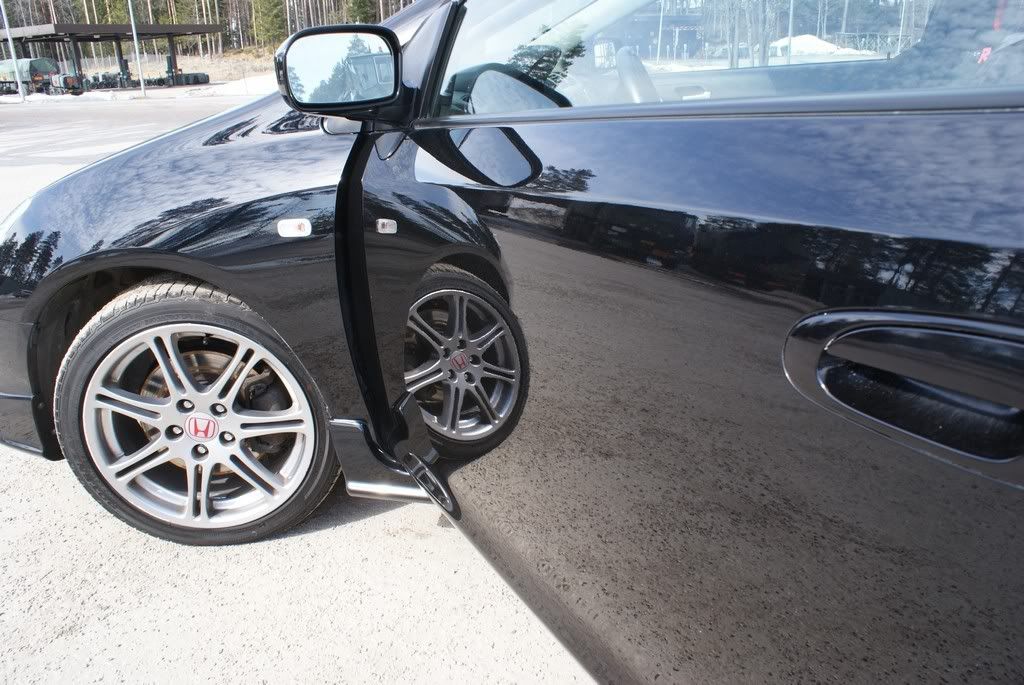
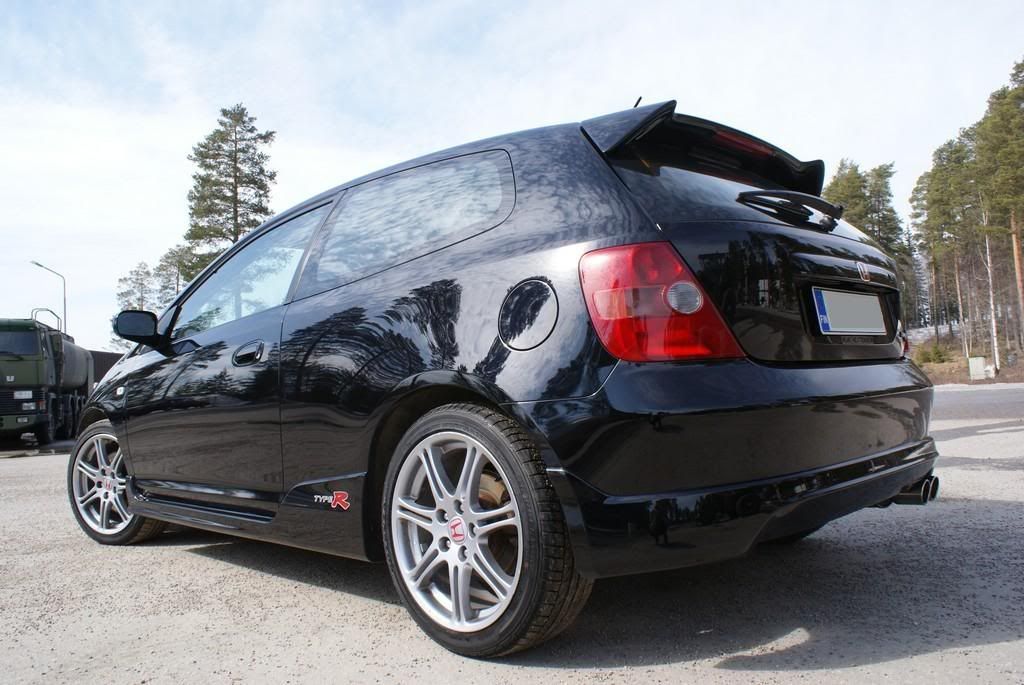
- The patient. See my sapphire black E60 on the background as a reference for "black" .
.
- Dirt, anyone?
No wax or any else LSP was on the car
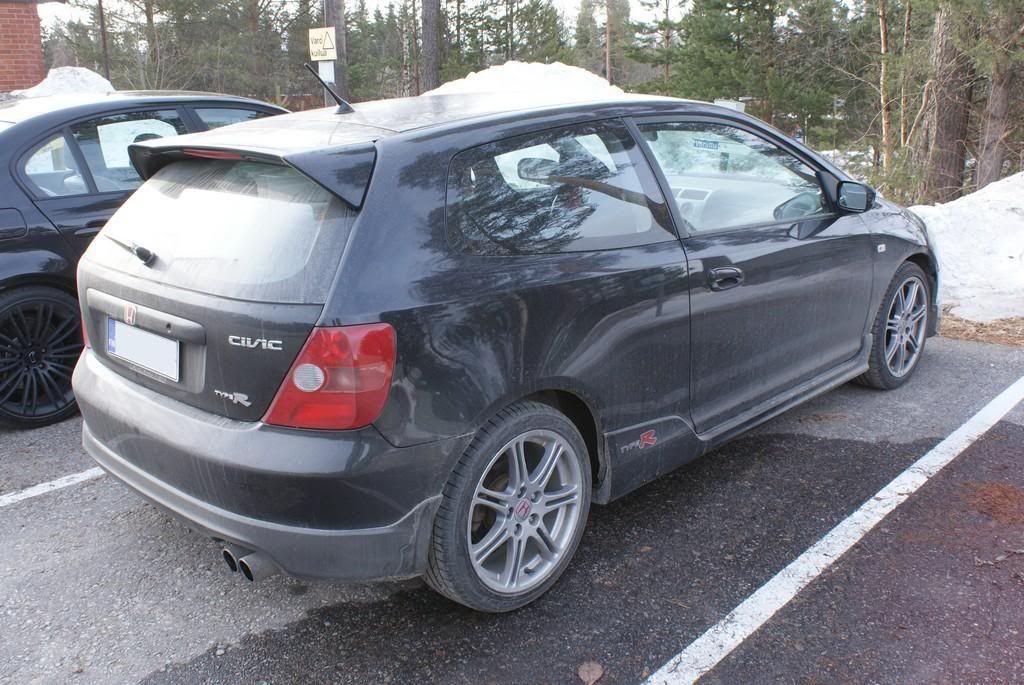
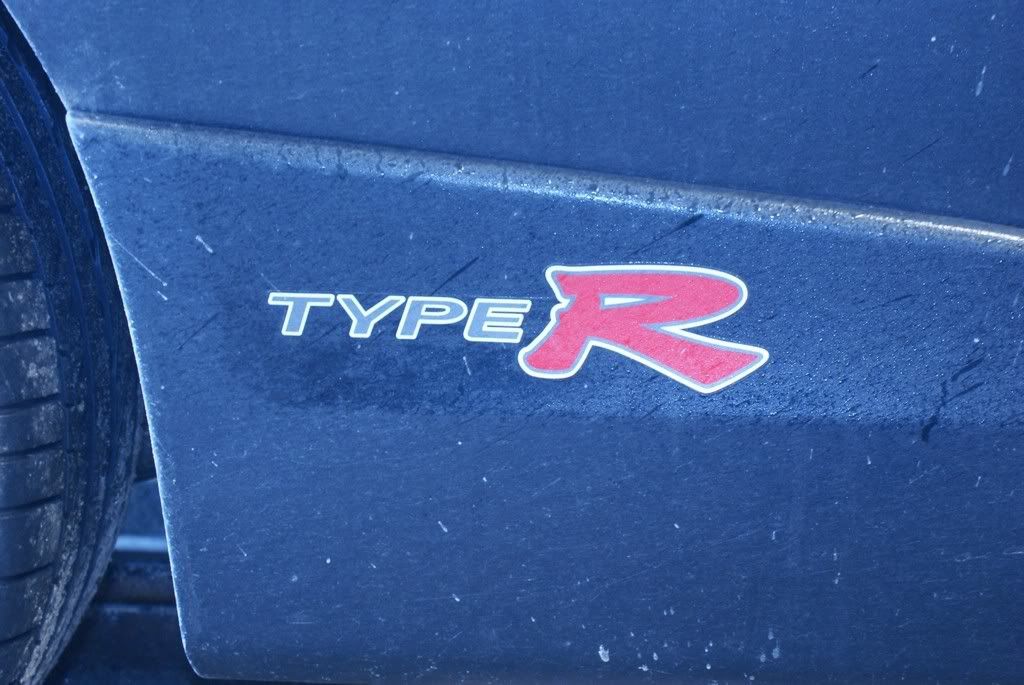
- It's a pirate car... Type ARRR!
-----------------------------------------------------------------
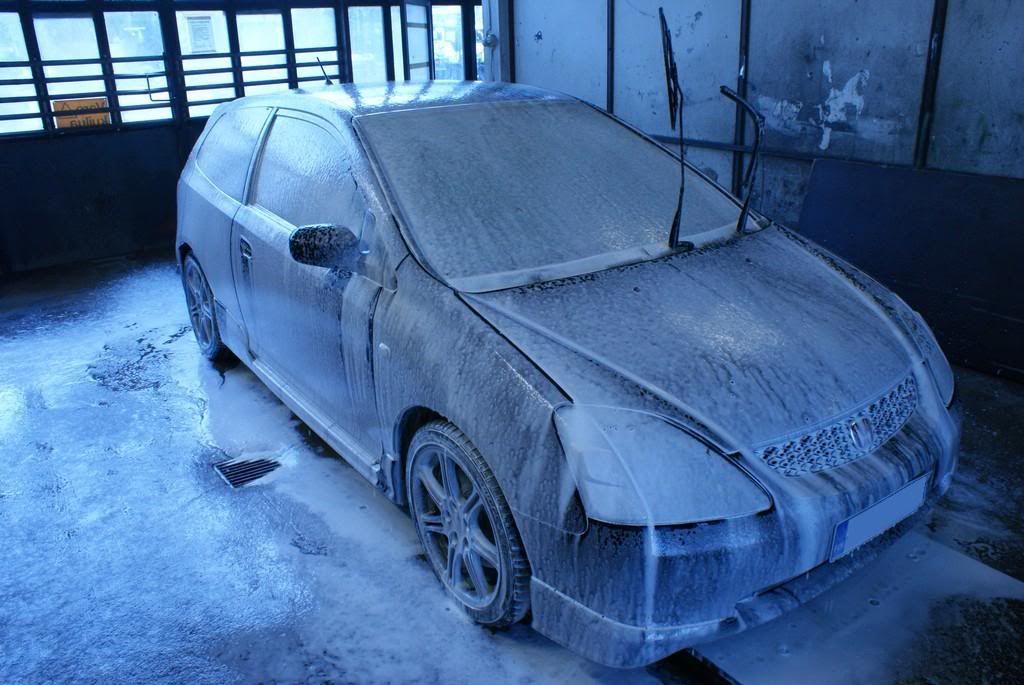
Pre-wash:
- First weapon: Korrek Lensitil BR Solvent Wash Spray!

- Next I picked up the Kärcher+ foam lance and Autofoam as ammunition

- Foamed!
-----------------------------------------------------------------
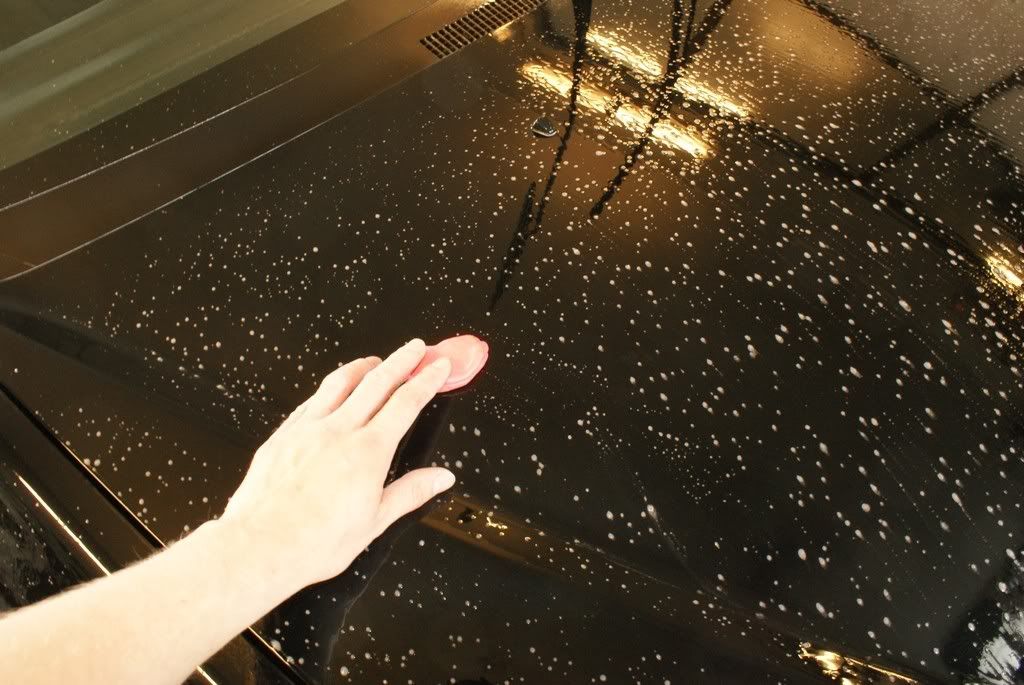
Claying:
- Z-18
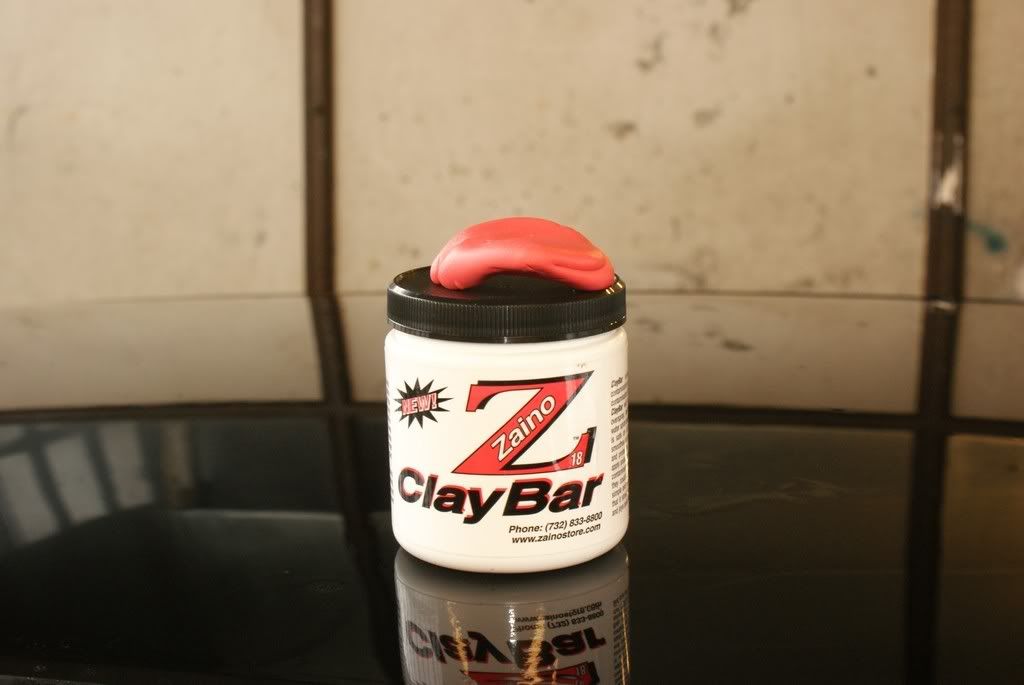
- I use Turtle Wax Big Orange car shampoo as a lubricant (in claying)

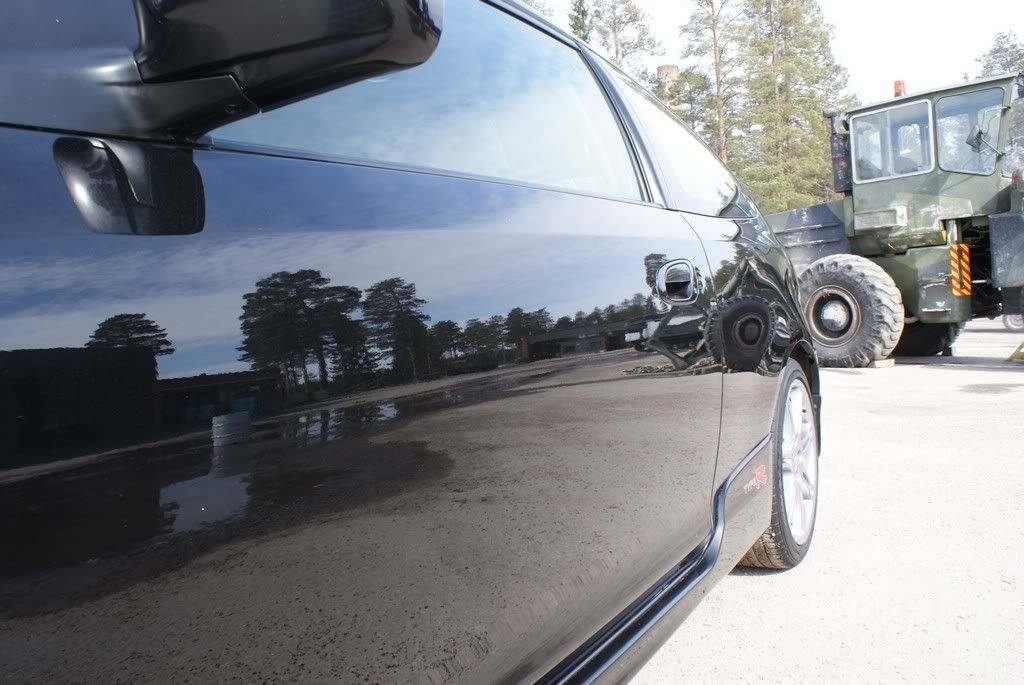
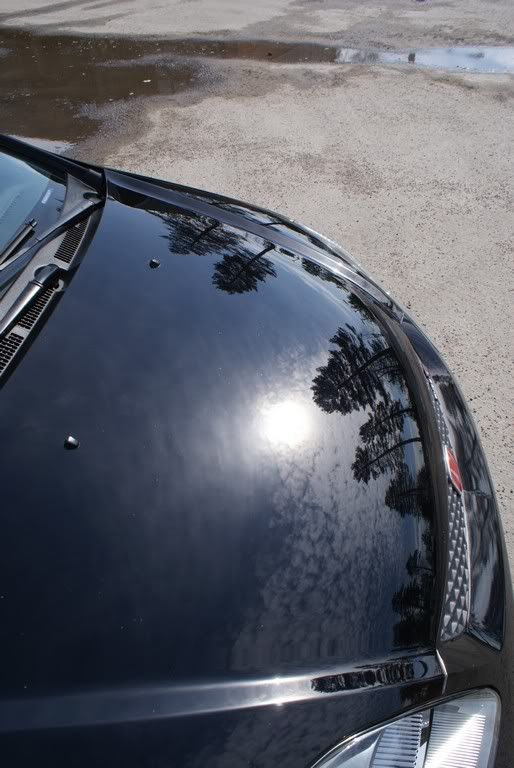
- The hood was quite clean, but I got some big climpses off on the sides.
-----------------------------------------------------------------
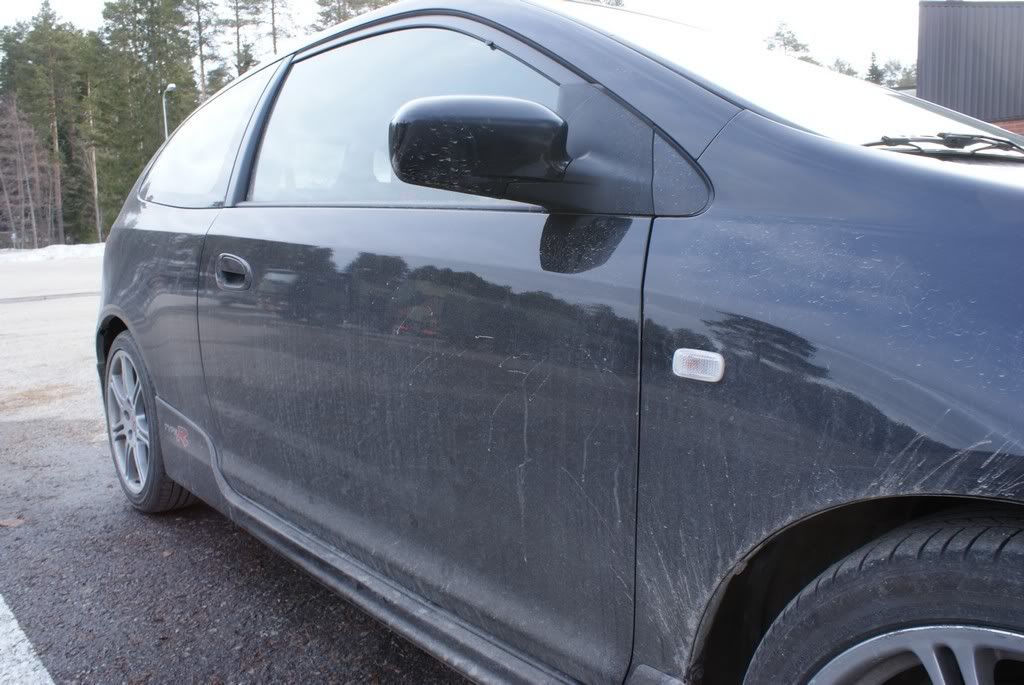
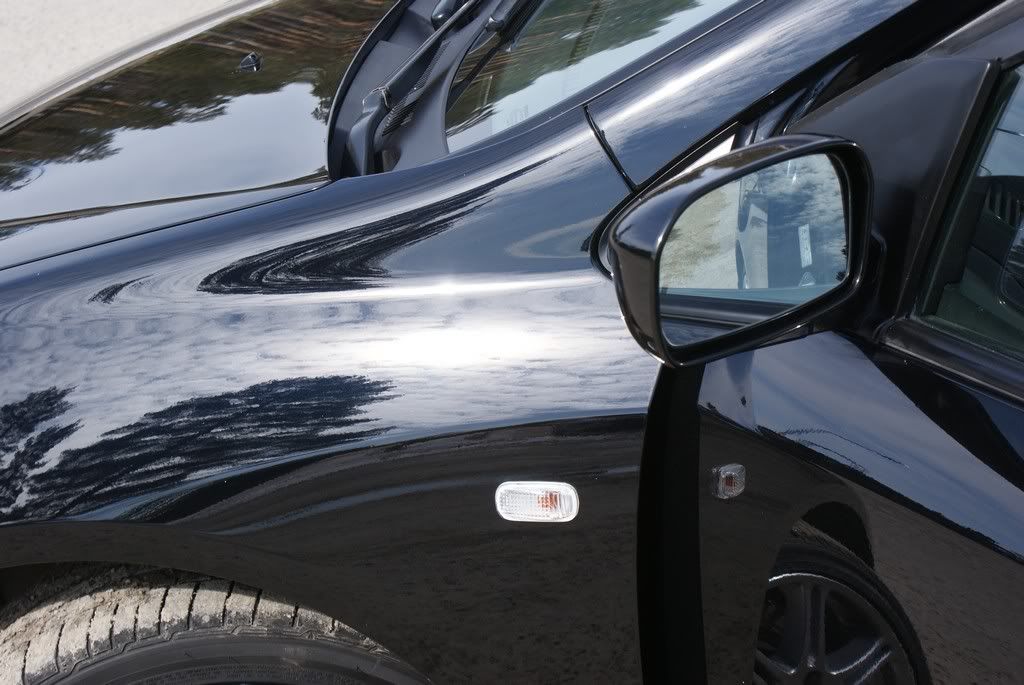
Polish:
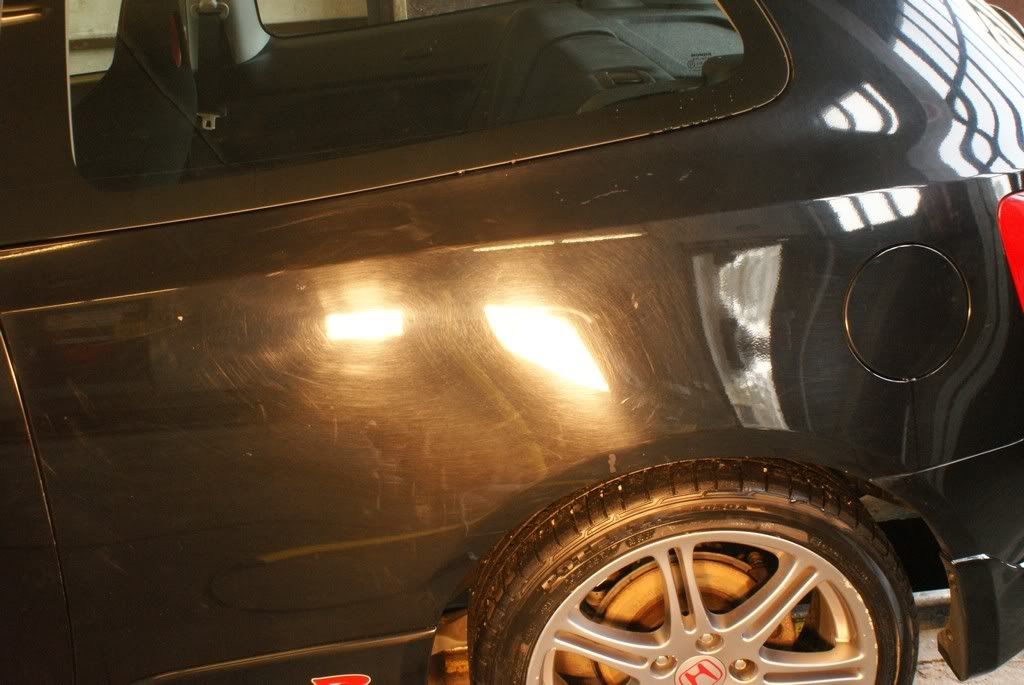
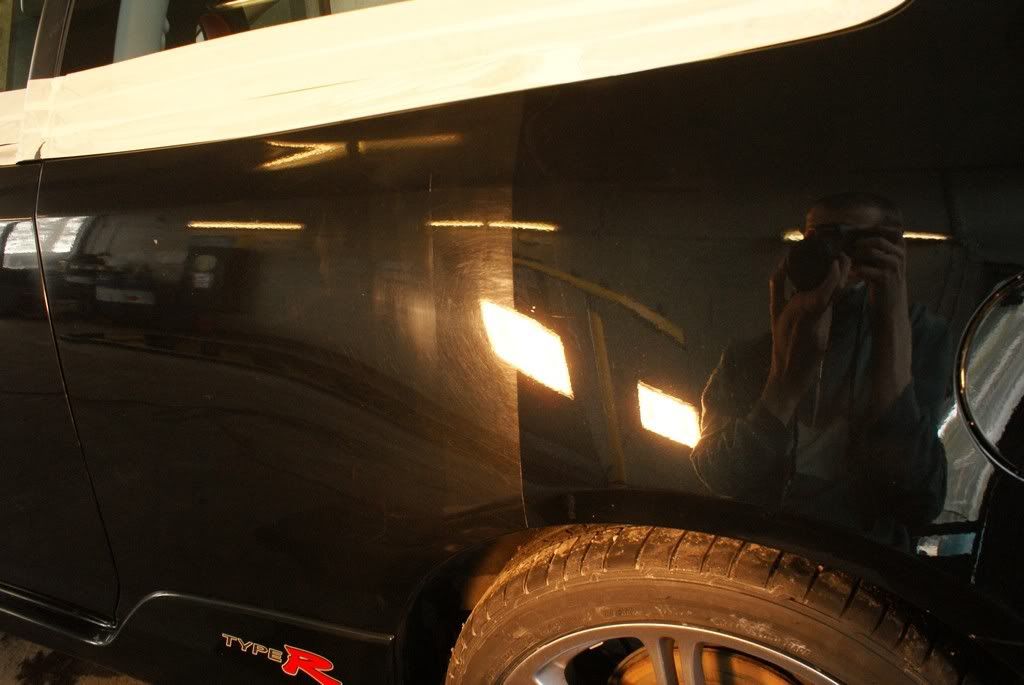
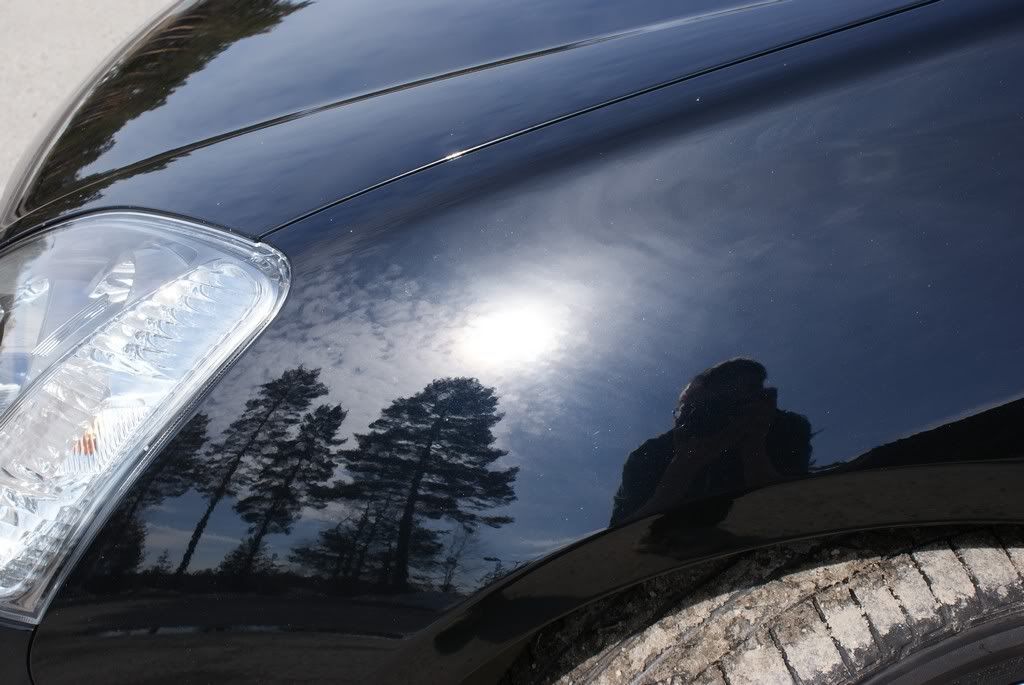
- Welcome to the swirl city! Or hell...!?
- I guess the car was washed with a rock
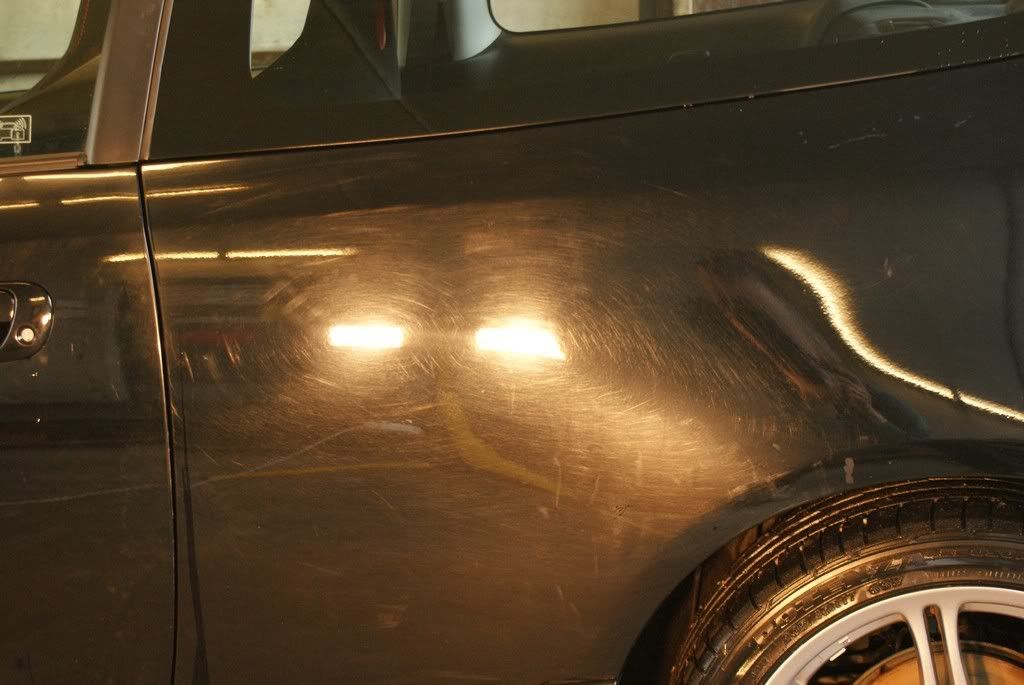
- And the halogens are just 300W each :nervous:!
- It was the same all over
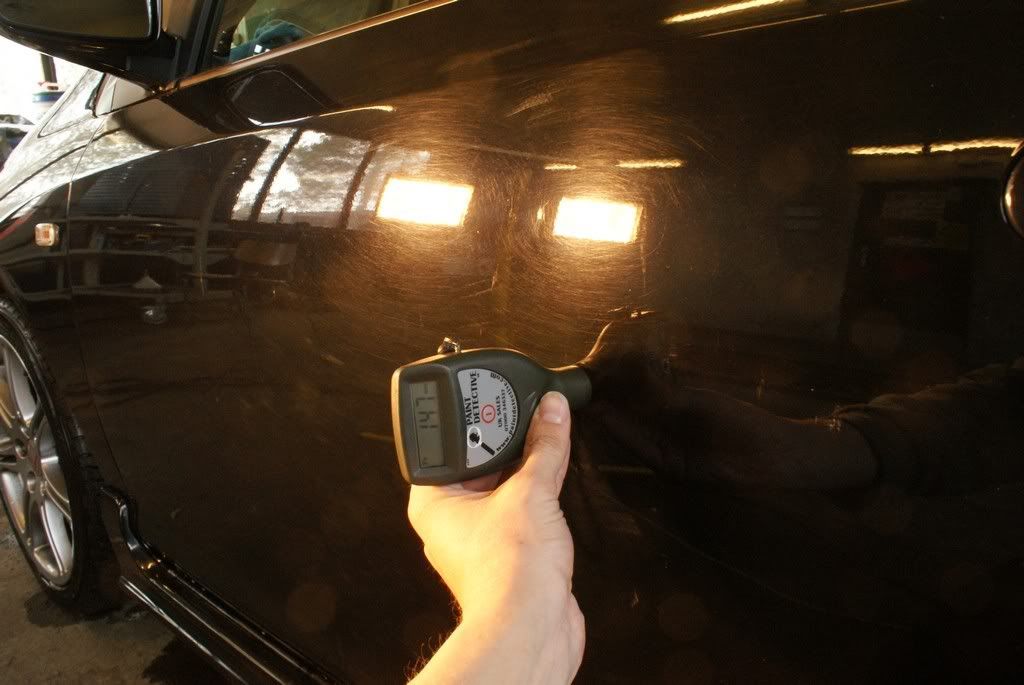
- I was going to start on this panel at the beginning
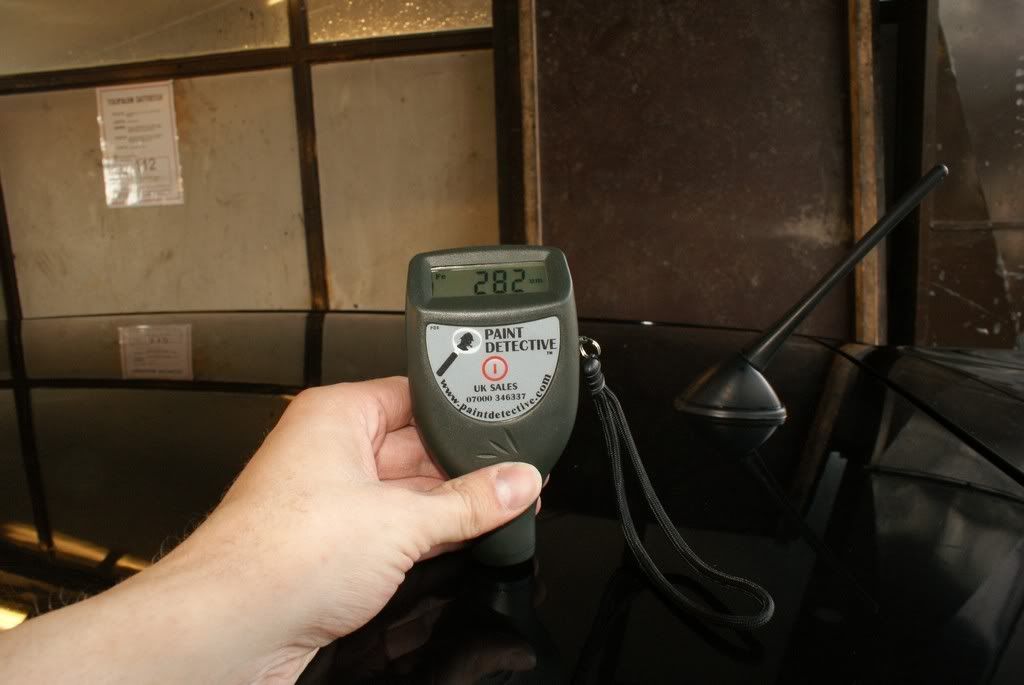
- But before that I wanted to make sure everything was safe
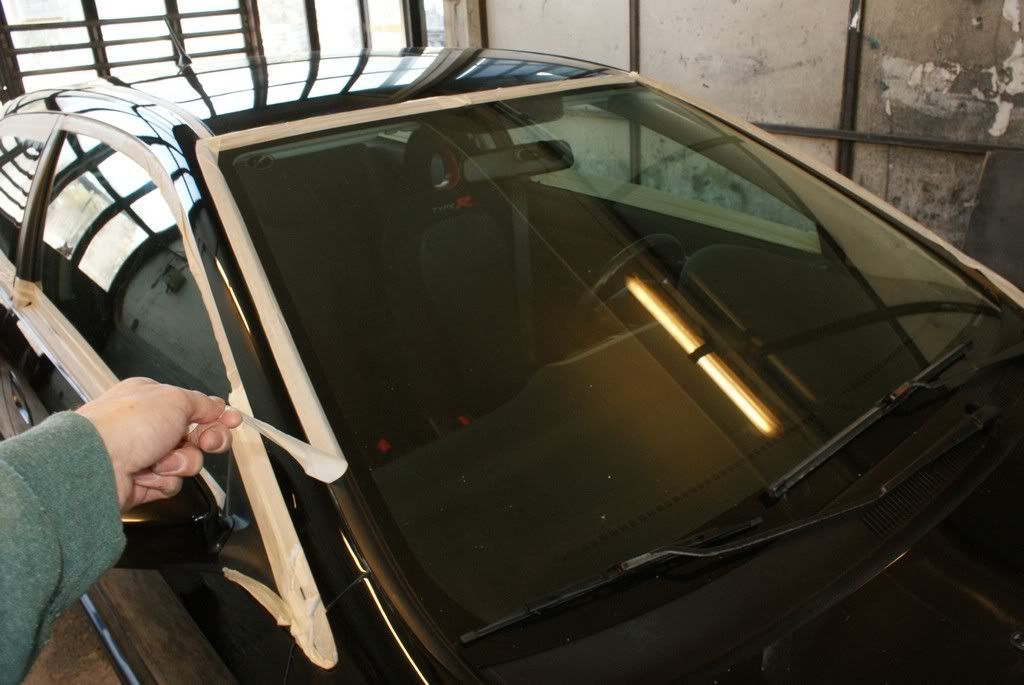
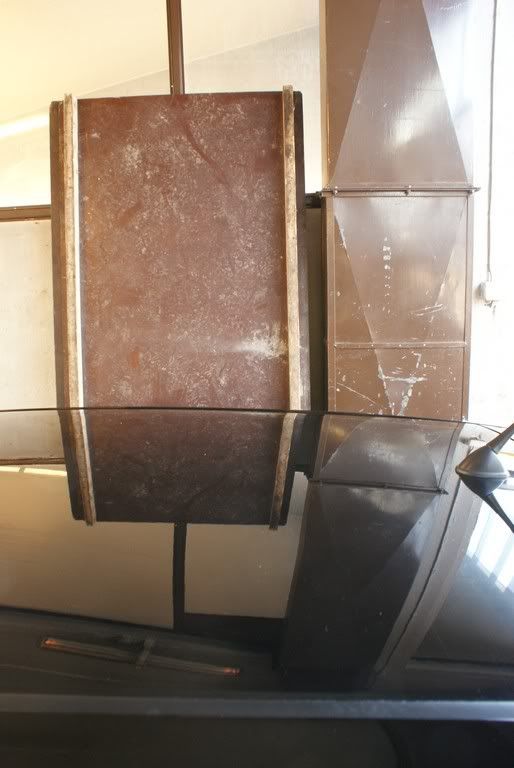
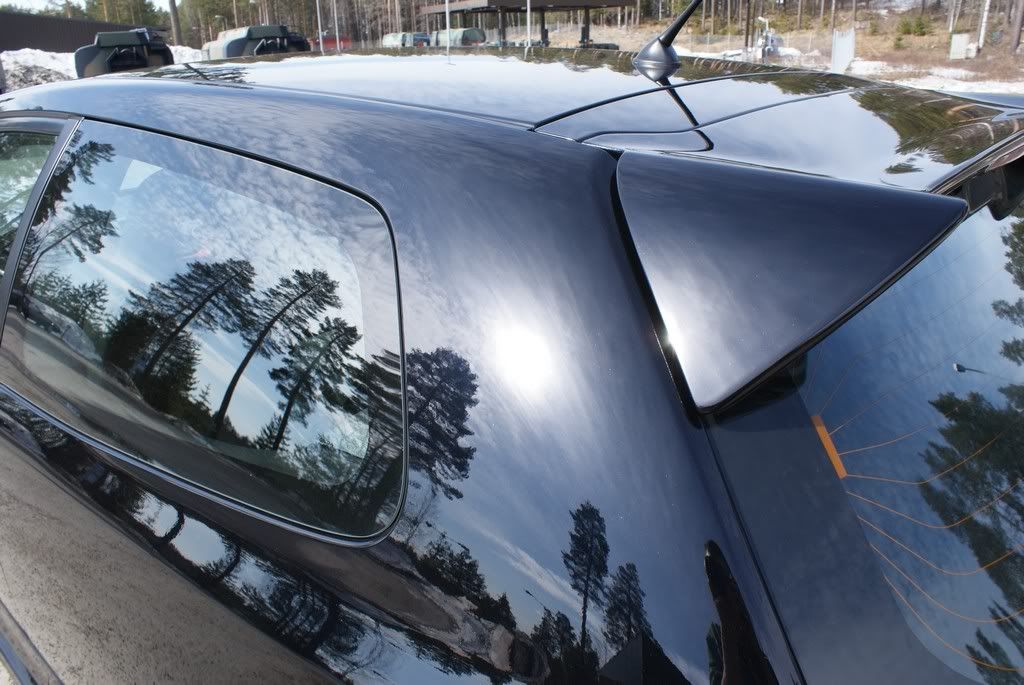
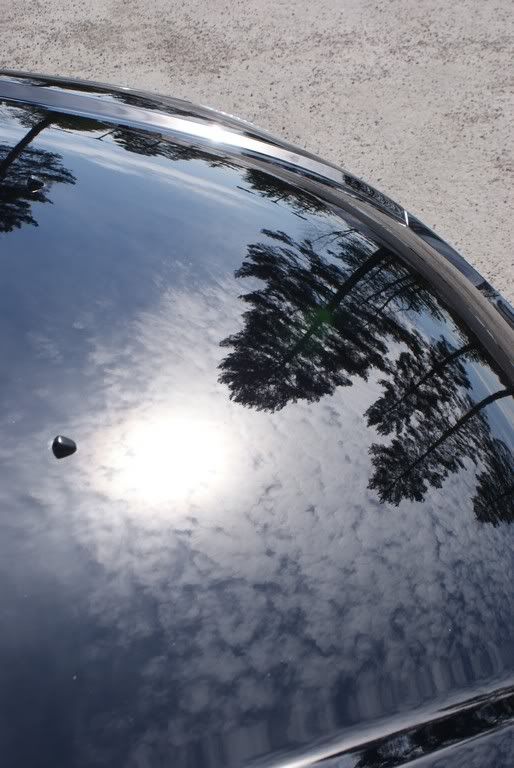
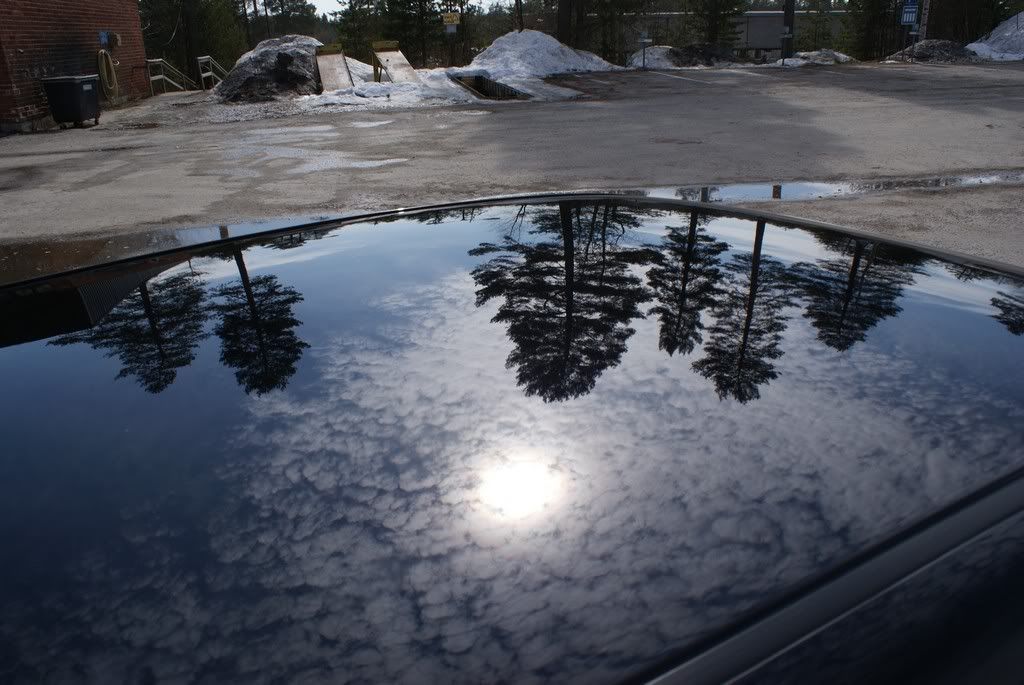
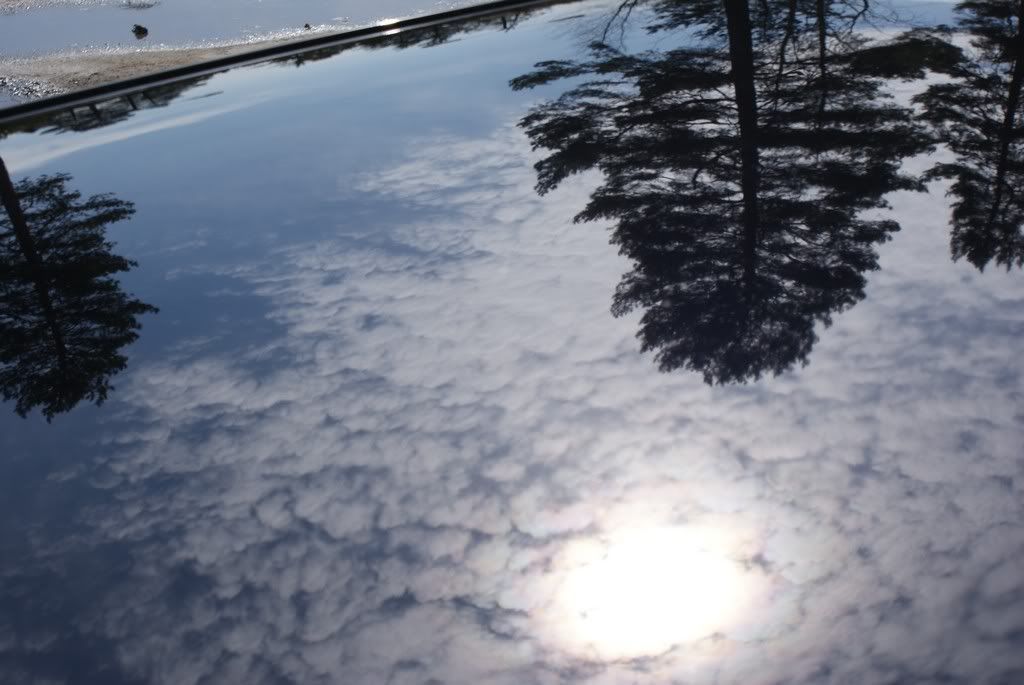
- The roof was apparently repainted
- Then taping things
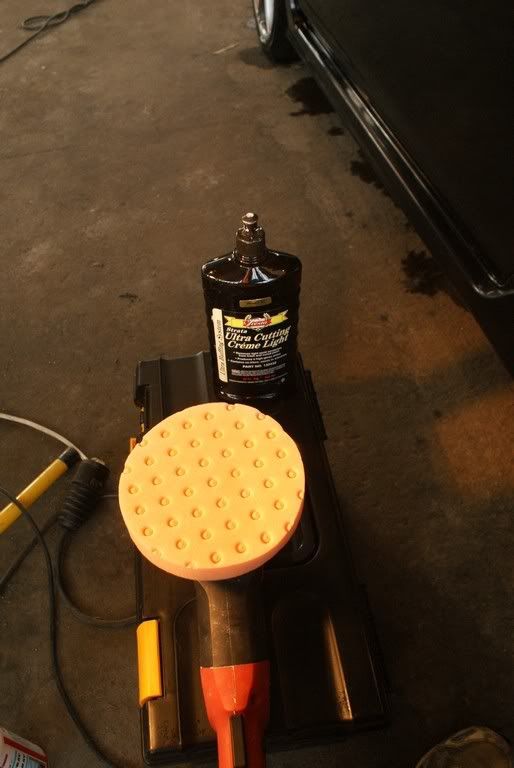
- After trying couple of milder combos I decided to go with Presta Ultra Cutting Creme Light + Lake Country CCA Orange pad
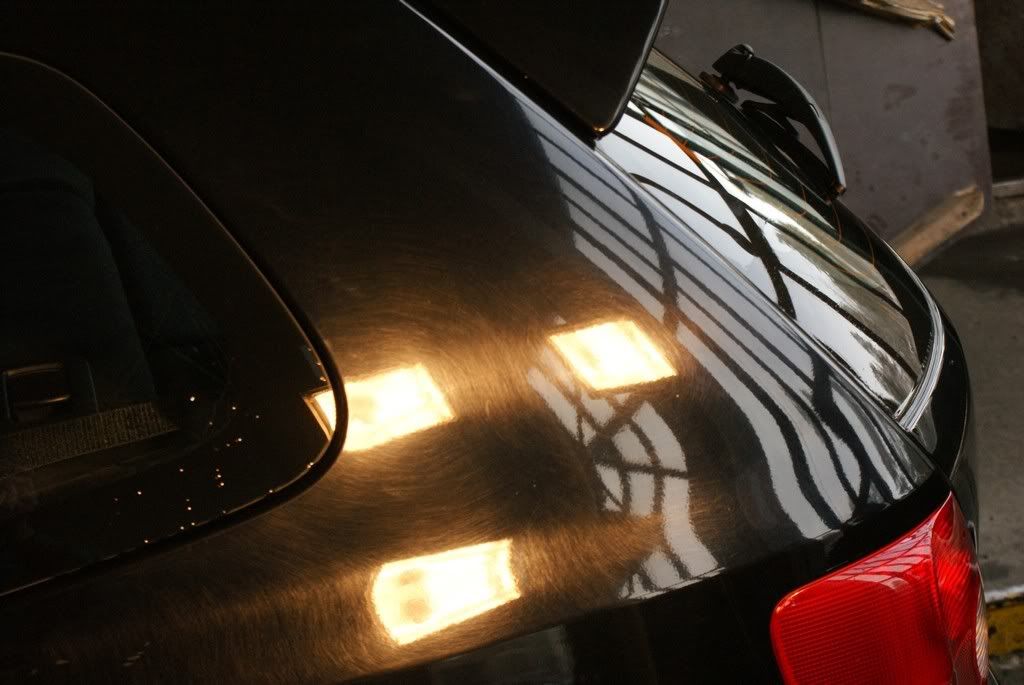
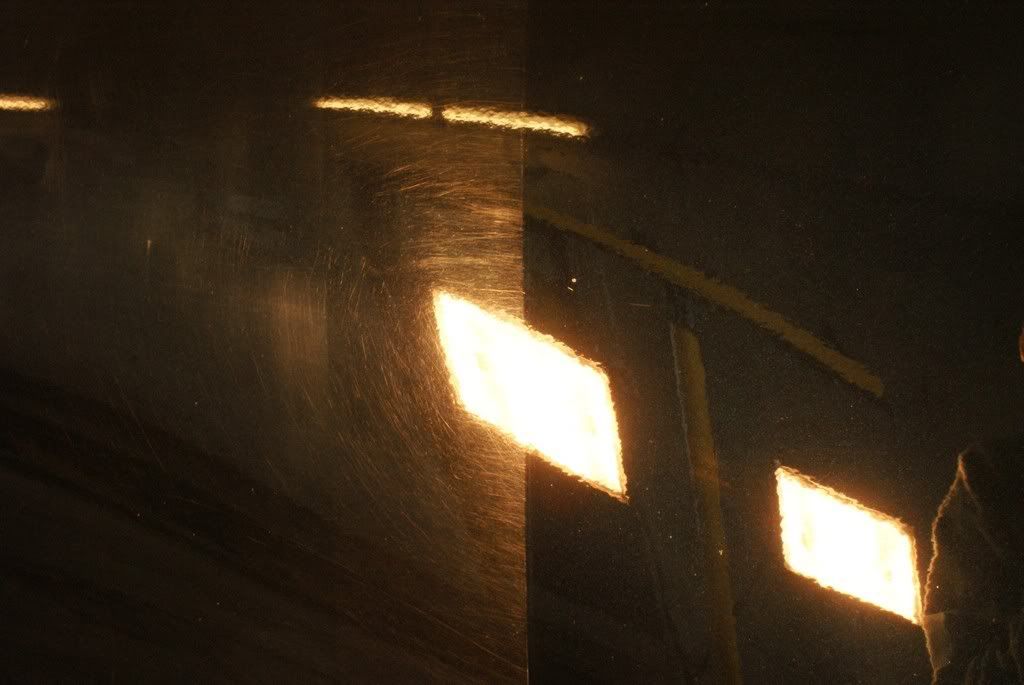
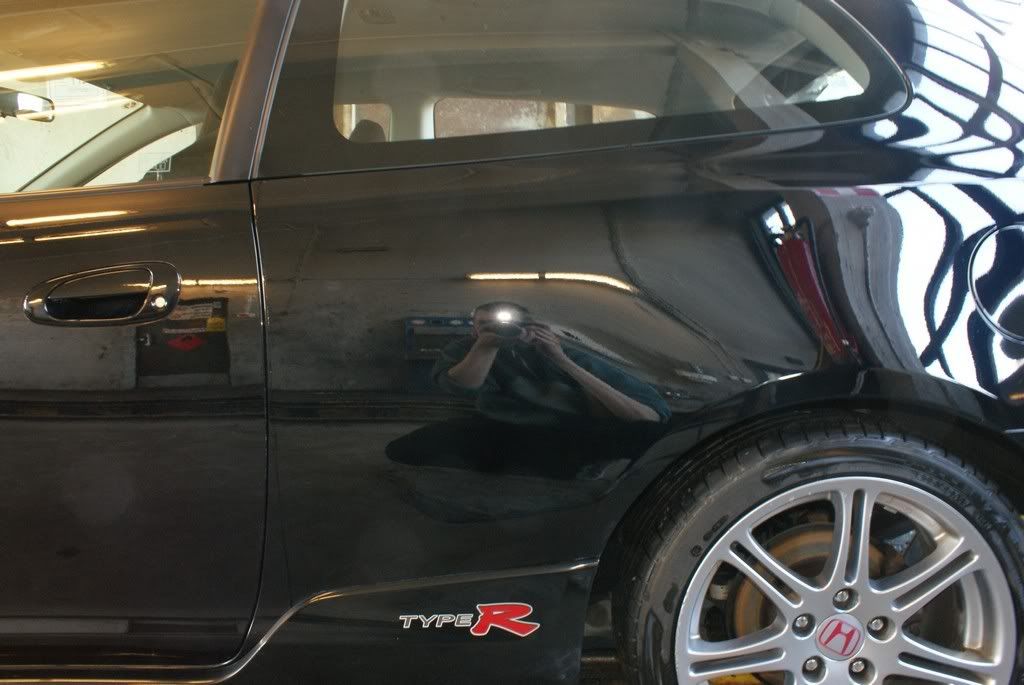
- First 50/50's :waxing:
- Another angle
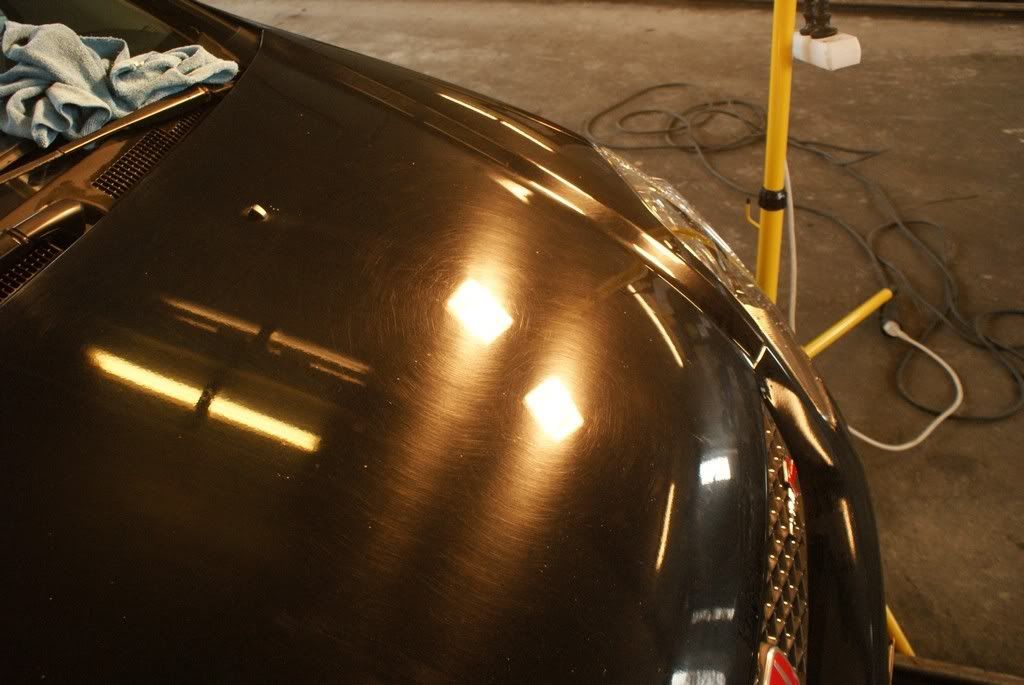
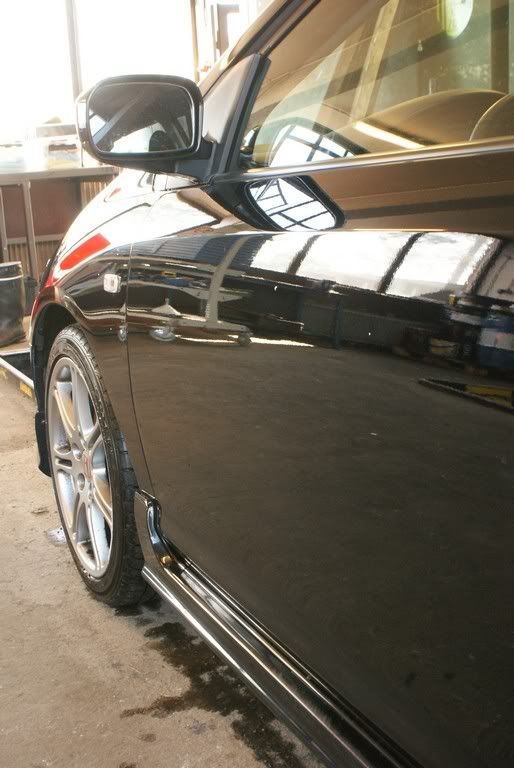
- I did the left side and then continued to hood
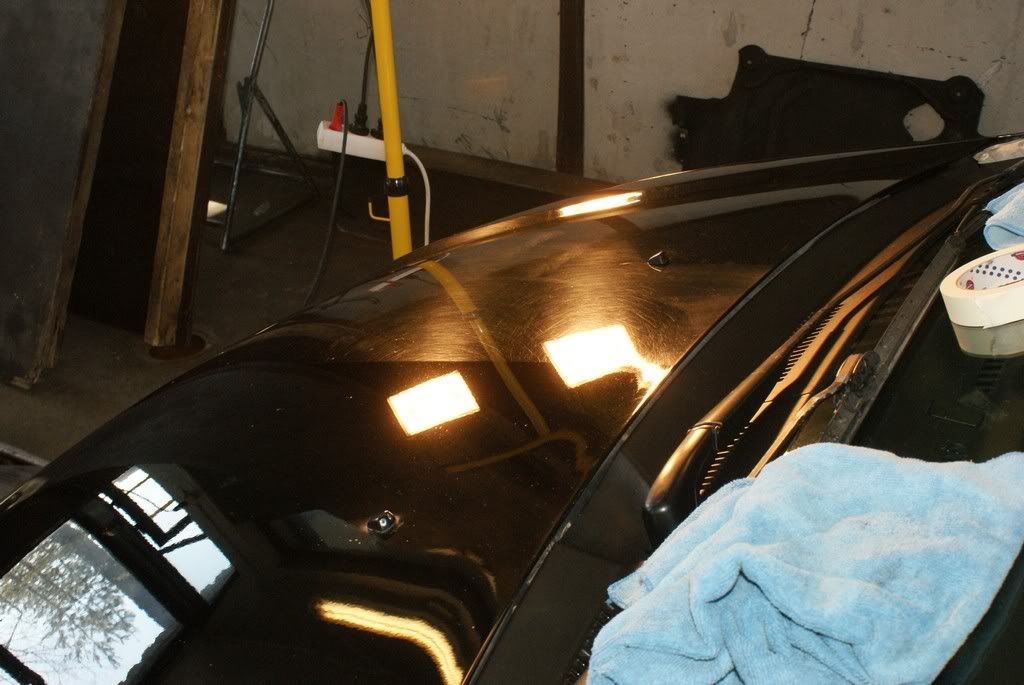
- After the second pass with Menzerna PO105RD+ Lake Country CCA White pad

However, my coworker asked to do something for the swirls. I thought "Ok, let me see it..." without knowing the coming annihilation.... of my arms and back :lol:!
So the paint condition was pretty bad. The worst was (and still is) the front end, which was ravished by rock chips. I couldn't do anything on them, but the overall looks improved a lot! I spend 1,5 days doing this (14h + 5h)
. My friend hasn't seen the car yet, but will do on Tuesday. I hope he's satisifed with the results.I did the outside detailing only.
The process was:
1) Pre-wash
- Korrek Lensitil BR Solvent Wash Spray
- Bilt-Hamber Autofoam
2) Wash
- Turtle Wax Big Orange
- Two bucket method + Mother's Sheepskin Mitts + sponges
3) Claying
- Zaino Z-18 clay
- Turtle Wax Big Orange as lubricant
4) Polish
- Presta Ultra Cutting Creme Light + Lake Country CCA Orange pad
- Menzerna PO105RD+ Lake Country CCA White pad
- WÃœRTH Fast Wax (A quick detailer actually, not a wax) as moisturizer
- Flex XC 3401 VRG
5) Wax
- Autoglym Super Resin Polish
- Autoglym Extra Gloss Protection
- Meguiar's Ultimate Quick Detailer
6) Tires, black plastics and exhaust tips
- Autoglym Instant Tyre Dressing
- Autoglym Bumper Care
- Turtle Wax Chrome Polish
-----------------------------------------------------------------
Befores:
- The patient. See my sapphire black E60 on the background as a reference for "black"
.
- Dirt, anyone?
No wax or any else LSP was on the car
- It's a pirate car... Type ARRR!
-----------------------------------------------------------------
Pre-wash:
- First weapon: Korrek Lensitil BR Solvent Wash Spray!
- Next I picked up the Kärcher+ foam lance and Autofoam as ammunition
- Foamed!
-----------------------------------------------------------------
Claying:
- Z-18
- I use Turtle Wax Big Orange car shampoo as a lubricant (in claying
)
- The hood was quite clean, but I got some big climpses off on the sides.
-----------------------------------------------------------------
Polish:
- Welcome to the swirl city! Or hell...!?
- I guess the car was washed with a rock
- And the halogens are just 300W each :nervous:!
- It was the same all over
- I was going to start on this panel at the beginning
- But before that I wanted to make sure everything was safe
- The roof was apparently repainted
- Then taping things
- After trying couple of milder combos I decided to go with Presta Ultra Cutting Creme Light + Lake Country CCA Orange pad
- First 50/50's :waxing:
- Another angle
- I did the left side and then continued to hood
- After the second pass with Menzerna PO105RD+ Lake Country CCA White pad

") !
!