imported_Dave KG
New member
And when I say soft... I mean butter soft!
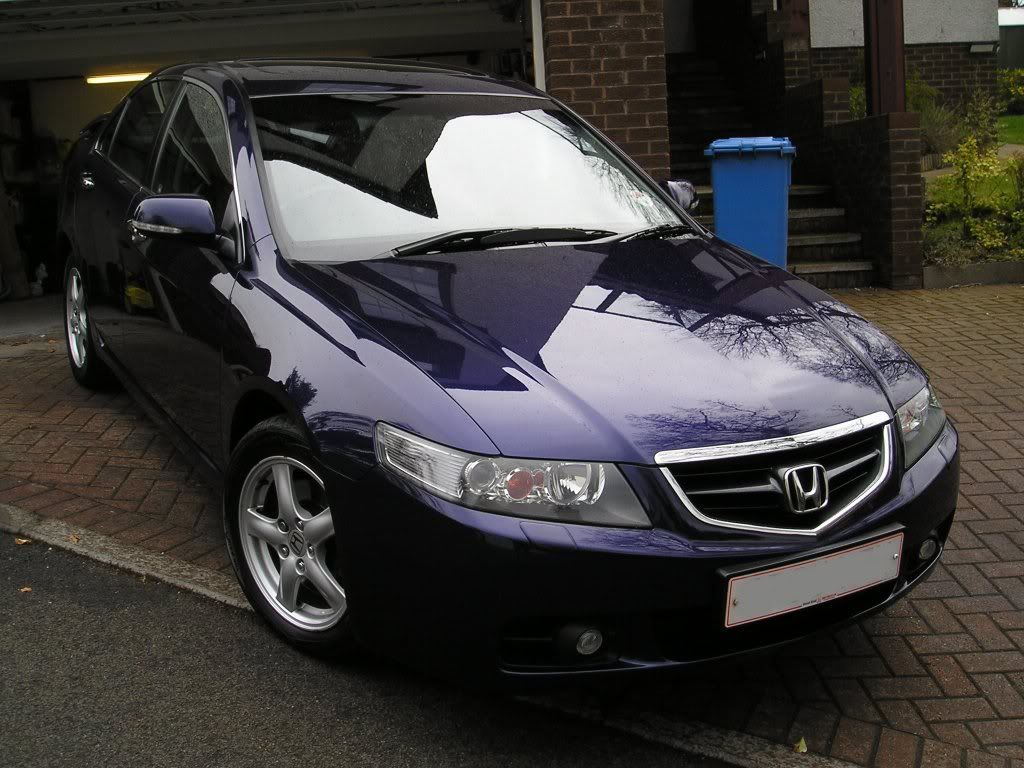
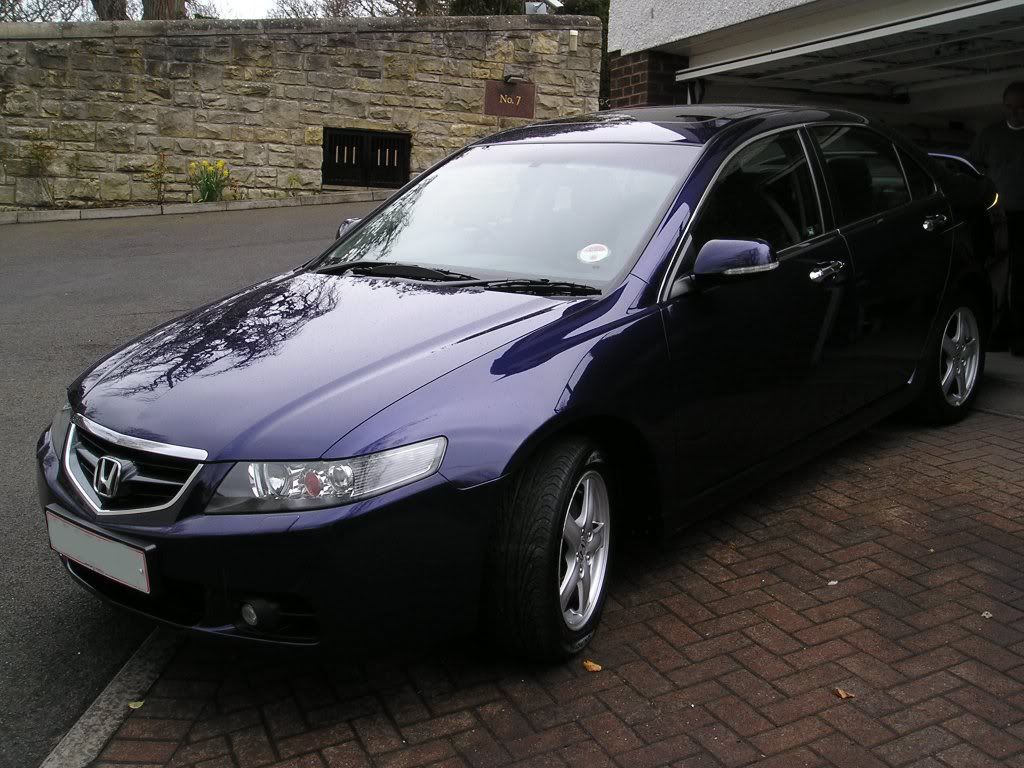
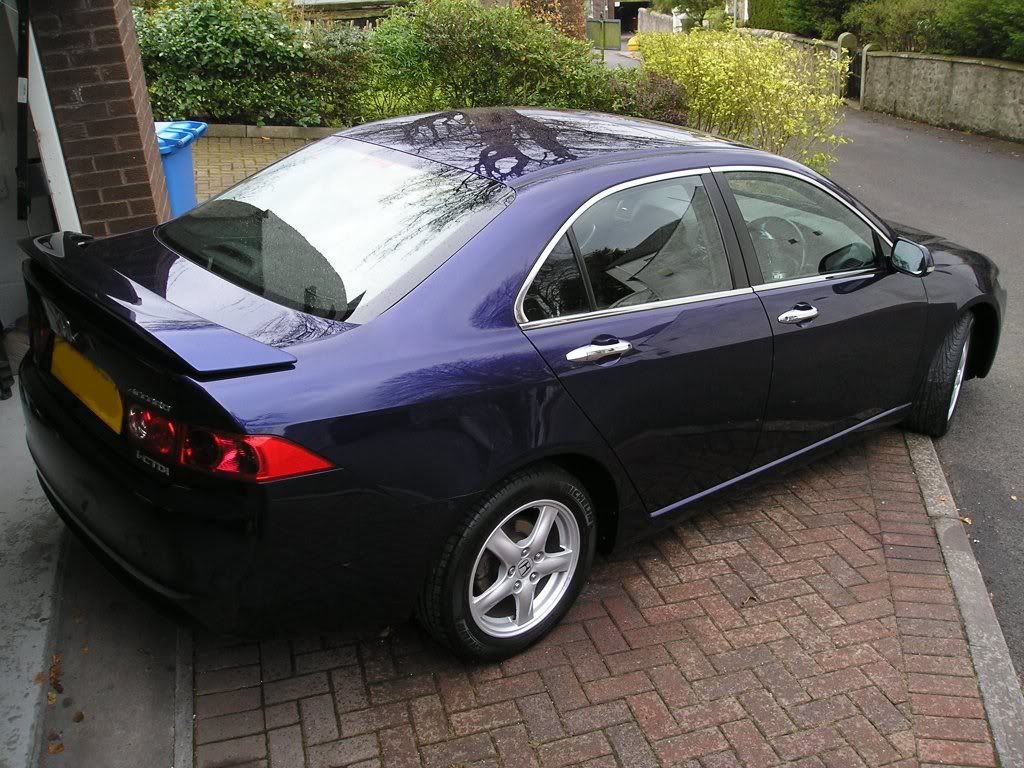
The detail for Bryan and I for the past two days has been a dark blue metallic Honda Accord i-CDTi, three years old and regularly washed I believe by a local valeting company. The car on arrival was certainly not too shocking looking either, but once washed the paintwork told a very different story, as did the three pieces of clay required to clay it: the cat was very very dirty with ingrained grime!
Once prepared, the car was rolled into the garage for paintwork inspection... We decided to start with the bonnet as a test area to ascertain what the defects were and what polish and pad combo would be required to generate the results.
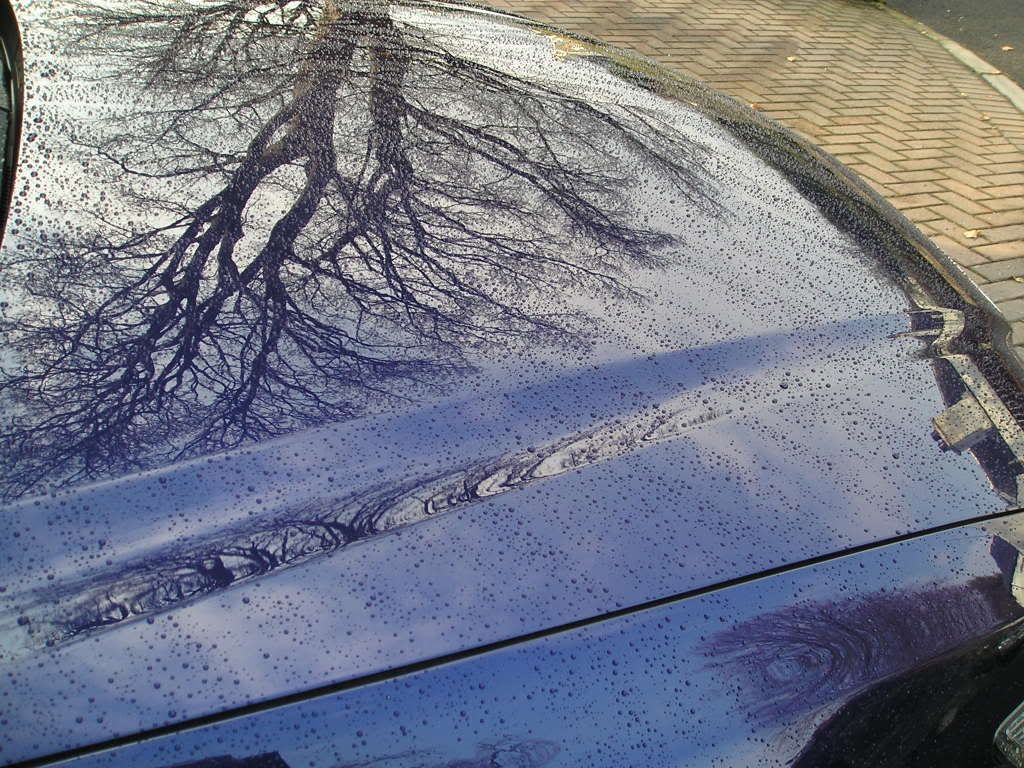
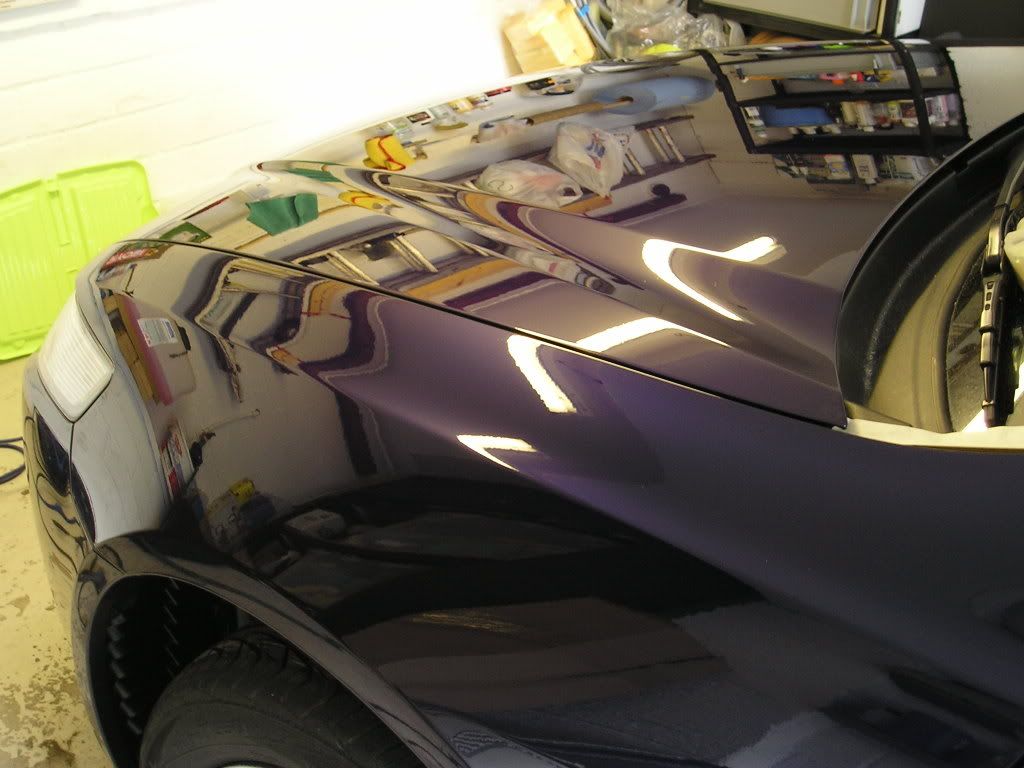
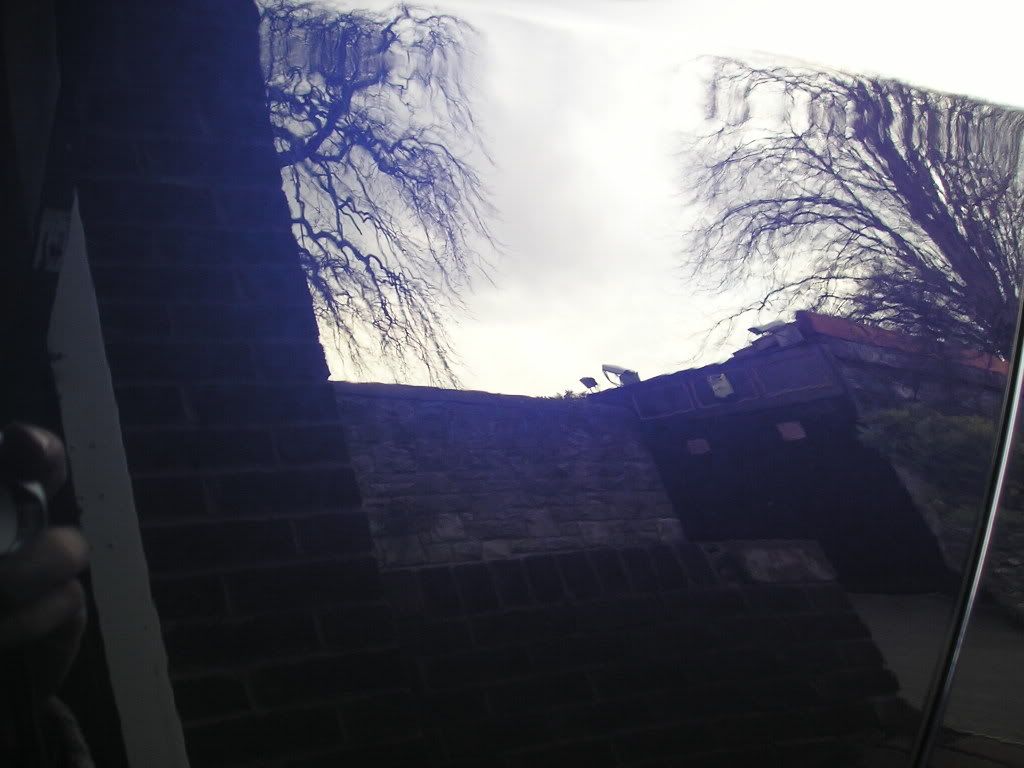
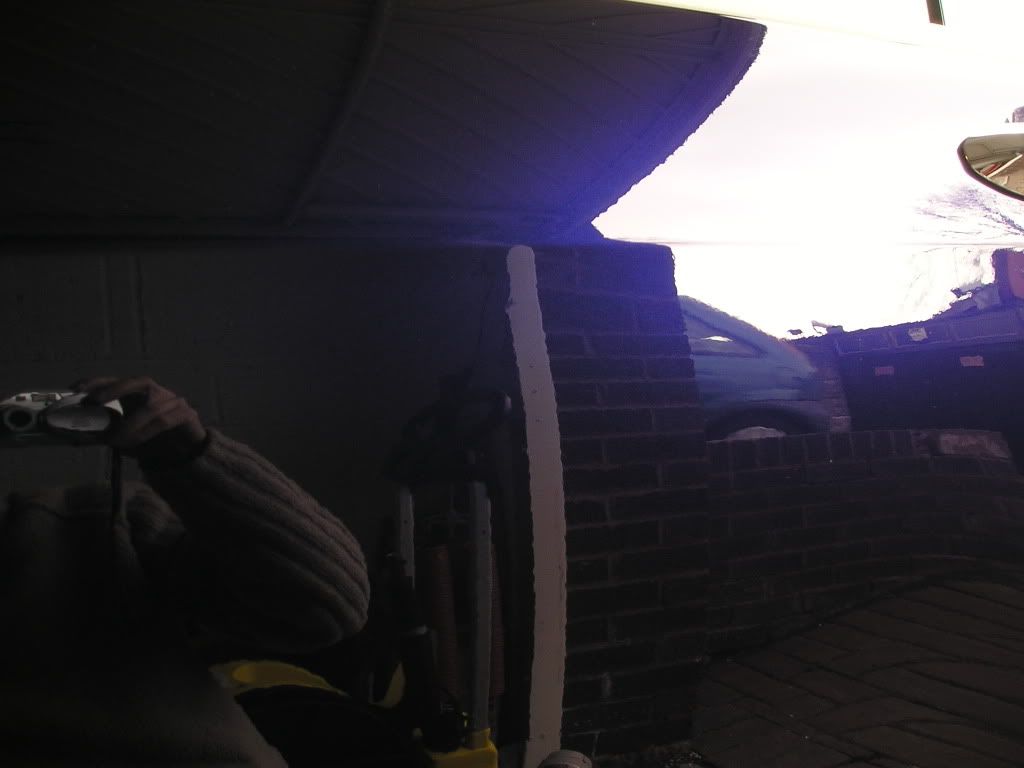
The bonnet before hand:
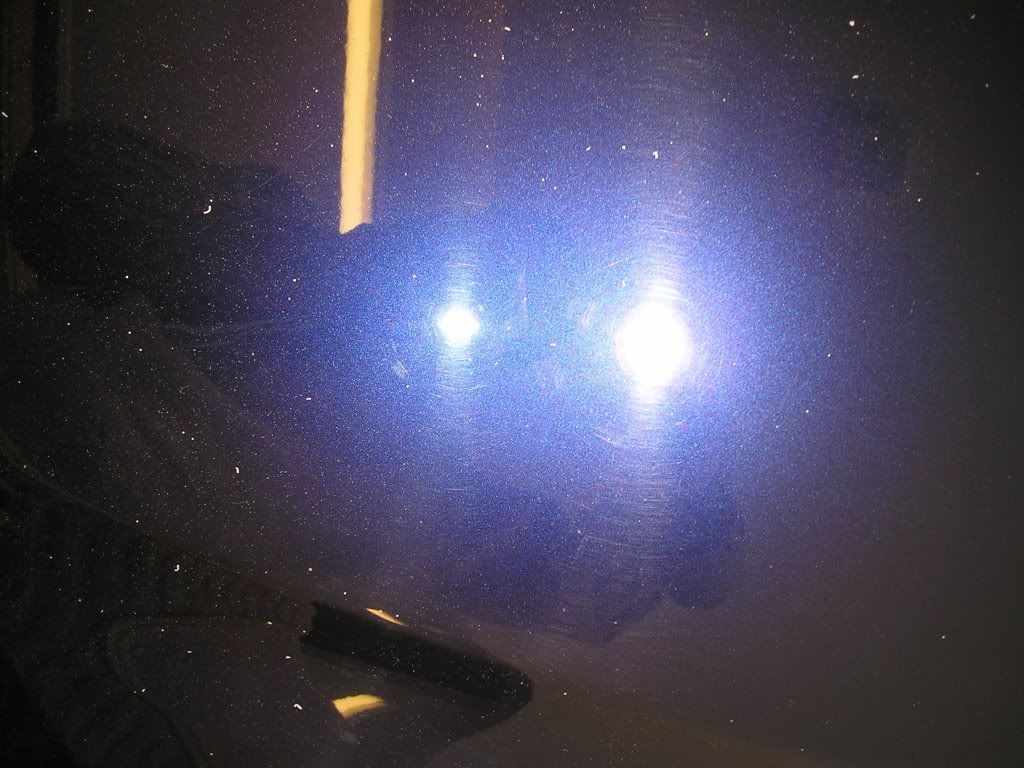
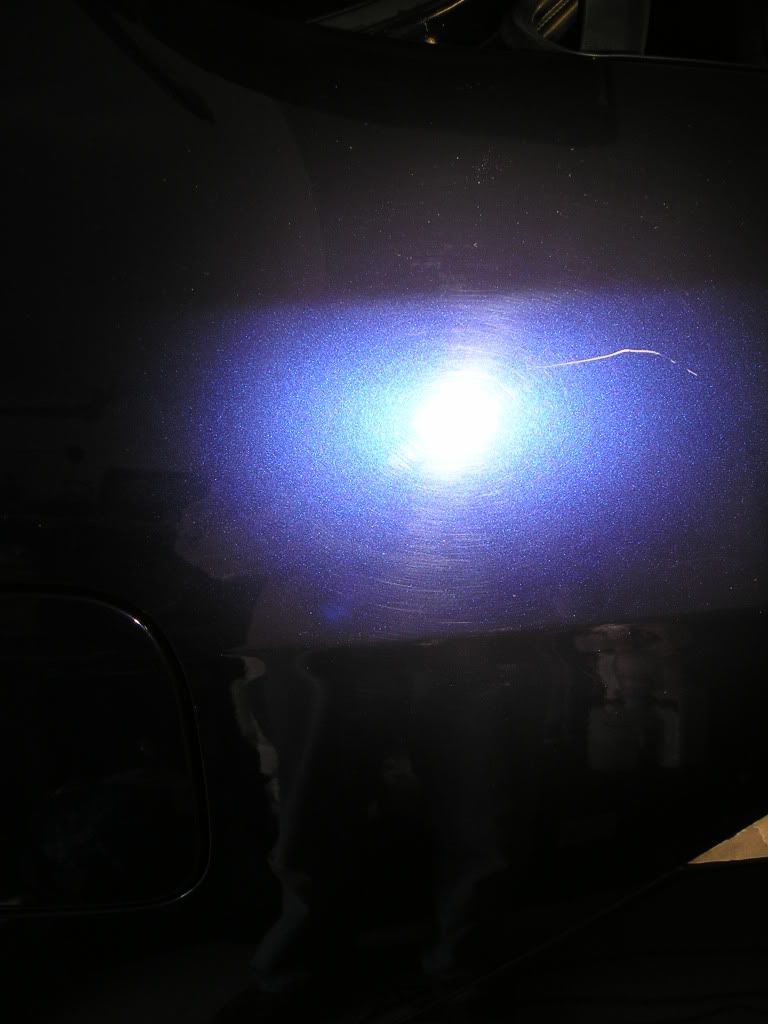
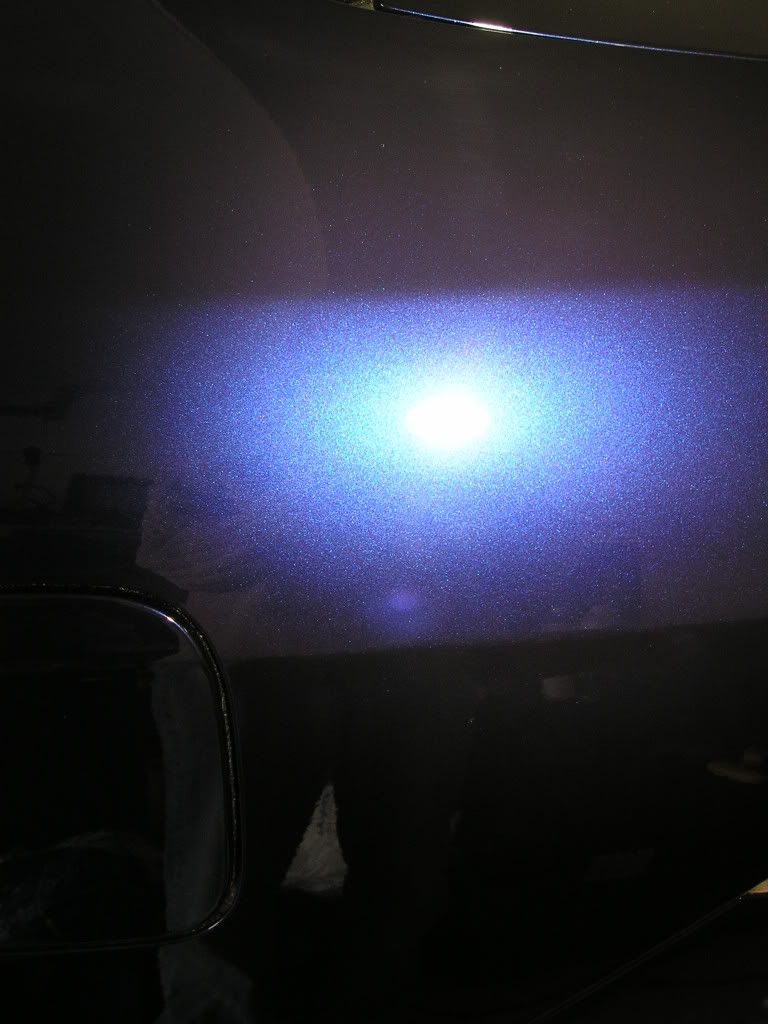
And this is where the fun began! Typical start out point of Menzerna PO85RD Final Finish on a finishing pad, and instantly the problems with polishing started - the polish flashed white, the pad felt like it was dragging and kicking and the panel temperatures rose dramatically with only slow speeds... The typical symptoms attributed to Menzerna playing up - but trying out several other brand of polish revealed similar effects to varying degrees of severity! The problem was not the polish, but something to do with a reaction between the polish and the paint - heat was the key factor, this was being generated and once this happened, it was wreaking havoc!
This is something that seems to be to be attributed to softer paint types (but not exclusively) and seems to be down to the paint itself causing a stickiness which quickly generates heat and the associated problems... An obvious move here would be to switch to DA polisher, but I'm personally not a fan of them these days and will use my rotarys whenever I can. So... something had to be sorted out to get the polishes working as required.
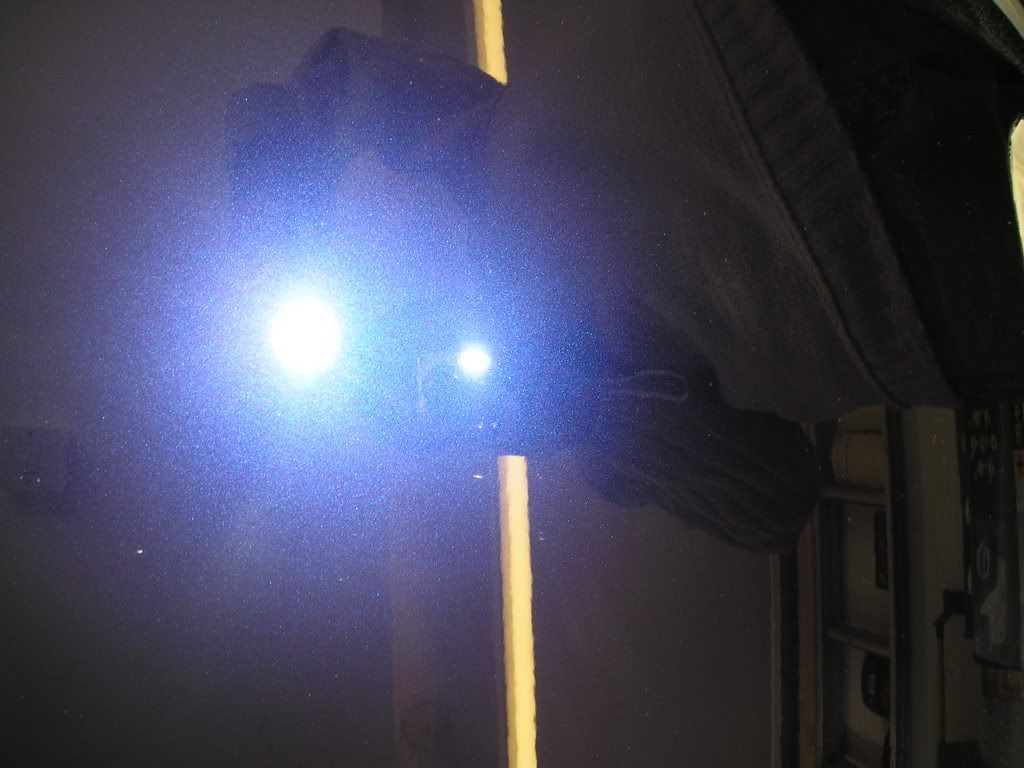
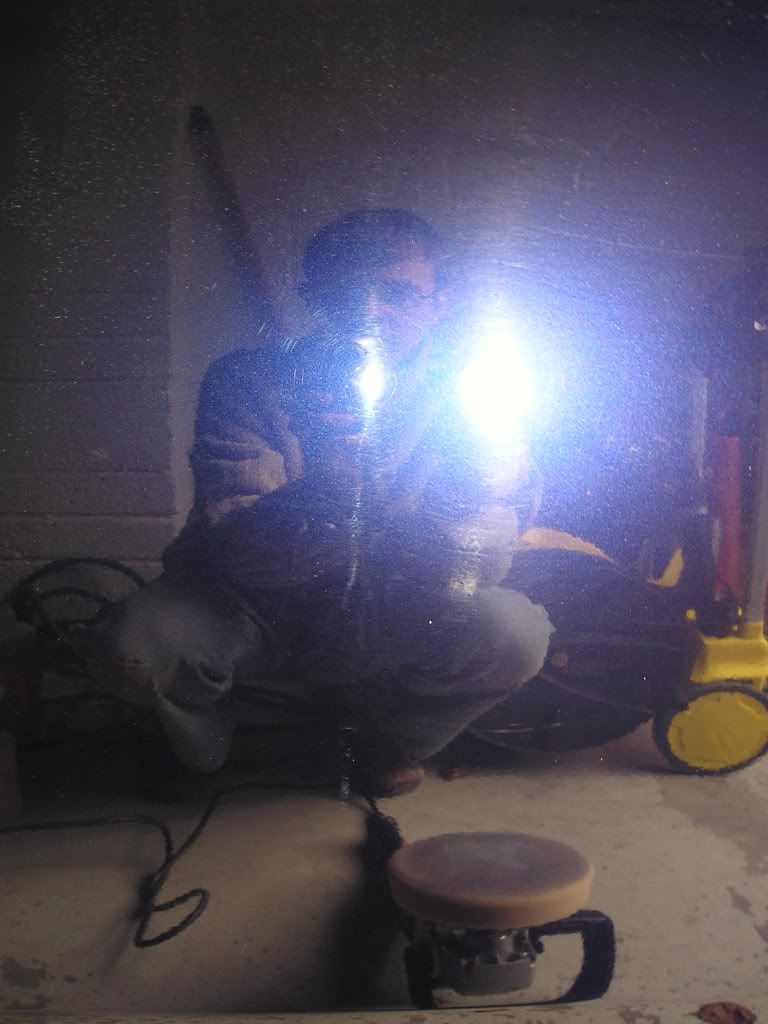
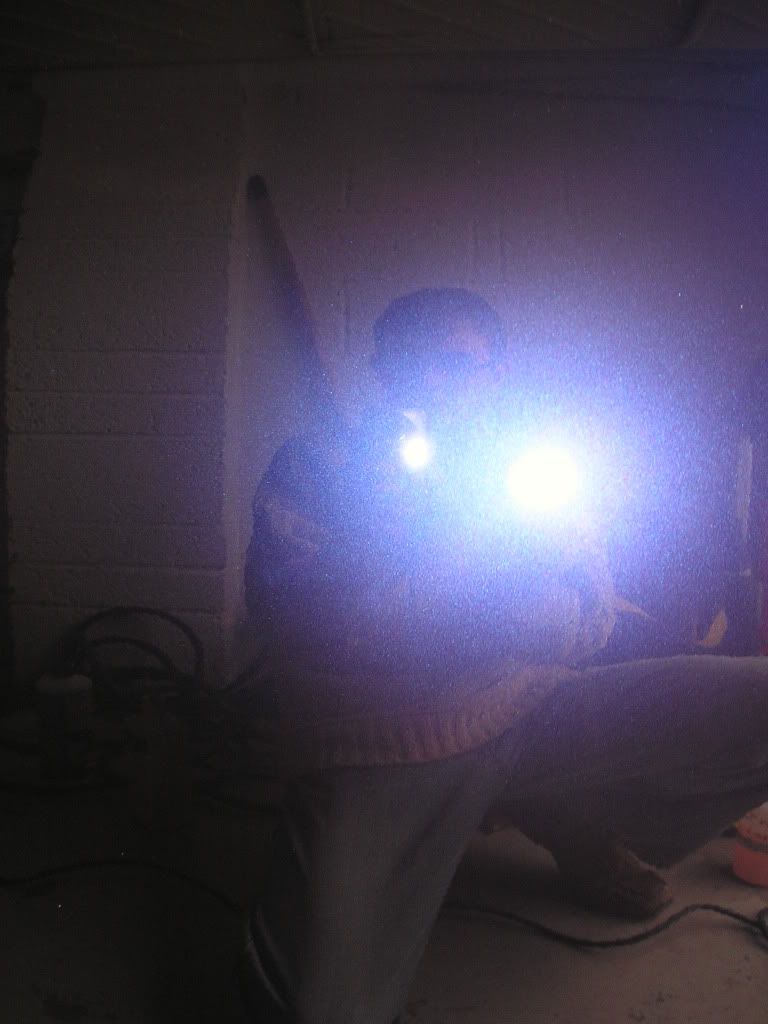
The solution on this car came from a two-stage polishing method. First of all, Meguiars #80 was used for the correction (yes, #80 - it has quite a cut on this paint, it really was very soft!!) - spread at 600rpm, then two or three passes at 1000rpm. The heat beginning to build, but up the speed to 1200rpm for three or four passes... The residue starting to cake a little now, but keep the machine moving quite quickly to minimise the heat build up before stepping up to 1500rpm until the defects were removed. No effort was made to finish the polish down here at all, it was simply being used as a cutting polish and this shows with the marring induced. Results after just #80, with no effort at all made to finish it down:
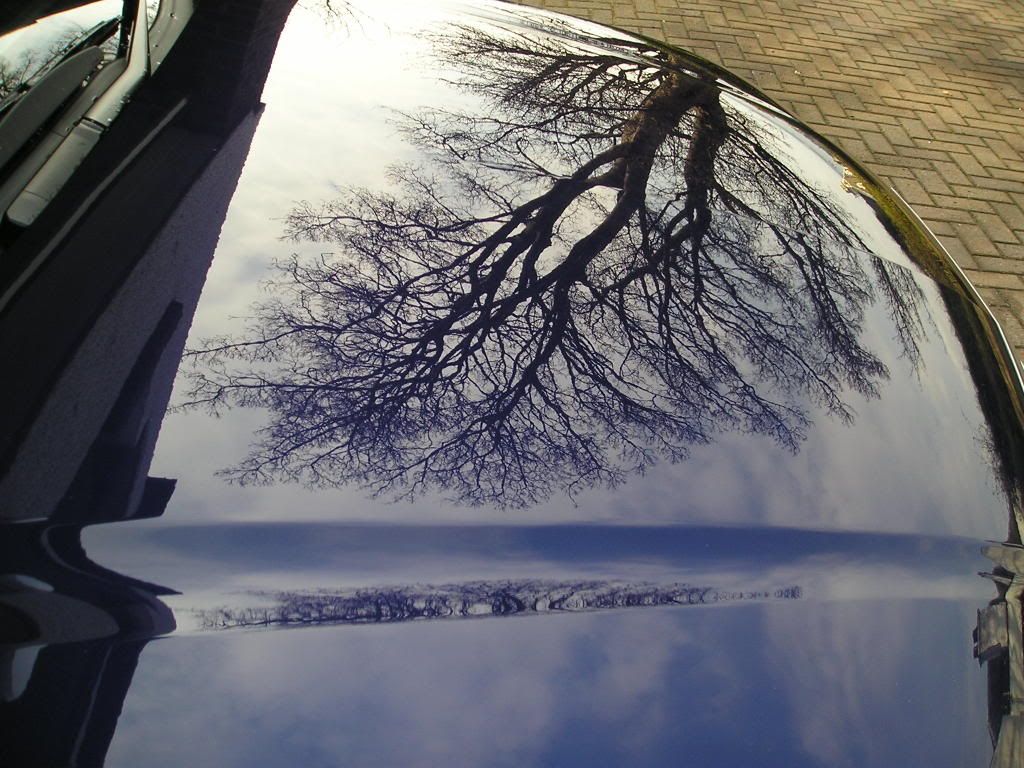
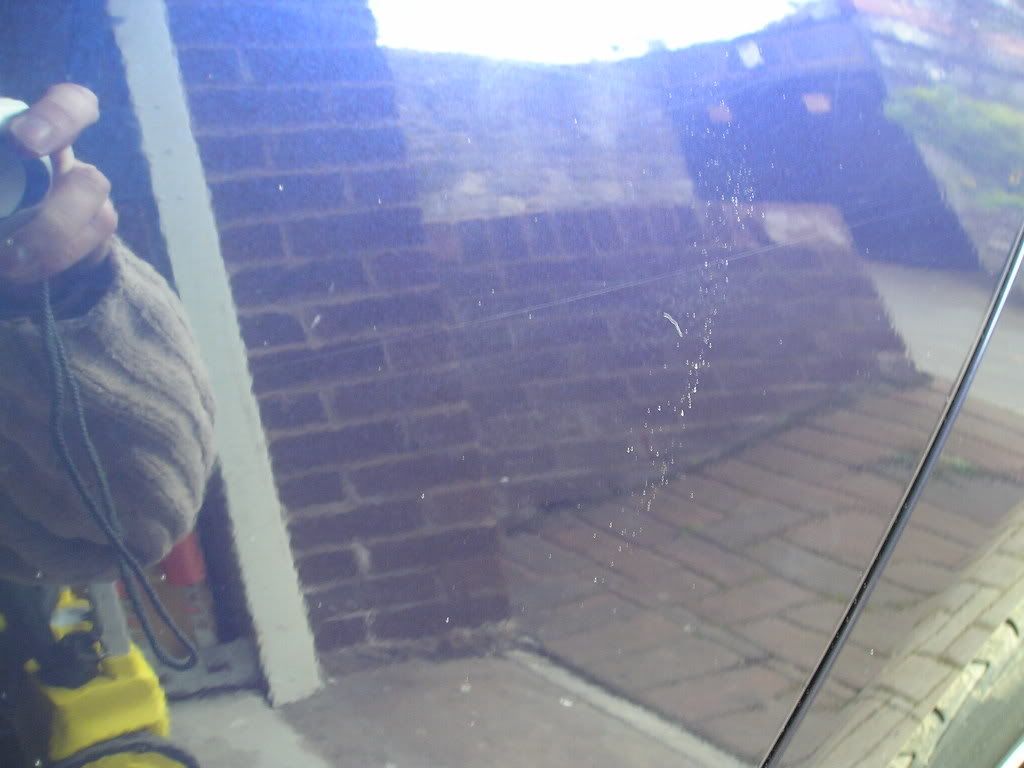
Now - the finishing stage! Menzerna PO85RD Final Finish on a Meguiars W8006 polishing pad, appplied as follows. Spread at 600rpm. Then, lifting the machine head slightly to reduce any pressure to a complete minimum the speed was stepped up one "notch" on the speed switch every pass, working slowly up to 1500rpm... The panel remained cool and the rotary glided... Any feeling of stickiness and the speeds were knocked back down, panel allowed to cool a little at the lower speeds and then back up again. Many passes were made in the run up, and then at 1500rpm - at least 15, sometimes more, until the residue showed evidence of going clear, and then the speeds were worked down one notch at a time back to 900rpm where two passes were made to finally burnish the soft paint to a finish. The results:
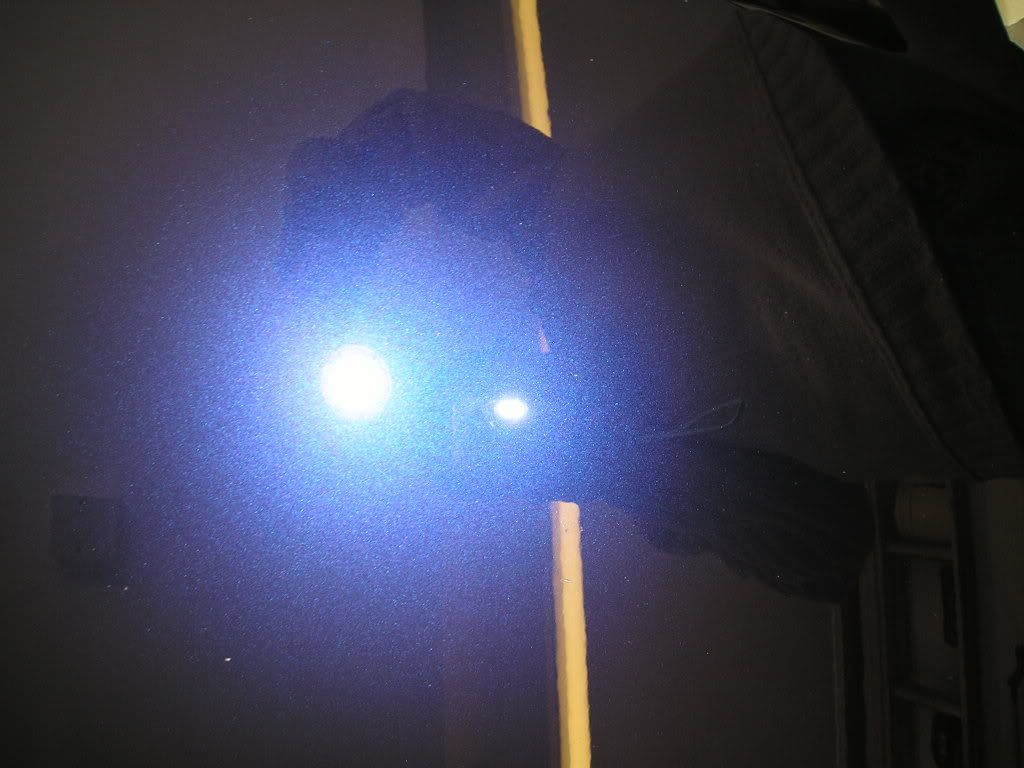
Hologram free, beautifully sharp finish - well worth the effort.
It was clear this was going to be a tough car, requiring a lot of care and attention, and concentration to the finsihing stages in particular! I worked onto the front wing. Before:
After #80:
And after dedicated finishing stage (excuse the residue spot):
The driver's door before:
And after:

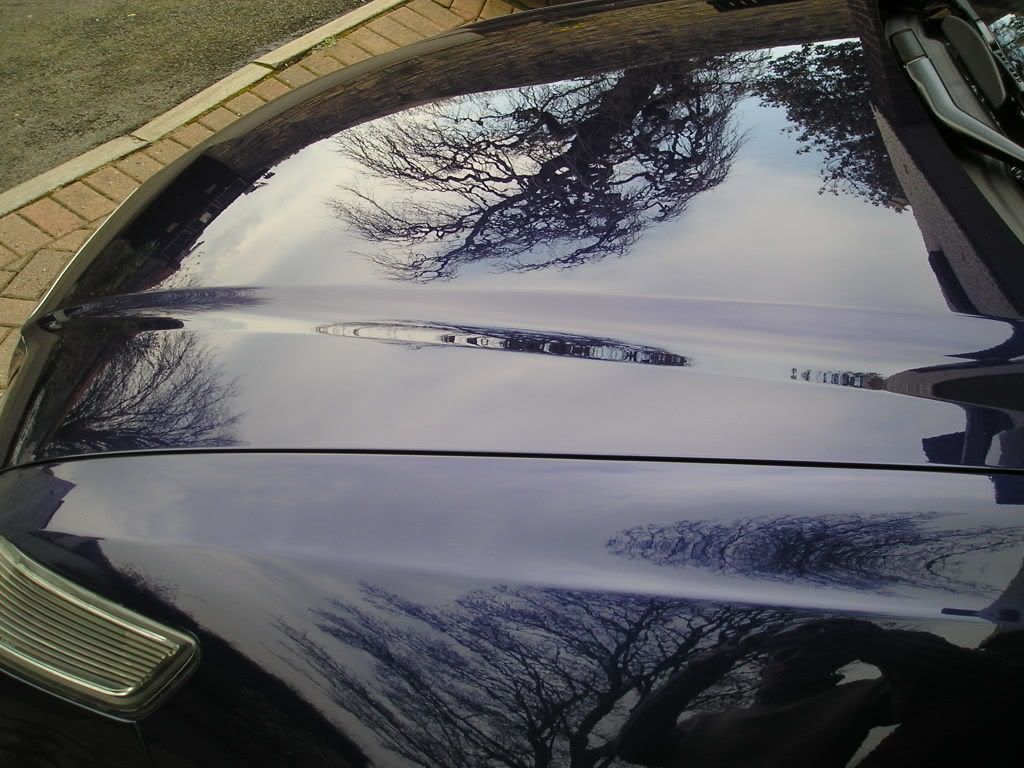
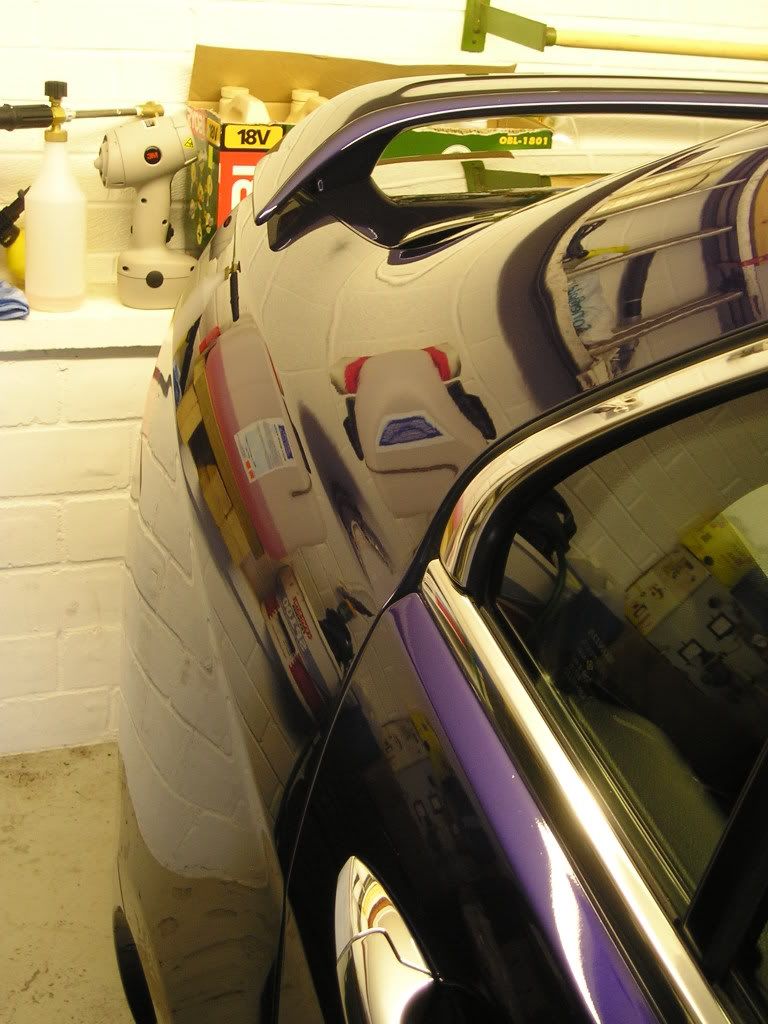
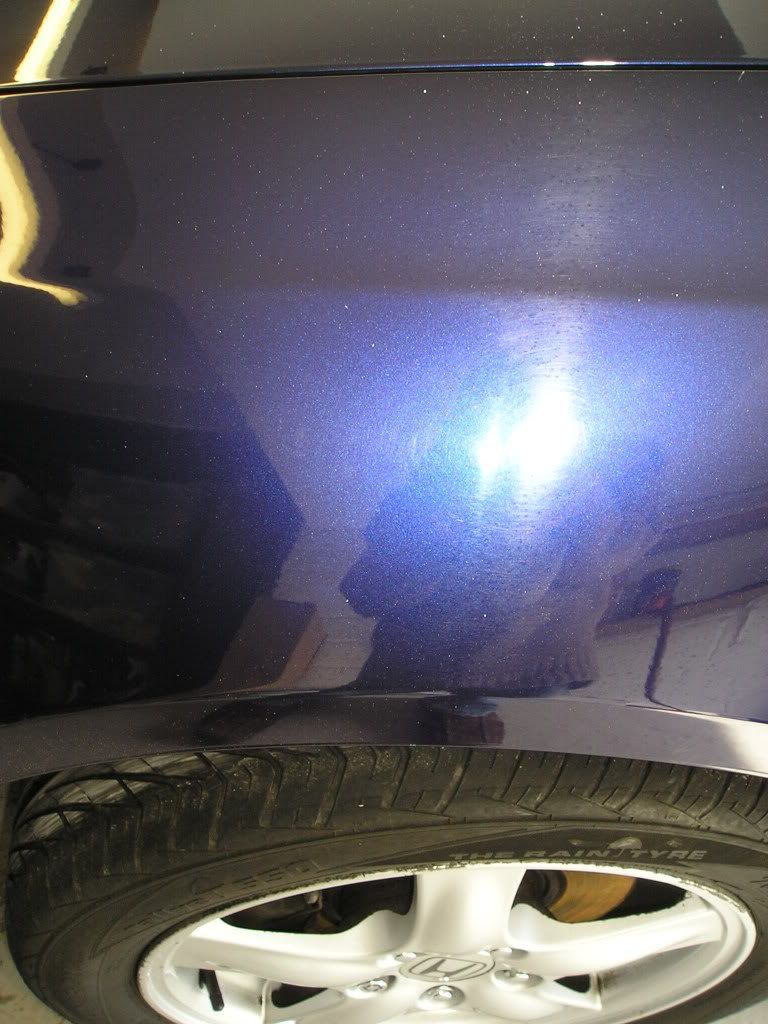
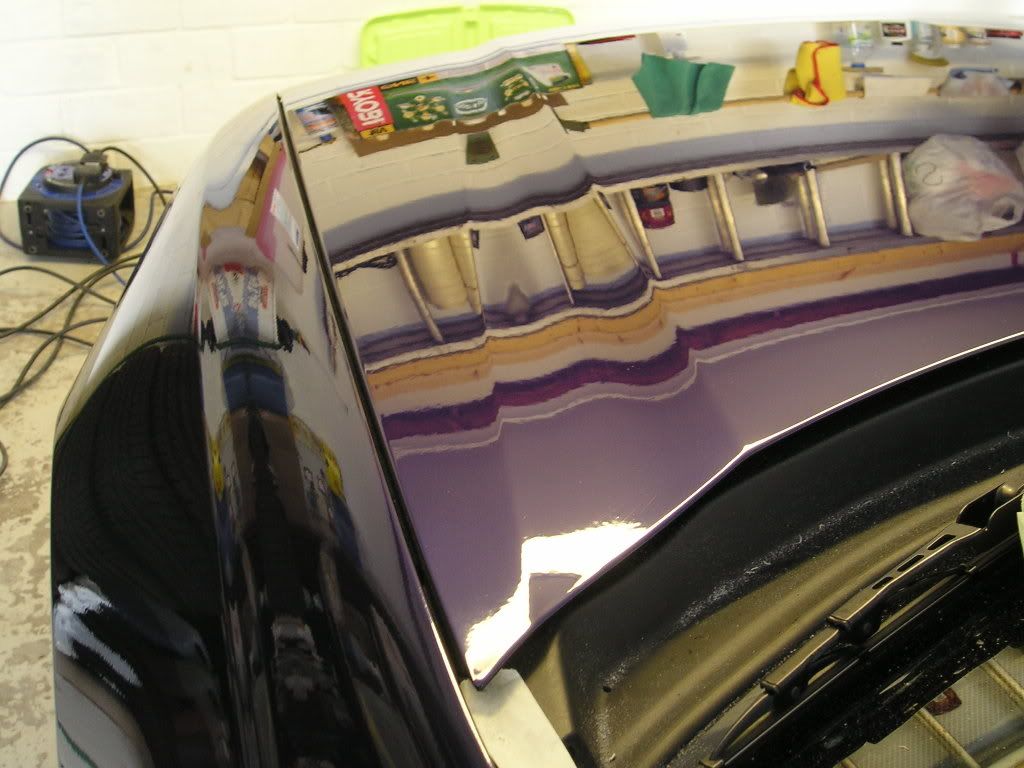
Clearly, this car was going to take a lot of time to finish the paintwork properly, however the depth and clarity being delivered to the finish was certainly deemed to be worth it... The bonnet after machining only:
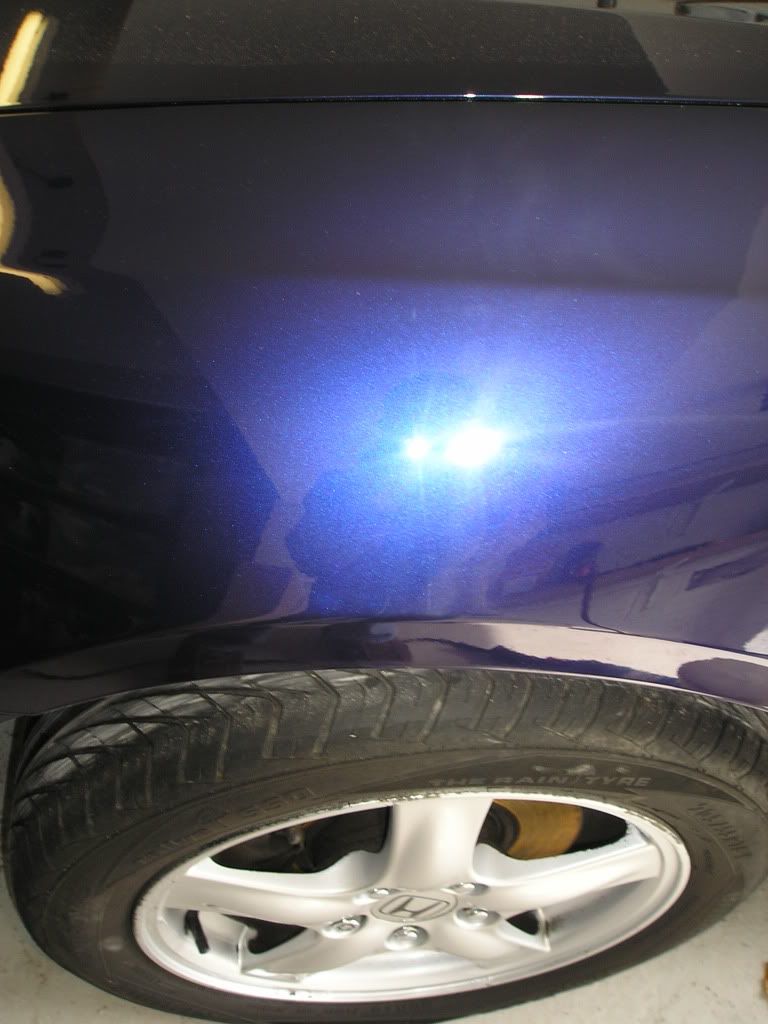
To give you an idea of the softness of the paint on this car, a couple of deeper marks were found. The first on on the rear 3/4, where there were general swirls:
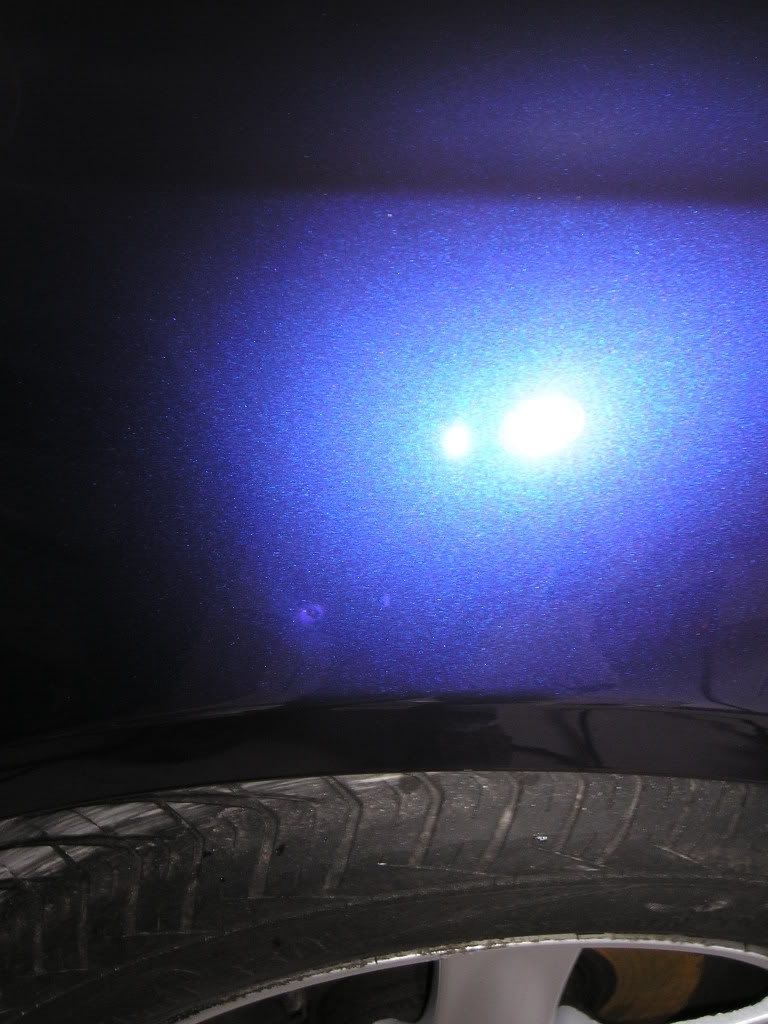
and a deeper scratch which was visible white,
This panel received one single hit with Meguiars #80 Speed Glaze, as described above for around 10 passes and then followed up with Menzerna PO85RD to finish as described above. The results on the main swirls was 100% correction:
And the deeper mark was also completely removed:
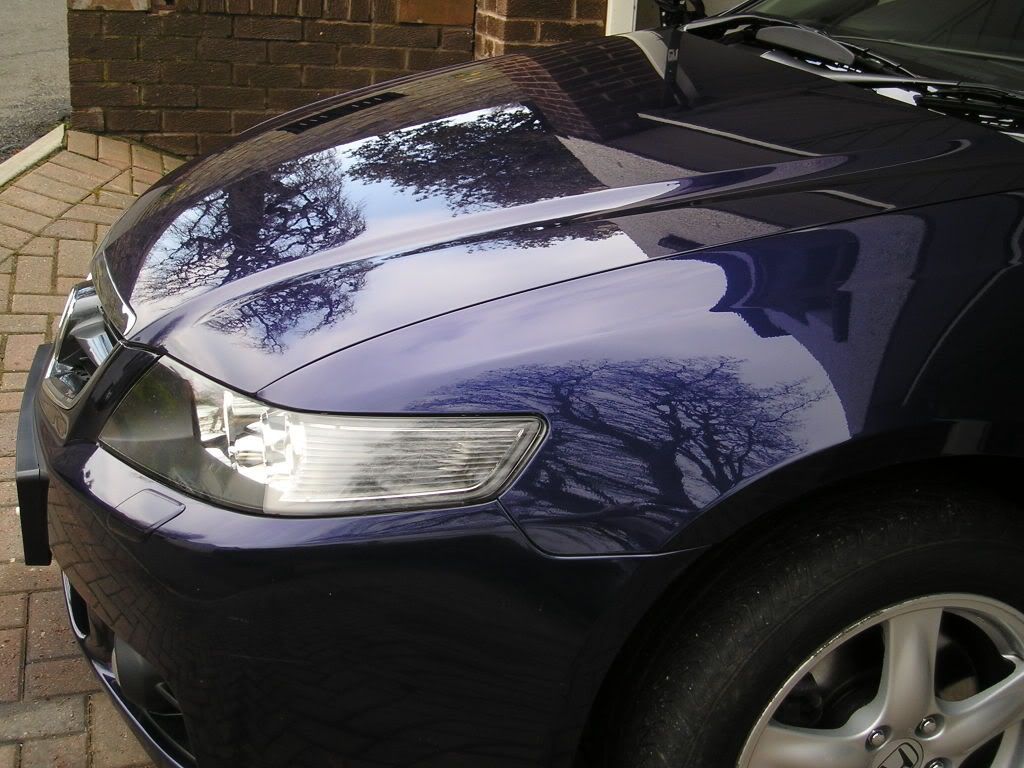
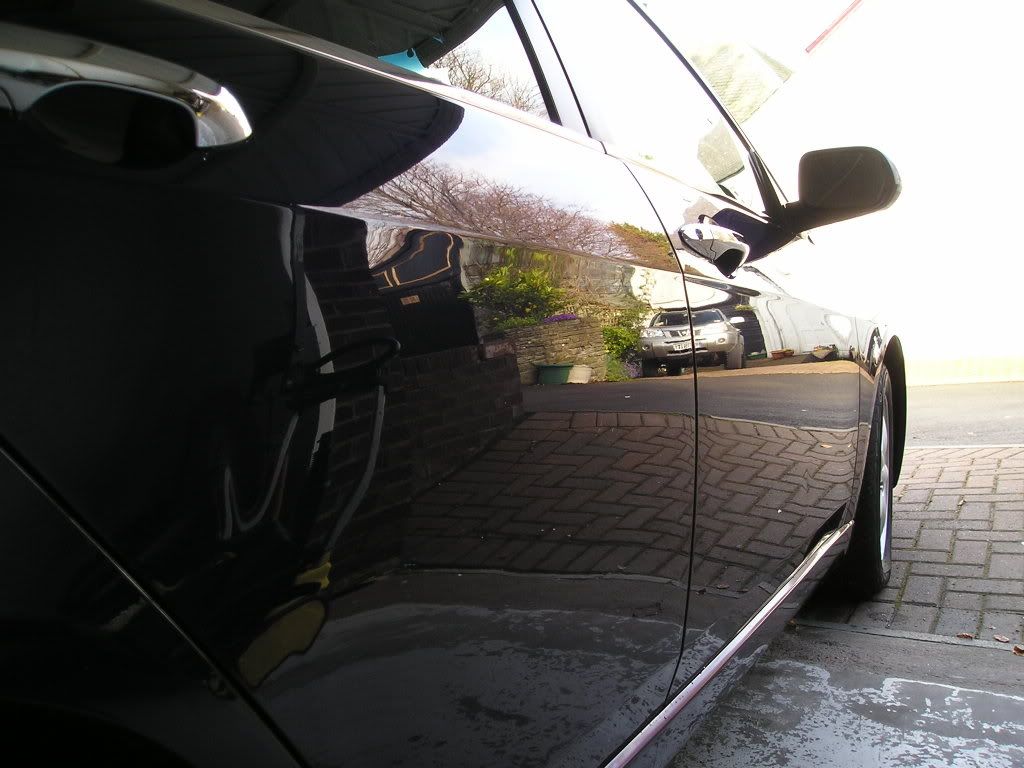
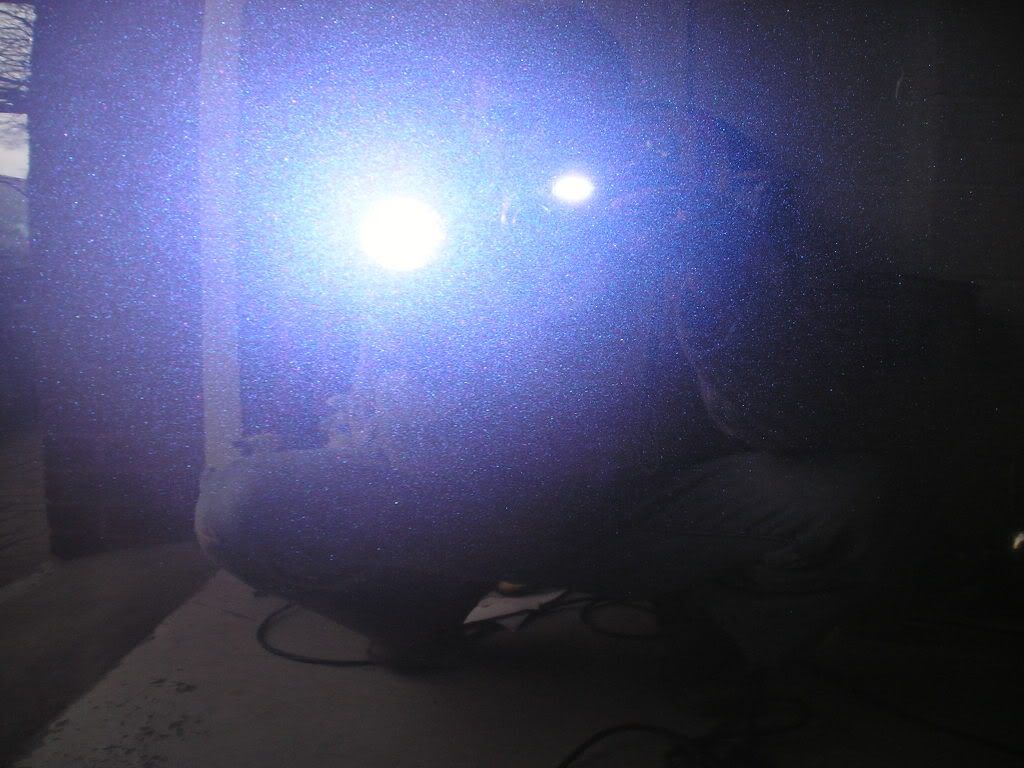
Resulting gloss after polishing alone:
Bear in mind this was with a light cutting polish and a finishing polish! If its this easy to correct, its no surprise that these paints are also very easy to mark with poor wash technique!
Another deep mark before:
and after:
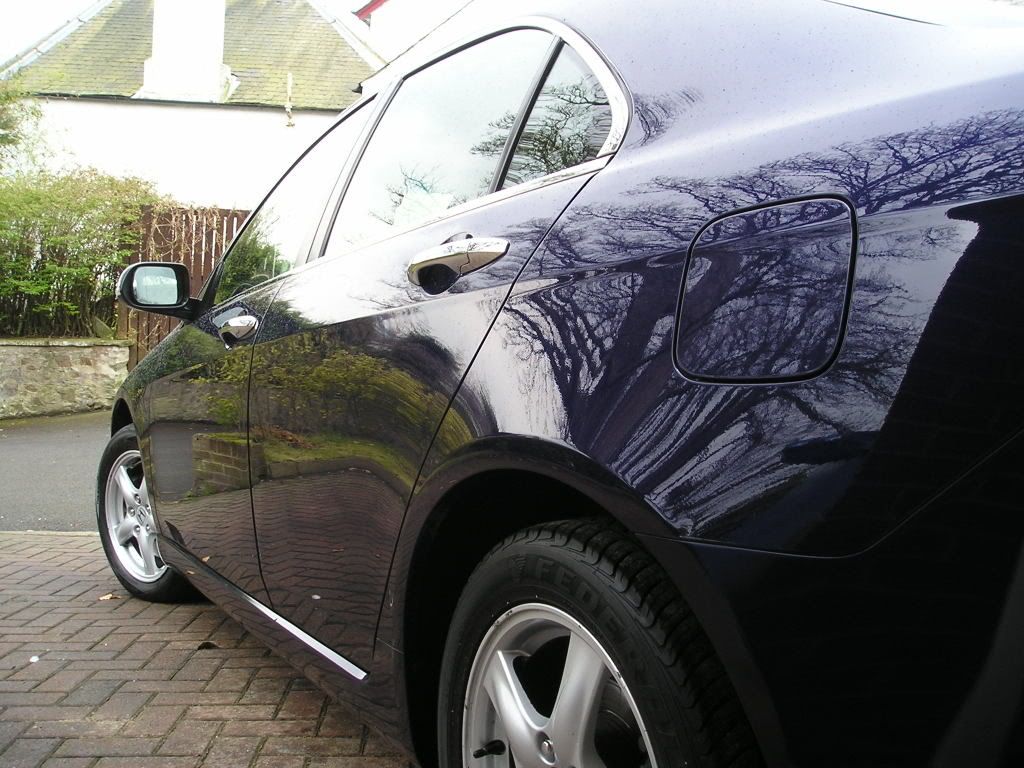
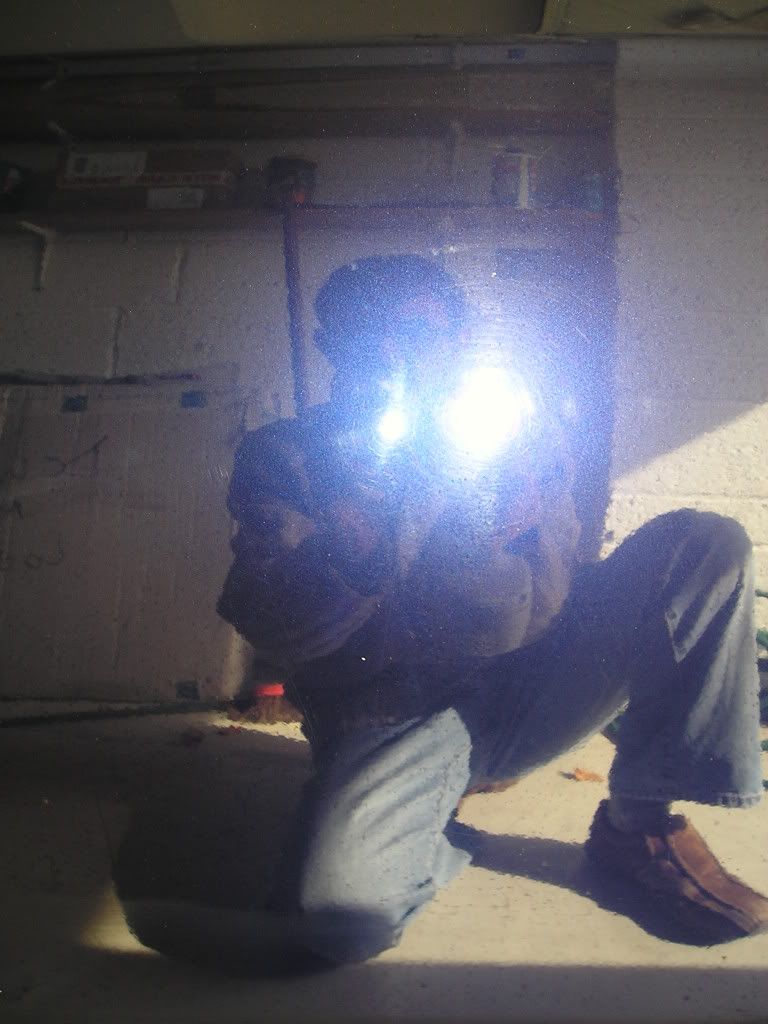
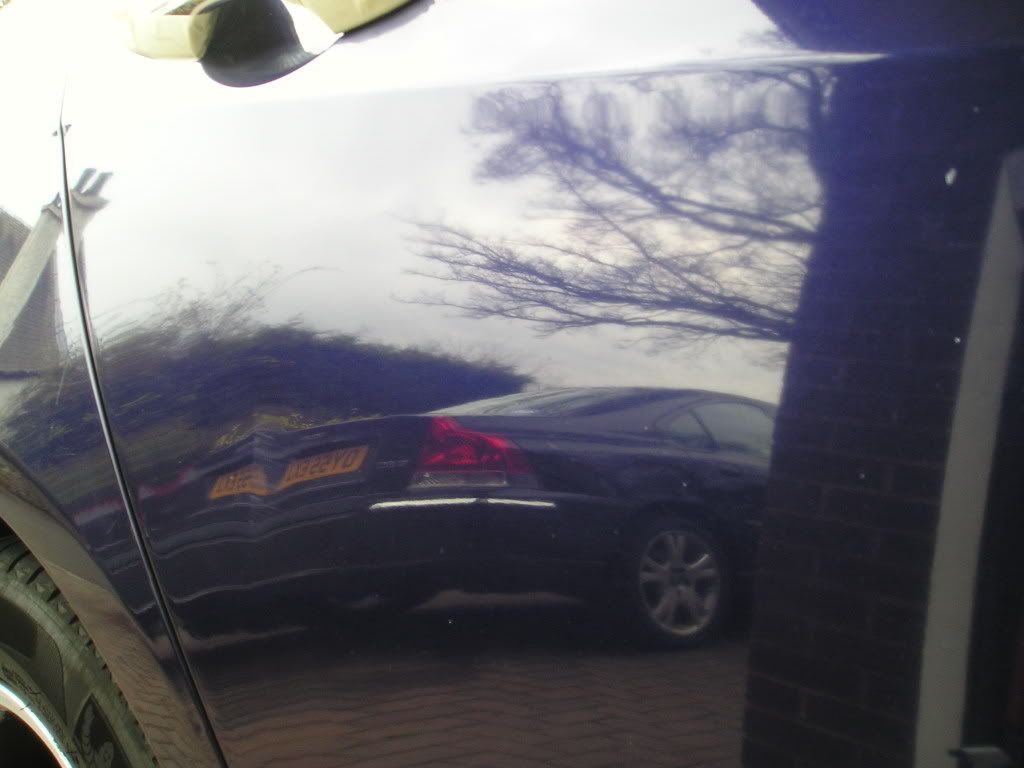
Going down the driver's side of the car, I noticed a rather dull looking reflection to the paintwork which implied the panel has seen some paintwork at some point:
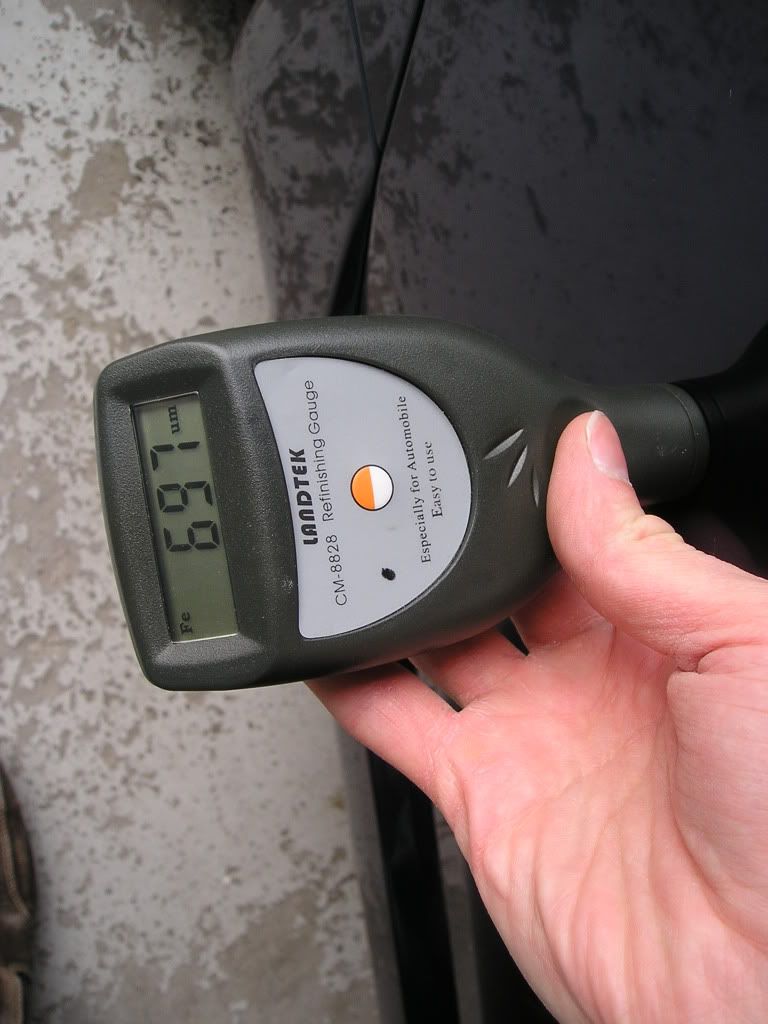
The paint gauge confirmed my suspicion:
Interestingly, on this painted area, the polishes behaved perfectly and as normal - I used PO85RD3.02 Intensive Polish to knock back a little of the dullness to restore a gloss to the finish, followed with PO85RD Final Finish to refine the finish. Polishes spread easily, panels stayed cool right up to 1800rpm and they were a real joy to polish - obviously not ambient conditions causing the problems with the polish, it must be either something applied to the paint or my personal suspicion - the paint itself.
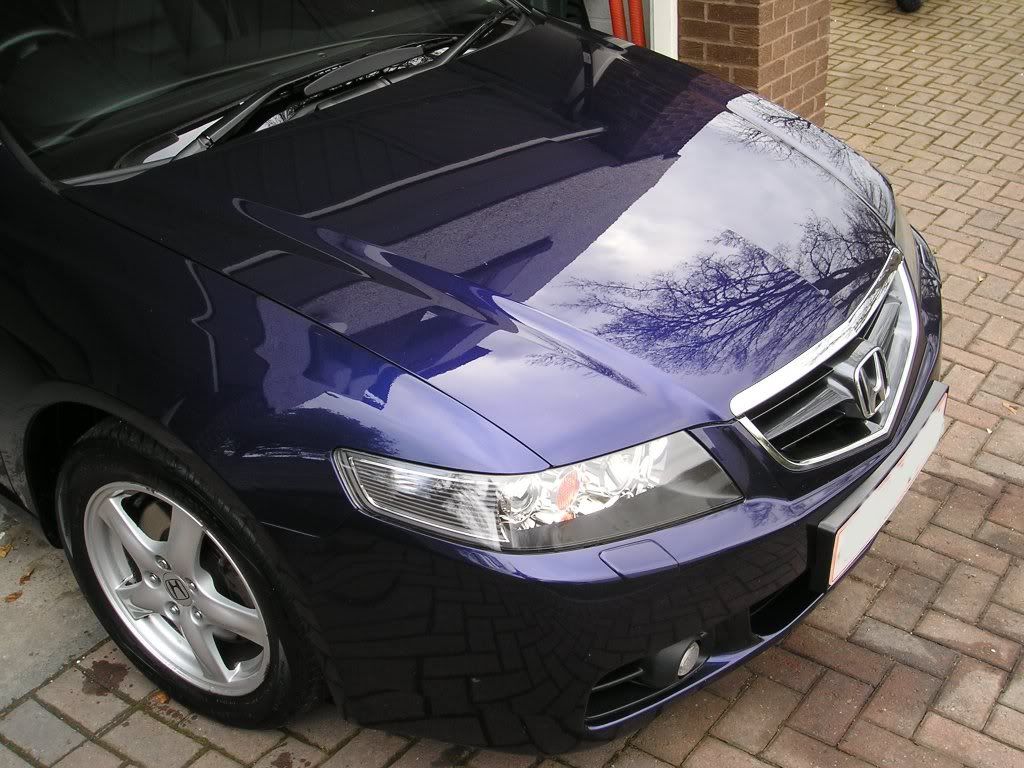
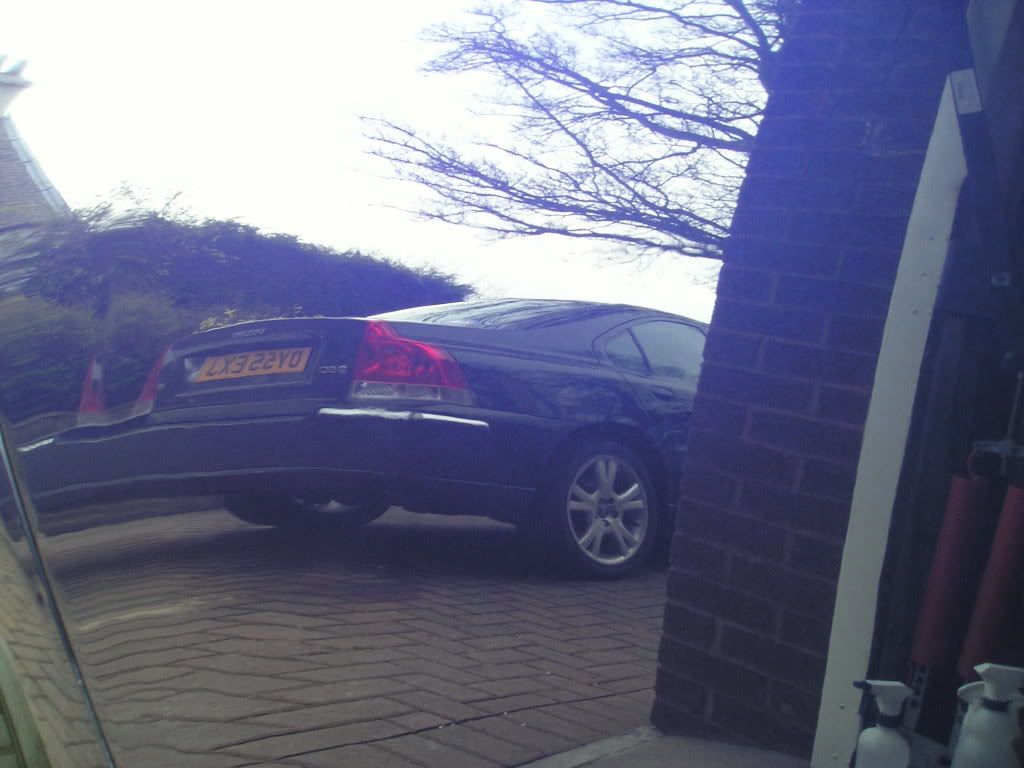
The results on this panel:
Its always nice to use out machine polishers wherever possible, but some region of paintwork just aren't accessible by machine. On these cars, they were treated by hand using Meguiars ScratchX thoroughly worked with firm pressure for a good two or three minutes per section:
The ScratchX delivered very good correction on the soft paint, but being soft meant we had to ensure that it was thoroughly worked so that it did not leave its own marring in the finish. A deep scratch below the numberplate was also significantly reduced just with ScratchX, still noticeable under the light, but a huge improvement just to highlight how soft the Honda paint is on this car:
Bumper yet to be polished in the above.
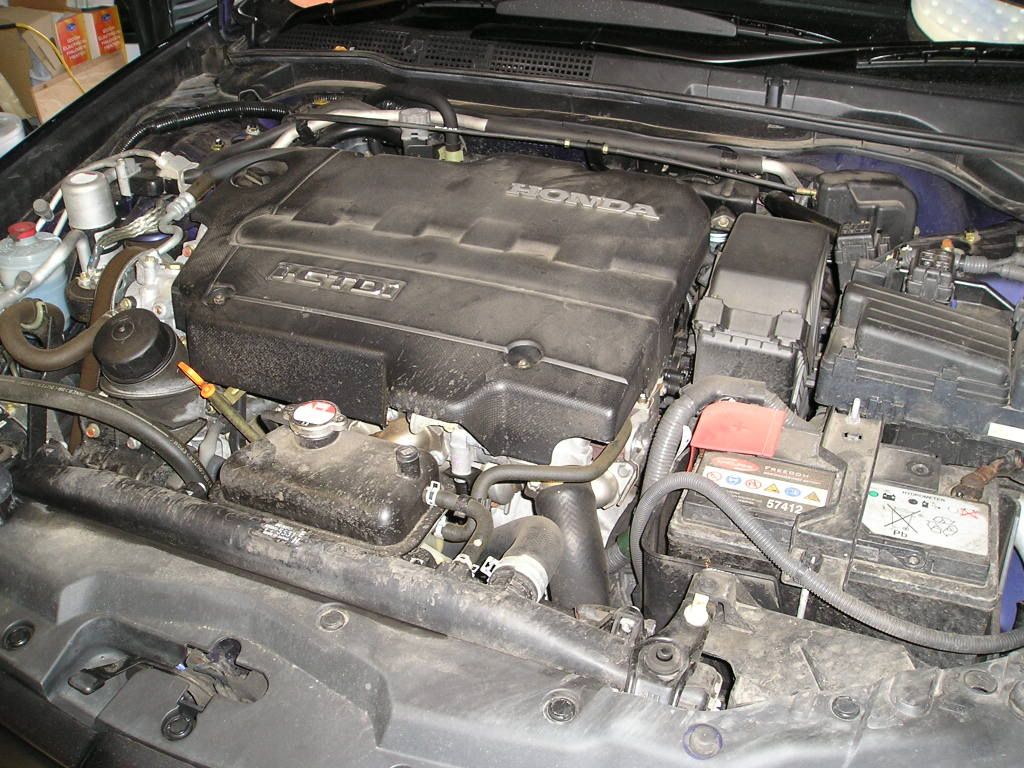
While I was working away on the finishing by rotary, Bryan has completed his PC work so worked away on all the small details ensuring that nothing was missed out - plastics, wheels, glass, lights... Under the bonnet was a real mess:
As this wasn't part of the request on the detail of this car, not much time was spent under here - a wipe with a damp cloth to remove dirt and grime, and then plastics treated with Meguiars All Seasons Dressing, fifteen minutes and the following was achieved:
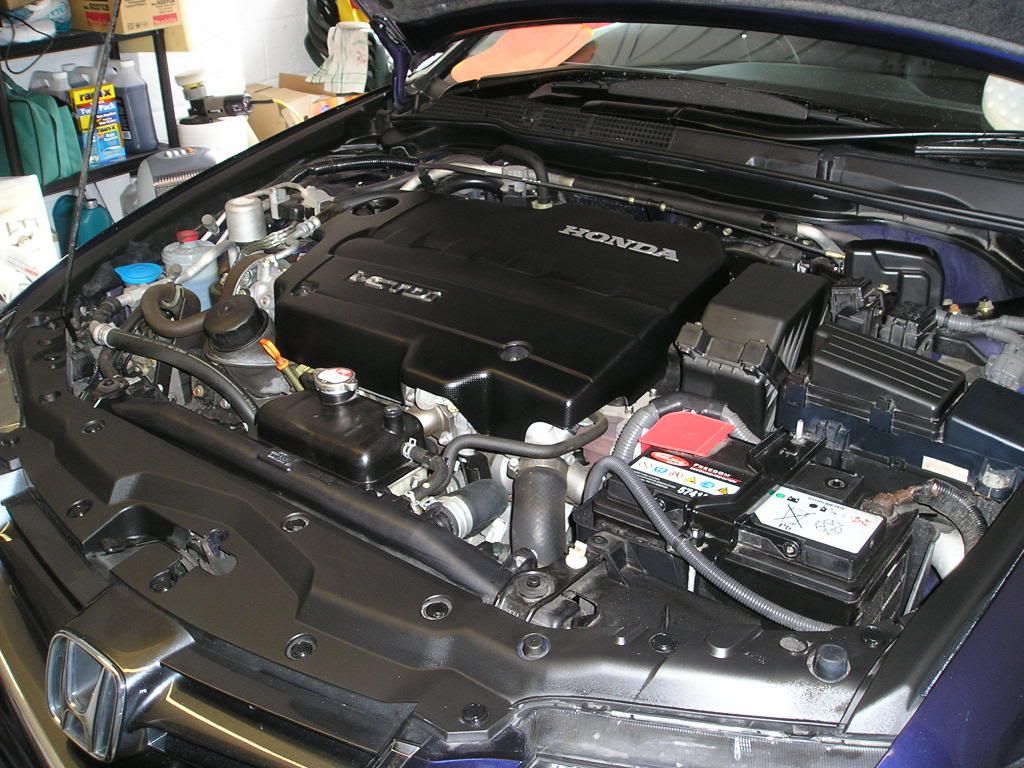
Not a full under bonnet detail by any stretch of the imagination, but a nice spruce up to go along with the rest of the finish.")
When the paint was machined to what I considered was a perfect as we could get it, it was time for protection...
The paint was lightly cleansed and glazed using Clearkote Yellow Cream Wax: a very underrated product this, but delivers a nice added wettness to the finish while still being easy to use. Up there with #7 on looks, be interesting to see how the new Poorboys glazes compare with it.
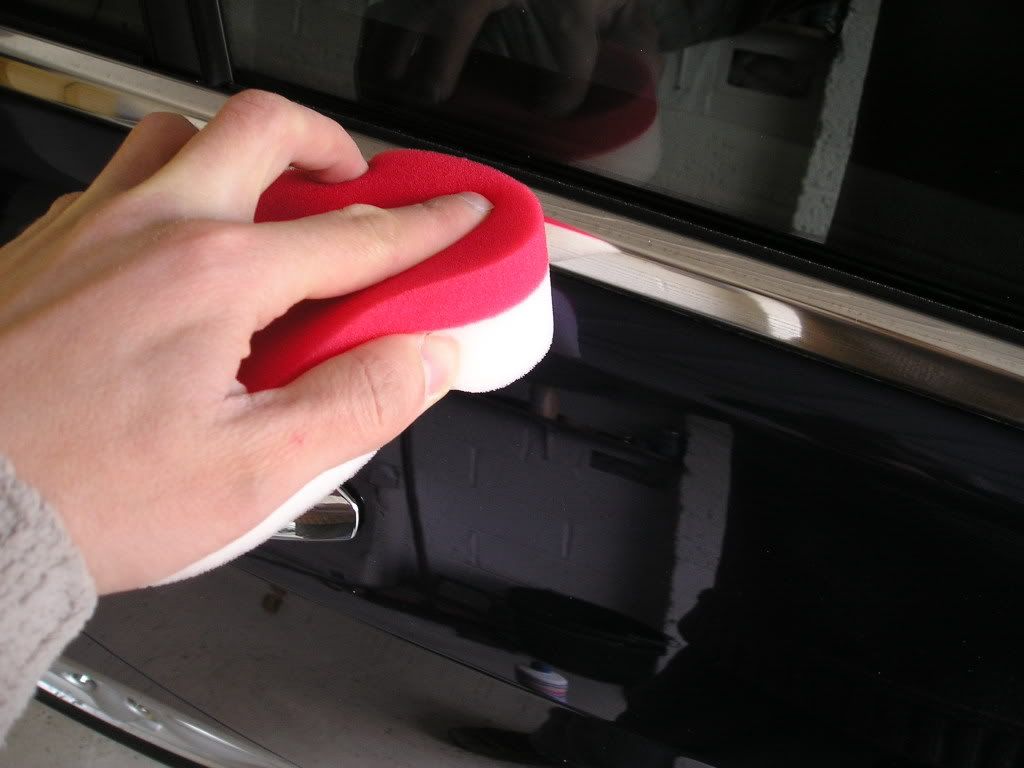
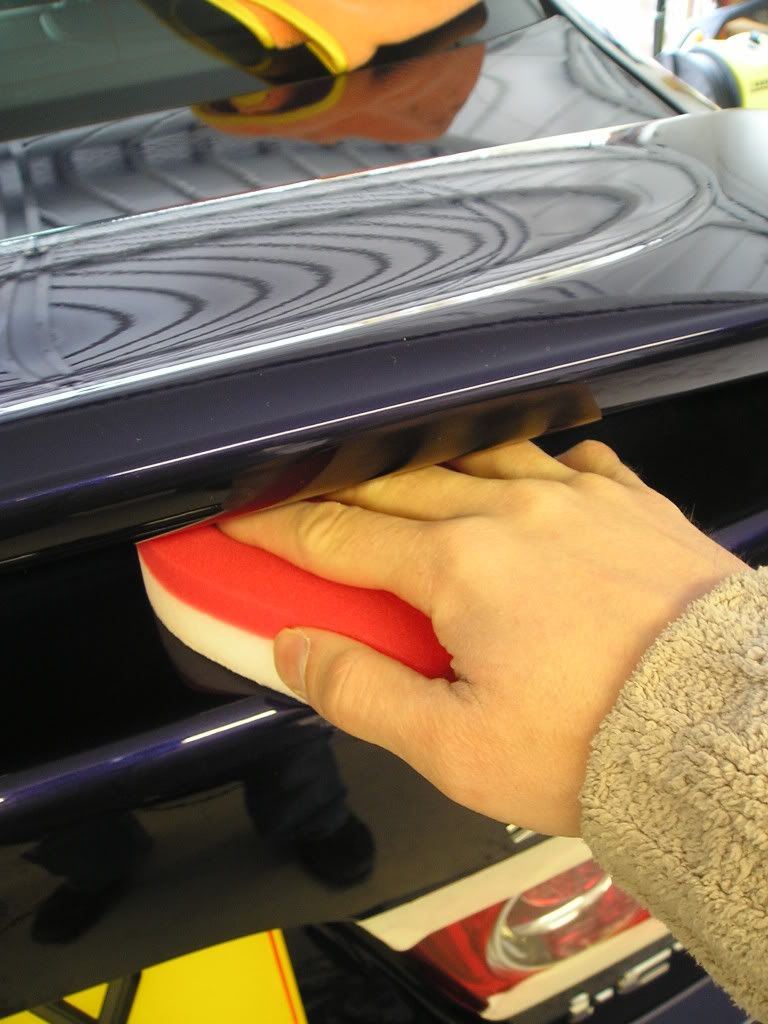
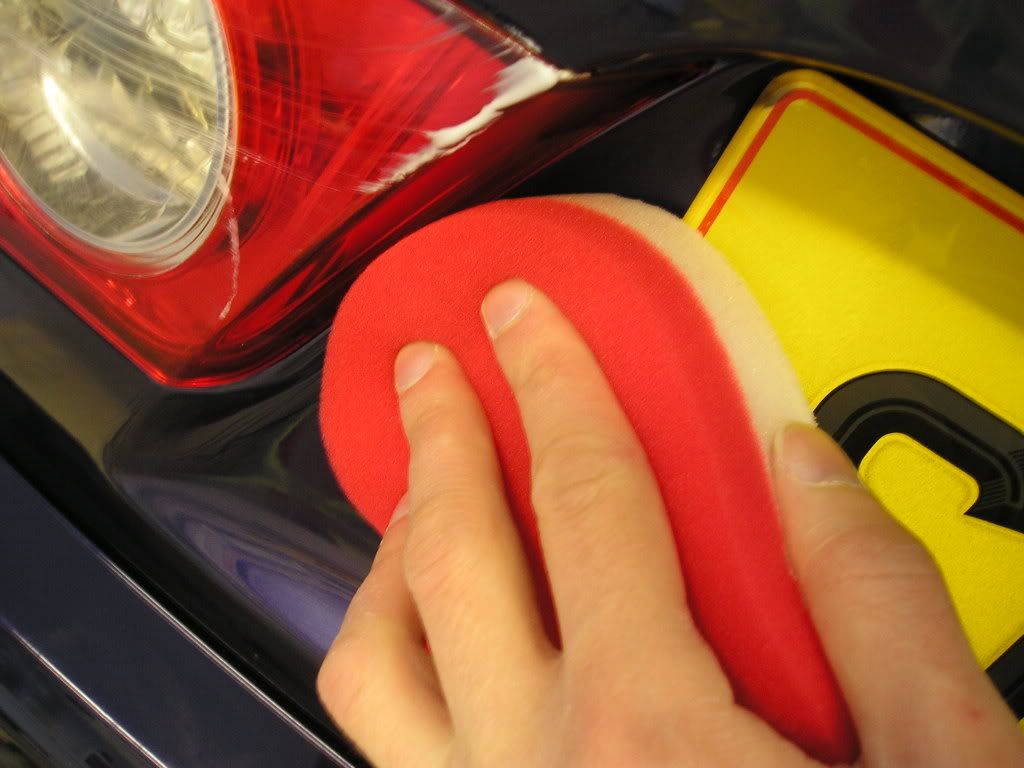
With the cleaning carried out, it was time for wax. Choice for this car was Autoglym High Definition wax. Applied using the applied red sponges, when I first used them I found them a bit strange and had a tendancy to fold up at the corners. A little practice on the test panel though showed these to be good applicators for evenly spreading wax, and they inflicted absolutely no damage to the soft and delicate Honda paint. The wax spread easily across the paint in a nice thin layer, left for ten to fifteen minutes and then buffed away with ease with no smearing. A second layer was applied a couple of hours later, and once applied I was very impressed with the enhancement to the finish it left for a wax product: subtle gloss added, and a sparkly nuance reminiscent of P21S. Very nice product.
The car was QDd with Last Touch to remove any light dust.
The detail for Bryan and I for the past two days has been a dark blue metallic Honda Accord i-CDTi, three years old and regularly washed I believe by a local valeting company. The car on arrival was certainly not too shocking looking either, but once washed the paintwork told a very different story, as did the three pieces of clay required to clay it: the cat was very very dirty with ingrained grime!
Once prepared, the car was rolled into the garage for paintwork inspection... We decided to start with the bonnet as a test area to ascertain what the defects were and what polish and pad combo would be required to generate the results.
The bonnet before hand:
And this is where the fun began! Typical start out point of Menzerna PO85RD Final Finish on a finishing pad, and instantly the problems with polishing started - the polish flashed white, the pad felt like it was dragging and kicking and the panel temperatures rose dramatically with only slow speeds... The typical symptoms attributed to Menzerna playing up - but trying out several other brand of polish revealed similar effects to varying degrees of severity! The problem was not the polish, but something to do with a reaction between the polish and the paint - heat was the key factor, this was being generated and once this happened, it was wreaking havoc!
This is something that seems to be to be attributed to softer paint types (but not exclusively) and seems to be down to the paint itself causing a stickiness which quickly generates heat and the associated problems... An obvious move here would be to switch to DA polisher, but I'm personally not a fan of them these days and will use my rotarys whenever I can. So... something had to be sorted out to get the polishes working as required.
The solution on this car came from a two-stage polishing method. First of all, Meguiars #80 was used for the correction (yes, #80 - it has quite a cut on this paint, it really was very soft!!) - spread at 600rpm, then two or three passes at 1000rpm. The heat beginning to build, but up the speed to 1200rpm for three or four passes... The residue starting to cake a little now, but keep the machine moving quite quickly to minimise the heat build up before stepping up to 1500rpm until the defects were removed. No effort was made to finish the polish down here at all, it was simply being used as a cutting polish and this shows with the marring induced. Results after just #80, with no effort at all made to finish it down:
Now - the finishing stage! Menzerna PO85RD Final Finish on a Meguiars W8006 polishing pad, appplied as follows. Spread at 600rpm. Then, lifting the machine head slightly to reduce any pressure to a complete minimum the speed was stepped up one "notch" on the speed switch every pass, working slowly up to 1500rpm... The panel remained cool and the rotary glided... Any feeling of stickiness and the speeds were knocked back down, panel allowed to cool a little at the lower speeds and then back up again. Many passes were made in the run up, and then at 1500rpm - at least 15, sometimes more, until the residue showed evidence of going clear, and then the speeds were worked down one notch at a time back to 900rpm where two passes were made to finally burnish the soft paint to a finish. The results:
Hologram free, beautifully sharp finish - well worth the effort.
It was clear this was going to be a tough car, requiring a lot of care and attention, and concentration to the finsihing stages in particular! I worked onto the front wing. Before:
After #80:
And after dedicated finishing stage (excuse the residue spot):
The driver's door before:
And after:
Clearly, this car was going to take a lot of time to finish the paintwork properly, however the depth and clarity being delivered to the finish was certainly deemed to be worth it... The bonnet after machining only:
To give you an idea of the softness of the paint on this car, a couple of deeper marks were found. The first on on the rear 3/4, where there were general swirls:
and a deeper scratch which was visible white,
This panel received one single hit with Meguiars #80 Speed Glaze, as described above for around 10 passes and then followed up with Menzerna PO85RD to finish as described above. The results on the main swirls was 100% correction:
And the deeper mark was also completely removed:
Resulting gloss after polishing alone:
Bear in mind this was with a light cutting polish and a finishing polish! If its this easy to correct, its no surprise that these paints are also very easy to mark with poor wash technique!
Another deep mark before:
and after:
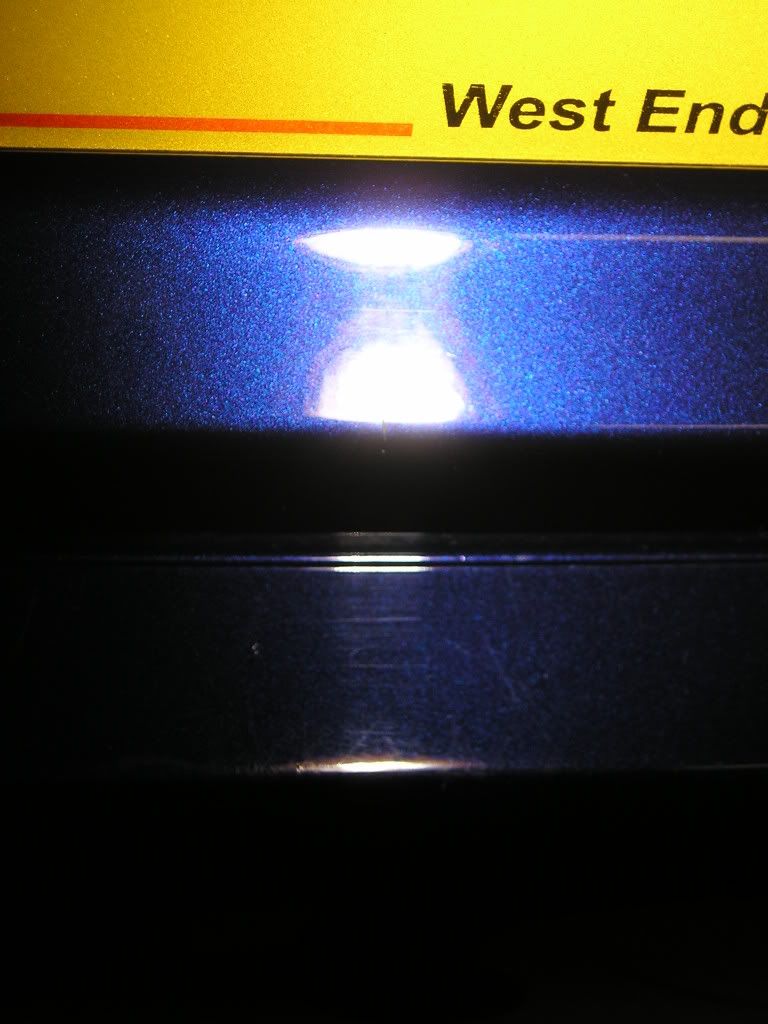
Going down the driver's side of the car, I noticed a rather dull looking reflection to the paintwork which implied the panel has seen some paintwork at some point:
The paint gauge confirmed my suspicion:
Interestingly, on this painted area, the polishes behaved perfectly and as normal - I used PO85RD3.02 Intensive Polish to knock back a little of the dullness to restore a gloss to the finish, followed with PO85RD Final Finish to refine the finish. Polishes spread easily, panels stayed cool right up to 1800rpm and they were a real joy to polish - obviously not ambient conditions causing the problems with the polish, it must be either something applied to the paint or my personal suspicion - the paint itself.
The results on this panel:
Its always nice to use out machine polishers wherever possible, but some region of paintwork just aren't accessible by machine. On these cars, they were treated by hand using Meguiars ScratchX thoroughly worked with firm pressure for a good two or three minutes per section:
The ScratchX delivered very good correction on the soft paint, but being soft meant we had to ensure that it was thoroughly worked so that it did not leave its own marring in the finish. A deep scratch below the numberplate was also significantly reduced just with ScratchX, still noticeable under the light, but a huge improvement just to highlight how soft the Honda paint is on this car:
Bumper yet to be polished in the above.
While I was working away on the finishing by rotary, Bryan has completed his PC work so worked away on all the small details ensuring that nothing was missed out - plastics, wheels, glass, lights... Under the bonnet was a real mess:
As this wasn't part of the request on the detail of this car, not much time was spent under here - a wipe with a damp cloth to remove dirt and grime, and then plastics treated with Meguiars All Seasons Dressing, fifteen minutes and the following was achieved:
Not a full under bonnet detail by any stretch of the imagination, but a nice spruce up to go along with the rest of the finish.
When the paint was machined to what I considered was a perfect as we could get it, it was time for protection...
The paint was lightly cleansed and glazed using Clearkote Yellow Cream Wax: a very underrated product this, but delivers a nice added wettness to the finish while still being easy to use. Up there with #7 on looks, be interesting to see how the new Poorboys glazes compare with it.
With the cleaning carried out, it was time for wax. Choice for this car was Autoglym High Definition wax. Applied using the applied red sponges, when I first used them I found them a bit strange and had a tendancy to fold up at the corners. A little practice on the test panel though showed these to be good applicators for evenly spreading wax, and they inflicted absolutely no damage to the soft and delicate Honda paint. The wax spread easily across the paint in a nice thin layer, left for ten to fifteen minutes and then buffed away with ease with no smearing. A second layer was applied a couple of hours later, and once applied I was very impressed with the enhancement to the finish it left for a wax product: subtle gloss added, and a sparkly nuance reminiscent of P21S. Very nice product.
The car was QDd with Last Touch to remove any light dust.
") )
)