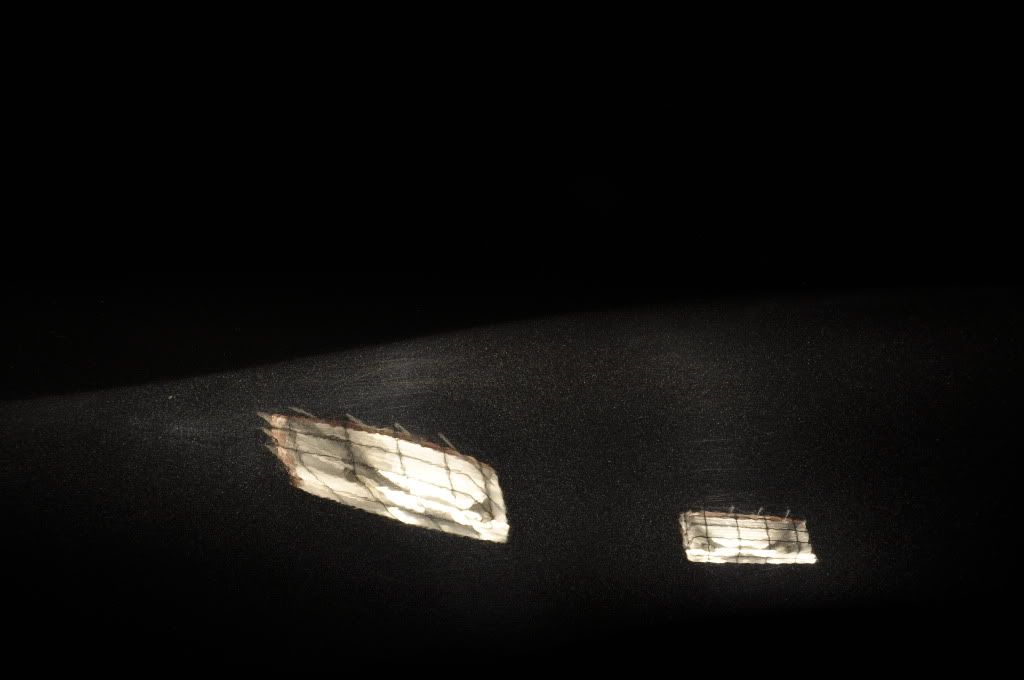
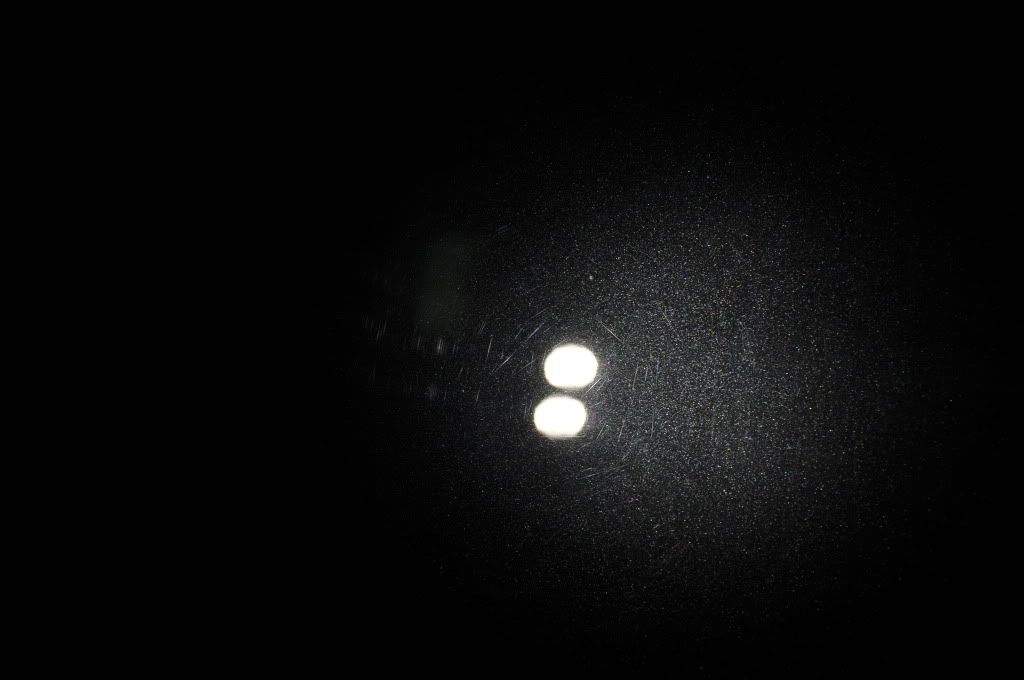
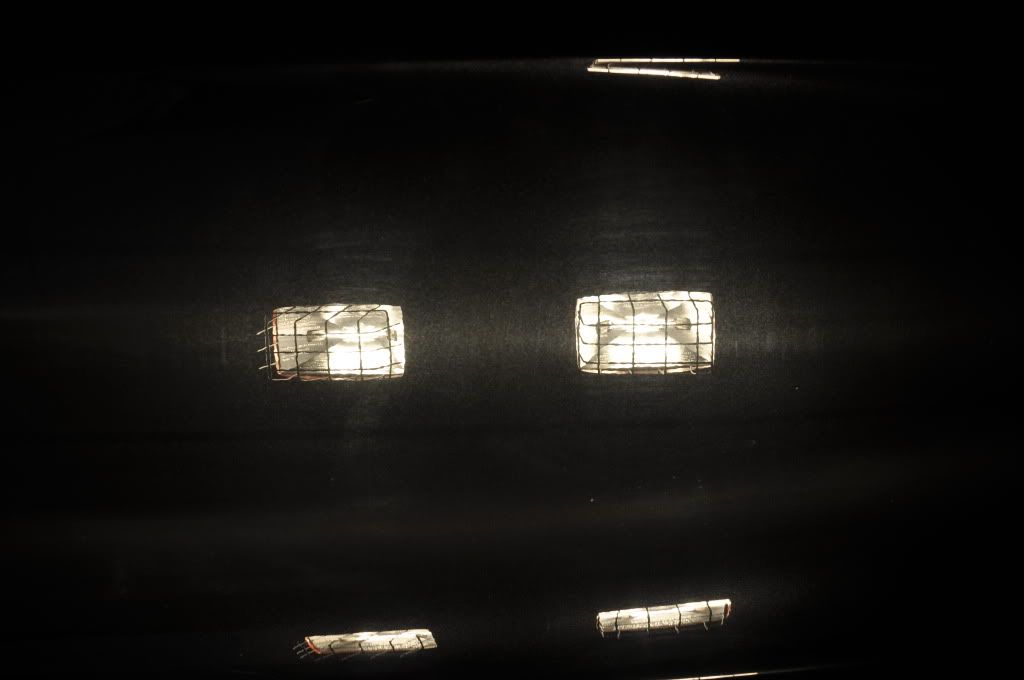
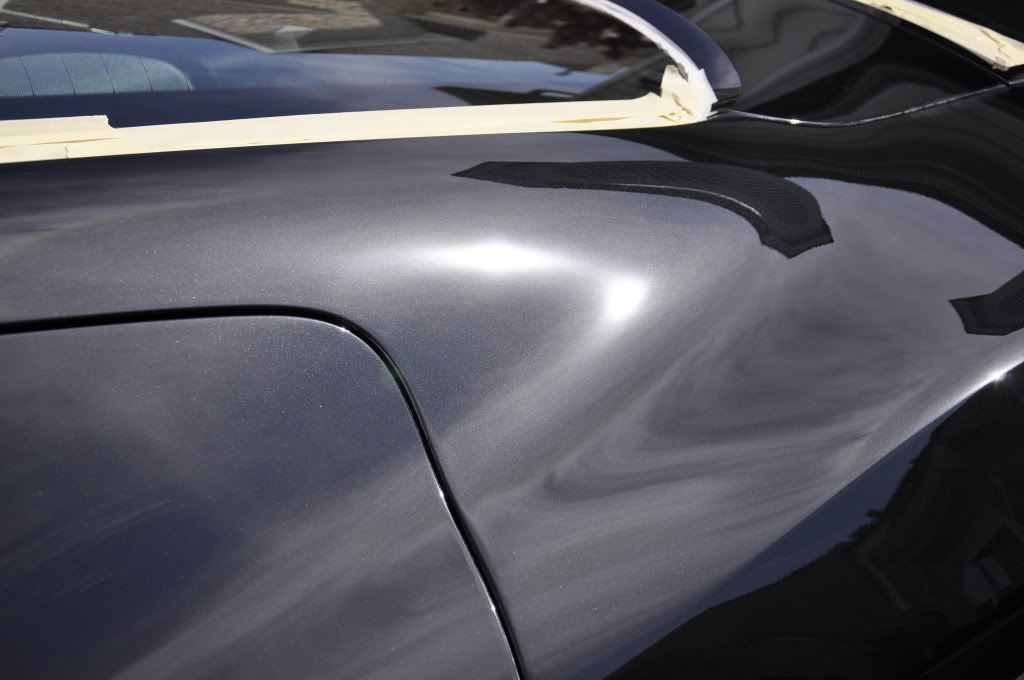
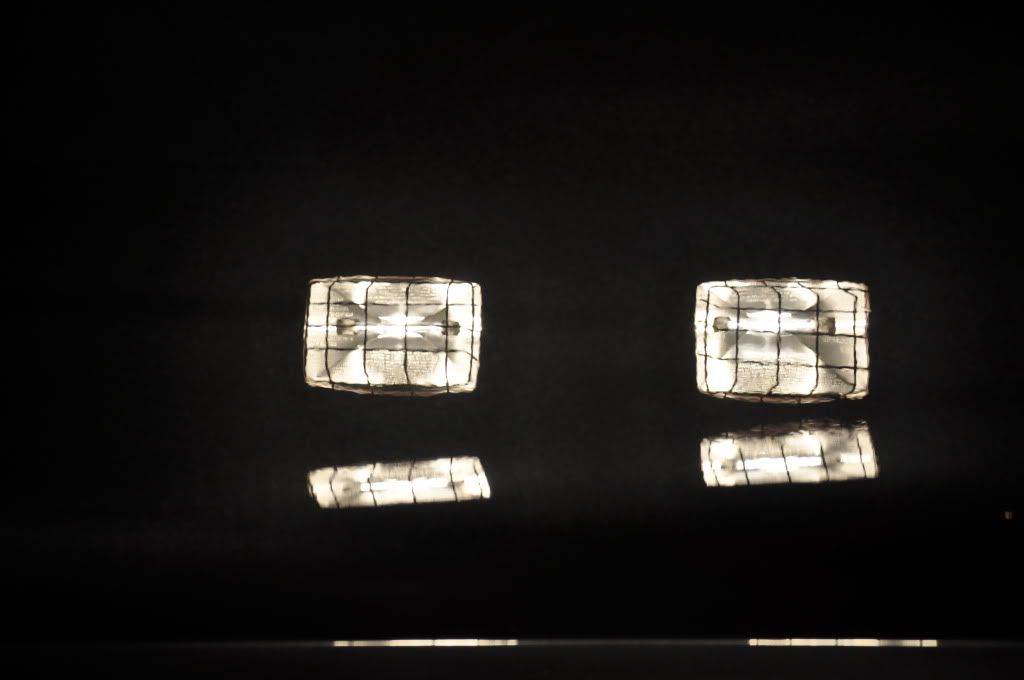
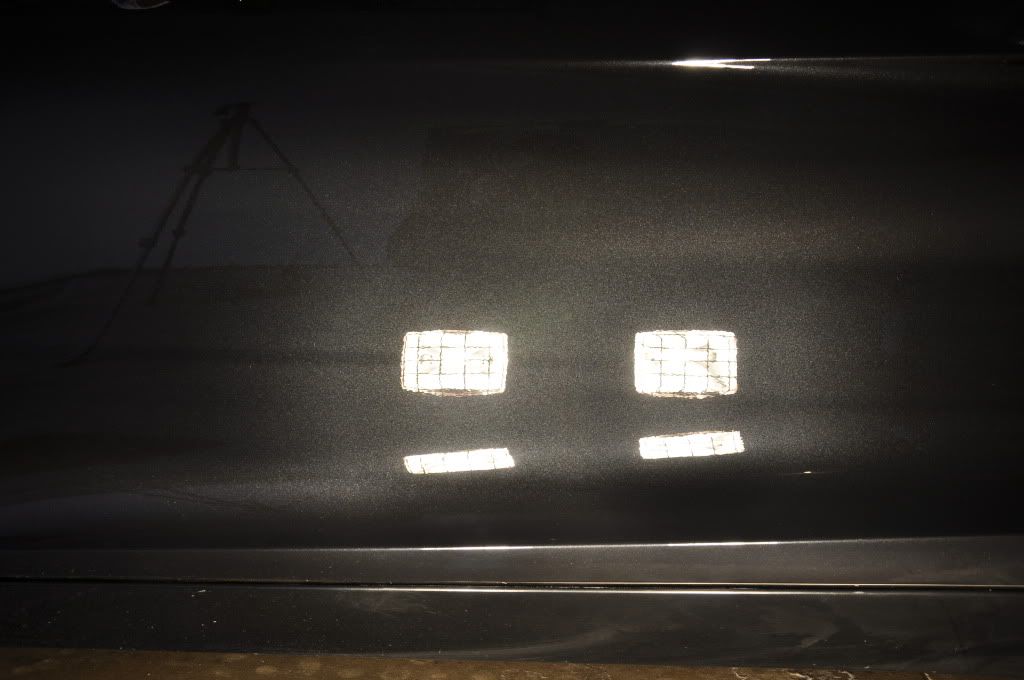
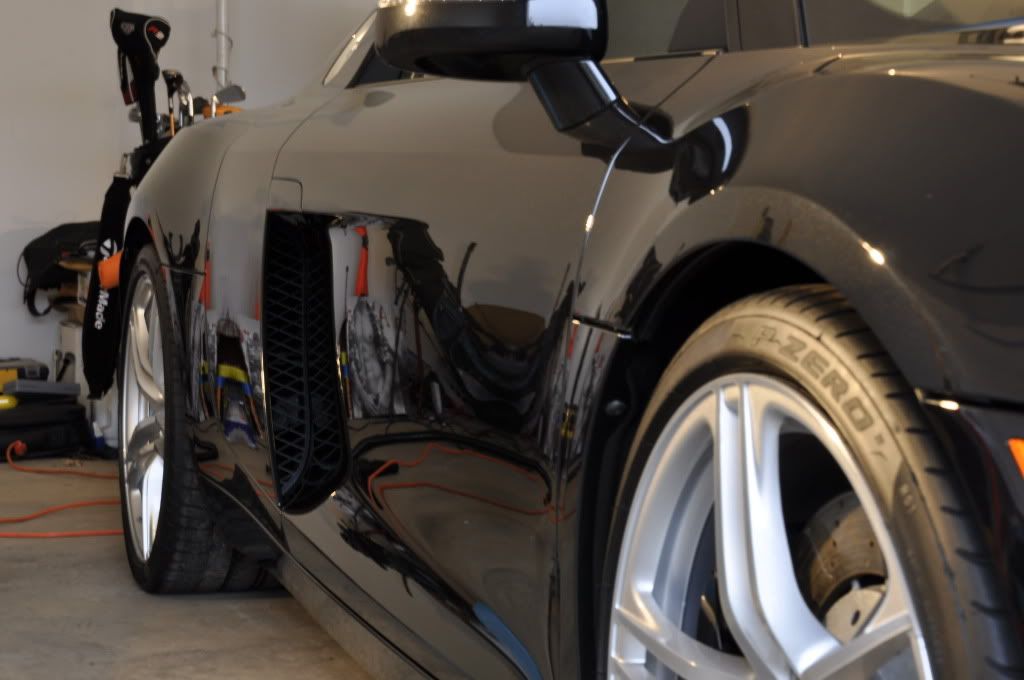
A client called me the other day to let me know that he had just got a new Audi R8 and that he wanted to have it detailed. So when i went to go do the quote on it i noticed that this thing had a good amount of swirls in the paint. After we talked everything over we agreed on a full paint correction job but didn't want to spend a ton of money on it. i told him i would do what i could in the budget we had discussed. Here is what it looked like when i started.
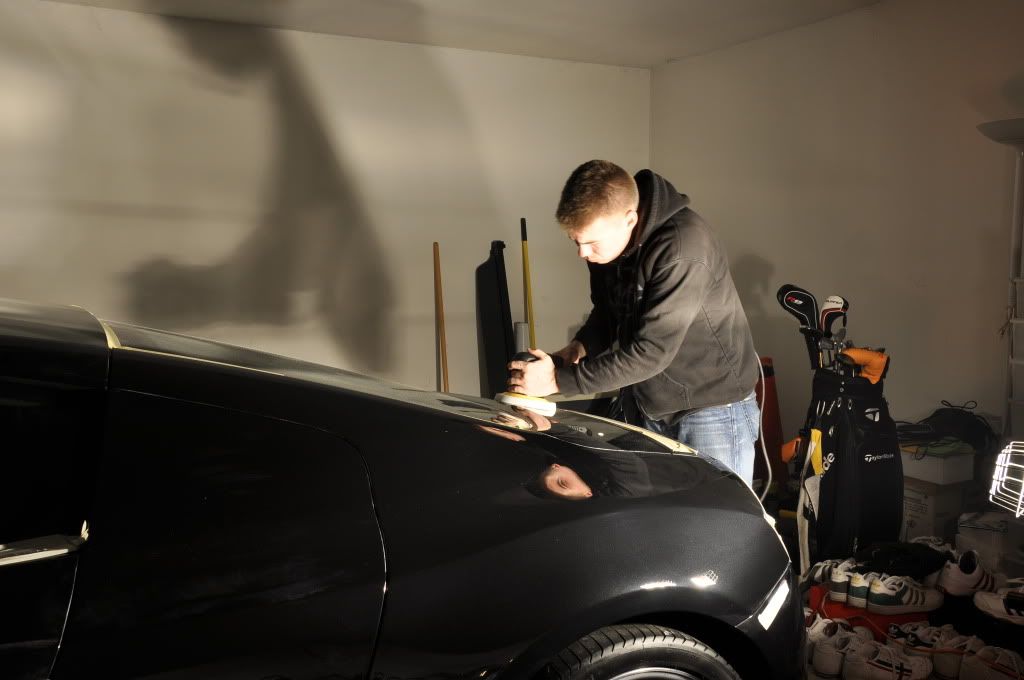
I started out by washing the car using the 2x2 grid guard method to ensure that i would not damage the paint anymore than what it already was. One i was done washing i moved onto claying and got a good amount of dirt out of the paint. Once claying was done i moved on to taping everything up which didn't take to long to do. i then taped off a square on the hood to start testing different pad/compound combinations. after trying a few different techniques i determined that i would have to use the surbuf pad with M105 for compounding. This combination basically took everything out of the paint except for a few deeper scratches. Not only did it do a great job but it worked quickly.

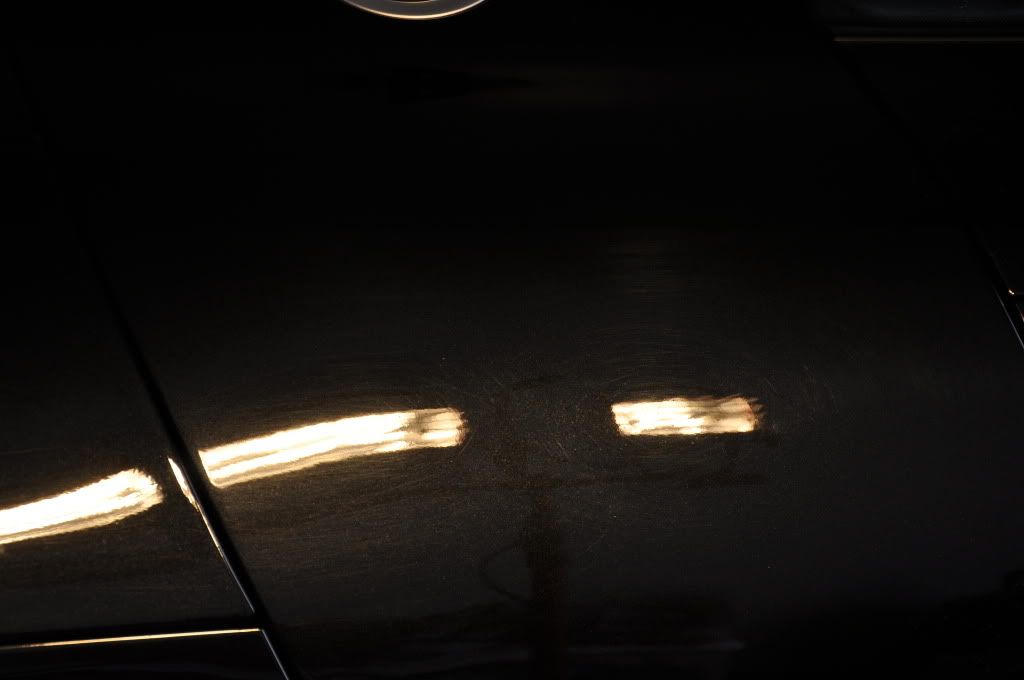
I did one of the rear quarter panels first. It turned out great but i wanted to pull the car out into the sun to see if there was any defects that i couldn't see with my lights. When i pulled it out i couldn't see anything in the paint and there were actually some deeper scratches that i could see inside with my lights but didn't show up in sunlight.

I pulled the car back inside and got to compounding. The bumpers took a little longer since i had to move down to a 4 inch pad but i got the compounding done by the end of the day.
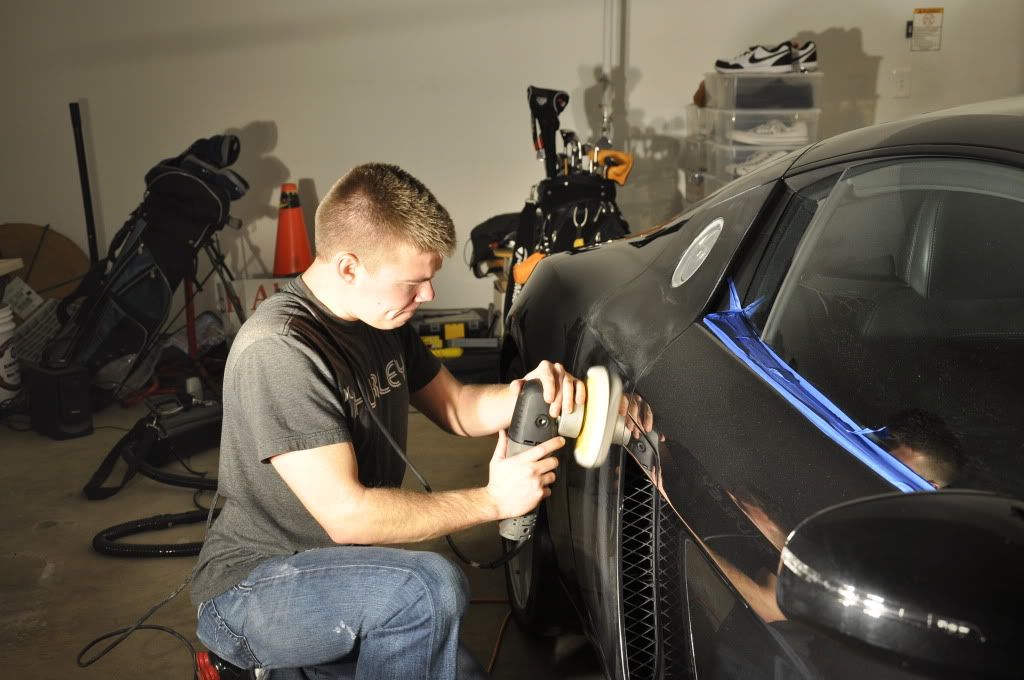
The next day i came back and started polishing. For this step i used a Tangerine pad with some M205. This took care of the remaining defects and really glossed her up.
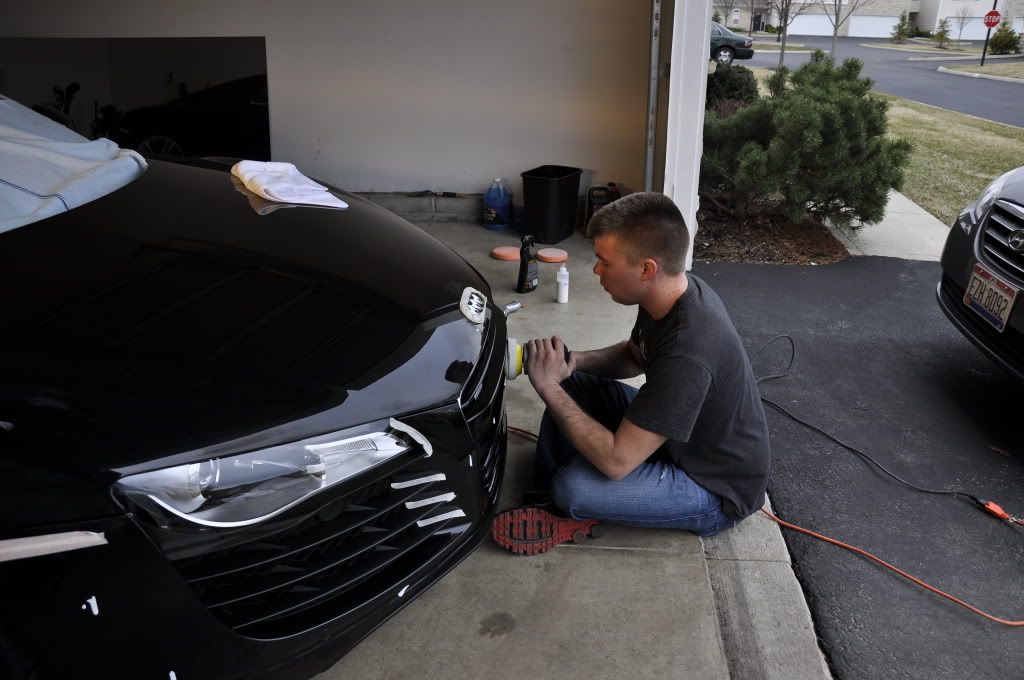
Clean was a bit of a hassel on this car. i was working in weird temperatures and the compound was drying up really fast. This made it really dusty and i actually had to use more compound than normal. I saved some time by spritzing water over the areas i went back over to re-lubricate the abrasives. I ended having to use Q-tip to really clean all the compound out of the crevices.
I wiped the car down with alcohol to clean up the rest of the compound and polish and to make a clean surface for the sealant to bond to. I used Chemical Guys Blacklight to seal the car once i was done with the rest of the detail. And of course i had lots of Red Bull handy.

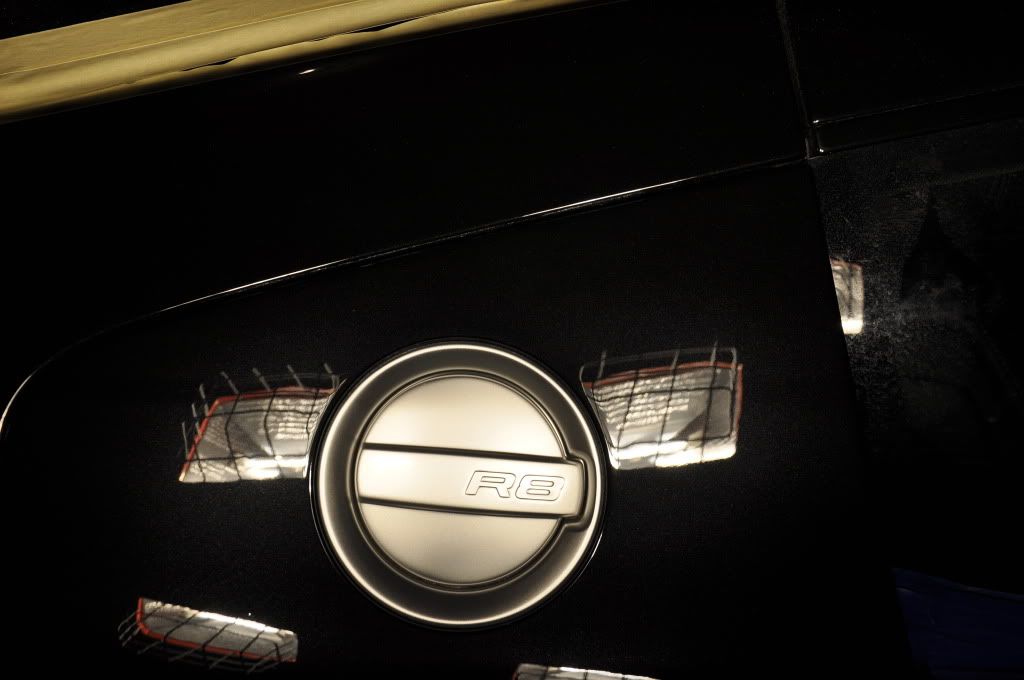
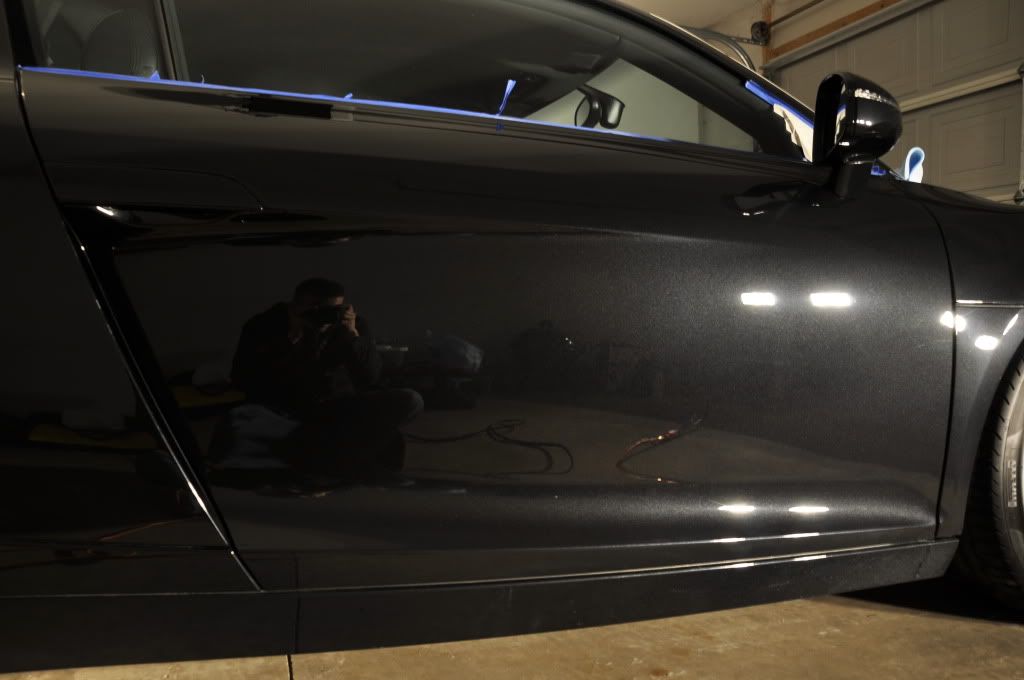
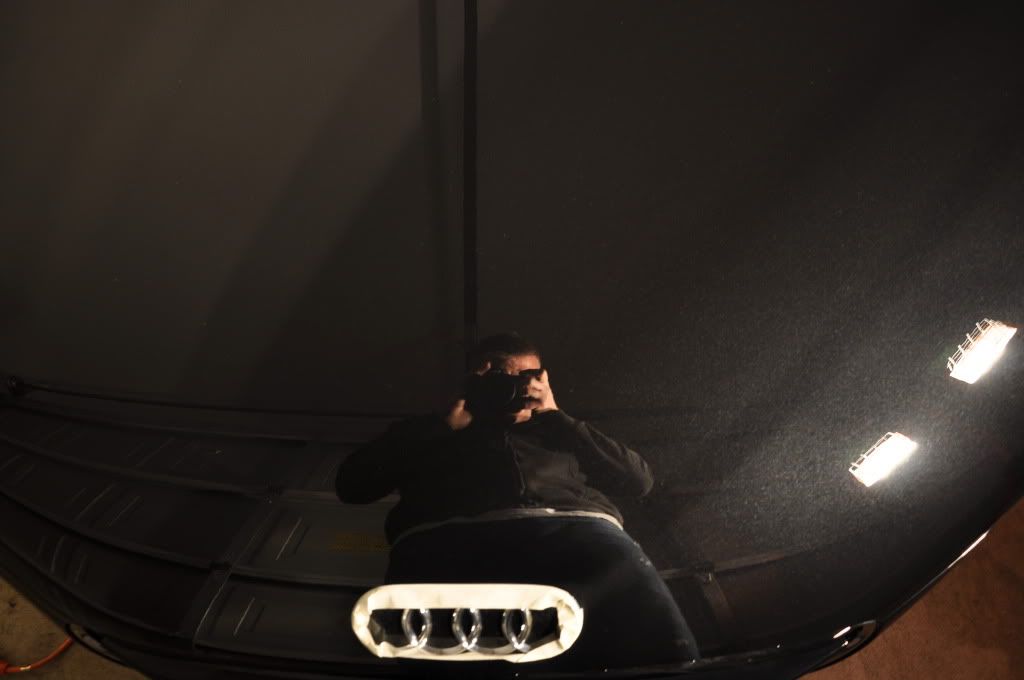
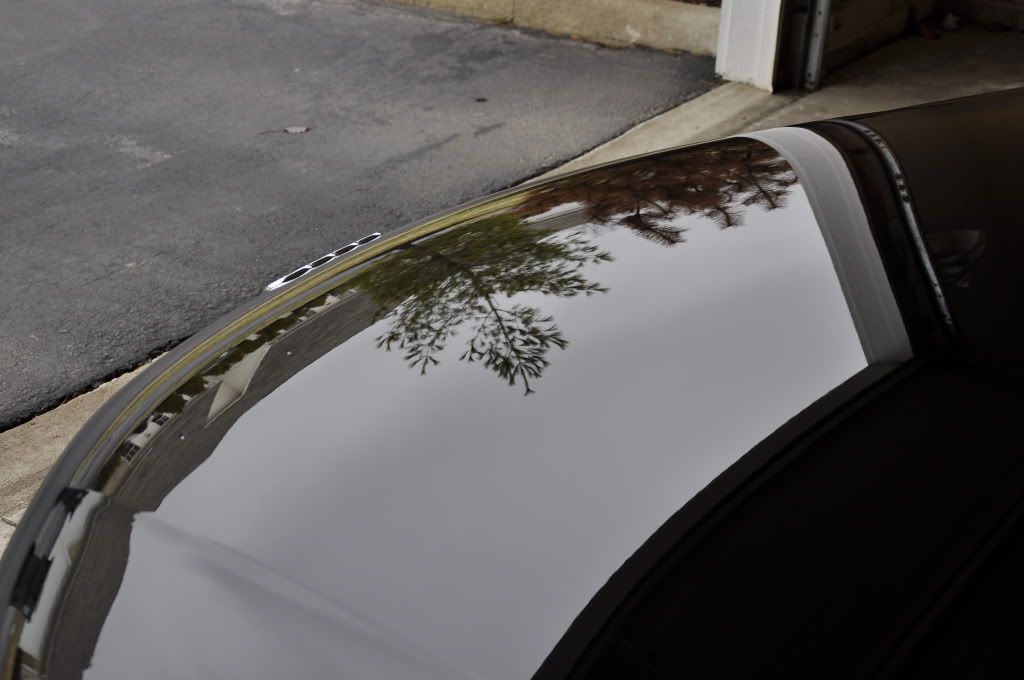
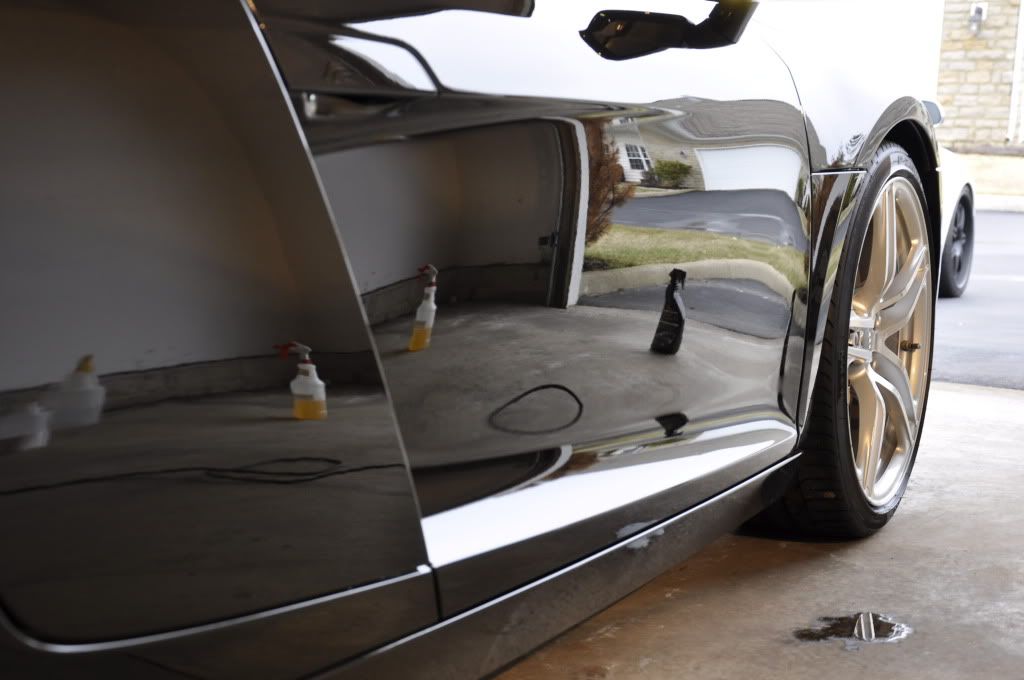
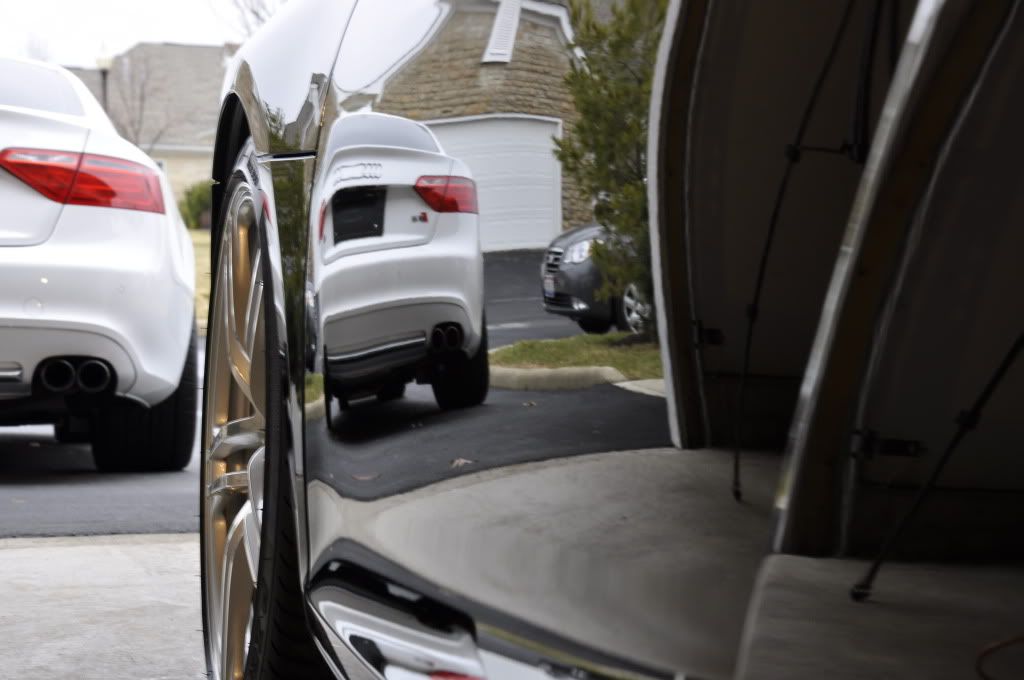
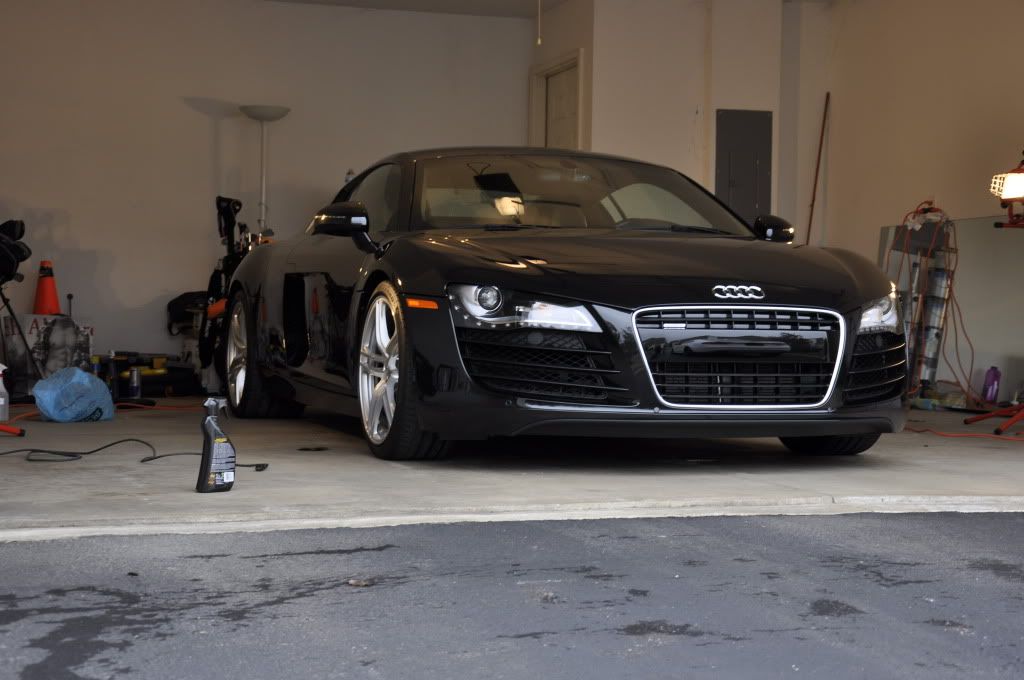
I didn't do much to the inside since it was pretty clean. Here are some after shots.
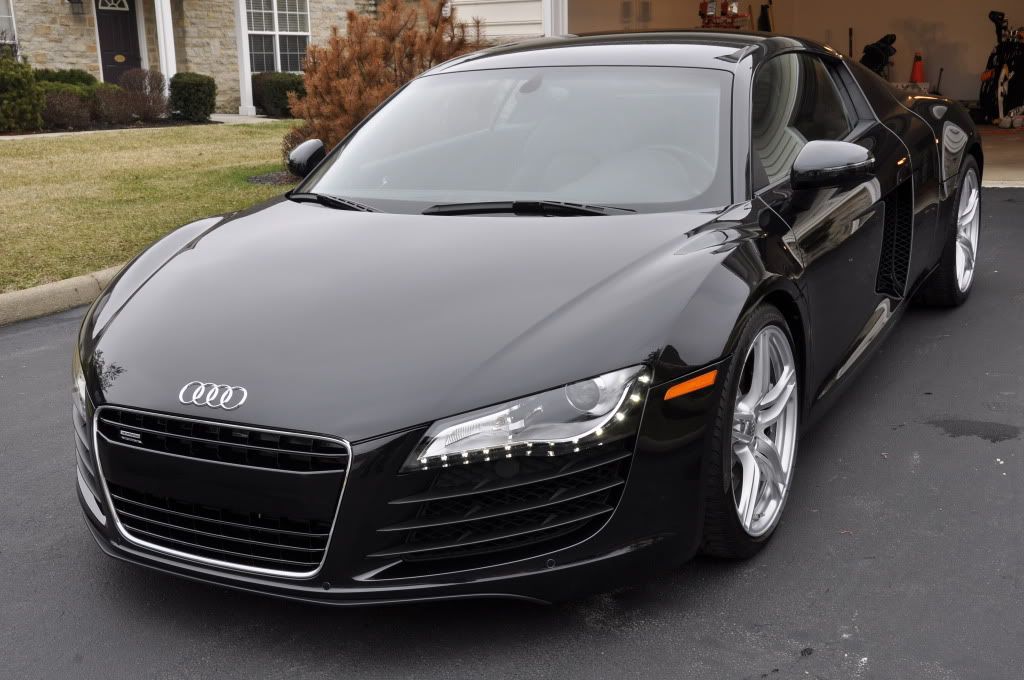
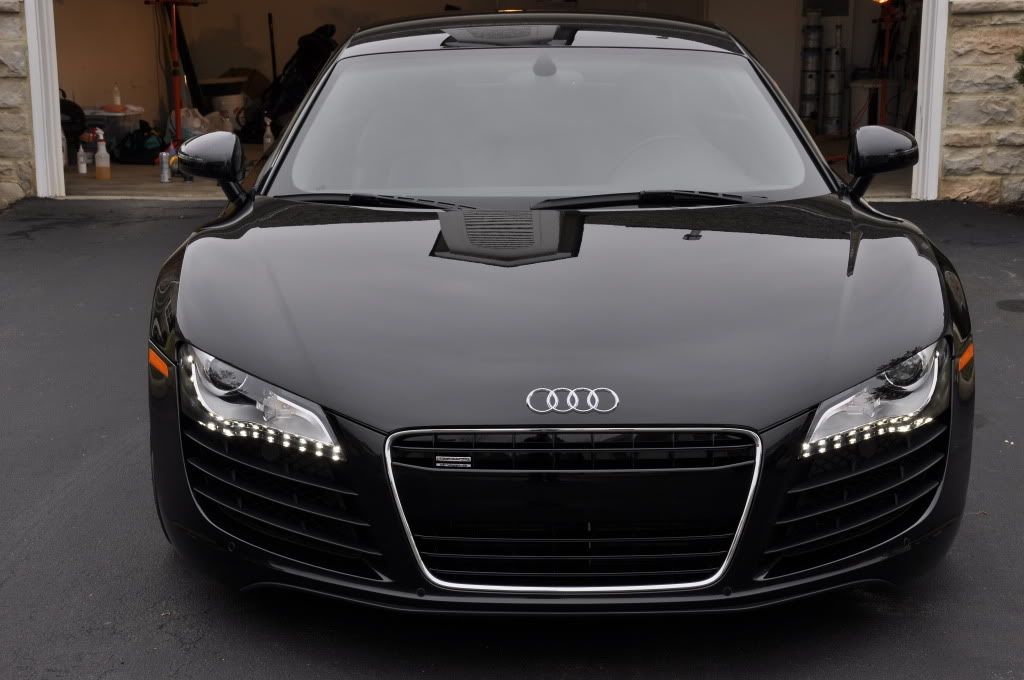
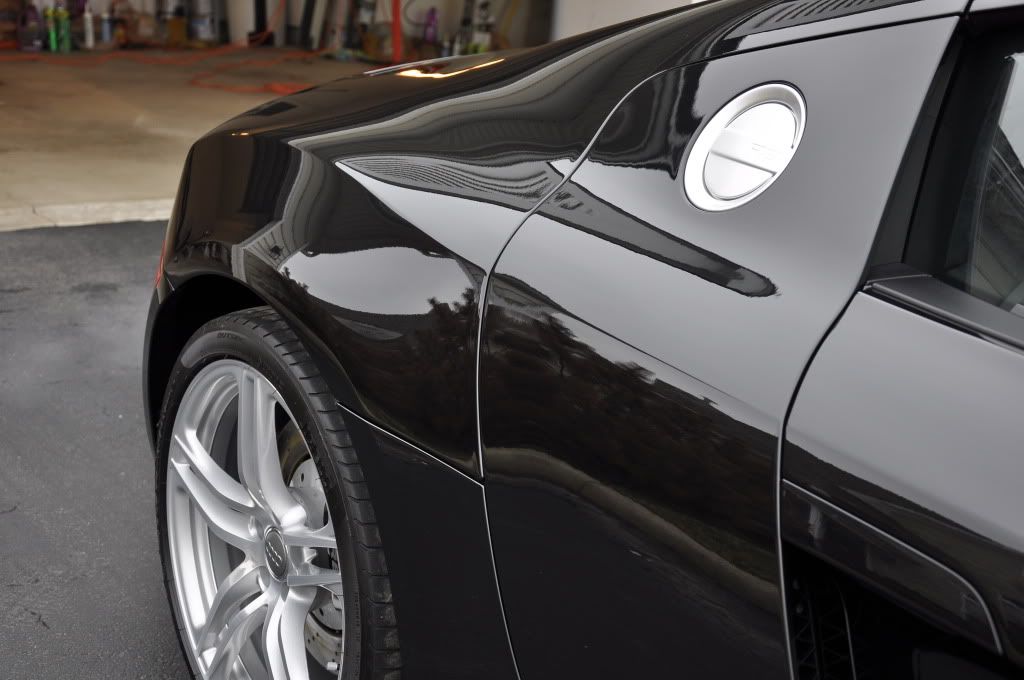
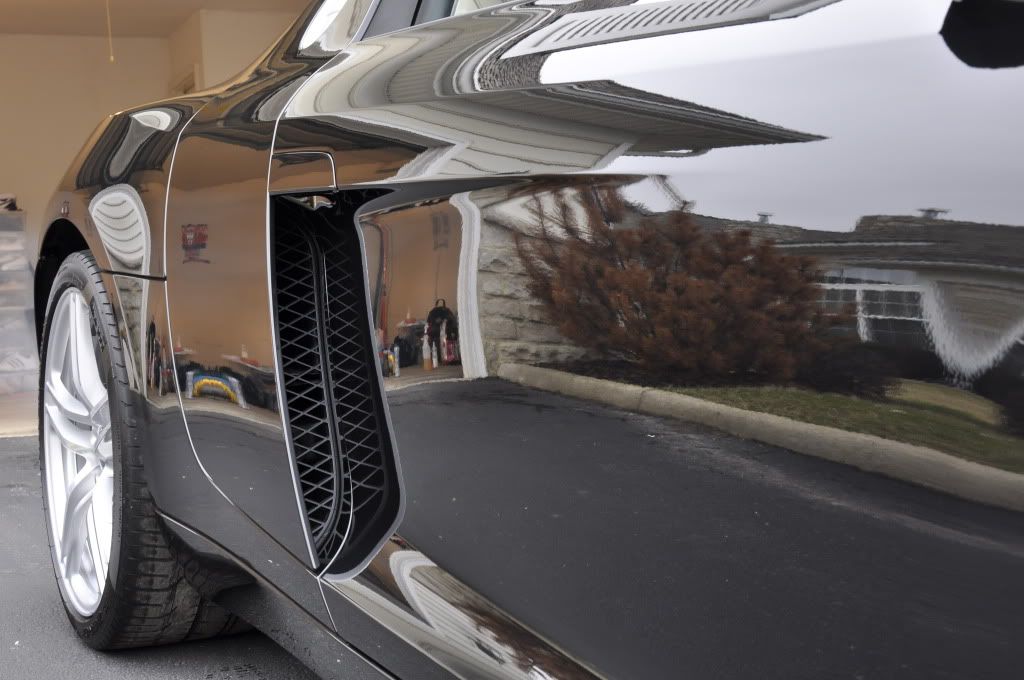
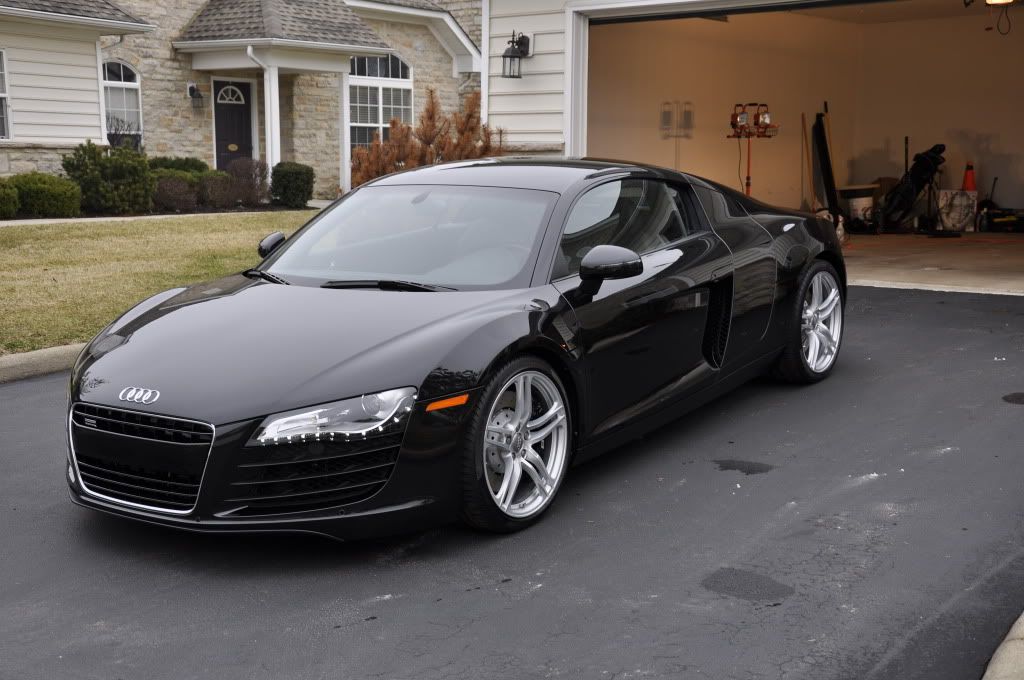
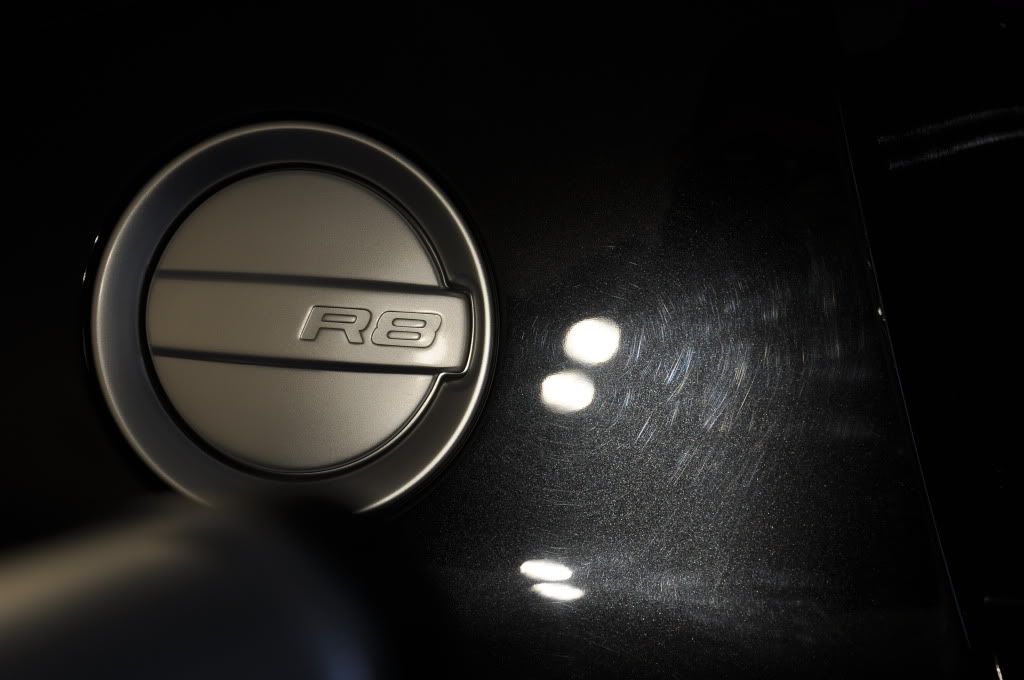
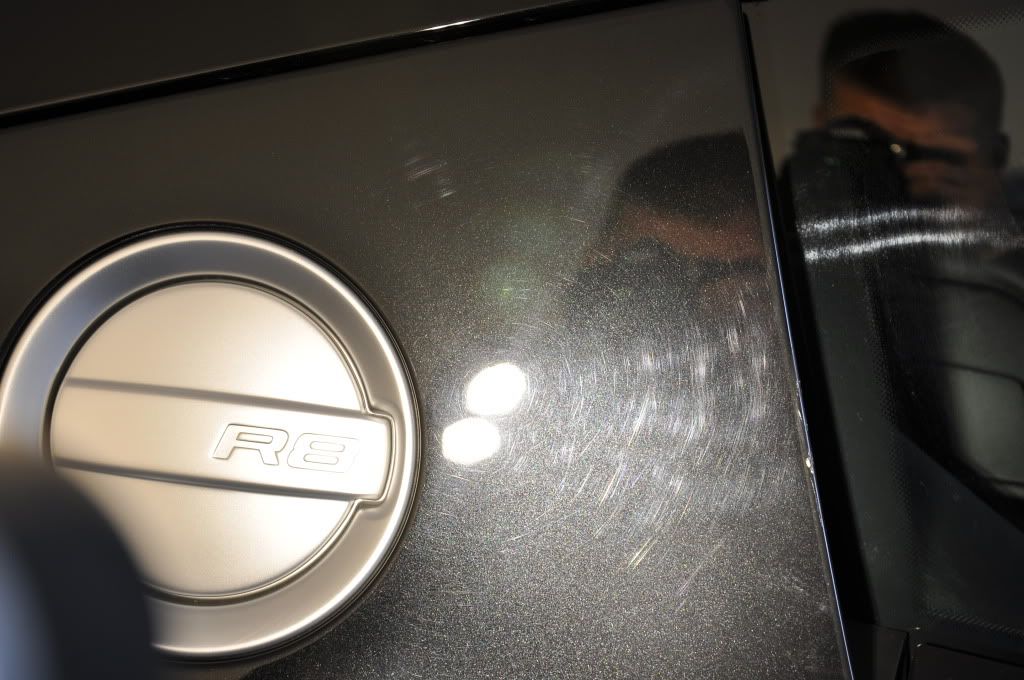
After about 14 hours on this thing it looked pretty good and mostly all of the defects came out with just a two step process. Thanks for reading!!!
I started out by washing the car using the 2x2 grid guard method to ensure that i would not damage the paint anymore than what it already was. One i was done washing i moved onto claying and got a good amount of dirt out of the paint. Once claying was done i moved on to taping everything up which didn't take to long to do. i then taped off a square on the hood to start testing different pad/compound combinations. after trying a few different techniques i determined that i would have to use the surbuf pad with M105 for compounding. This combination basically took everything out of the paint except for a few deeper scratches. Not only did it do a great job but it worked quickly.
I did one of the rear quarter panels first. It turned out great but i wanted to pull the car out into the sun to see if there was any defects that i couldn't see with my lights. When i pulled it out i couldn't see anything in the paint and there were actually some deeper scratches that i could see inside with my lights but didn't show up in sunlight.
I pulled the car back inside and got to compounding. The bumpers took a little longer since i had to move down to a 4 inch pad but i got the compounding done by the end of the day.
The next day i came back and started polishing. For this step i used a Tangerine pad with some M205. This took care of the remaining defects and really glossed her up.
Clean was a bit of a hassel on this car. i was working in weird temperatures and the compound was drying up really fast. This made it really dusty and i actually had to use more compound than normal. I saved some time by spritzing water over the areas i went back over to re-lubricate the abrasives. I ended having to use Q-tip to really clean all the compound out of the crevices.
I wiped the car down with alcohol to clean up the rest of the compound and polish and to make a clean surface for the sealant to bond to. I used Chemical Guys Blacklight to seal the car once i was done with the rest of the detail. And of course i had lots of Red Bull handy.
I didn't do much to the inside since it was pretty clean. Here are some after shots.
After about 14 hours on this thing it looked pretty good and mostly all of the defects came out with just a two step process. Thanks for reading!!!