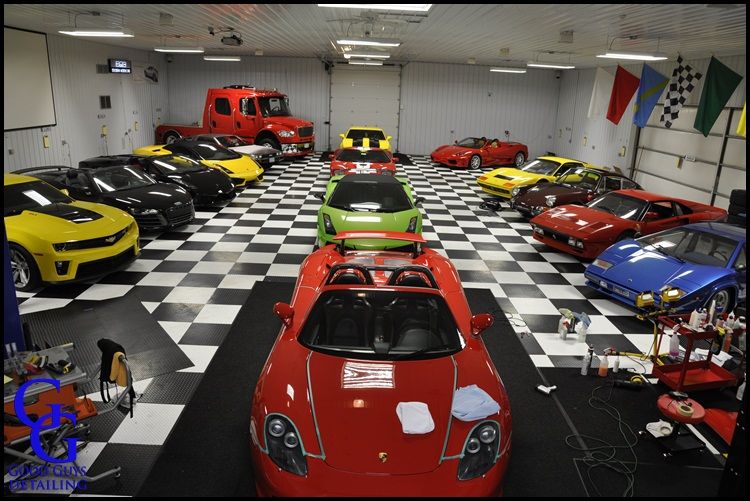
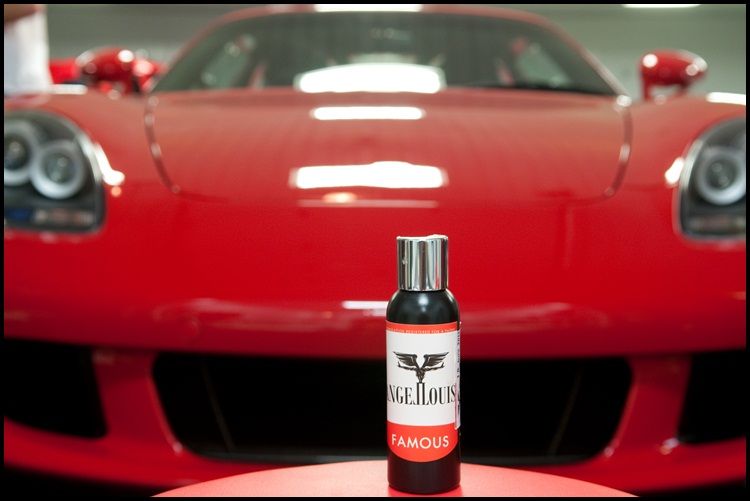
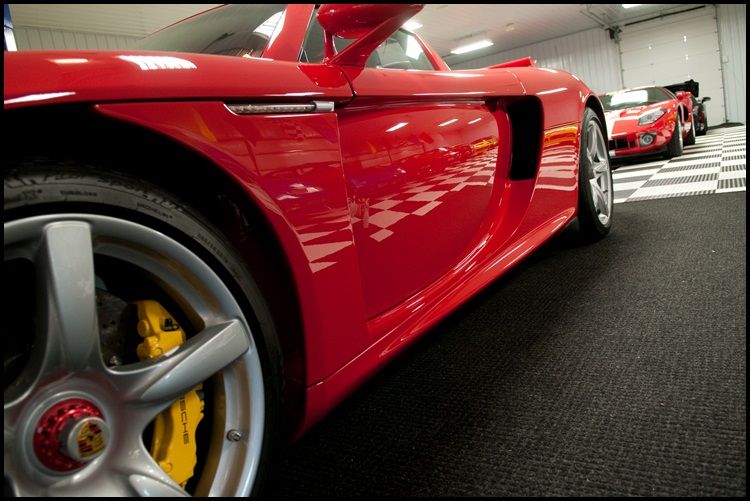
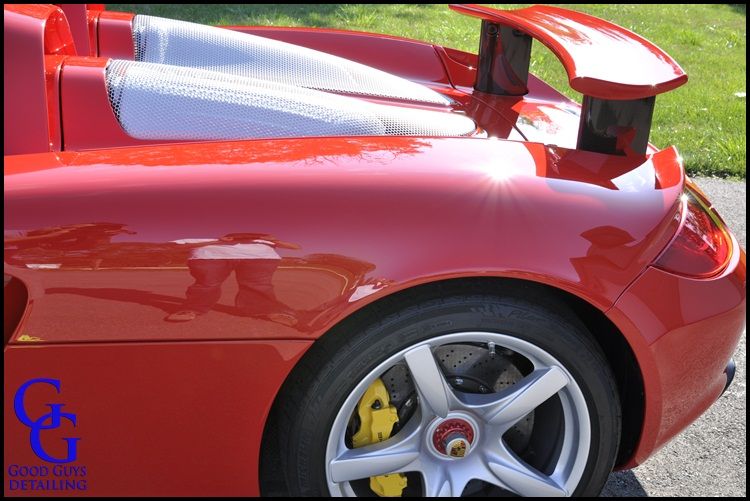
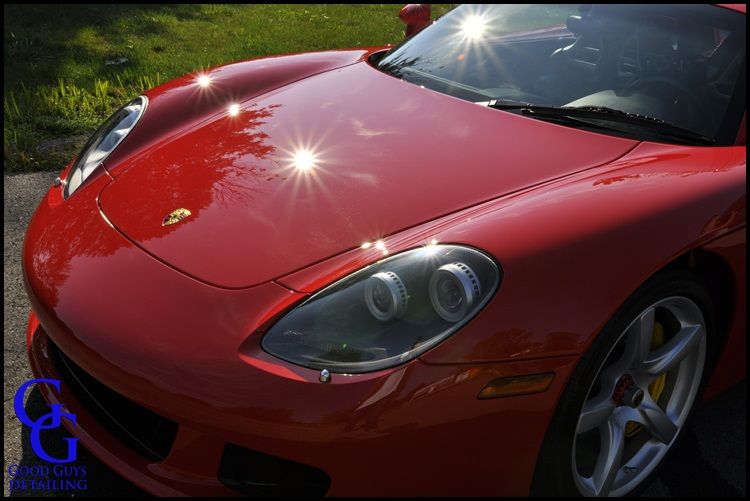
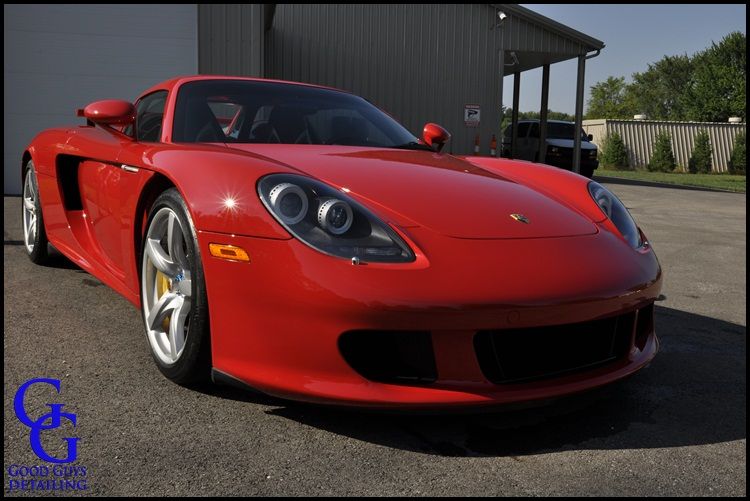
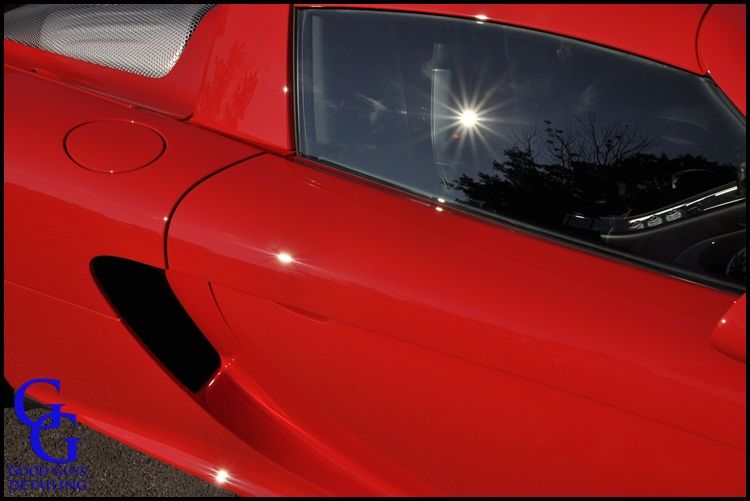
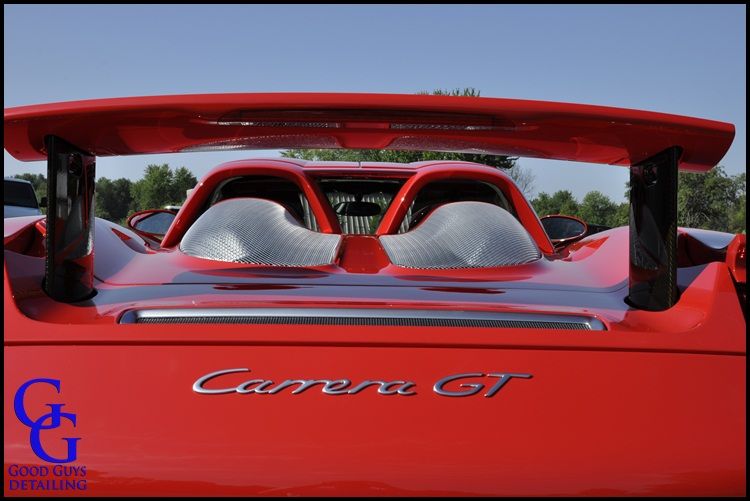
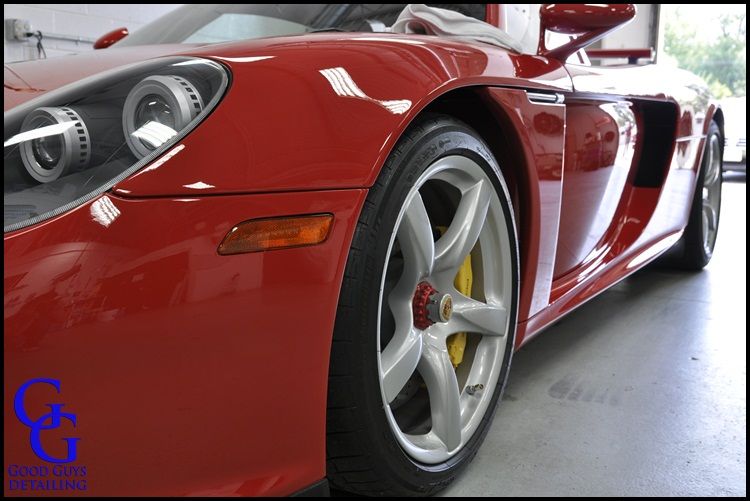
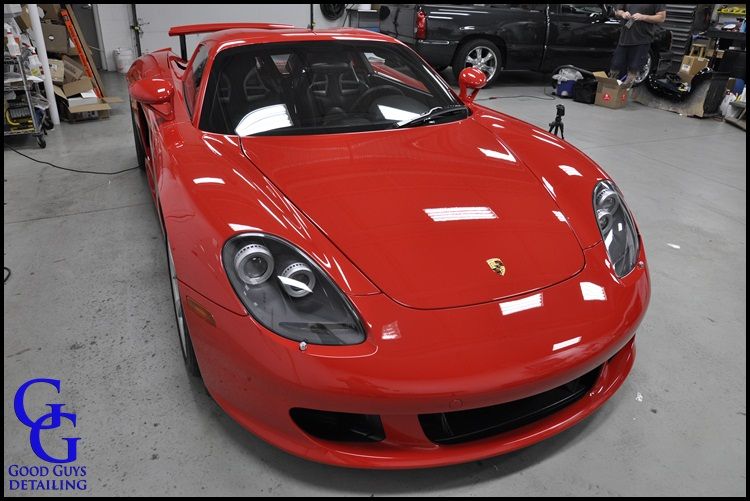
Indy Car driver Graham Rahal brought his Porsche Carrera GT to Good Guys Detailing for a full paint correction a couple of weeks ago. I saw the car a week before he brought it in, and it looked like it was going to need some serious correction. I figured this would be a 25 to 30 hour job but it ended up taking a lot longer. His father, Bobby Rahal, was hosting a charity car show event here in Columbus, Ohio so he needed it done before the show. I was extremely excited to work on this car because of what kind of car it was and also because of whom it was for.
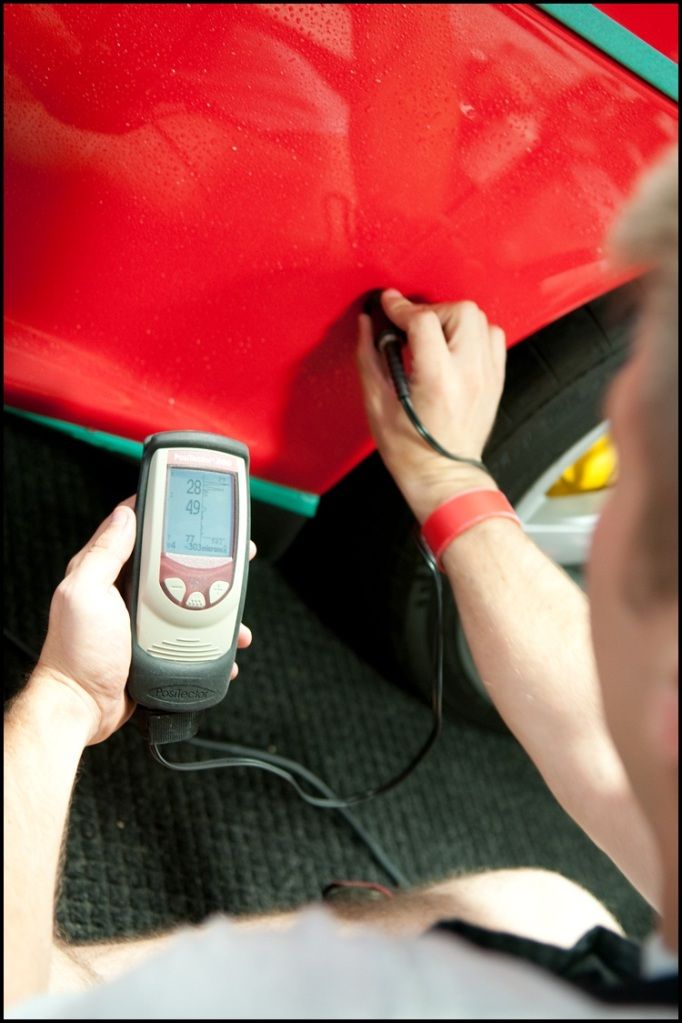
First, I would like to thank Todd Cooperider for letting me use his Defelsko D200 paint gauge. Without it, I would not have been able to do as good of a job on this car as I did. I also would like to thank Tim Broughton and Marc Harris for some info on the paint thickness.
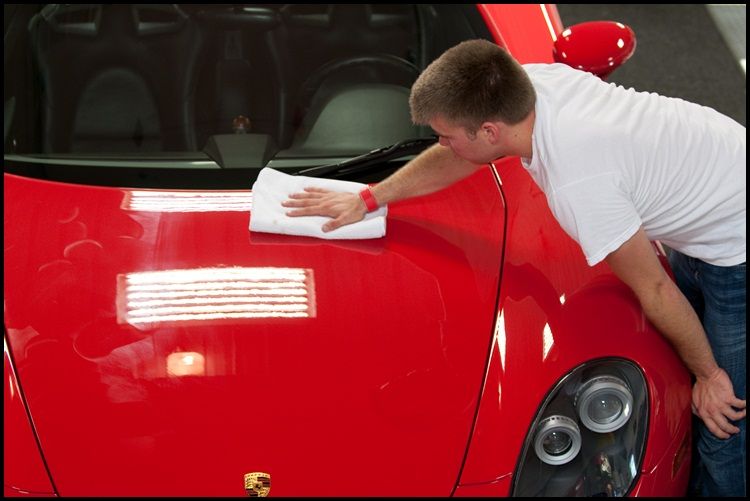
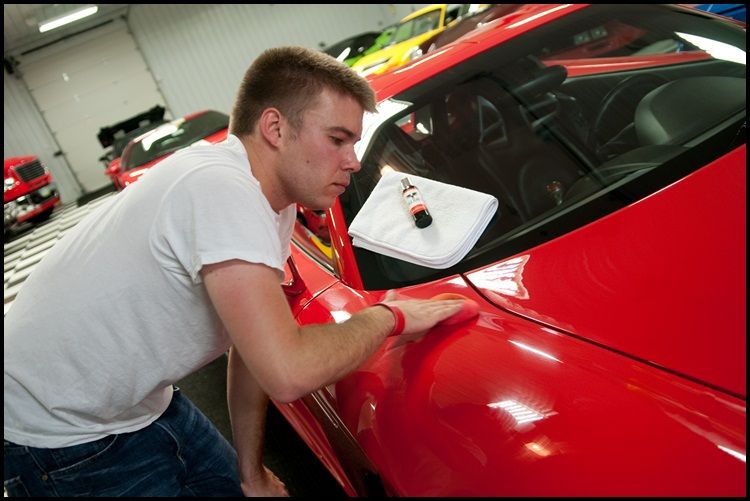
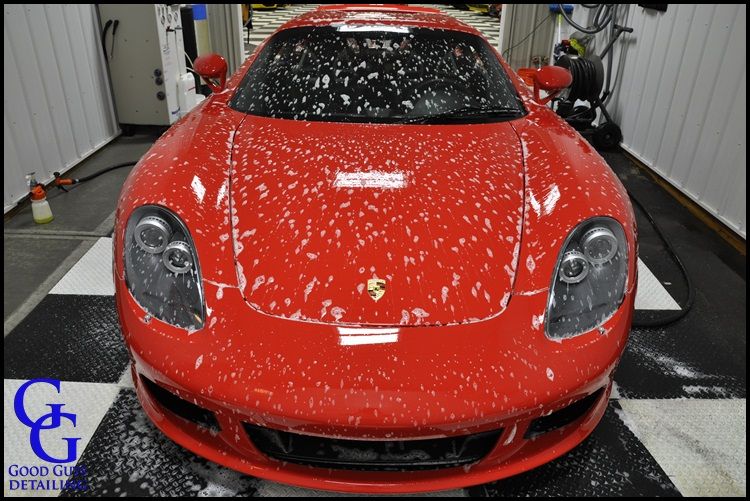
I started out by washing the car using the 2X4 Grit Guard method. After washing, I decontaminated the paint using Wolf's Decon Gel and then clayed the whole car using a Clay Magic medium grade clay bar. I did a test section using the medium grade bar first to make sure it wasn't going to cause any marring, medium grade clay bars will cause a lot of marring if the paint is soft. Once I was done claying and drying the car, I didn't see any marring at all so this gave me a good indication that this paint was pretty hard.
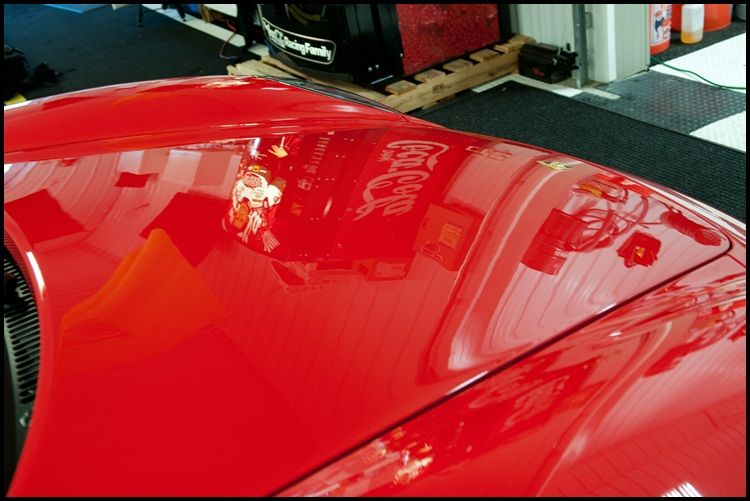
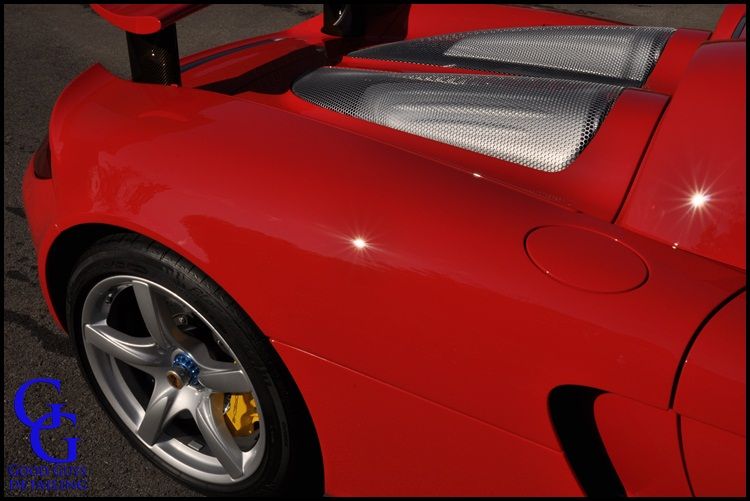
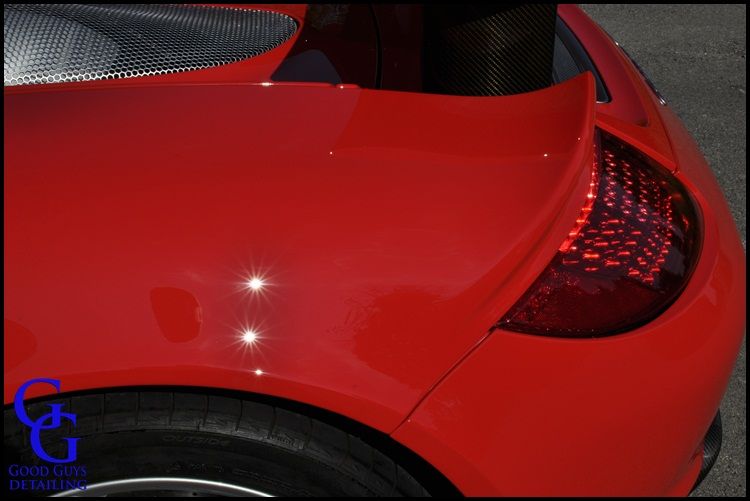
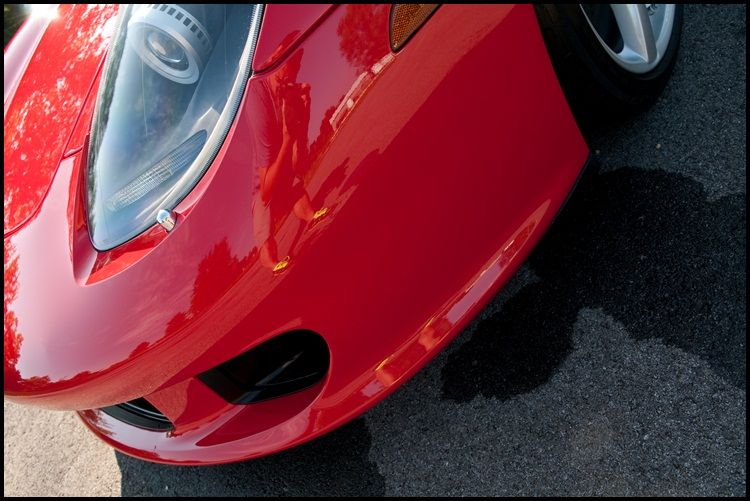
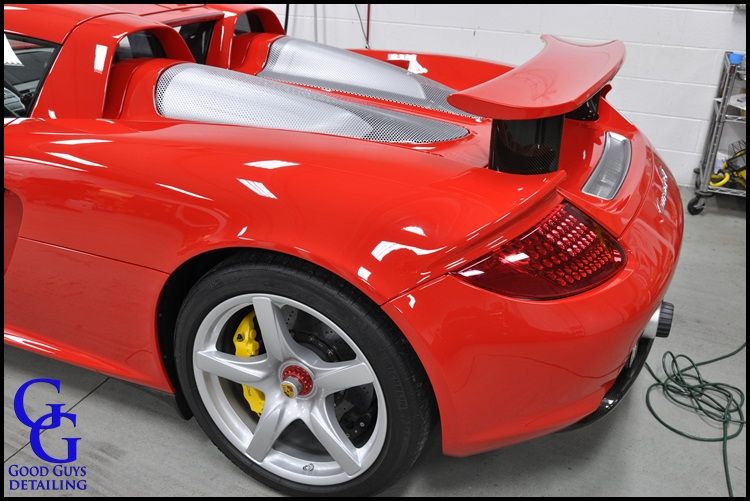
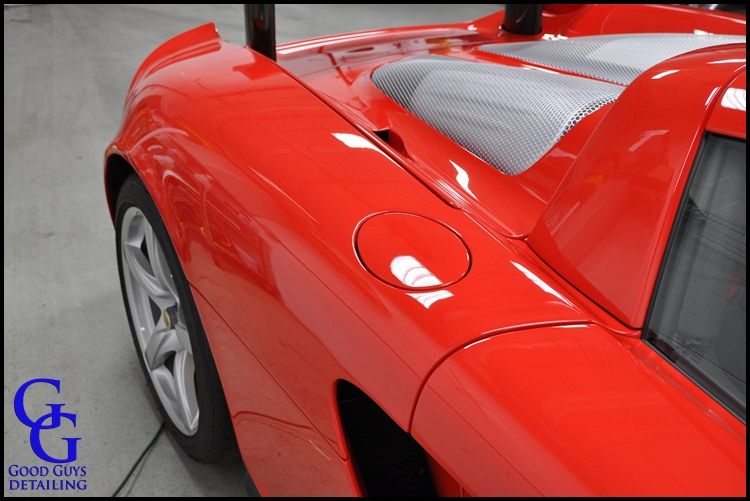
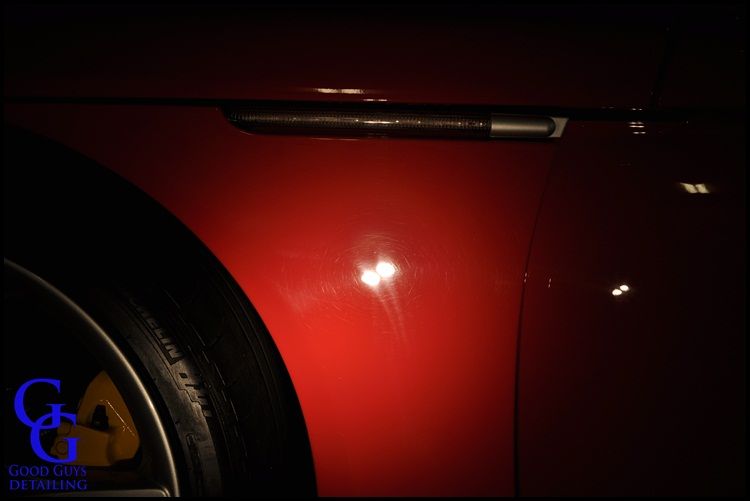
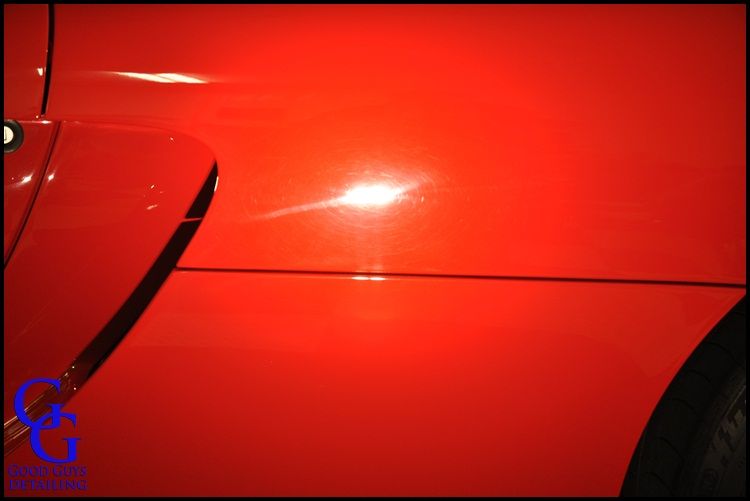
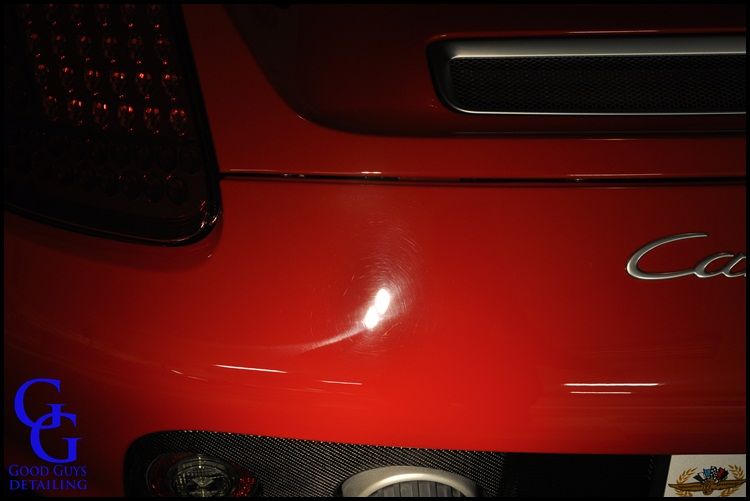
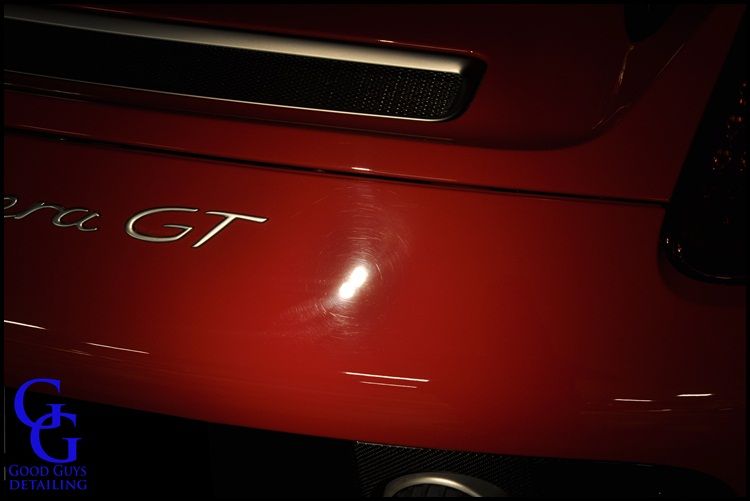
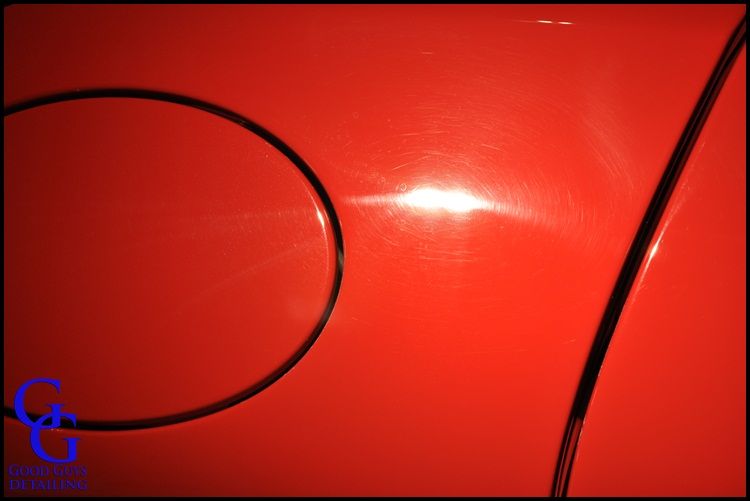
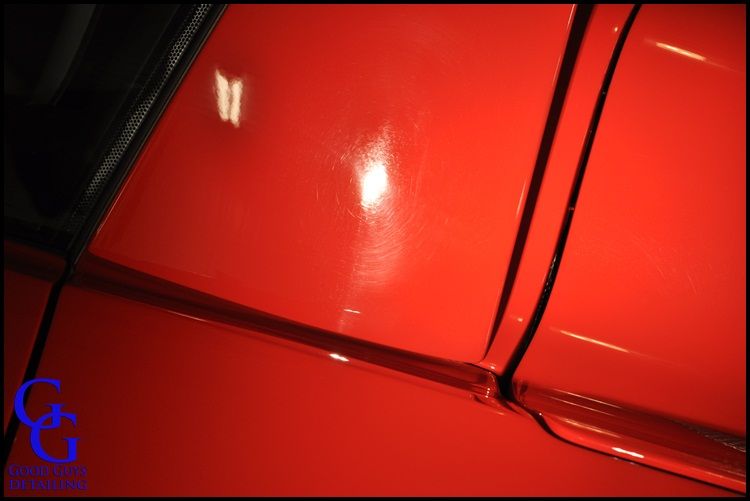
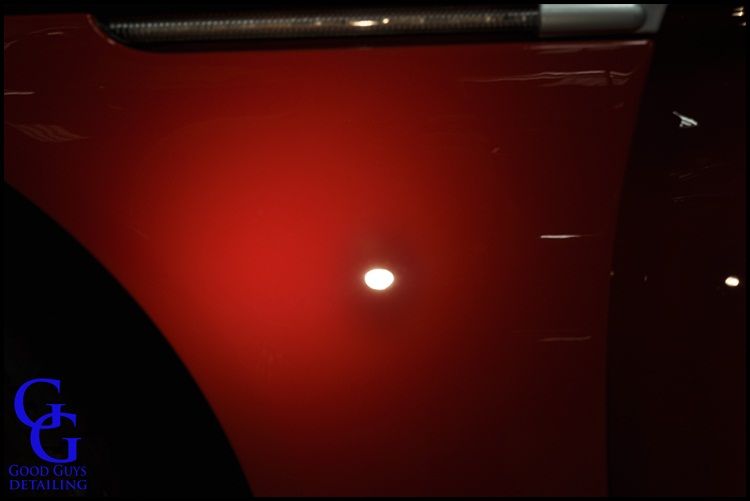
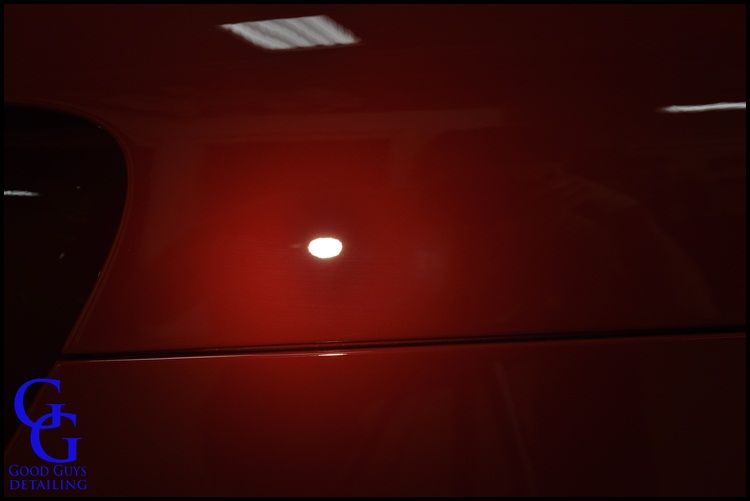
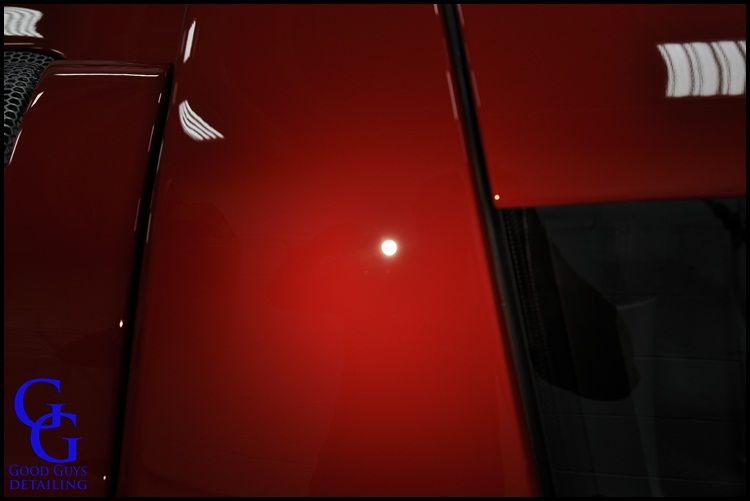
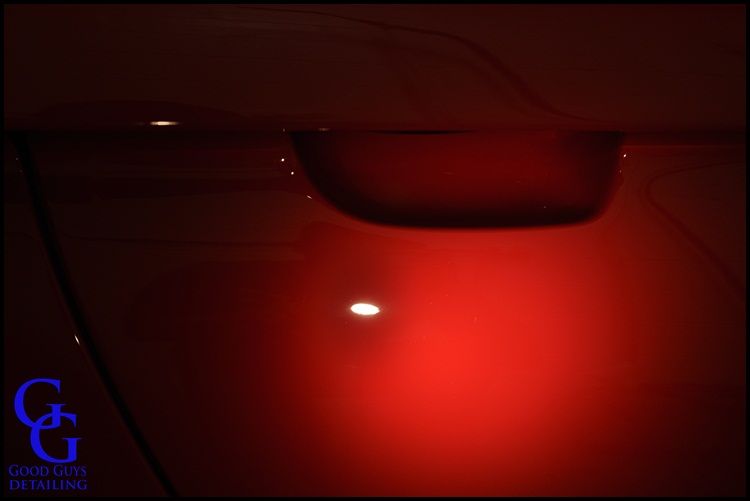
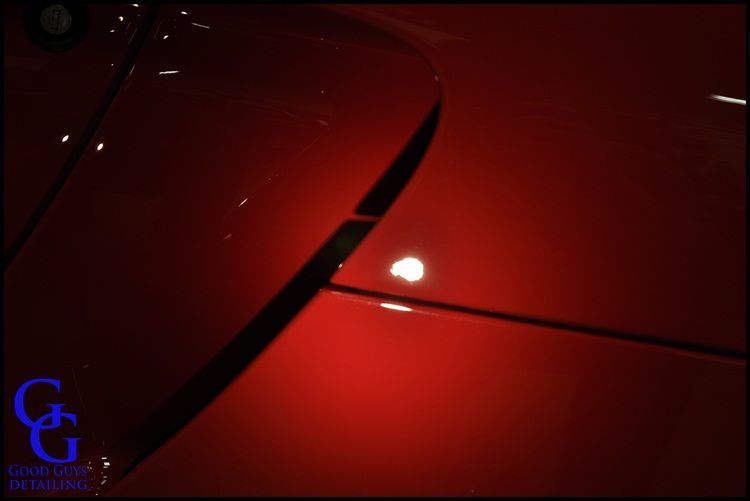
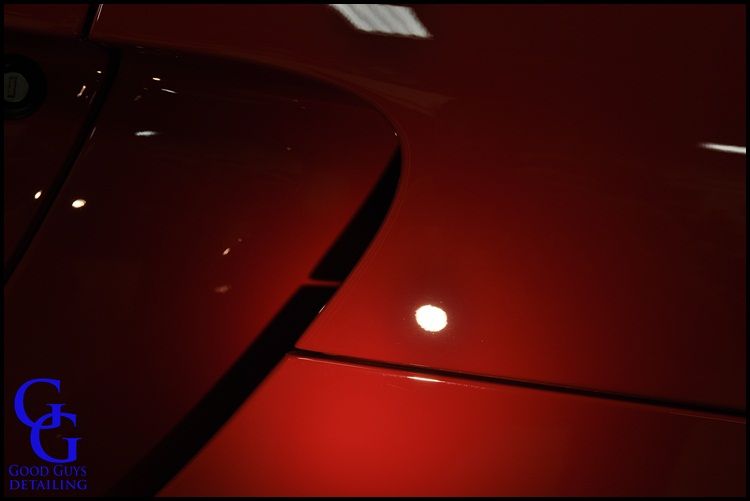
Once the car was prepped for paint correction I started taking photos of the car all the way around to show the defects in the paint. There were lots of swirls, deeper scratches, holograms, and of course the dreaded sanding mark clusters. Here are the pictures of the defects before I started.
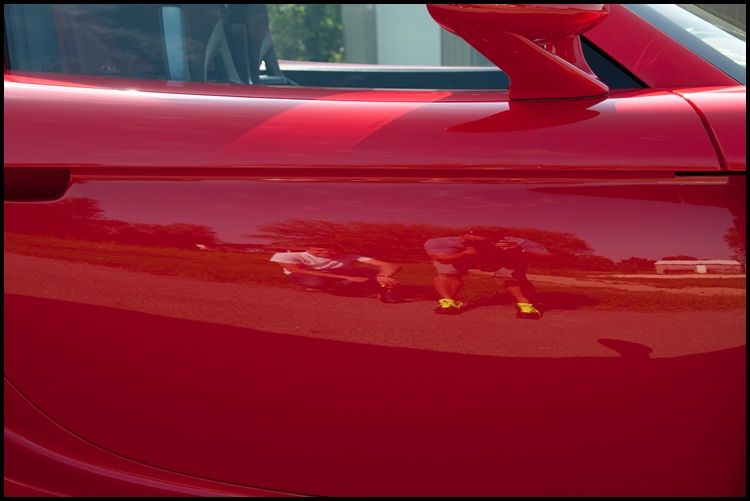
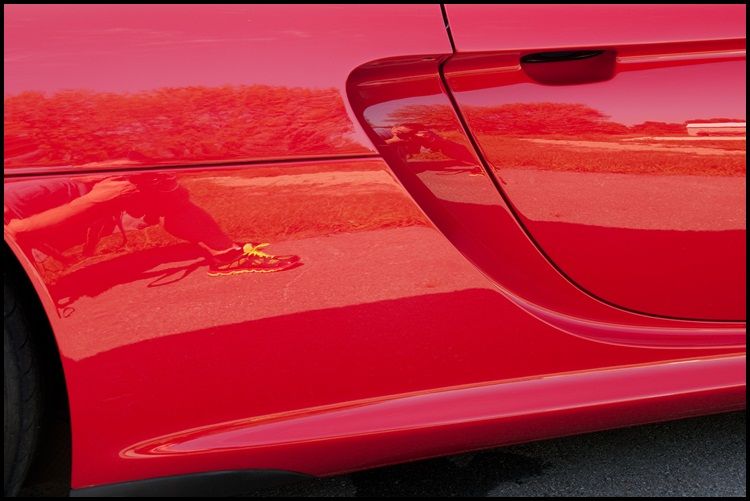
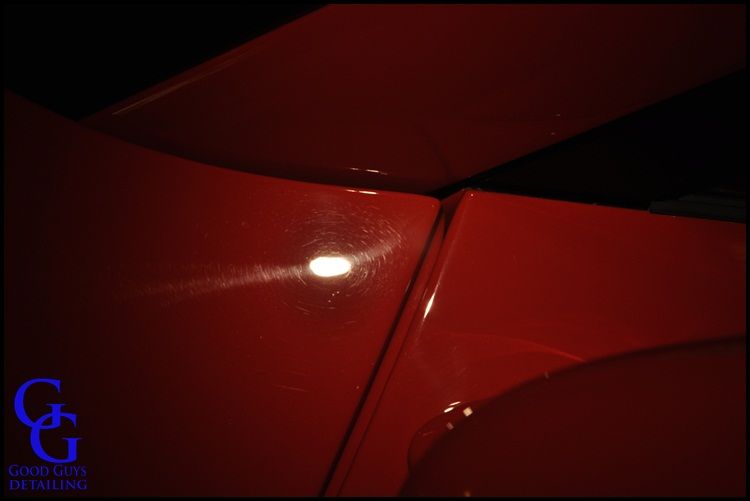
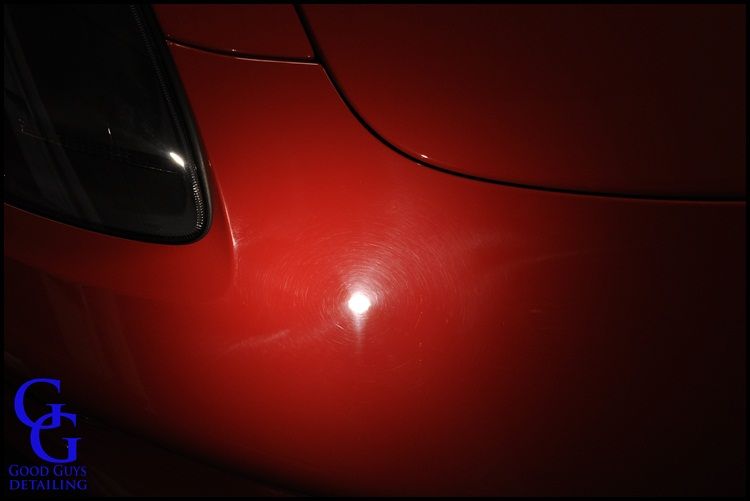
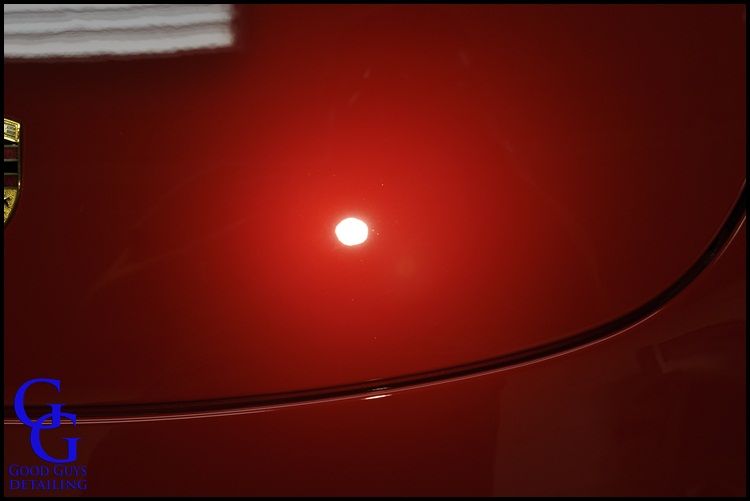
Lots of swirls and deep scratches:
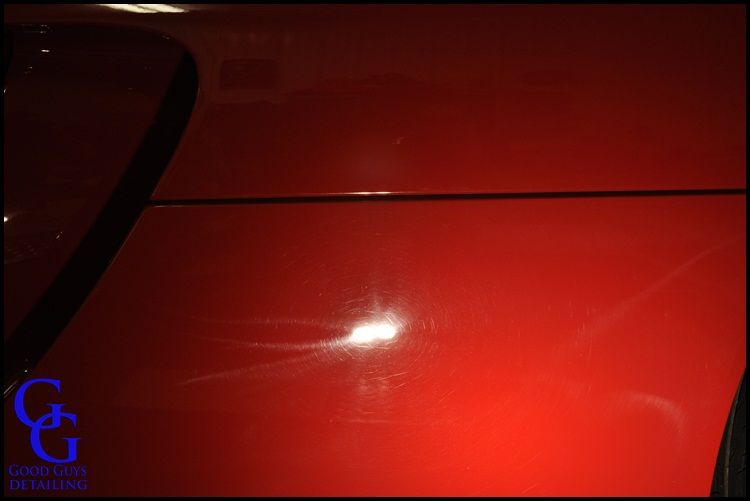
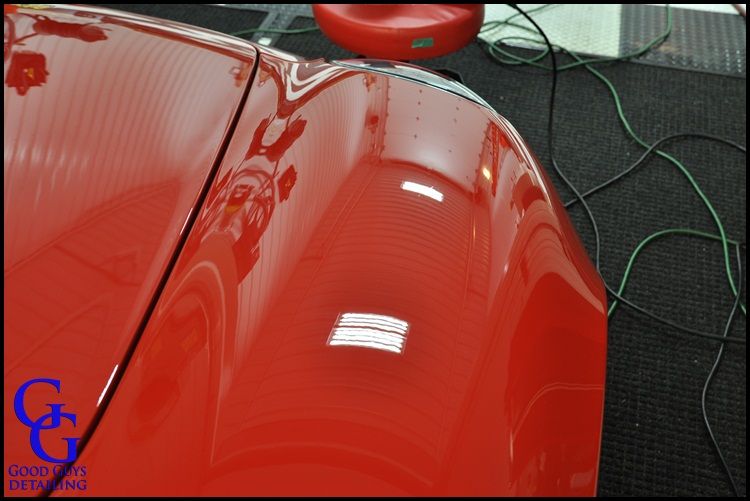
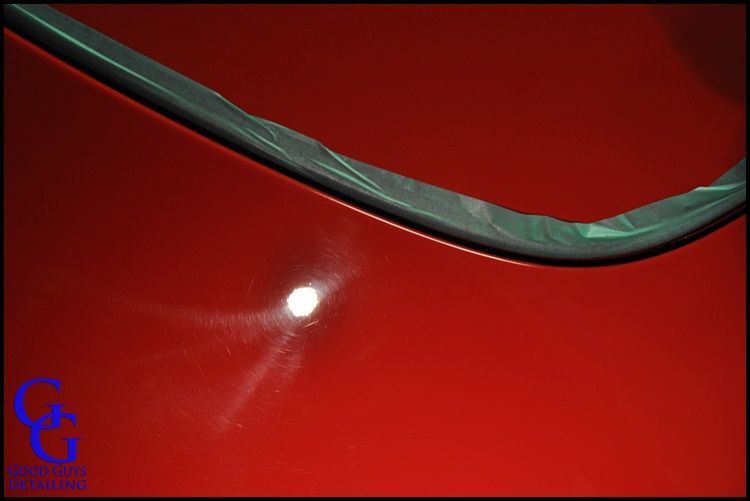
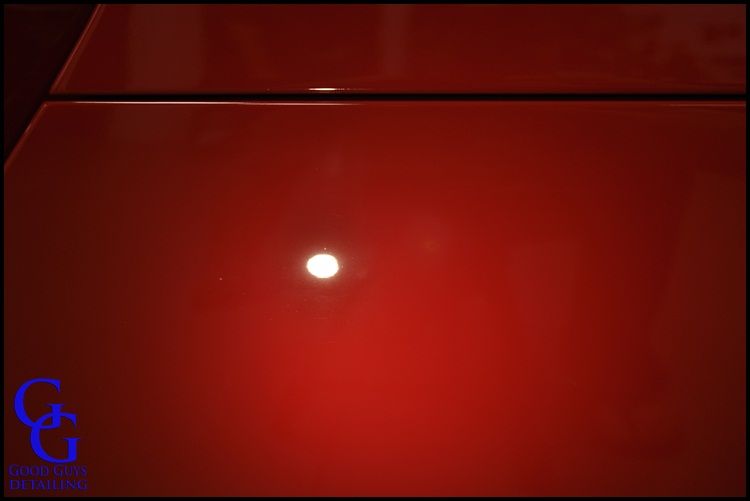
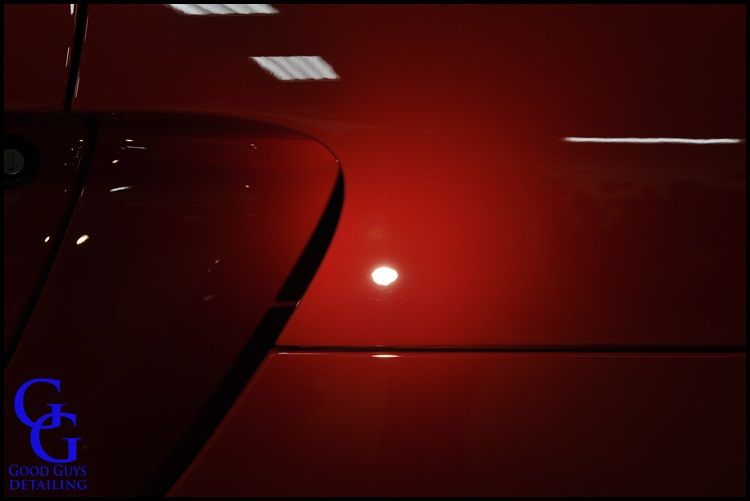
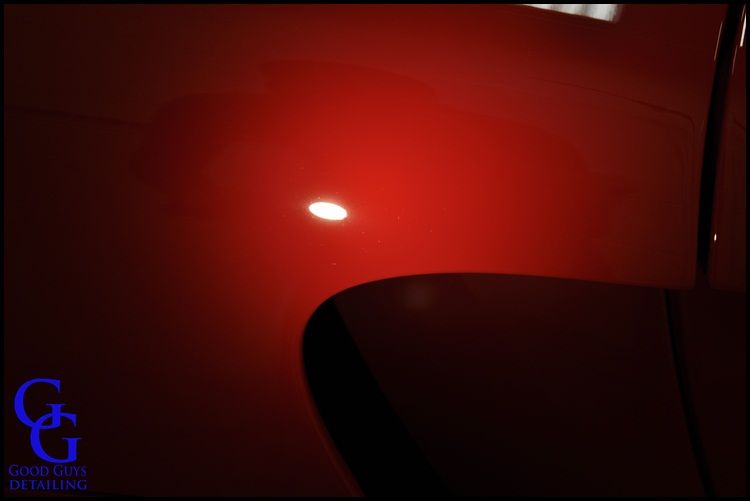
Here is a big cluster of sanding marks. Sanding marks are usually left in the paint from the factory. They are extremely deep and take a lot of work to completely level them out.
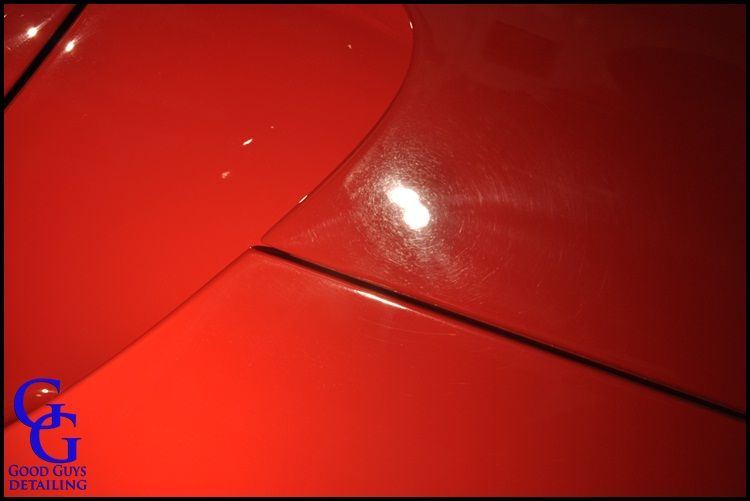
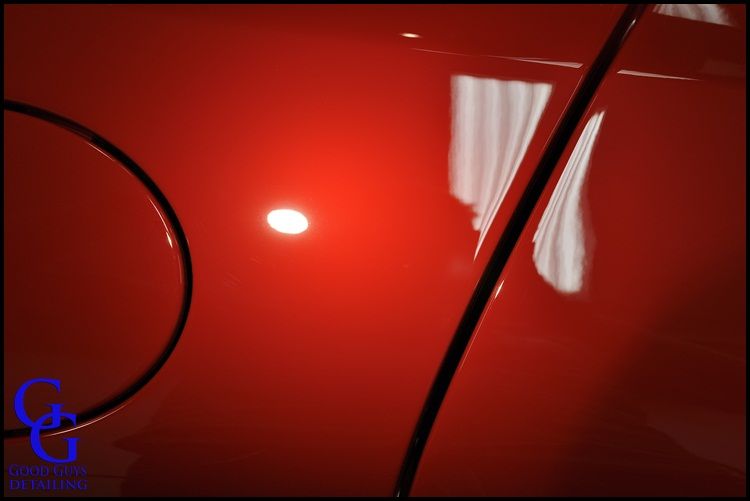
Another cluster of sanding marks.
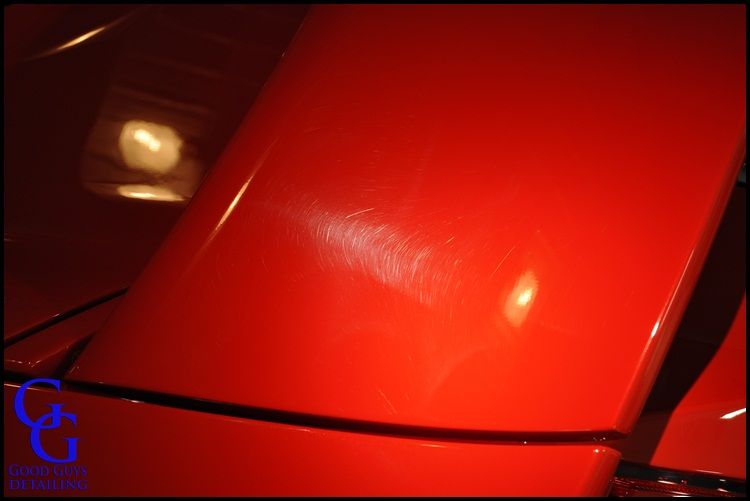
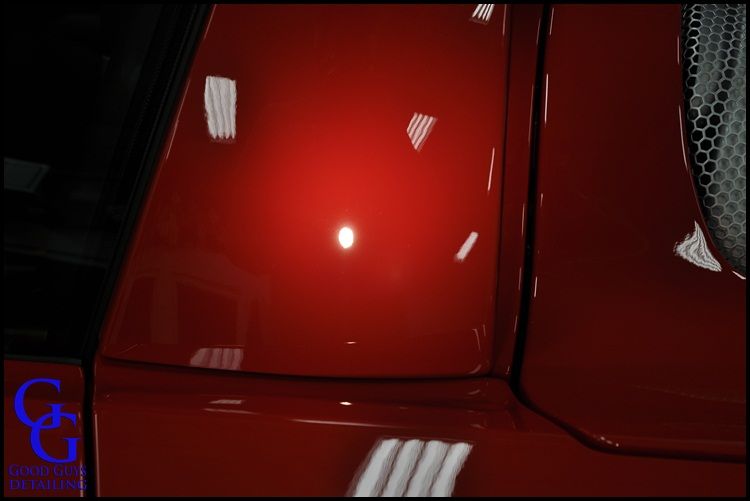
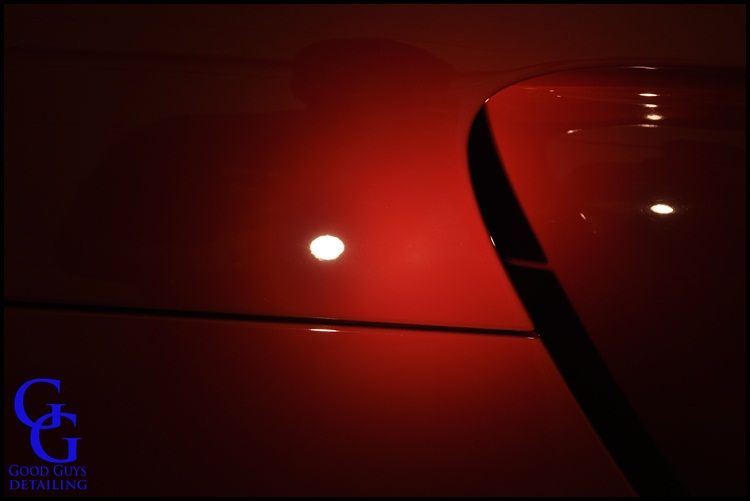
A zoomed in view of the sanding marks.
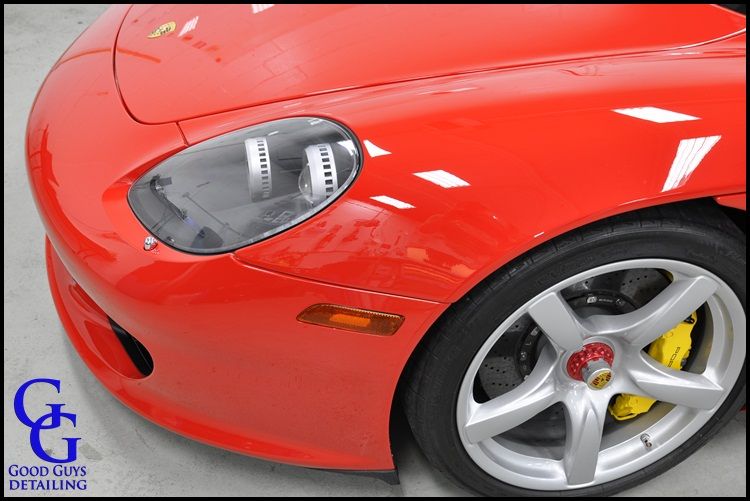
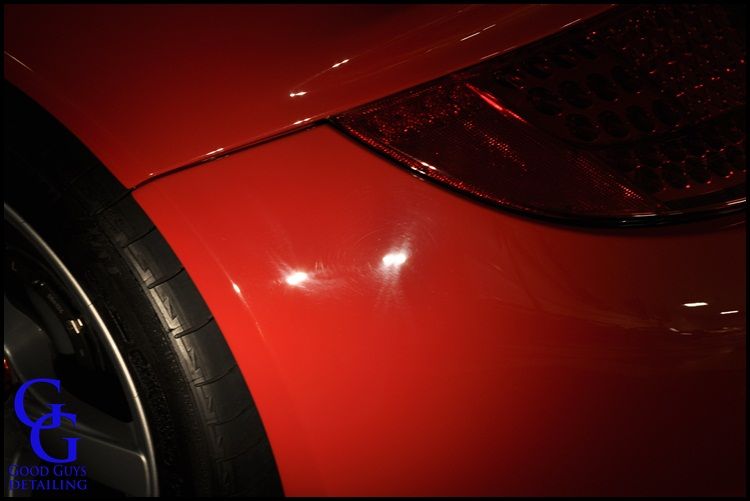
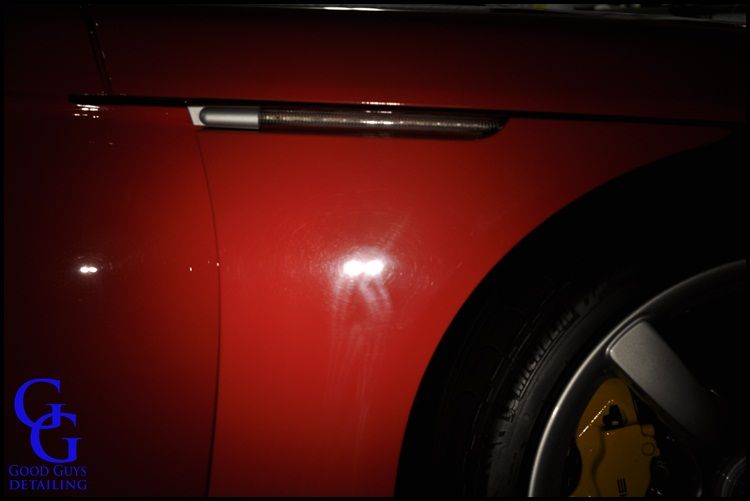
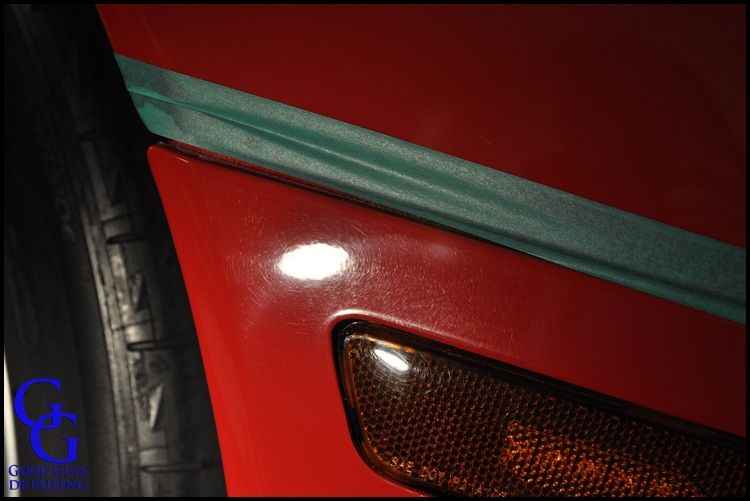
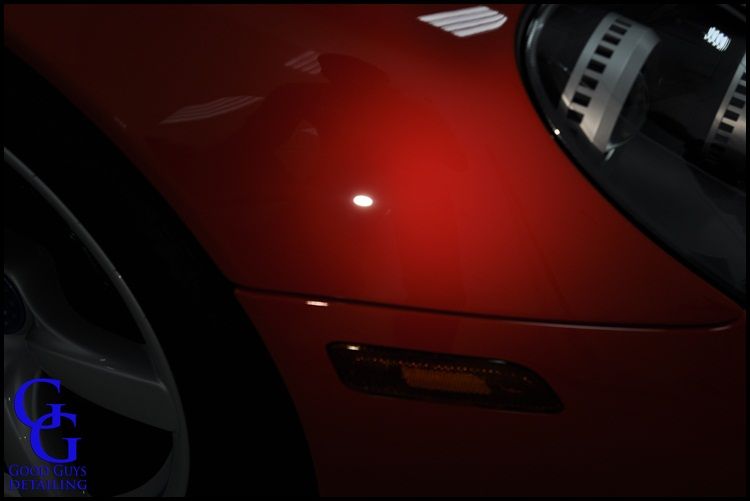
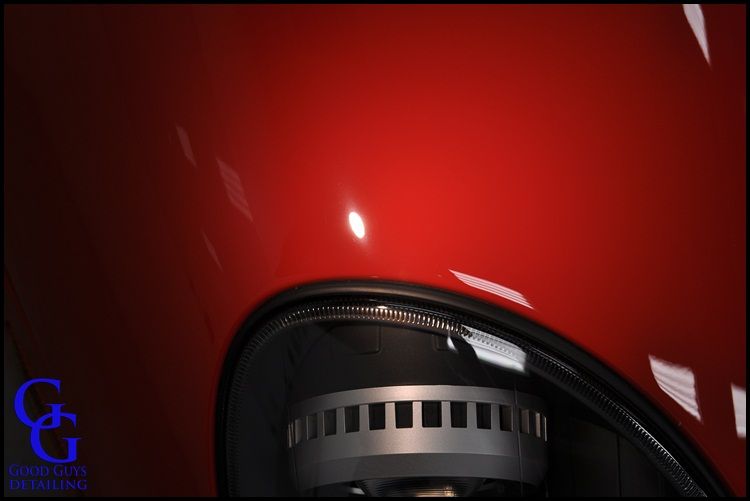
Sanding marks on the front fender.


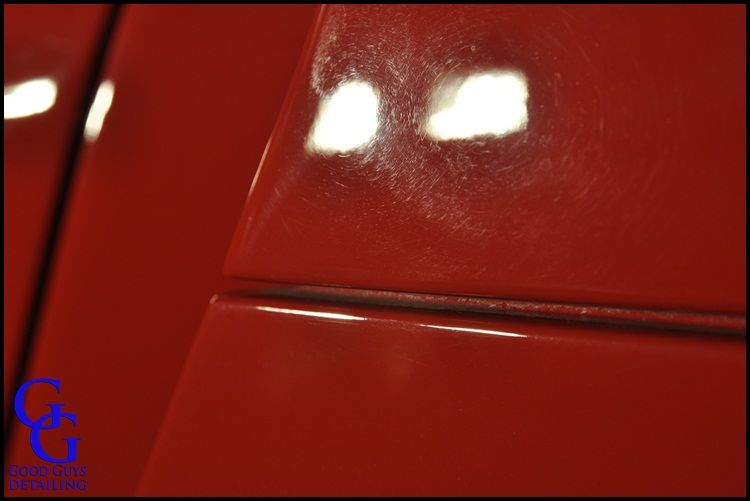
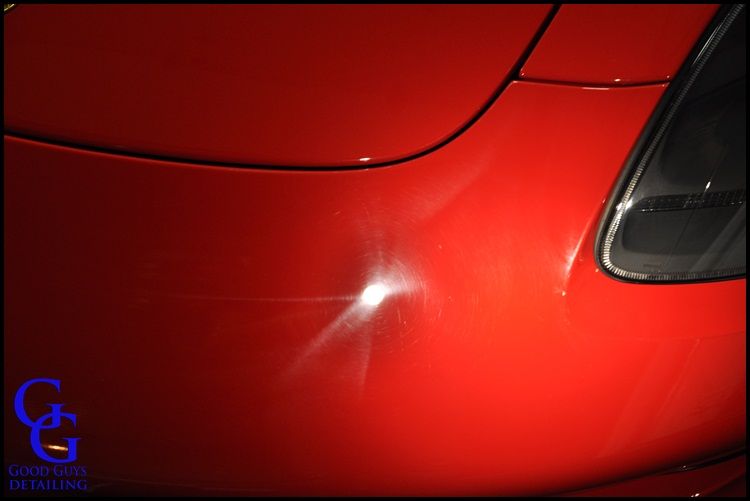
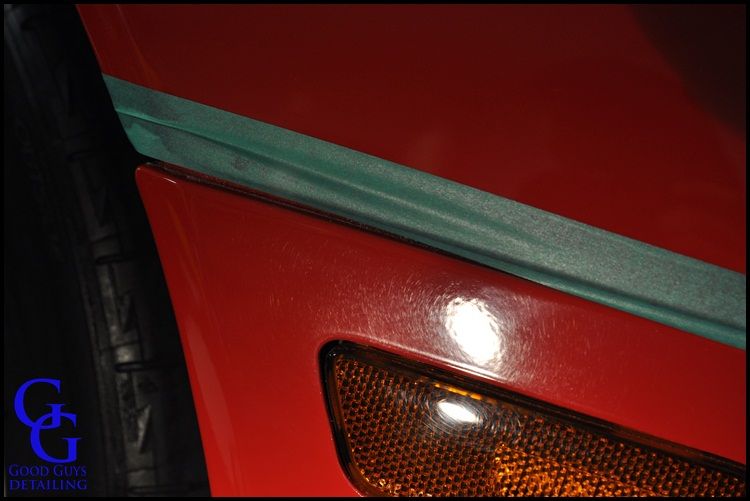
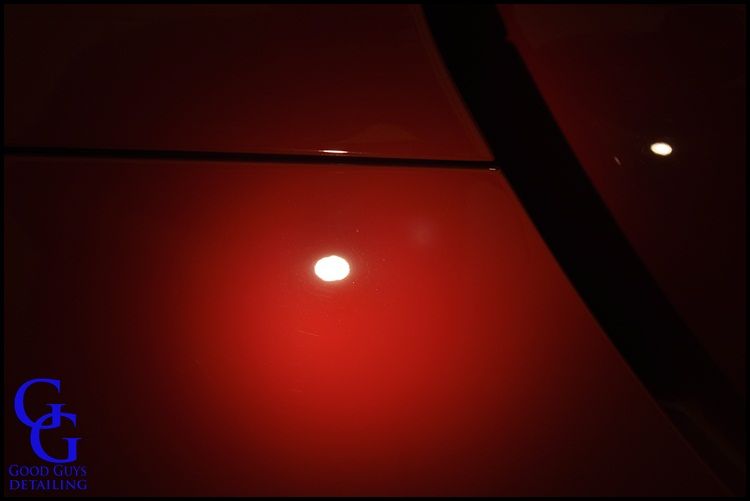
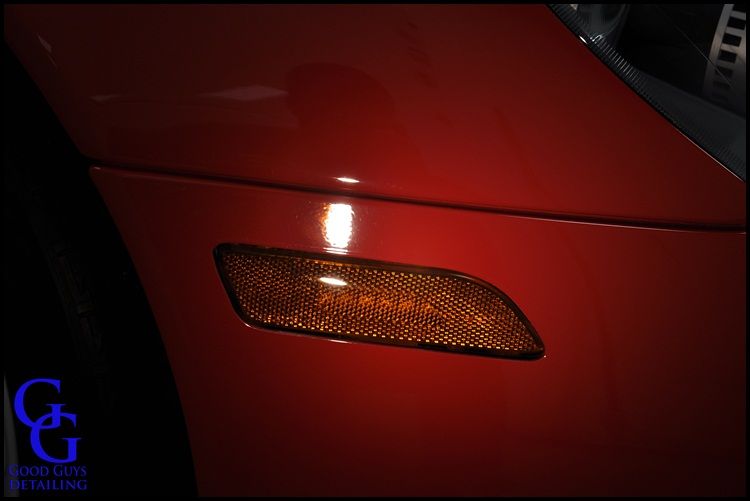
If a car has sanding marks in it, it's almost guaranteed that there will be some around the front marker lights...

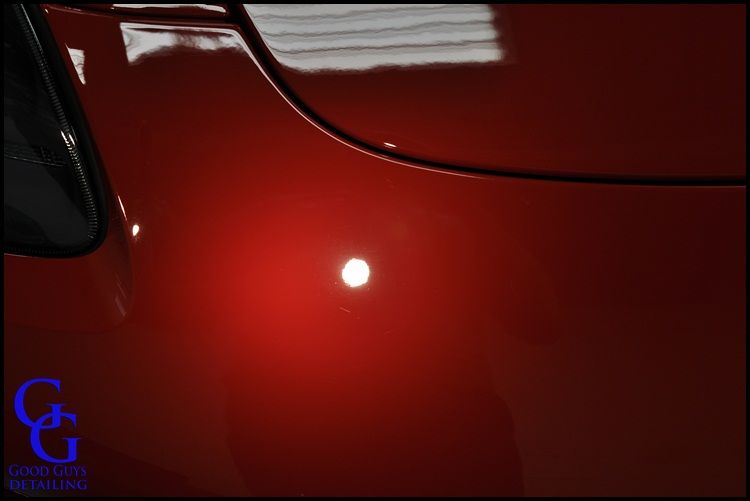
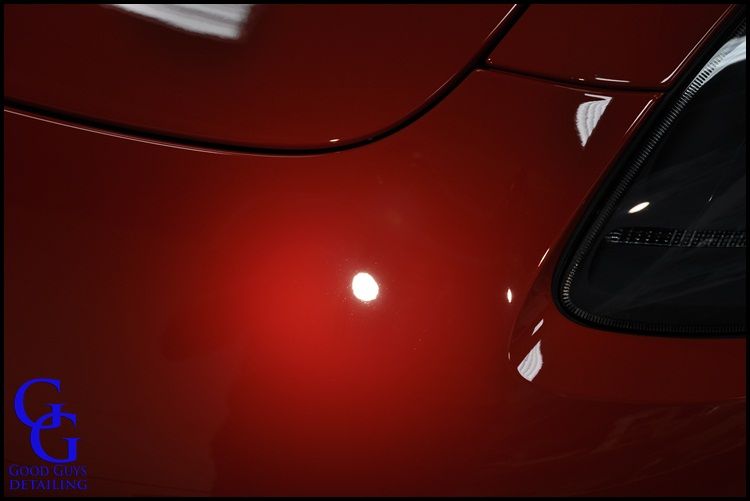
And around the corners of the front bumper/front fender areas
First, I would like to thank Todd Cooperider for letting me use his Defelsko D200 paint gauge. Without it, I would not have been able to do as good of a job on this car as I did. I also would like to thank Tim Broughton and Marc Harris for some info on the paint thickness.
I started out by washing the car using the 2X4 Grit Guard method. After washing, I decontaminated the paint using Wolf's Decon Gel and then clayed the whole car using a Clay Magic medium grade clay bar. I did a test section using the medium grade bar first to make sure it wasn't going to cause any marring, medium grade clay bars will cause a lot of marring if the paint is soft. Once I was done claying and drying the car, I didn't see any marring at all so this gave me a good indication that this paint was pretty hard.
Once the car was prepped for paint correction I started taking photos of the car all the way around to show the defects in the paint. There were lots of swirls, deeper scratches, holograms, and of course the dreaded sanding mark clusters. Here are the pictures of the defects before I started.
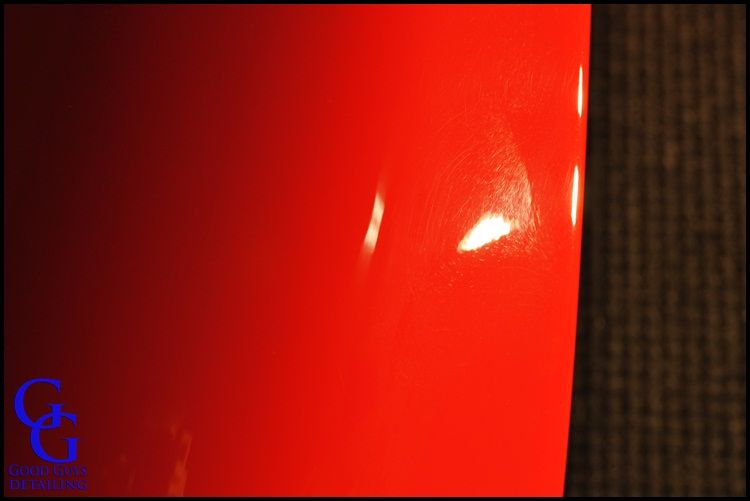
Lots of swirls and deep scratches:
Here is a big cluster of sanding marks. Sanding marks are usually left in the paint from the factory. They are extremely deep and take a lot of work to completely level them out.
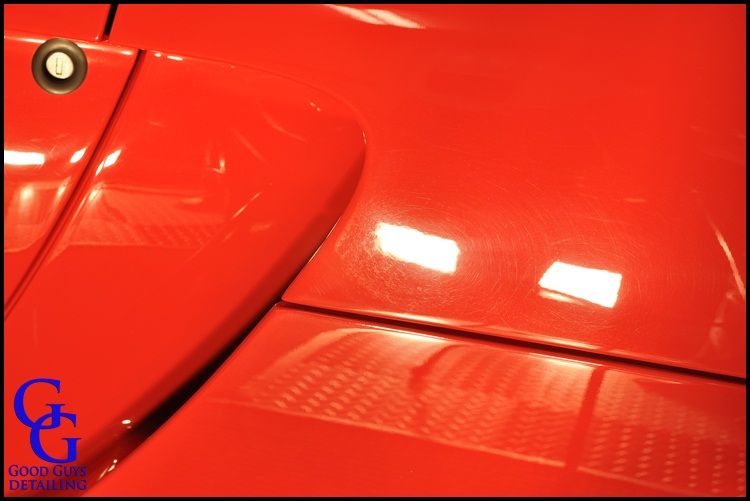
Another cluster of sanding marks.
A zoomed in view of the sanding marks.
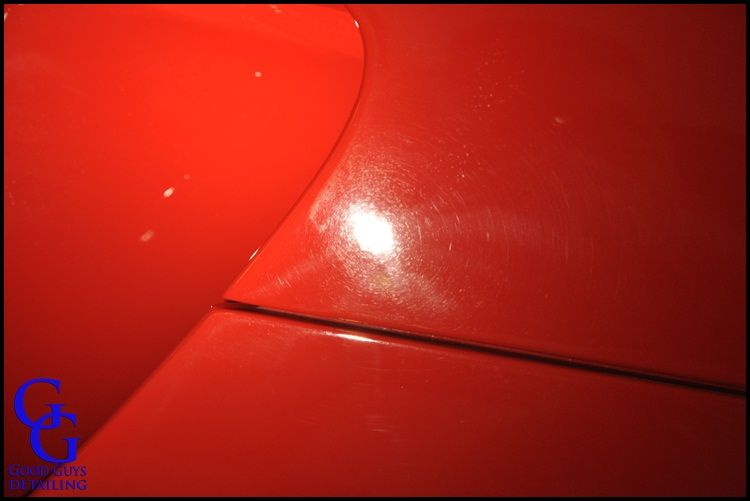
Sanding marks on the front fender.
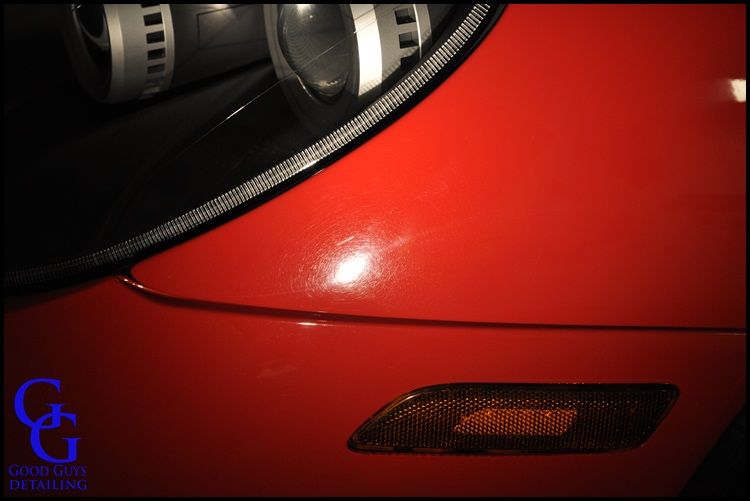
If a car has sanding marks in it, it's almost guaranteed that there will be some around the front marker lights...
And around the corners of the front bumper/front fender areas


")