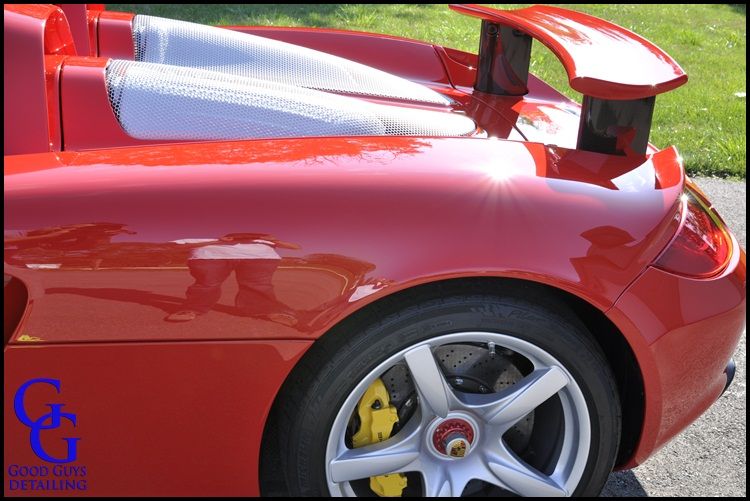
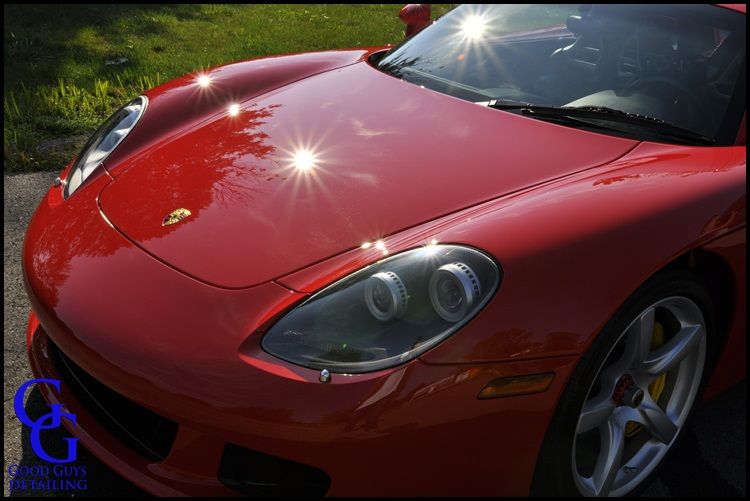
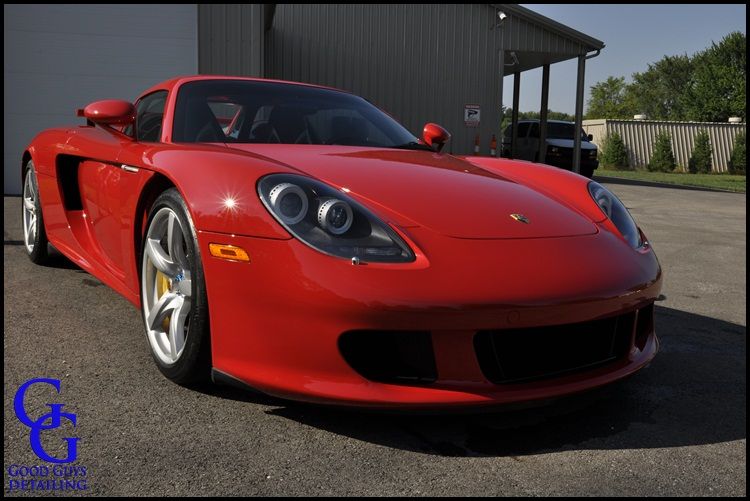
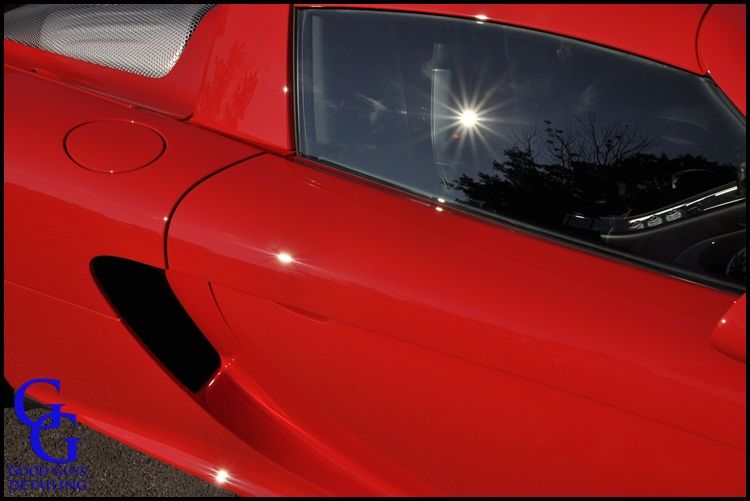
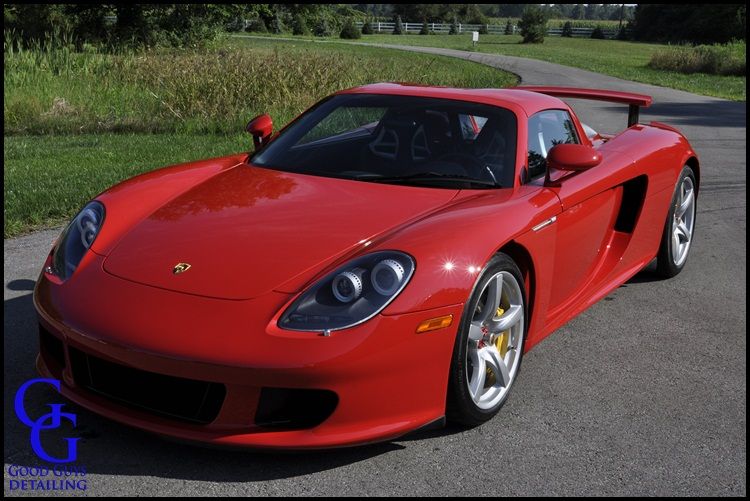
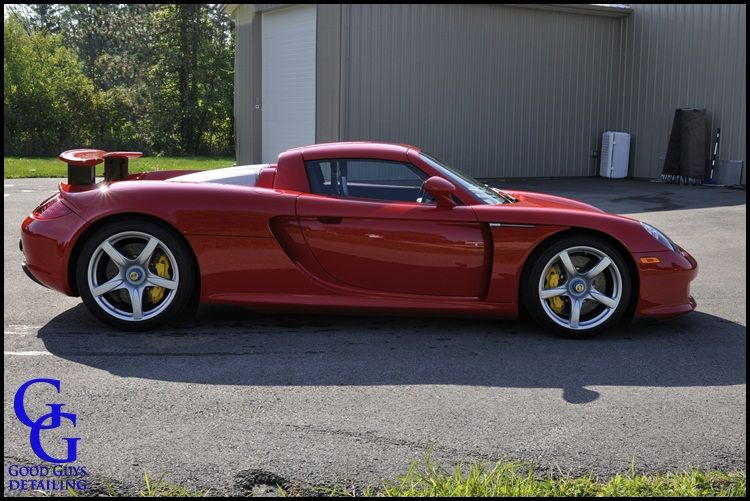
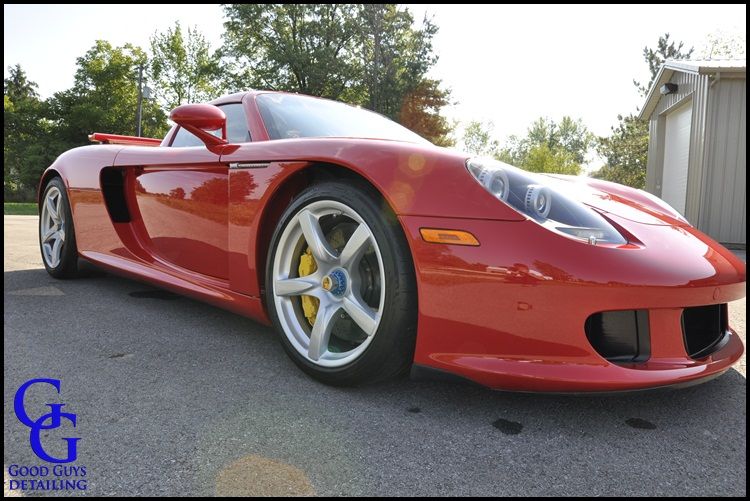
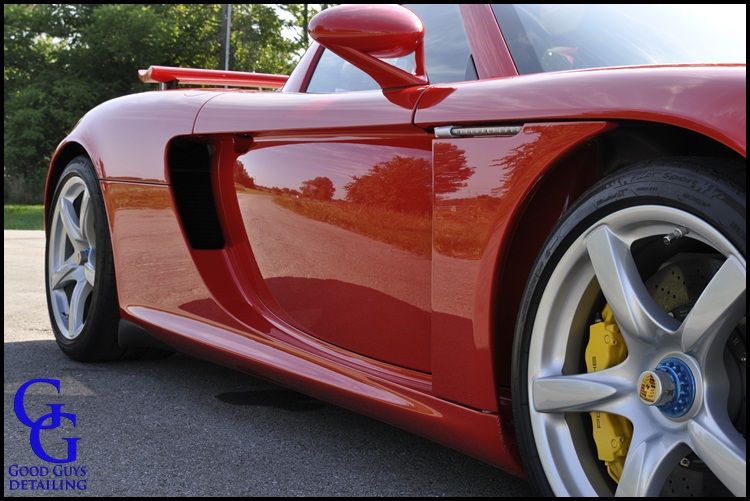
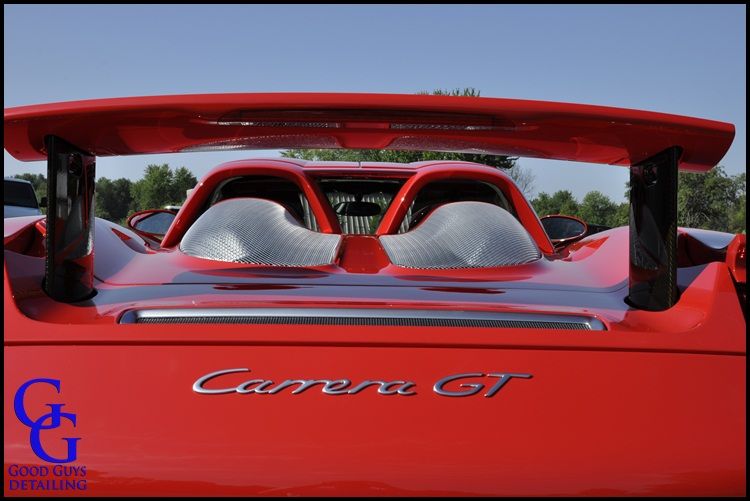
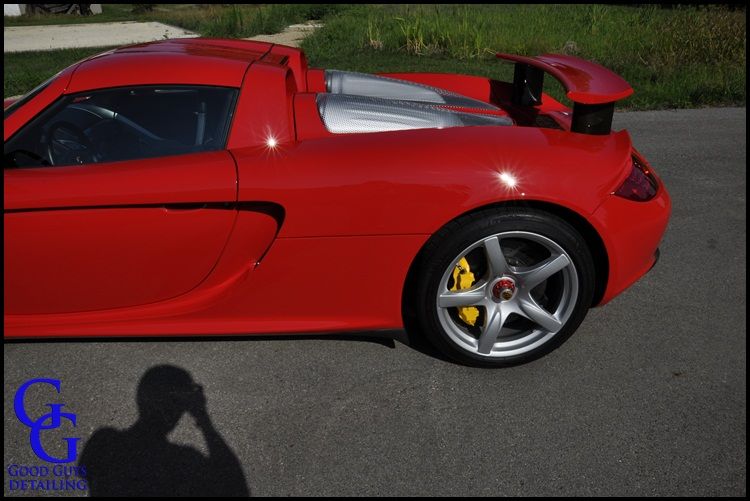
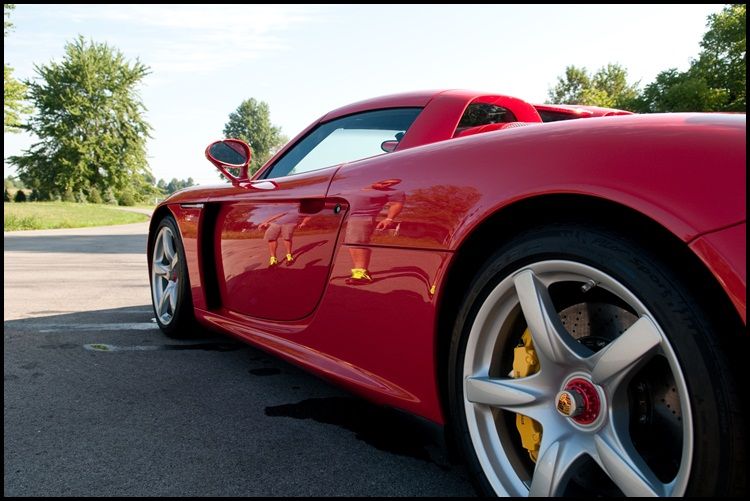
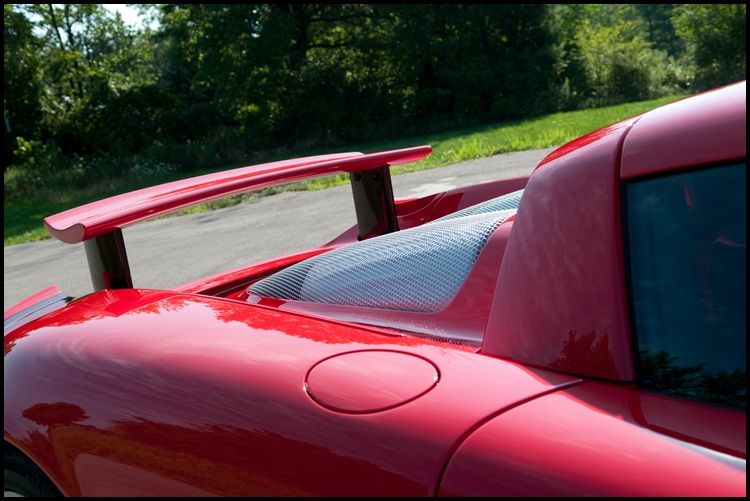
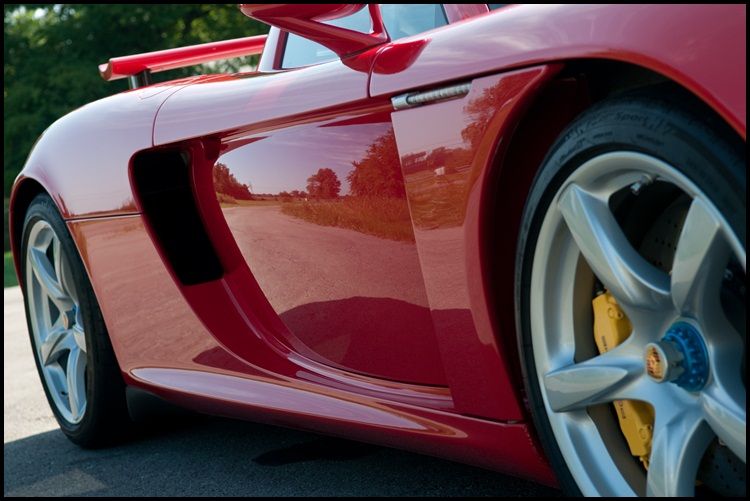
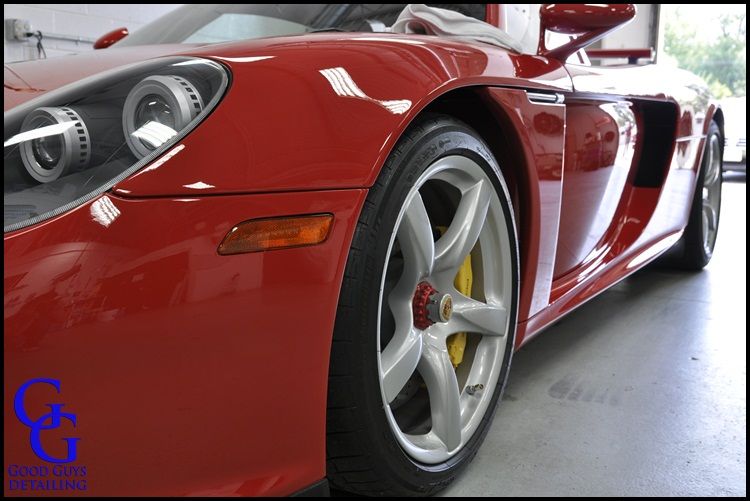
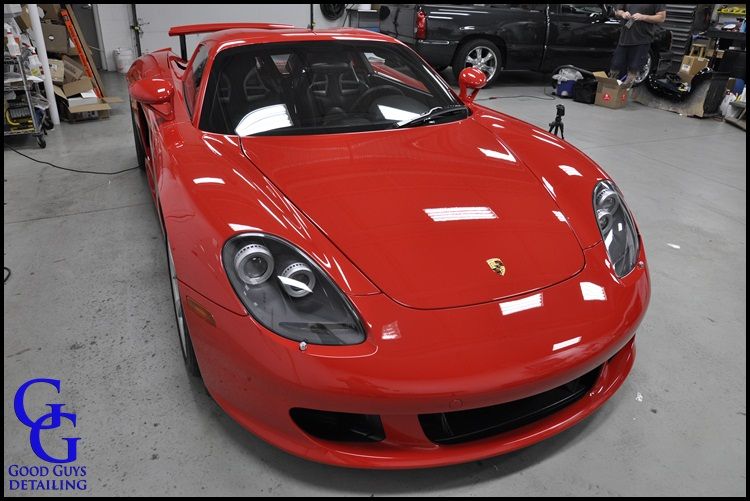
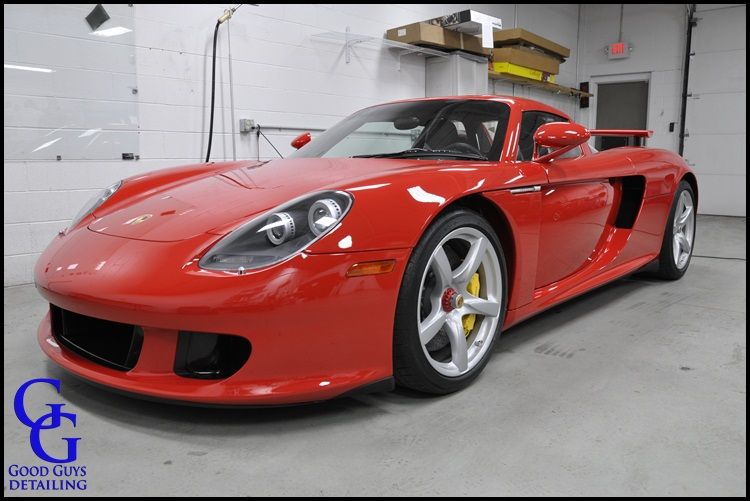
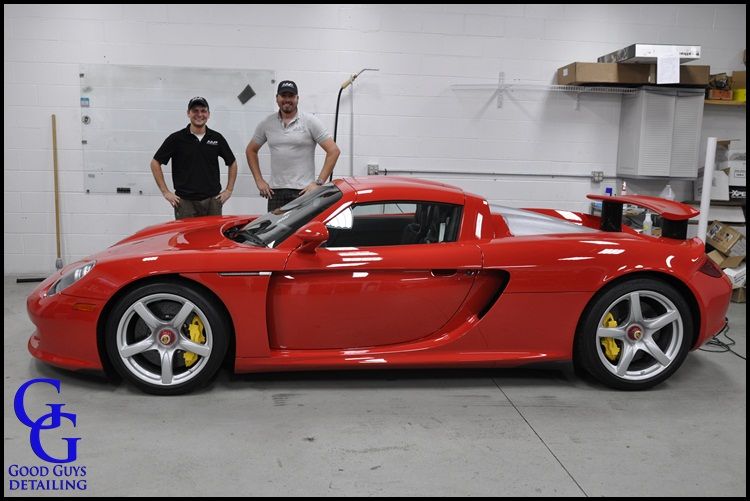
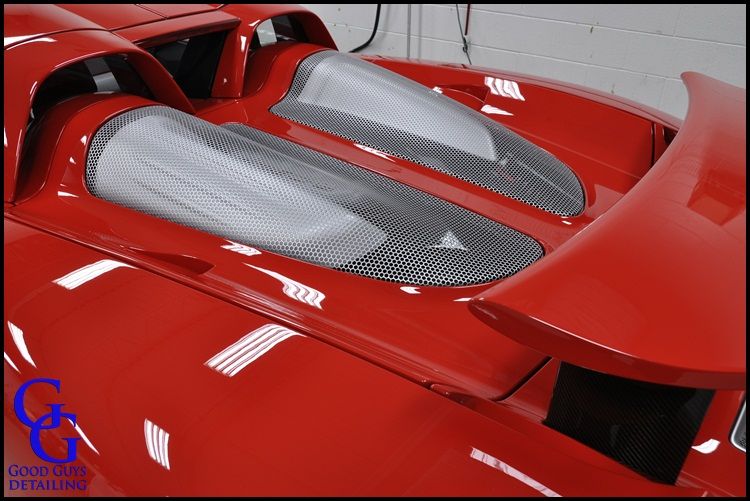
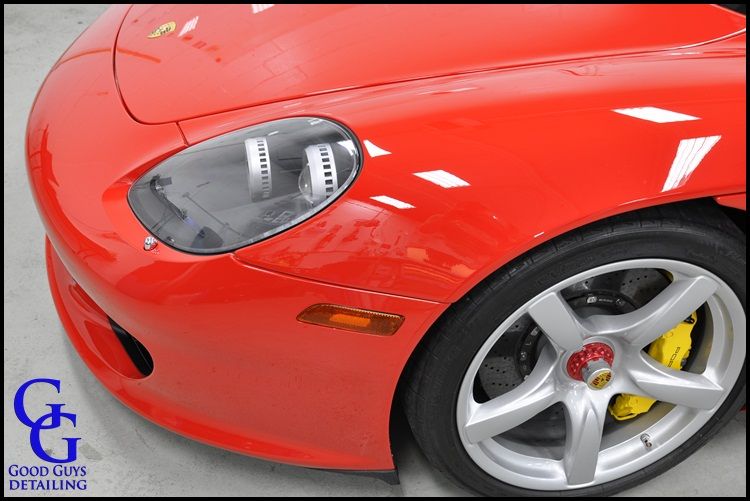
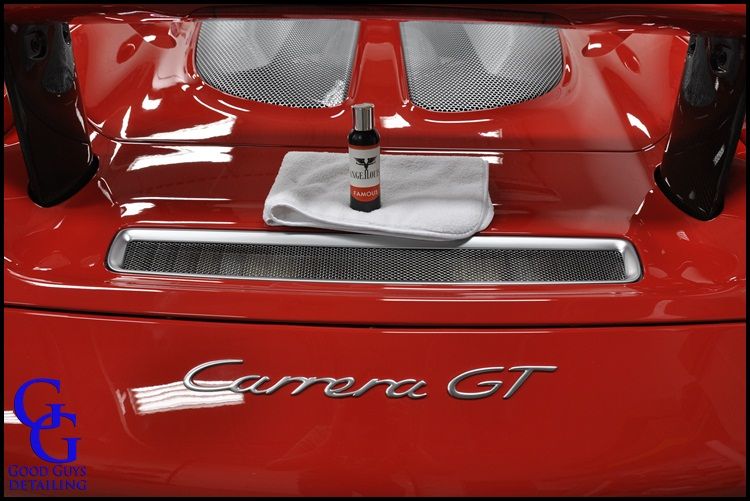
Good Guys Detailing - Paint Correction Detail on Graham Rahal's Porsche Carrera GT

good guys

New member
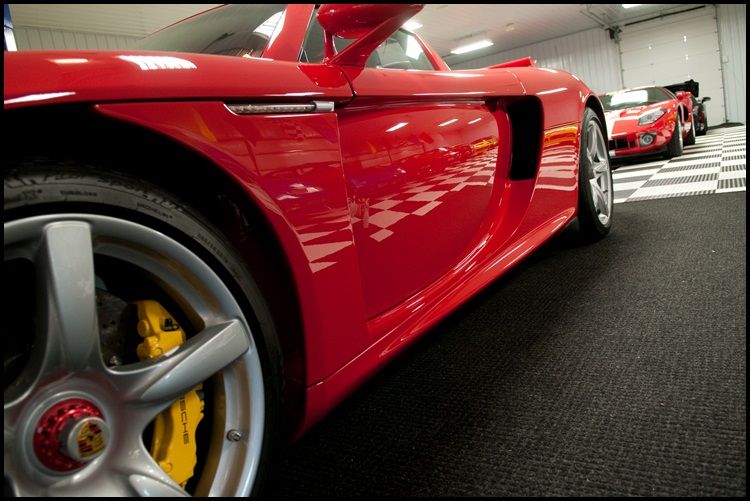
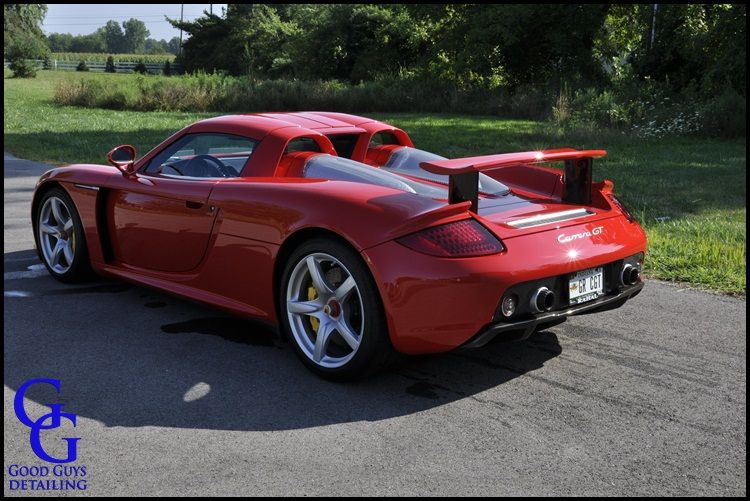
Indy Car driver Graham Rahal brought his Porsche Carrera GT to Good Guys Detailing for a full paint correction a couple of weeks ago. I saw the car a week before he brought it in, and it looked like it was going to need some serious correction. I figured this would be a 25 to 30 hour job but it ended up taking a lot longer. His father, Bobby Rahal, was hosting a charity car show event here in Columbus, Ohio so he needed it done before the show. I was extremely excited to work on this car because of what kind of car it was and also because of whom it was for.


First, I would like to thank Todd Cooperider for letting me use his Defelsko D200 paint gauge. Without it, I would not have been able to do as good of a job on this car as I did. I also would like to thank Tim Broughton and Marc Harris for some info on the paint thickness.

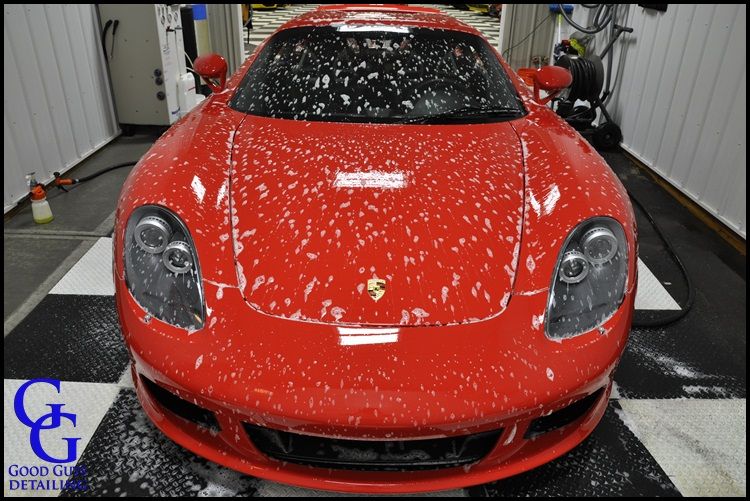
I started out by washing the car using the 2X4 Grit Guard method. After washing, I decontaminated the paint using Wolf's Decon Gel and then clayed the whole car using a Clay Magic medium grade clay bar. I did a test section using the medium grade bar first to make sure it wasn't going to cause any marring, medium grade clay bars will cause a lot of marring if the paint is soft. Once I was done claying and drying the car, I didn't see any marring at all so this gave me a good indication that this paint was pretty hard.


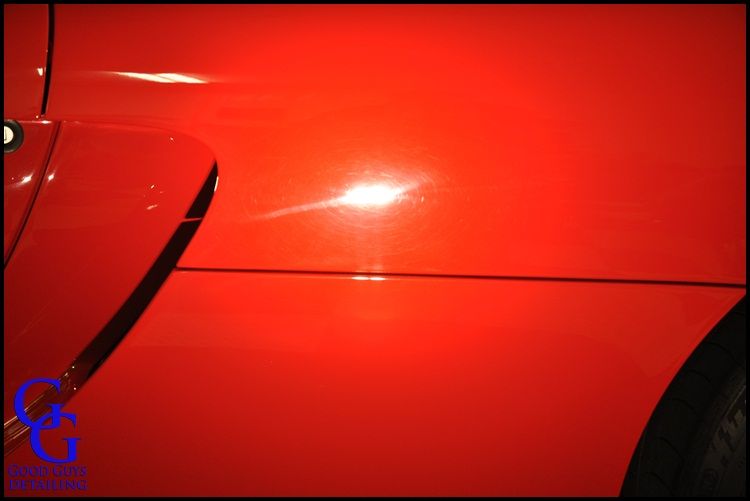
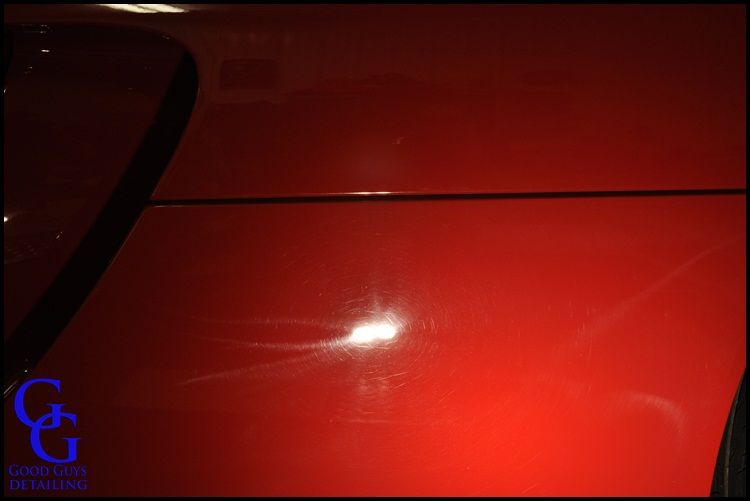
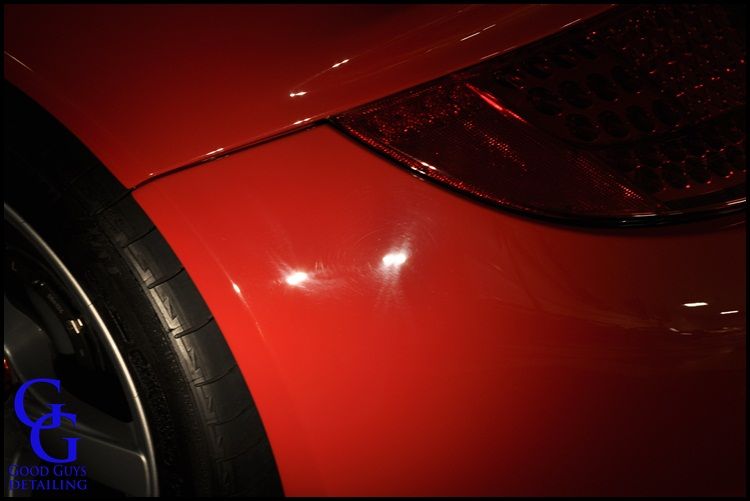
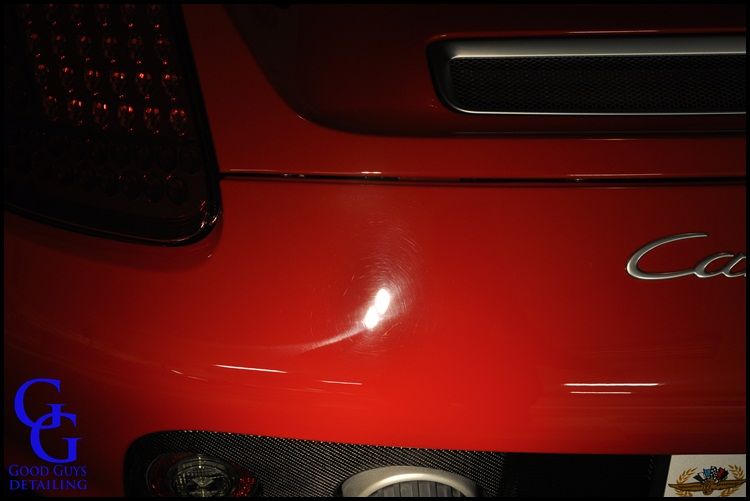
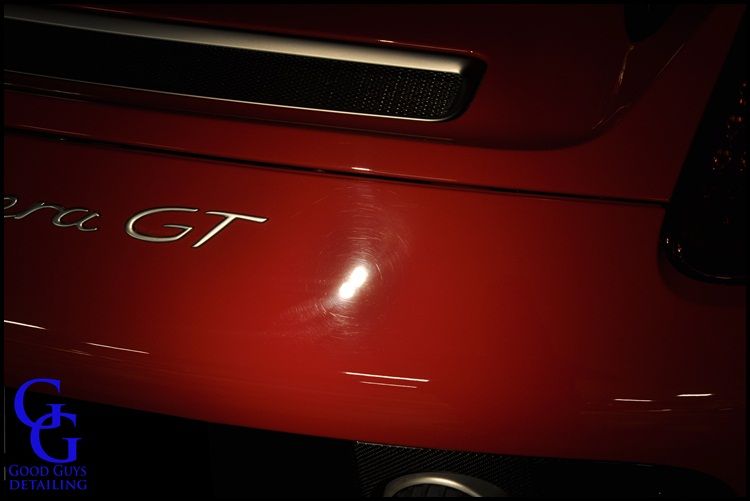
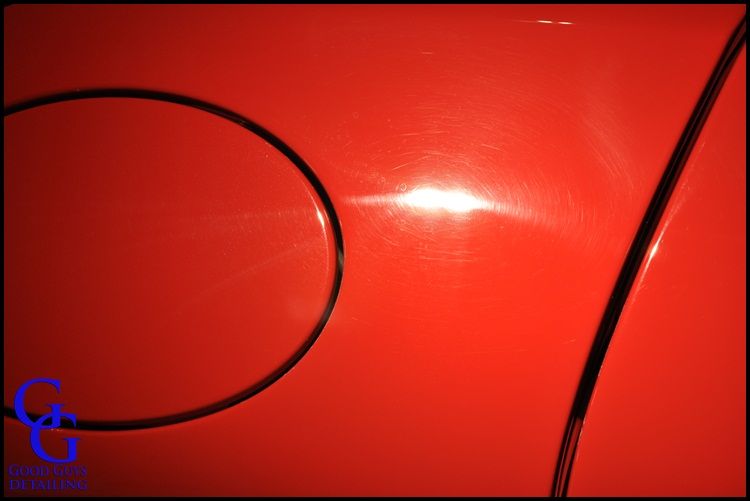
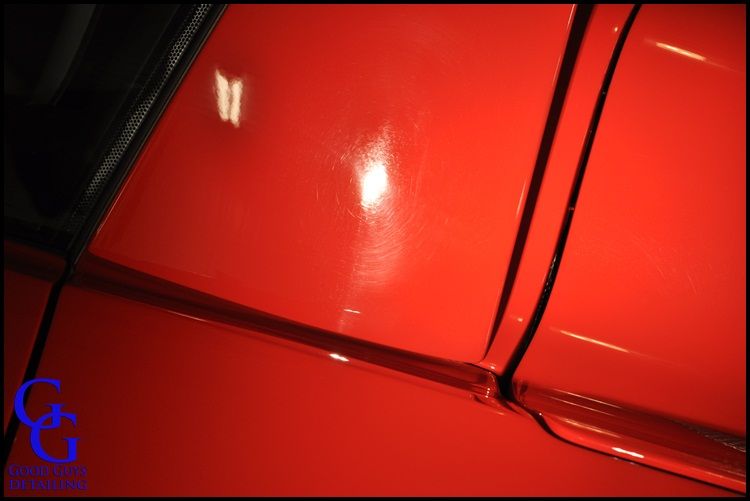
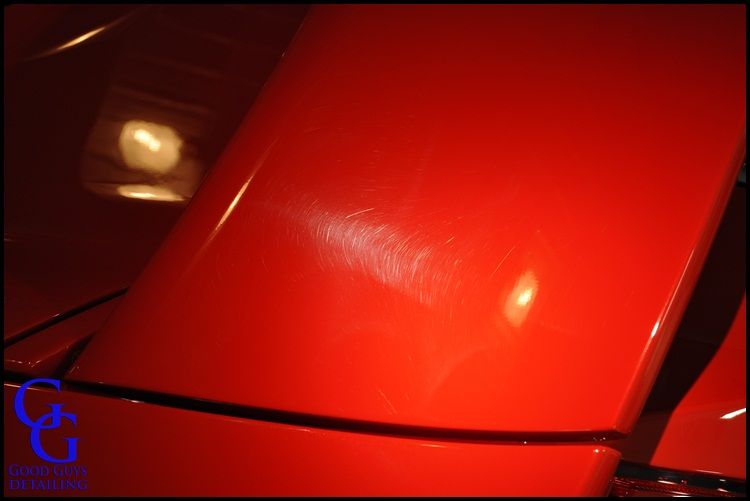
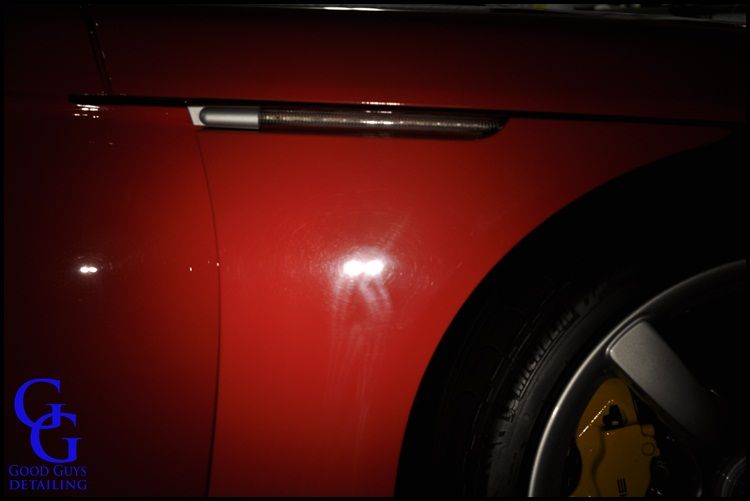
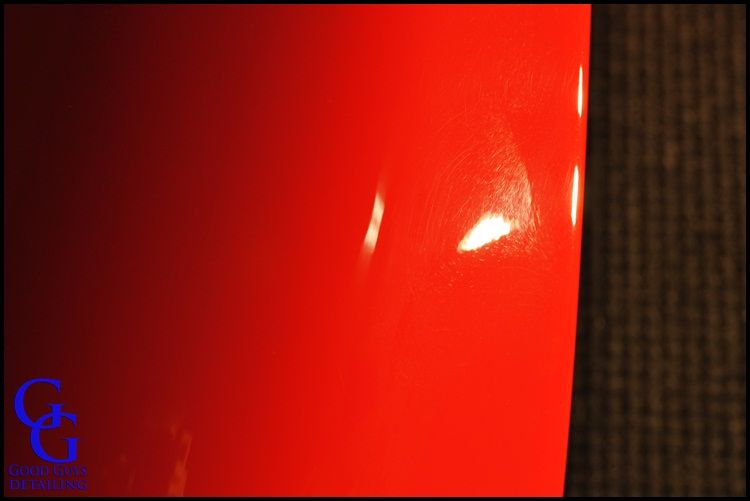
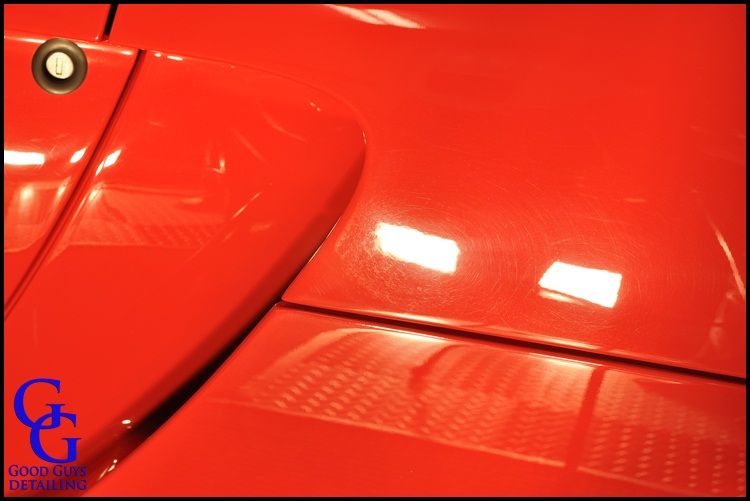
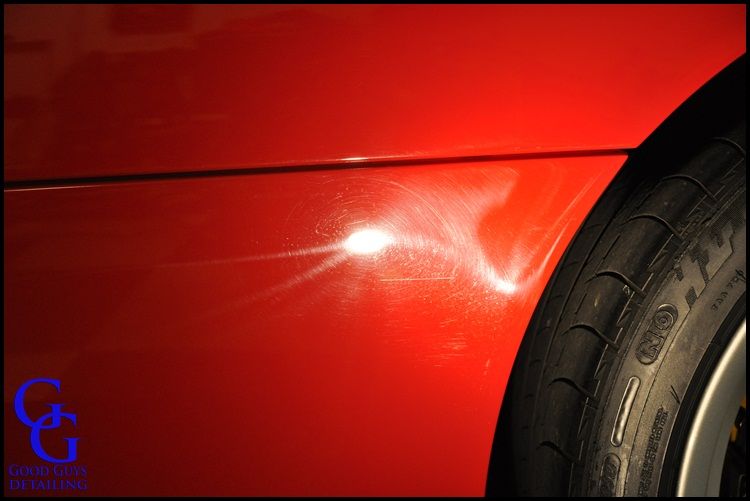
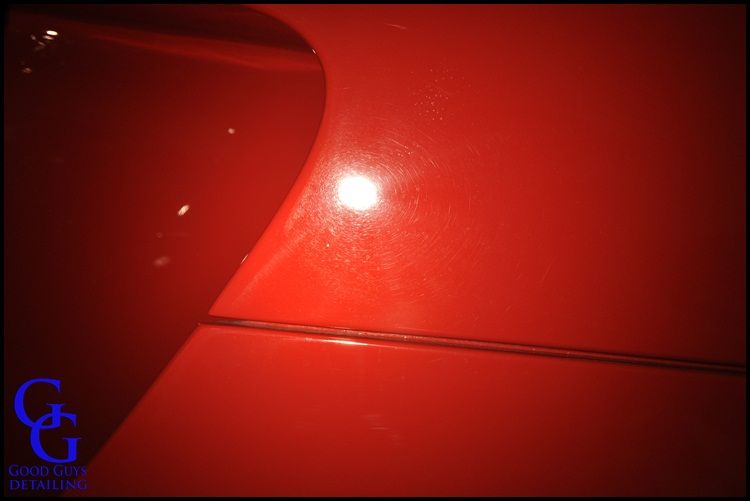
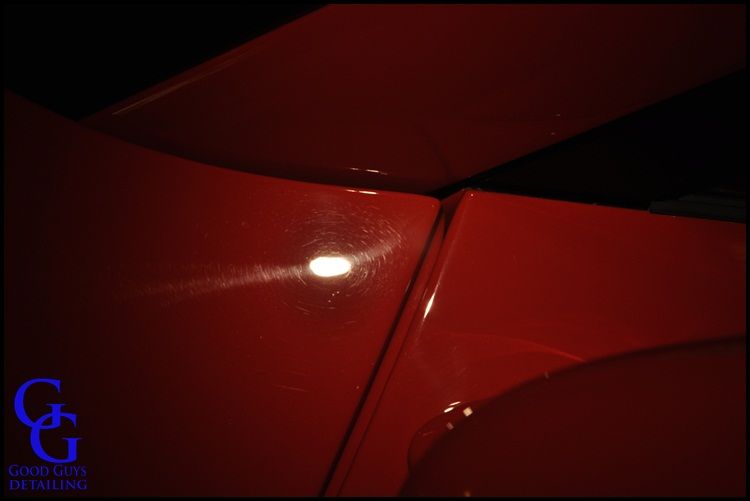
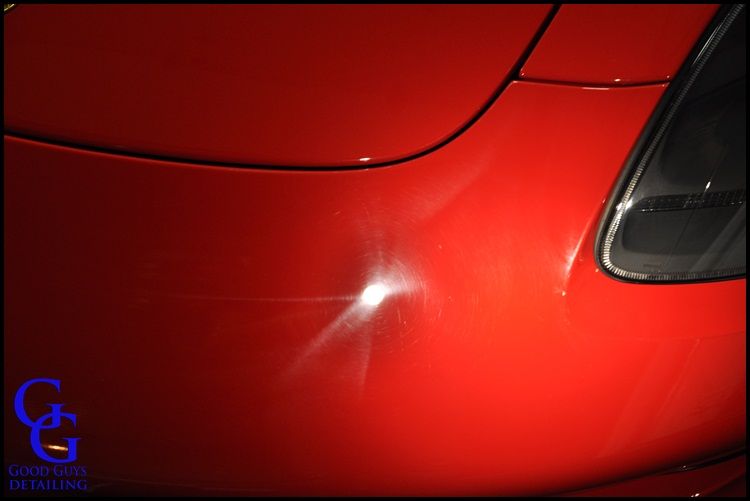
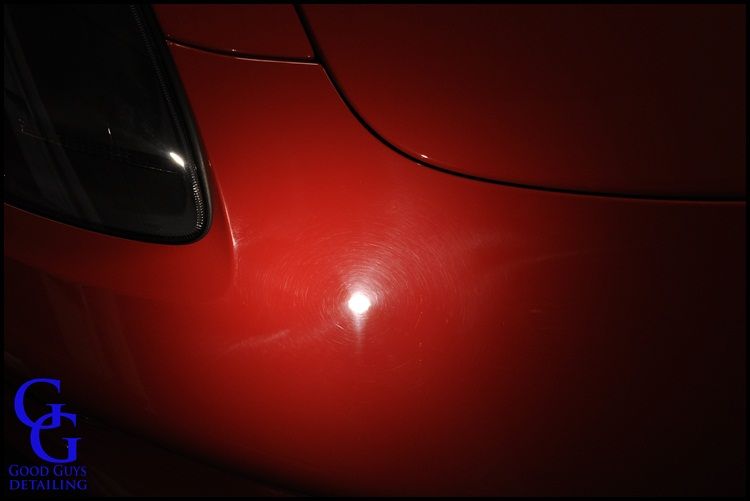
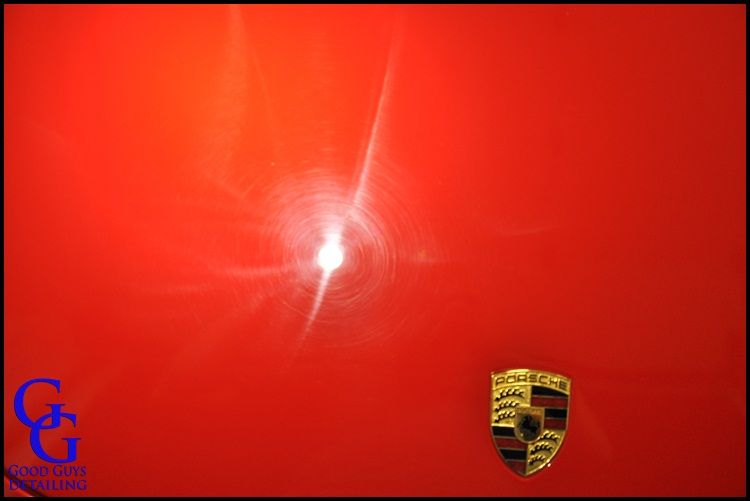
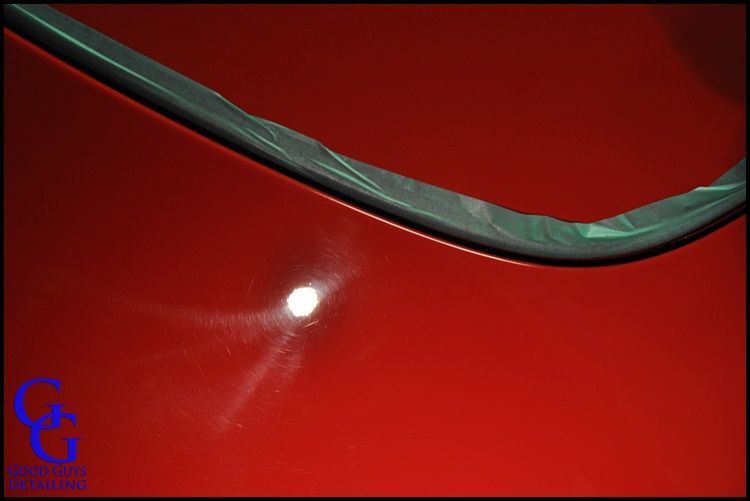
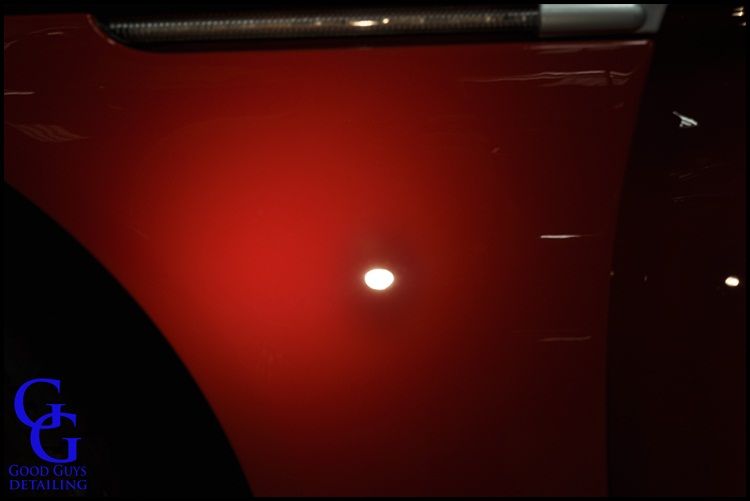
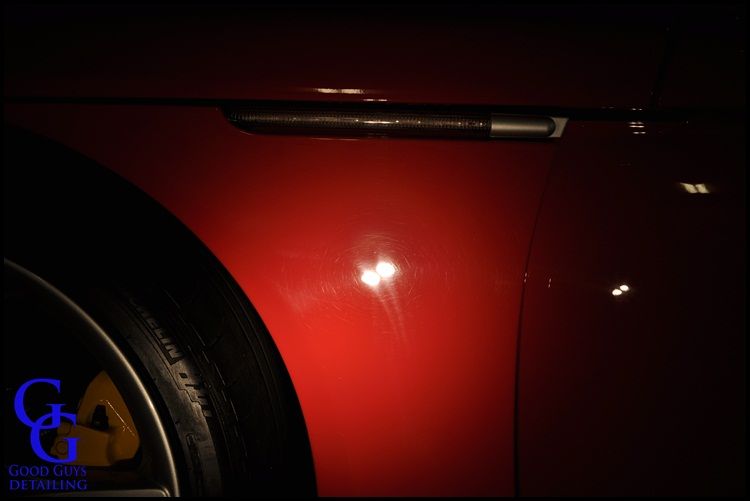
Once the car was prepped for paint correction I started taking photos of the car all the way around to show the defects in the paint. There were lots of swirls, deeper scratches, holograms, and of course the dreaded sanding mark clusters. Here are the pictures of the defects before I started.


Lots of swirls and deep scratches:
_DSC0644.jpg


_DSC0650.jpg


_DSC0651.jpg


_DSC0652.jpg


_DSC0653.jpg


_DSC0657-1.jpg


_DSC0661.jpg


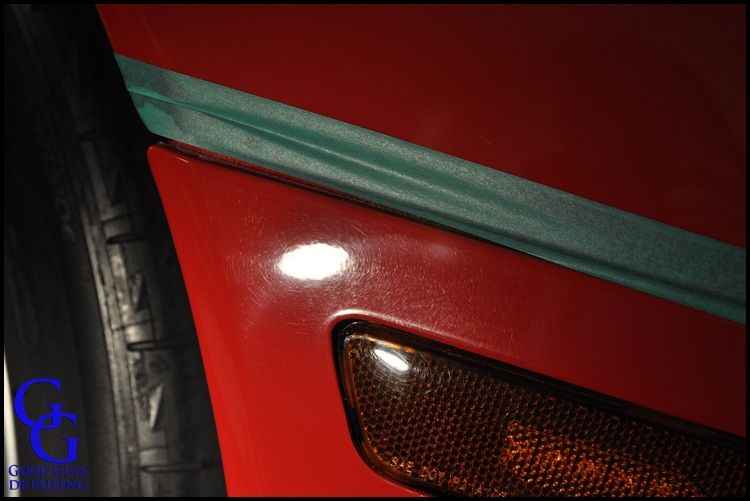
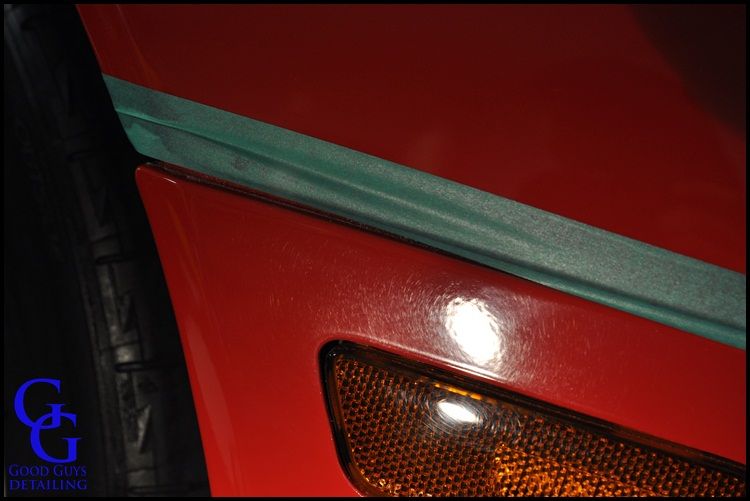
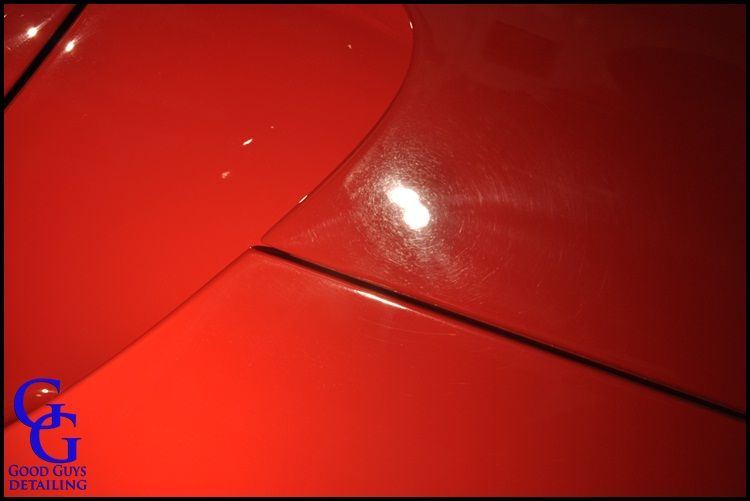
Here is a big cluster of sanding marks. Sanding marks are usually left in the paint from the factory. They are extremely deep and take a lot of work to completely level them out.
_DSC0664.jpg


Another cluster of sanding marks.

_DSC0665.jpg


_DSC0666.jpg


_DSC0670.jpg


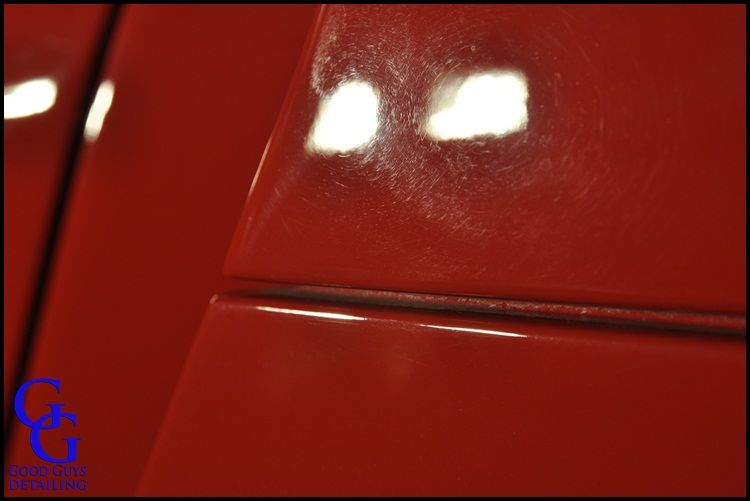
A zoomed in view of the sanding marks.
_DSC0680.jpg


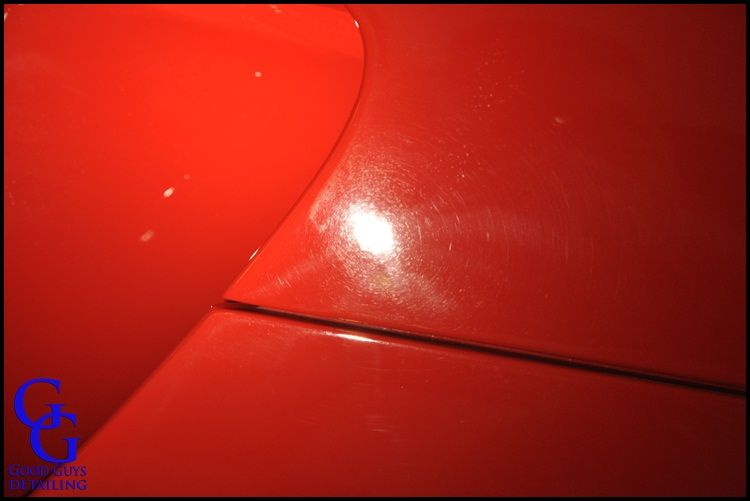
Sanding marks on the front fender.
_DSC0687.jpg


_DSC0705.jpg


_DSC0754.jpg


_DSC0756.jpg


_DSC0761.jpg


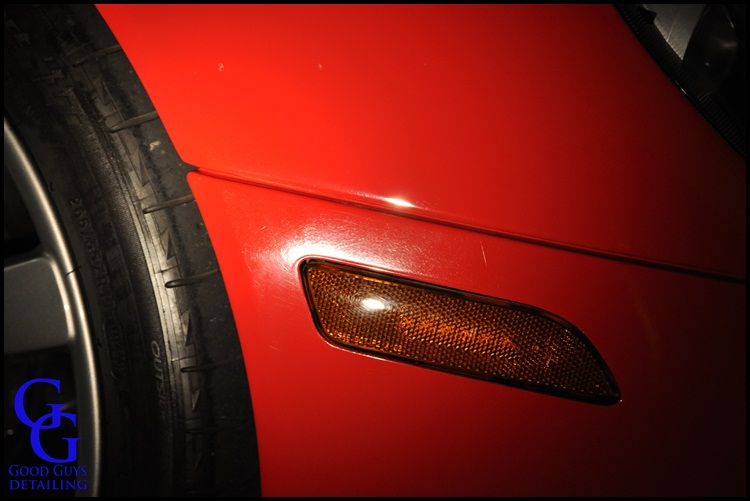
If a car has sanding marks in it, it's almost guaranteed that there will be some around the front marker lights...
_DSC0776.jpg


And around the corners of the front bumper/front fender areas
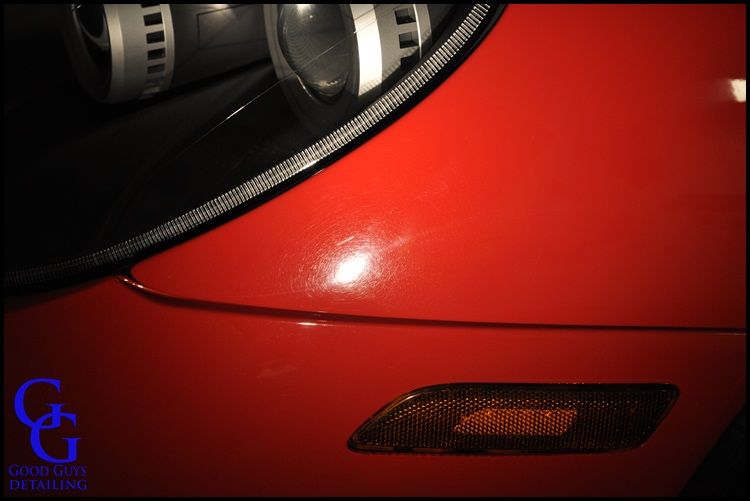
_DSC0778.jpg
 
_DSC0780.jpg


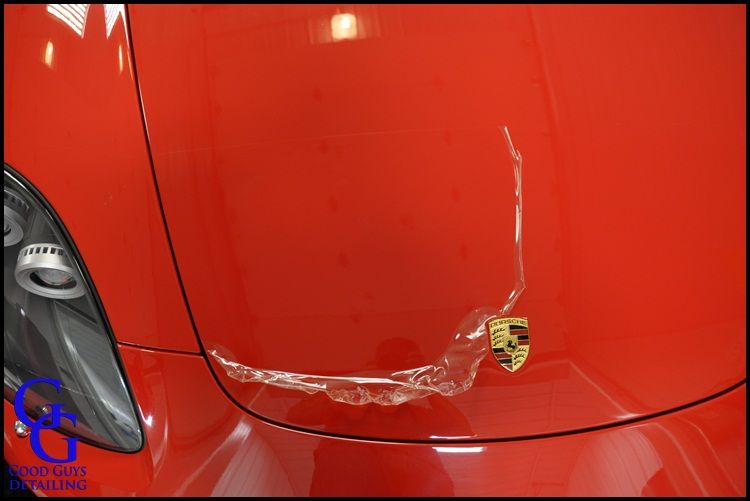
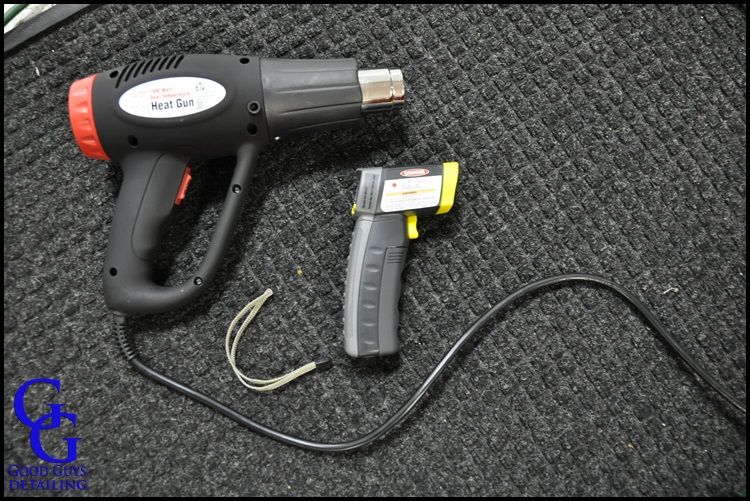
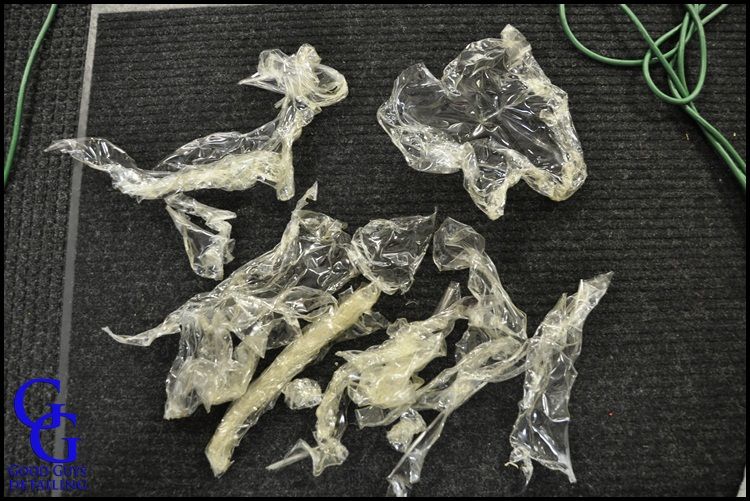
Graham also wanted me to remove the clear bra on the front end so he could put another one on. This clear bra was old and had turned an ugly yellow color over time. To remove the clear bra I used a heat gun to heat up the glue underneath. This helps ensure that the clear bra will not pull the clear coat and/or paint off of the car when it is being removed. The heat gun also helps the glue to stick to the clear bra material so you don't have to clean it off of the car. A heat gun can produce a great amount of heat so I wanted to monitor the amount of heat I was applying to the car. To do this I used an infrared thermometer to see how hot the surface was getting. Before I started I let the car sit out in the sun to heat the paint up, I then measured how hot the surface was to get a good idea of how much heat the paint could take without damaging it. When I took my measurements outside in the sun the paint was about 132 degrees. When removing the clear bra I knew that if I stayed around this temperature I would be safe.

_DSC0710.jpg


_DSC0711-1.jpg


_DSC0712-1.jpg


Once I got the clear bra off I found that the paint underneath was in very bad shape. There were swirls and a ton of holograms. It looked like the car had been polished before, after the clear bra was installed, but it was clearly a LIGHT polish

_DSC0713.jpg


_DSC0715.jpg


_DSC0719.jpg


_DSC0720.jpg


A few more pictures of the sanding marks that were under the clear bra.

_DSC0724.jpg


_DSC0725.jpg


Once I got all of my pictures done, I tapped off a test section to get started. I always use a Meguiars microfiber pad and Meguiars D300 first to see how hard or soft the paint is. Microfiber and D300 didn't even touch 60% of the defects even with multiple passes, lots of pressure, and high speeds. I then busted out a Scholls wool pad and some Meguiars M101. It did the trick but took a lot of passes to get all of the defects out. This was the hardest paint I have ever worked on, and I have worked on some pretty hard paint in the past (Tri-color Lamborghini Murcielago paint, Rolls Royce paint, Black Lamborghini Performante paint). I turned up the speed on my Griots and was able to get most of the defects out with a couple passes. I compounded the majority of the car with this method. Some of the panels were a little bit softer so I was able to use a microfiber pad and M105 to compound those areas.


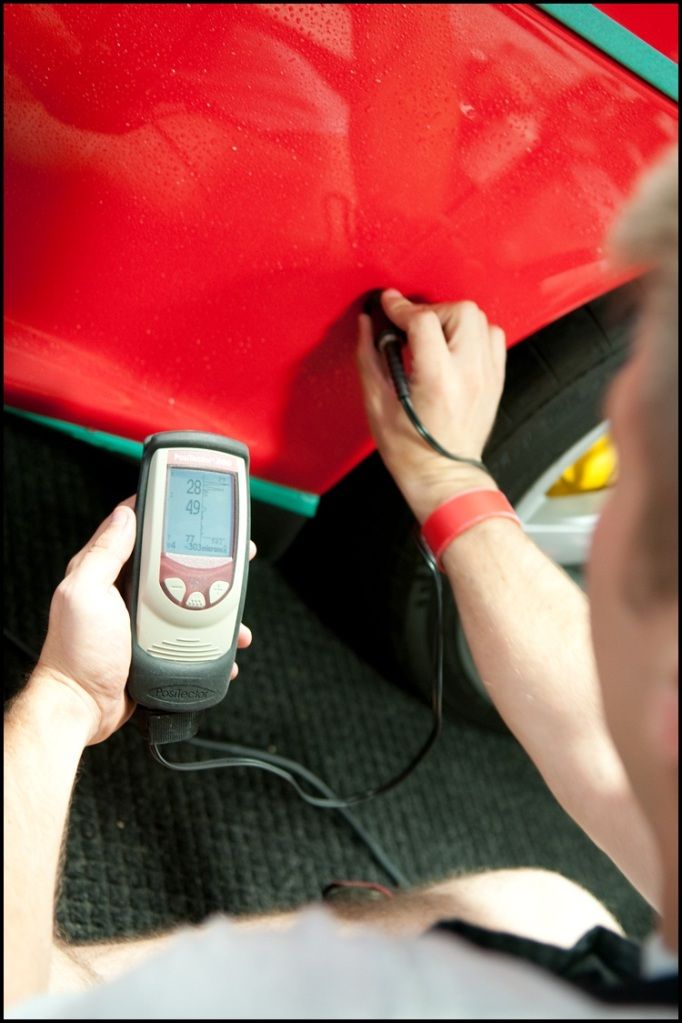
Since the whole car was made of different composites I had to use a Defelsko D200 to measure the thickness of the paint and the clear coat. It took me a while to get the D200 dialed in but after spending some time on the phone with a Defelsko engineer I was able to get it working perfect. Since the car is all composite, it does not have a layer of primer on it, so there are only two layers. The clear was measuring between 28 and 40 microns on the whole car. This let me know I had enough clear to work with and I continued to measure the panel I was working on after each compounding pass, which actually was kind of time consuming to do. Since the D200 uses ultrasonic technology to measure the difference in densities, you have to use water as a couplant. So to measure each panel I had to spray it with water, measure, and then wipe off the water to continue compounding. In the end it was worth it to know I was not going to damage the paint on this expensive car.

DSC_4078.jpg


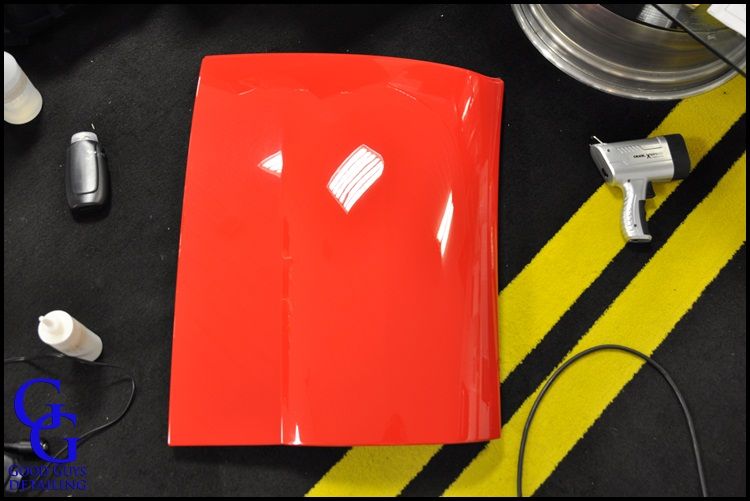
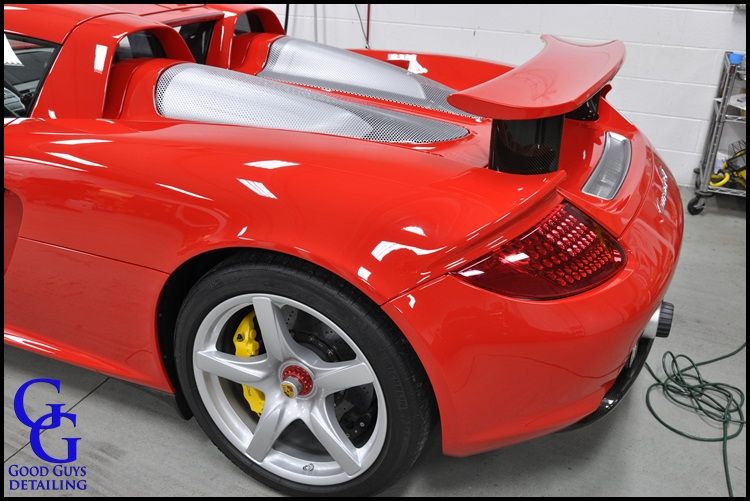
I took the two top pieces off to make it easier on my back while compounding them.

_DSC0812.jpg


Once I was done compounding, I did a final wash to remove all of the compounding dust. During the final wash I soaked the car in a high concentration of soap to help remove any left over oils.

_DSC0820.jpg


Since I was curious about what would and wouldn't work on the paint, I just started testing anything and everything for polishing. I tried a white pad and some Scholls S3 Gold; this combo took out all of the haze from the previous steps and finished down amazing! So I ended up using this to polish the whole car.

For some reason the S3 Gold was a pain to remove from the car once I was done. I have never had this problem with this great product but I would imagine it's because of the pad I was using it with. Once I wiped the whole car down with a towel, I did another wipe down using Isopropyl Alcohol to remove the rest of the S3 Gold.

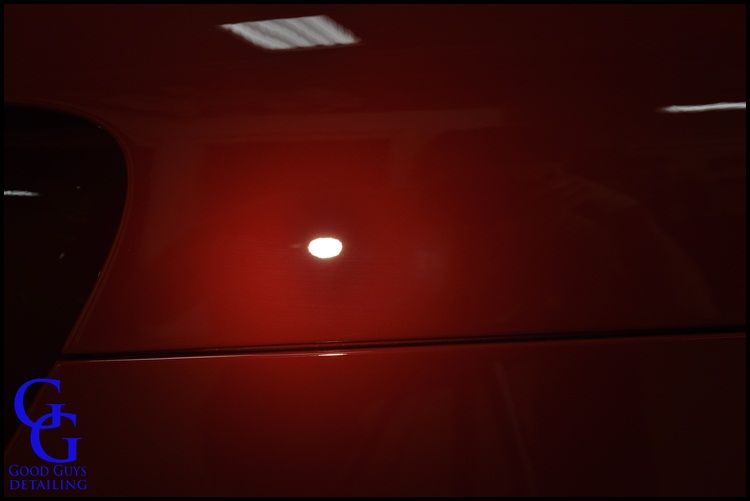
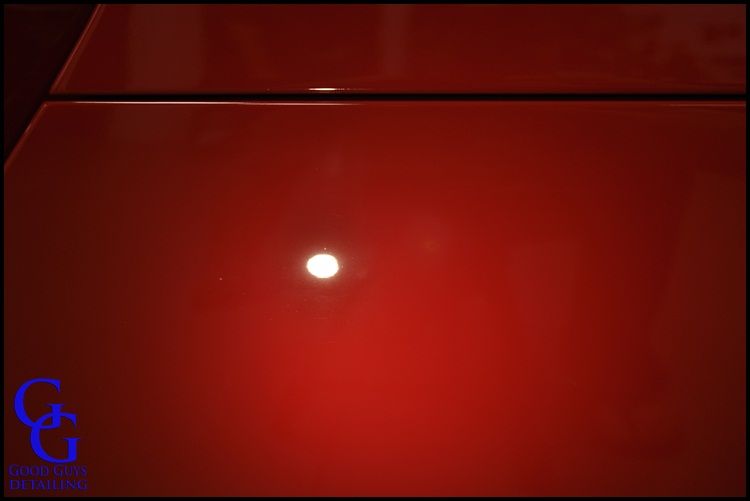
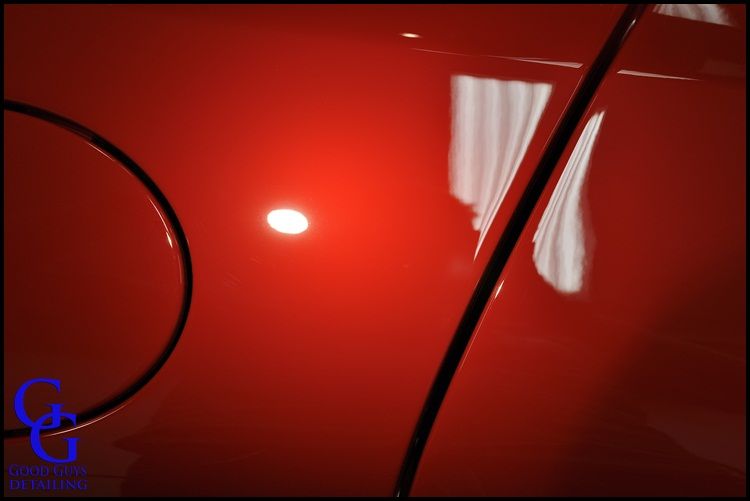
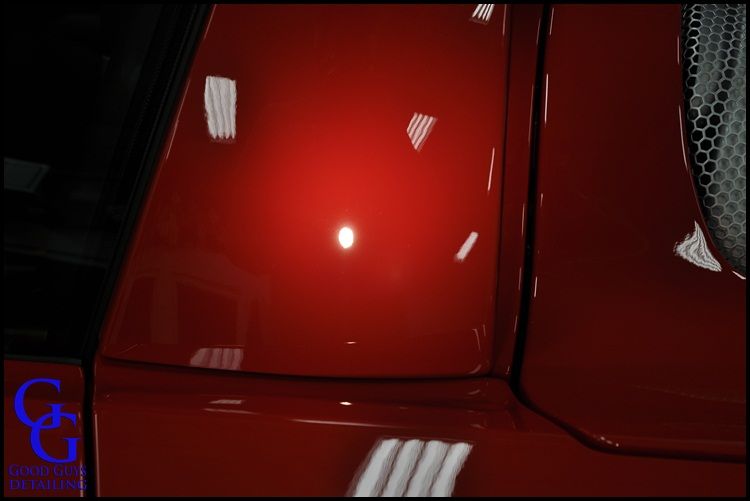
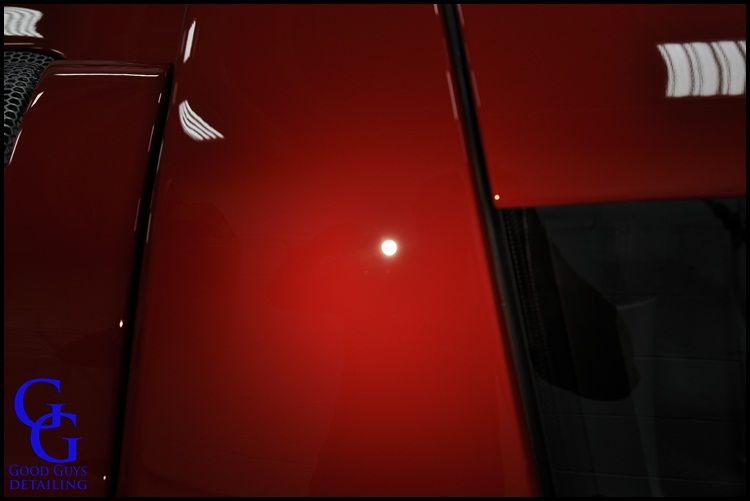
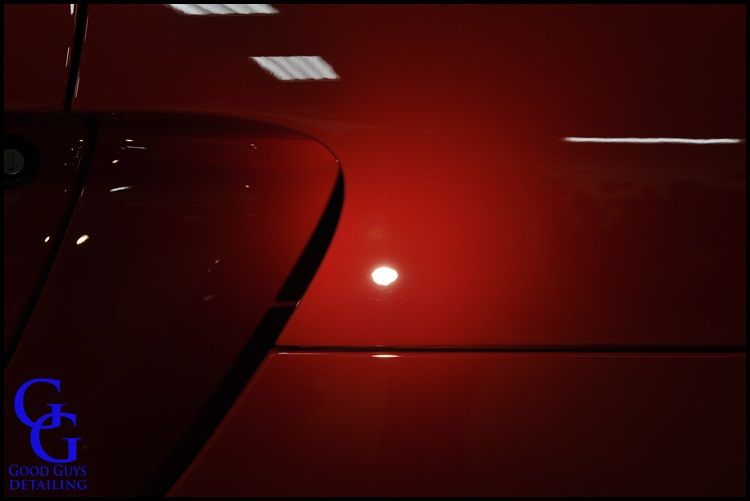
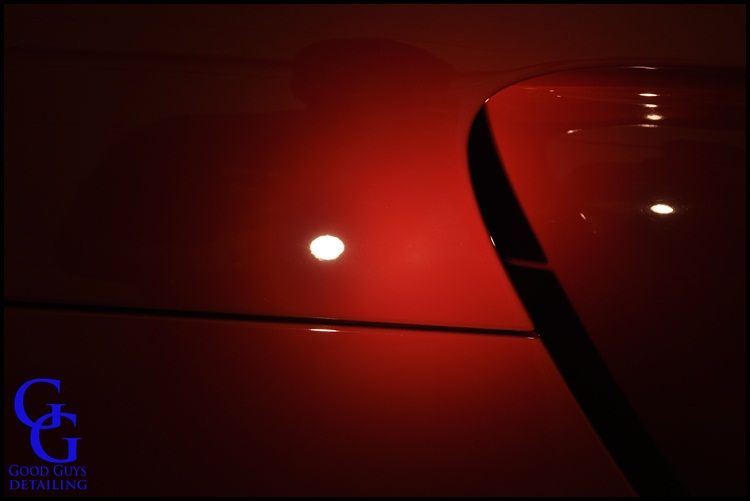
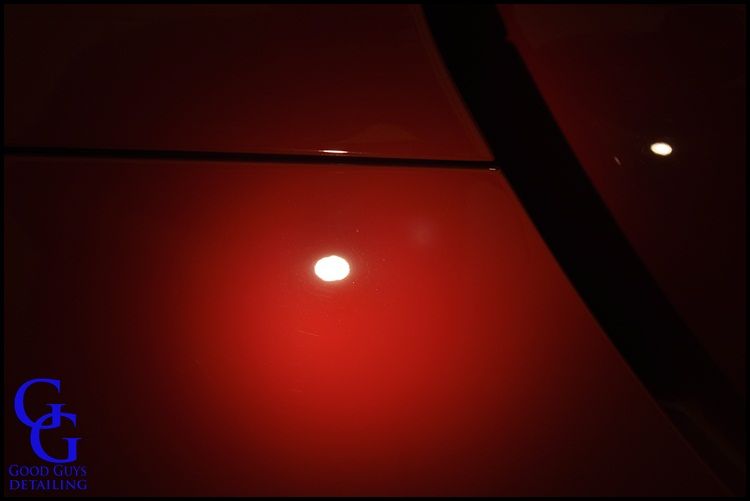
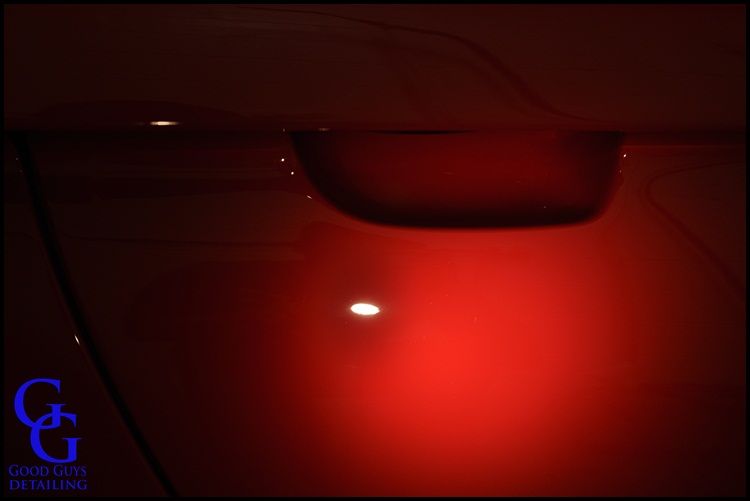
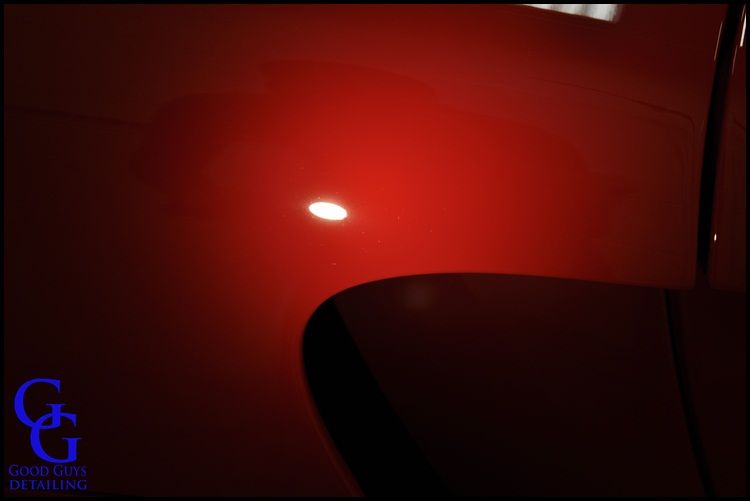
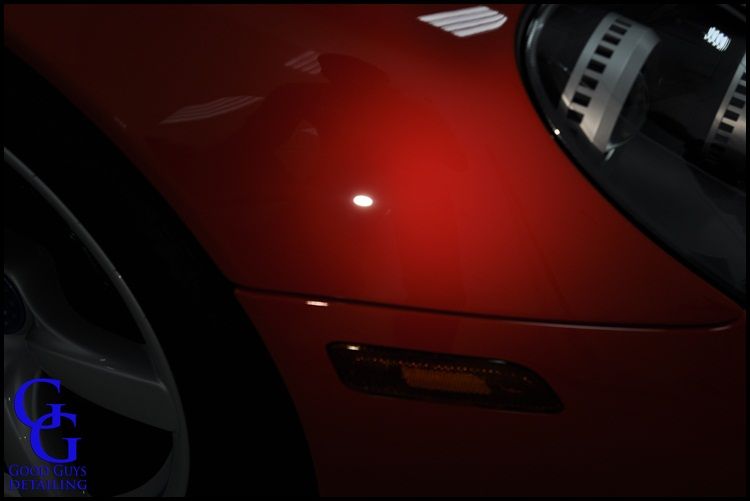
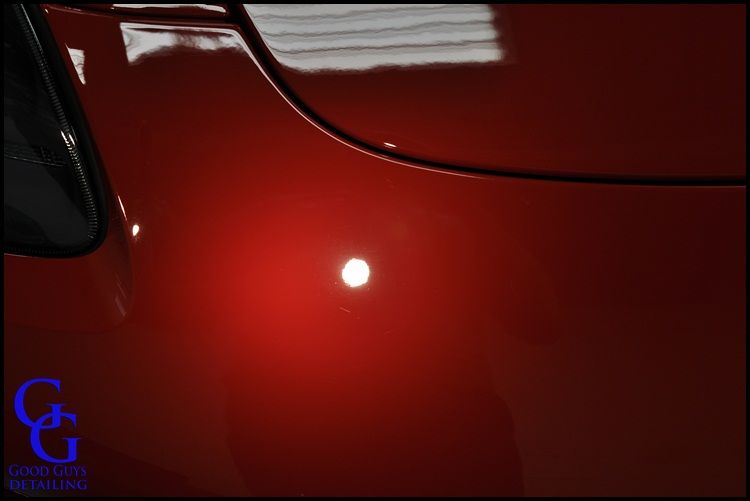
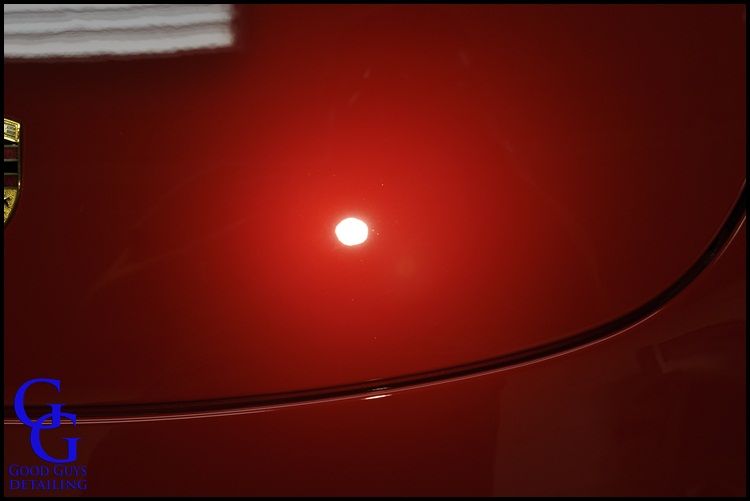
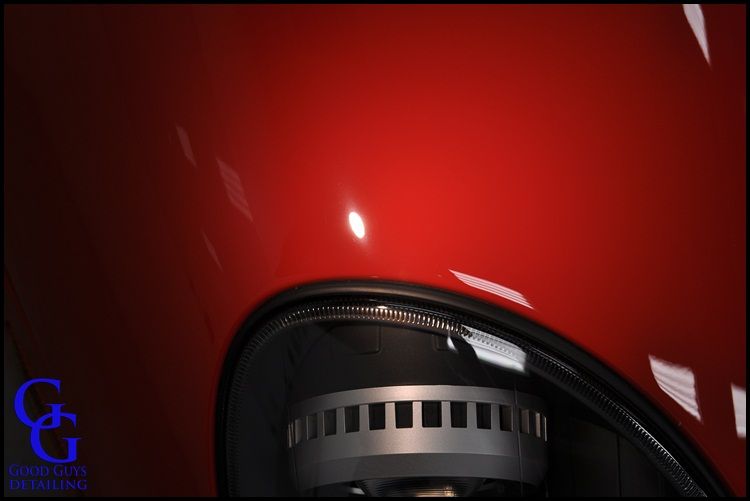
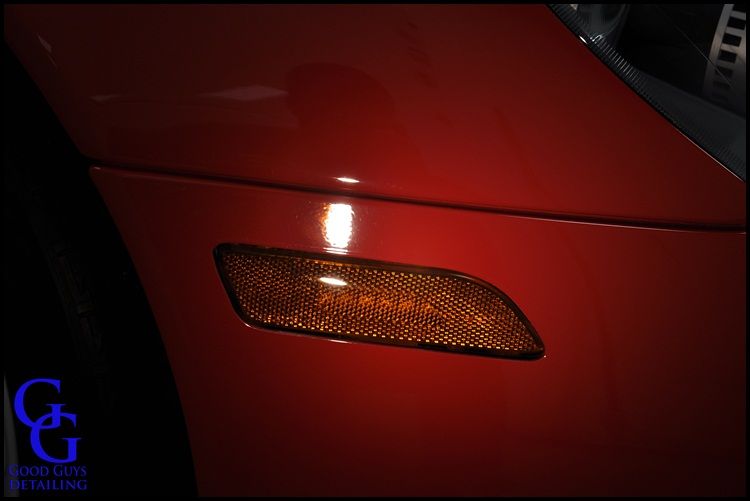
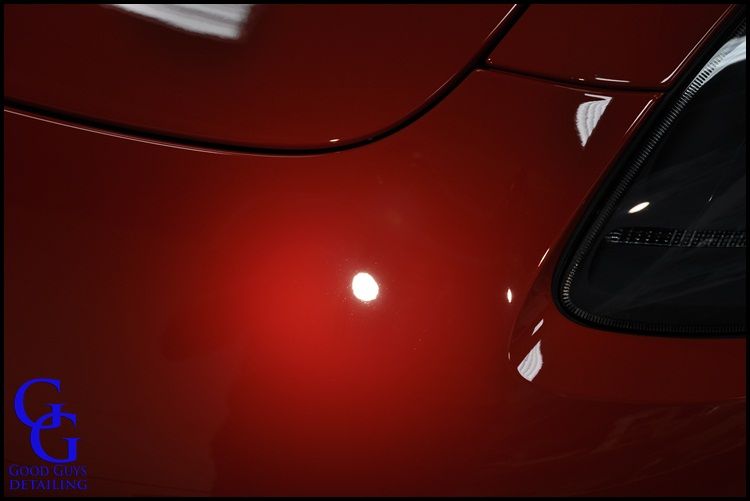
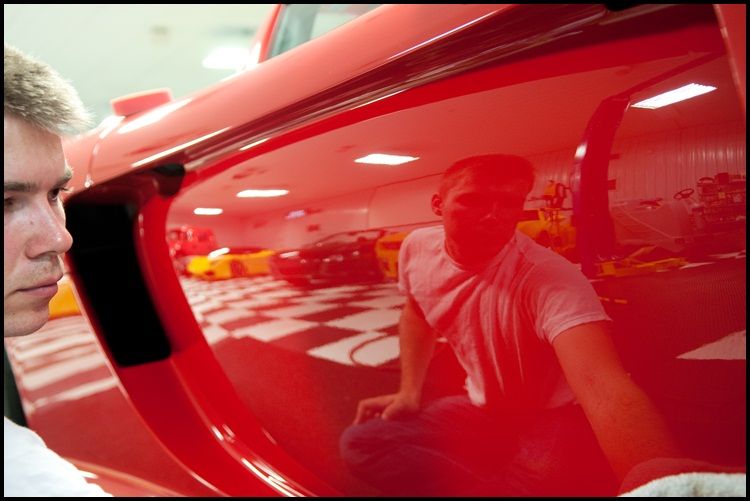
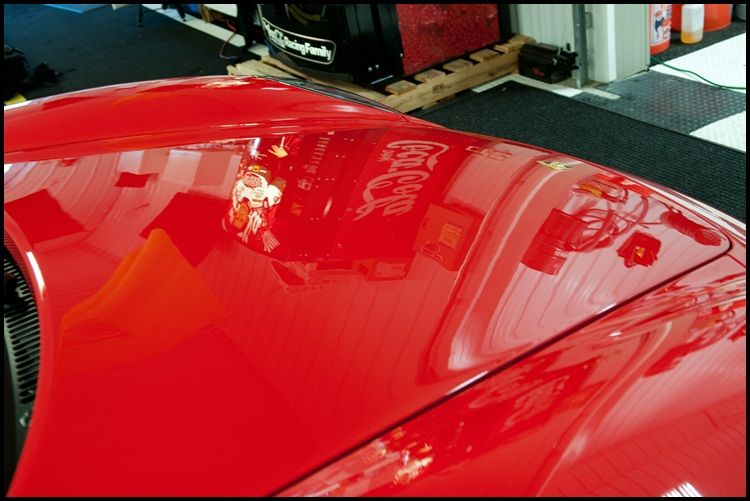
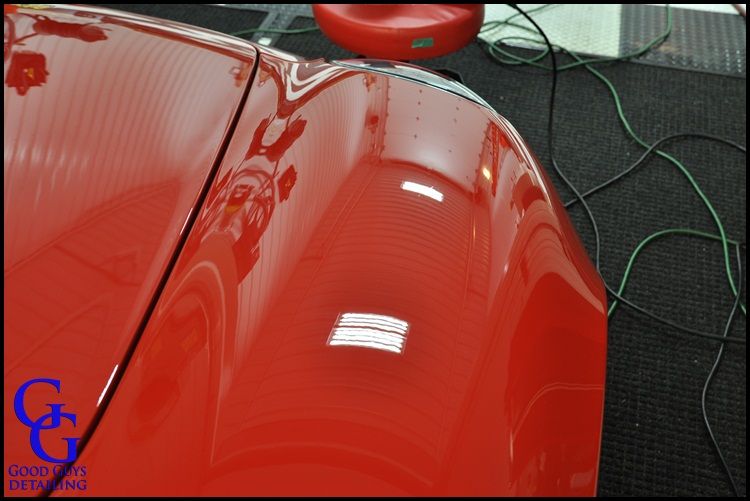
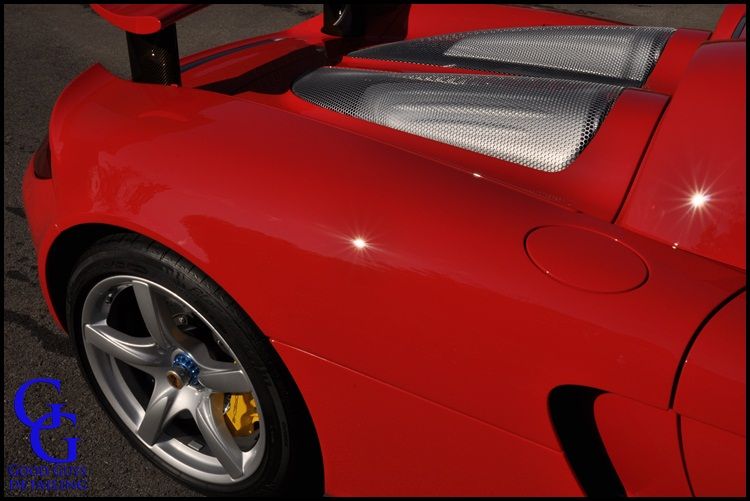
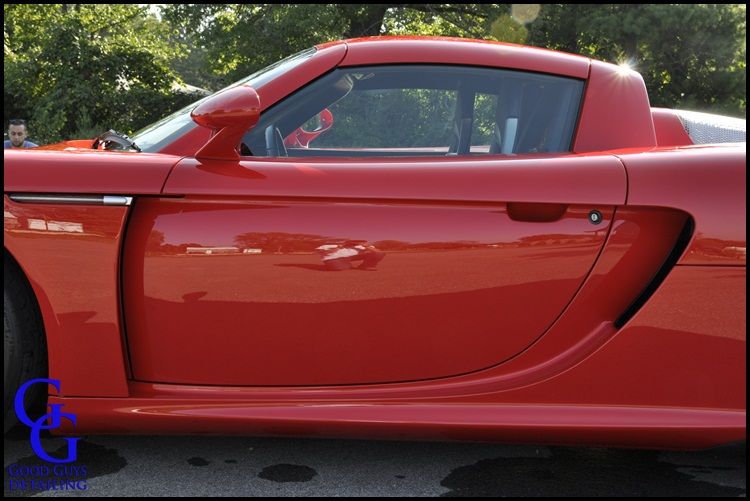
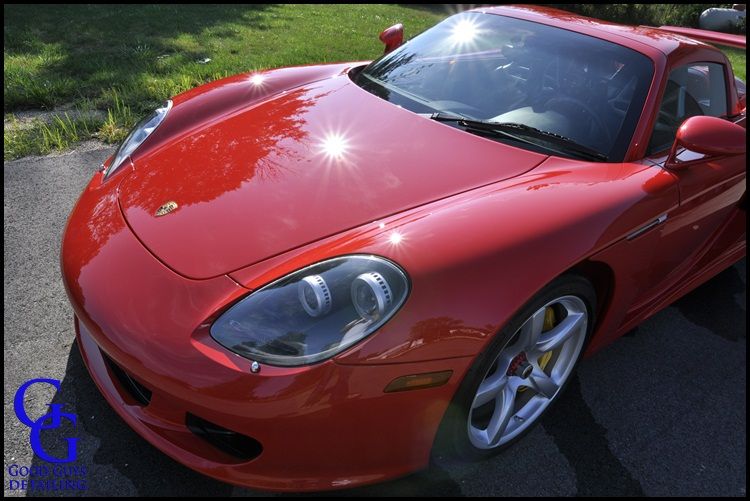
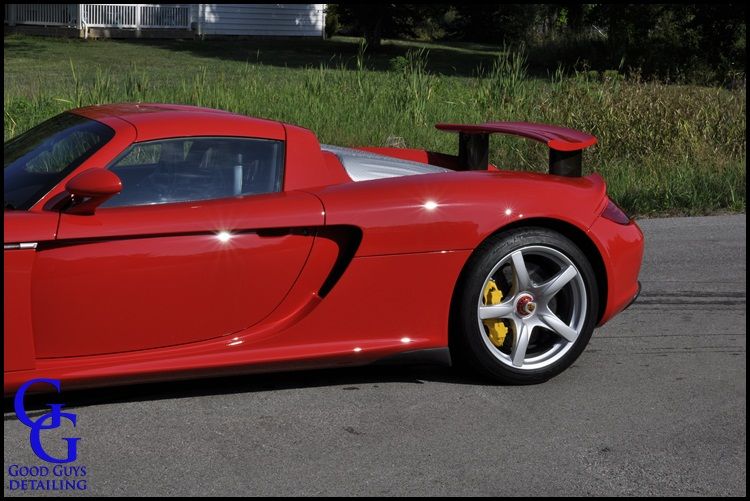
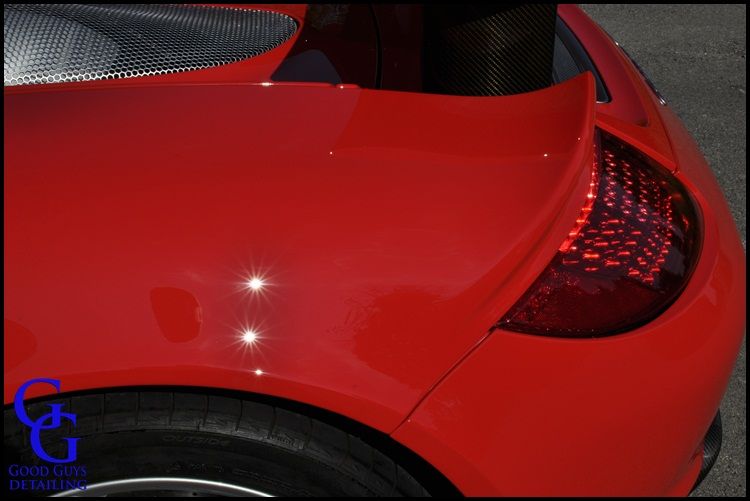
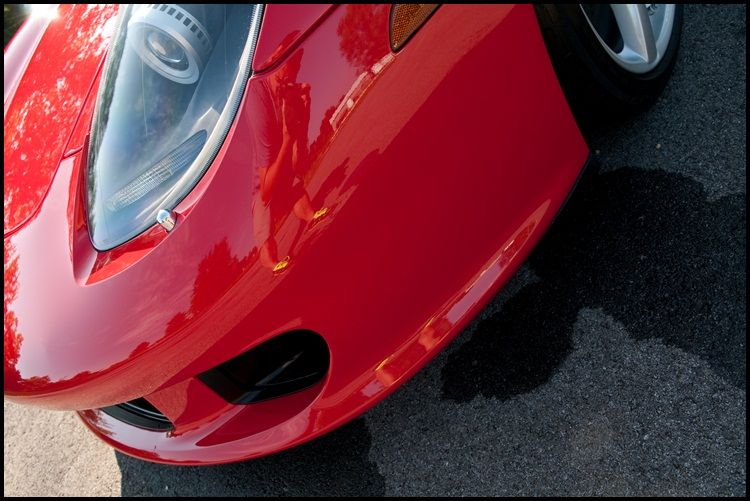
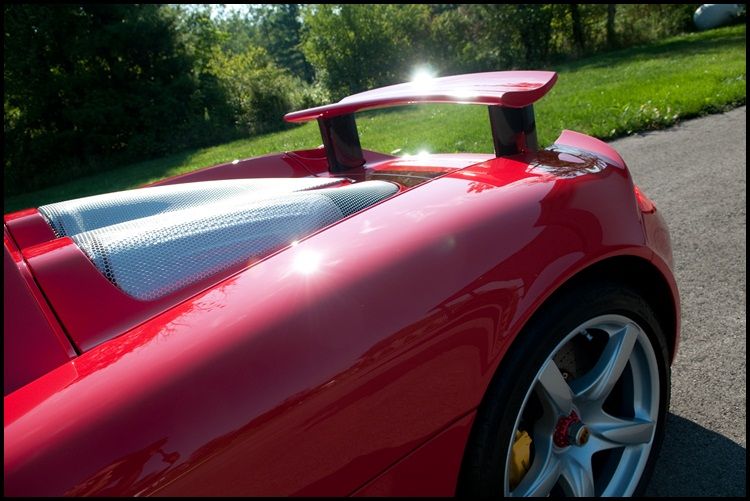
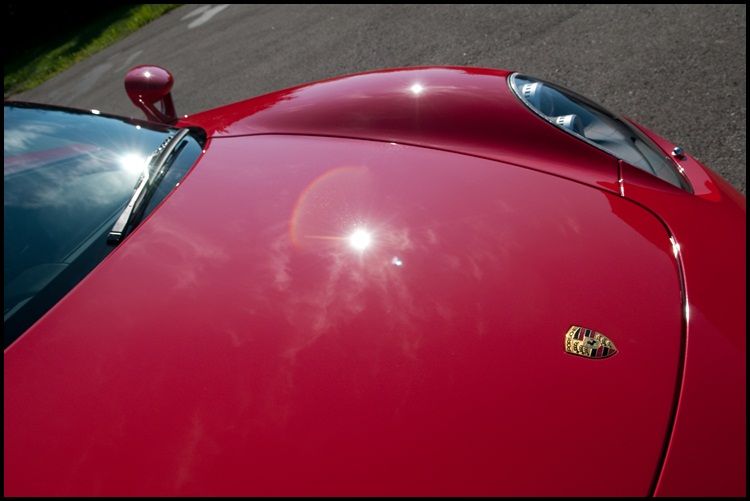
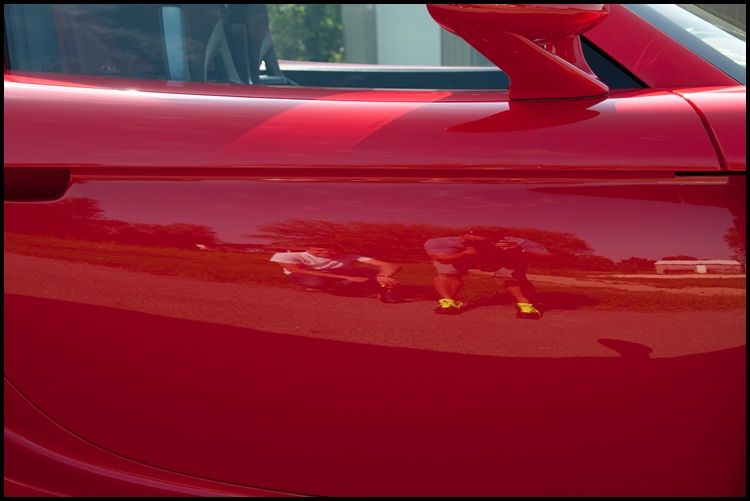
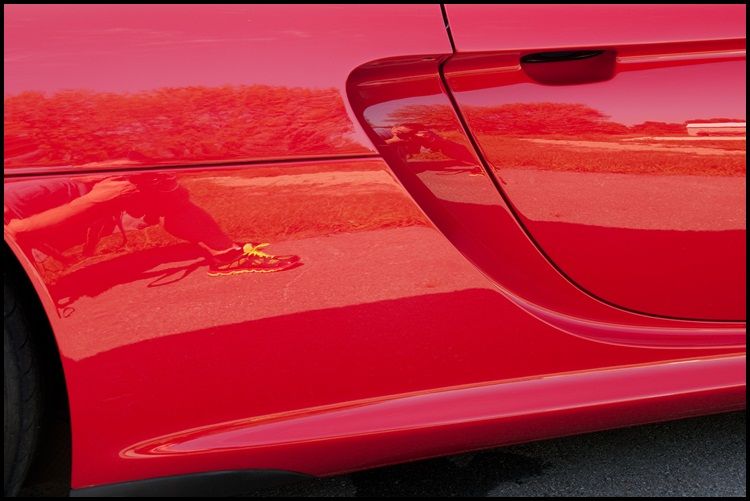
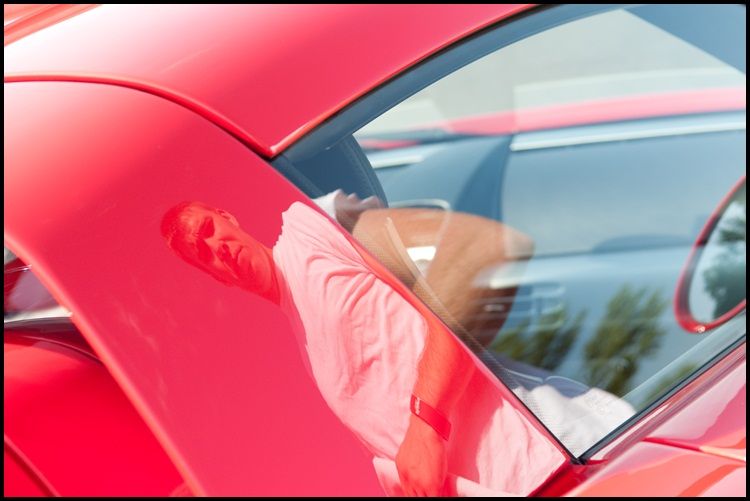
After polishing, the paint was looking incredible. Even before waxing, the paint had great gloss and a great wet look to it. Here are the close up pictures after the defects were removed.


(Note: These close up after pictures of the defects were taken two days after I completed the detail. I got finished with the car as Graham was picking it up so there may be some residue on the paint from driving it for two days. I decided not to do a wipe down so I wouldn't damage the paint but the car was at the clear bra shop so I was not able to wash it either.)

_DSC0875.jpg


_DSC0904.jpg


_DSC0906.jpg


_DSC0910.jpg


_DSC0917.jpg


_DSC0923.jpg
 
_DSC0929.jpg


_DSC0933.jpg


_DSC0939.jpg


_DSC0940.jpg


_DSC0941.jpg


_DSC0943.jpg


_DSC0949.jpg


_DSC0953-1.jpg


_DSC0951-1.jpg


Here I got about 90% of the sanding marks out around the marker light. I decided I was happy with this since there was a hump that went all the way around the edge of the light that I was worried about burning through.

_DSC0955.jpg


_DSC0956.jpg


_DSC0962.jpg


Remember that cluster of really deep sanding marks that were all over this corner????

_DSC0965.jpg


_DSC0967.jpg


While I was working on the Carrera GT, I got slammed with cars for Bobby Rahal's car show. The shop was packed, but luckily I had some help from my friend Dylan and one of my clients even showed up and was helping wash cars :)


In just two days I put about forty hours into the Carrera GT only stopping for about 8 hours to sleep here and there. The second day I worked on it for a 24 hour stretch, finishing it at about 10 in the morning right before Graham came to pick it up.


_DSC0810.jpg


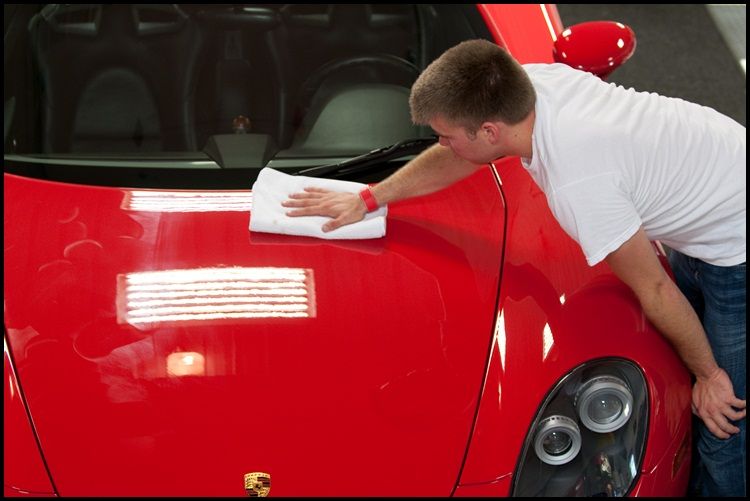
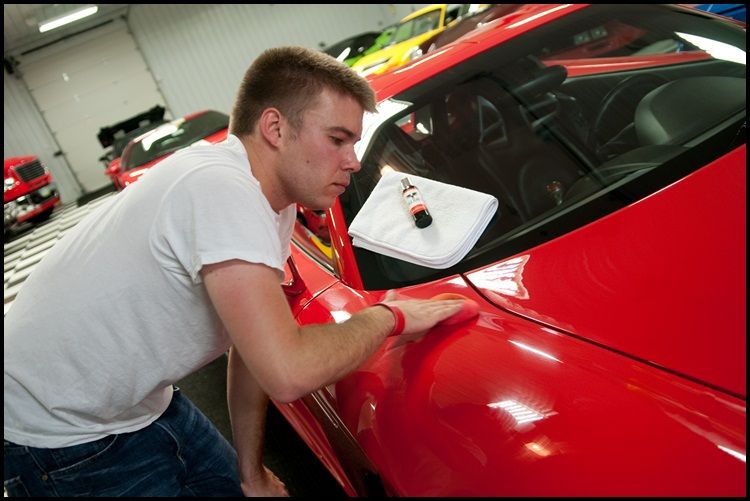
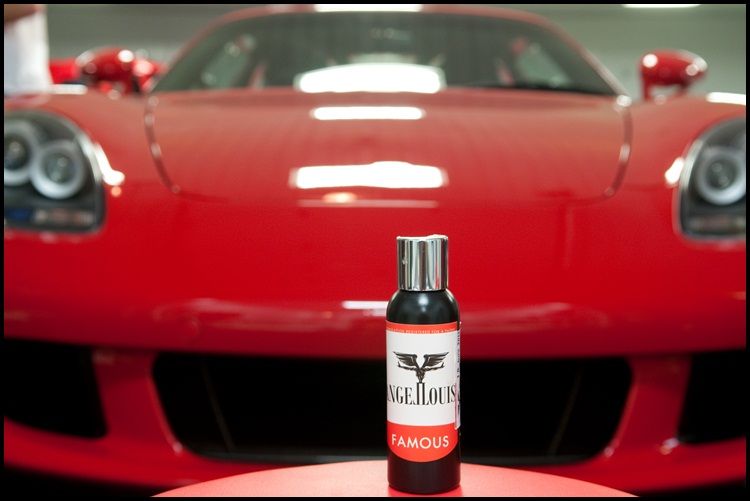
After polishing I used Polish Angel Famous to wax the car. This wax is very easy to use, it goes on and comes off like butter. More importantly this wax is extremely durable and beads water like crazy.


My buddy Todd Garland from TAG Photography came out when I was finishing up to do photos.


Note: Any photos taken by him do not have my logo on them.)

DSC_4266.jpg


Applying Polish Angel Famous Wax.

DSC_4270.jpg


DSC_4299.jpg
 
_DSC0864.jpg


_DSC0866.jpg


_DSC0873.jpg


DSC_4320.jpg


DSC_4323.jpg


DSC_4325.jpg


DSC_4339.jpg


DSC_4362.jpg


DSC_4366.jpg


DSC_4369.jpg


DSC_4380.jpg


DSC_4382.jpg


DSC_4389.jpg


DSC_4390.jpg


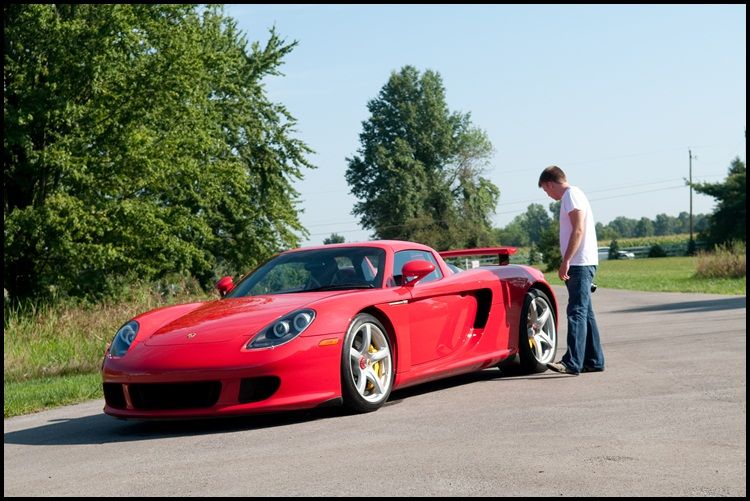
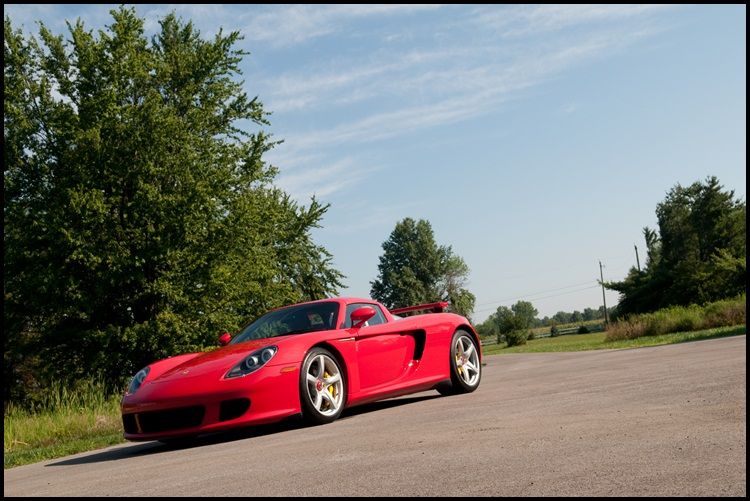
By the time I was done, I had 55 hours into this car. It was a very difficult car to work on and threw me a lot of curve balls. But in the end it was very rewarding to see how much better it looked and the fact that I was able to remove all the defects out of this extremely hard paint.


After the car show the Carrera GT went to Automotive Appearance Pros in Columbus to get a new clear bra on the whole front end. Here are some shots I got of it while it was in their shop.

_DSC0888.jpg


_DSC0969.jpg


_DSC0971.jpg
 
Jacob and Jeff getting ready to install the clear bra.

_DSC0973.jpg


_DSC0974.jpg


_DSC0981.jpg


_DSC0982.jpg


_DSC0983.jpg


_DSC0988.jpg


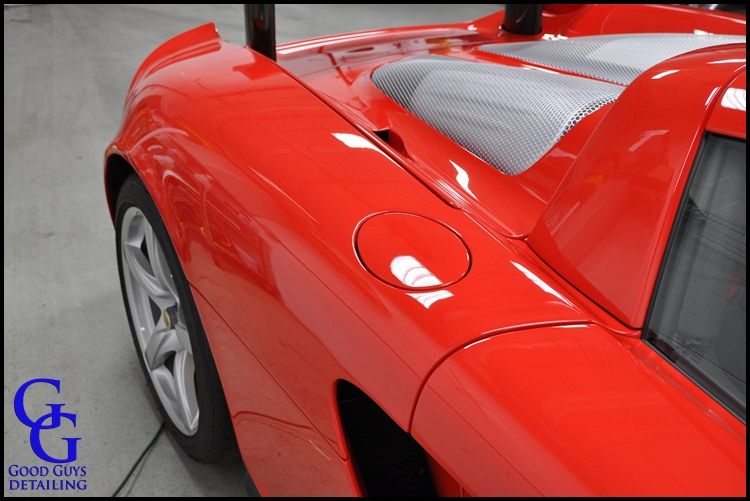
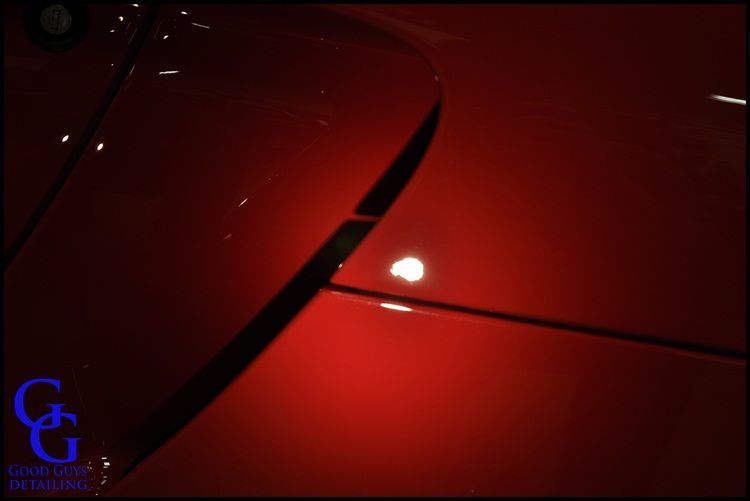
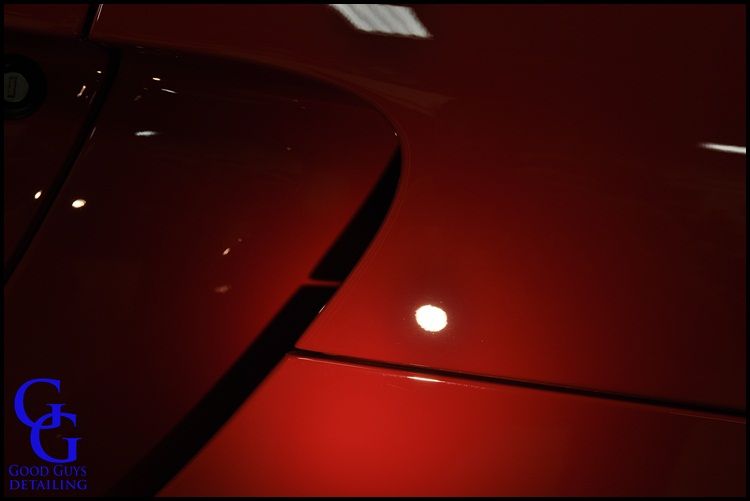
There were still some deeper defects left in the rear deck lid that I was unable to remove. The small areas did not allow me to apply the needed pressure to the machine to remove them. Overall it was a huge transformation and Graham was very happy with the car.


Thanks for reading and I hope you enjoyed!!!!
 
Pretty amazing transformation! I agree with you on the few problem areas left, better to be cautious than risk burn through.


Car looks great in the sun! :)
 
Back
Top