Comment commencer... une Ford GT... LA voiture américaine de tous les temps ? Sinon, on doit avouez que c’et quand même tout un modèle. J’avais très hâte de travailler sur cette voiture et je dois admettre que ce fut une des voitures les plus challengeant que j’ai eu à polir. J’aimerai remercier Alex pour m’avoir mis en contact avec le propriétaire, Merci buddy!
I must admit, the FORD GT was *THE* north-american car I wanted to detail most. I was thrilled when Alex told me he could hook me up with one owner. I was looking forward to this moment and I would like to thank you again. Also, I got even more excited when Guillaume Boily, a neat montreal photographer, told me he was free that day and could come over to shot the whole process!
He took over 200 pictures and I got to chose the one I wanted, all were low-res 1mb so none were edited, what you see, is true result.


Pour l’évènement, j’ai demandé à Guillaume Boily, photographe, de prendre en photo le progrès. Je me suis ramasser avec plus de 200 photos low-res (moins de 1mb ) et j’en ai choisi une centaine. Encore une fois, j’aimerai remercier Guillaume Boily de son temps et aussi m’excuse encore une dernière fois d’avoir manqué notre premier rendez-vous (tu sais de quoi je parle !") )
)
Traitement :
Showroom correction ( C'est-à-dire, on fait ce qu’il faut pour avoir le meilleur résultat possible)
Finishes with 2 layer of Definitive Wax Number One
We also used Sans-ZO tire shine for this detail.
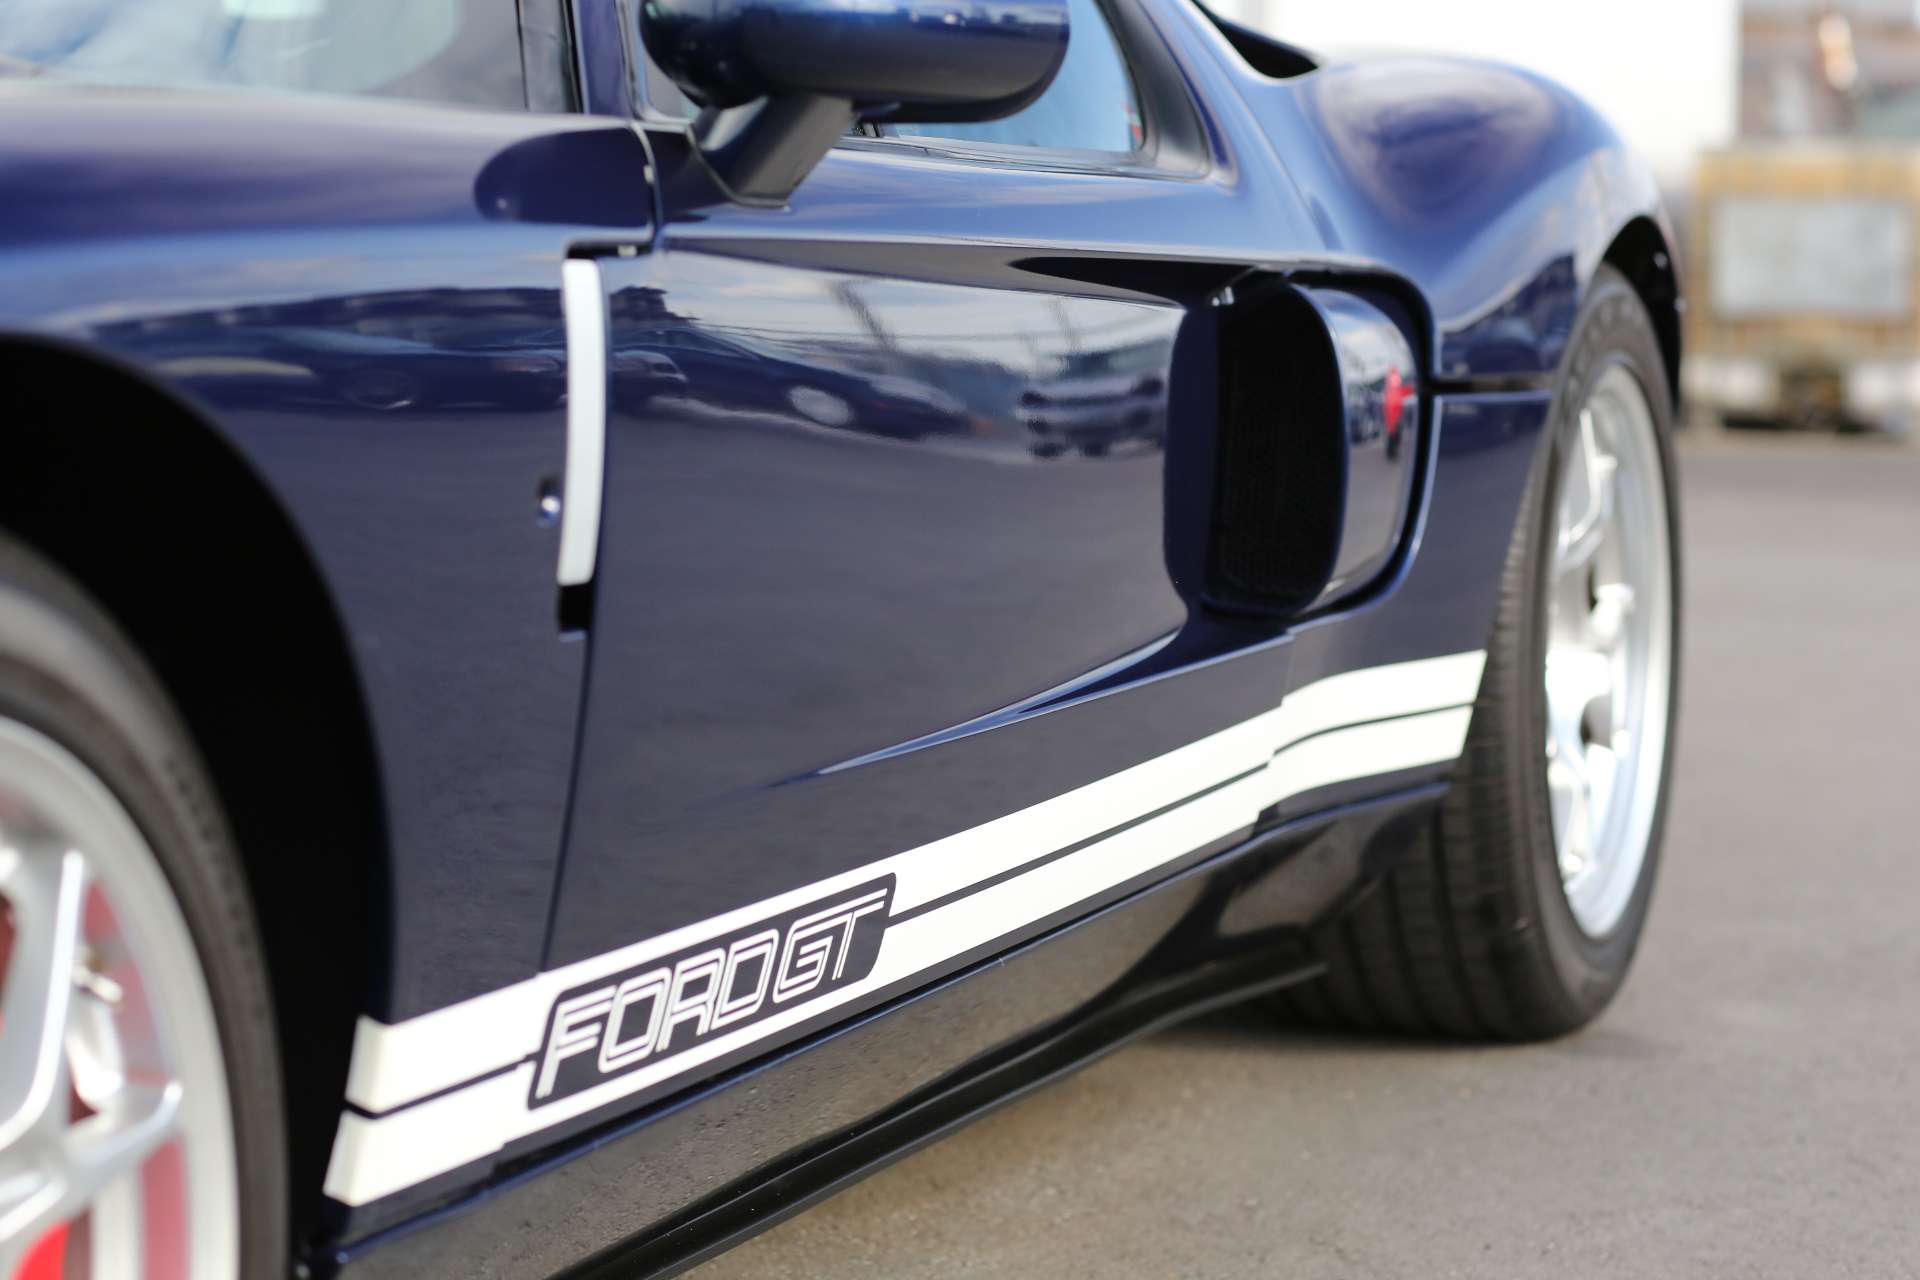
Condition initiale :


Boily setting up his gear :

Nettoyage des roues :
For the wheels, we used Sonax Wheel cleaner, this is probably the best wheel cleaner on the market, Raceglaze brushed and the wheel woolies to clean inside the wheel. You can buy both the Sonax and Raceglaze products at VAG motorsport.
Nous utilisons Sonax Wheel cleaner qui produit une bonne mousse généreuse :

Et la brosse Raceglaze pour nettoyer la roue sans endommager le fini et les étriers :
Et le wheel woolies pour l’intérieur de la roue :

On protège ensuite les moulures au cas où la polisseuse toucherait les moulures :
We then tape molding in order to protect them from beeing hit and damaged with our polisher.


Intérieur des portes endommagées qui sera poli du mieux qu’on peut :
This is some sort of slight rubbing damage that we will try to polish out even tho inside car paint is usually quite thin.

Step 1 : Compounding step ;


Inspecting my work so I can move on to the next panel:

Need more SAWS!

Boily getting artistic.


Soyez toujours certains que votre corde ne touché pas à la carroserie :
As you can see, we always put our cord over our shoulder, this way you elimate the risk of creating marring on the paint because of the dirty cord touching the paintwork.

I must admit, the FORD GT was *THE* north-american car I wanted to detail most. I was thrilled when Alex told me he could hook me up with one owner. I was looking forward to this moment and I would like to thank you again. Also, I got even more excited when Guillaume Boily, a neat montreal photographer, told me he was free that day and could come over to shot the whole process!
He took over 200 pictures and I got to chose the one I wanted, all were low-res 1mb so none were edited, what you see, is true result.
Pour l’évènement, j’ai demandé à Guillaume Boily, photographe, de prendre en photo le progrès. Je me suis ramasser avec plus de 200 photos low-res (moins de 1mb ) et j’en ai choisi une centaine. Encore une fois, j’aimerai remercier Guillaume Boily de son temps et aussi m’excuse encore une dernière fois d’avoir manqué notre premier rendez-vous (tu sais de quoi je parle !
)Traitement :
Showroom correction ( C'est-à-dire, on fait ce qu’il faut pour avoir le meilleur résultat possible)
Finishes with 2 layer of Definitive Wax Number One
We also used Sans-ZO tire shine for this detail.
Condition initiale :
Boily setting up his gear :
Nettoyage des roues :
For the wheels, we used Sonax Wheel cleaner, this is probably the best wheel cleaner on the market, Raceglaze brushed and the wheel woolies to clean inside the wheel. You can buy both the Sonax and Raceglaze products at VAG motorsport.
Nous utilisons Sonax Wheel cleaner qui produit une bonne mousse généreuse :
Et la brosse Raceglaze pour nettoyer la roue sans endommager le fini et les étriers :
Et le wheel woolies pour l’intérieur de la roue :
On protège ensuite les moulures au cas où la polisseuse toucherait les moulures :
We then tape molding in order to protect them from beeing hit and damaged with our polisher.
Intérieur des portes endommagées qui sera poli du mieux qu’on peut :
This is some sort of slight rubbing damage that we will try to polish out even tho inside car paint is usually quite thin.
Step 1 : Compounding step ;
Inspecting my work so I can move on to the next panel:
Need more SAWS!
Boily getting artistic.
Soyez toujours certains que votre corde ne touché pas à la carroserie :
As you can see, we always put our cord over our shoulder, this way you elimate the risk of creating marring on the paint because of the dirty cord touching the paintwork.