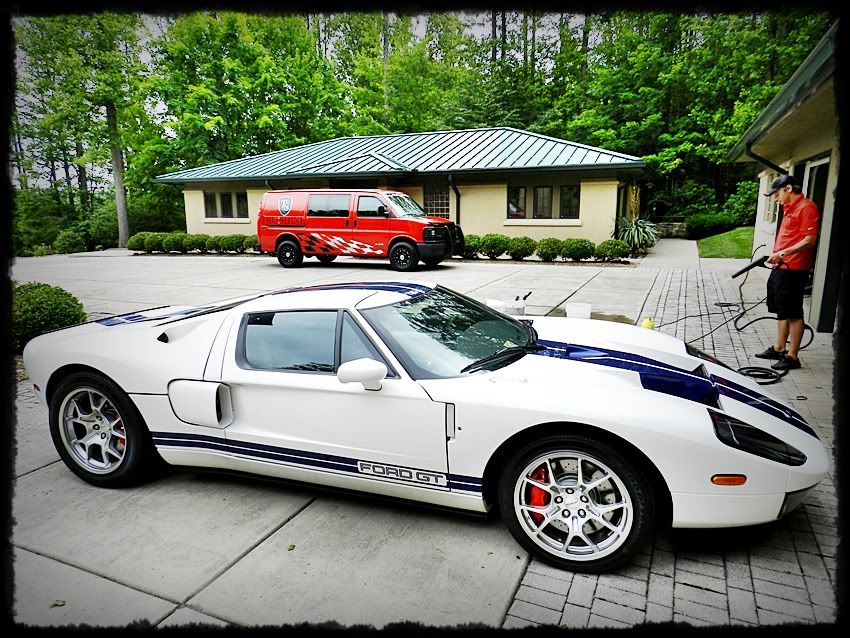
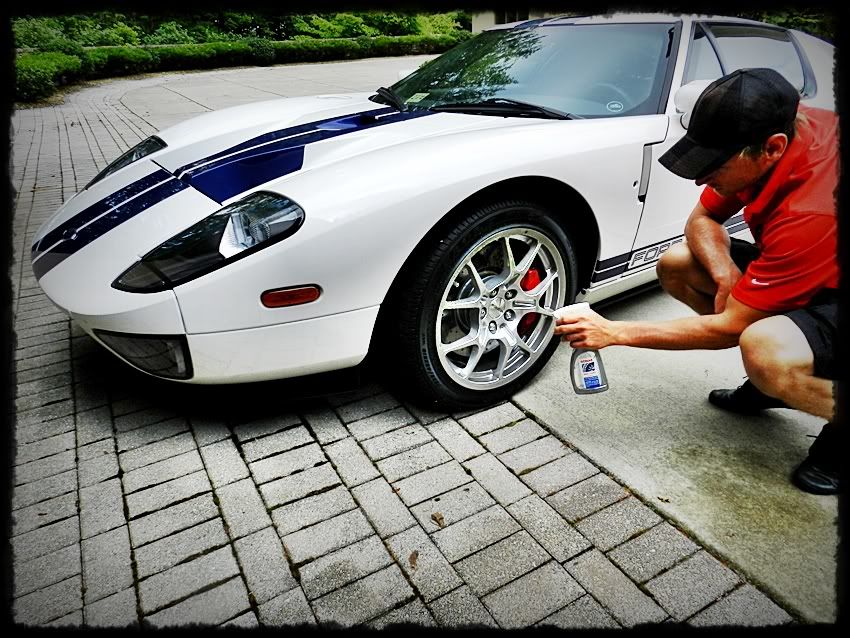
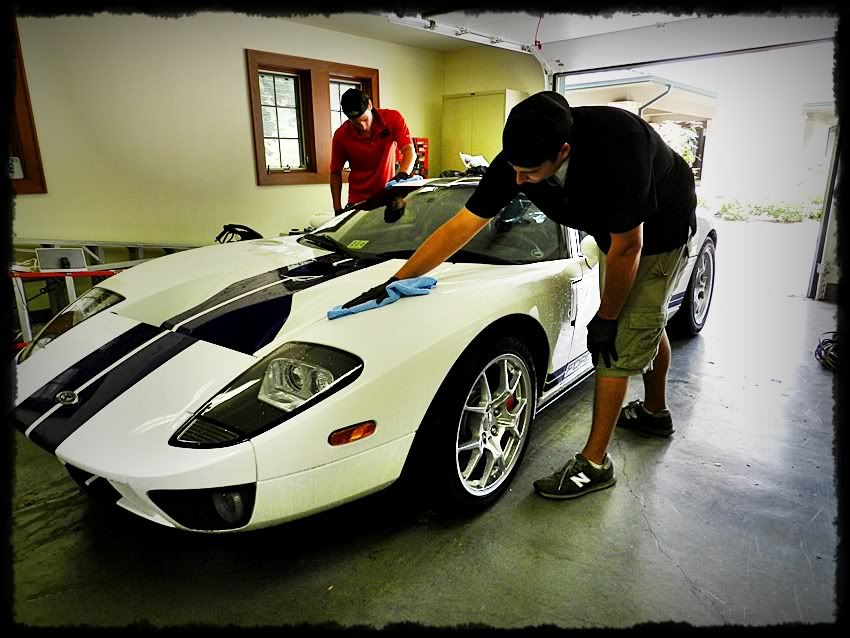
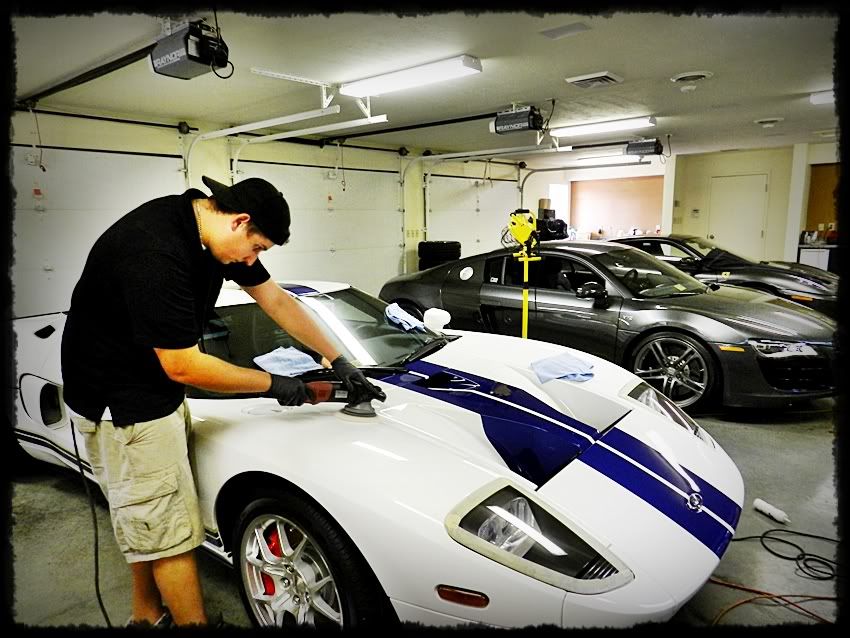
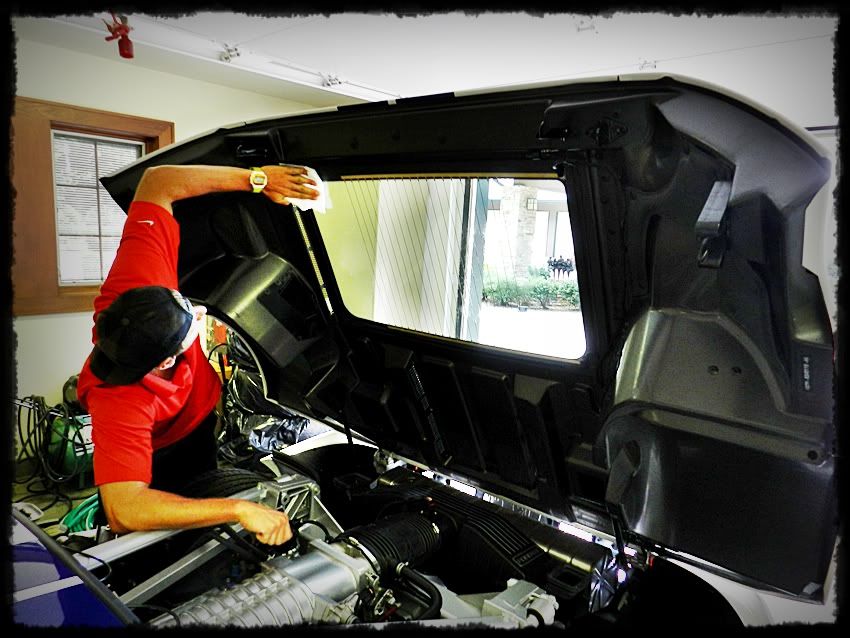
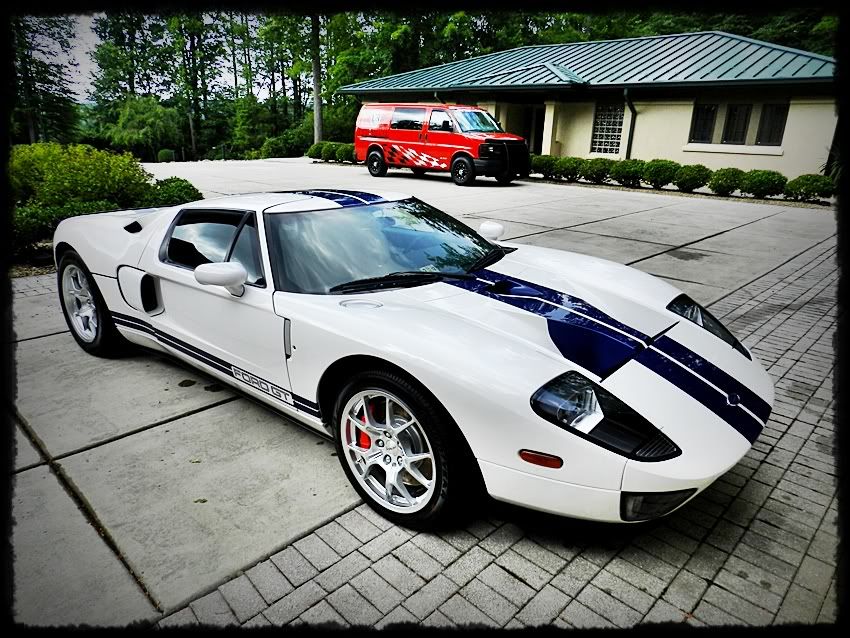
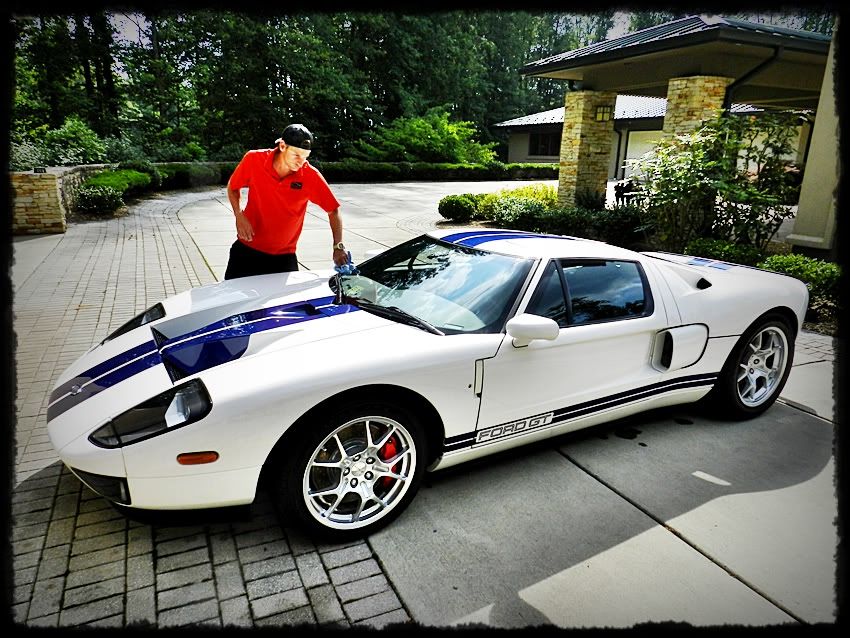
For this trip up to Bristol, We were scheduled to work on this 2006 Ford GT and his Audi S8 V10 (write up for the S8 will come shortly). Starting off the owner did not want a full correction as it appeared to be in pretty good shape, but as we got further on in the process, we discovered quite a few factory defects.....Lets take a look.
*These Photo's were slightly adjusted to enhance viewing pleasure only*
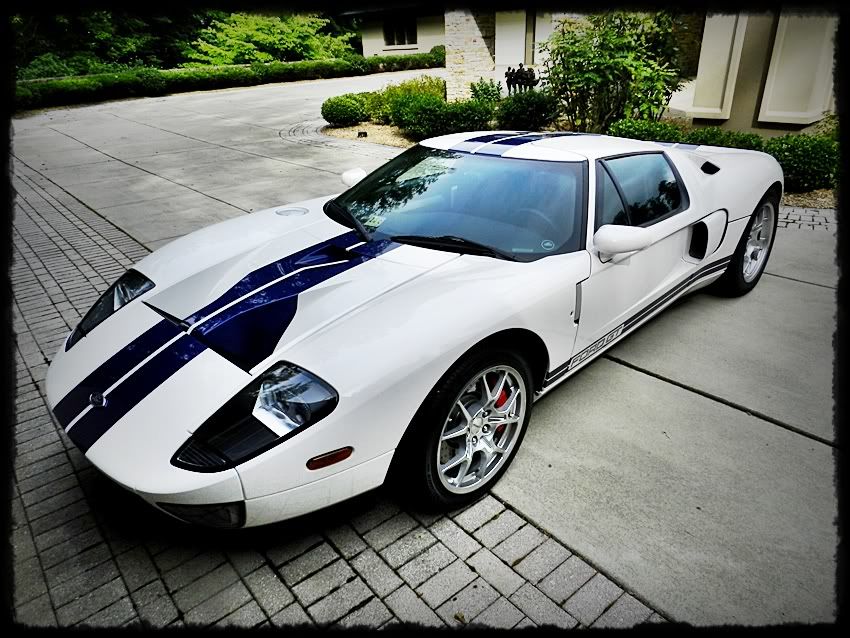
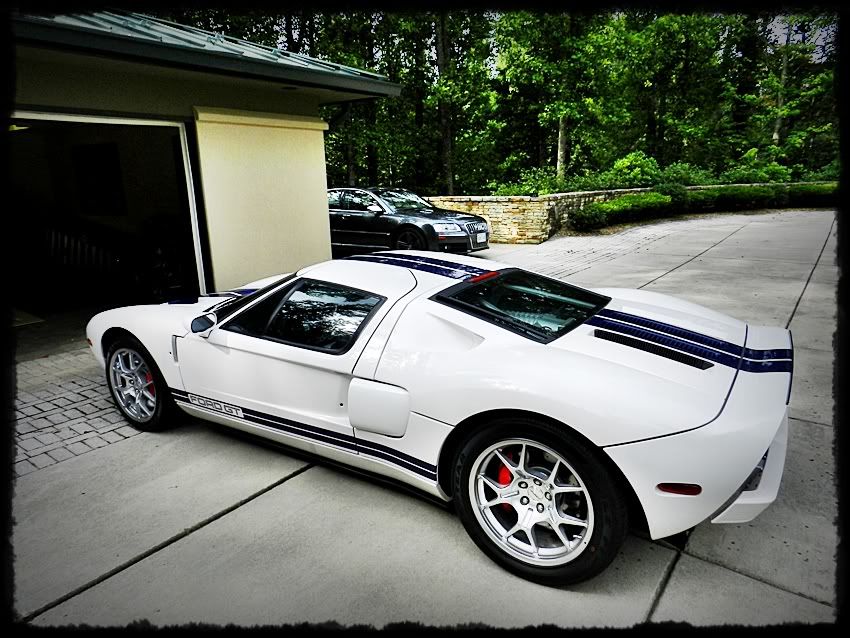
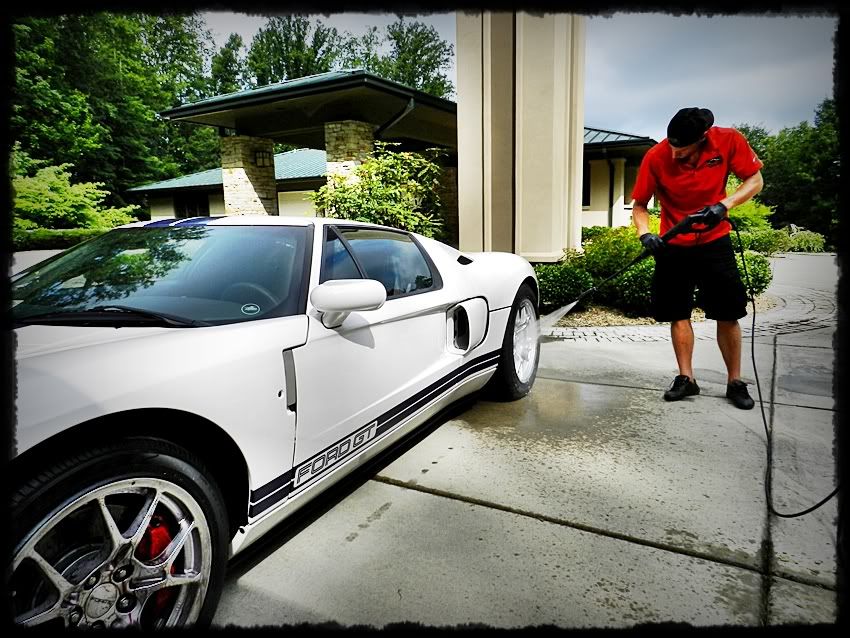
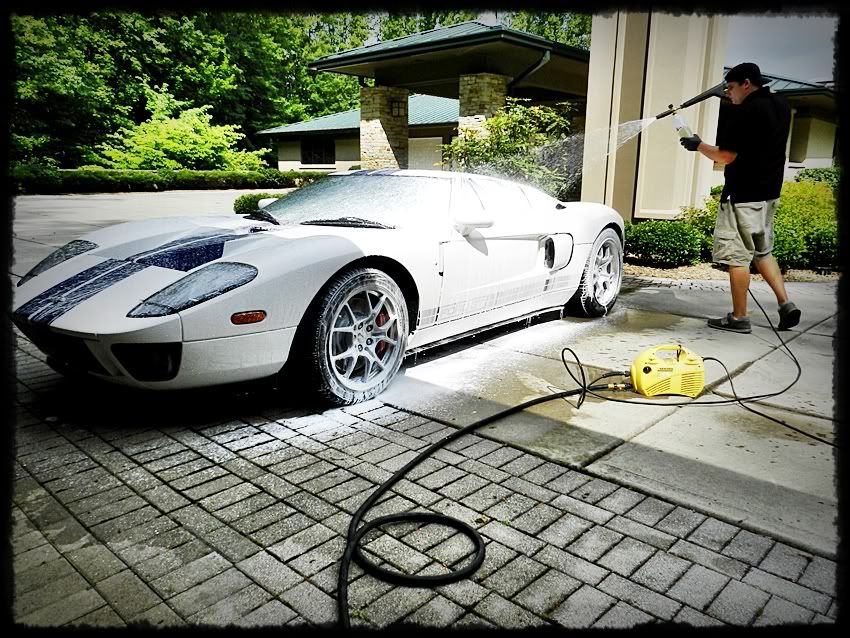
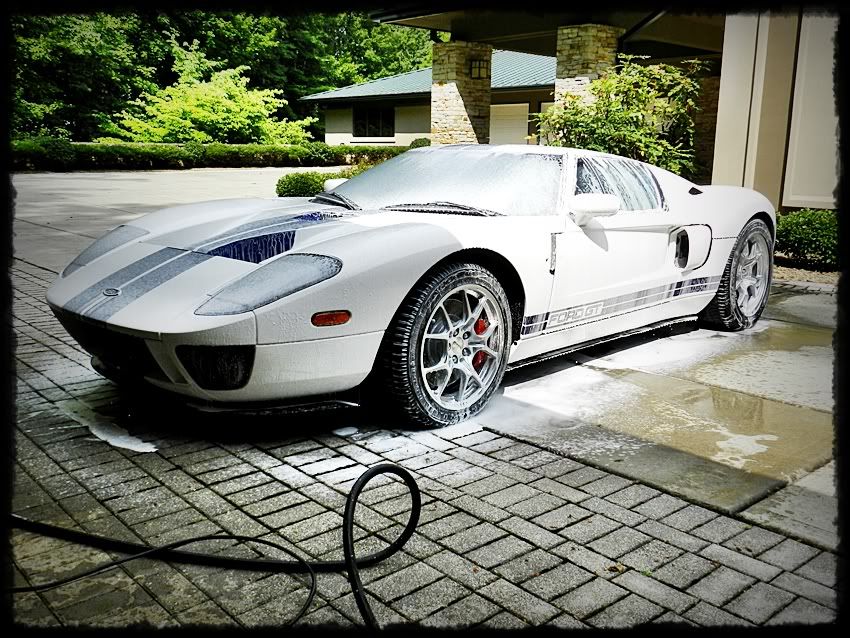
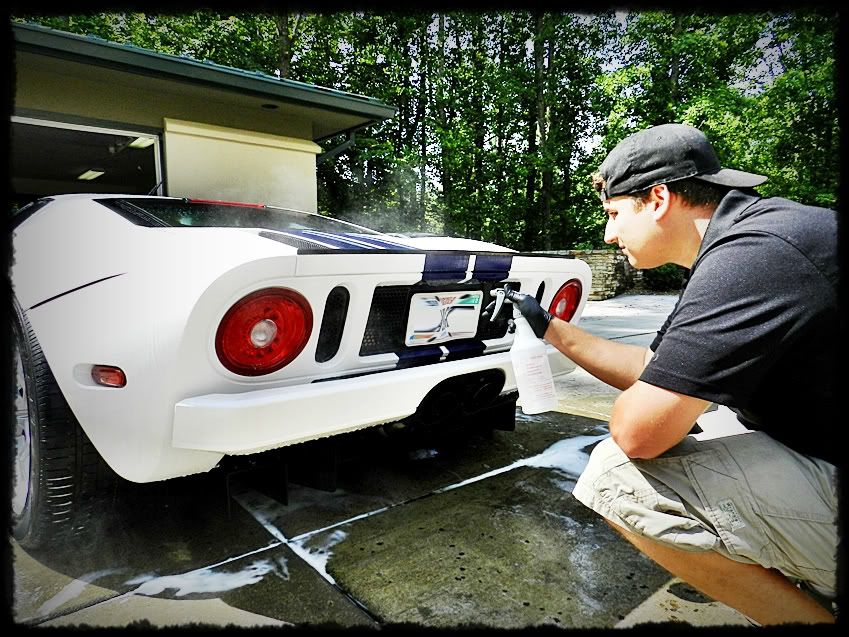
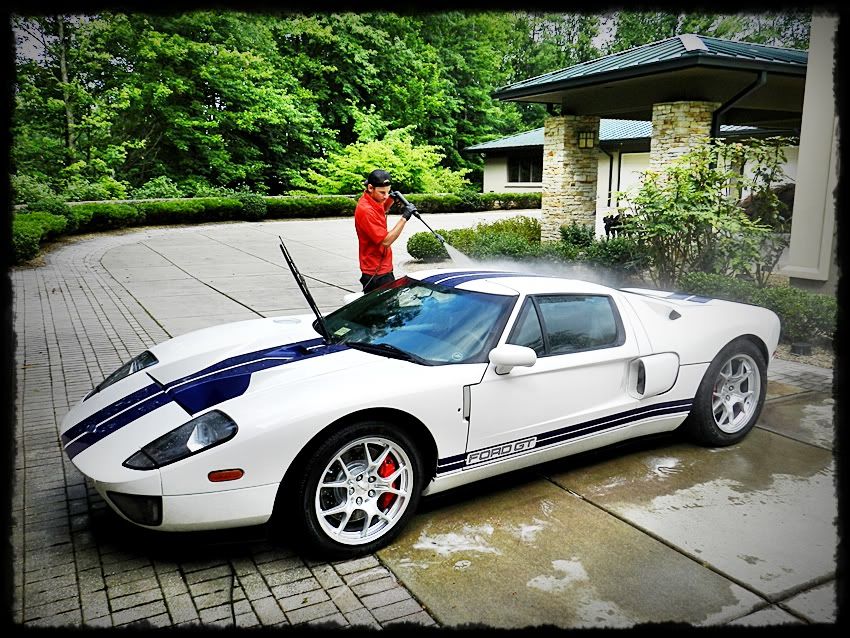
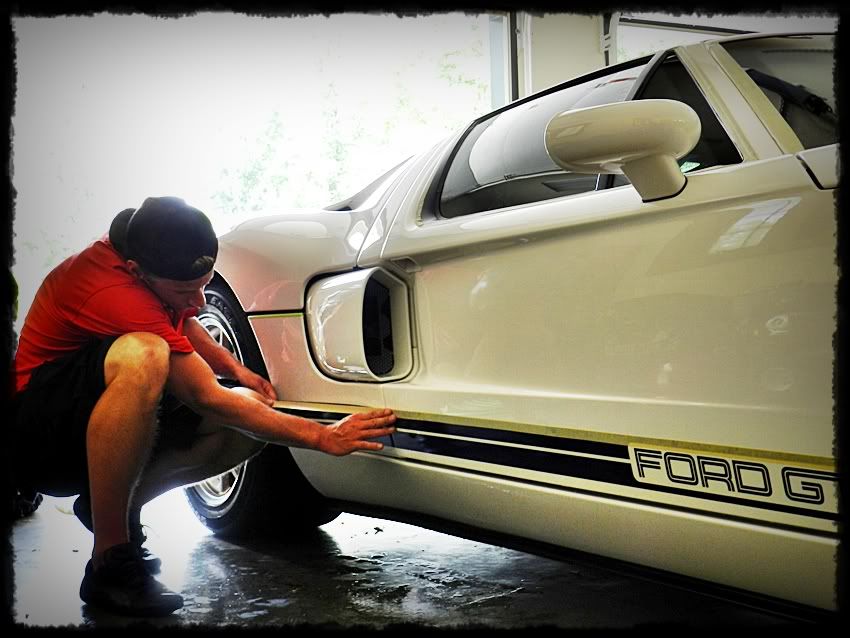
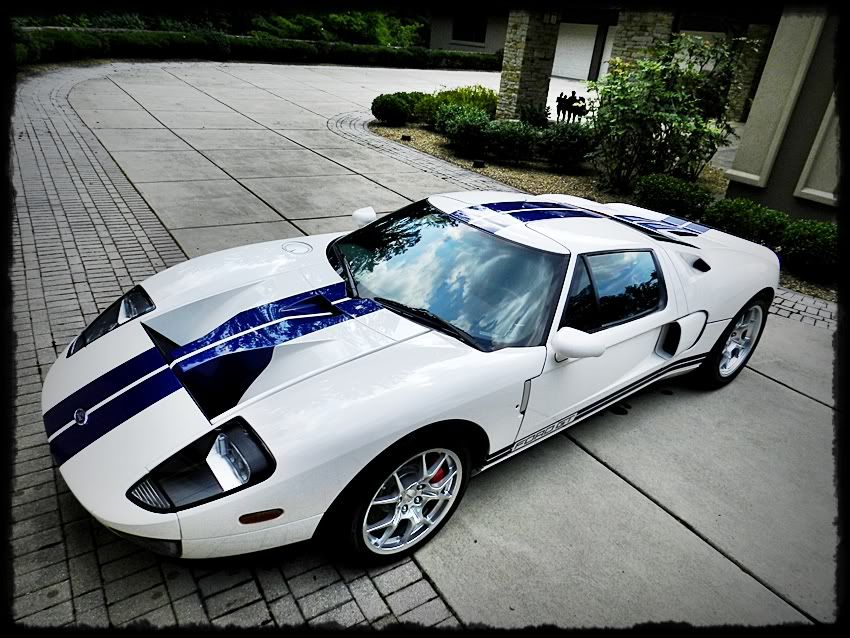
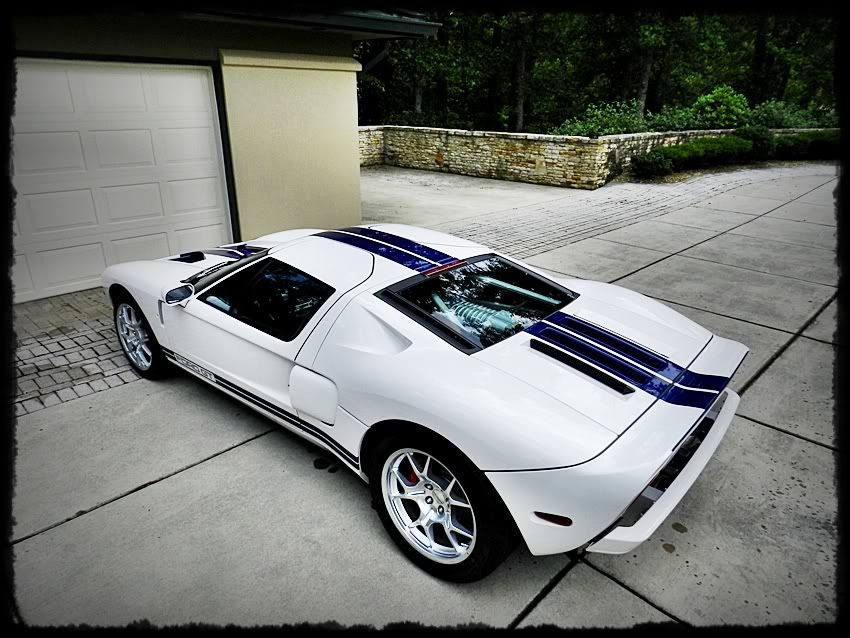
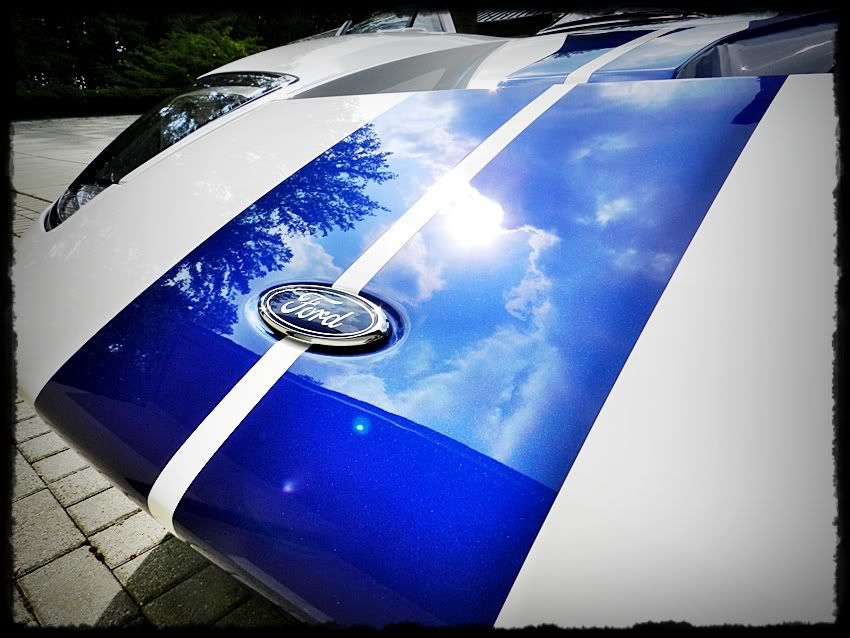
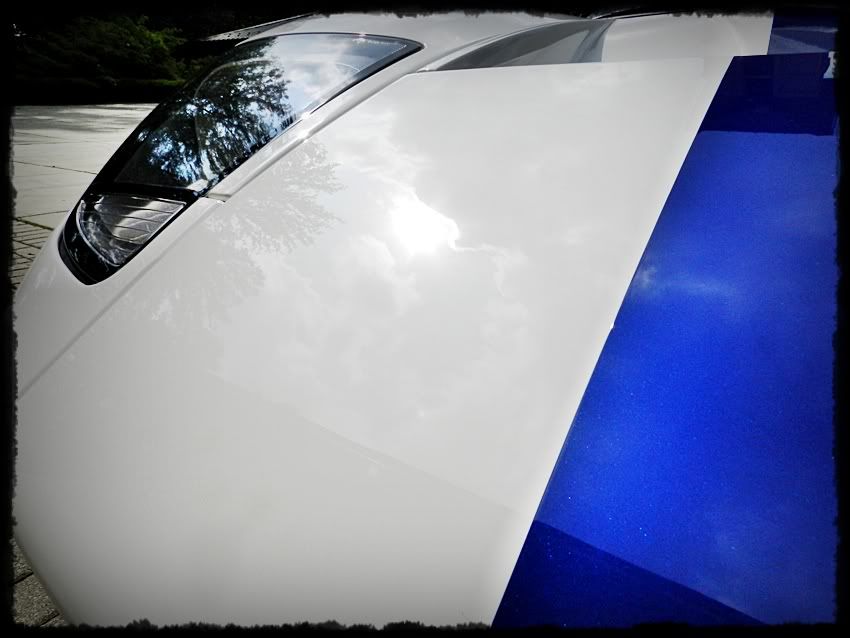
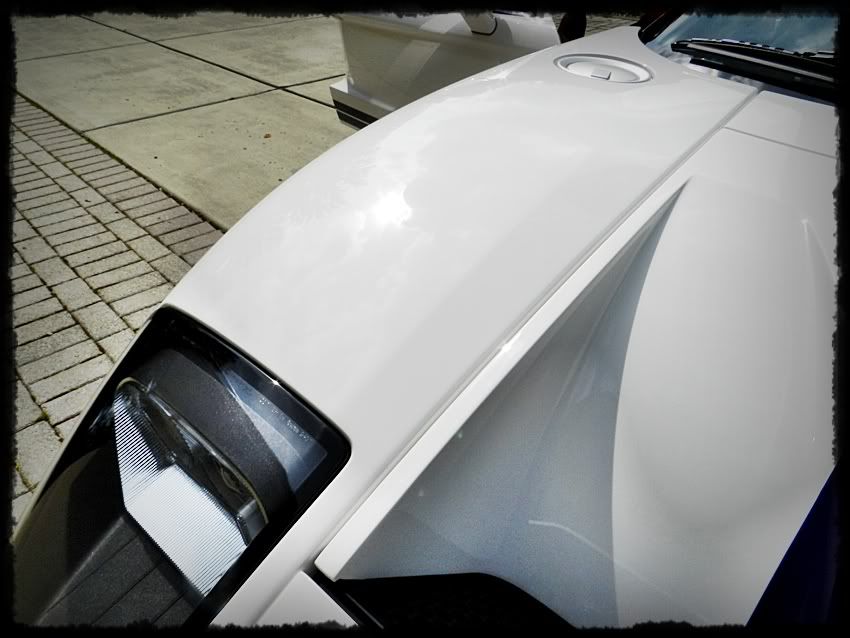
Here is the car when we arrived.
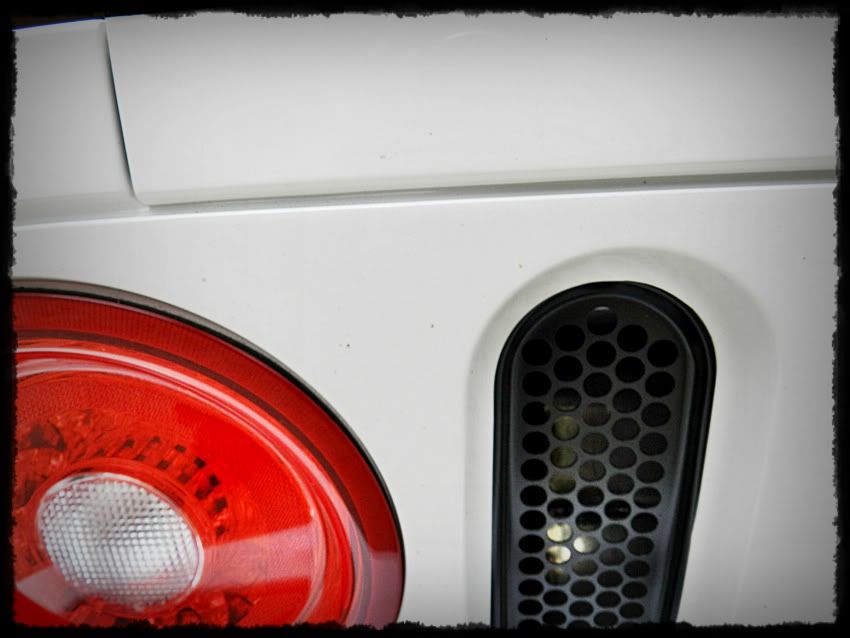
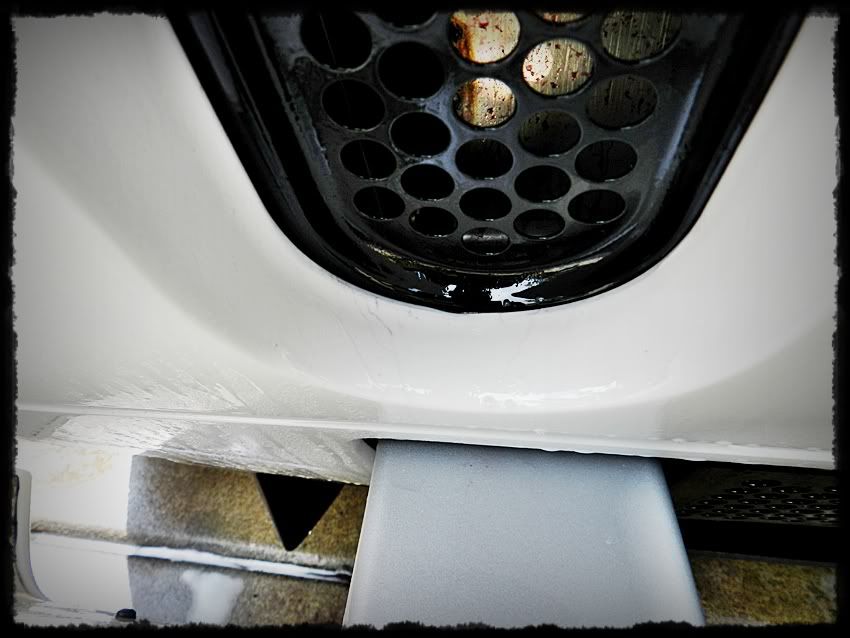
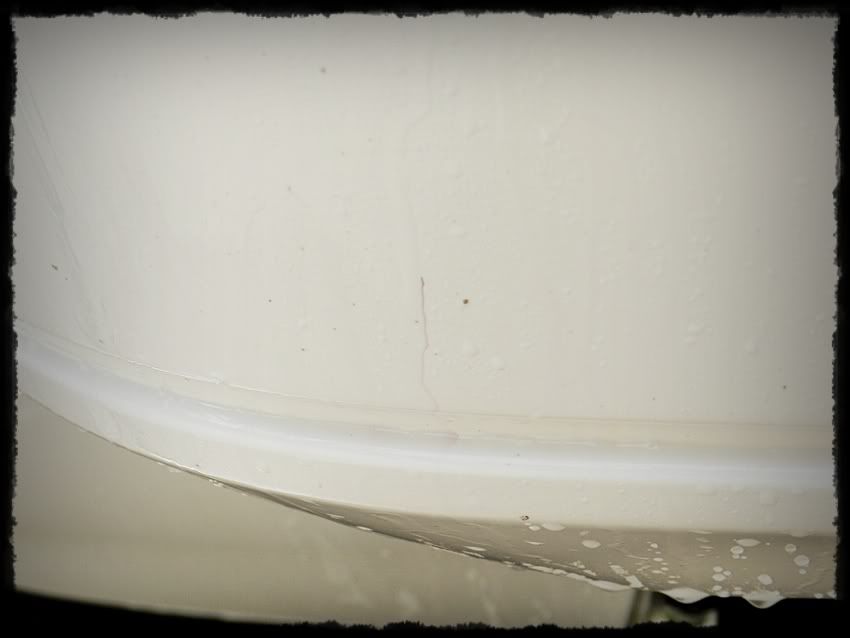
A few Iron deposits on the rear bumper area
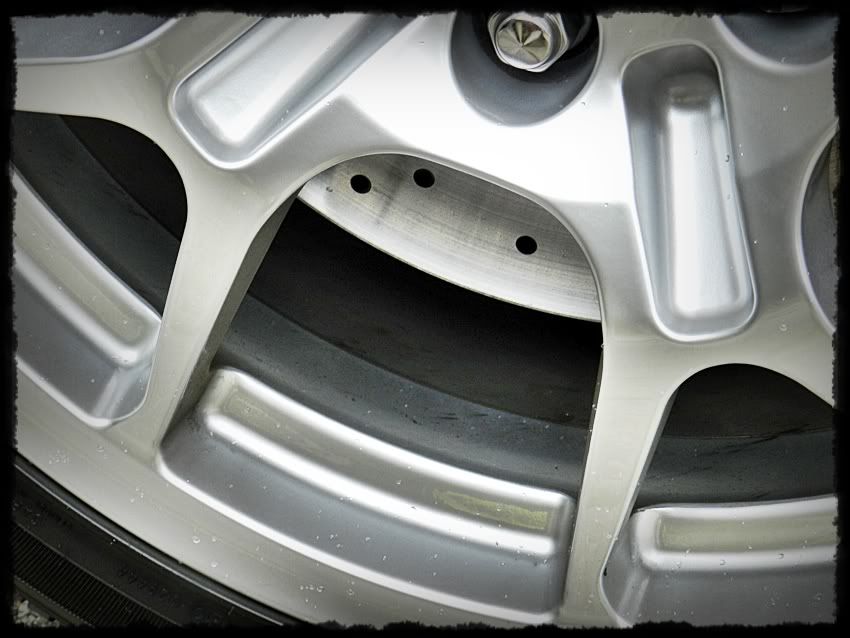
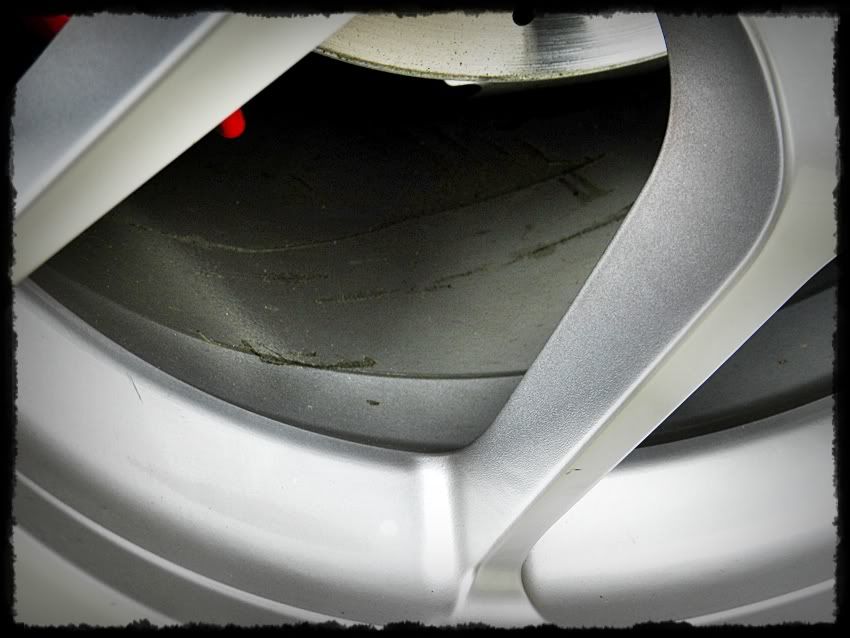
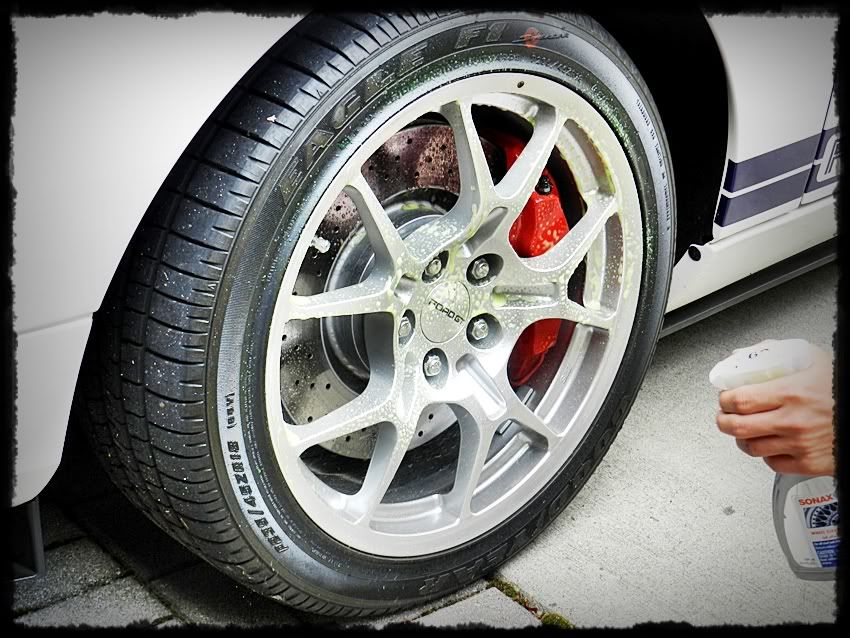
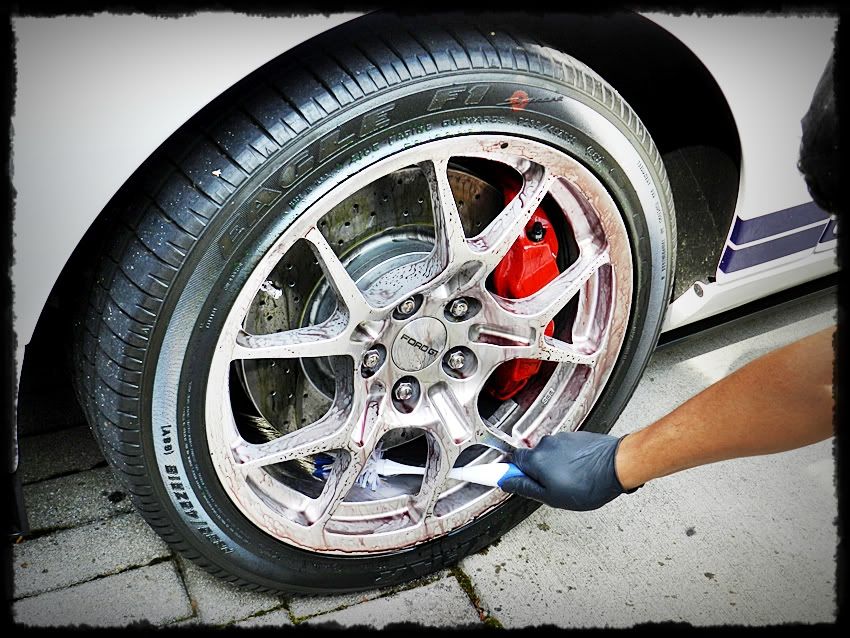
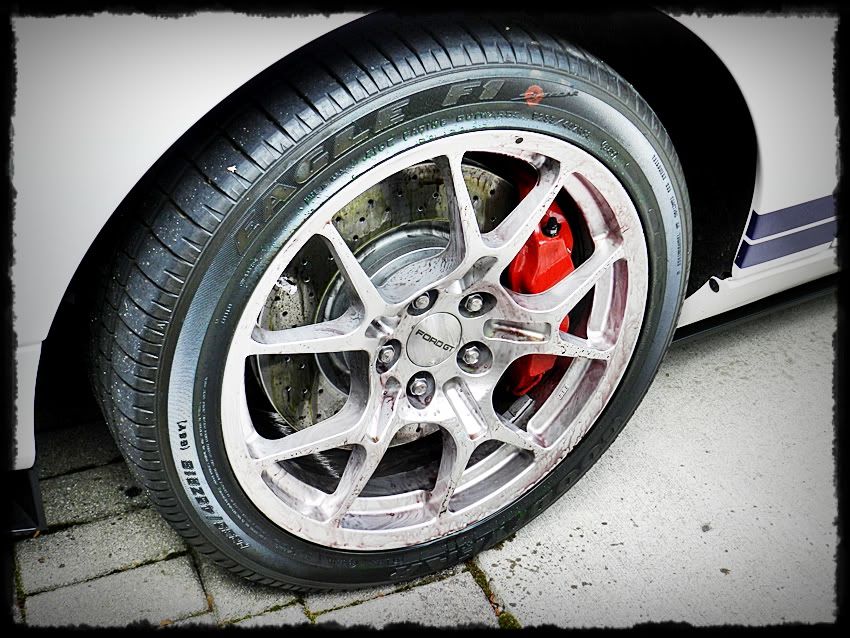
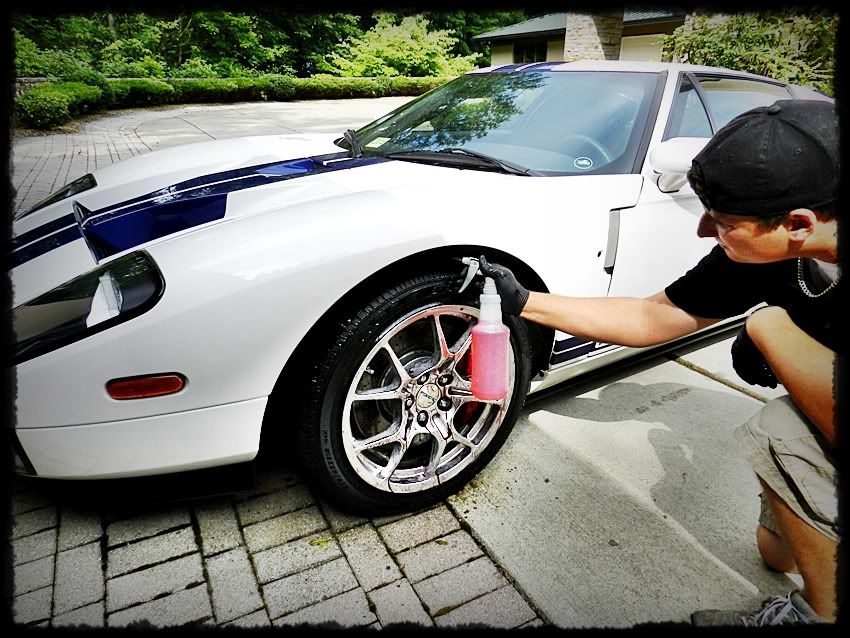
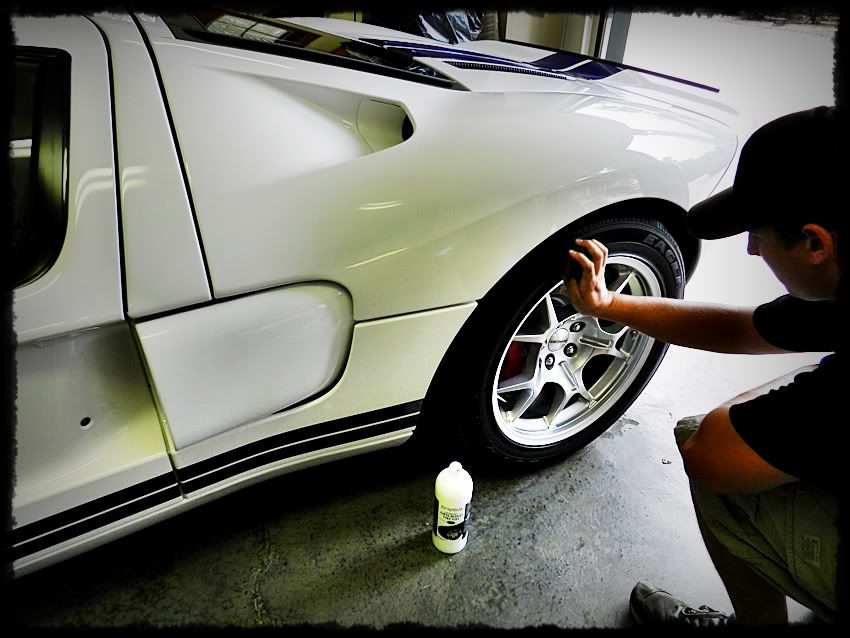
We started off with the wheels using one of my Favorite Wheel cleaners, Sonax Full Effect, a pH balanced, safe on all types of brakes and wheels, wheel cleaner.
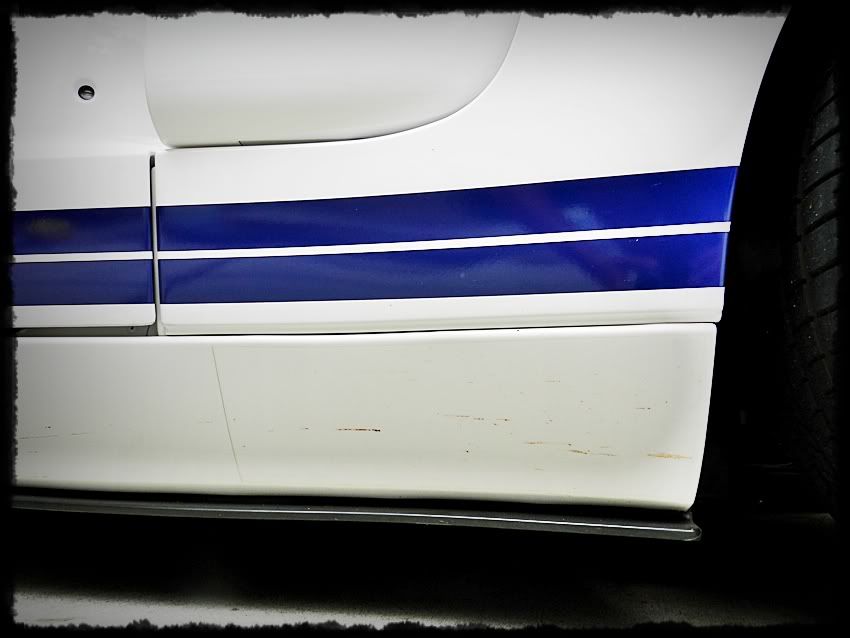
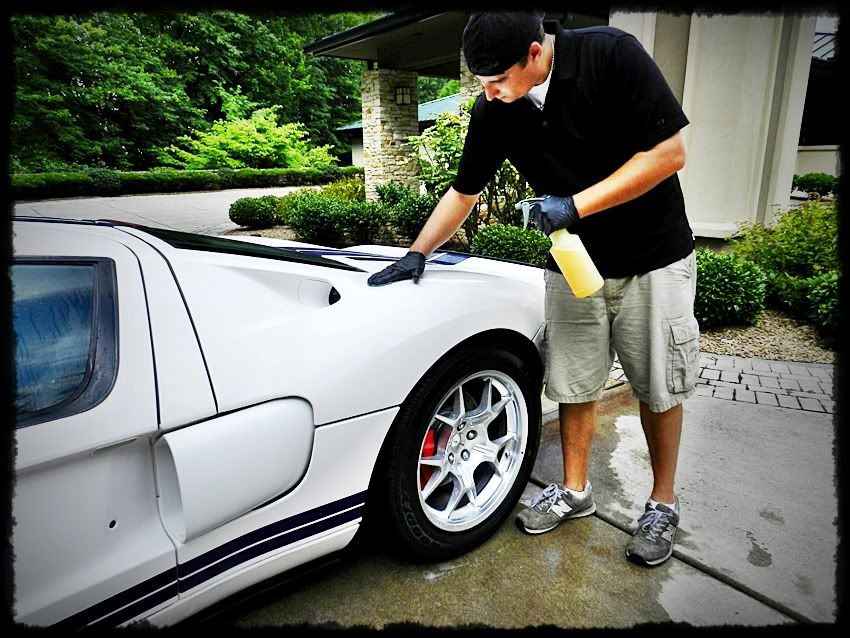
While we left the Sonax to dwell a bit. I sprayed some Meguiars Body Solvent on the lower panels to break down all of the tar and grime and bugs.
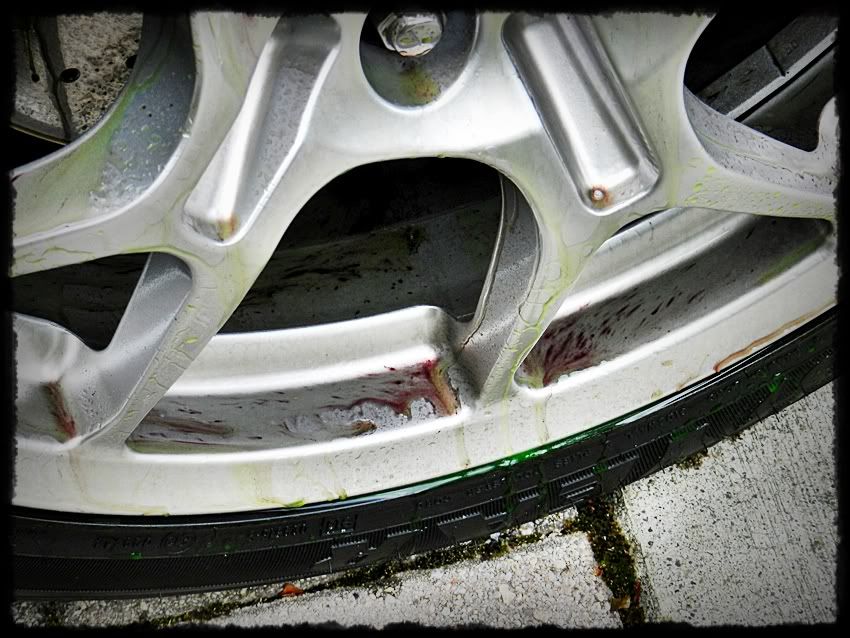
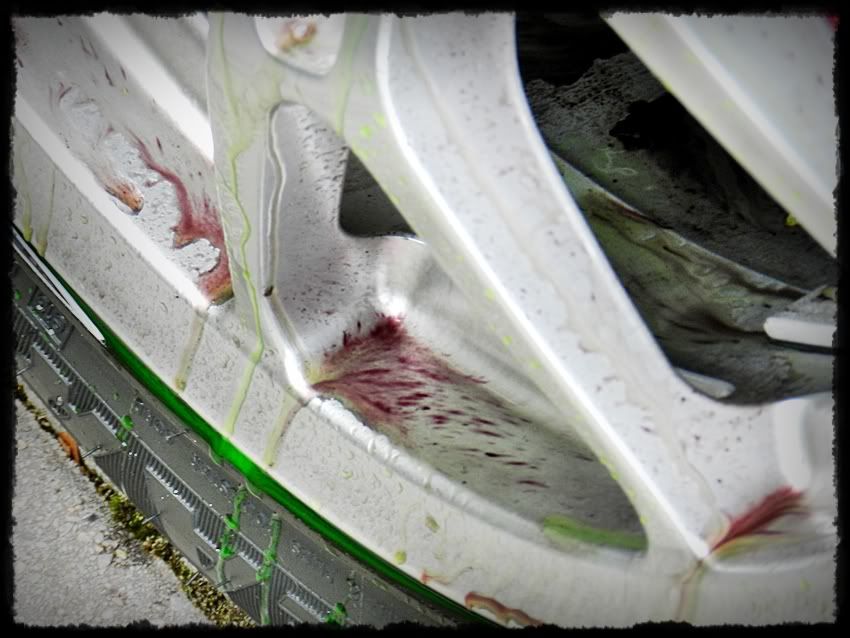
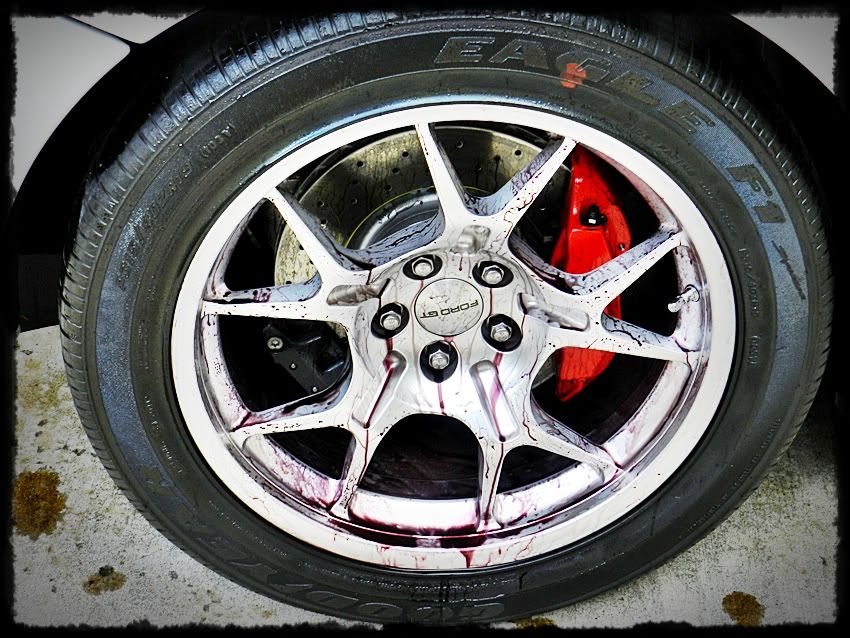
Back to the wheels, here is the Sonax turning Red letting me know that its helping desolve all of the Iron particles on the wheels
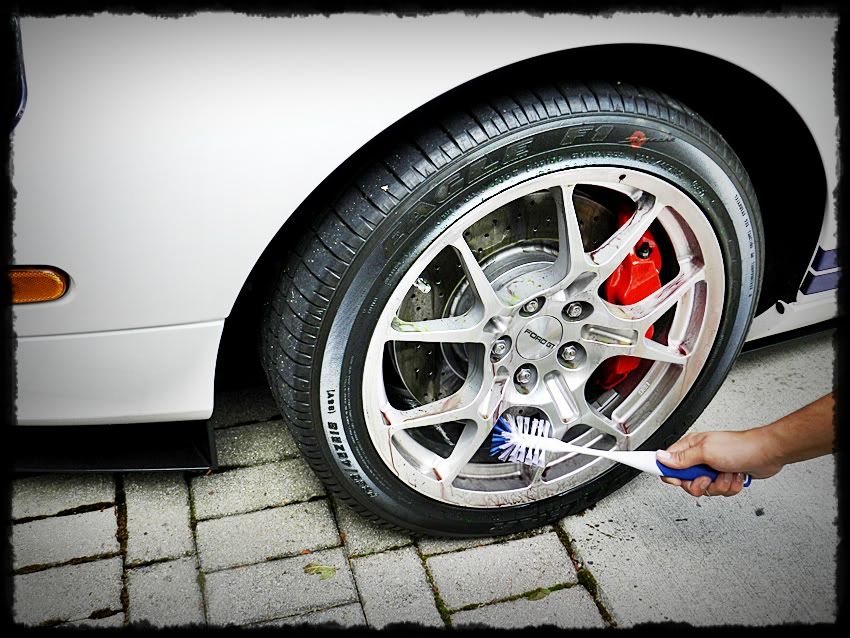
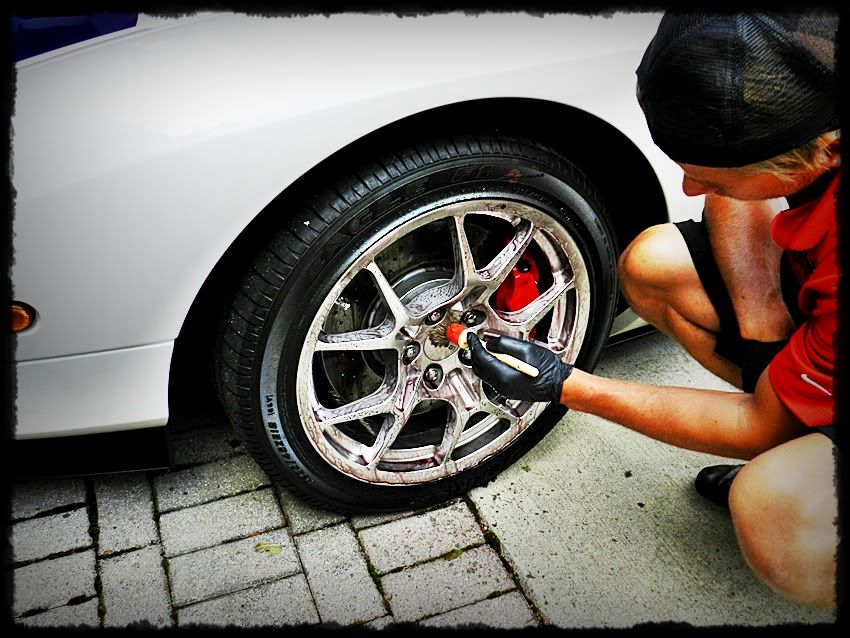
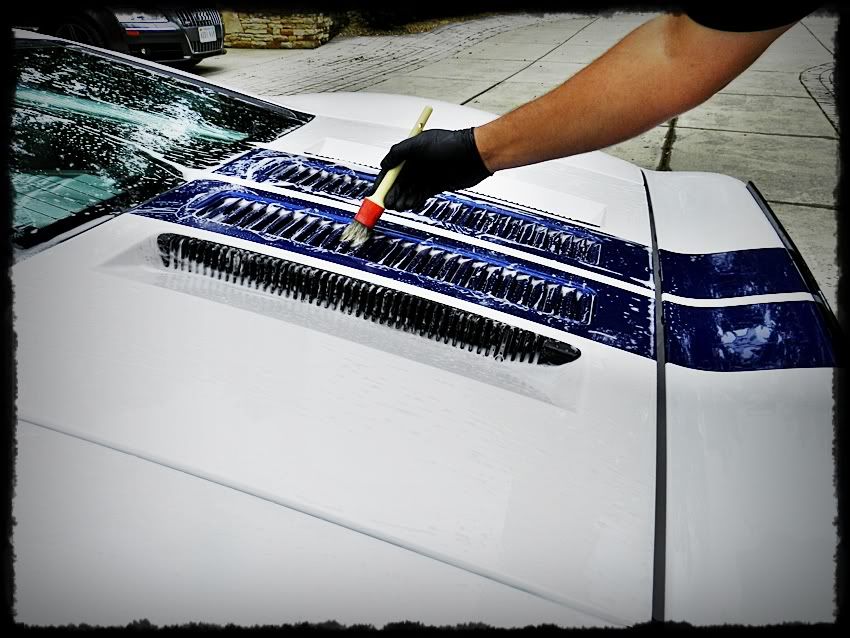
I thought I would try out a new brush for this detail, and to some of you, it might look a little familiar, but it did an amazing job getting all the tight places and deep into the wheel.
Also with the aid of the Swissvax brush we are able to get in all other areas that the big brushes cant.
Next I degreased and scrubbed all of the fender wells using Megs Super Degreaser
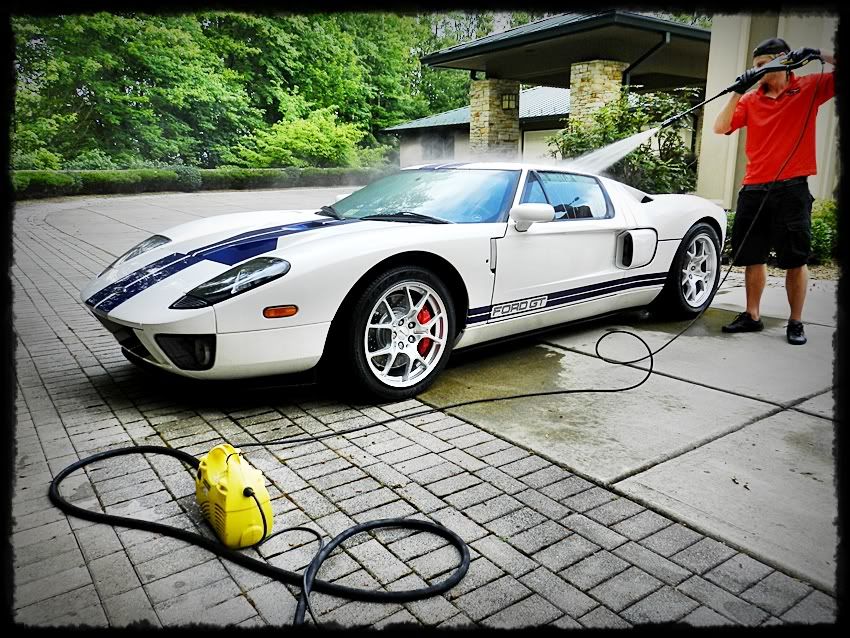
Next we Pre-Rinsed the car to knock off any loose or heavy Debris
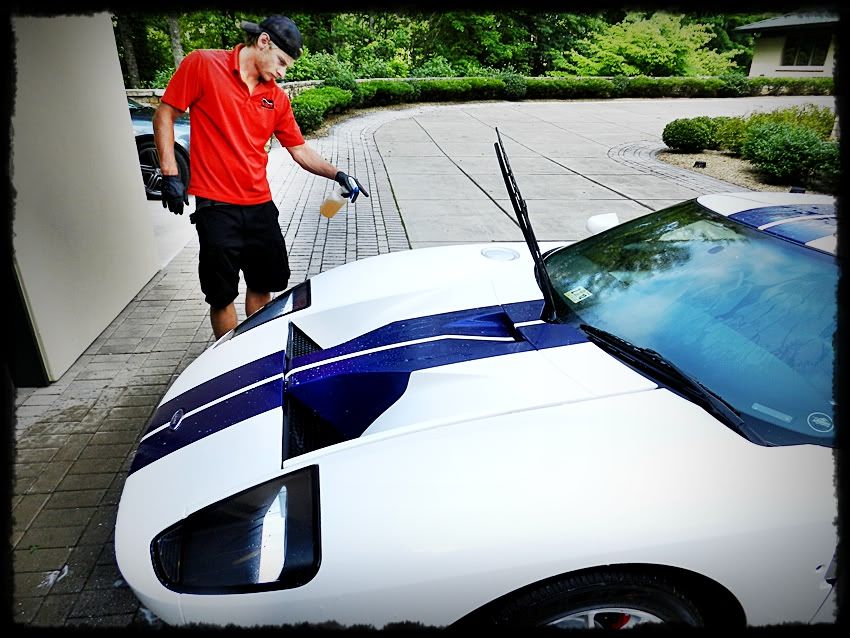
Then we apply some P21s Total Auto Wash to the whole car
Then comes the Foam Bath, This helps give the dirt on the paint a suspension and helps by reducing surface marring.
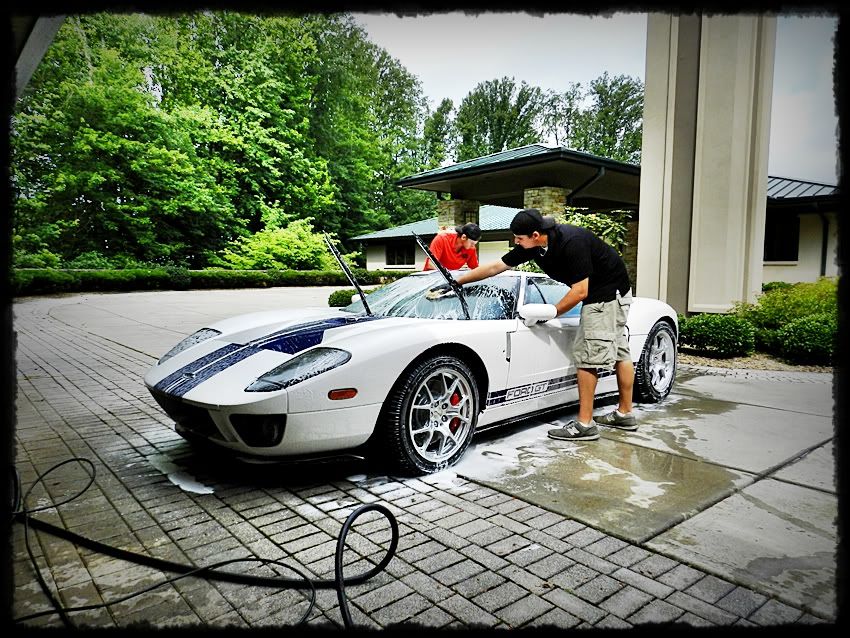
Going in straight lines to help prevent circular marring using a 100% Sheep skin wash mitt
To help with the embedded iron particles on the back, I used some Iron X. This will dissolve any iron that is stuck into the paint. Iron X will also turn red showing you that the iron is "Bleeding out"
Next we used some Dodo Juice "Born Slippy" as our Clay lube. (I love this stuff more and more everytime I use it. then only thing is that you have to rinse after your done)
Then we brought the car in to dry it off
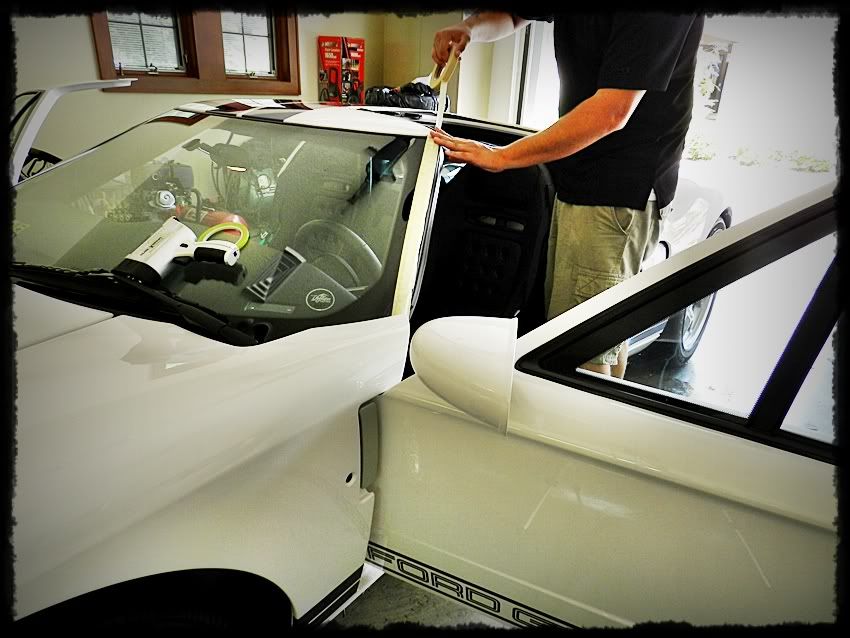
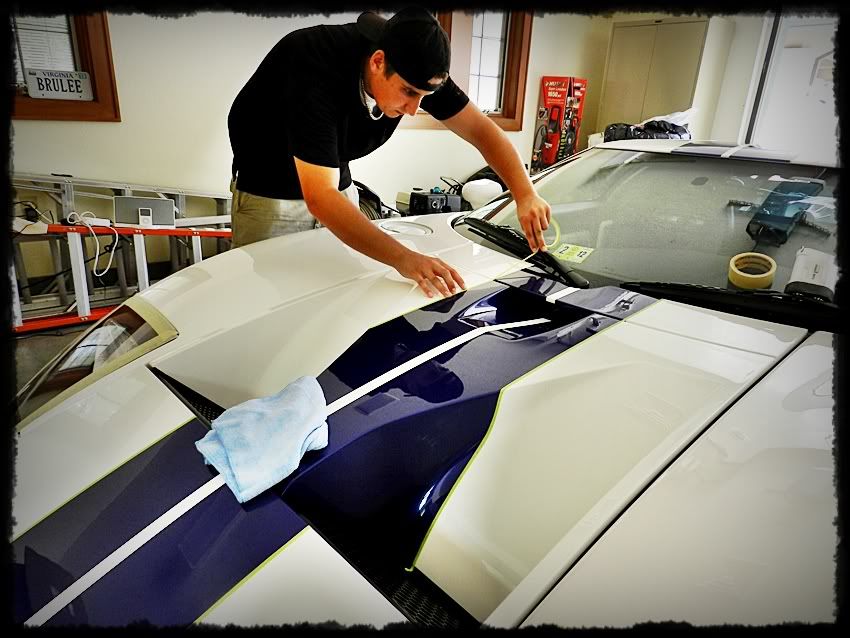
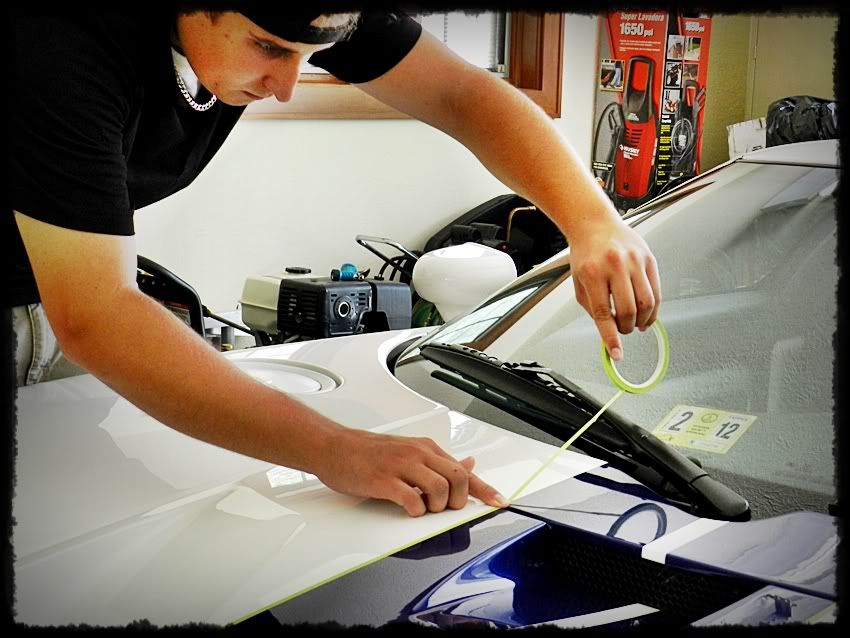
Next it was time to tape off any plastic or rubber trim using Meguiars tape and some thin 3m tape on the tight edges.
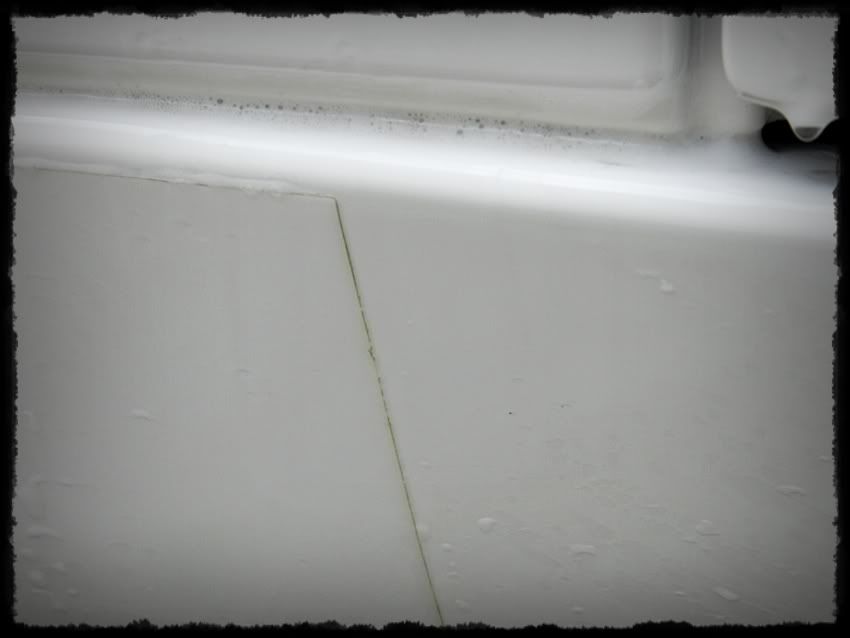
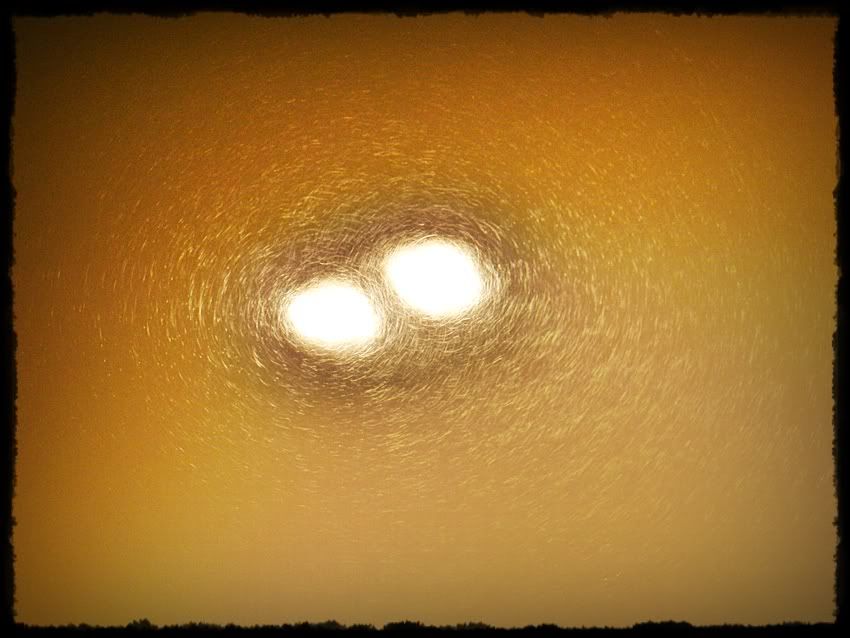
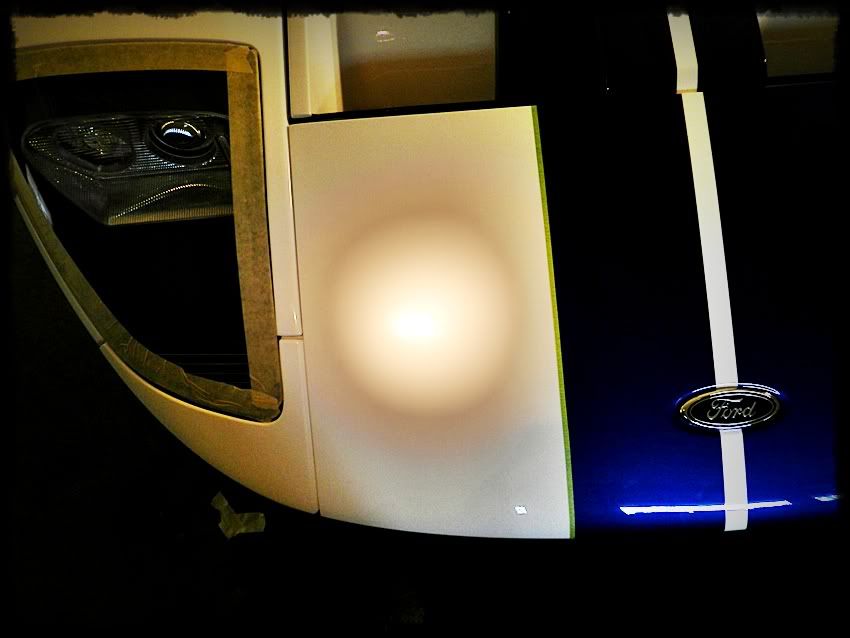
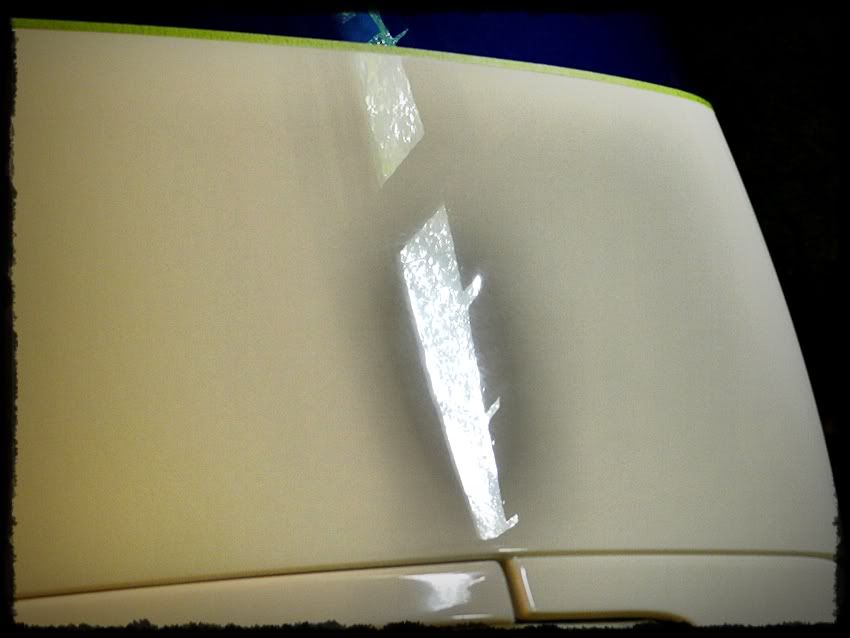
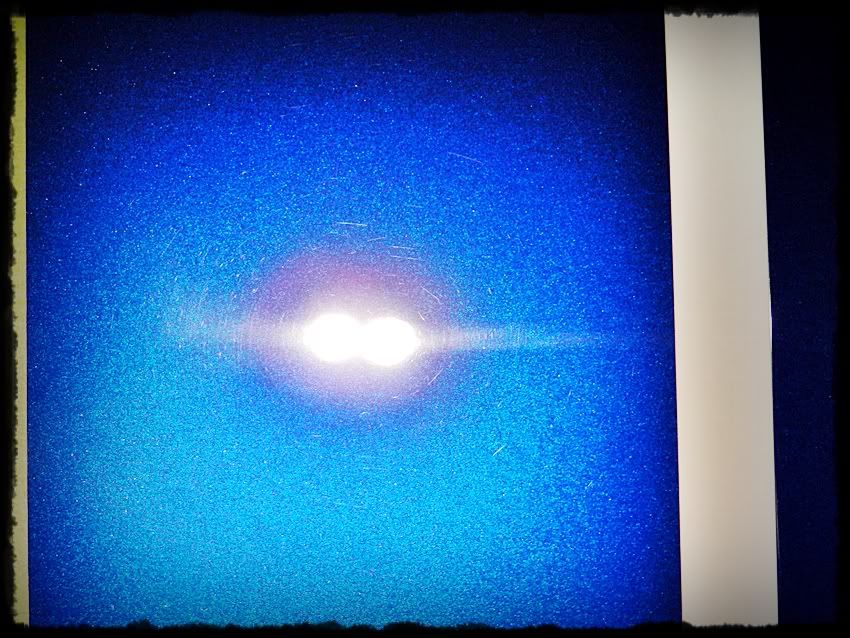
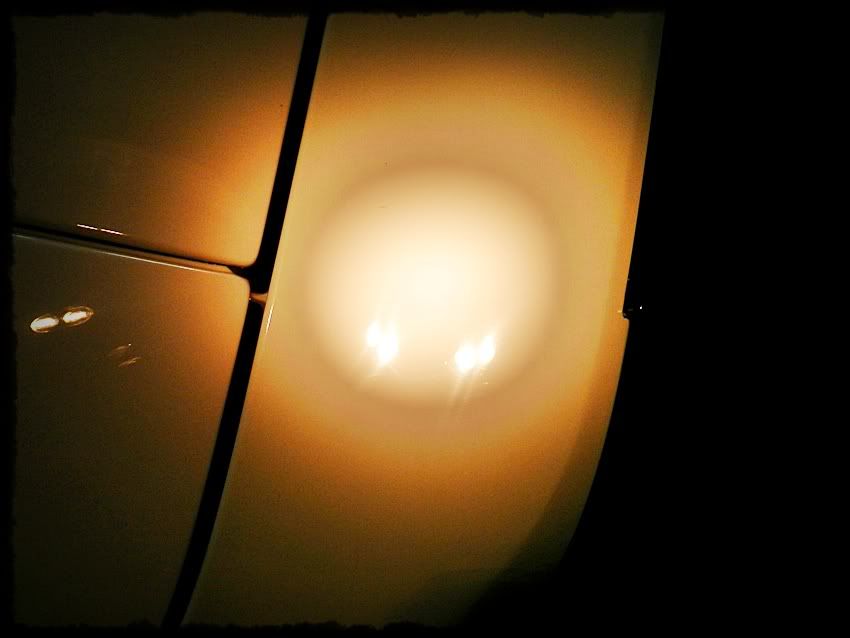
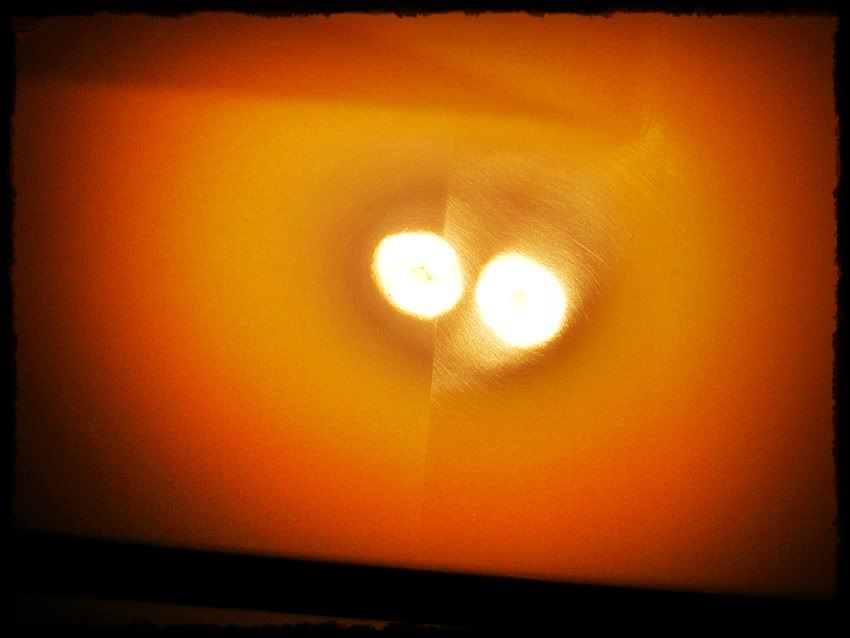
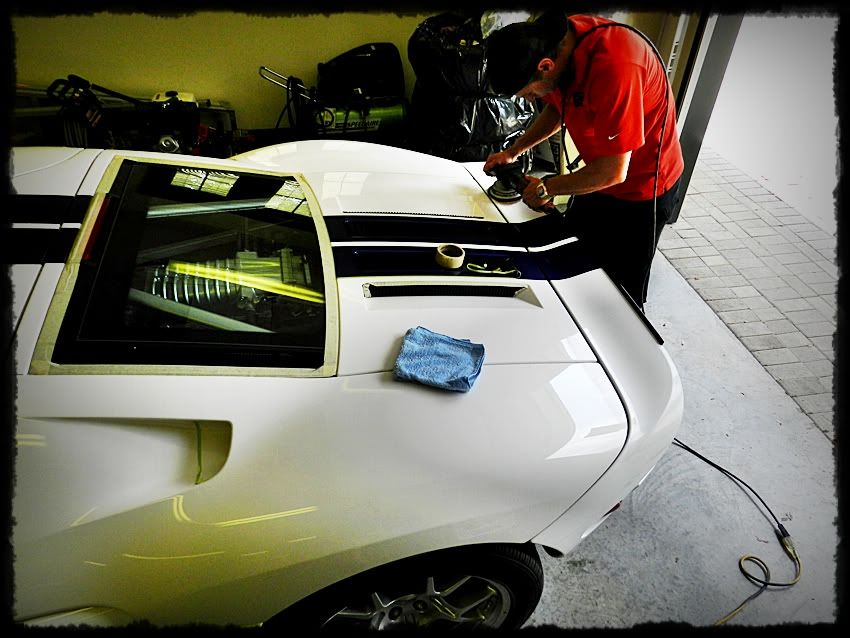
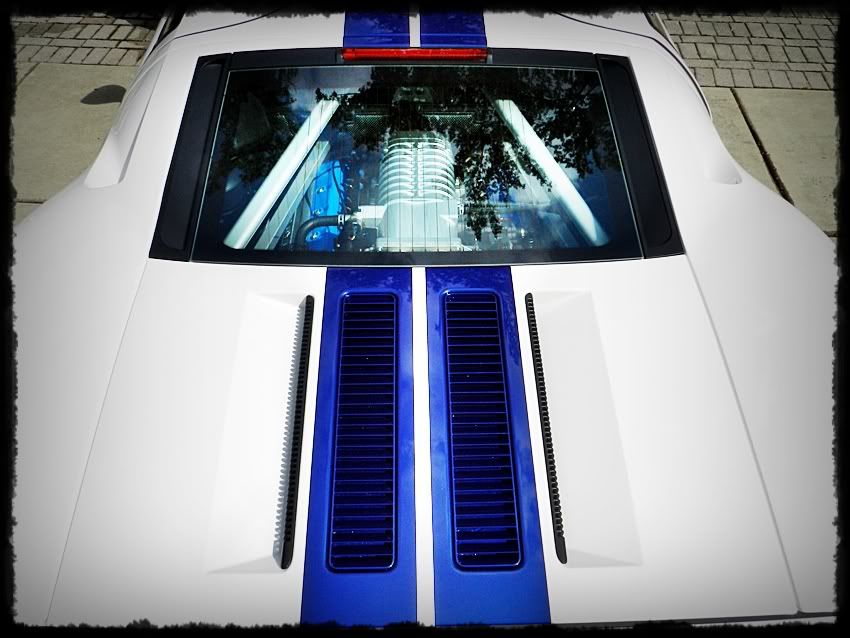
OK.........Now it is time for the Correction process. This car came like this from the Factoy..... I hope you are setting down for this one! here is what the Brinkman swirl finder light found.
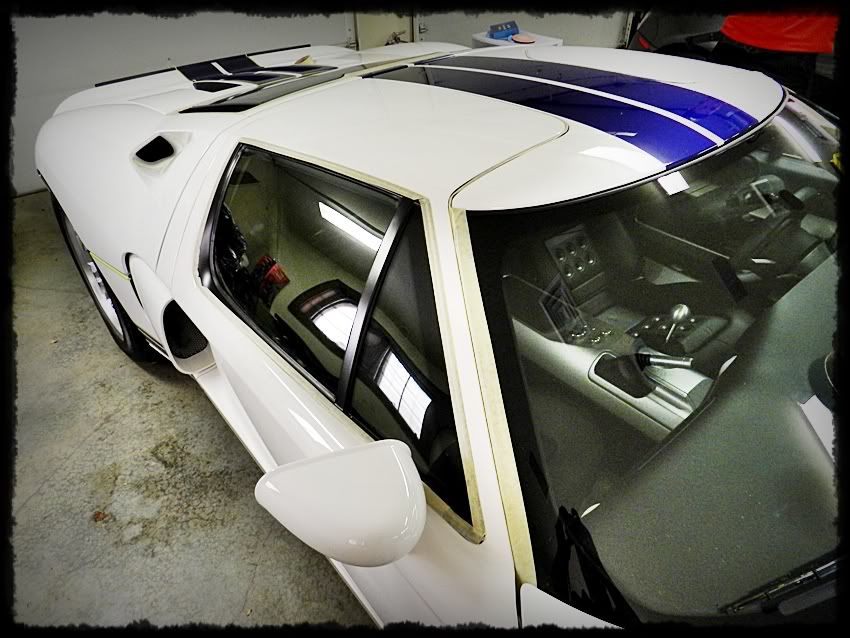
This is the reflection shot, look at the window and see how cloudy this reflection is. Most people say that you can see a difference in white. but these pictures speak for themselves.
50/50 After
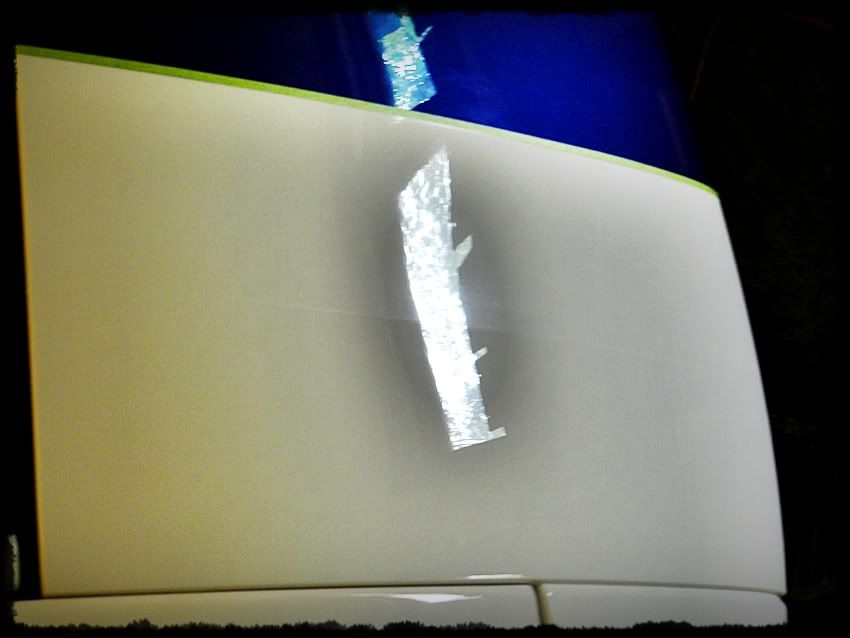
Here it is under the Brinkman Swirl Finder
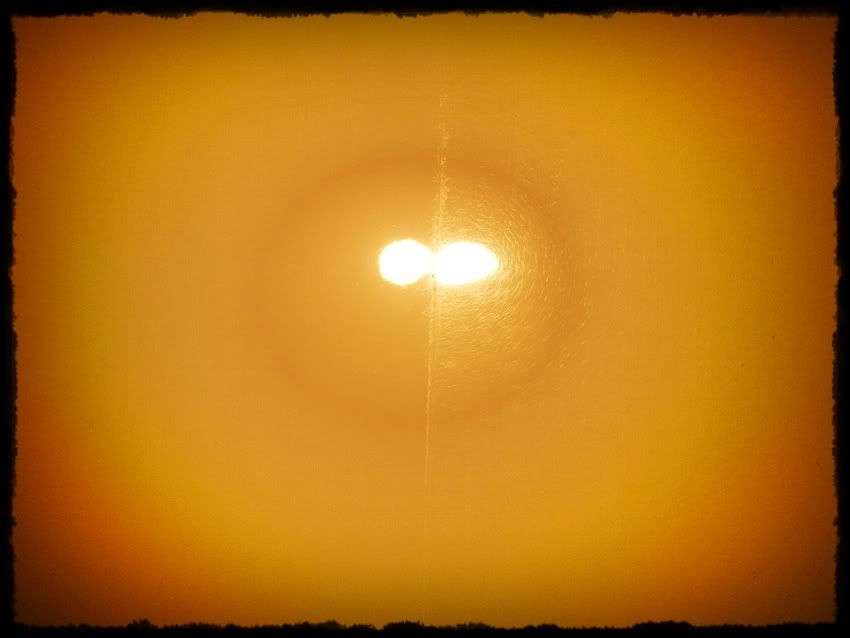
and here it is after
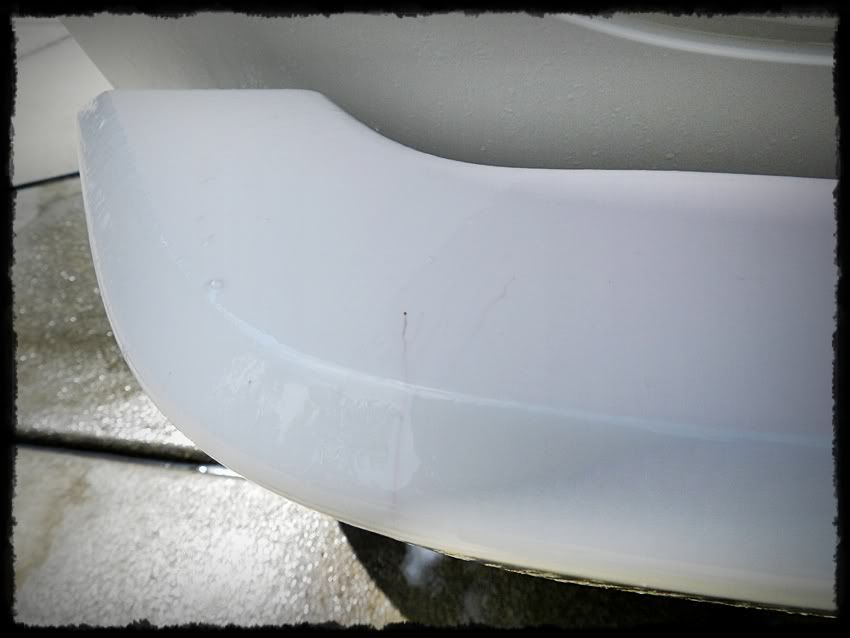
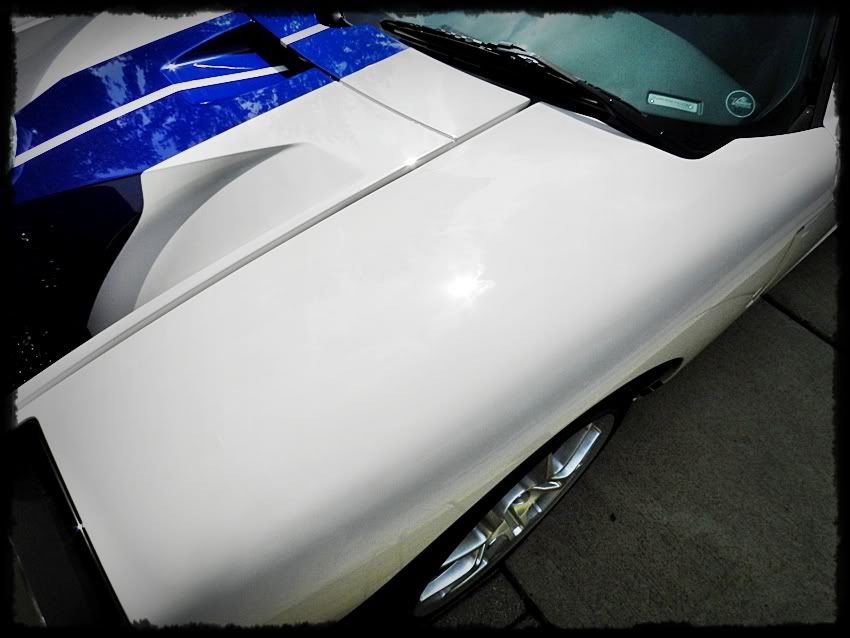
Along with the Front Bumper, the mirrors and Rear hatch area were also severely scratched up from the factory sand scratches.
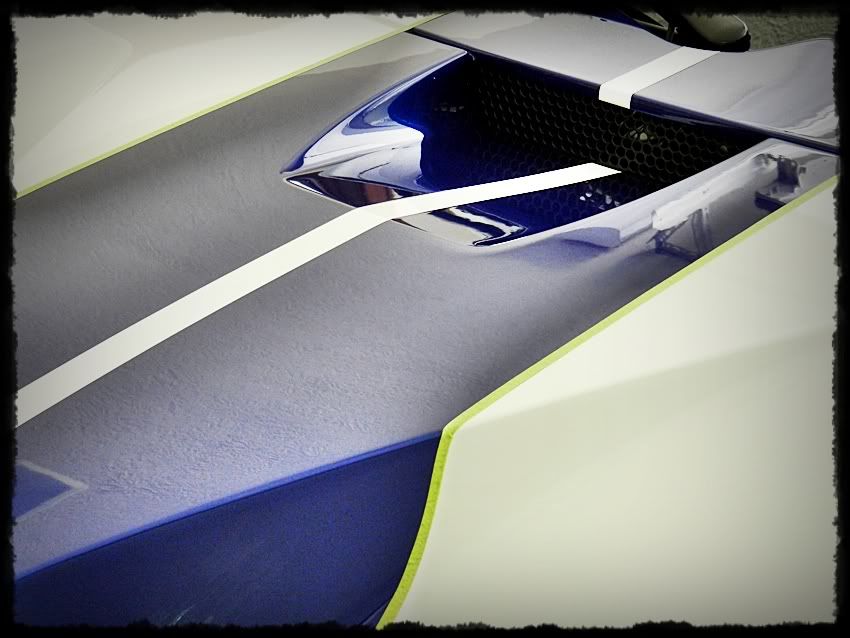
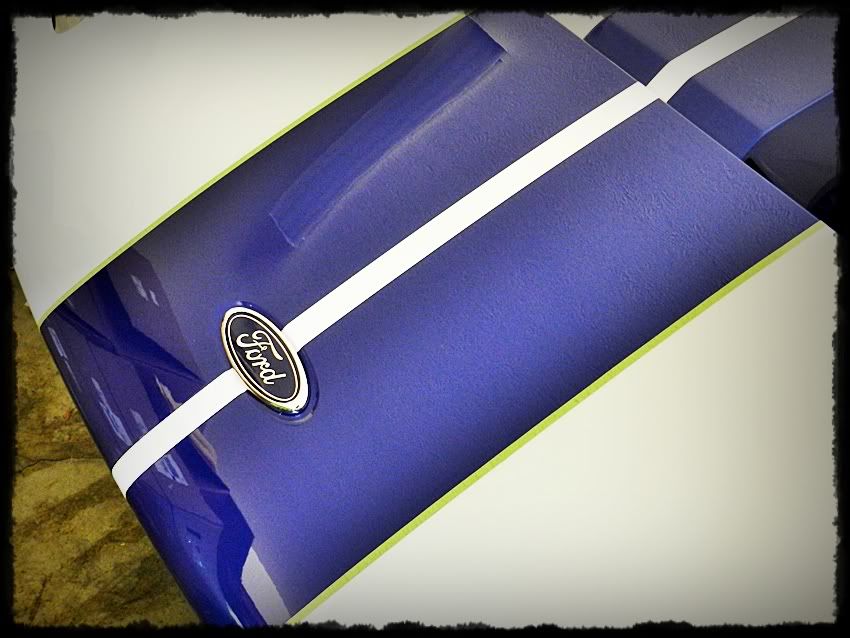
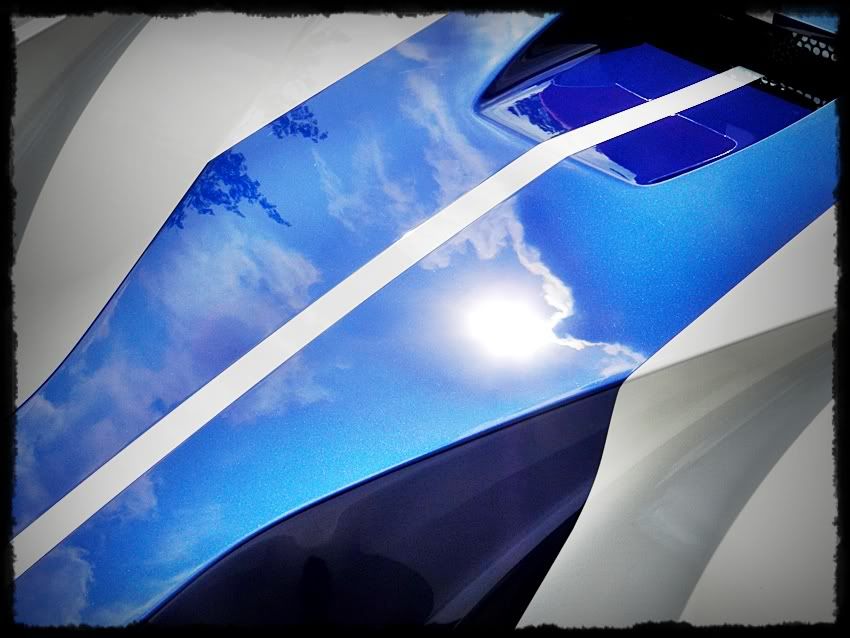
The Blue Stripes also had some buffer trails
Here is the side mirror before
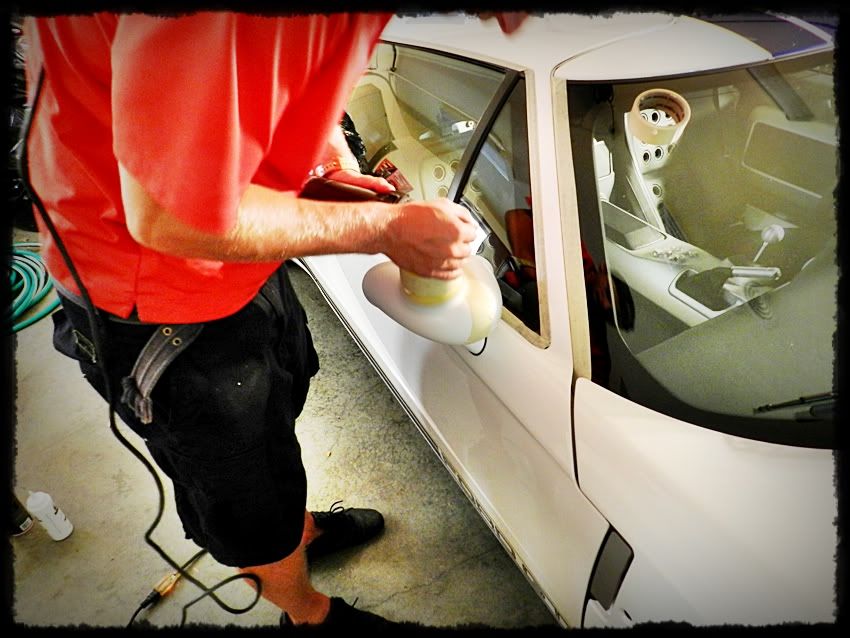
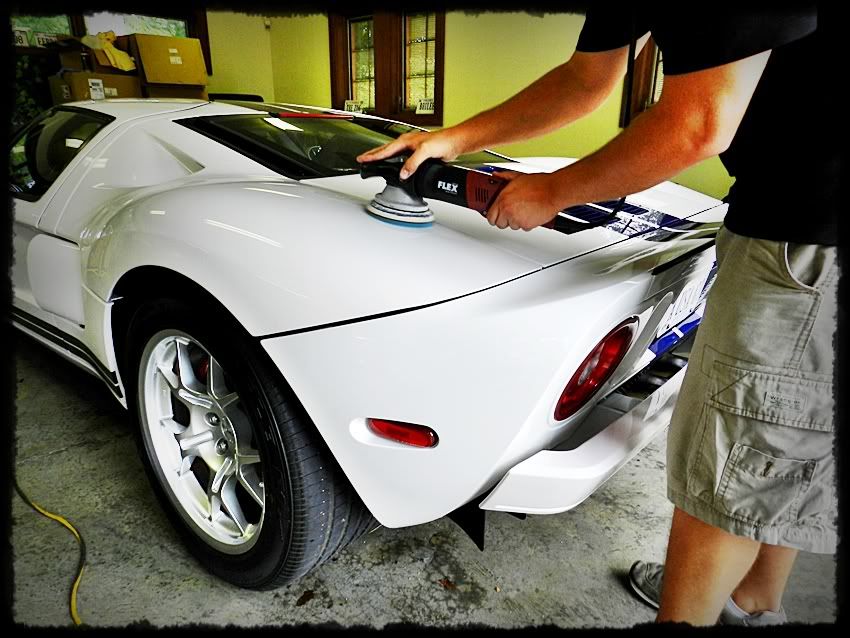
using a 4in Surbuff on the Megs G110 and M105 compound
For most of the car we used the Megs Microfiber cutting system and for the areas with bad sanding marks we used the Surbuff pad and M105. and polished using the LC Tang/205
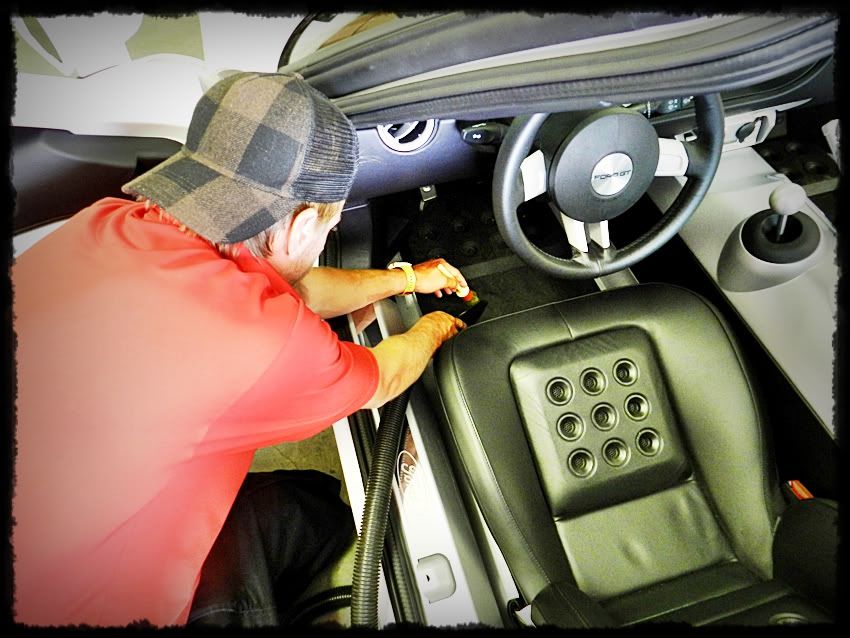
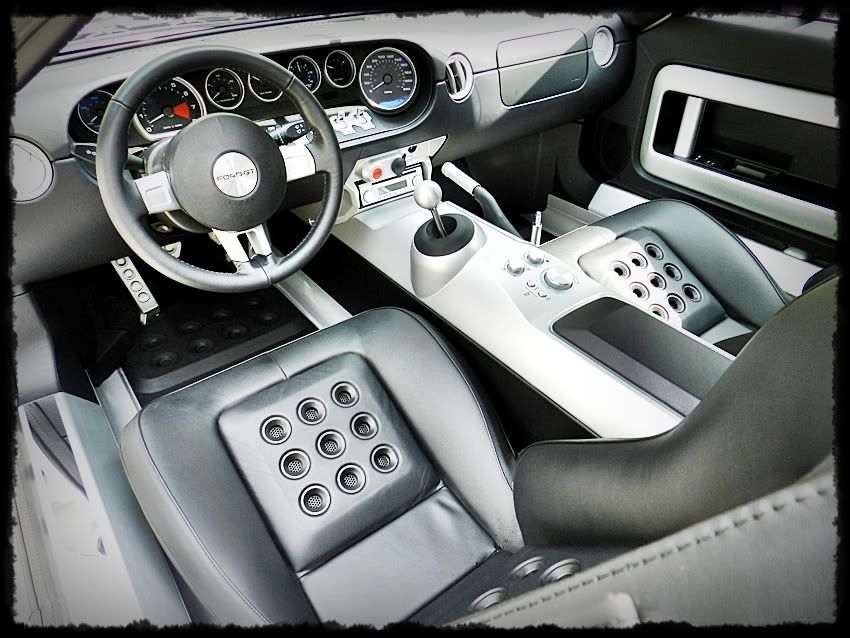
After that David did a Quick Vac and Wipe down on the inside while I shined the Tires using OPT Opti-Bond Tire Gel (My favorite Tire shine to date)
We used Meguiars Window Cleaner concentrate (Not sure what ratio, Maybe 2oz window cleaner and 30oz water) The best window cleaner I have ever used and is a MUST in the TruShine Arsenal!!
Then we applied Black Fire Wet Diamond to the paint using a blue LC pad
Great work again! This is becoming the expected norm from you guys when I read your threads. I am wondering though regarding those swirls from the factory. Do you think they are caused by the dealership in an effort to make an exotic car like this look perfect everyday on the showroom floor they have a hack wash it every day or 2 and thus induce this marring? Just seems weird to see that kind of marring on a brand new car. Although maybe it is common, I am still very new to detailing.
If you ask me, those are sand scratches that were never buffed out? I'm not sure what the process that ford takes on these cars, but if they are hand sanded and buffed out then this is a good sign that all of there areas where missed. if not then some how before my customer bought this from the dealership it had to have some paint work done.