imported_shine
New member
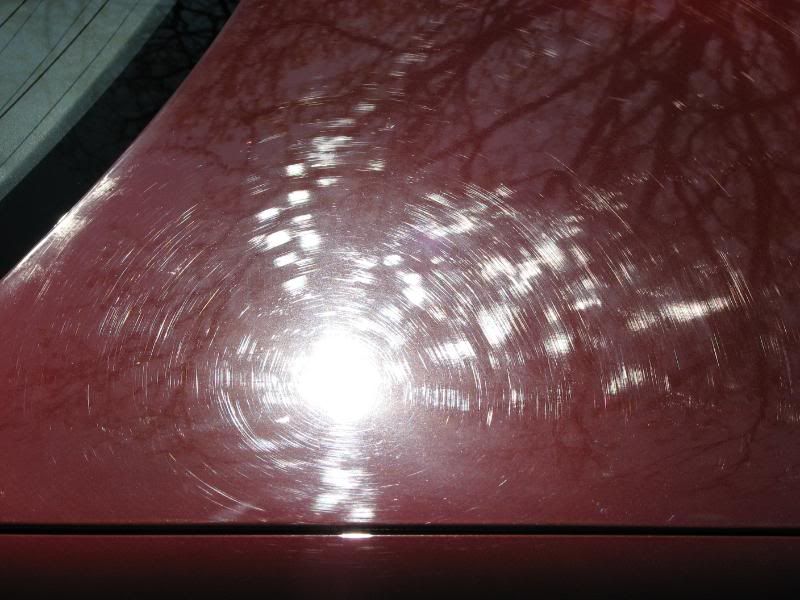
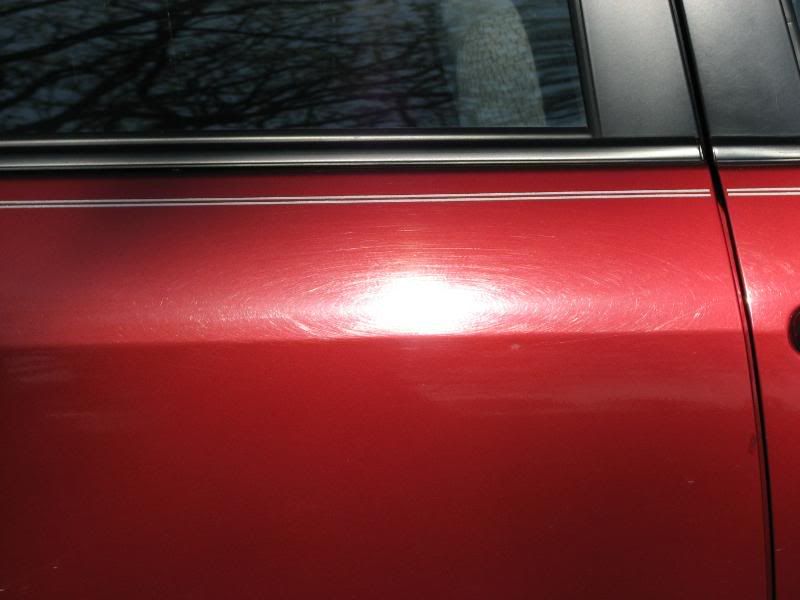
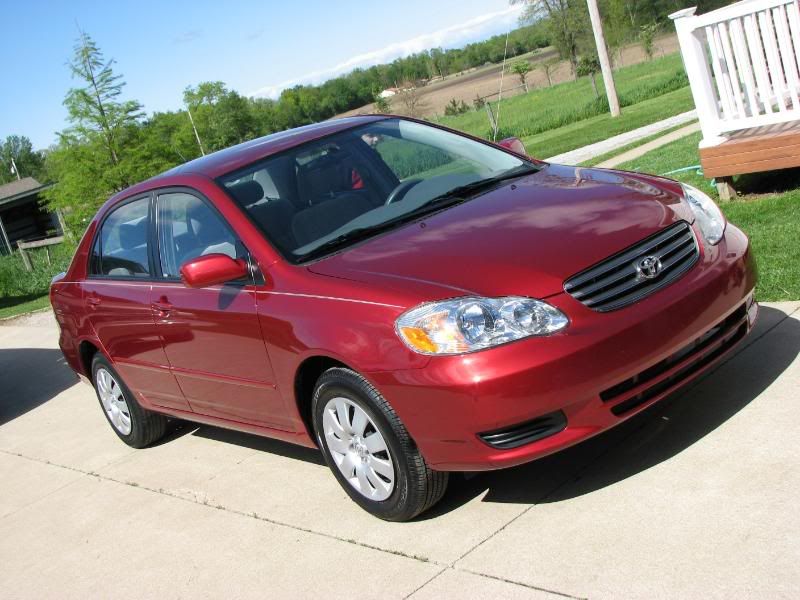
I had the opportunity to do my first full detail with my new Makita 9227c rotary this weekend. The subject was a 2004 Toyota Corolla in red (not sure what the exact color name is). It had some fairly extreme swirling , and an absolutely horrendous trunk. I thought this would be a fairly easy fix, knowing that Toyota paint was fairly soft and I had a full range of Edge wool, foam, and LC FPW and OC/SIP. Wrong. I spent about 16-18 hours on this and did not get it near perfect, though it was certainly an improvement. :hmph:
Poorboy's Bug Squash / Meg's GC via foamgun
2BM w/ Ulti-Mit
Poorboy's Bug Squash 3:1 w/ Pinnacle bug/tar sponge on tar
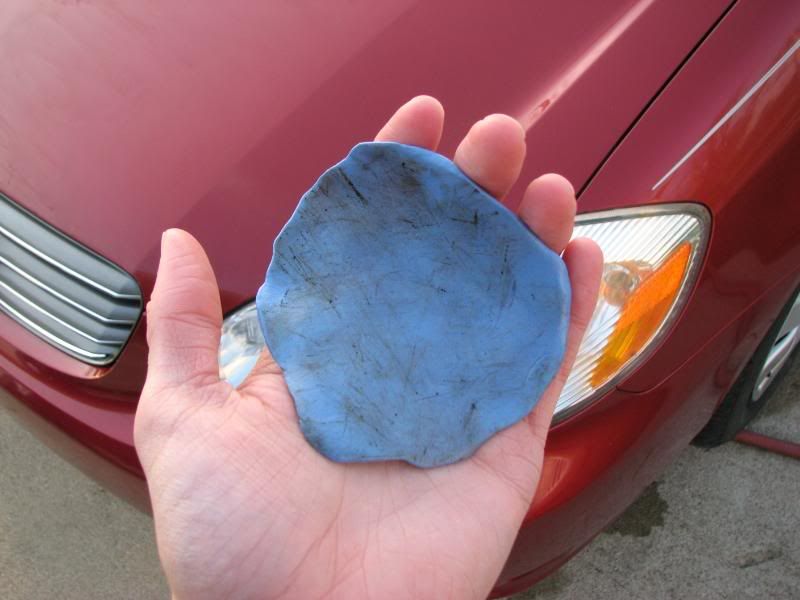
Clay Magic w/ Meg's QD
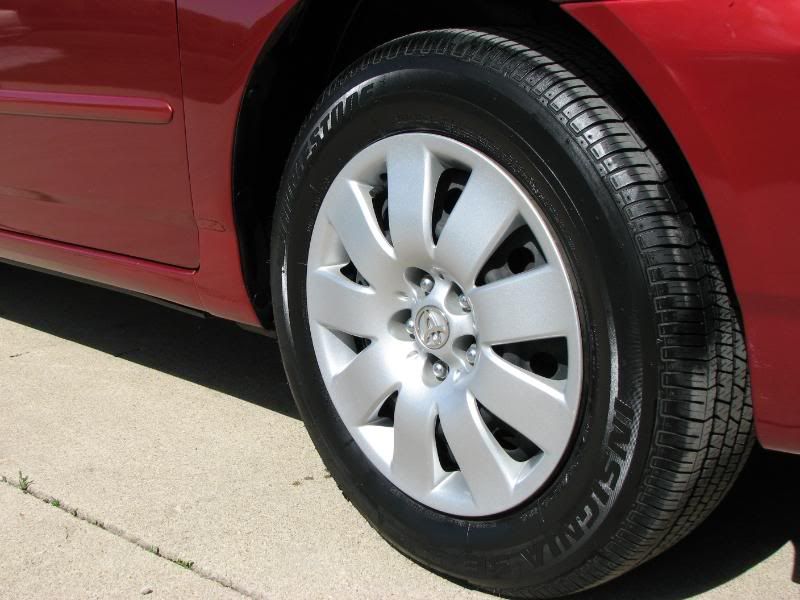
Tires/Wheels Eagle One, Meg's wheel brush, Wal-Mart tire brush
Measured pant thickness w/ Highline Meter
Paint Correction:
Hood:
-6" Edge Yellow Wool/SIP
-6.5" LC FPW/SIP
-6" Edge Yellow Foam/SIP
-6" Edge Blue/UF
Trunk:
Multiple applications of OC/SIP with...
-6" Edge Black Wool
-6" Edge Yellow Wool
-6" Edge Yellow Foam
-and finally 6" Edge Blue/UF--after examination in the sun I had some slight holograms--this cleaned it up.
The rest of the car...
-6" Edge Yellow Foam/SIP-this removed most defects while leaving a nice finish, so I did not finish up with UF. I normally would have but was short on time and the vehicle is a daily driver.
-Hose down to remove polish dust
-ONR wash
-Prep-All wipedown
LSP:
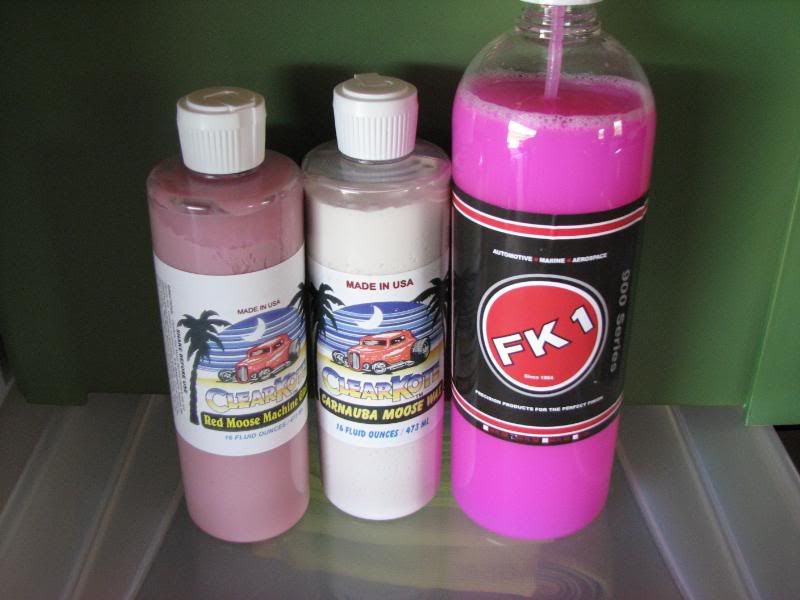
-Clearkote Red Moose Machine Glaze
-Clearkote Carnauba Moose Wax
-FK1 425
-Armor-All Extreme Shine Gel on tires...topped with Meg's HD 2.5:1
-Wheel wells-Meg's HD 2.5:1
Before:
Tar--one of the several locations:
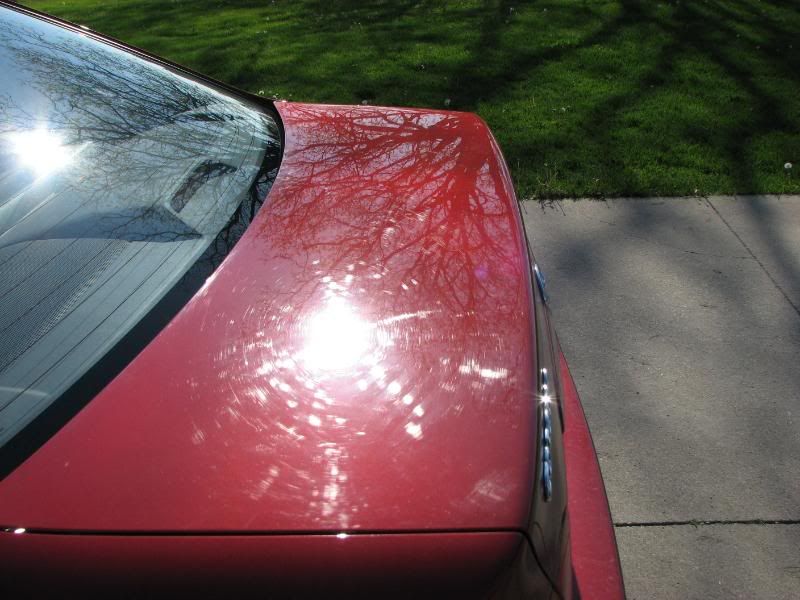
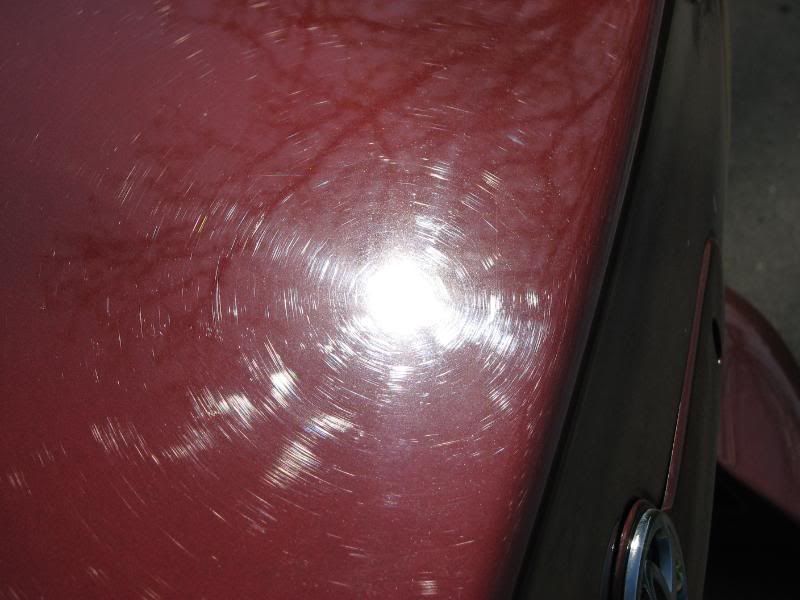
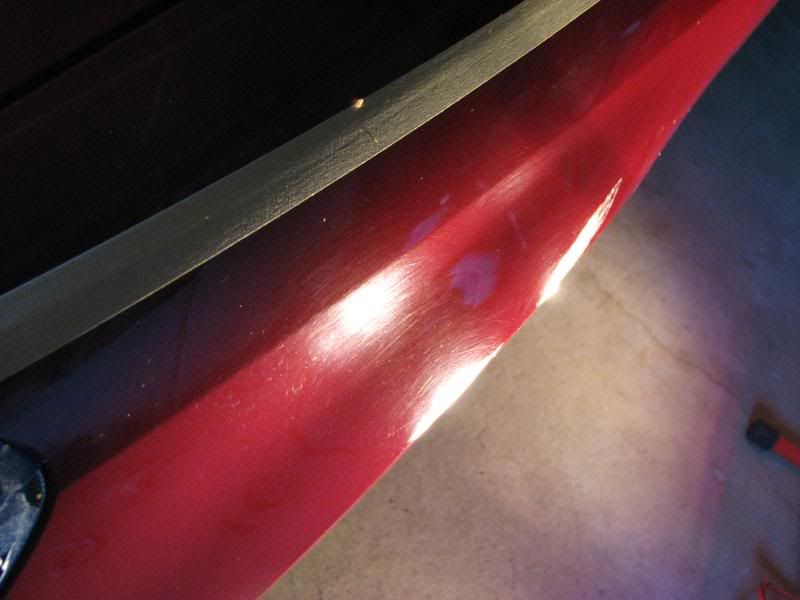
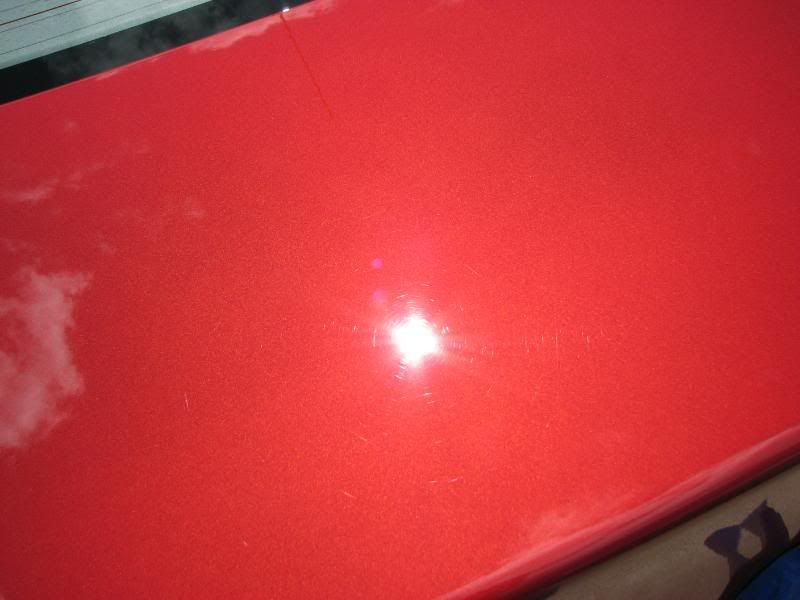
The trunk: :soscared:
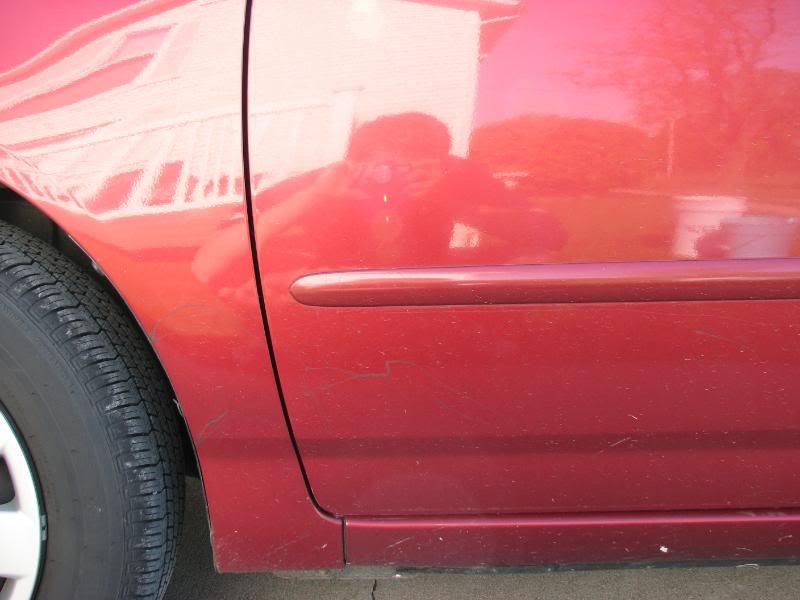
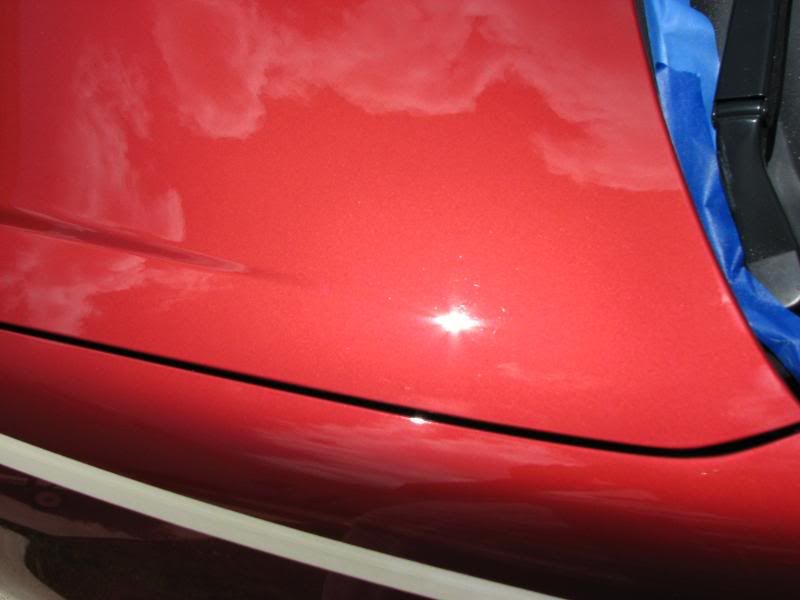
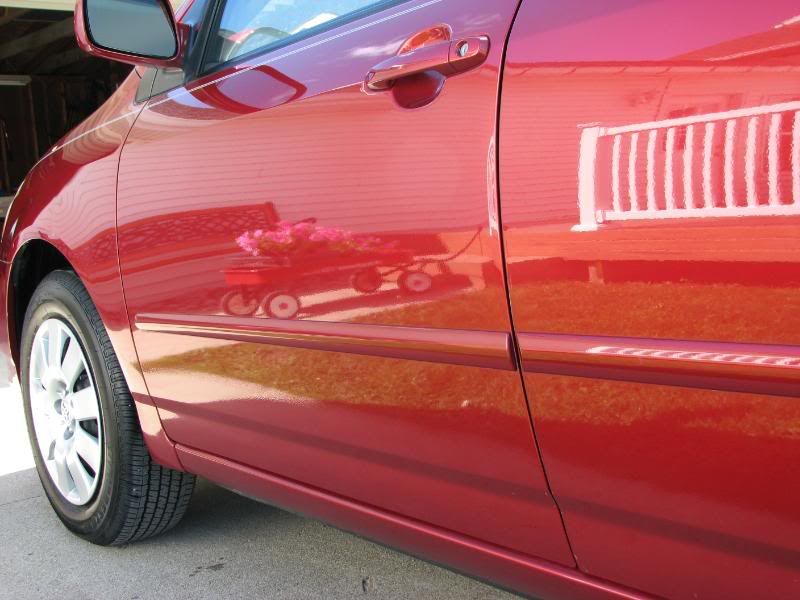
Side:
Clay:
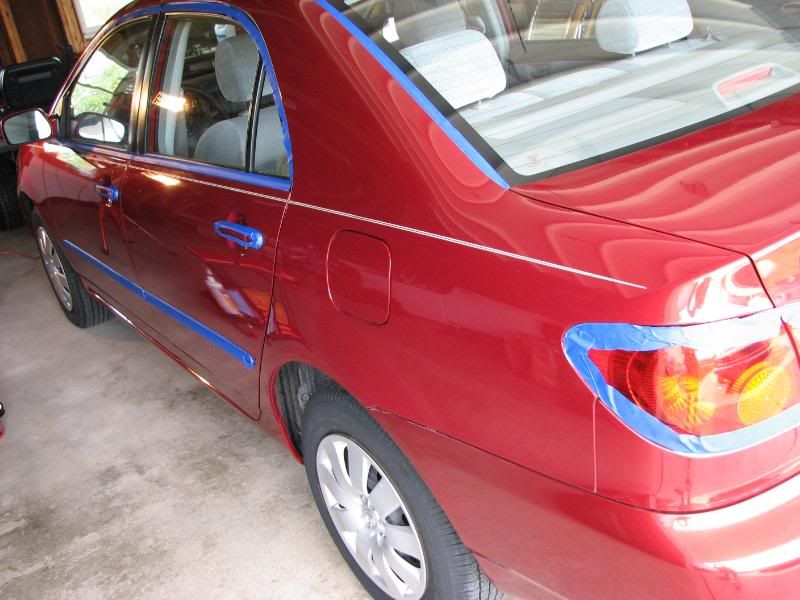
Taped up:
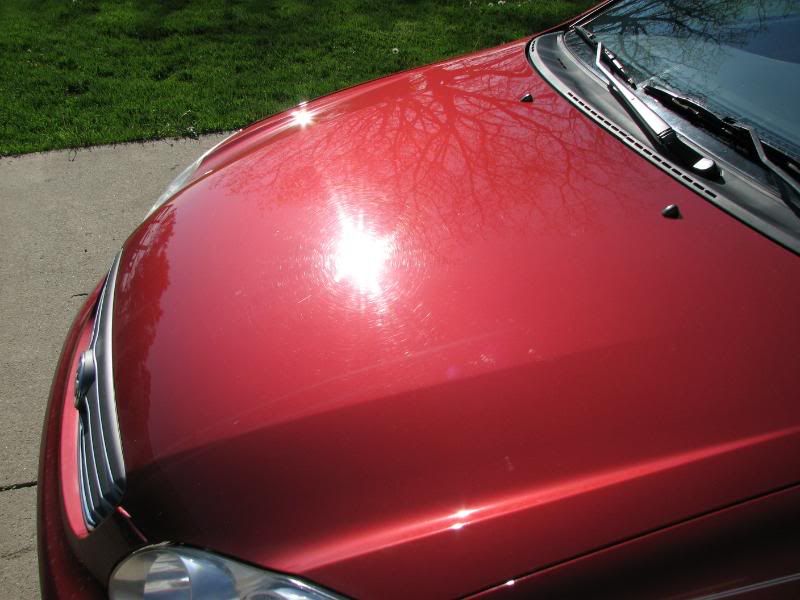
Hood:
Hood after SIP:
Dusty...gotta love Menzerna:

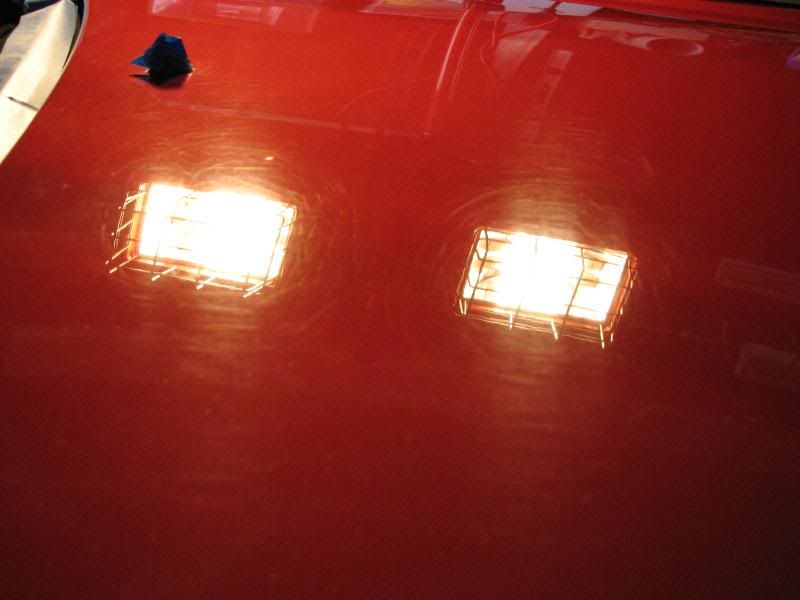
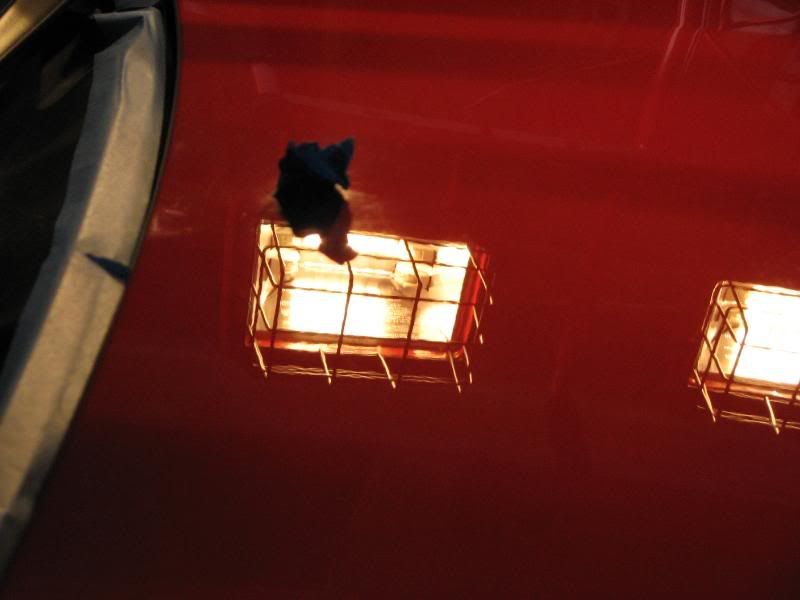
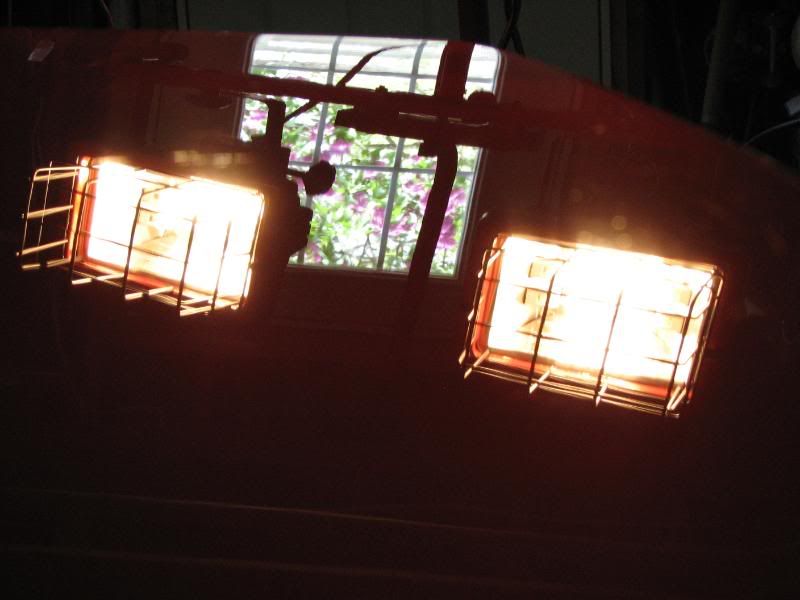
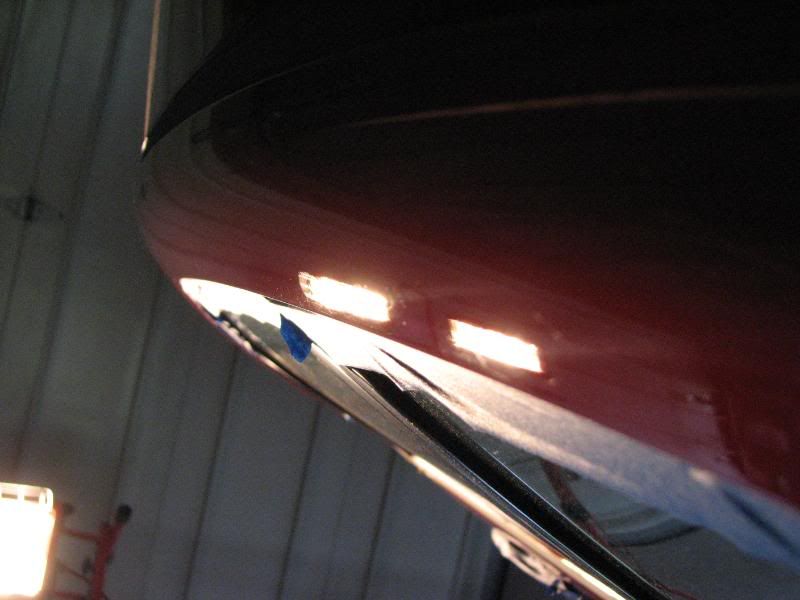
Here is the trunk under halogens:
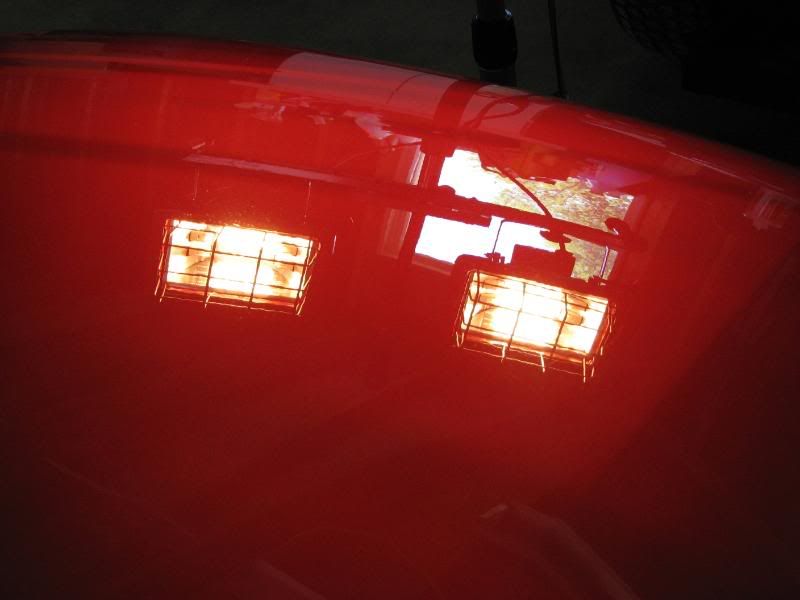
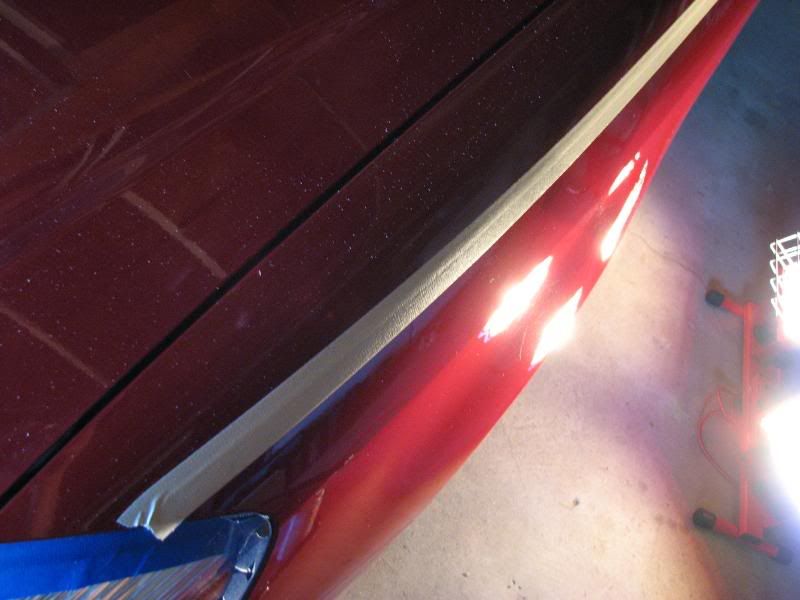
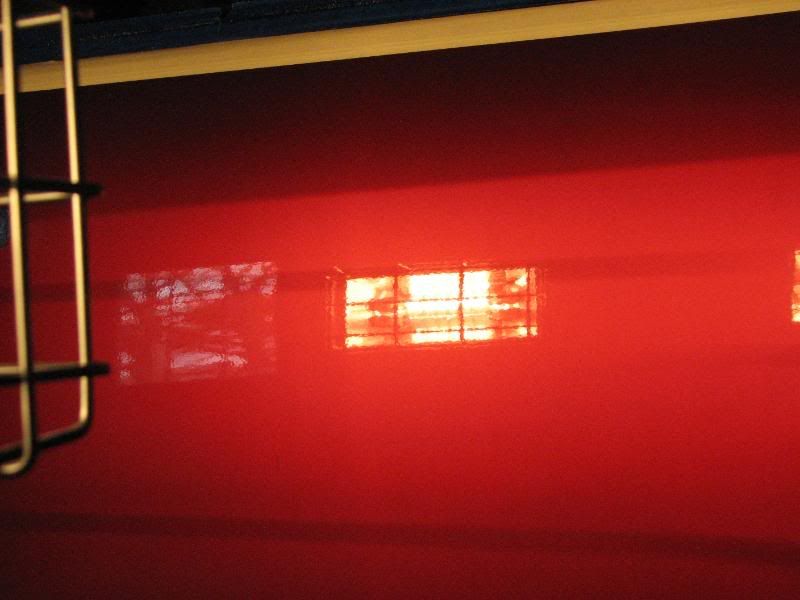
Trunk after a lot of SIP and UF:
Before...:
...and after:
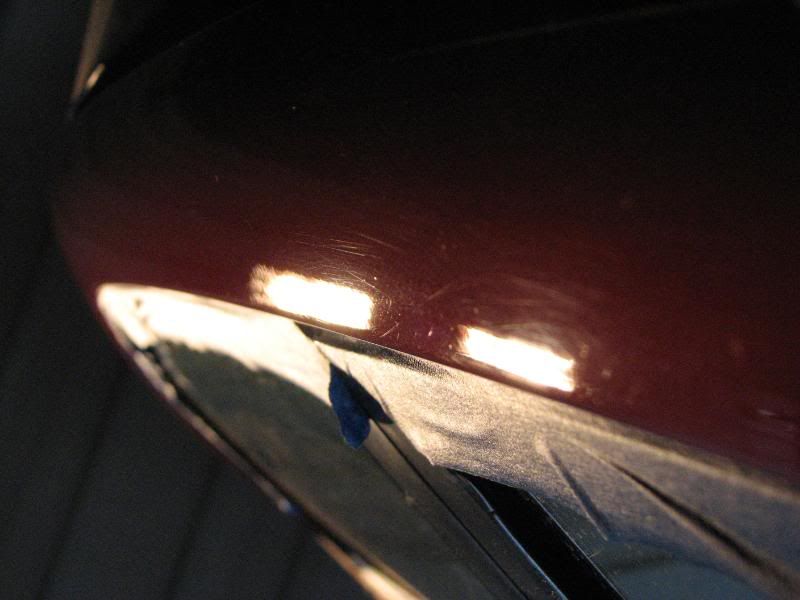
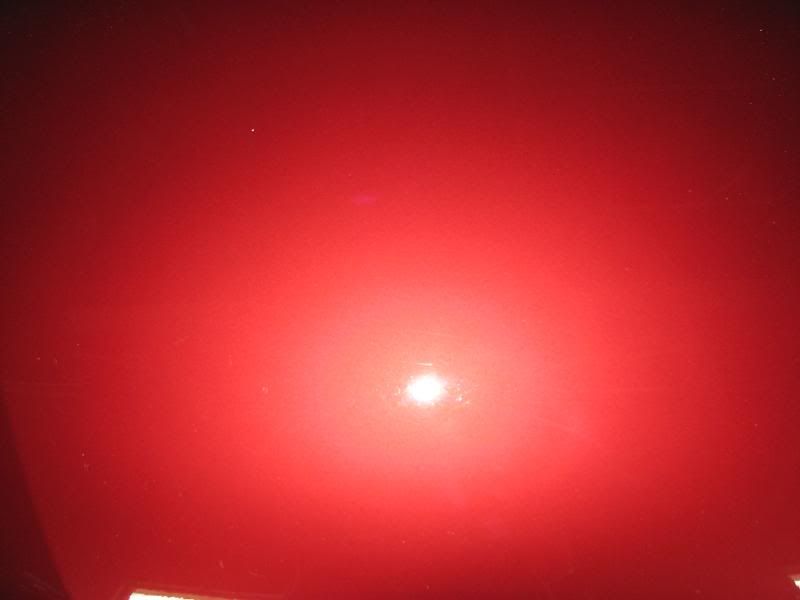
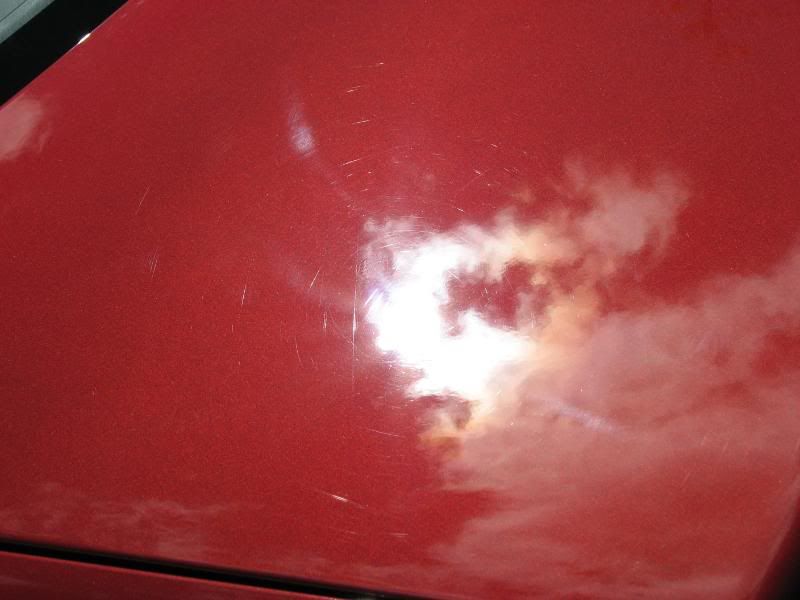
Camera flash showing some defects remain:
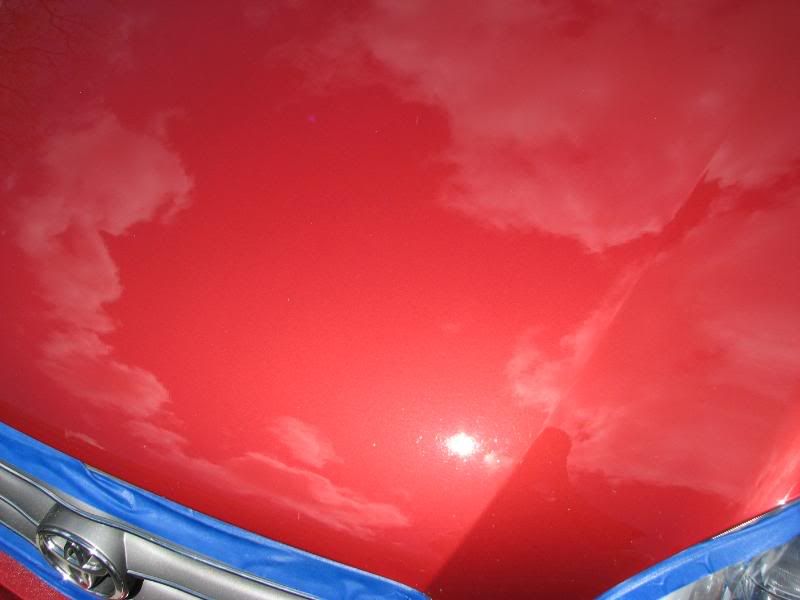
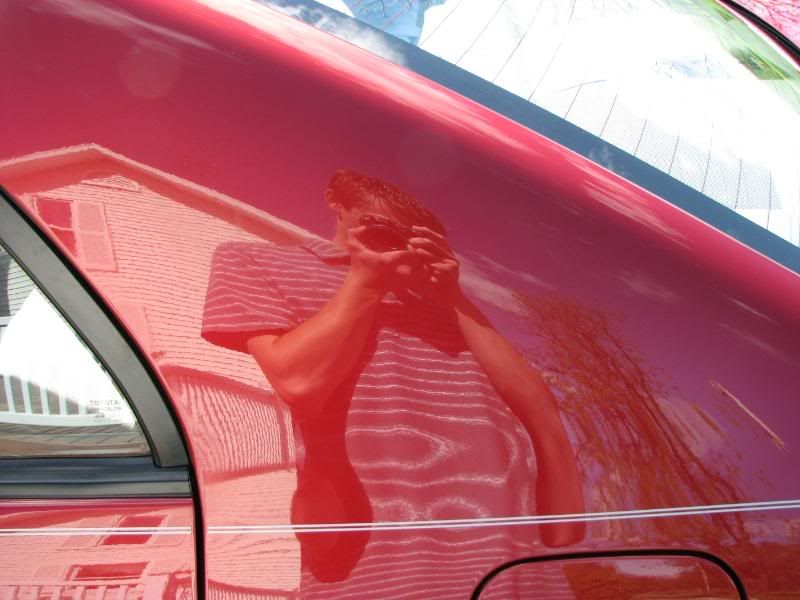
Out in the sun:
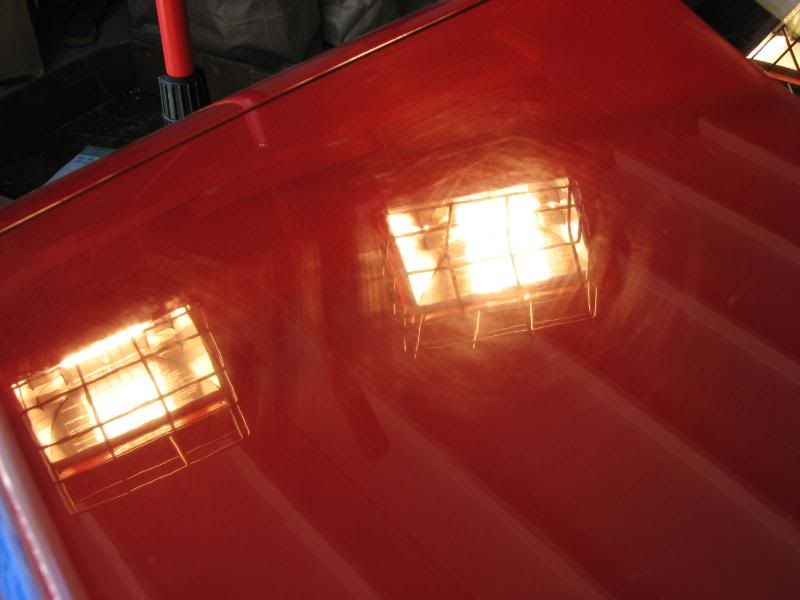
Trunk...it is better but far from perfect:
LSPs:
Done...
Trunk:
I really wish I would have had M105 for this as it would have likely cut through the crap that I wasn't able to do with OC/SIP, saved me lots of time, and possibly resulted in a nearly defect free finish. Maybe next time...It was certainly a learning experience.
Poorboy's Bug Squash / Meg's GC via foamgun
2BM w/ Ulti-Mit
Poorboy's Bug Squash 3:1 w/ Pinnacle bug/tar sponge on tar
Clay Magic w/ Meg's QD
Tires/Wheels Eagle One, Meg's wheel brush, Wal-Mart tire brush
Measured pant thickness w/ Highline Meter
Paint Correction:
Hood:
-6" Edge Yellow Wool/SIP
-6.5" LC FPW/SIP
-6" Edge Yellow Foam/SIP
-6" Edge Blue/UF
Trunk:
Multiple applications of OC/SIP with...
-6" Edge Black Wool
-6" Edge Yellow Wool
-6" Edge Yellow Foam
-and finally 6" Edge Blue/UF--after examination in the sun I had some slight holograms--this cleaned it up.
The rest of the car...
-6" Edge Yellow Foam/SIP-this removed most defects while leaving a nice finish, so I did not finish up with UF. I normally would have but was short on time and the vehicle is a daily driver.
-Hose down to remove polish dust
-ONR wash
-Prep-All wipedown
LSP:
-Clearkote Red Moose Machine Glaze
-Clearkote Carnauba Moose Wax
-FK1 425
-Armor-All Extreme Shine Gel on tires...topped with Meg's HD 2.5:1
-Wheel wells-Meg's HD 2.5:1
Before:
Tar--one of the several locations:
The trunk: :soscared:
Side:
Clay:
Taped up:
Hood:
Hood after SIP:
Dusty...gotta love Menzerna:
Here is the trunk under halogens:
Trunk after a lot of SIP and UF:
Before...:
...and after:
Camera flash showing some defects remain:
Out in the sun:
Trunk...it is better but far from perfect:
LSPs:
Done...
Trunk:
I really wish I would have had M105 for this as it would have likely cut through the crap that I wasn't able to do with OC/SIP, saved me lots of time, and possibly resulted in a nearly defect free finish. Maybe next time...It was certainly a learning experience.
") Great job.
Great job.