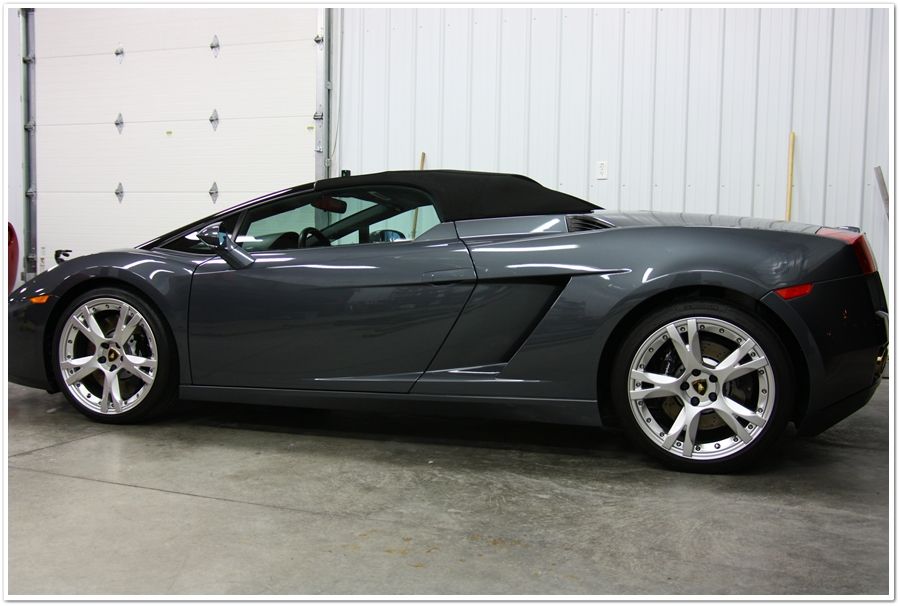
A bunch of Ferraris and a Lamborghini by Esoteric Auto Detail from Columbus, Ohio
I've been keeping myself extremely busy over the winter, and in the process have accumulated many photos that I would have liked to share, but didn't have the time to do the level of writeup that everybody has become accustomed to see from me.
I always try to make my posts as educational as possible, and on occasion I get lucky and make them somewhat entertaining as well to keep people reading. With that I always make sure to throw in plenty of eye candy to make the write-up well balanced.
If I were to do full write-ups on all of these cars the way I normally do I'd be sitting here typing away at this keyboard for days. Unfortunately I've got a busy schedule as normal, and therefore will provide you with the CliffsNotes version. There are plenty of juicy photos to savor, so don't spin that scroll wheel on your mouse too fast...take your time and enjoy since you don't have to do as much reading this time.")
And for the legal disclaimer...other than resizing and adding a border, as always my photographs are straight from my camera to your screen. No enhancements, no tweaking, no pumping up of colors. WYSIWYG.
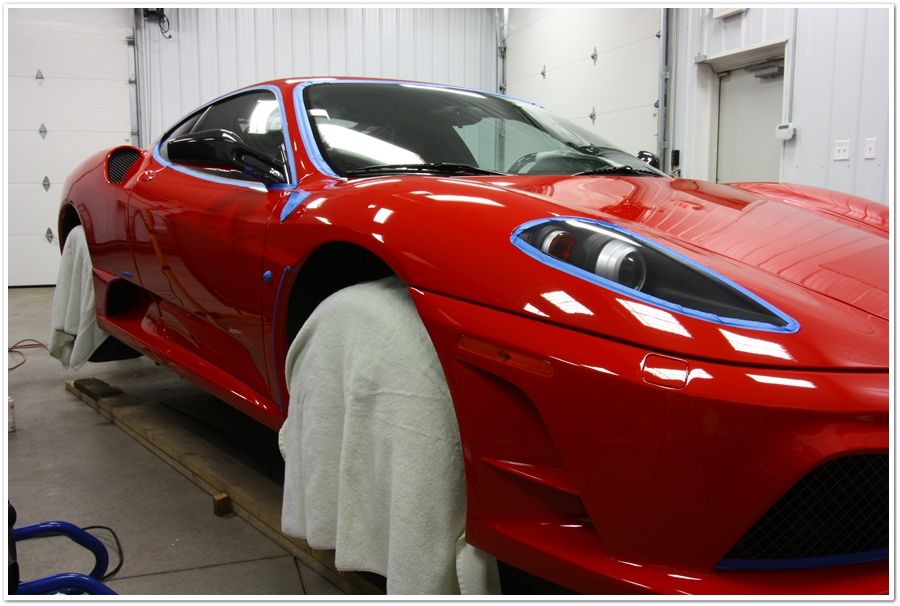
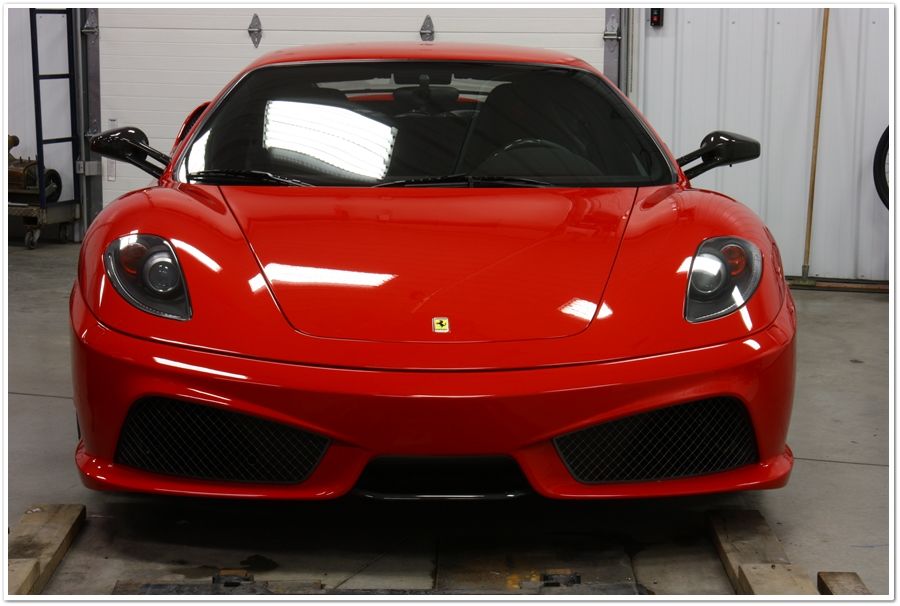
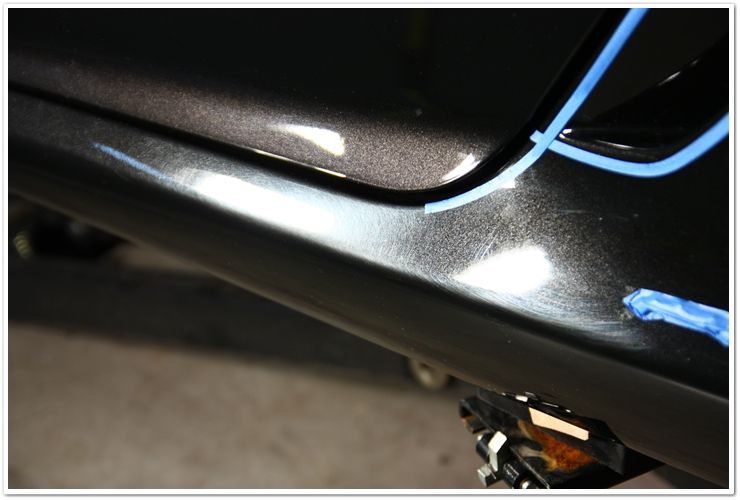
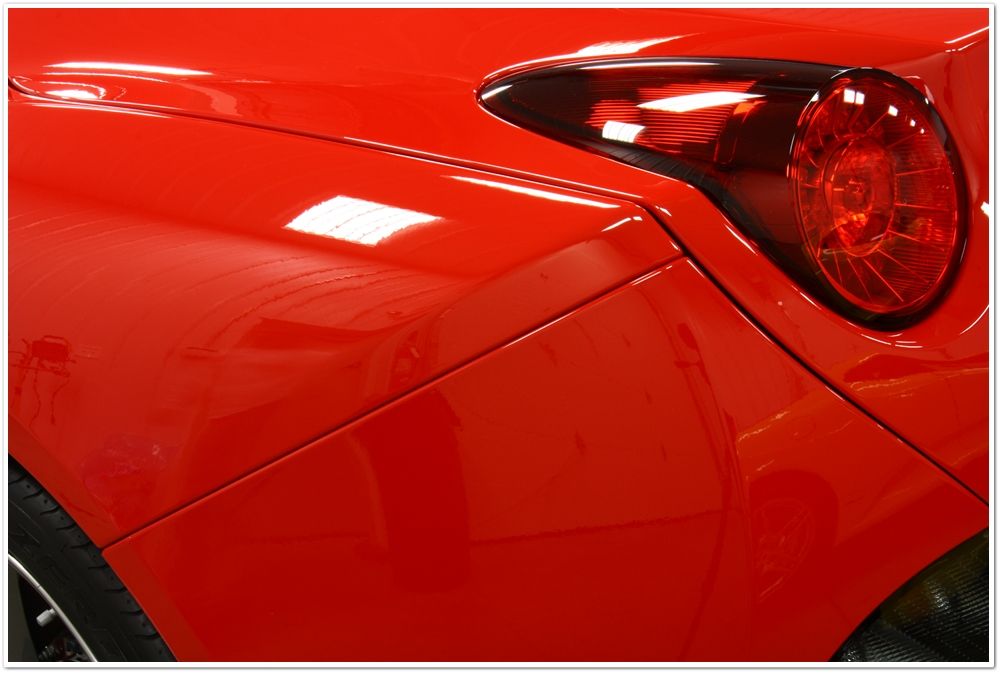
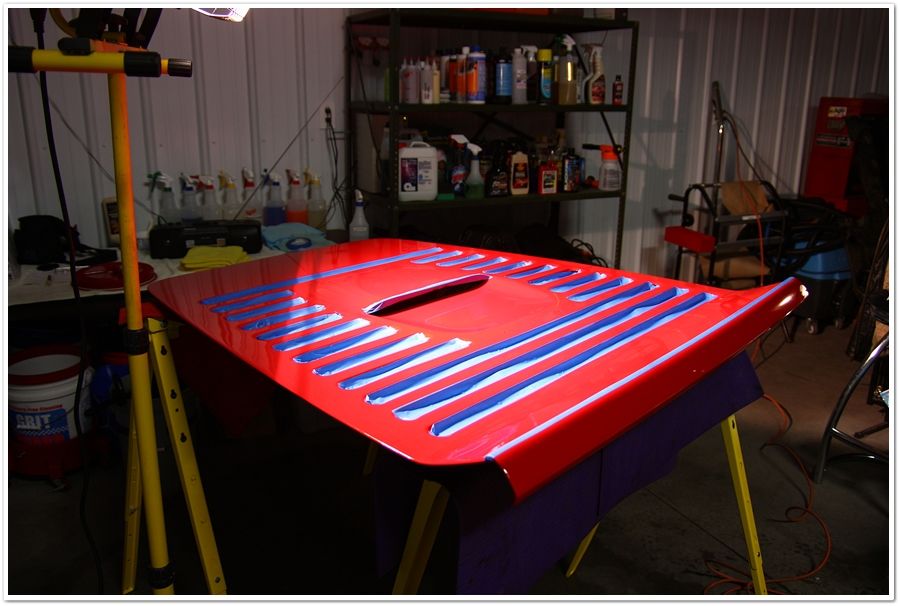
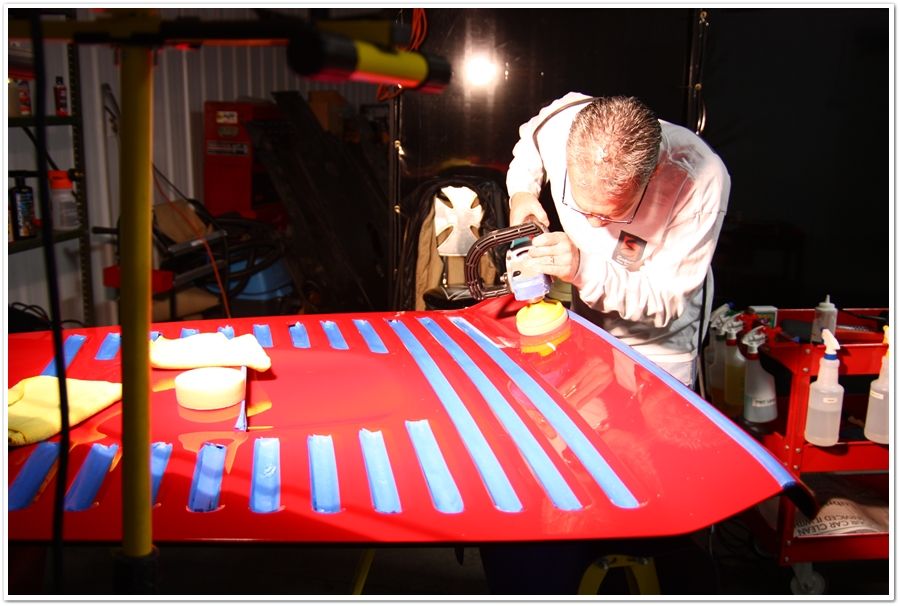
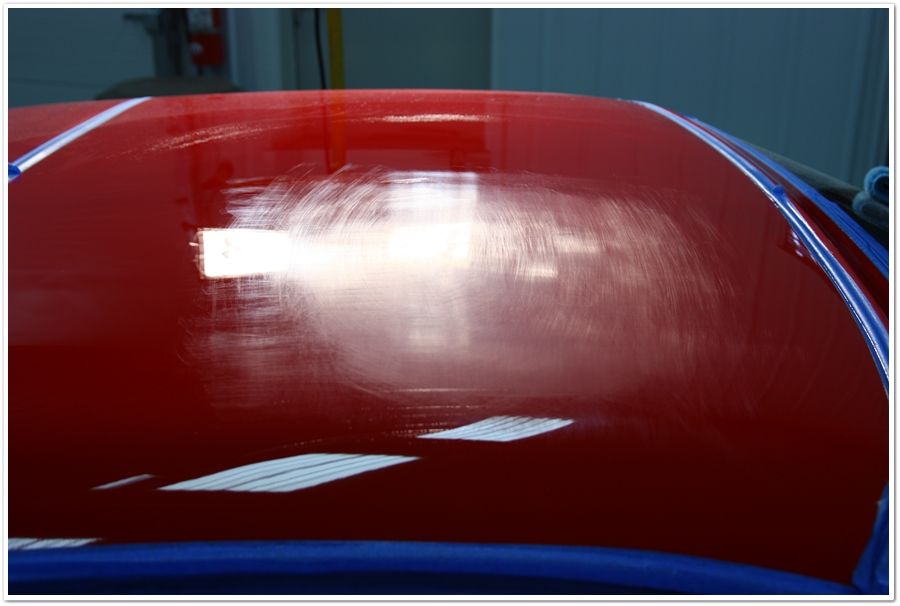
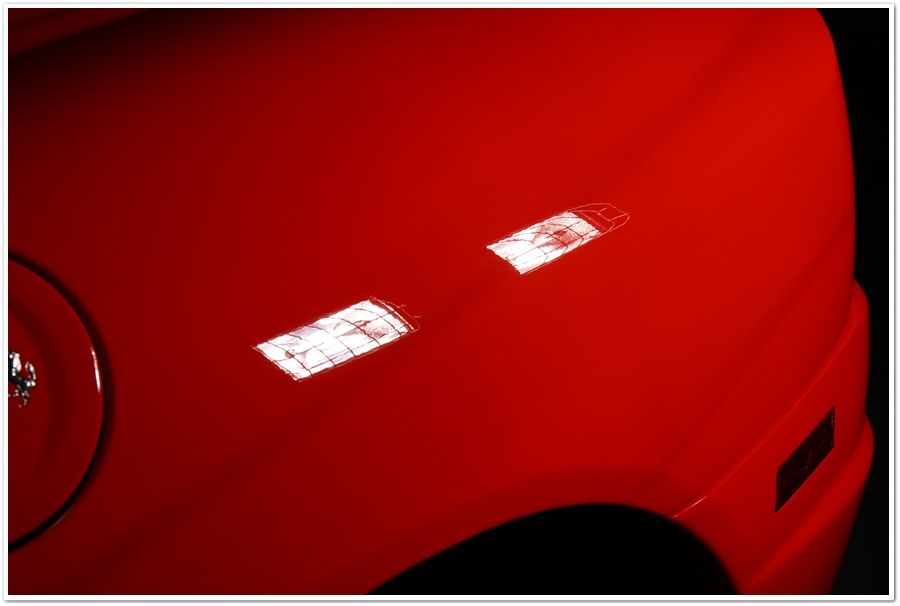
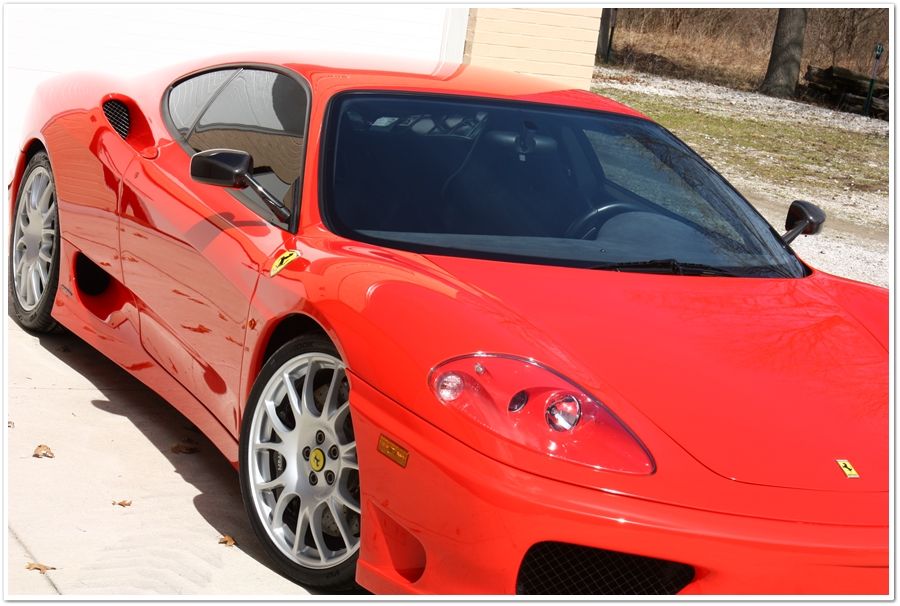
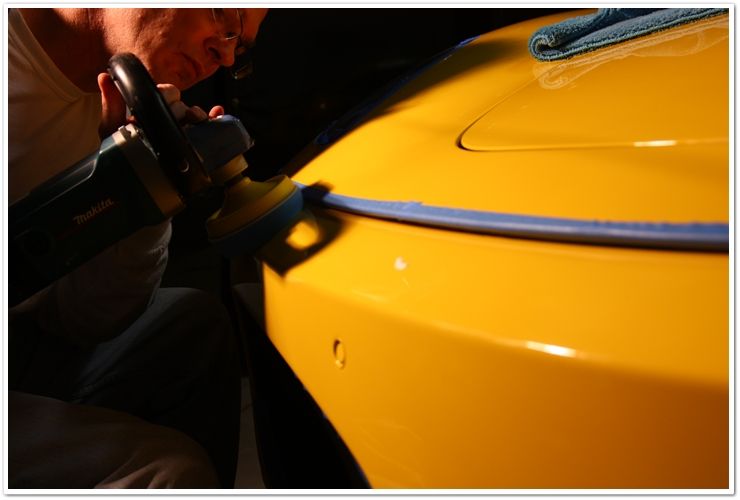
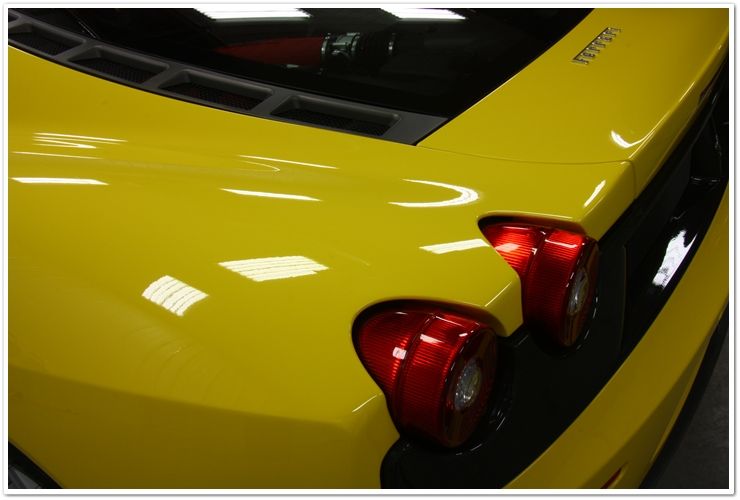
First up is a brand new yellow F430. As with pretty much all of these cars listed below, it came from the factory in less than stellar shape. On the rear bumper of this one, it looked like a lot of heavy sanding had been done, but they completely forgot to go back and buff it out. Being yellow, it was much harder to see. This one got M105 on the heavier defects, M205 on the entire car, then it was sealed with Optimum Opti-Seal, and topped with Optimum Car Wax (gasp...a $200K car with a $17 wax!...say it isn't so!)
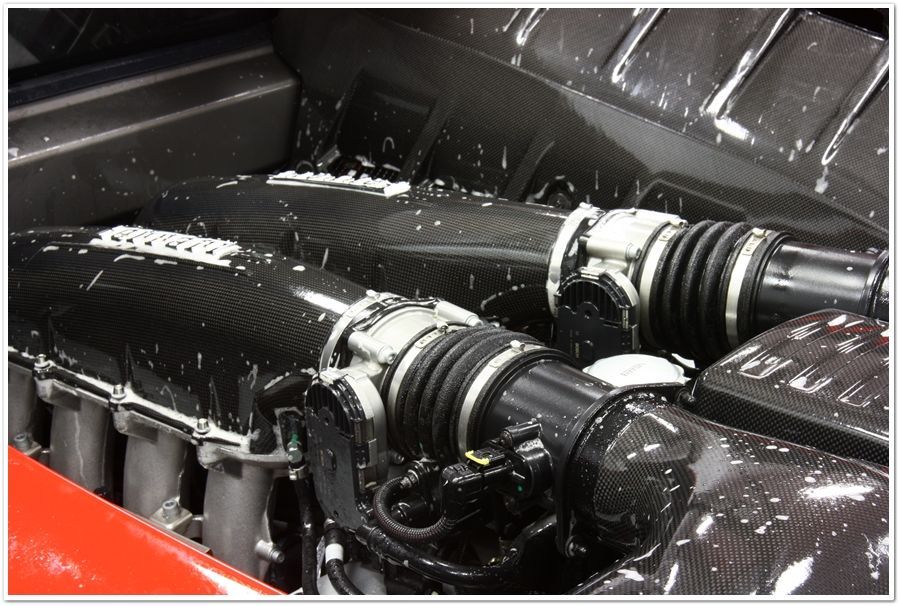
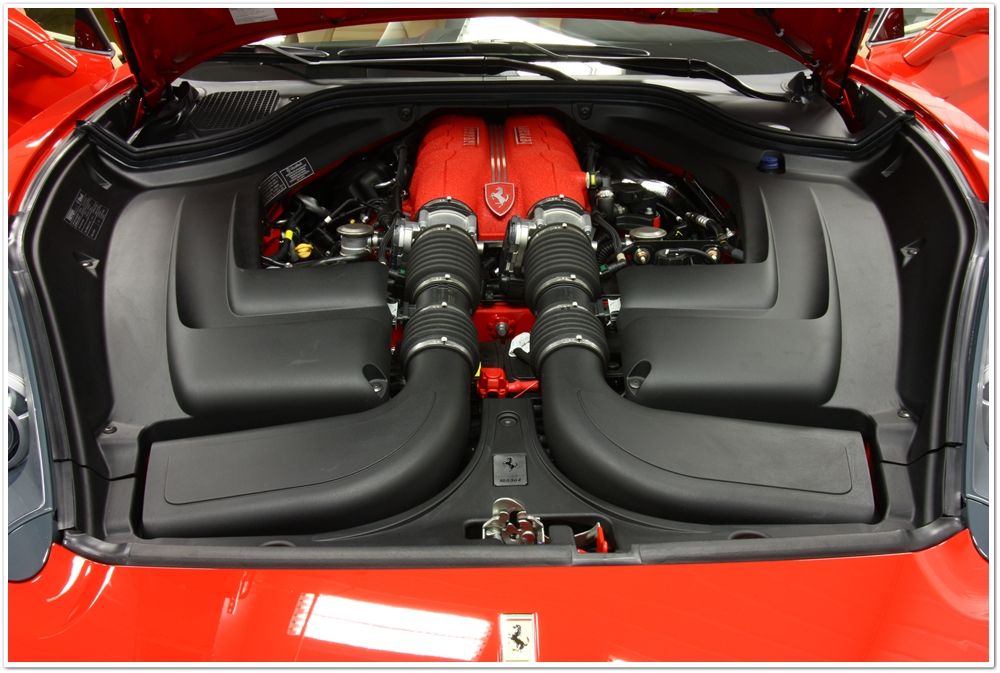
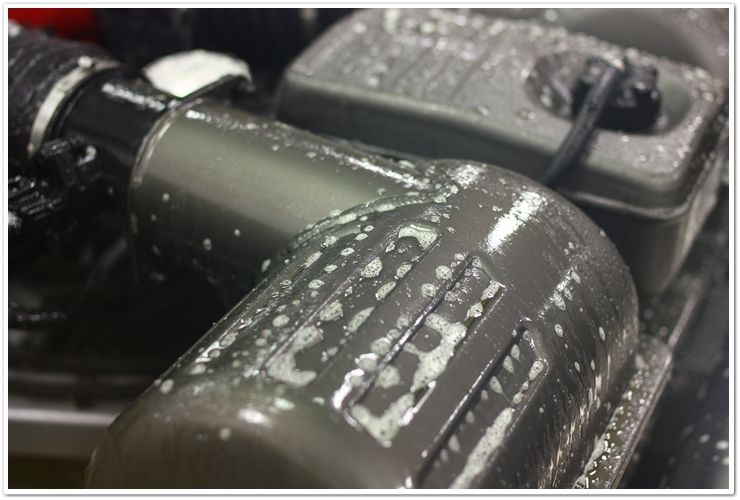
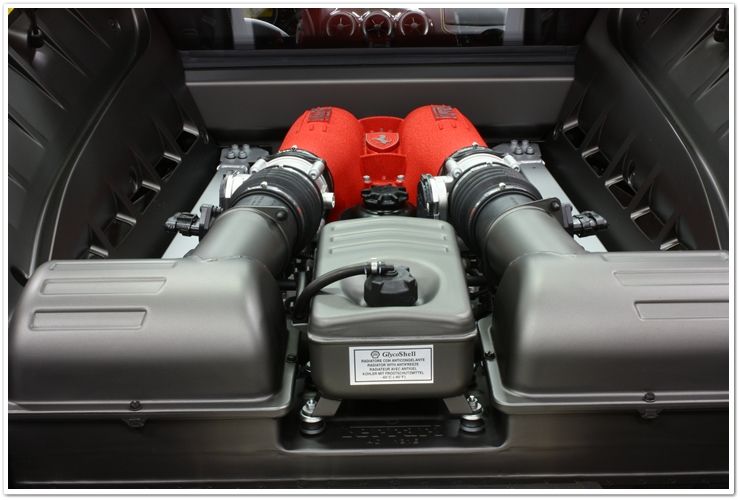
Engine was cleaned with P21S TAW
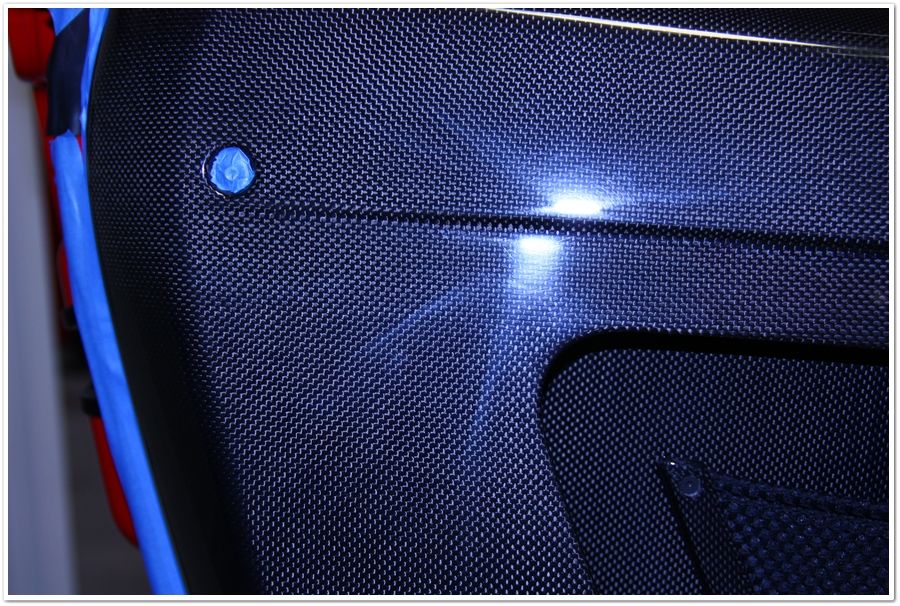
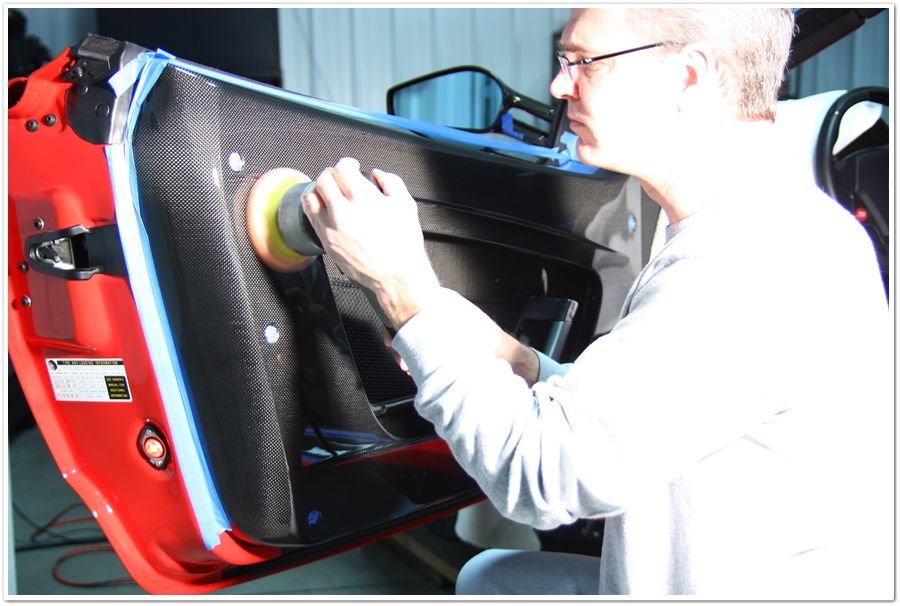
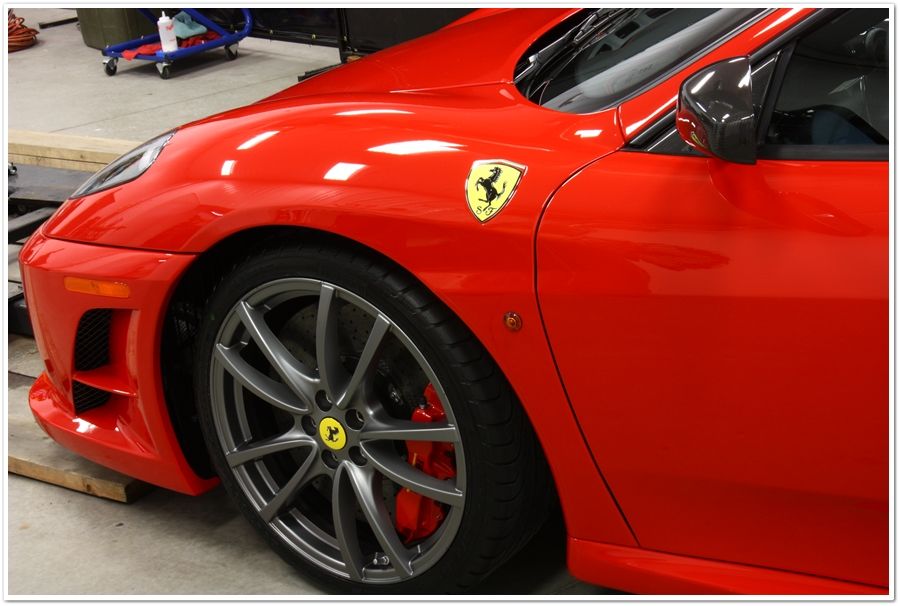
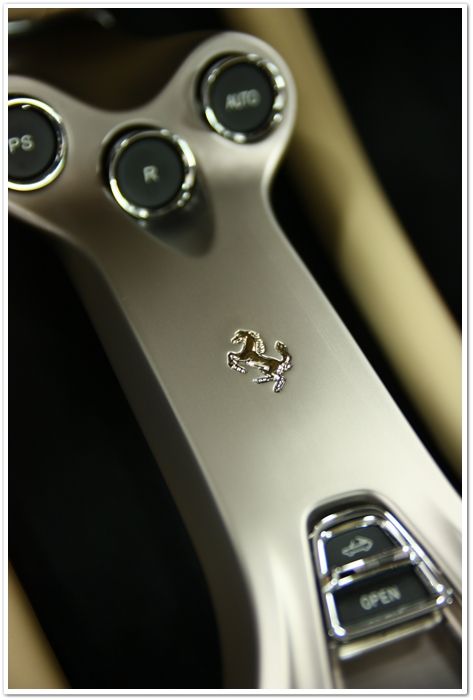
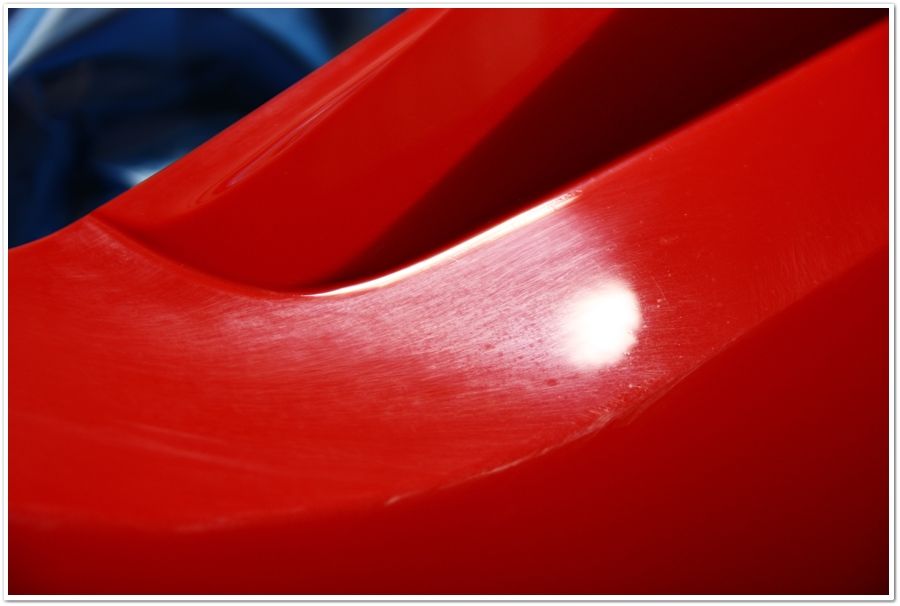
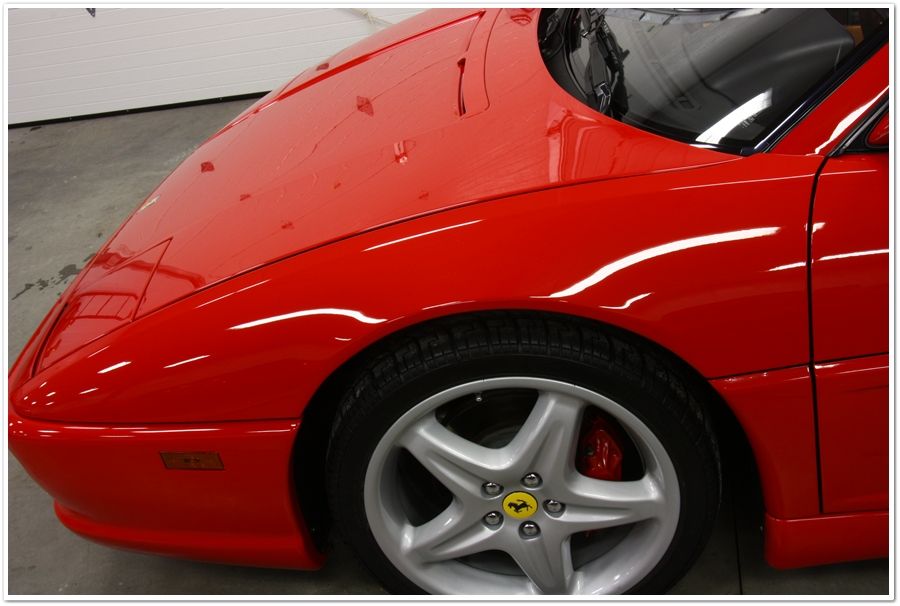
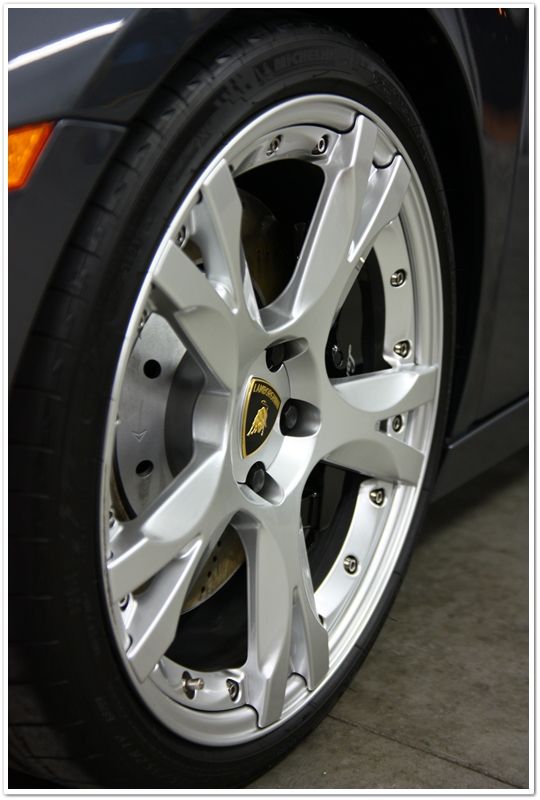
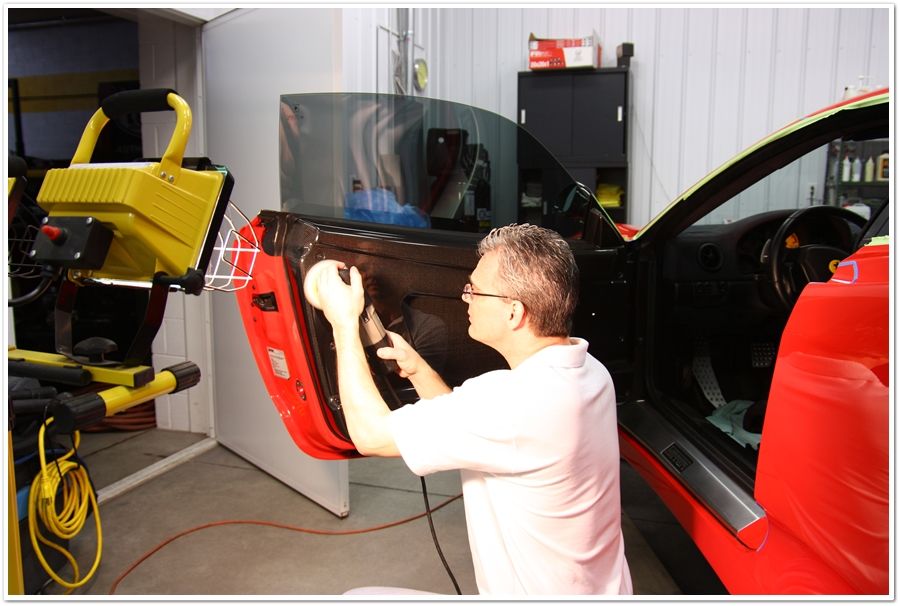
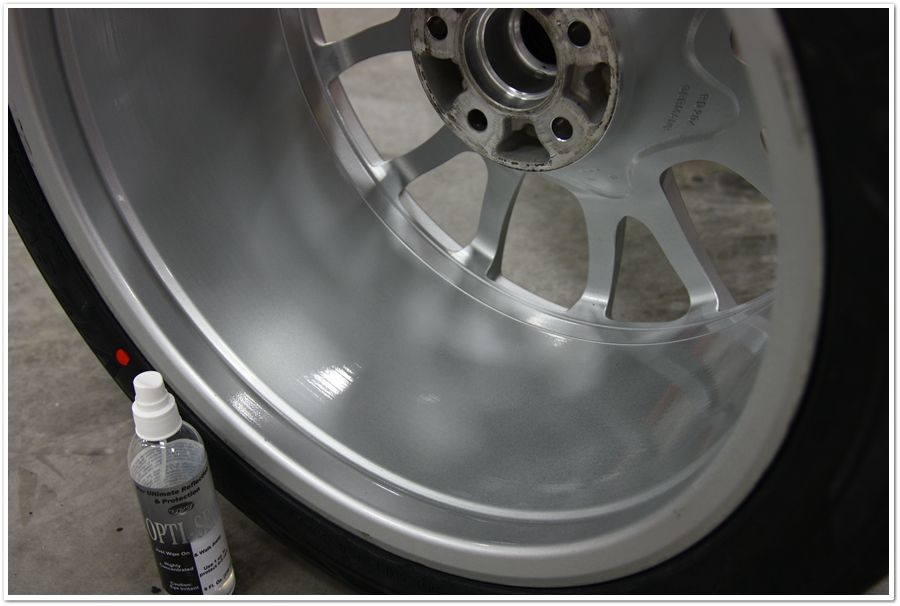
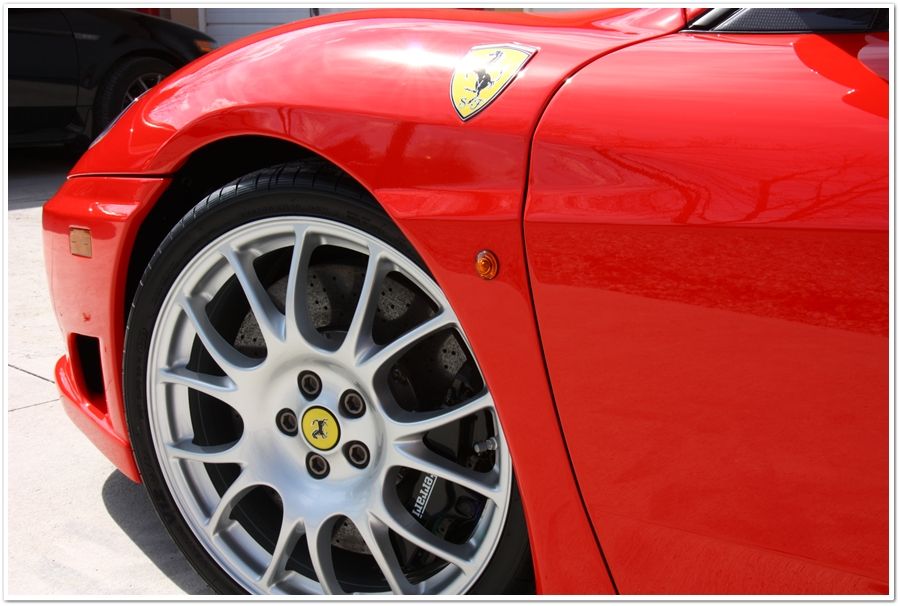
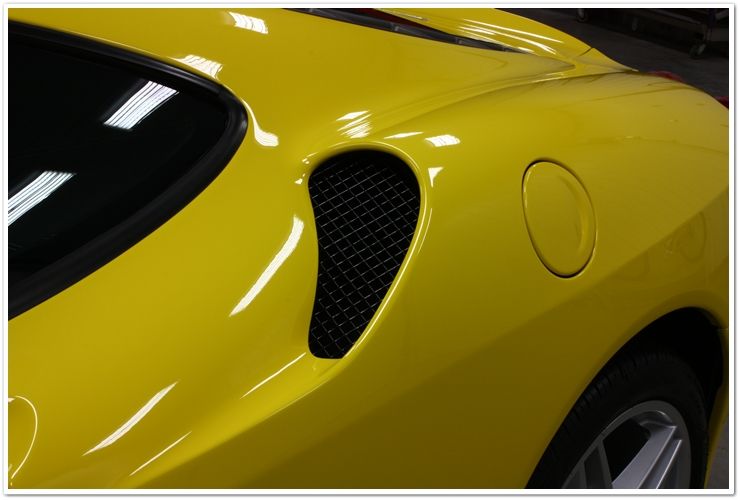
Be careful polishing around that lip!
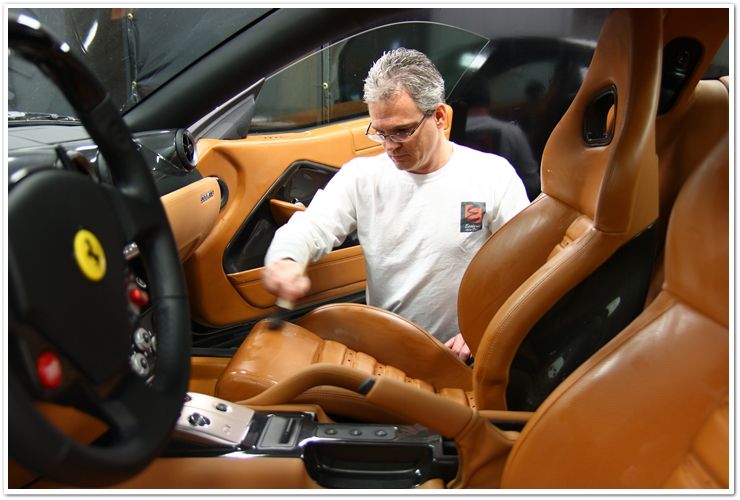
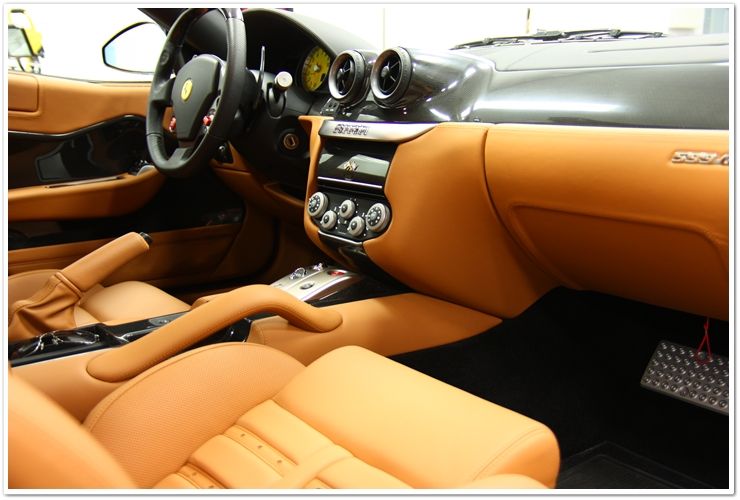
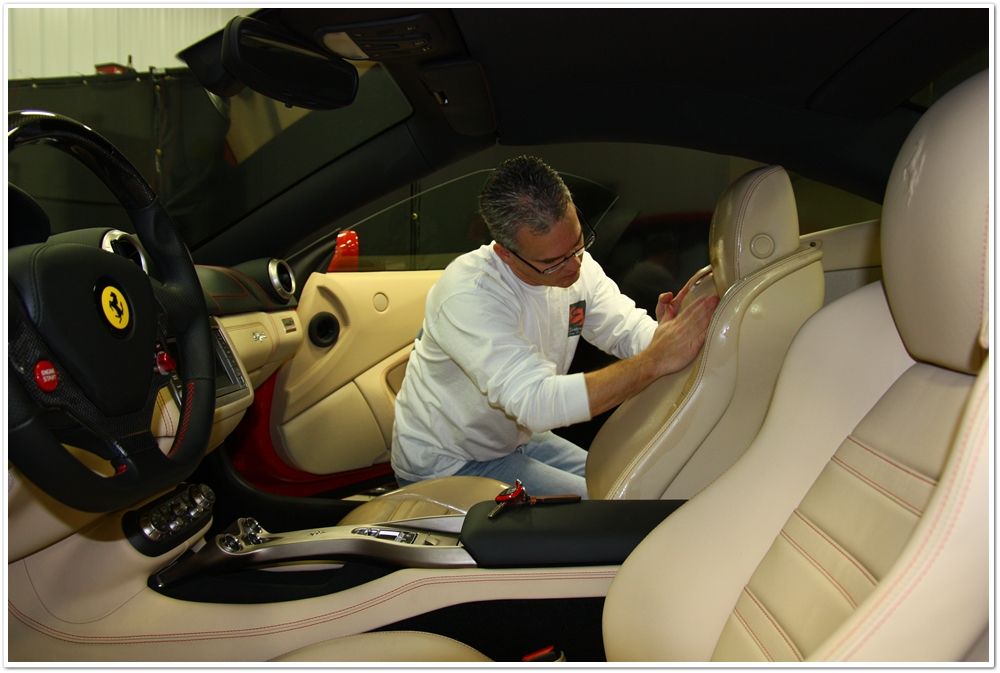
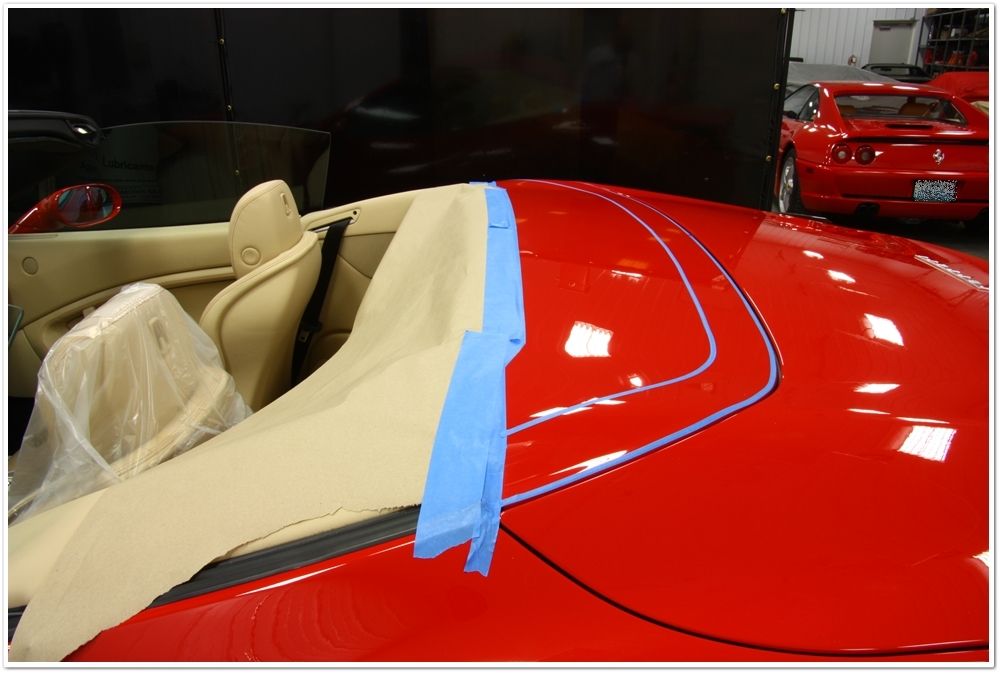
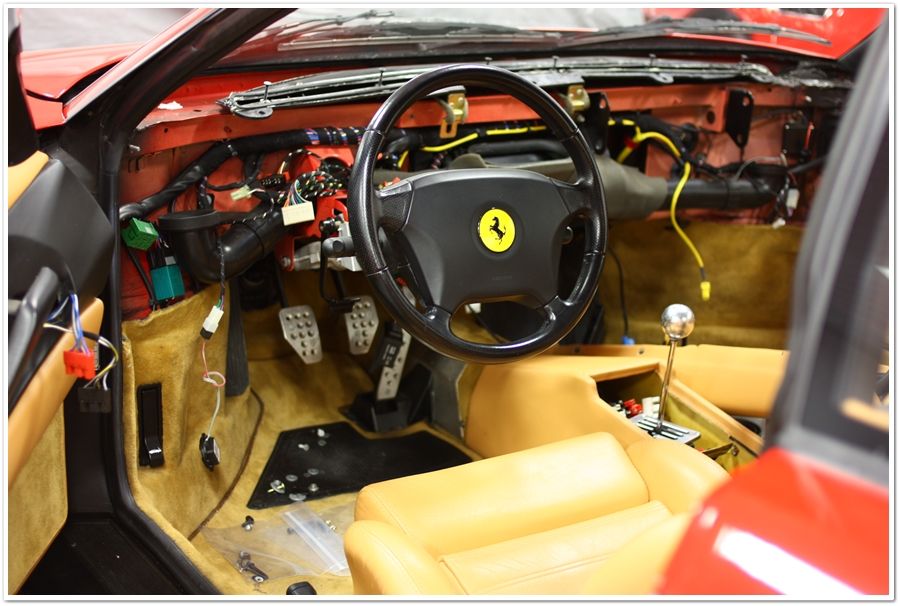
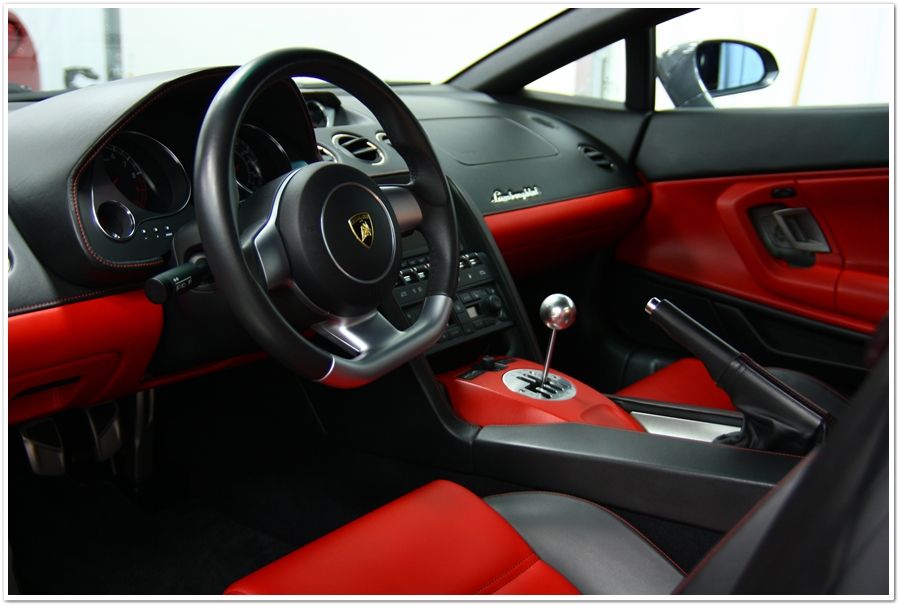
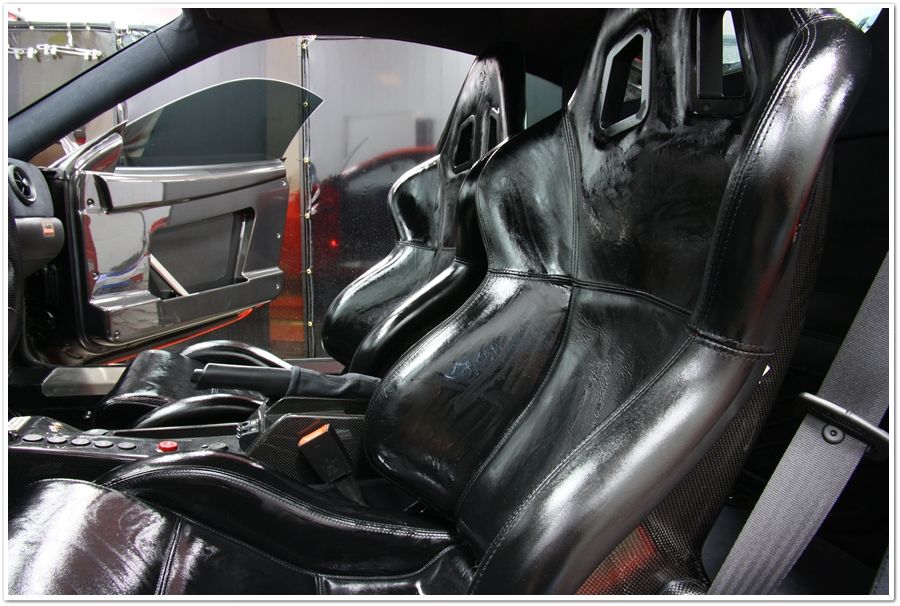
Full Leatherique treatment in process
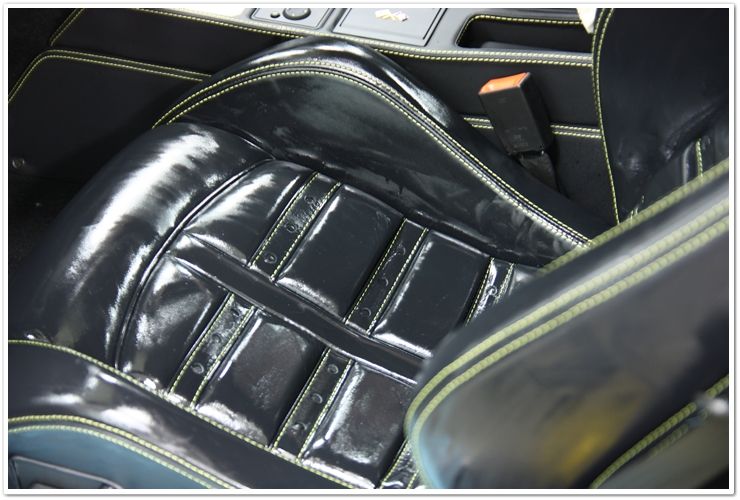
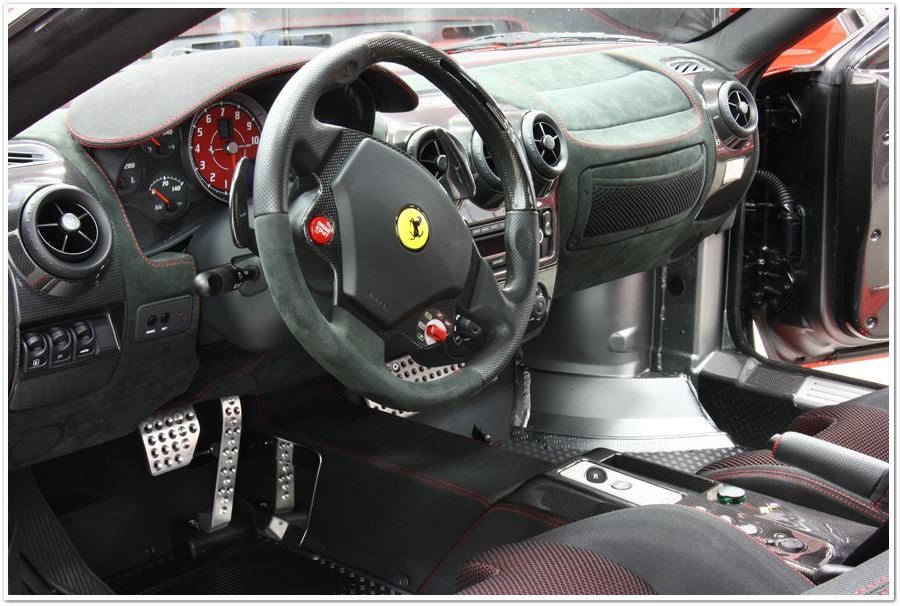
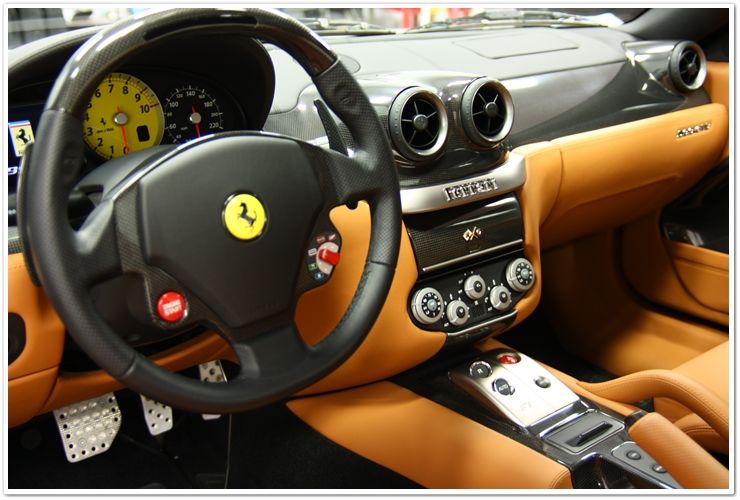
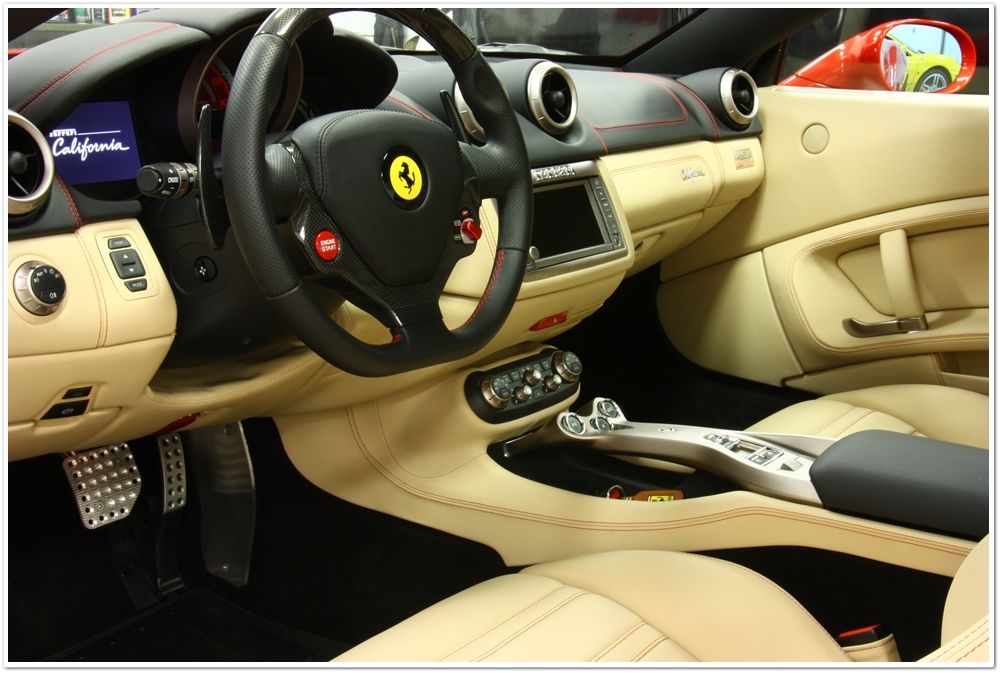
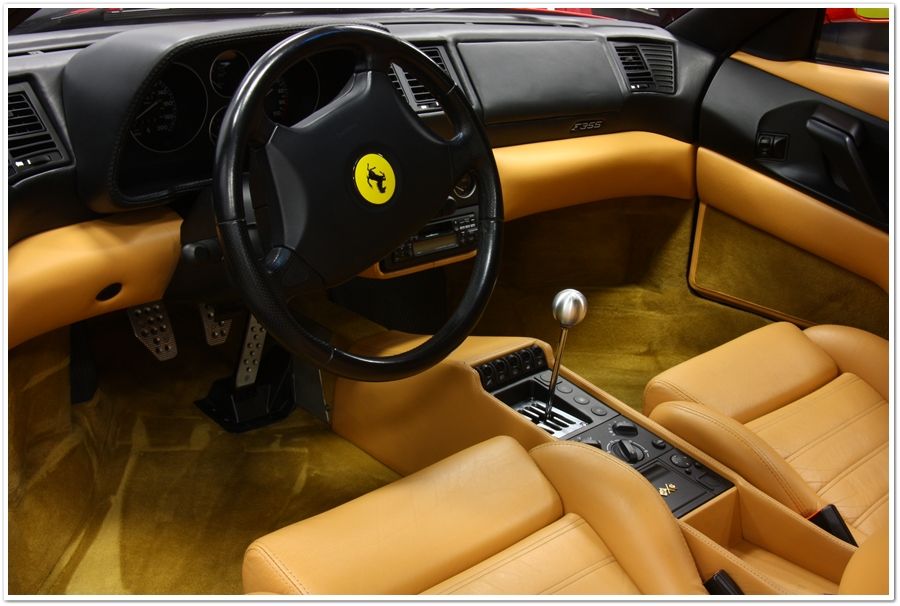
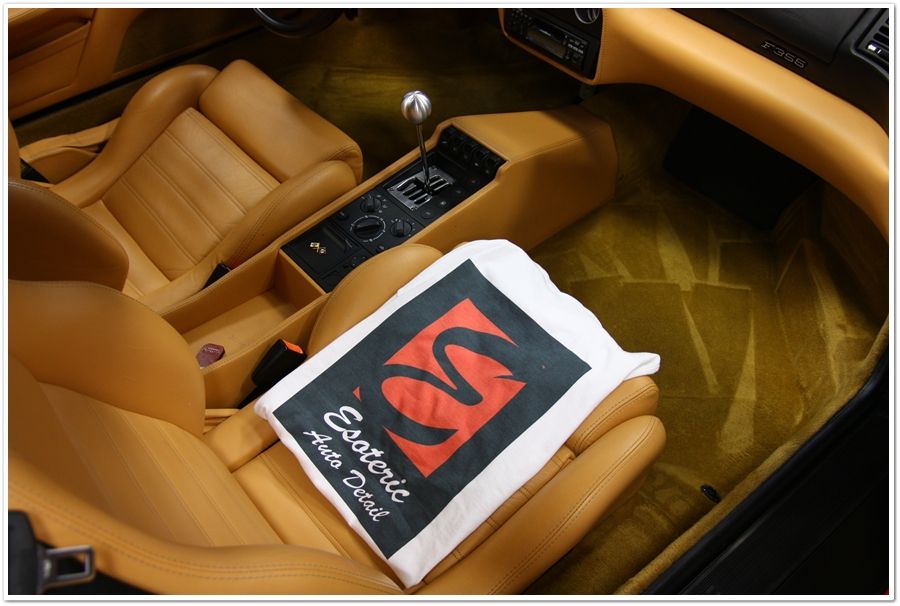
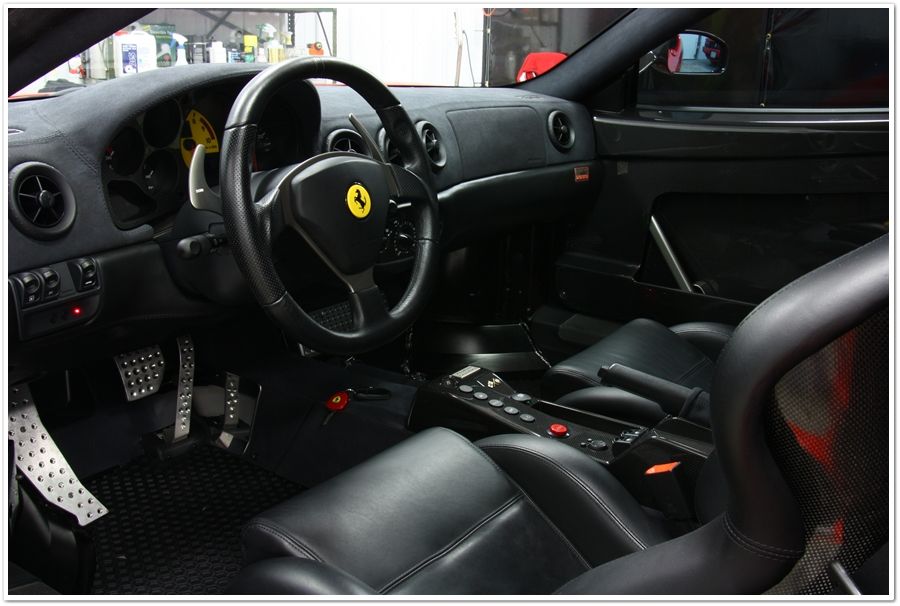
Interior all tidied up:

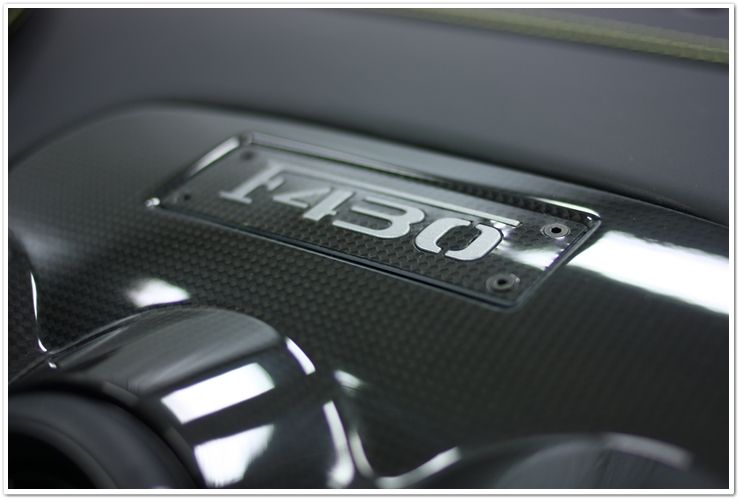
Final engine shot

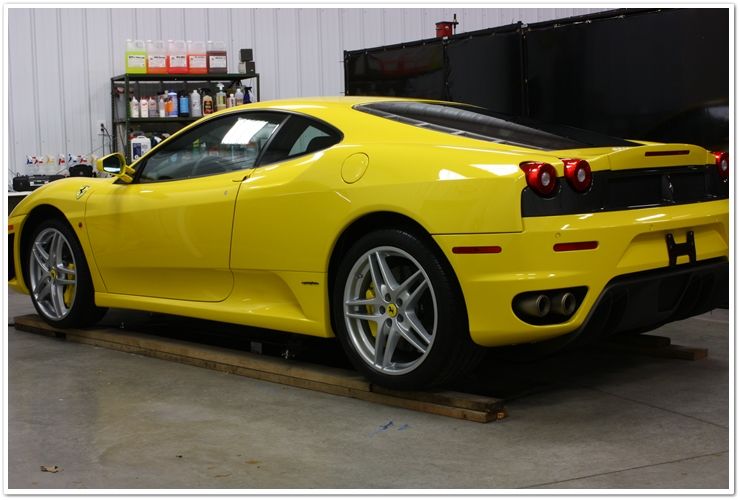


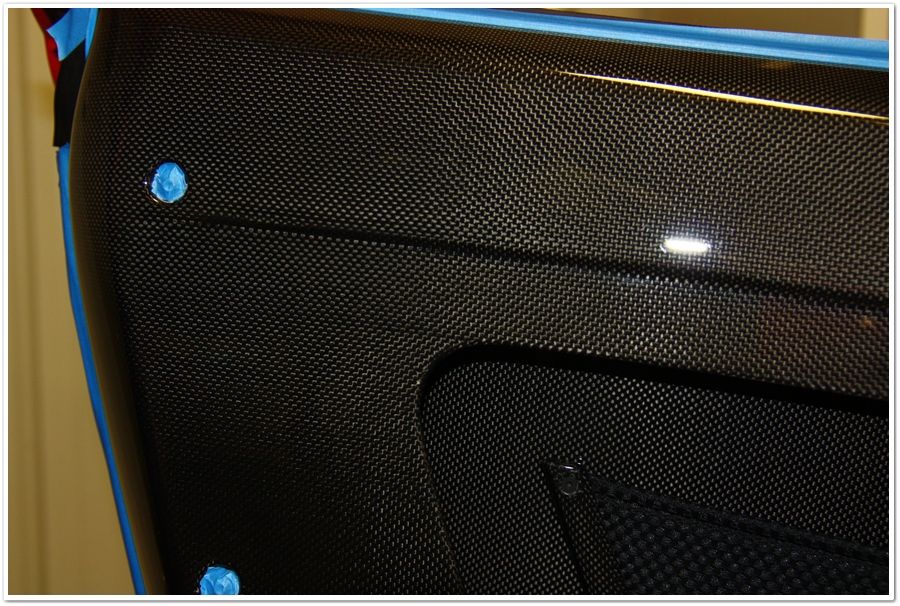
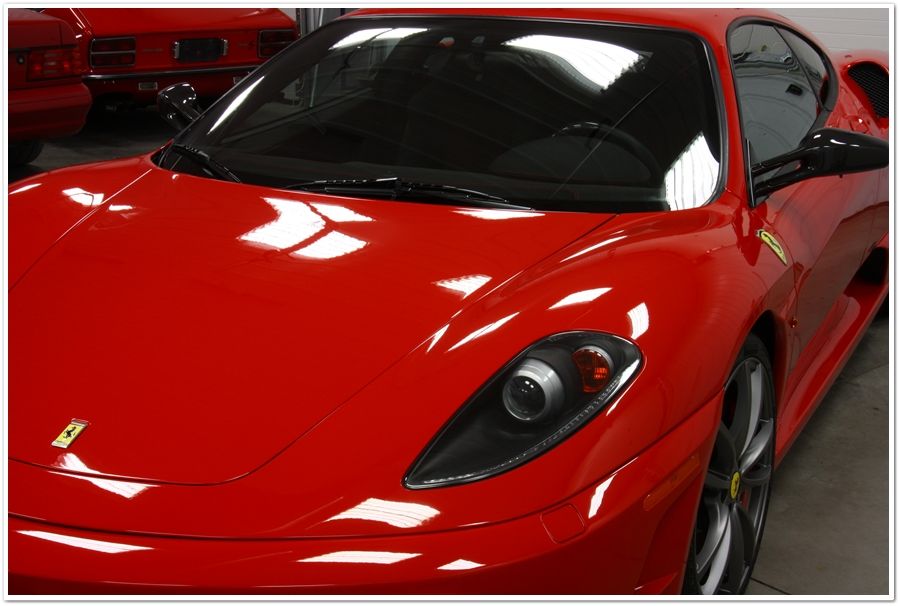
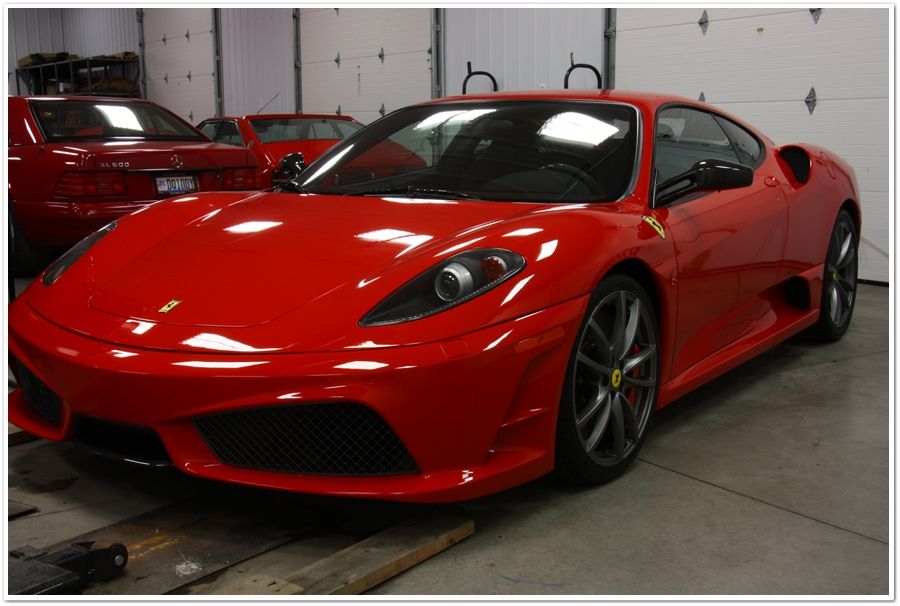
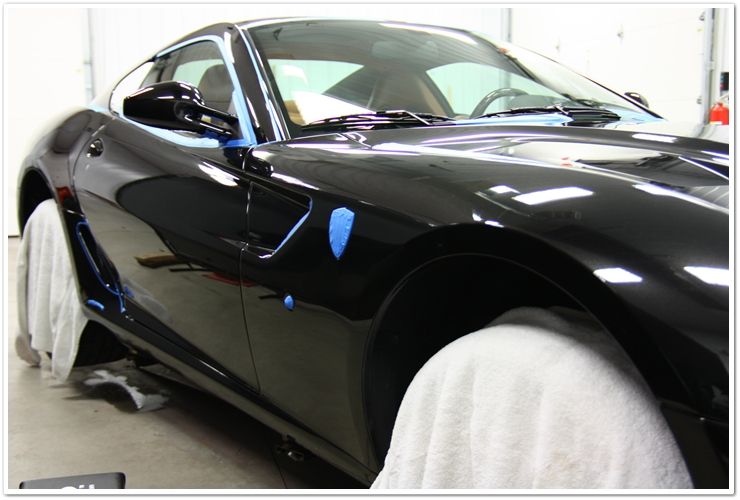
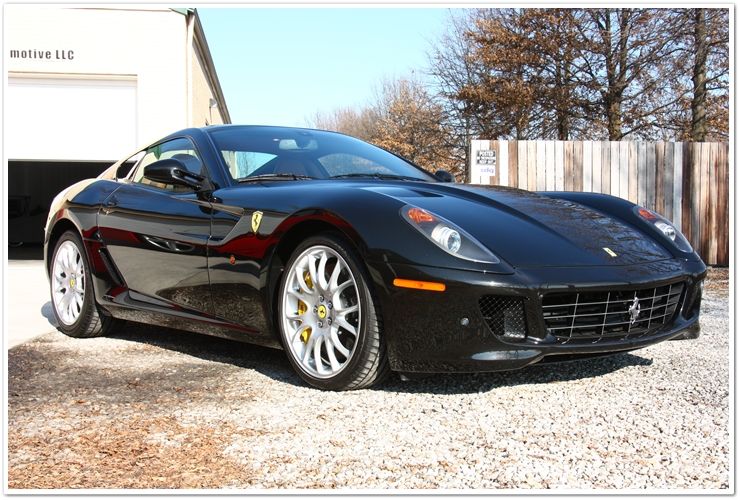
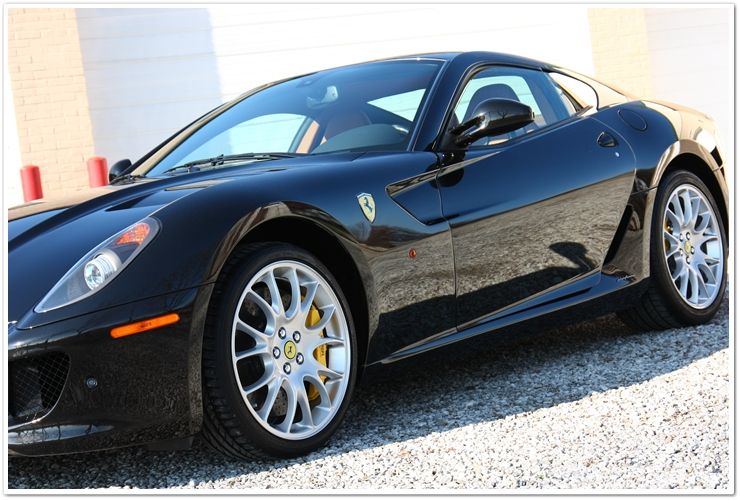
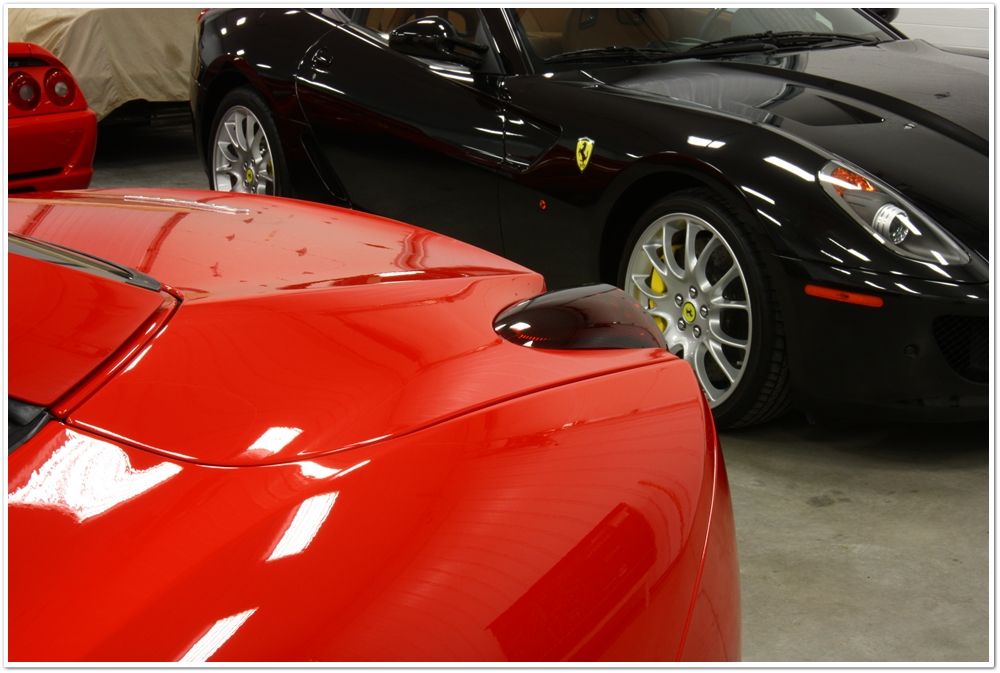
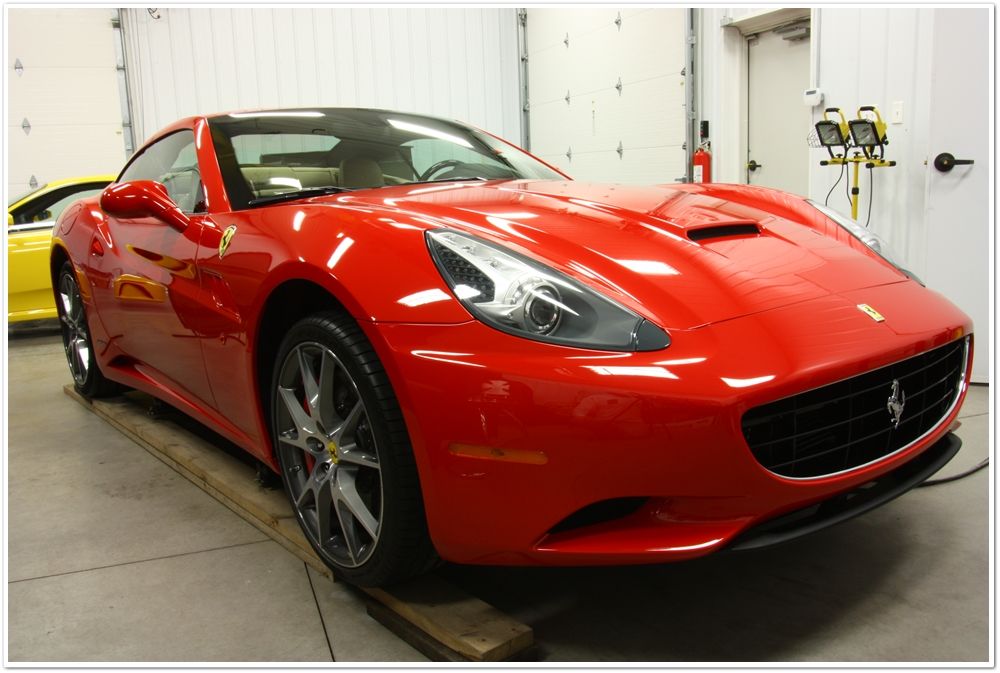
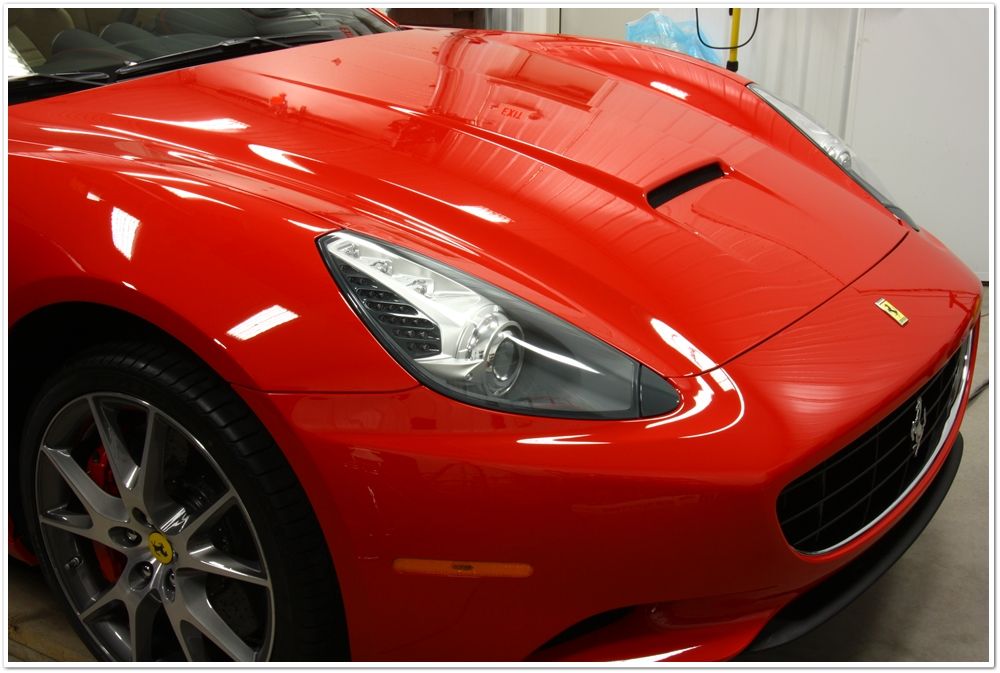
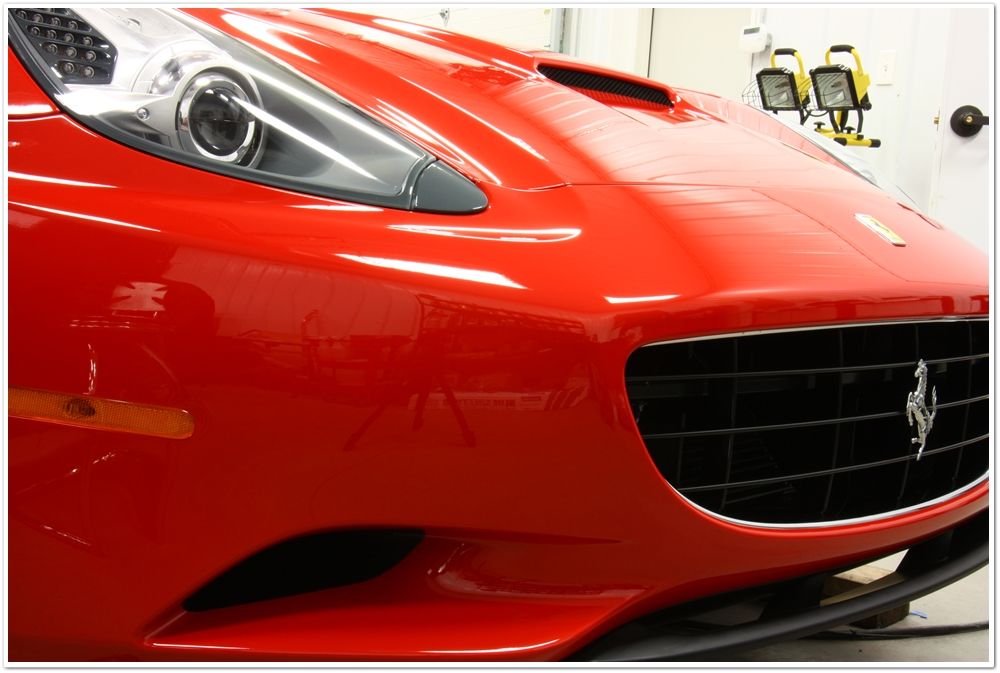
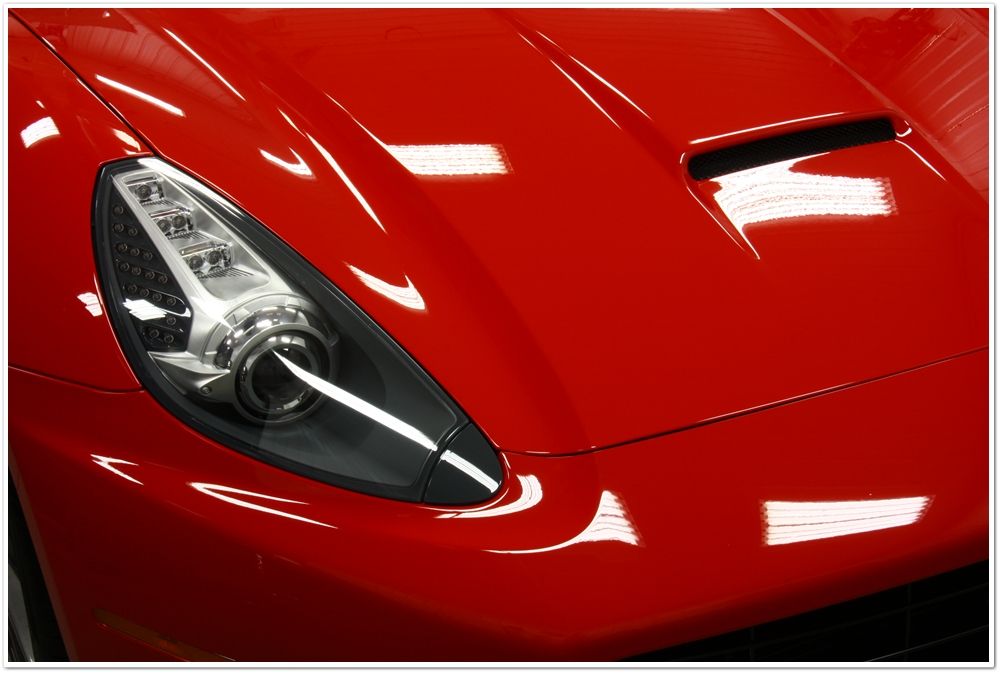
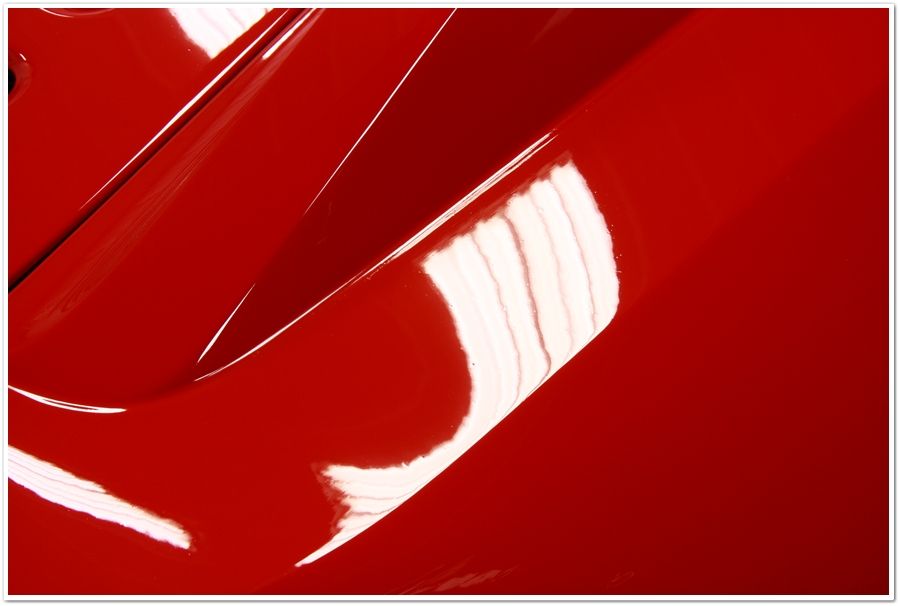
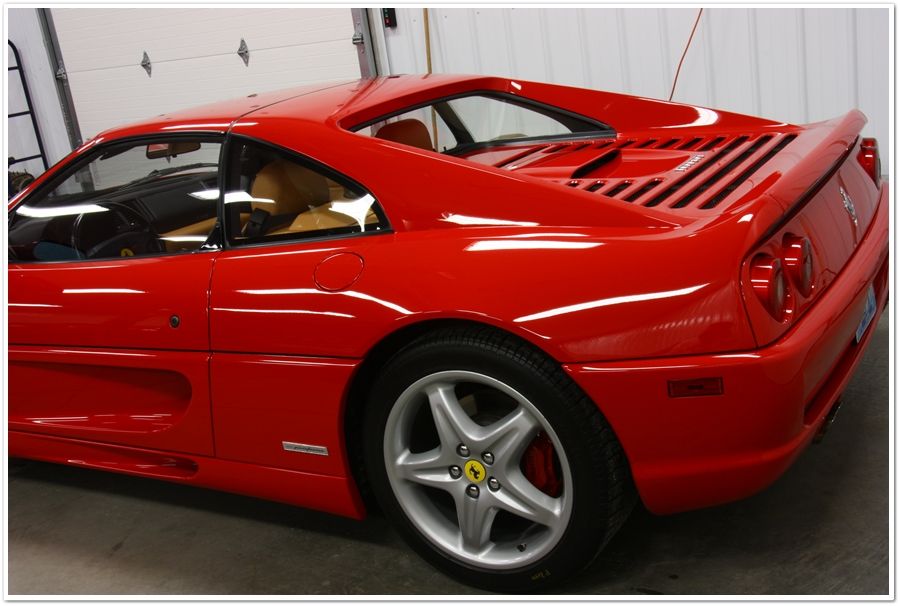
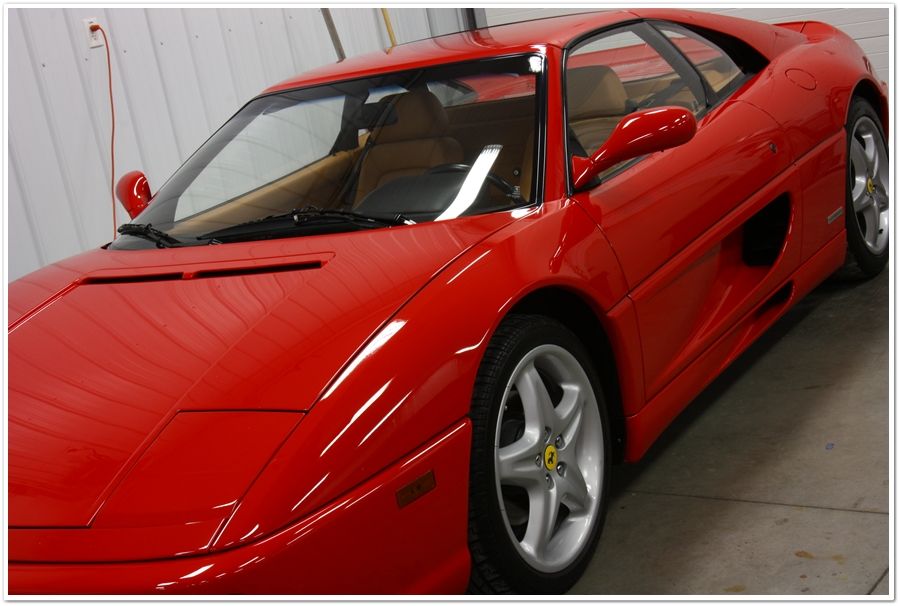
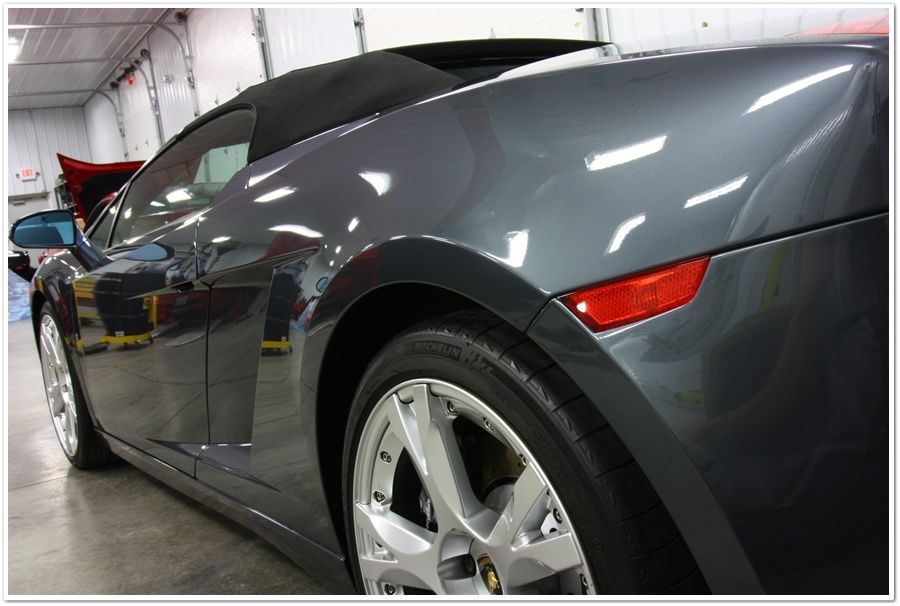
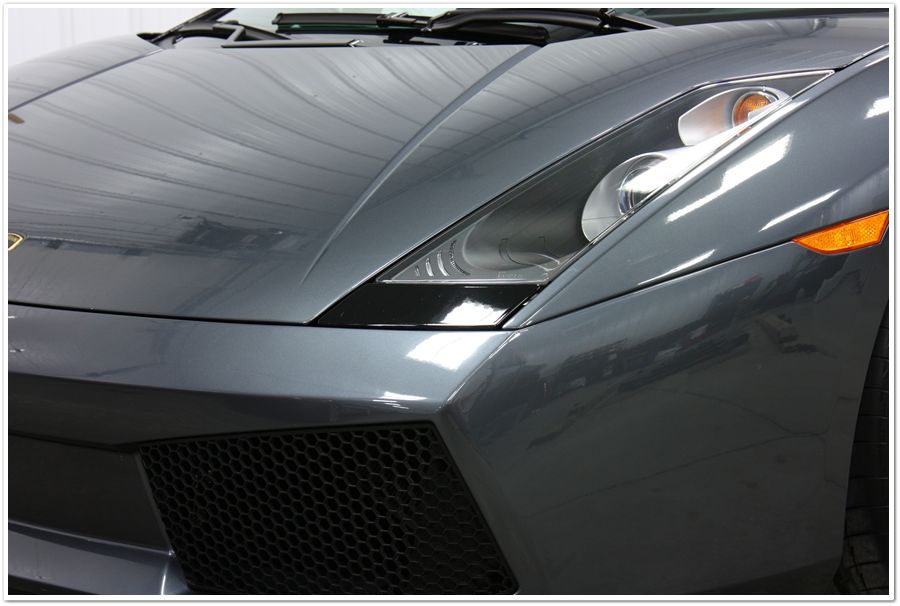
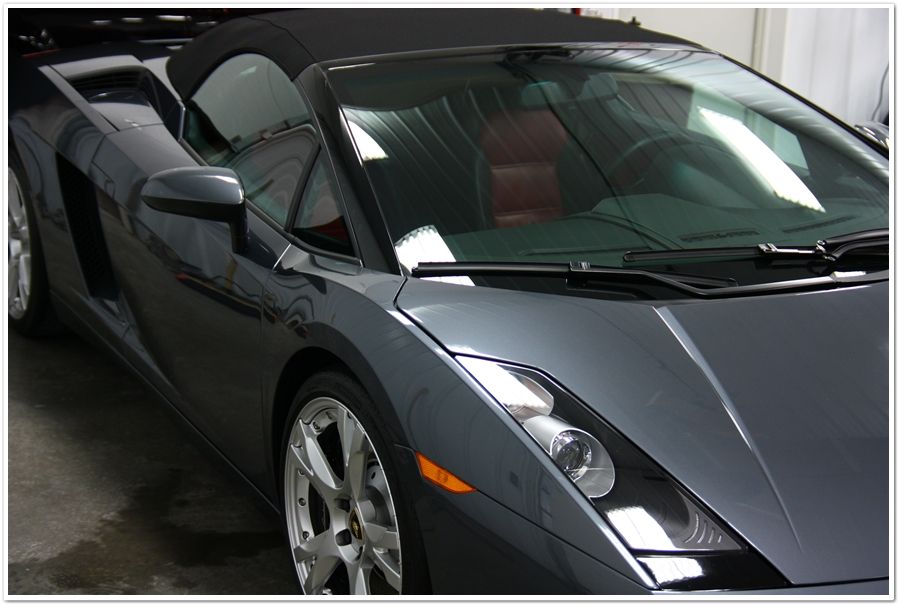
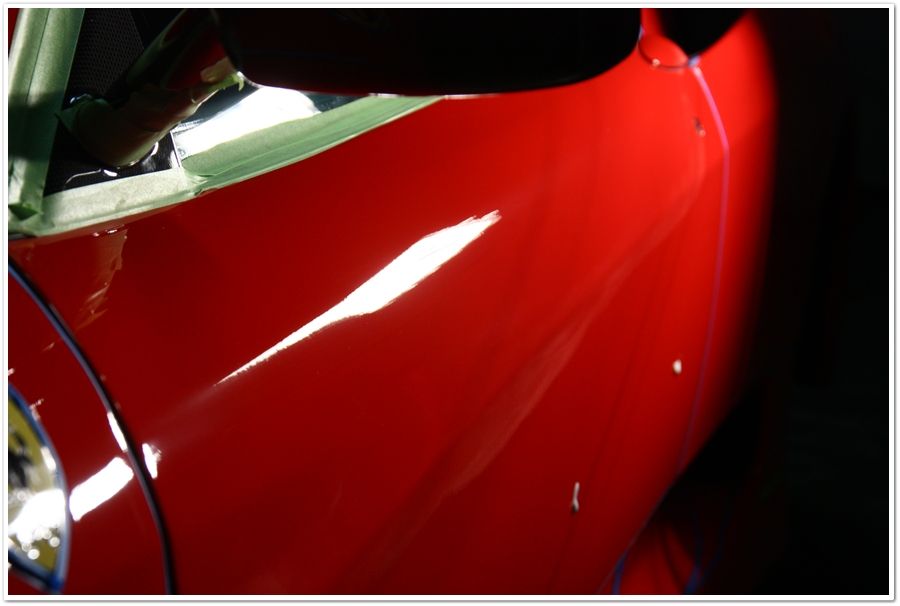
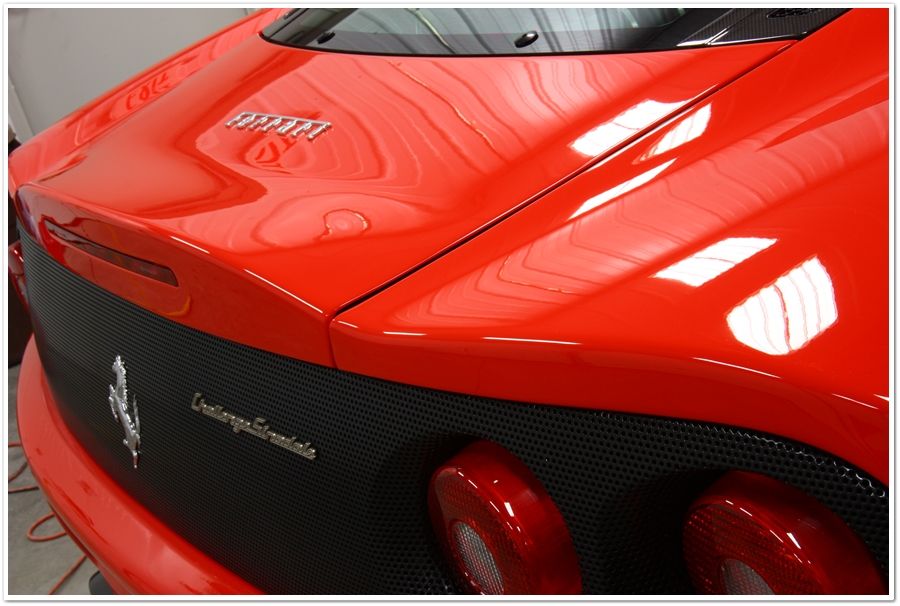
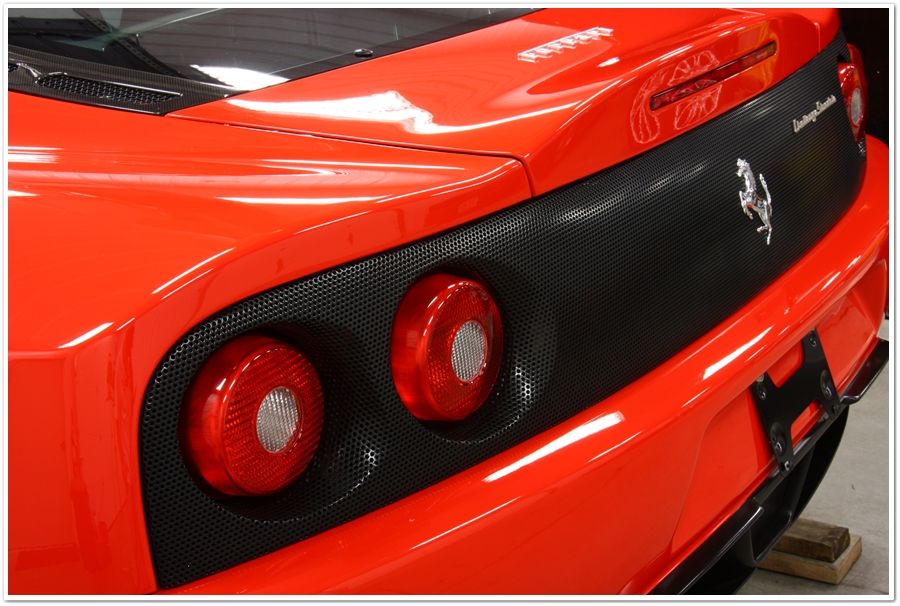
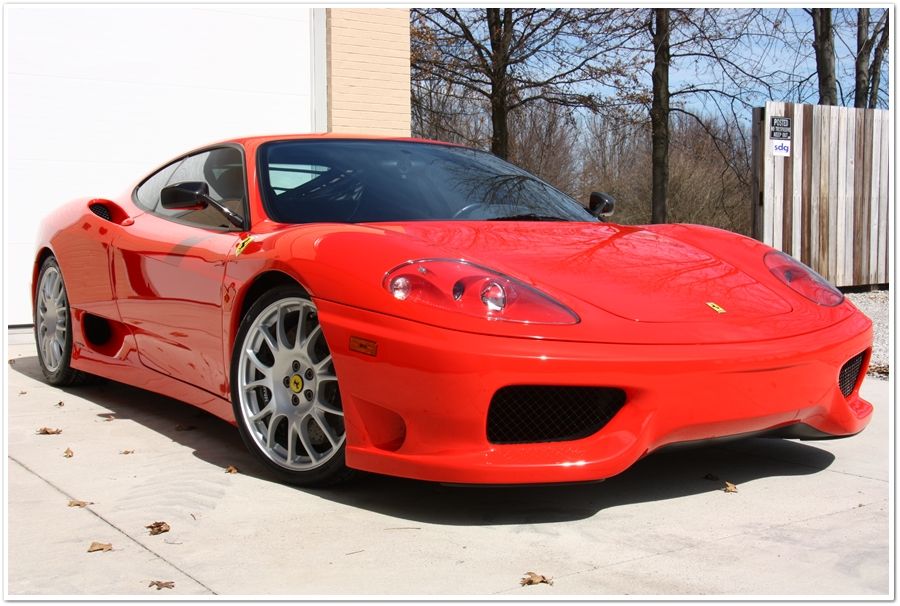
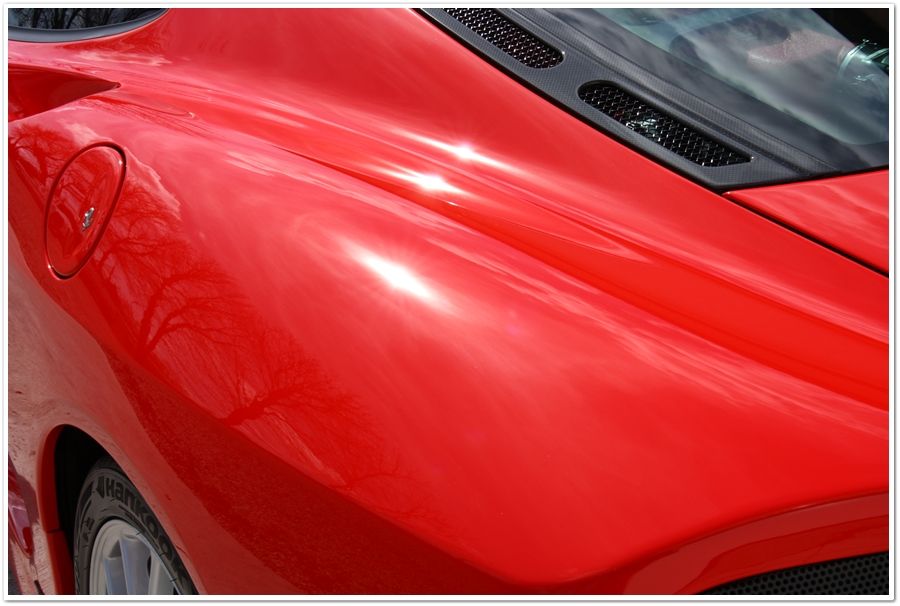
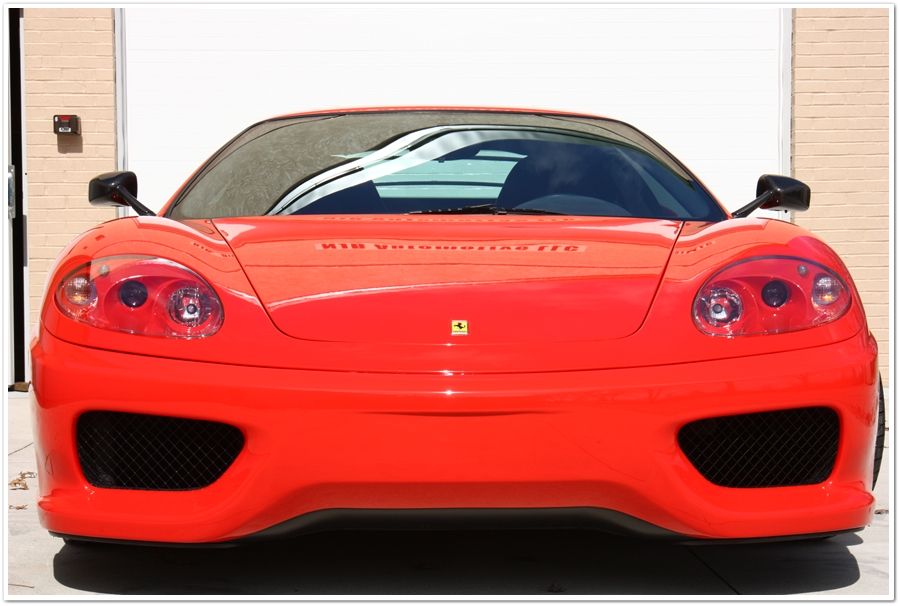
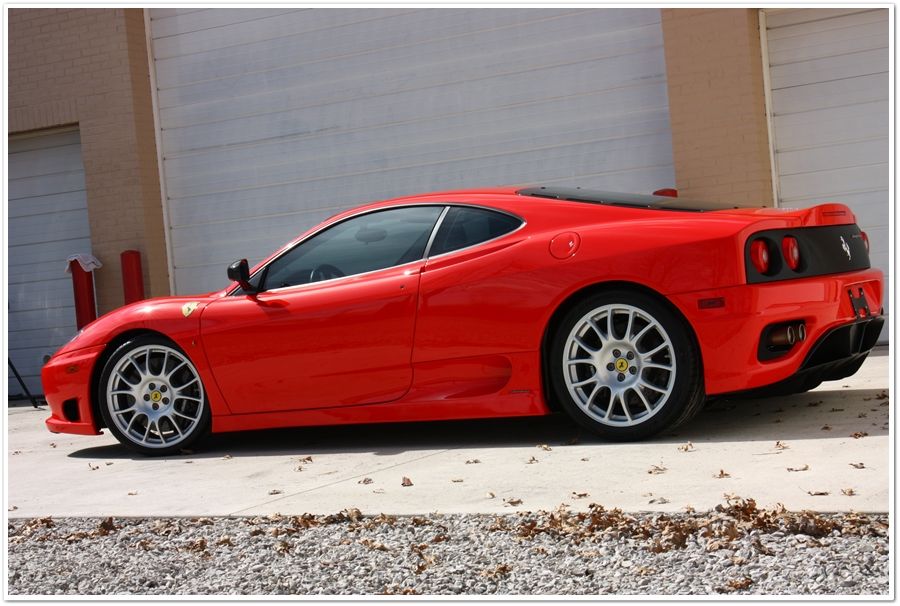
That's some serious gloss out of the Optimum Opti-Seal / Optimum Car Wax combo.

I've been keeping myself extremely busy over the winter, and in the process have accumulated many photos that I would have liked to share, but didn't have the time to do the level of writeup that everybody has become accustomed to see from me.
I always try to make my posts as educational as possible, and on occasion I get lucky and make them somewhat entertaining as well to keep people reading. With that I always make sure to throw in plenty of eye candy to make the write-up well balanced.
If I were to do full write-ups on all of these cars the way I normally do I'd be sitting here typing away at this keyboard for days. Unfortunately I've got a busy schedule as normal, and therefore will provide you with the CliffsNotes version. There are plenty of juicy photos to savor, so don't spin that scroll wheel on your mouse too fast...take your time and enjoy since you don't have to do as much reading this time.
And for the legal disclaimer...other than resizing and adding a border, as always my photographs are straight from my camera to your screen. No enhancements, no tweaking, no pumping up of colors. WYSIWYG.
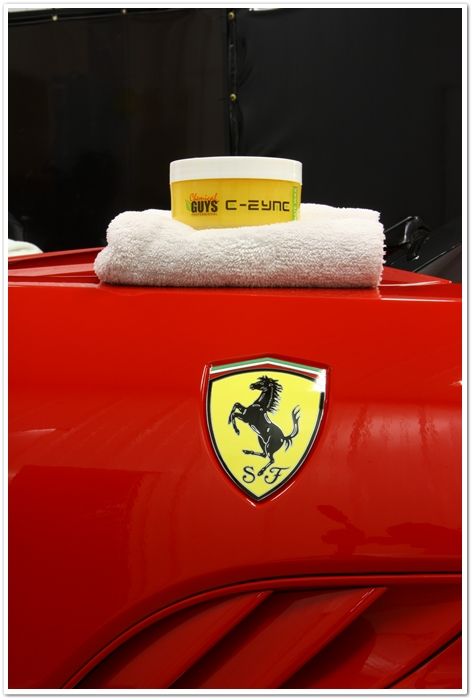
First up is a brand new yellow F430. As with pretty much all of these cars listed below, it came from the factory in less than stellar shape. On the rear bumper of this one, it looked like a lot of heavy sanding had been done, but they completely forgot to go back and buff it out. Being yellow, it was much harder to see. This one got M105 on the heavier defects, M205 on the entire car, then it was sealed with Optimum Opti-Seal, and topped with Optimum Car Wax (gasp...a $200K car with a $17 wax!...say it isn't so!)
Engine was cleaned with P21S TAW
Be careful polishing around that lip!
Full Leatherique treatment in process
Interior all tidied up:
Final engine shot
That's some serious gloss out of the Optimum Opti-Seal / Optimum Car Wax combo.