OakesDetail
New member
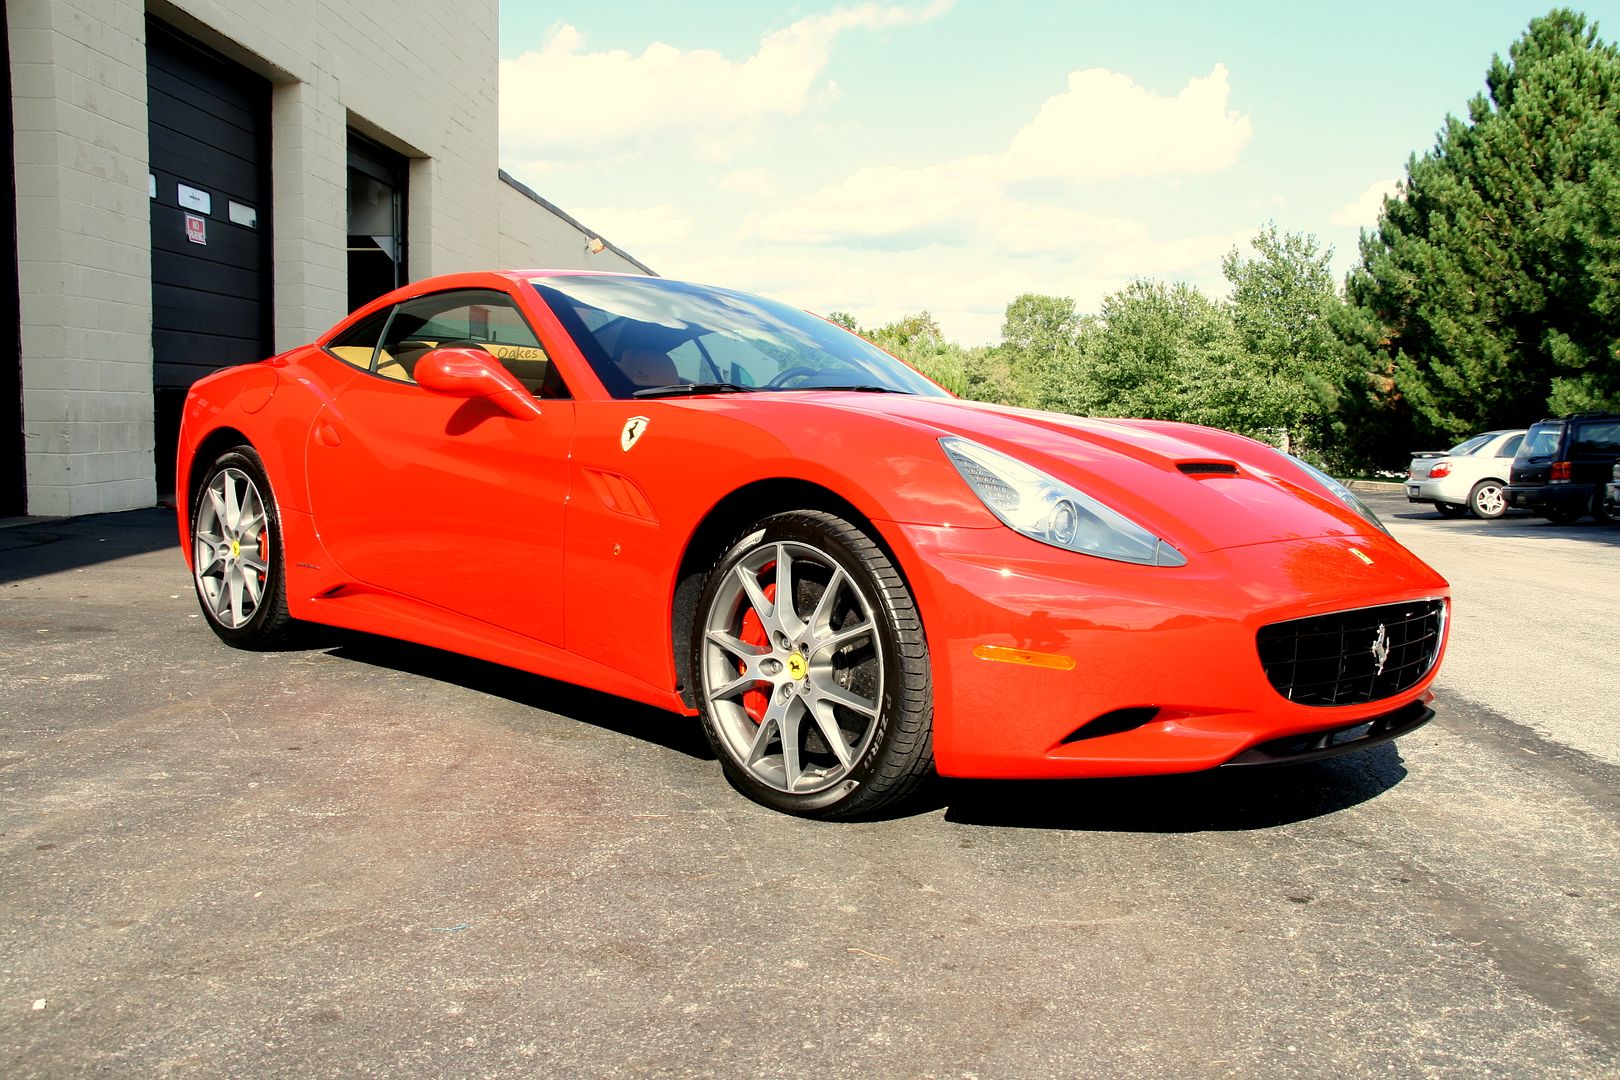
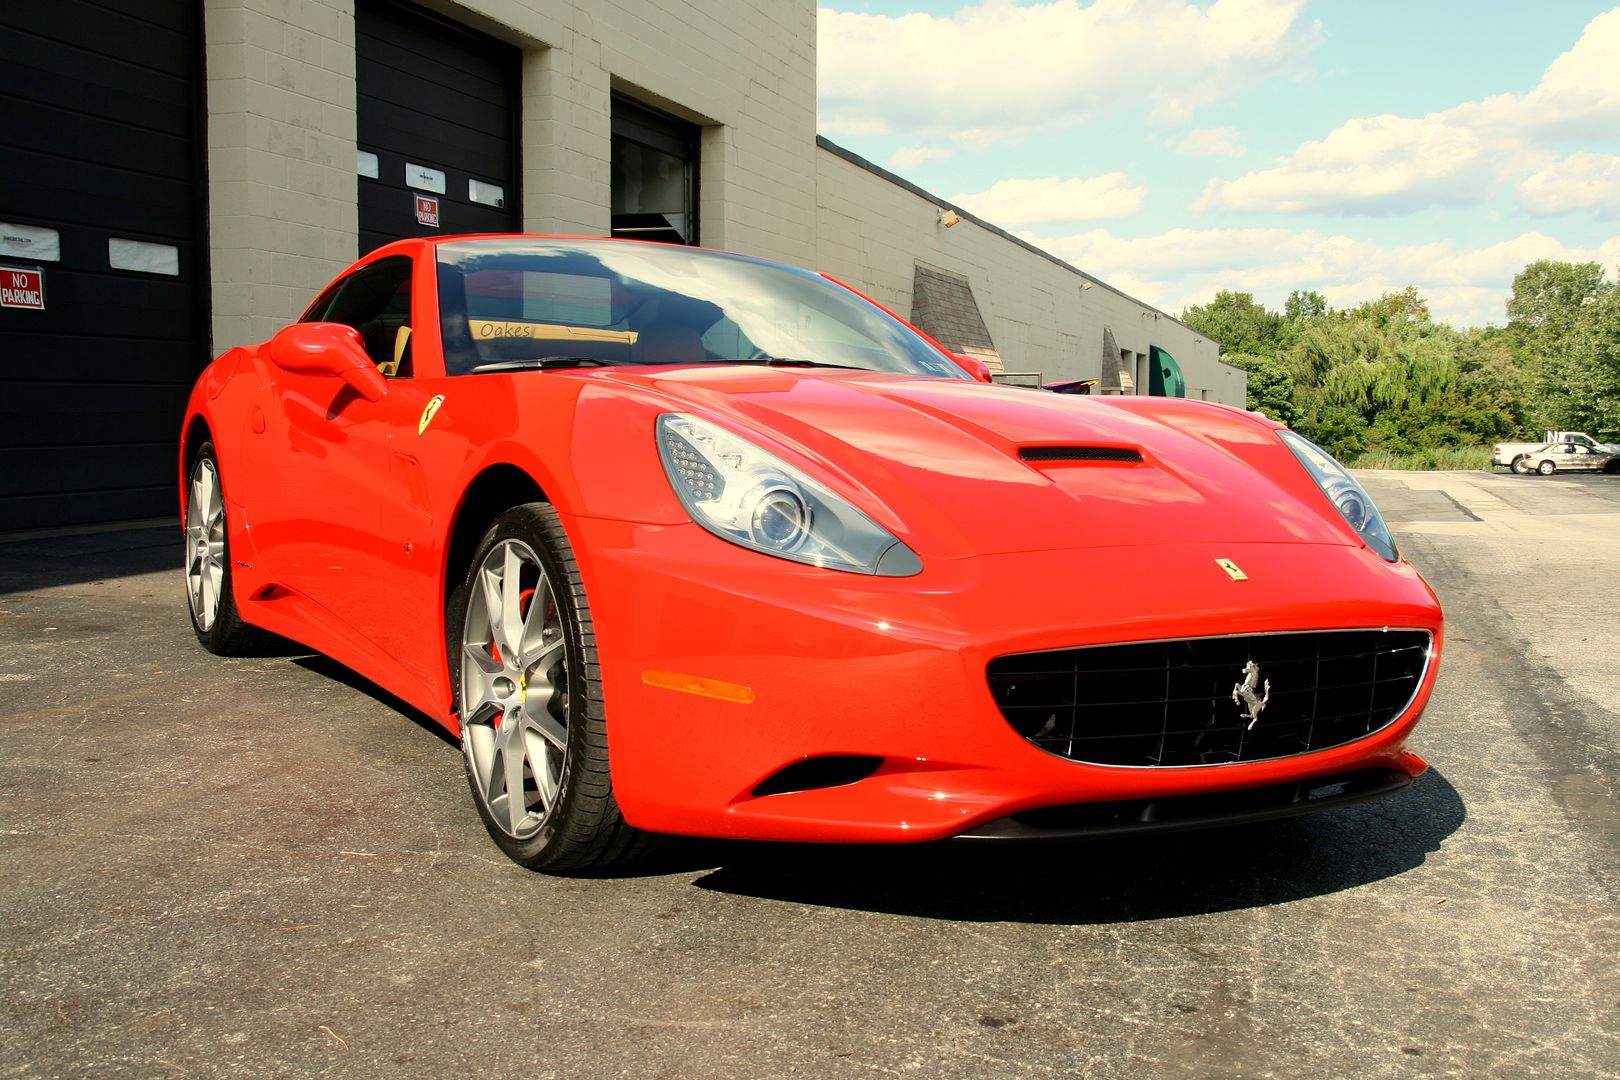
This 2011 Ferrari California in Rossa Corsa was brought to me for a full corrective detail with ceramic/nano coating protection. Sporting only 2500 miles, the car surprisingly needed a good bit of corrective work. Suffering from both swirls and holograms as well as wet sanding defects that remained on the vehicle from the factory in Maranello, a common known issue on most Fcars.
Over the course of three days, I performed a 100 % paint correction on the vehicle, tending to both factory defects and swirling as you will see in the photos below. After the Cali was correction, I then protected the entire car with CQuartz Finest, including the factory plastics. I will let the photos do the talking from here on out!
Here is a video that basically explains what ceramic/nano coating technology is and its benefits for anyone looking to have a better understanding of it!
Ceramic Coating Overview- Ft. Scion FRS - YouTube
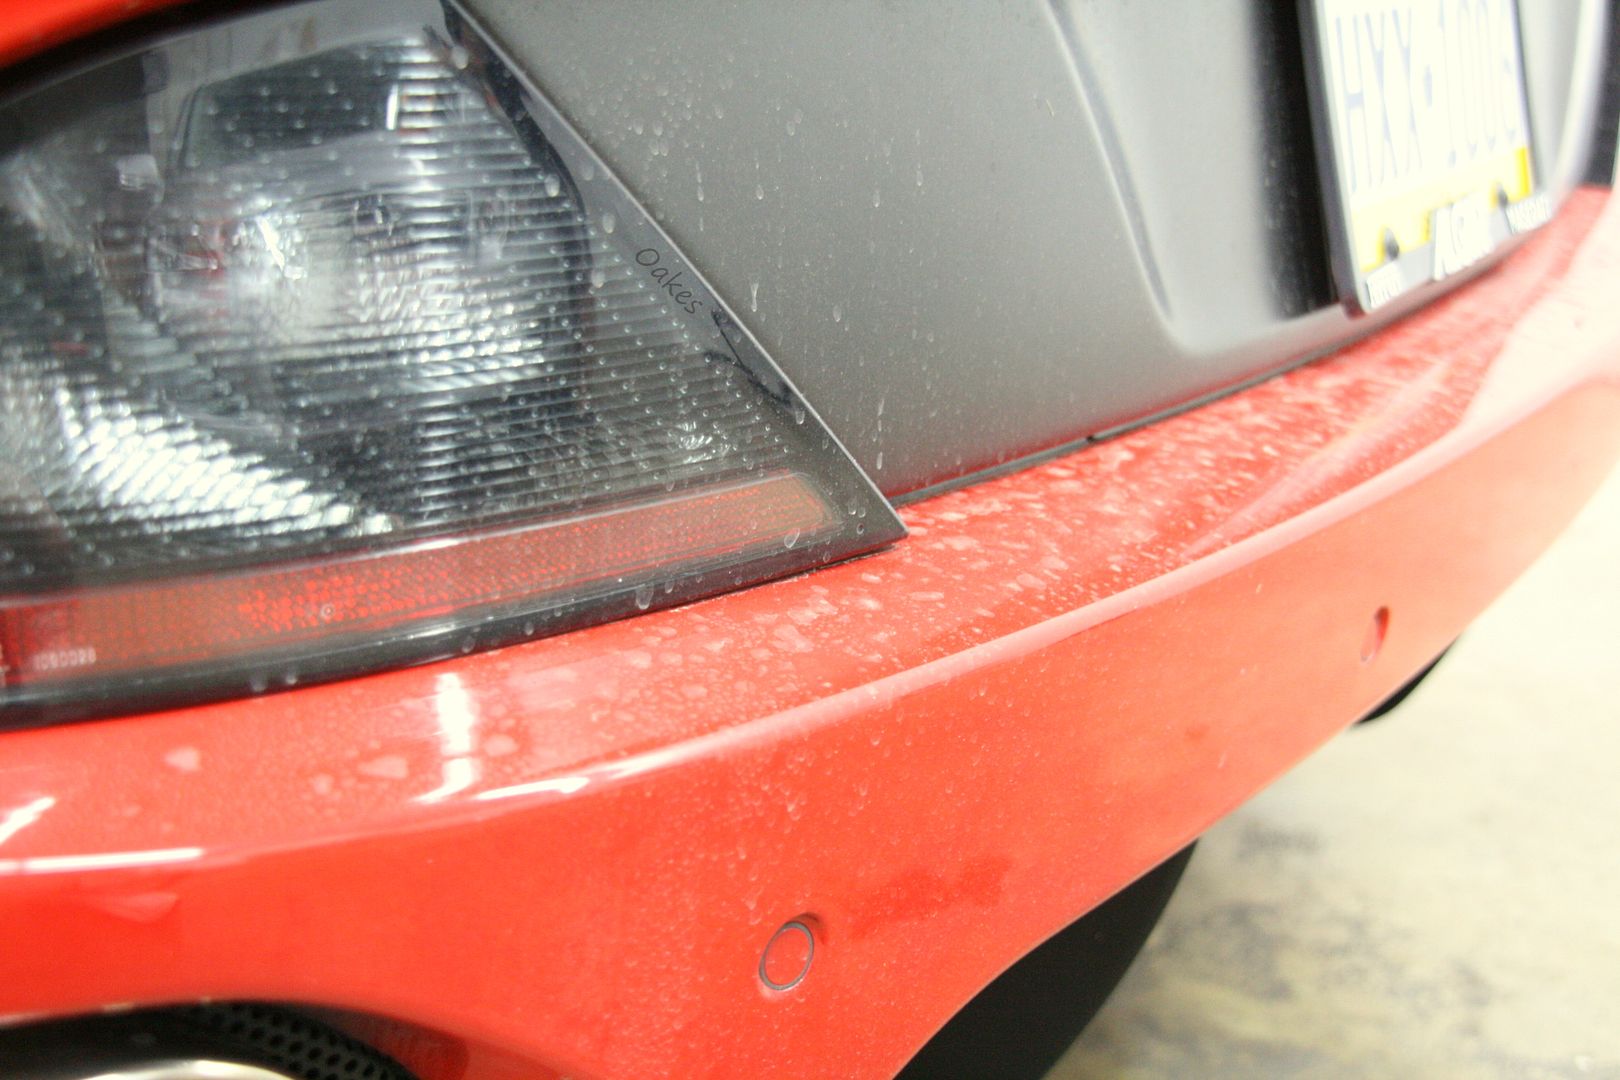
The new owner has been driving the car as much as possible, as you can tell with the dirt on the rear end:
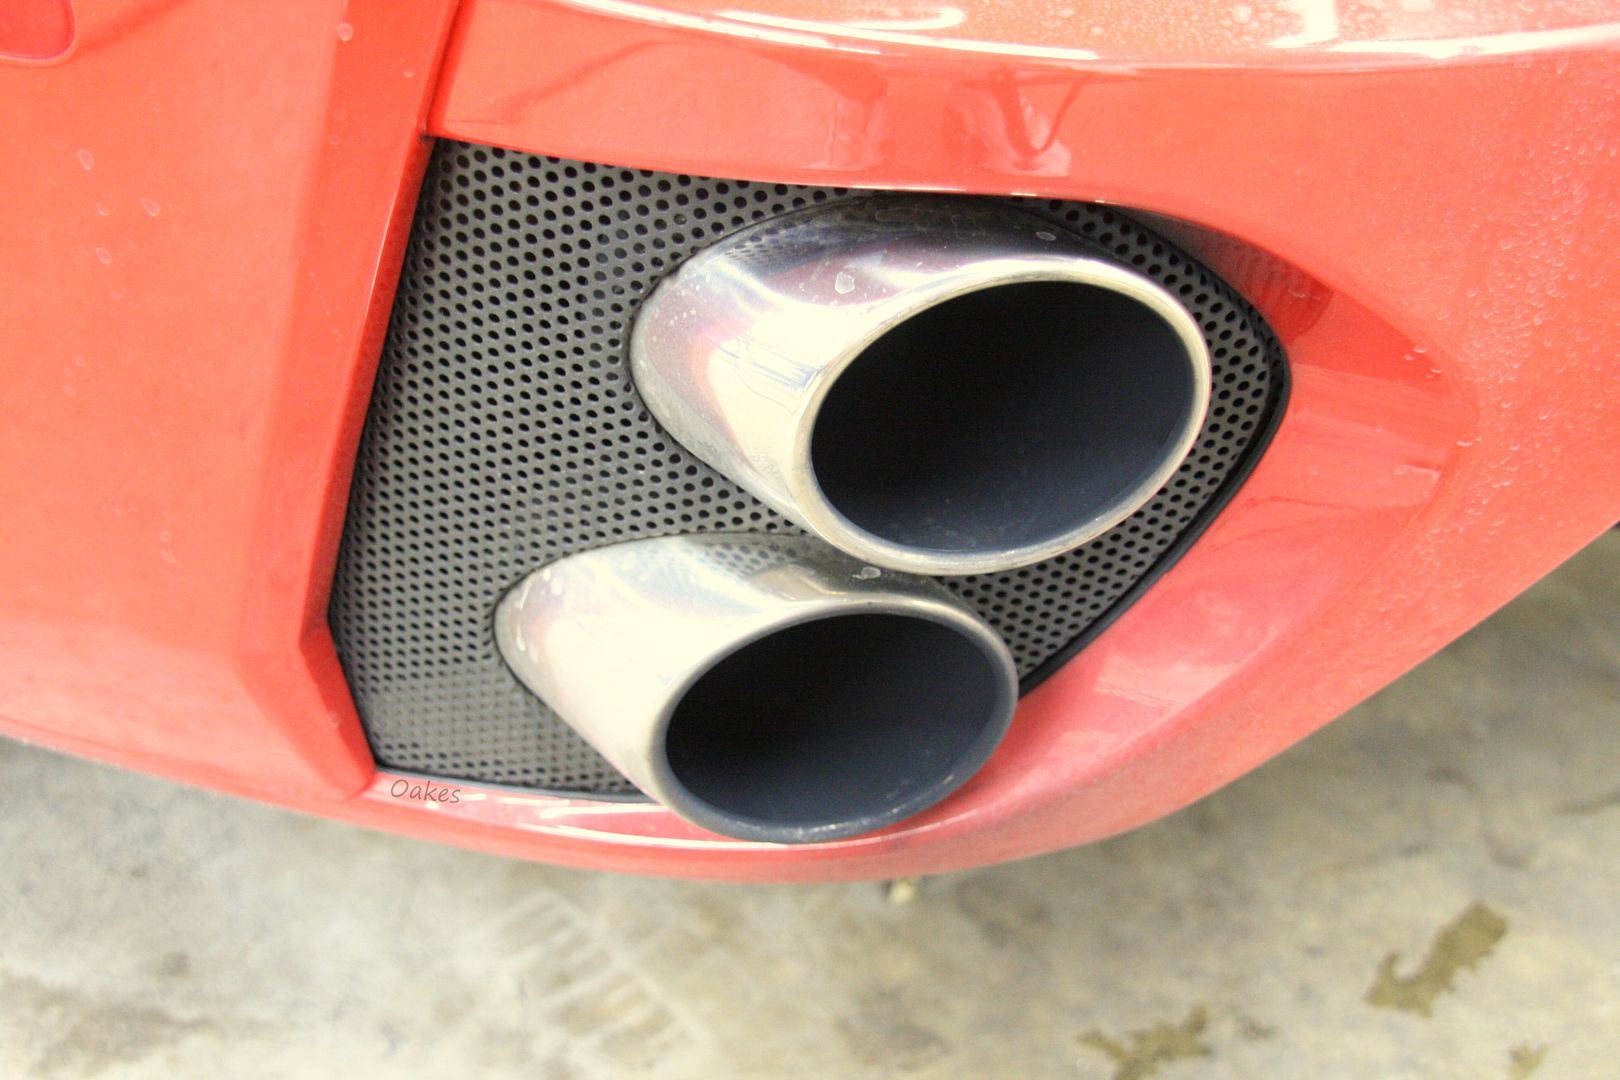
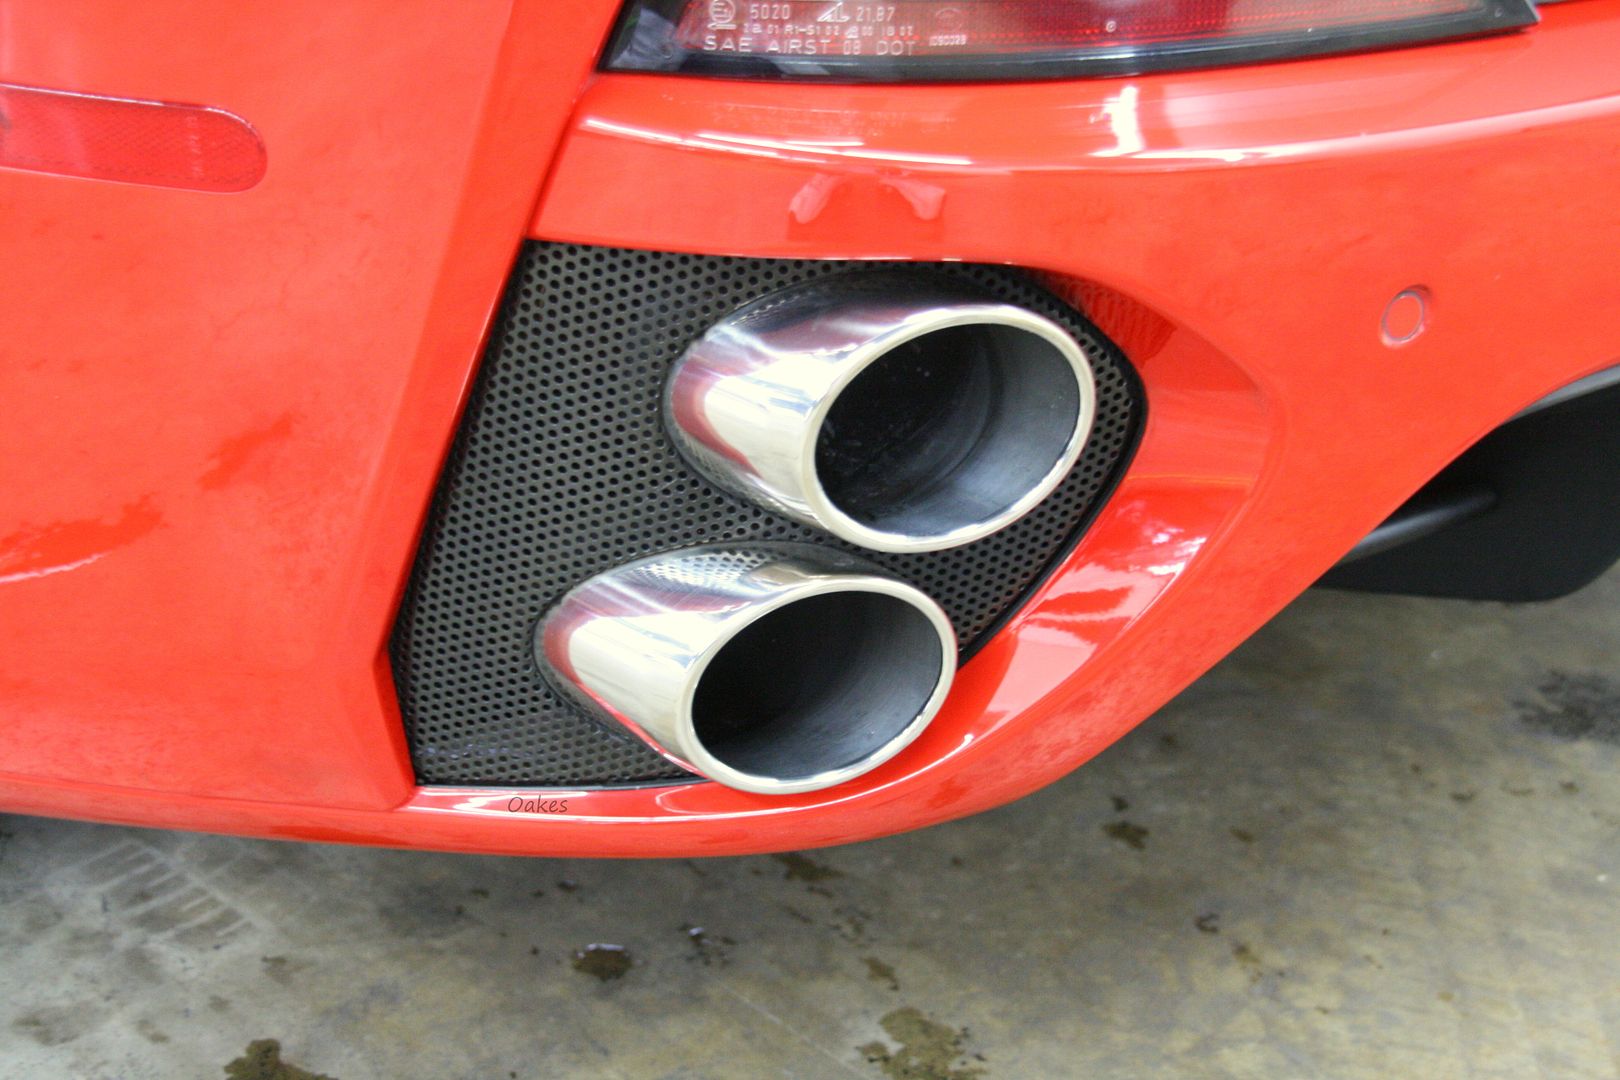
The tailpipes were also showing some exhaust buildup, also the inside edges of the bumper were signficantly stained as well.
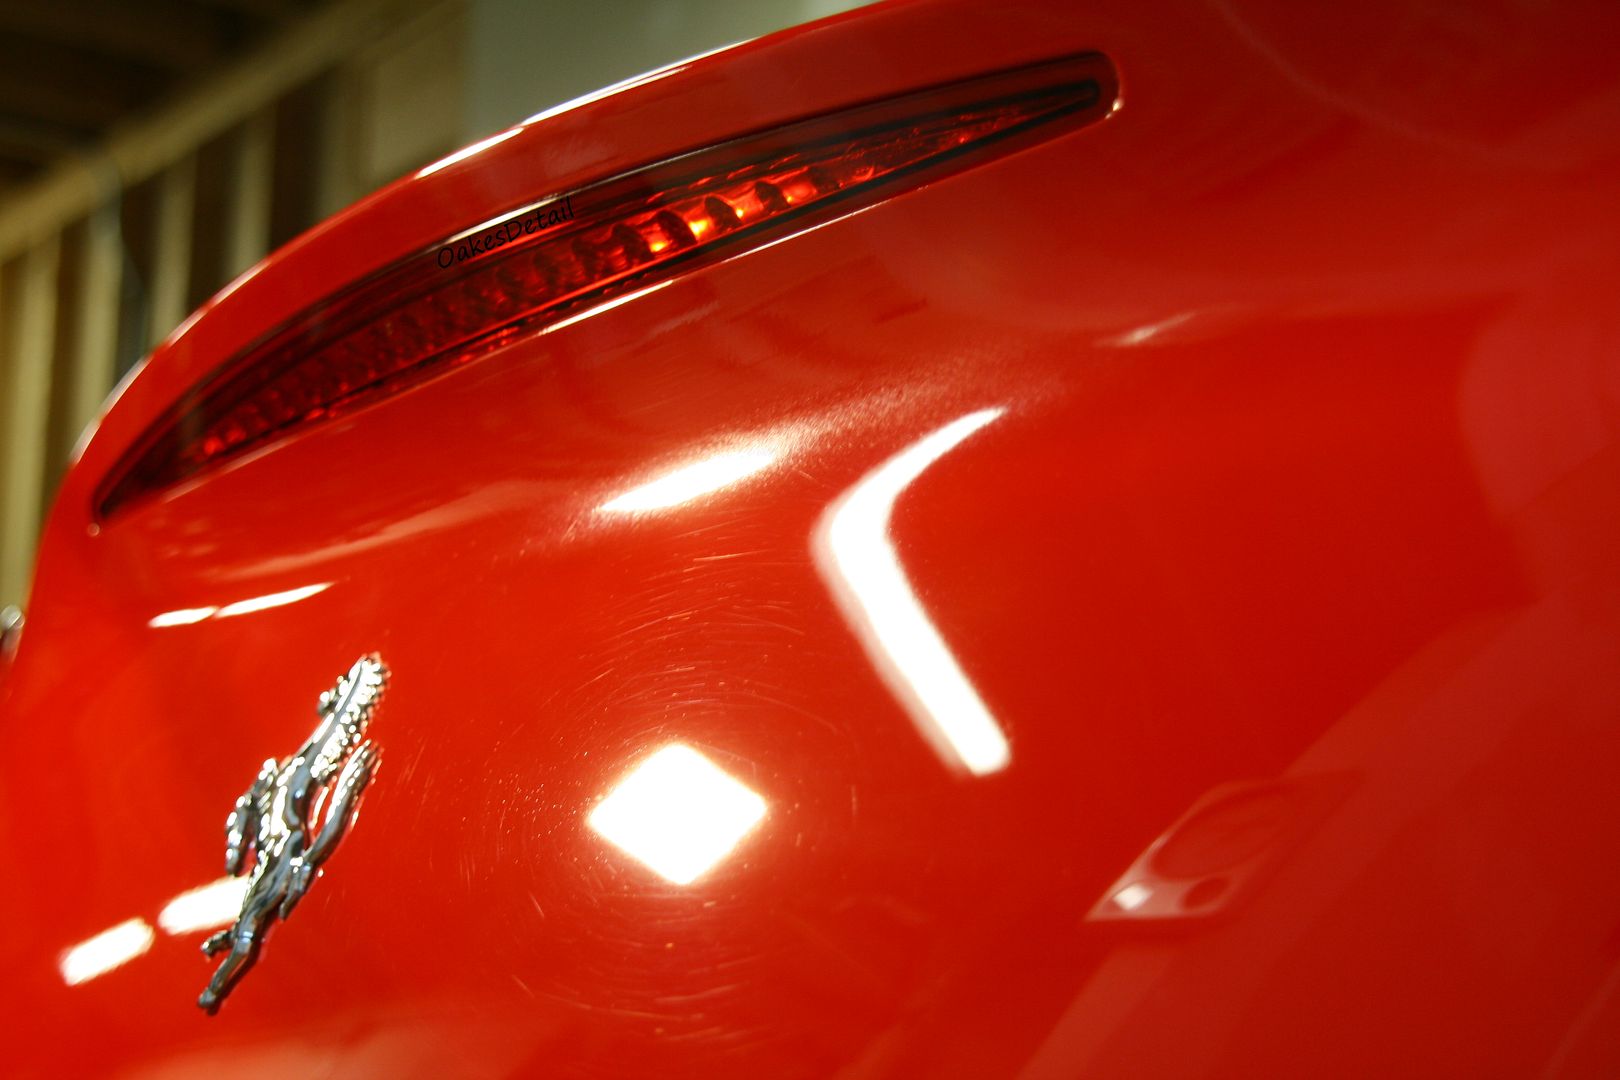
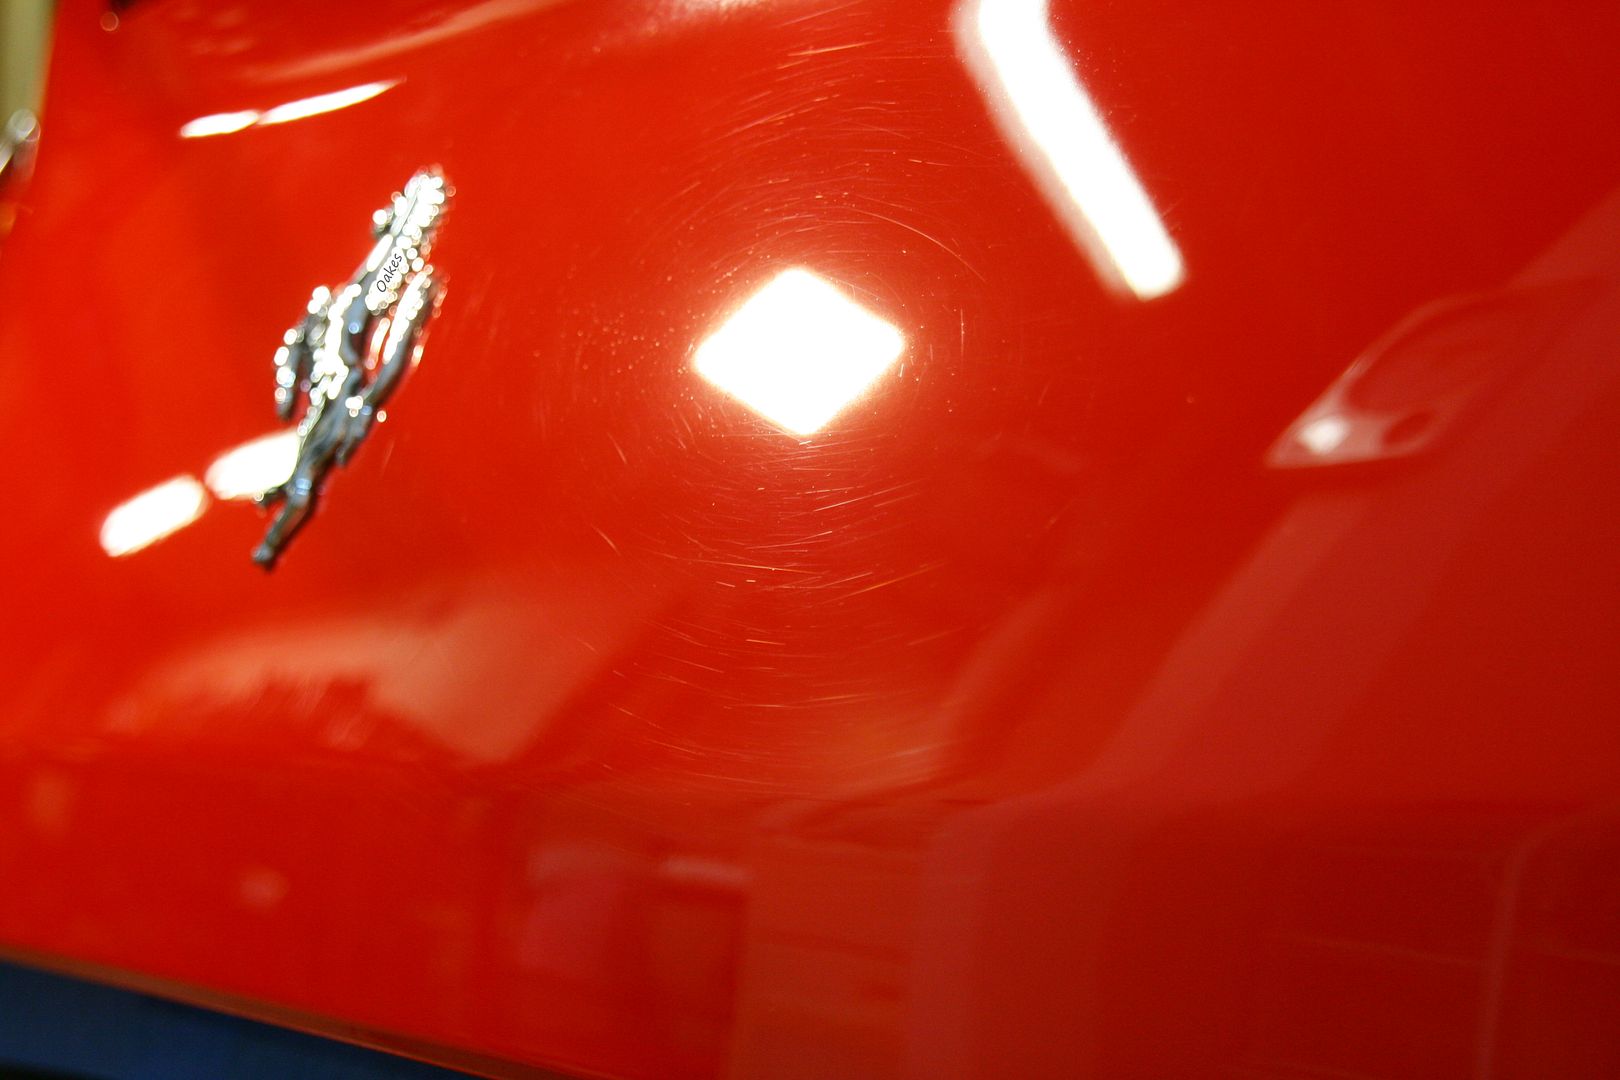
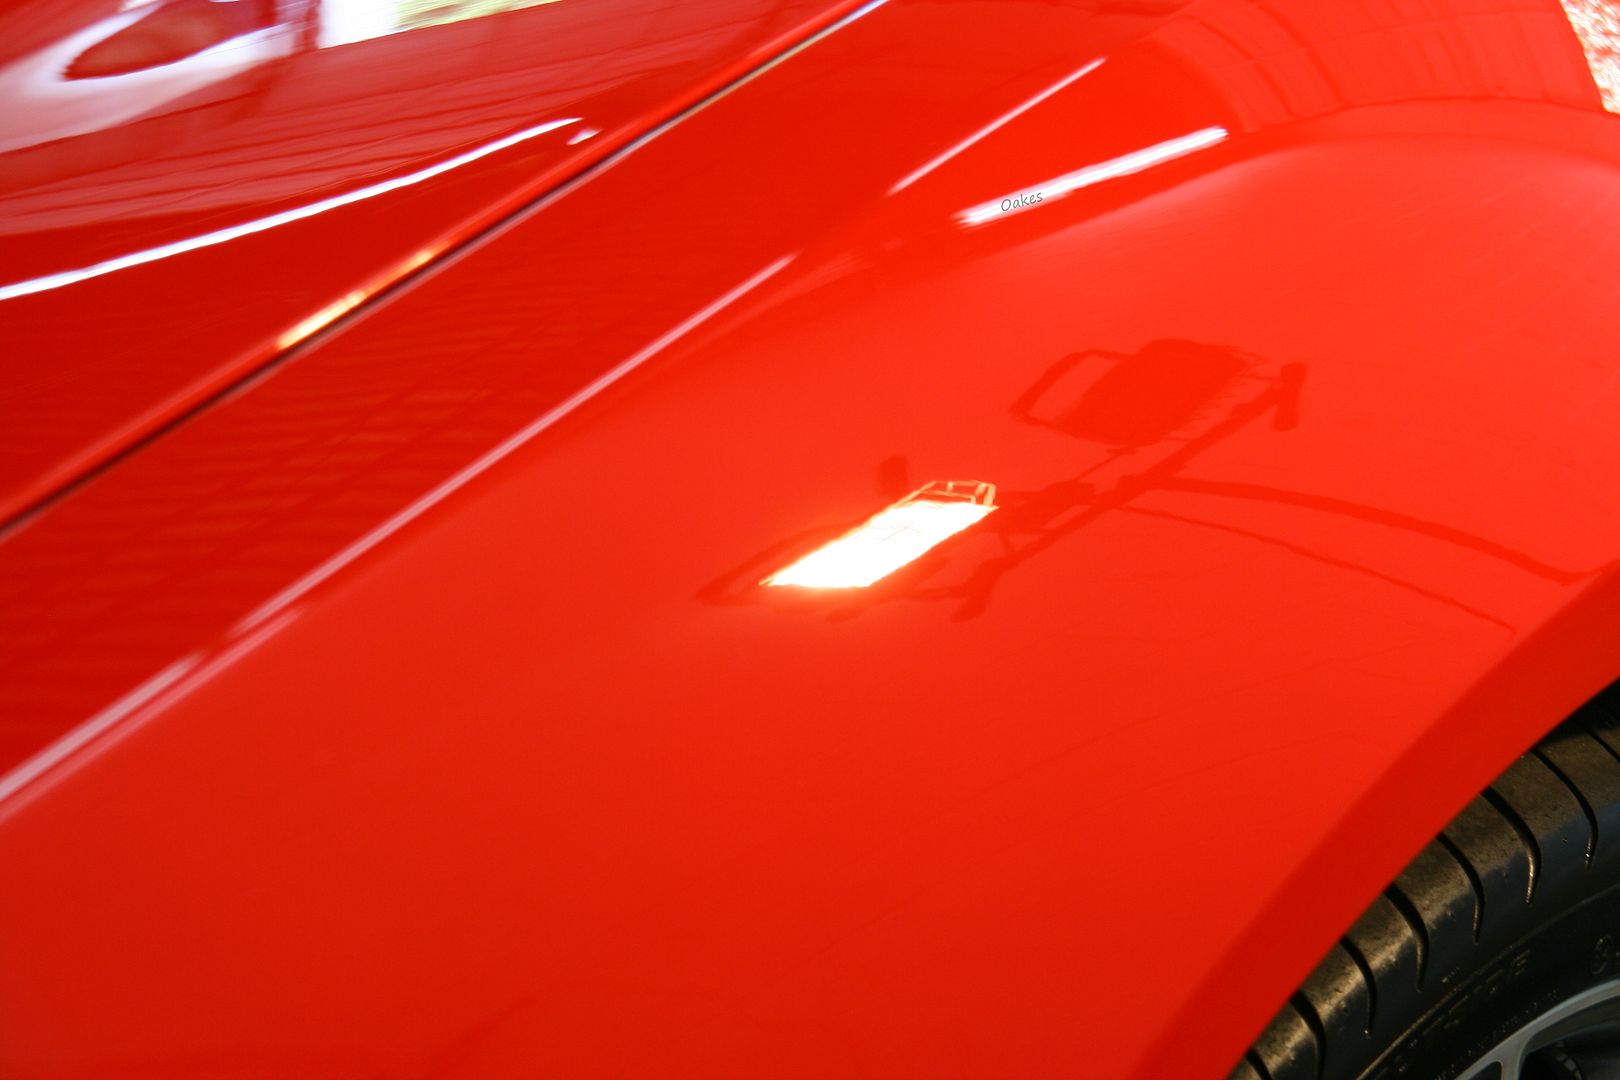
After the vehicle was completely prepped and ready for paint correction, I pulled it out into the sun to check for a more clear view of the known defects in the paint as seen here...
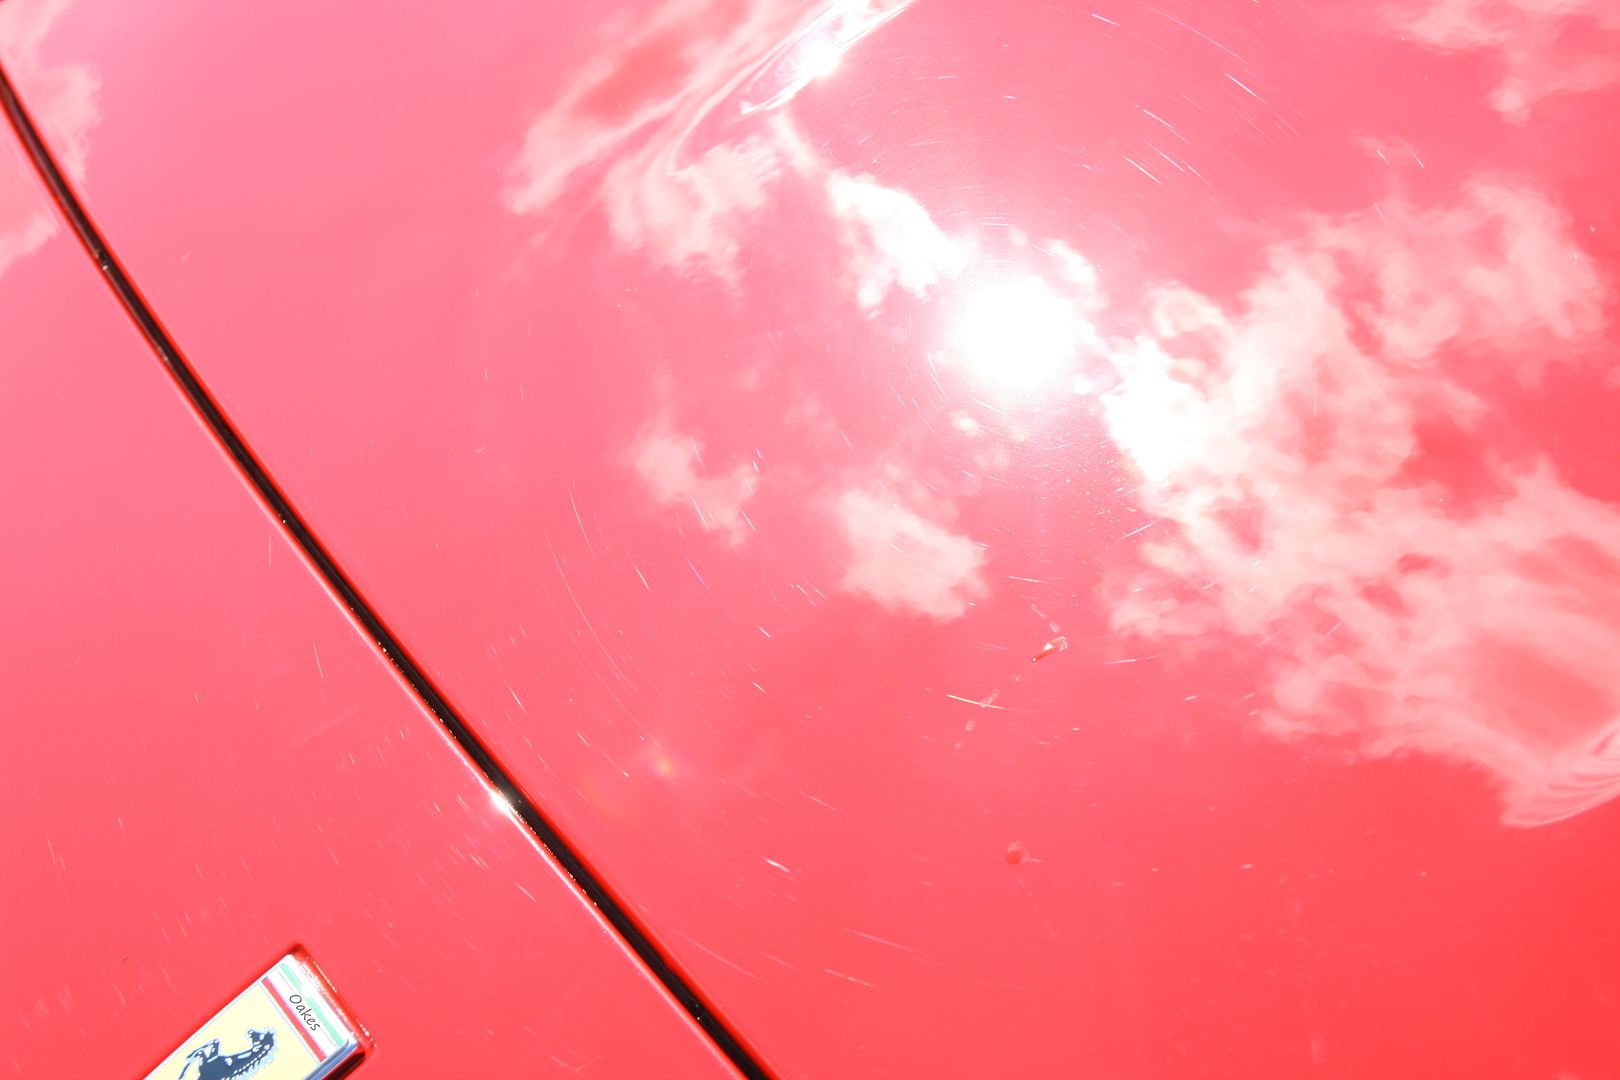
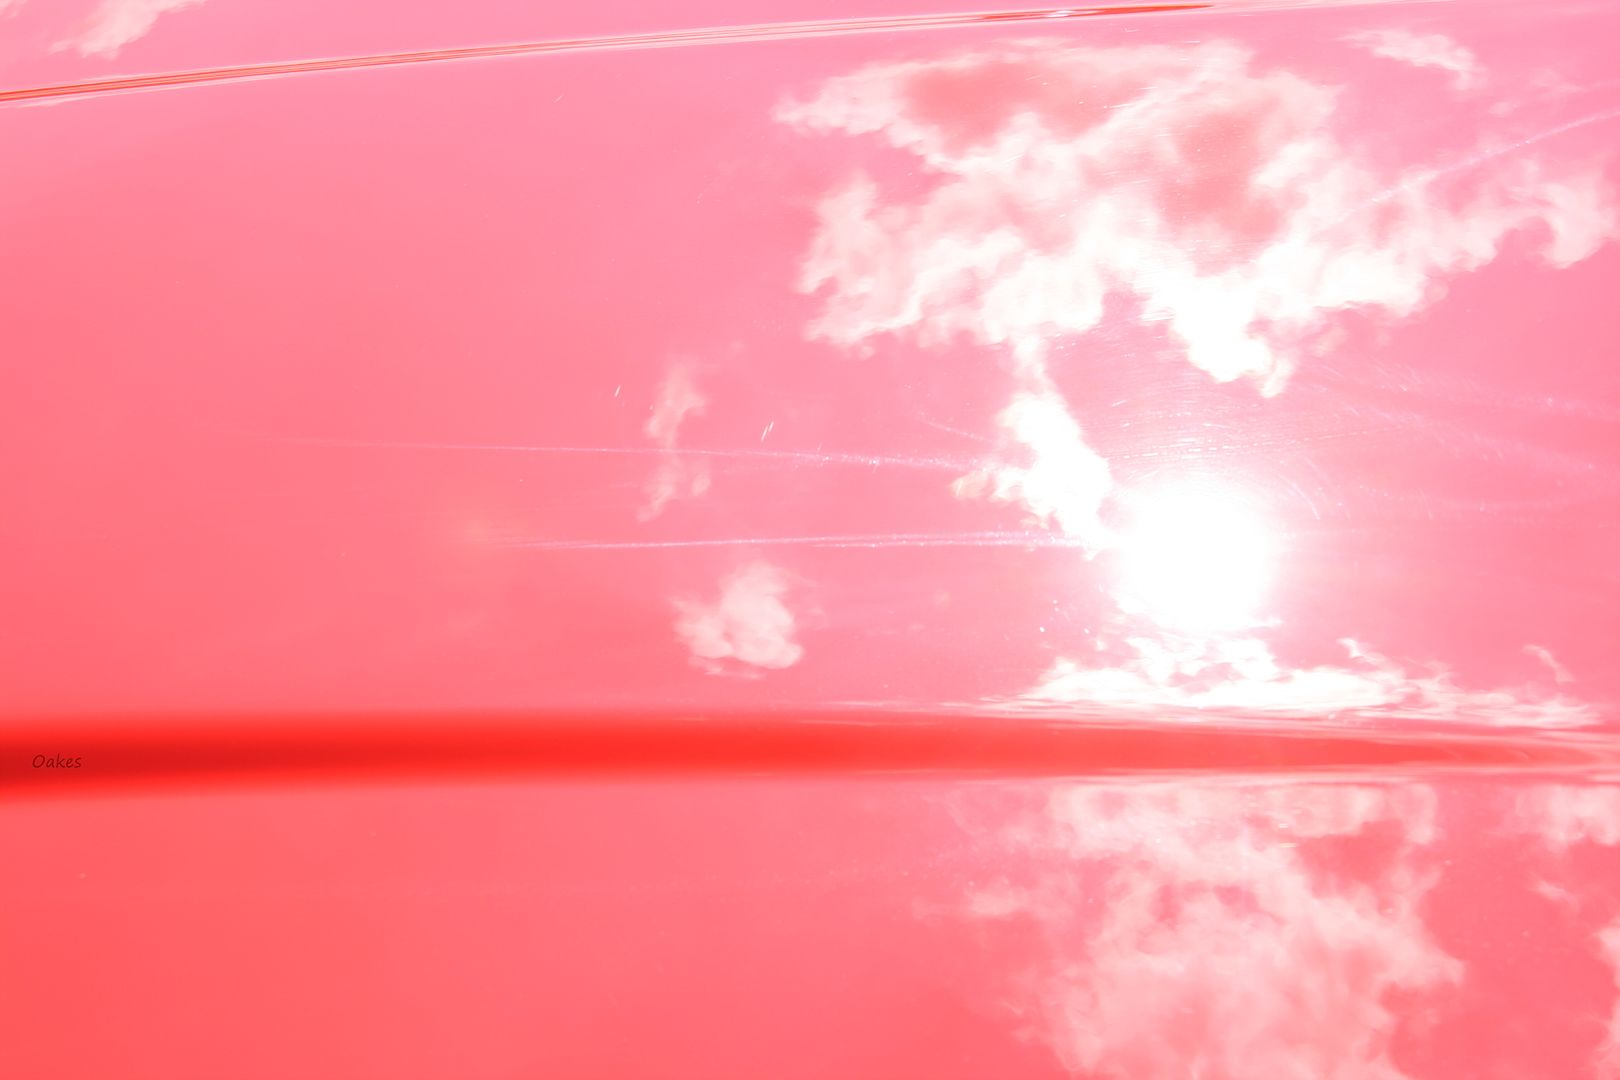
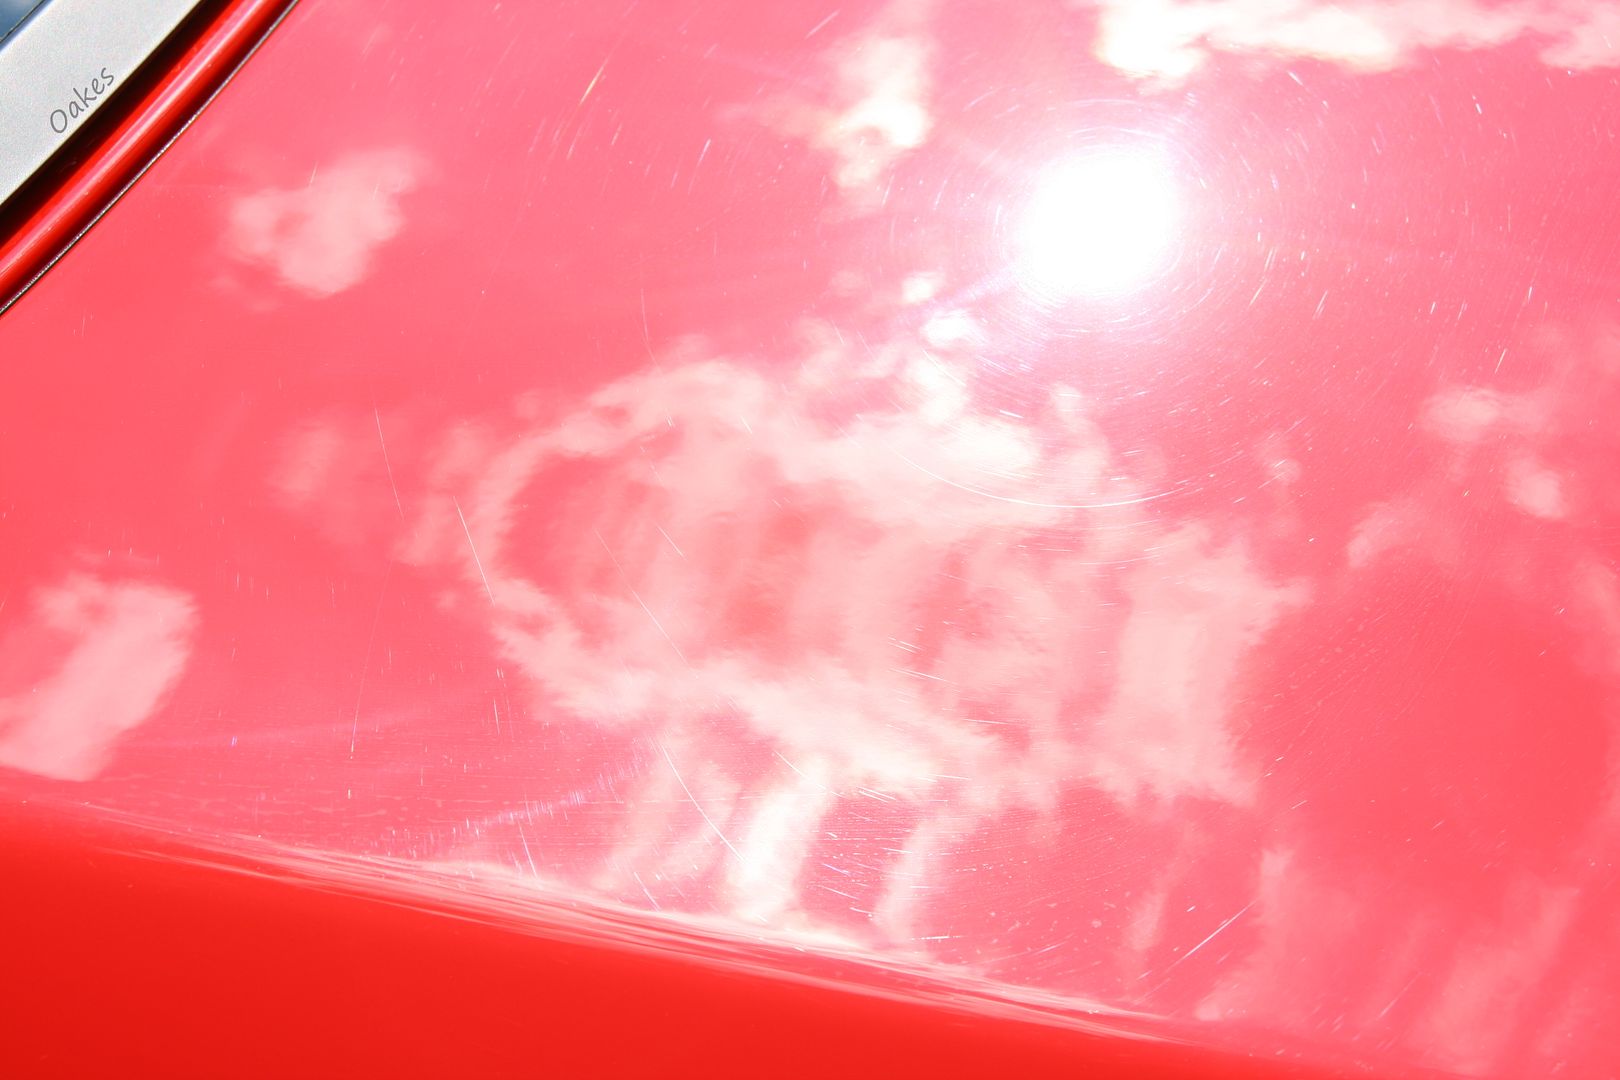
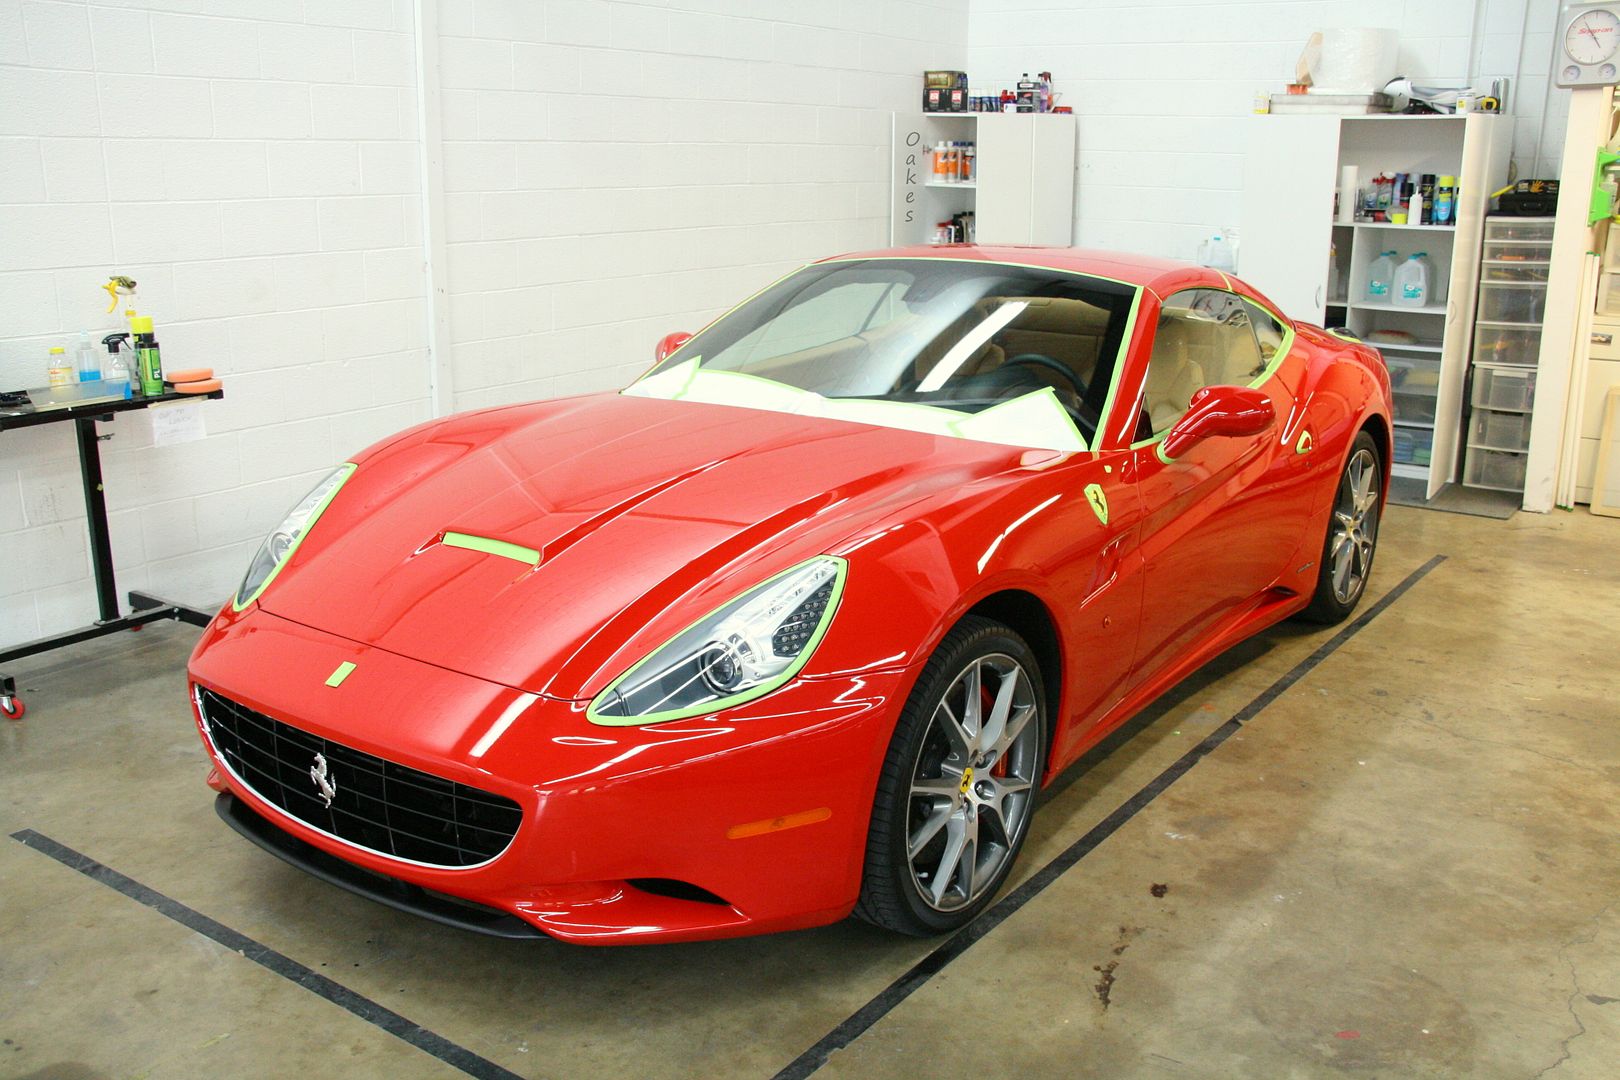
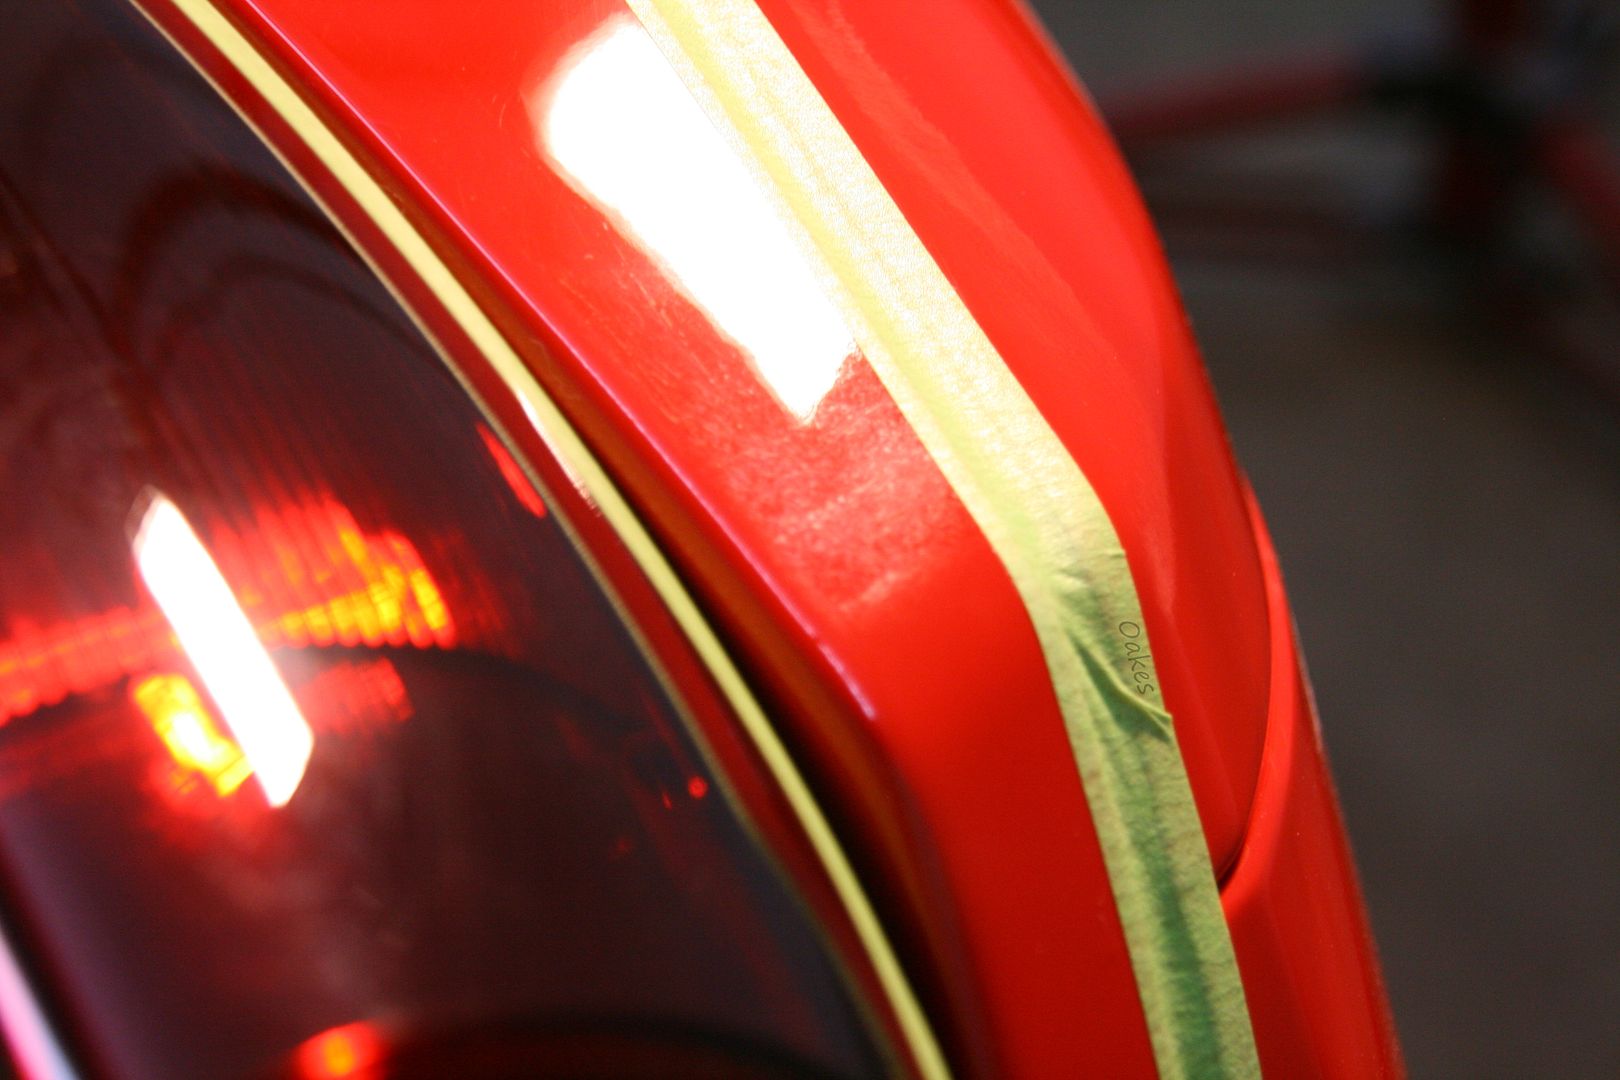
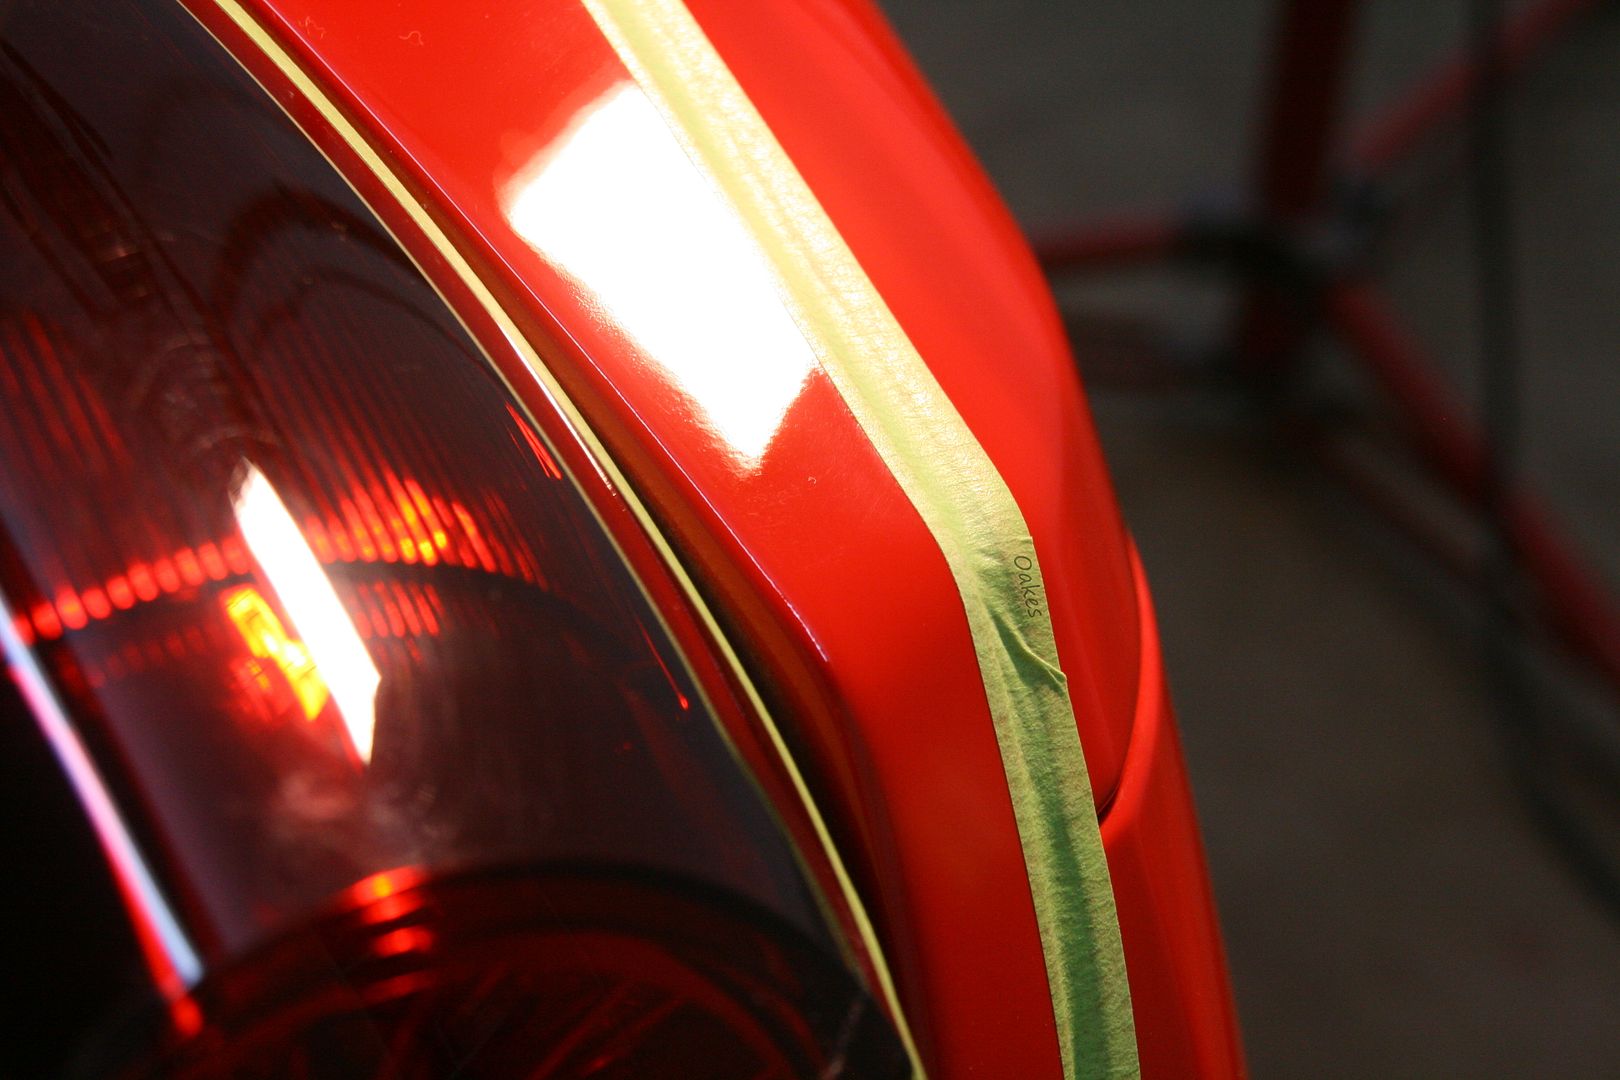
After my sunlight inspection, pulled her back in and started masking her off before inspecting it under various other lighting and taking paint readings
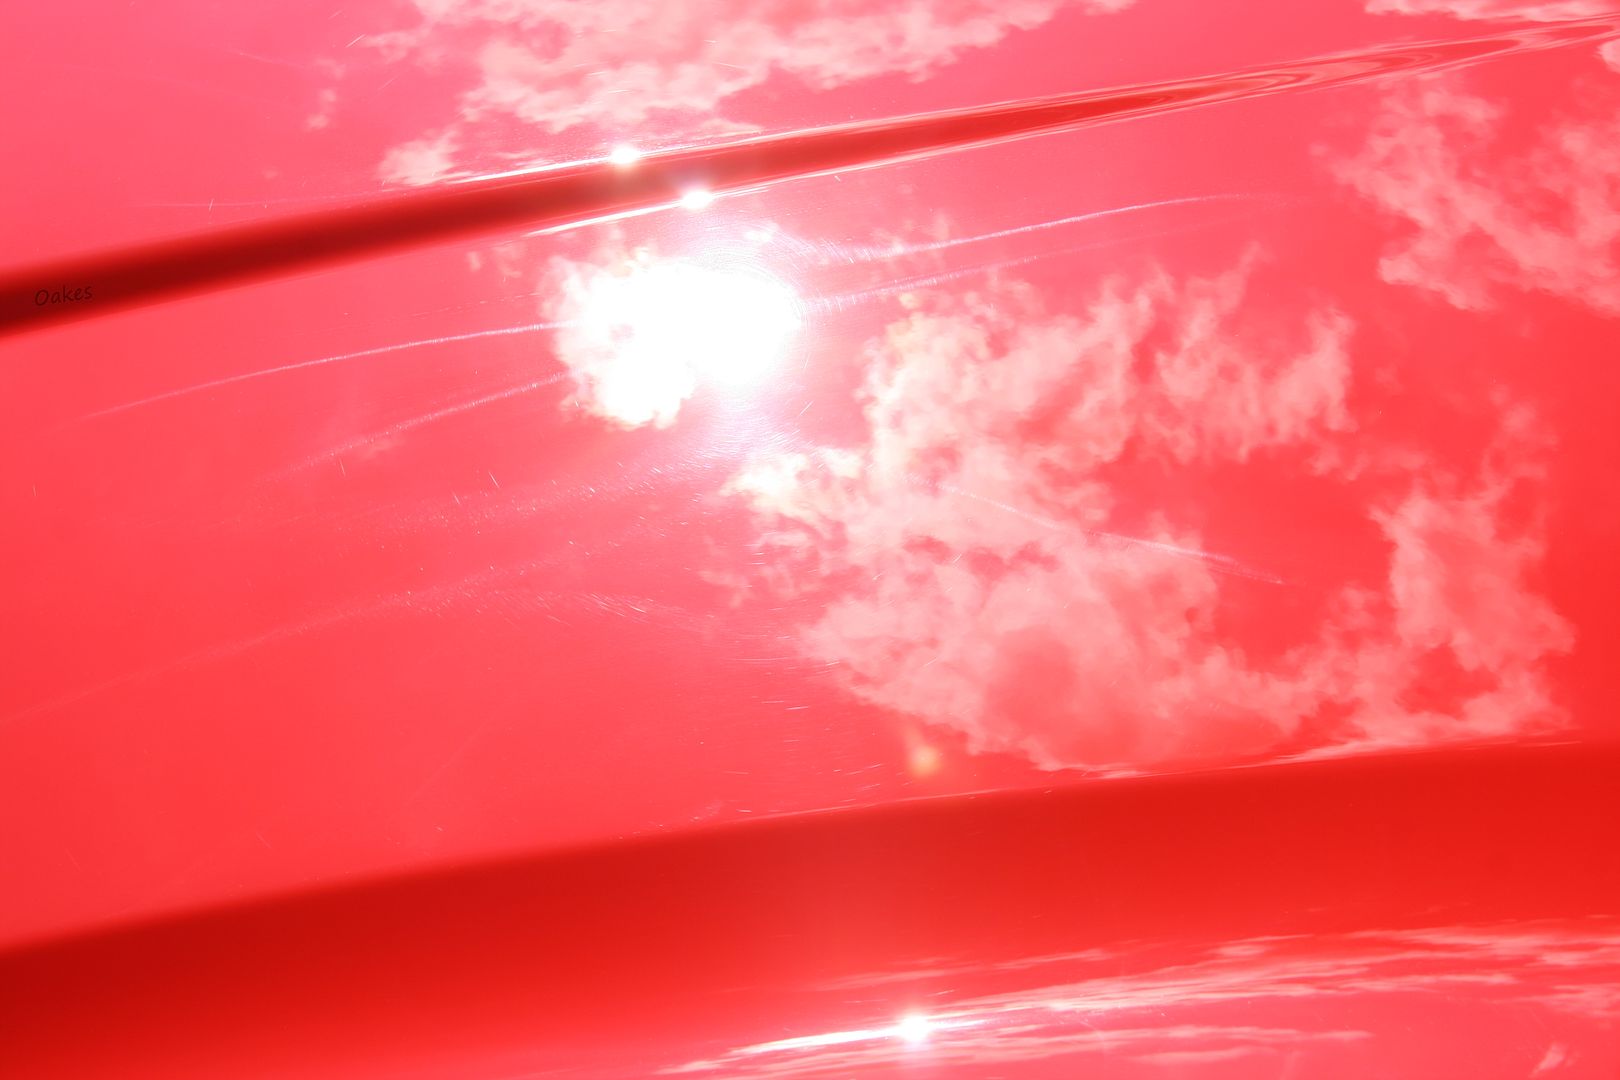
Under the interior spotlights, the deeper and heavier defects are exposed, starting with sanding marks left in various areas of the trunk, quarters and roof.
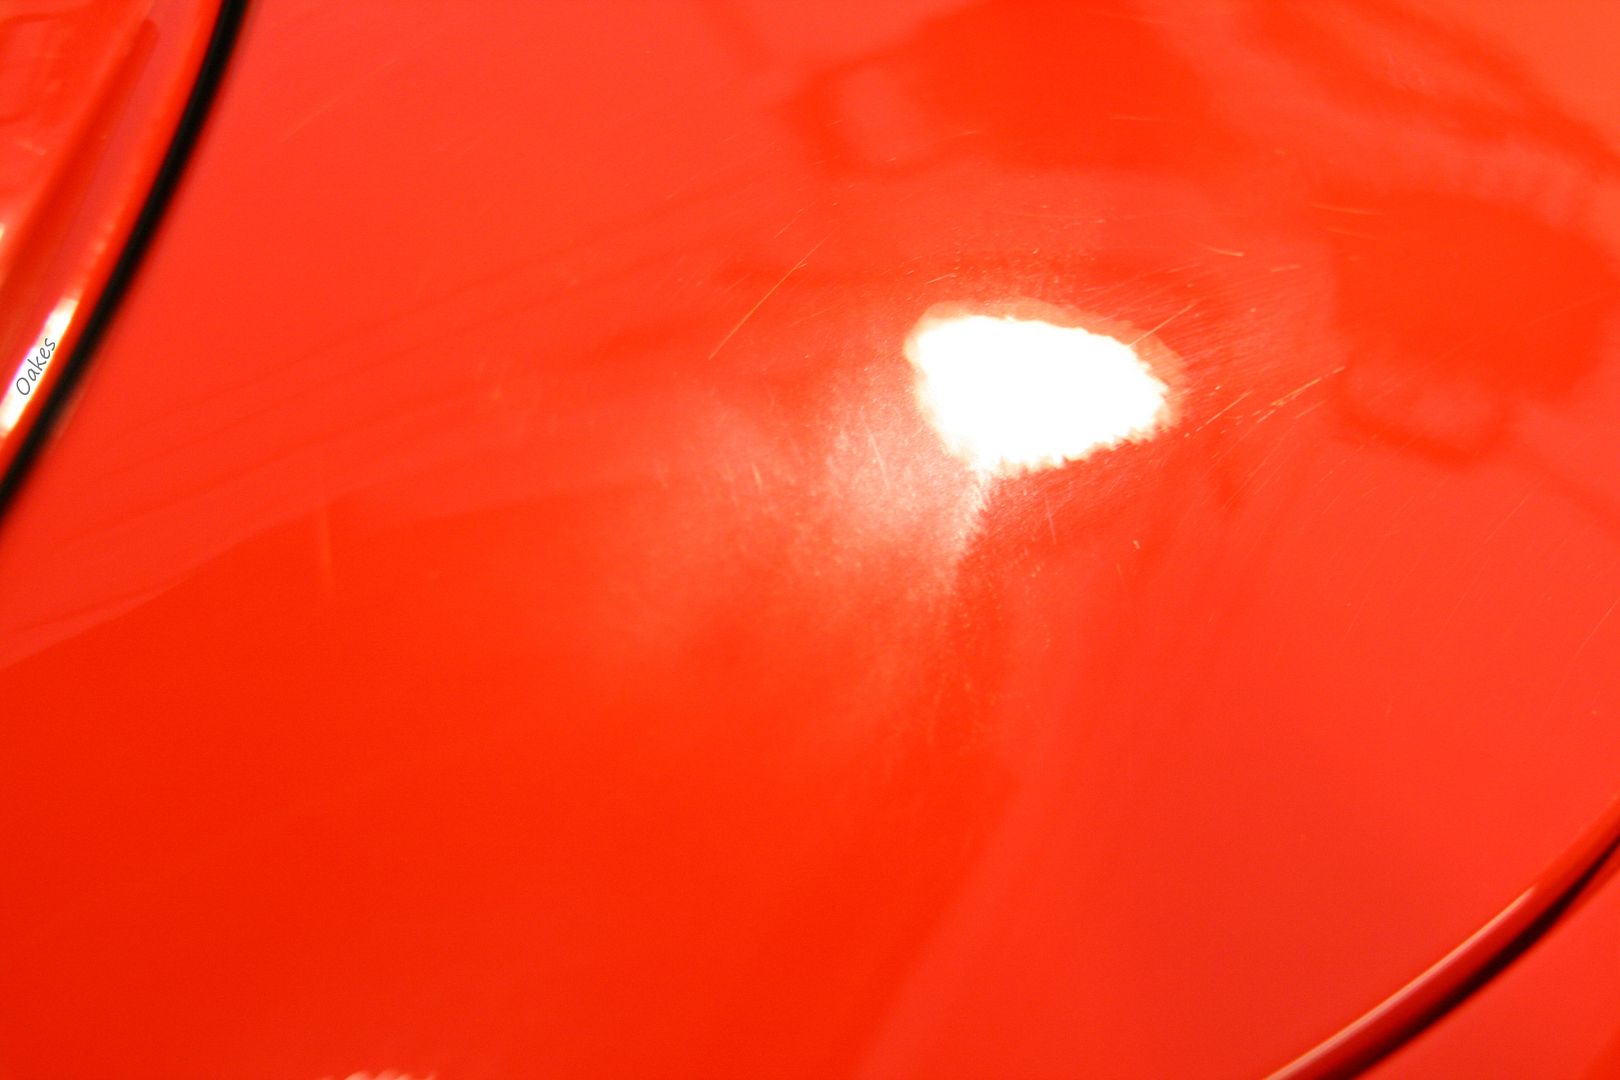
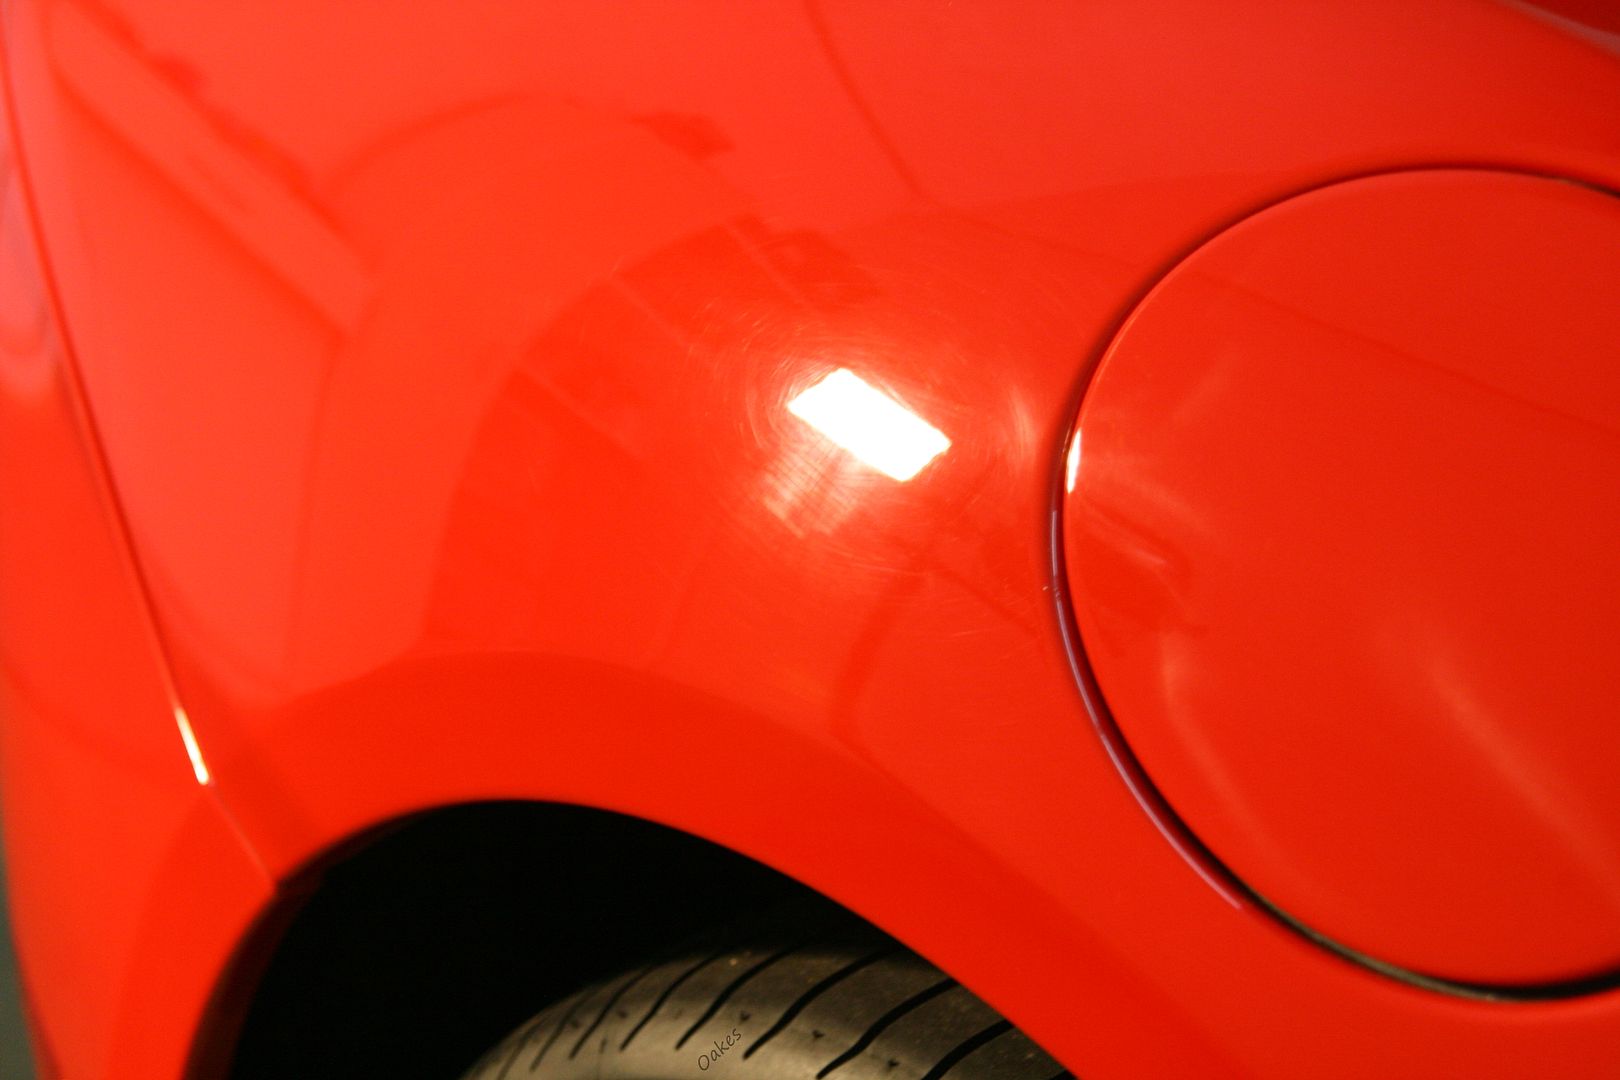
As well as your standard swirling and rids
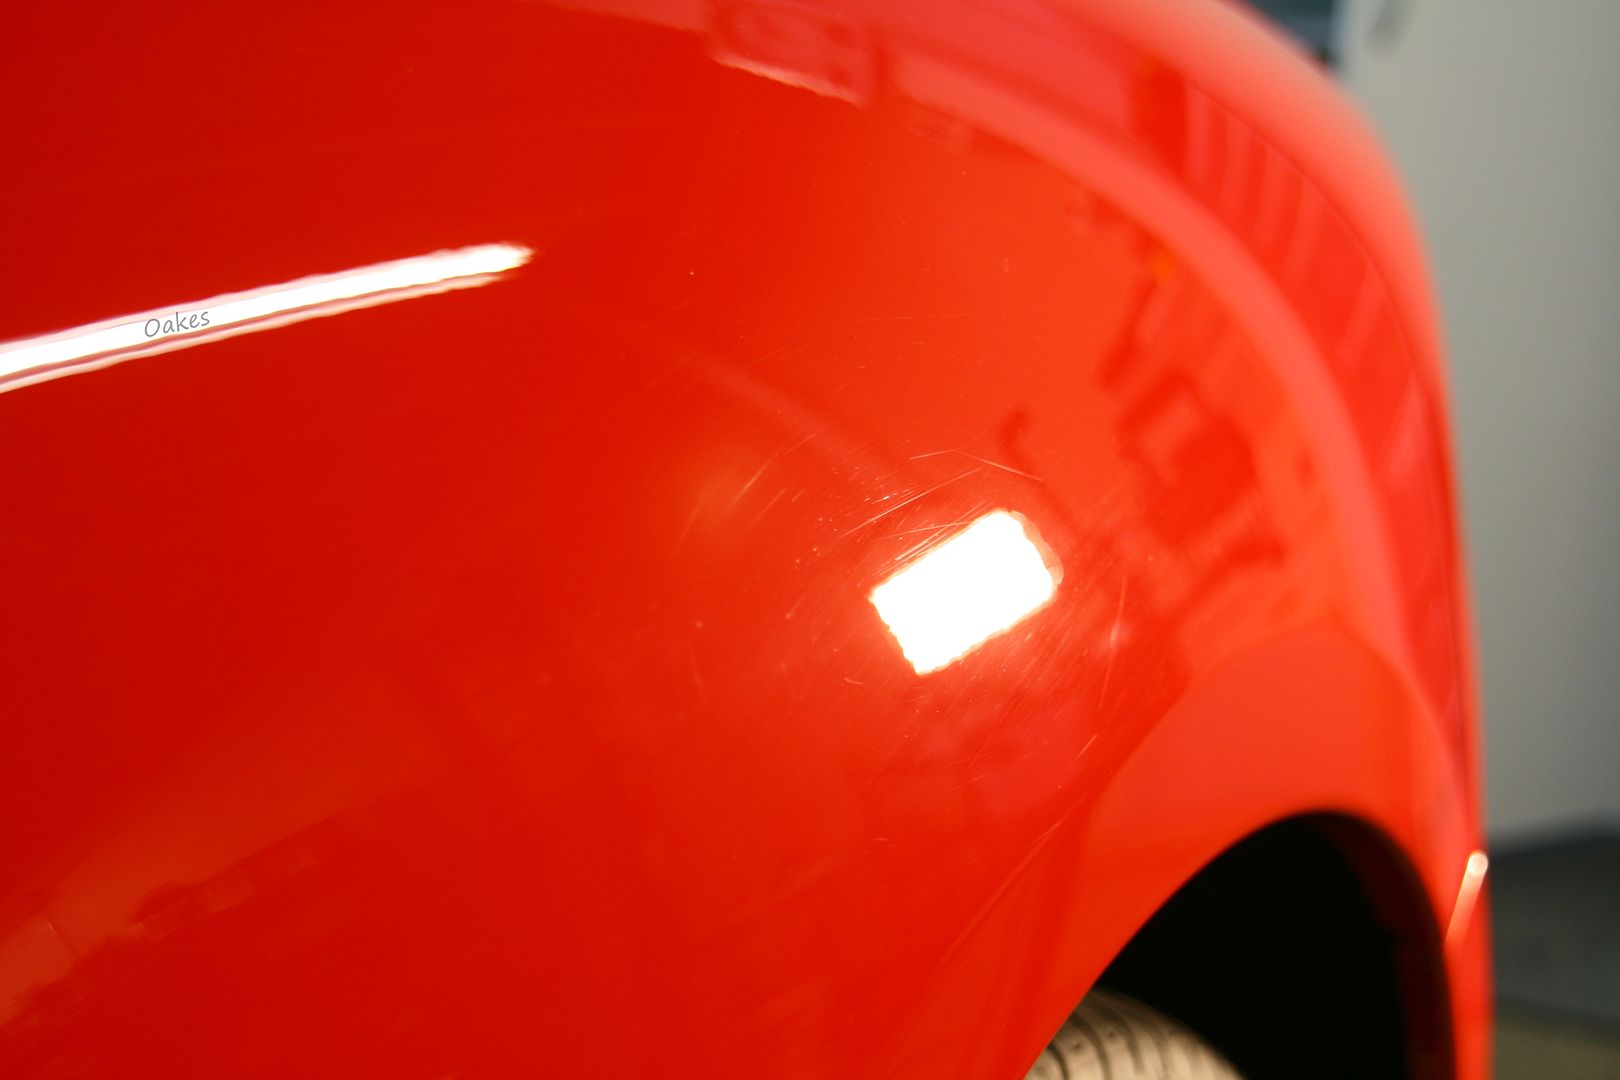
Here is a before and after set of DA sanding marks left on the corner of the trunk, tricky spot to work on with many paint edges to keep mindful of as well as the tailight.
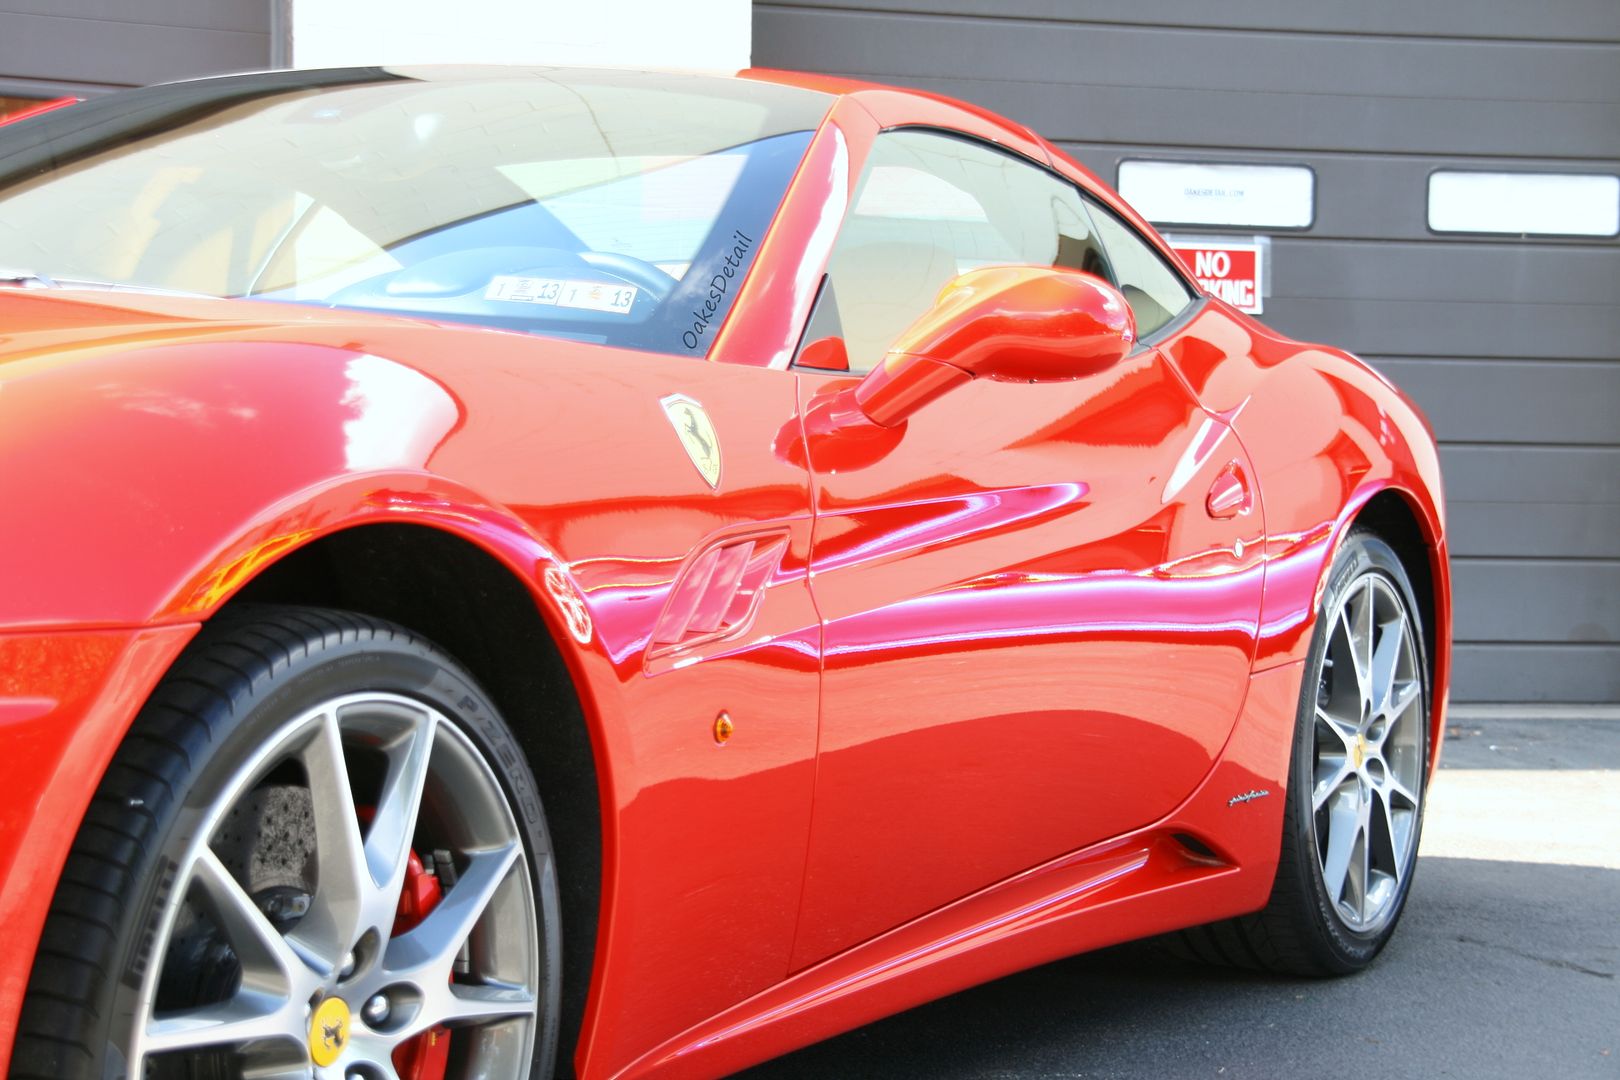
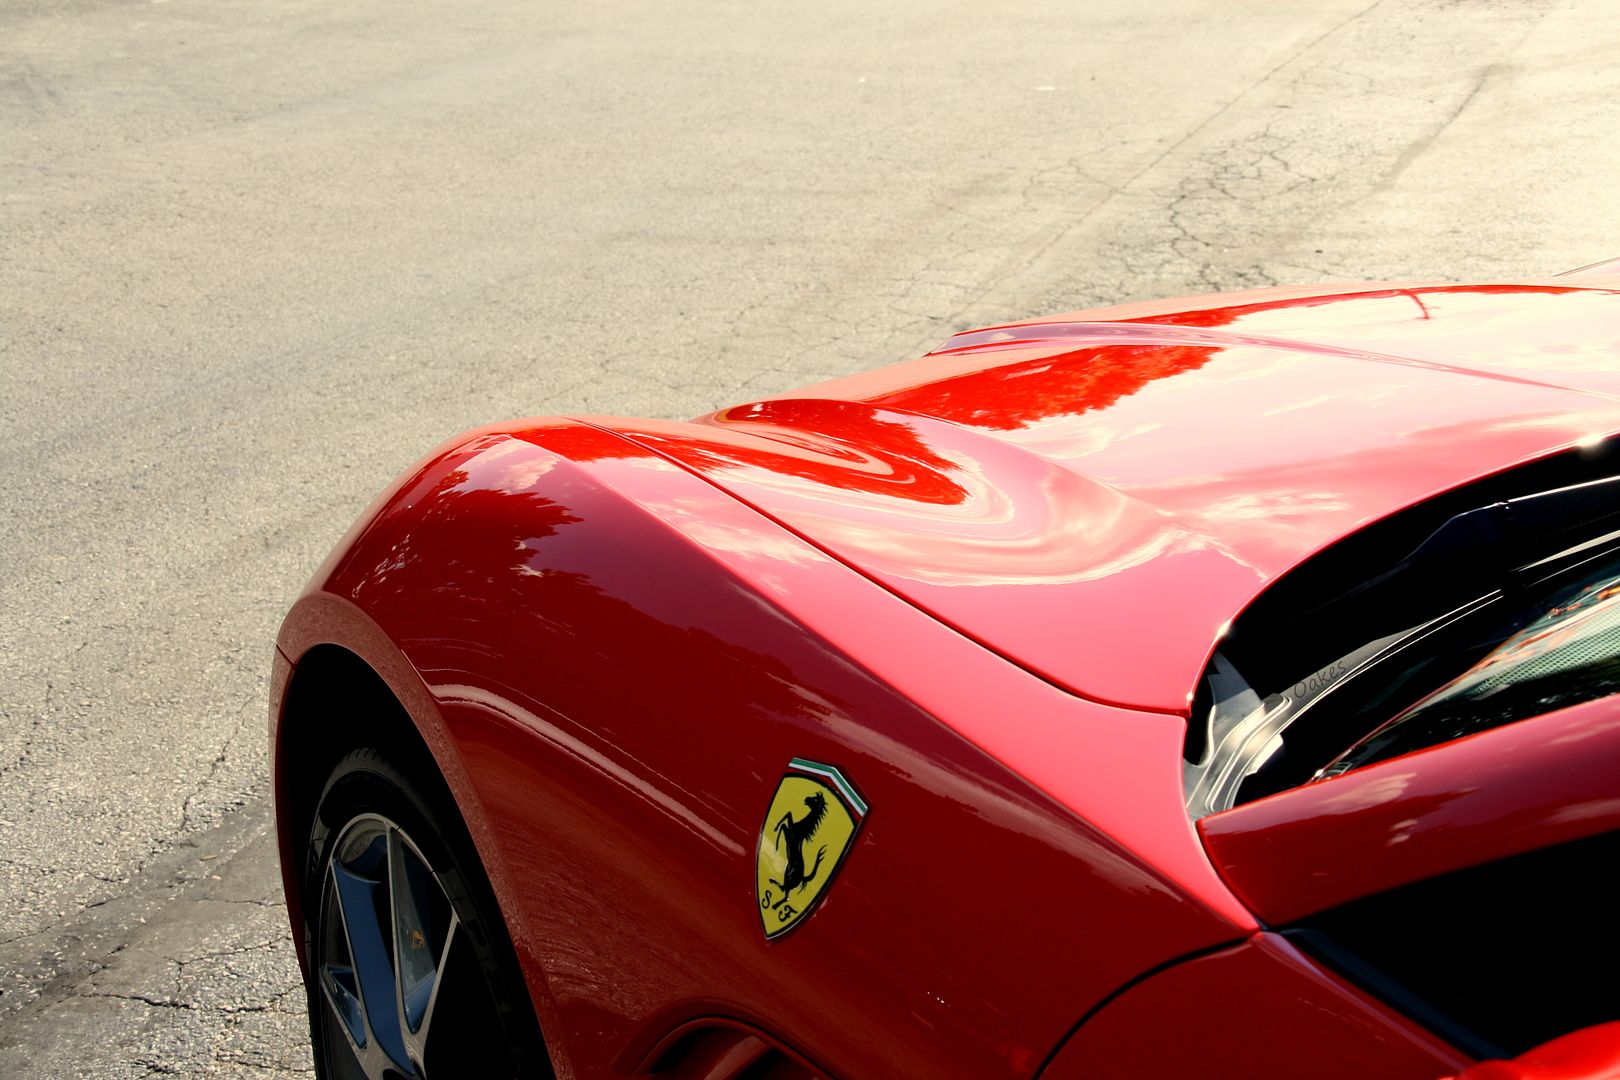
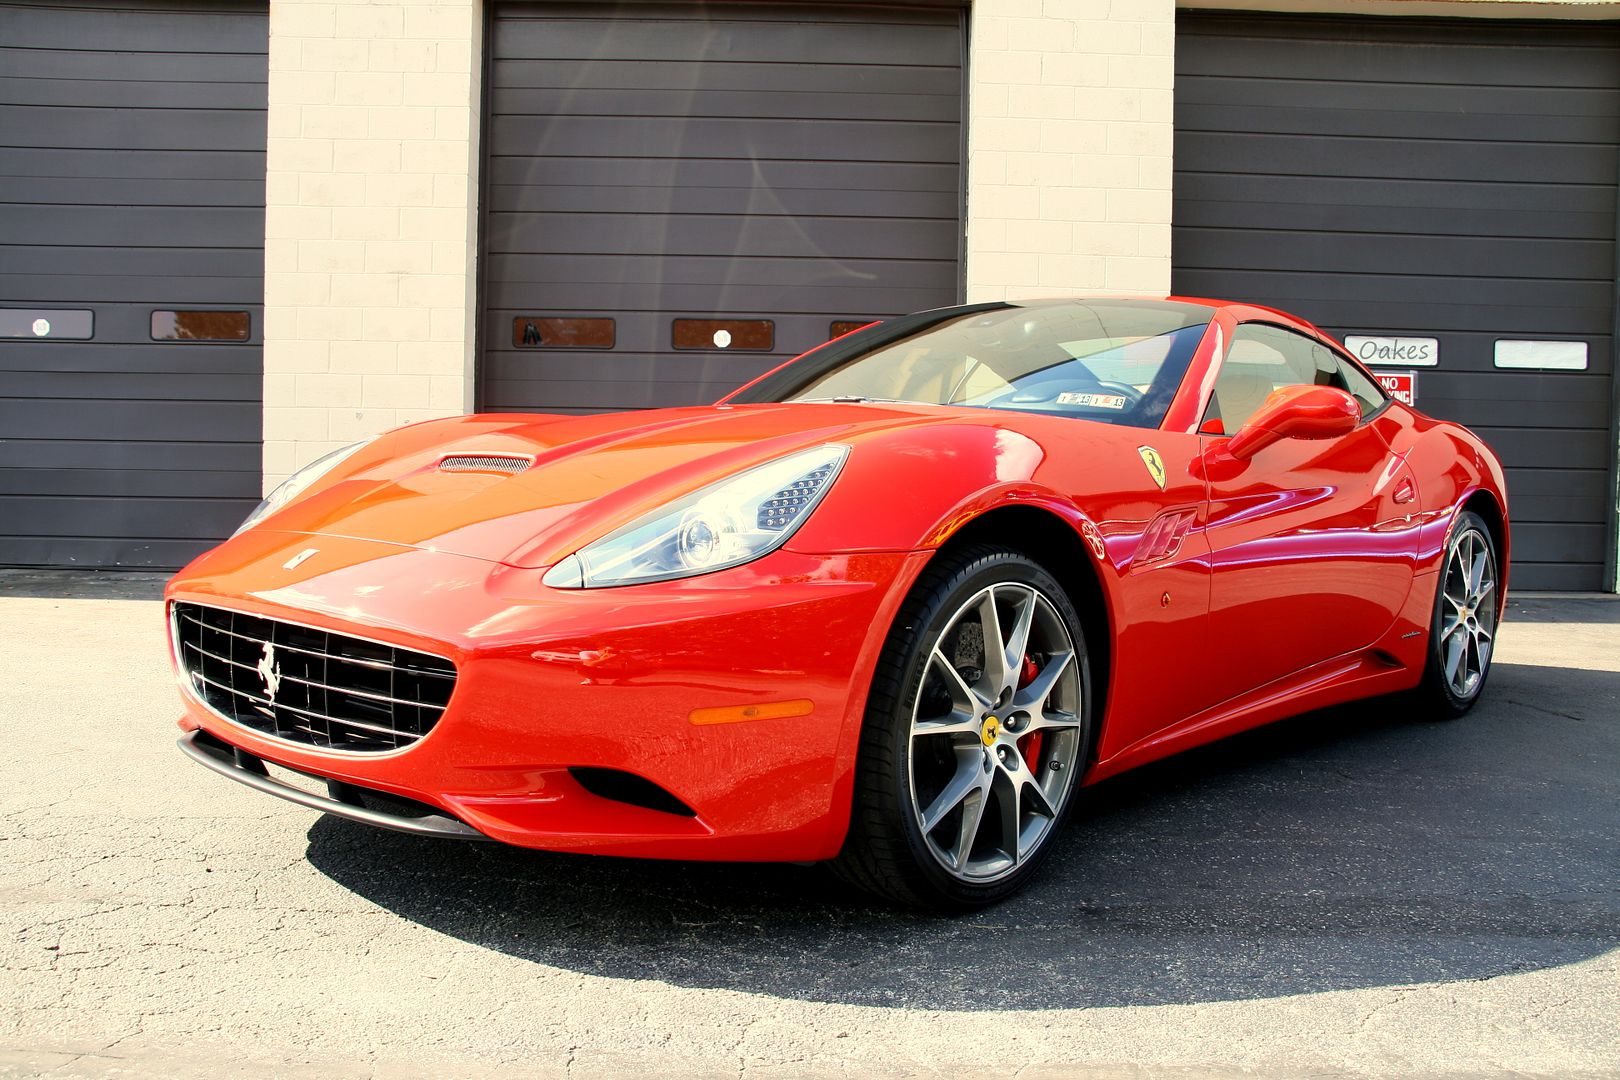
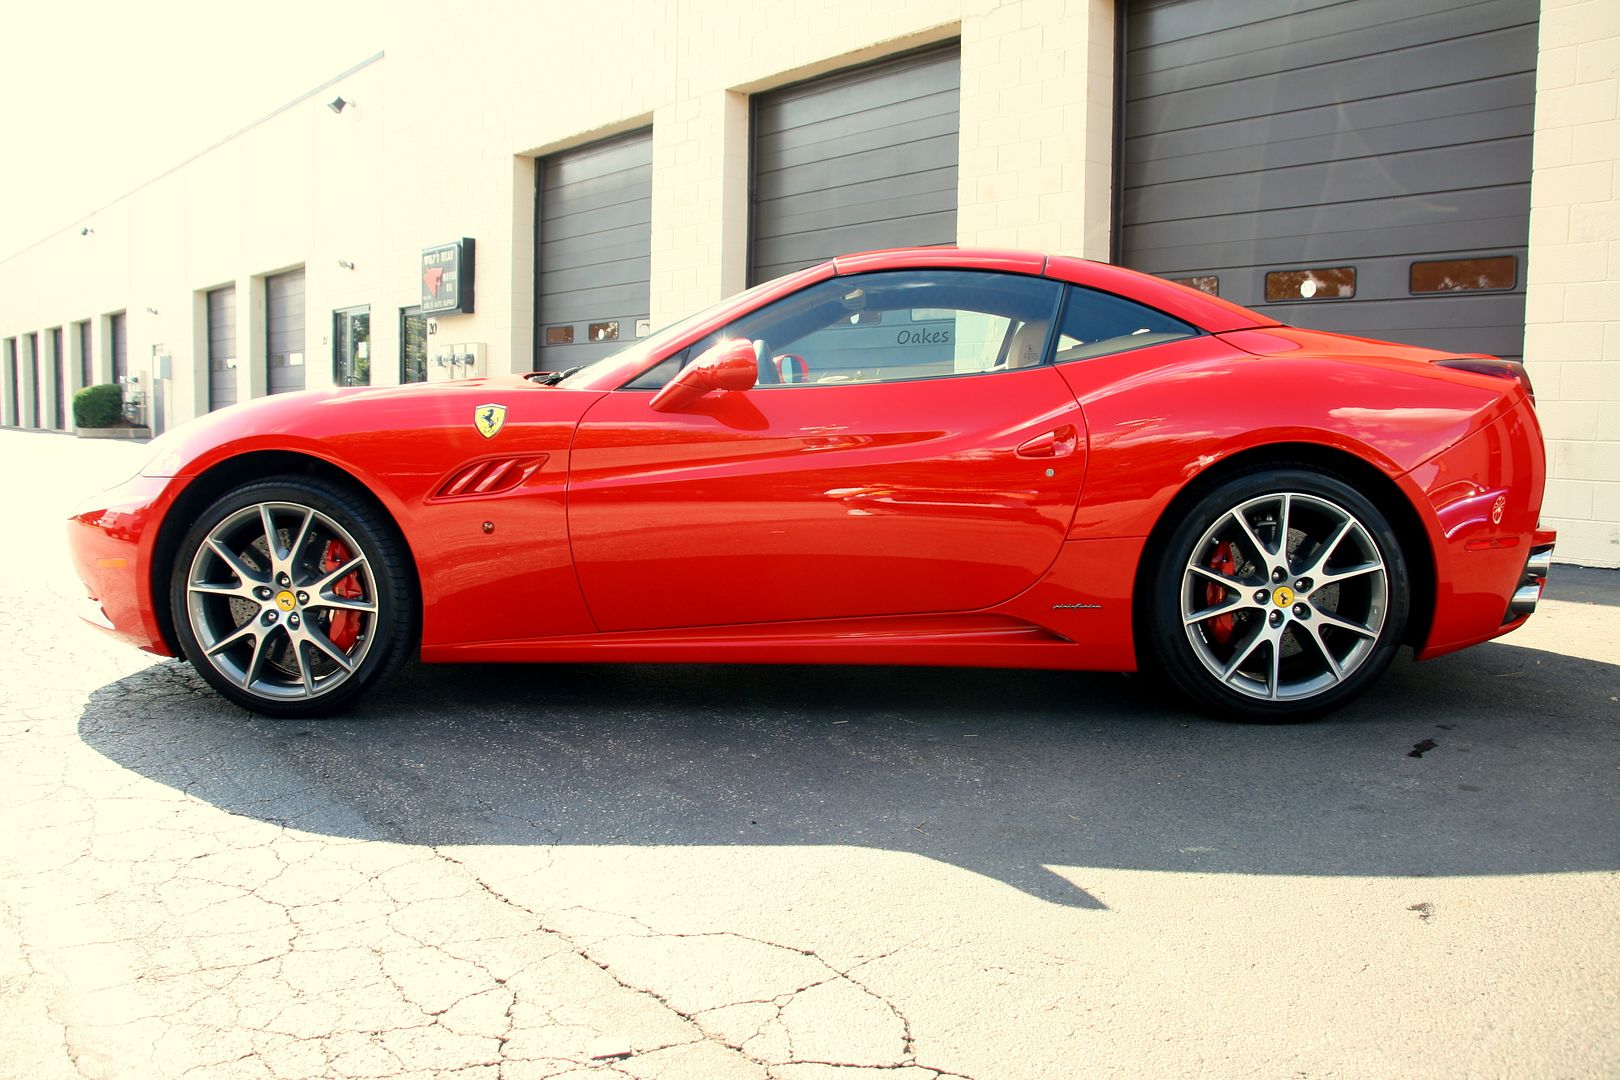
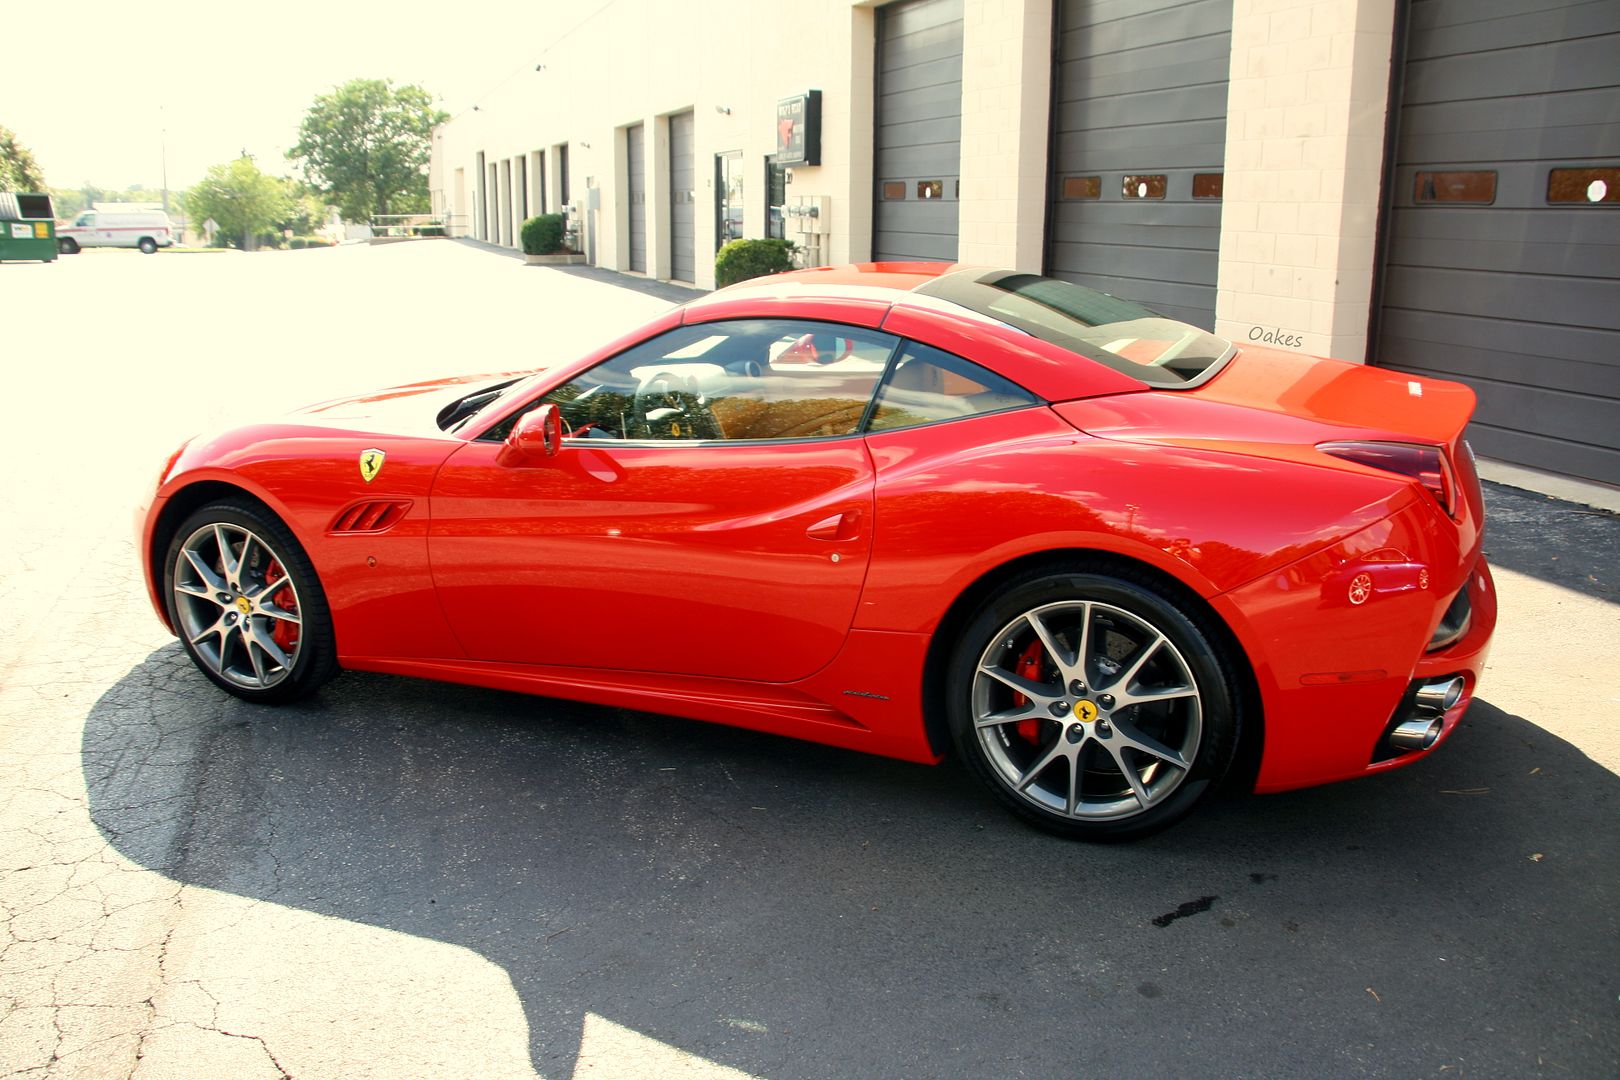
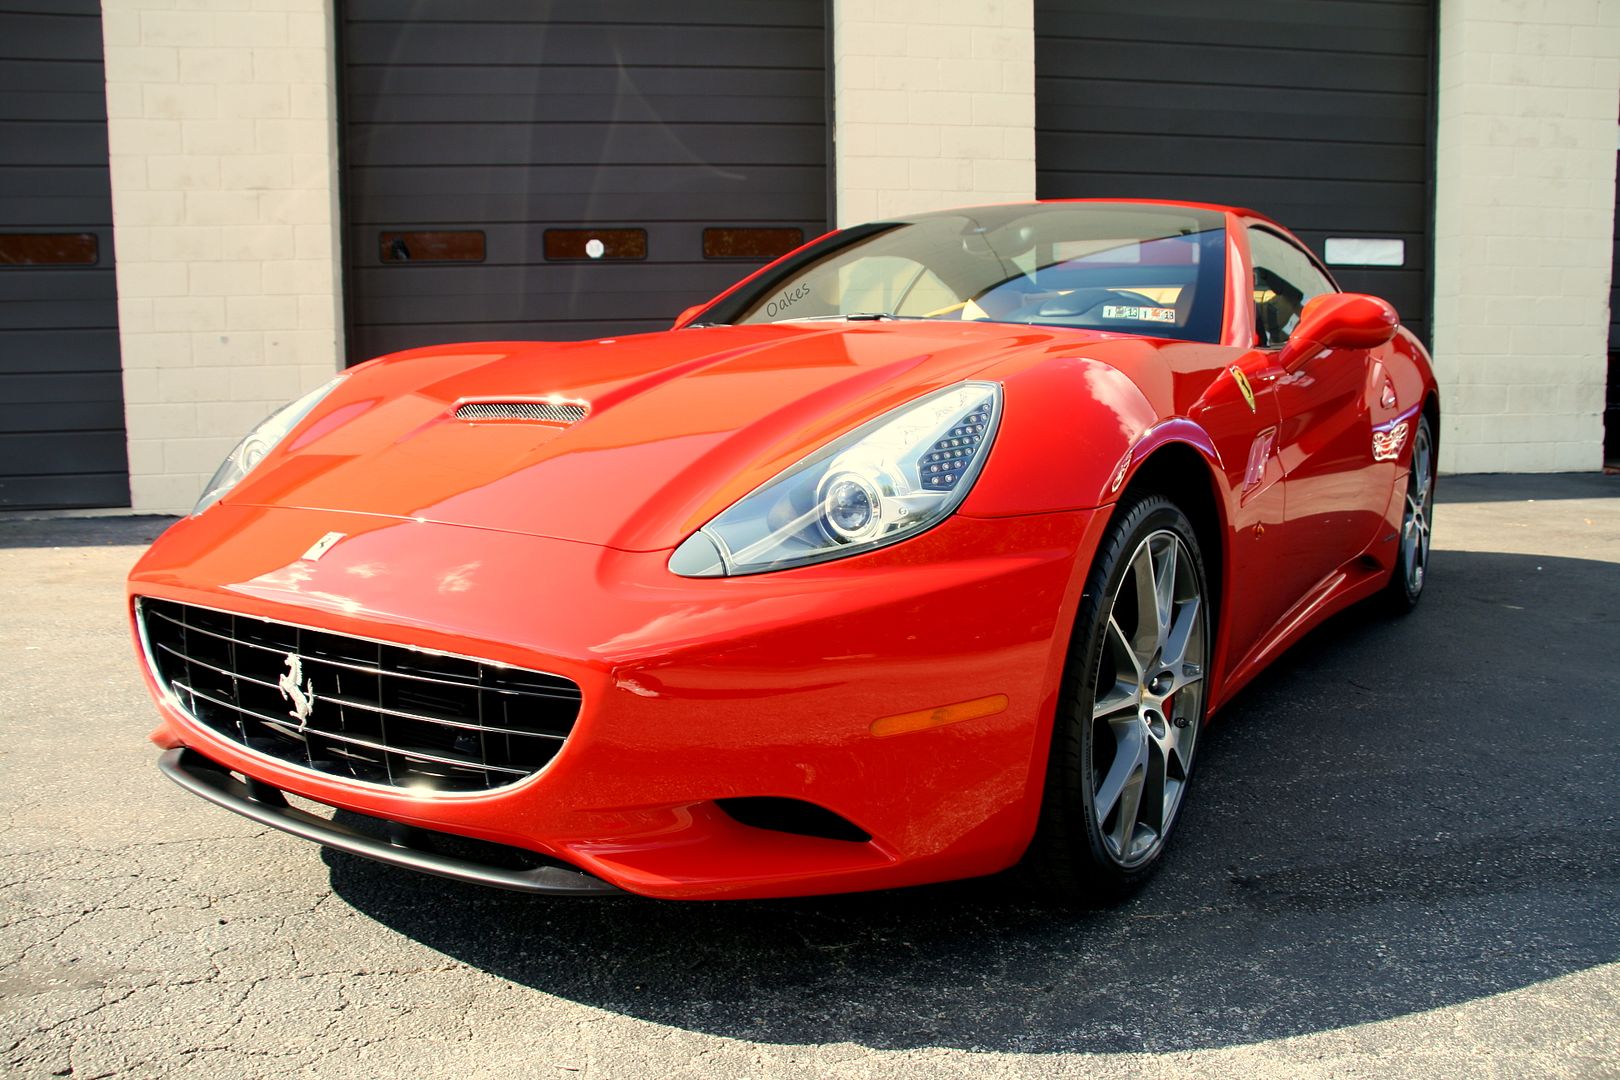
After about 17 hours of compounding, polishing and fine polishing, here is the result of the paint afterwords. Both under spotlights then outside under sunlight,
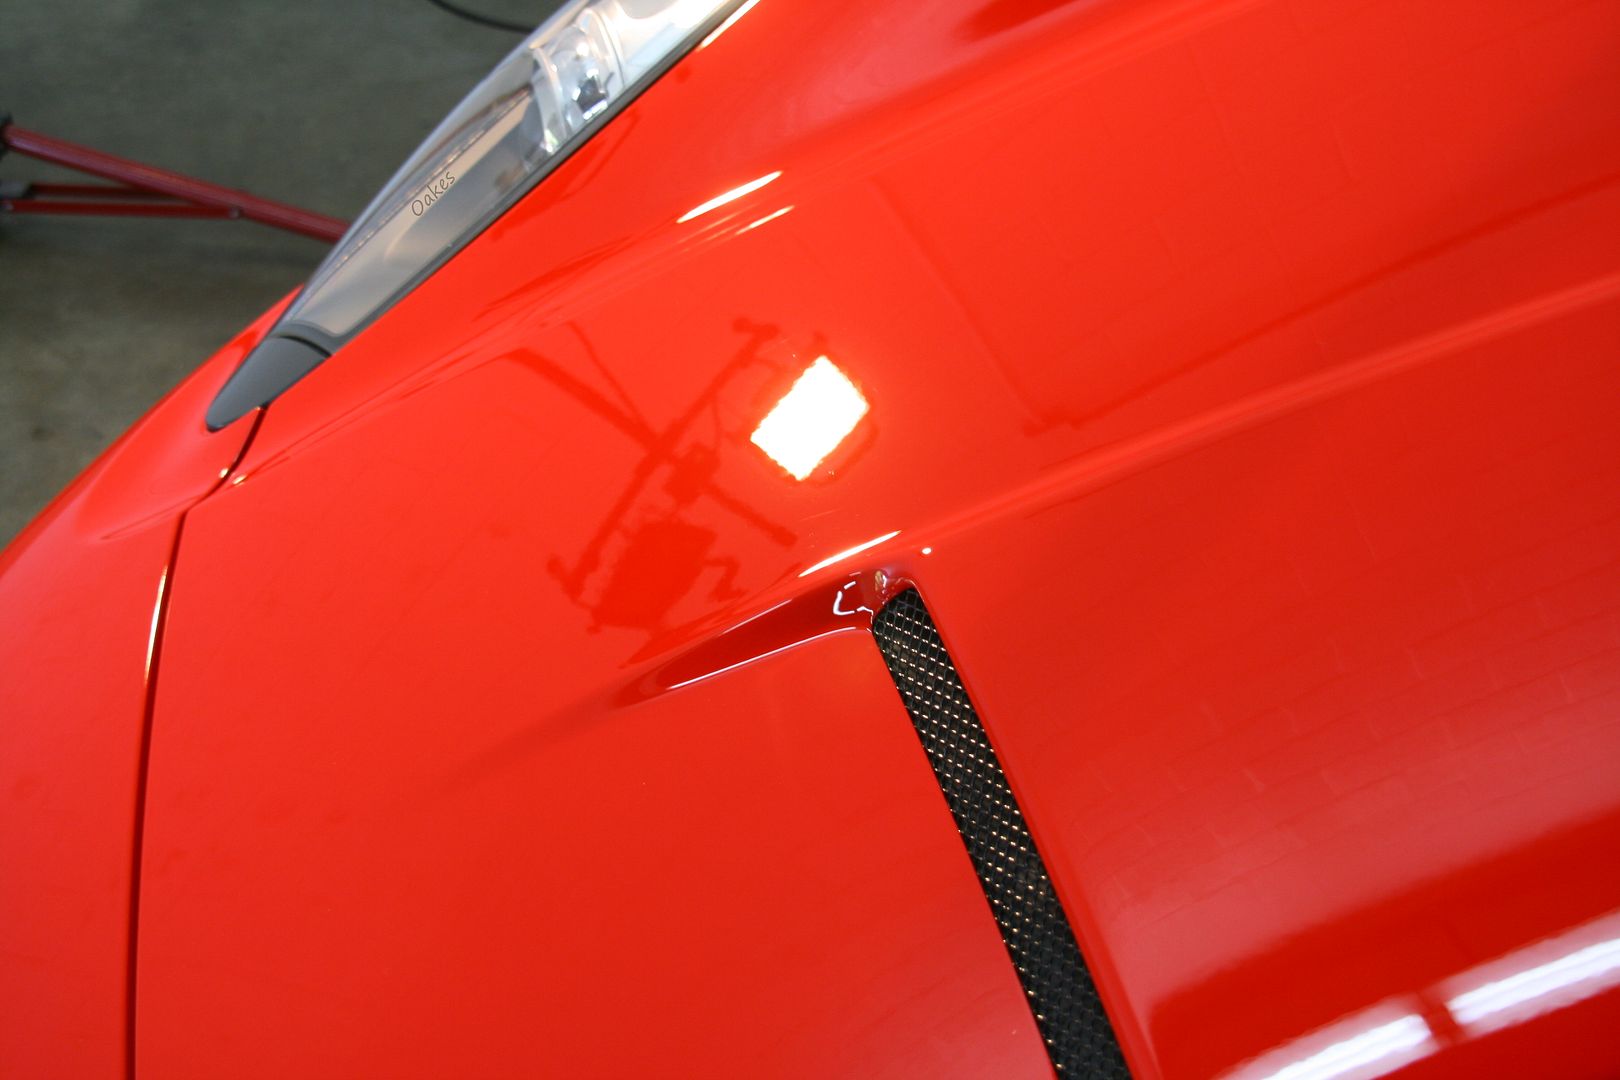
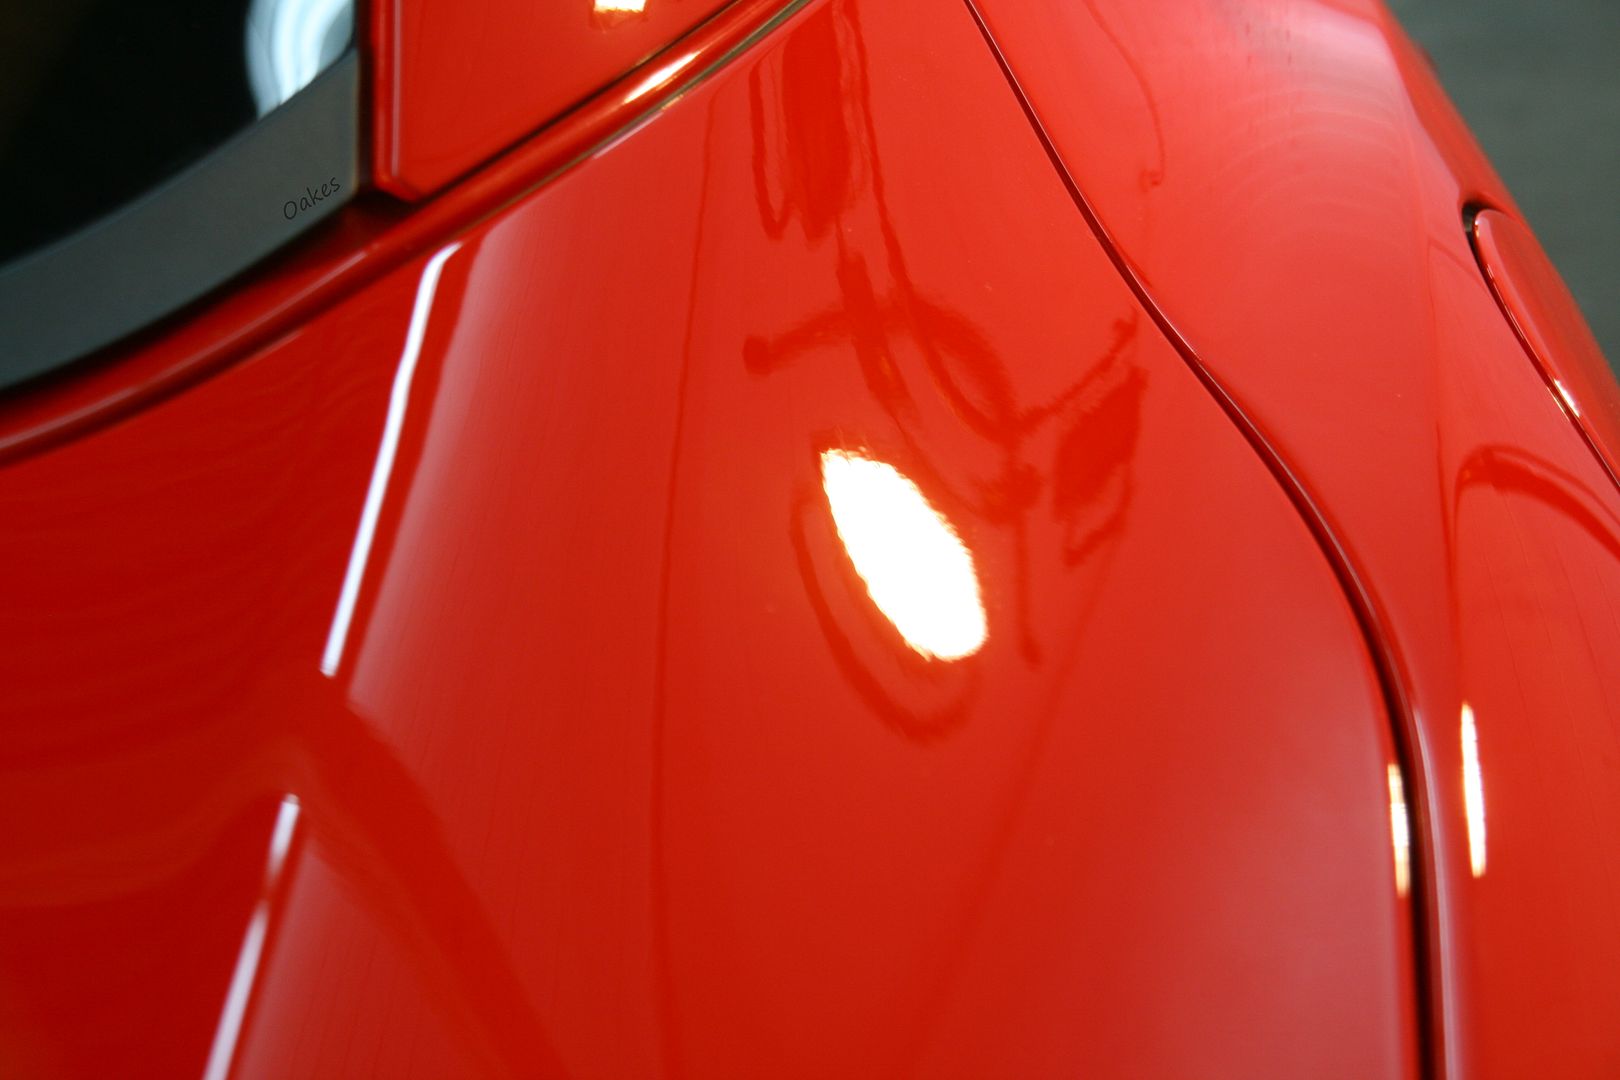
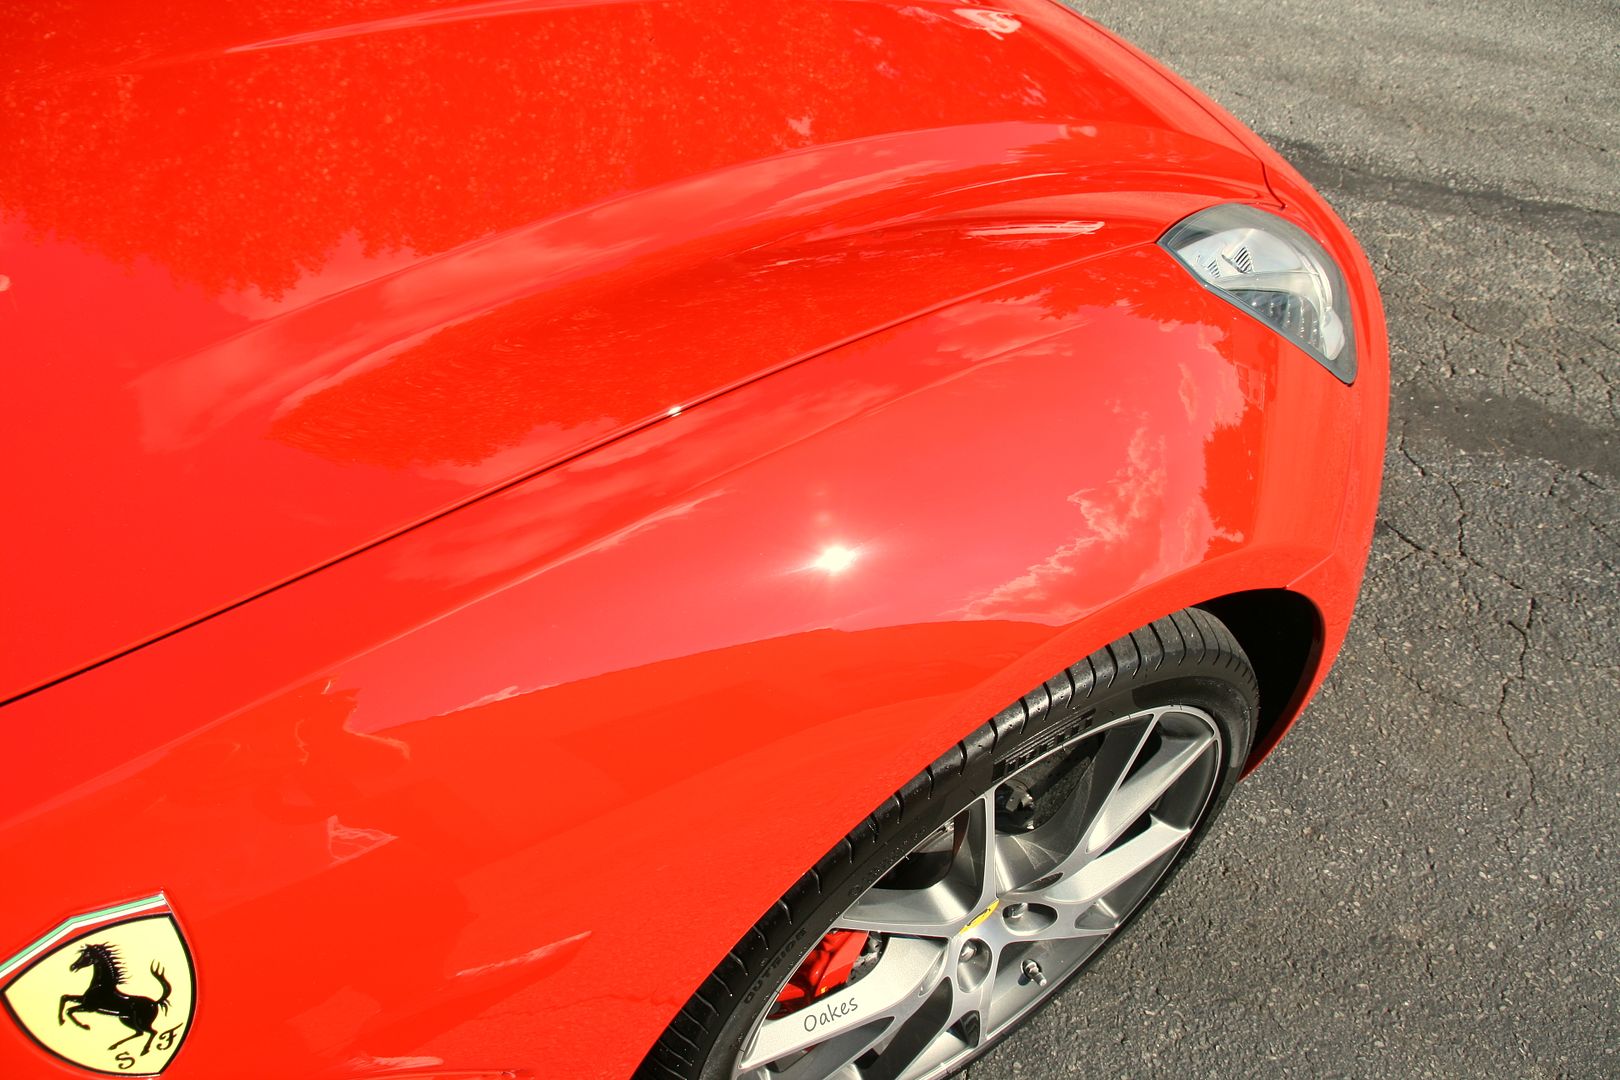
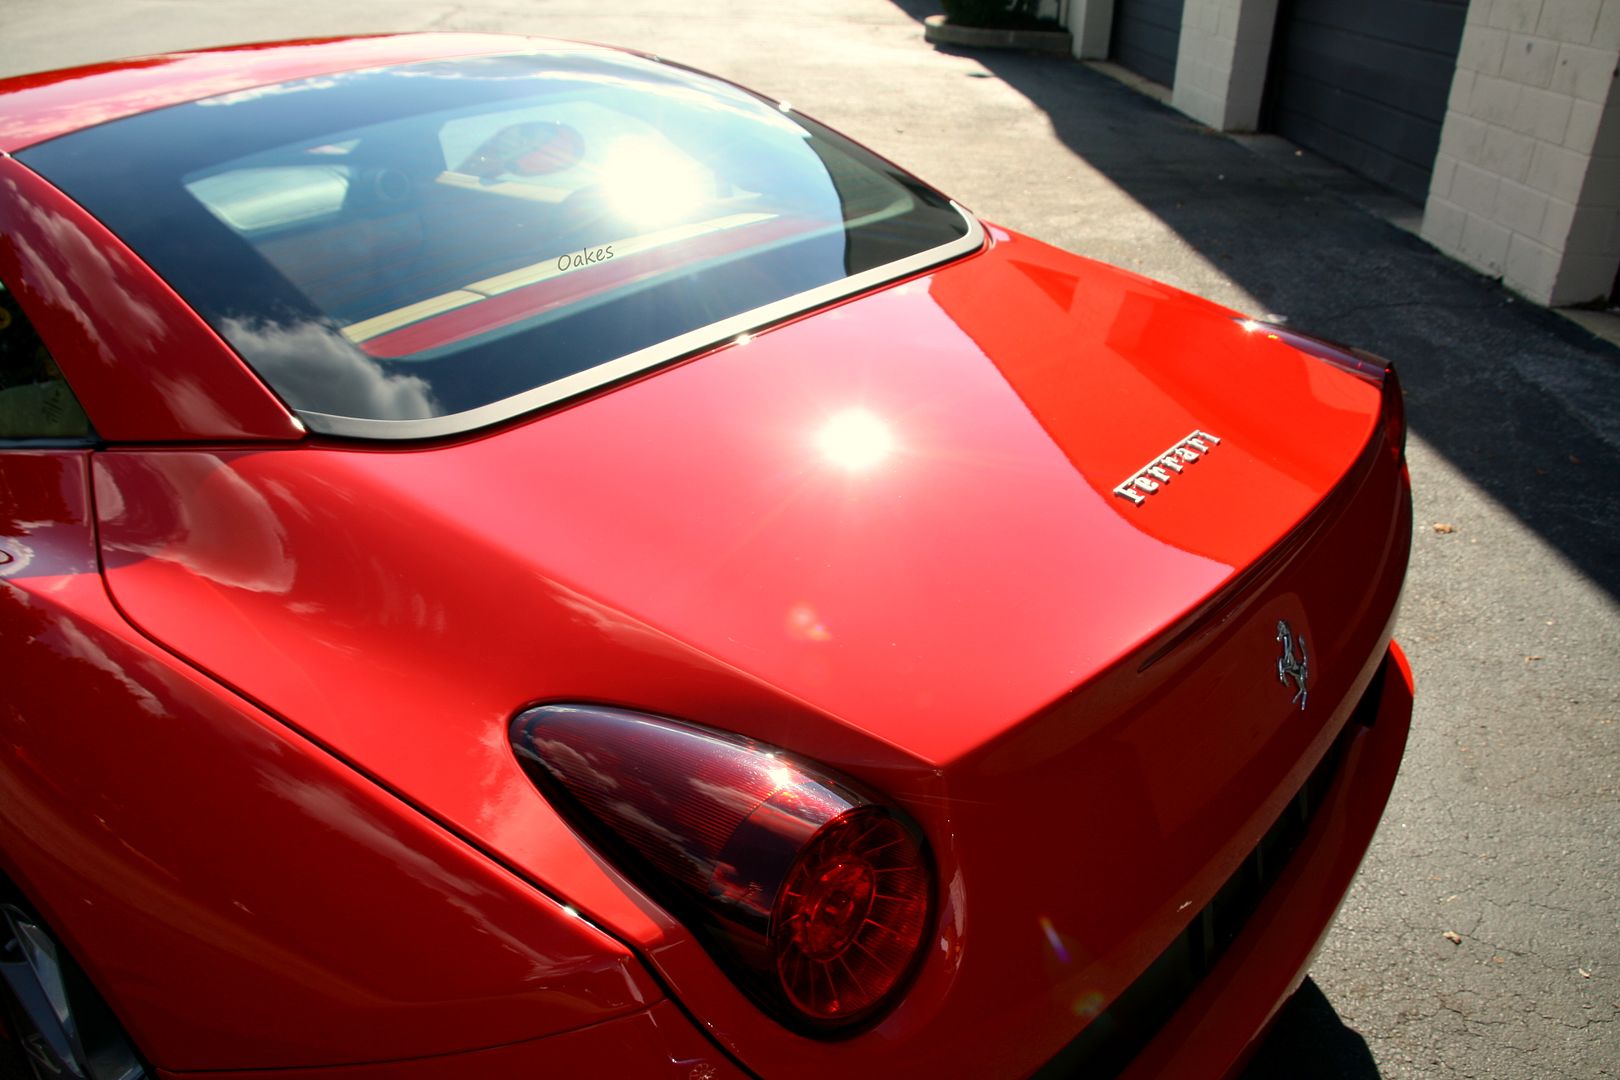
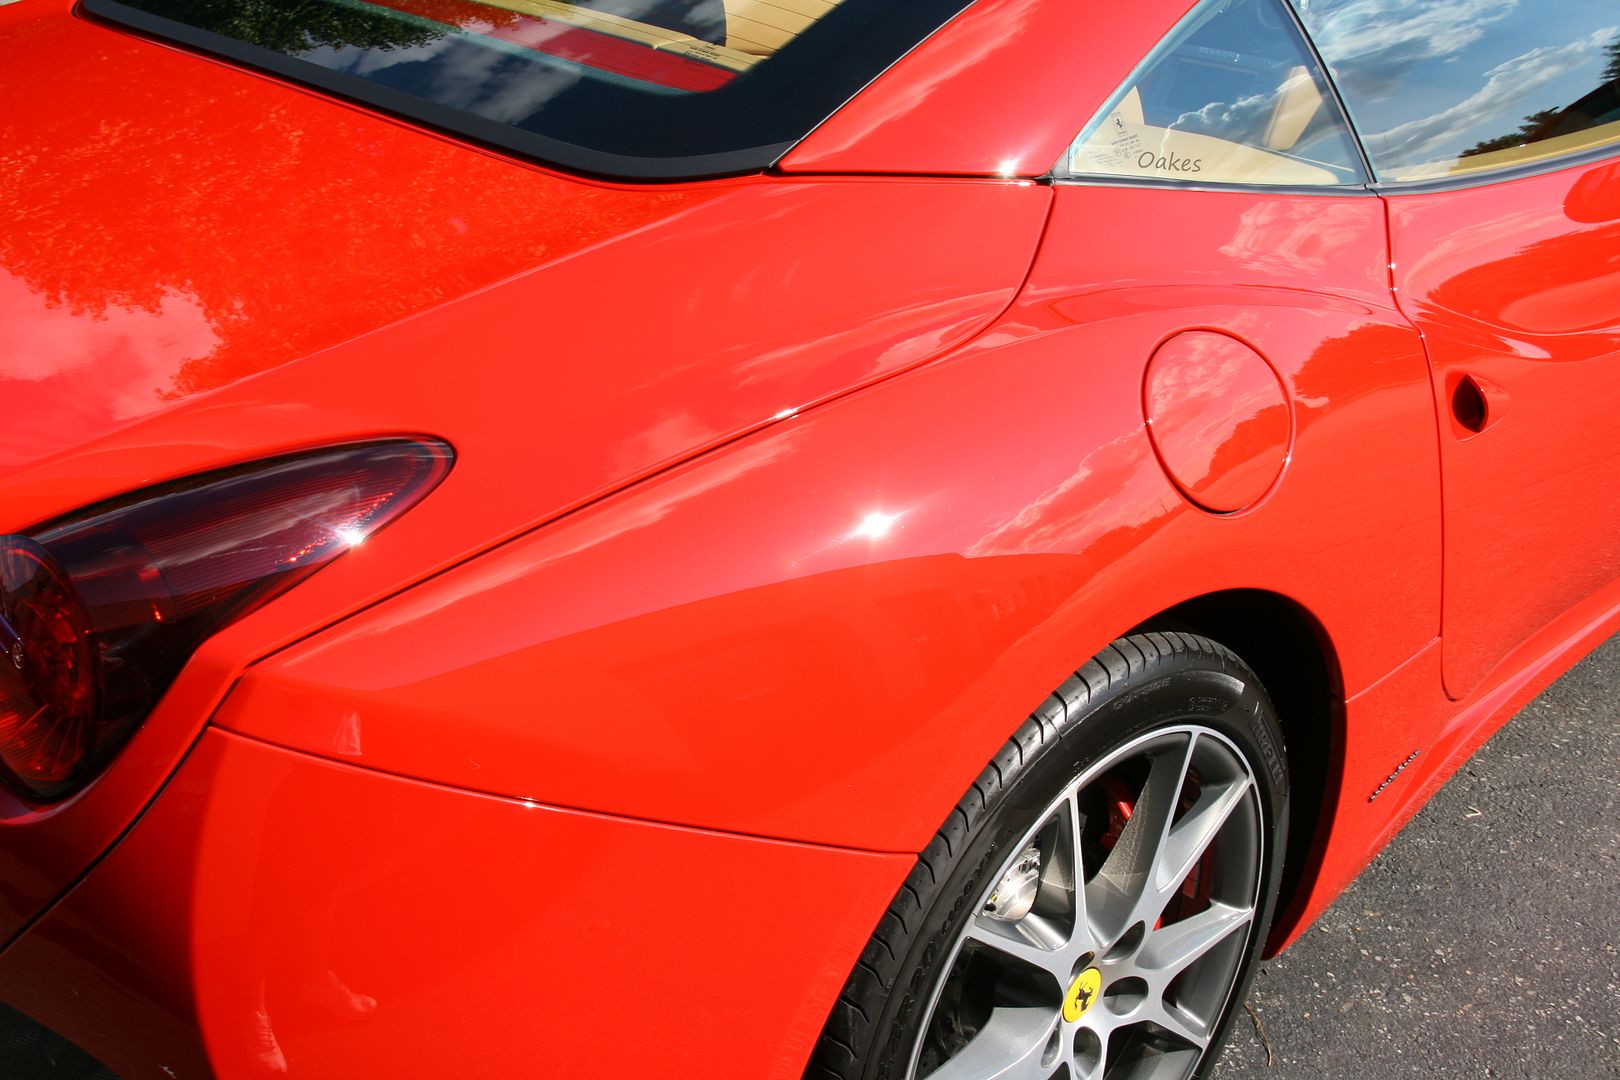
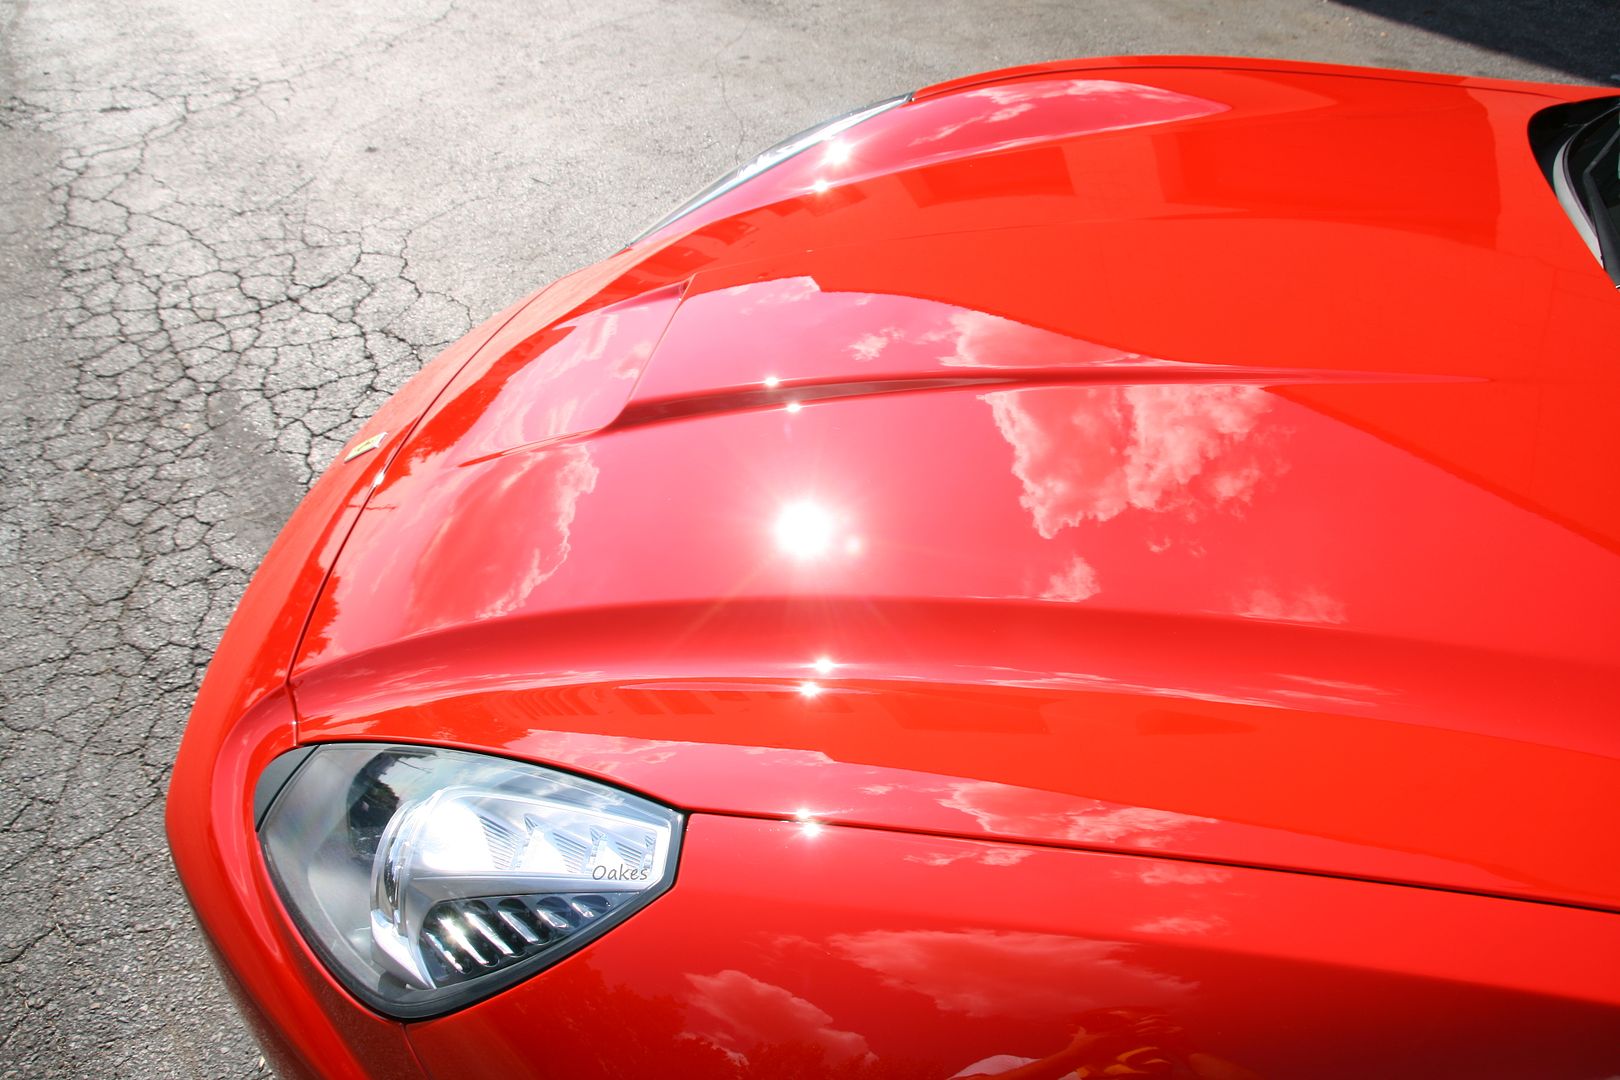
and of course the gloss photos to be followed by the full profile finished photos


As always, thanks for looking! Any feedback and comments welcome and appreciated!
Nick Oakes
Over the course of three days, I performed a 100 % paint correction on the vehicle, tending to both factory defects and swirling as you will see in the photos below. After the Cali was correction, I then protected the entire car with CQuartz Finest, including the factory plastics. I will let the photos do the talking from here on out!
Here is a video that basically explains what ceramic/nano coating technology is and its benefits for anyone looking to have a better understanding of it!
Ceramic Coating Overview- Ft. Scion FRS - YouTube
The new owner has been driving the car as much as possible, as you can tell with the dirt on the rear end:
The tailpipes were also showing some exhaust buildup, also the inside edges of the bumper were signficantly stained as well.
After the vehicle was completely prepped and ready for paint correction, I pulled it out into the sun to check for a more clear view of the known defects in the paint as seen here...
After my sunlight inspection, pulled her back in and started masking her off before inspecting it under various other lighting and taking paint readings
Under the interior spotlights, the deeper and heavier defects are exposed, starting with sanding marks left in various areas of the trunk, quarters and roof.
As well as your standard swirling and rids
Here is a before and after set of DA sanding marks left on the corner of the trunk, tricky spot to work on with many paint edges to keep mindful of as well as the tailight.
After about 17 hours of compounding, polishing and fine polishing, here is the result of the paint afterwords. Both under spotlights then outside under sunlight,
and of course the gloss photos to be followed by the full profile finished photos
As always, thanks for looking! Any feedback and comments welcome and appreciated!
Nick Oakes
")