imported_Dave KG
New member
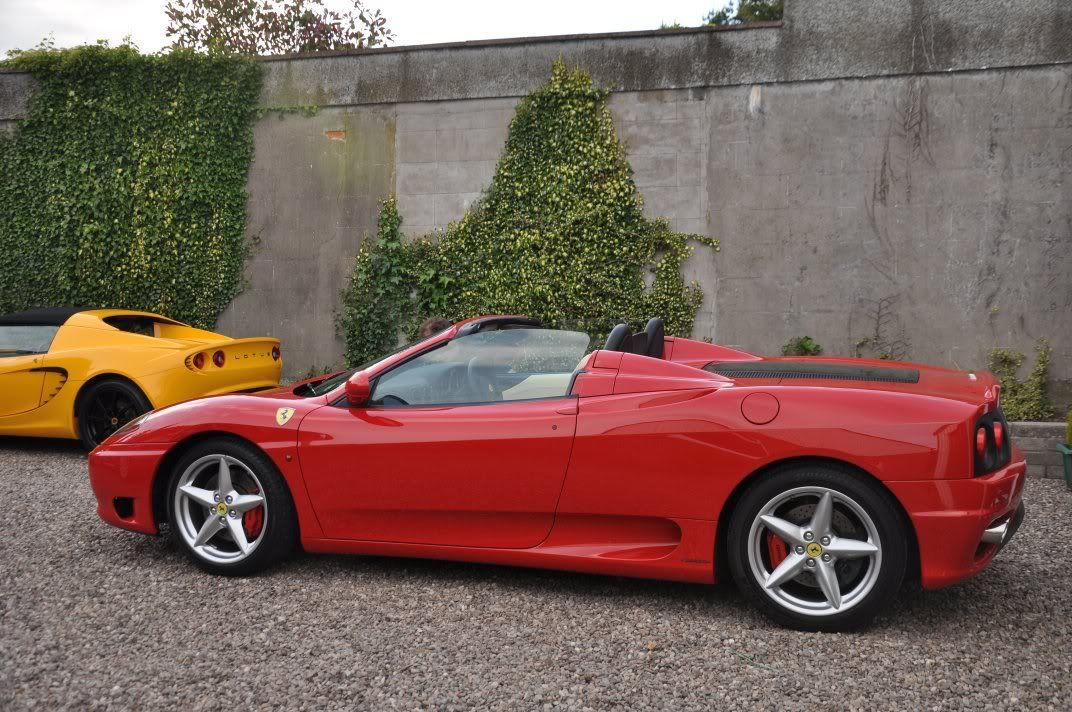
The second Ferrari 360 detail I have been involved with in the past month, I'm starting to generate a soft spot for these cars - maybe Diane will let me buy one, who knows... 
The car is owned by Jim, who has put up with my coffee drinking habbits on a couple of previous details, including his F355 - infact, he's even inflicted me on his mates for details, I reckon I must have consumed a gallon of their coffee now: sorry lads! .. :lol::lol::thumb:
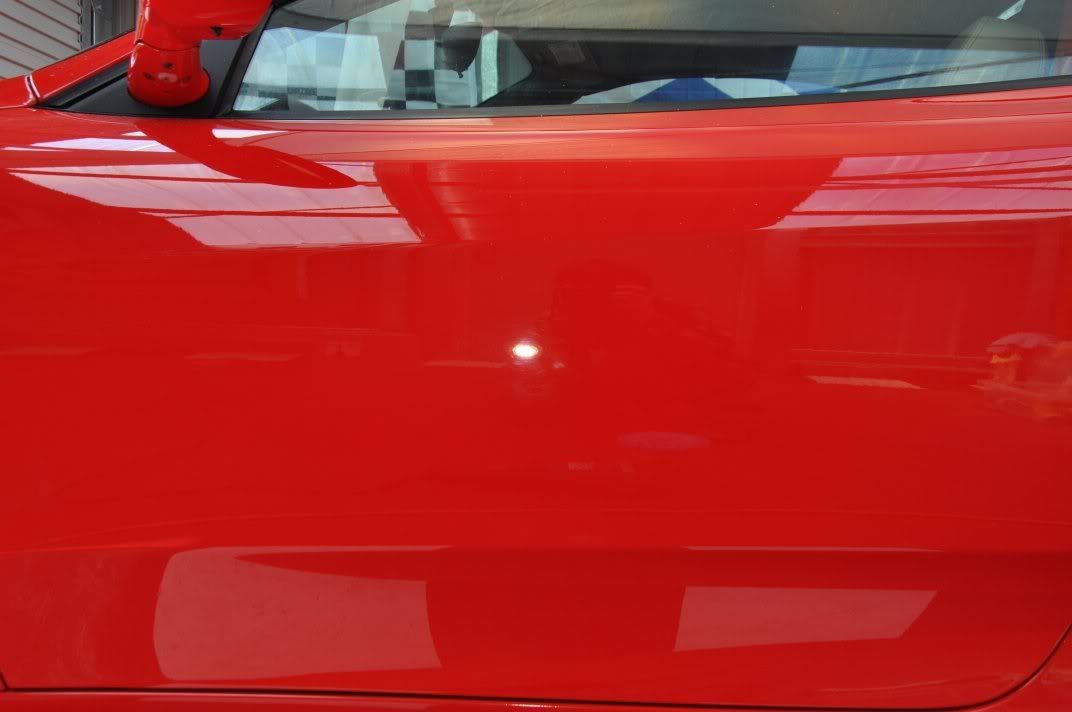
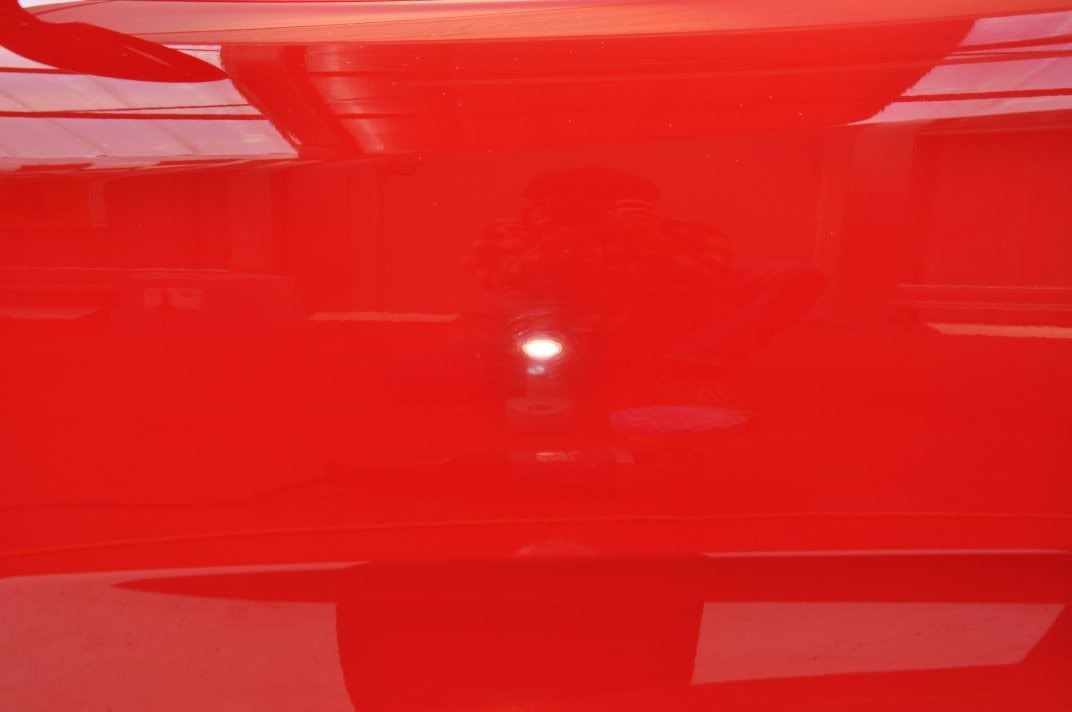
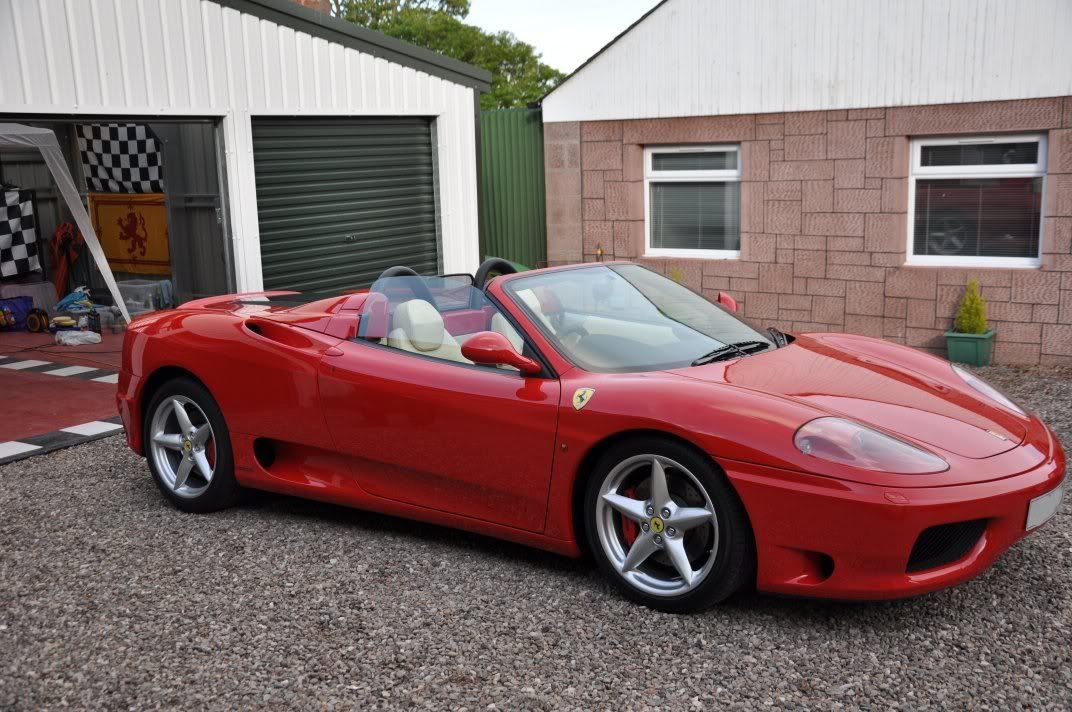
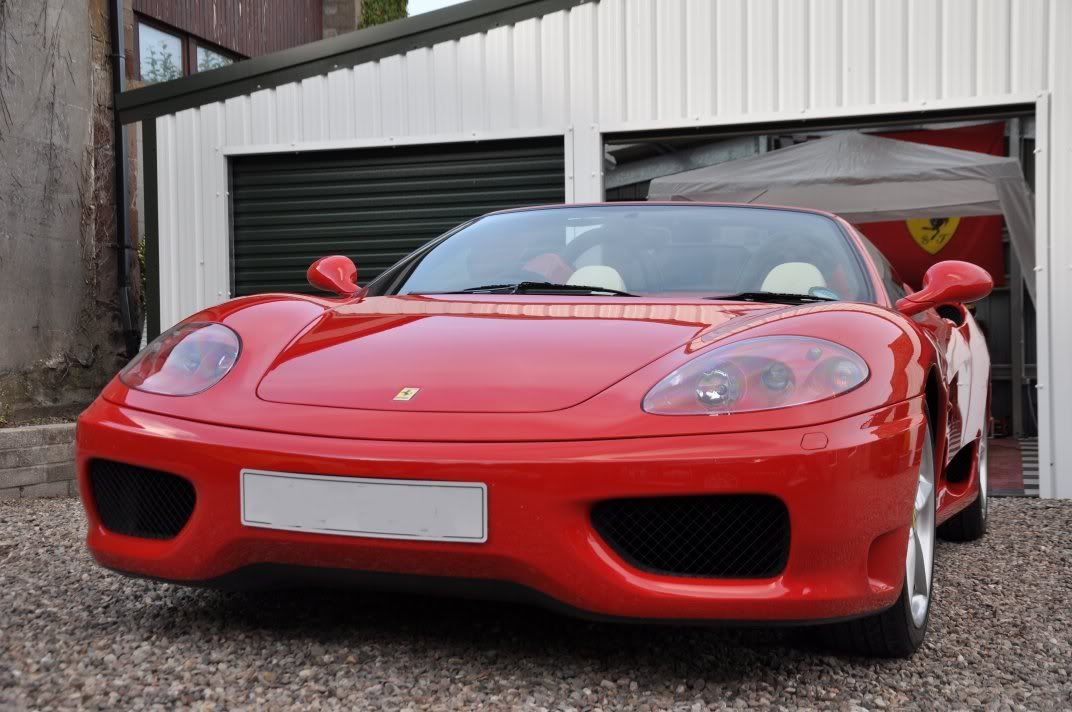
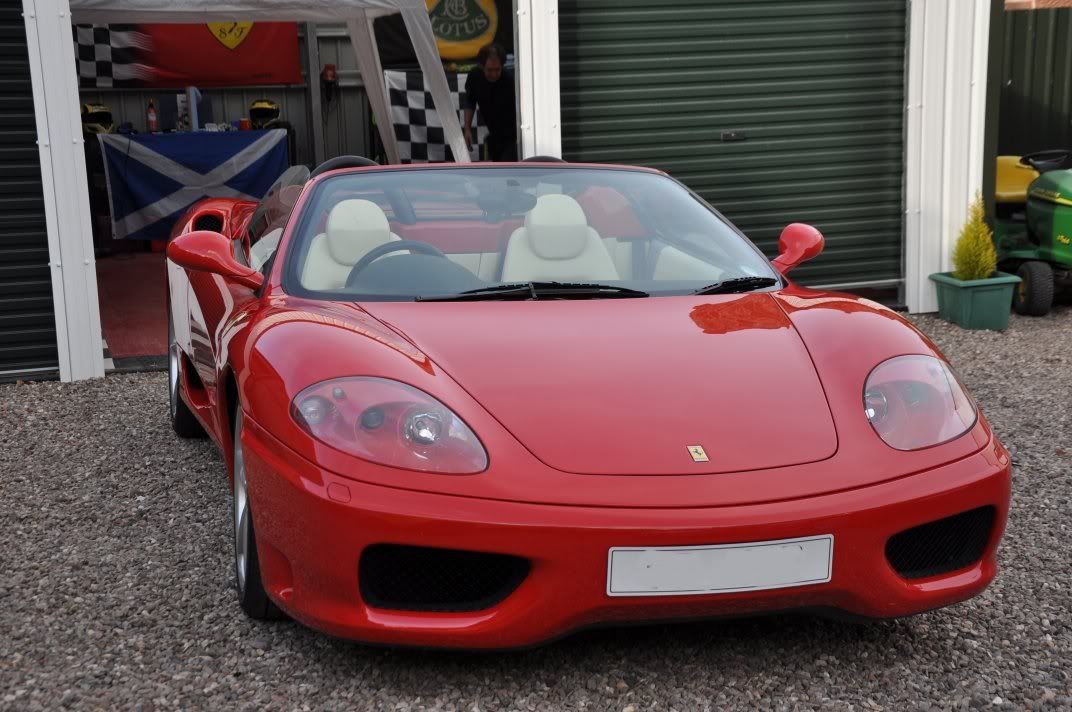
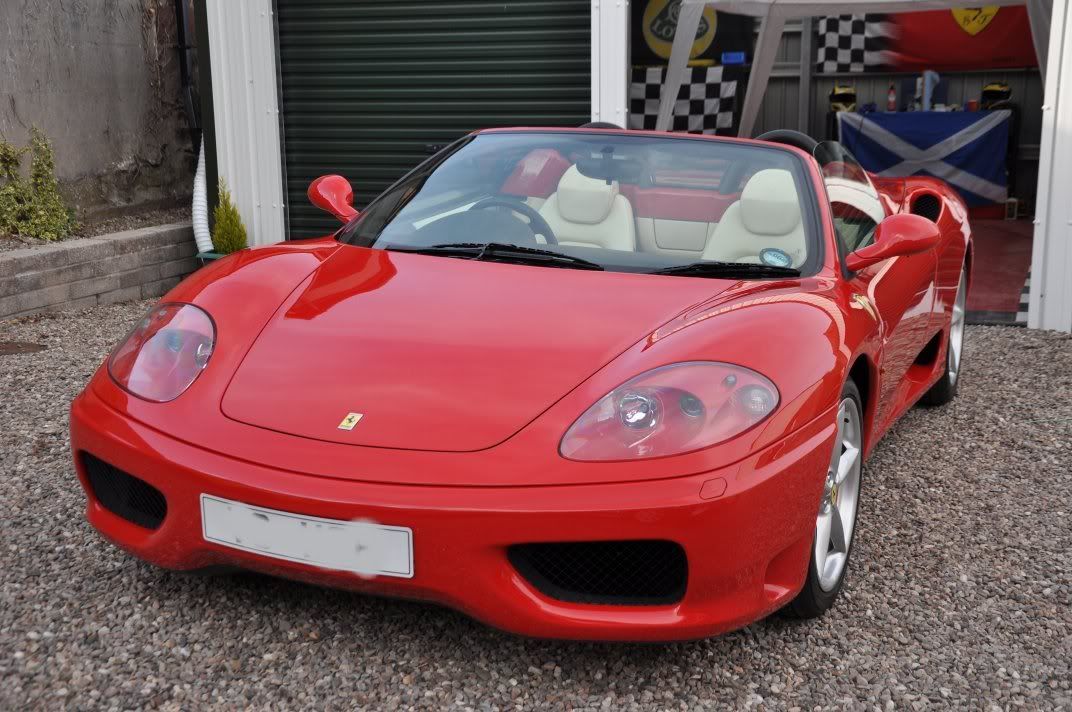
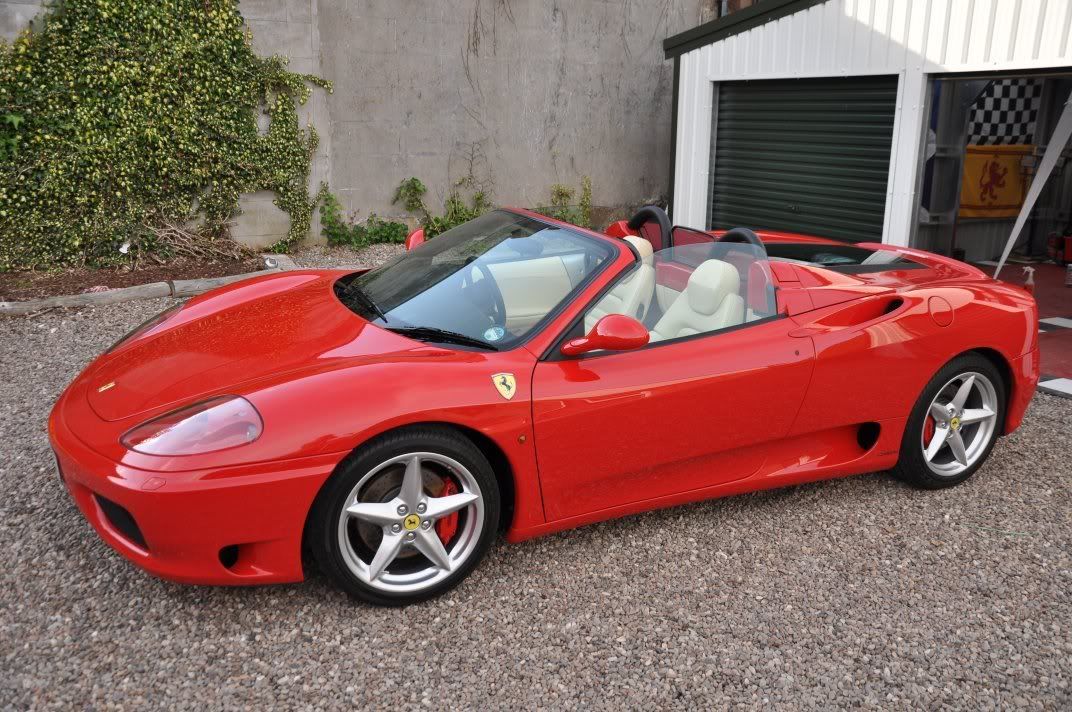
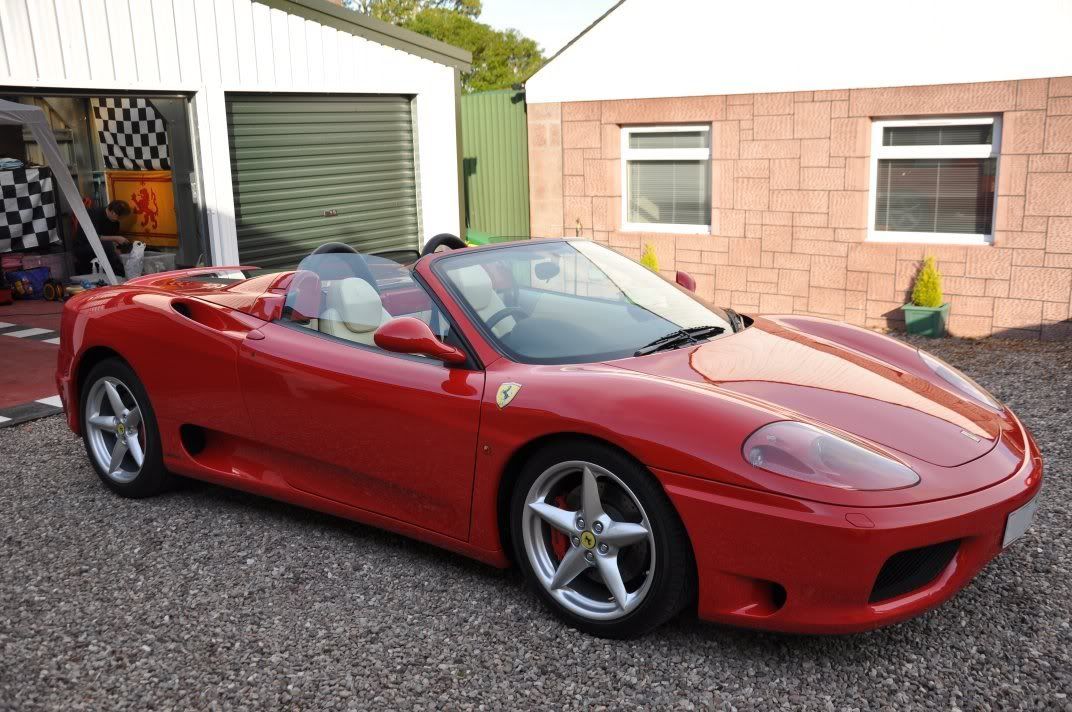
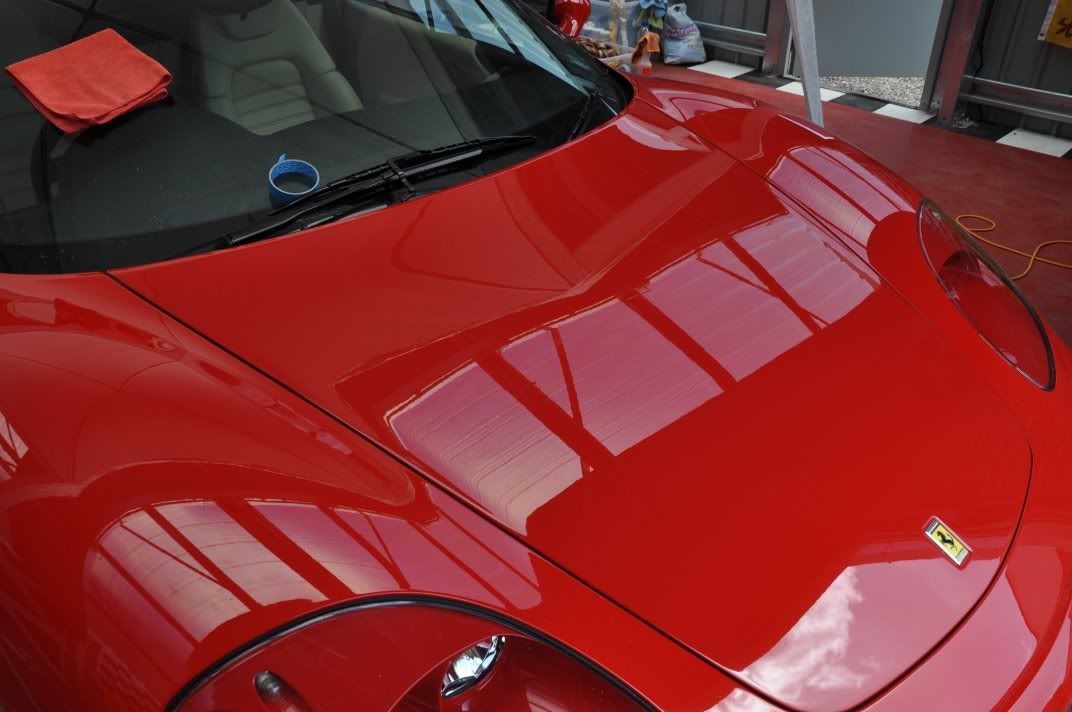
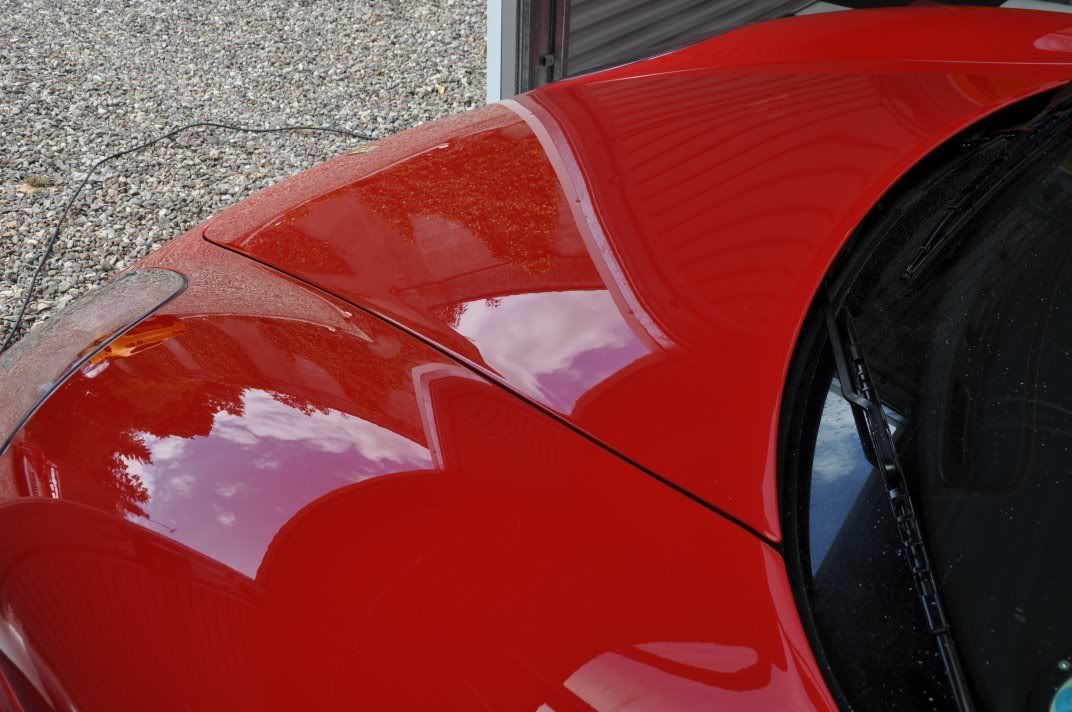
In all seriousness, this was another cracking car to detail, and Jim had washed the car for our arrival - a damn good wash to, and as you can see the car was looking pretty damn good in the befores:
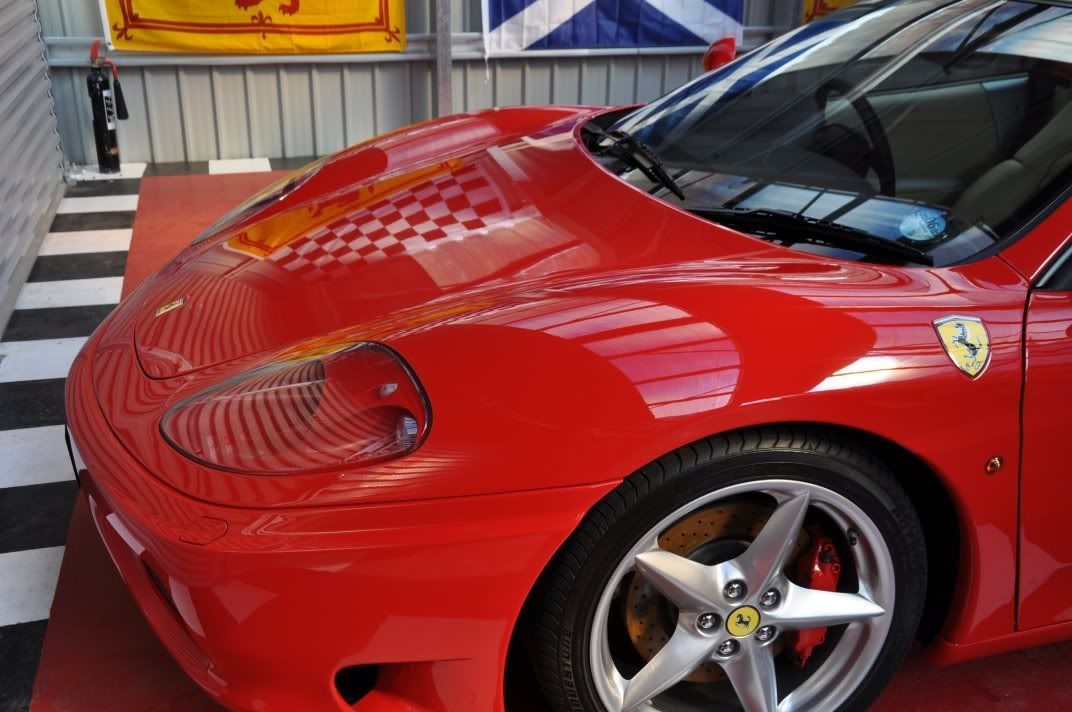
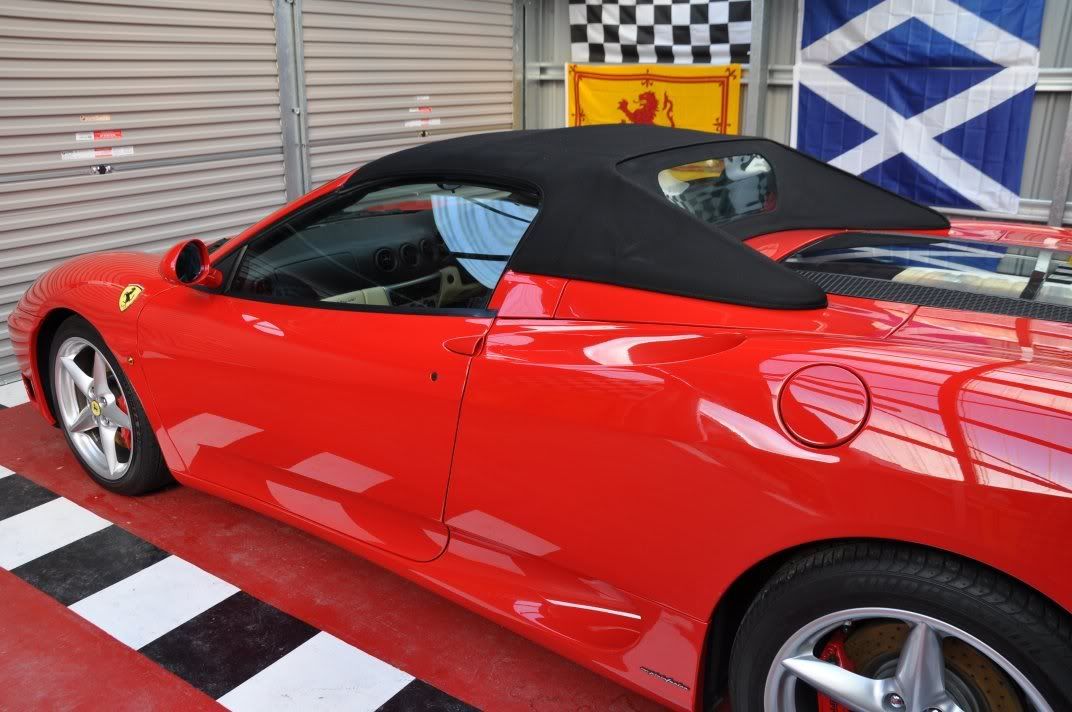
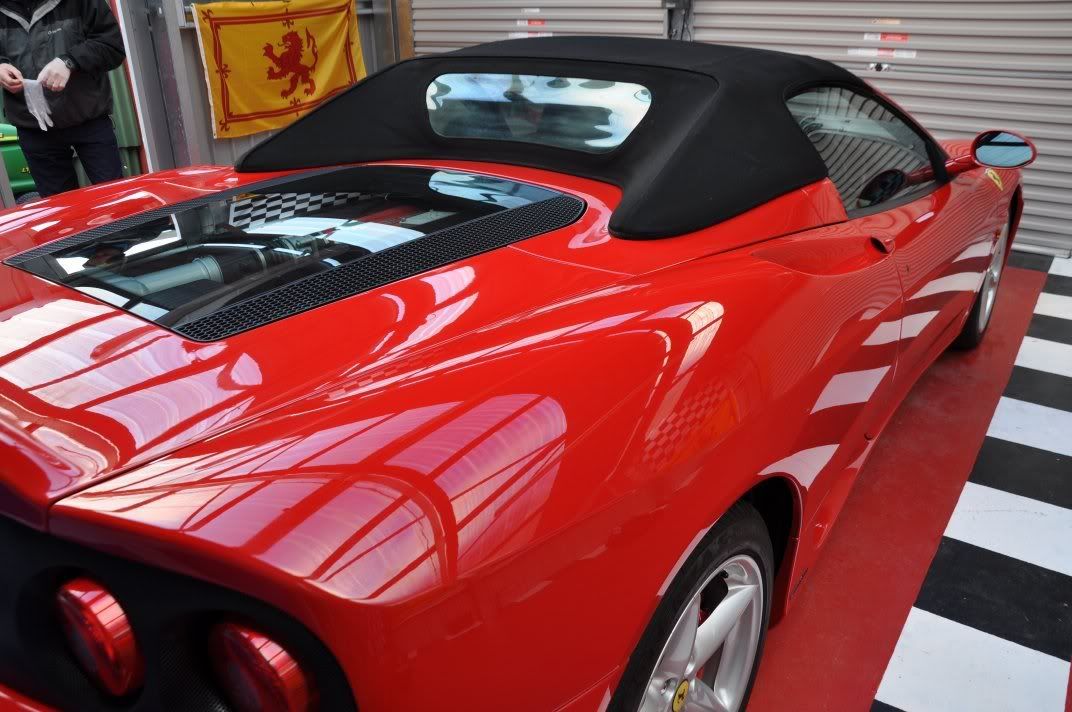
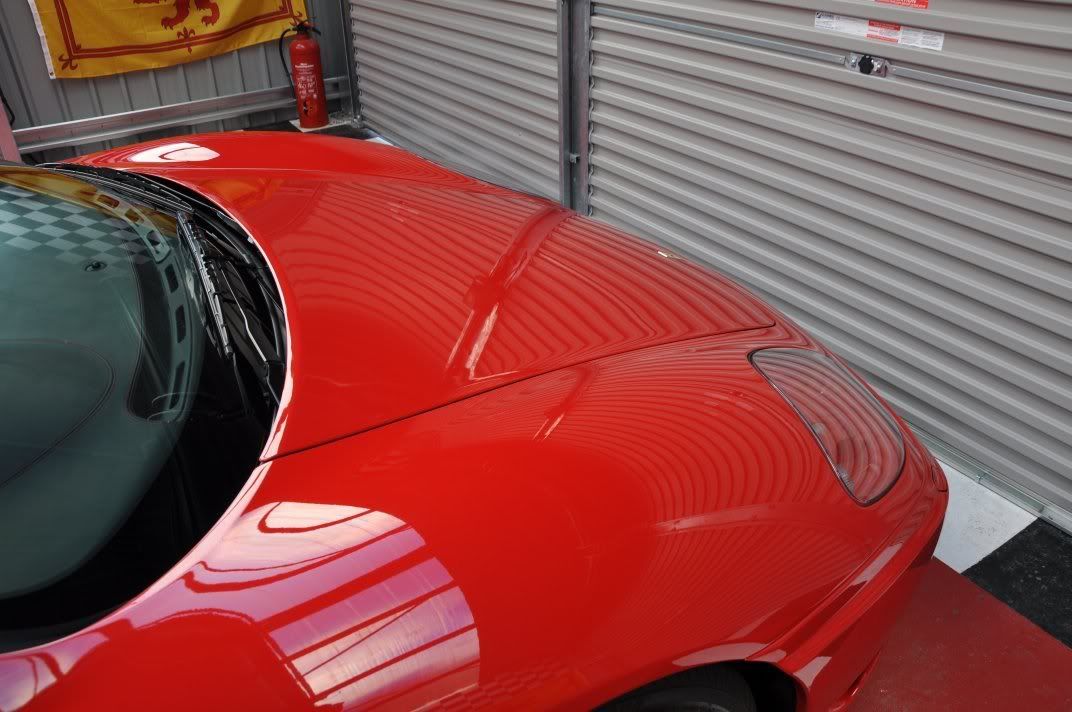
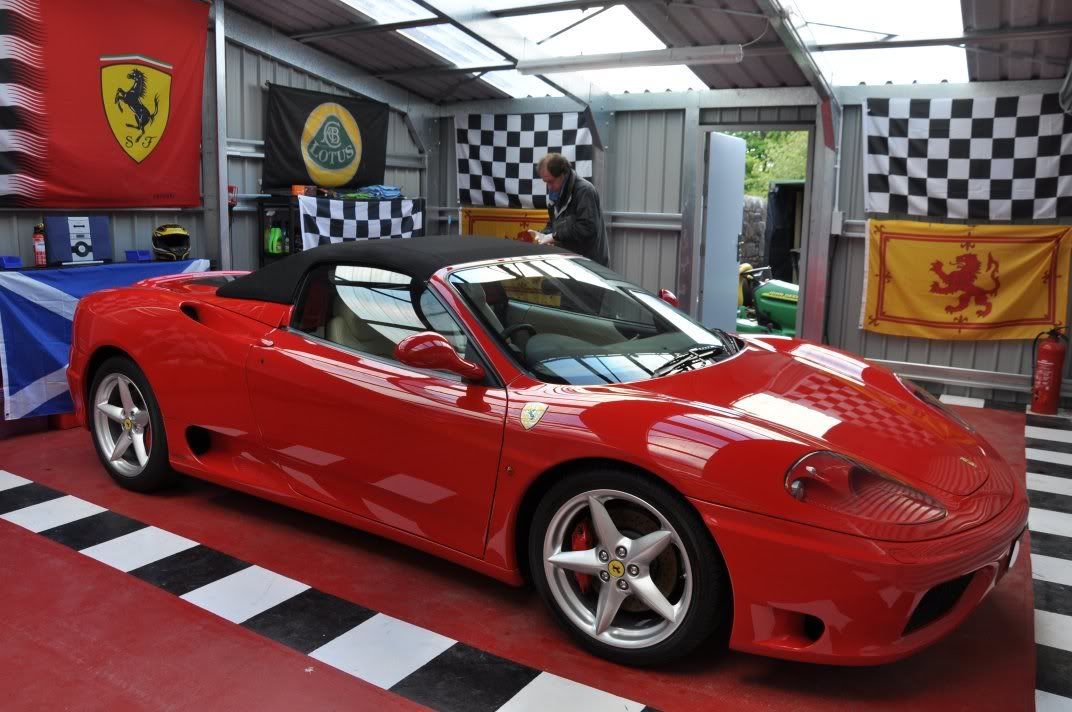
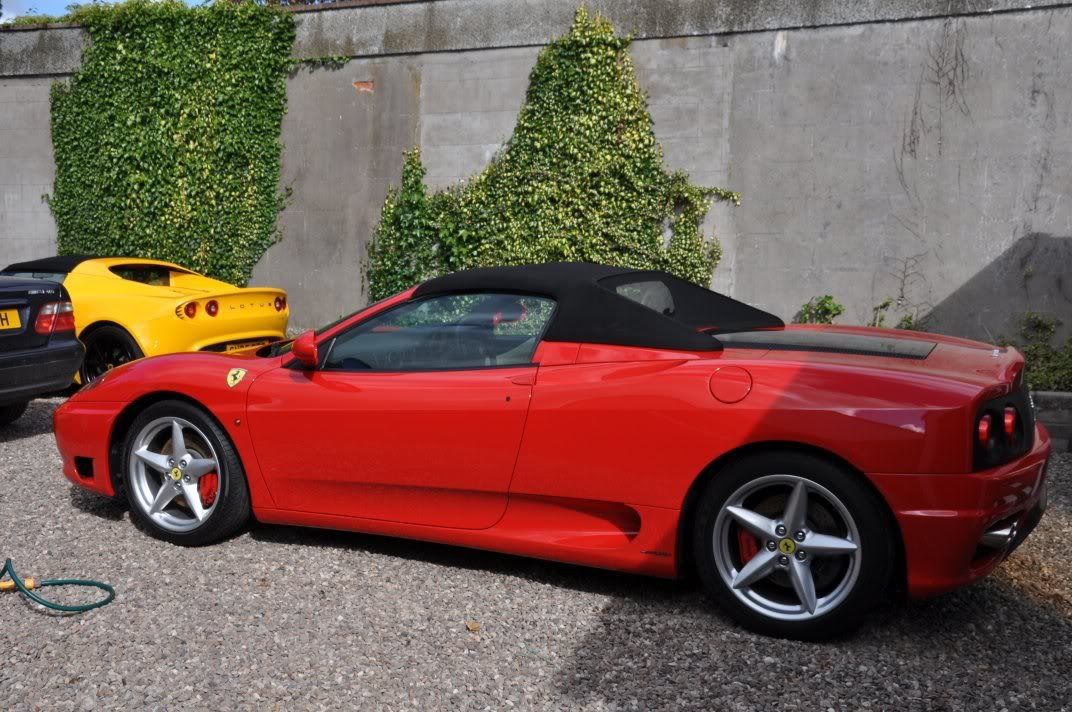
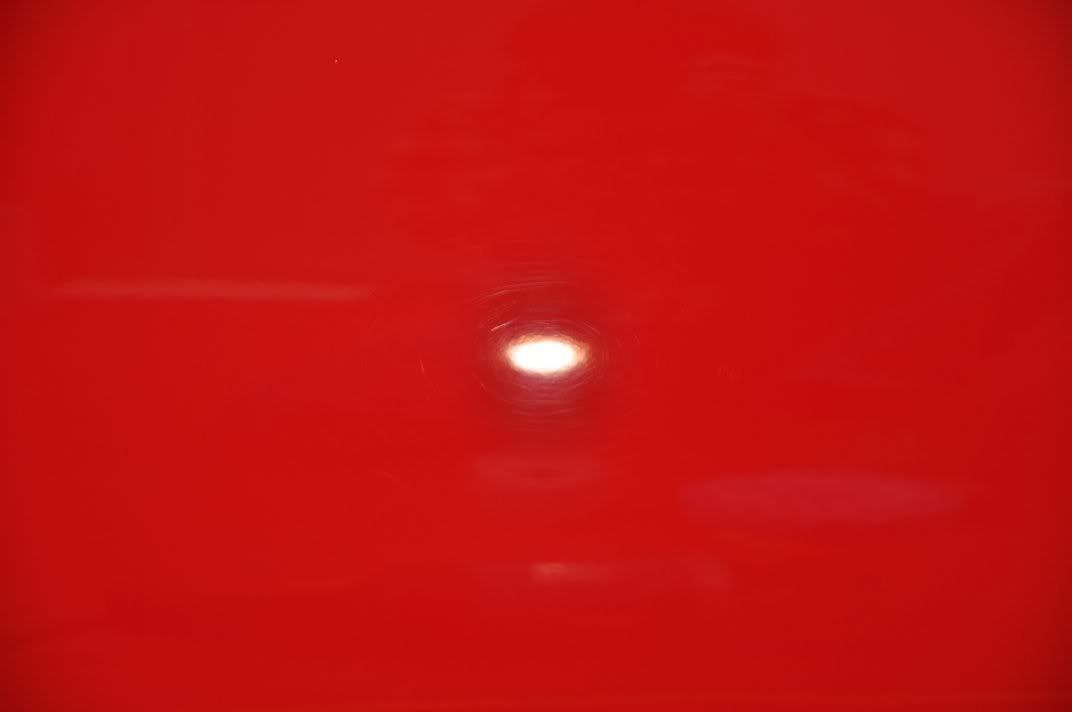
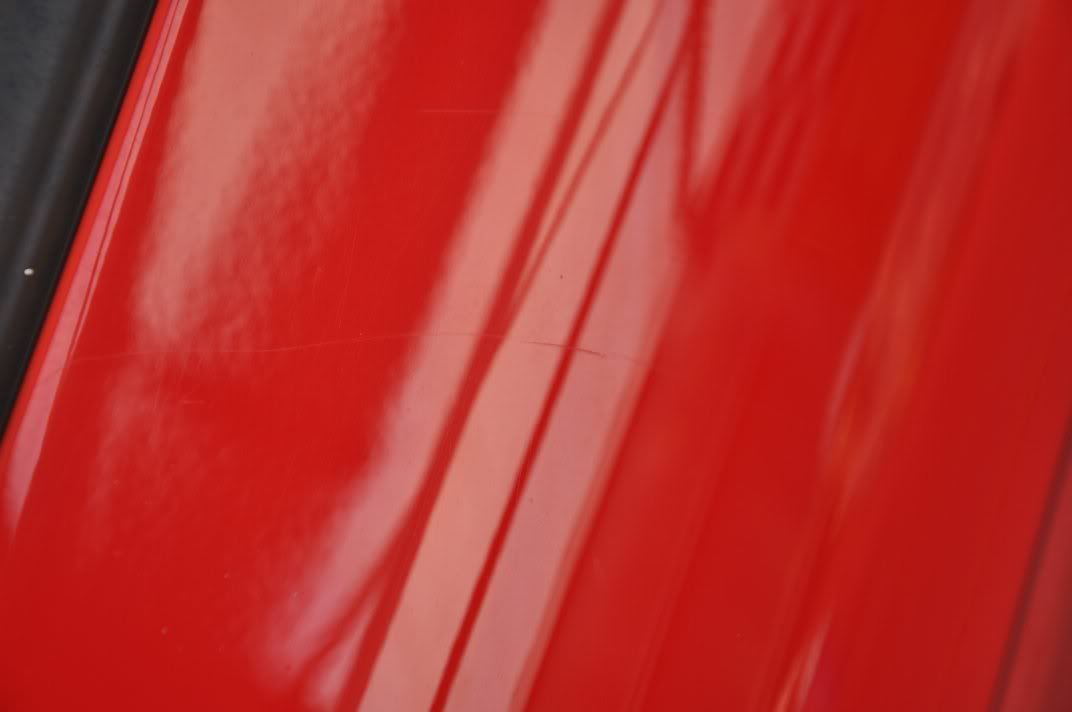
After prepping the car for polishing (Bilt Hamber clay used, top stuff - but used with Last Touch rather than water as the water just sheeted off the panel offering no lube! This car was protected...) it was rolled into the garage ready for polishing. Starting off at the front end, the defects in terms of swirls were light and hard to spot...
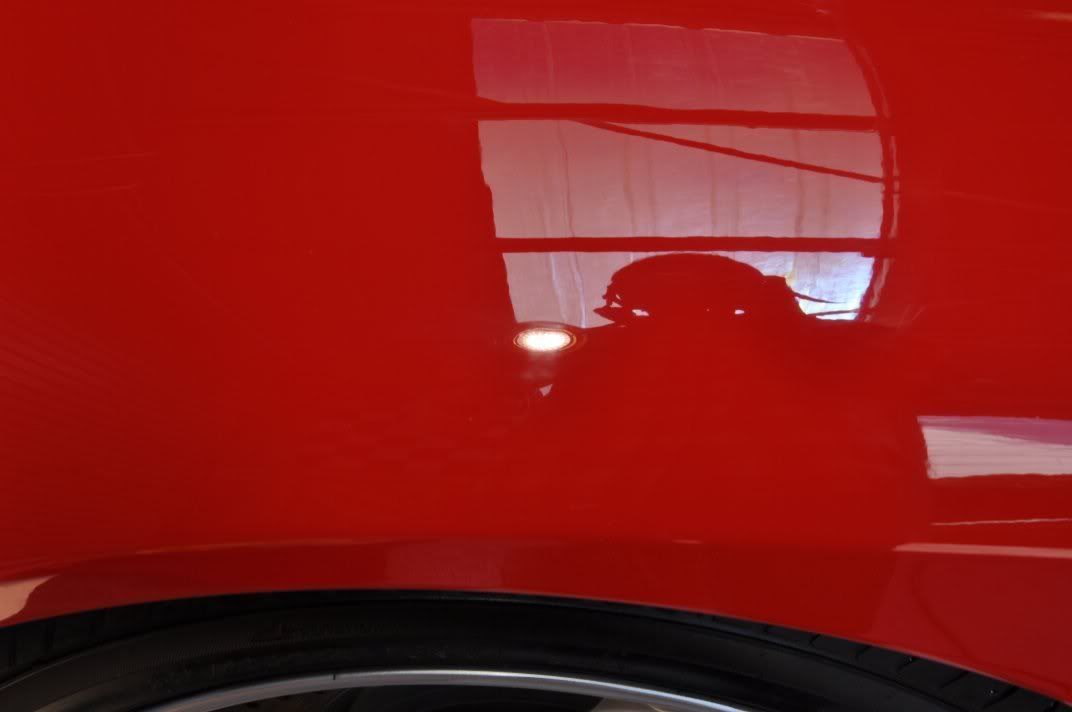
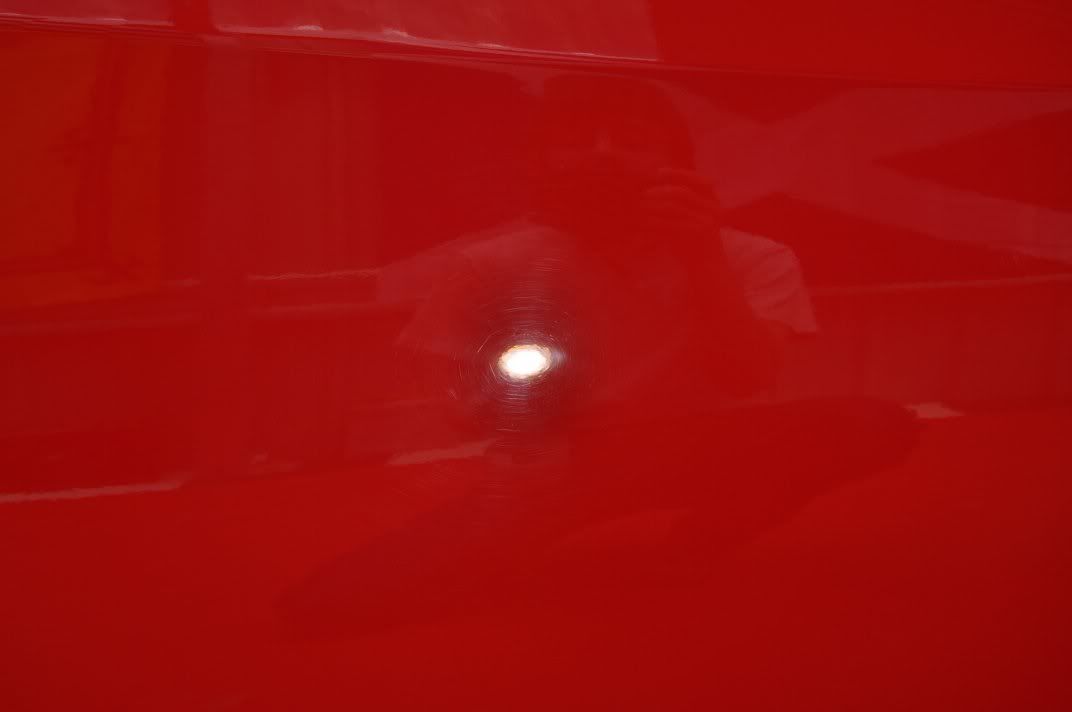
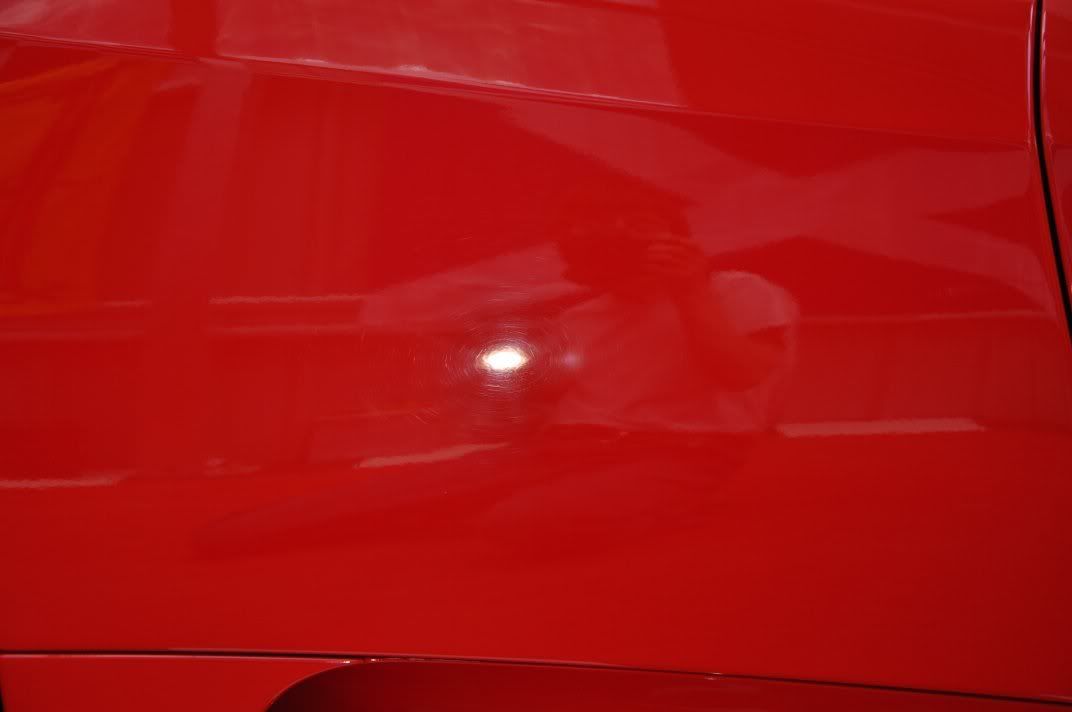
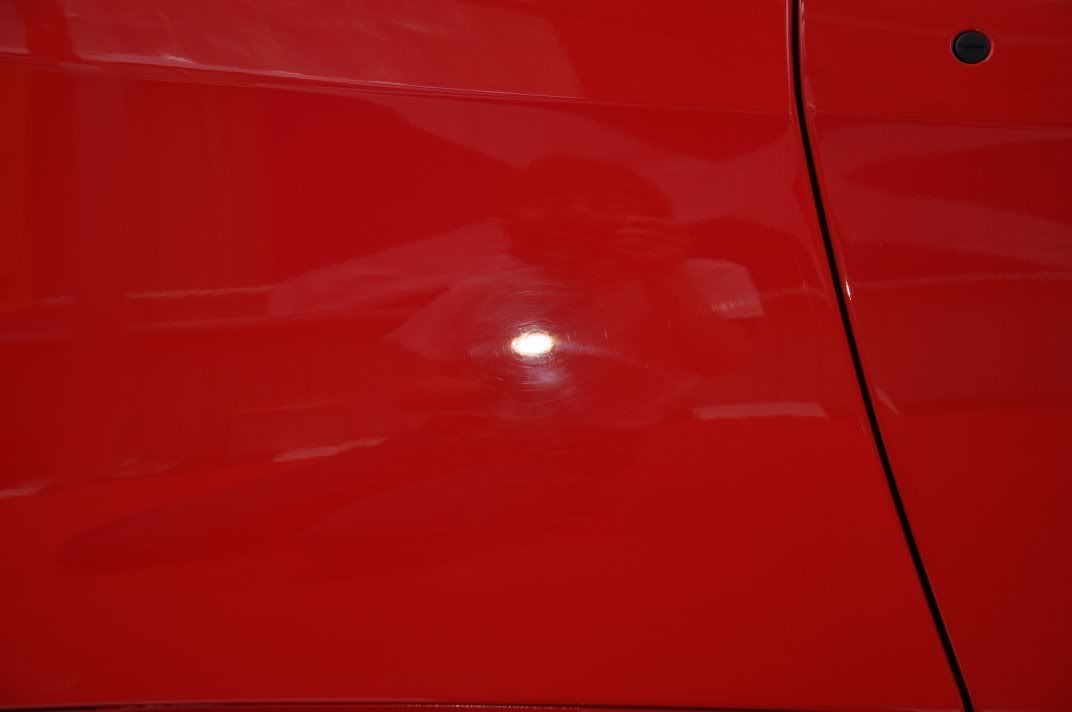
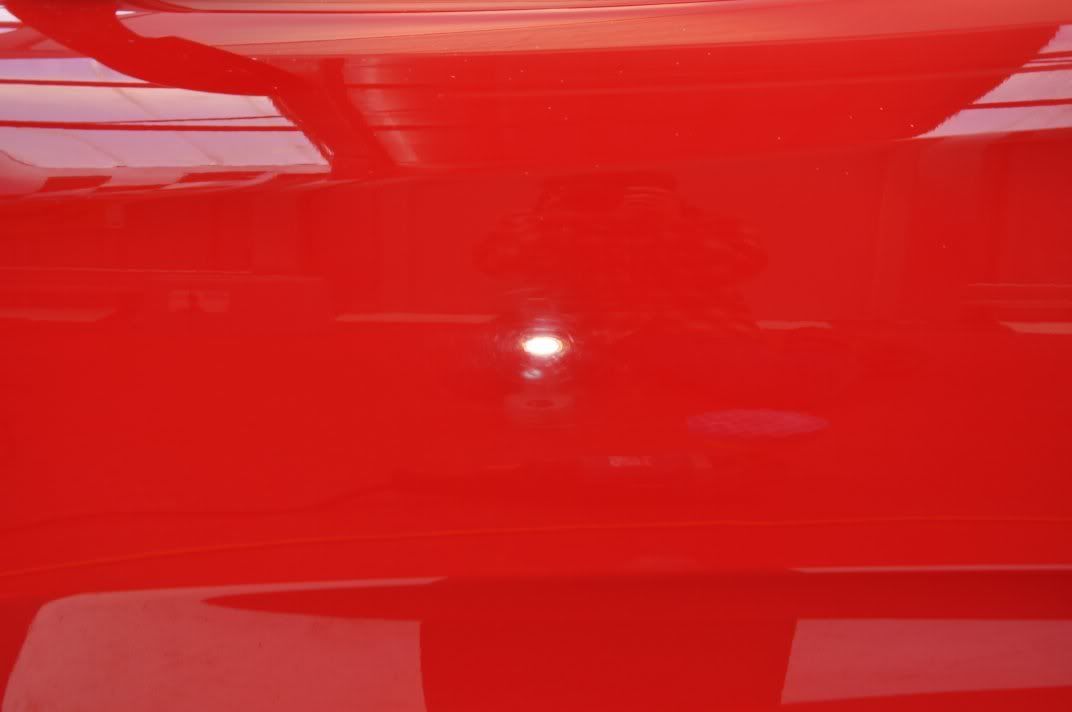
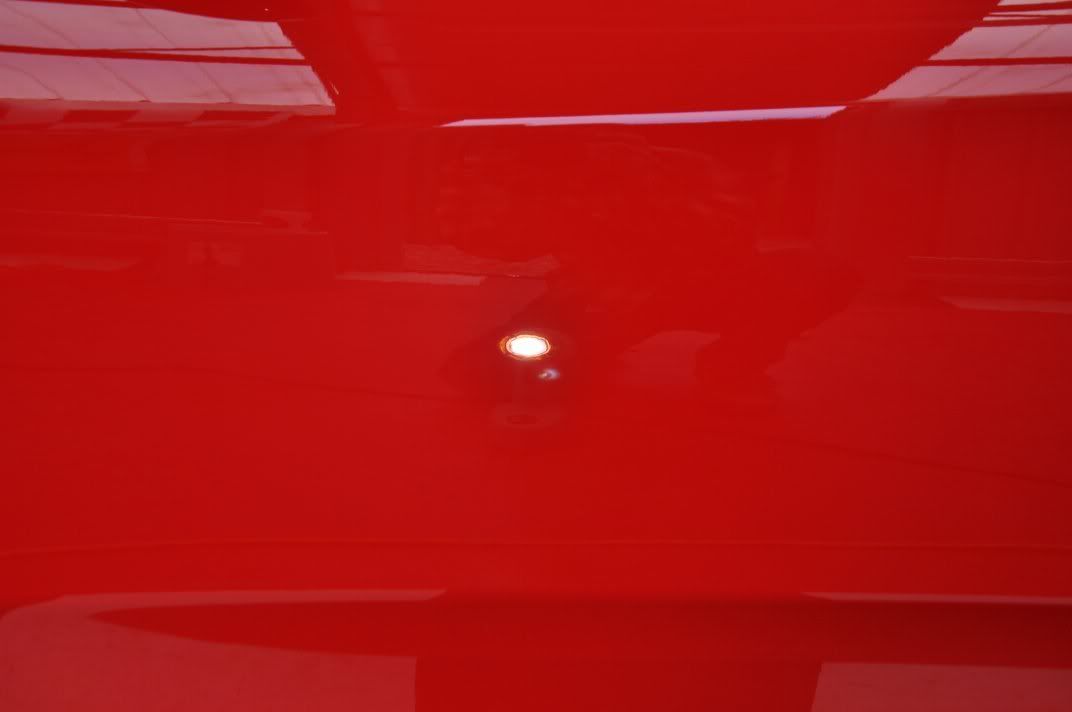
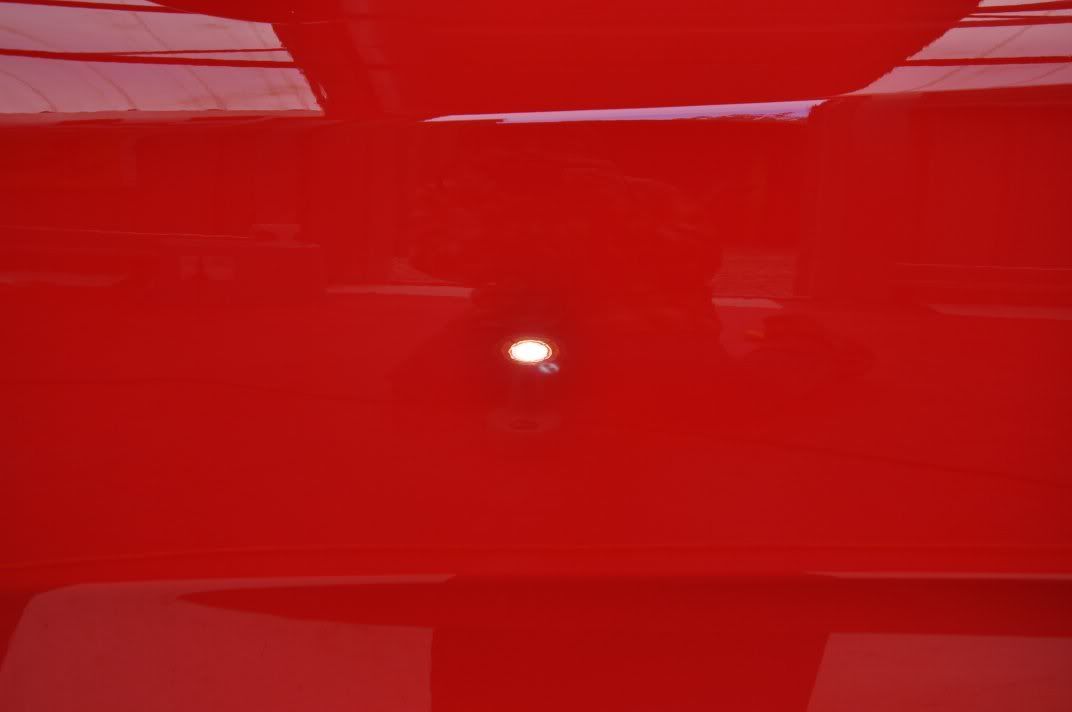
The bonnet however, had been resprayed for a stone chip - a good paintjob, but the finishing wasn't quite spot on and you could notice it with a bit more of a haziness and dullness to the reflection... Sun Gun reflections not sharp...
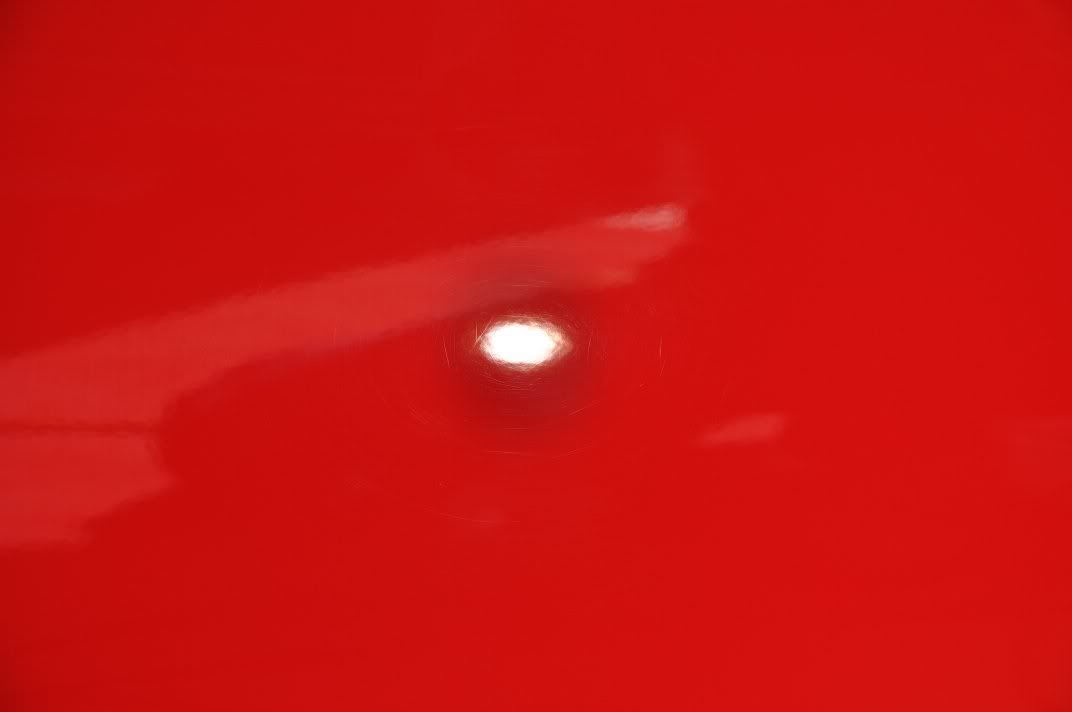
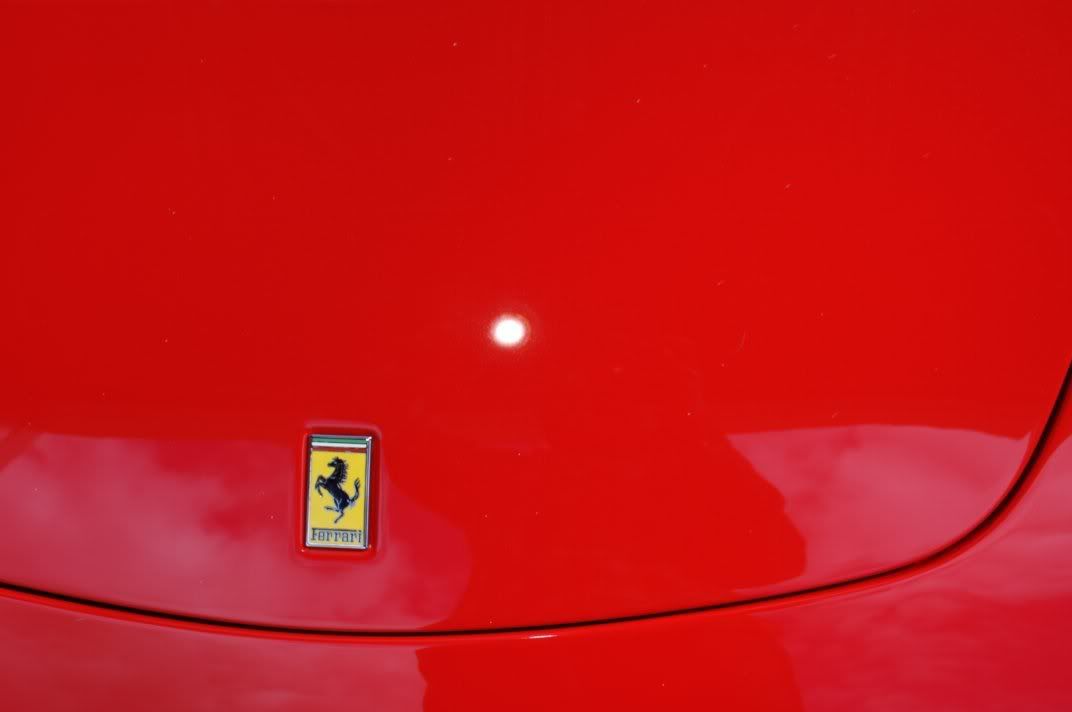
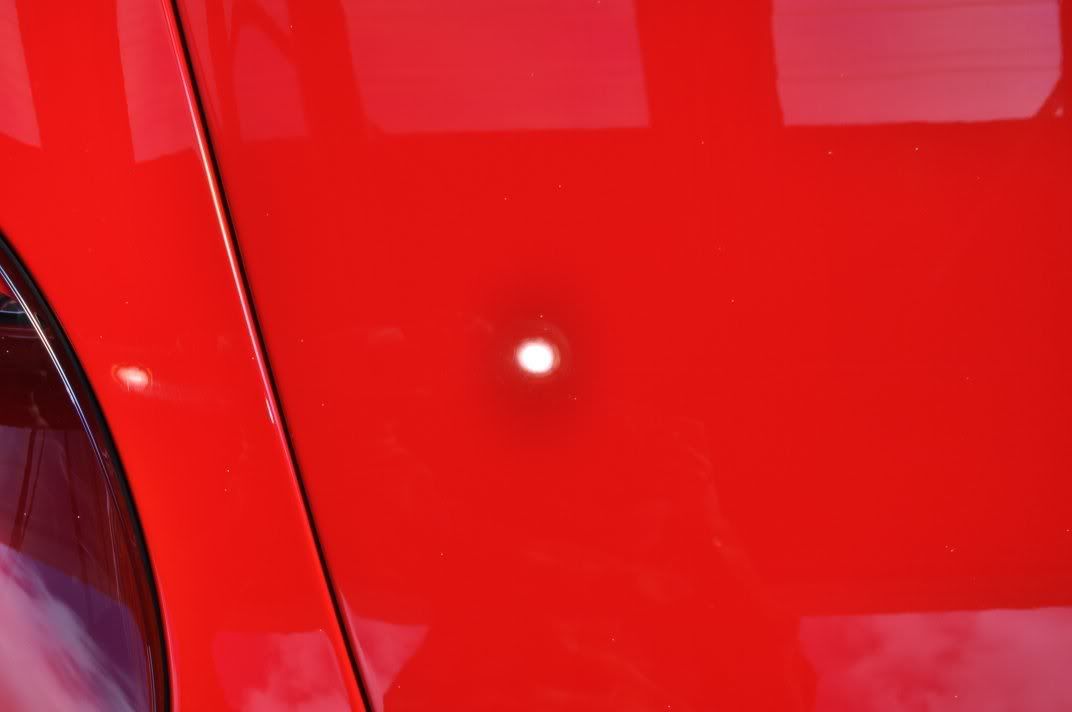
The finish was good, but it just wasn't quite as good as the rest of the car as you can see from the reflections...
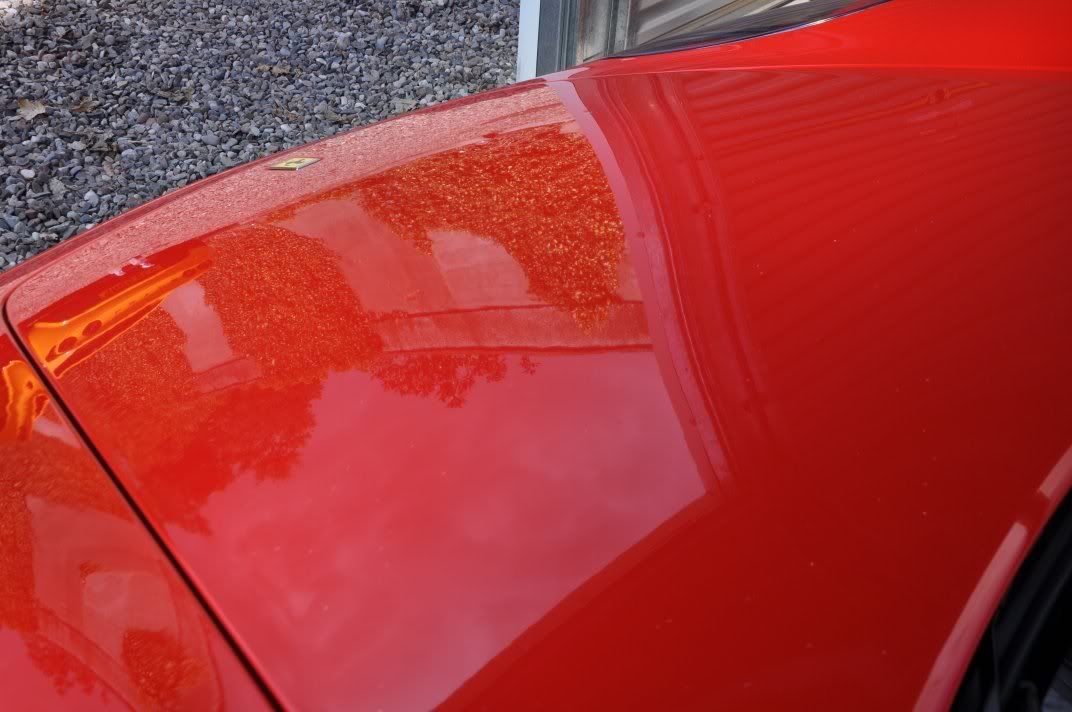
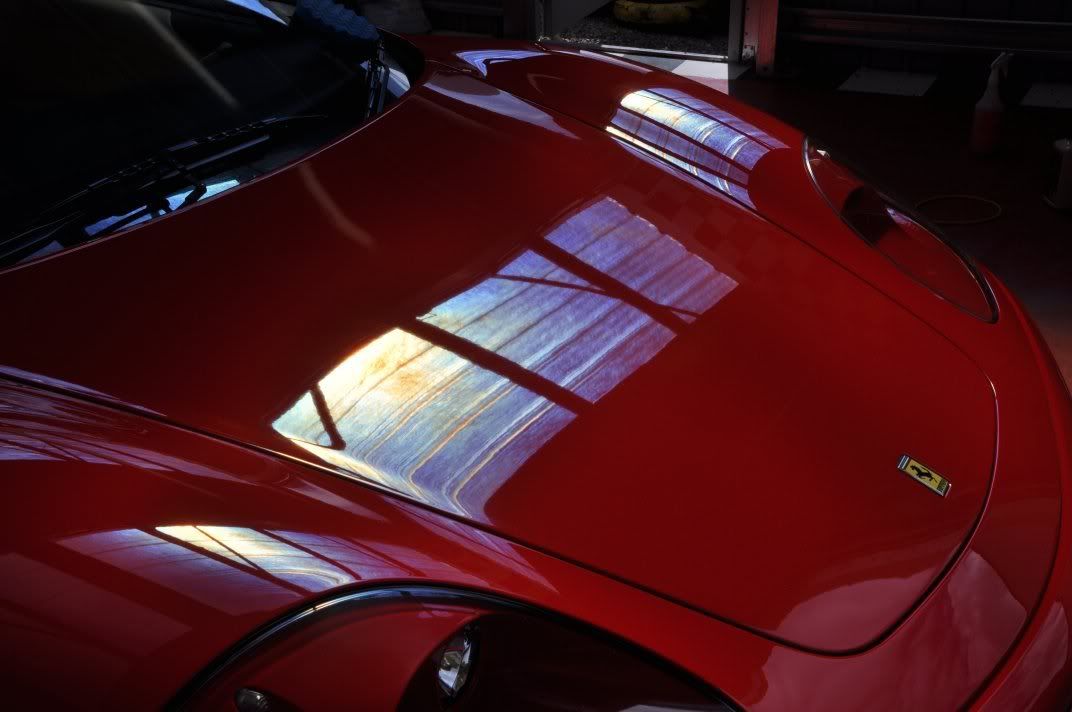
We'll come back to that bonnet in a sec
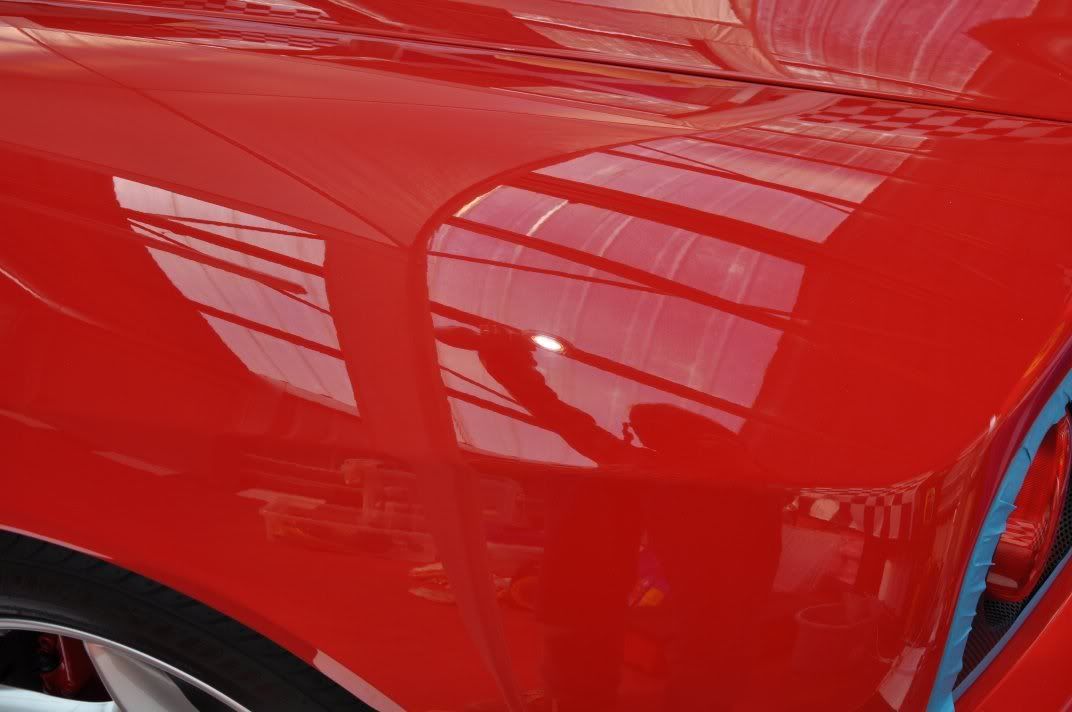
For the testing of products I went for the nearside wing... First up was Meguiars #205 Ultra Finishing Polish - loving this polish just now, rotary glides as it on air with it and the finished achievable once its cracked have taken my detailing just another notch forward Got to love progress! Applied with a finishing pad, it remvoed the swirls with ease by deeper RDS were spoiling the finish a bit. So, with healthy paint thickness, I used Menzerna Intensive Polish on a Meguiars W8006 yellow polishing pad for correction, as follows:
This delivered the correction I desired, and a good finish too... but I went to improve the finish, any excuse really for me to get out the #205 from Meguiars, such is my liking for this product. Applied using a 3M Blue finishing pad as follows:
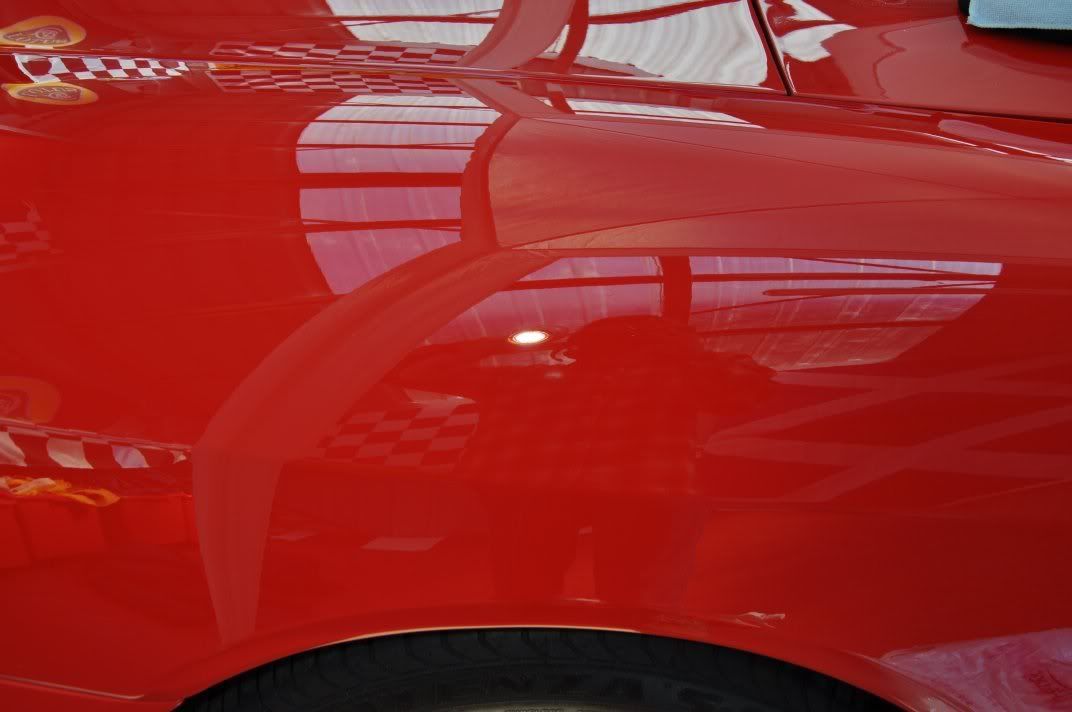
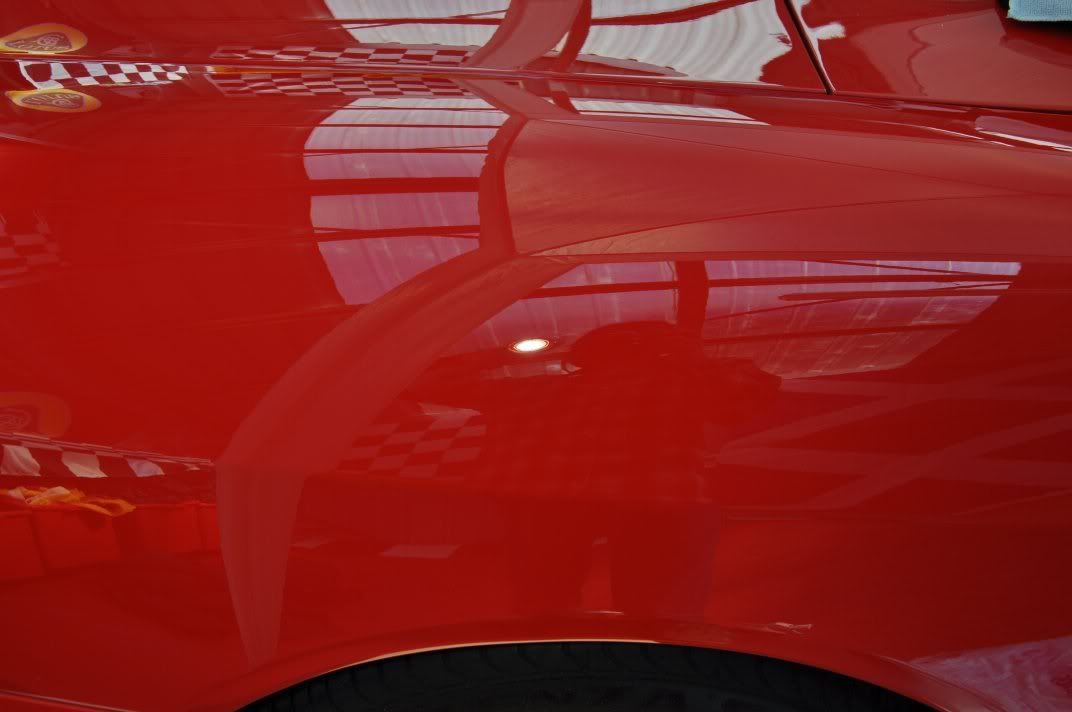
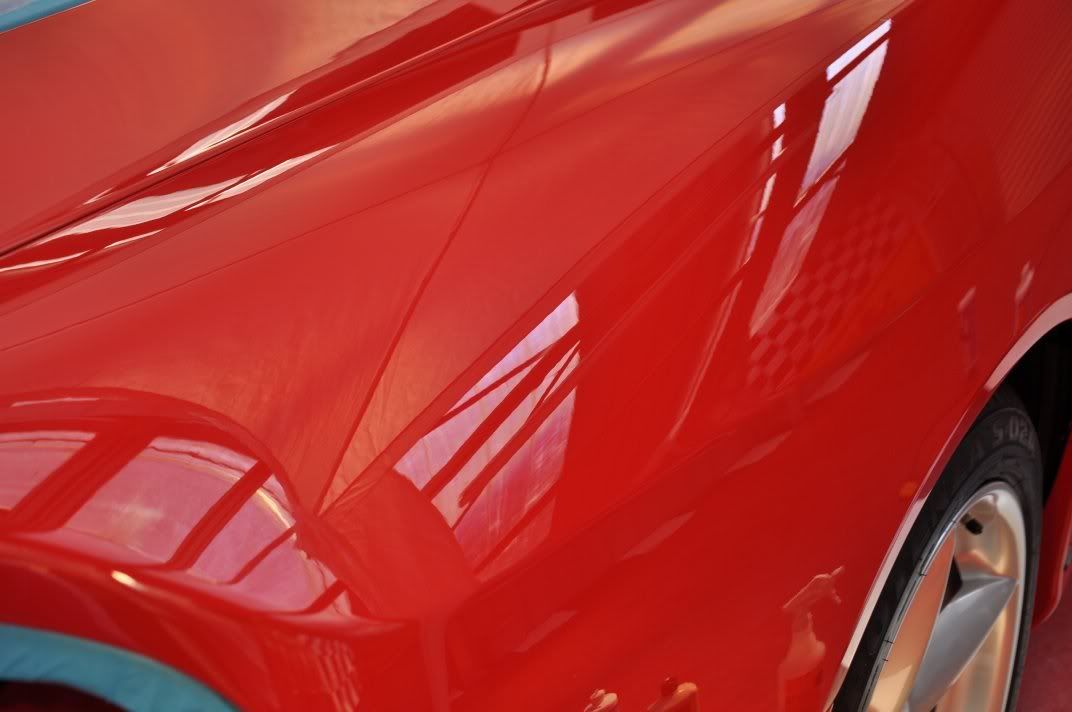
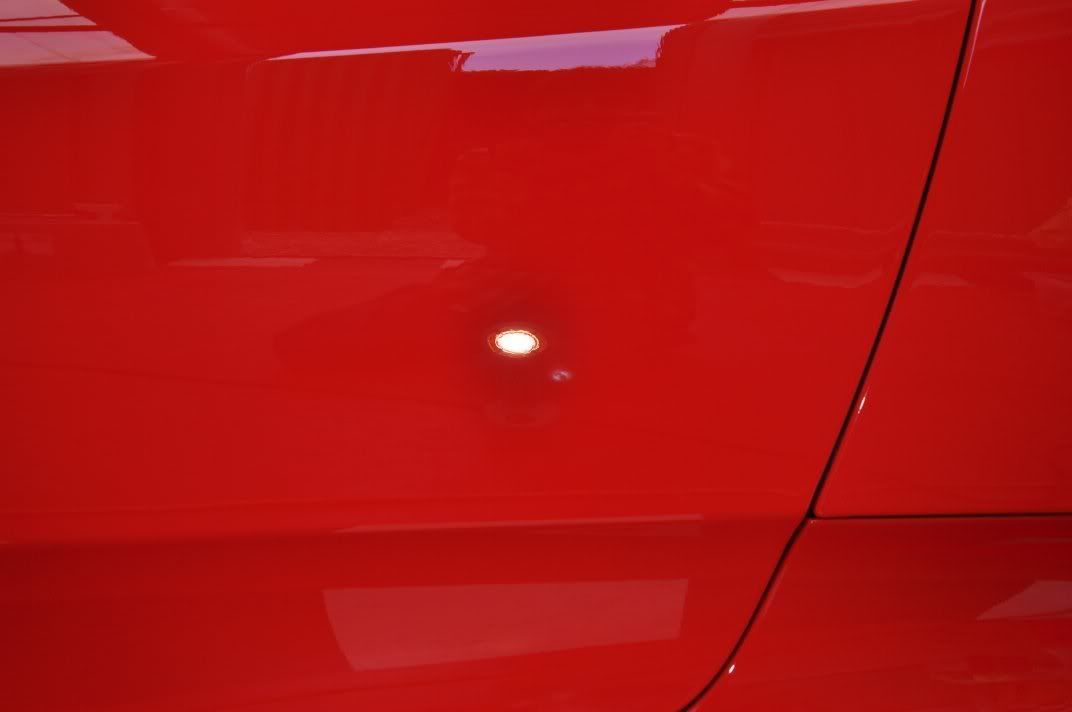
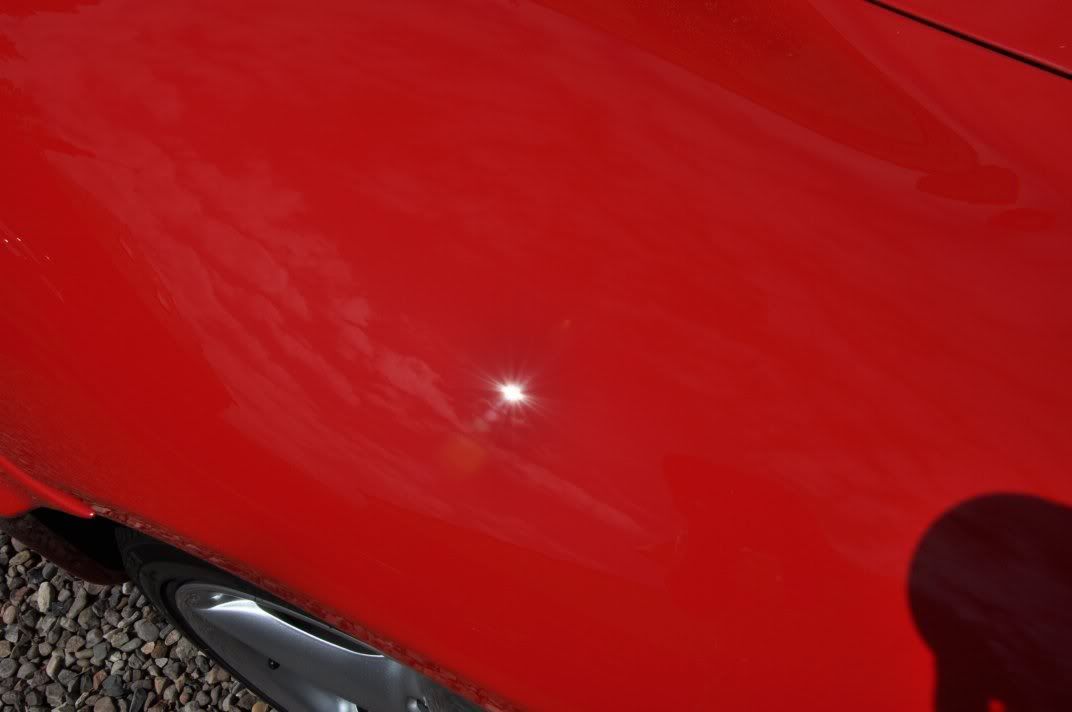
Meguiars #205 uses unigrit abrasives - they dont break down like those in Menzerna for example, and because of this they need a little different technique to really get the best out of them - but the flexibility they offer are a revelation to me as I now personally find the diminshing abrasive polishes a bit limiting as #205 allows me to vary my technique to work with the paint on the day much more freely. The result is a finishing polish that is flexible, powerful and a joy to use... The results are depth and clarity which I love about rotary polishing, and the results of IP and #205 on the wing, in the sunlight was very impressive to me:
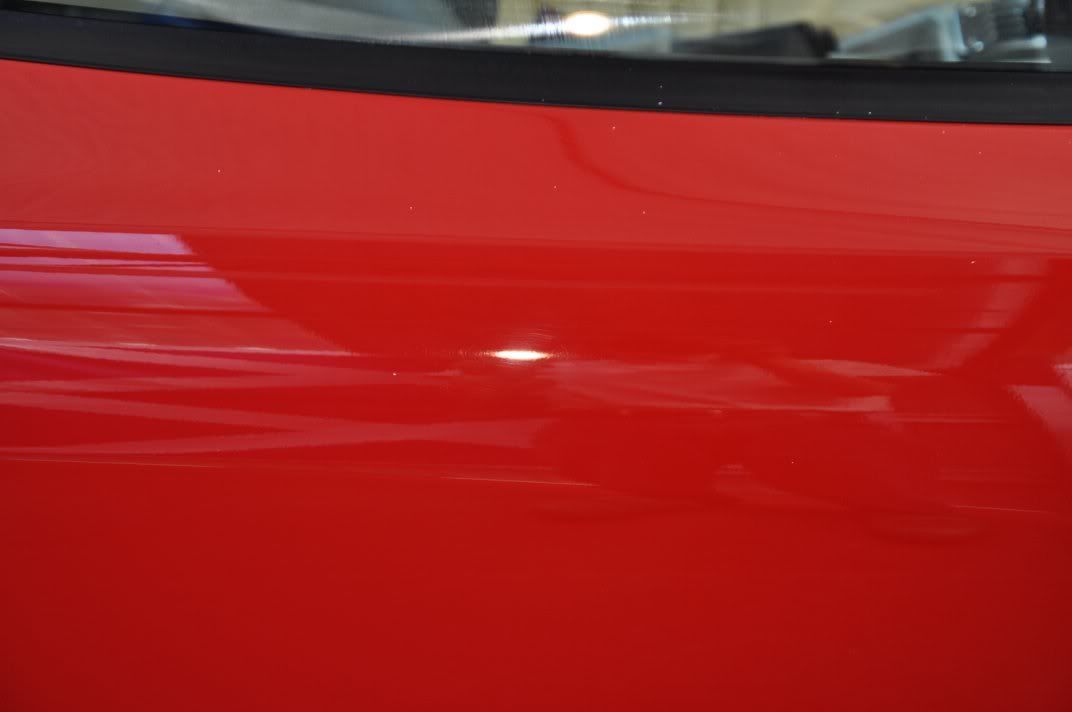
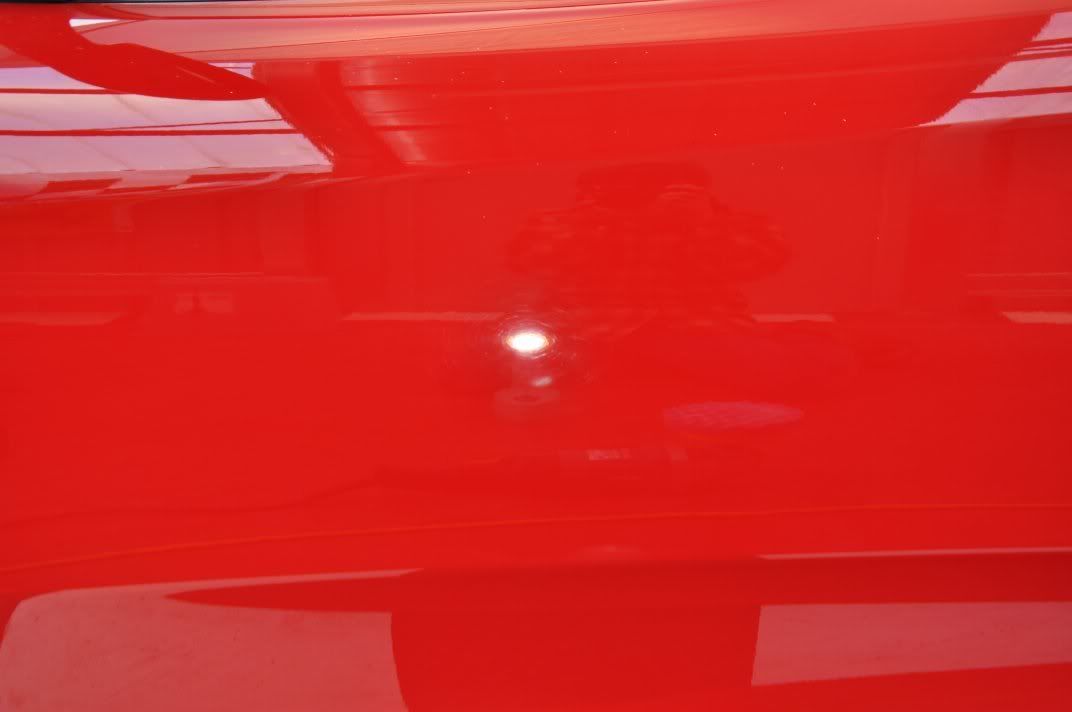
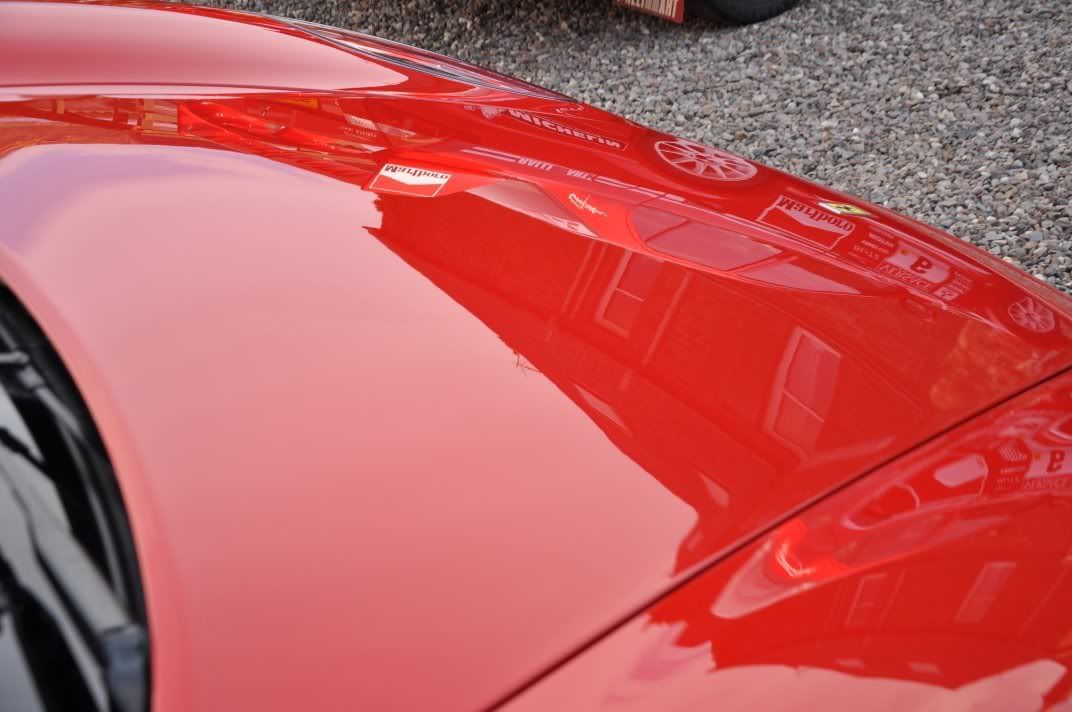
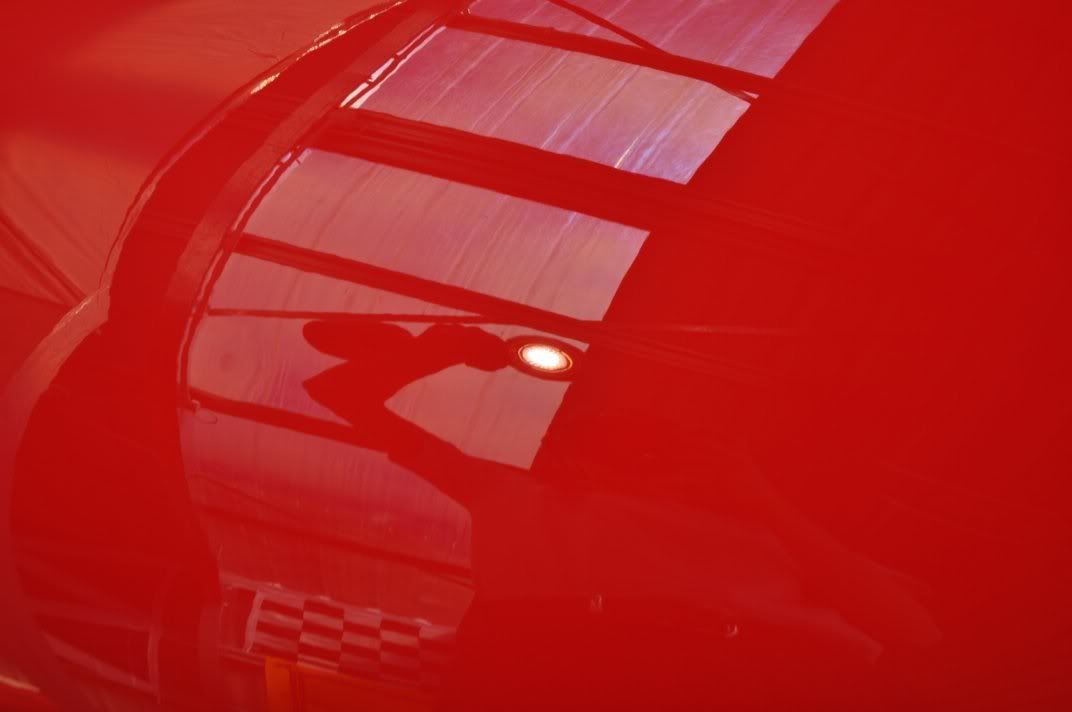
Rolled inside, under the Sun Gun you see a beautiful clarity:
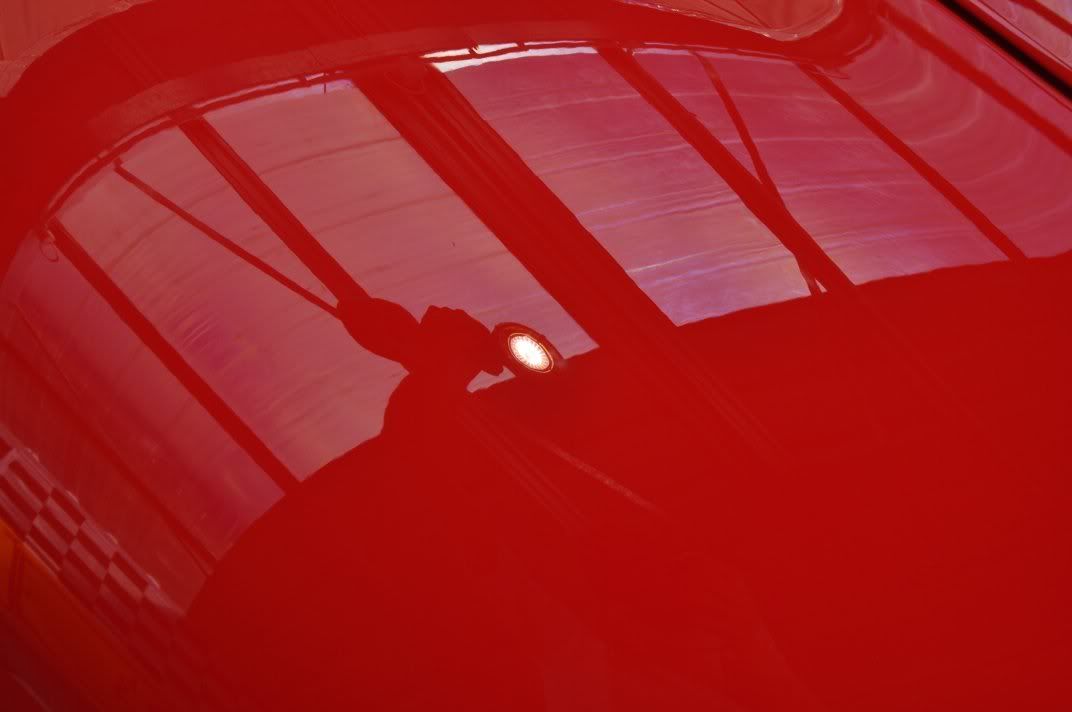
Now it was time to deal with the bonnet. The wetsanding disks were readied and allowed to soak, but before getting aggressive, time to try compounding first as occasionally this is enough to knock back fine peel and restore clarity. In the case of this car, it certainly was - 3M Fast Cut was applied using a W7006 cutting pad as follows:
This fast hit technique allowed restoration of the clarity without heavy paint losses that may have been incurred by wetsanding - it pays not to just dive in with aggressive techniques without first exploring your options!
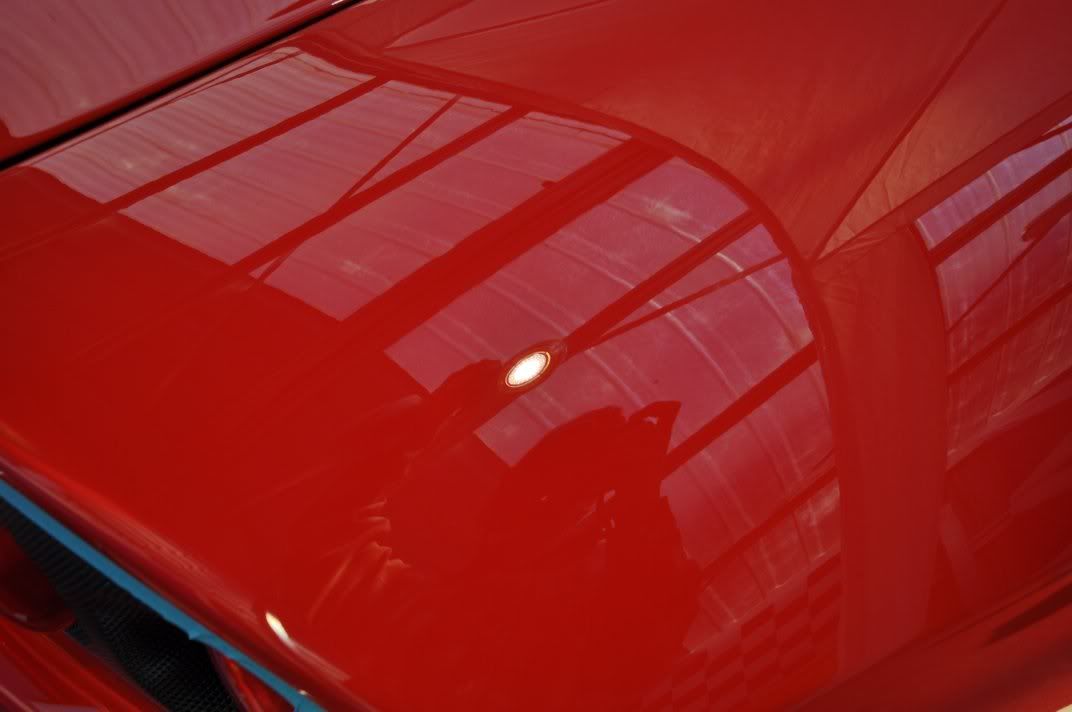
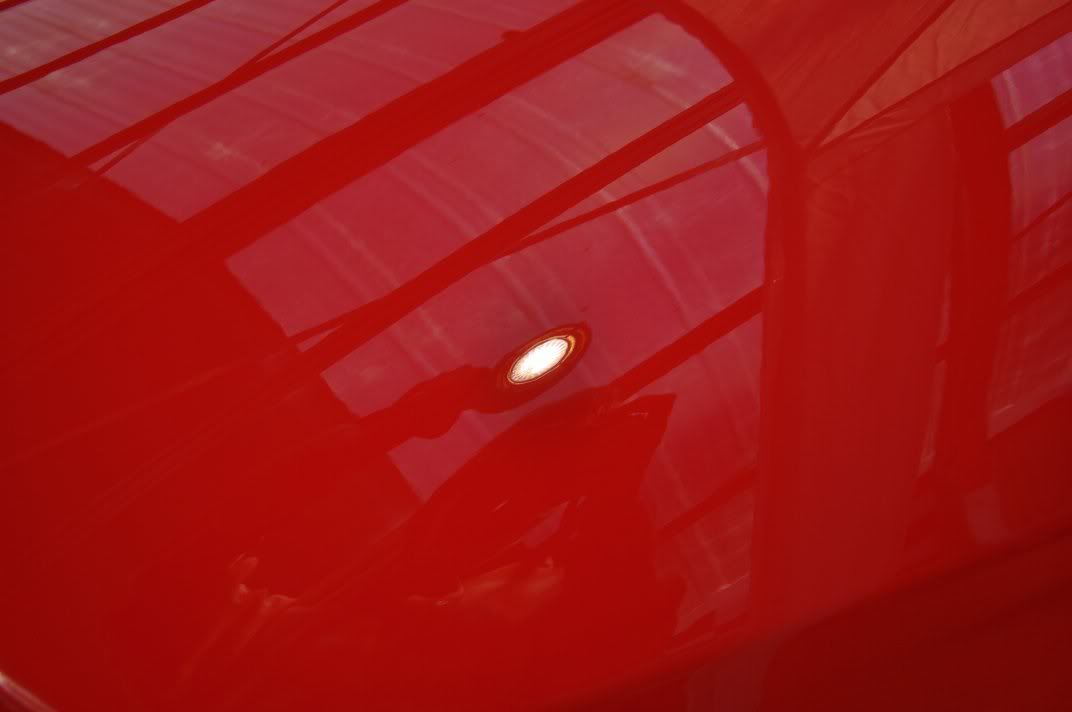
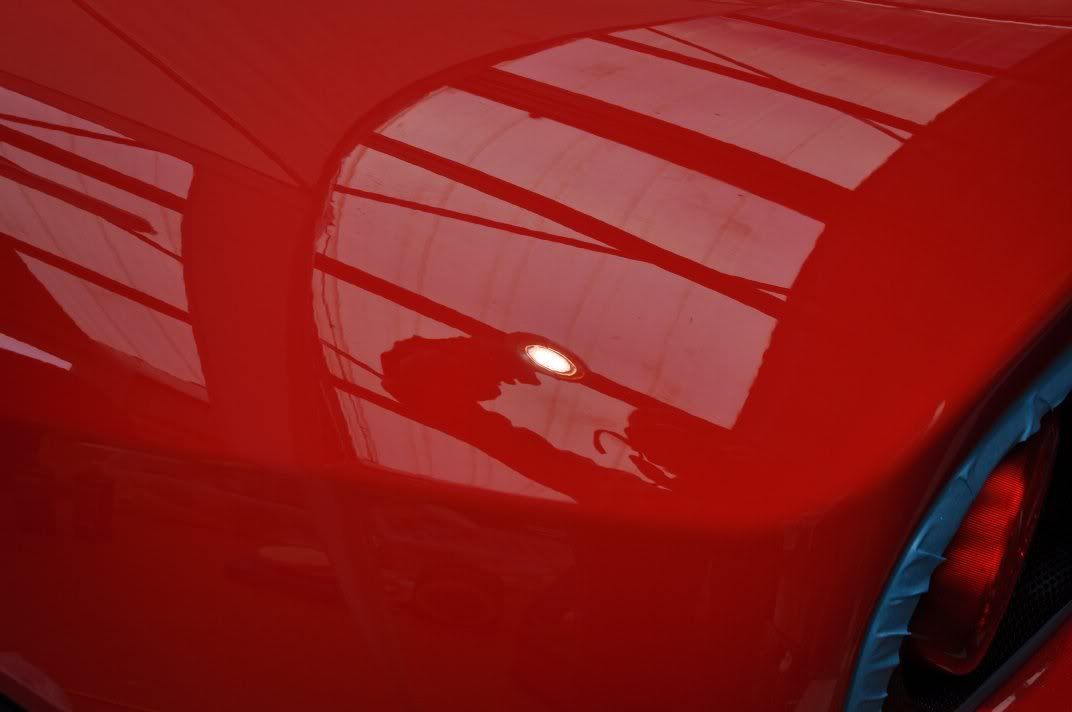
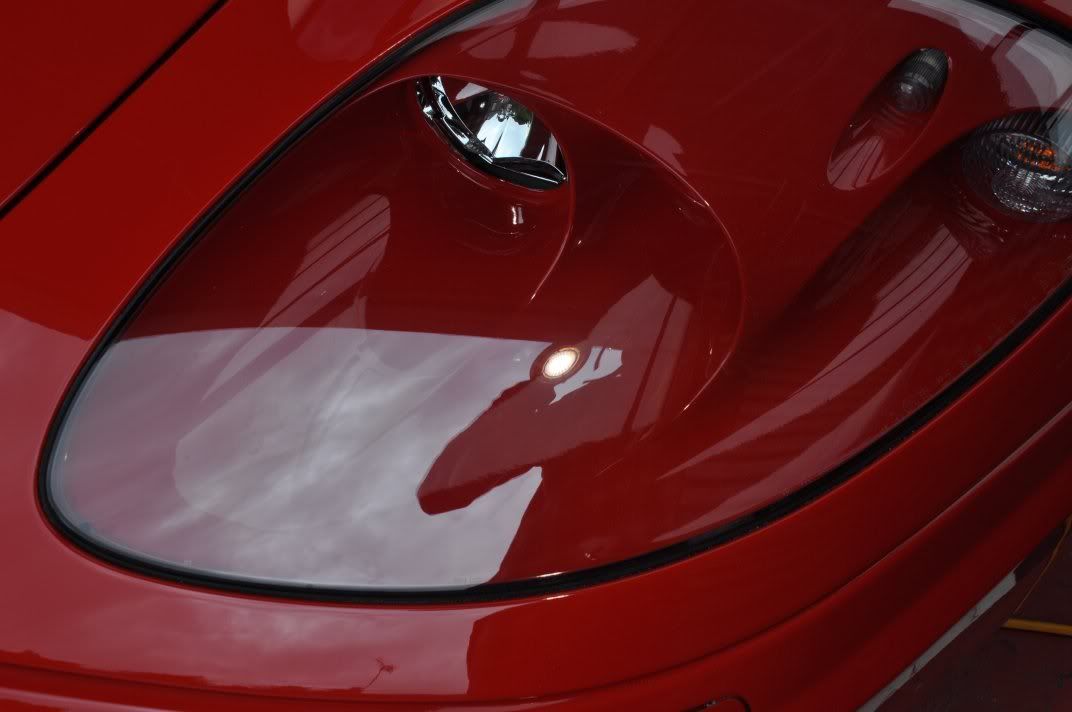
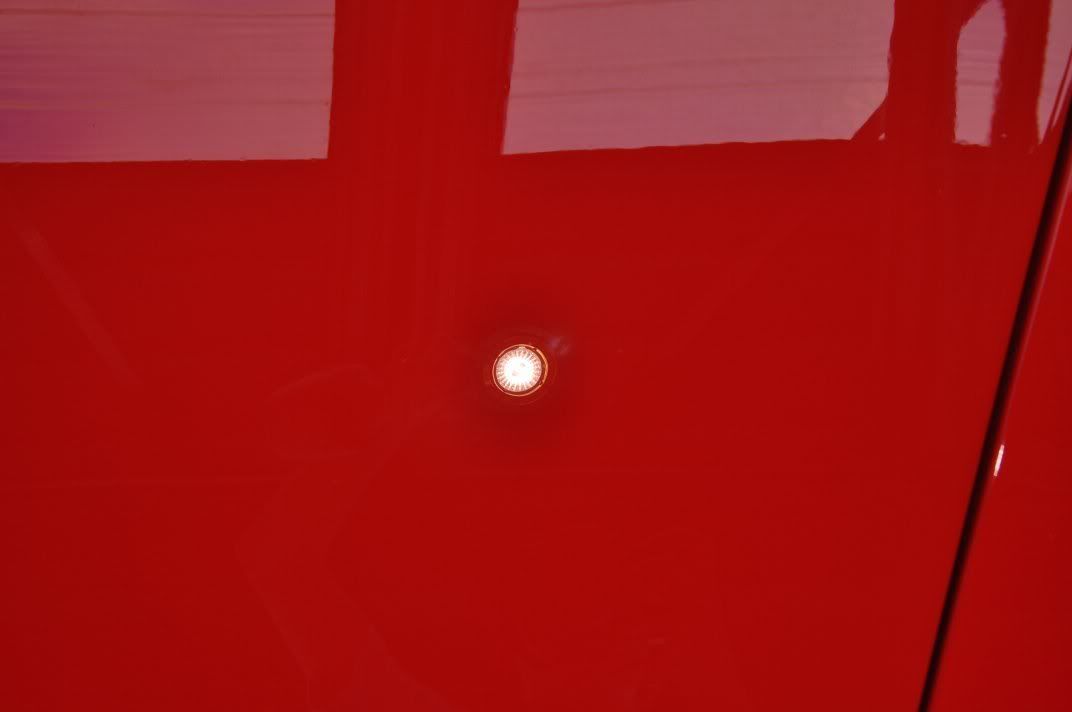
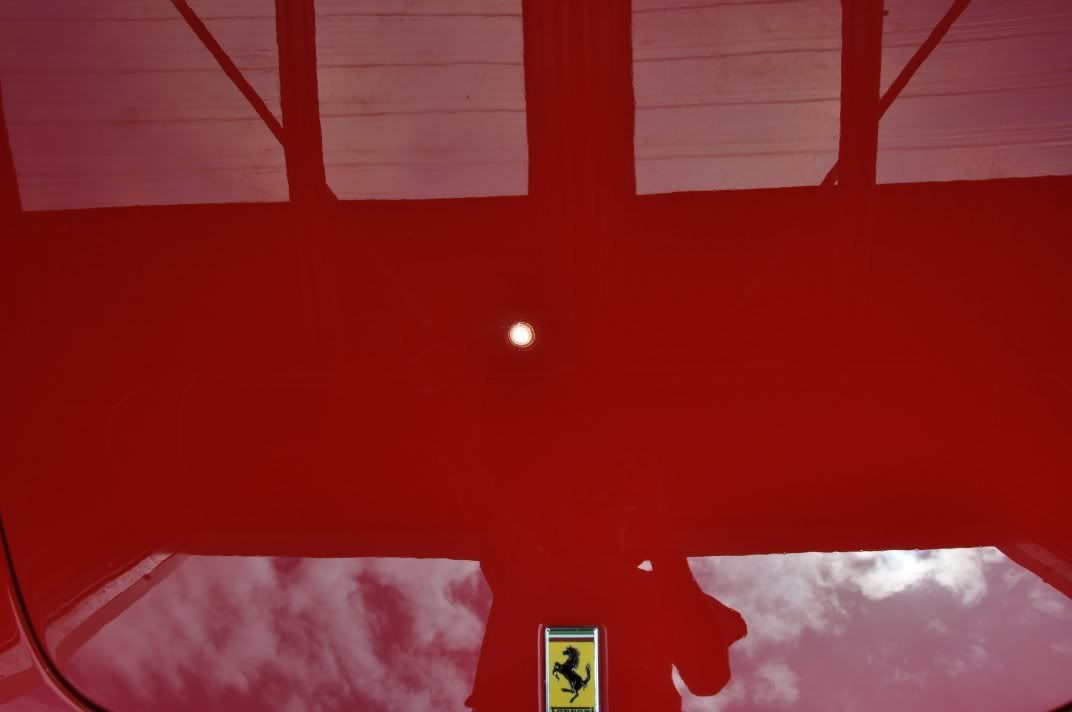
The bonnet was then treated to IP and #205 as above, restoring extra clarity to the finish and the reflection of the Sun Gun was happily back to being crystal clear...
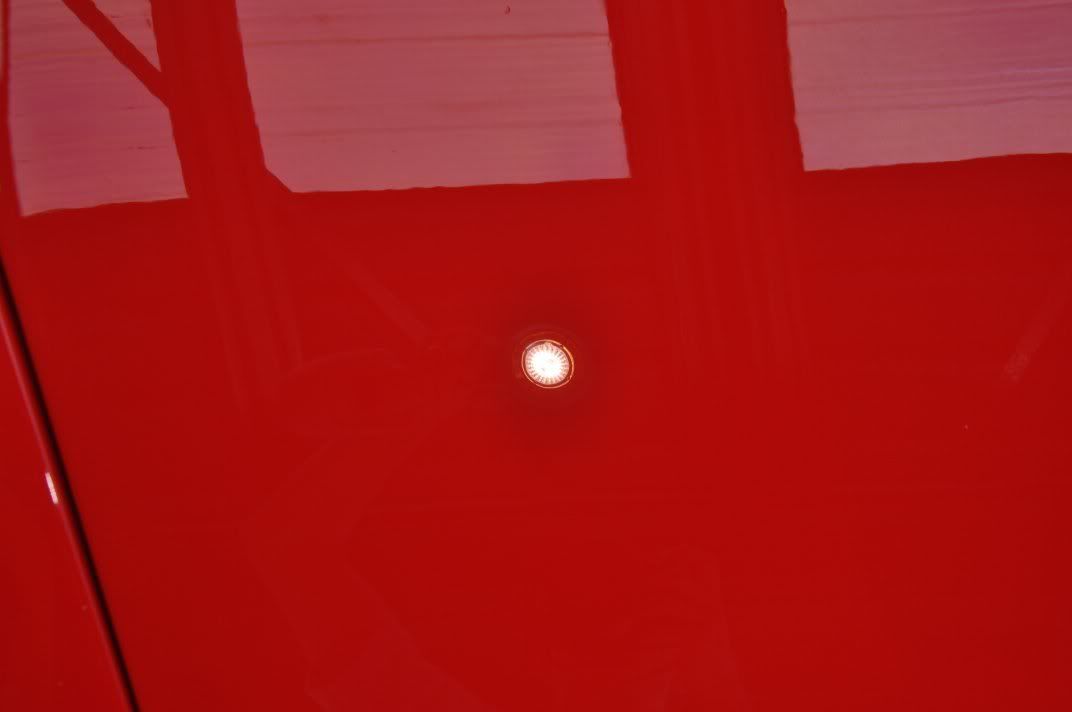
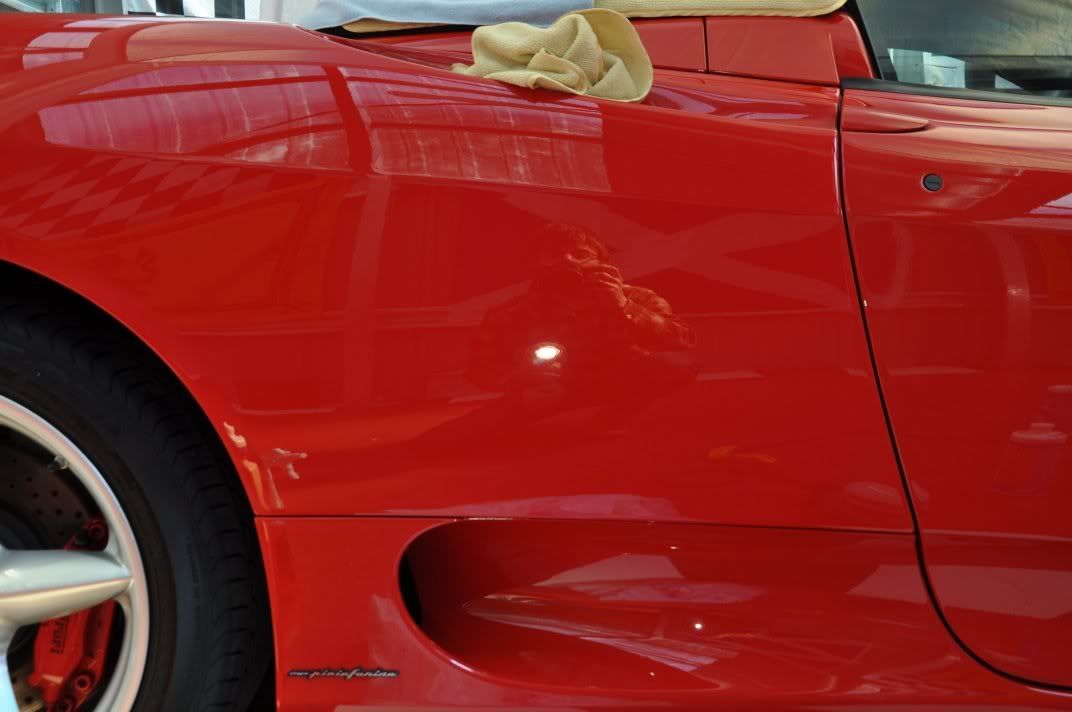
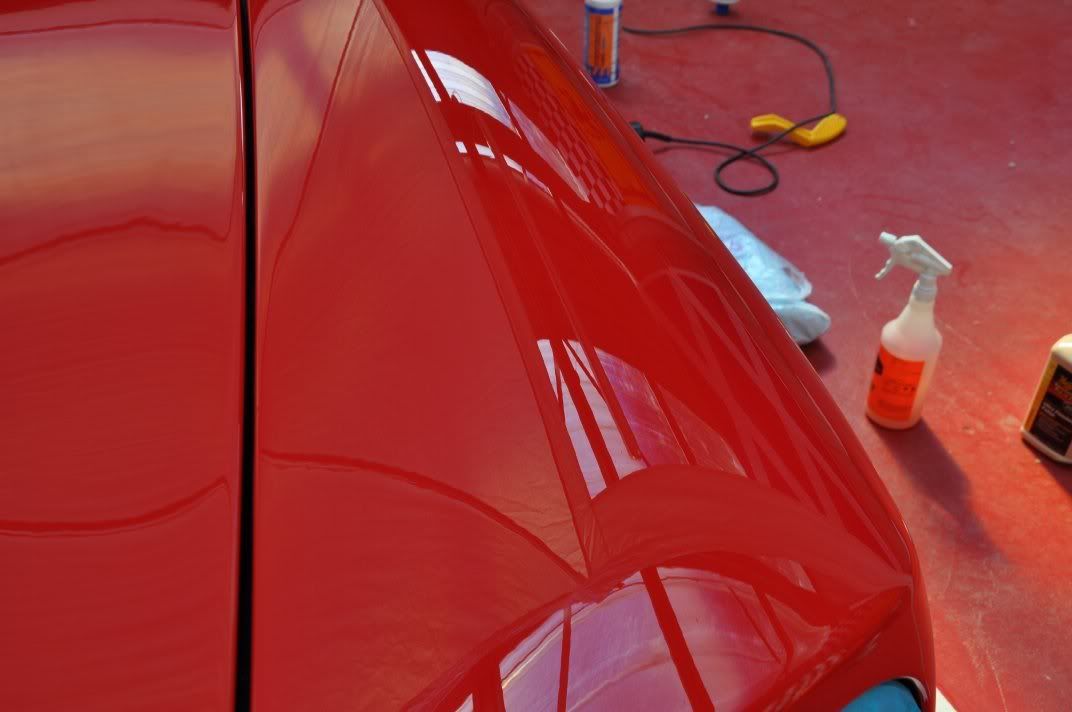
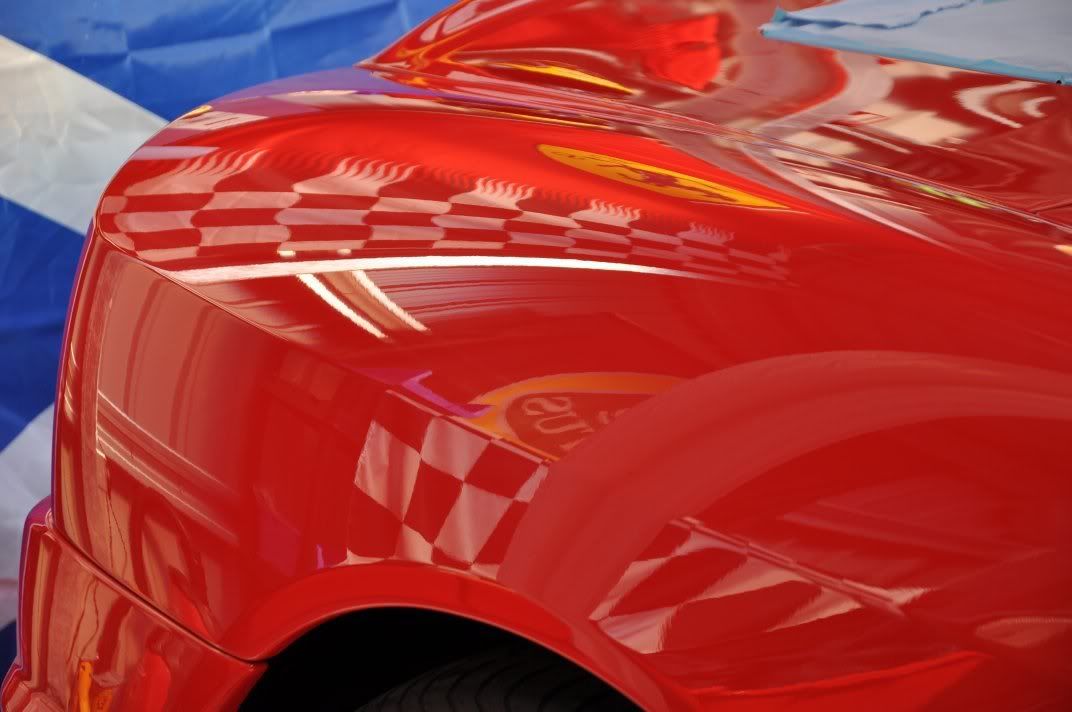
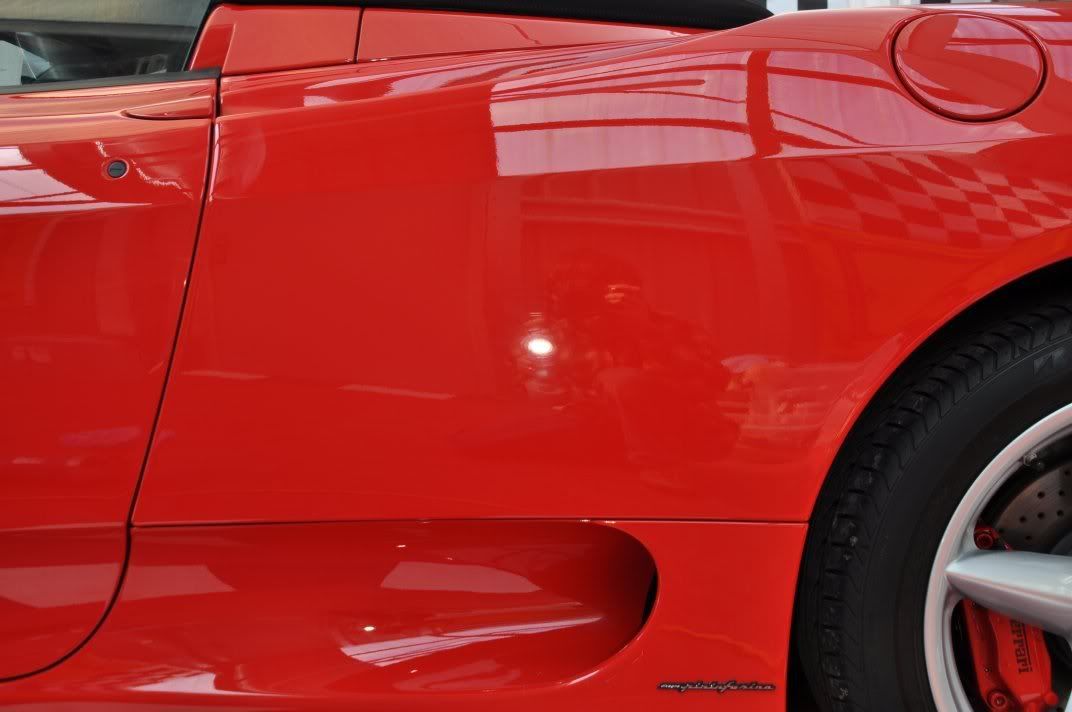
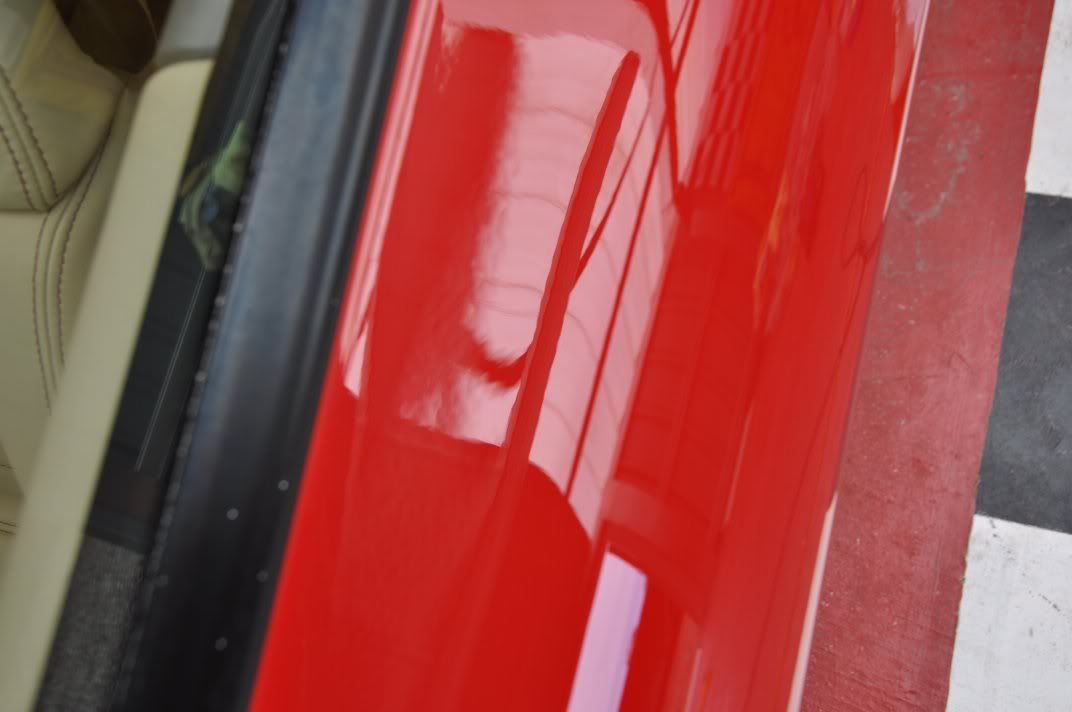
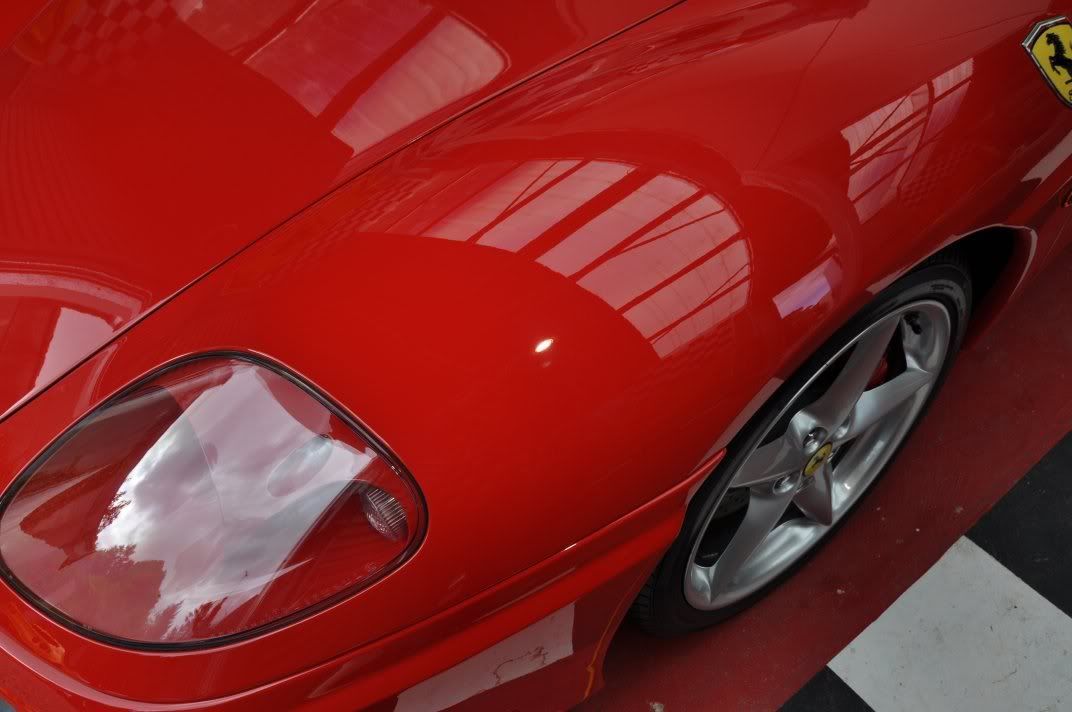
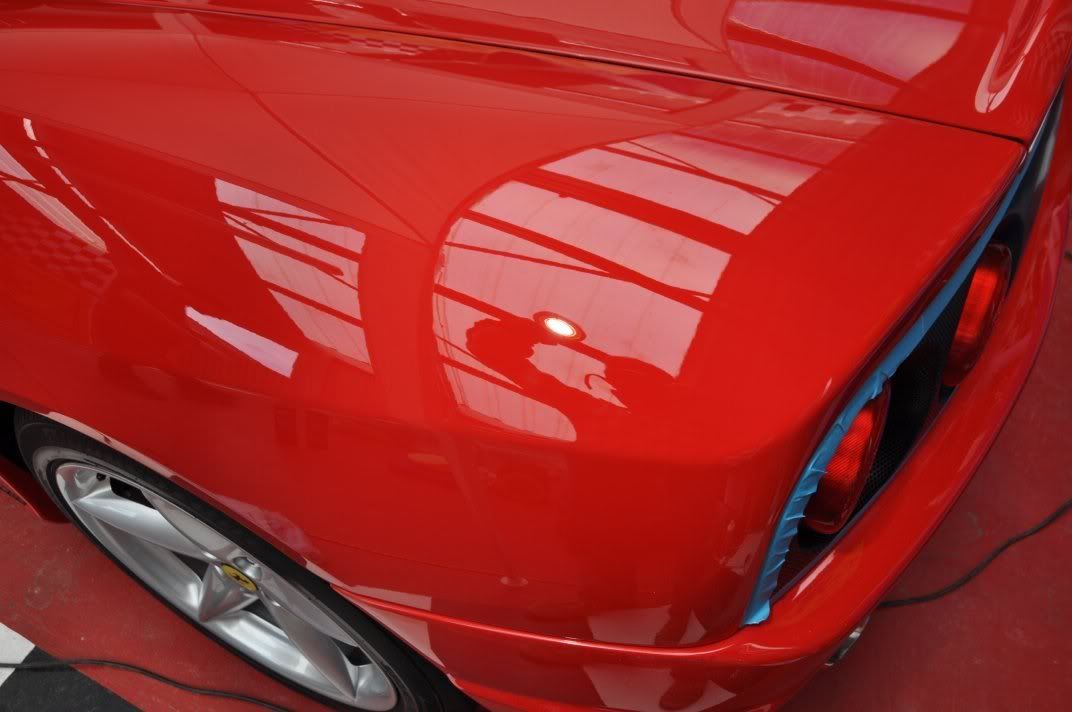
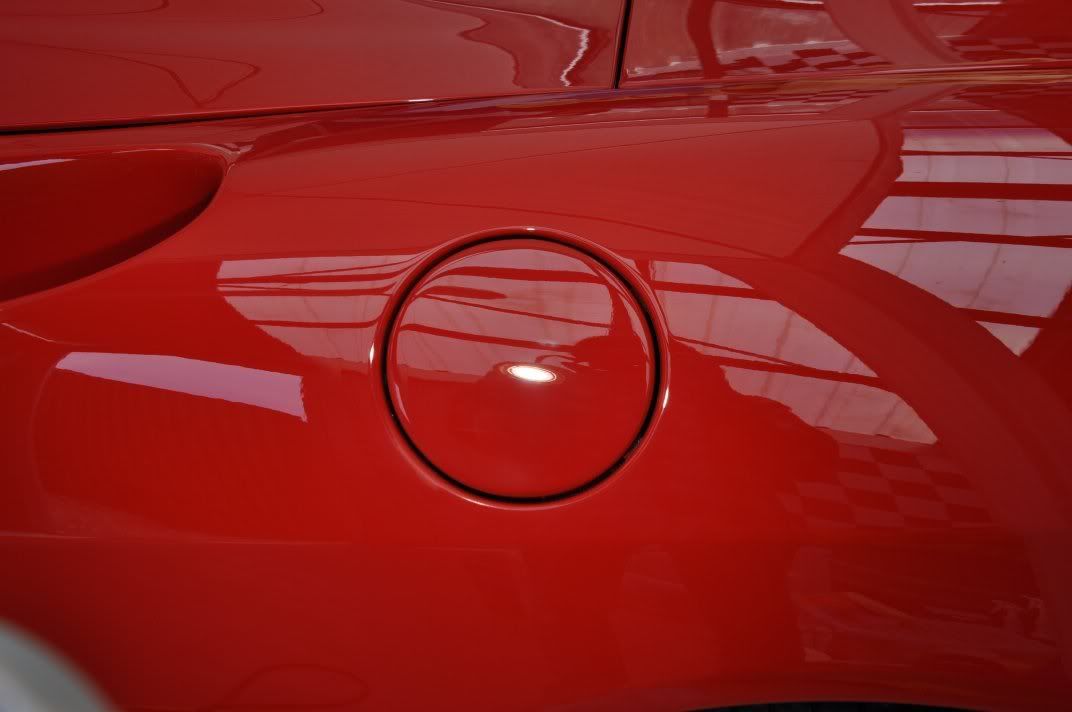
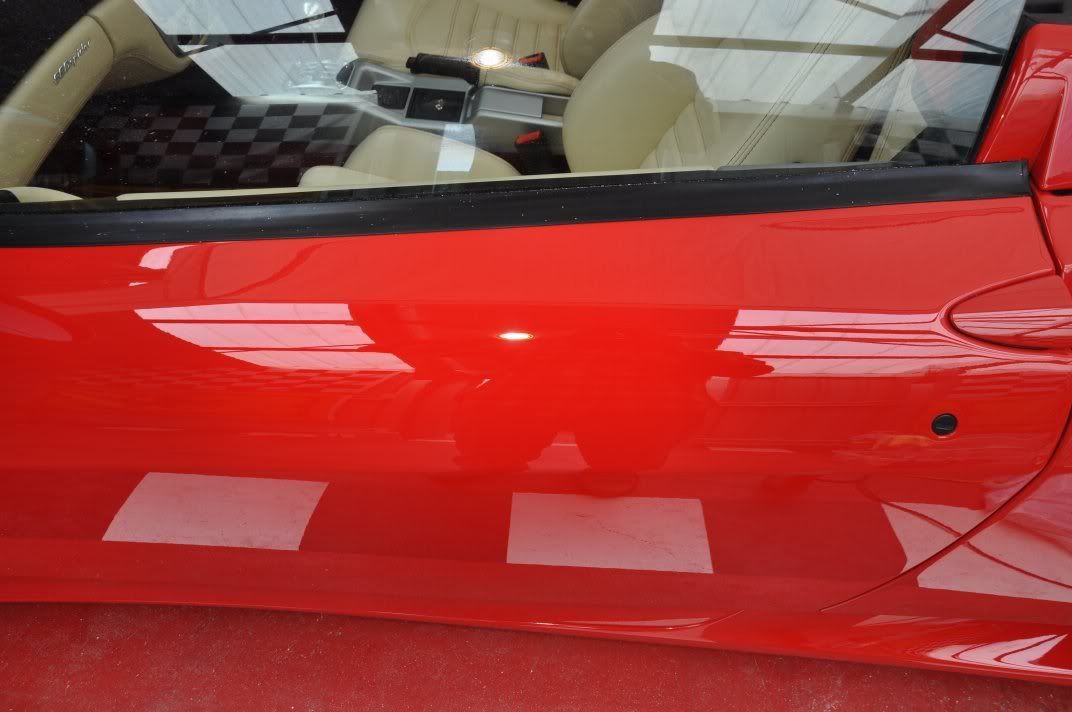
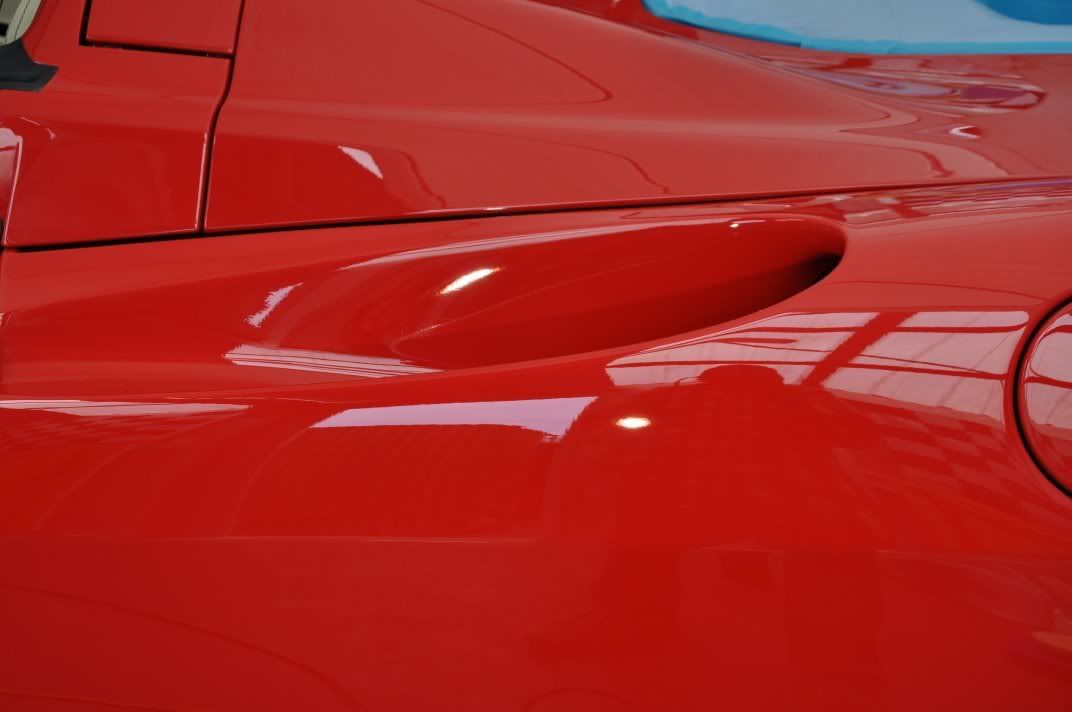
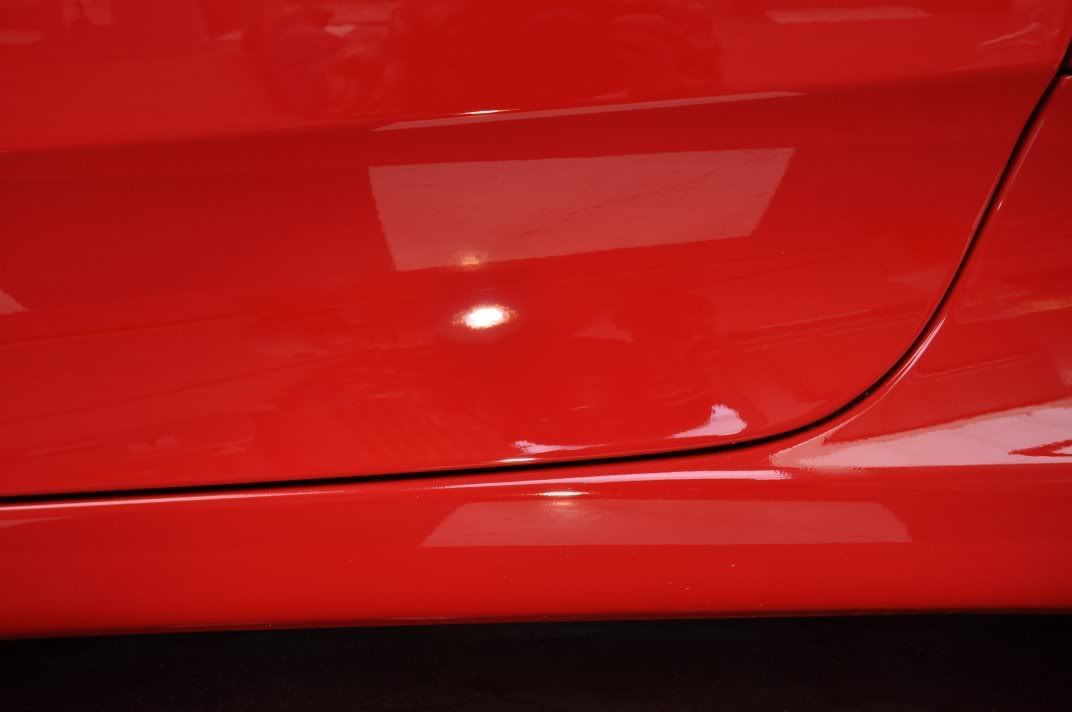
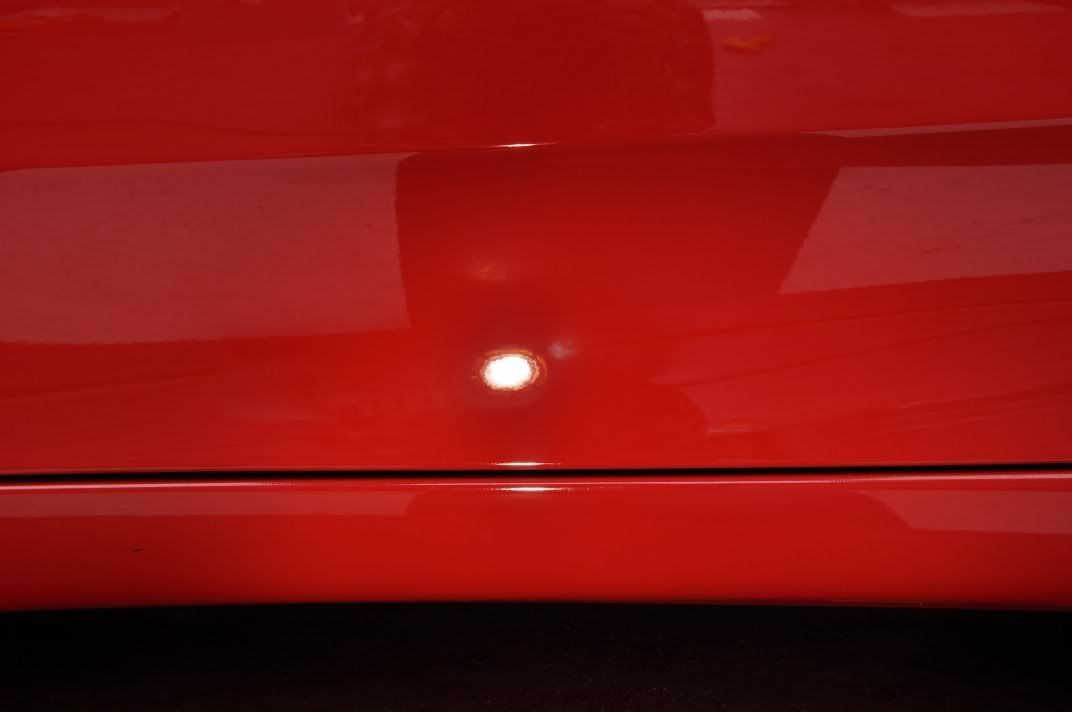
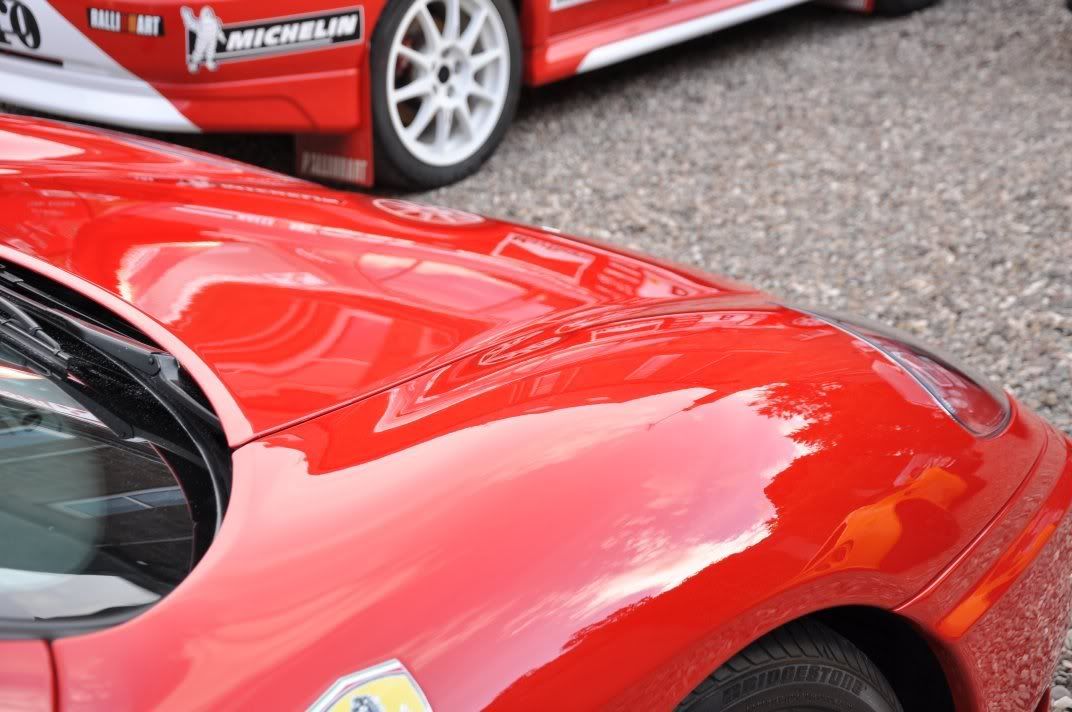
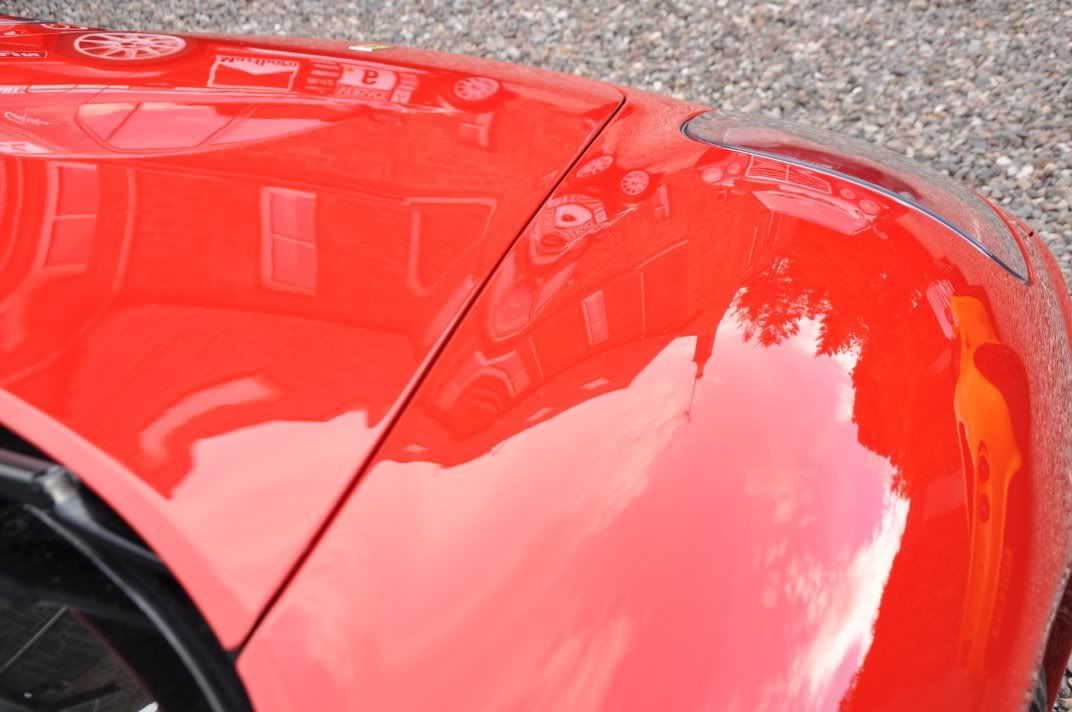
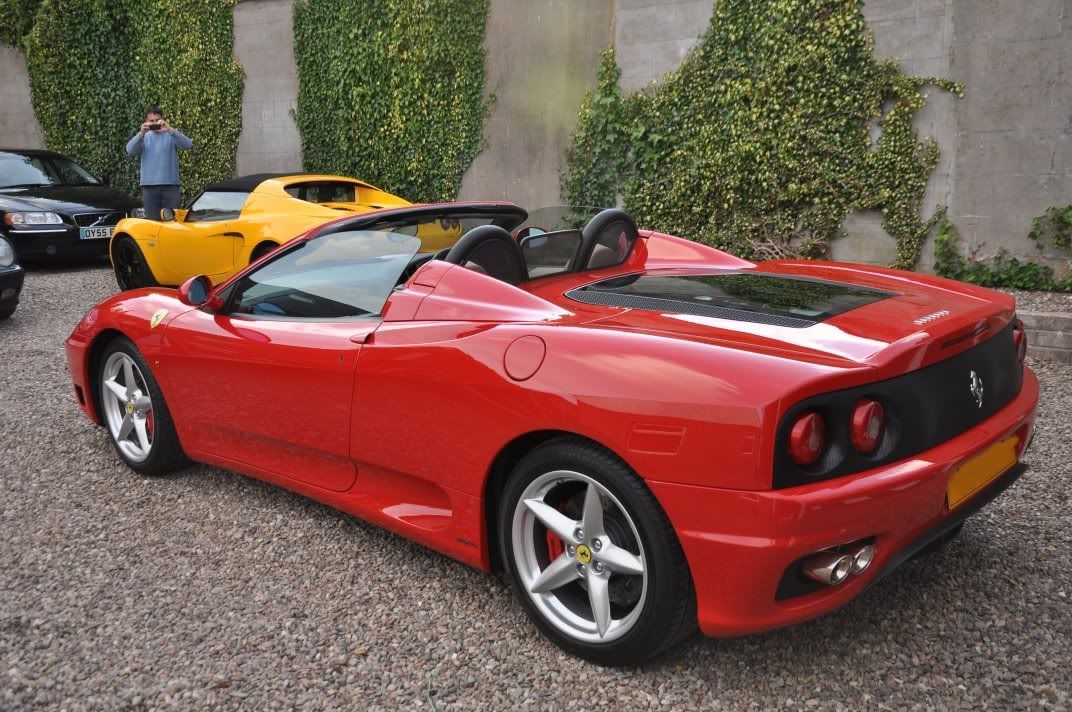
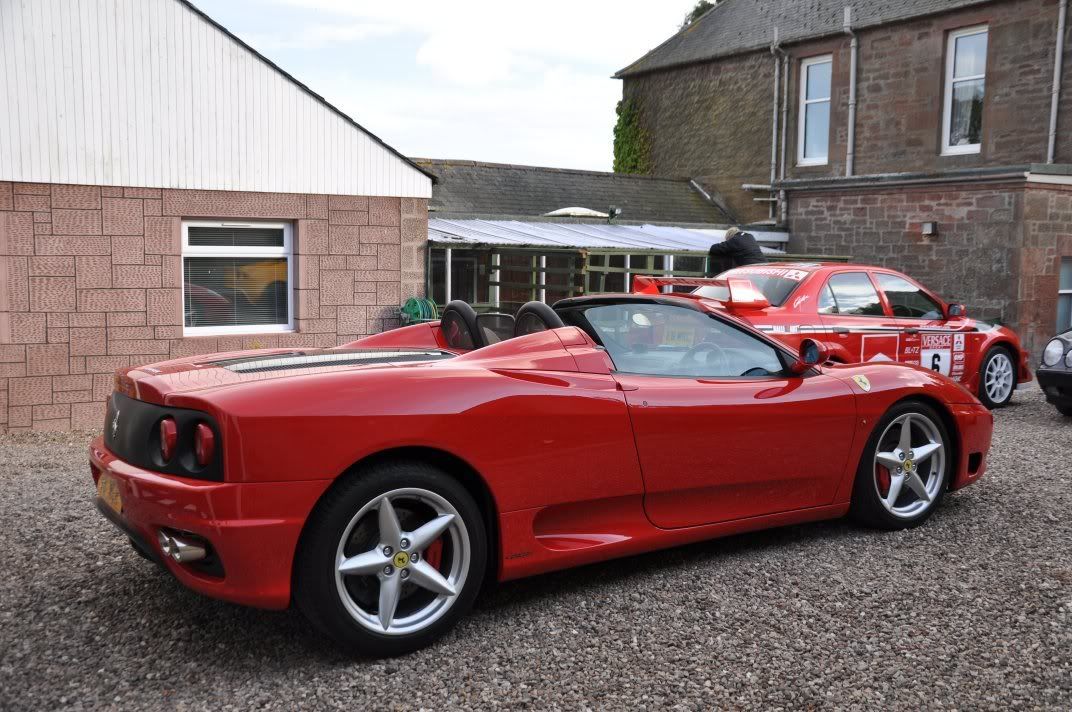
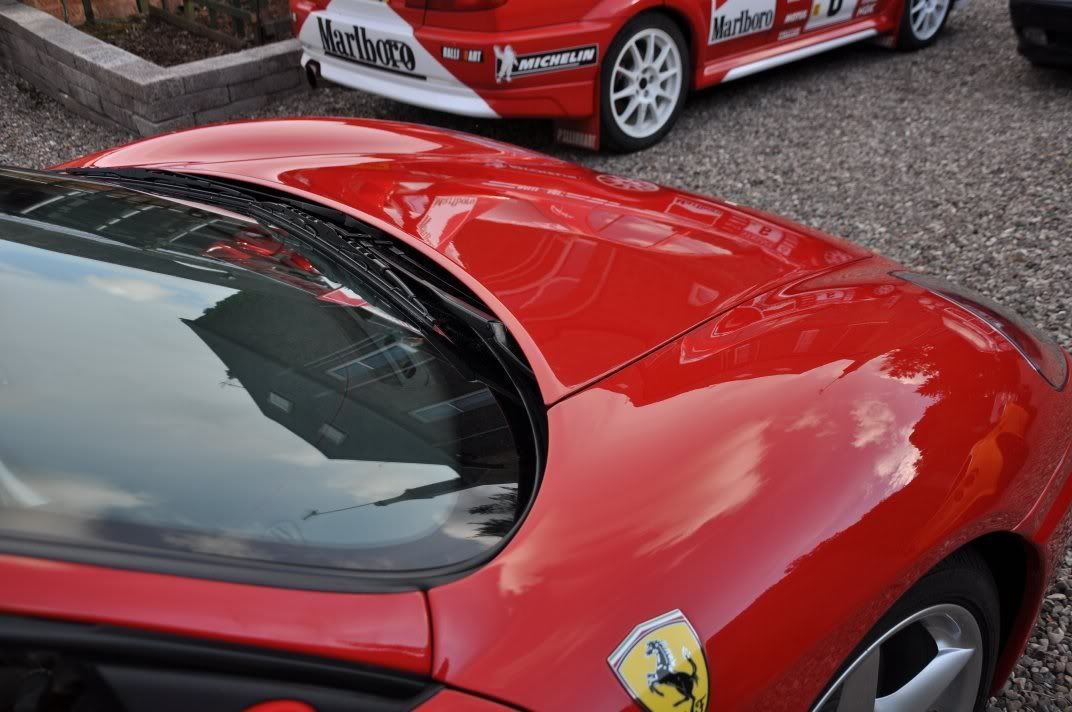
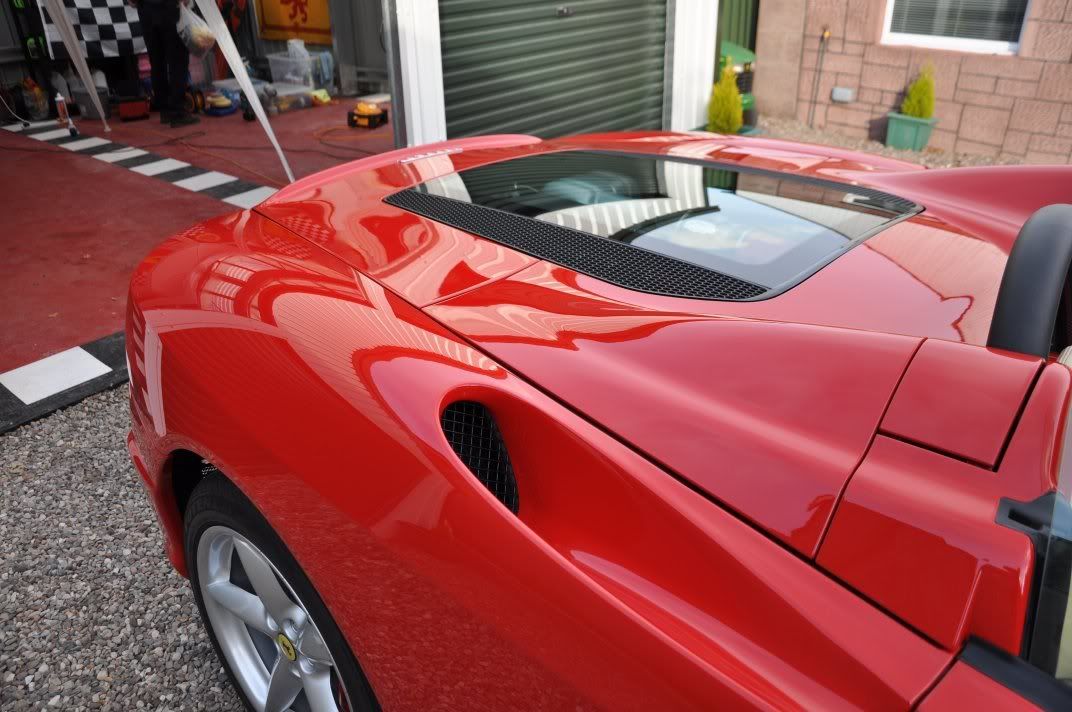
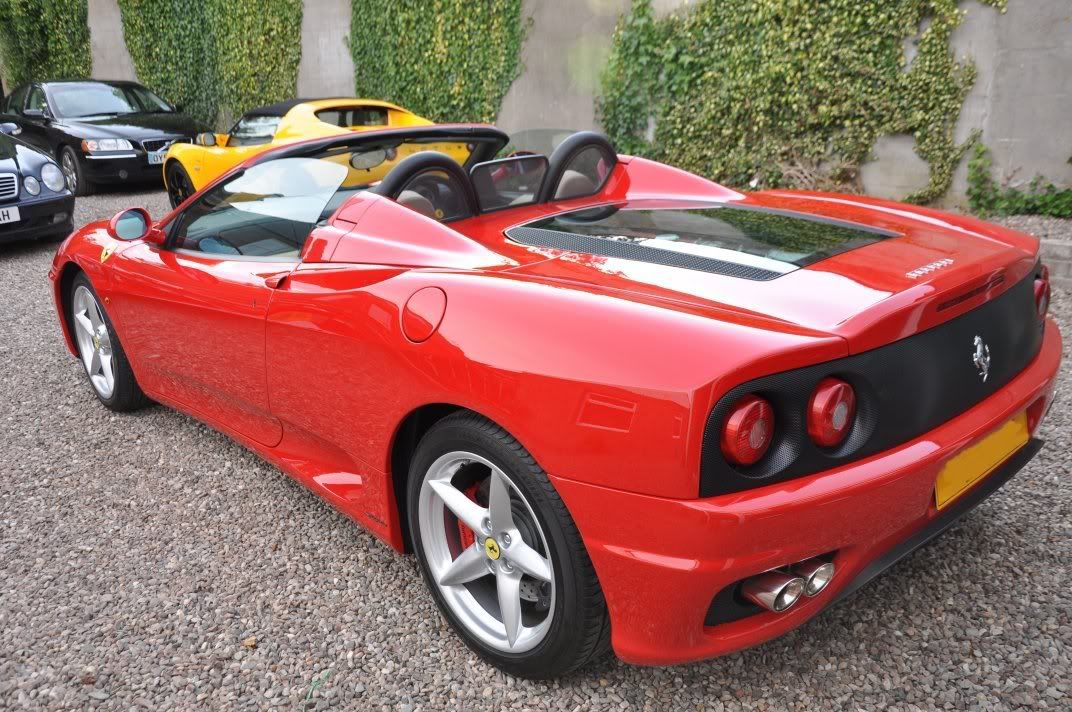
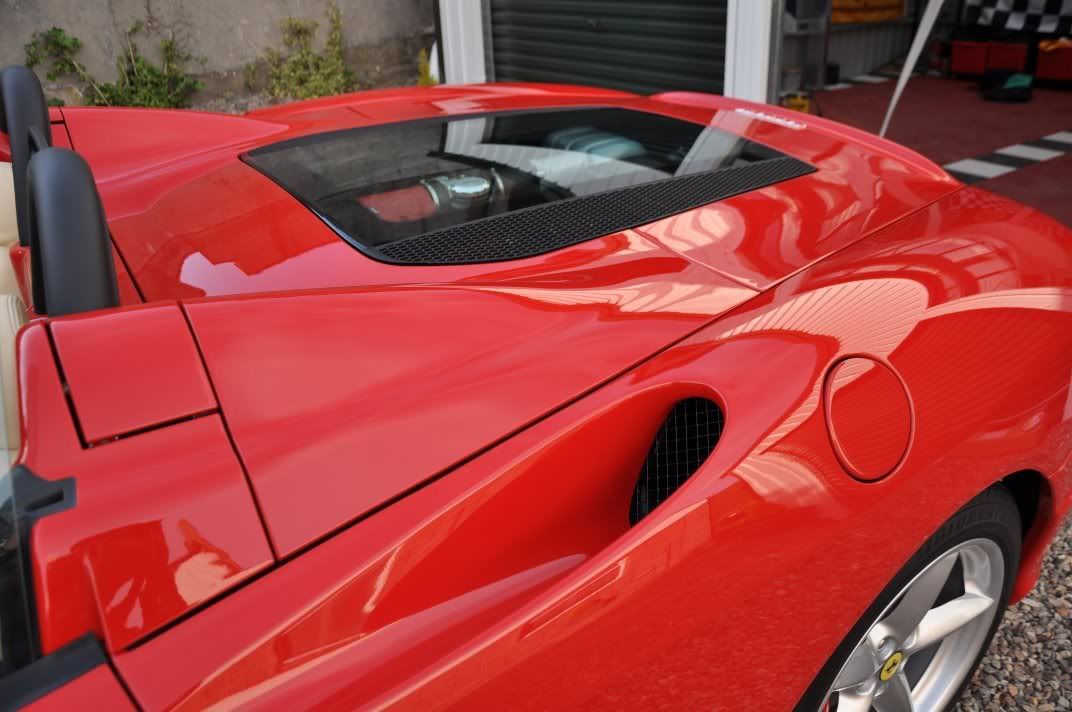
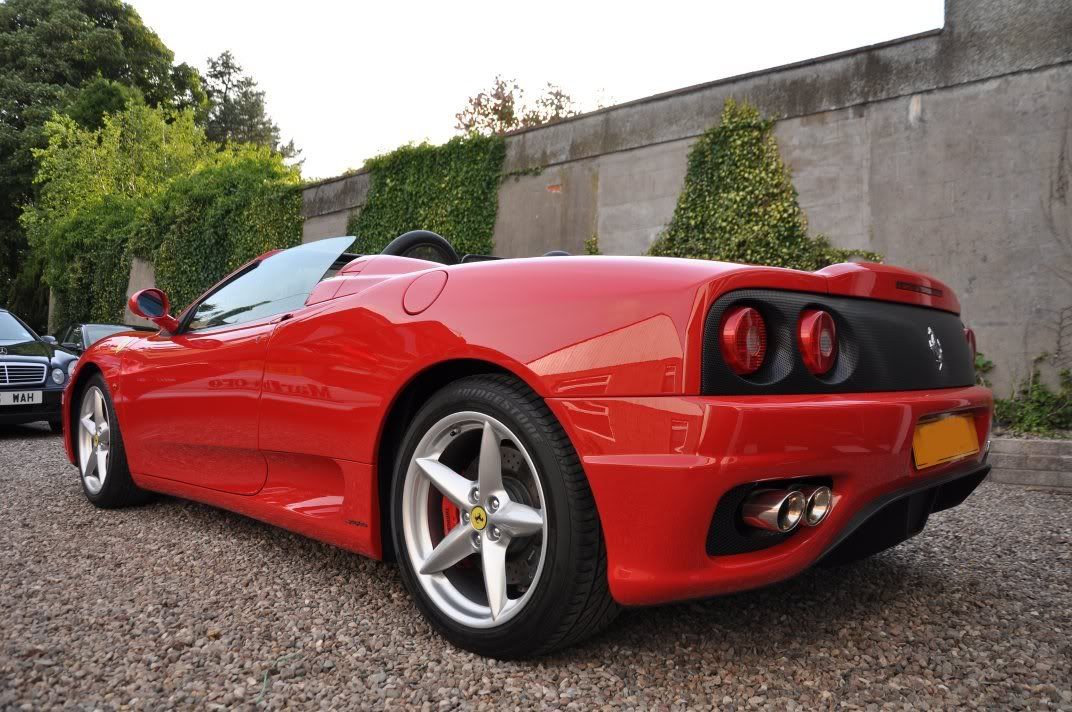
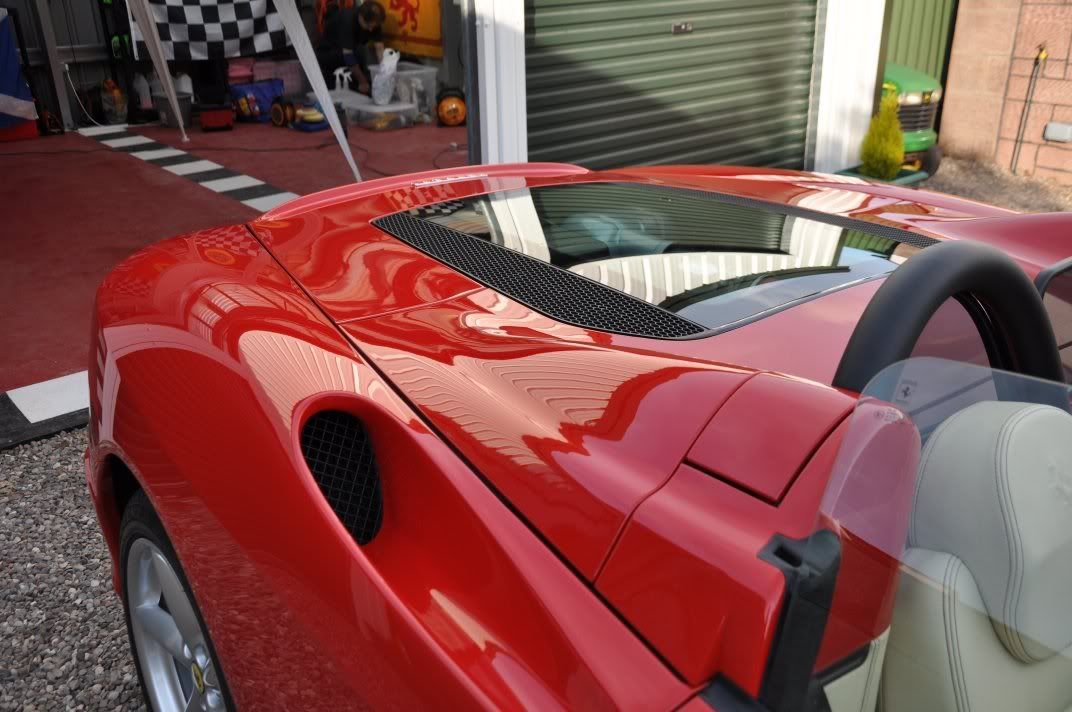
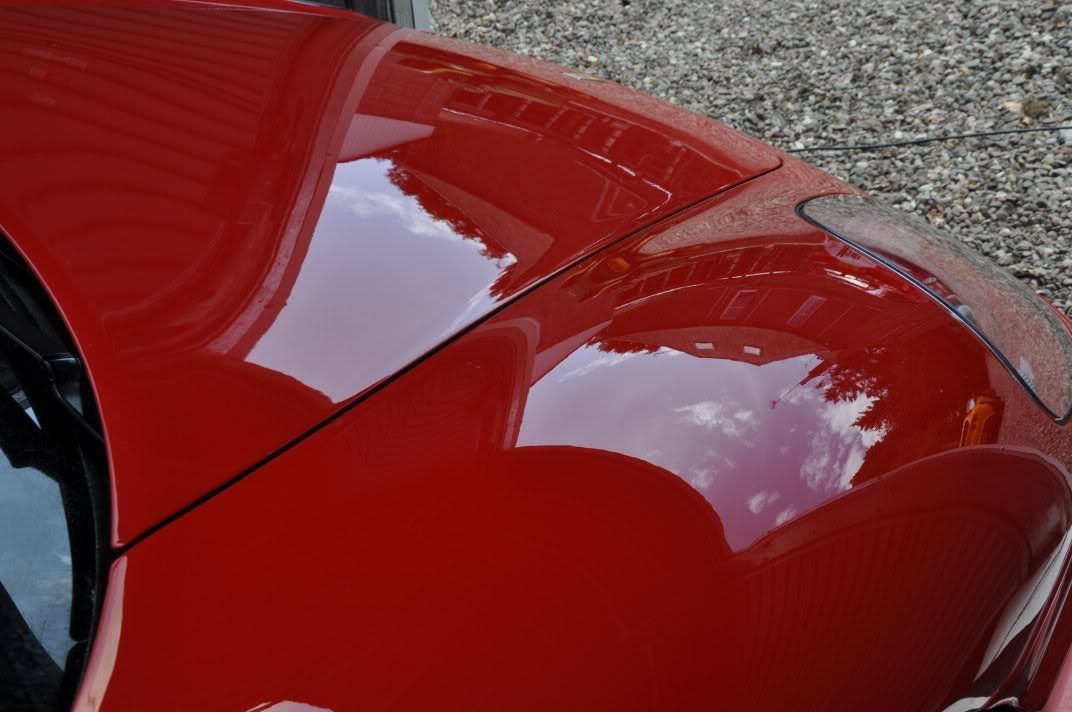
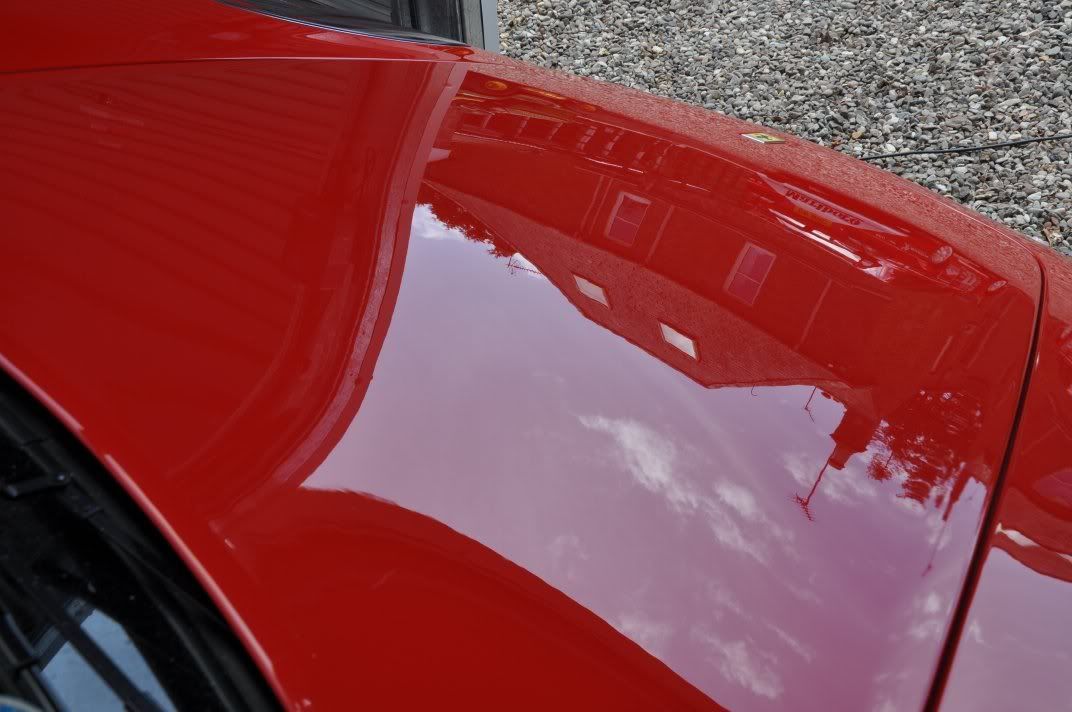
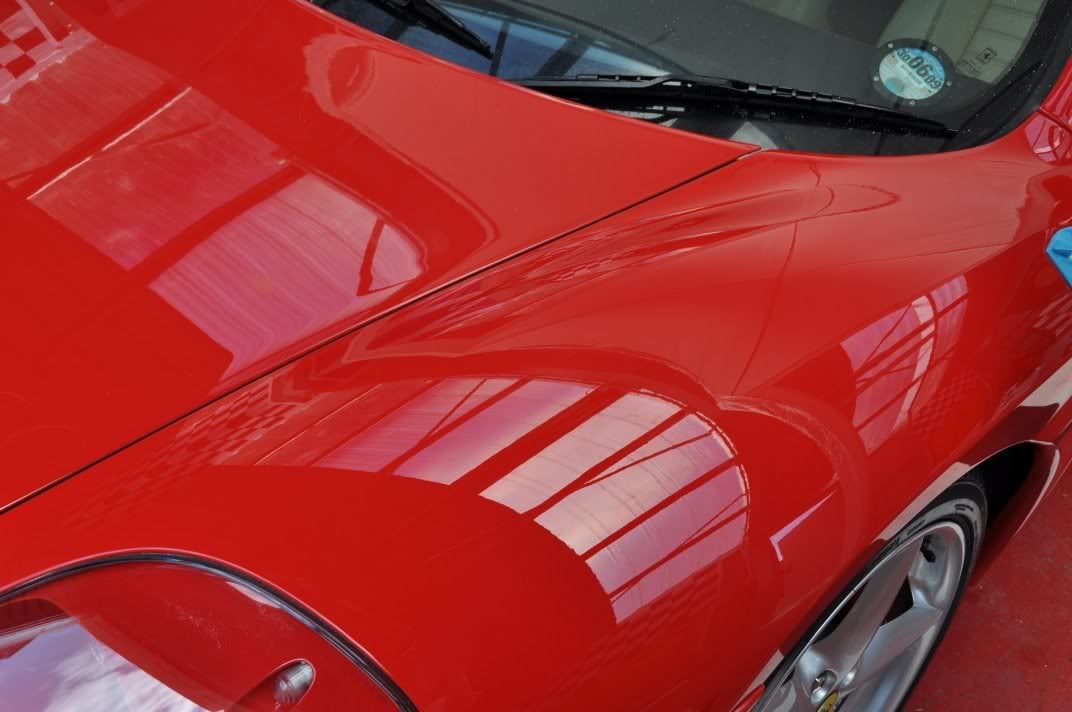
Clarity restored, the front of the car now fully machined and a beautiful gloss now apparent on the red paint, the curves of the car showing it off at its best :
:
The car is owned by Jim, who has put up with my coffee drinking habbits on a couple of previous details, including his F355 - infact, he's even inflicted me on his mates for details, I reckon I must have consumed a gallon of their coffee now: sorry lads!
In all seriousness, this was another cracking car to detail, and Jim had washed the car for our arrival - a damn good wash to, and as you can see the car was looking pretty damn good in the befores:


After prepping the car for polishing (Bilt Hamber clay used, top stuff - but used with Last Touch rather than water as the water just sheeted off the panel offering no lube! This car was protected...) it was rolled into the garage ready for polishing. Starting off at the front end, the defects in terms of swirls were light and hard to spot...

The bonnet however, had been resprayed for a stone chip - a good paintjob, but the finishing wasn't quite spot on and you could notice it with a bit more of a haziness and dullness to the reflection... Sun Gun reflections not sharp...


The finish was good, but it just wasn't quite as good as the rest of the car as you can see from the reflections...


We'll come back to that bonnet in a sec
For the testing of products I went for the nearside wing... First up was Meguiars #205 Ultra Finishing Polish - loving this polish just now, rotary glides as it on air with it and the finished achievable once its cracked have taken my detailing just another notch forward
- Spread at 600rpm
- Begin working at 1200rpm, medium pressure
- Work at 1800rpm until residue clear with medium pressure throughout
This delivered the correction I desired, and a good finish too... but I went to improve the finish, any excuse really for me to get out the #205 from Meguiars, such is my liking for this product. Applied using a 3M Blue finishing pad as follows:
- Spread at 600rpm
- Begin working at 1200rpm with light pressure
- Work at 1500 - 1800rpm with moderate pressure, lightening off the pressure as the residue goes clear after two or three mins
- Refine and burnish at 1200 and then 900rpm with light pressure and slower machine movements
Meguiars #205 uses unigrit abrasives - they dont break down like those in Menzerna for example, and because of this they need a little different technique to really get the best out of them - but the flexibility they offer are a revelation to me as I now personally find the diminshing abrasive polishes a bit limiting as #205 allows me to vary my technique to work with the paint on the day much more freely. The result is a finishing polish that is flexible, powerful and a joy to use... The results are depth and clarity which I love about rotary polishing, and the results of IP and #205 on the wing, in the sunlight was very impressive to me:

Rolled inside, under the Sun Gun you see a beautiful clarity:


Now it was time to deal with the bonnet. The wetsanding disks were readied and allowed to soak, but before getting aggressive, time to try compounding first as occasionally this is enough to knock back fine peel and restore clarity. In the case of this car, it certainly was - 3M Fast Cut was applied using a W7006 cutting pad as follows:
- Spread at 600rpm
- Begin working at 1200rpm, medium pressure
- Work at 2000rpm with medium to firm pressure for a minute or two
This fast hit technique allowed restoration of the clarity without heavy paint losses that may have been incurred by wetsanding - it pays not to just dive in with aggressive techniques without first exploring your options!
The bonnet was then treated to IP and #205 as above, restoring extra clarity to the finish and the reflection of the Sun Gun was happily back to being crystal clear...


Clarity restored, the front of the car now fully machined and a beautiful gloss now apparent on the red paint, the curves of the car showing it off at its best


