Envious Detailing: LSB M3 charity detail

Envious Eric

New member
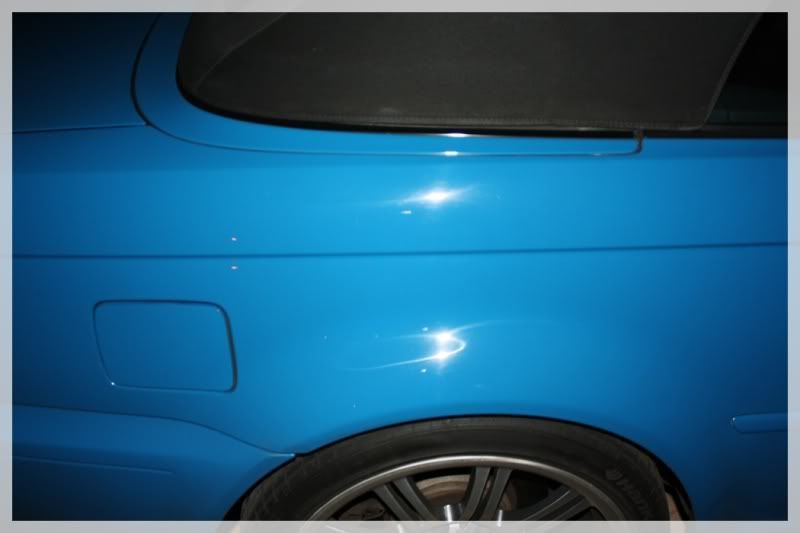
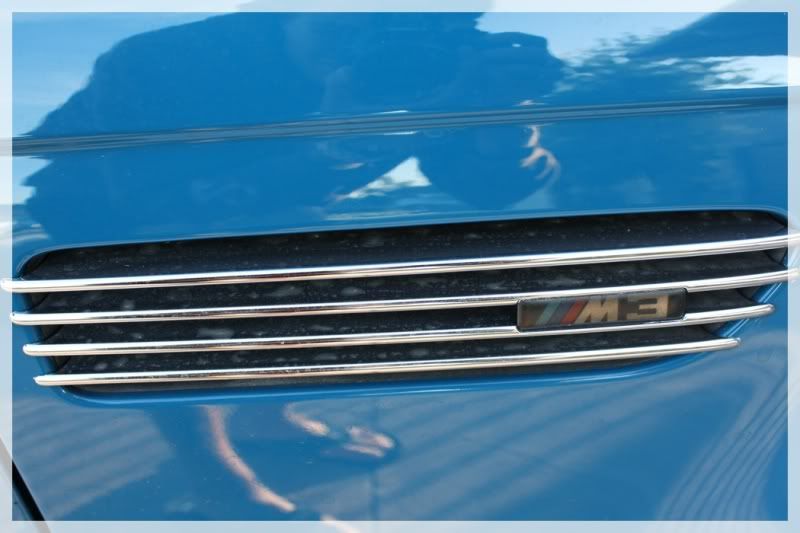
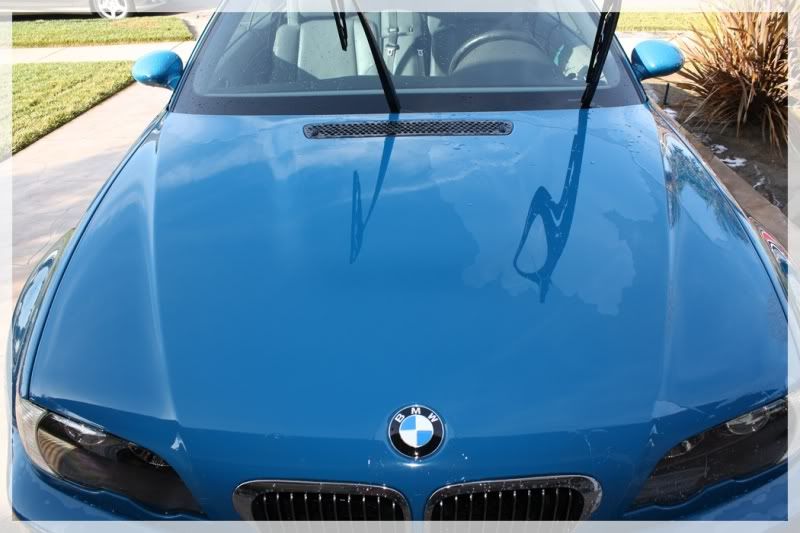
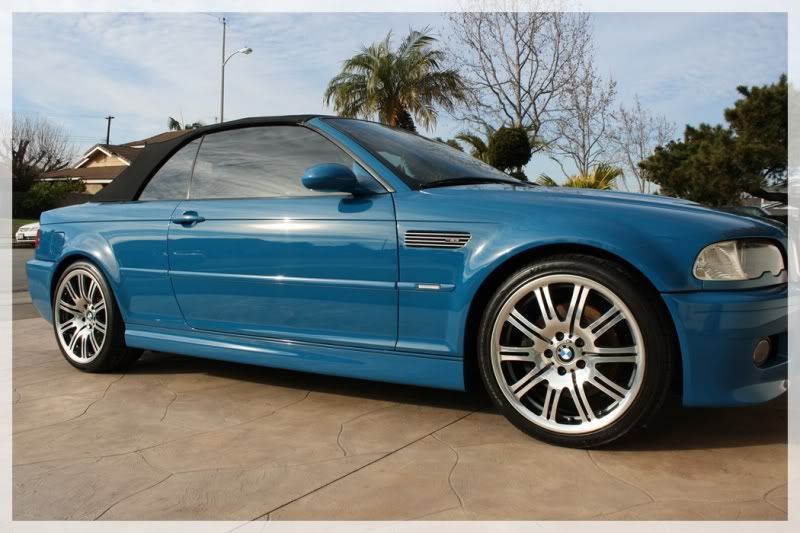
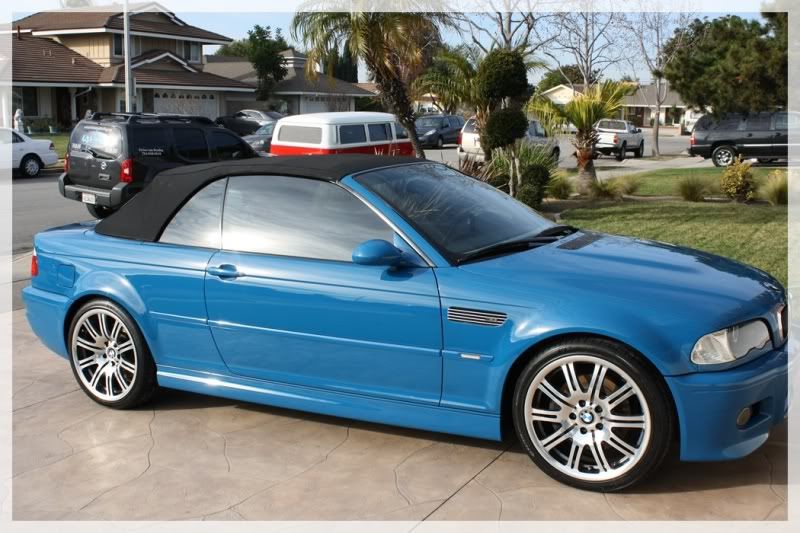
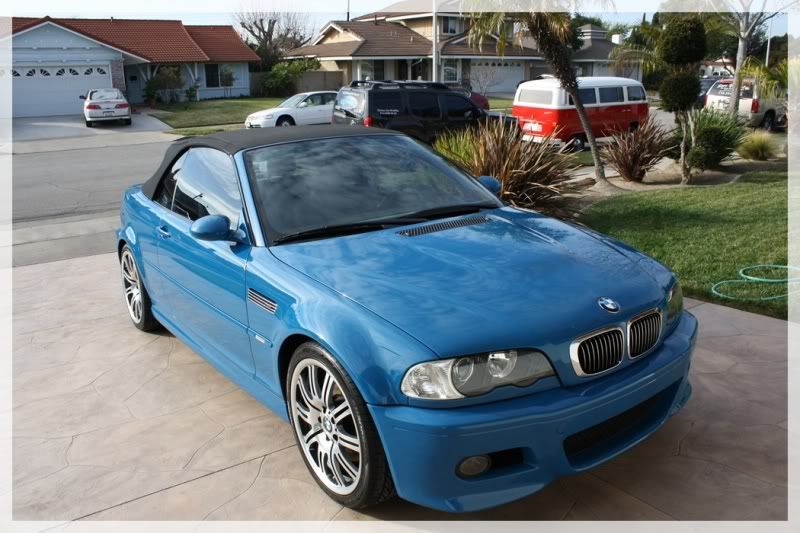
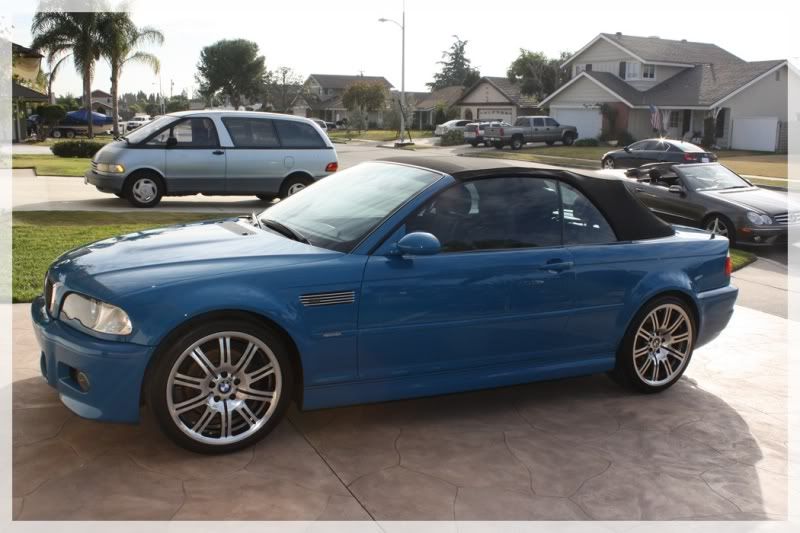
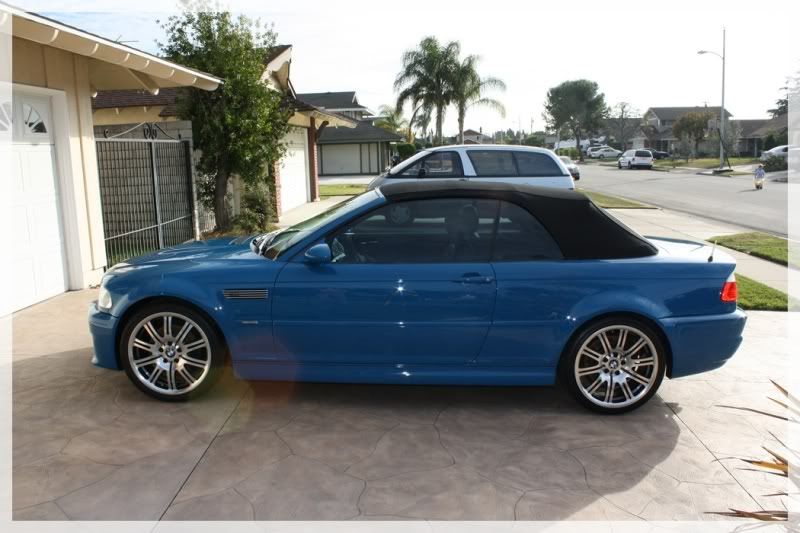
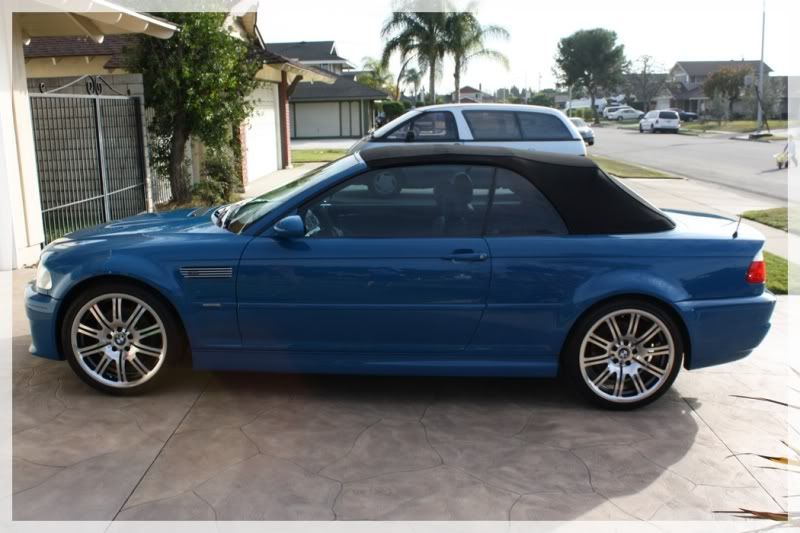
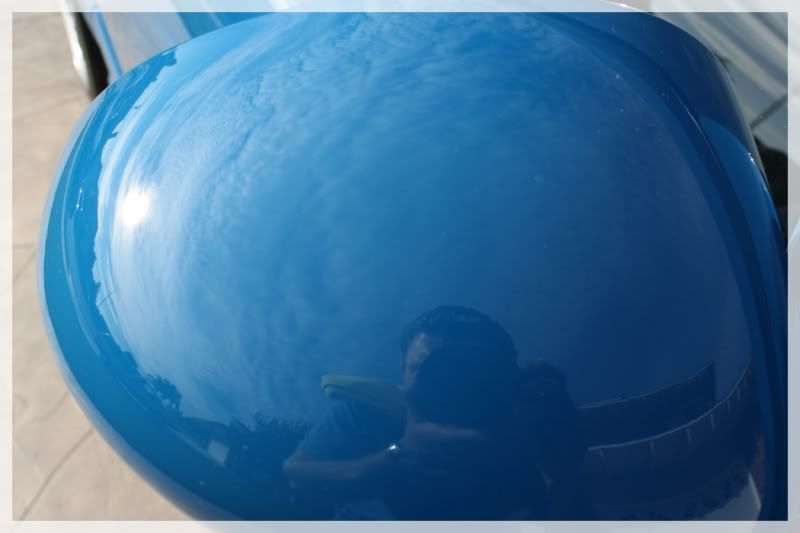
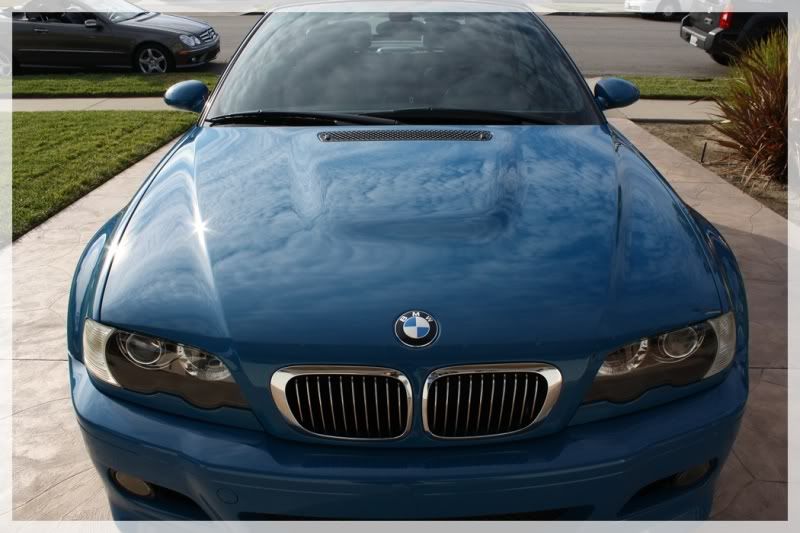
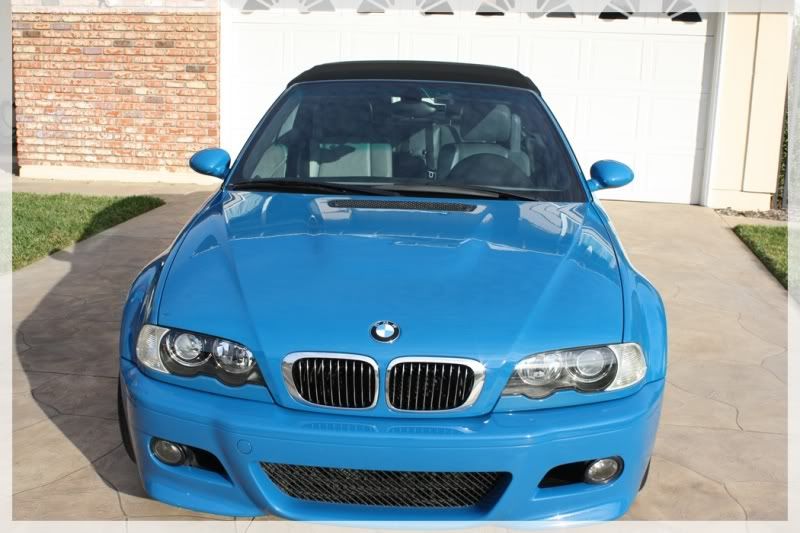
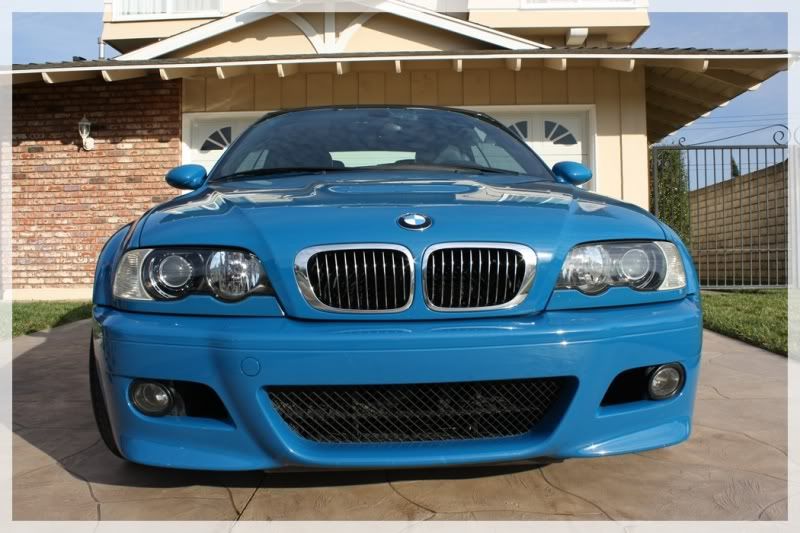
2003 BMW M3 in Laguna Seca Blue

“Donated detail for motors for toys charity event”

<o></o>

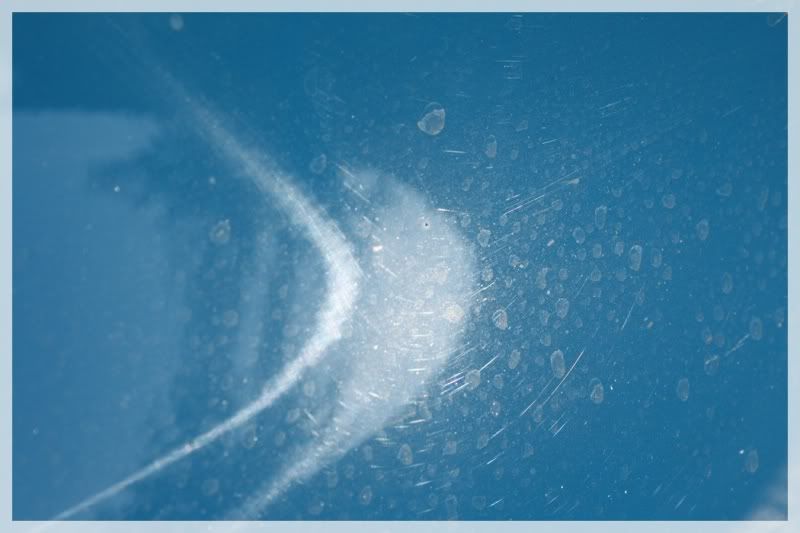
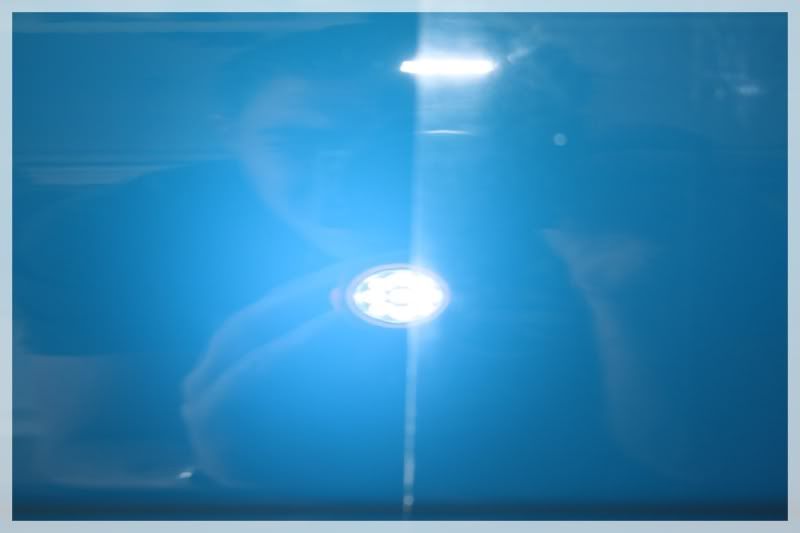
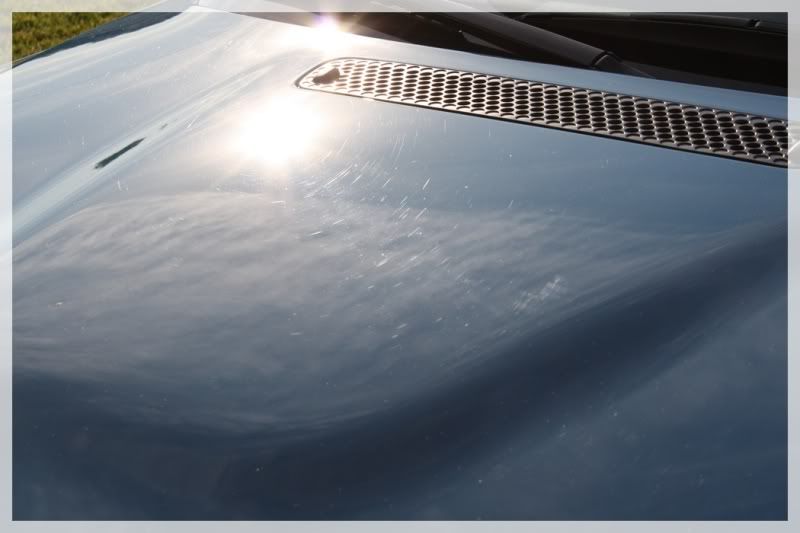
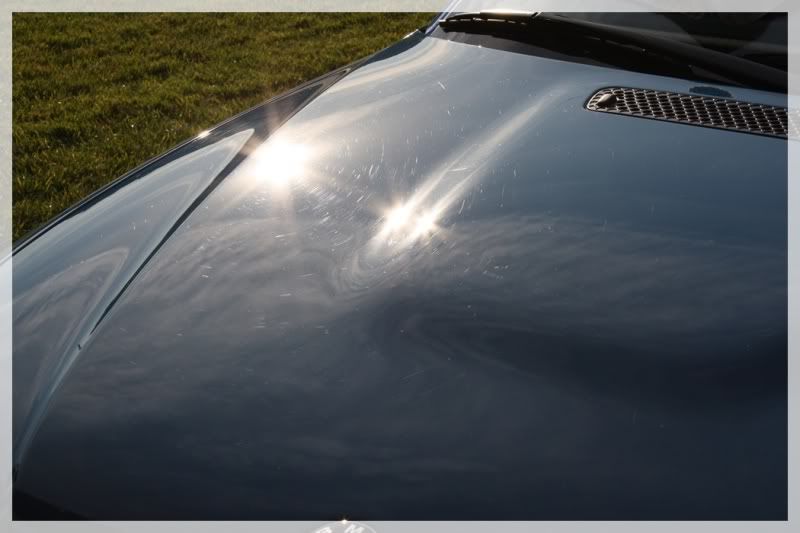
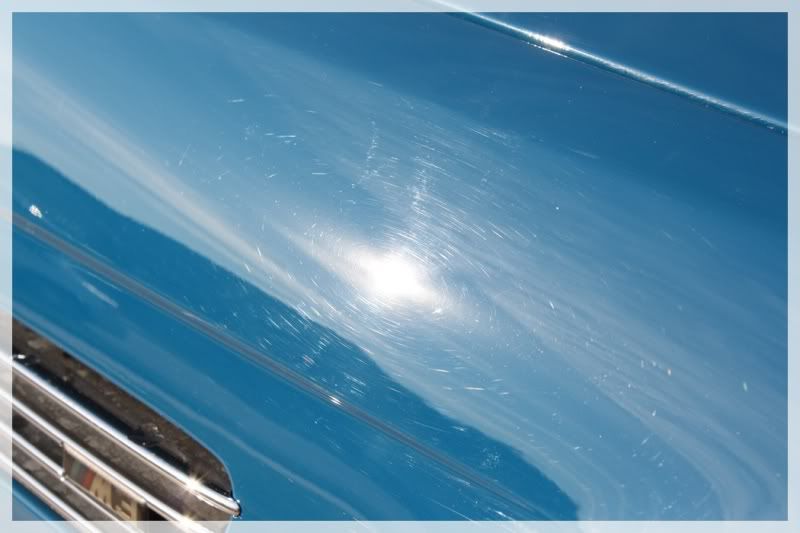
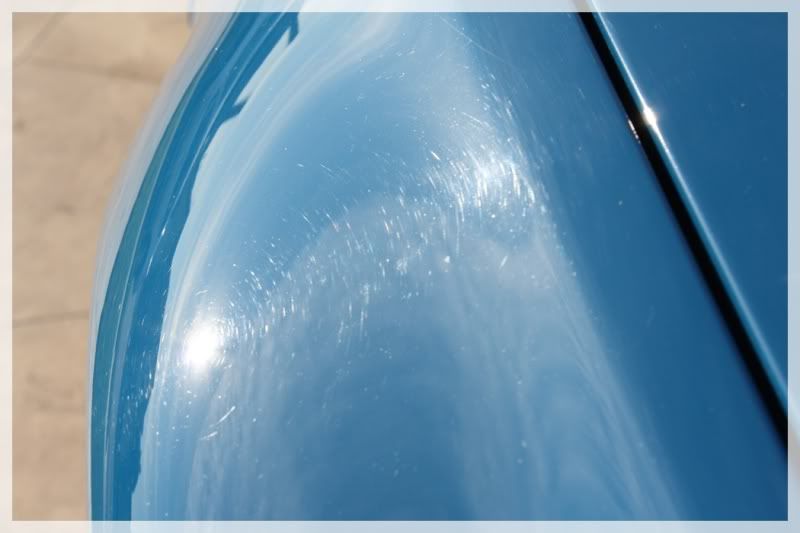
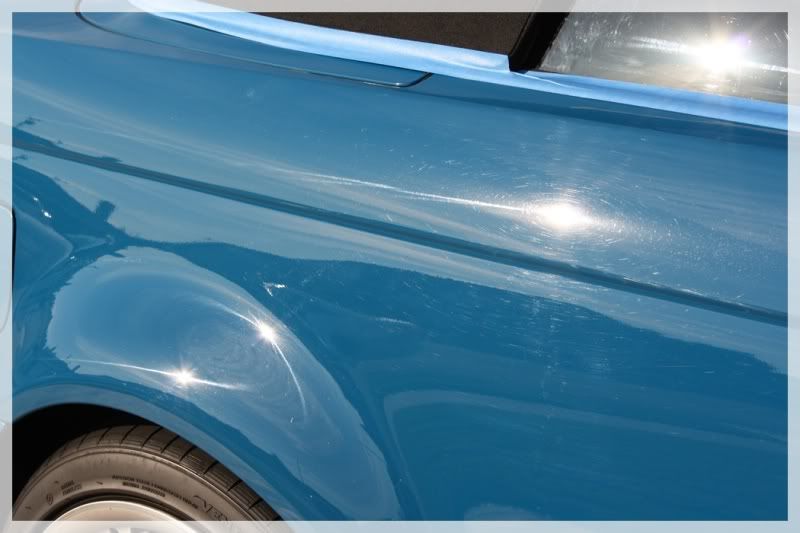
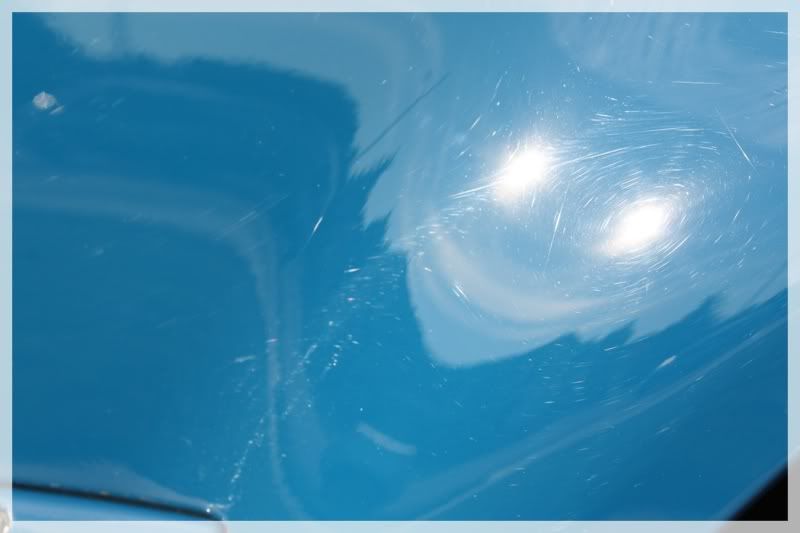
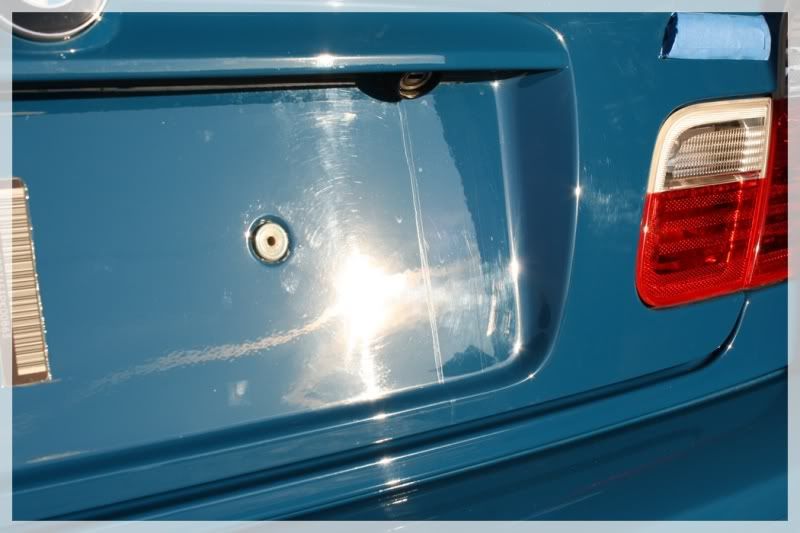
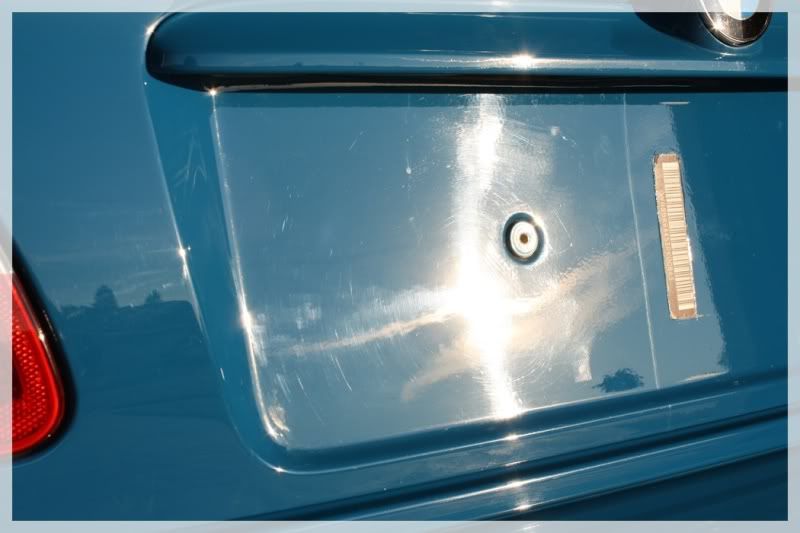
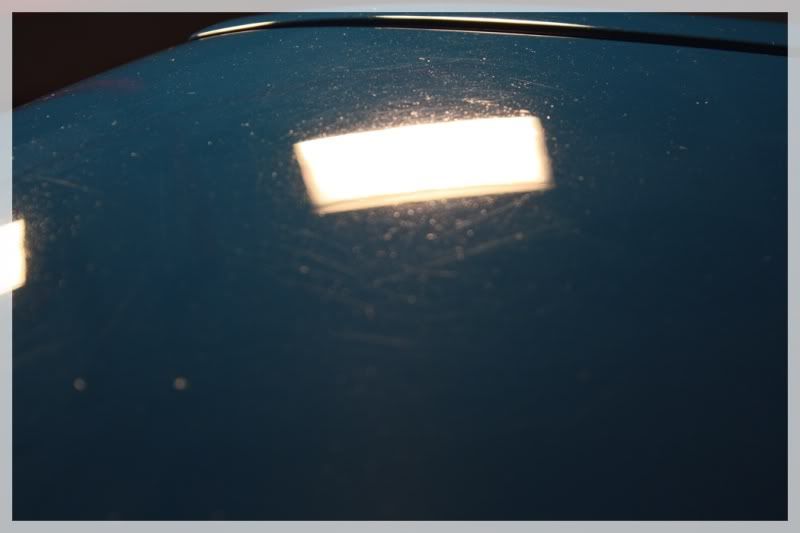
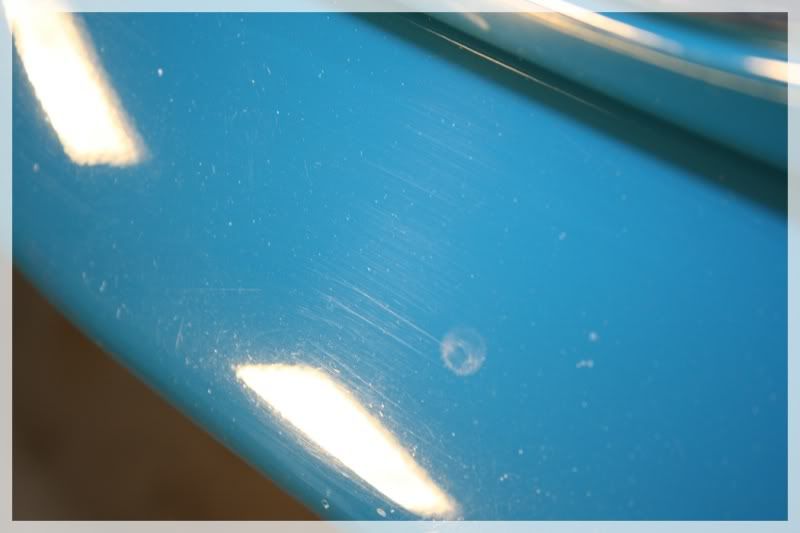
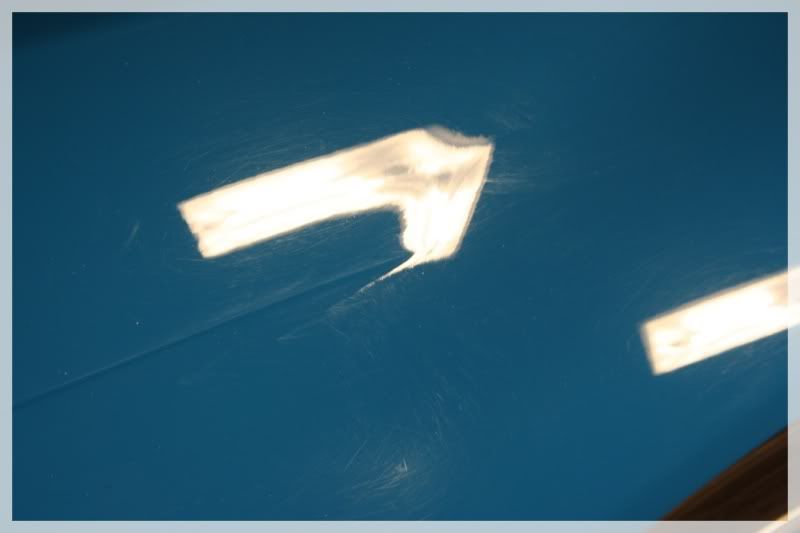
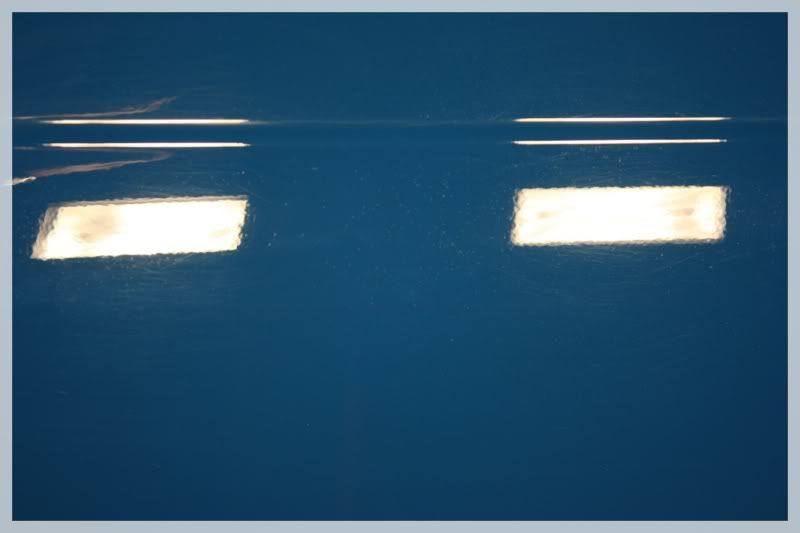
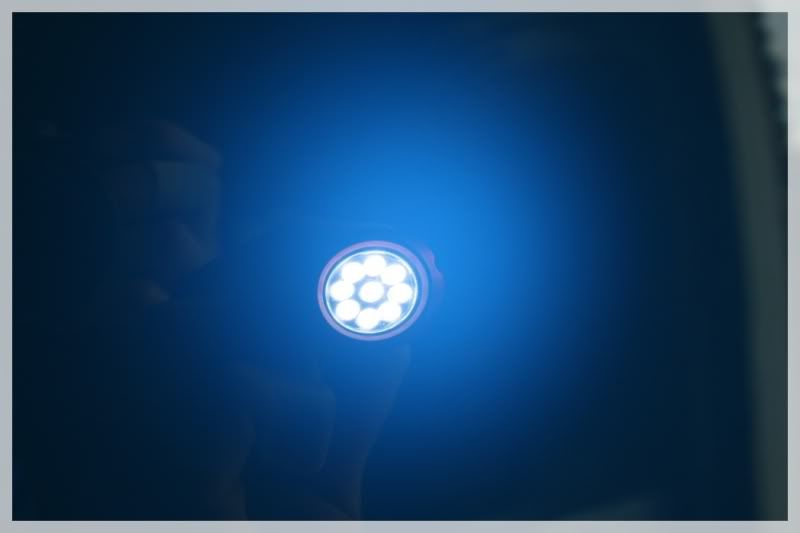
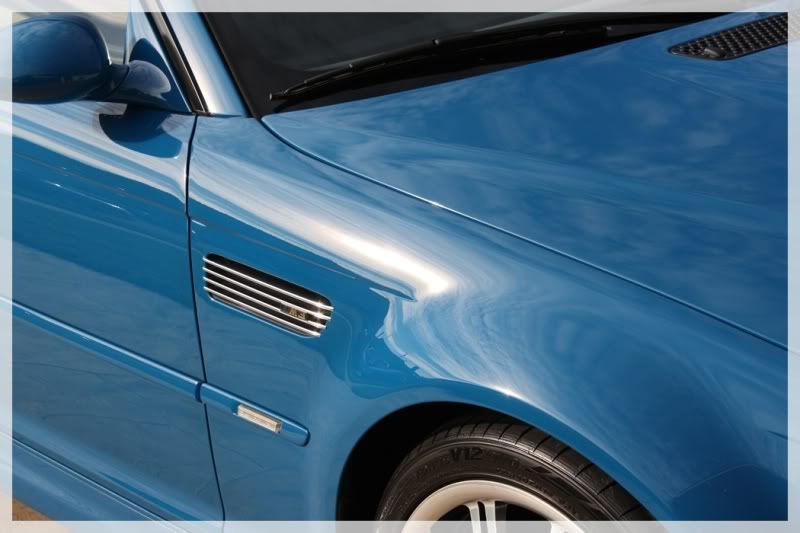
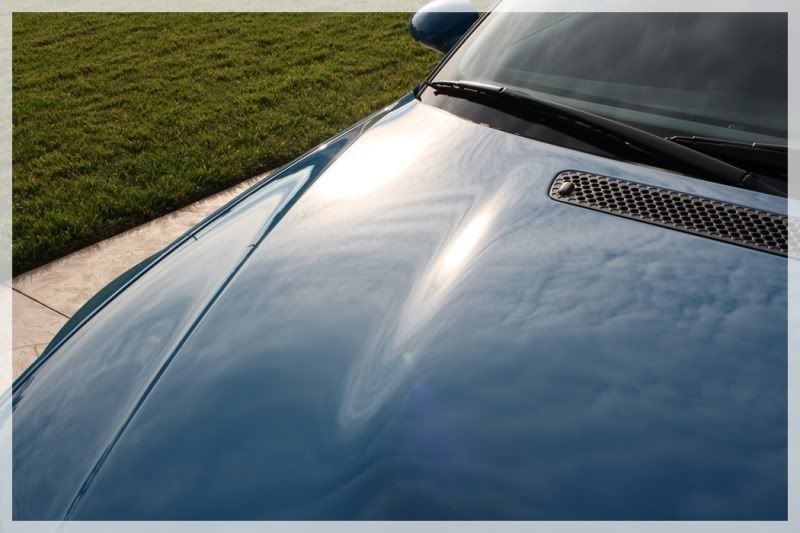
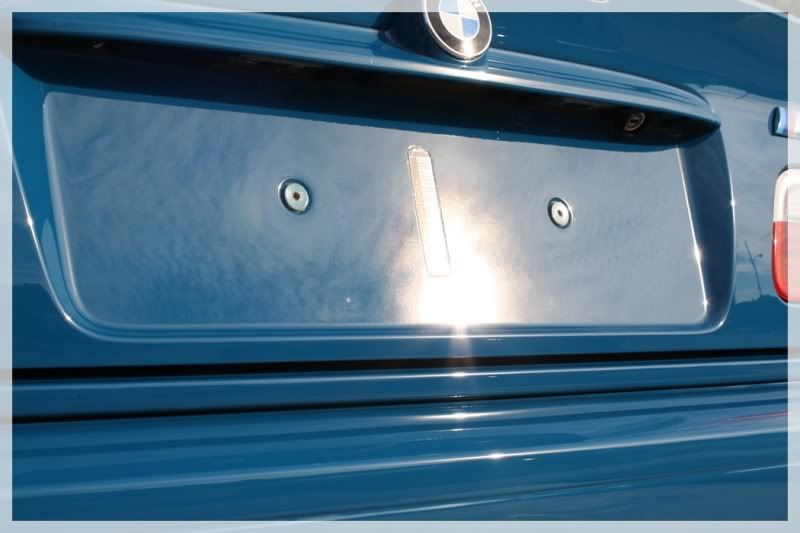
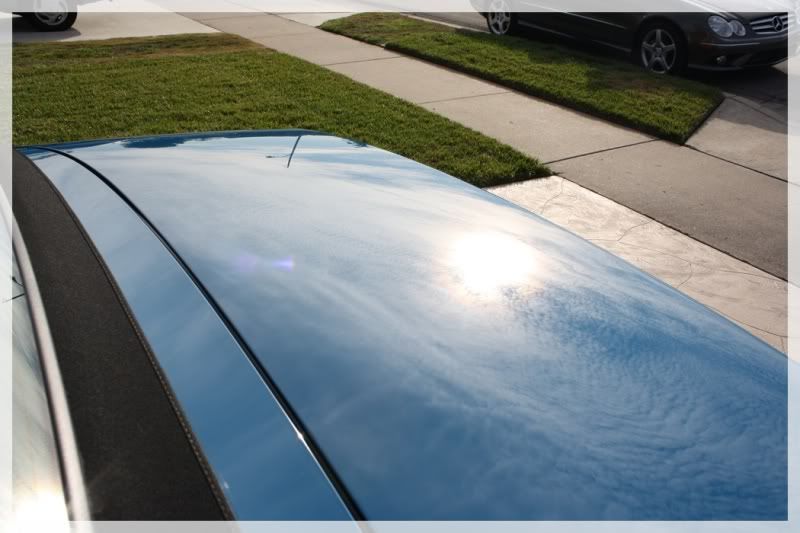
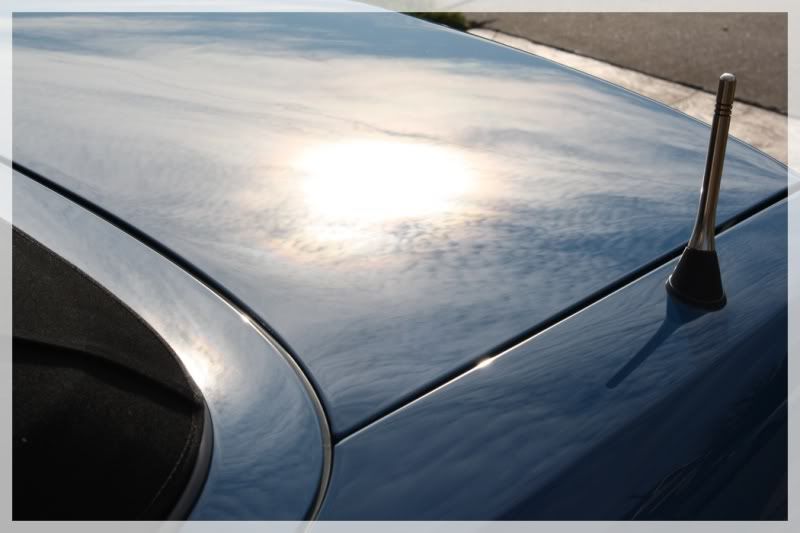
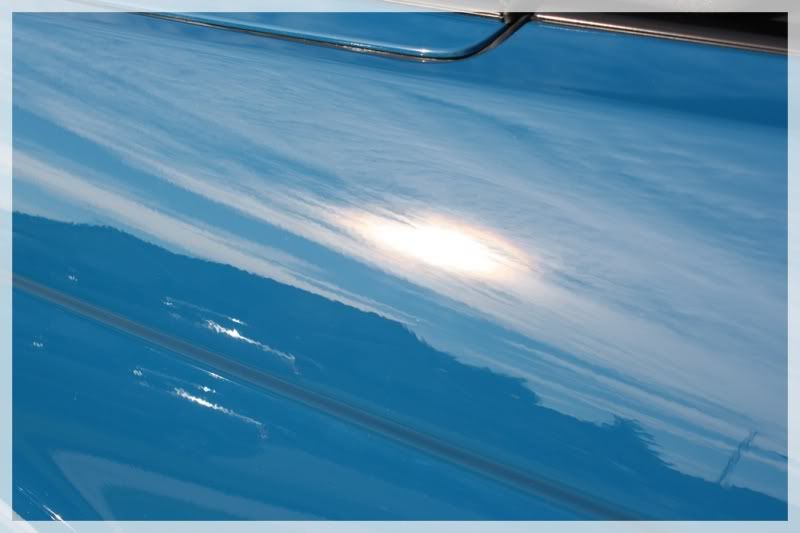
This car was dropped off at 10:30 at night and with the LED light out, I checked out what I had in store for me for the next couple of days: yep, holograms, swirl marks, oxidation, hazi paint, and a “generally clean car.” It wasn’t too bad…until the halogens came out in a dark garage when I could see the true condition of the car!

newM3001.jpg


newM3004.jpg


newM3005.jpg


<o></o>

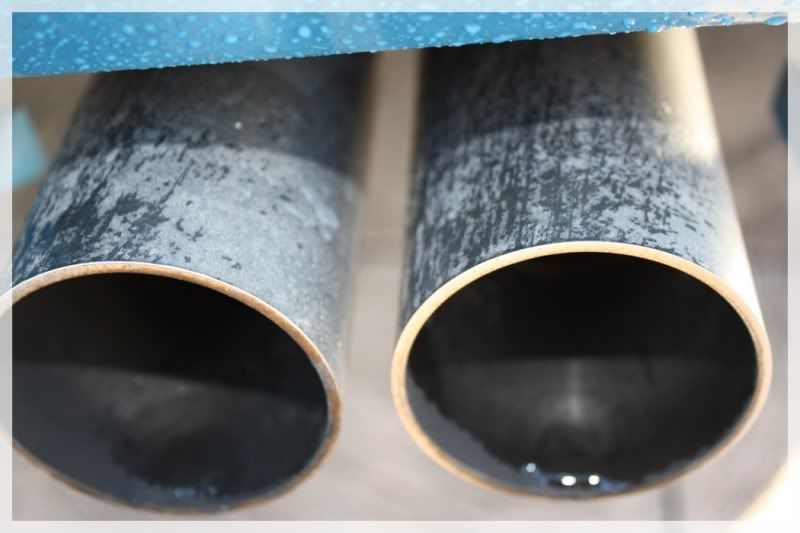
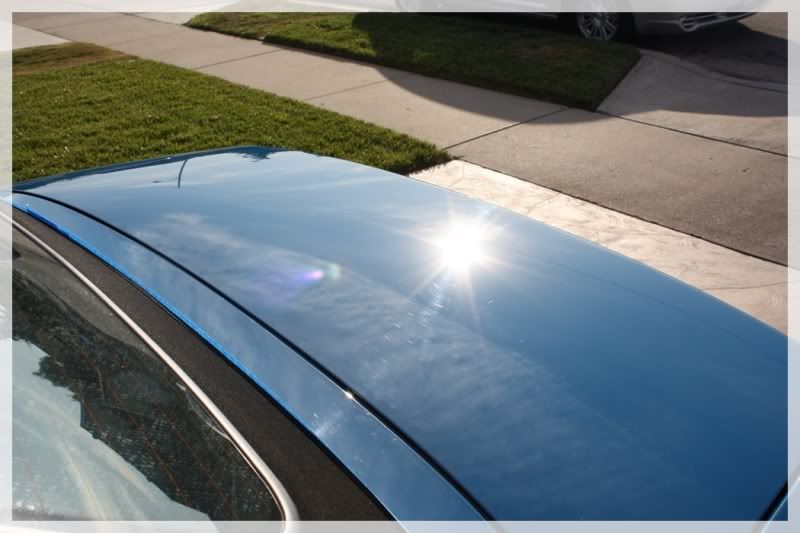
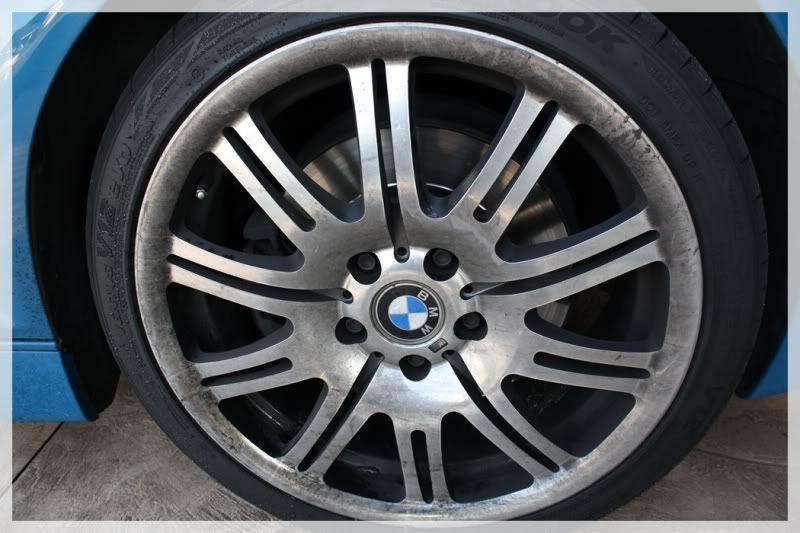
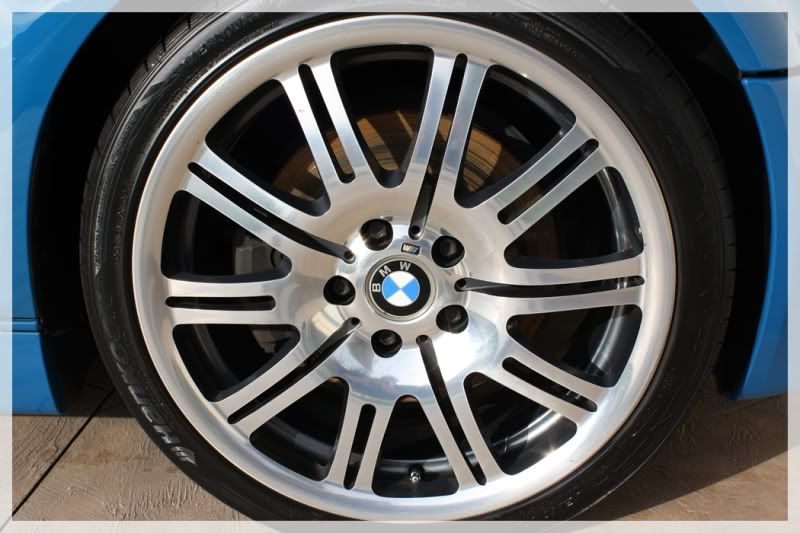
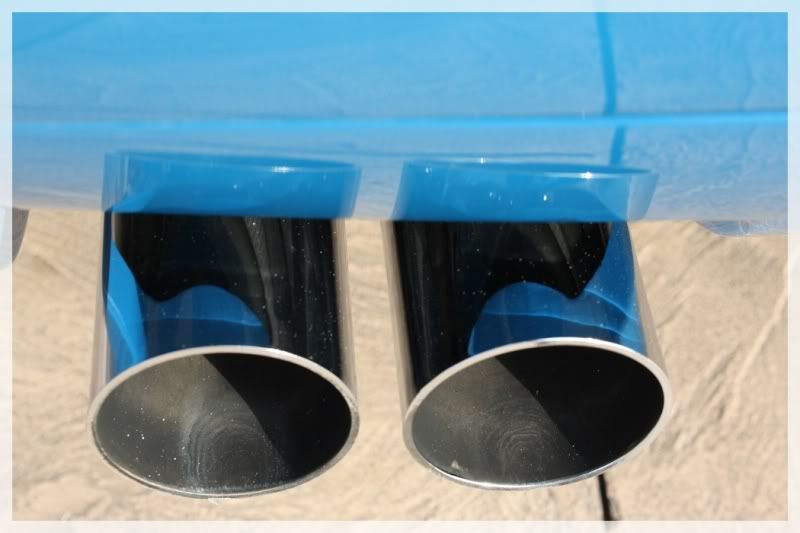
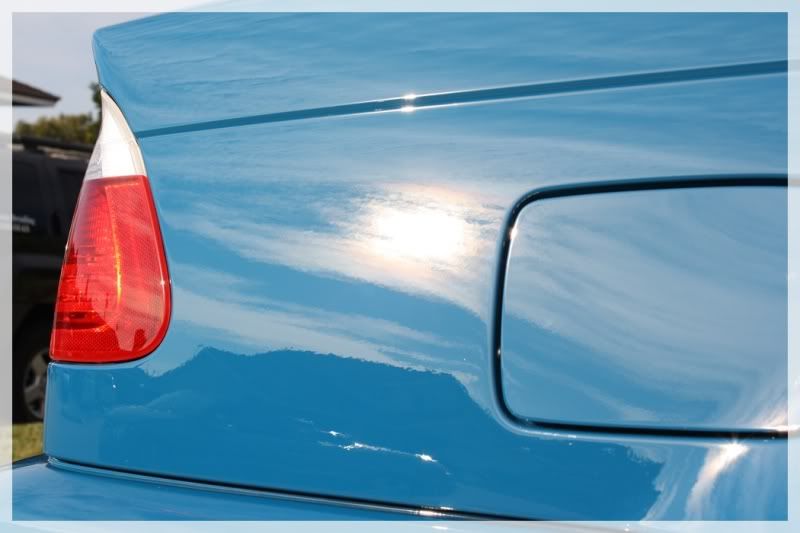
Working with a 3 day window, I spent a total of 19 hours on this car. Interior, paint, wheels, exhaust tips, windows…everything was gone over and given a proper cleaning and protection/conditioning!

<o></o>

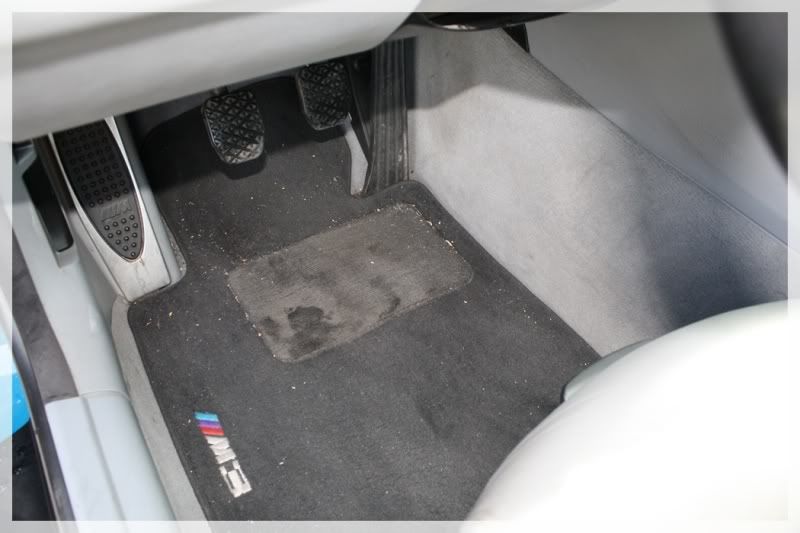
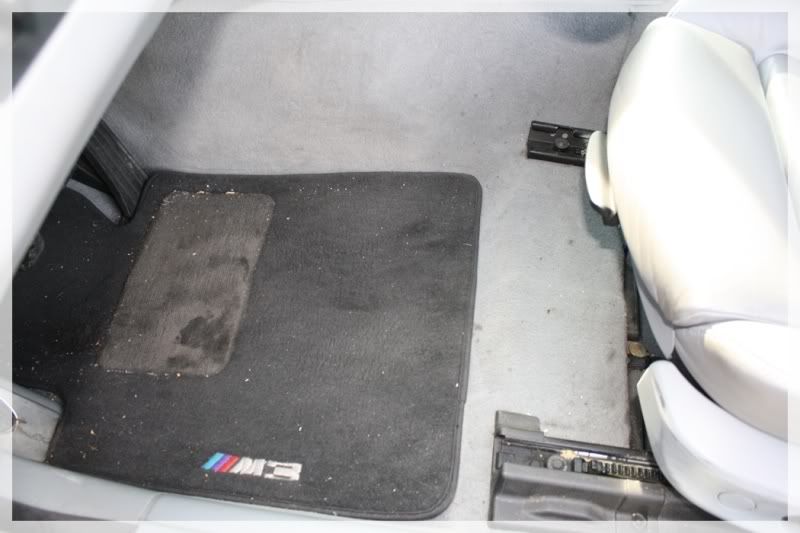
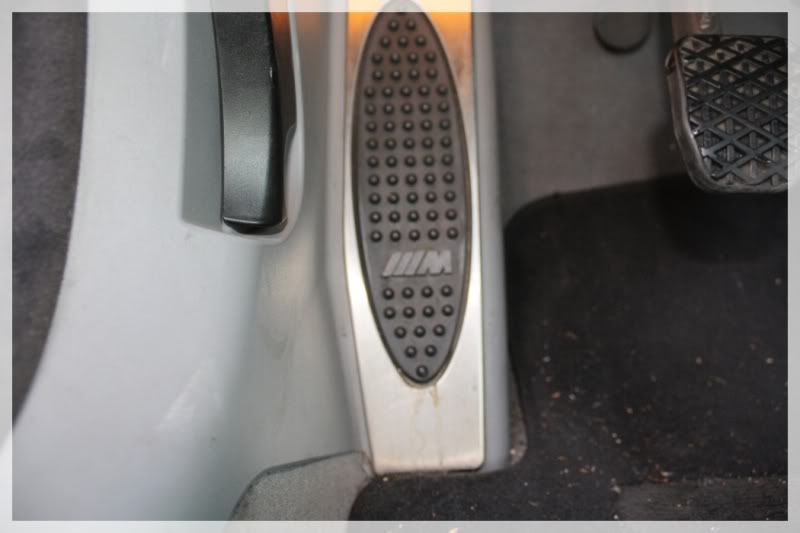
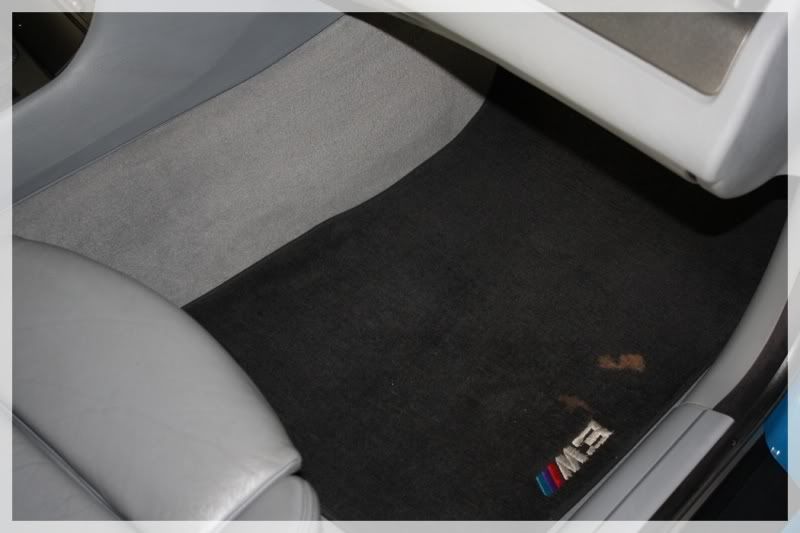
I got started on the interior with a VERY thorough vacuuming following a dry brushing. Dry brushing really helps to loosen the dirt, dust, and debris from the carpets. I again used a brush attachment on the vacuum for even more agitation while vacuuming.

newM3039.jpg


newM3041.jpg


newM3052.jpg


<o>:p> </o>:p>

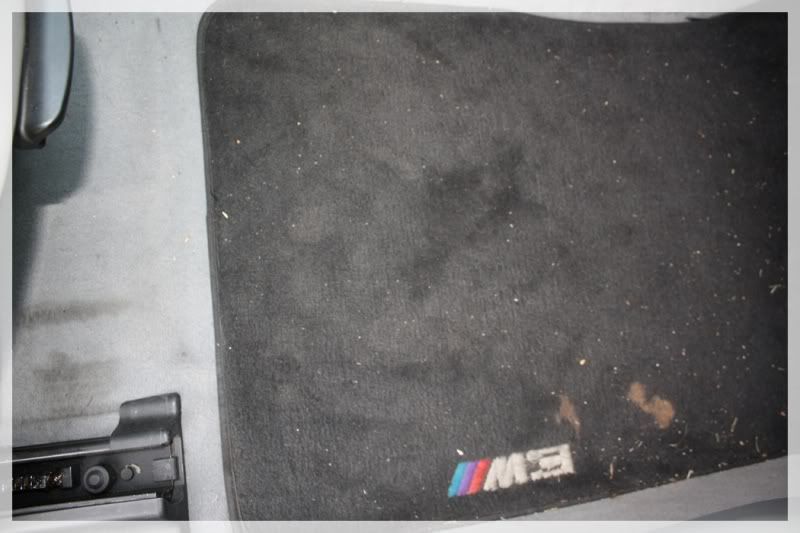
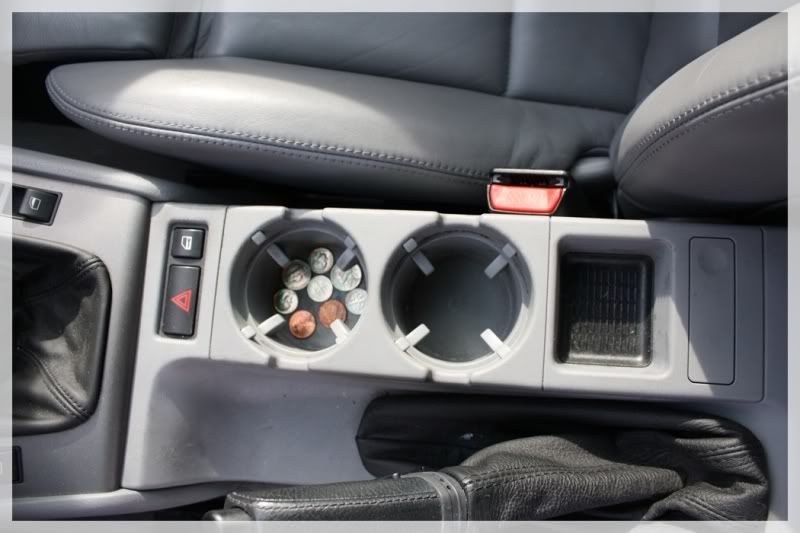
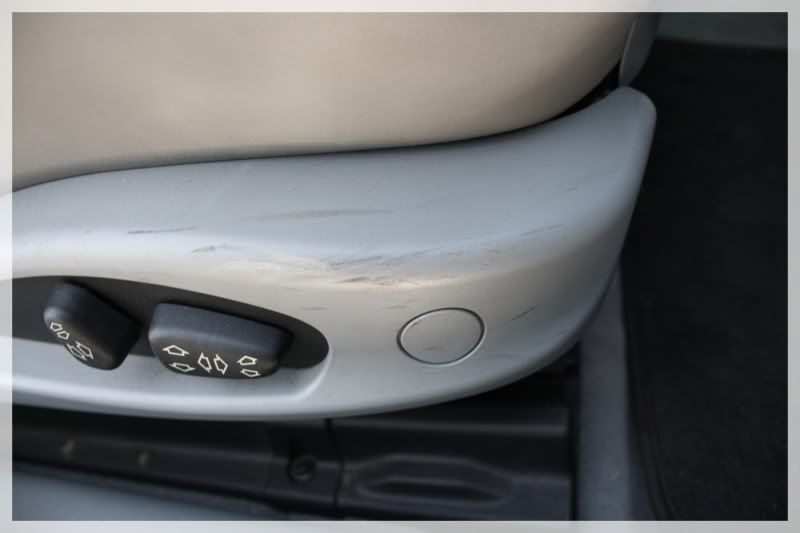
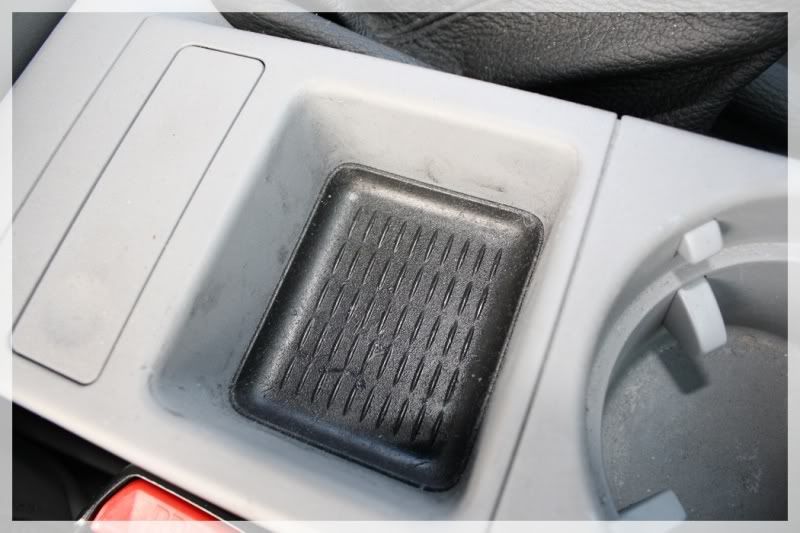
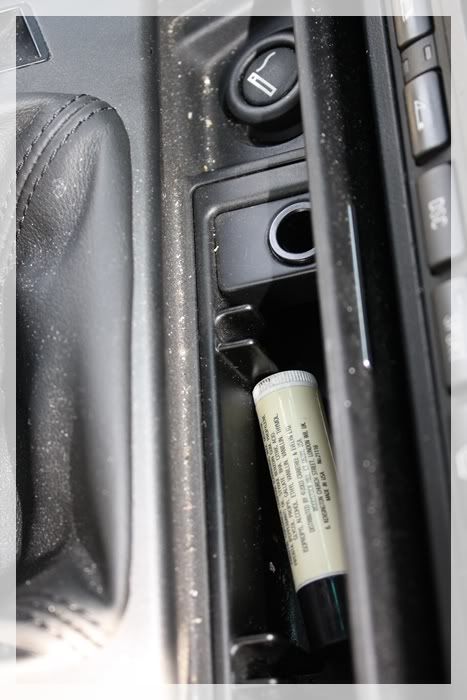
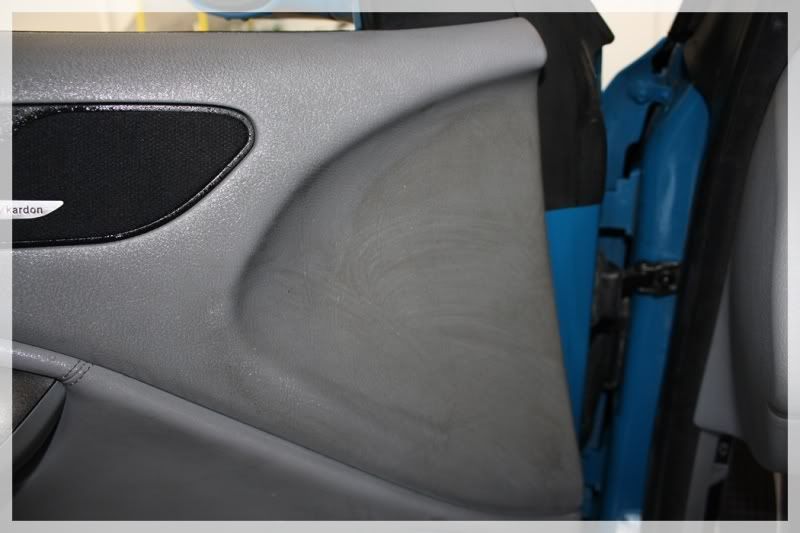
With the interior dusted and vacuumed, I moved onto the cleaning portion (2 hours). Using a relatively mild APC mixture, I proceeded to clean the doors, seats, dash and plastics. A soft bristled brush was used for agitation on all surfaces.

newM3043.jpg


newM3048.jpg


newM3059.jpg


newM3061.jpg


newM3074.jpg


newM3077.jpg


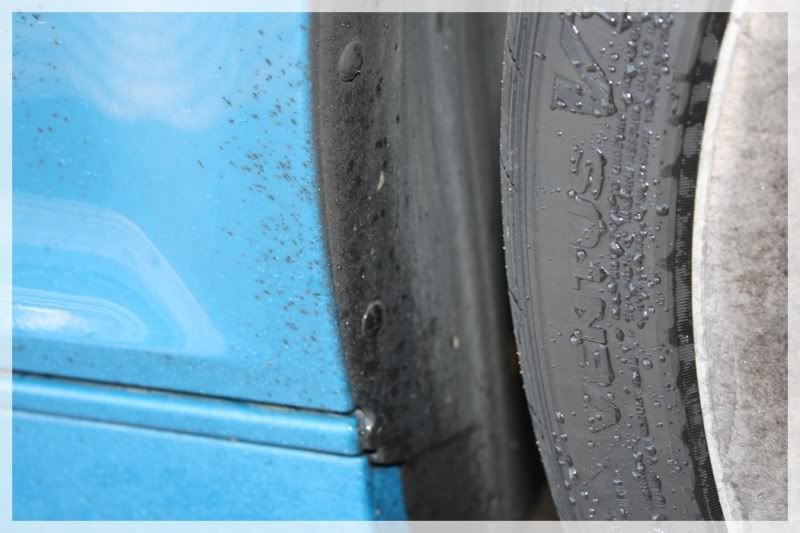
Look at how much dirt is coming off the door – the top obviously gets put down a lot!

newM3085.jpg


<o>

</o>
 
Once the APC work was completed, I moved onto the carpets. They were fairly clean, or so I thought! The floor mats needed a healthy shampooing and the carpets a good round of cleaning. After shampooing the floor mats and rinsing them out, and using a carpet cleaner on the carpets, it was time for the protection to be applied, worked in, and wiped clean to prevent any residue leftovers. (just a couple pictures – bleach doesn’t come out!)

newM3188.jpg


newM3193.jpg


Once the interior was completed, it was time for the exterior prep work to begin! I had already washed the car with a wax stripping concentration to remove anything that will prevent me from working on the paint only; no cutting through wax to get to the paint!

Starting condition of the car prior to any washing:

newM3010.jpg


newM3014.jpg


newM3017.jpg


newM3012.jpg


Out came the claybar to remove any bonded contaminants on the paint. It wasn’t too bad, yet there was enough to warrant 1 hours worth of time on this process.

newM3032.jpg


After claying, I pulled the car out to wash it again to remove the clay residue and leave myself with a completely bare surface to work on. As you can see from this picture, there is nothing on the paint in terms of protection.

newM3025.jpg


I then taped up the car with my “$4 insurance policy” (blue painters tape to prevent any trim burning/staining) and began my testing. My go to polish was too light leaving behind the deeper imperfections but removing the swirling with eased, so I stepped it up a level and it worked out perfectly! 3 steps were needed to perfect this finish; one compound, one medium polish and one final polish. Test panel shown here:

newM3117.jpg


newM3104.jpg
 
Starting before pictures of the paint damage:

newM3106.jpg


newM3109.jpg


newM3111.jpg


newM3116.jpg


newM3122.jpg


newM3126.jpg


newM3129.jpg


newM3134.jpg


newM3132.jpg


newM3150.jpg


newM3152.jpg


newM3139.jpg


newM3145.jpg


And some afters of the new “clear” paint (defect free)

newM3179.jpg


newM3185.jpg


newM3187.jpg


At that point, the finish was nearly perfected and it was time to seal everything up with durable protection and tidy up the rest of the car. I ended up cleaning the wheels three times total as they were pretty beat up with 80K on the clock.

newM3013.jpg


newM3252.jpg


Once the wheels were cleaned, the tires dressed, the door jambs cleaned and waxed, trim detailed, and exhaust tips polished, the sealant wax was removed leaving behind an extremely wet and slick surface, while being super glossy and wet looking! Cleaning the glass was the last step before snapping the final photos of this super wet, glossy, deep, eye catching car!

newM3017.jpg


newM3229.jpg


newM3247.jpg
 
Here are the after pictures of all the work that was done on the car over 19 hours:

newM3197.jpg


newM3204.jpg


newM3202.jpg


newM3206.jpg


newM3211.jpg


newM3213.jpg


newM3218.jpg


newM3220.jpg


newM3221.jpg


newM3224.jpg


newM3233.jpg


newM3236.jpg


newM3238.jpg


newM3240.jpg


newM3244.jpg


newM3246.jpg


newM3253.jpg


newM3268.jpg


newM3274.jpg


newM3275.jpg


Thanks for looking, comments are definitely welcomed! Rumor has it the owner has a F-car for me next…
 
EliminatorXP said:
Sweet color, looks awesome!

I could see my 53 F100 painted that color

DO IT!!! when is that supposed to be done?


bigltc said:
Nice work! I hope that was a hefty donation!

not really, only went for $200 bucks, but I held up my end of the bargain no doubt! I expected it to go for 600-750, but the certificate "never made it to the event", so it was done online...:rolleyes:


MDetail said:
Feel free to donate those same services to my 91 integra :)

Great job.

no problem, I take checks and cash at a rate of XX per hour you can donate...lol ;)


ReLoaDeD BuLLiT said:
man, you really do some great work!

Thank you very much, I try to go above and beyond every single time!
 
Back
Top