RaskyR1
Rasky's Auto Detailing
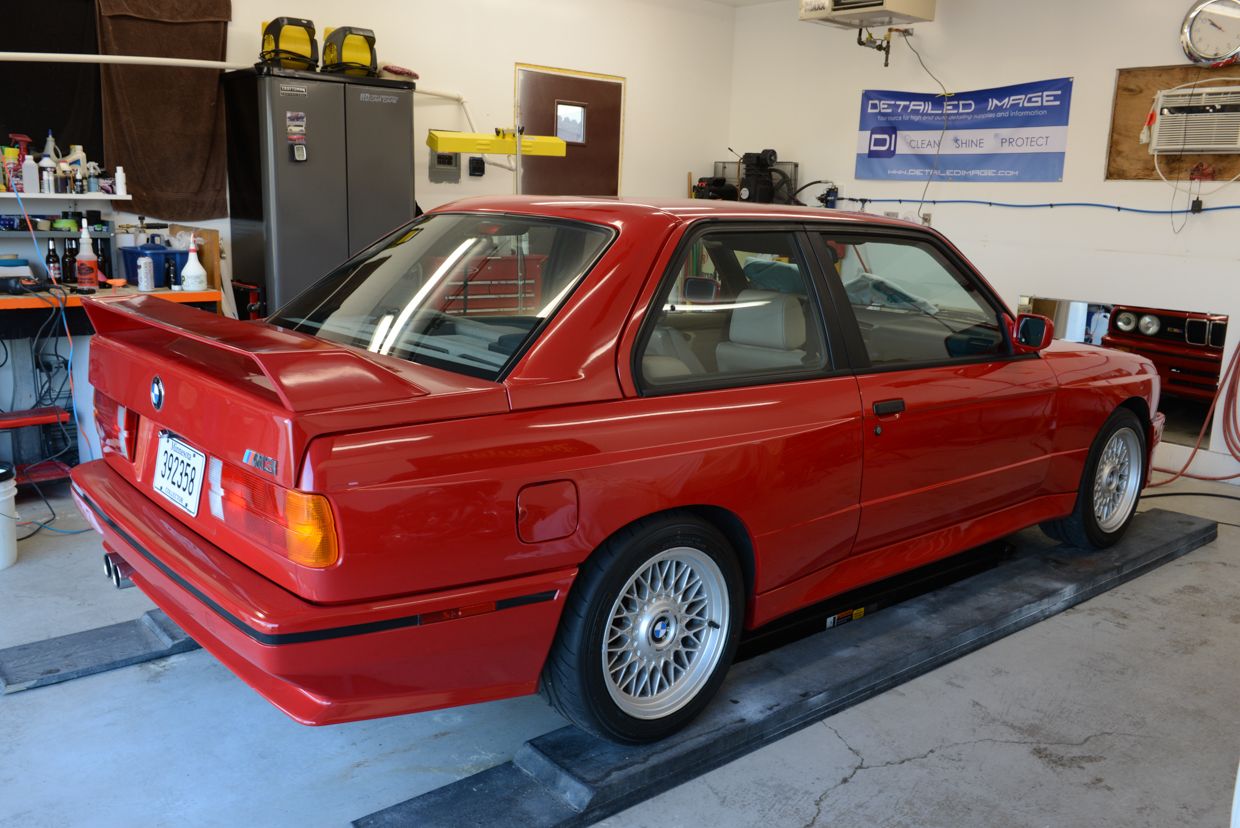
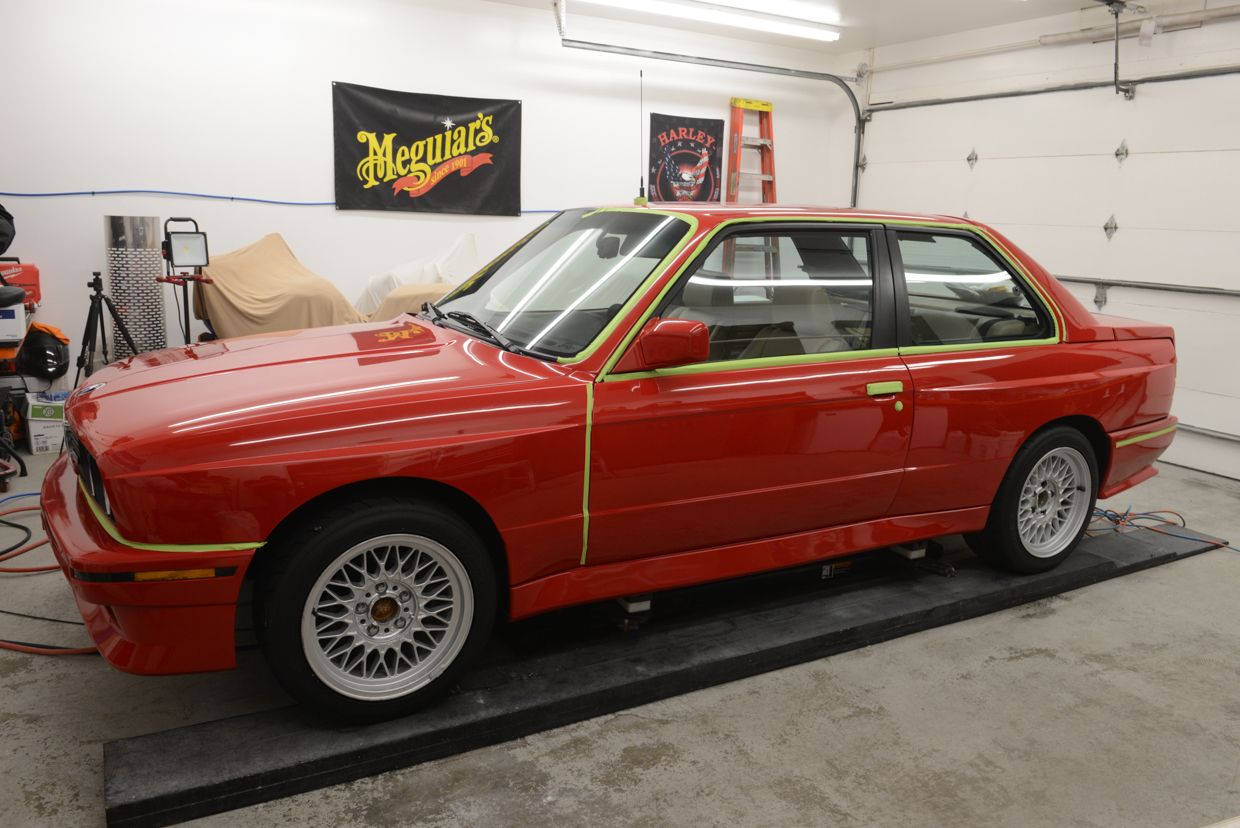
E30 M3, Multi-Step Correction and Partial Wet Sanding
The owner of this fine example of German Engineering recently purchased the car and wanted me to do what I could to get the paint looking its best within his budget. Upon inspection it was evident that it had been repainted some time ago and that there was some excessive shrink on the top panels and a few other paint issues that needed to be addressed.
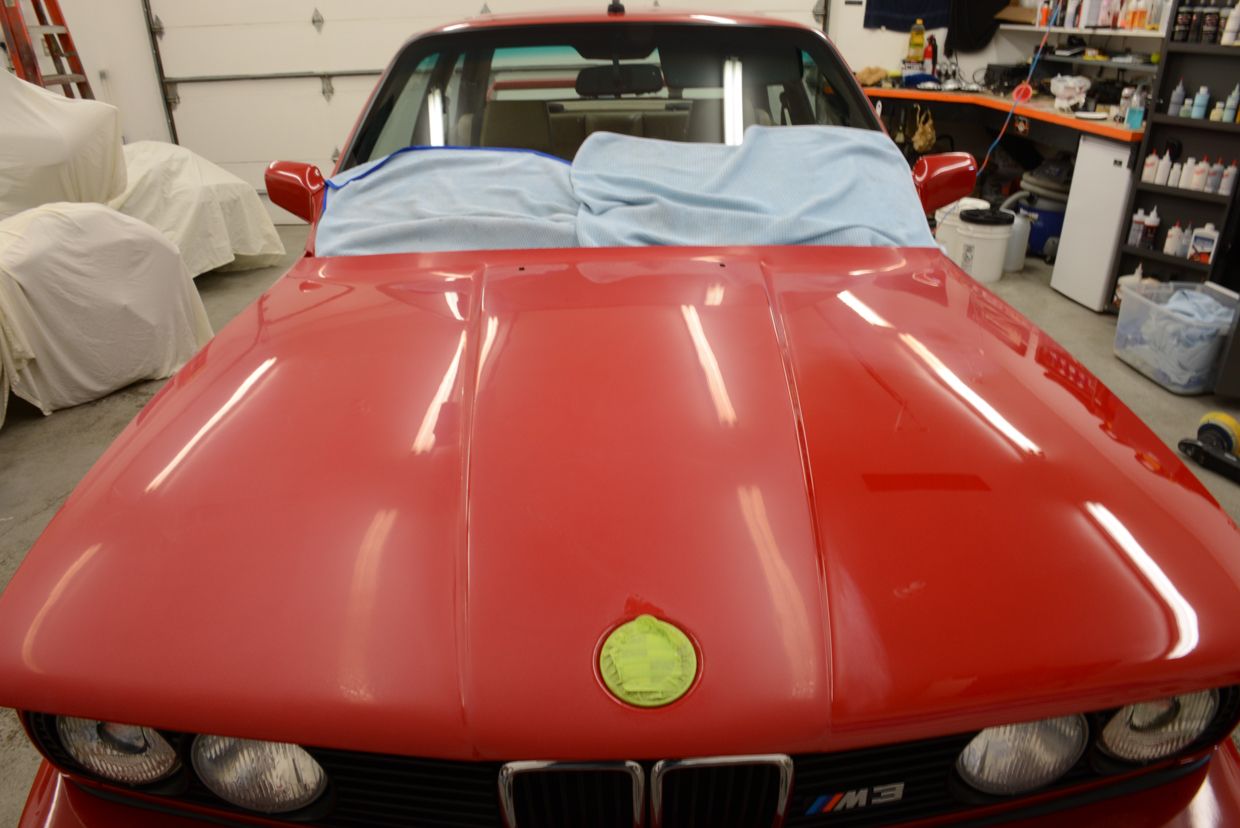
Car as it arrived (nice and clean)")
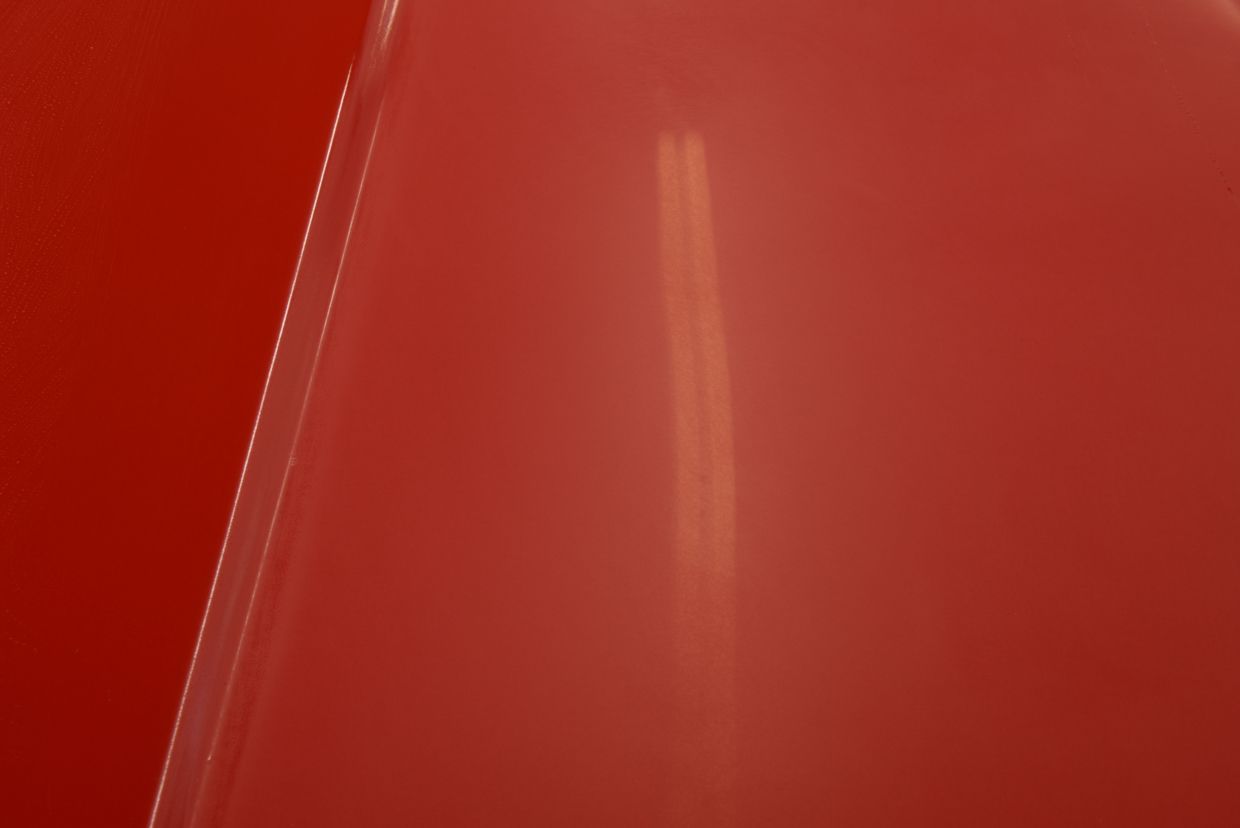
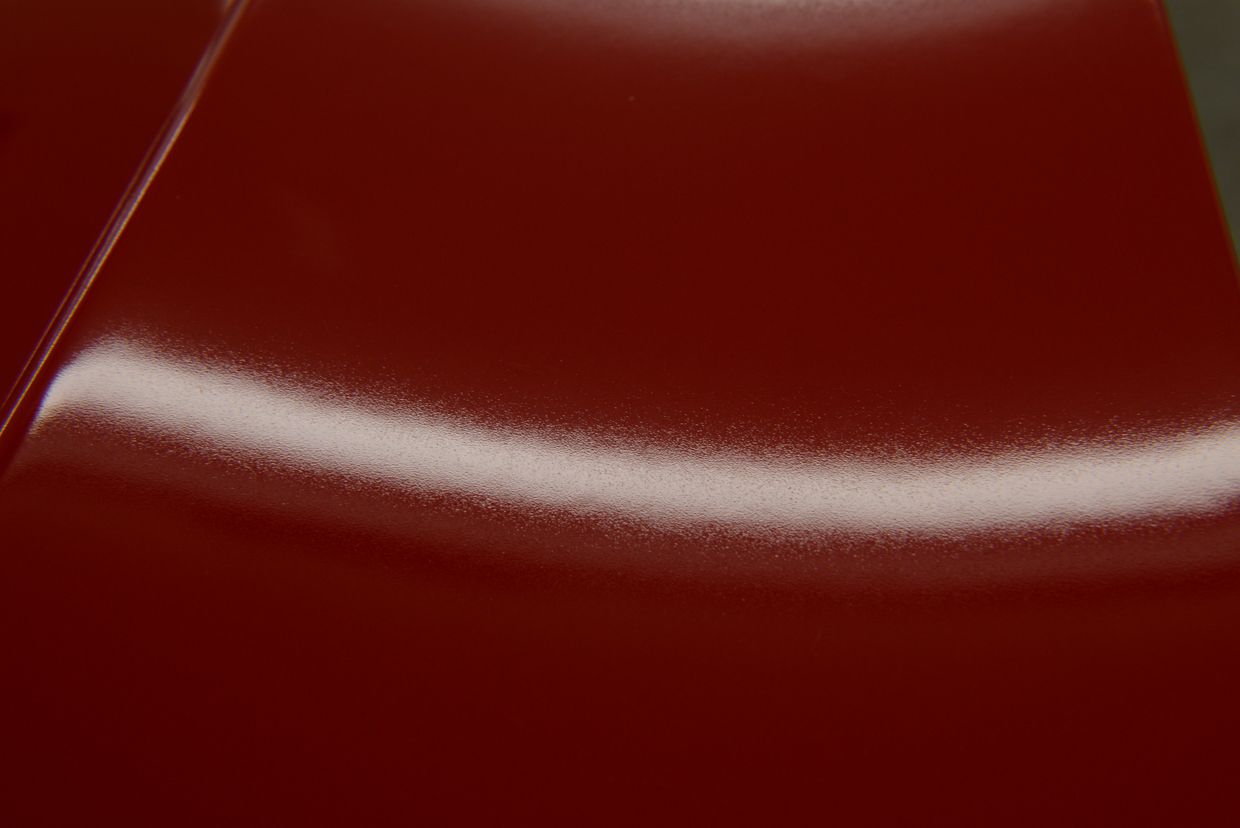
Shrink on the hood can be seen from the lack of gloss and distorted reflection
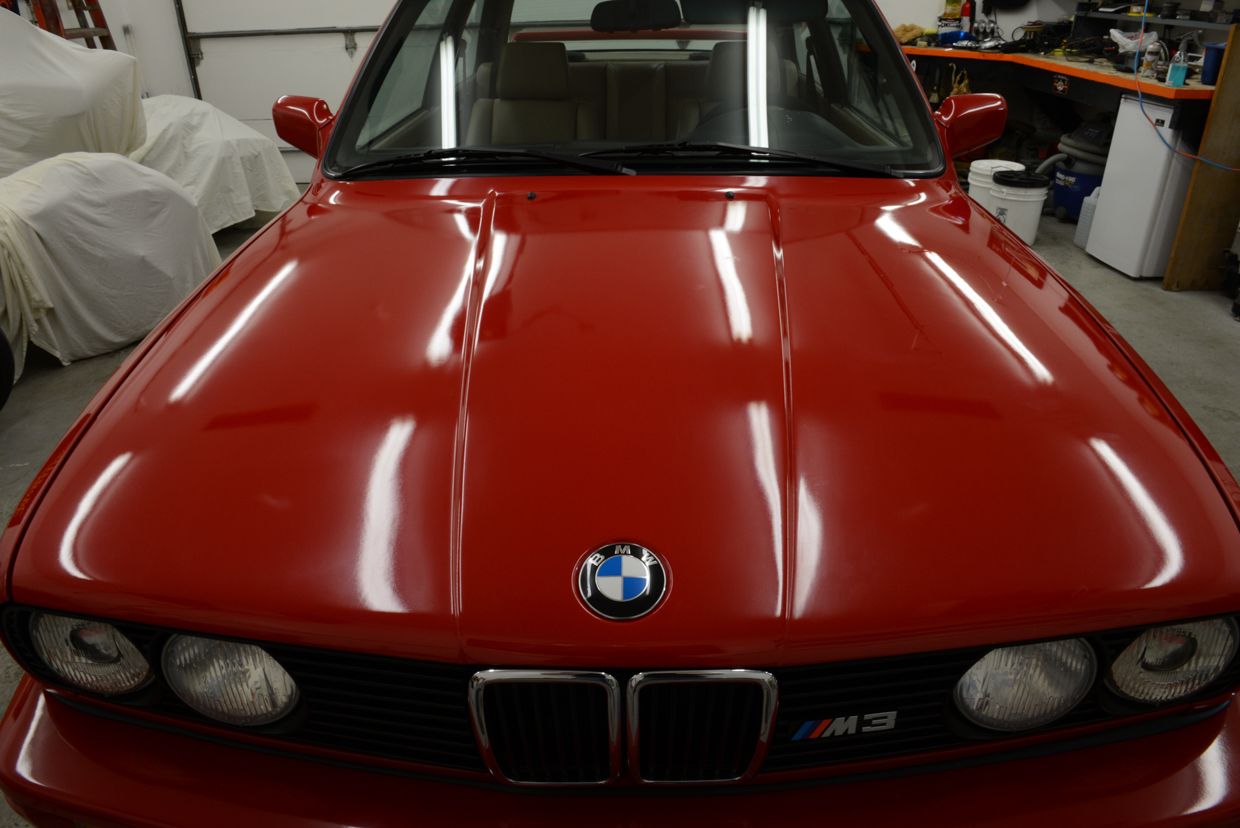
Washer nozzles removed for sanding and polishing
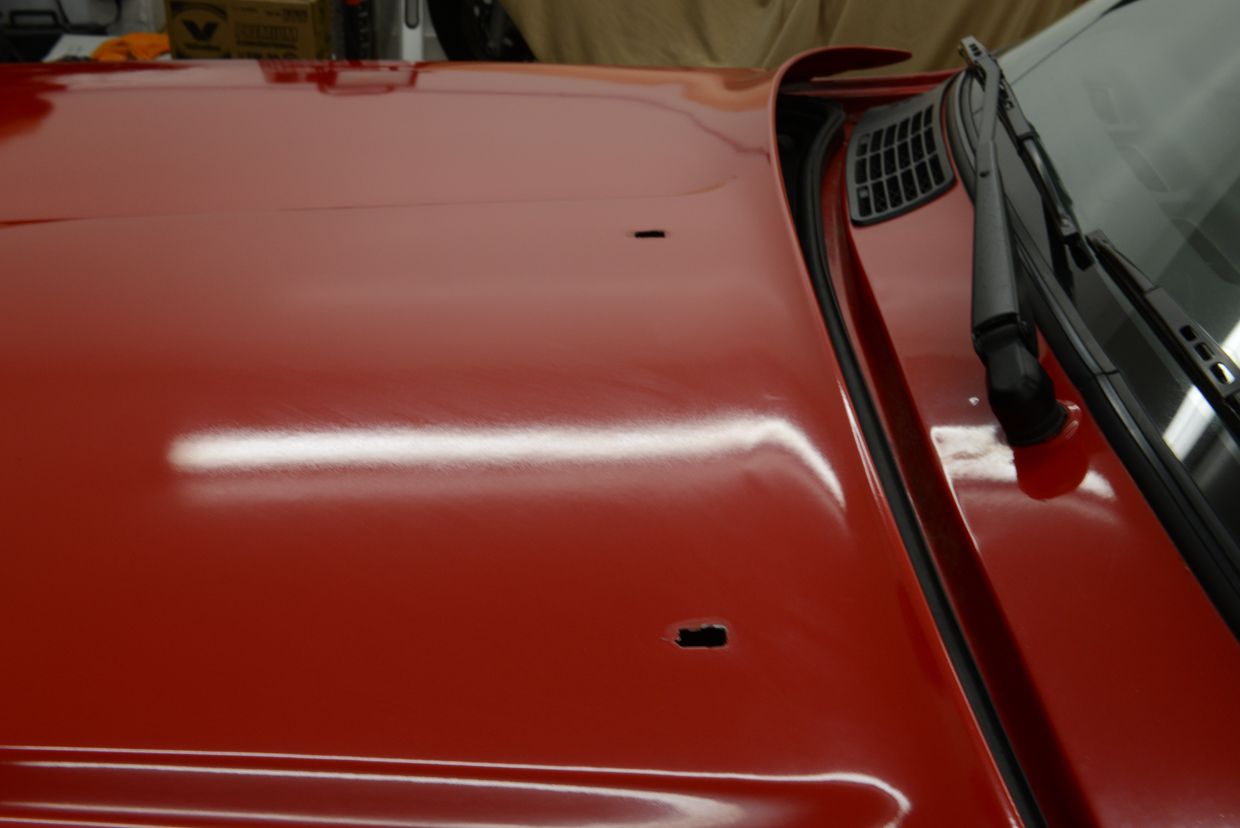
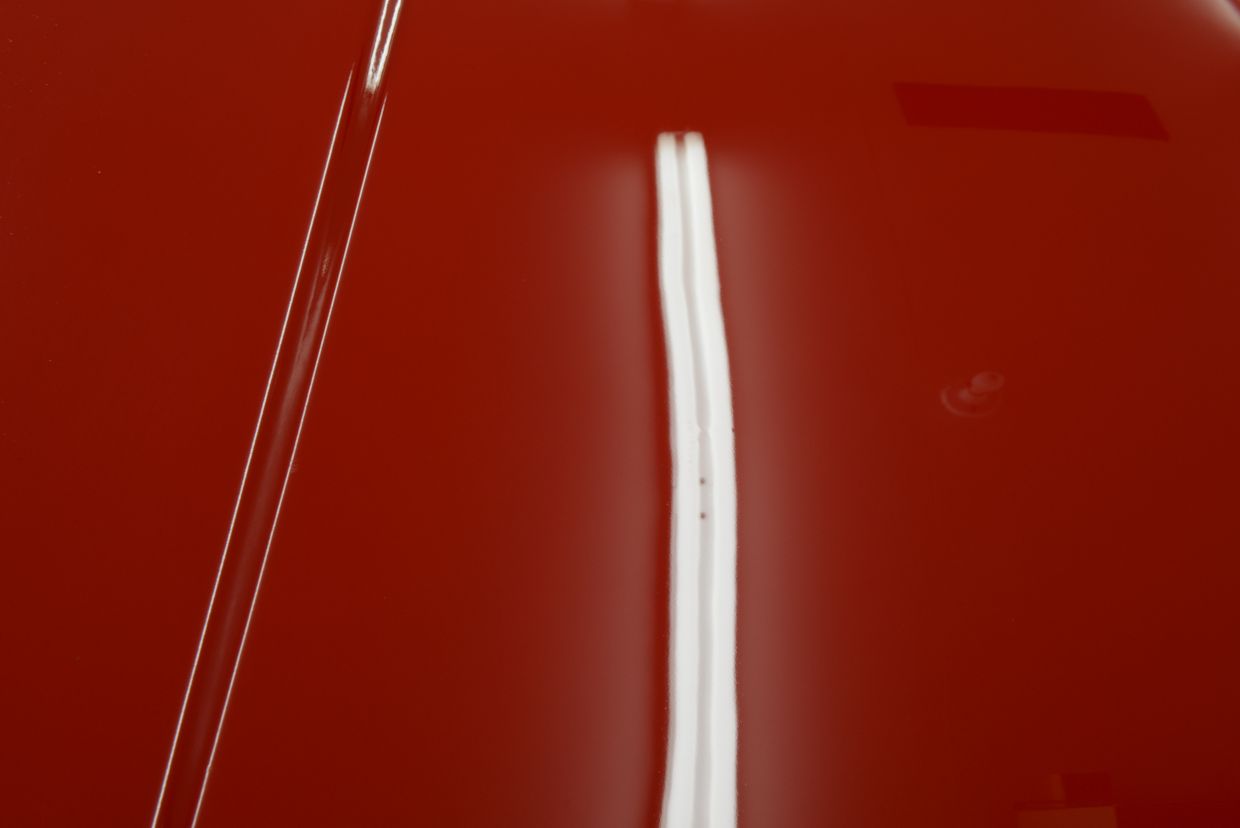
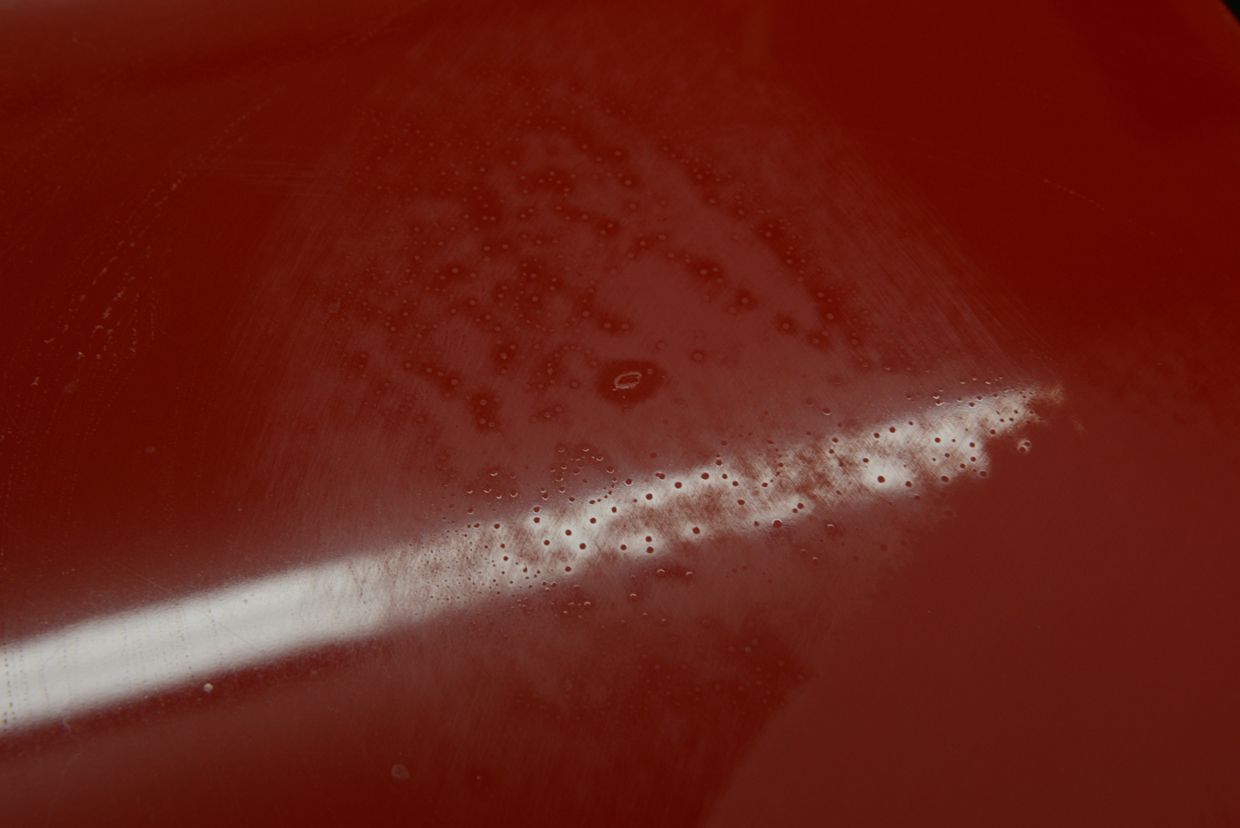
Close up of shrink
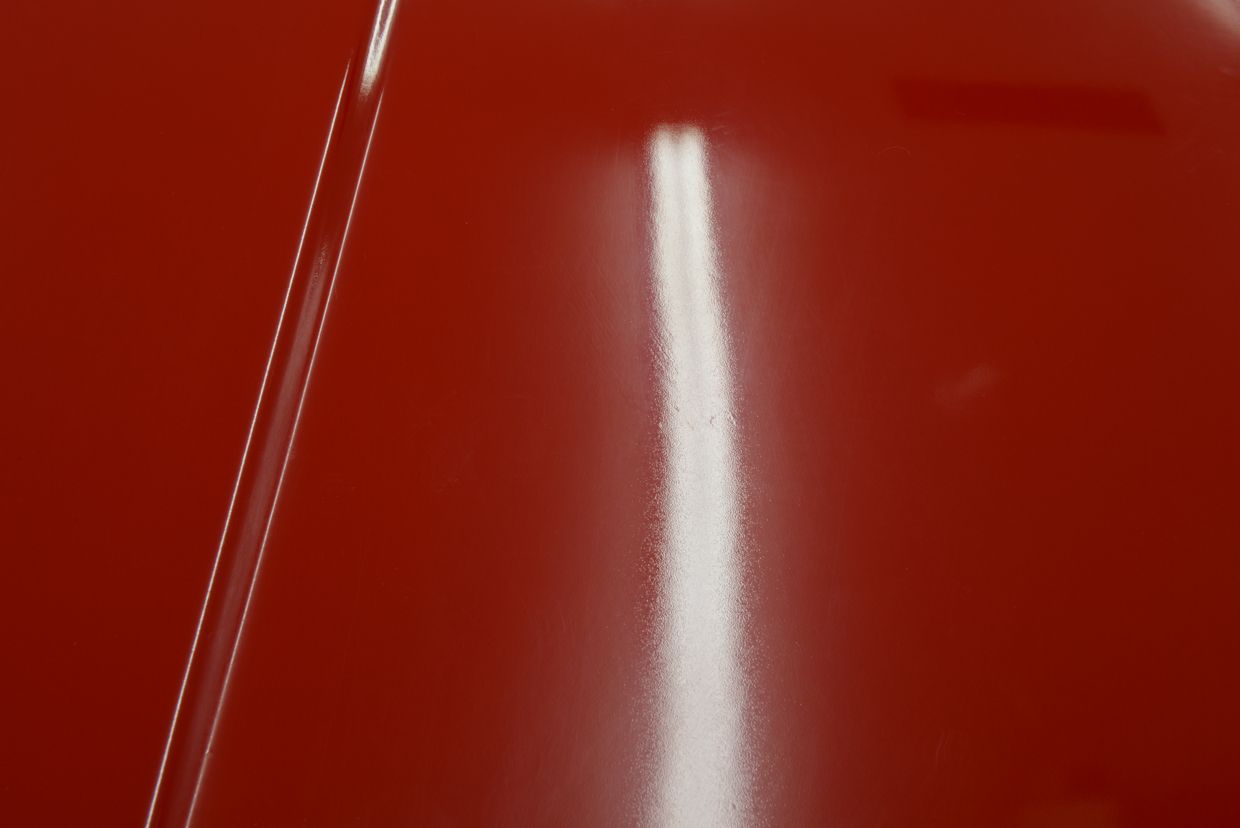
Sanded with 1500/3000 grit Meguiar’s sanding discs (hand and DA)
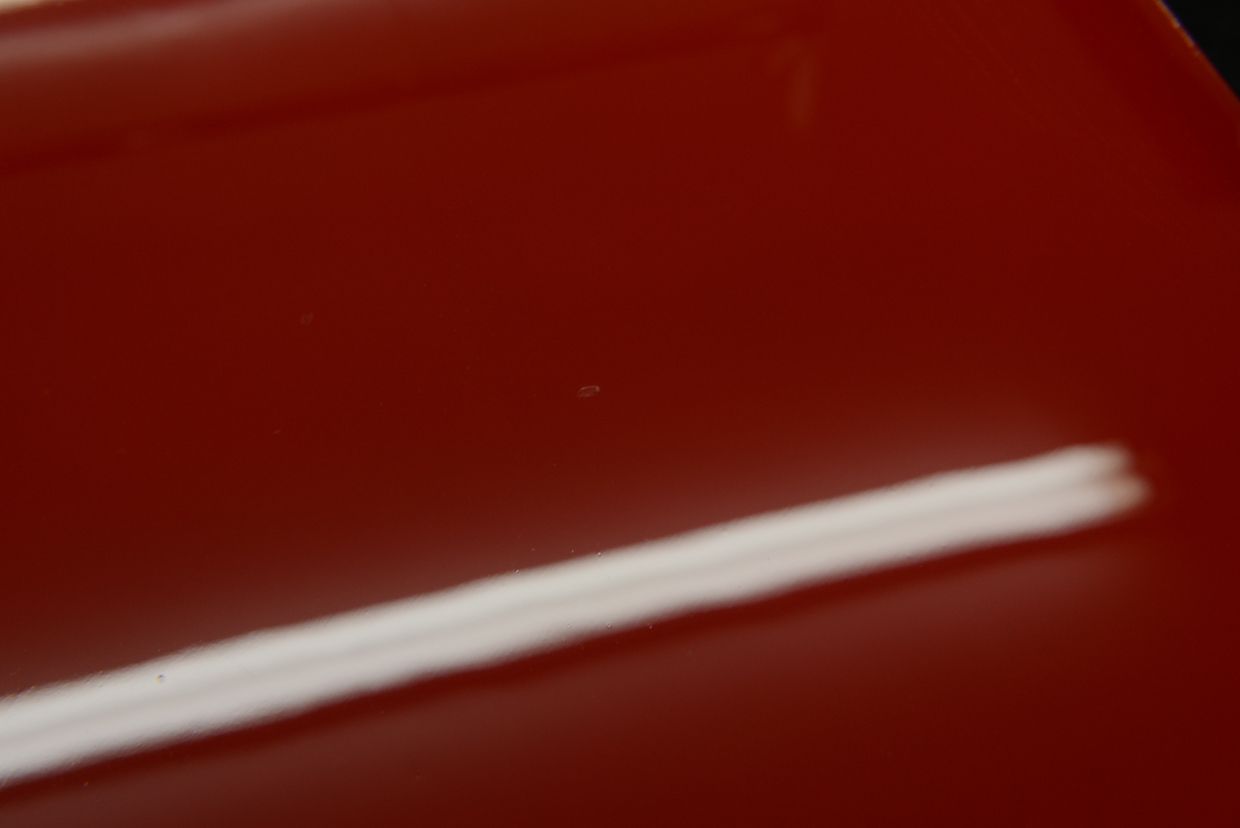
After compounding with the Rupes LHR21 and KBM205 method
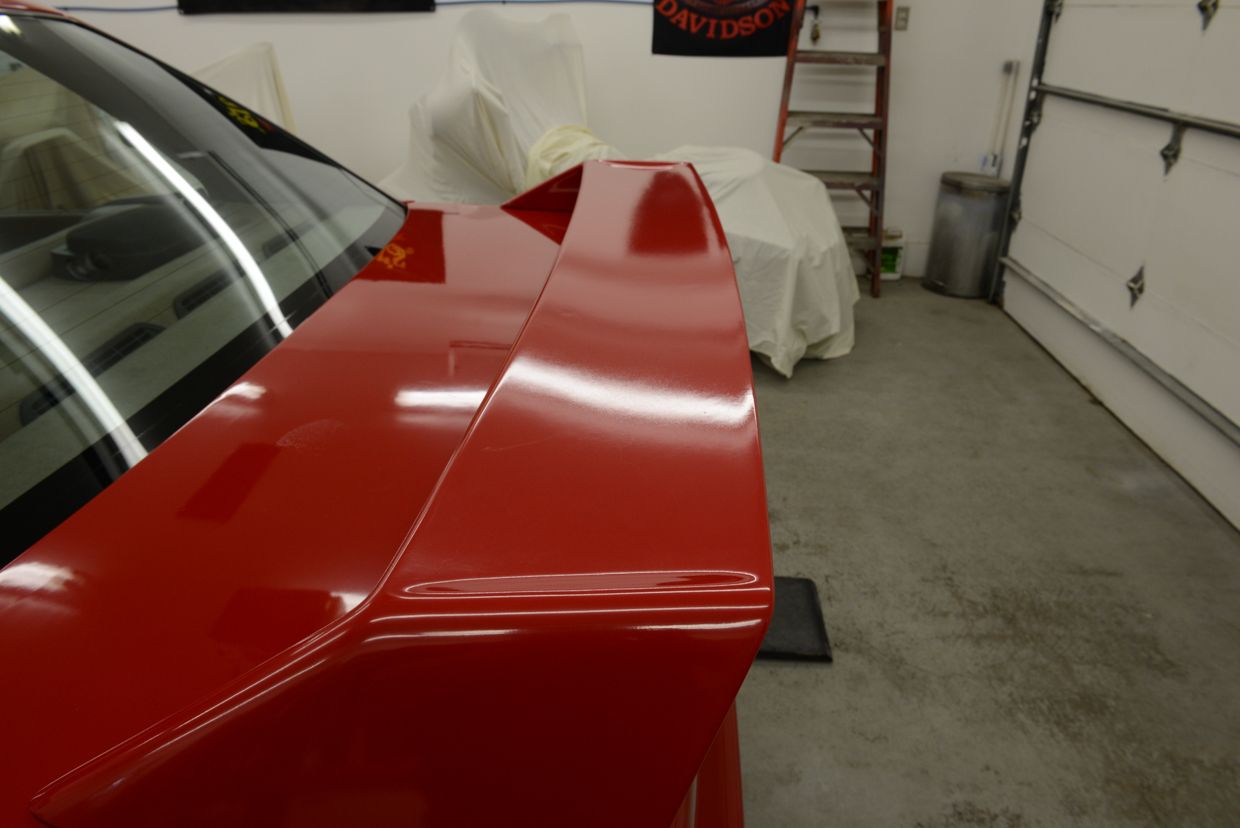
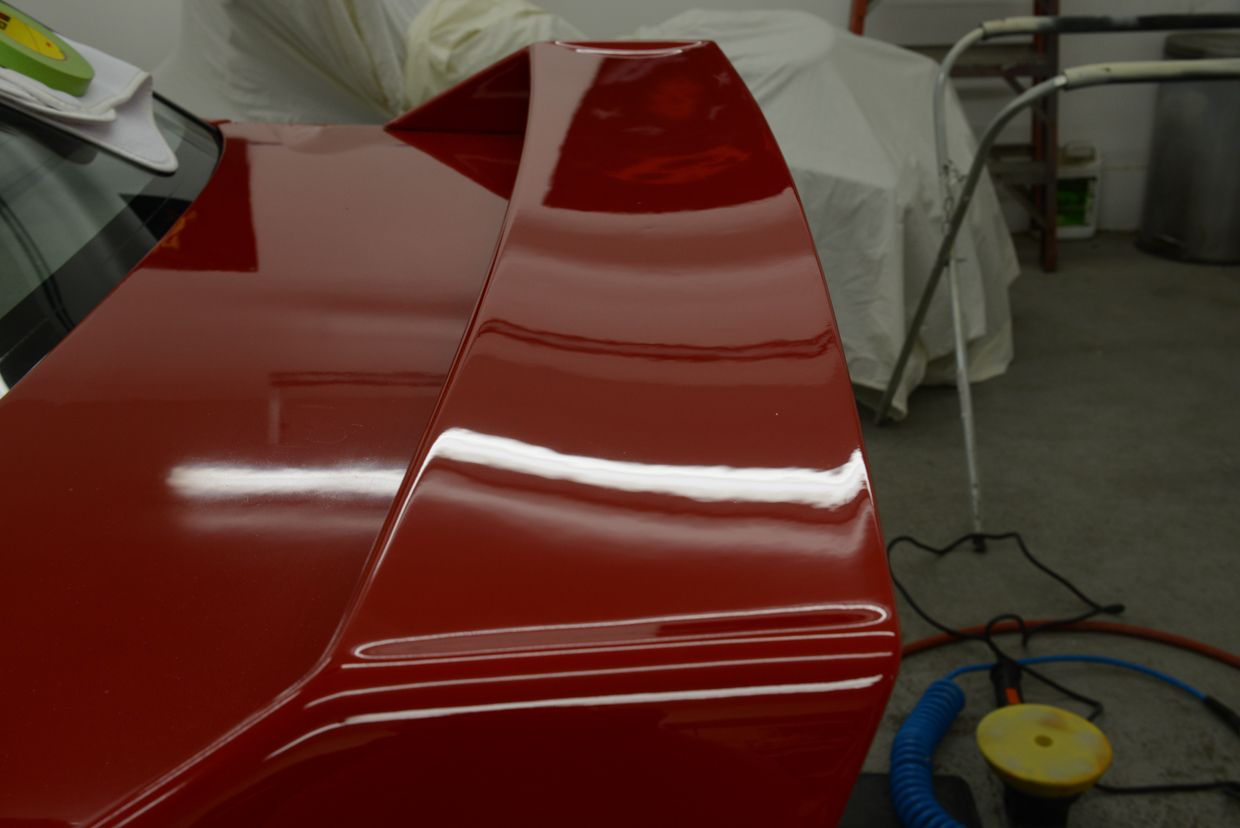
Close up of shrink on the spoiler
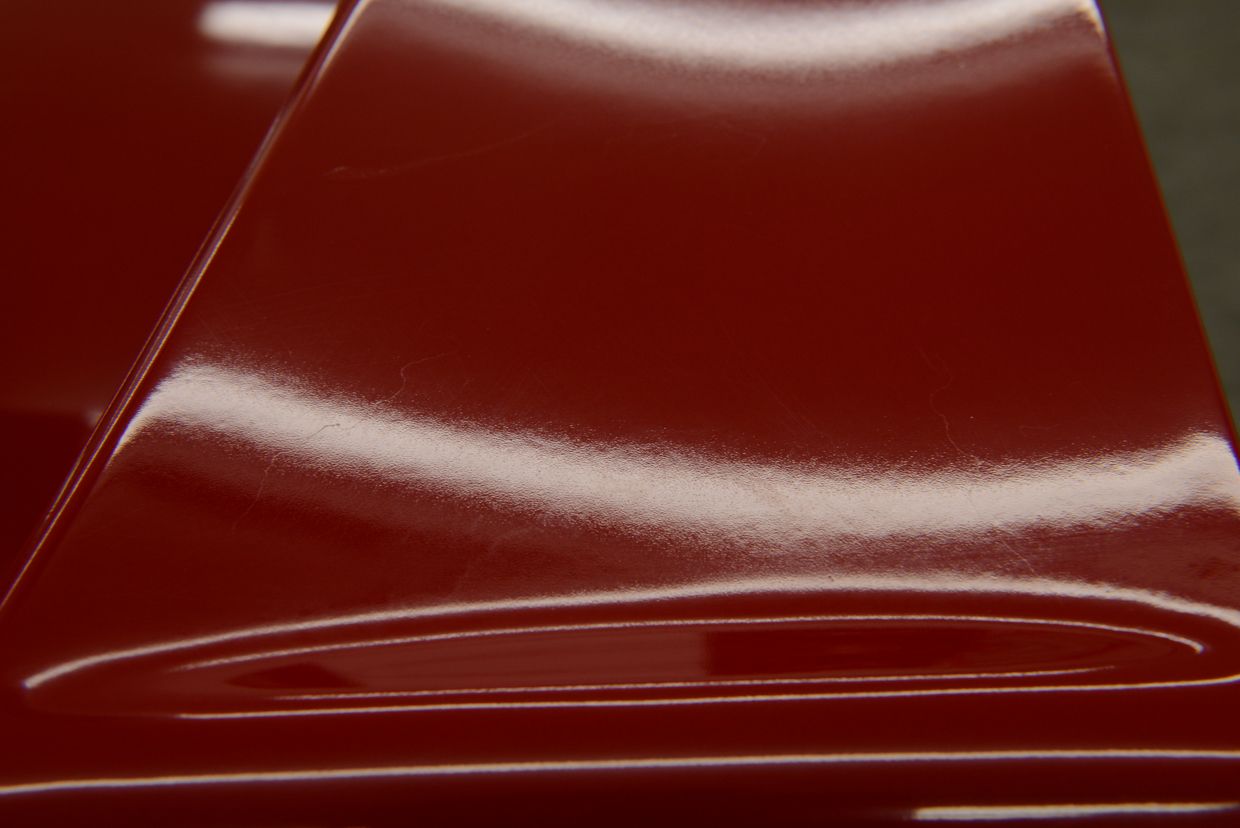
At a distance
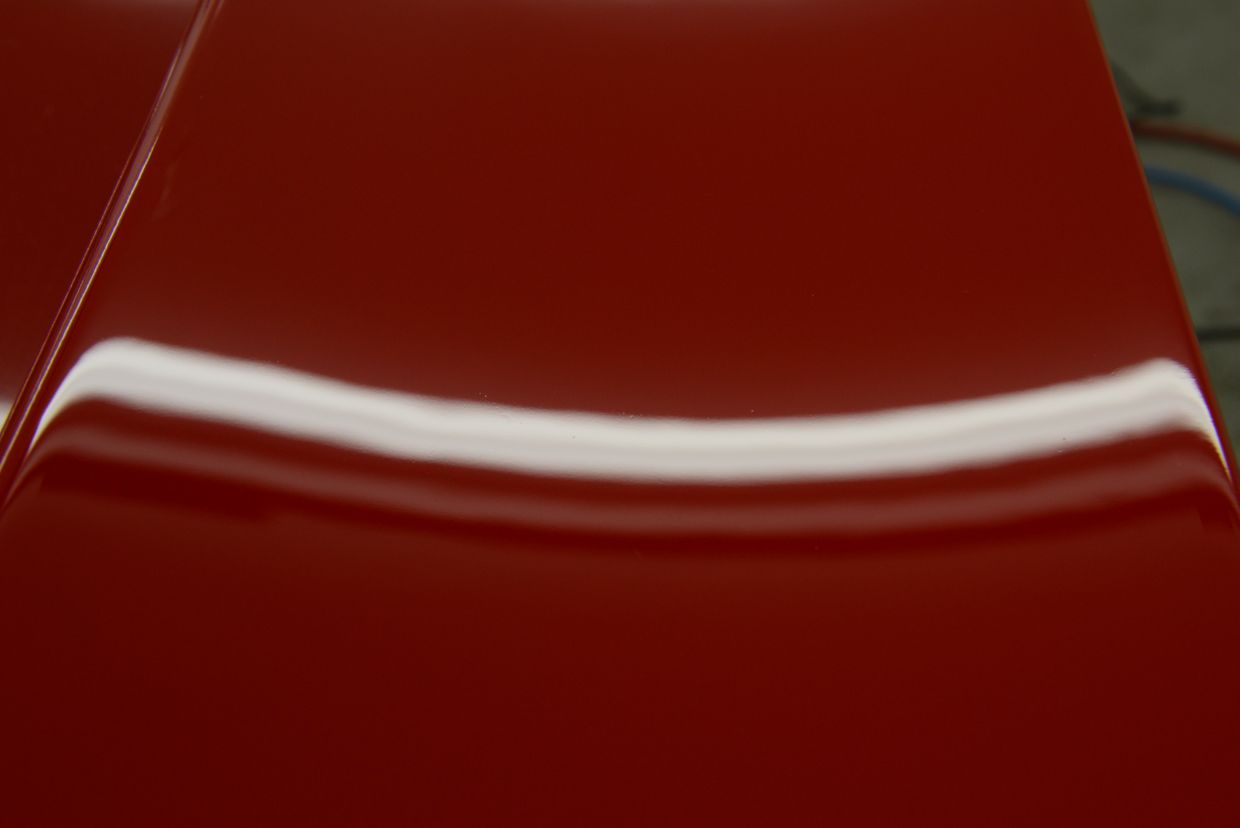
Close up of spoiler after sanding and compounding
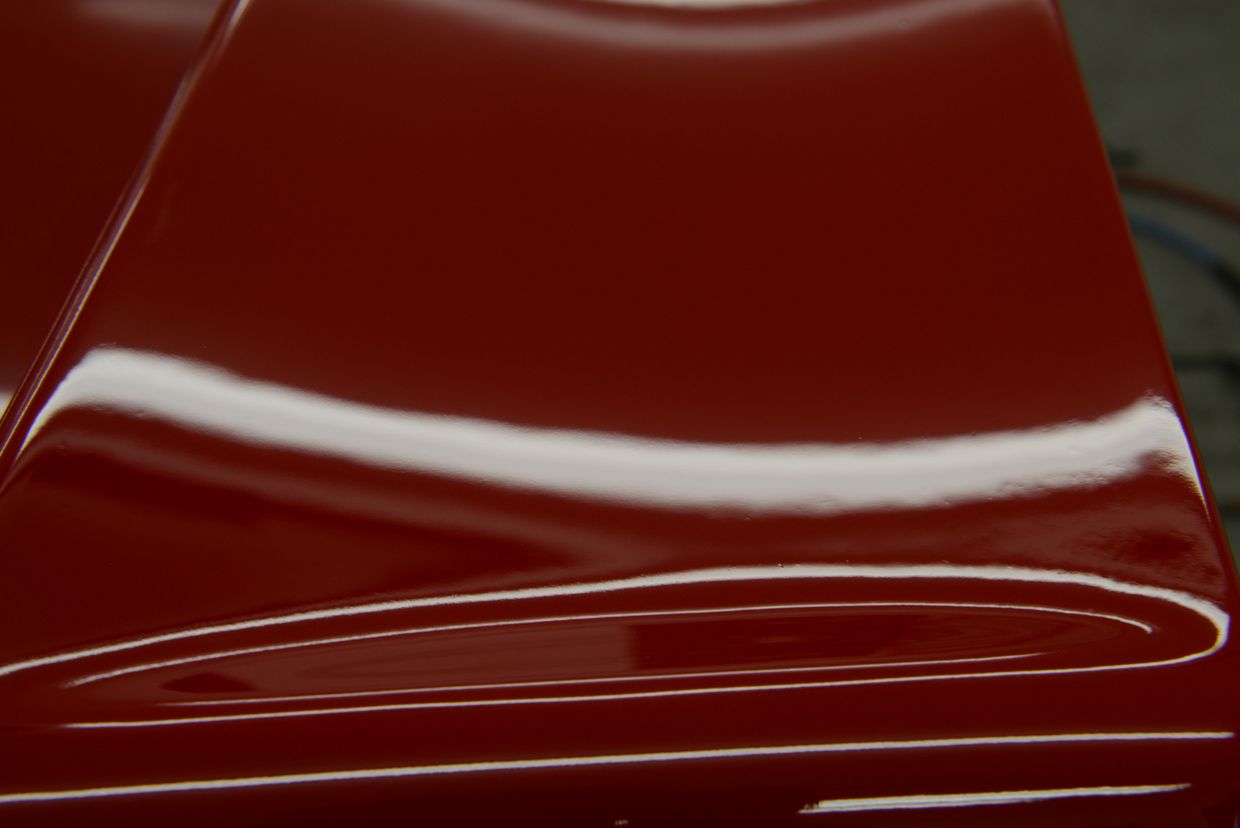
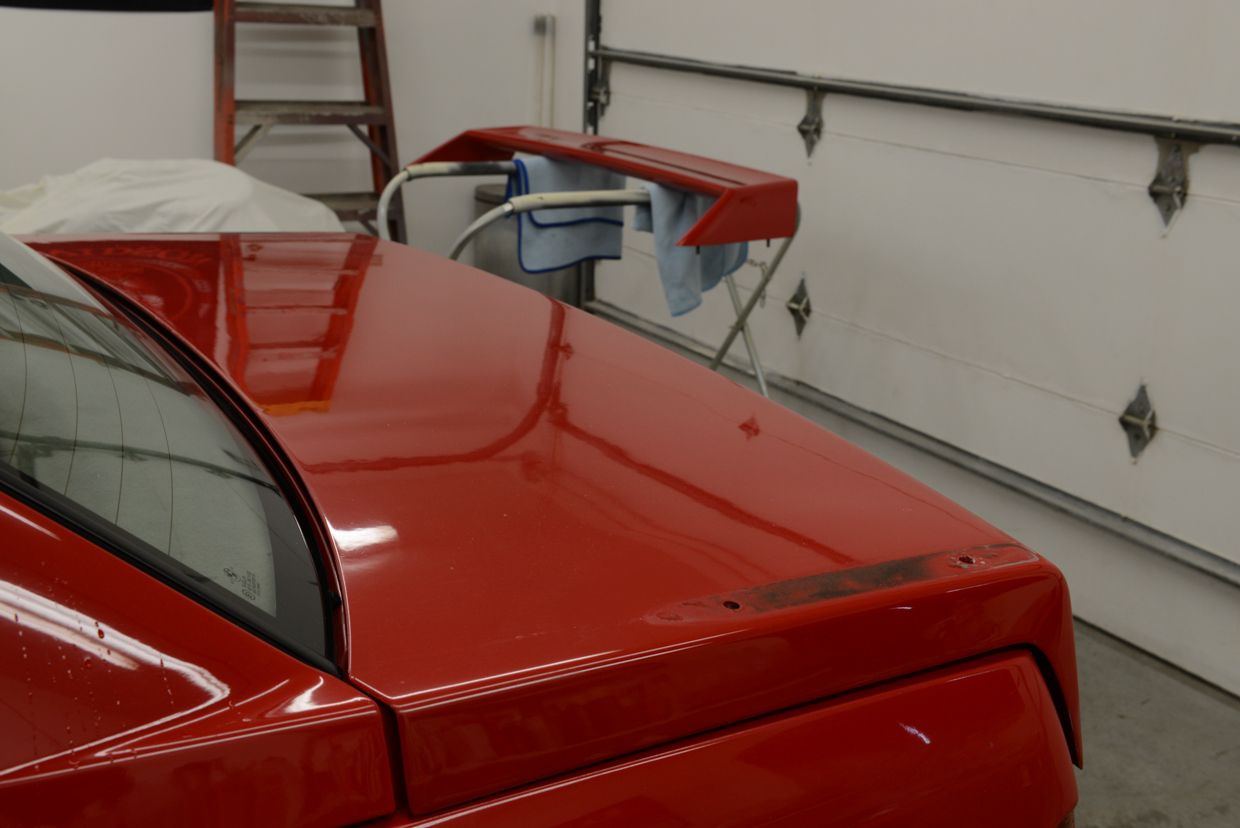
At a distance…notice the difference between the spoiler and the trunk
Spoiler removed
A few areas on the car had these “goose bump” protruding from the paint. I’m not 100% certain what causes this but I’ve seen it before on repaints. Its likely solvents or moisture trapped under the paint, possibly in the primer or base coat, which are trying to escape. I don’t suggesting trying to sand these defects out, for obvious reasons, but it looked bad and I decided to test out sanding in a discrete area, which turned out great. It’s not 100%, but a huge improvement. I lightly sanded them here so they were easier to see. The touched up chip can be used as a reference point.
After
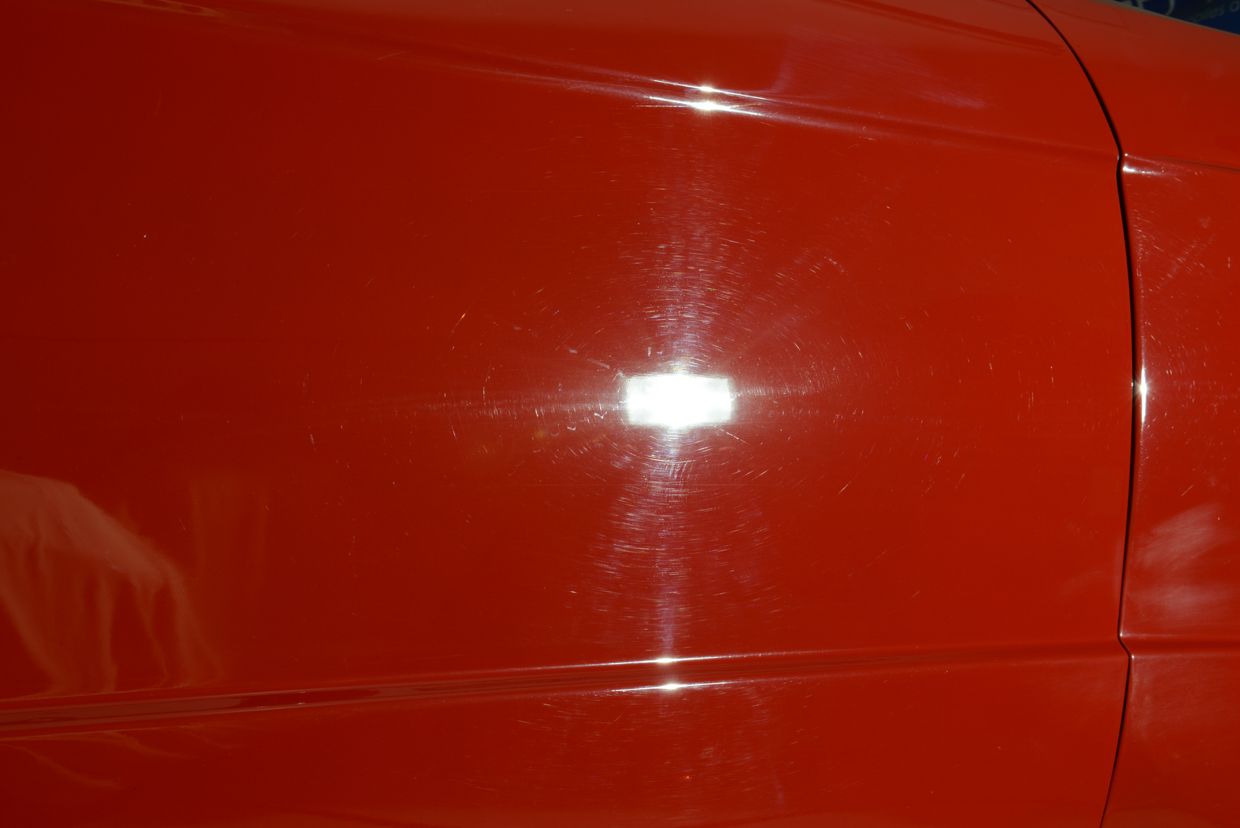
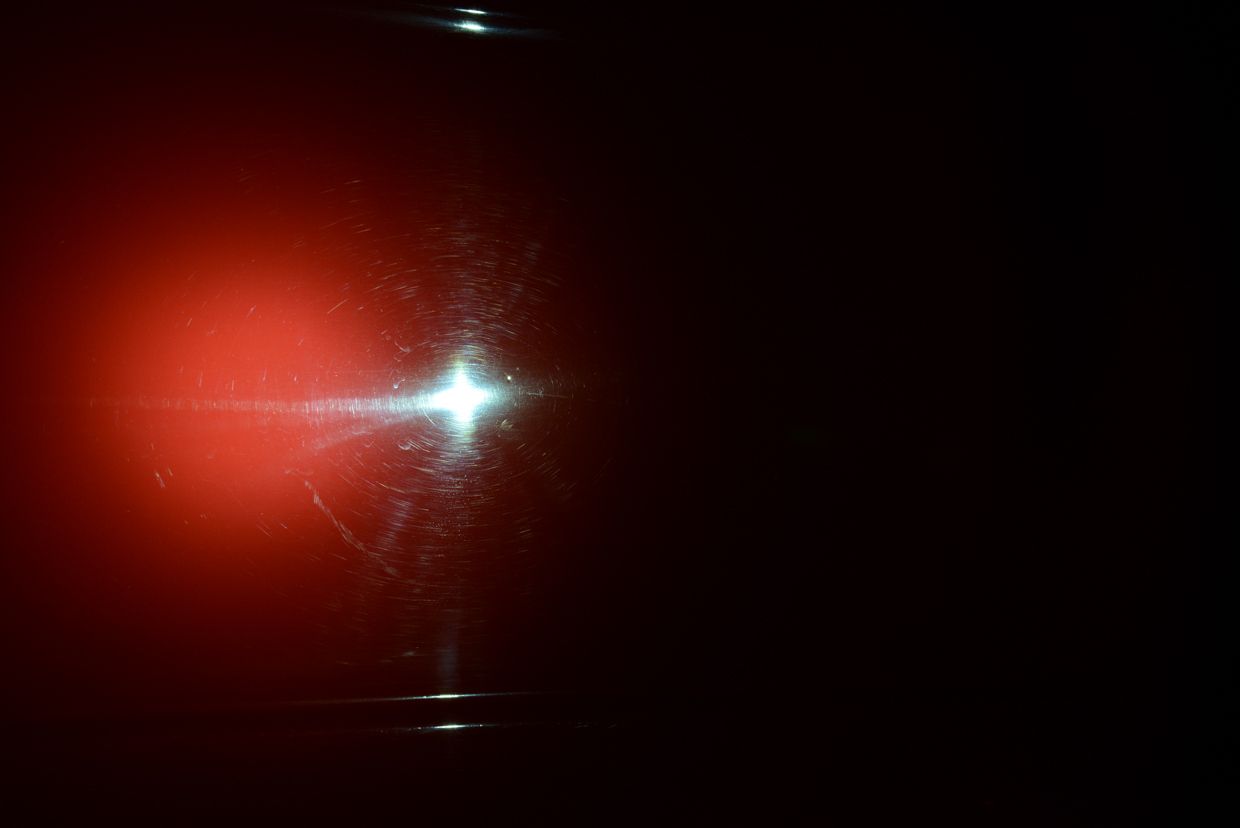
Swirls and RIDS throughout
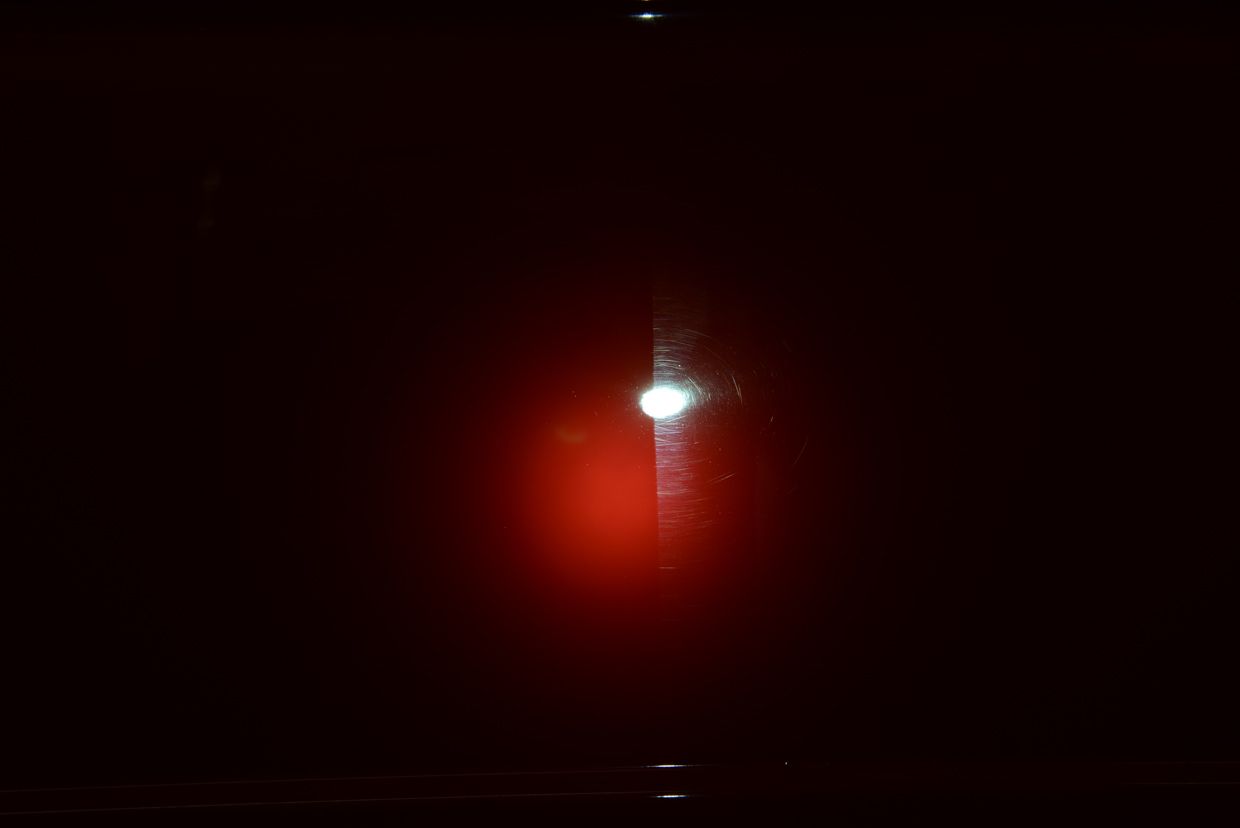
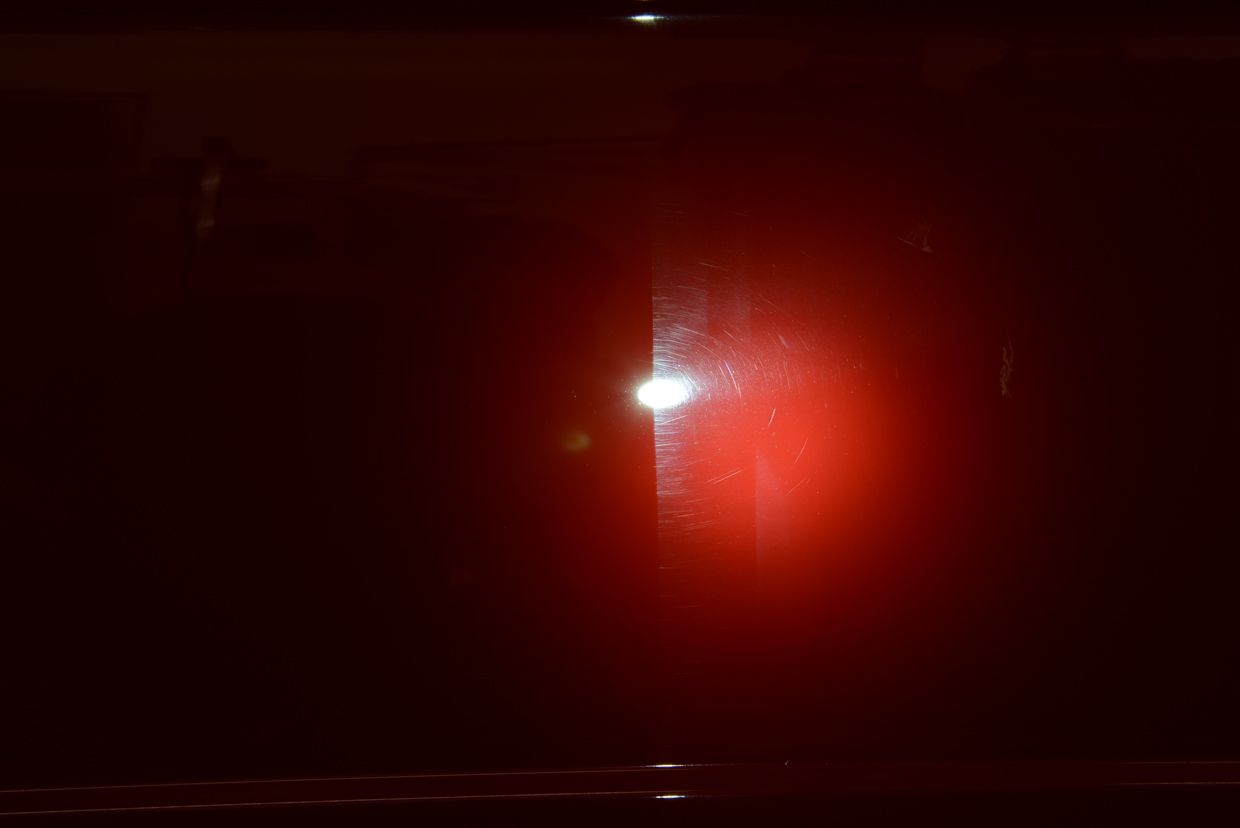
50/50 shot
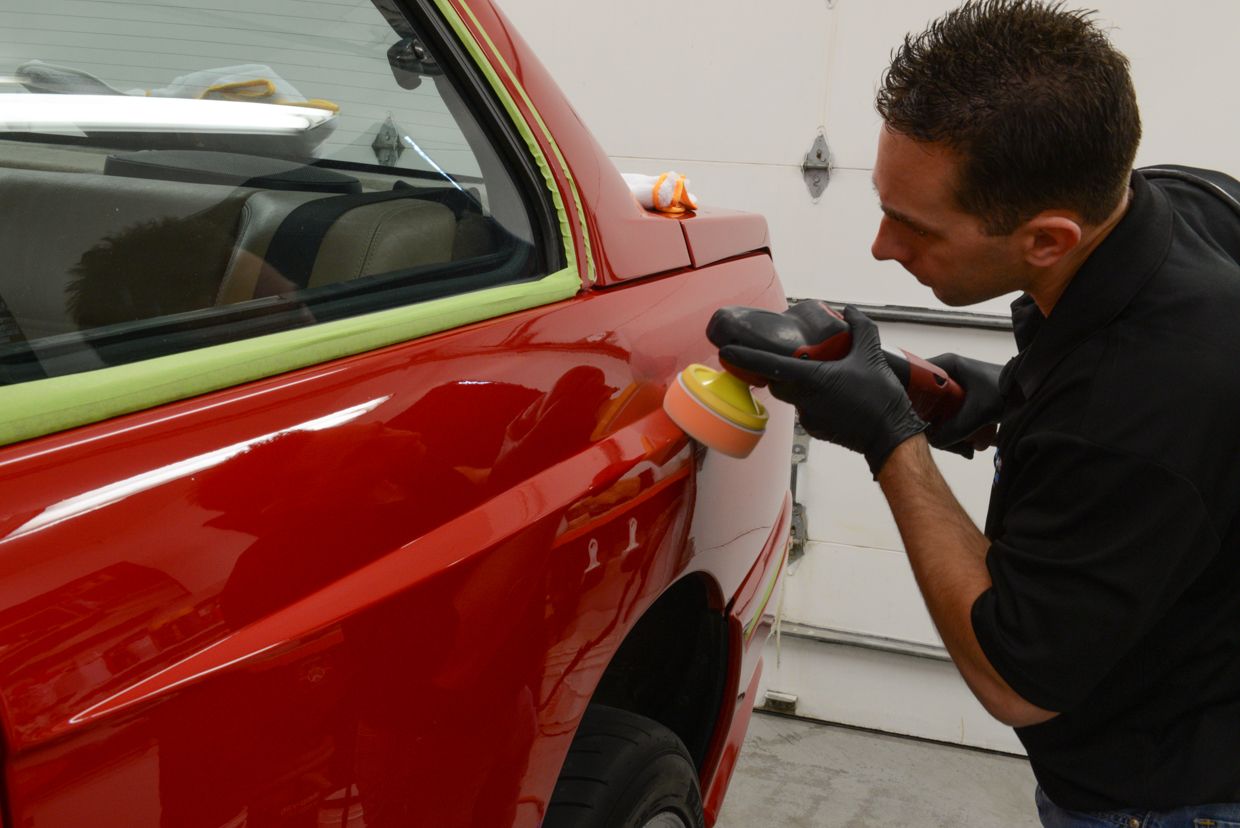
I spent about 10-12hrs carefully wet sanding and compounding….
An example of when the rotary is the better tool for the job.
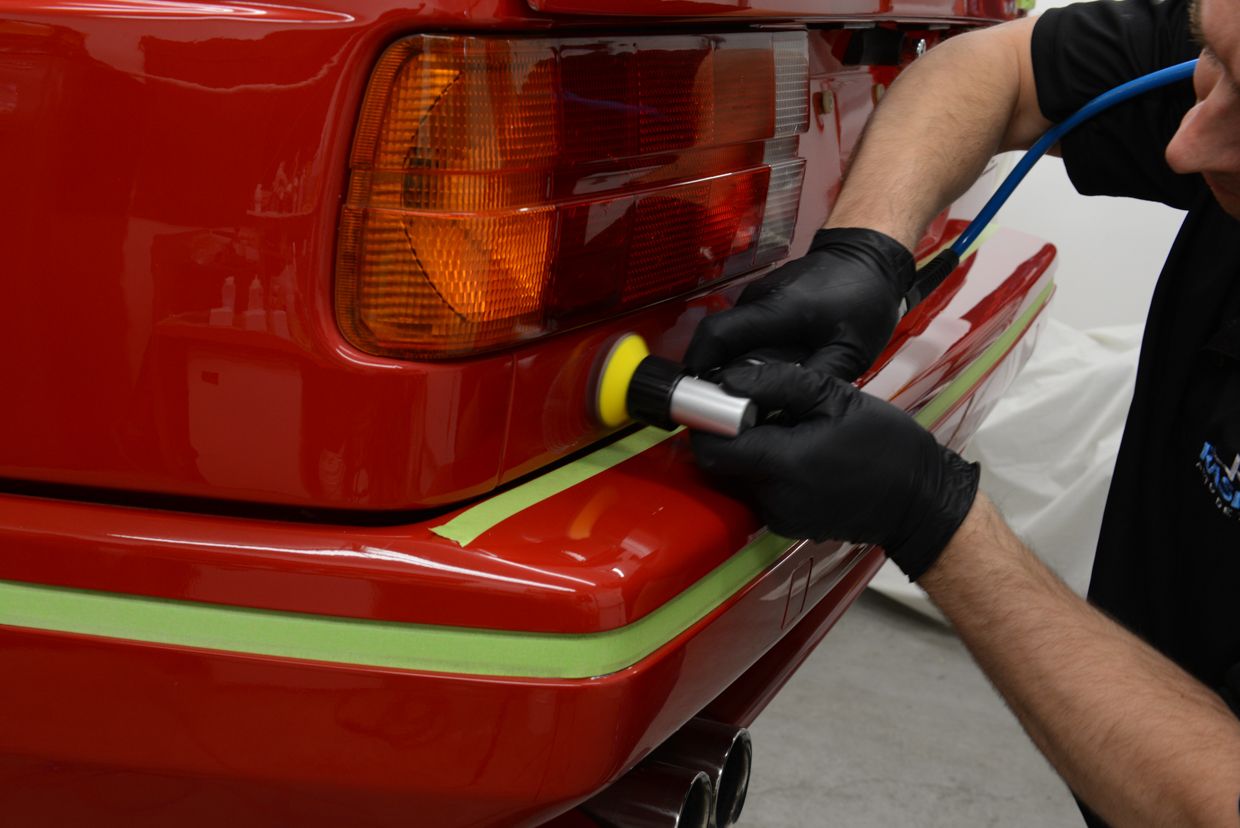
Great example of where the Rupes TA50 and 2” pads shine
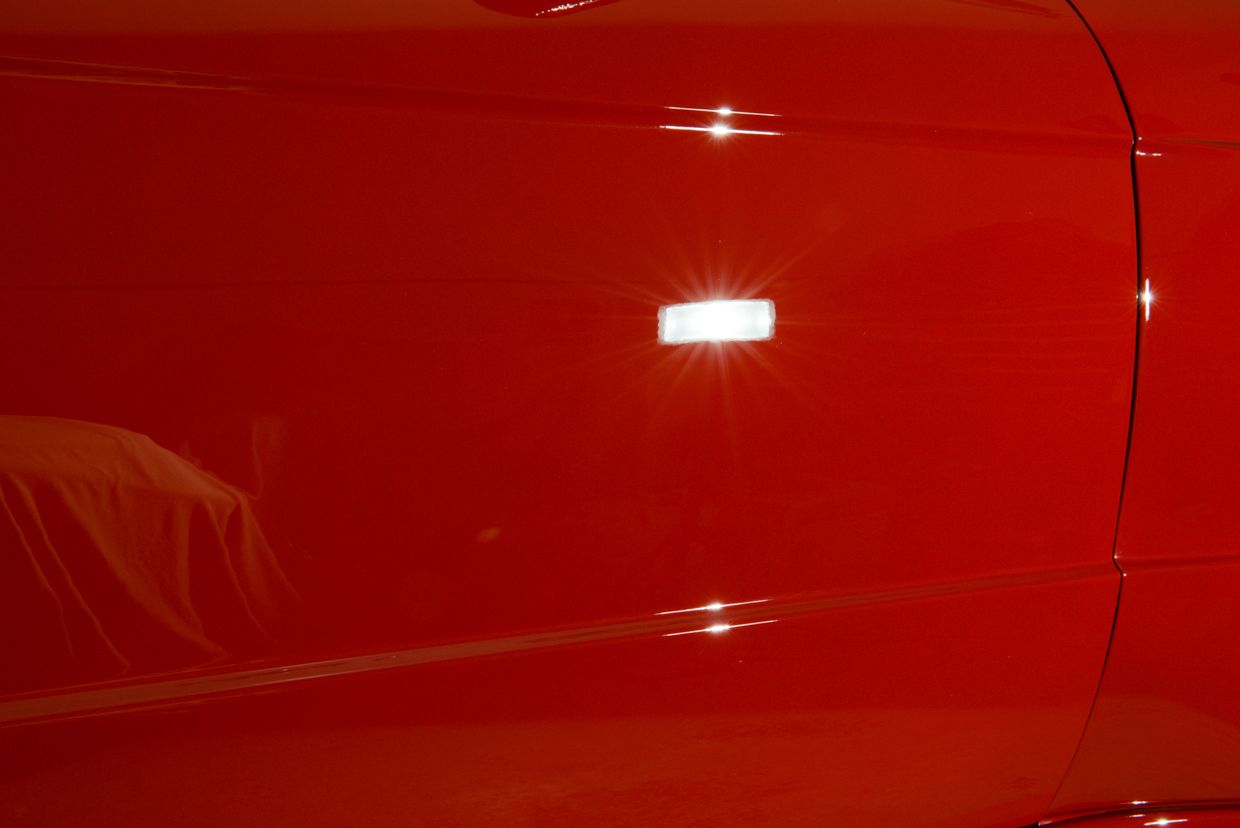
Finished shot prior to LSP….two different aperture settings
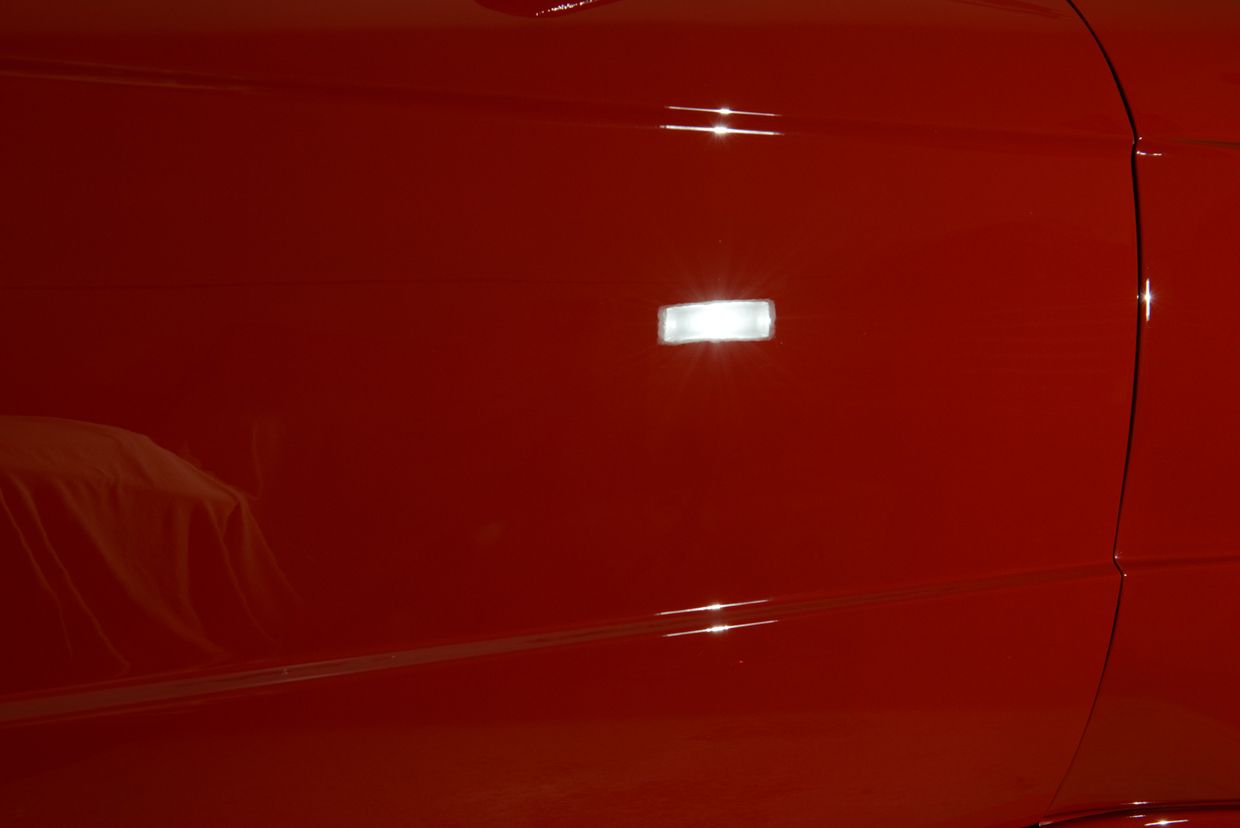
I like this one
The owner of this fine example of German Engineering recently purchased the car and wanted me to do what I could to get the paint looking its best within his budget. Upon inspection it was evident that it had been repainted some time ago and that there was some excessive shrink on the top panels and a few other paint issues that needed to be addressed.
Car as it arrived (nice and clean)

Shrink on the hood can be seen from the lack of gloss and distorted reflection

Washer nozzles removed for sanding and polishing

Close up of shrink

Sanded with 1500/3000 grit Meguiar’s sanding discs (hand and DA)

After compounding with the Rupes LHR21 and KBM205 method


Close up of shrink on the spoiler


At a distance

Close up of spoiler after sanding and compounding


At a distance…notice the difference between the spoiler and the trunk

Spoiler removed

A few areas on the car had these “goose bump” protruding from the paint. I’m not 100% certain what causes this but I’ve seen it before on repaints. Its likely solvents or moisture trapped under the paint, possibly in the primer or base coat, which are trying to escape. I don’t suggesting trying to sand these defects out, for obvious reasons, but it looked bad and I decided to test out sanding in a discrete area, which turned out great. It’s not 100%, but a huge improvement. I lightly sanded them here so they were easier to see. The touched up chip can be used as a reference point.

After

Swirls and RIDS throughout


50/50 shot


I spent about 10-12hrs carefully wet sanding and compounding….

An example of when the rotary is the better tool for the job.

Great example of where the Rupes TA50 and 2” pads shine

Finished shot prior to LSP….two different aperture settings

I like this one


