Driven Auto Detail
New member
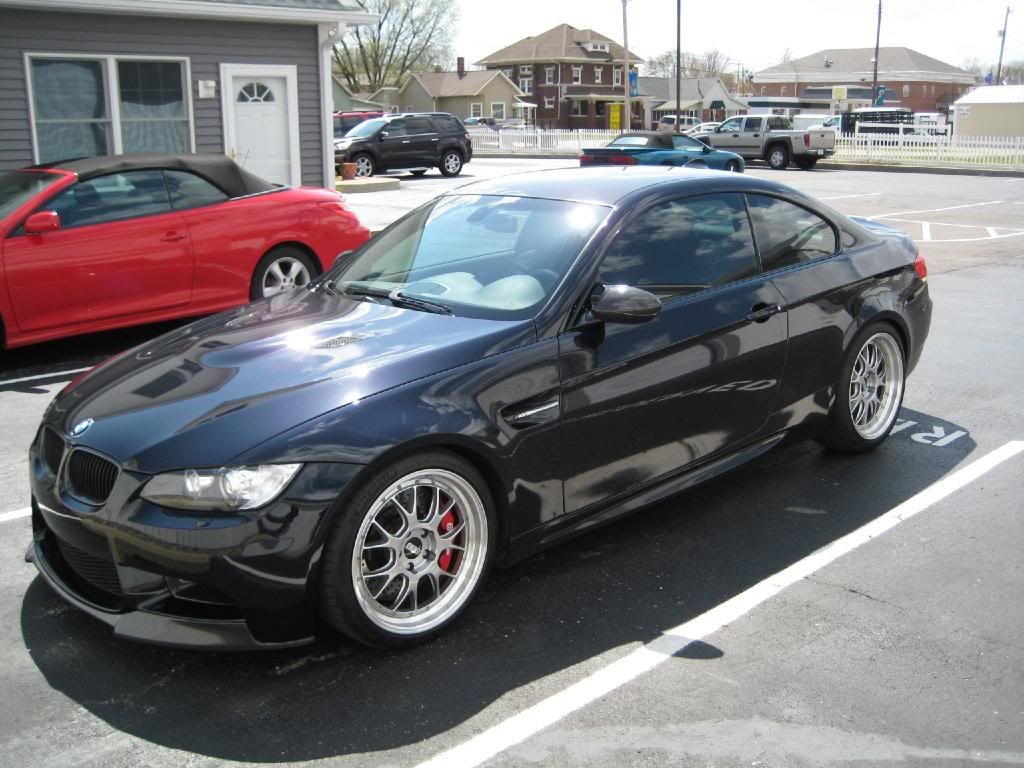
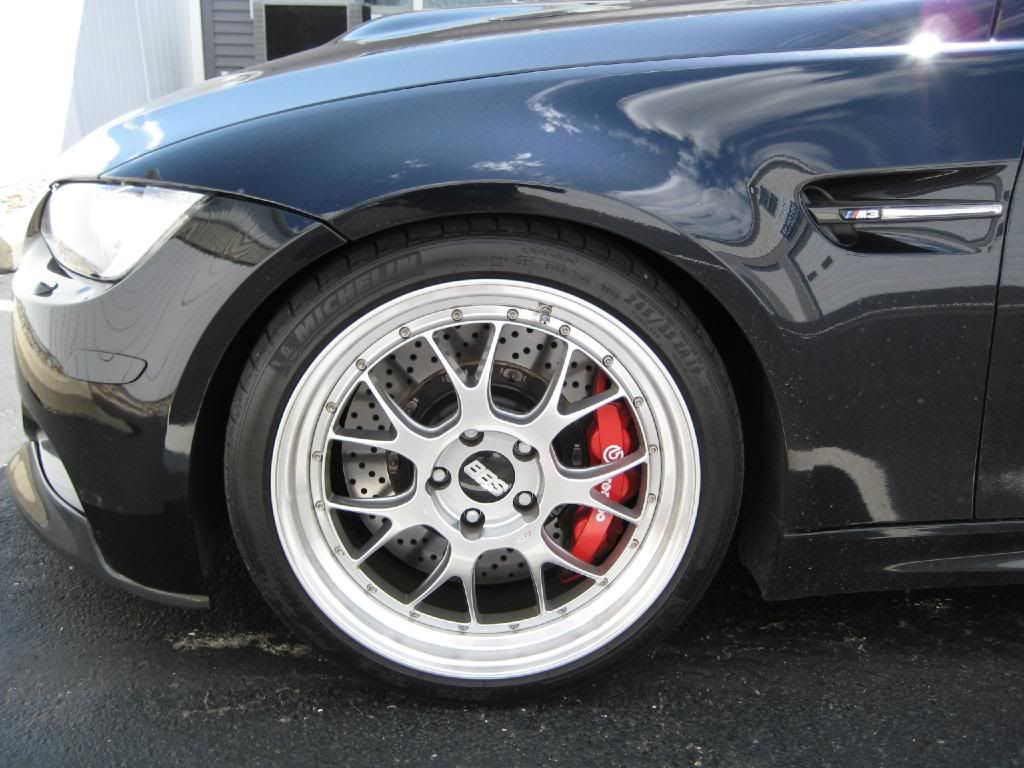
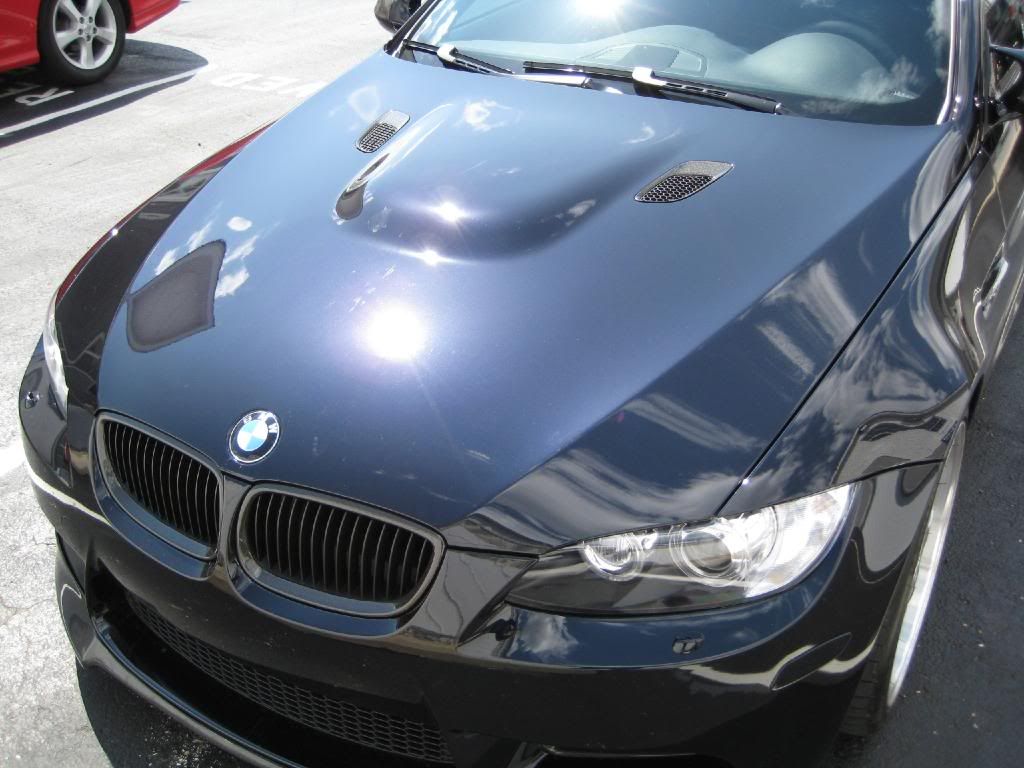
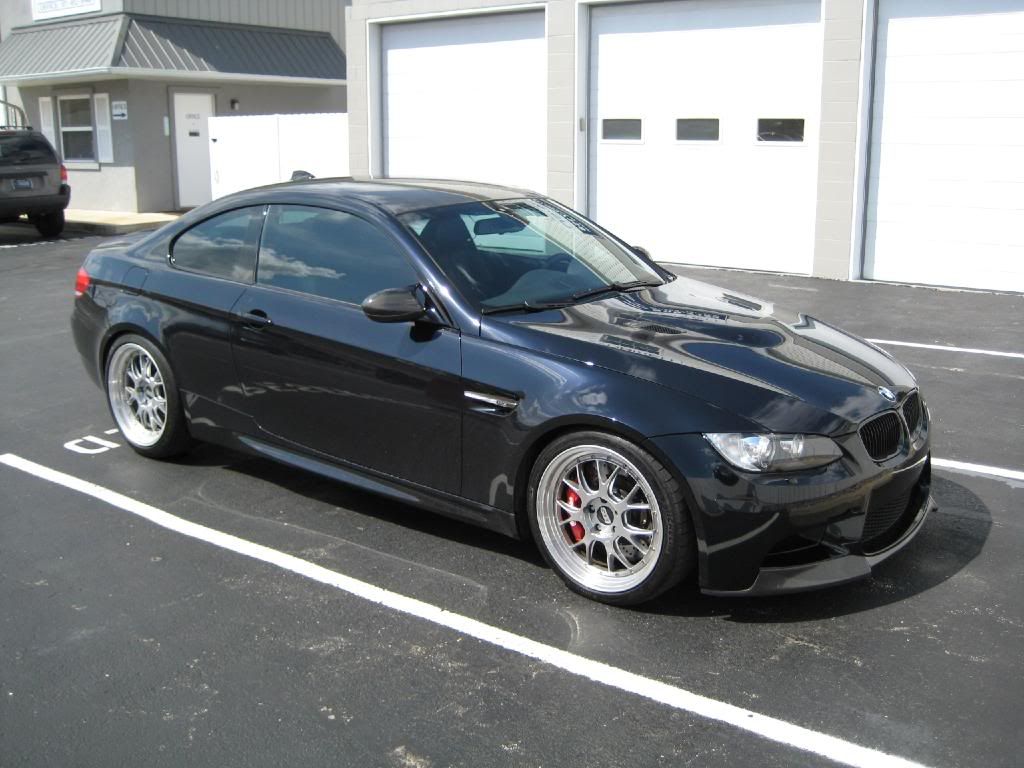
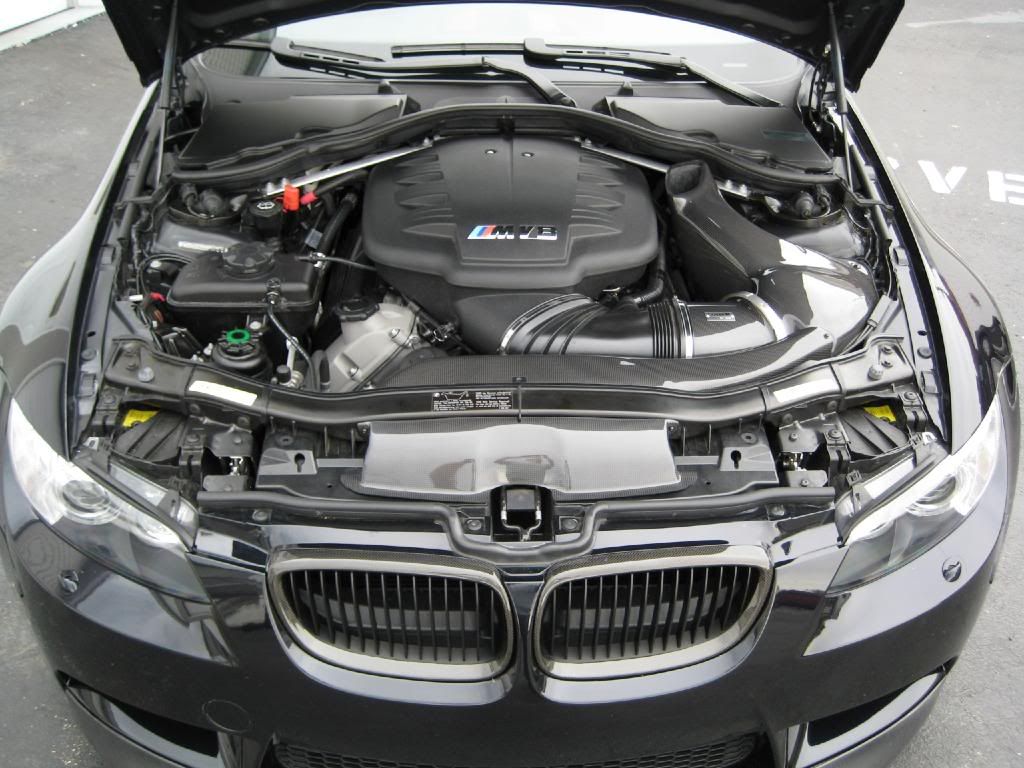
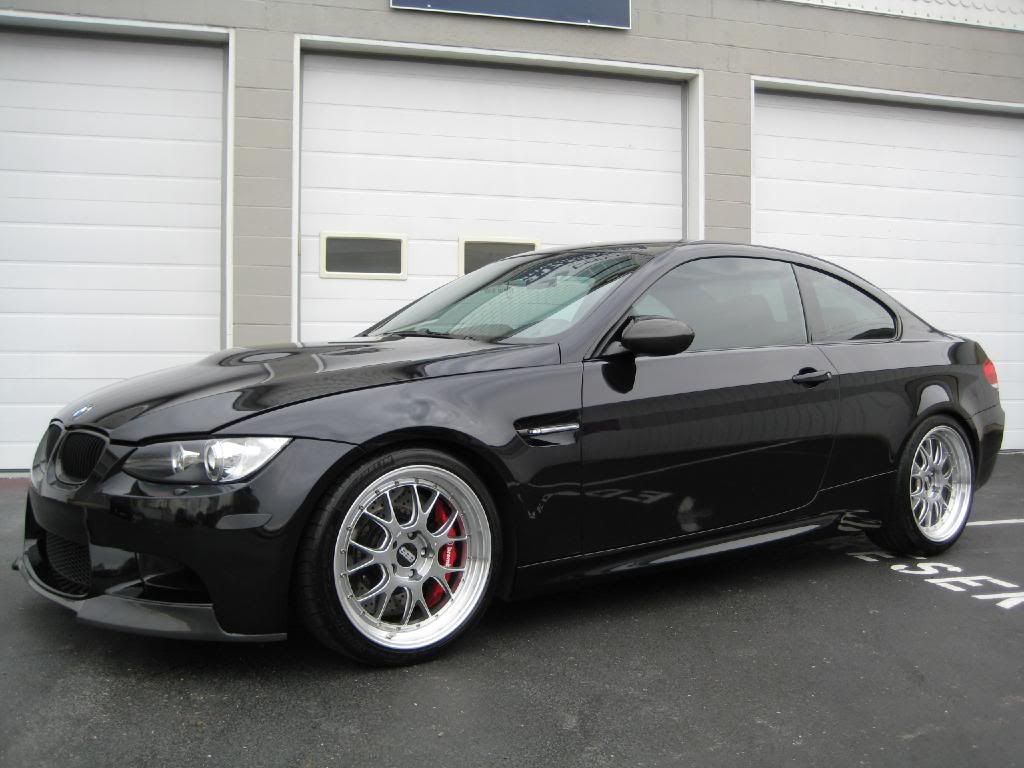
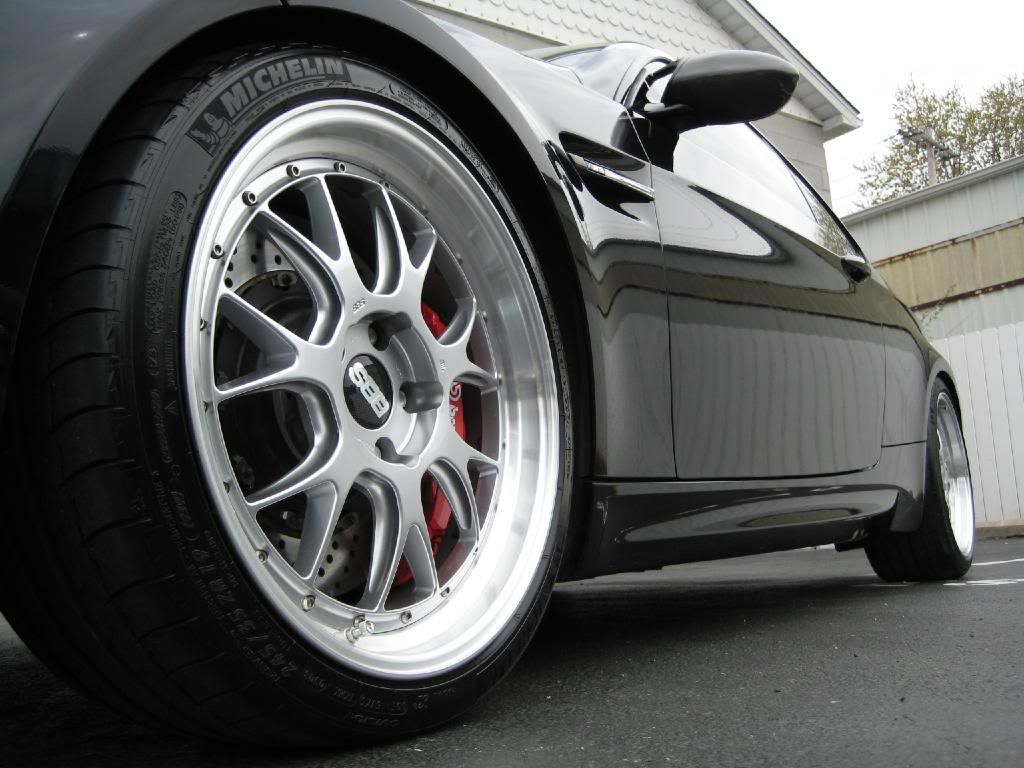
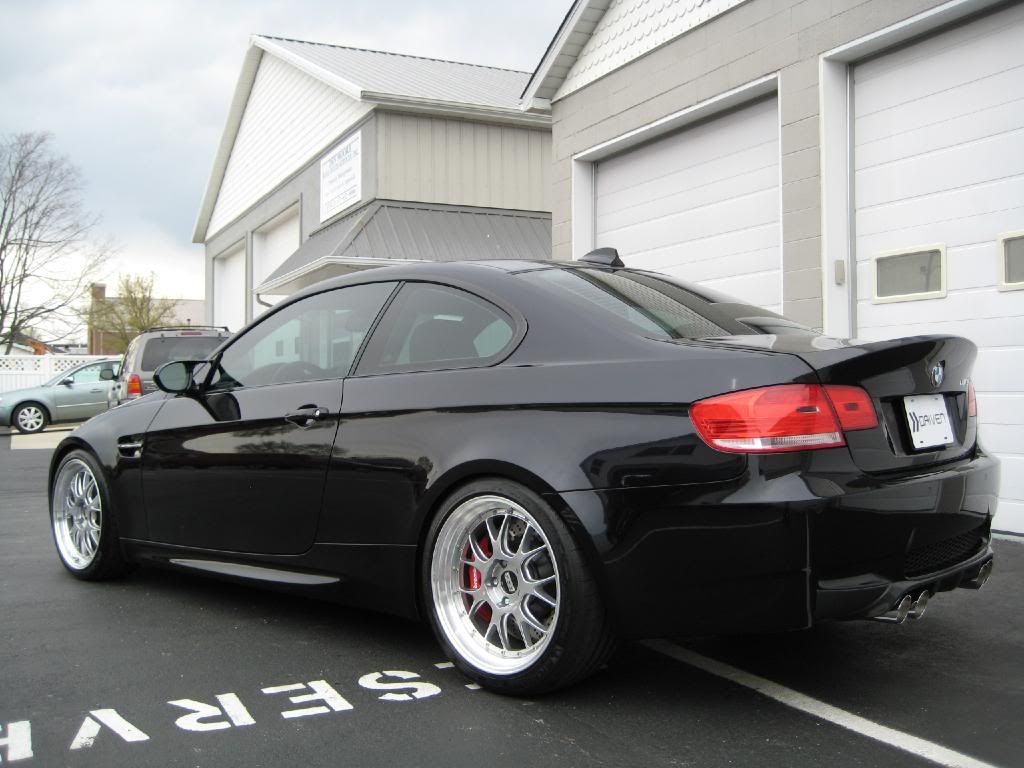
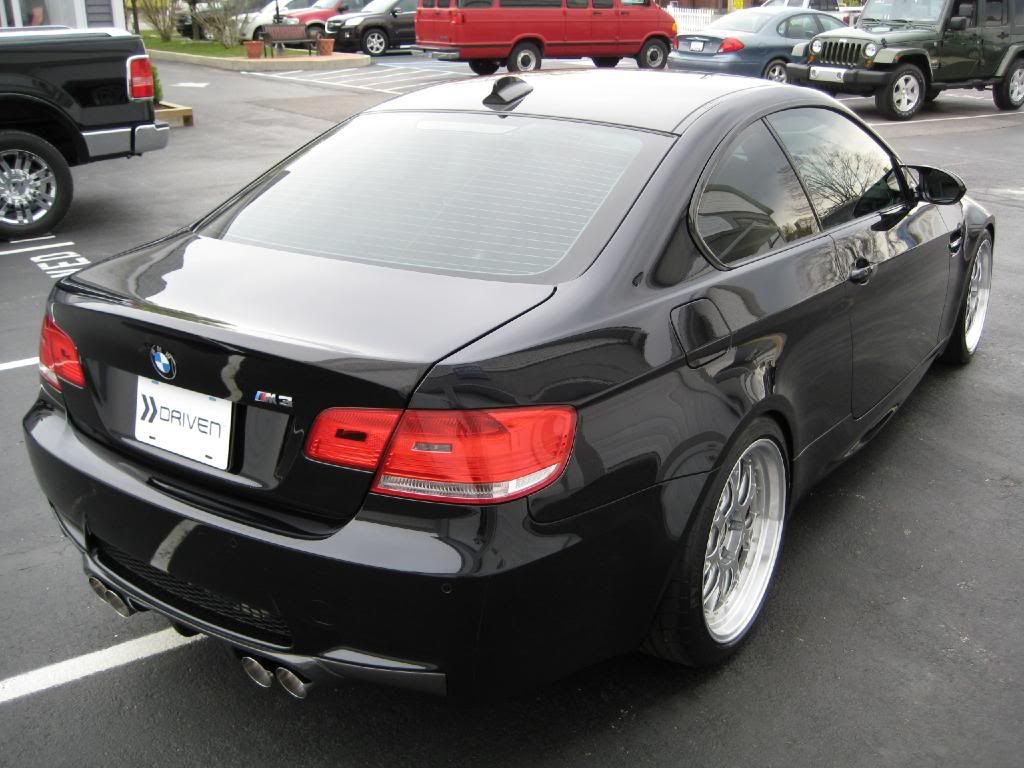
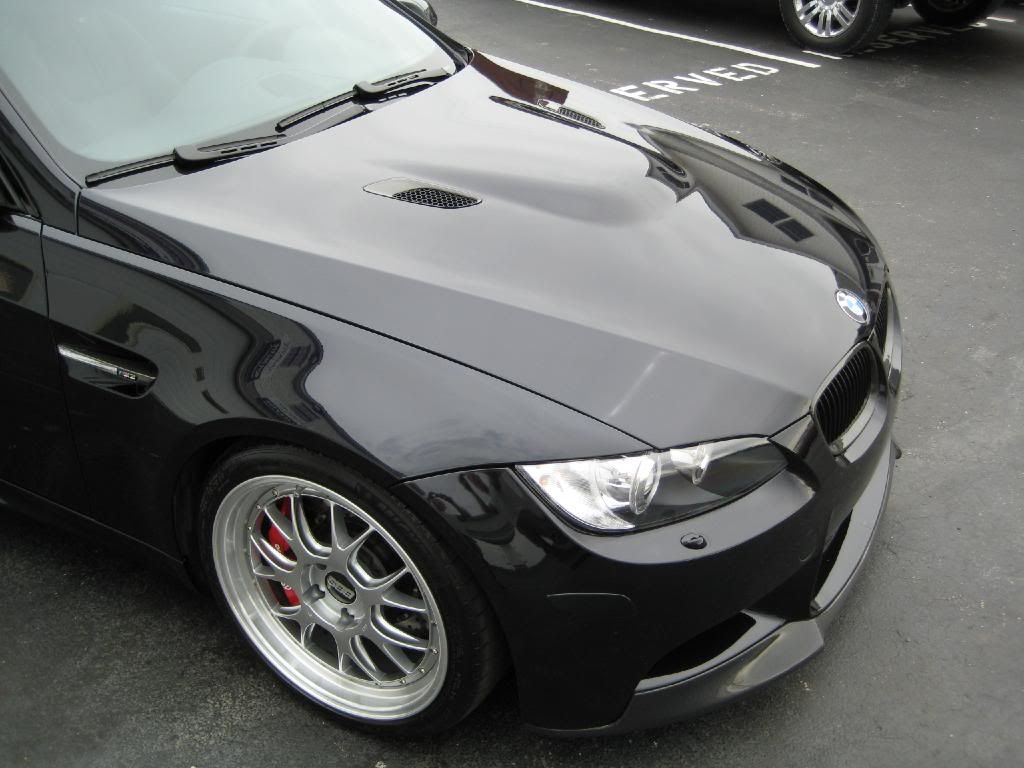
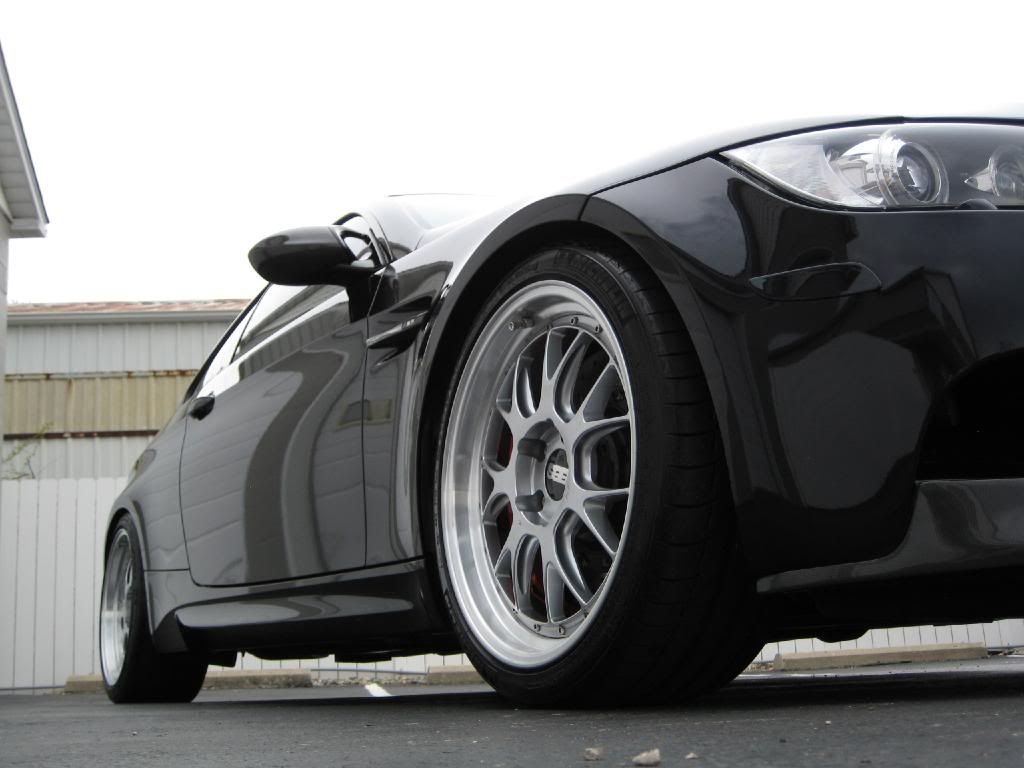
This is a 2008 BMW M3 show car. As you'll see from the pictures, this car has a few modifications. Some of those include a Ventureshield clear bra that covers about 75% of the paint, tuned ECU, carbon fiber cold air intake, a complete exhaust with high flow cats and x-pipe, BBS wheels & Michelin rubber, and new gearing in the rear differential. Having this car in the shop for a few days drew lots of attention from the many people that come through the parking lot, especially when I'd have the start up the engine to move the car. I can honestly say that this car has the sickest exhaust I've ever heard on a street car. The video posted below just doesn't do it the first bit of justice.
Anyway, since this is a show car the customer wanted to give it a thorough detail after having it garaged for the long winter. As I mentioned earlier, about 75% of the paint was covered in a clear bra. The other 25% had some light swirls and such that the owner wanted removed. Those were the biggest concern. Other than the swirls, the car was in very good condition.
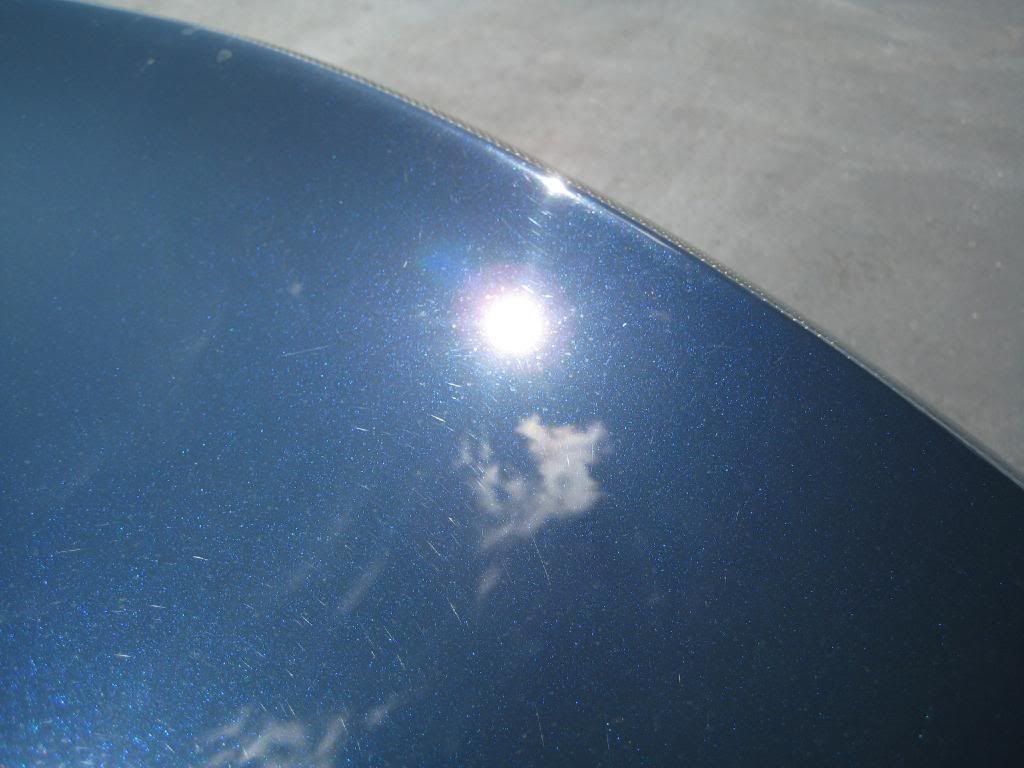
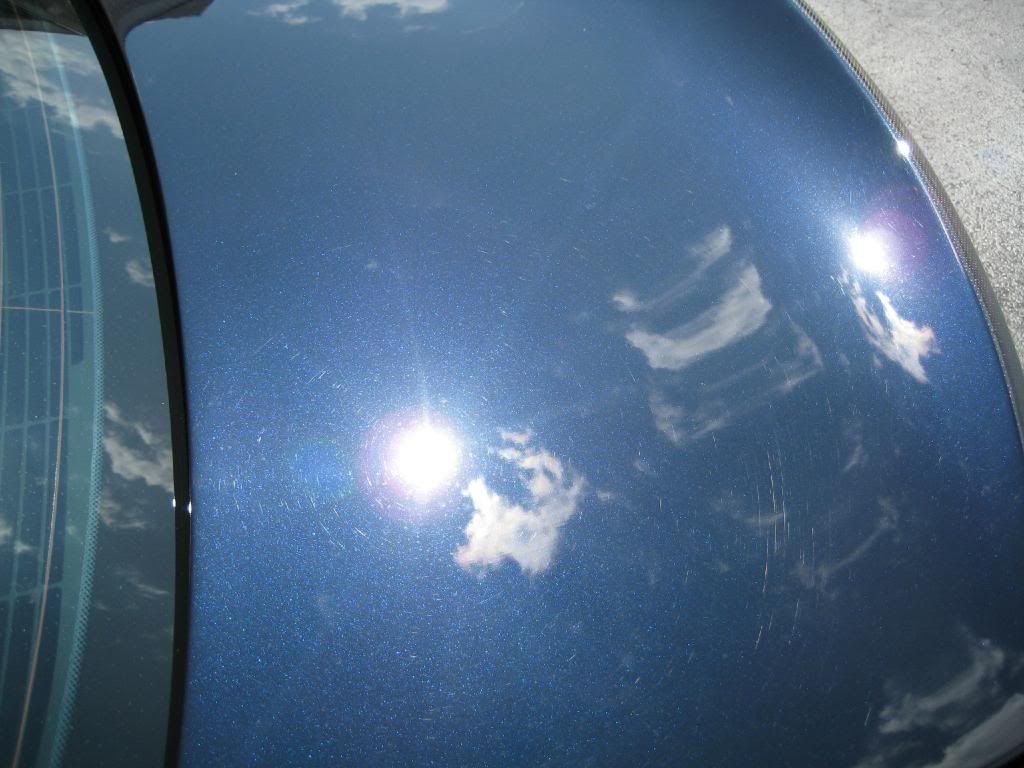
Before pictures:
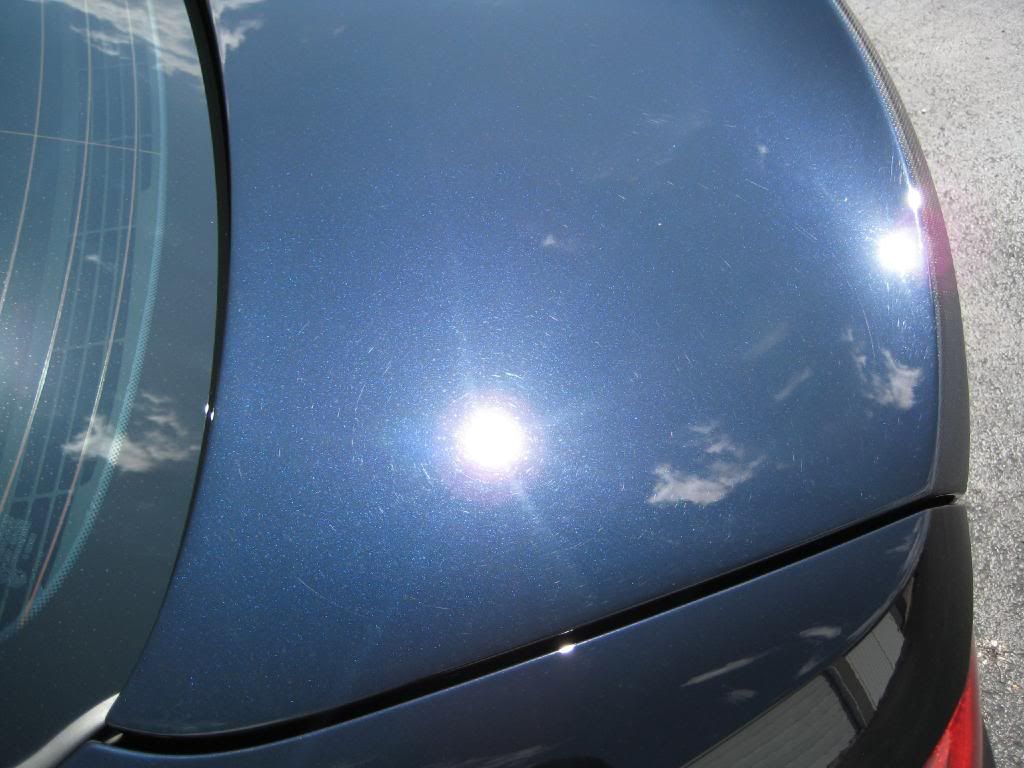
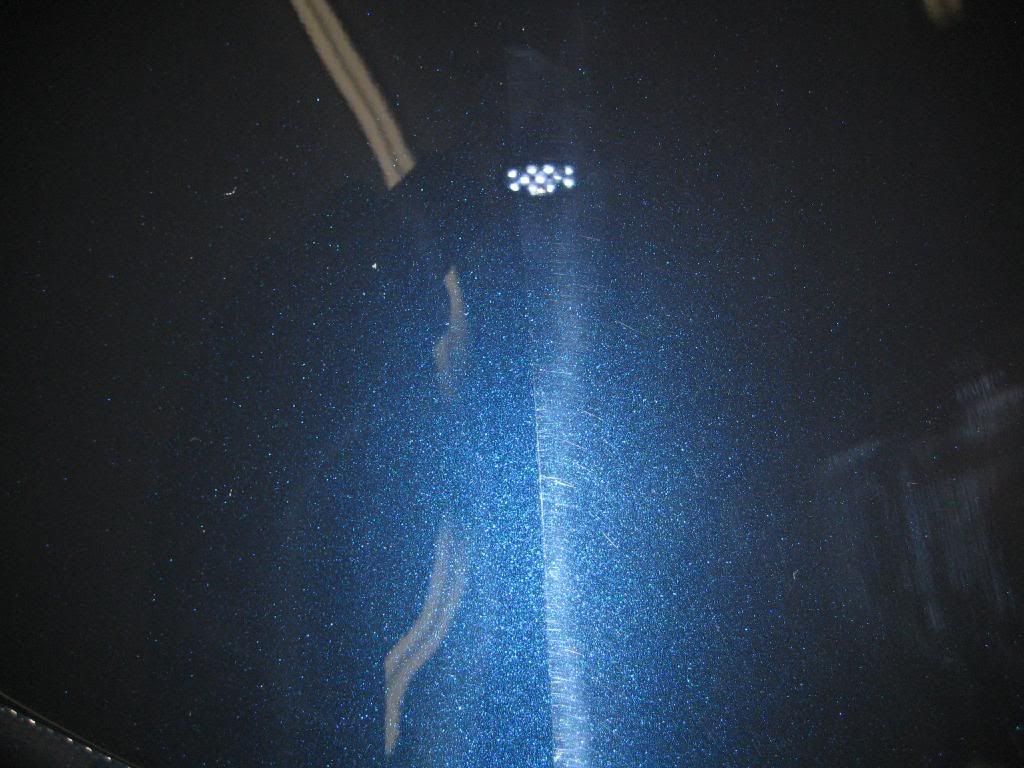
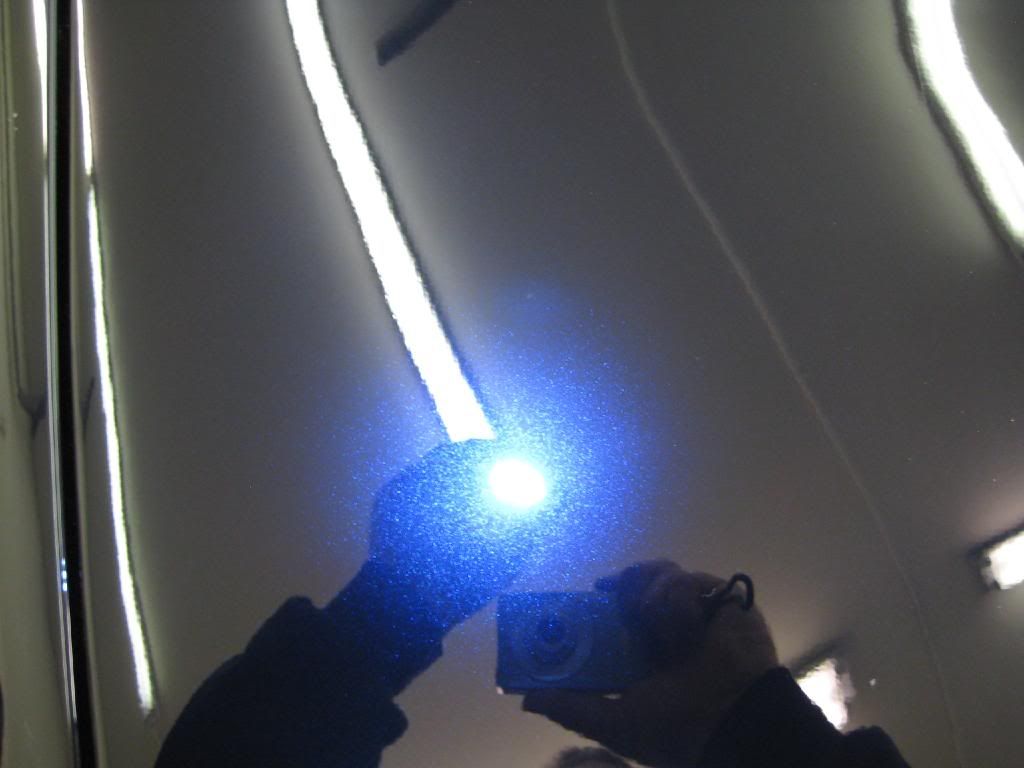
Notice the swirls:
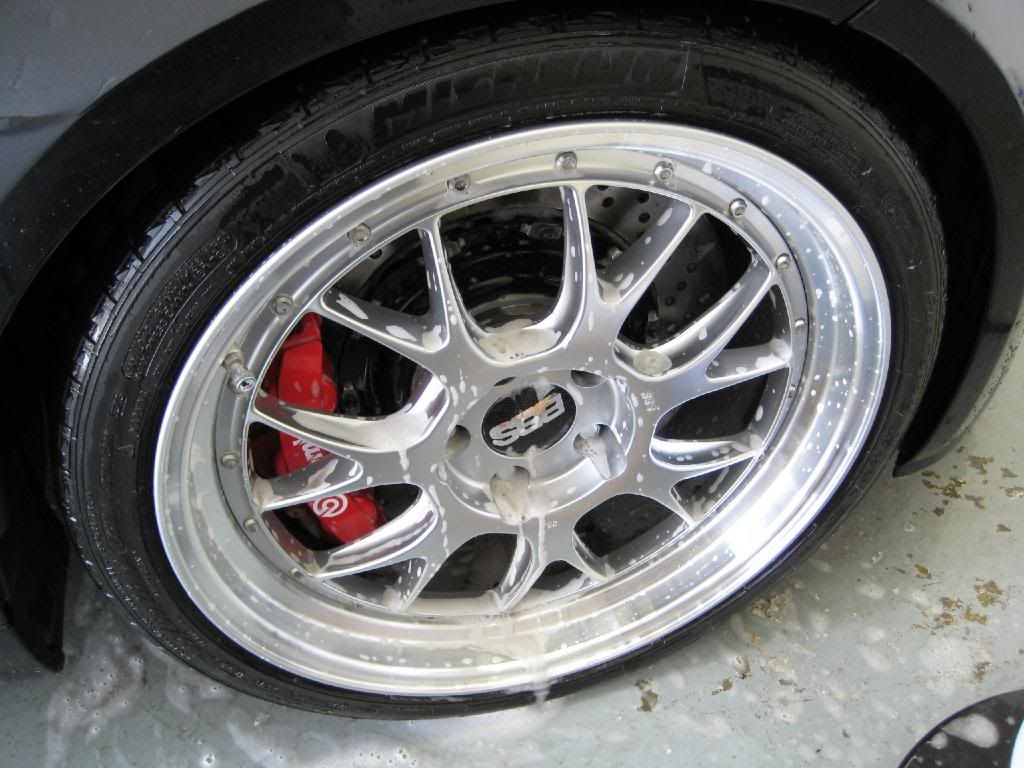
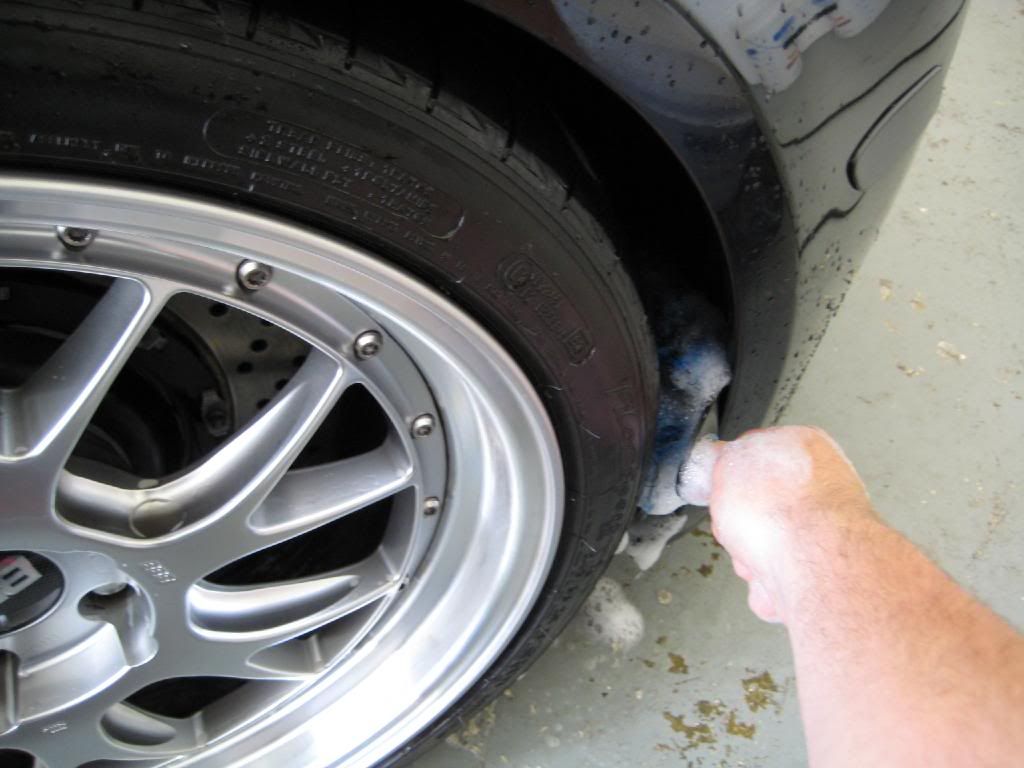
Once moved inside the wash bay, the wheels, tires, and wheel wells were cleaned with Optimum Power Clean and an EZ-Detail wheel brush and a stiff-bristled tire brush.
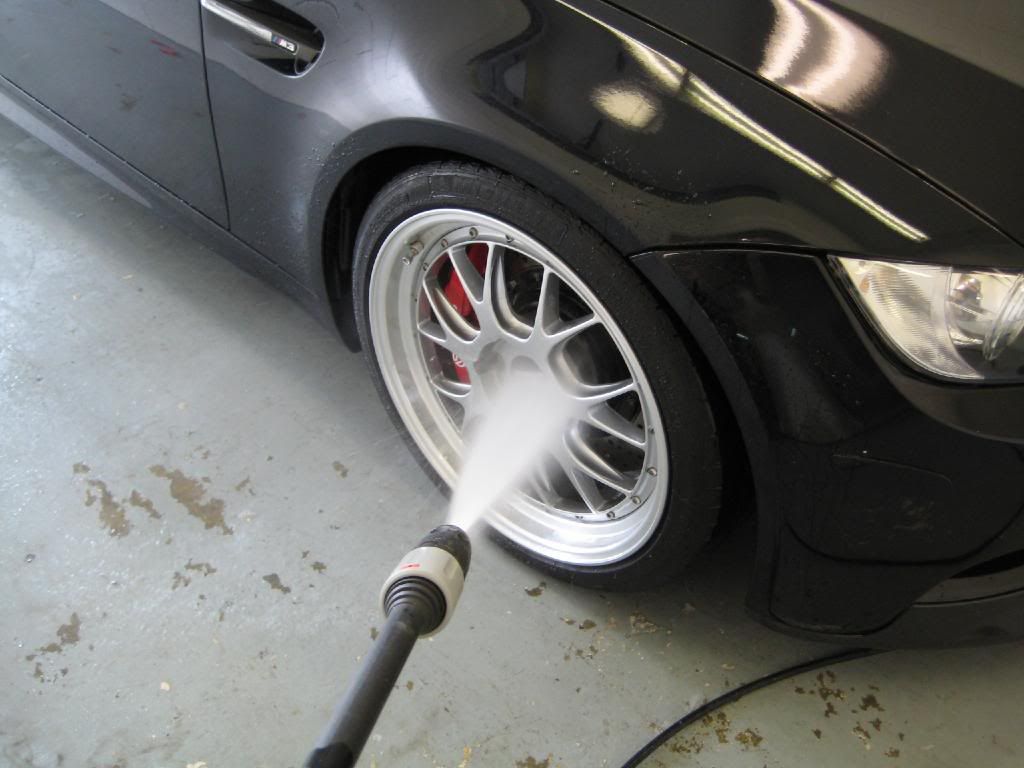
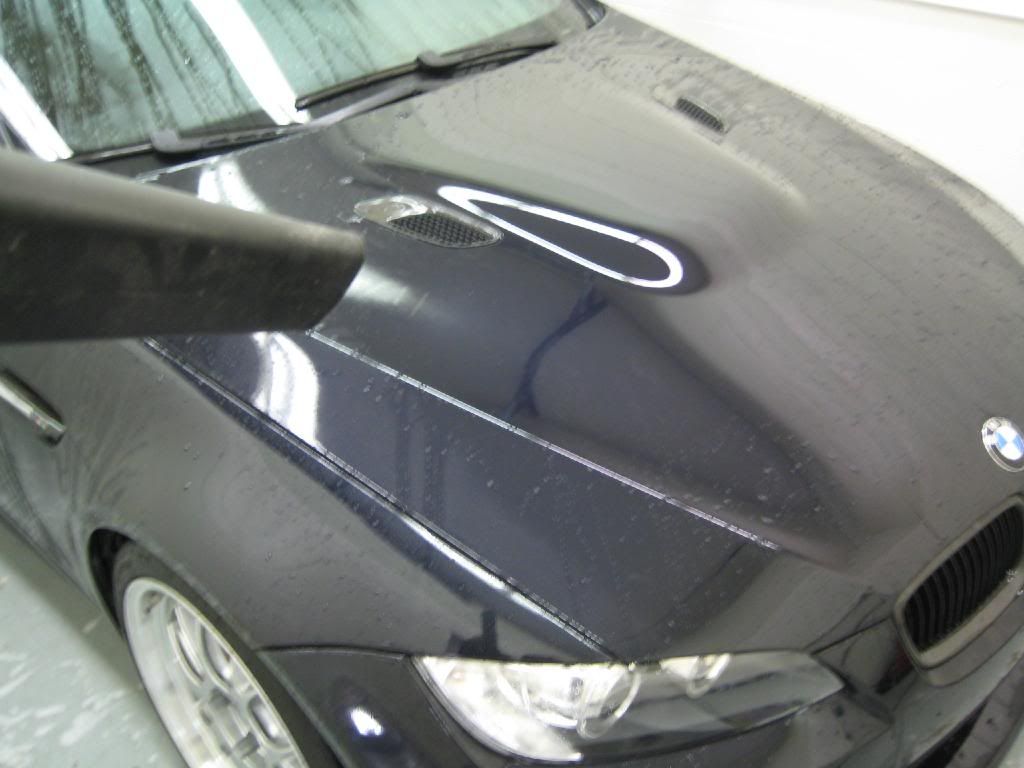
After a thorough pressure-rinsing, the body of the vehicle was washed with a Grit-Guard equipped bucket, Optimum Car Wash diluted 1 oz. to 1 gal. of water, and a cotton chenille wash mitt. Once the vehicle was clean, it was again pressure-rinsed and died with a leaf blower.
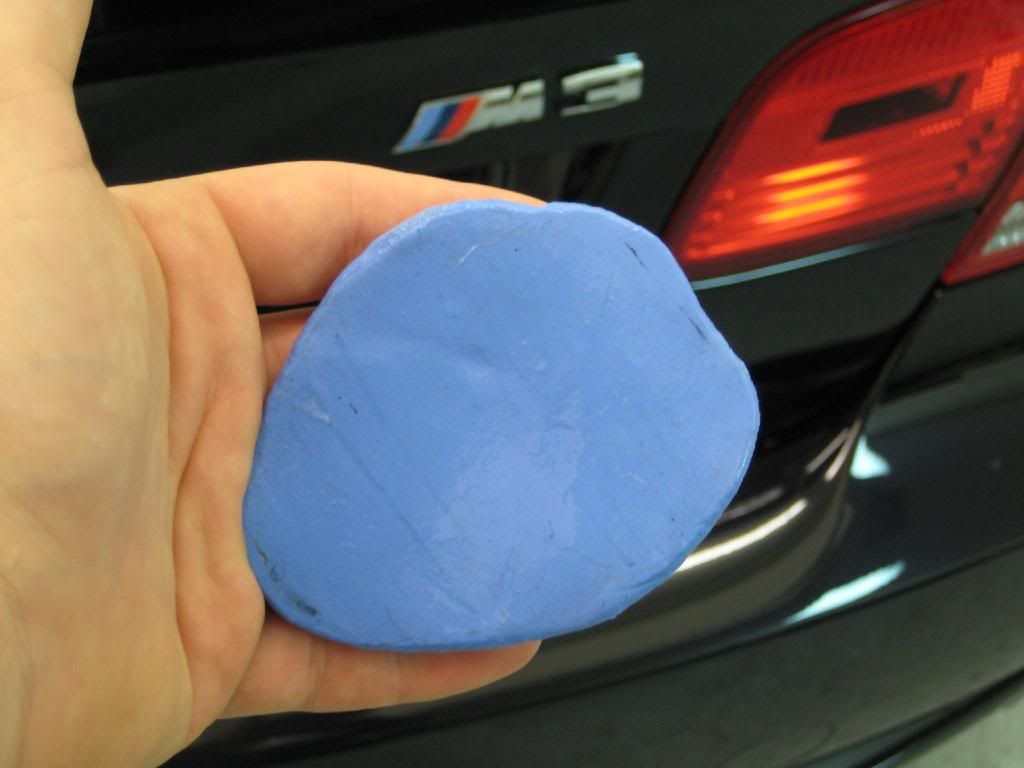
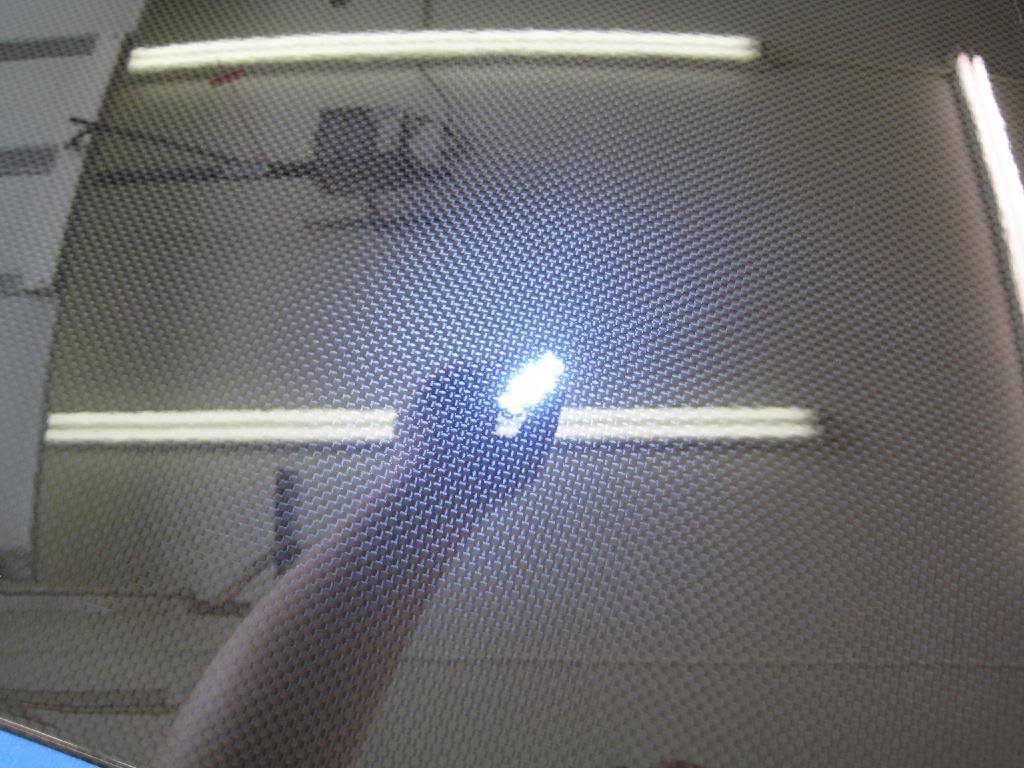
Now that the exterior was clean, it was time to clay what little paint was not covered in a clear bra. Here you can see I used a Clay Magic Fine Grade blue clay bar. For lube, I used ONR diluted to a 2 oz. to 1 gal. of water ratio. With this being a show car, there were minimal bonded contaminants to remove.
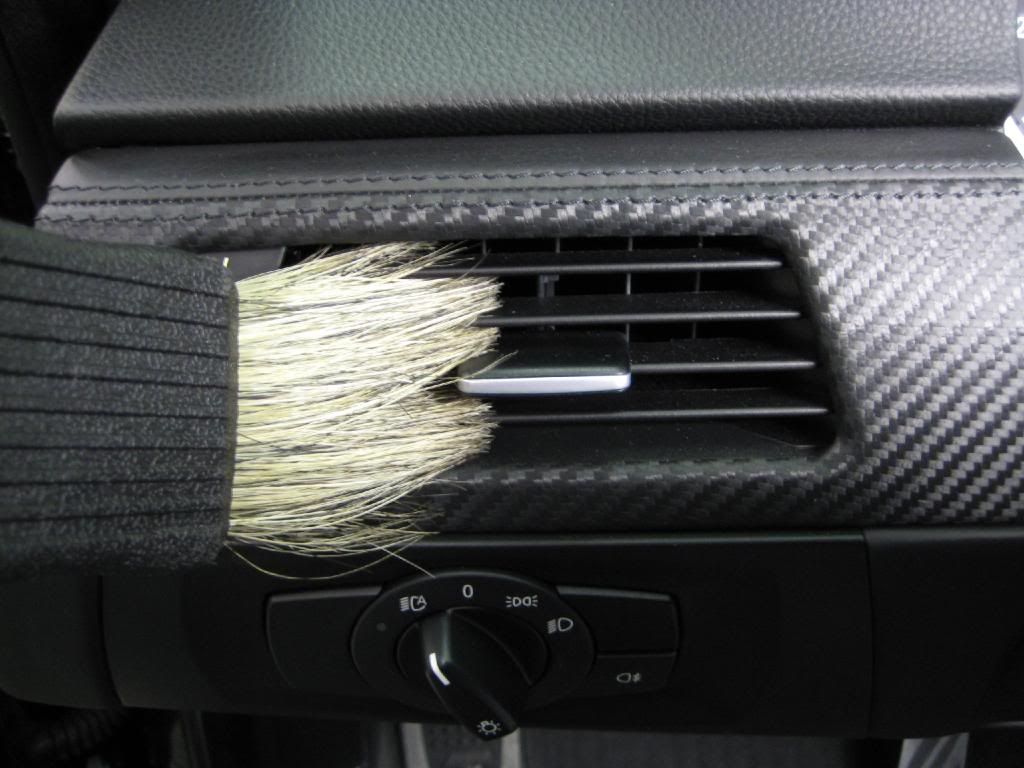
Moving inside, I dusted all crevices with a Meguiar's Slide 'n Lock boar's hair brush.
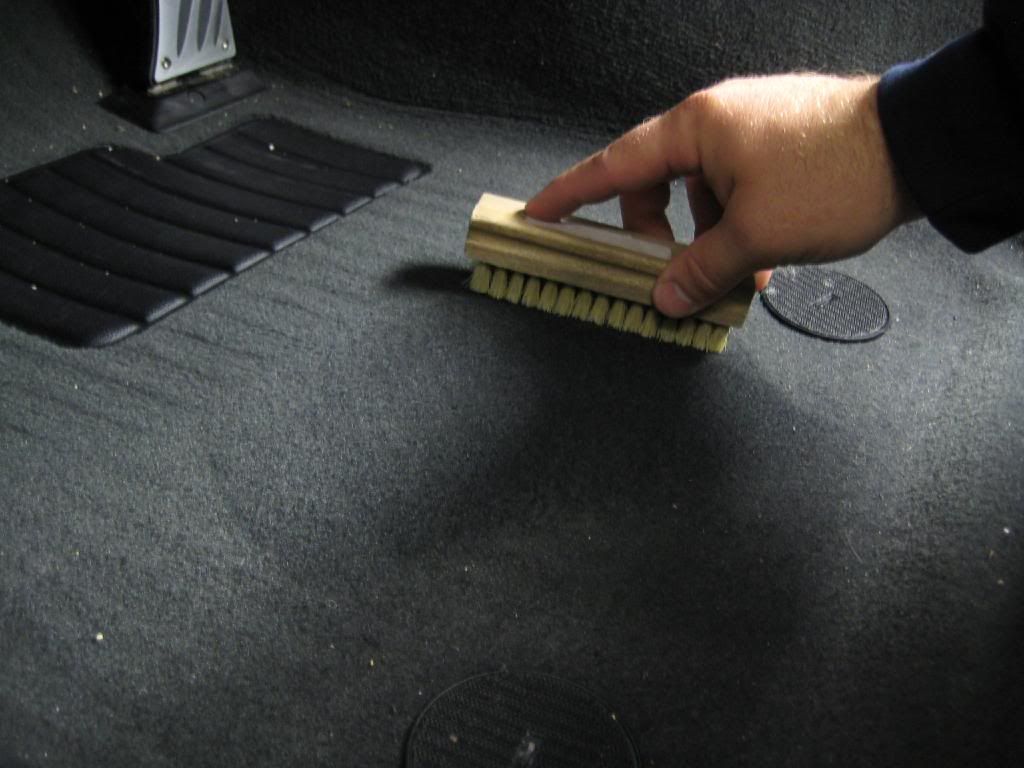
Since the carpets did not need shampooed, I used a stiff bristle brush to pull up any contaminants that vacuuming alone would not remove.
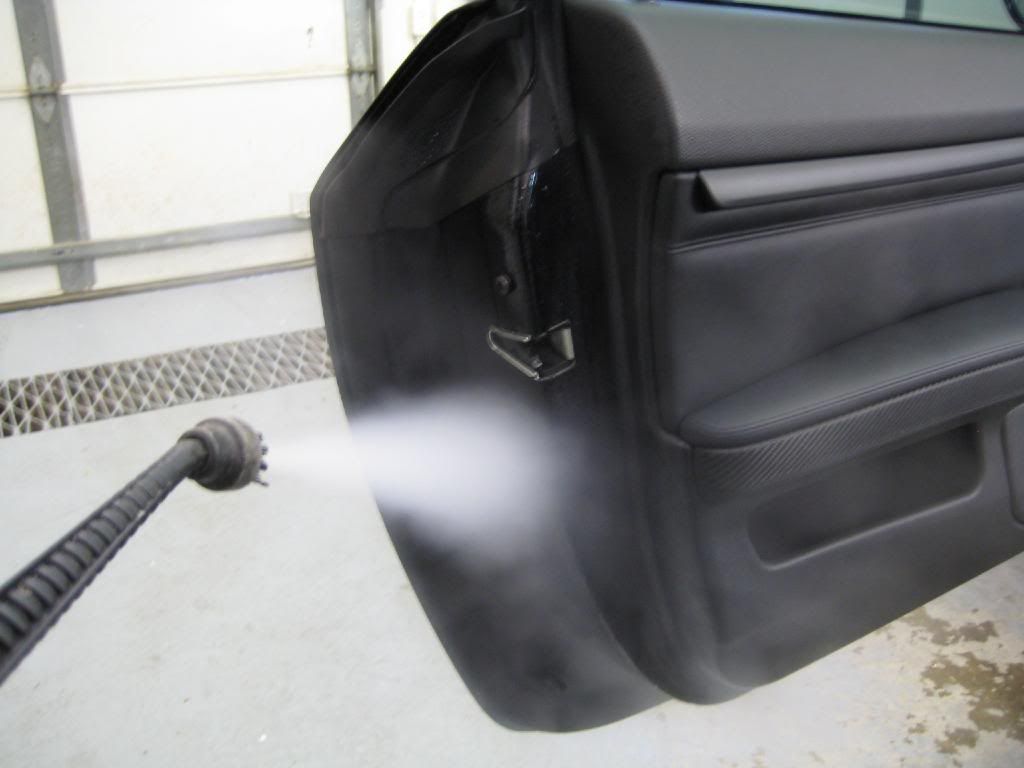
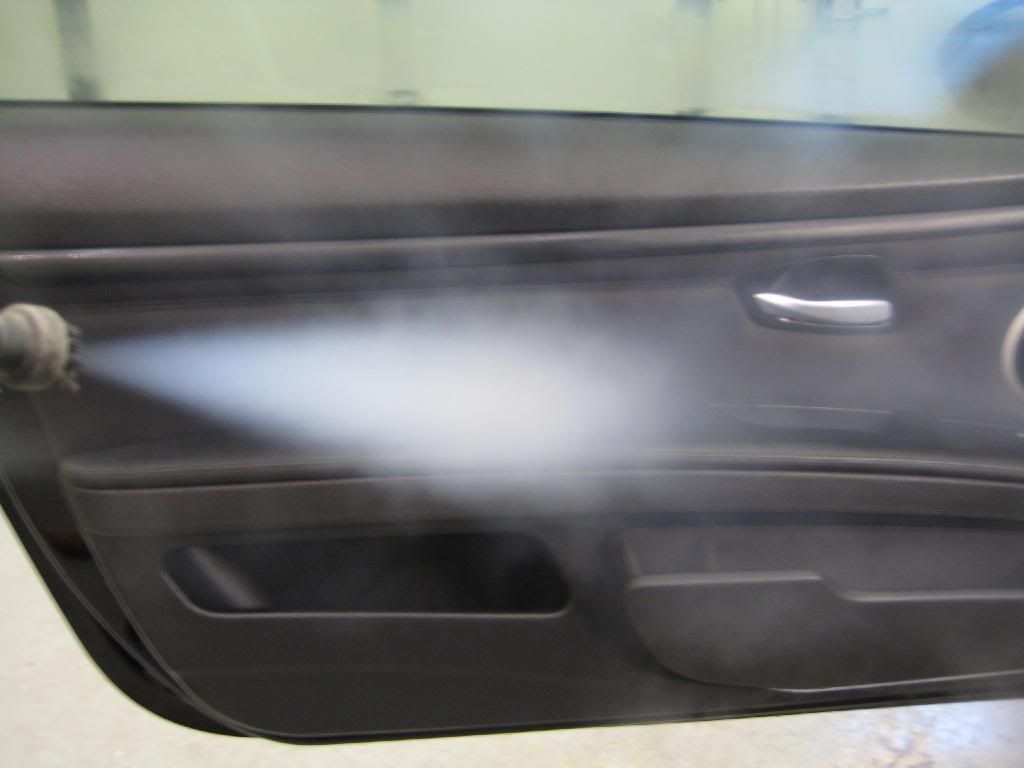
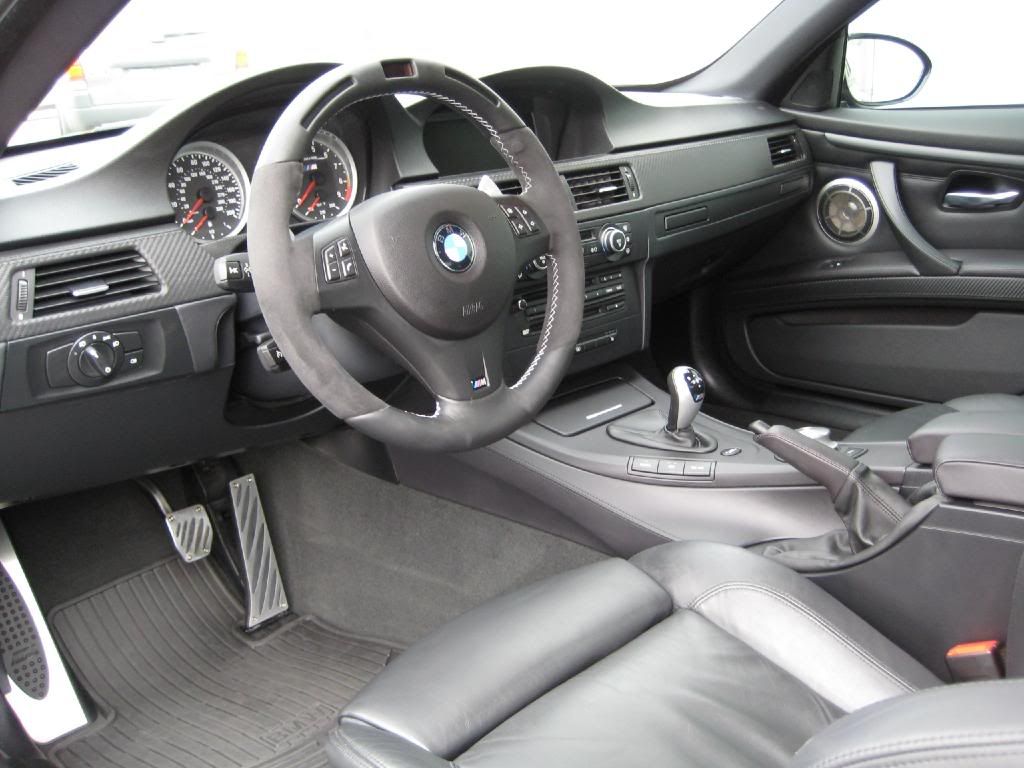
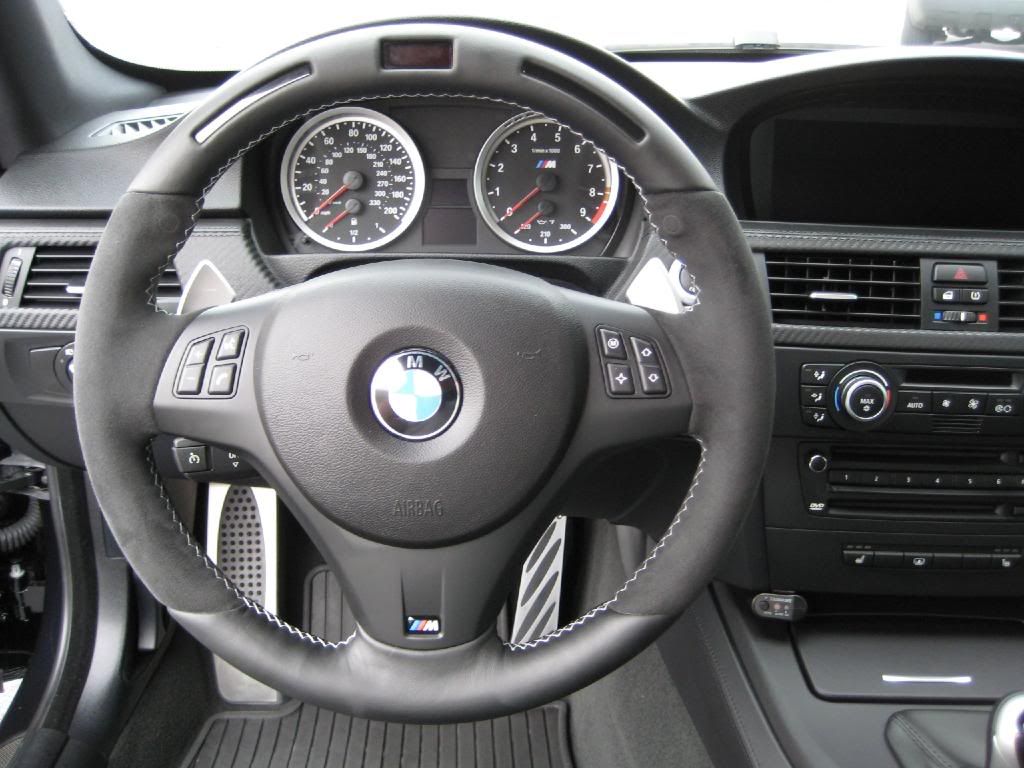
The rest of the interior was steam cleaned, including the door jambs.
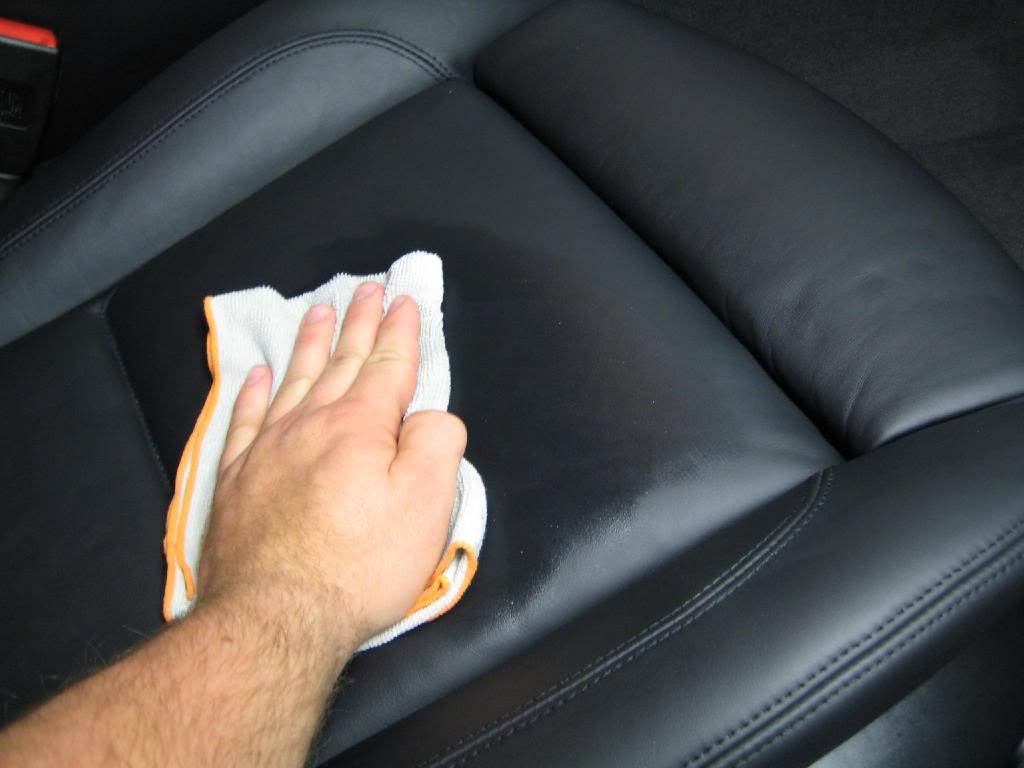
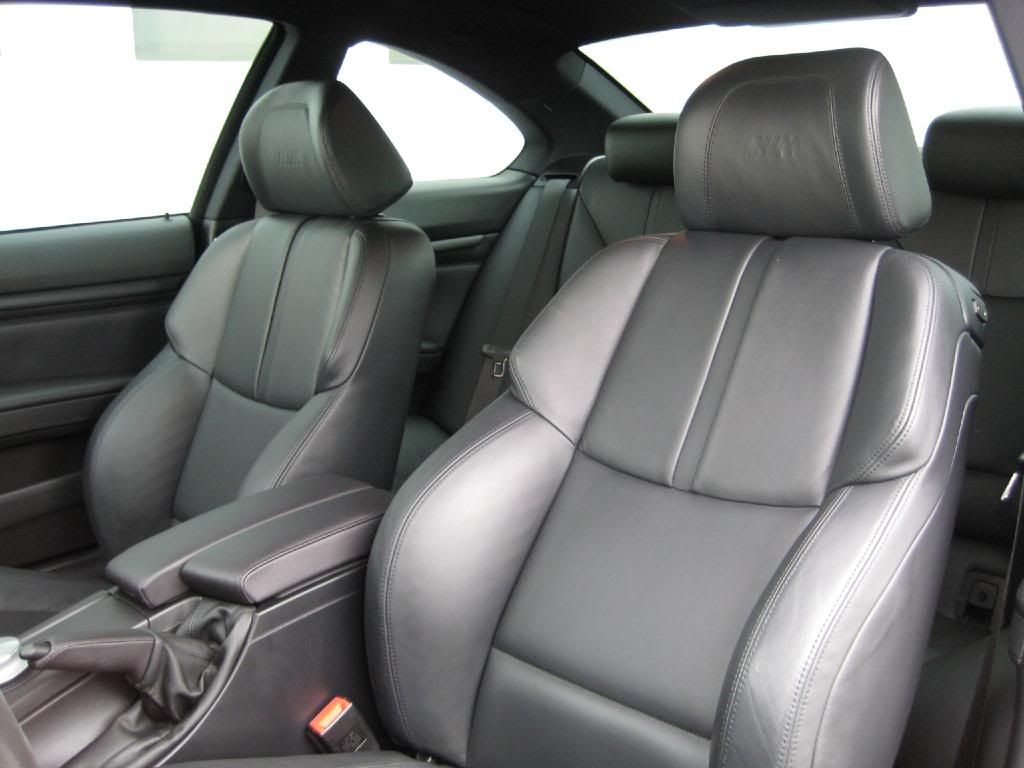
To complete the interior portion of the detail, all vinyl and leather surfaces were conditioned with Optimum Protectant Plus.
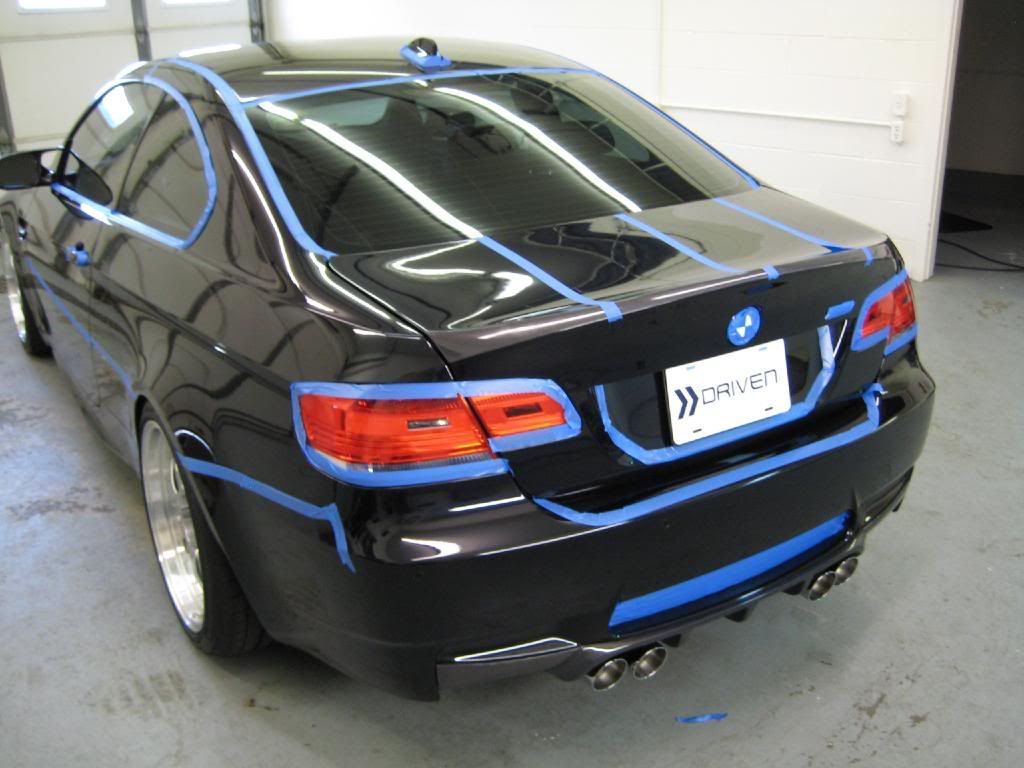
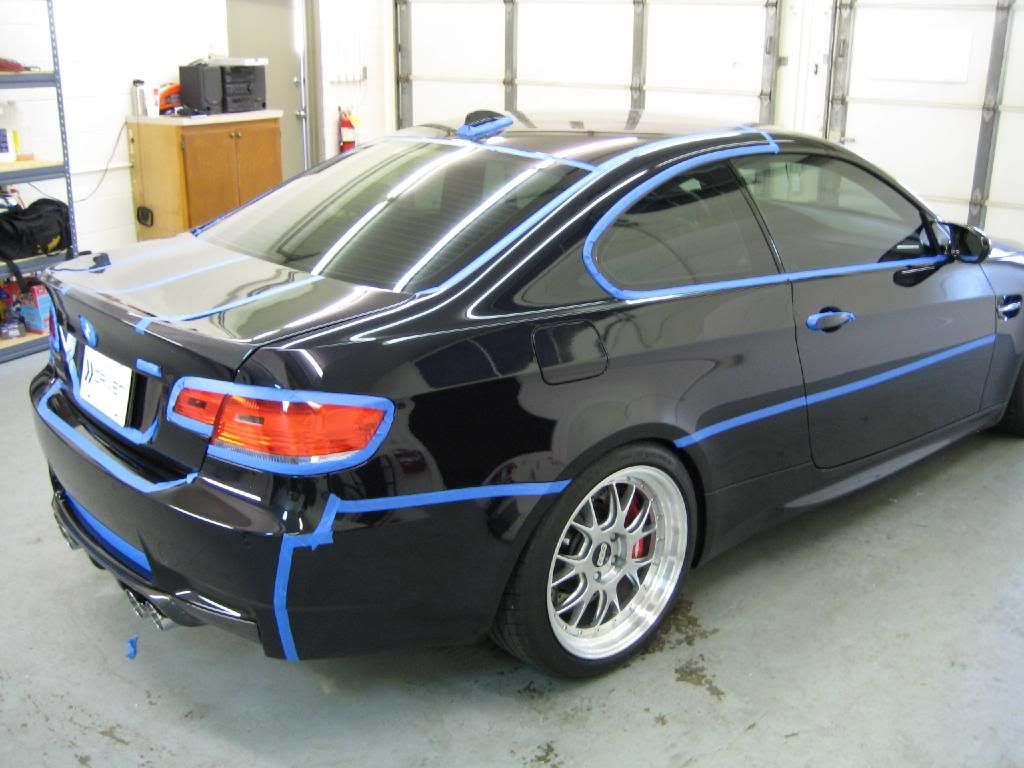
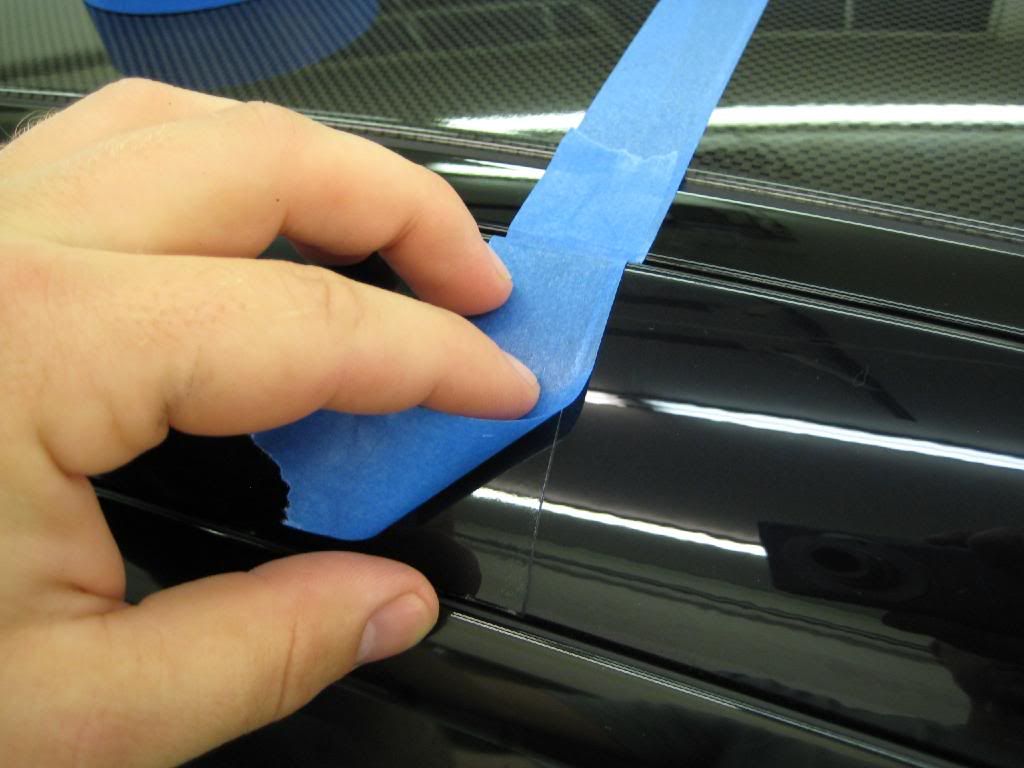
Back to the outside, I taped up the car with 3M blue painters tape, including the edges of the clear bra. I also taped off the trunk lid into 3 different sections for testing what polishing steps I would take to remove the swirls and allow the metallic flake to show through.
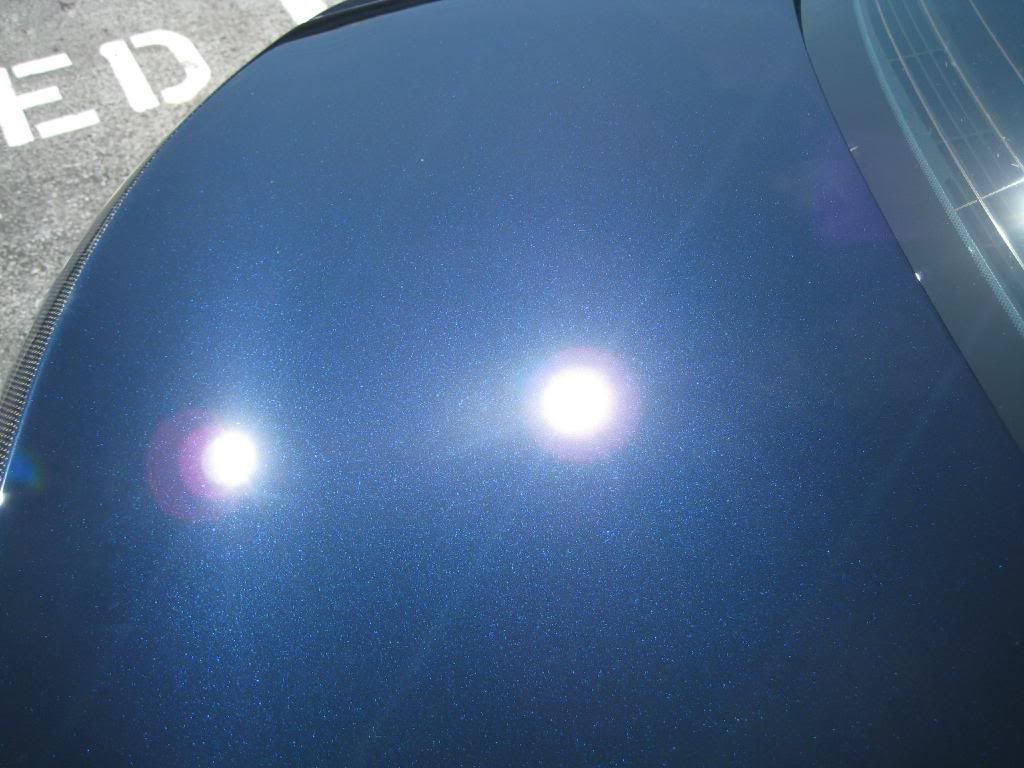
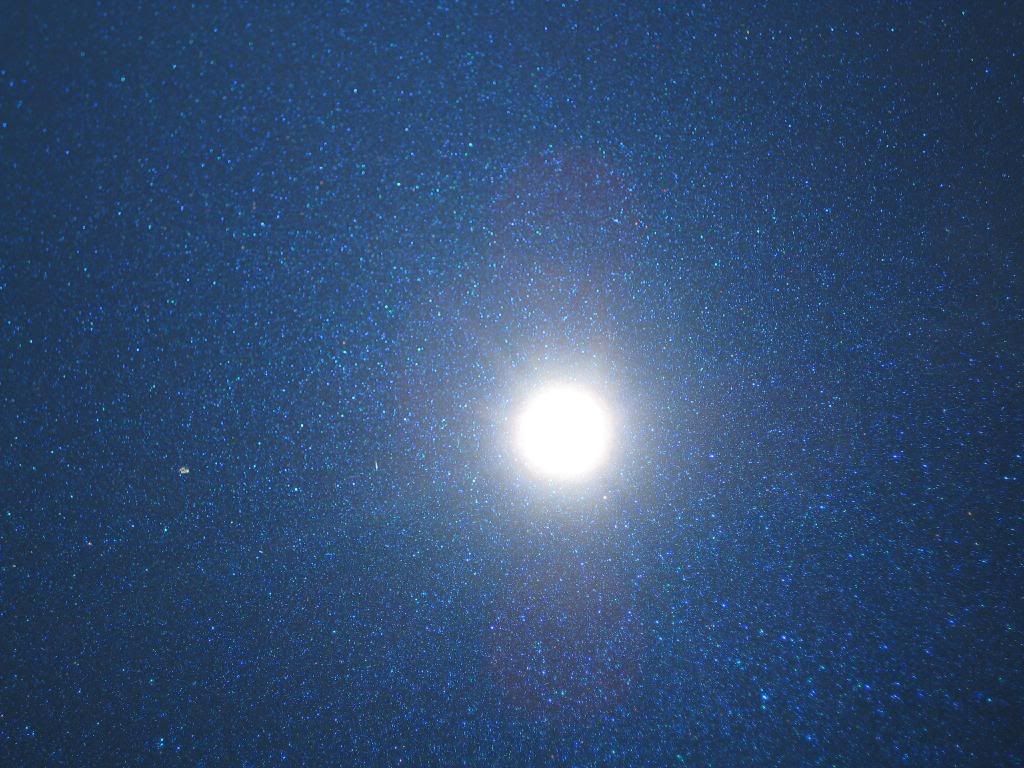
After doing a few test spots, I decided to use Optimum Polish II on a yellow Meg's polishing pad with the Makita rotary around 1000 - 1200 rpm's. I followed that with Optimum Finish on the PC with a Meguiar's tan finishing pad on speed 5. For areas covered in clear bra, I used Optimum Poli-Seal on a green 5.5" low-profile LC light polishing pad. Here you can see the results of that combination.
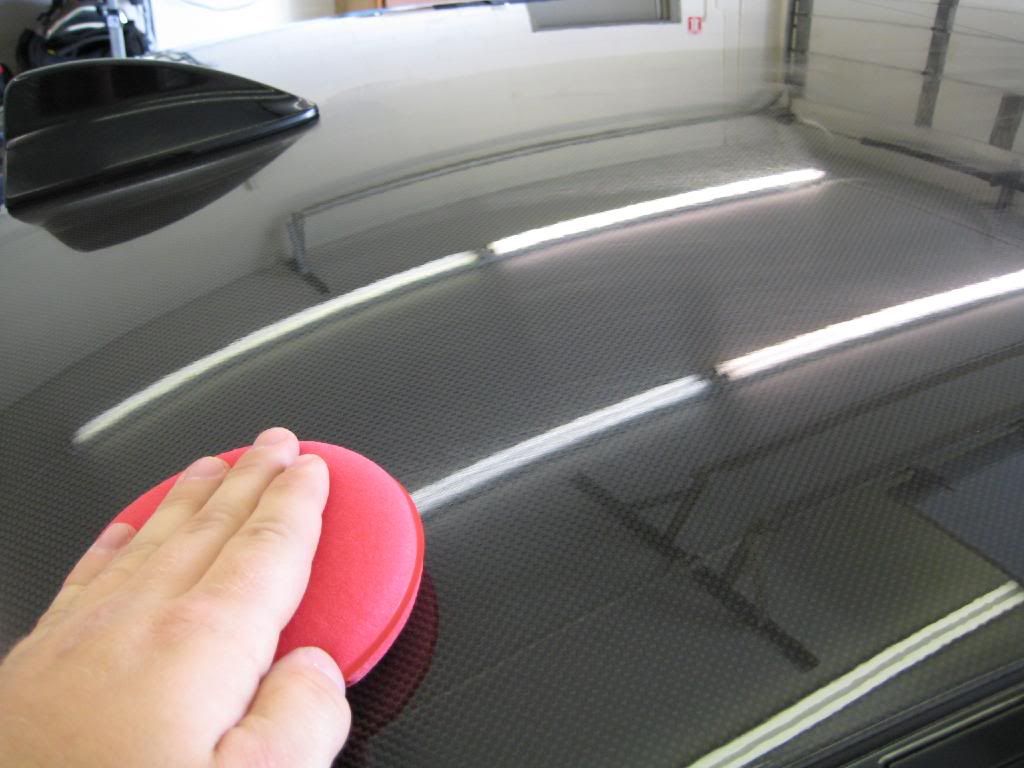
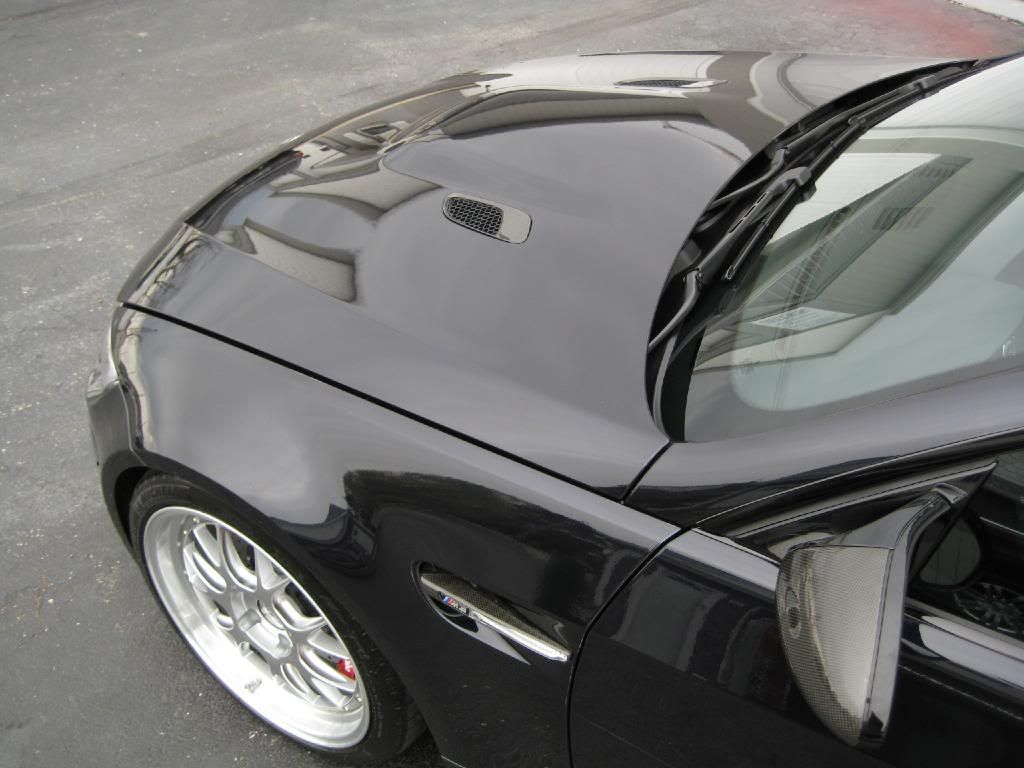
Top of the roof that is covered in carbon fiber.
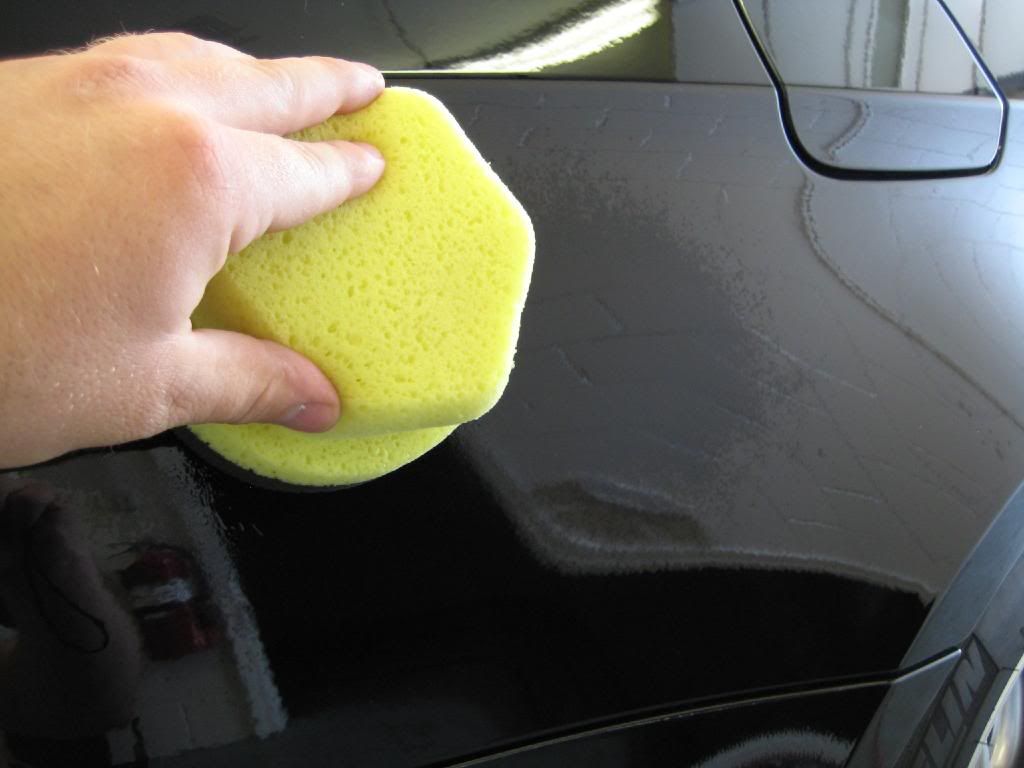
With the polishing out of the way, it was time to apply the sealant. For this step I used Optimum Opti-Seal.
After a few hours to cure, I topped the non-clear bra areas with a coat of Pinnacle Souveran paste wax.
Finally, the engine bay was wiped down with ONR diluted to a 6 oz. to 1 gal. ratio.
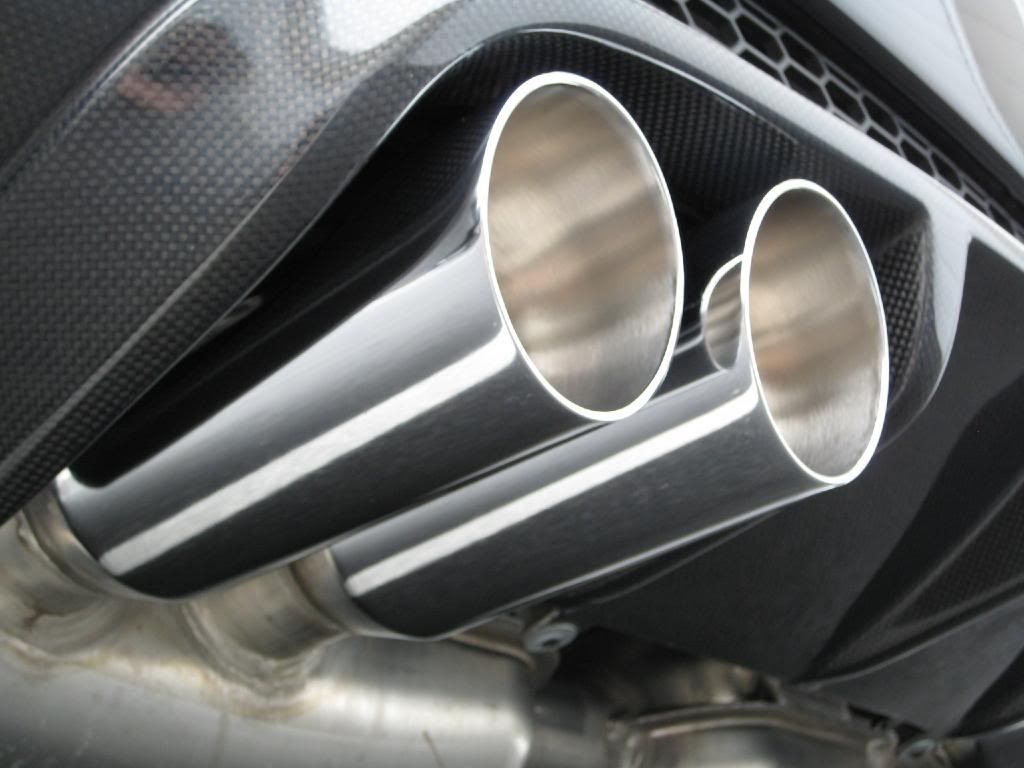
The exhaust tips were polished Optimum Metal Polish:
Anyway, since this is a show car the customer wanted to give it a thorough detail after having it garaged for the long winter. As I mentioned earlier, about 75% of the paint was covered in a clear bra. The other 25% had some light swirls and such that the owner wanted removed. Those were the biggest concern. Other than the swirls, the car was in very good condition.
Before pictures:
Notice the swirls:
Once moved inside the wash bay, the wheels, tires, and wheel wells were cleaned with Optimum Power Clean and an EZ-Detail wheel brush and a stiff-bristled tire brush.
After a thorough pressure-rinsing, the body of the vehicle was washed with a Grit-Guard equipped bucket, Optimum Car Wash diluted 1 oz. to 1 gal. of water, and a cotton chenille wash mitt. Once the vehicle was clean, it was again pressure-rinsed and died with a leaf blower.
Now that the exterior was clean, it was time to clay what little paint was not covered in a clear bra. Here you can see I used a Clay Magic Fine Grade blue clay bar. For lube, I used ONR diluted to a 2 oz. to 1 gal. of water ratio. With this being a show car, there were minimal bonded contaminants to remove.
Moving inside, I dusted all crevices with a Meguiar's Slide 'n Lock boar's hair brush.
Since the carpets did not need shampooed, I used a stiff bristle brush to pull up any contaminants that vacuuming alone would not remove.
The rest of the interior was steam cleaned, including the door jambs.
To complete the interior portion of the detail, all vinyl and leather surfaces were conditioned with Optimum Protectant Plus.
Back to the outside, I taped up the car with 3M blue painters tape, including the edges of the clear bra. I also taped off the trunk lid into 3 different sections for testing what polishing steps I would take to remove the swirls and allow the metallic flake to show through.
After doing a few test spots, I decided to use Optimum Polish II on a yellow Meg's polishing pad with the Makita rotary around 1000 - 1200 rpm's. I followed that with Optimum Finish on the PC with a Meguiar's tan finishing pad on speed 5. For areas covered in clear bra, I used Optimum Poli-Seal on a green 5.5" low-profile LC light polishing pad. Here you can see the results of that combination.
Top of the roof that is covered in carbon fiber.
With the polishing out of the way, it was time to apply the sealant. For this step I used Optimum Opti-Seal.
After a few hours to cure, I topped the non-clear bra areas with a coat of Pinnacle Souveran paste wax.
Finally, the engine bay was wiped down with ONR diluted to a 6 oz. to 1 gal. ratio.
The exhaust tips were polished Optimum Metal Polish:
")