Traeger2591
New member
I know some of you might know how this works and have seen results but I just thought I would post up some before and after pictures to help other people out. I know I had somewhat of a hard time finding good posts with pictures when I was doing research on this stuff.
After finally getting fed up with all the little white specs all over the front end of my car, I decided to do something about em. After doing some research on the internet it looked like Dr. Colorchip was my best bet. There was another choice I was considering called langka I think, but the dr. colorchip looked like it worked better, and it had better reviews from what I read. The paint is also color matched to your car so that makes it a little bit more believable (you give them your paint code, found on the inside of your trunk). It was pretty simple to use it, just clean your car, especially the area where the chips are, and then apply the paint. The instructions say to let it sit for atleast 2 minutes, but I waited for a couple hours to let it set up more. After that there is a special solution that you use to wipe of the excess paint. This is what makes this kit unique. You don't have to worry about getting the touch up paint on the rest of your vehicle because it just wipes off. The touch up paint only sticks to the areas where chips are. Pretty convenient if I do say so myself.
On their website there are 3 different "kits" to choose from. They say like up to a dozen chips for the smallest size one and like more than 2 dozen for the largest size. The prices are $39-$59 if I believe and shipping was another 10 bucks. I just ordered the smallest size kit cause I wasn't 100% sure this was gonna work. In the end, I had exactly half of the paint and solution left to do more chips if I wanted. I had wayyyyyy more than a dozen chips haha. Although they weren't that deep of chips, there were tons of them! At least 100 little spots that I corrected. I took before, during, and after pics. Keep in mind there were almost as many chips on the driver side as on the passenger side. The pictures are just from the passenger side (which was worse) just to get the point across. Both sides turned out great. Here are the results:
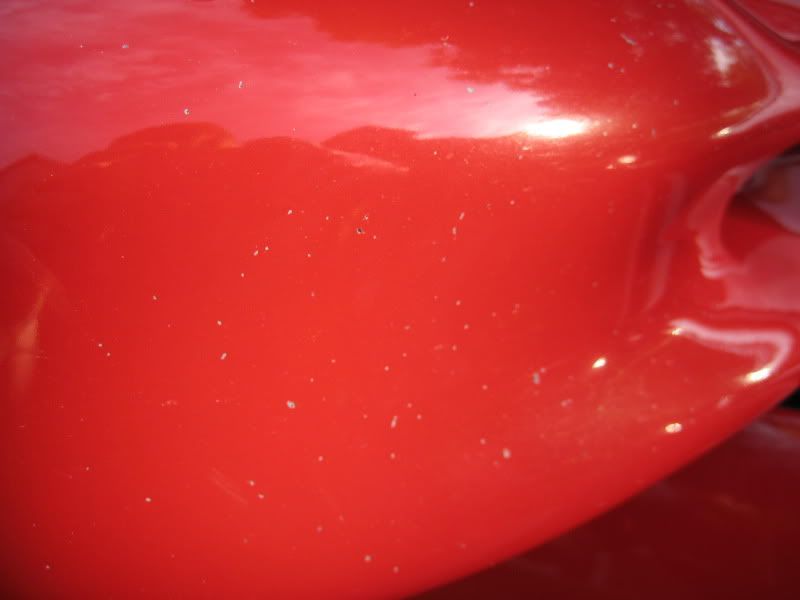
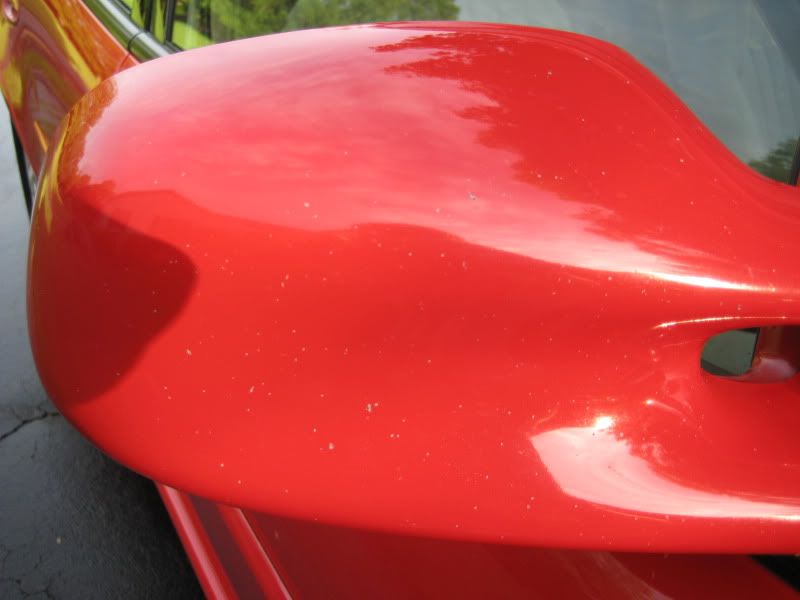
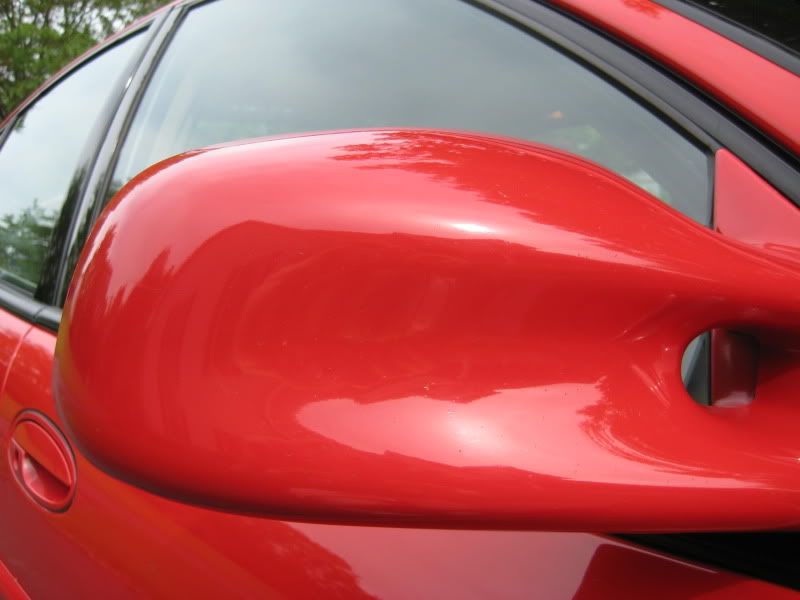
Mirror
Before:
During:
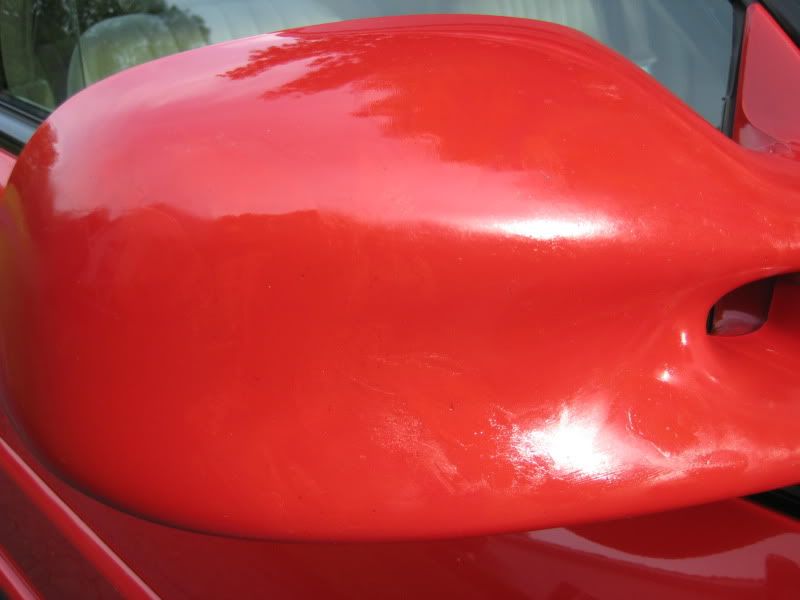
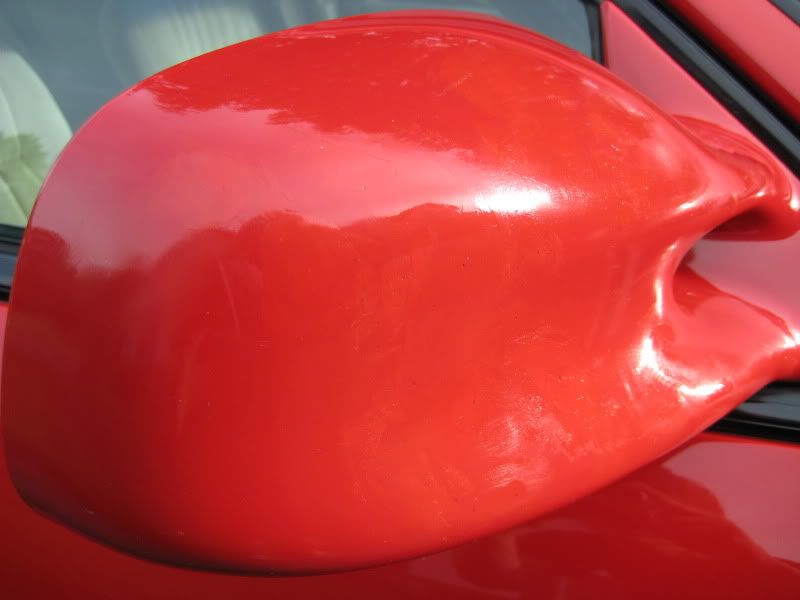
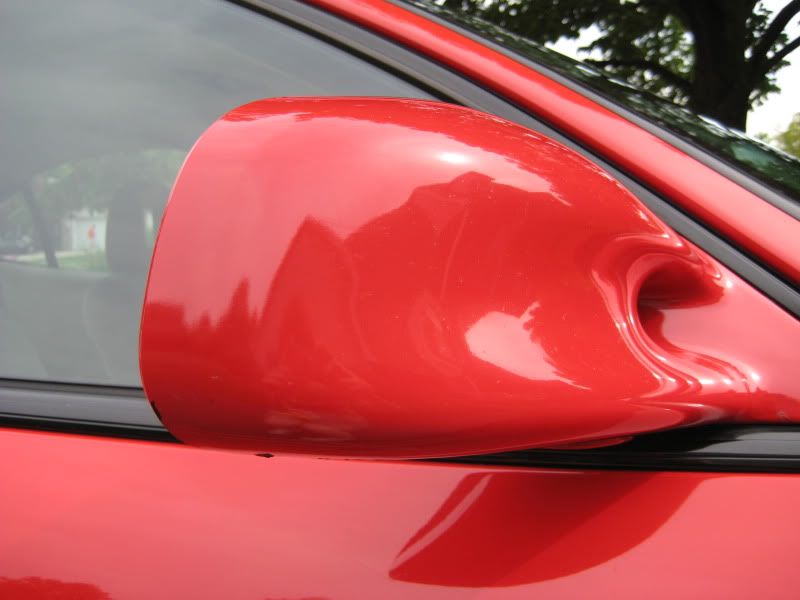
After:
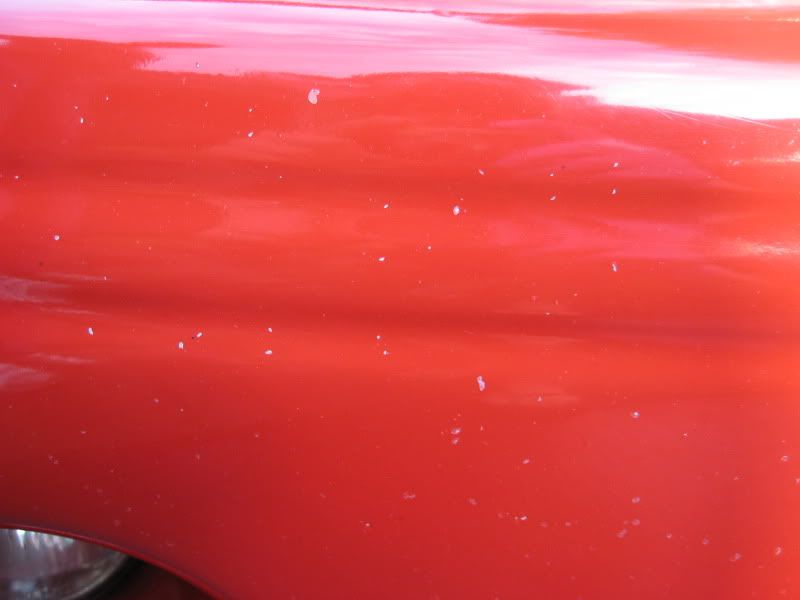
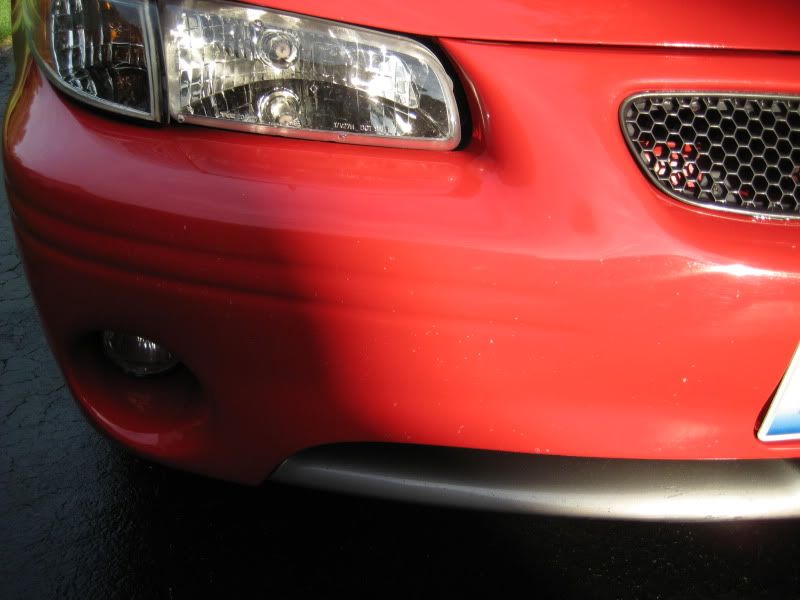
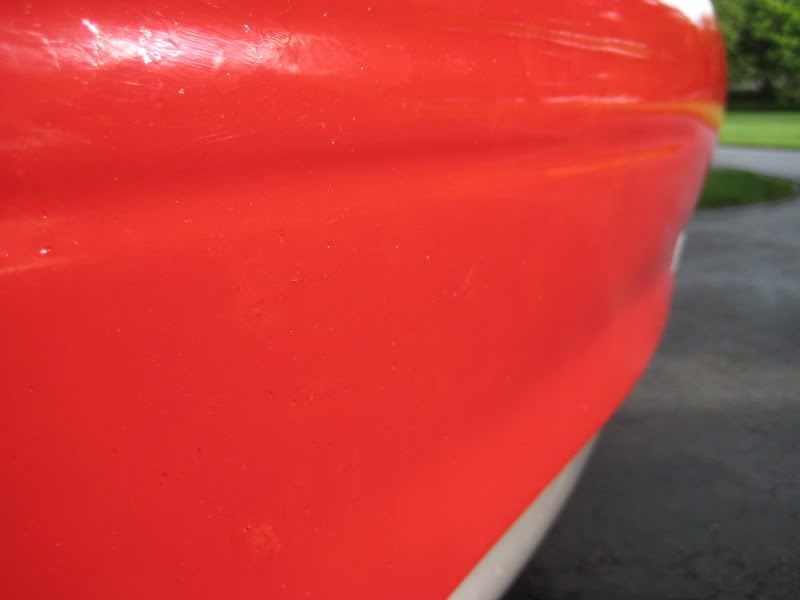
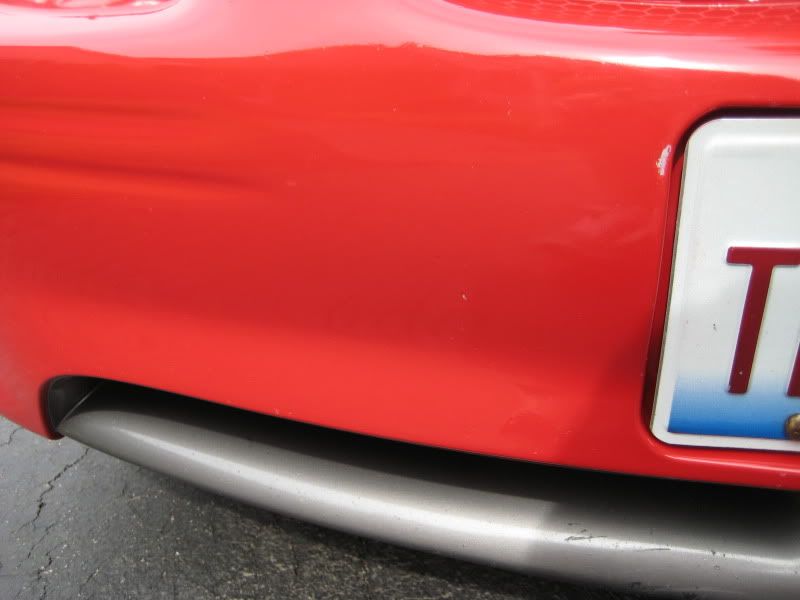
Bumper
Before:
During:
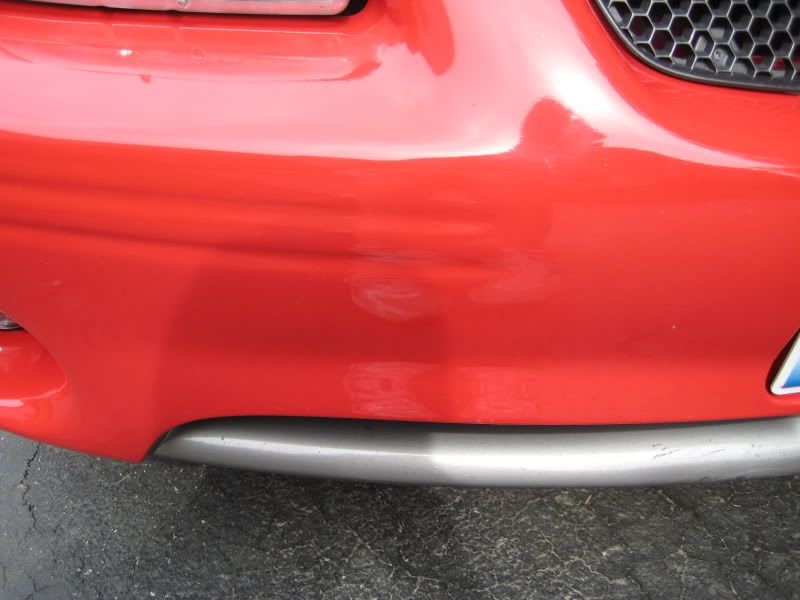
After:
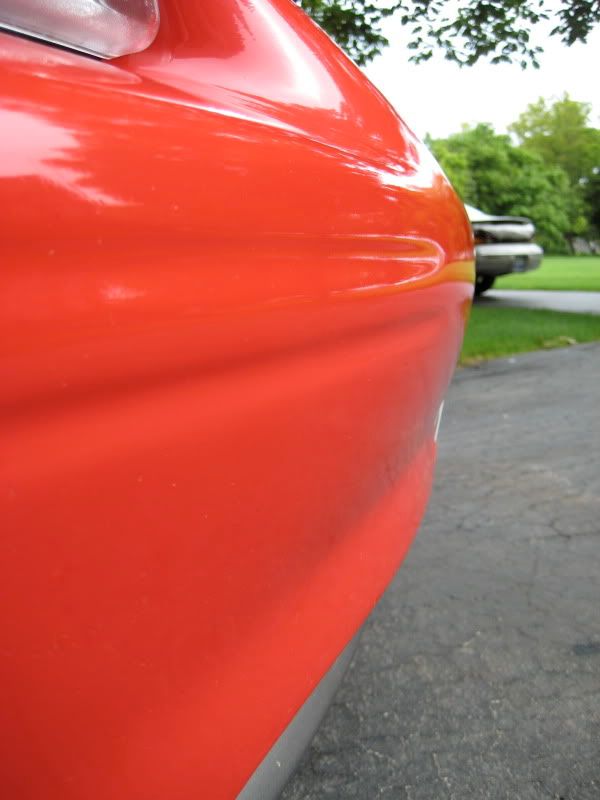
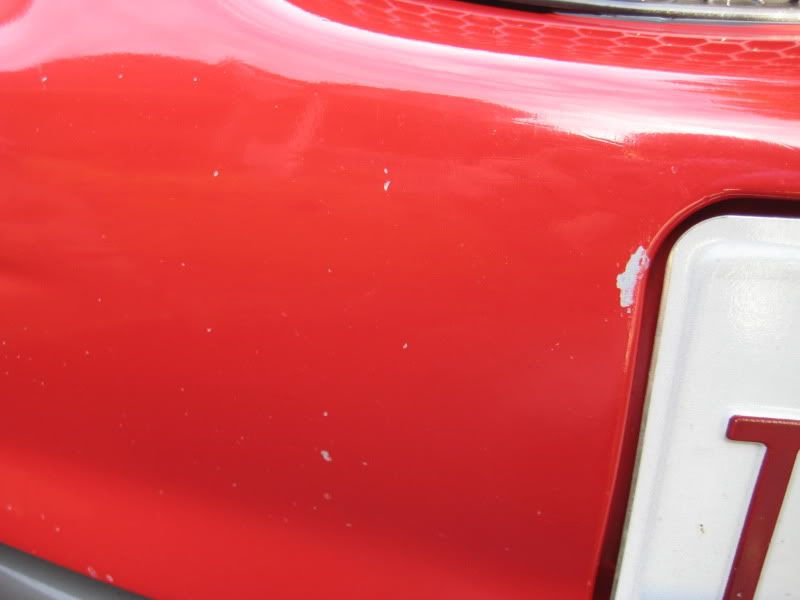
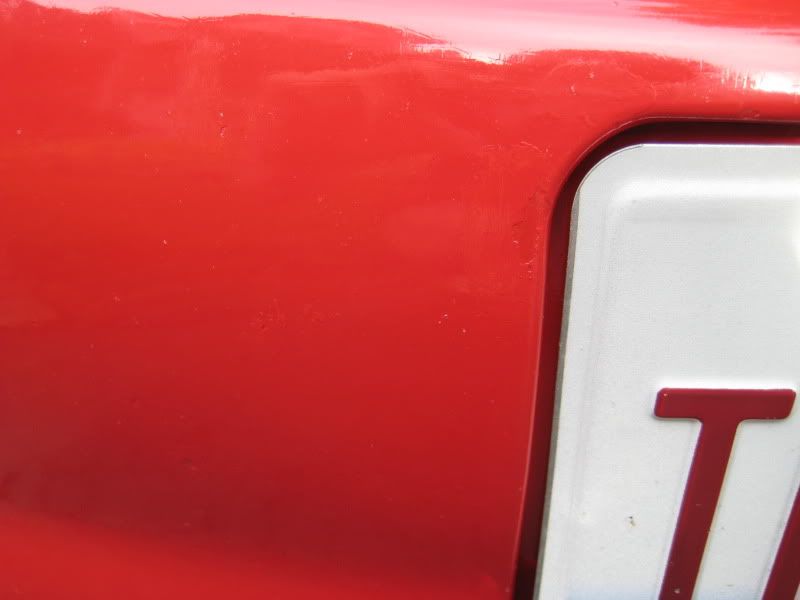
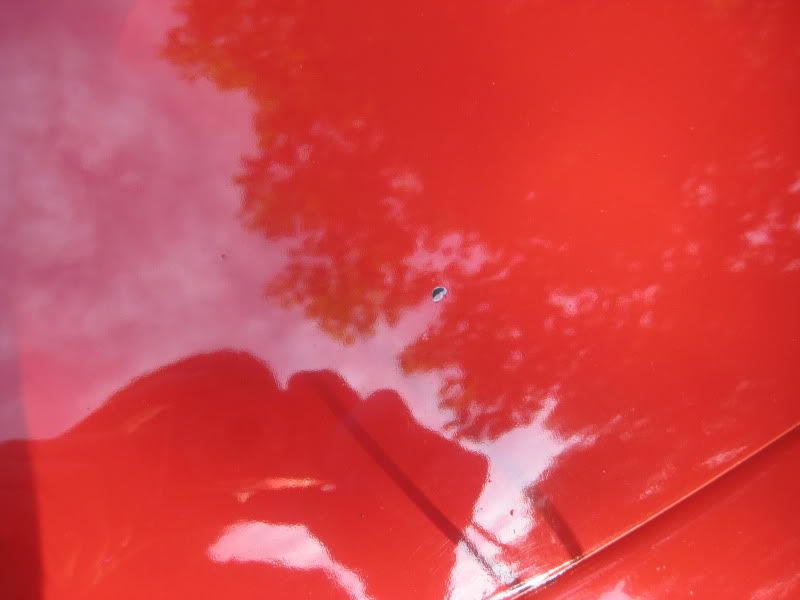
This one is very close, a couple inches away, just to show it doesn't eliminate the chips completely.
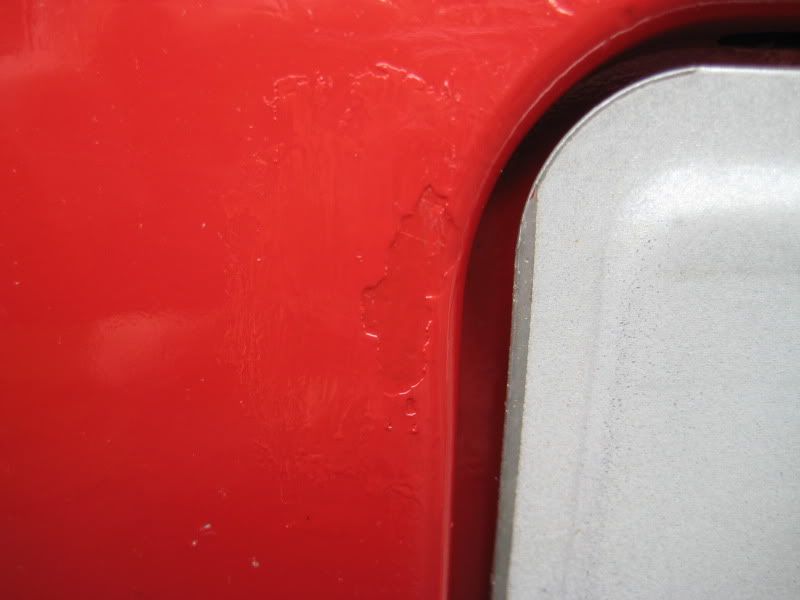
Big chip before:
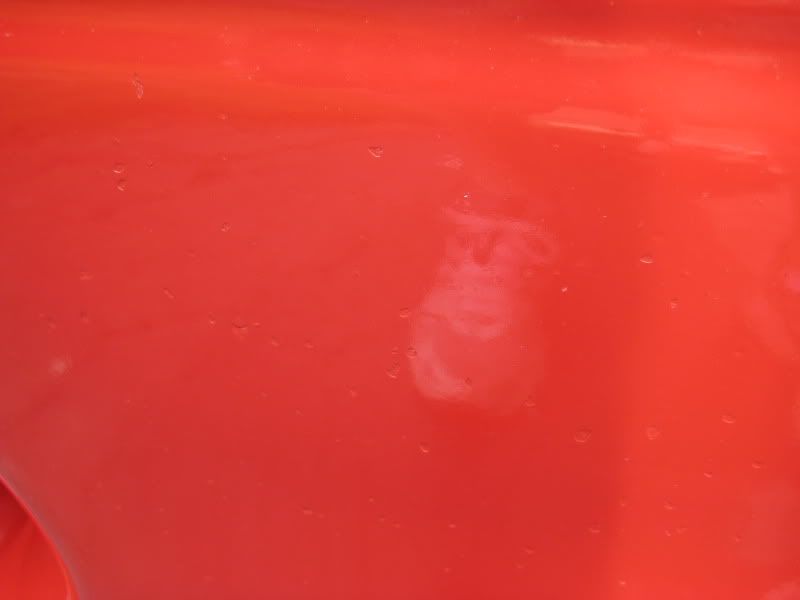
Big chip after (very close):
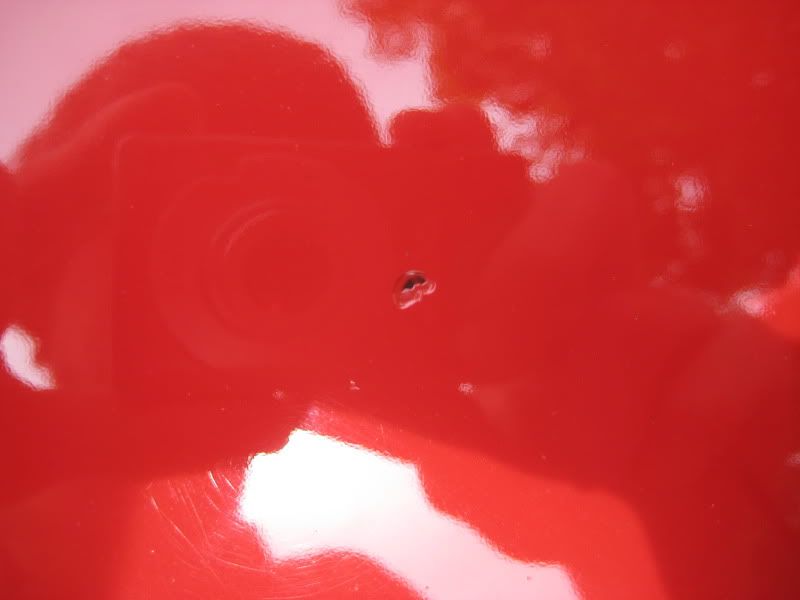
End result:
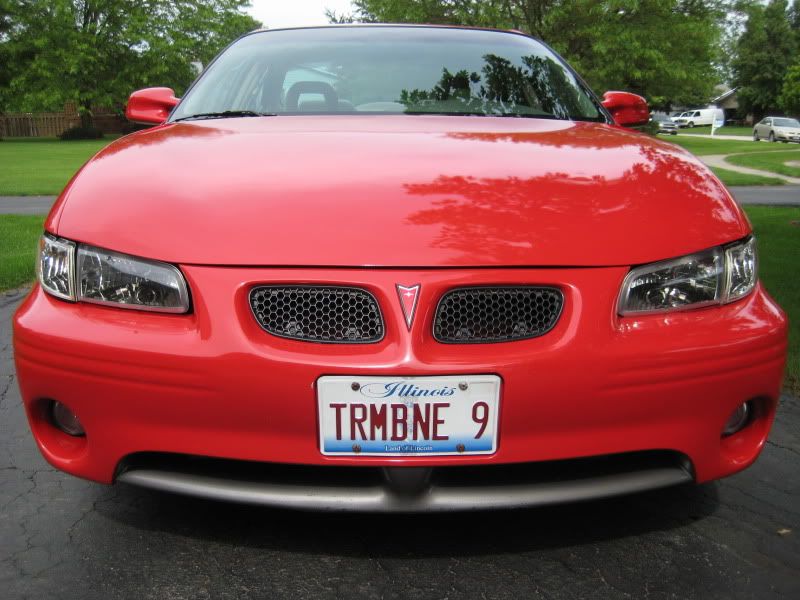
Overall I think this stuff did a great job. It was exactly what I was expecting out of it. As you can see from the pictures, it doesn't work great on deep chips or big scratches. Although I did put another quick coat on the big chip next to the bumper, and it covered it up alot better. I think that multiple coats will help to hide chips and scratches even more. A couple of the pics show the chips and how you can still see them. They are just filled in with paint so they aren't as visible. Keep in mind that those pictures that show the chips still are within a couple inches from the car. Going and looking at the car now, I have a hard time finding most of the chips that were there before. Like I said, it's not perfect and it's not gonna make everything go look perfect again, but it did do an amazing job. I can't see any of the chips anymore unless I get within a foot or 6 inches from them. I know for some people that's not good enough, but hey, look at what it was like before I used this stuff. If you got alot of little specs like this on your car try this stuff out.
After finally getting fed up with all the little white specs all over the front end of my car, I decided to do something about em. After doing some research on the internet it looked like Dr. Colorchip was my best bet. There was another choice I was considering called langka I think, but the dr. colorchip looked like it worked better, and it had better reviews from what I read. The paint is also color matched to your car so that makes it a little bit more believable (you give them your paint code, found on the inside of your trunk). It was pretty simple to use it, just clean your car, especially the area where the chips are, and then apply the paint. The instructions say to let it sit for atleast 2 minutes, but I waited for a couple hours to let it set up more. After that there is a special solution that you use to wipe of the excess paint. This is what makes this kit unique. You don't have to worry about getting the touch up paint on the rest of your vehicle because it just wipes off. The touch up paint only sticks to the areas where chips are. Pretty convenient if I do say so myself.
On their website there are 3 different "kits" to choose from. They say like up to a dozen chips for the smallest size one and like more than 2 dozen for the largest size. The prices are $39-$59 if I believe and shipping was another 10 bucks. I just ordered the smallest size kit cause I wasn't 100% sure this was gonna work. In the end, I had exactly half of the paint and solution left to do more chips if I wanted. I had wayyyyyy more than a dozen chips haha. Although they weren't that deep of chips, there were tons of them! At least 100 little spots that I corrected. I took before, during, and after pics. Keep in mind there were almost as many chips on the driver side as on the passenger side. The pictures are just from the passenger side (which was worse) just to get the point across. Both sides turned out great. Here are the results:
Mirror
Before:
During:
After:
Bumper
Before:
During:
After:
This one is very close, a couple inches away, just to show it doesn't eliminate the chips completely.
Big chip before:
Big chip after (very close):
End result:
Overall I think this stuff did a great job. It was exactly what I was expecting out of it. As you can see from the pictures, it doesn't work great on deep chips or big scratches. Although I did put another quick coat on the big chip next to the bumper, and it covered it up alot better. I think that multiple coats will help to hide chips and scratches even more. A couple of the pics show the chips and how you can still see them. They are just filled in with paint so they aren't as visible. Keep in mind that those pictures that show the chips still are within a couple inches from the car. Going and looking at the car now, I have a hard time finding most of the chips that were there before. Like I said, it's not perfect and it's not gonna make everything go look perfect again, but it did do an amazing job. I can't see any of the chips anymore unless I get within a foot or 6 inches from them. I know for some people that's not good enough, but hey, look at what it was like before I used this stuff. If you got alot of little specs like this on your car try this stuff out.
")