911fanatic
New member
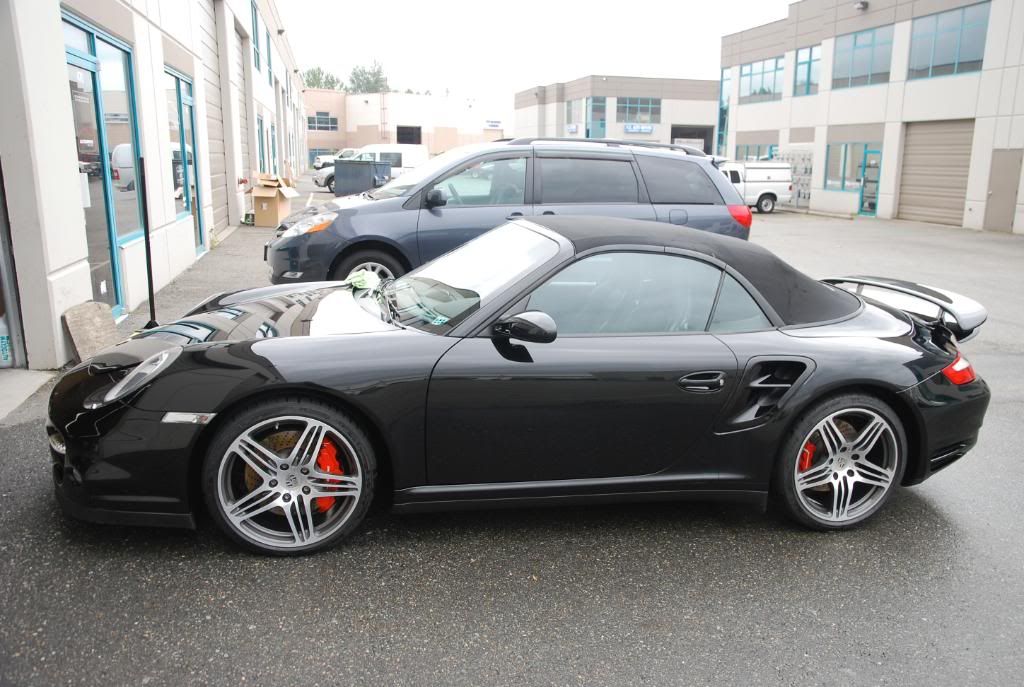
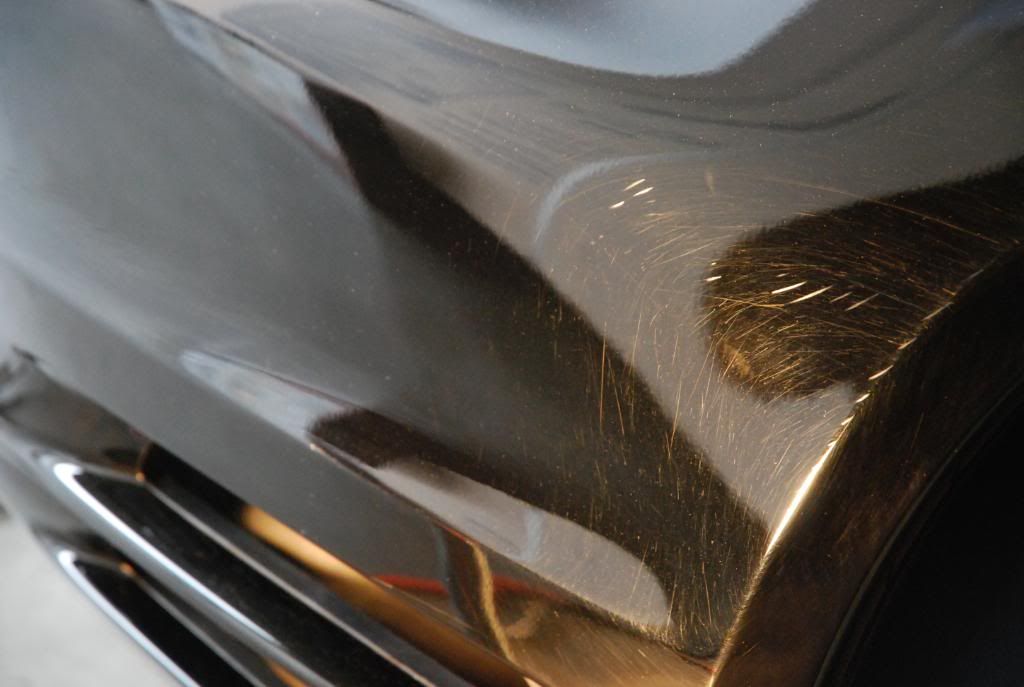
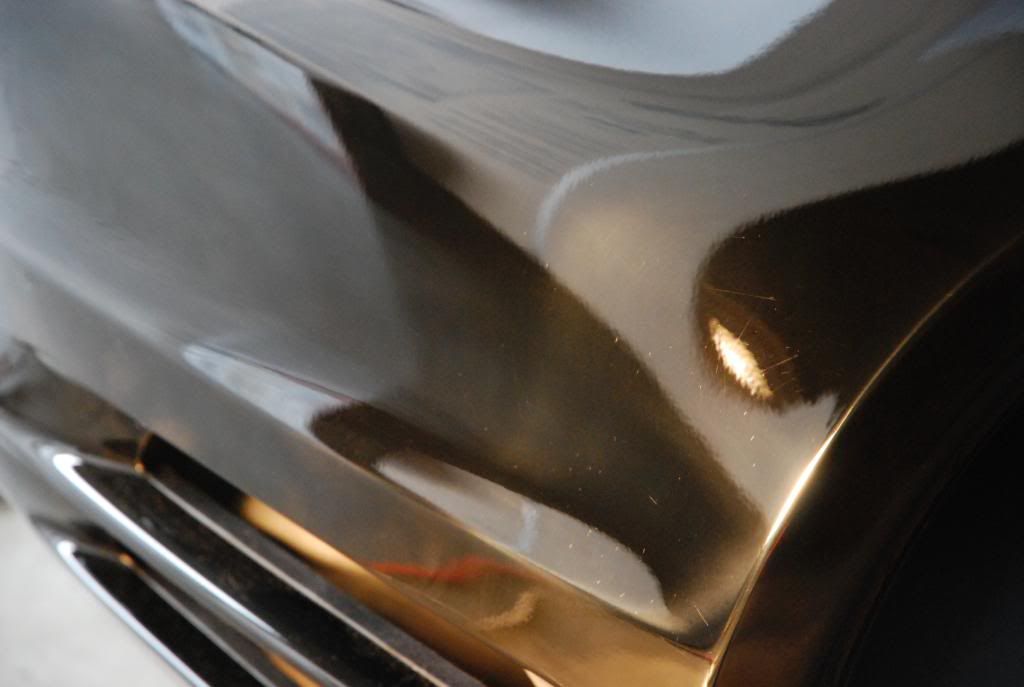
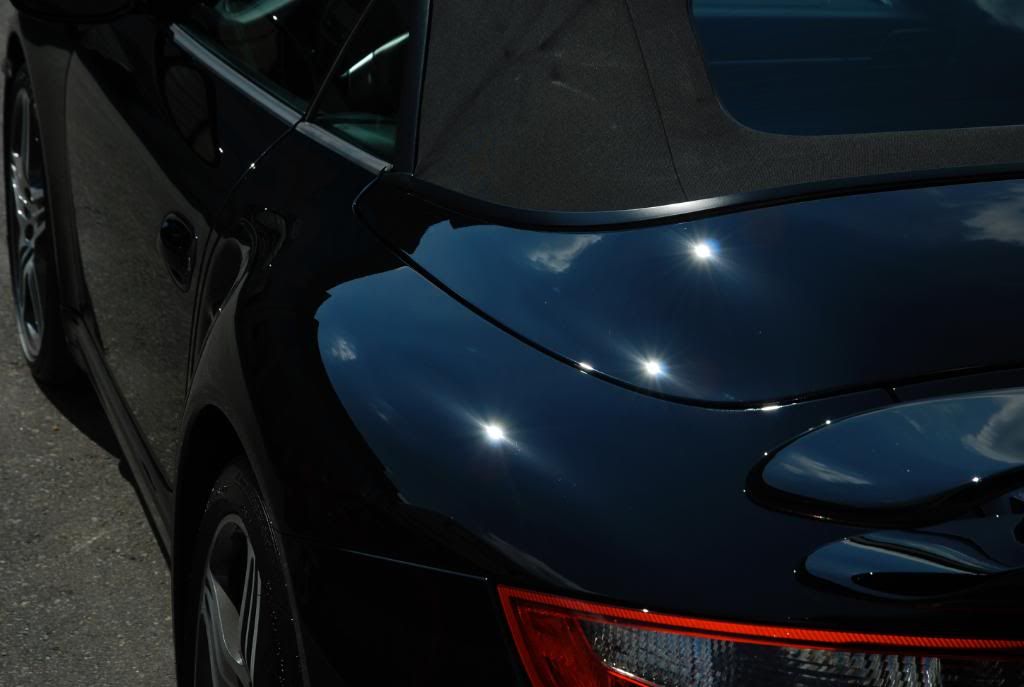
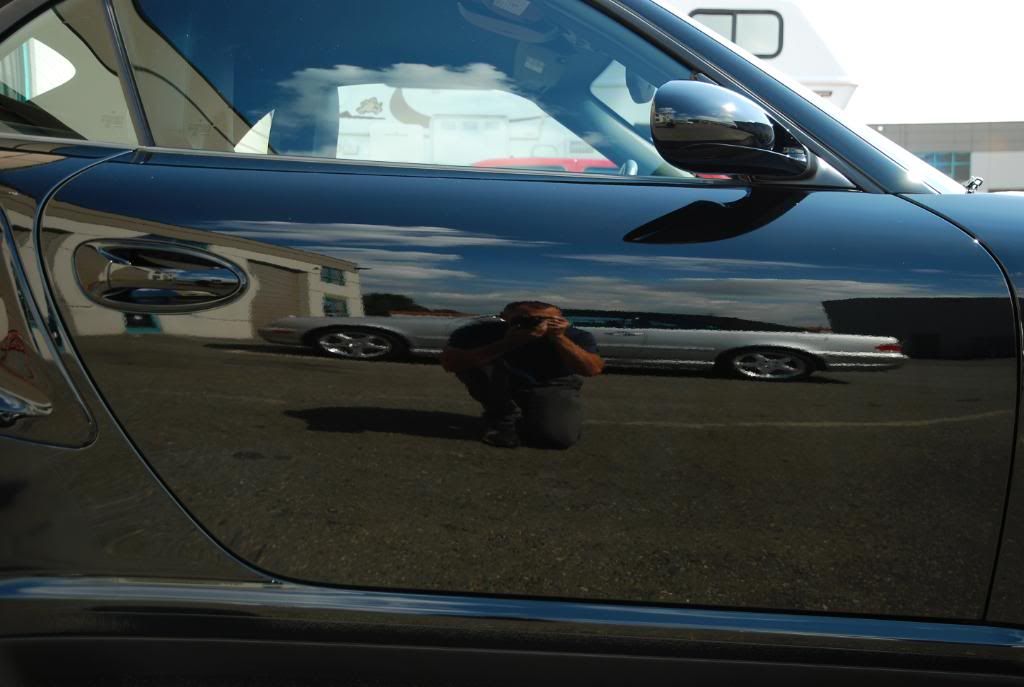
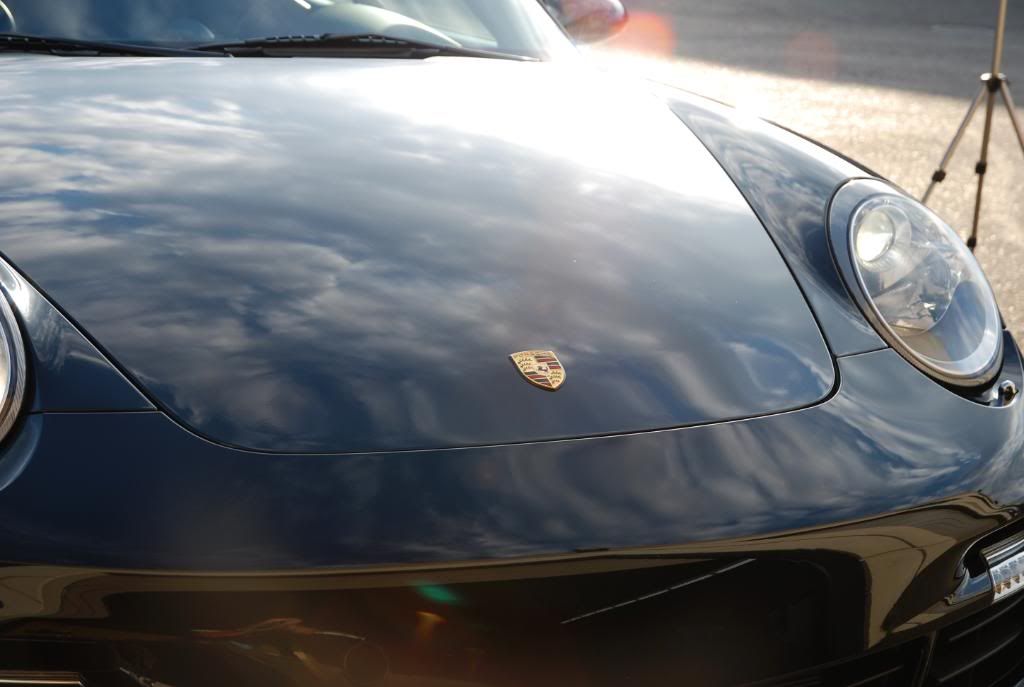
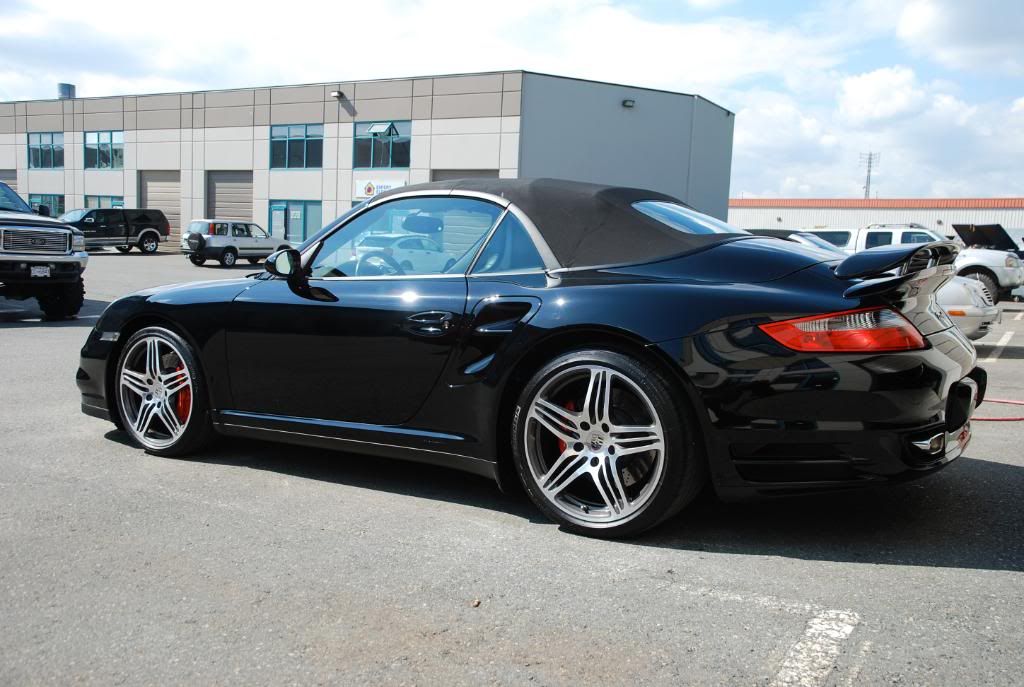
Client brought this turbo in as it needed some TLC. After discussing options with the owner, we decided on a single stage correction with full interior detail. A two stage would have made it perfect, but the swirls were light and I was confident that a single stage would leave the car looking pretty much perfect, even in direct sunlight.
Engine, jambs, trim etc cleaned with Exclusive APC at 3:1
Inner fenders and suspension cleaned with Exclusive APC straight
Top cleaned with Exclusive APC at 3:1
Washed with DP Extreme Foam and Megs MF wash mitt
Decontaminated with IronX
Polished with PC/ B&S Yellow/ Menz Power Finish
Wheels cleaned with Exclusive Tire and Wheel Cleaner straight and sealed with Blackfire All Metal Sealant
Tires dressed with Swissvax Pneu
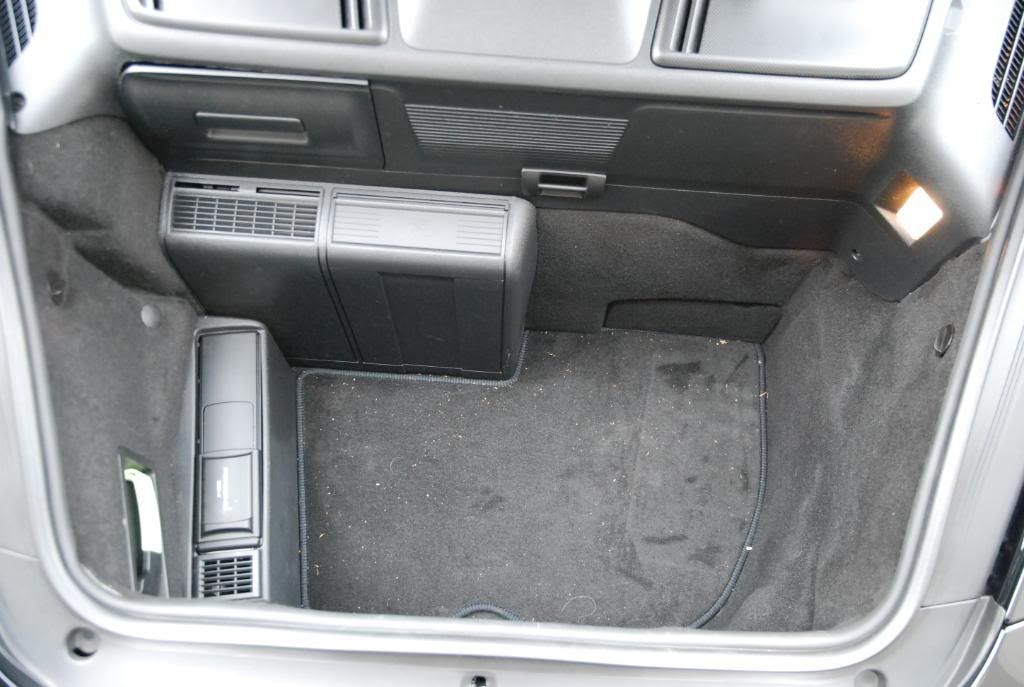
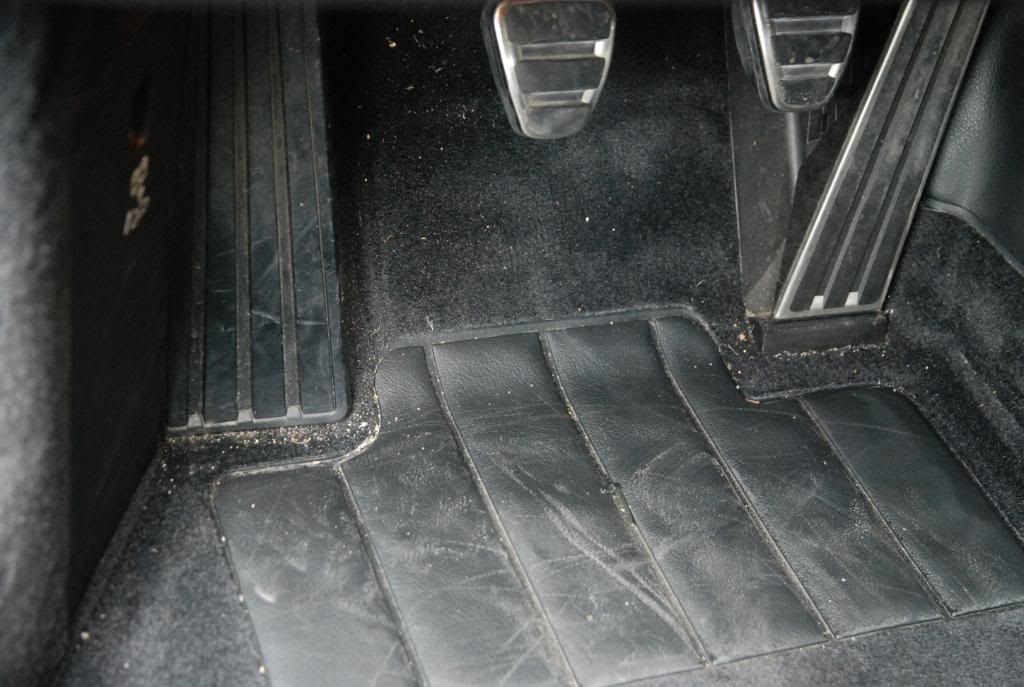
Interior wiped down with AG Interior Shampoo
All leather cleaned and conditioned with Exclusive Leather Cleaner and Conditioners.
Prewax cleaner was Werkstat Prime Acrylic
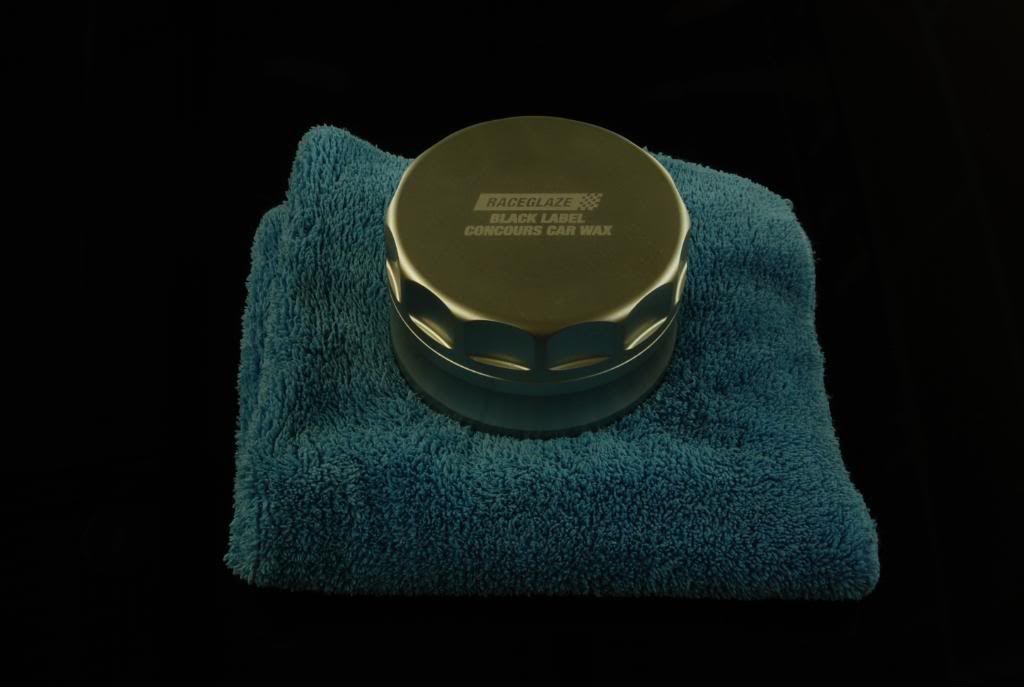
LSP was Raceglaze Black Label.
Total Time - approx 21 hours over 3 days.
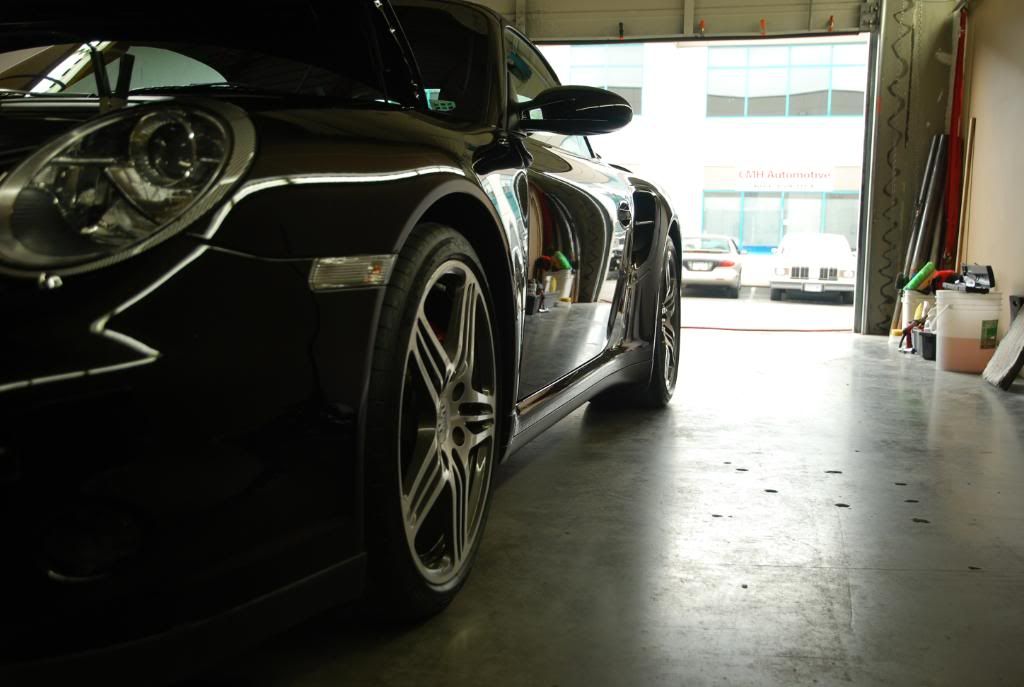
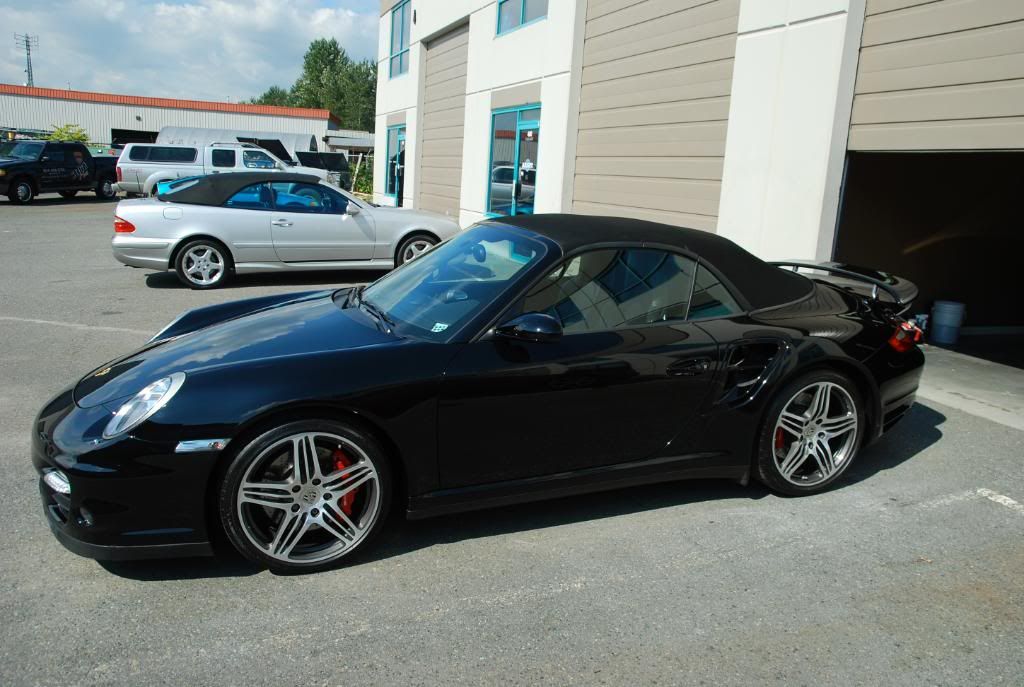
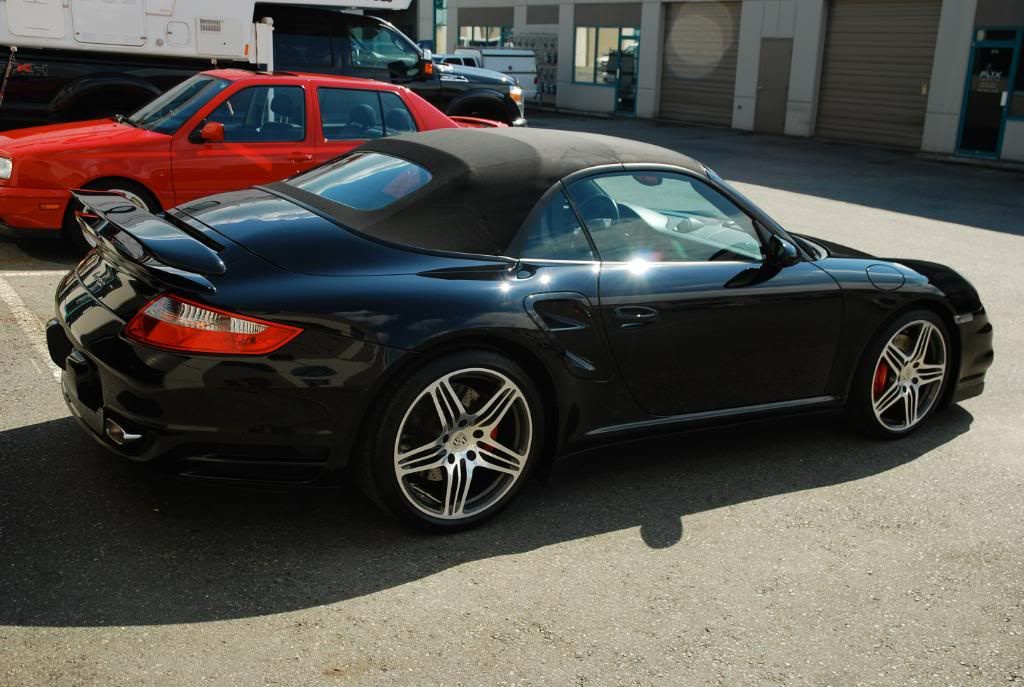
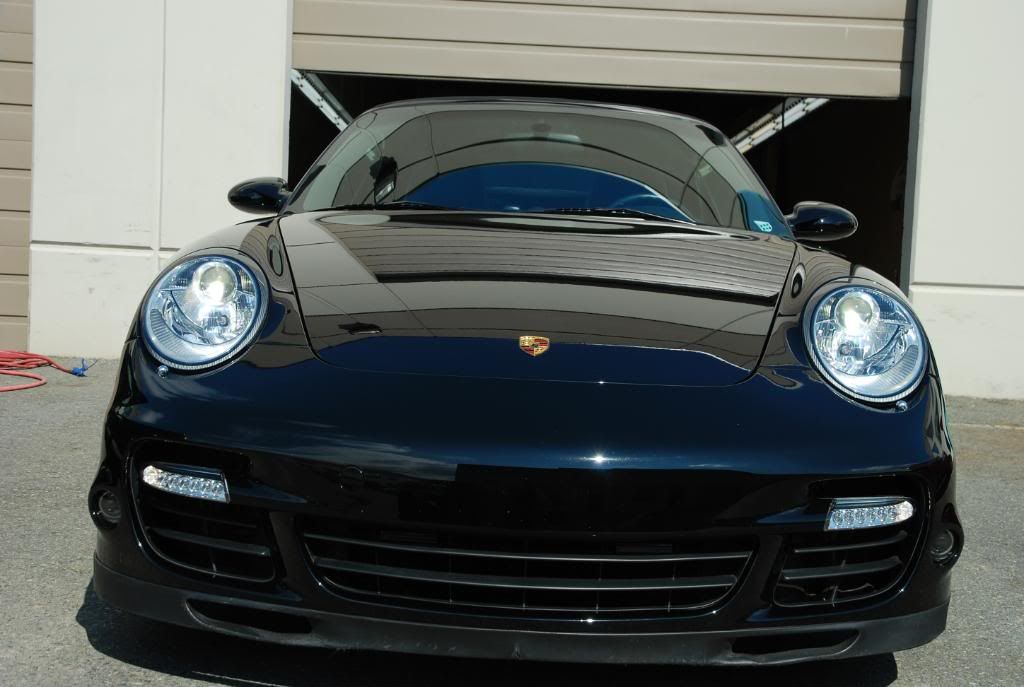
Upon arrival.

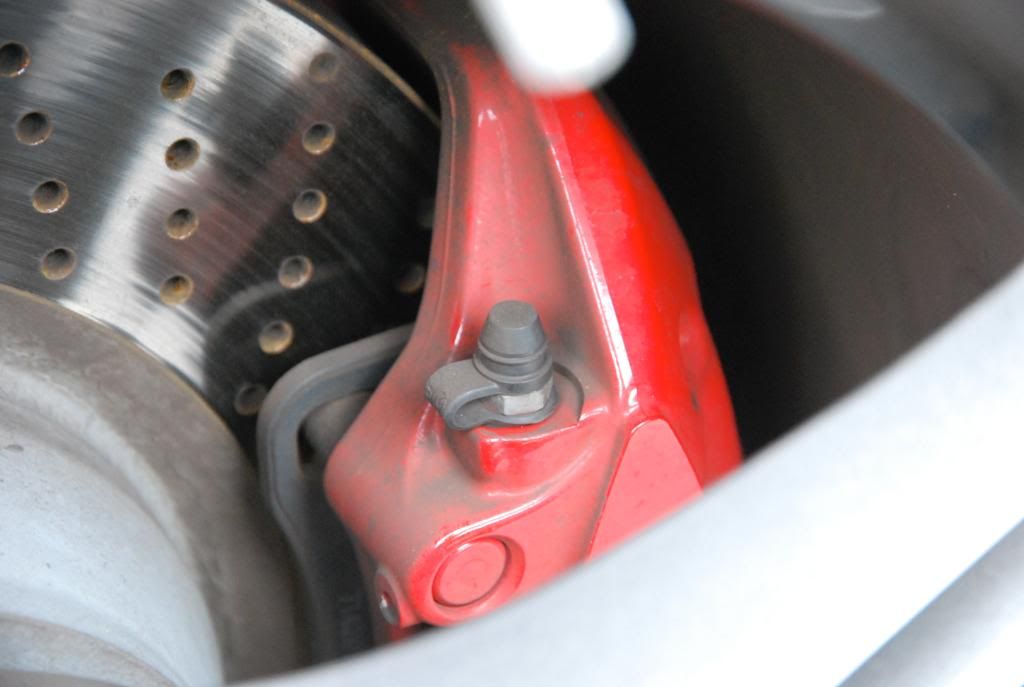
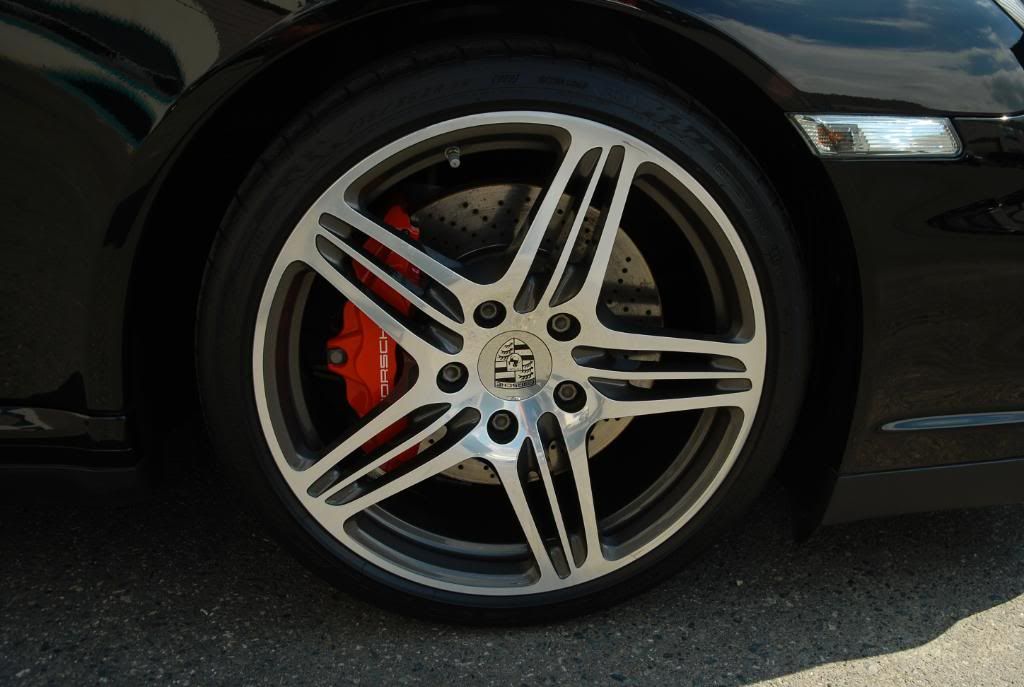
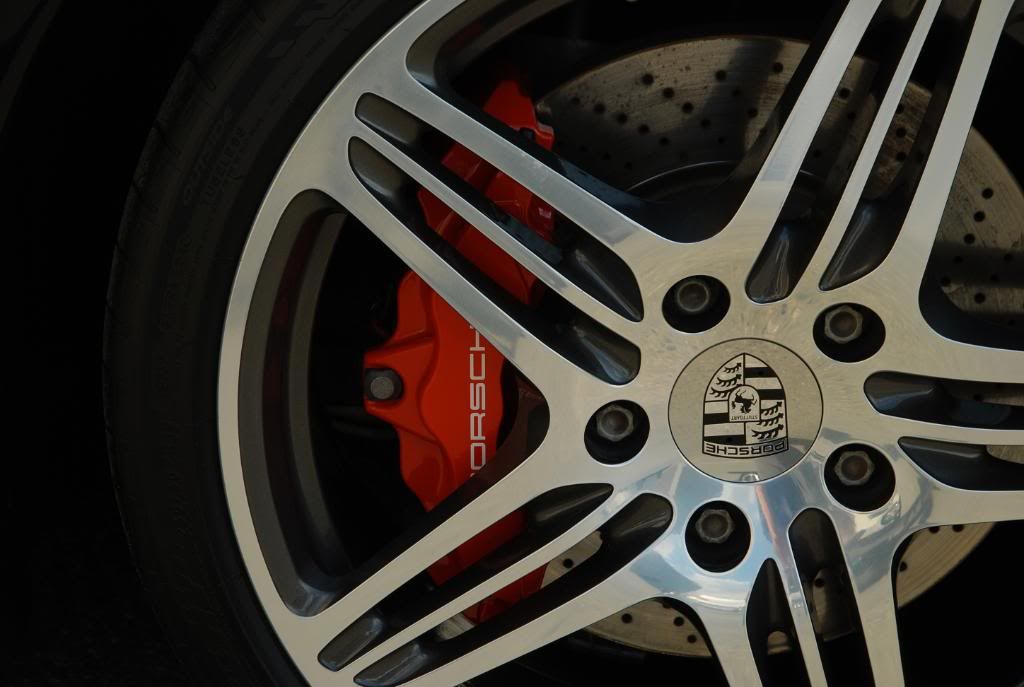
All the calipers were quite dirty.
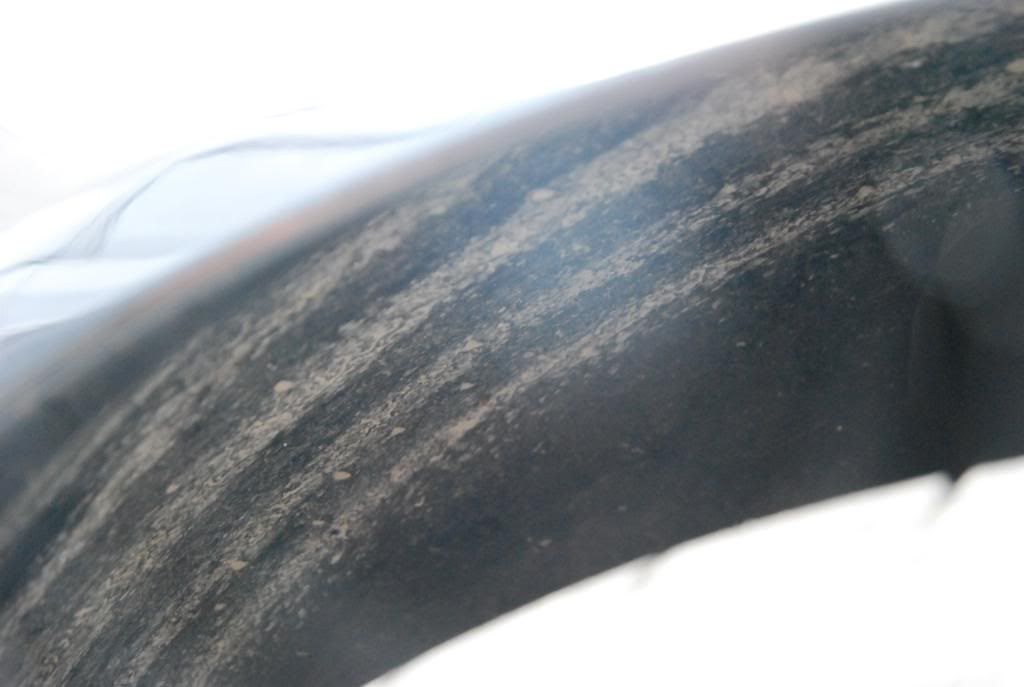
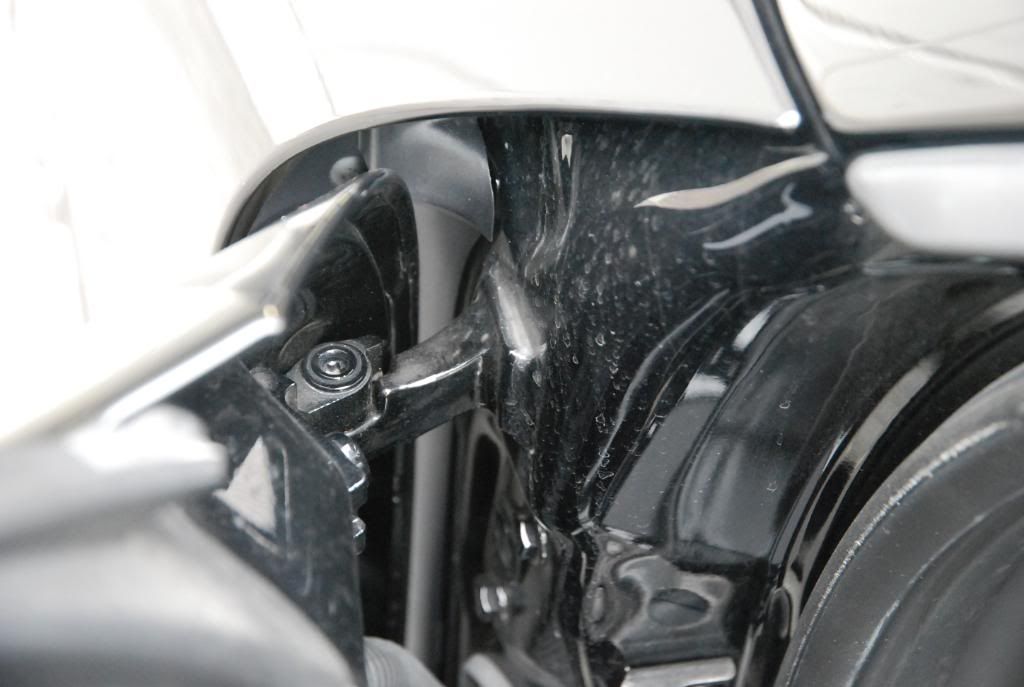
Mud? In the fender of a Porsche? ***?
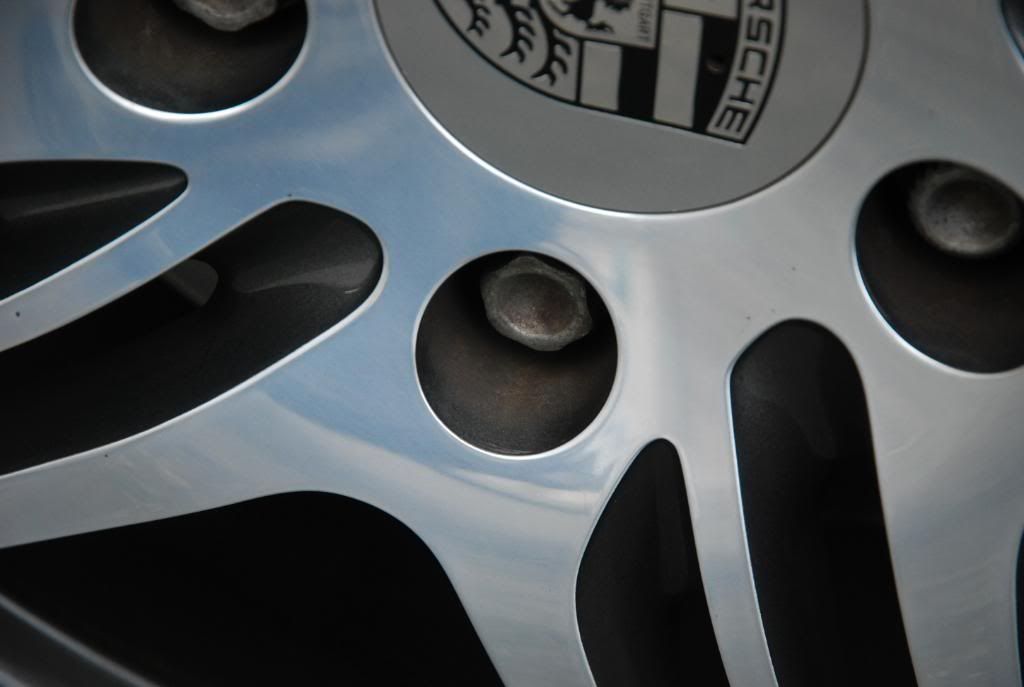
Brake dust buildup around wheel nuts.
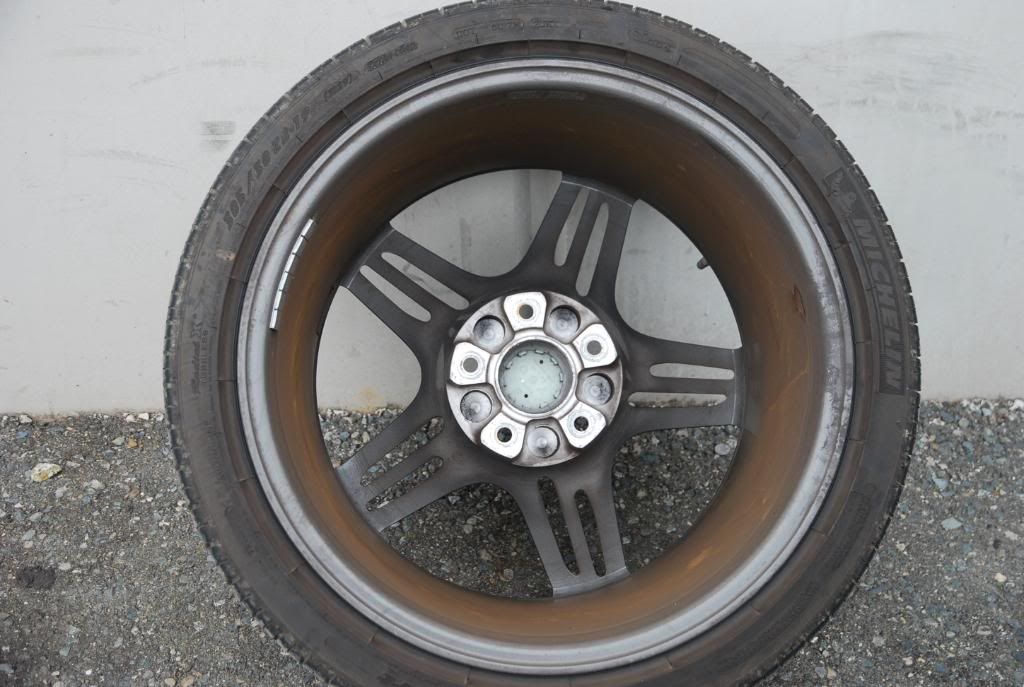
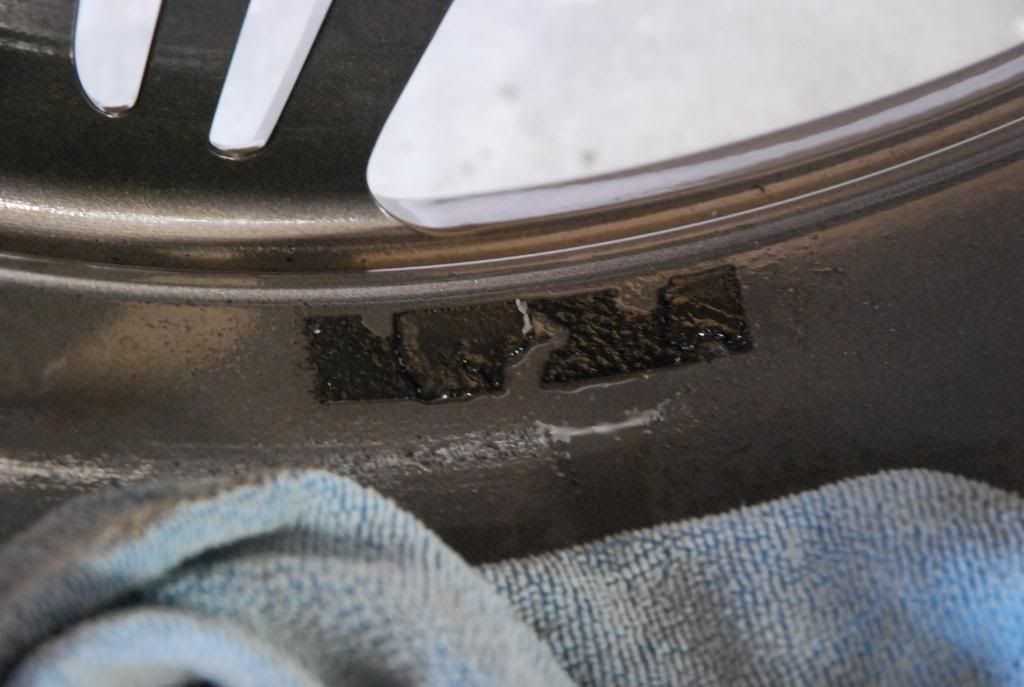
Wheel weight residue was everywhere. More on this atrocity later.
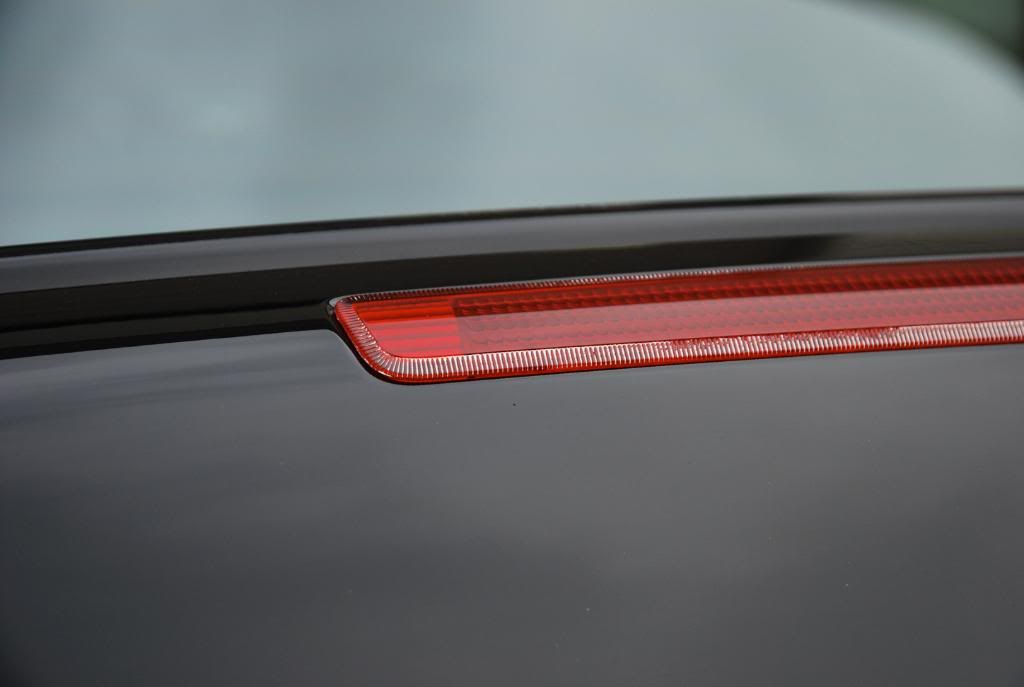
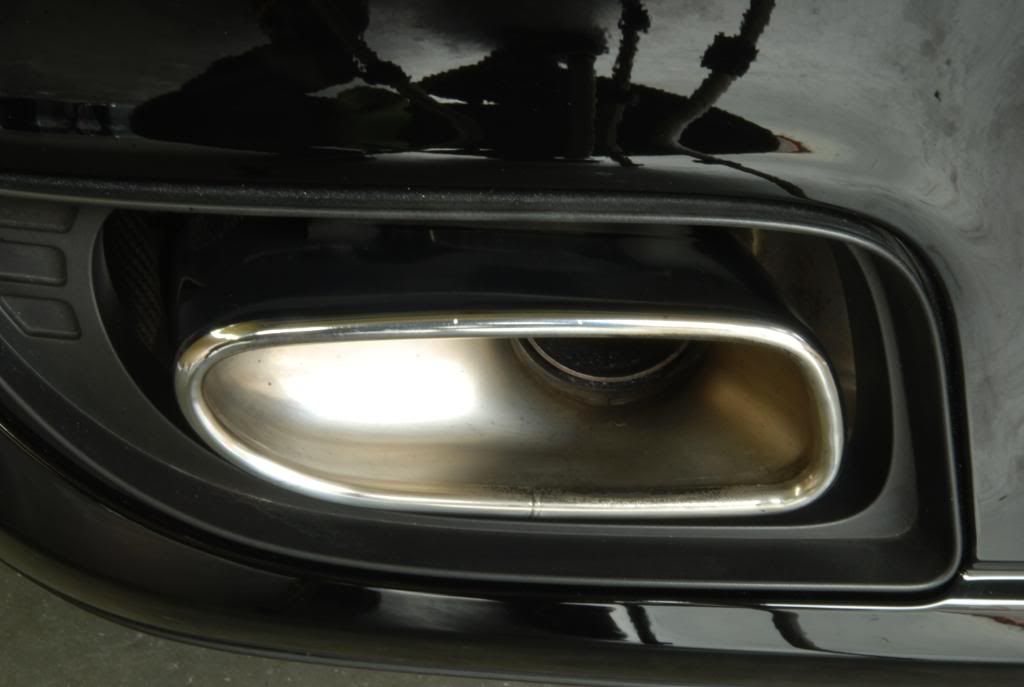
Some wax residue on the third brake light.
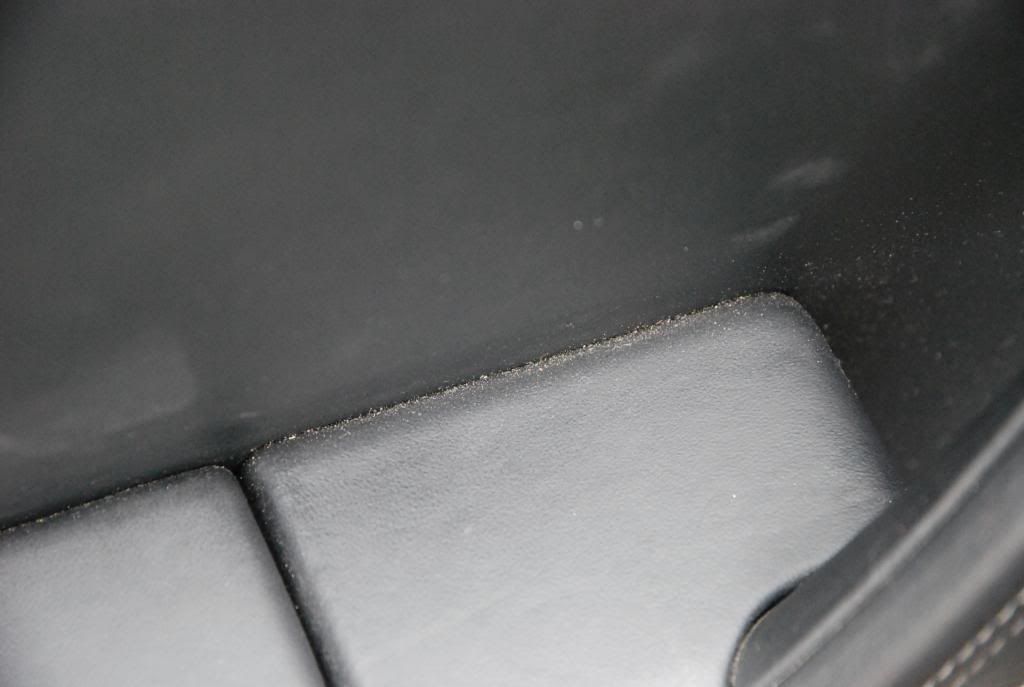
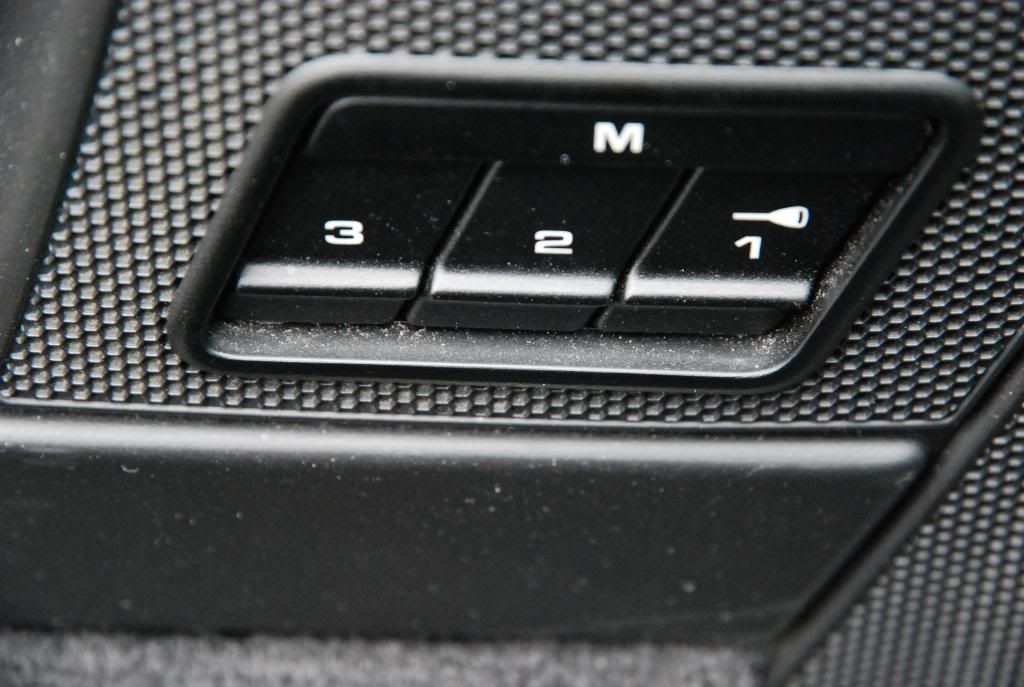
Jambs were a little dirty as well.
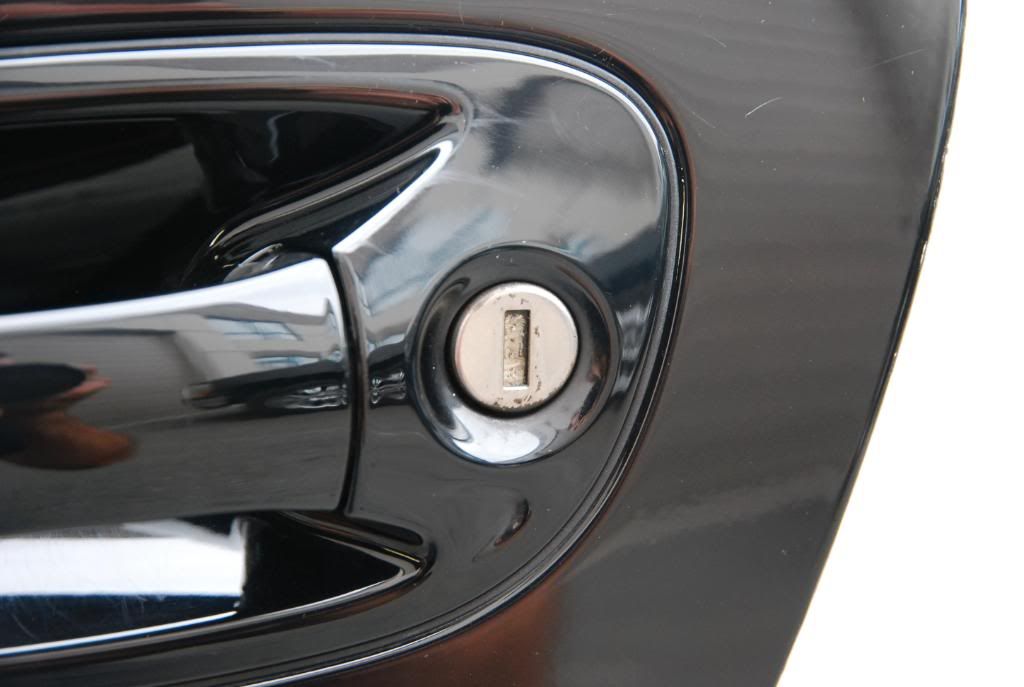
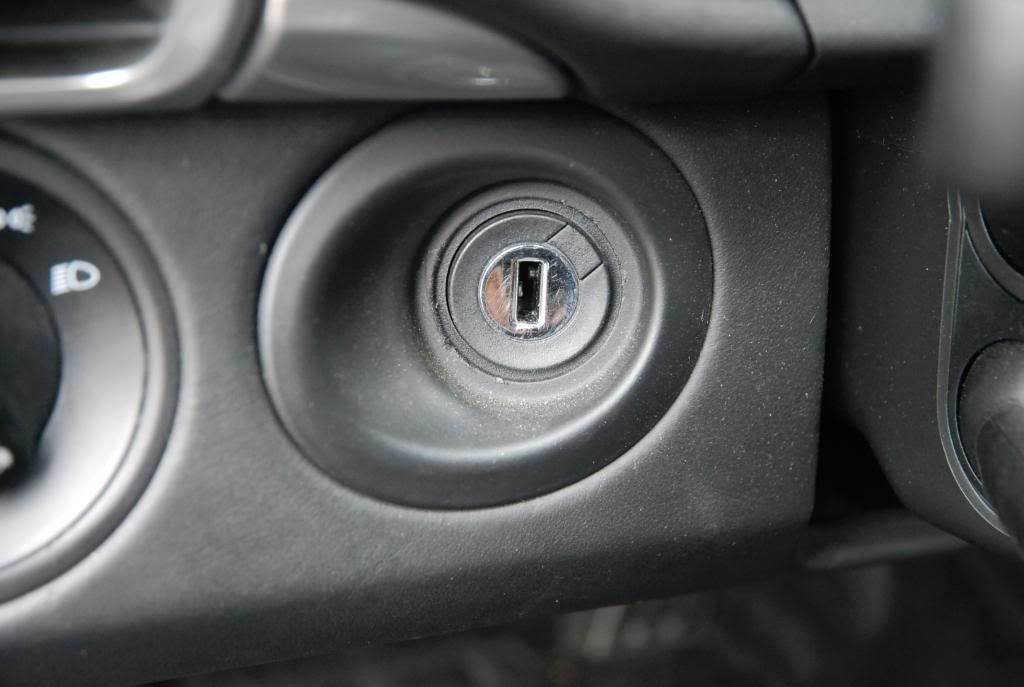
Why do all Porsches seem to have this buildup of crud in the key hole area?
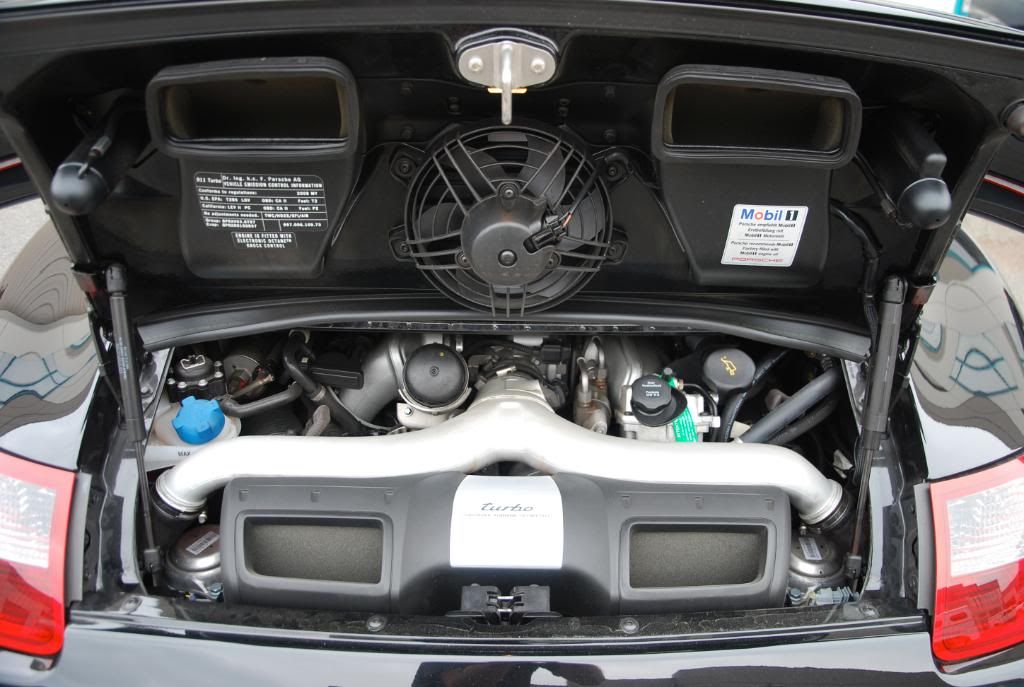
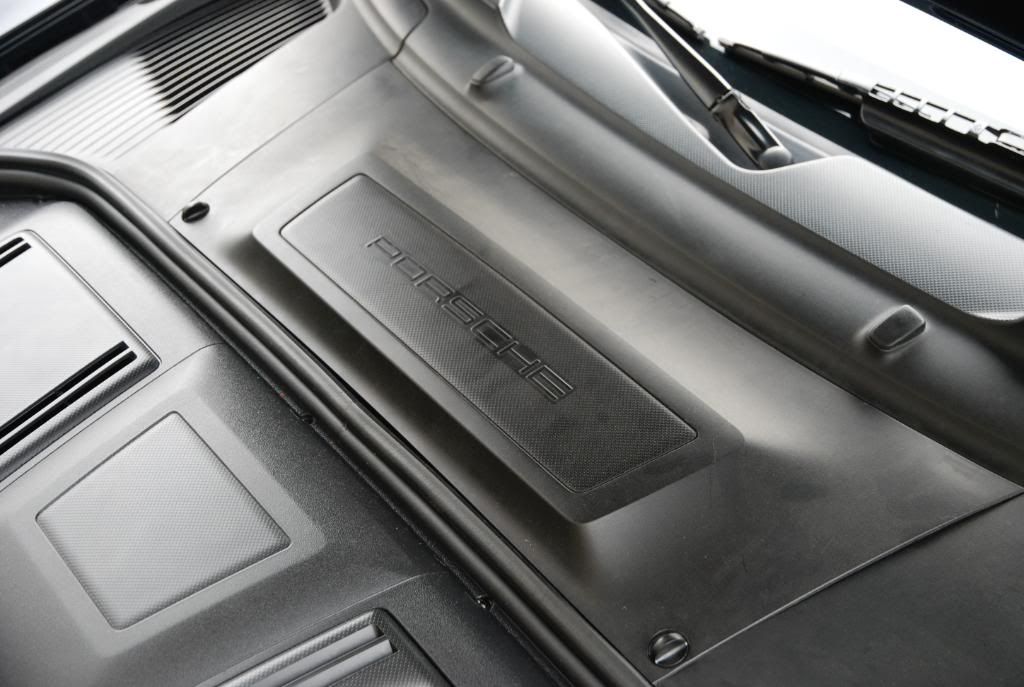
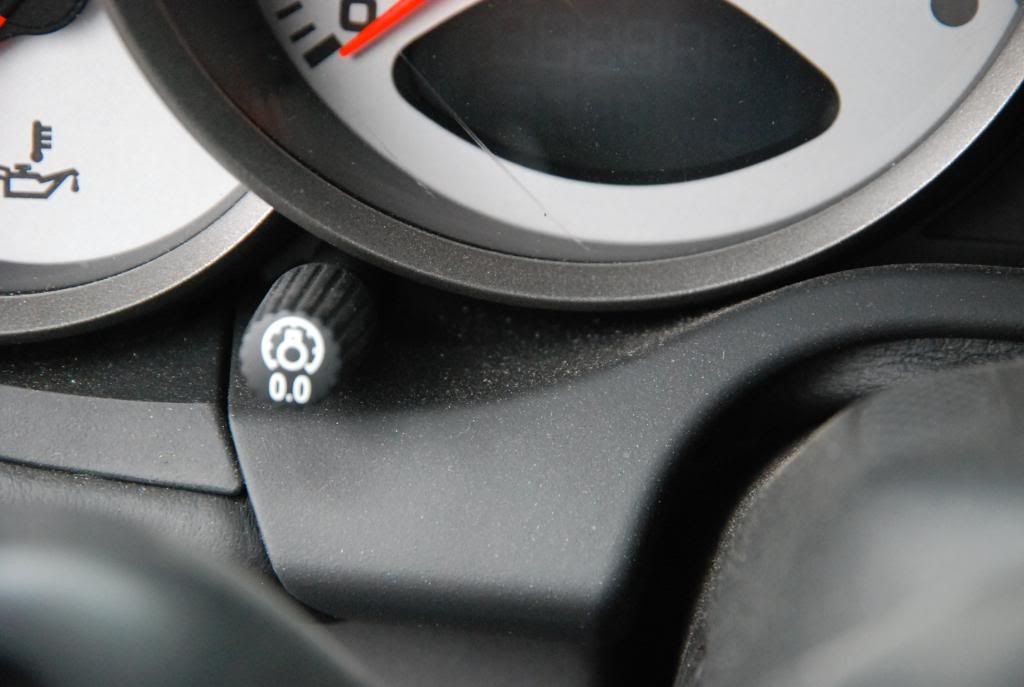
Motor wasn't bad, just a little dusty.
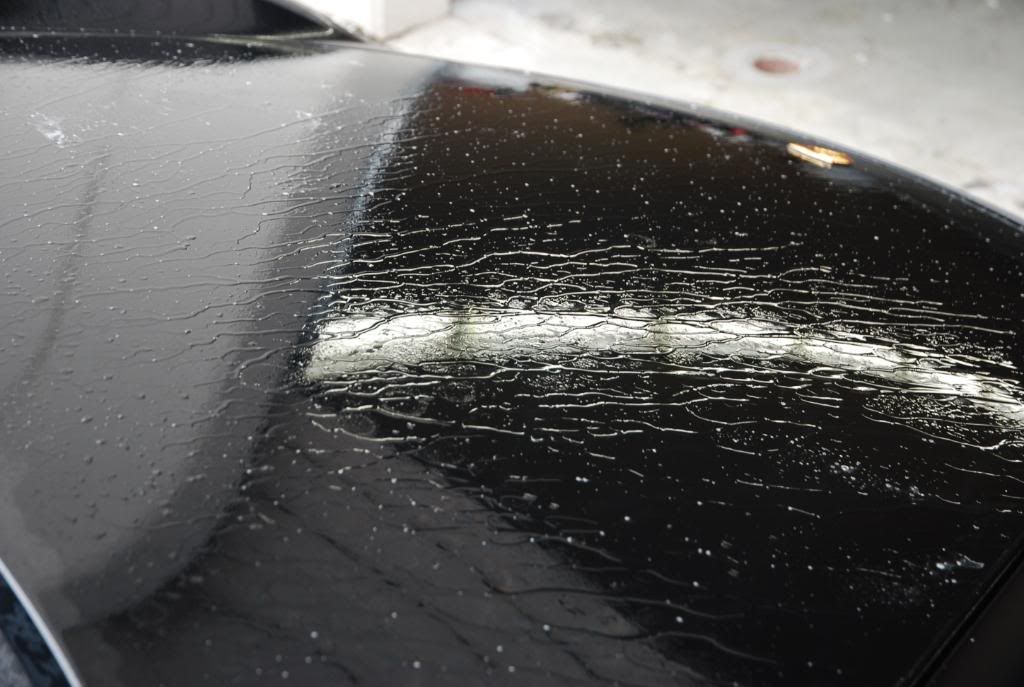
After washing and spraying with APC/rewashing to get rid of old protection. Water is sitting on the paint and not beading or sheeting. Perfectly clean.
IronX at work
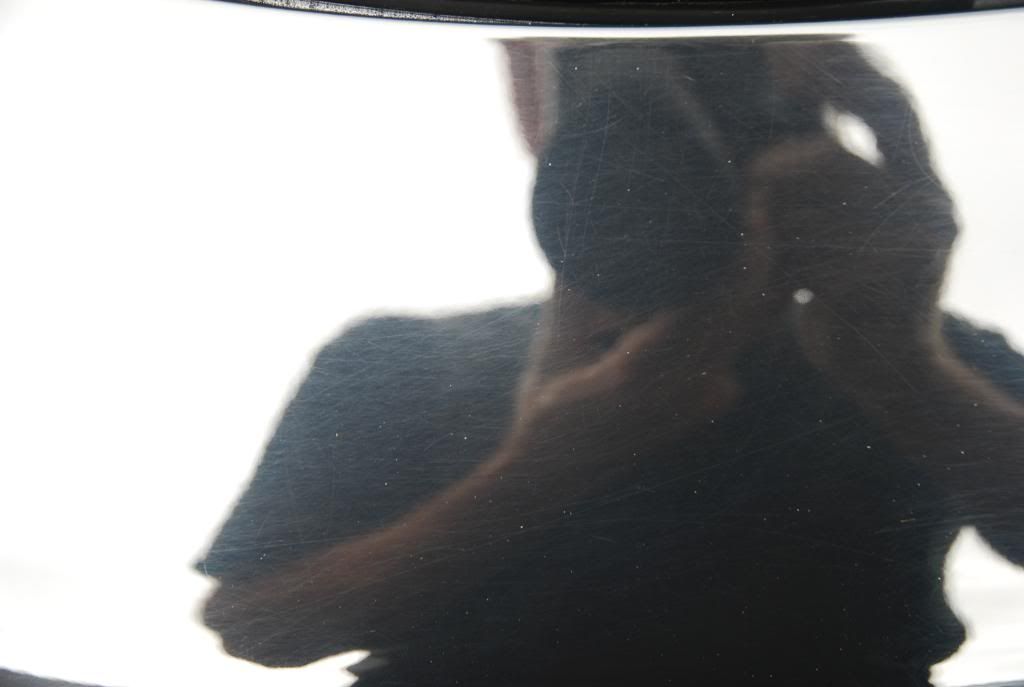
After washing, ready for correction work.
Yikes!
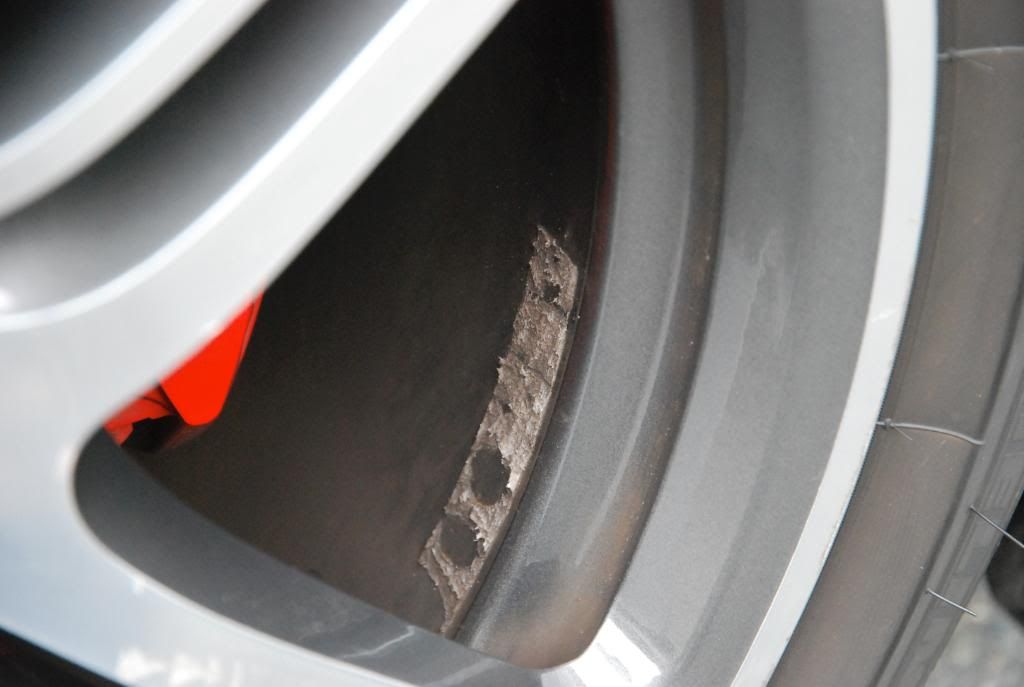
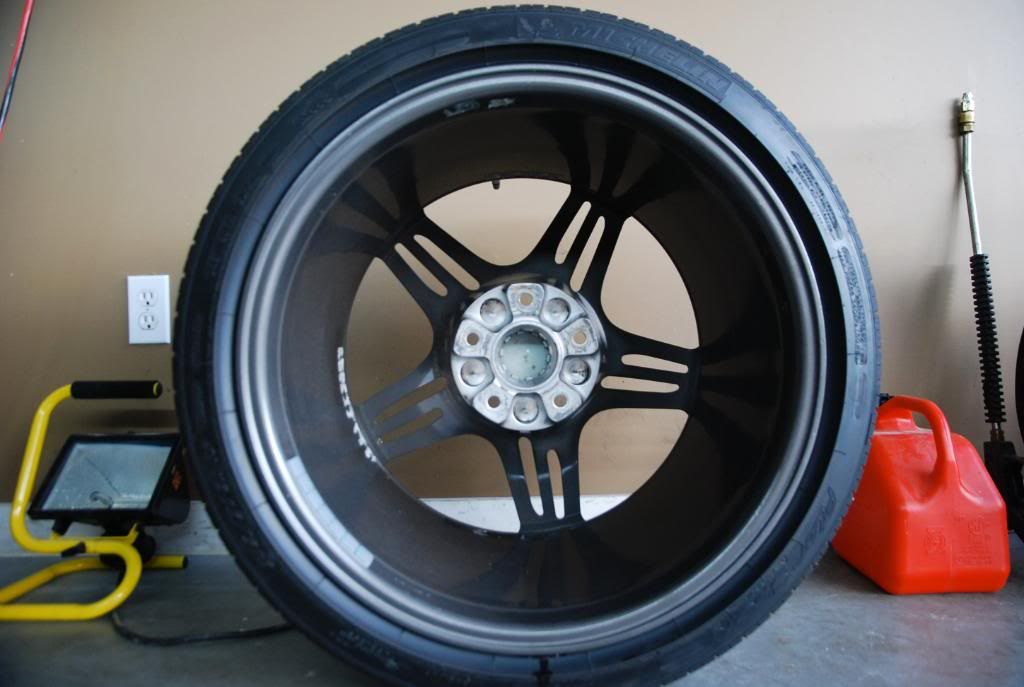
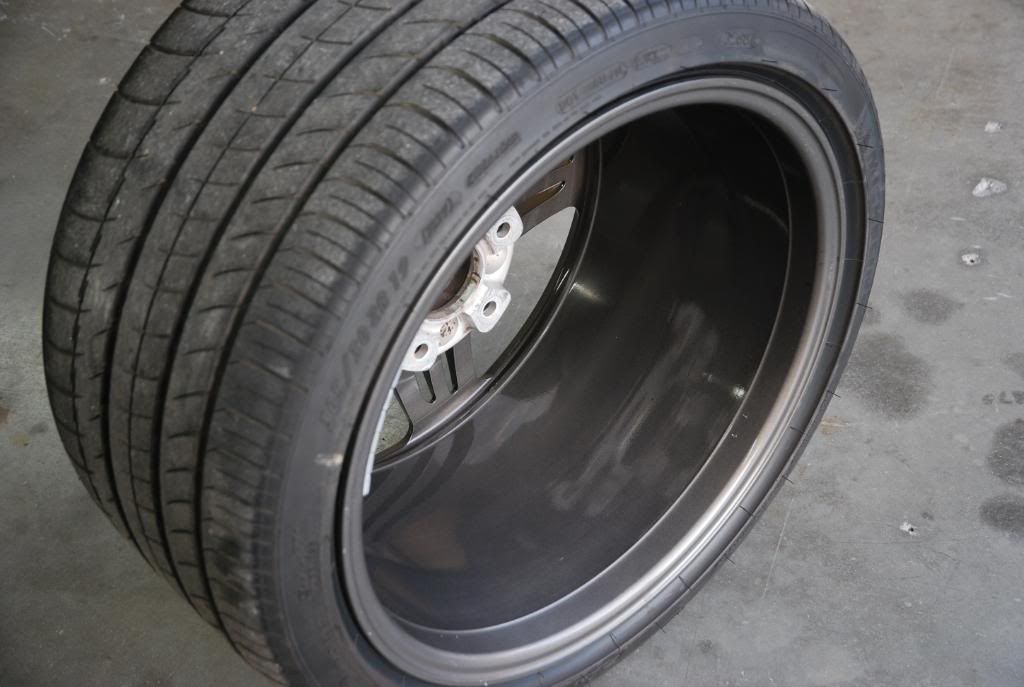
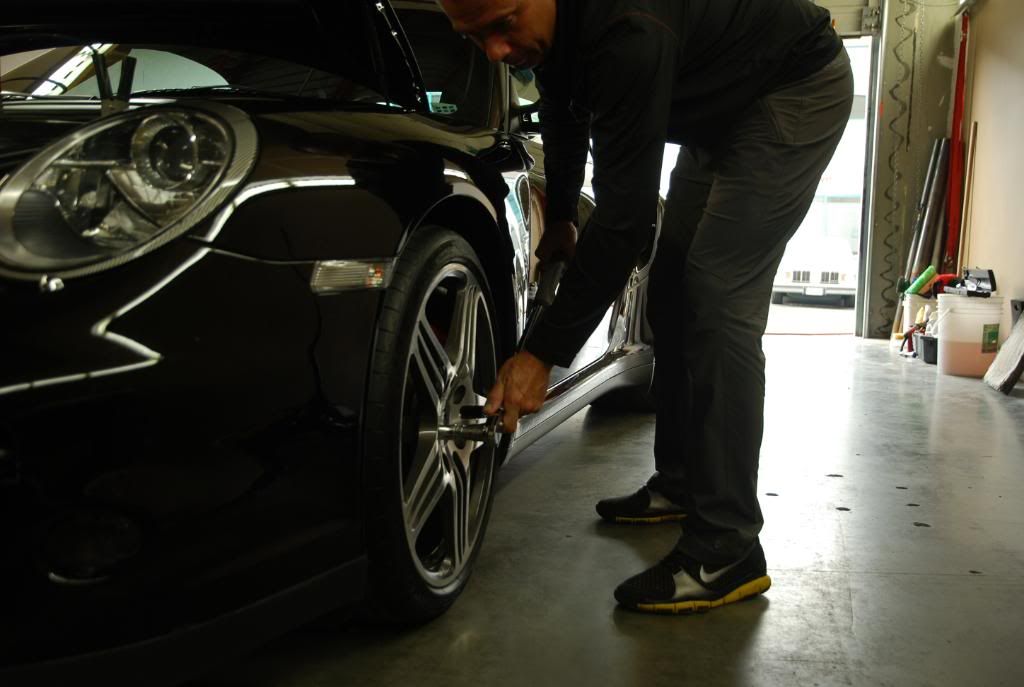
With the wheels removed to clean the suspension and inner fenders, you can see the amount of brake dust build up on wheel barrels.
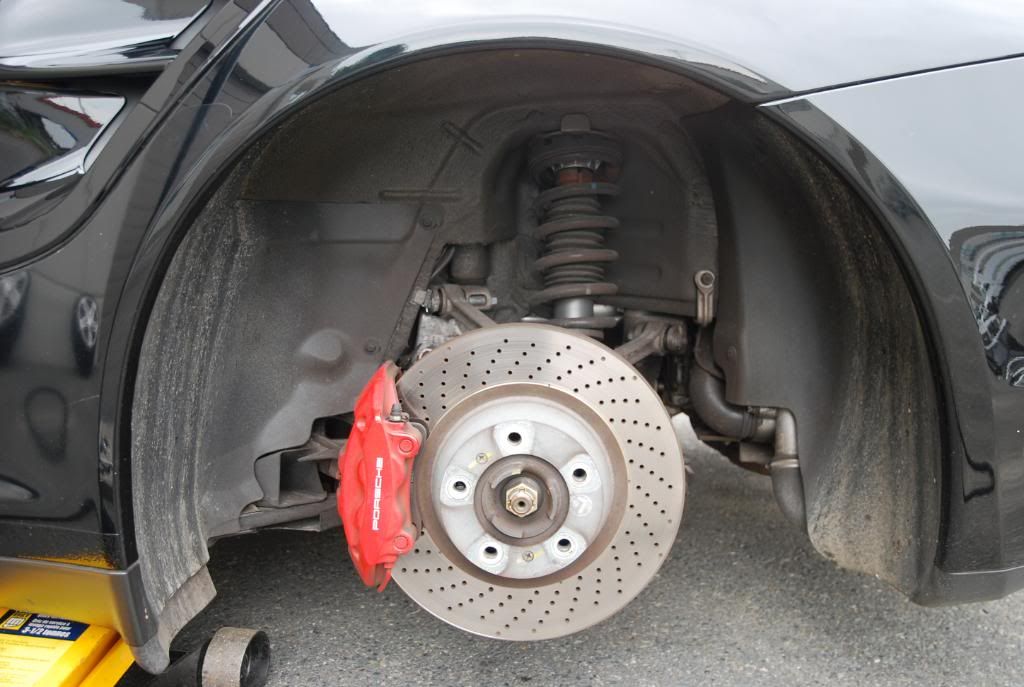
Inner fender before detailing....
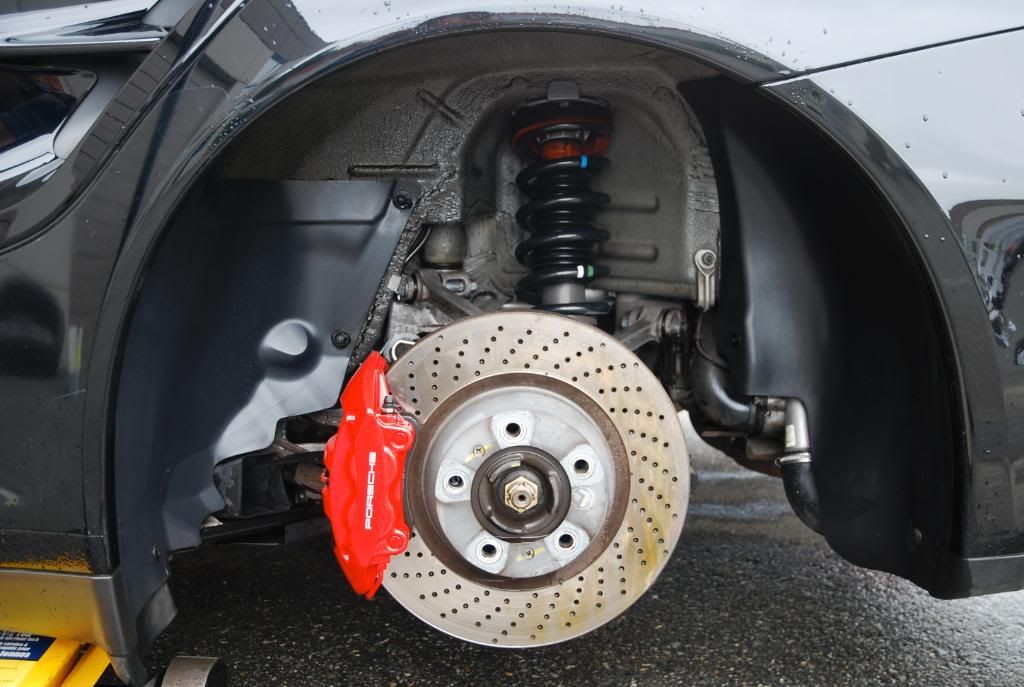
and after. Werkstat Satin Prot was used to dress the inner fenders. Normally I won't dress these, just clean them but these were sandblasted pretty good from the 305 rear tires.
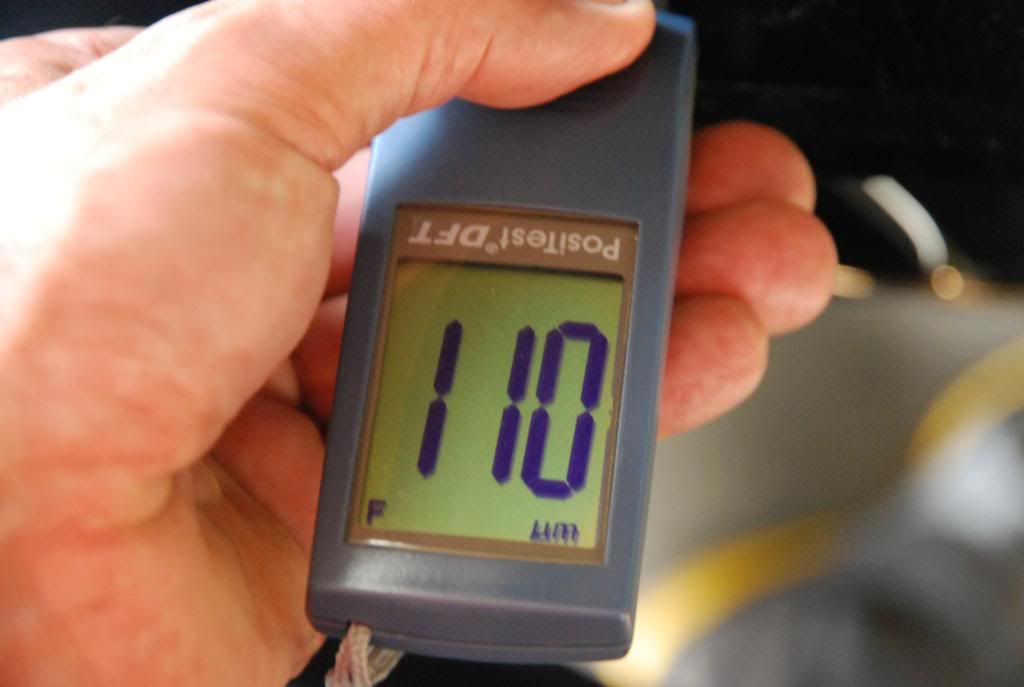
PTG reading. Not exactly confidence insipring given the paints condition.
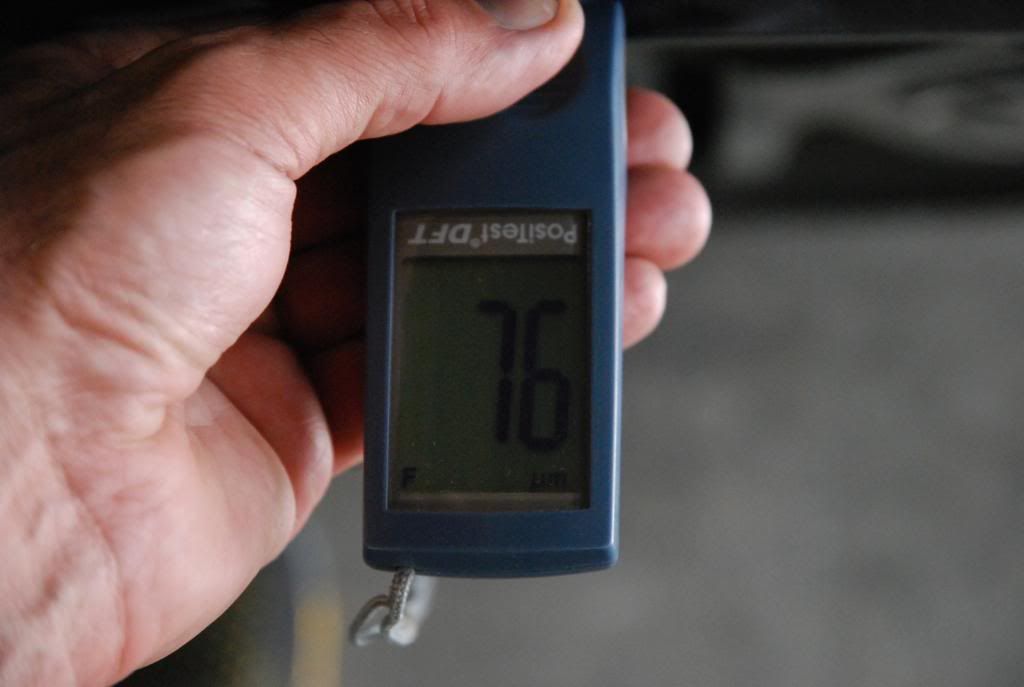
This seemed to be consistent over the car.
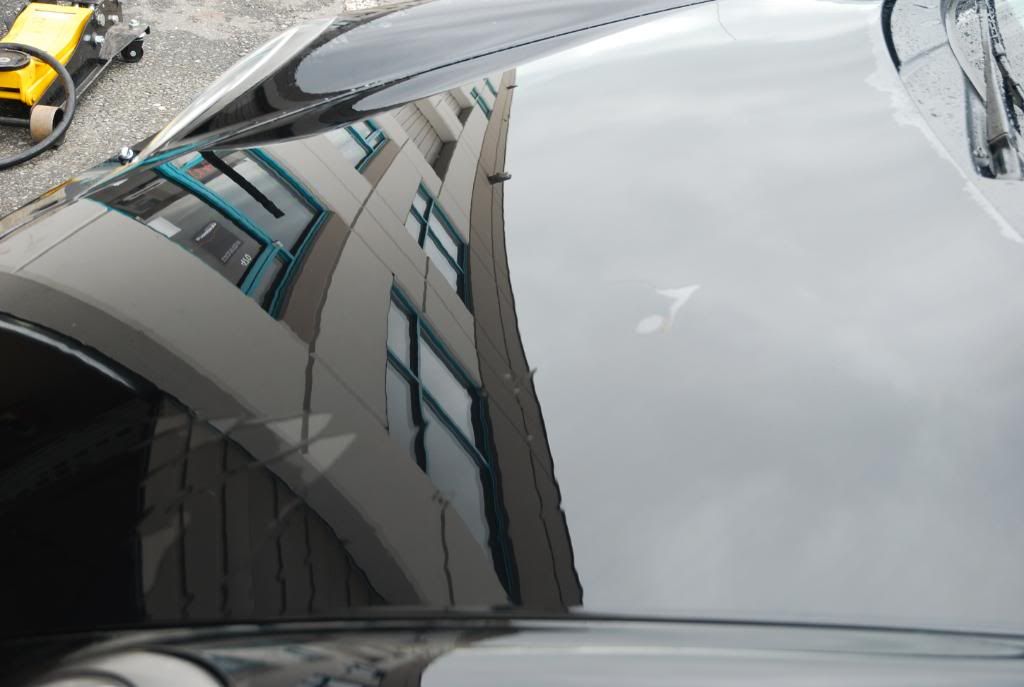
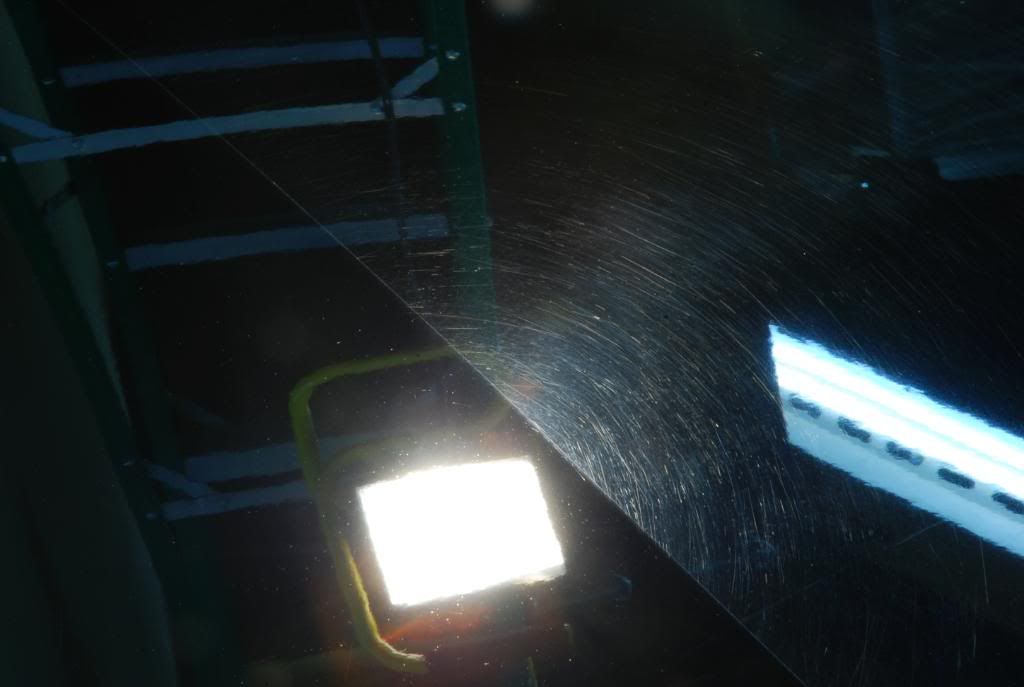
50/50 on test panel
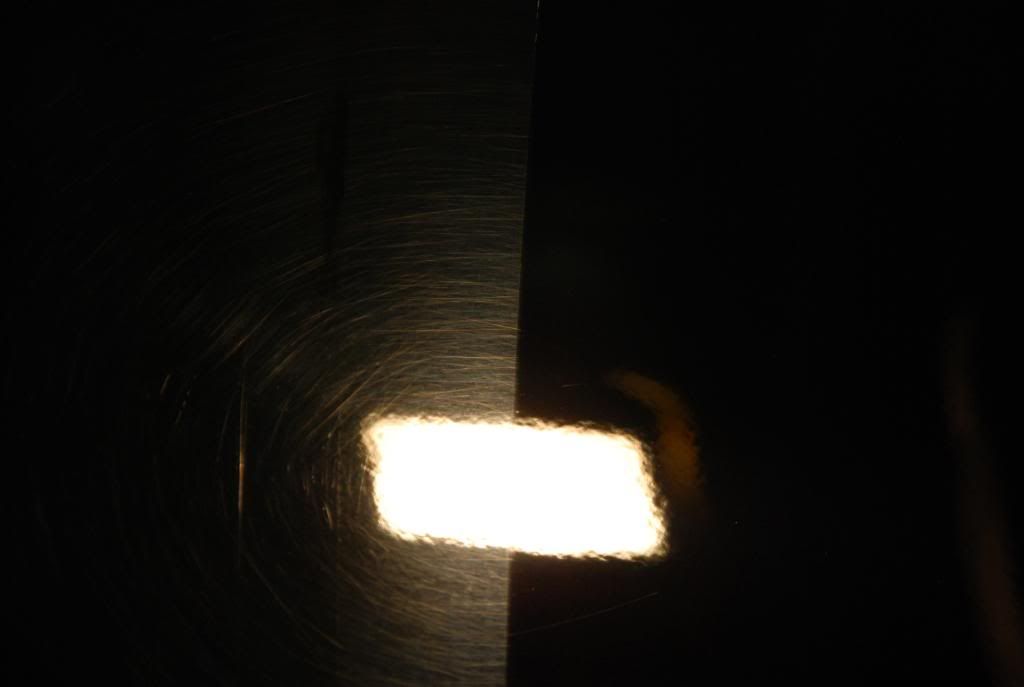
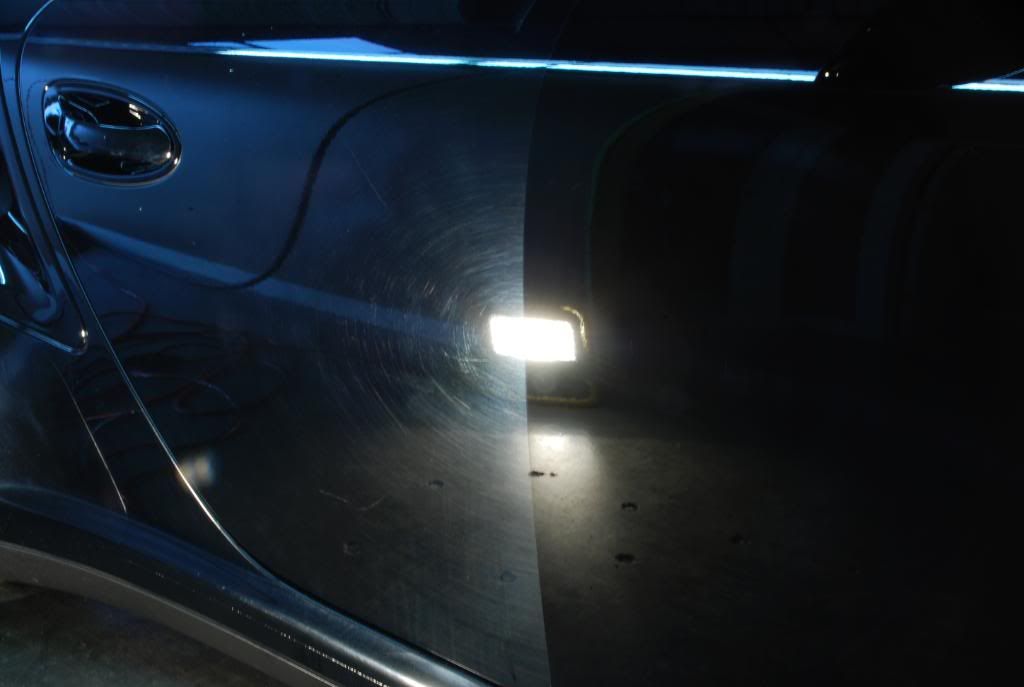
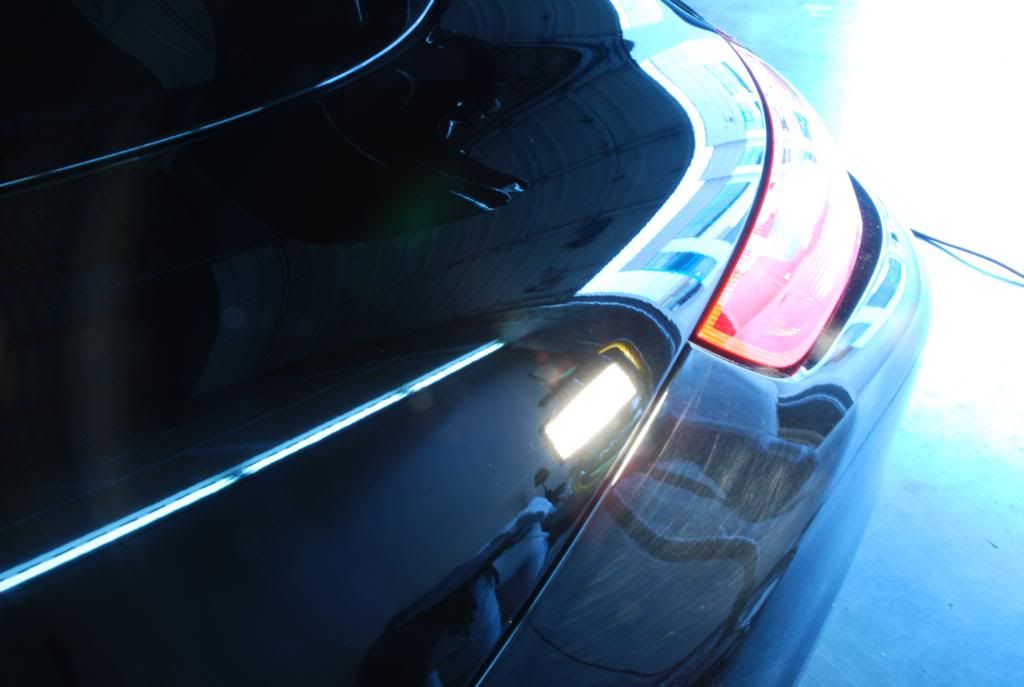
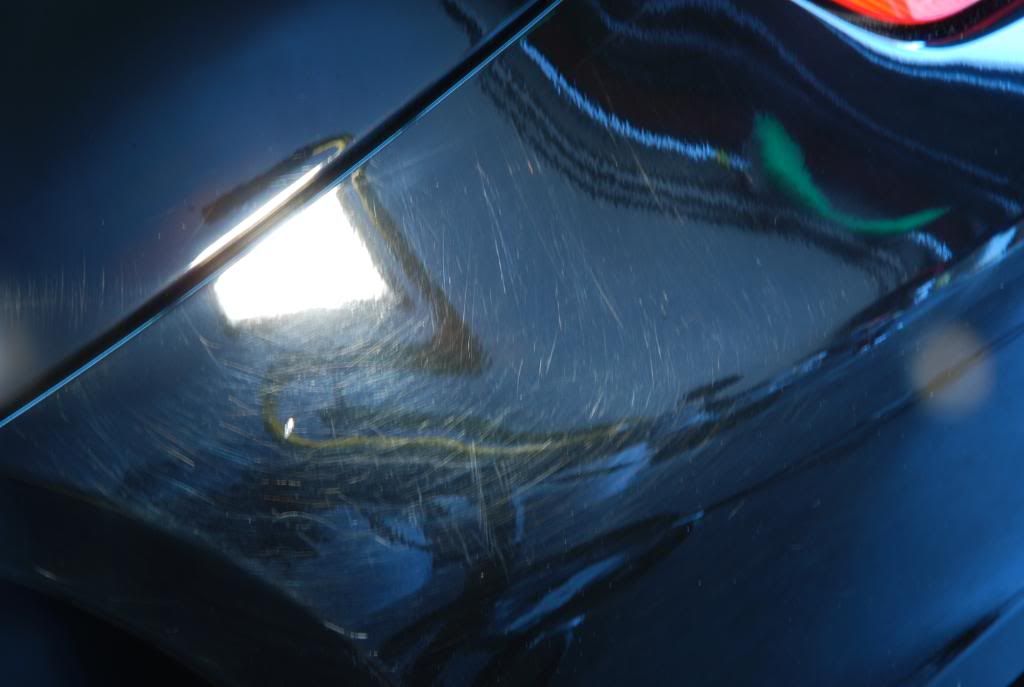
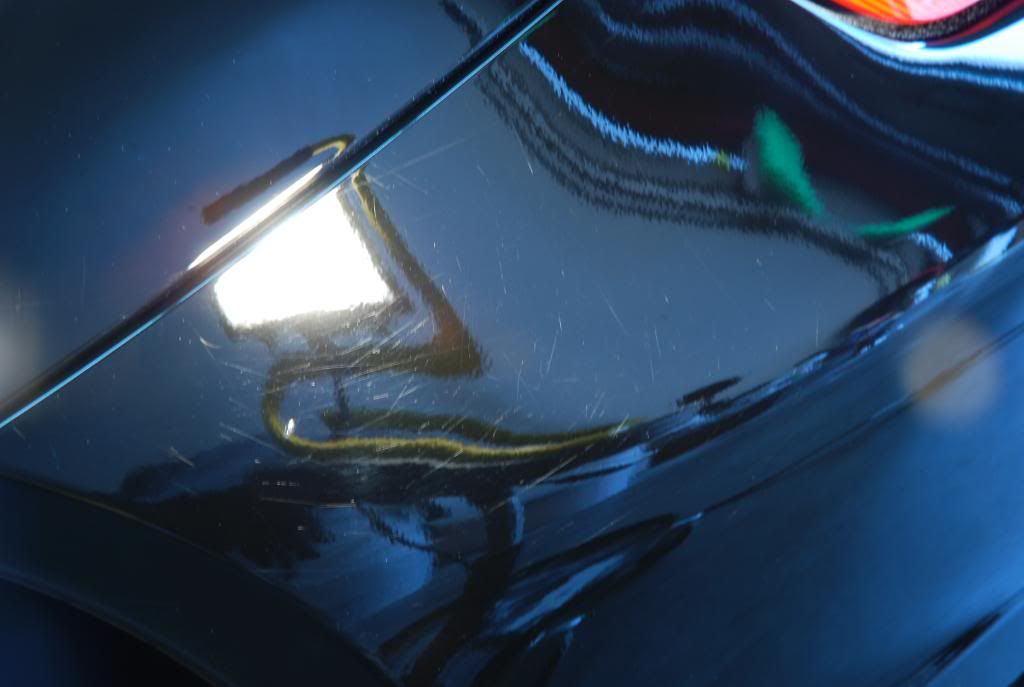
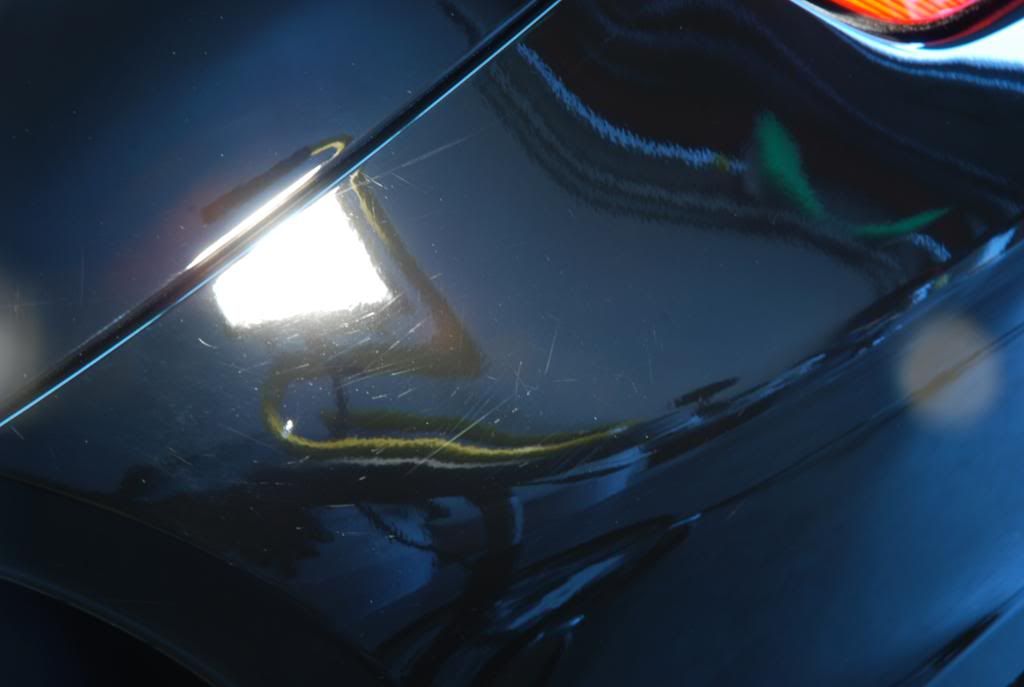
Drivers side rear 1/4 before....
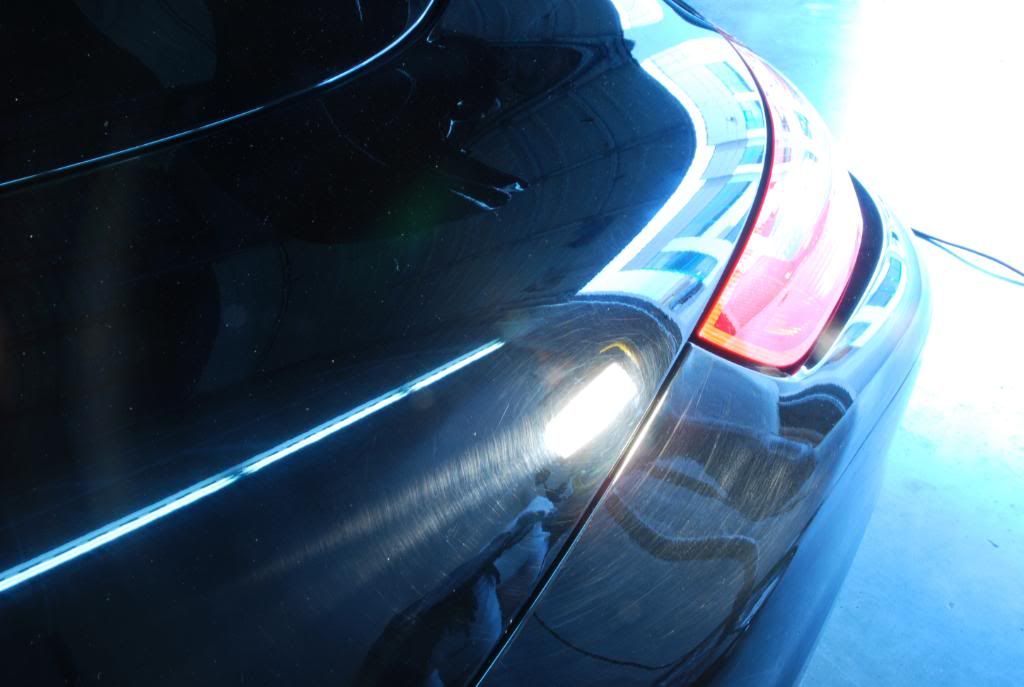
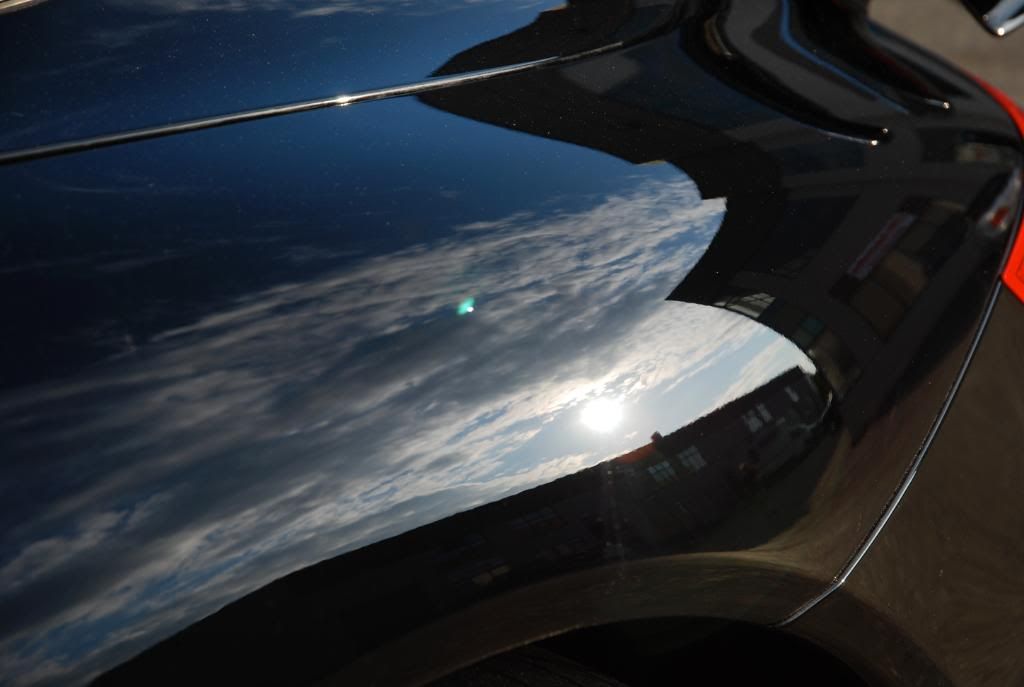
and after.
Rear bumper before...
after BS Yellow / Power Finish
and then BS Yellow / Fast Gloss 500. It would take PFW / FG500 on my Flex rotary to clean this up.
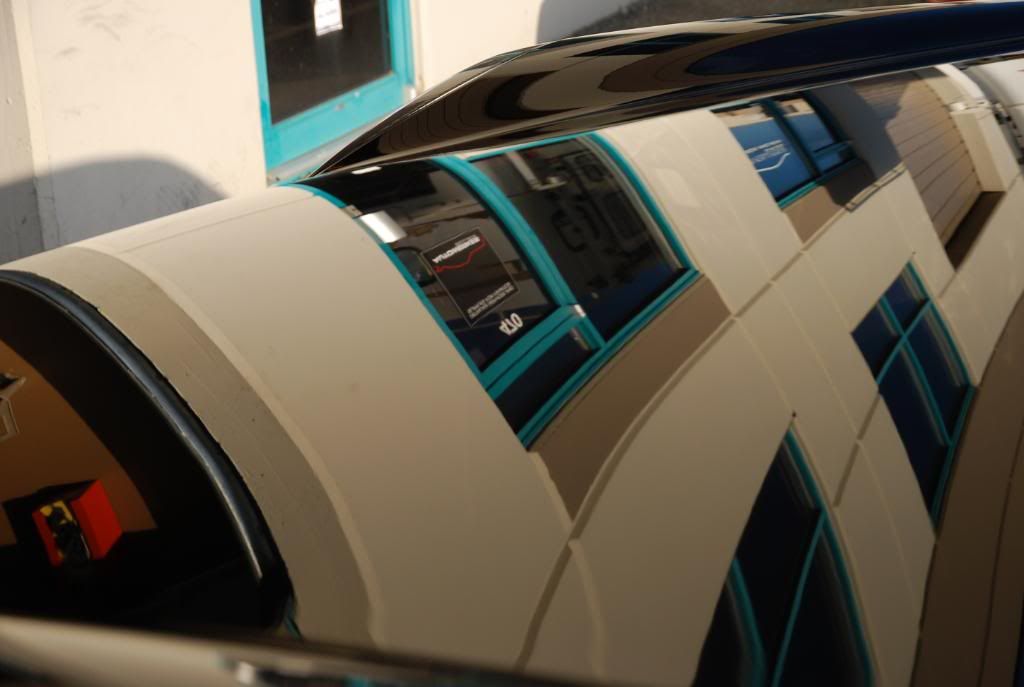
Drivers side door 50/50
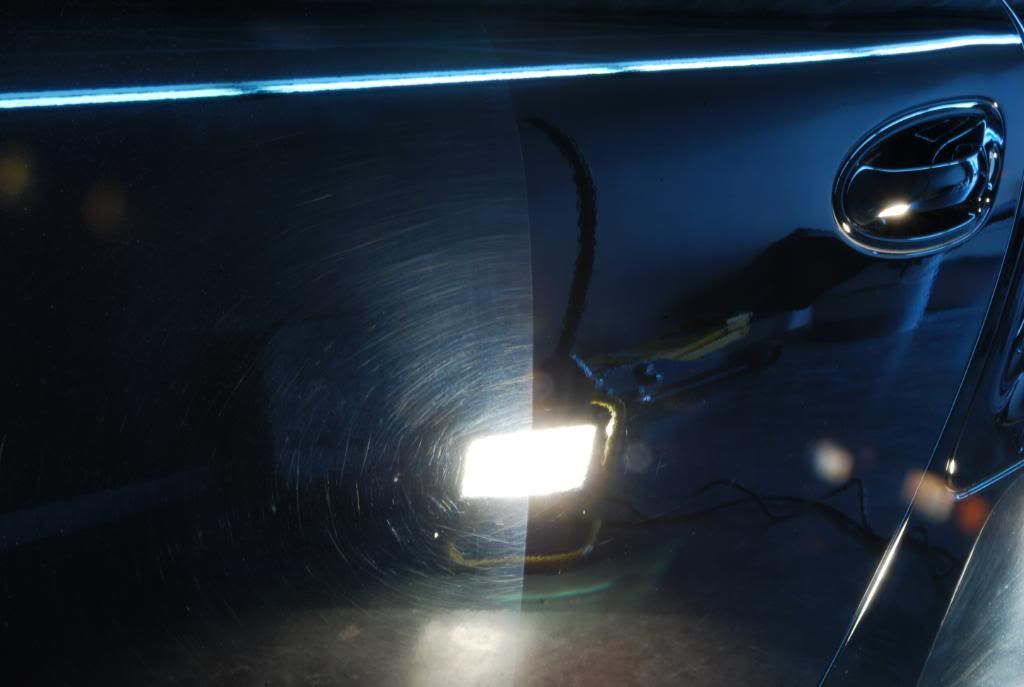
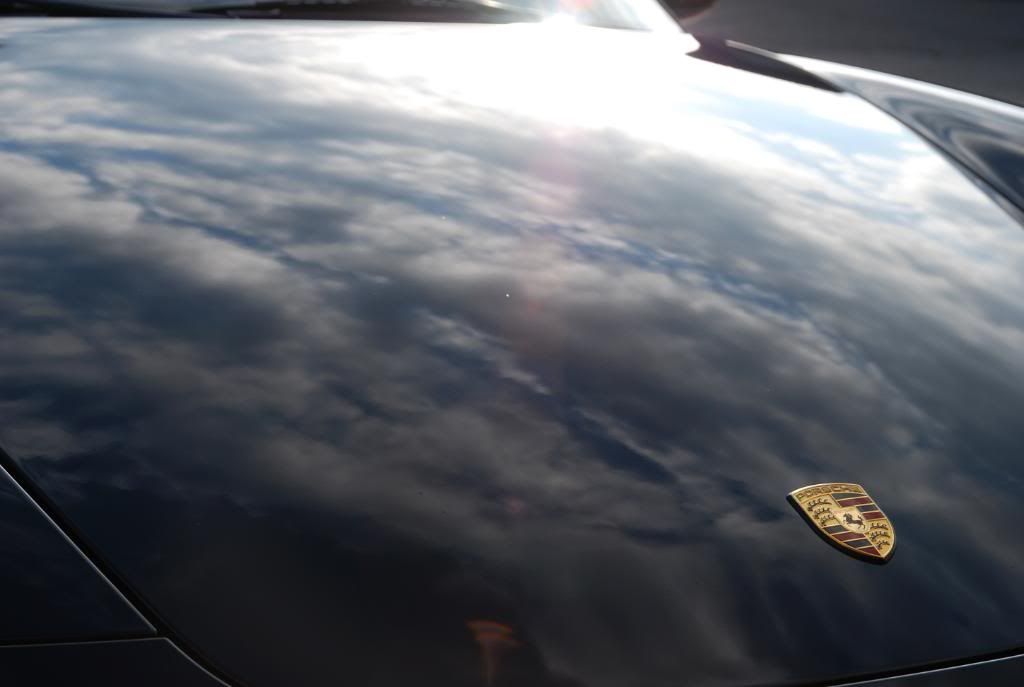
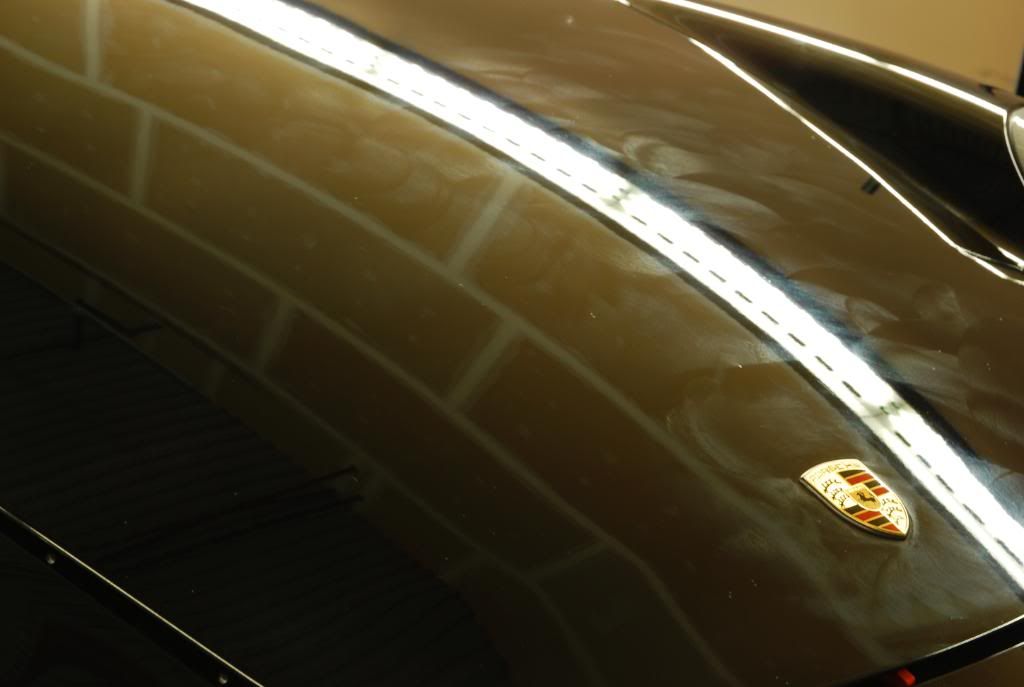
50/50 on hood.
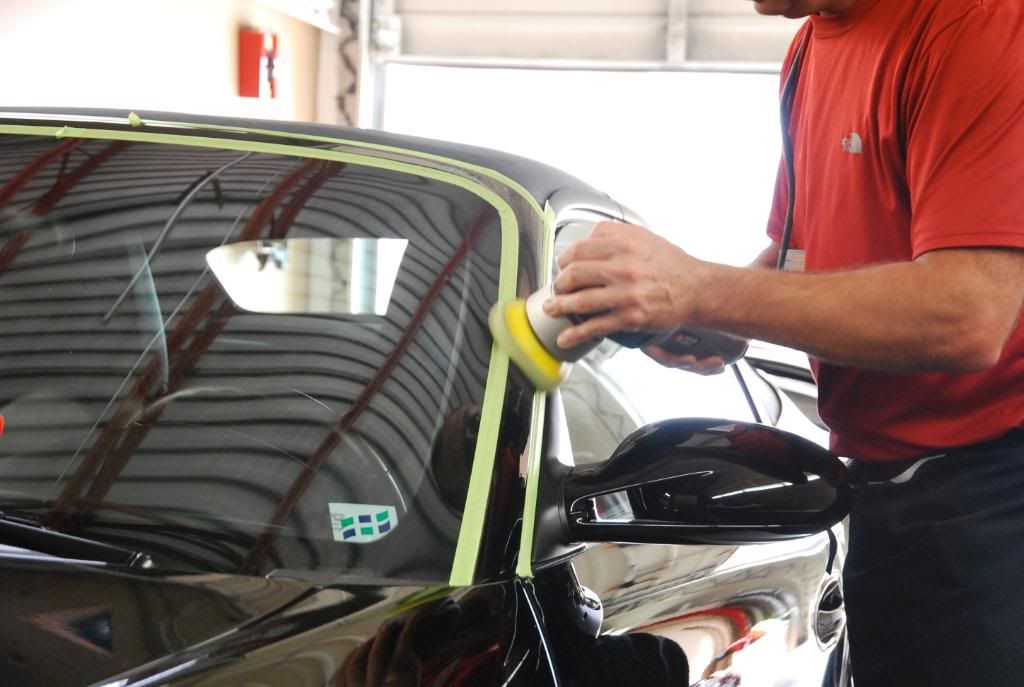
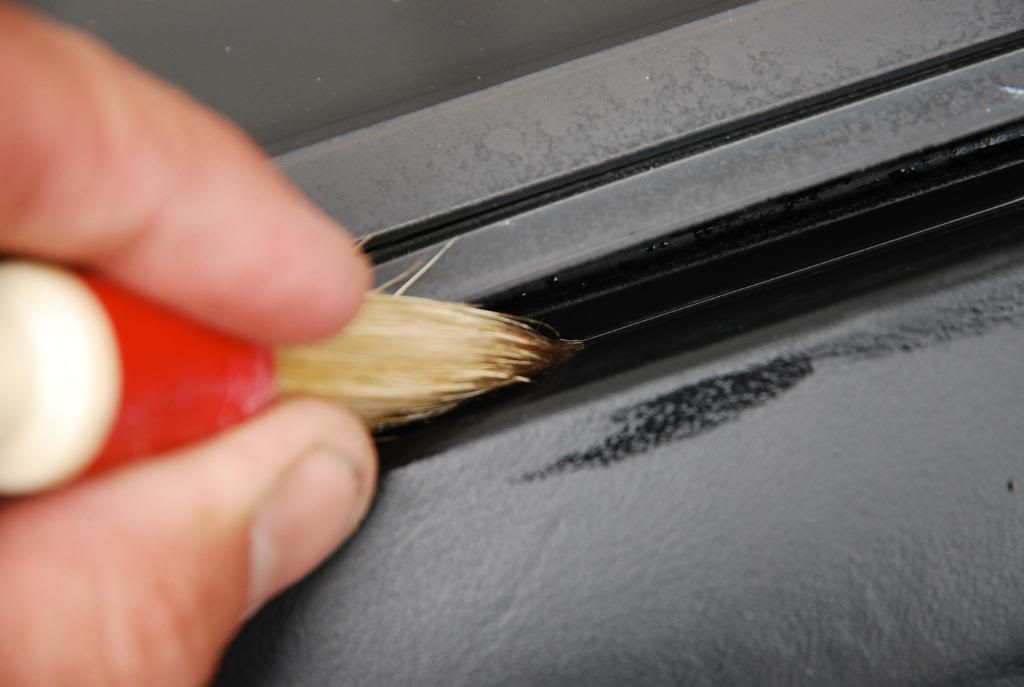
Polishing pillars.
Rear bumper before....
and after Flex 3403/ PFW / Menz FG500
Engine, jambs, trim etc cleaned with Exclusive APC at 3:1
Inner fenders and suspension cleaned with Exclusive APC straight
Top cleaned with Exclusive APC at 3:1
Washed with DP Extreme Foam and Megs MF wash mitt
Decontaminated with IronX
Polished with PC/ B&S Yellow/ Menz Power Finish
Wheels cleaned with Exclusive Tire and Wheel Cleaner straight and sealed with Blackfire All Metal Sealant
Tires dressed with Swissvax Pneu
Interior wiped down with AG Interior Shampoo
All leather cleaned and conditioned with Exclusive Leather Cleaner and Conditioners.
Prewax cleaner was Werkstat Prime Acrylic
LSP was Raceglaze Black Label.
Total Time - approx 21 hours over 3 days.
Upon arrival.
All the calipers were quite dirty.
Mud? In the fender of a Porsche? ***?
Brake dust buildup around wheel nuts.
Wheel weight residue was everywhere. More on this atrocity later.
Some wax residue on the third brake light.
Jambs were a little dirty as well.
Why do all Porsches seem to have this buildup of crud in the key hole area?
Motor wasn't bad, just a little dusty.
After washing and spraying with APC/rewashing to get rid of old protection. Water is sitting on the paint and not beading or sheeting. Perfectly clean.
IronX at work
After washing, ready for correction work.
Yikes!
With the wheels removed to clean the suspension and inner fenders, you can see the amount of brake dust build up on wheel barrels.
Inner fender before detailing....
and after. Werkstat Satin Prot was used to dress the inner fenders. Normally I won't dress these, just clean them but these were sandblasted pretty good from the 305 rear tires.
PTG reading. Not exactly confidence insipring given the paints condition.
This seemed to be consistent over the car.
50/50 on test panel
Drivers side rear 1/4 before....
and after.
Rear bumper before...
after BS Yellow / Power Finish
and then BS Yellow / Fast Gloss 500. It would take PFW / FG500 on my Flex rotary to clean this up.
Drivers side door 50/50
50/50 on hood.
Polishing pillars.
Rear bumper before....
and after Flex 3403/ PFW / Menz FG500


") Thanks!
Thanks!