911fanatic
New member
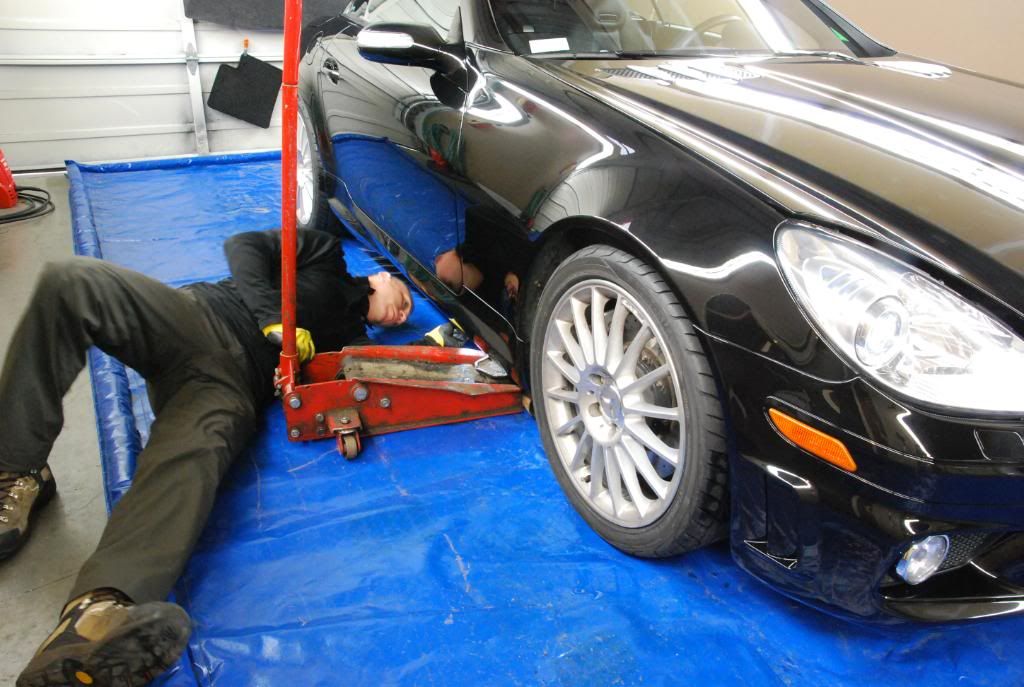
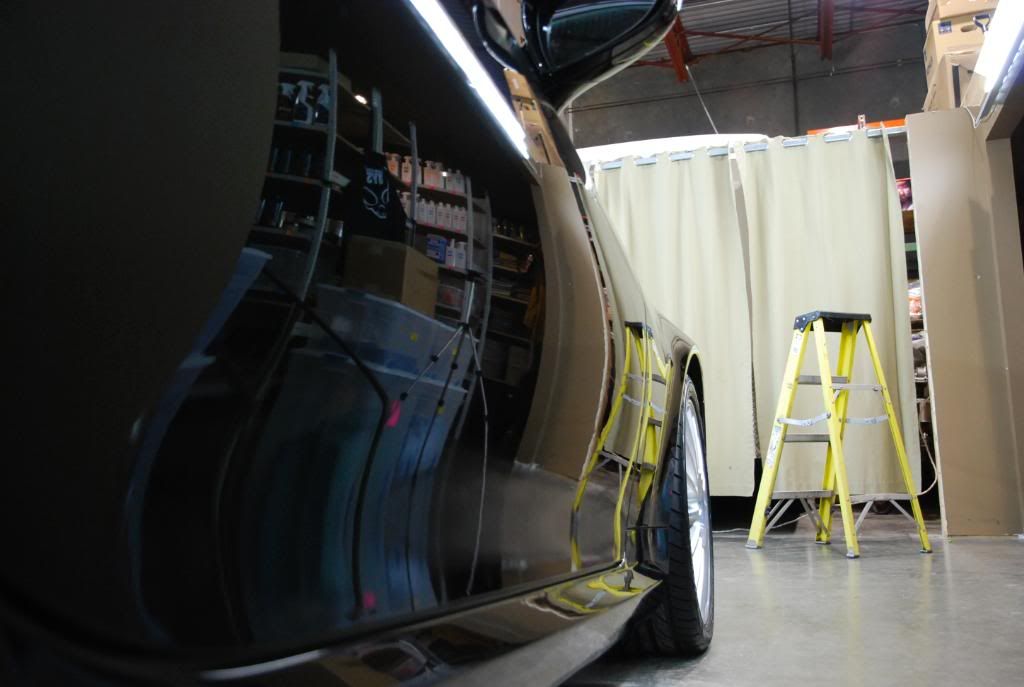
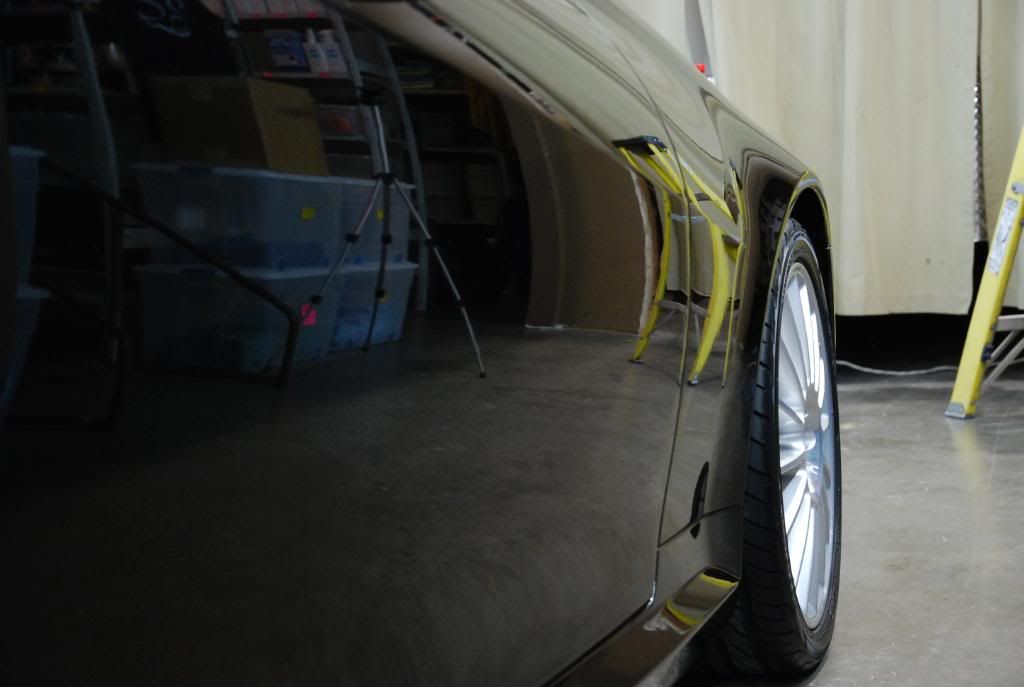
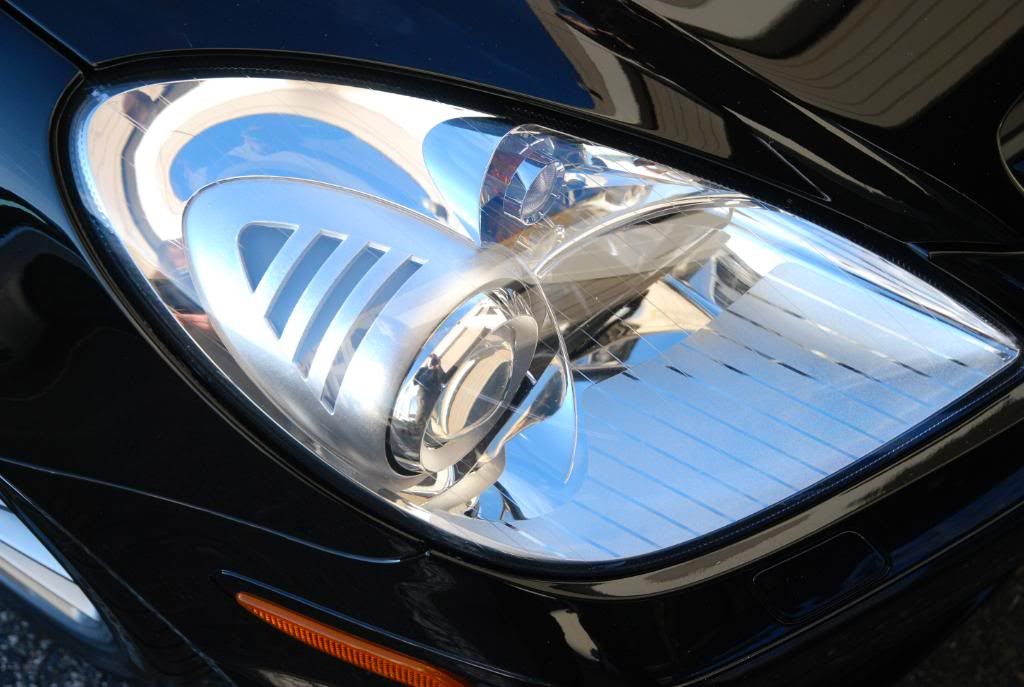
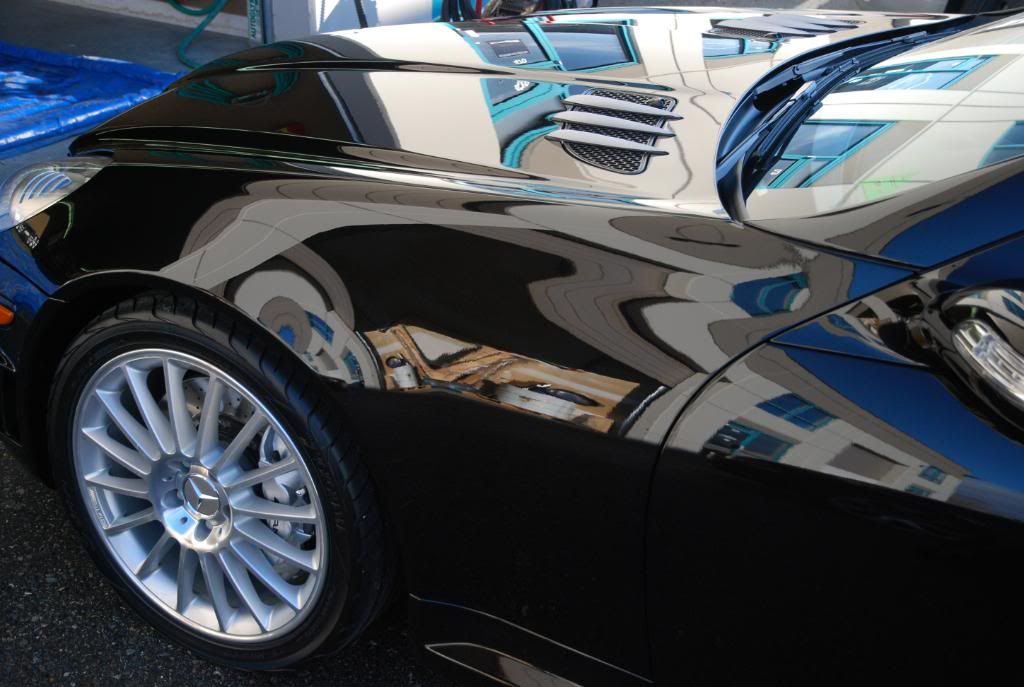
This client brought his car in looking for a basic clean up before he put his car away for the winter. After looking at the car it was decided that we would do a little more work like removing the wheels to clean the inner fenders and suspension, detail the interior and give the paint a single stage polish. ( Didn't work out that easy. LOL ) The whole front end of the car had been repainted after a a bag of crushed limestone ripped open on the back of a flatdeck in front of my client. 
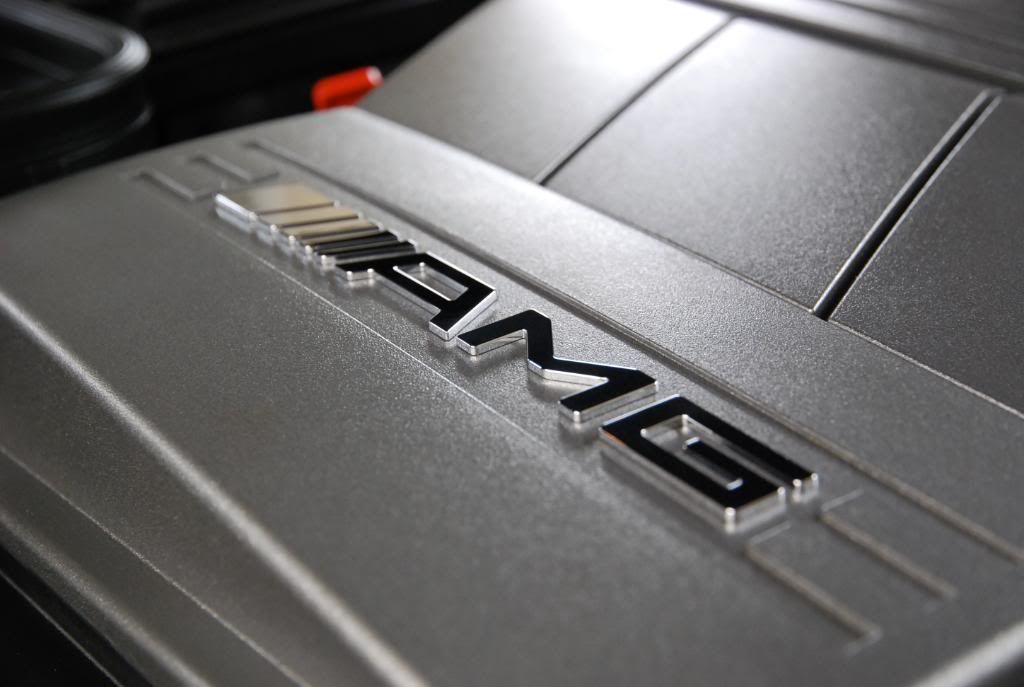
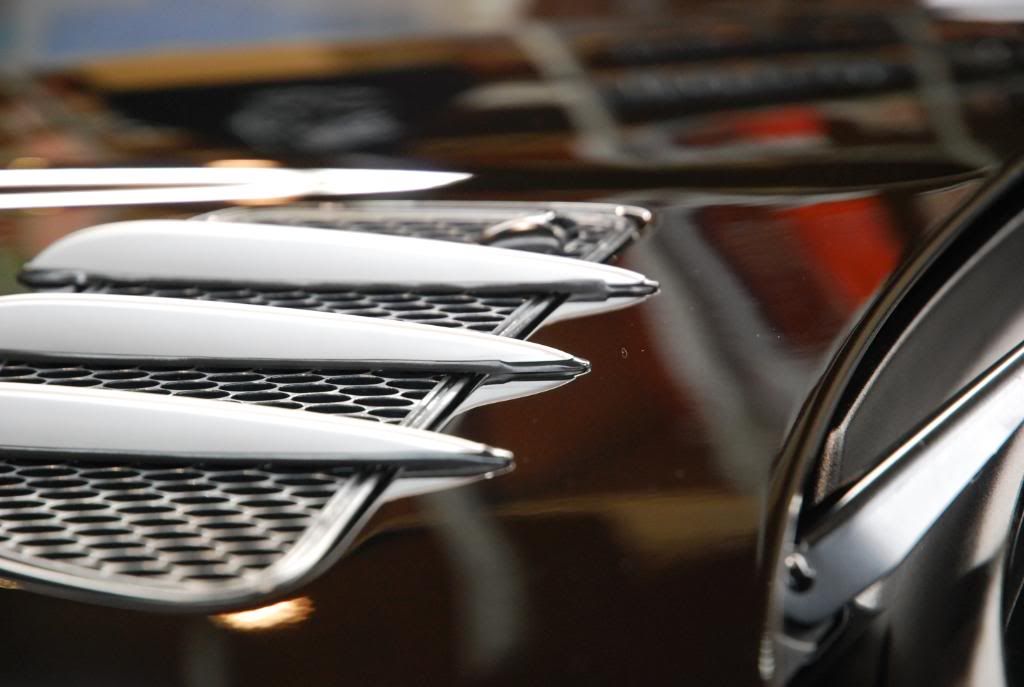
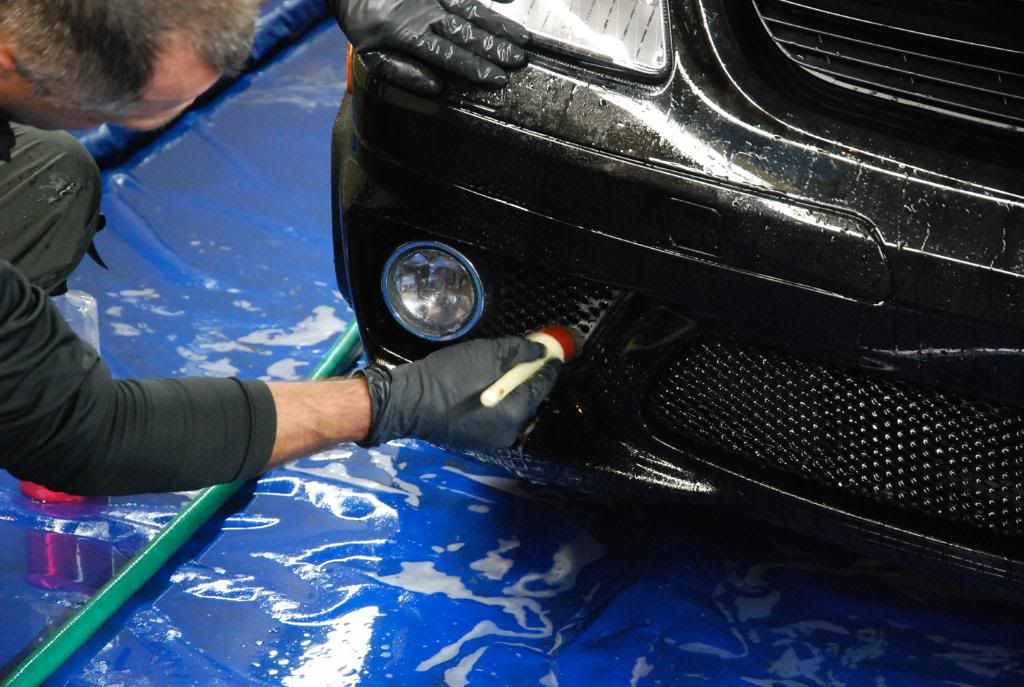
Engine, jambs and exterior trims were cleaned with APC we are testing and Raceglaze brushes.
Engine was dressed with 303 Protectant this time.
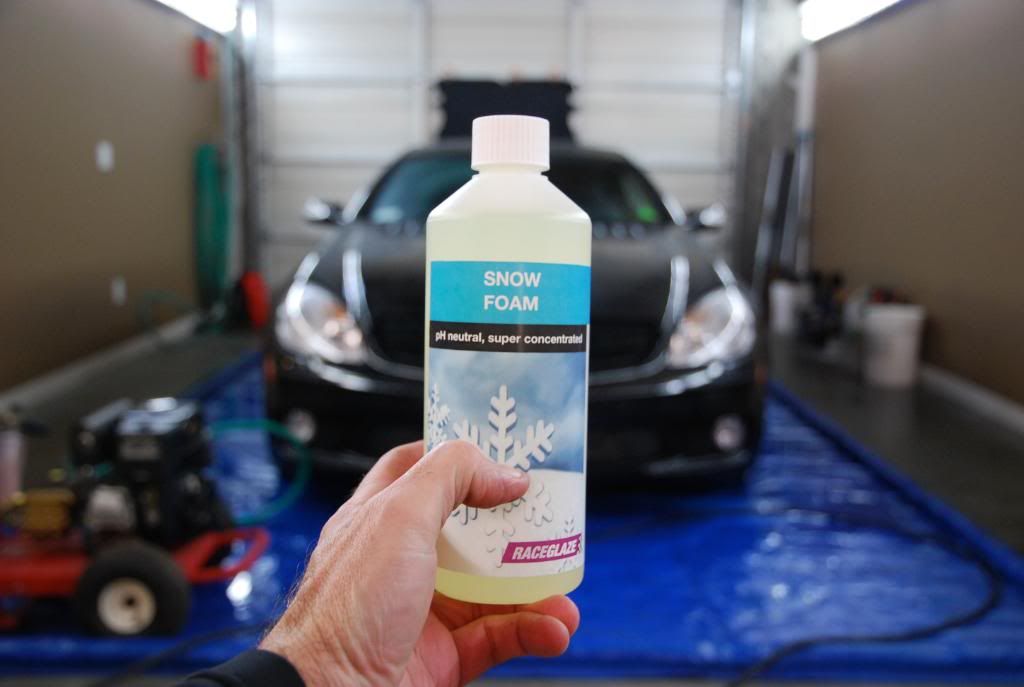
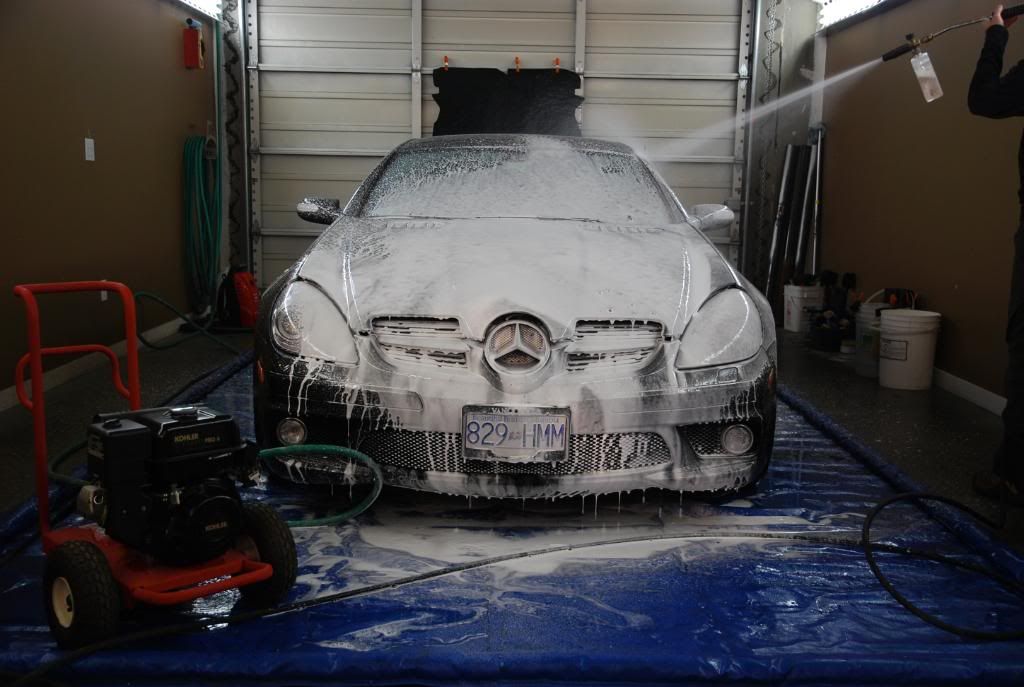
Foamed with RG ph Neutral Snow Foam at 10:1 and left to soak for 4 minutes
Washed with CG CWC and Raceglaze Sheepskin Mitt
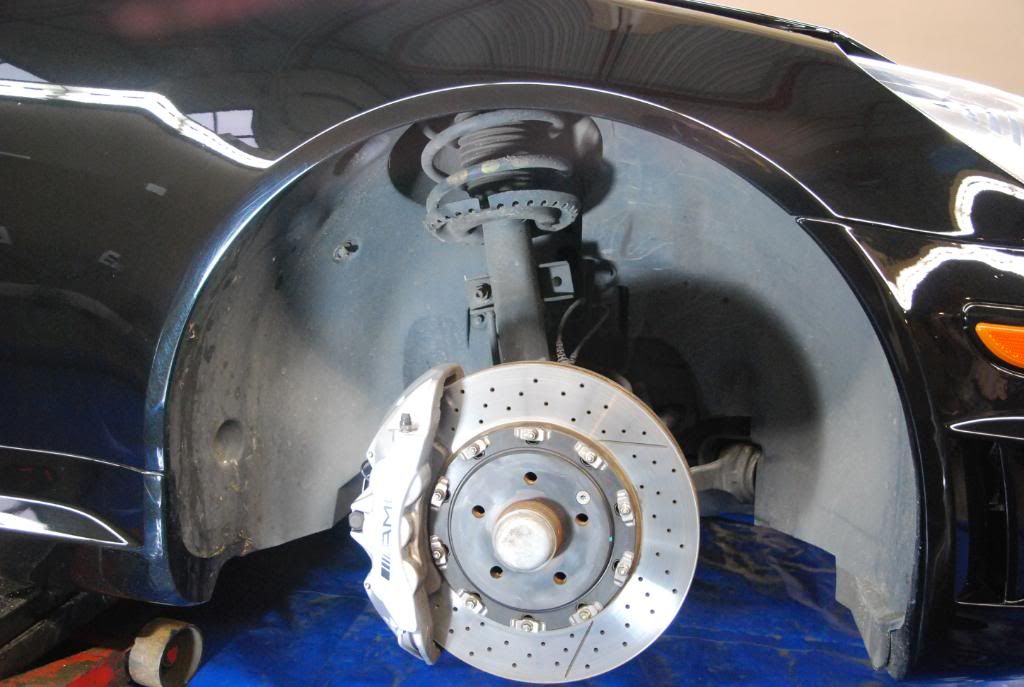
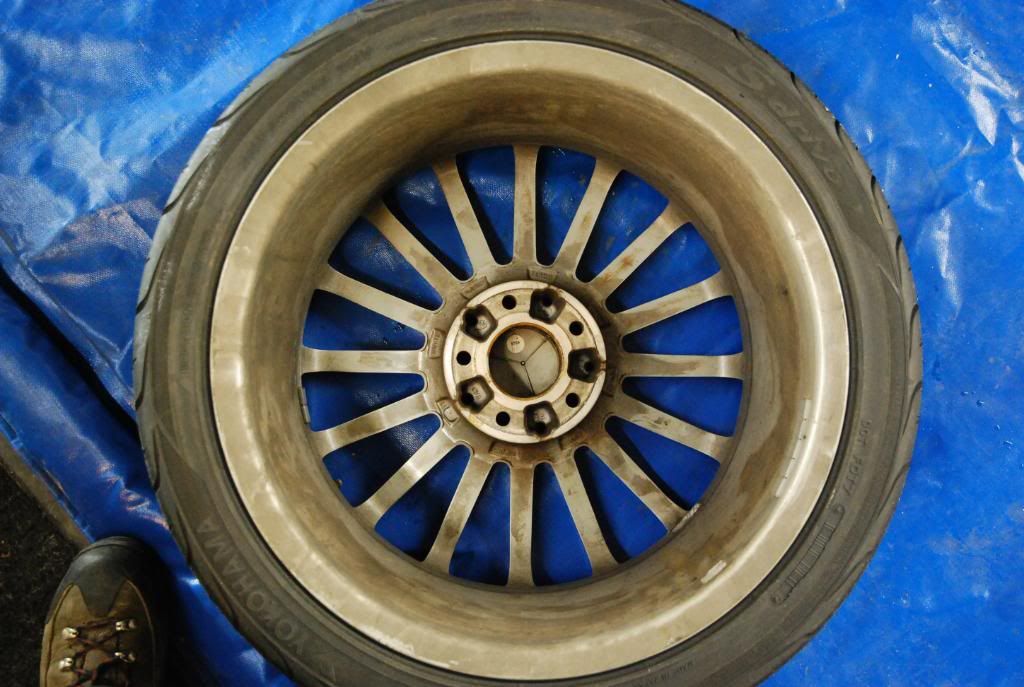
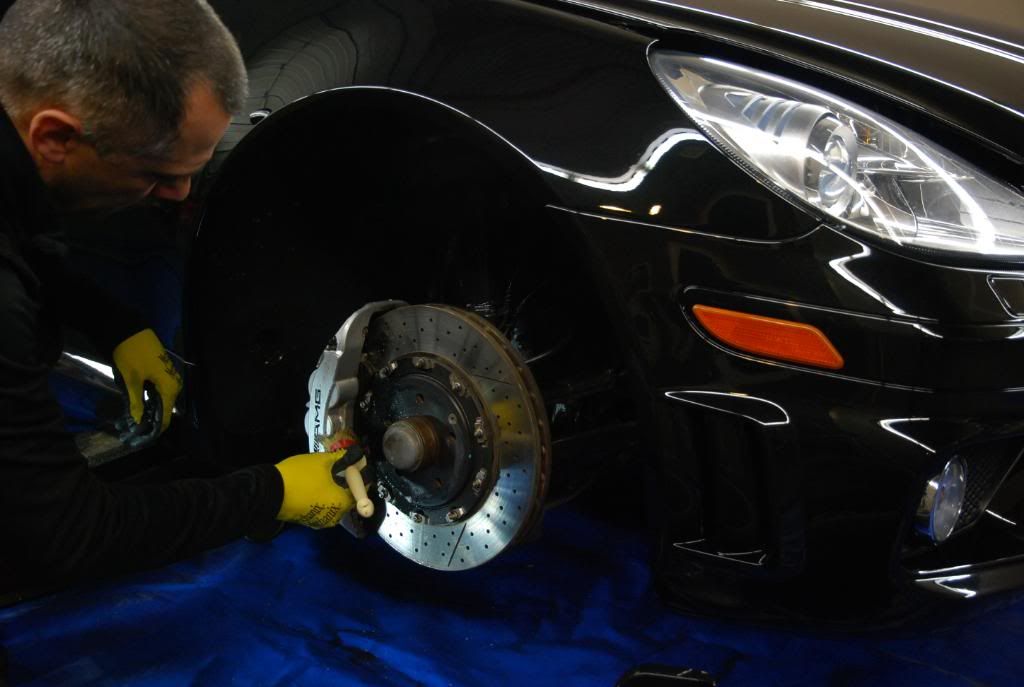
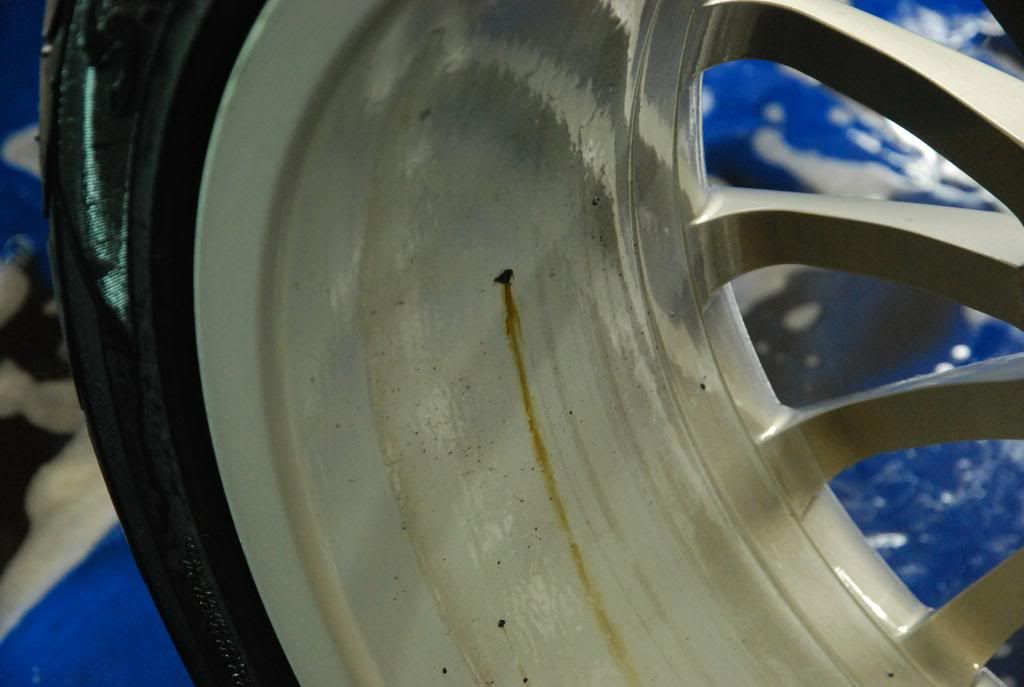
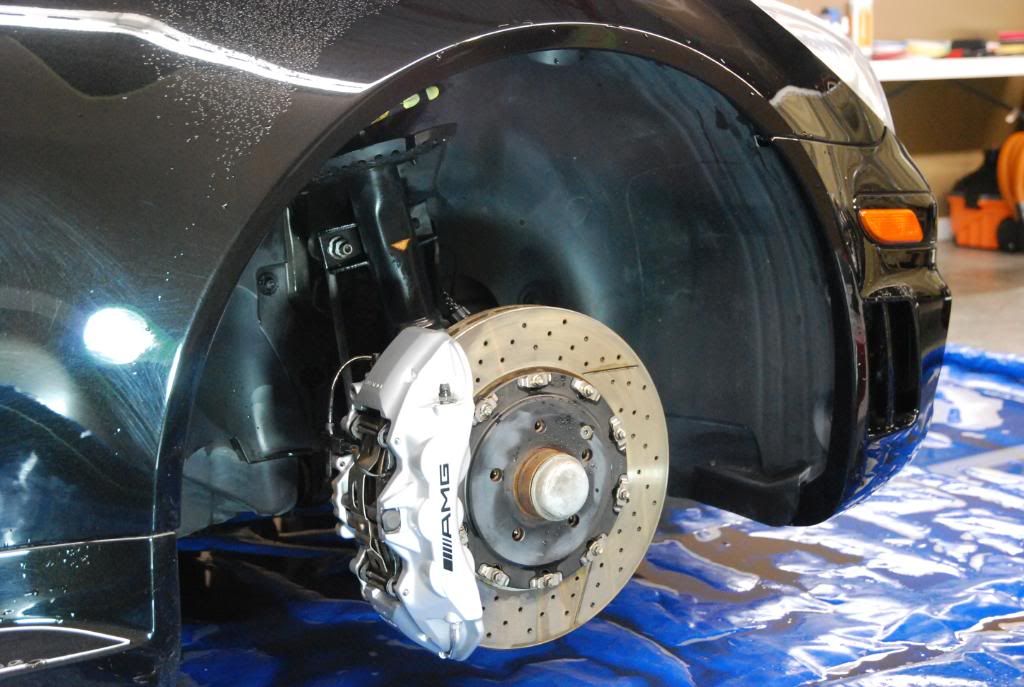
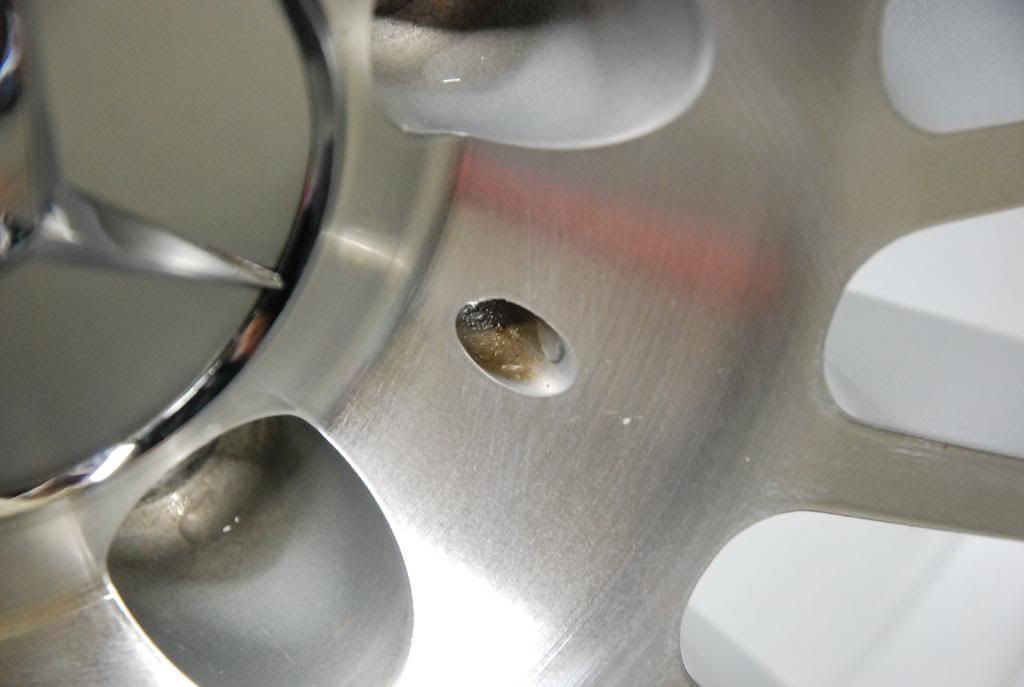
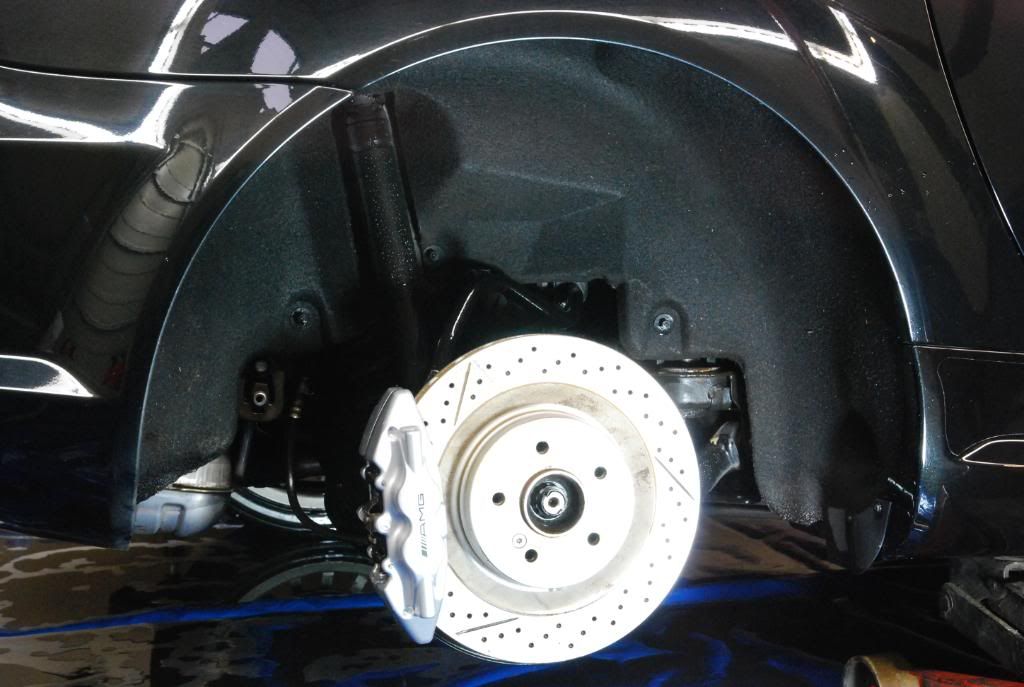
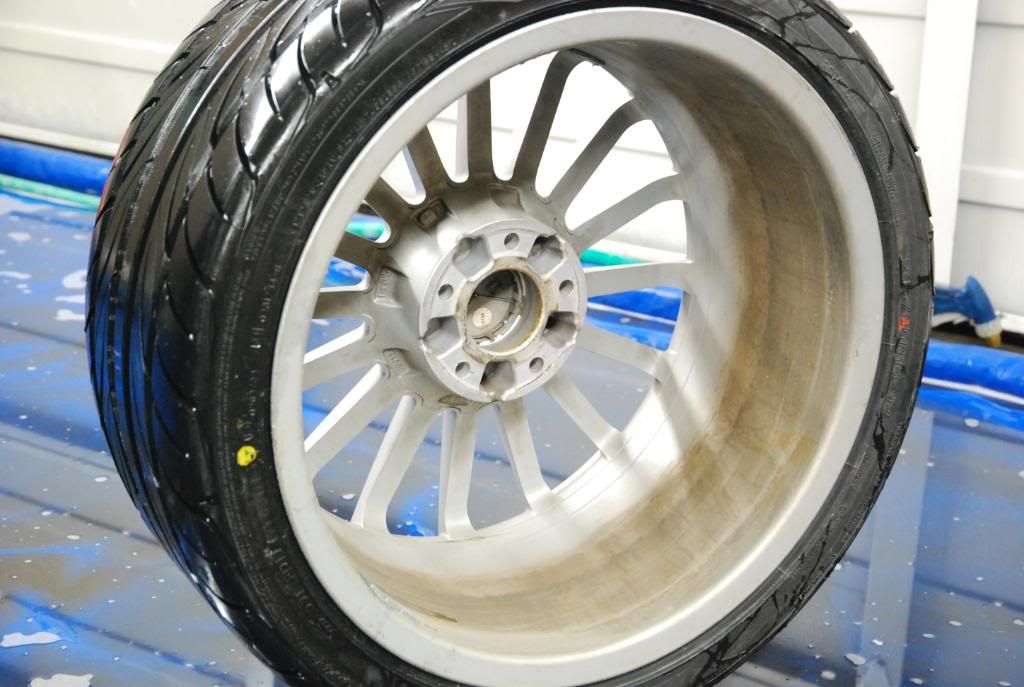
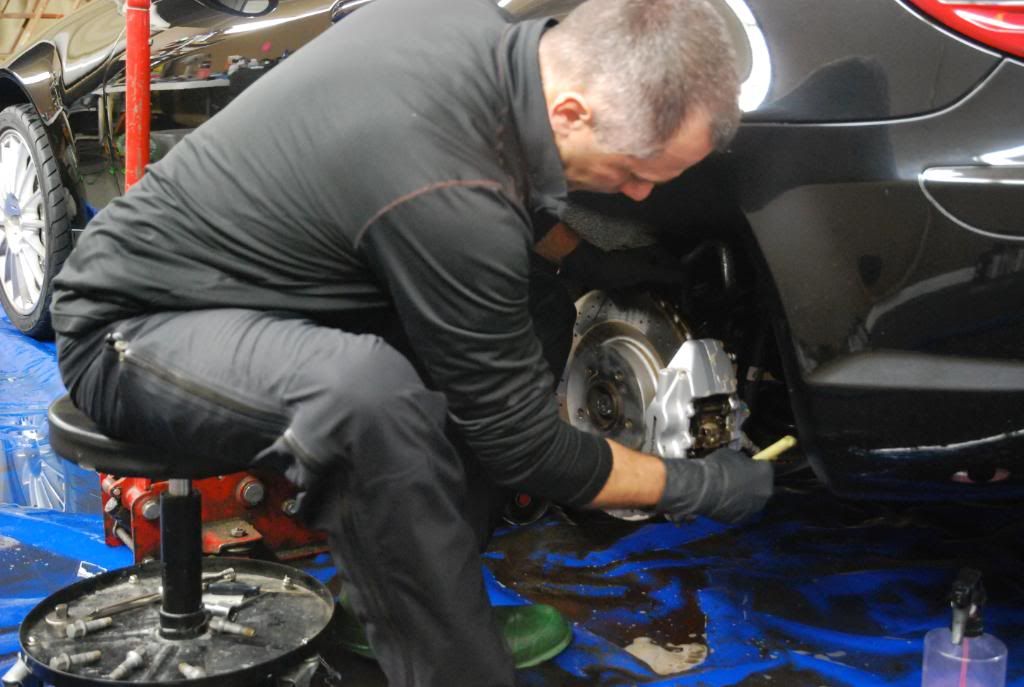
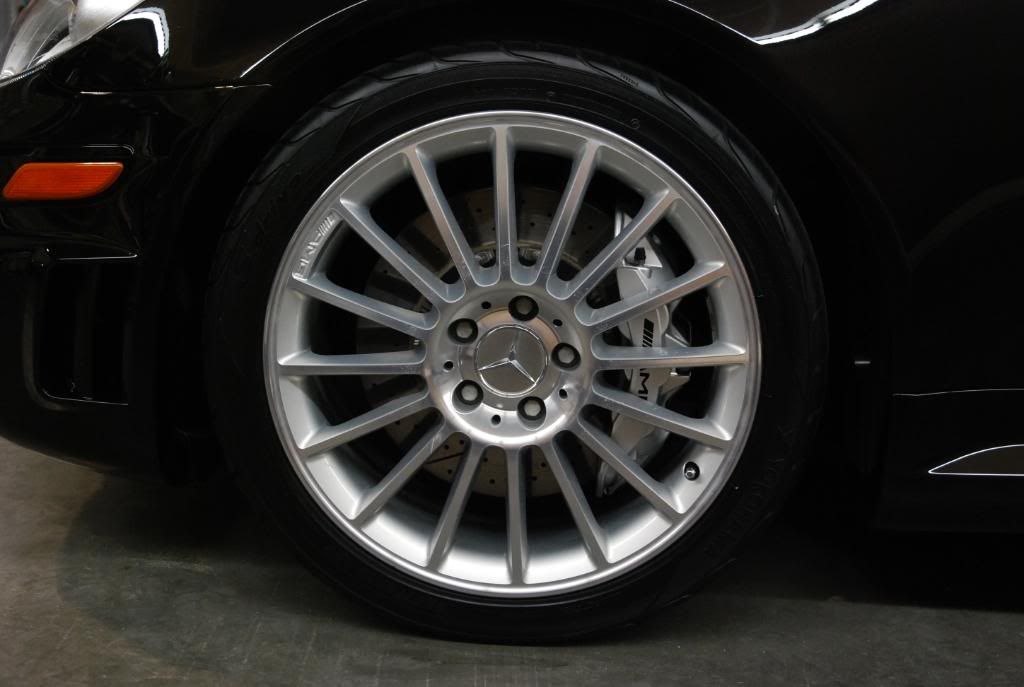
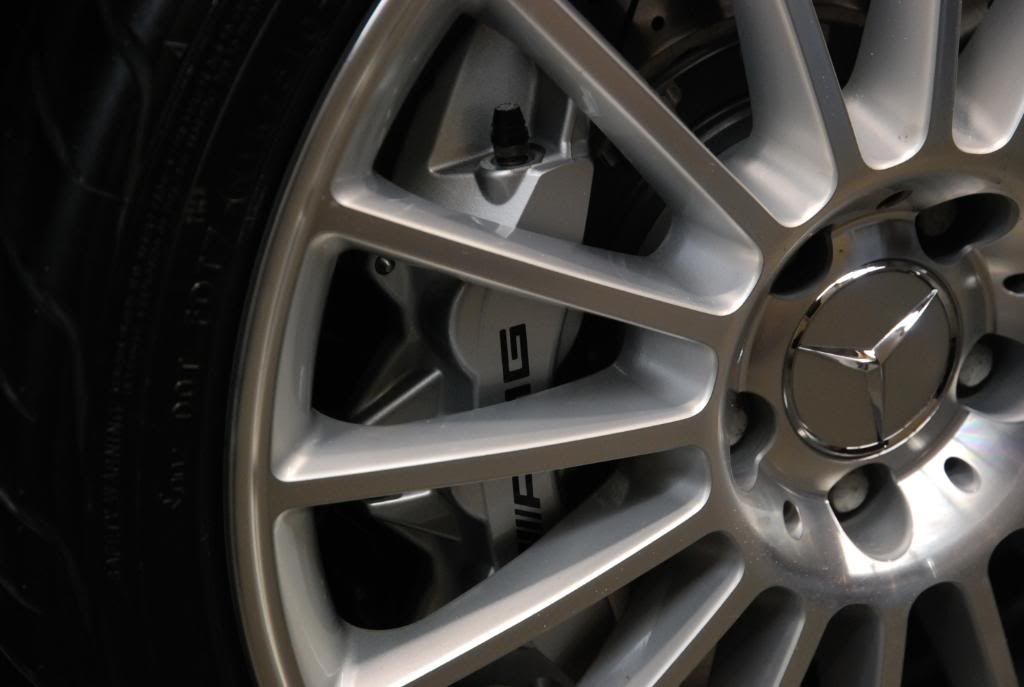
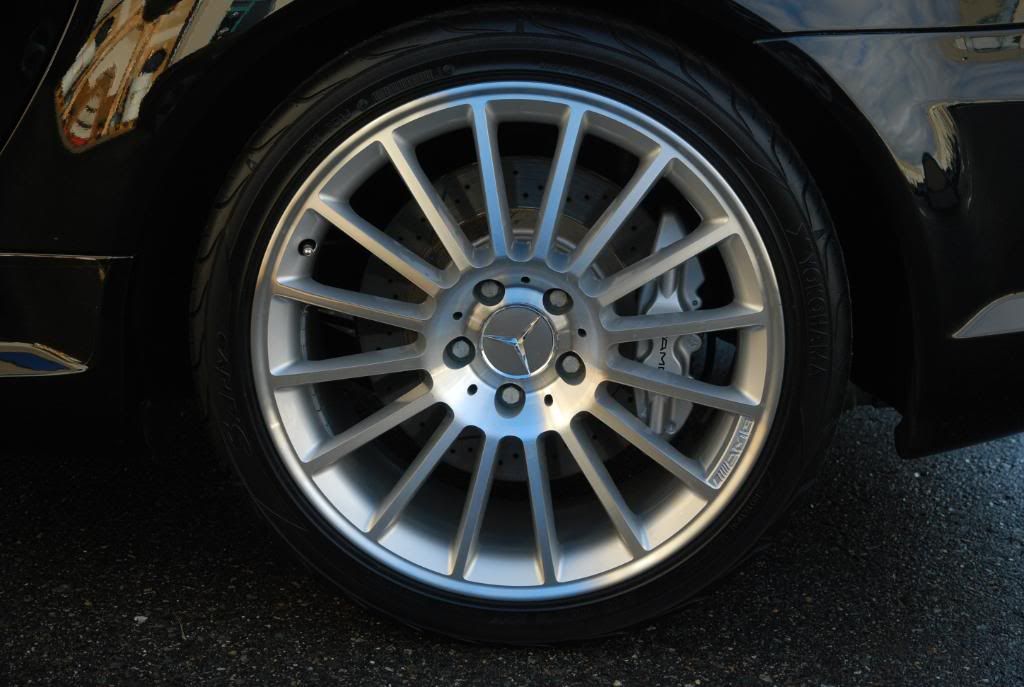
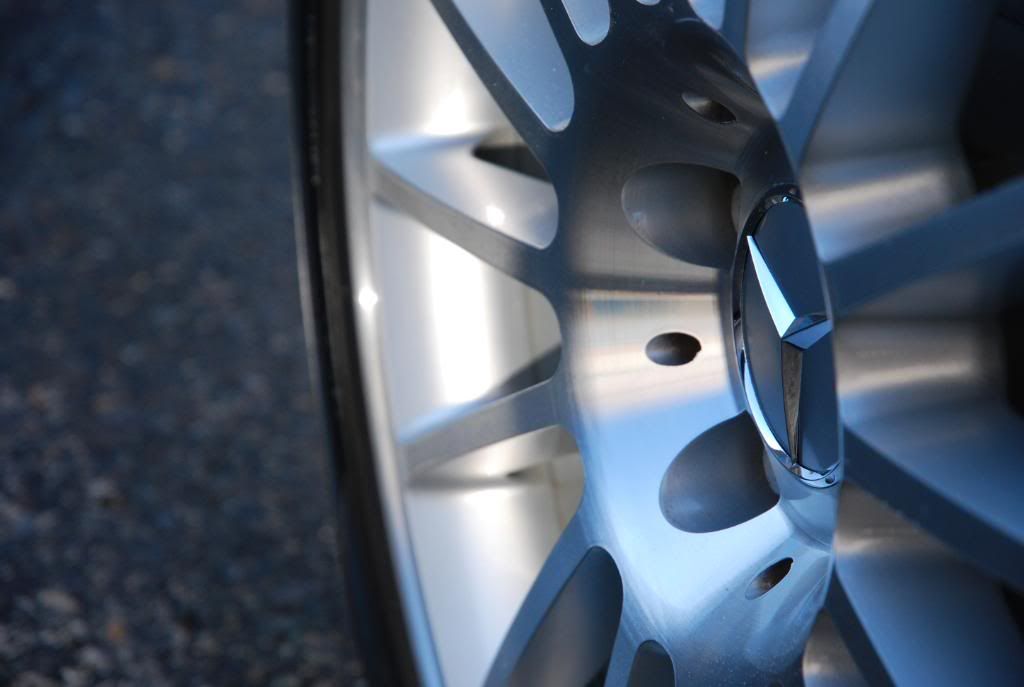
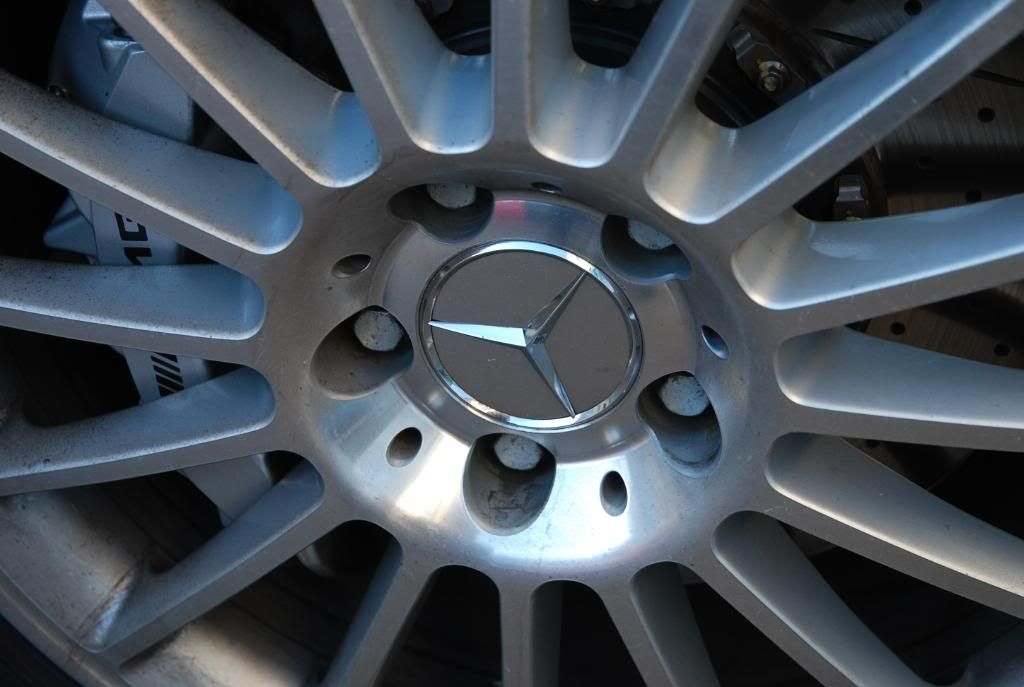
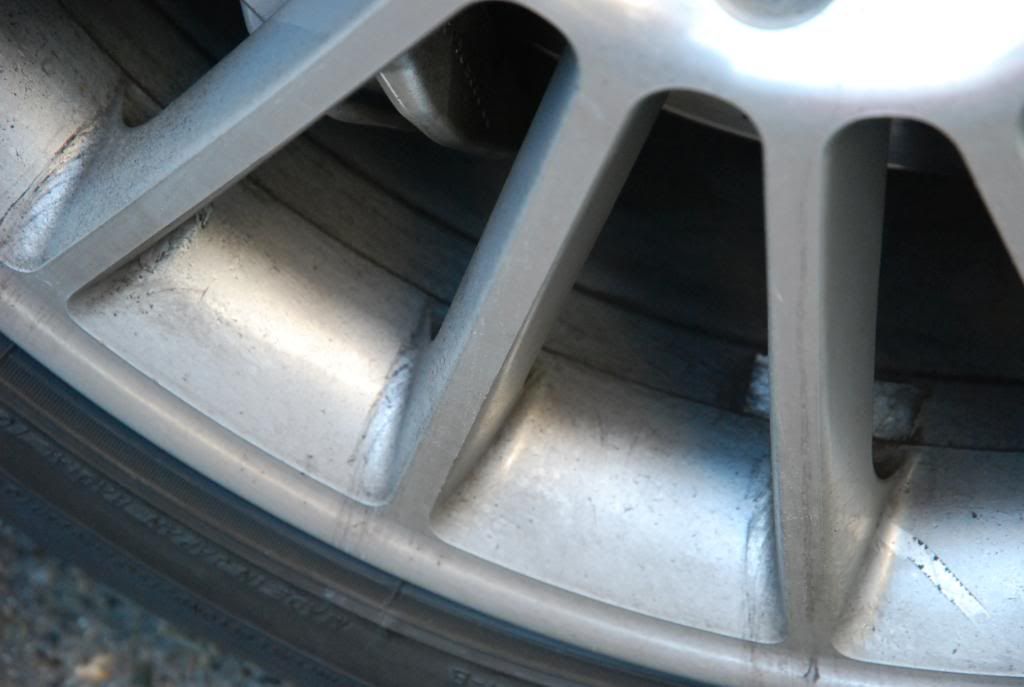
Wheel faces and barrels were cleaned with test APC as were inner fenders and suspension components. Wheel barrels were touched up with a mild acid solution to get rid of some staining.
Autosmart Tardis was used to remove road tar and weight glue on inner barrels.
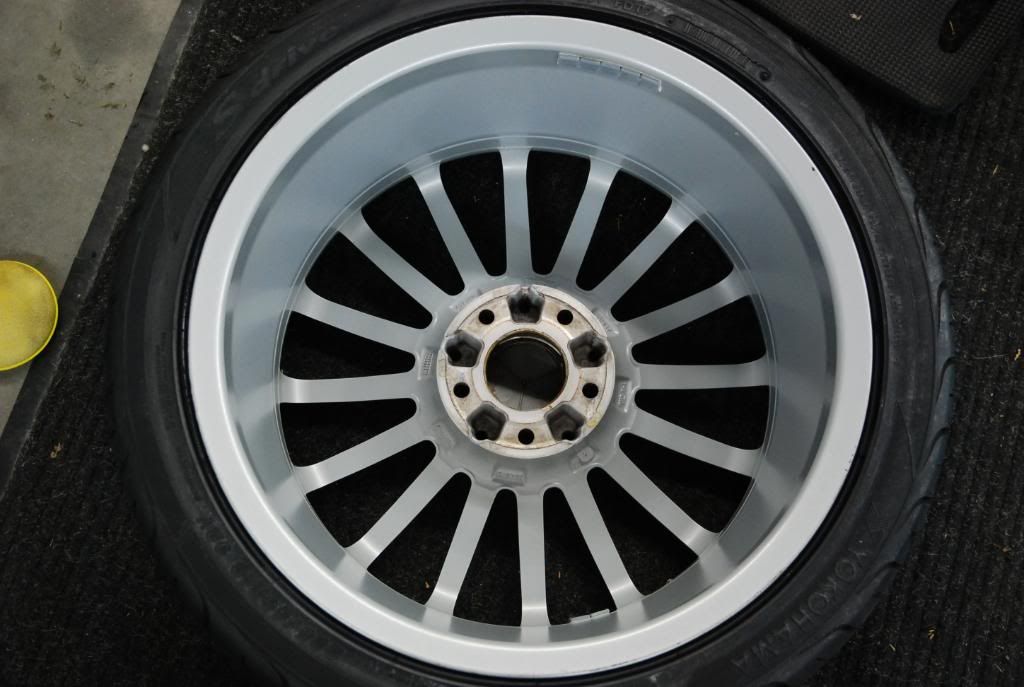
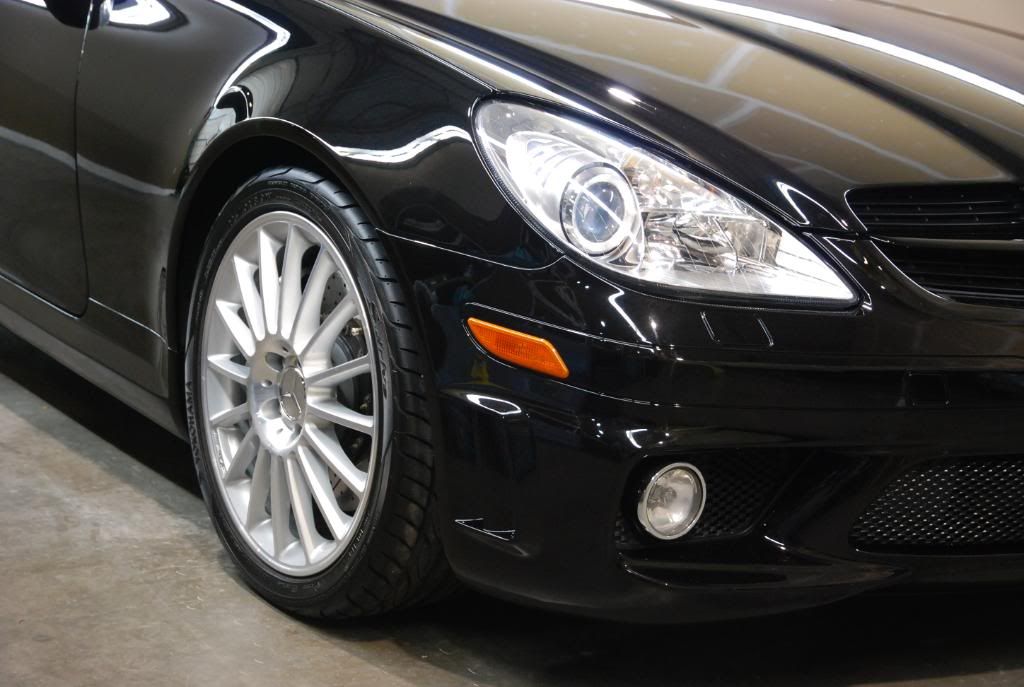
Wheels were sealed with Blackfire All Metal Sealant
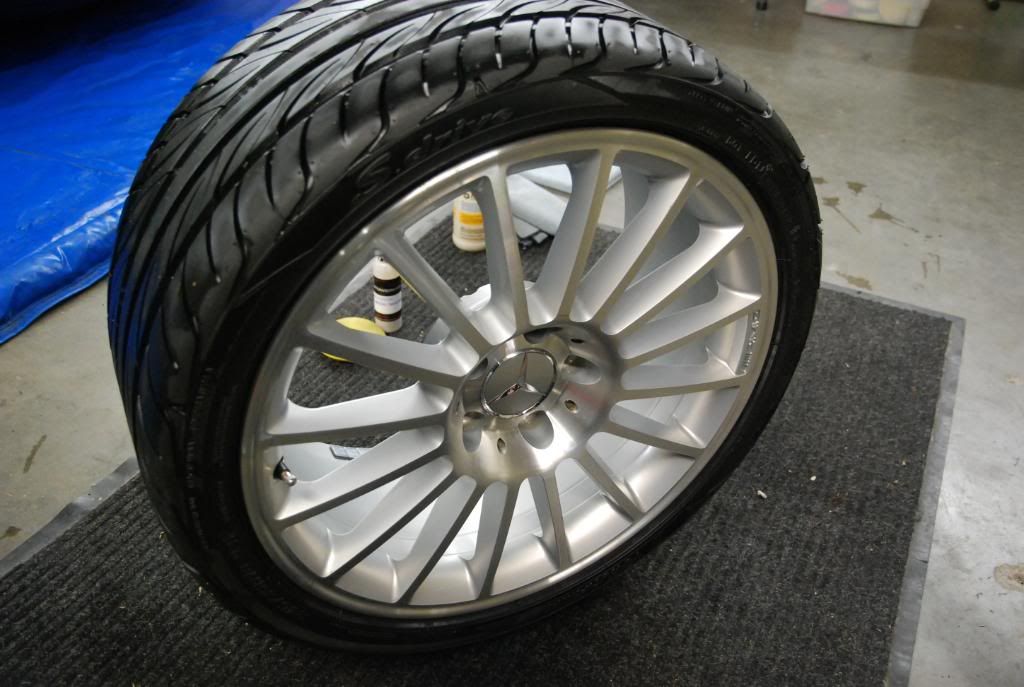
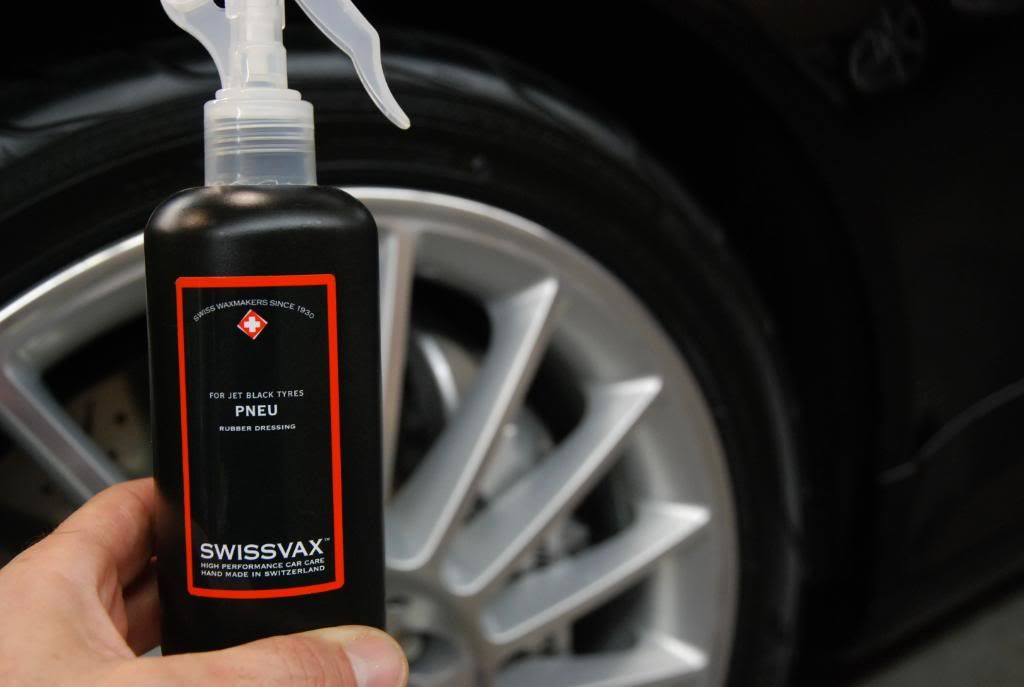
Tires dressed with Swissvax Pneu
Clayed with Exclusive Medium Clay with PB Spray & Wipe as lube
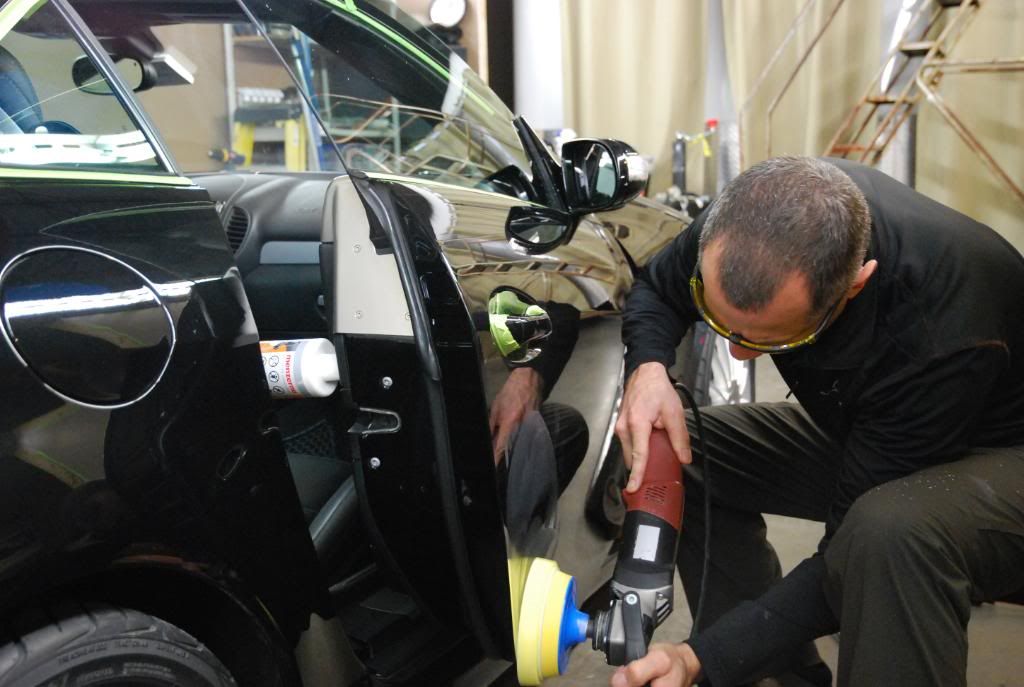
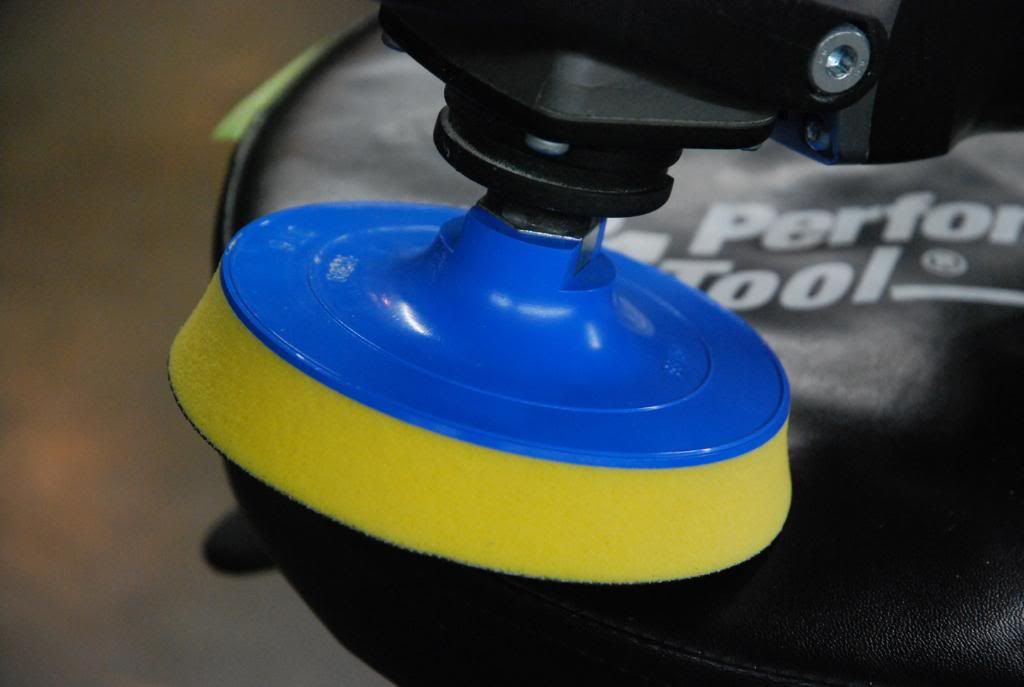
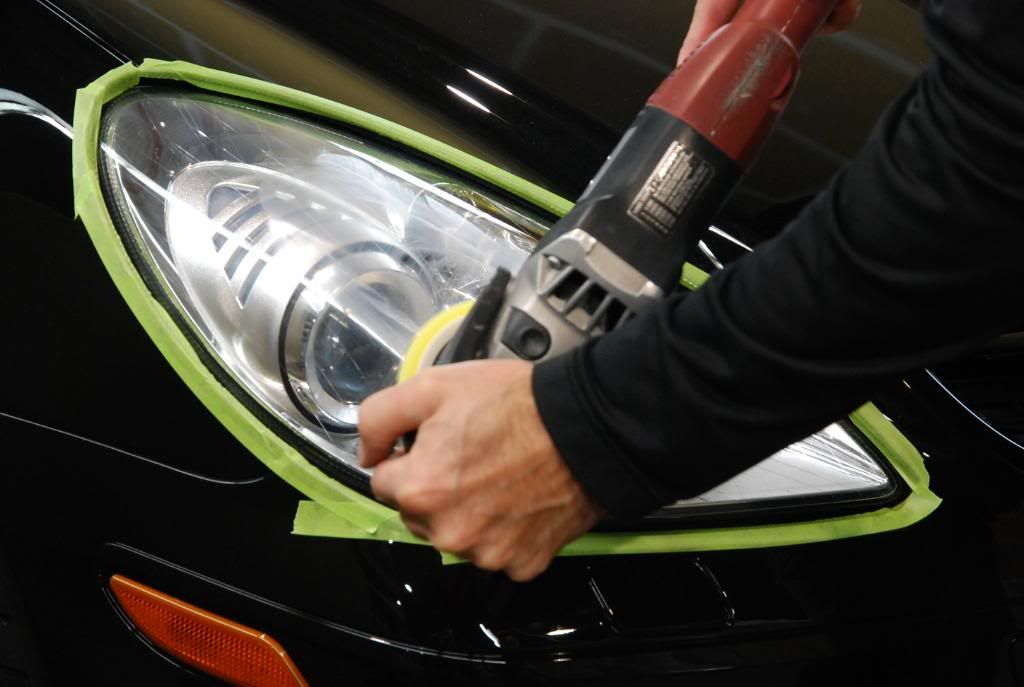
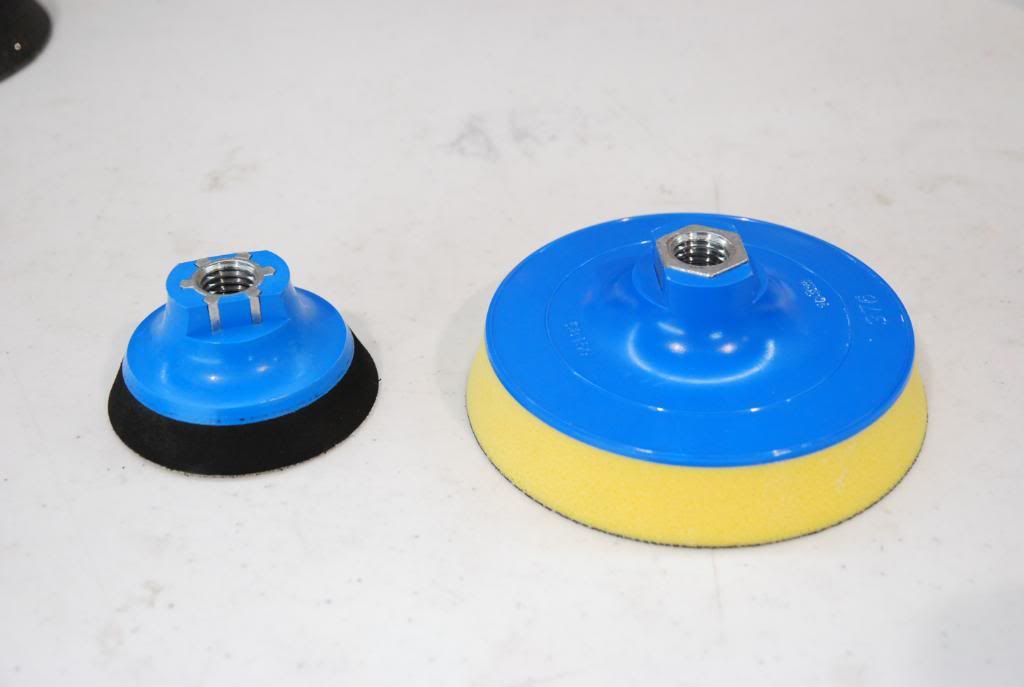
First stage of polishing was with B&S Green with Power Finish but had to switch to B&S Yellow and Power Finish and finally B&S Yellow with Megs 105 via Flex 3403 at 1100 - 1300 rpm.
Final polishing was B&S Black with Menz 106 via PC7424 at speed 5.
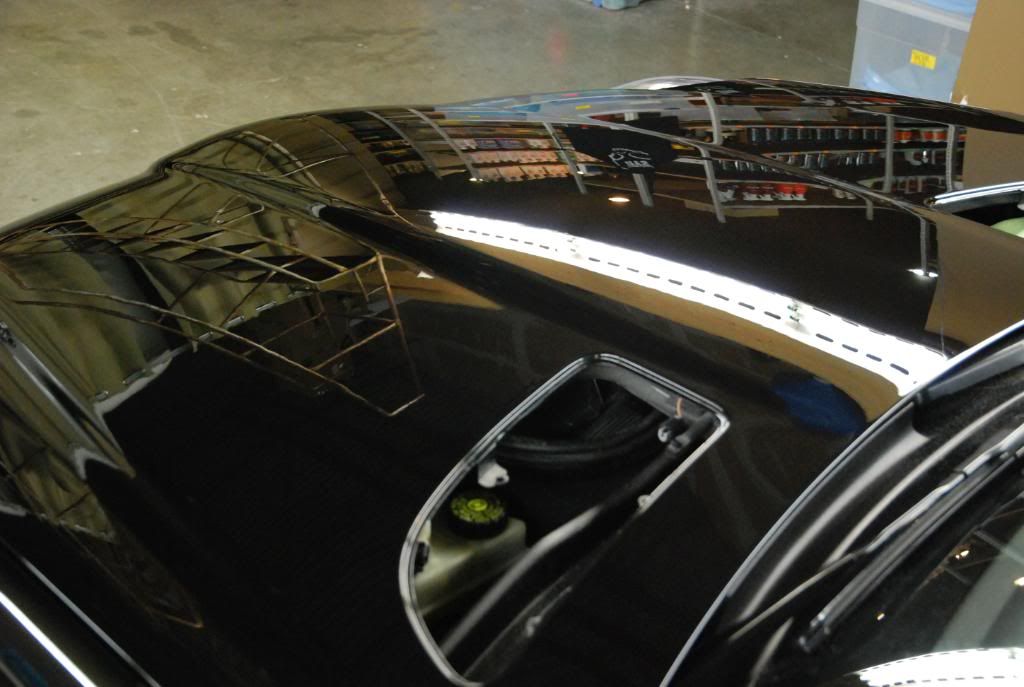
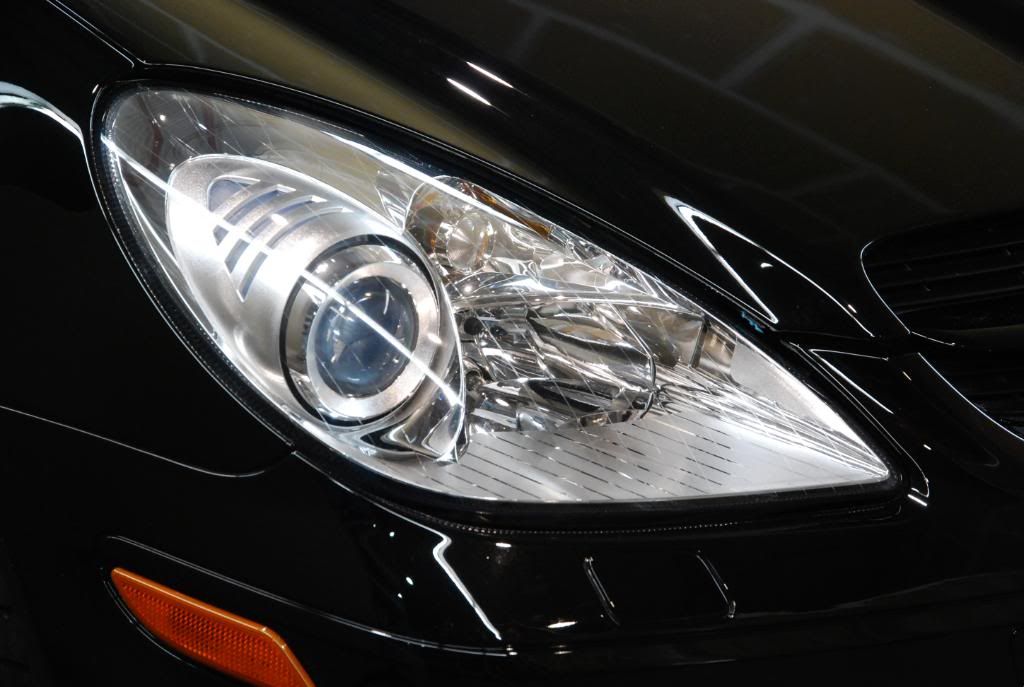
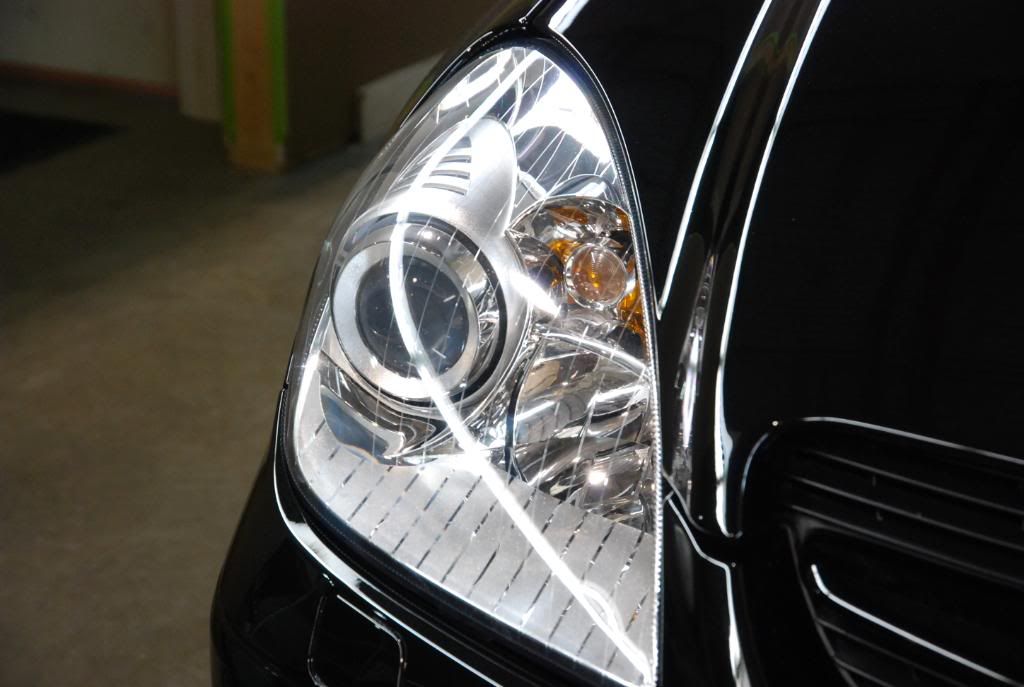
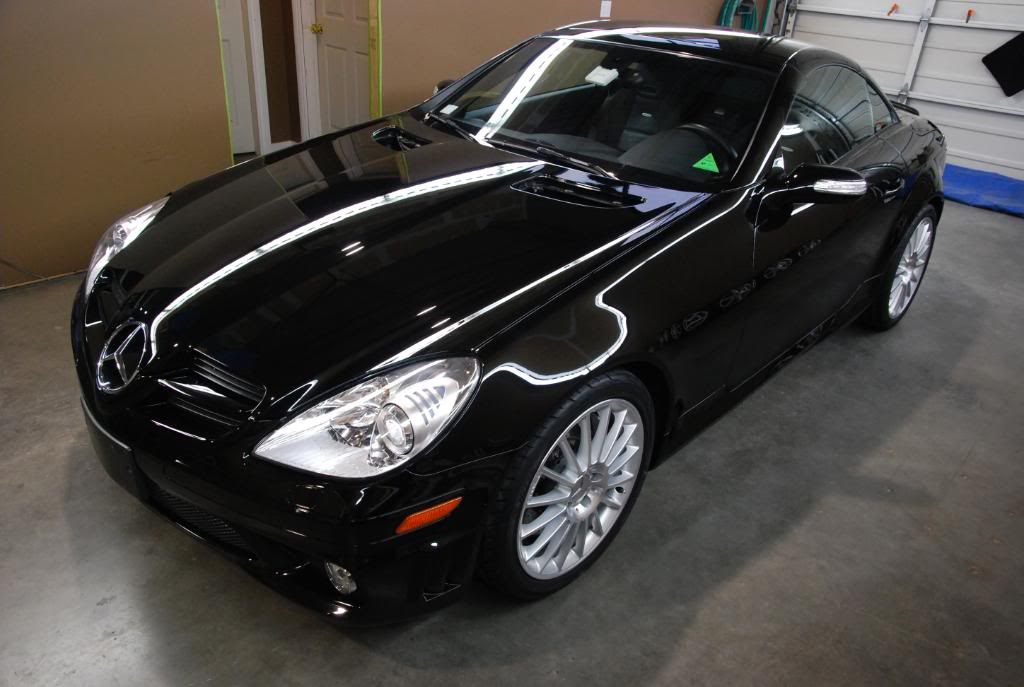
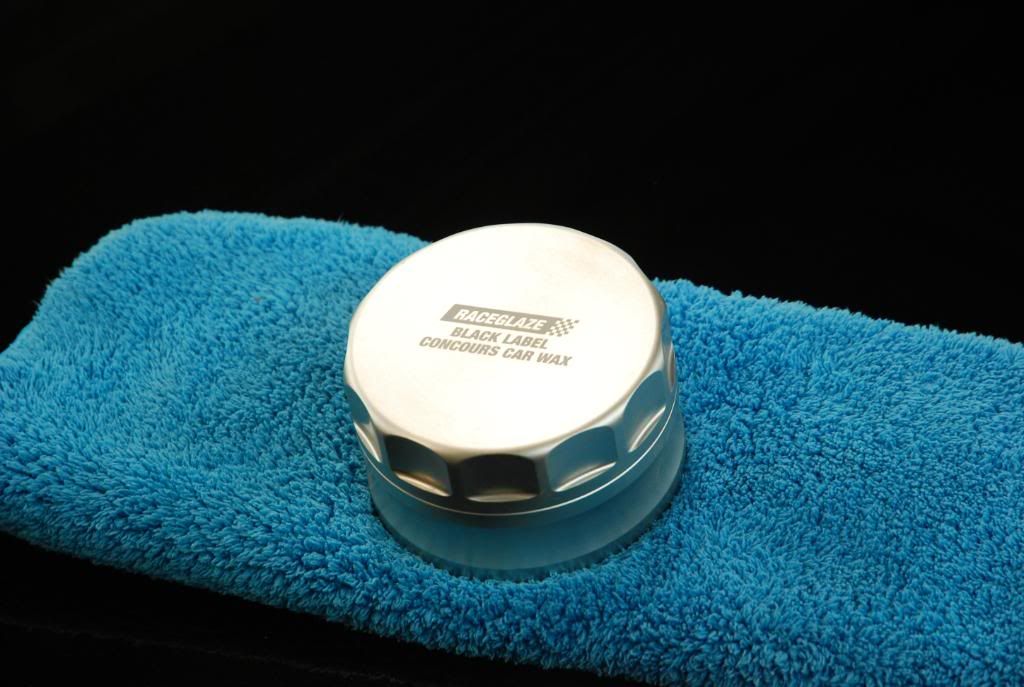
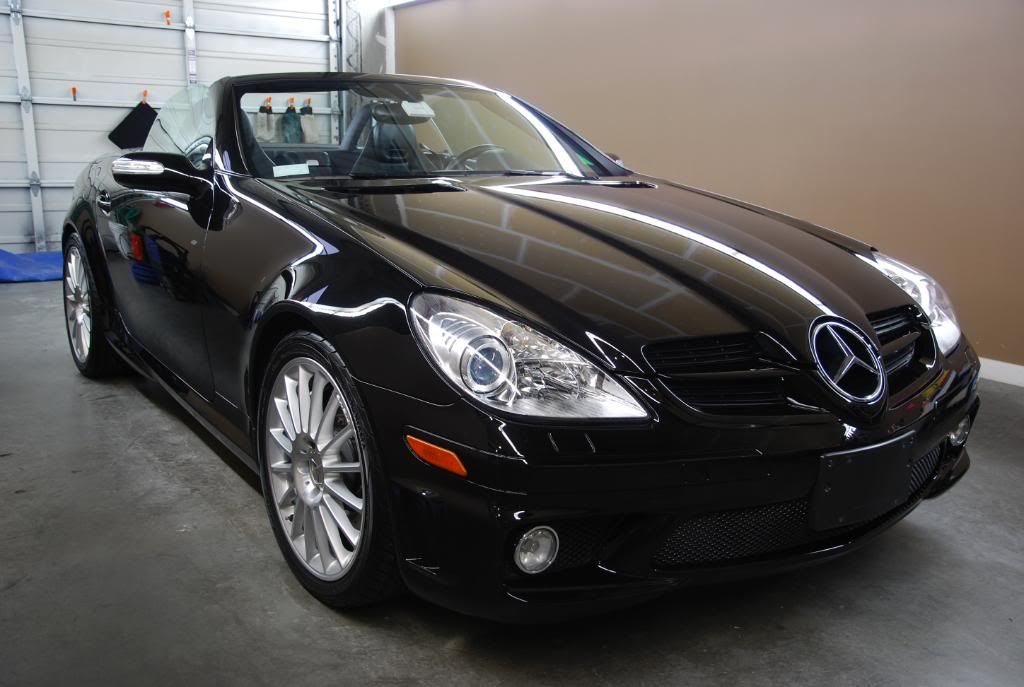
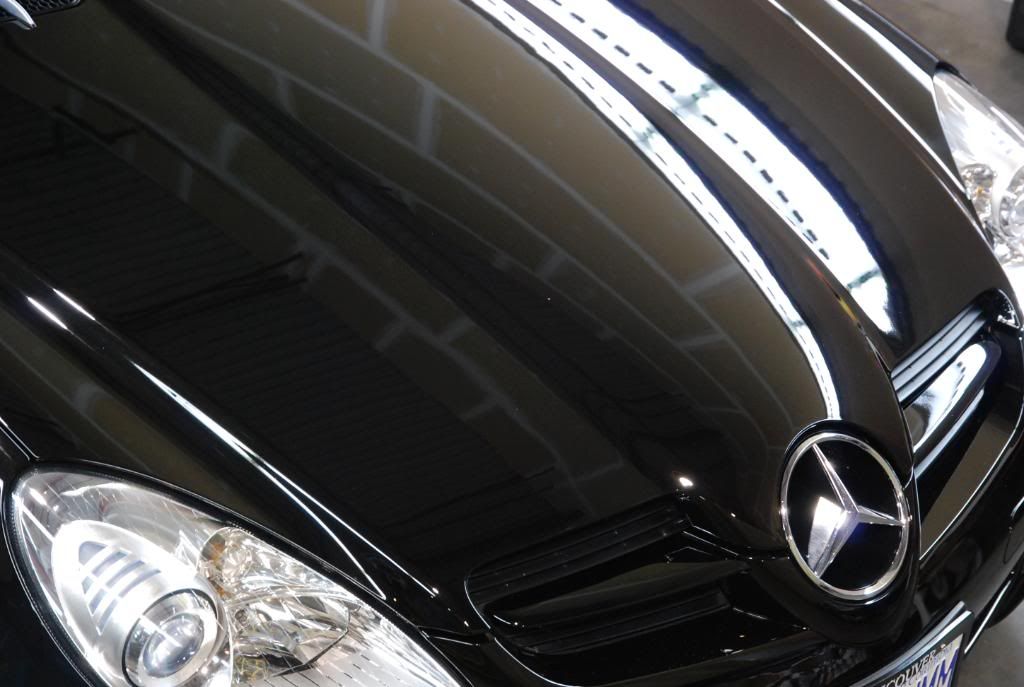
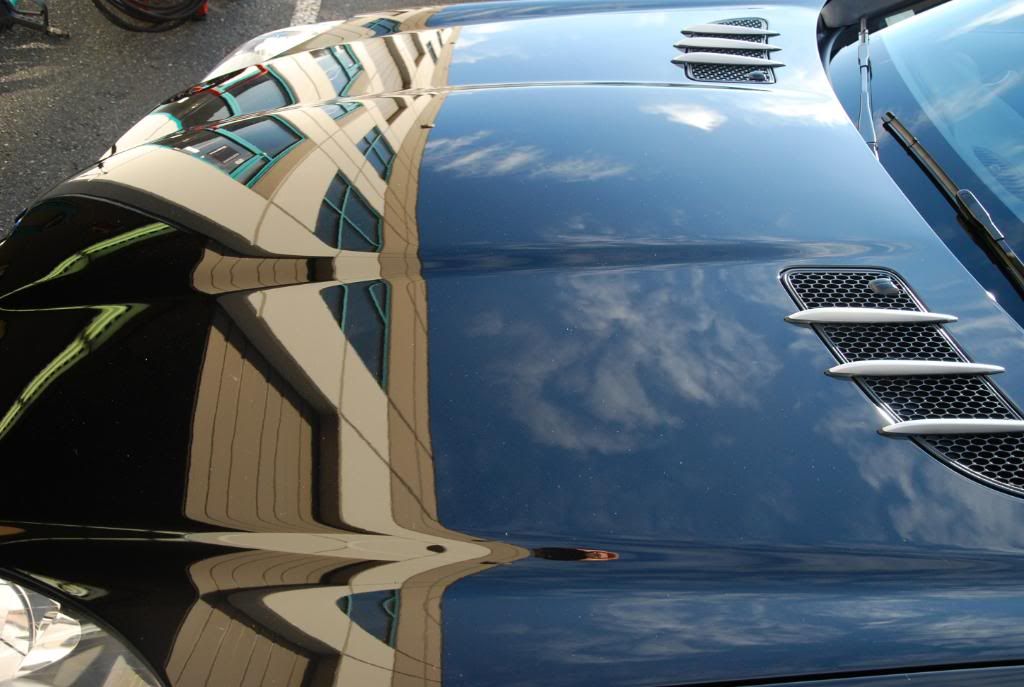
LSP was Raceglaze Black Label x2
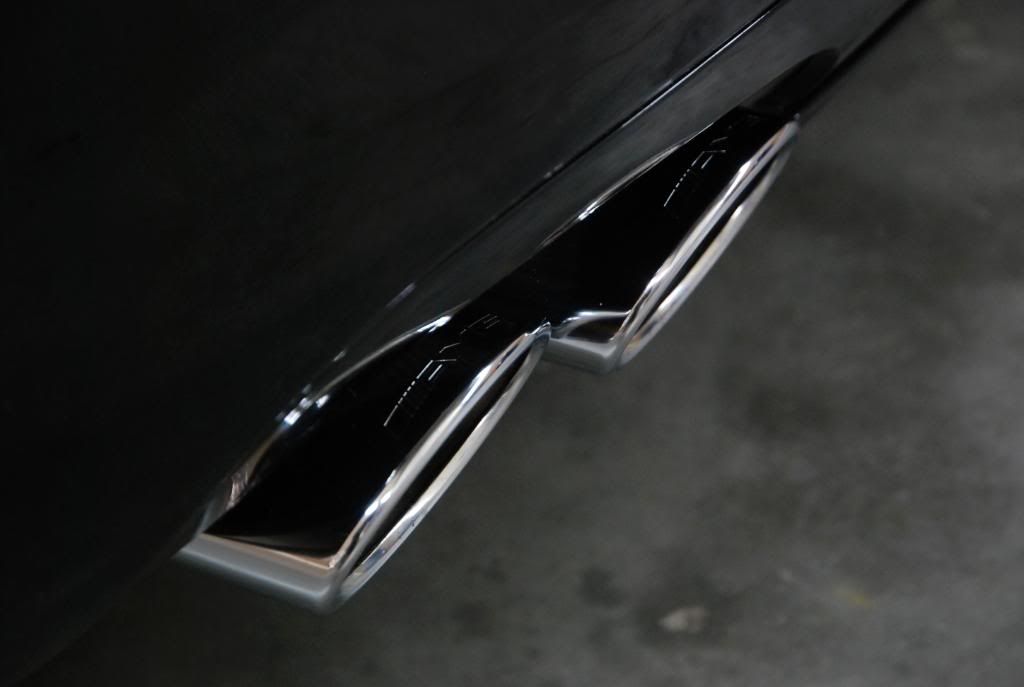
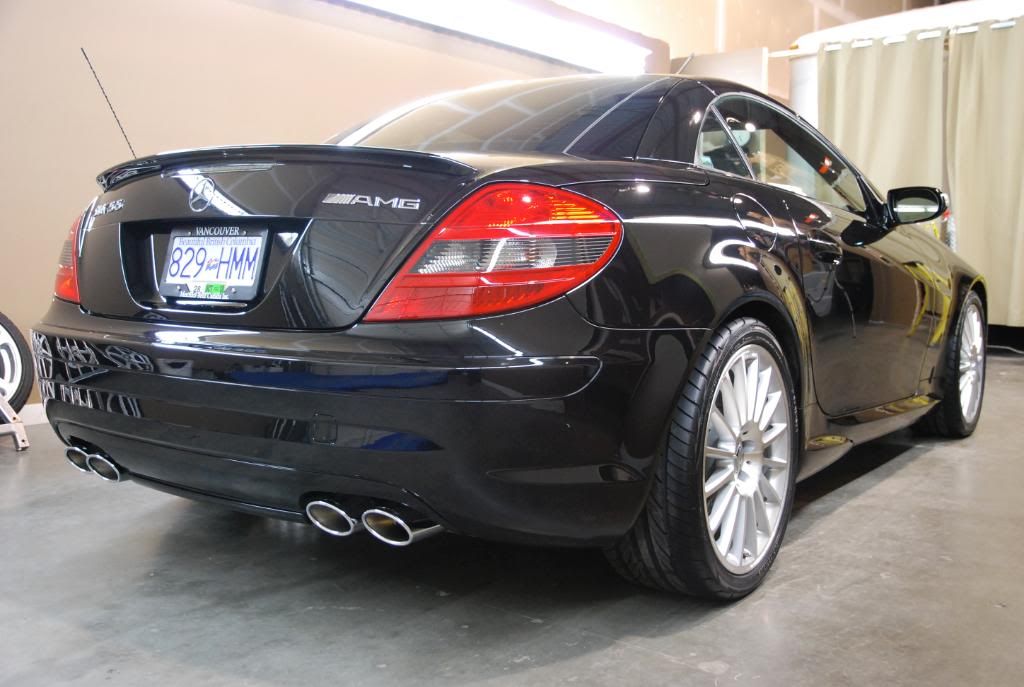
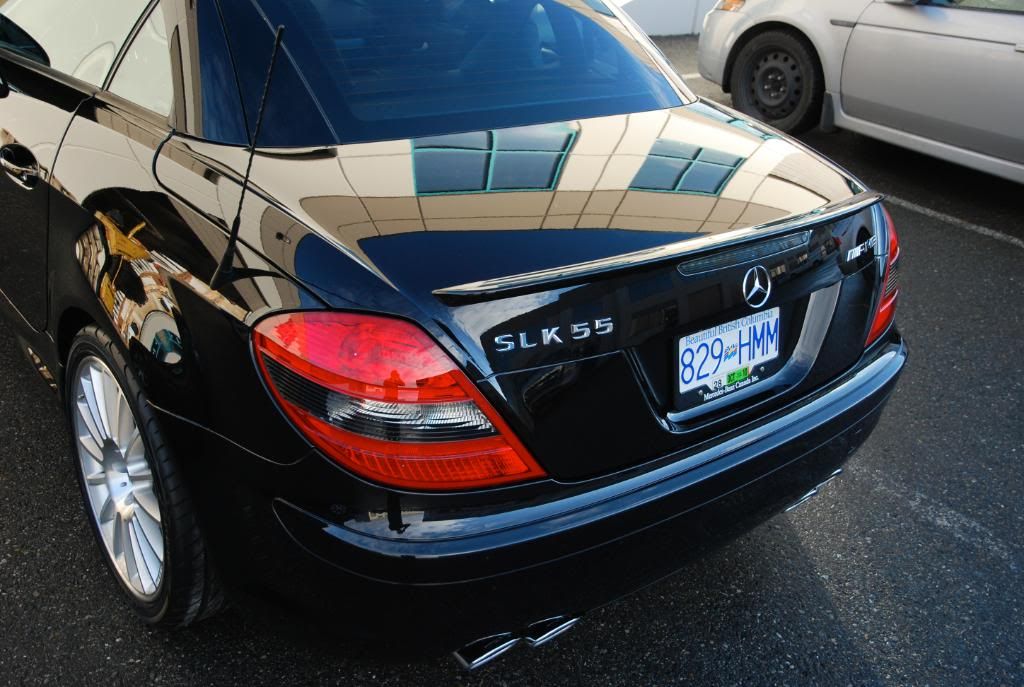
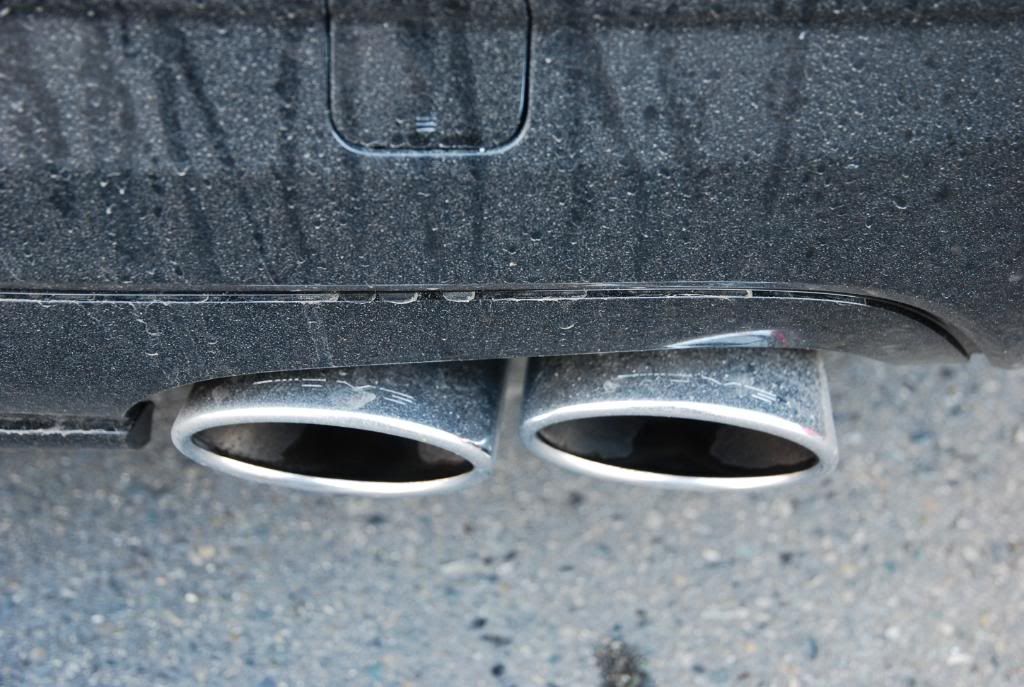
Exhaust tips polished with DG Metal Polish and sealed with Blackfire All Metal Sealant
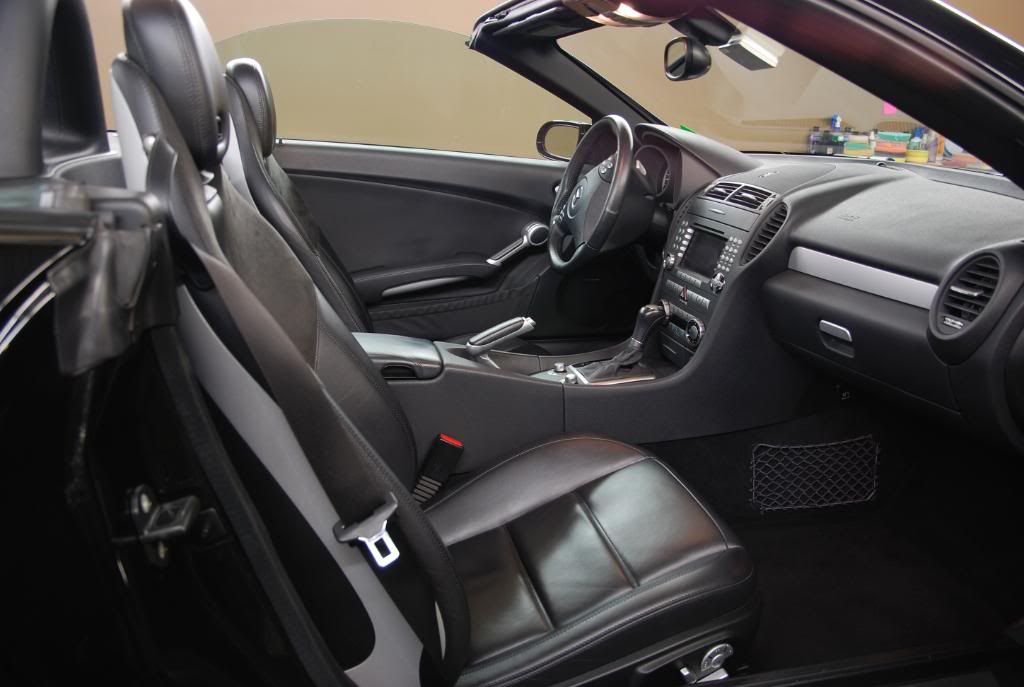
Interior wiped down with AG Interior Shampoo
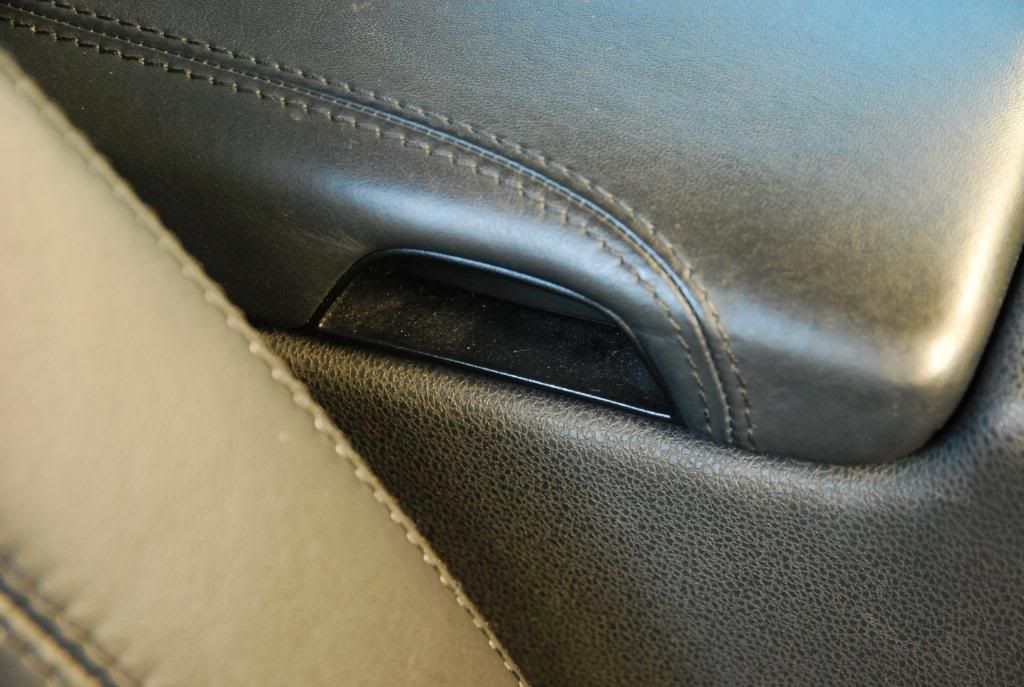
Seats cleaned with RG Leather Cleanse and conditioned with RG Leather Balm
All glass cleaned with AG Fast Glass
Total time - approx 25 hours
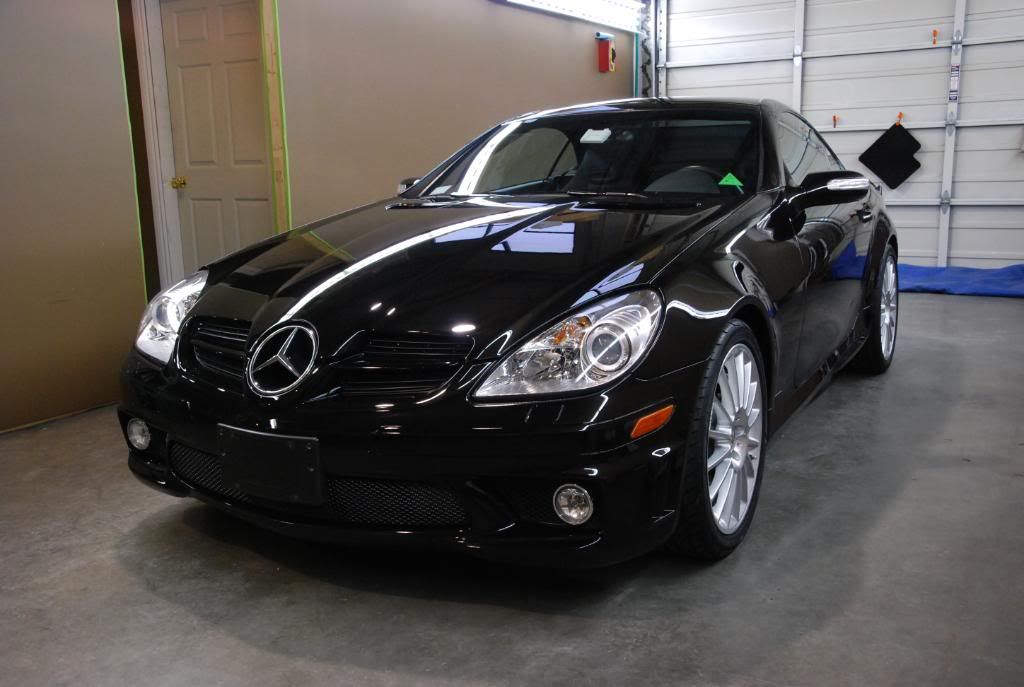
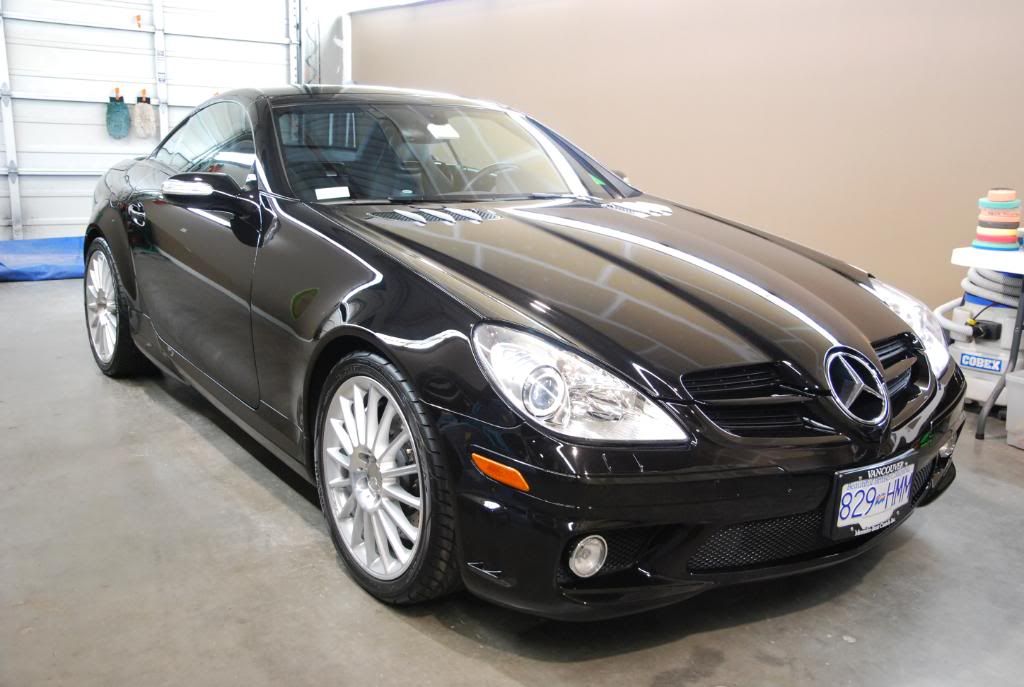
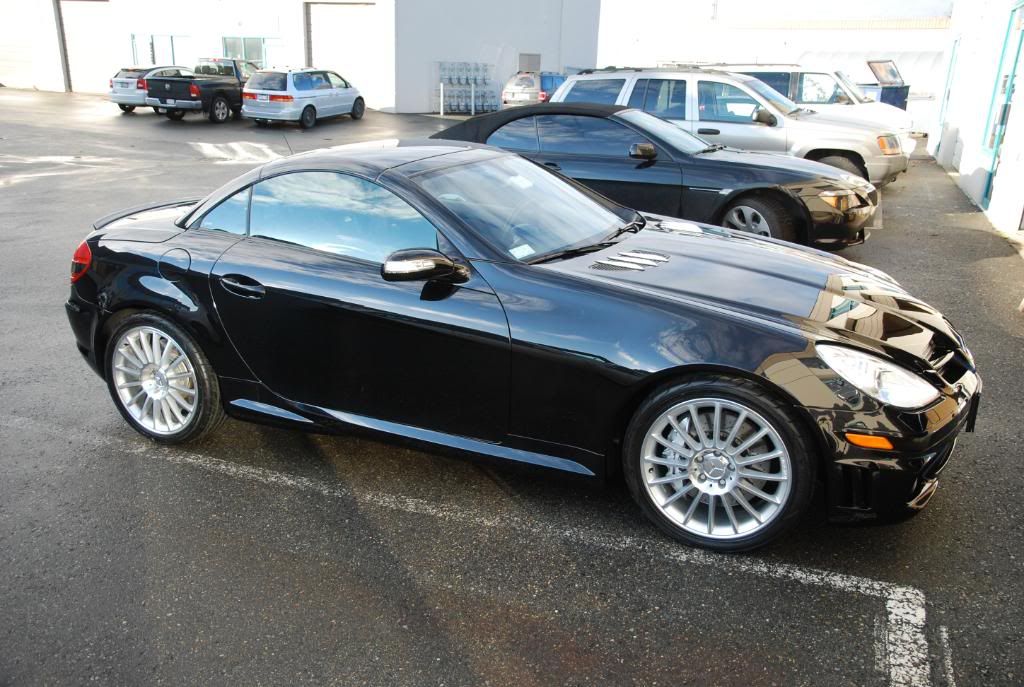
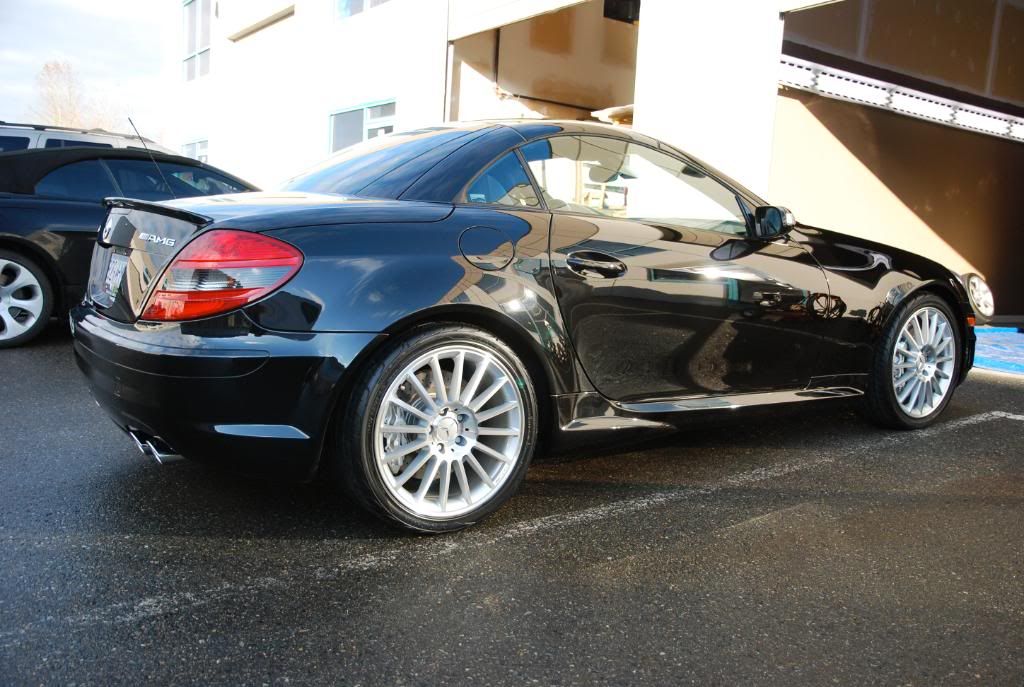
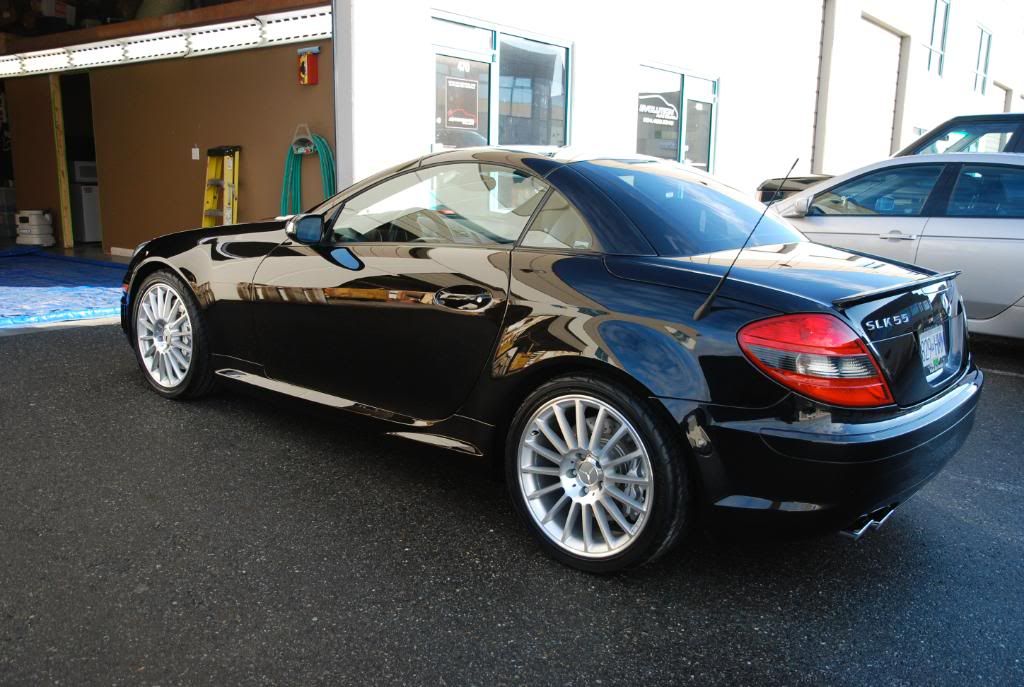
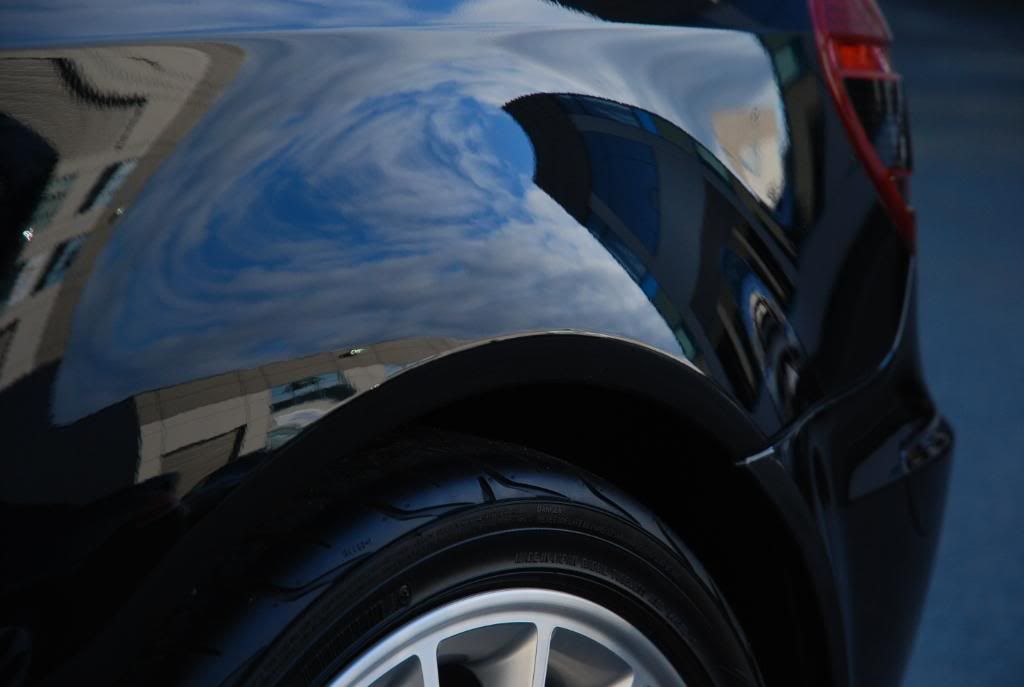
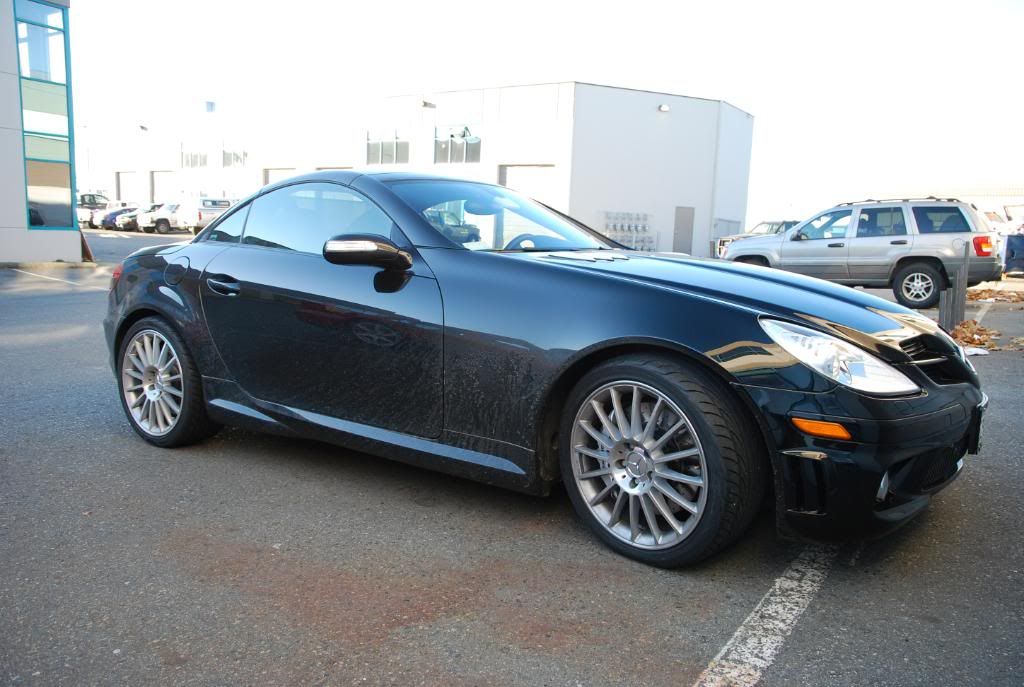
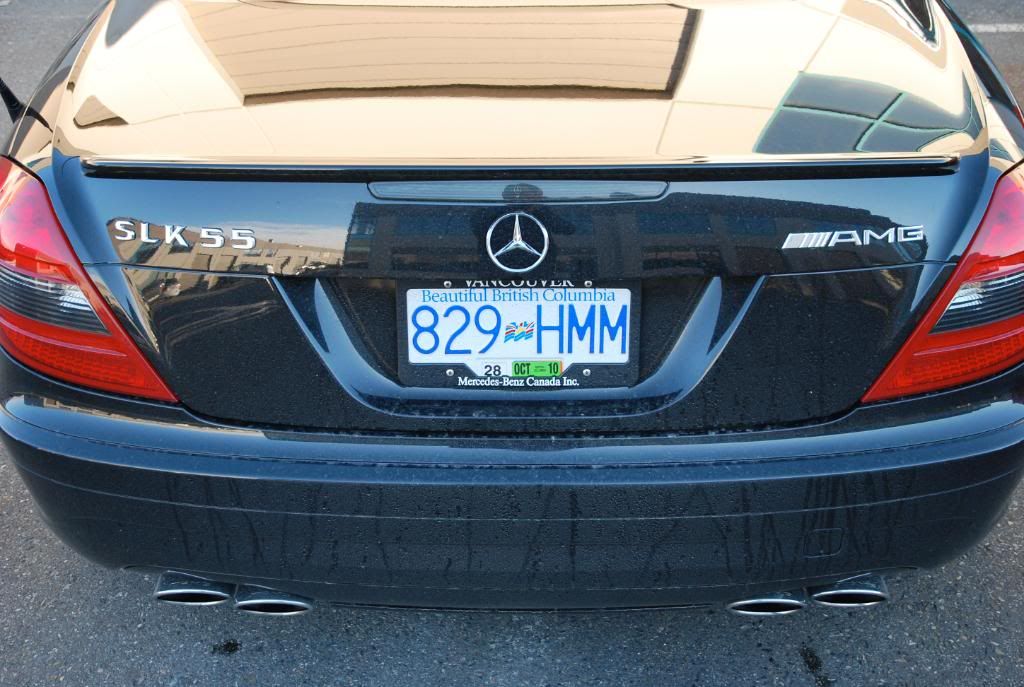
One mildly dirty 06 SLK55
Some befores....
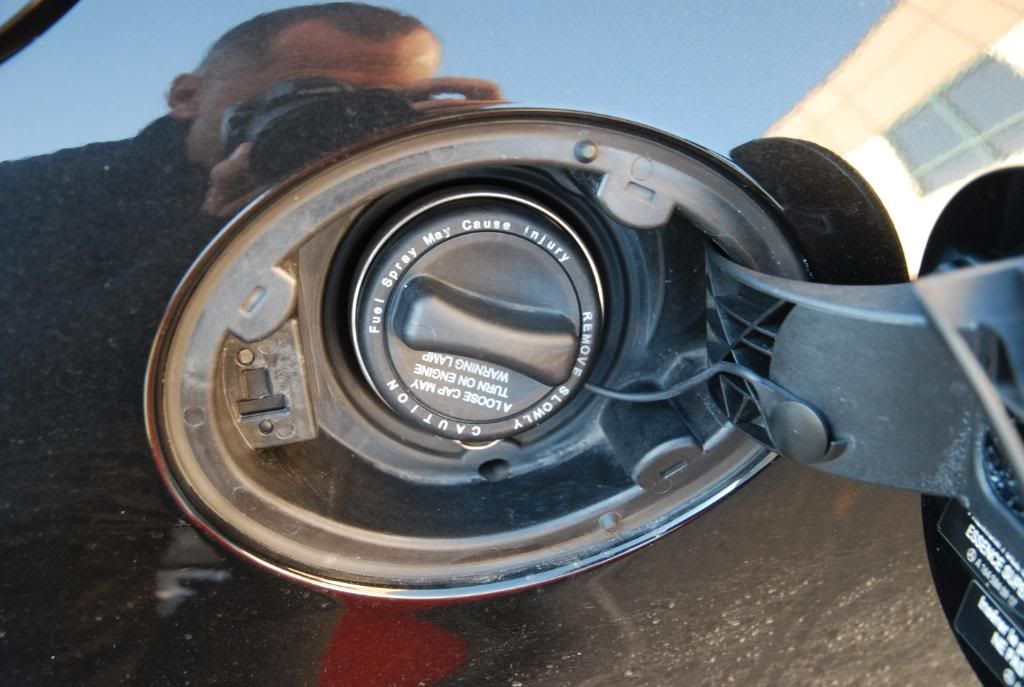
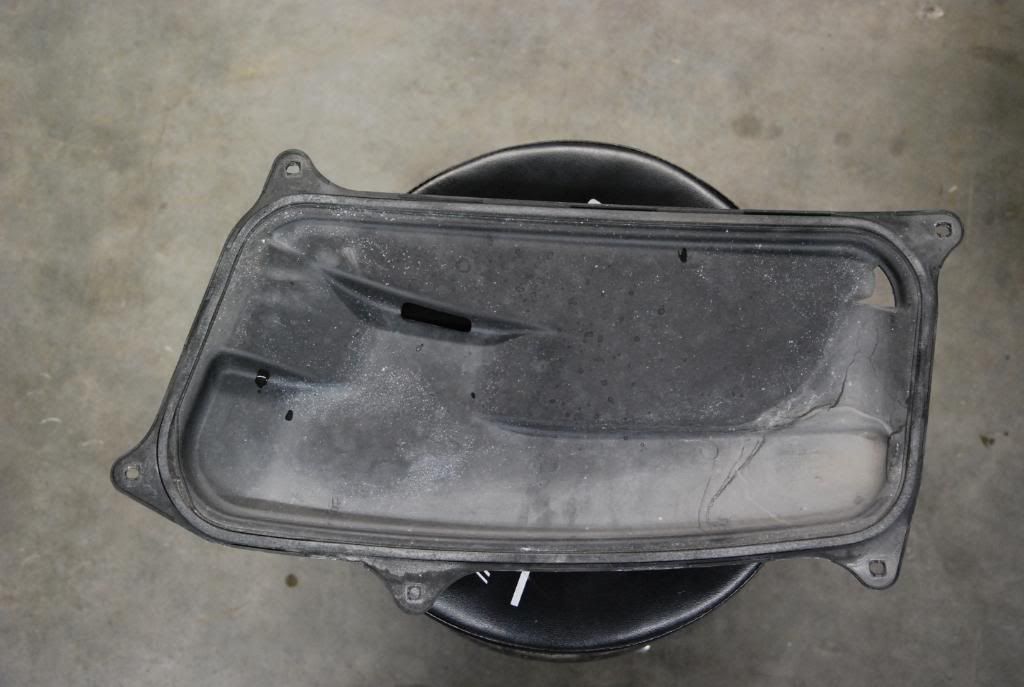
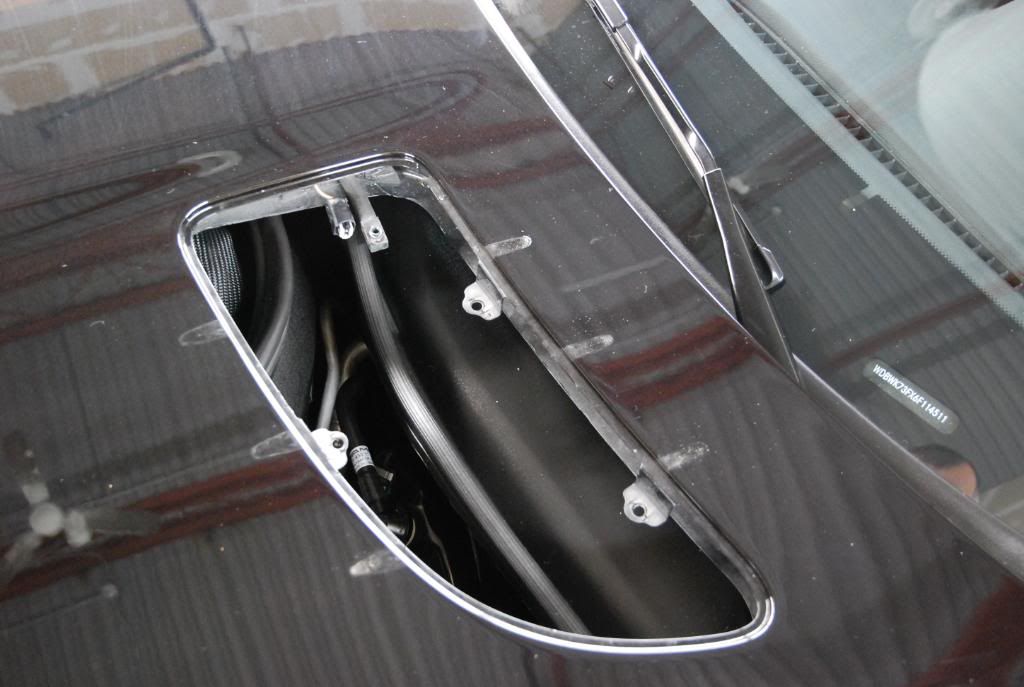
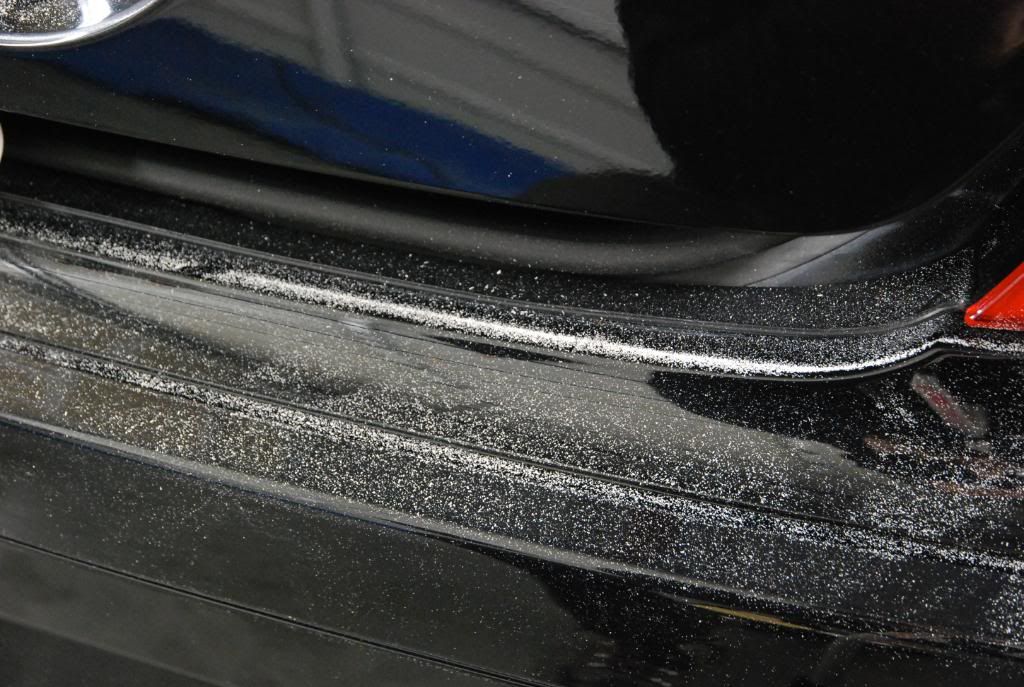
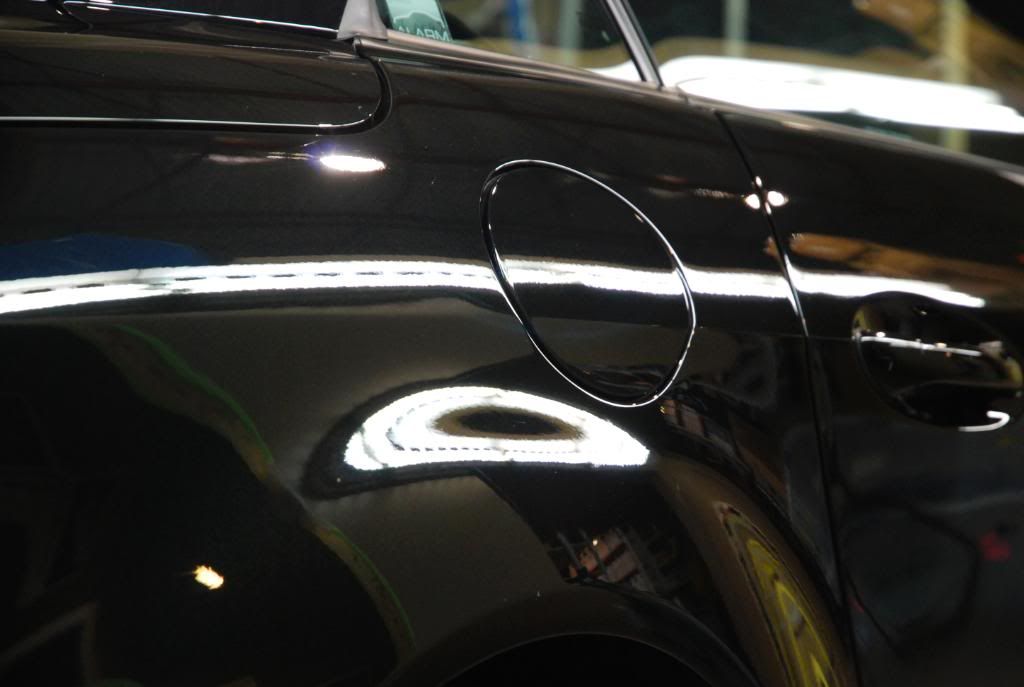
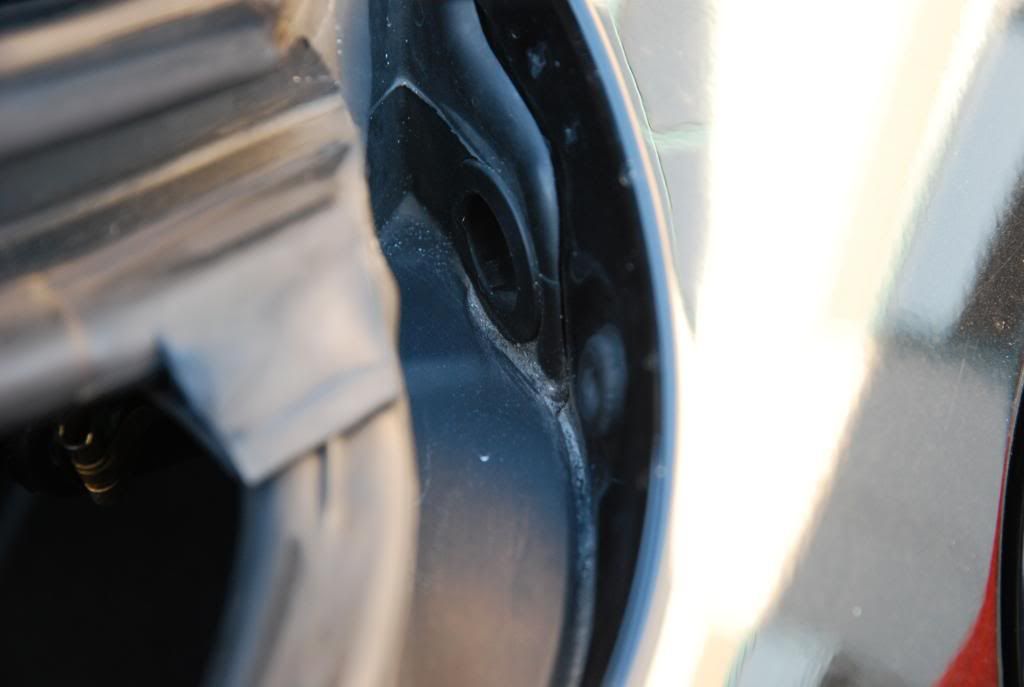
Polish residue inside fuel filler door
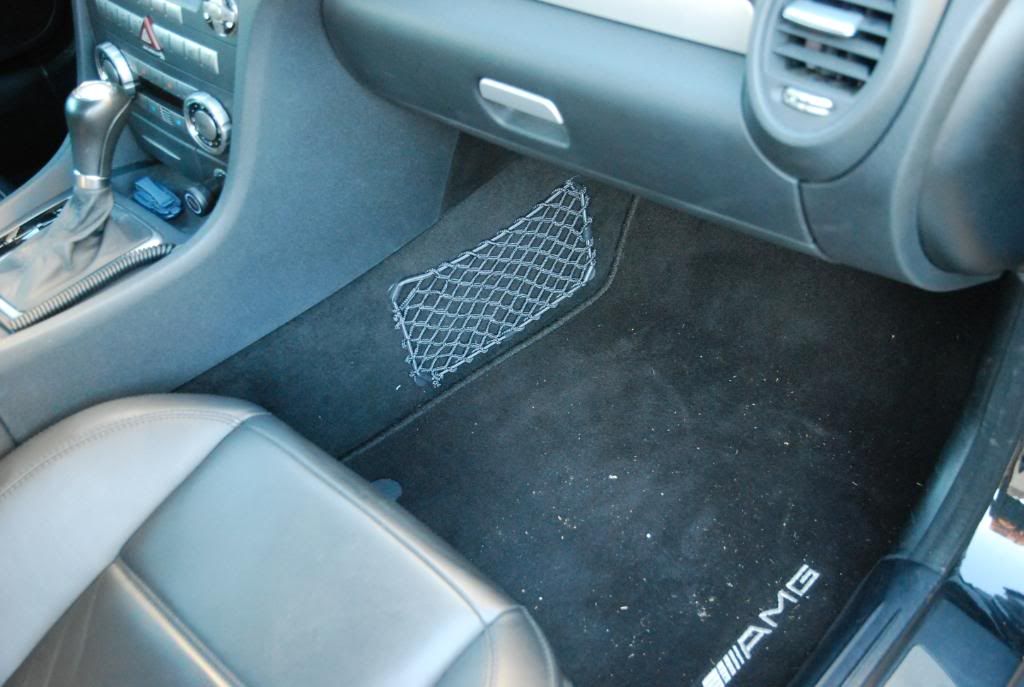
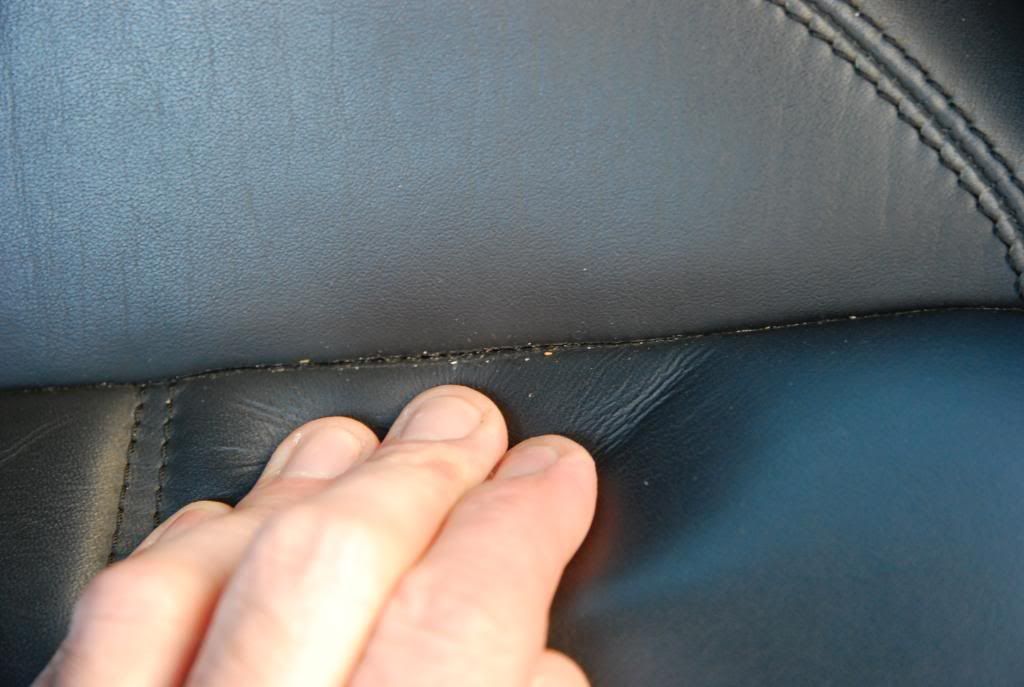
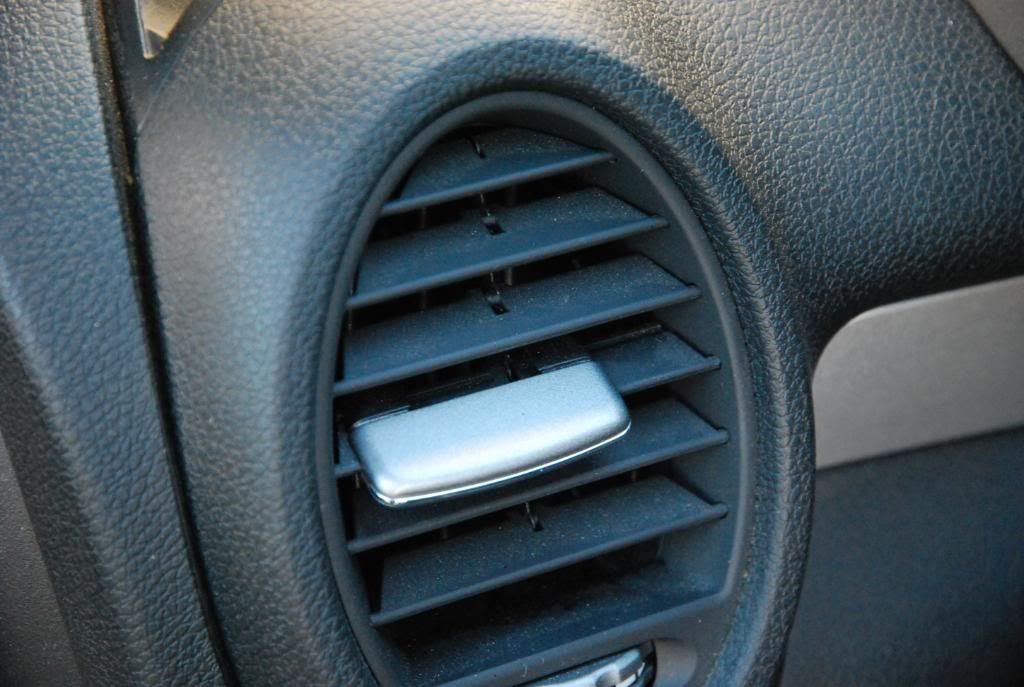
Interior was dusty from having the top down, but not really dirty.")
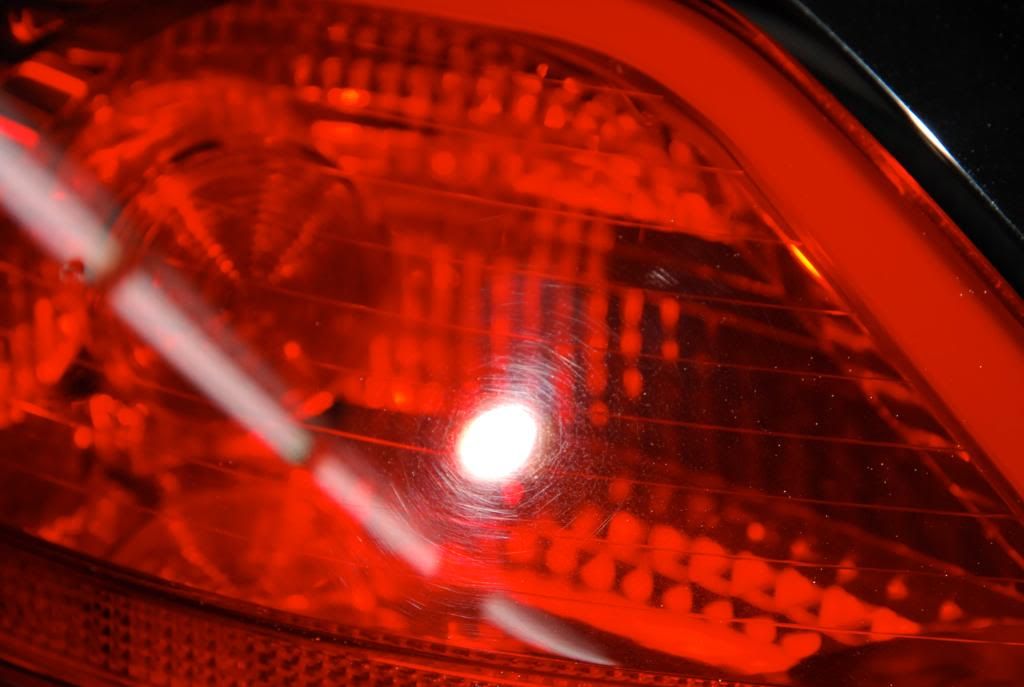
Even the jambs weren't too bad
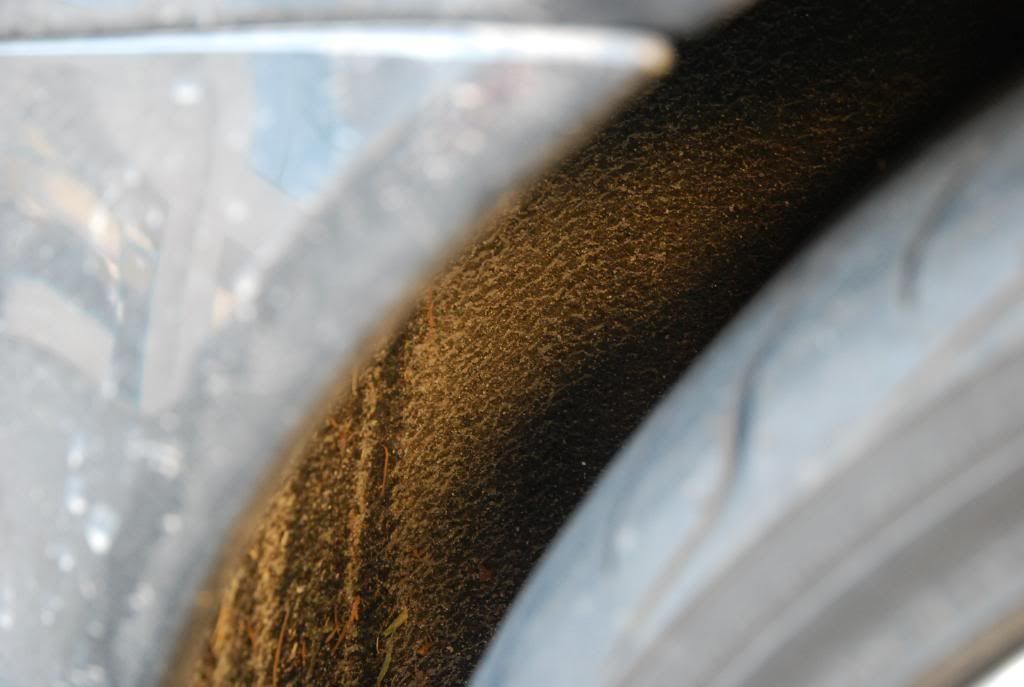
The car had been recently driven in the rain and was covered in alot of grit from the road.
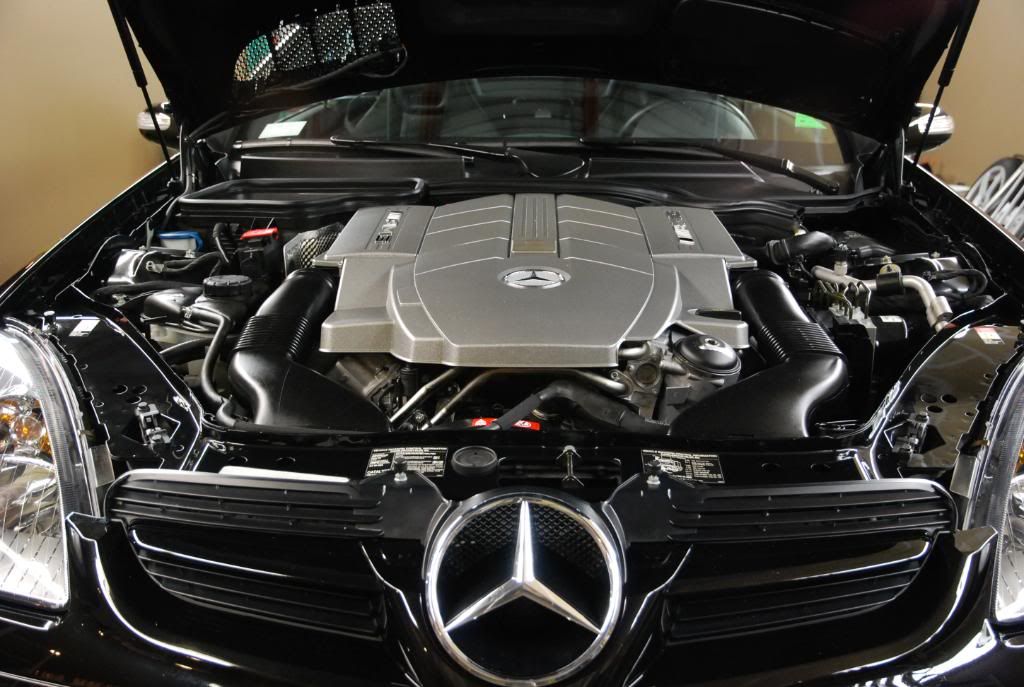
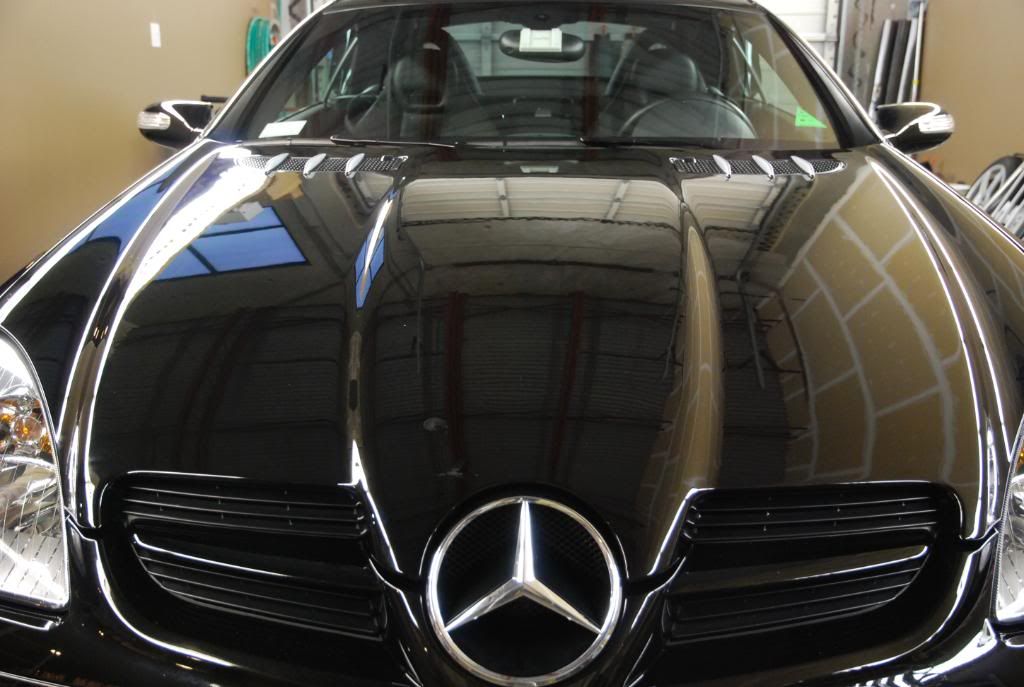
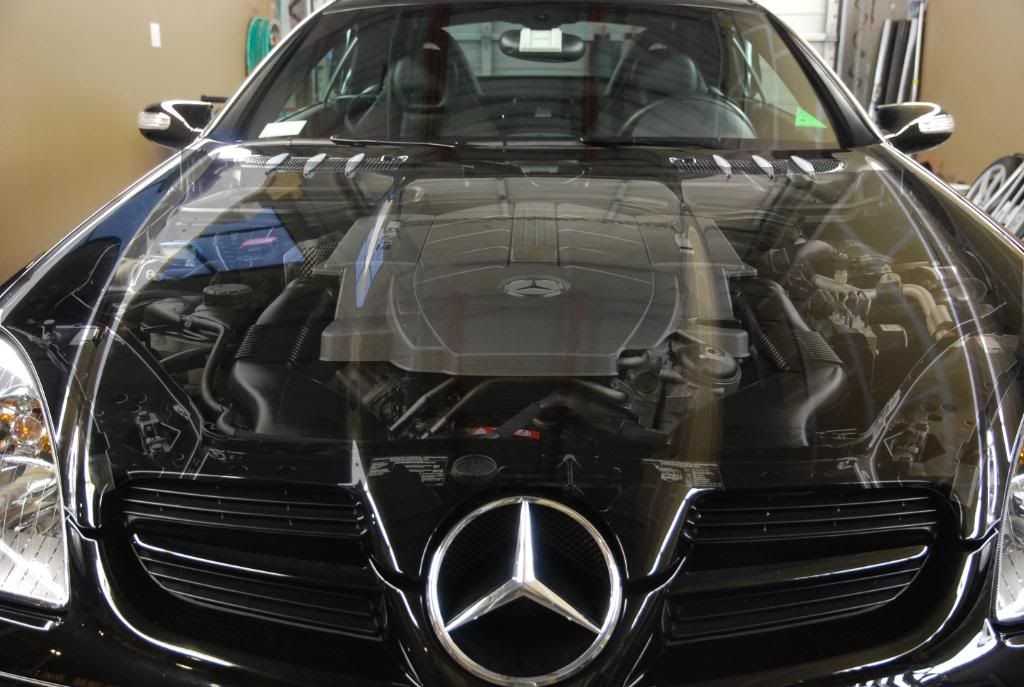
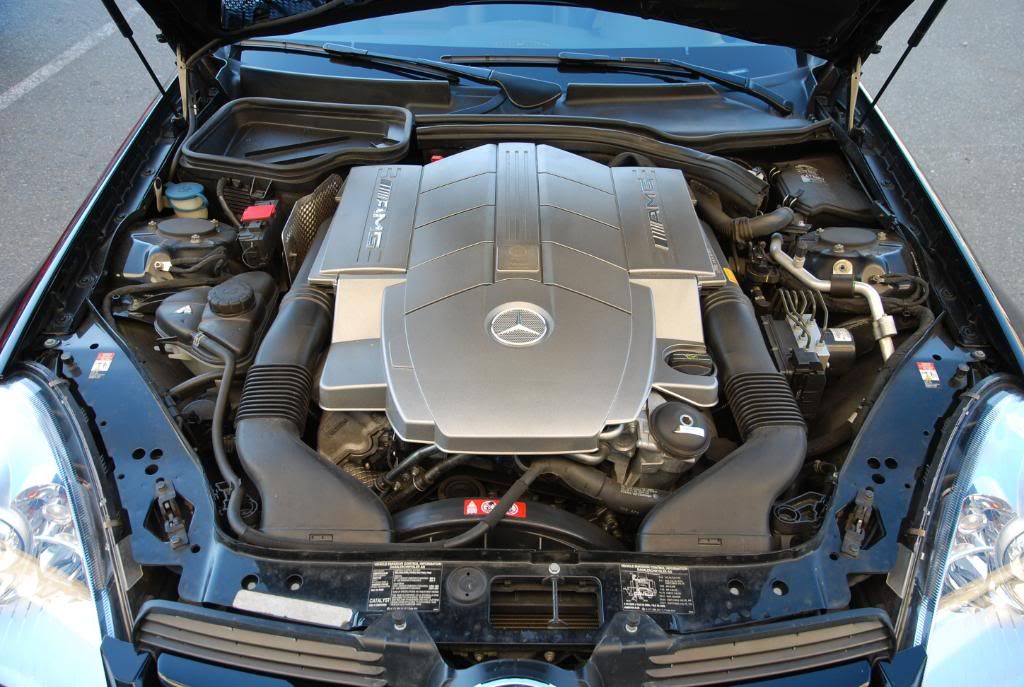
The engine was dusty as well, other than the paint overspray on the underside of the hood.
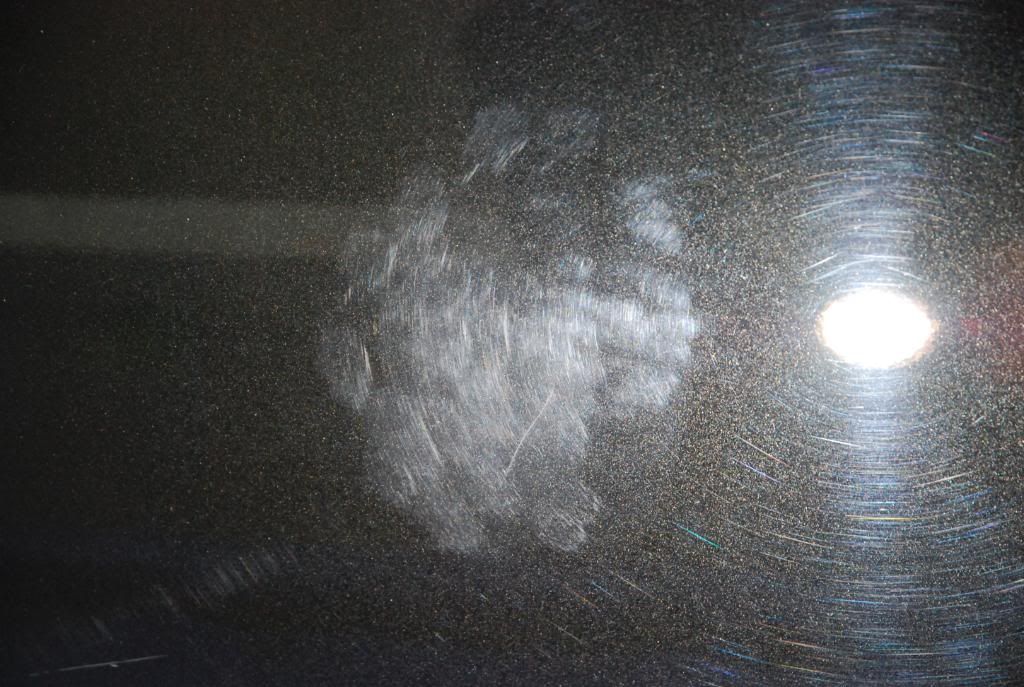
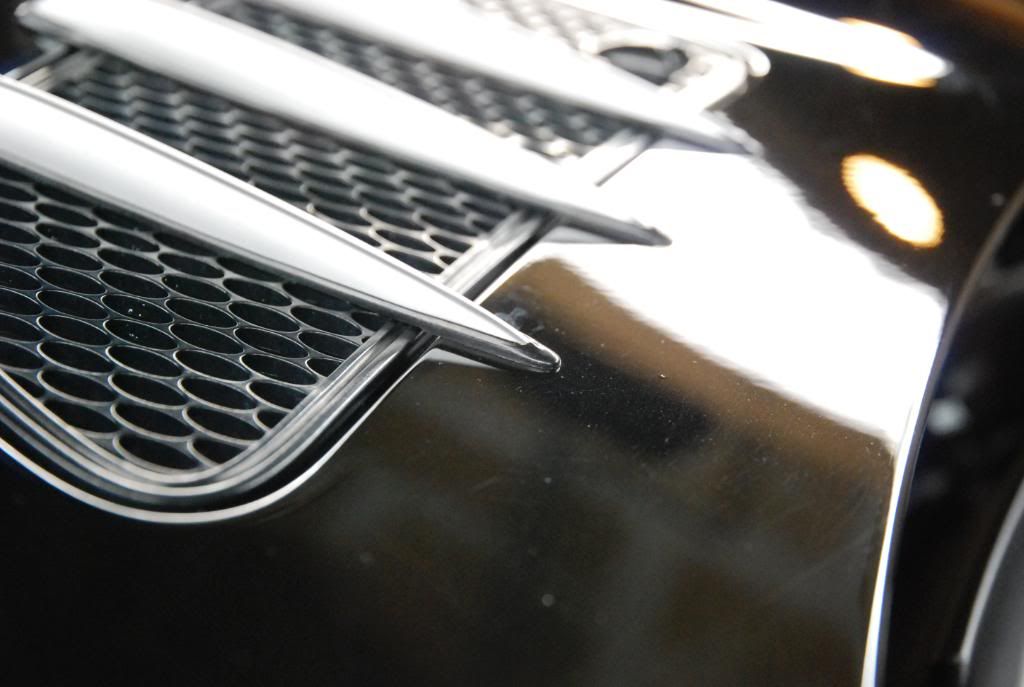
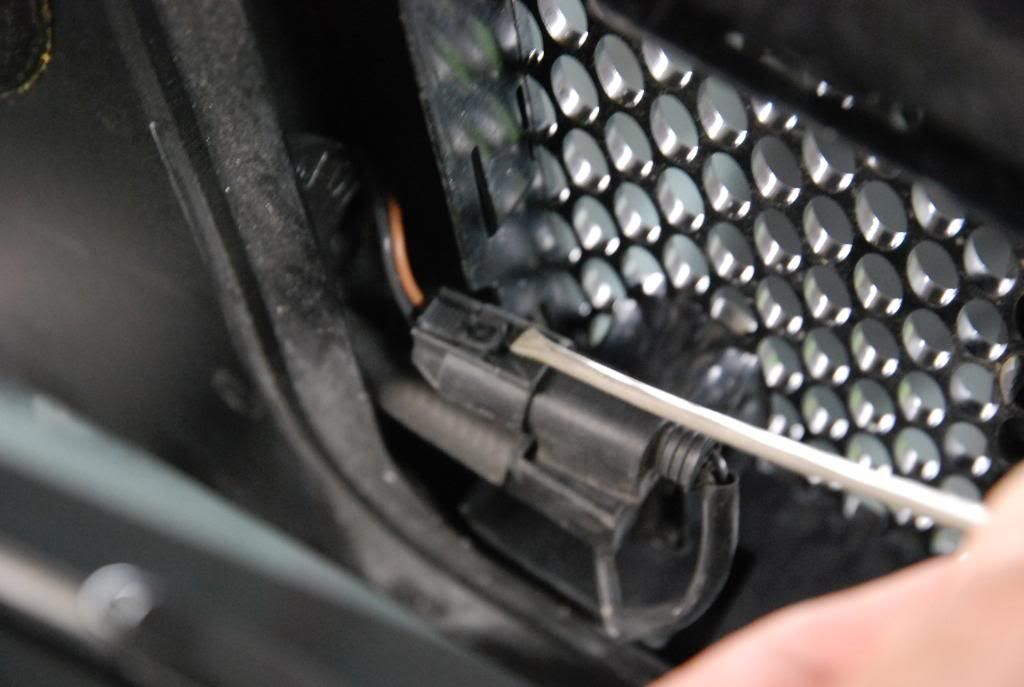
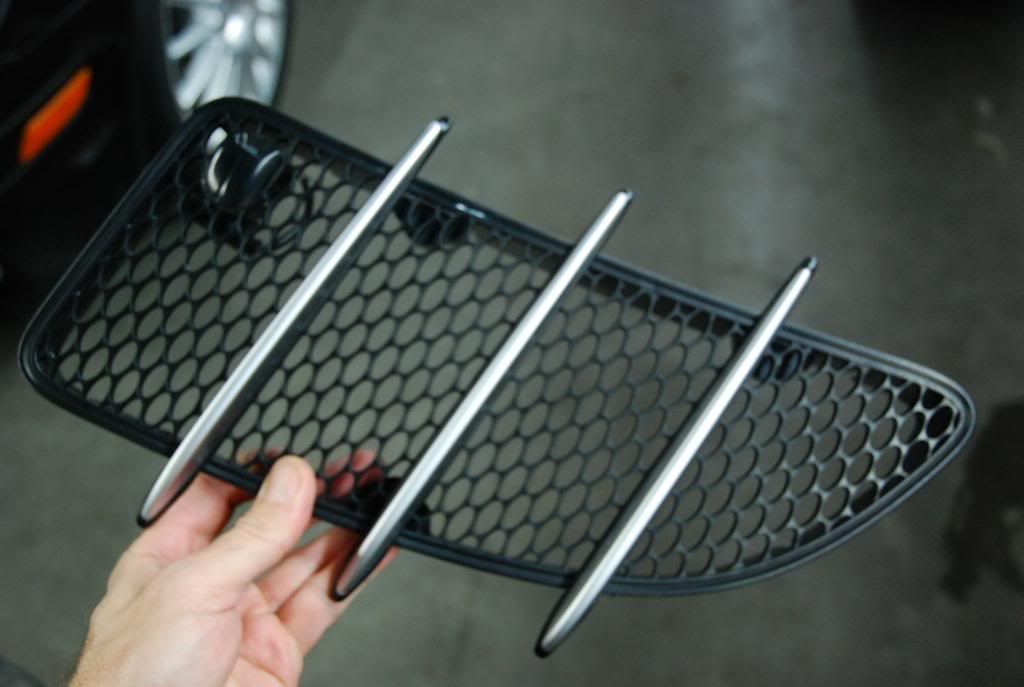
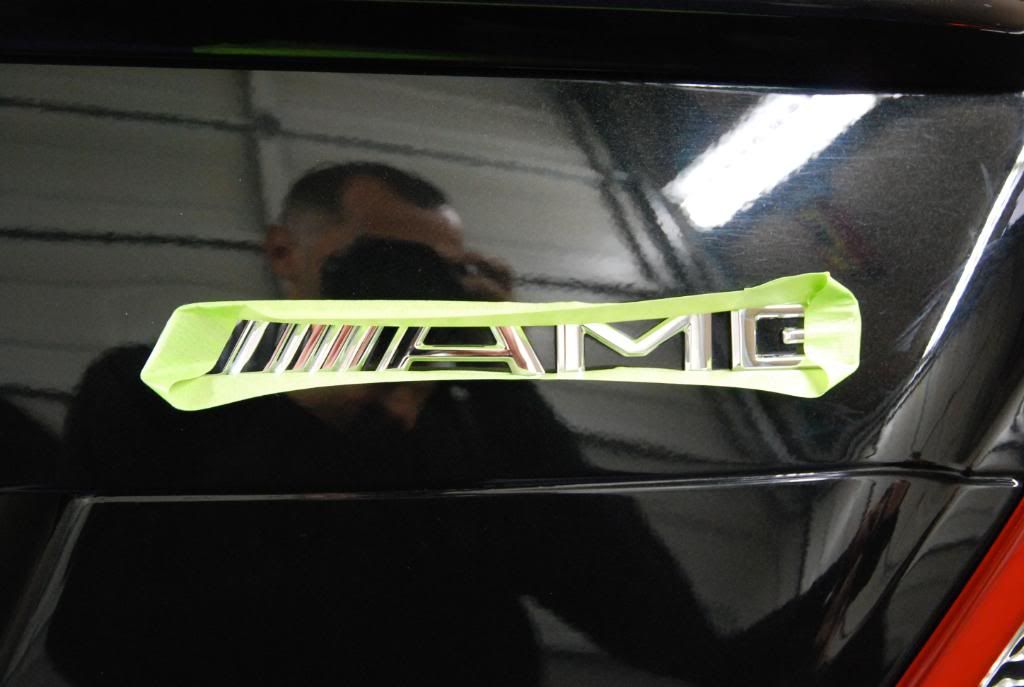
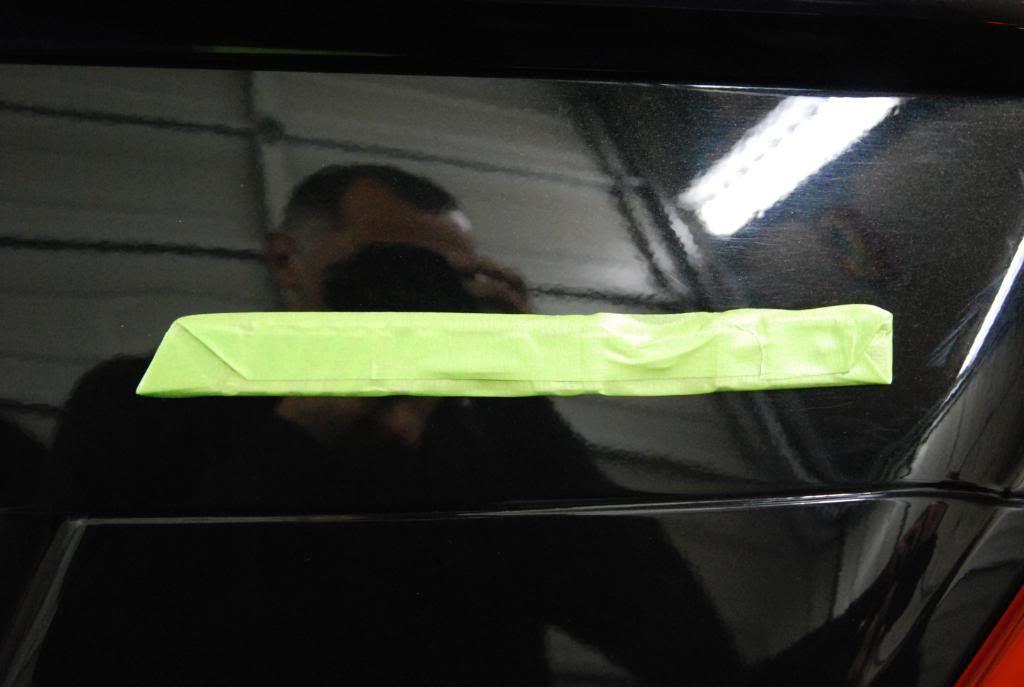
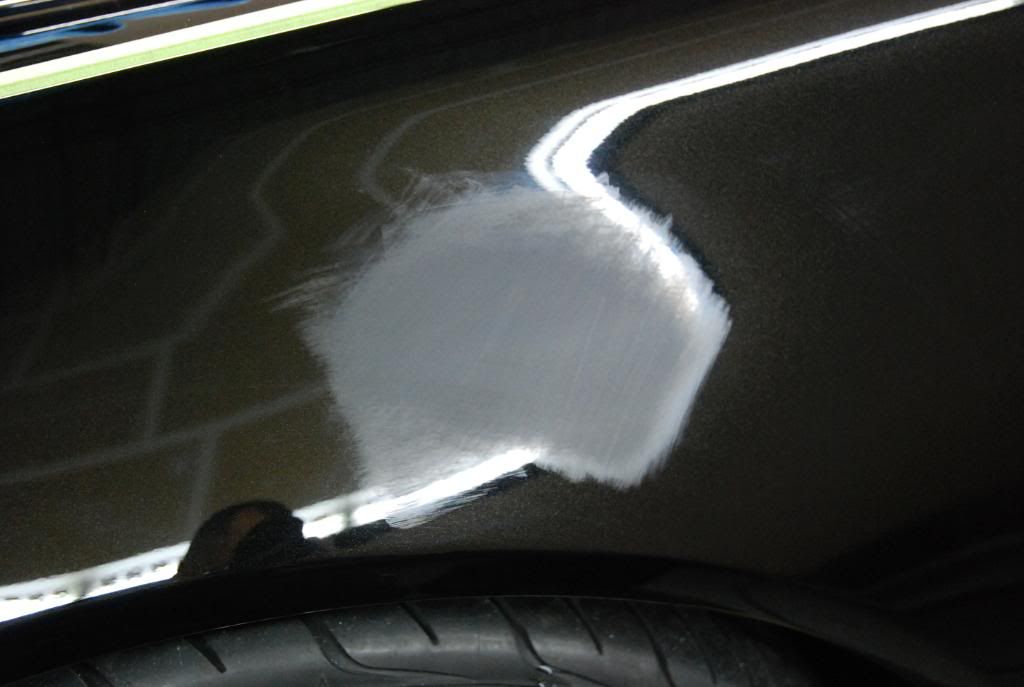
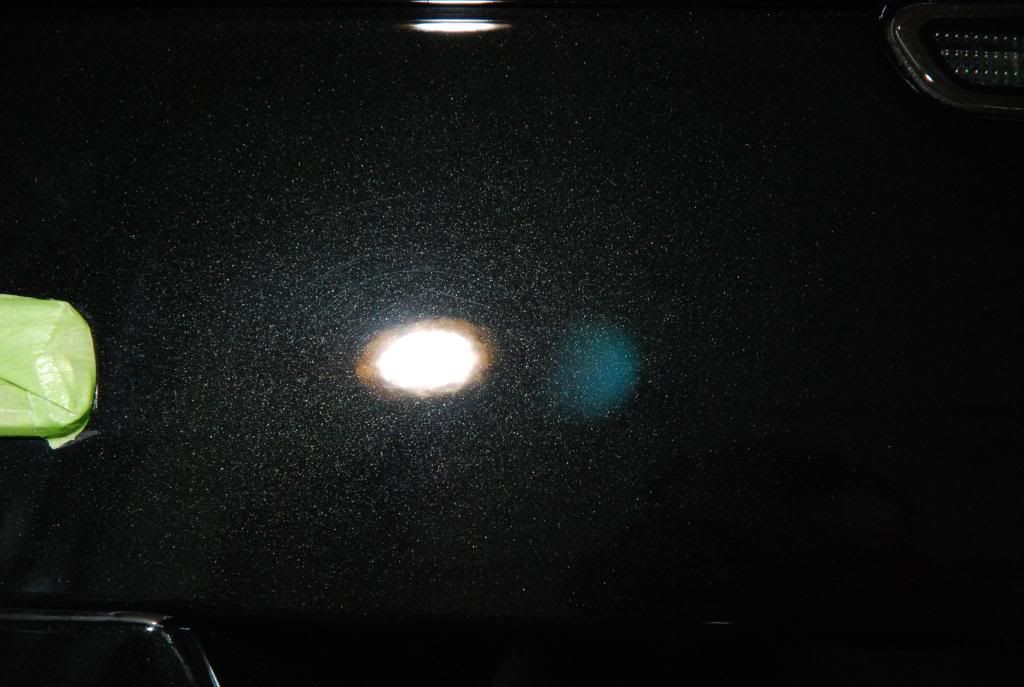
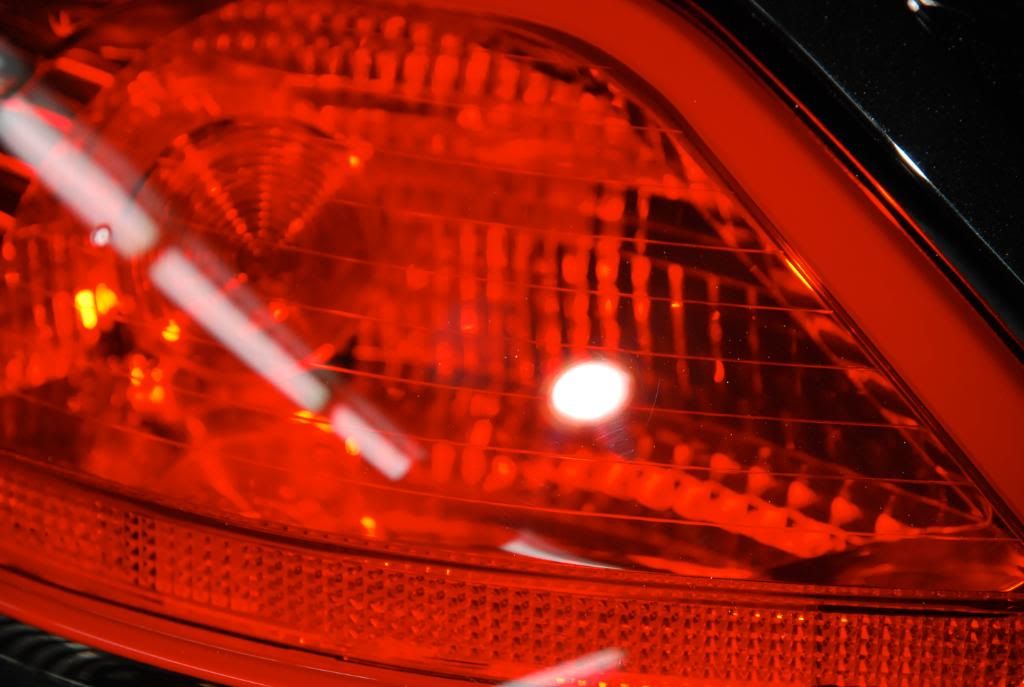
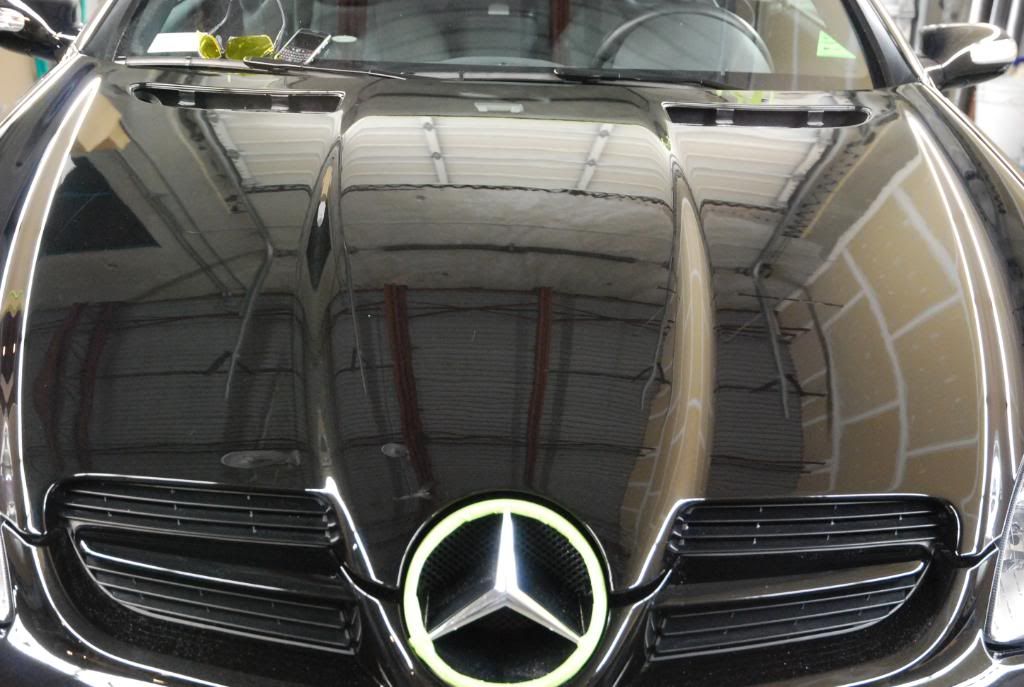
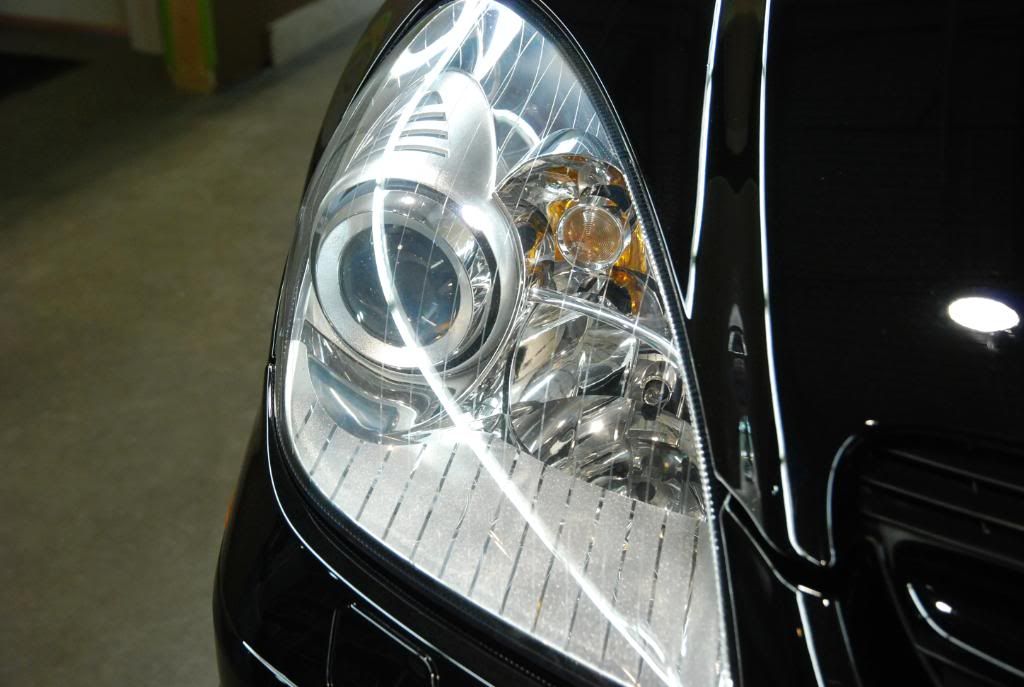
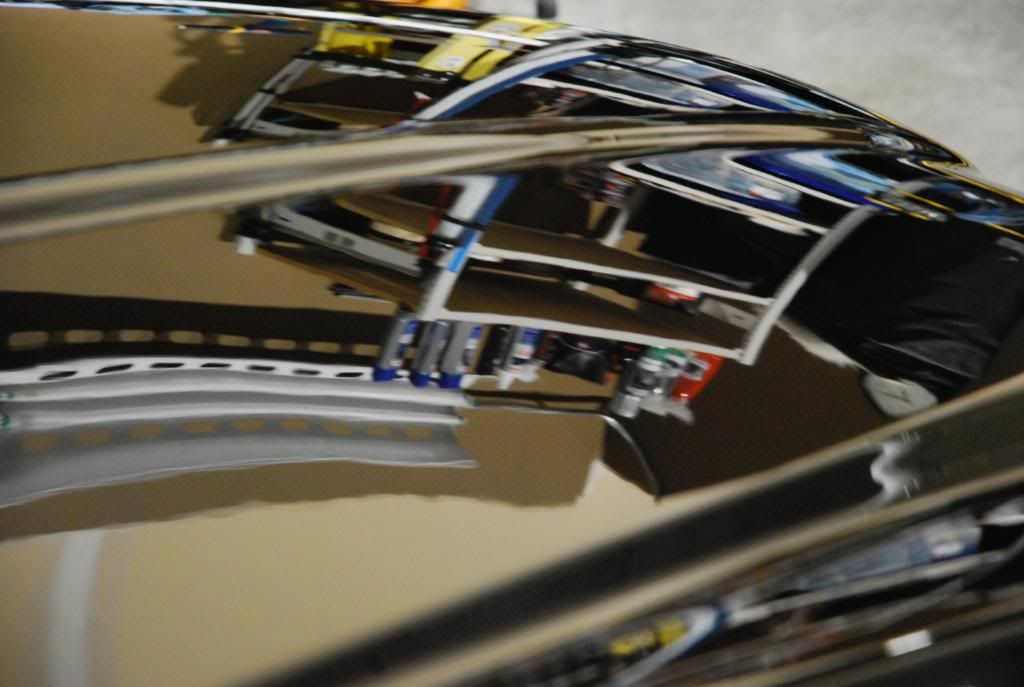
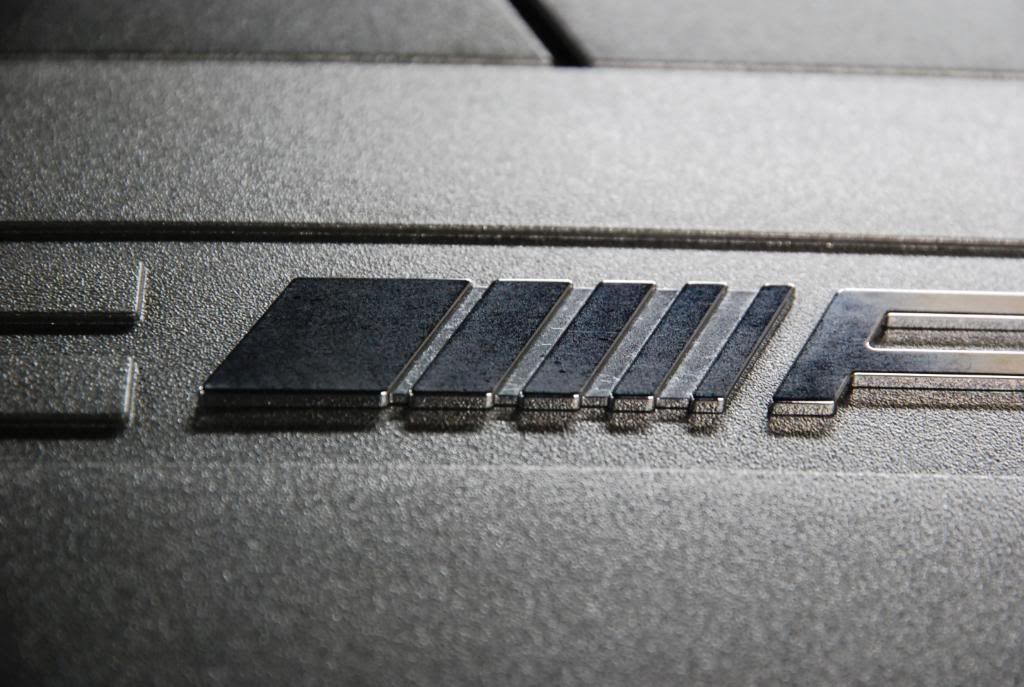
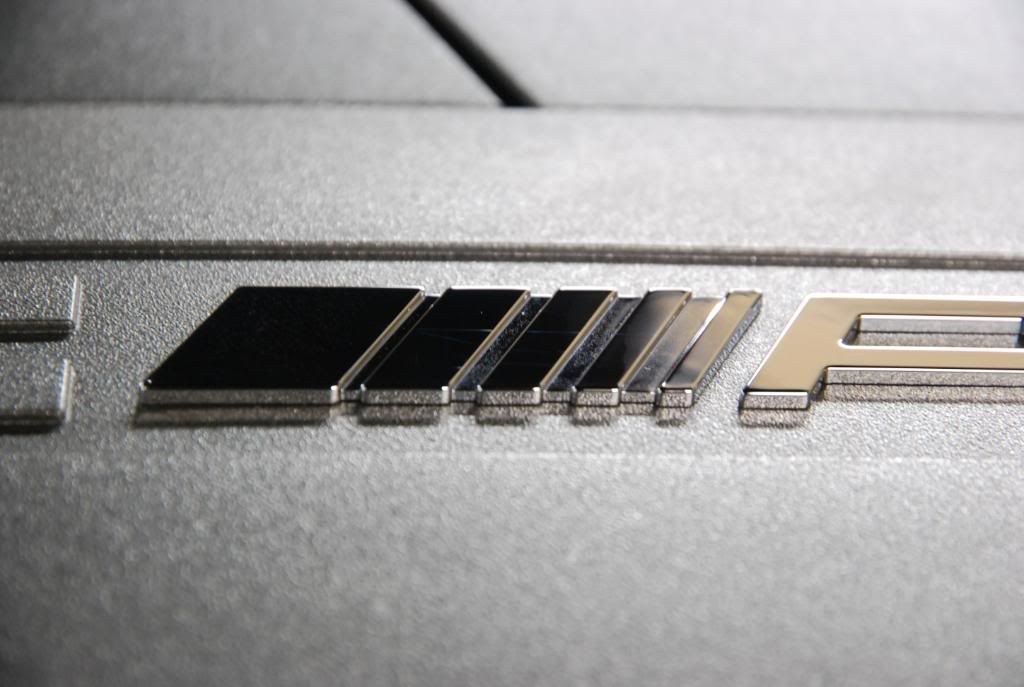
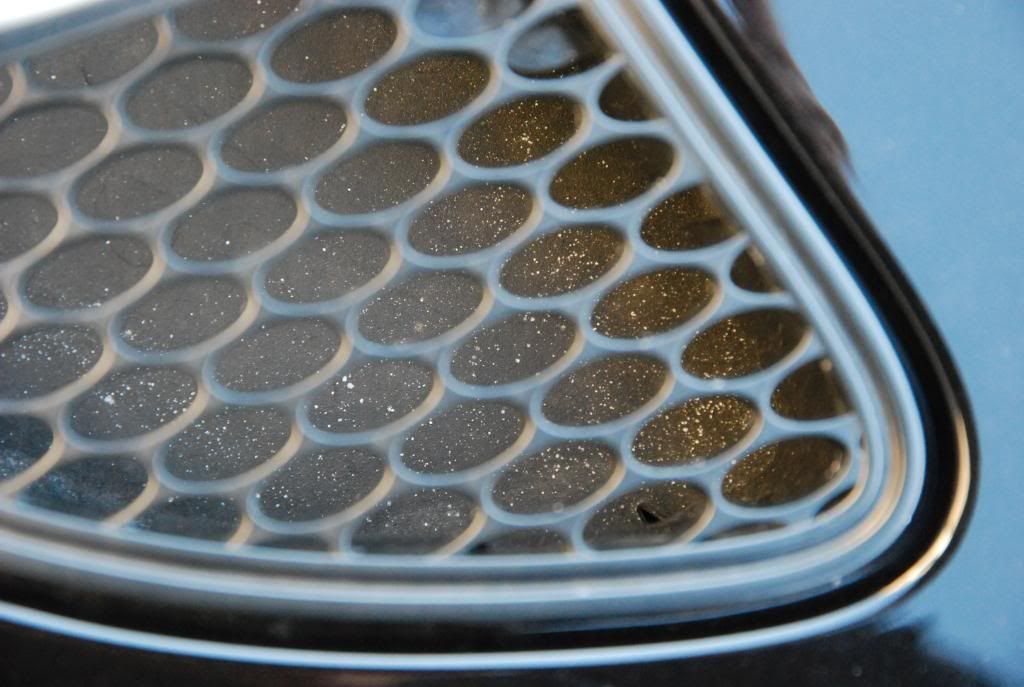
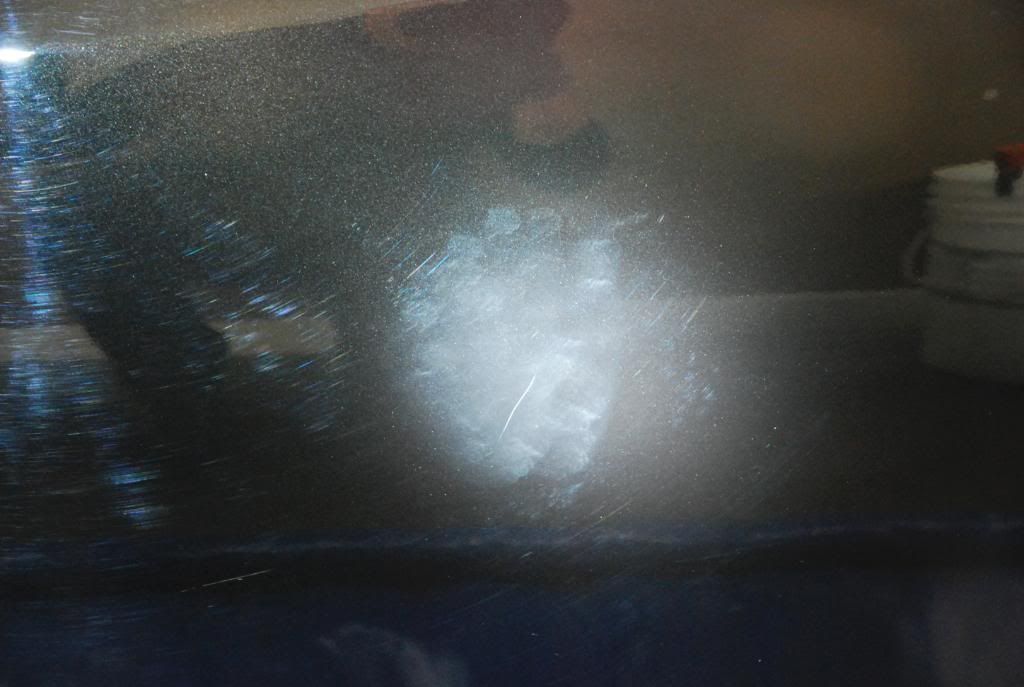
Now this just sucks! Polish splatter UNDER the grille.
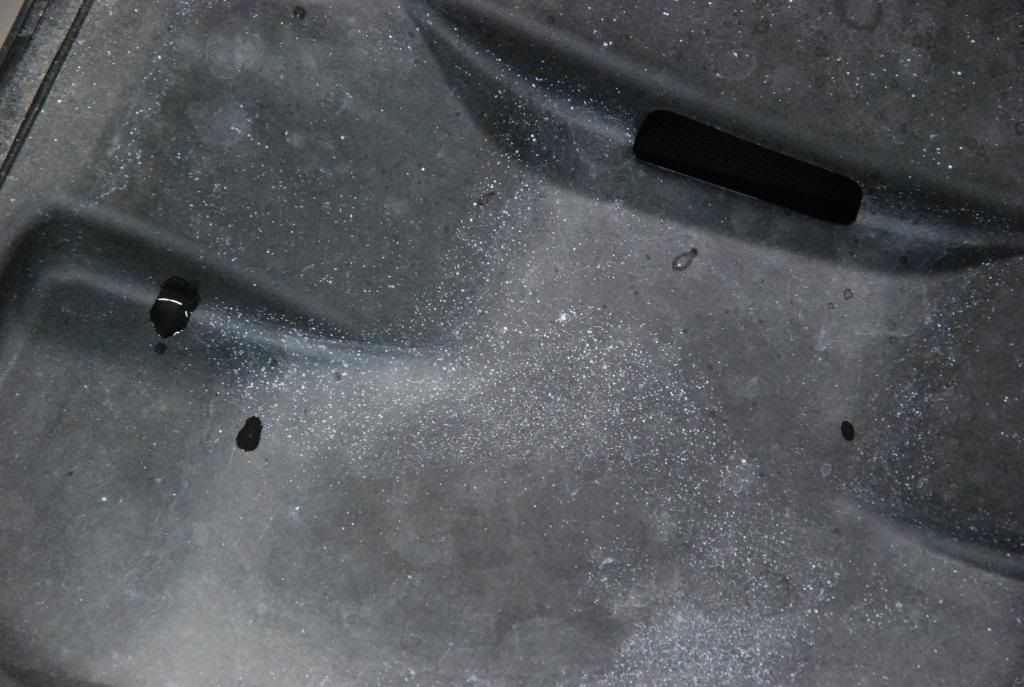
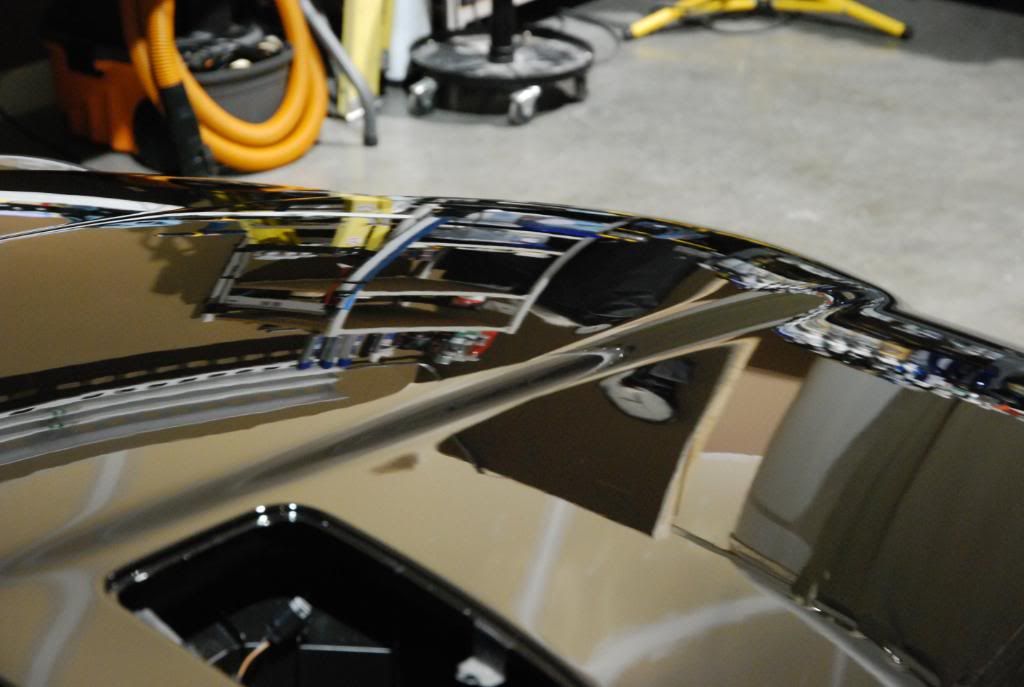
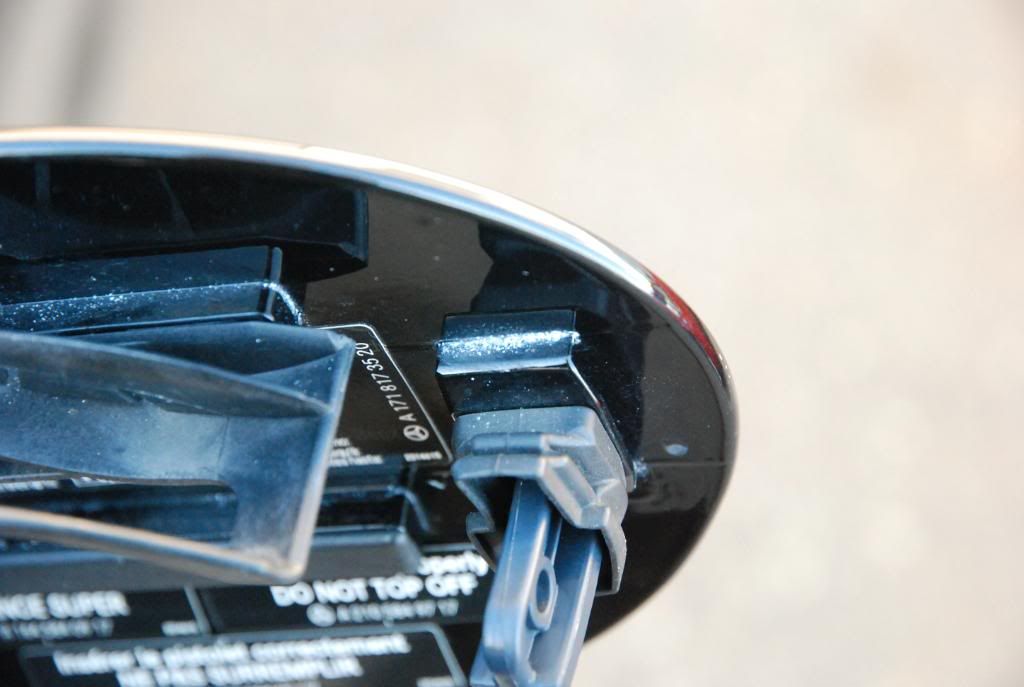
More polish residue.

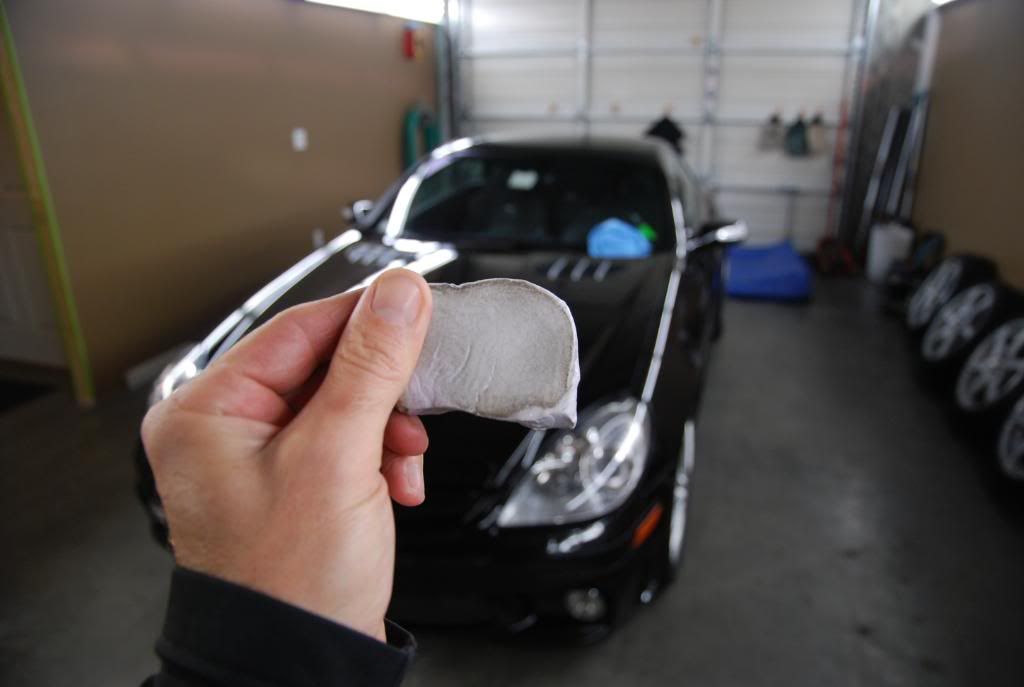
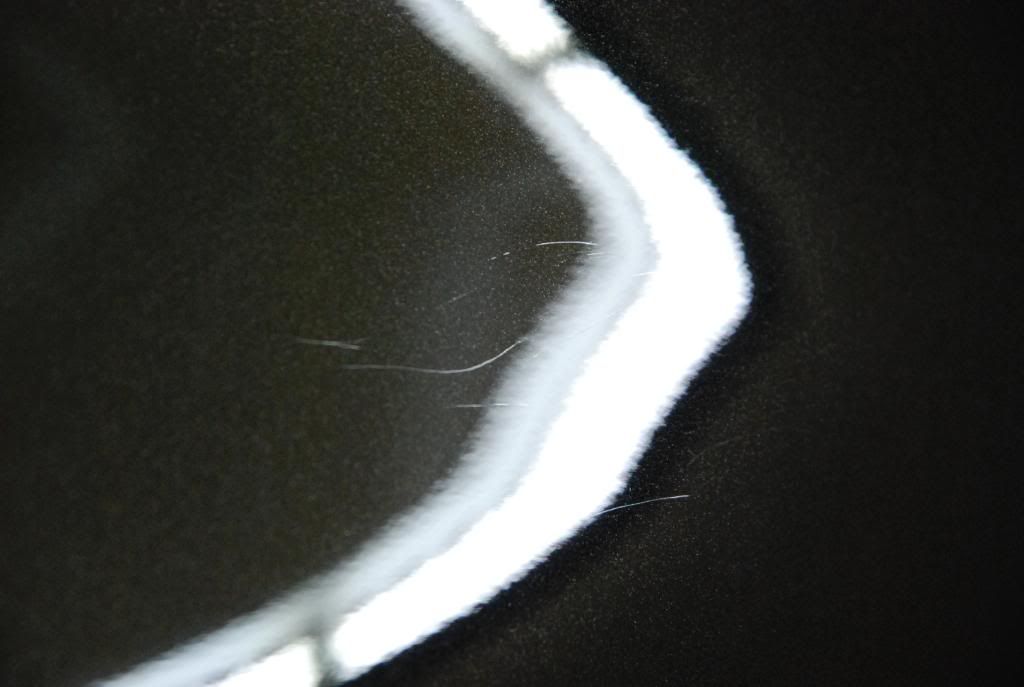
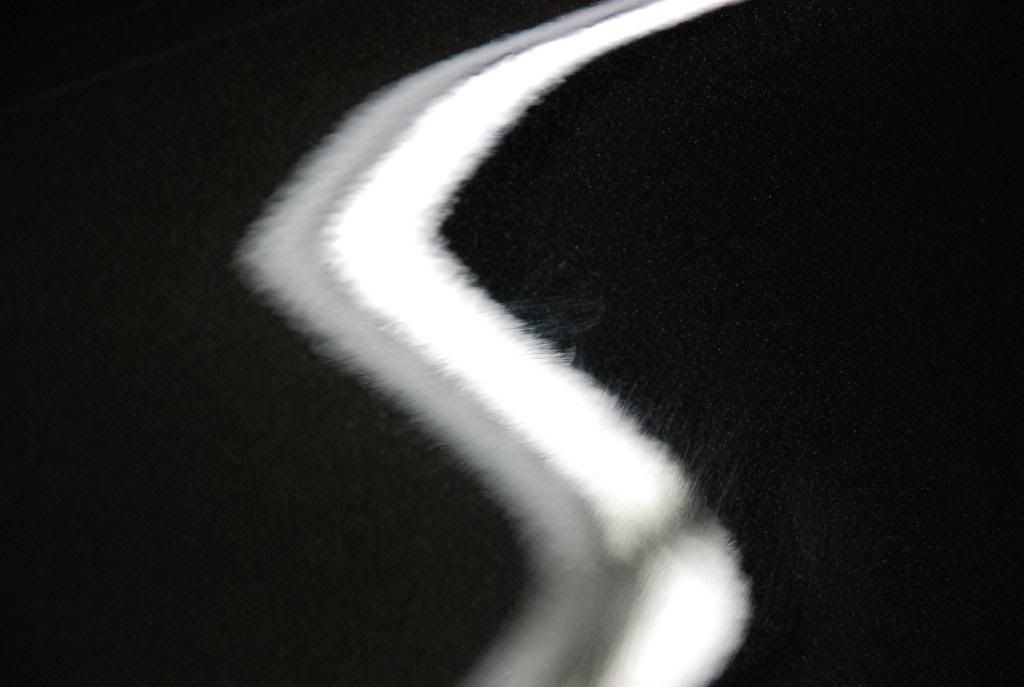
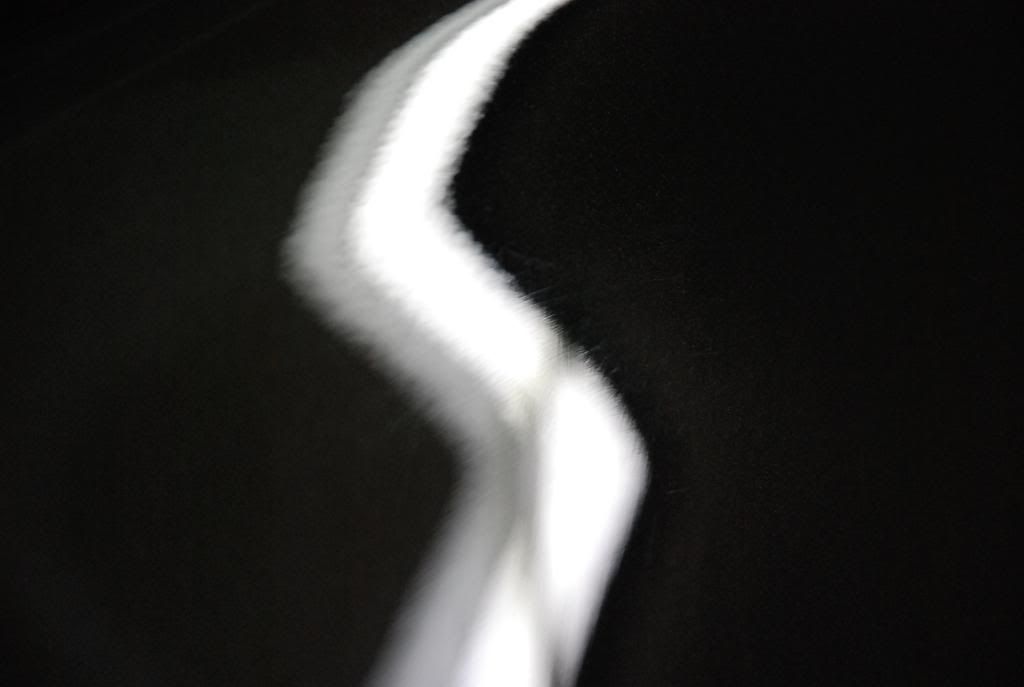
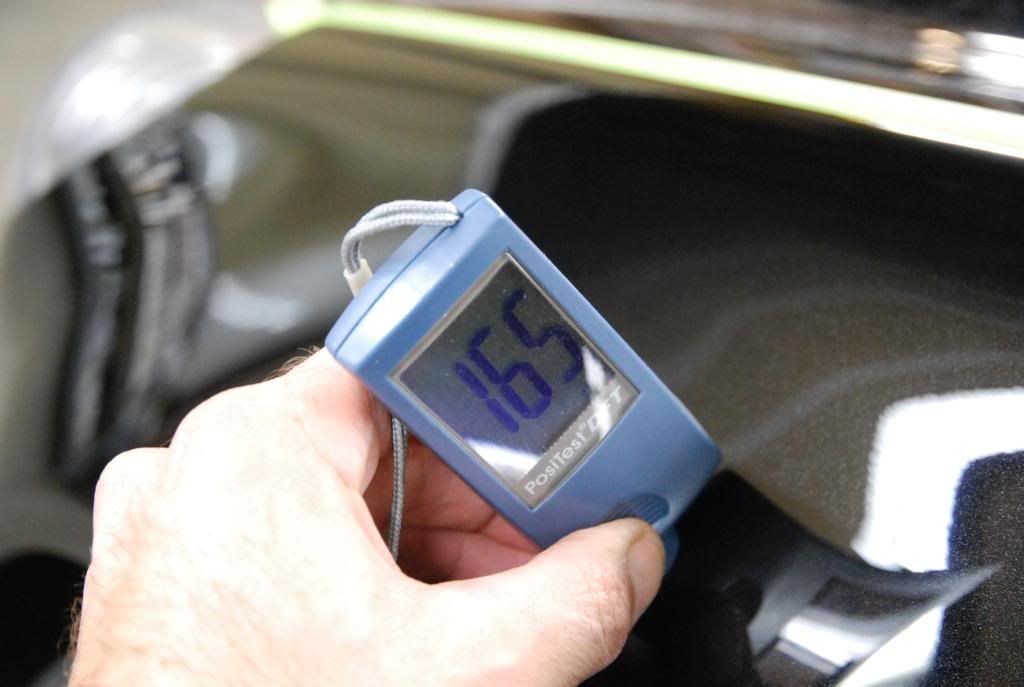
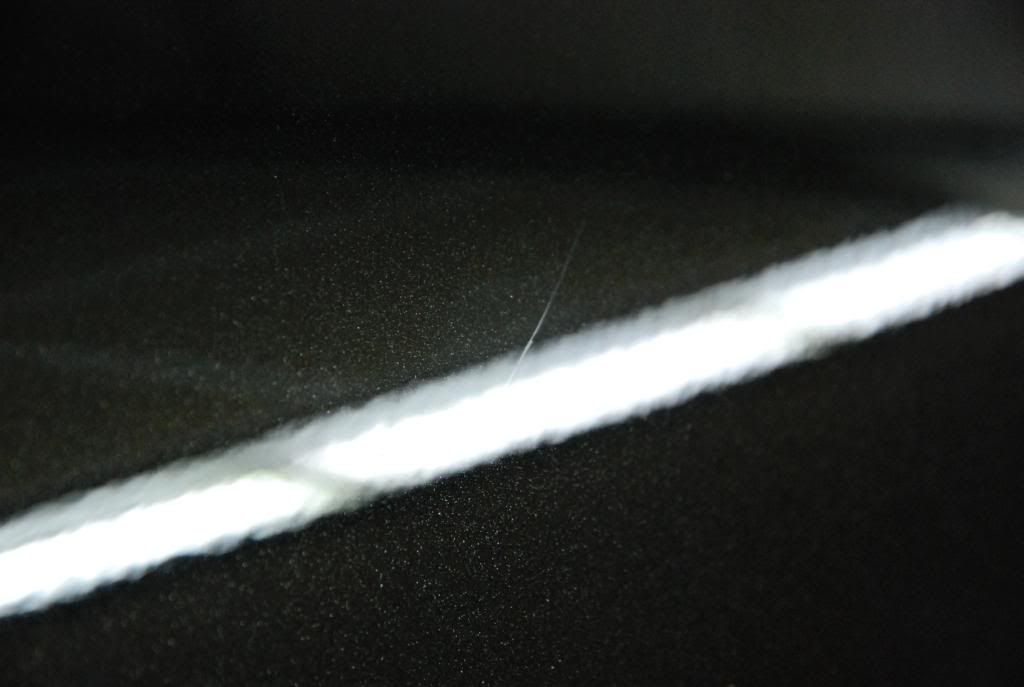
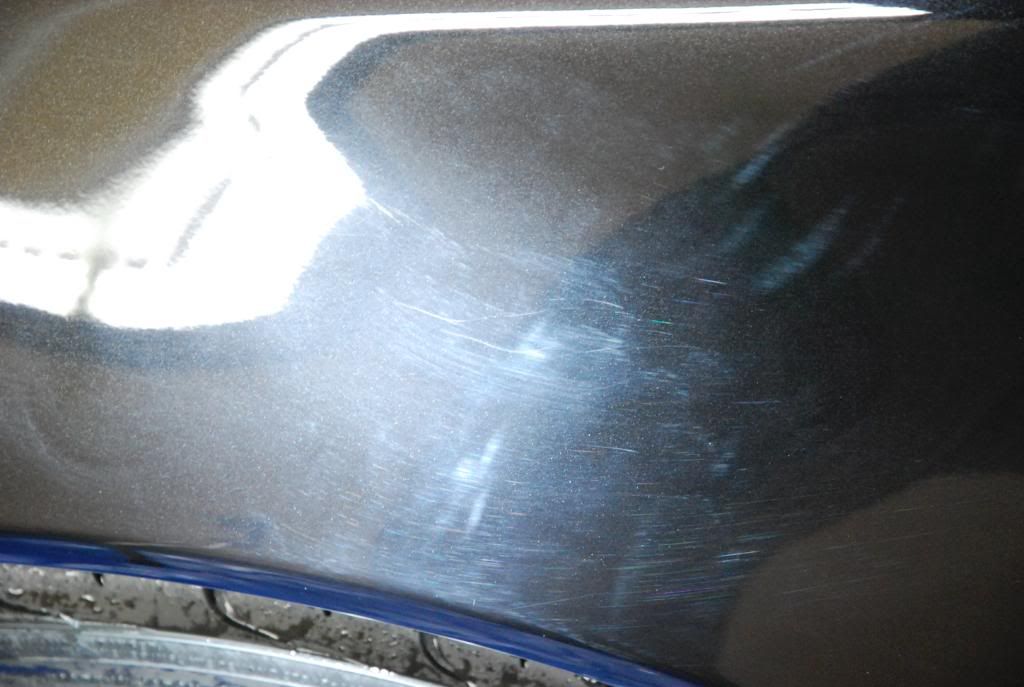
Look what showed up this morning!
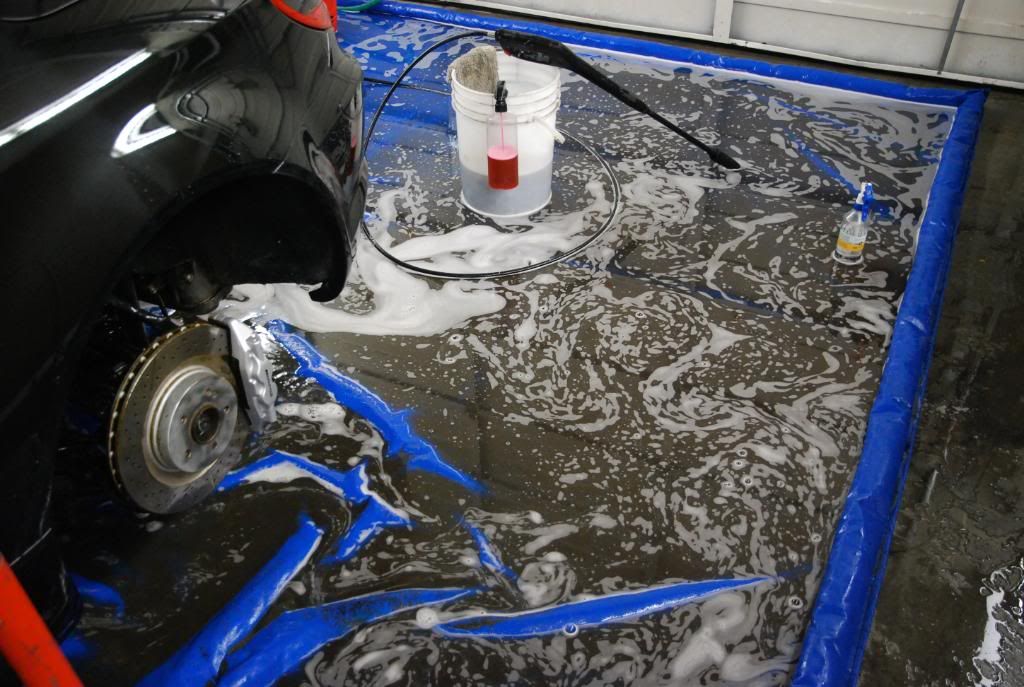
It was -15 this am so I'm doing this inside. Thanks again Michael for the wash mat!
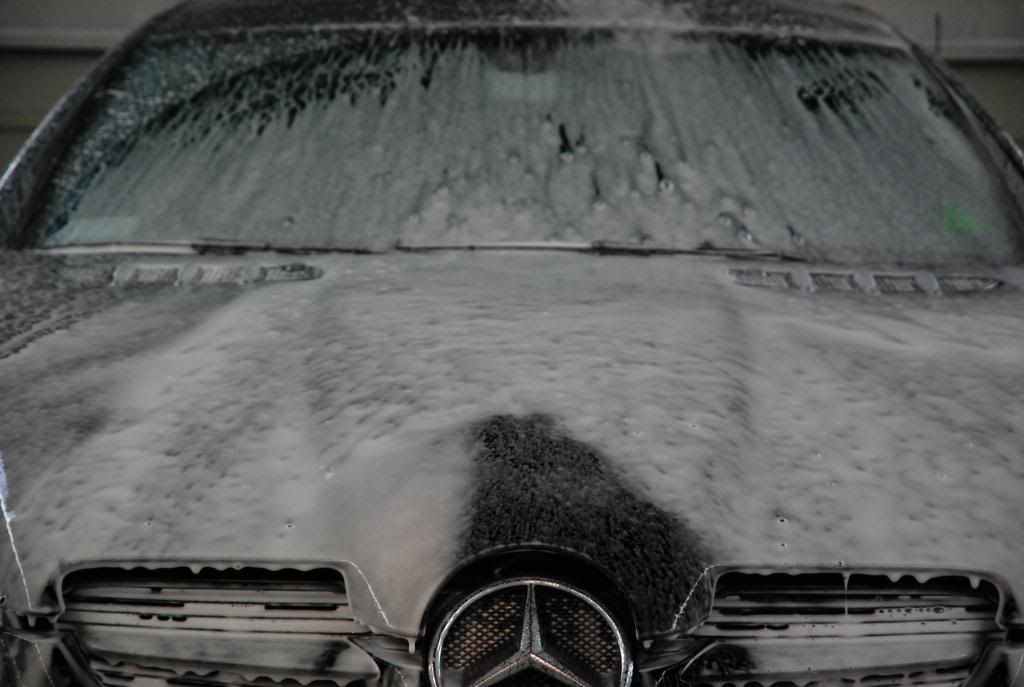
After 4 minutes on horizontal surfaces..
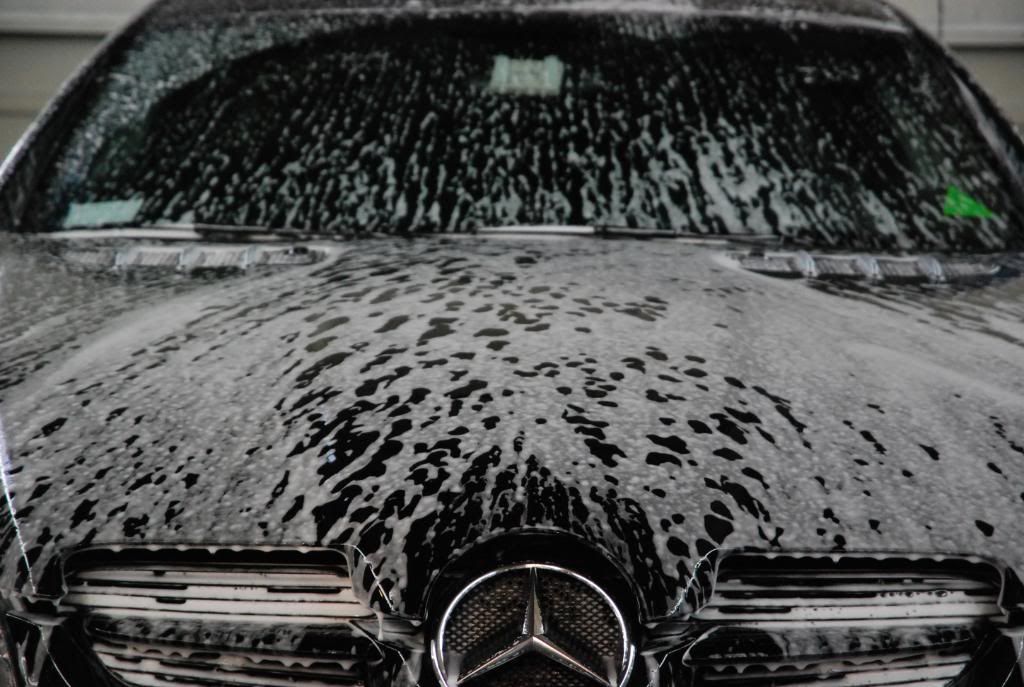
and vertical
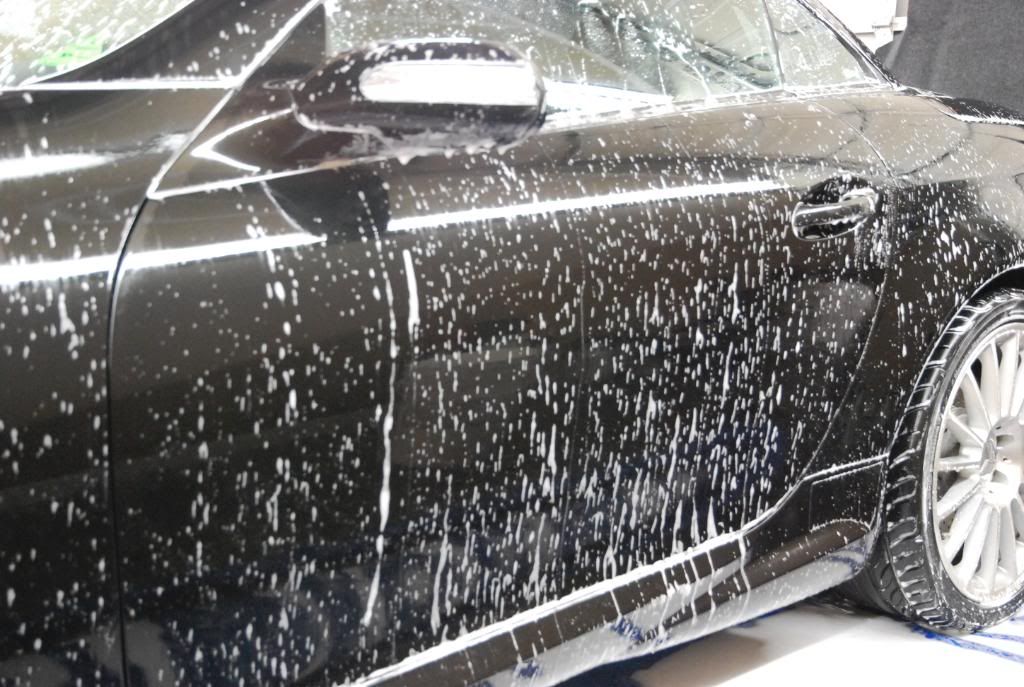
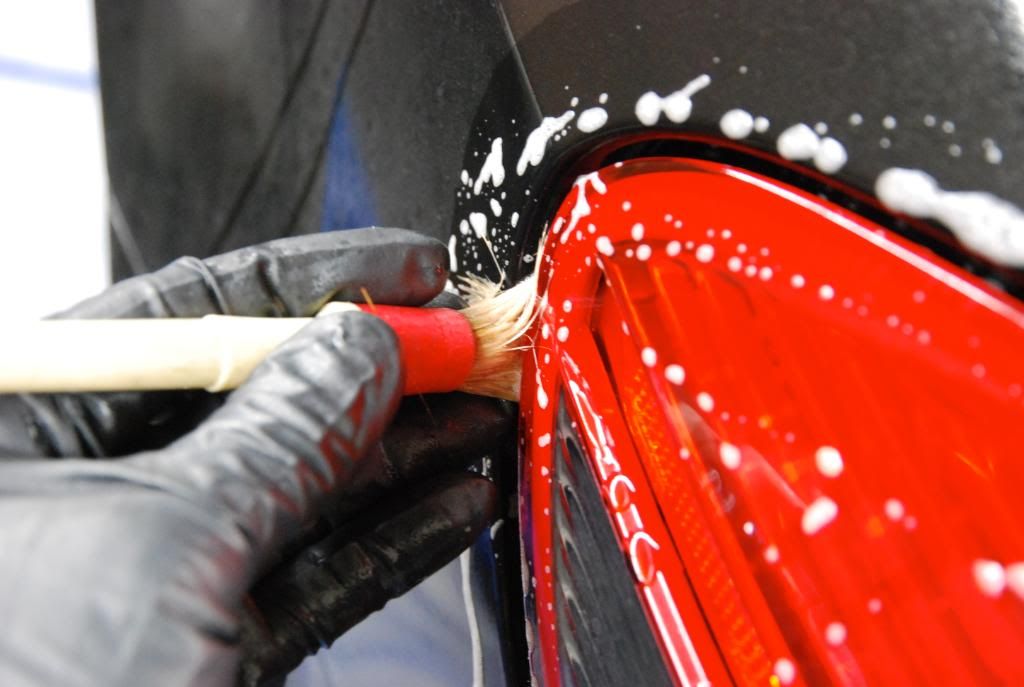
Cleaning around all body seams etc
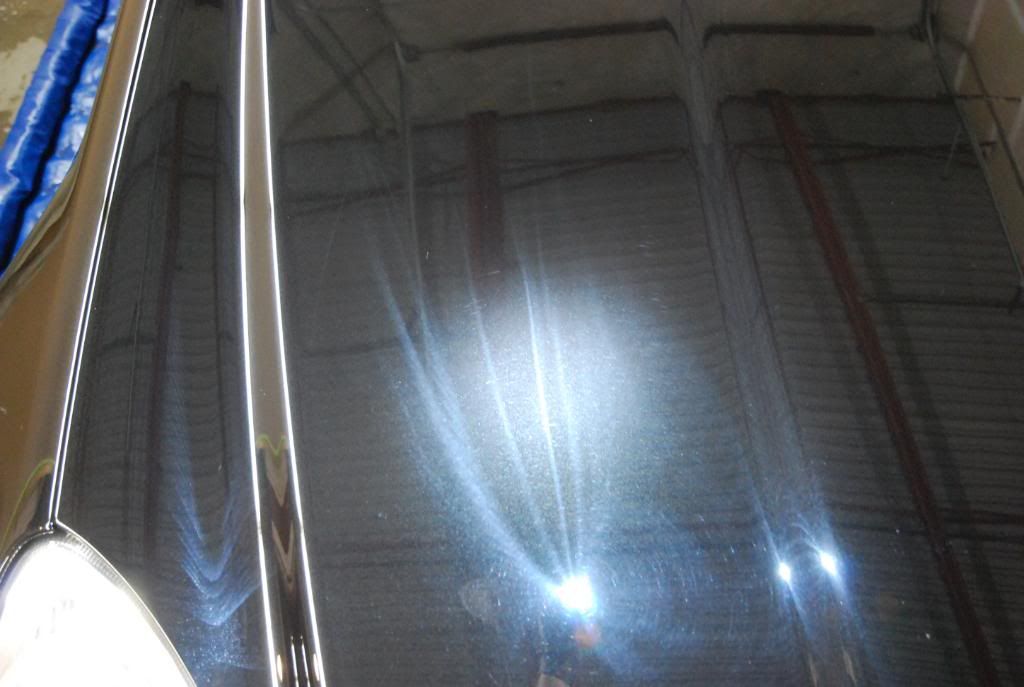
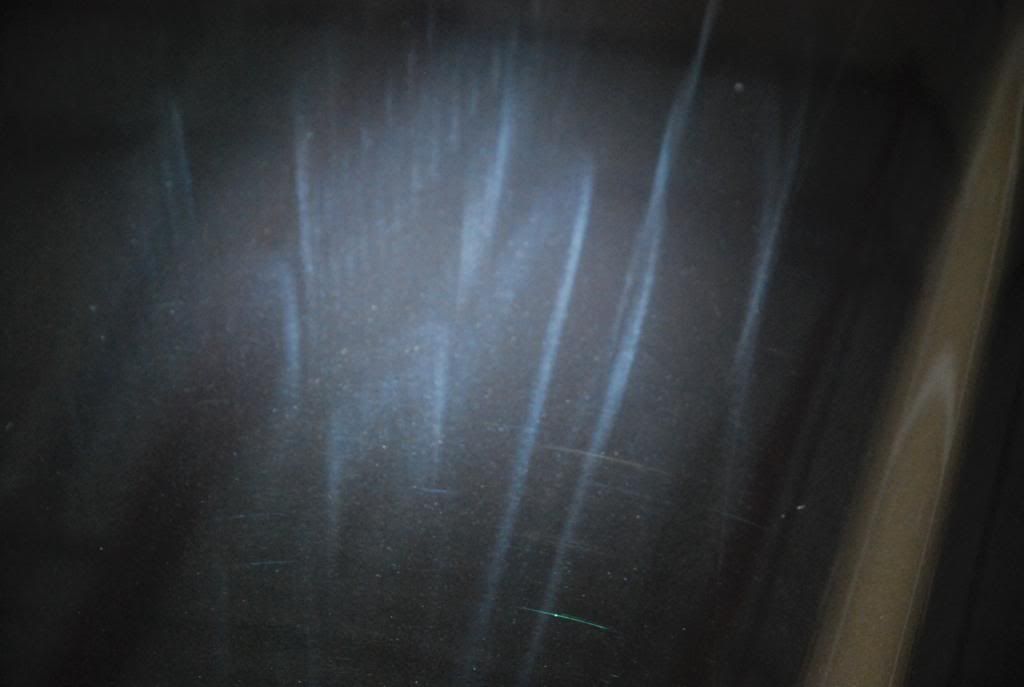
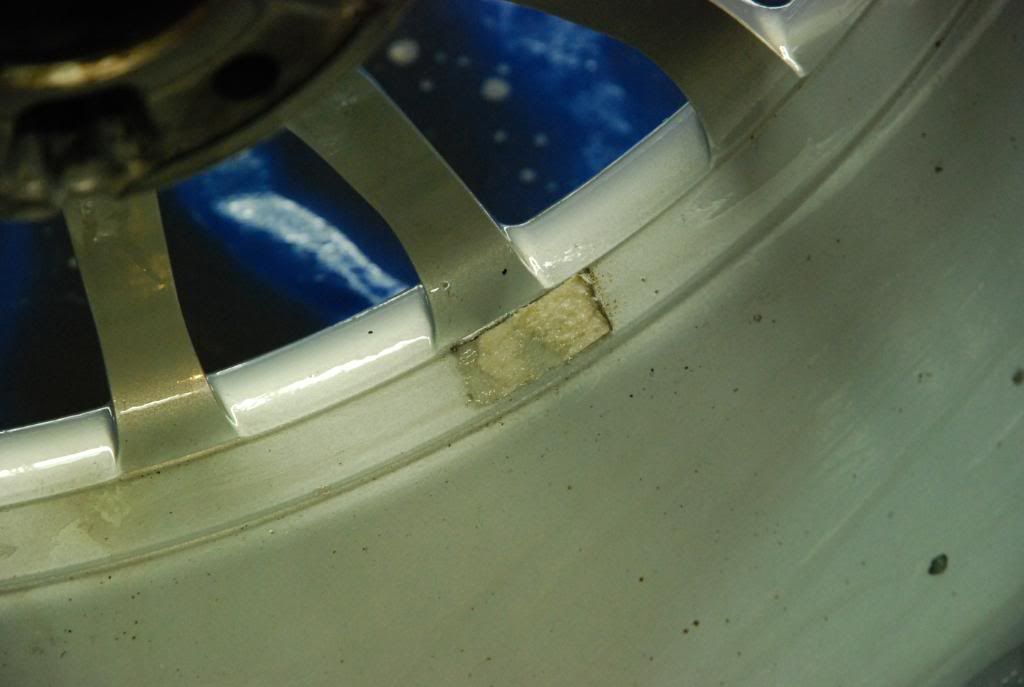
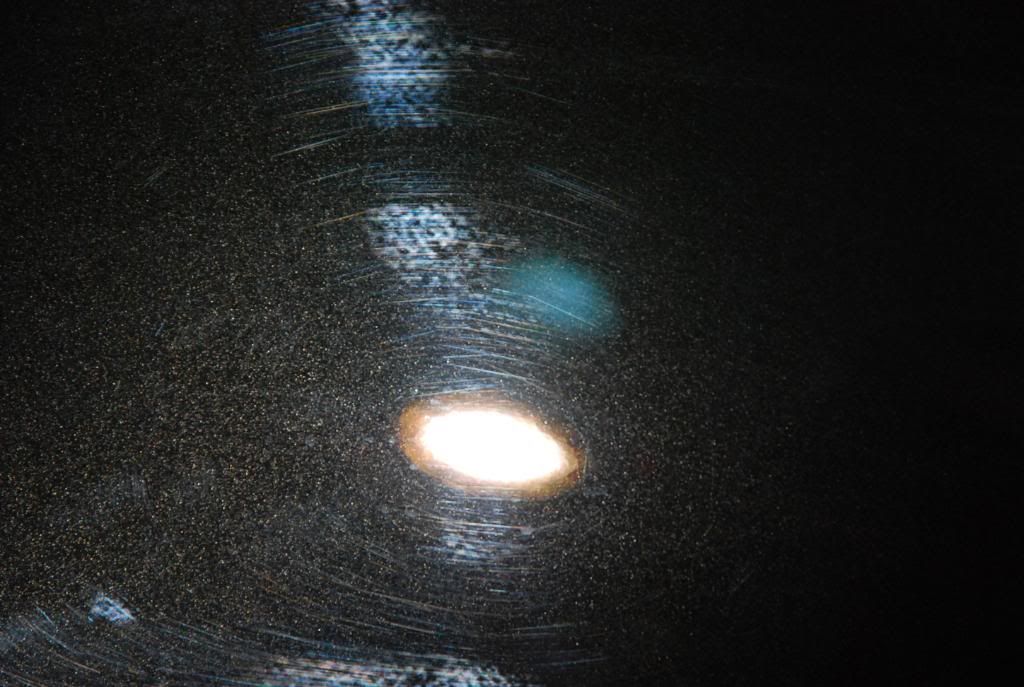
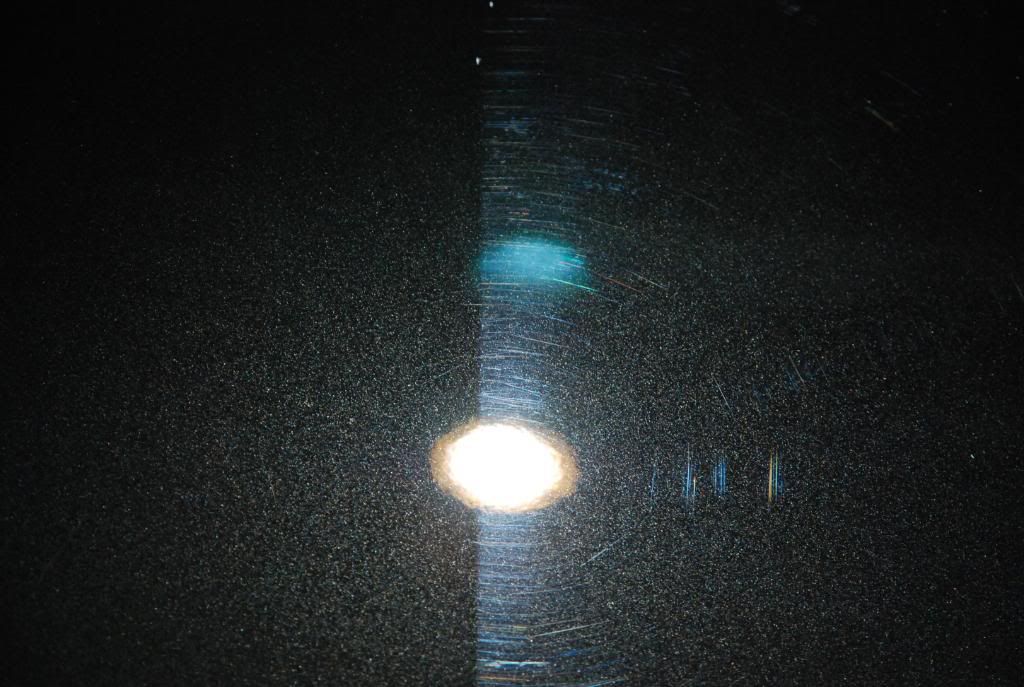
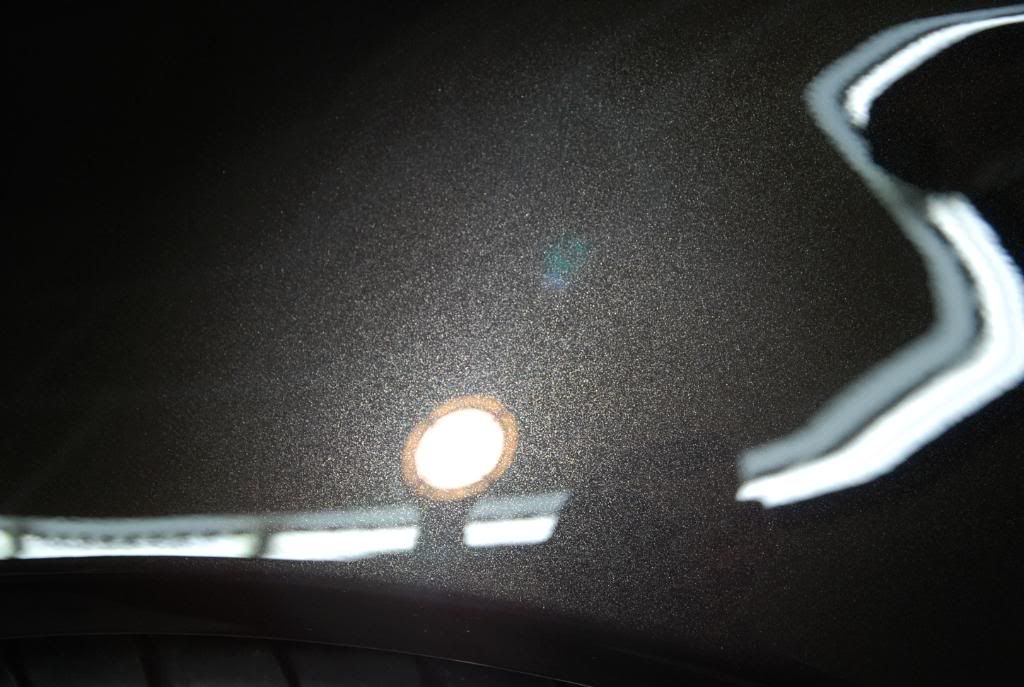
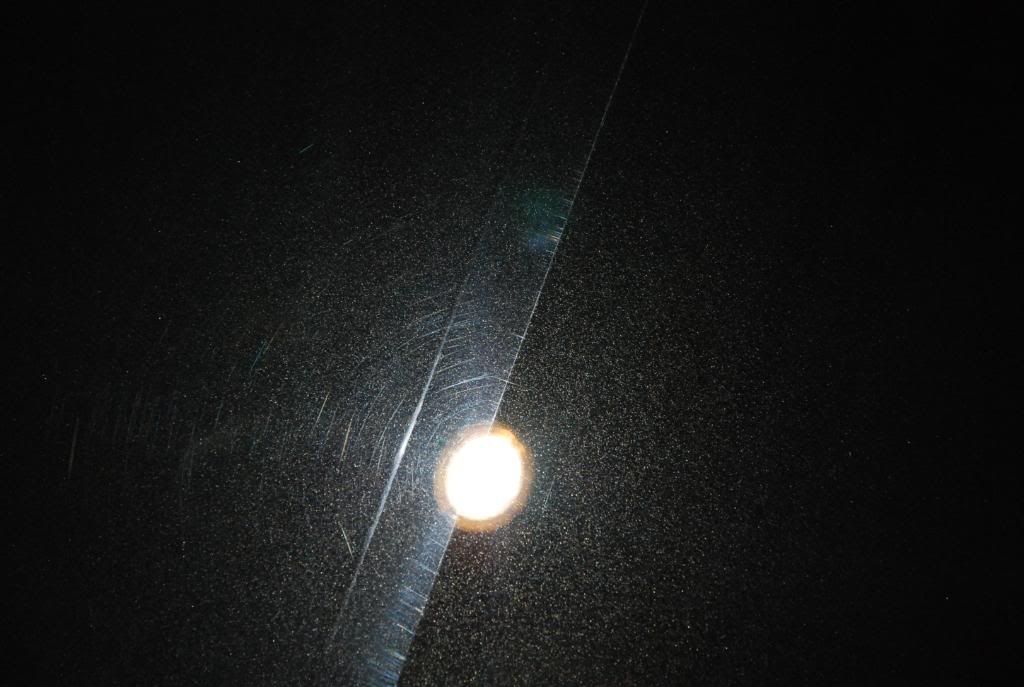
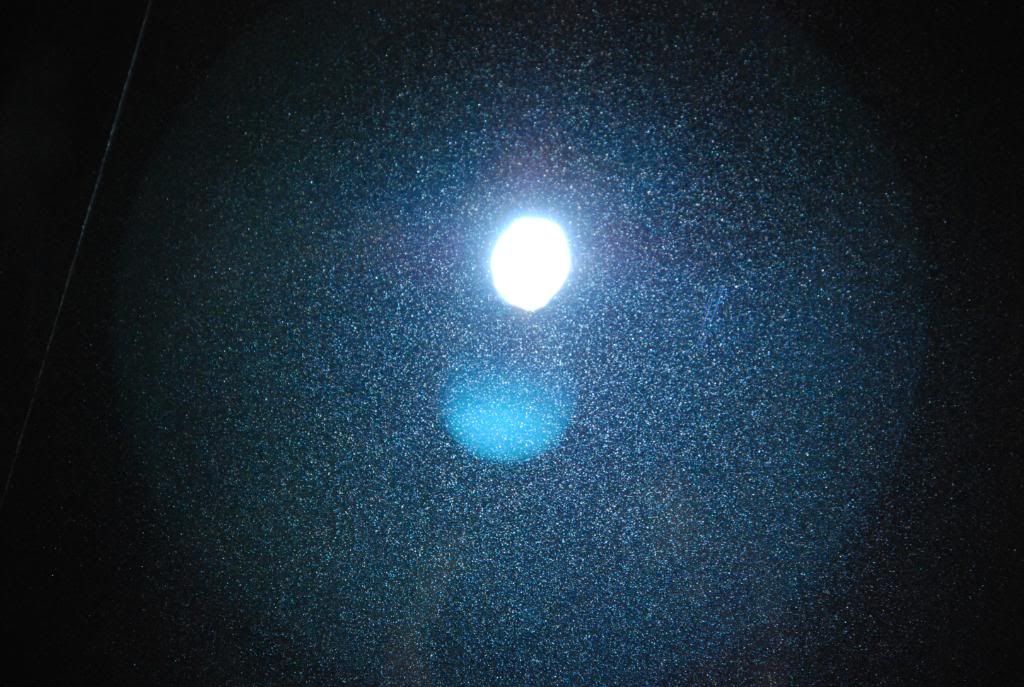
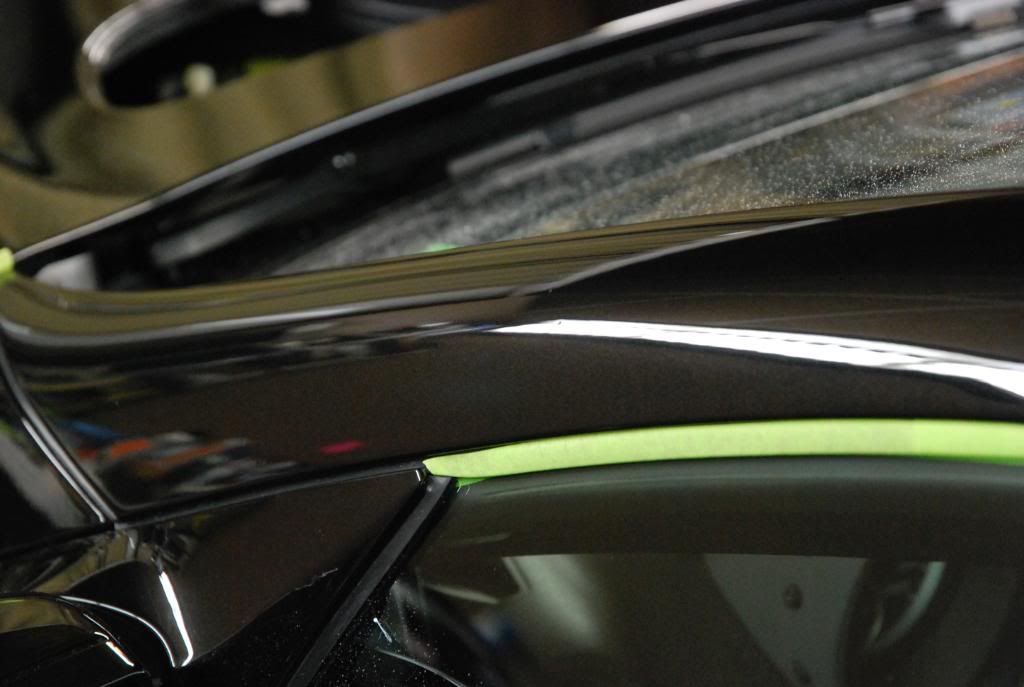
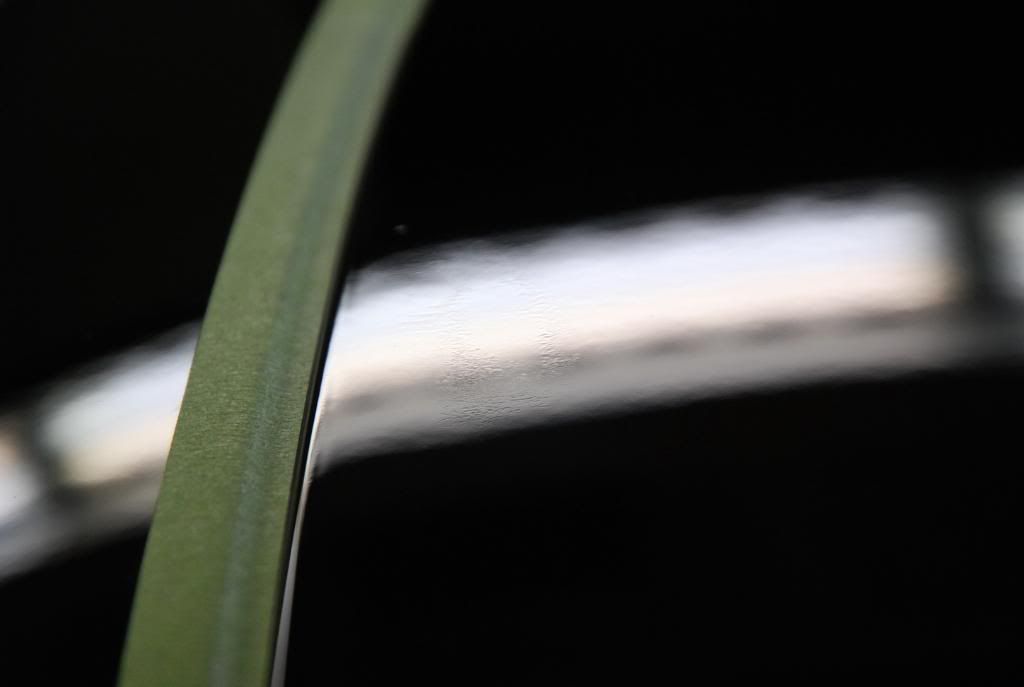
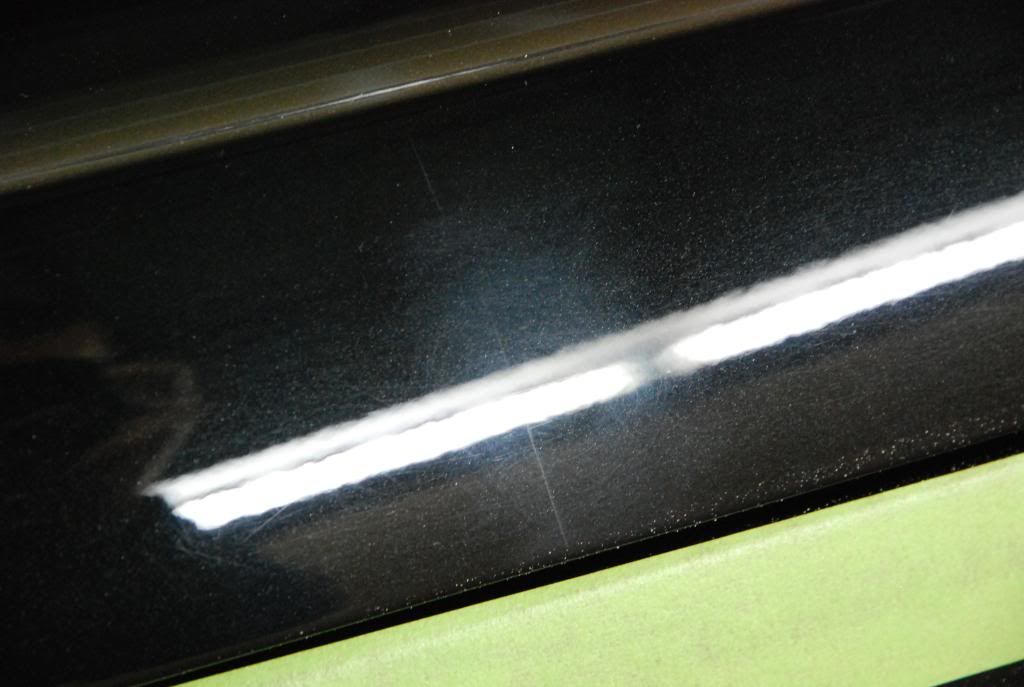
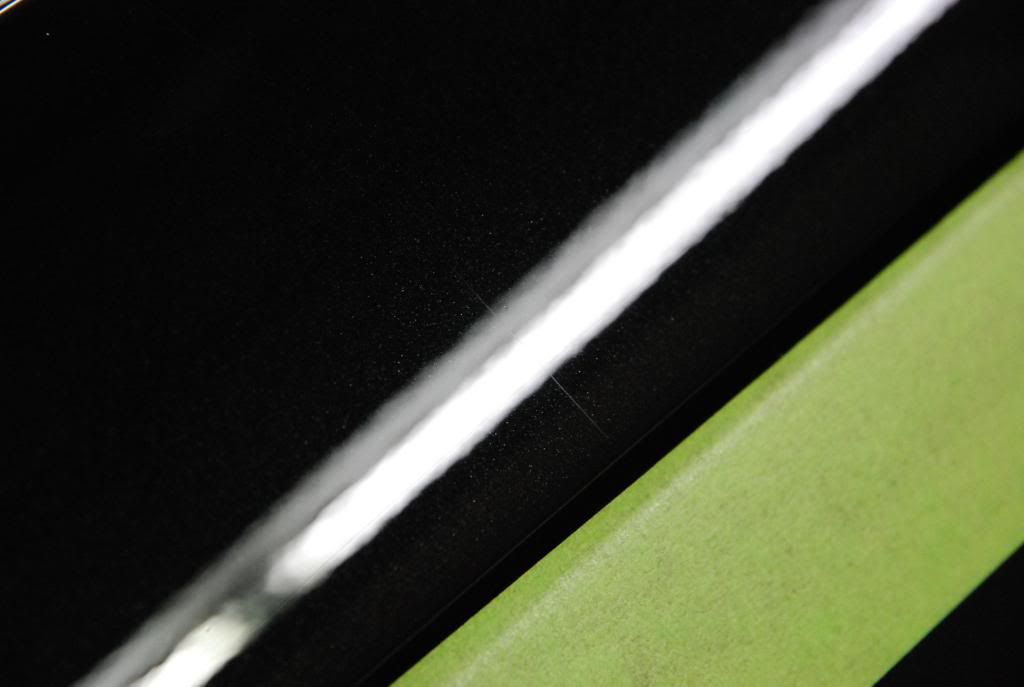
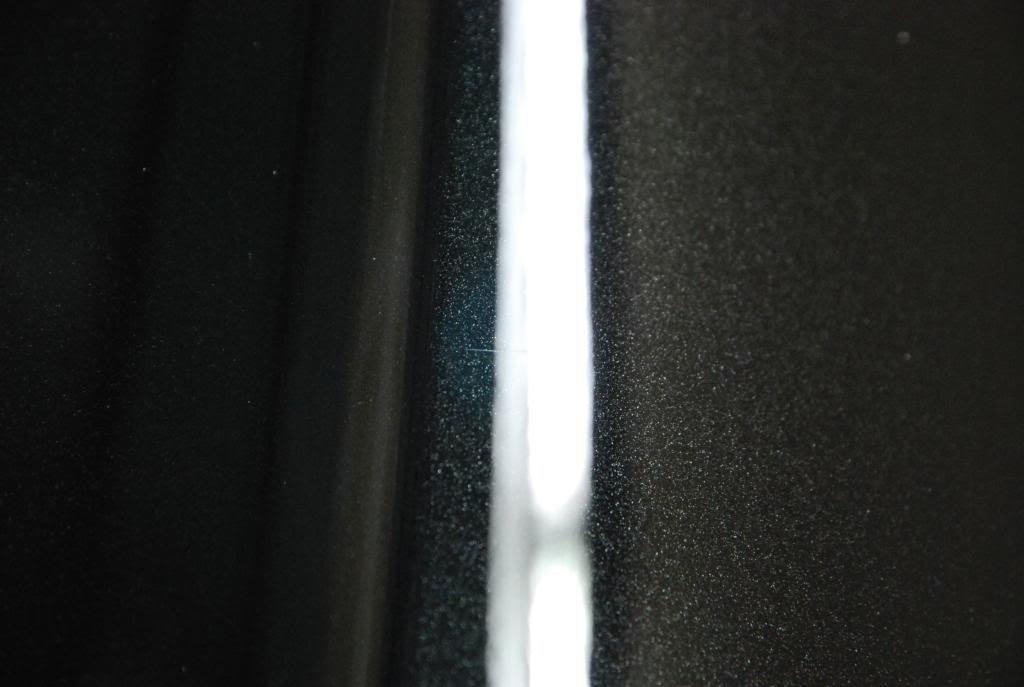
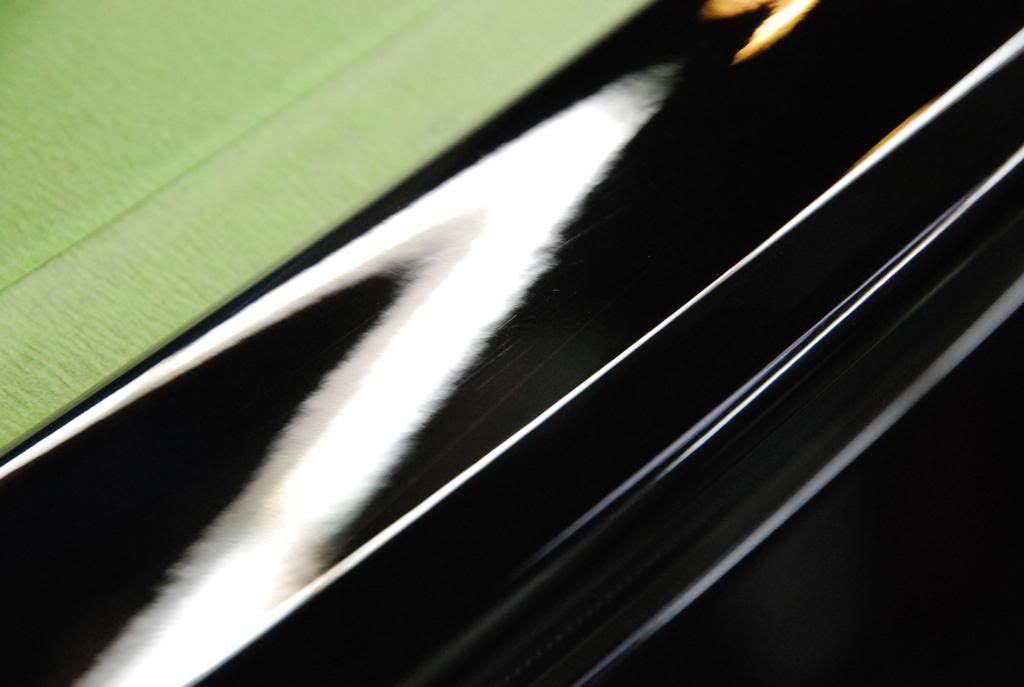
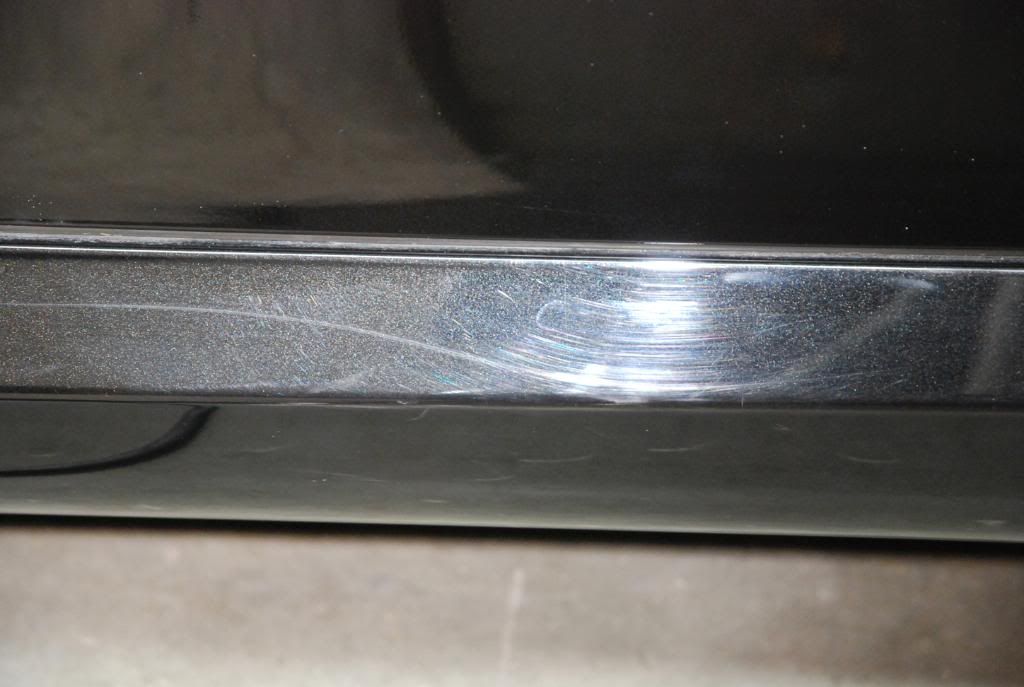
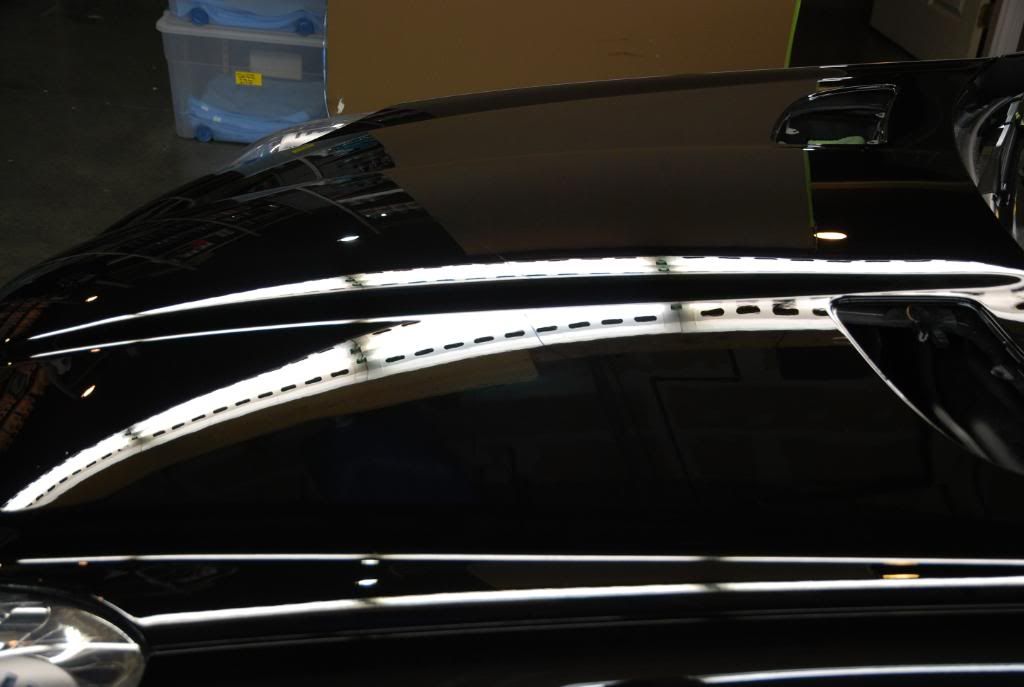
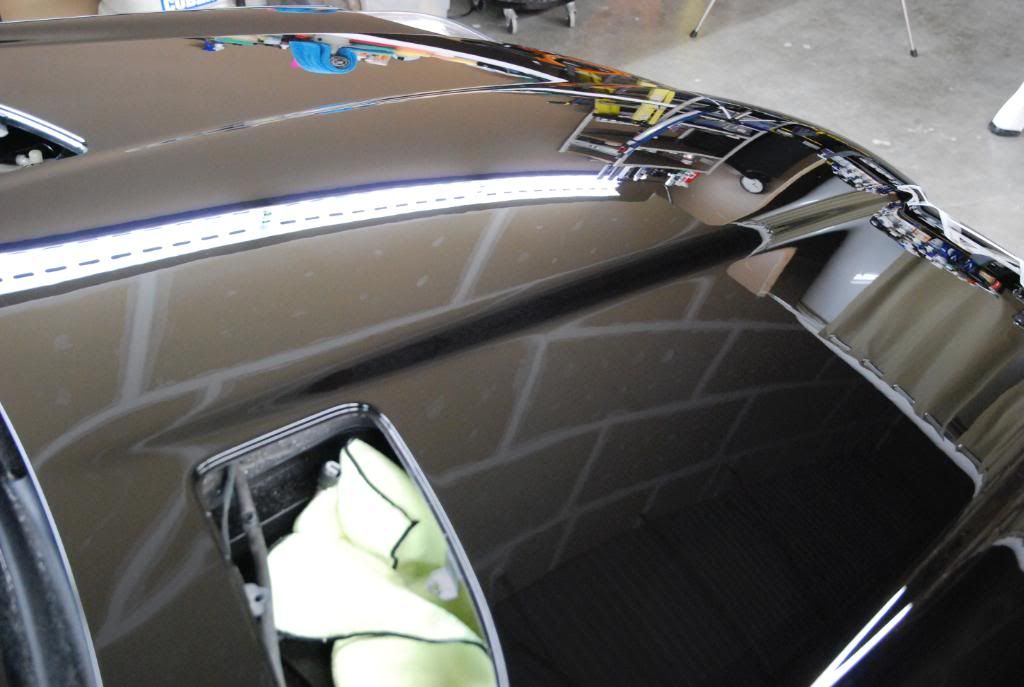
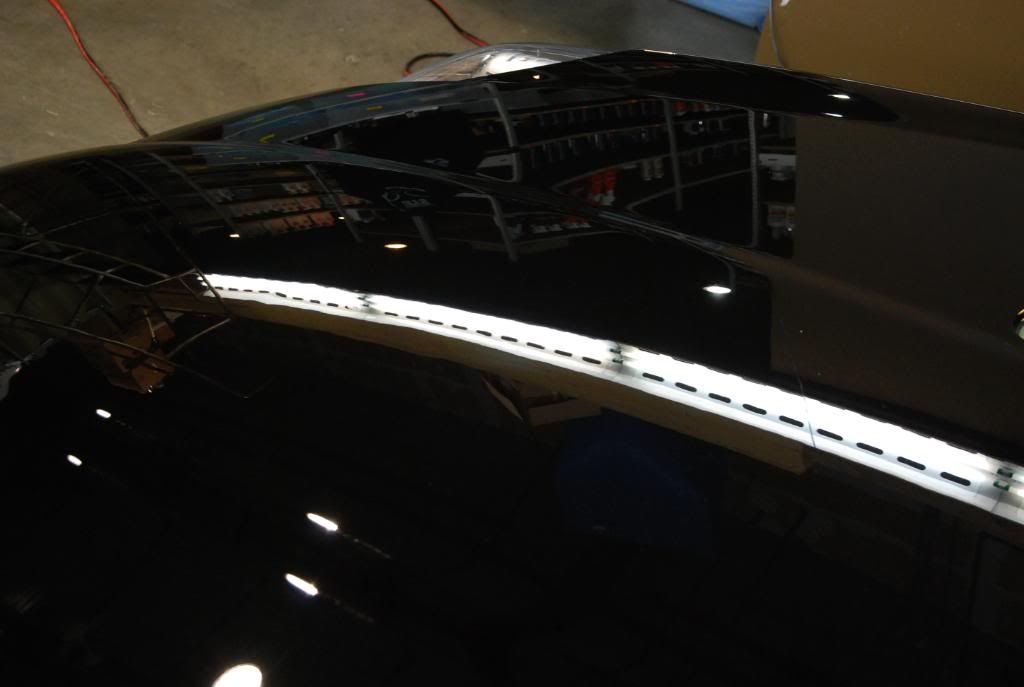
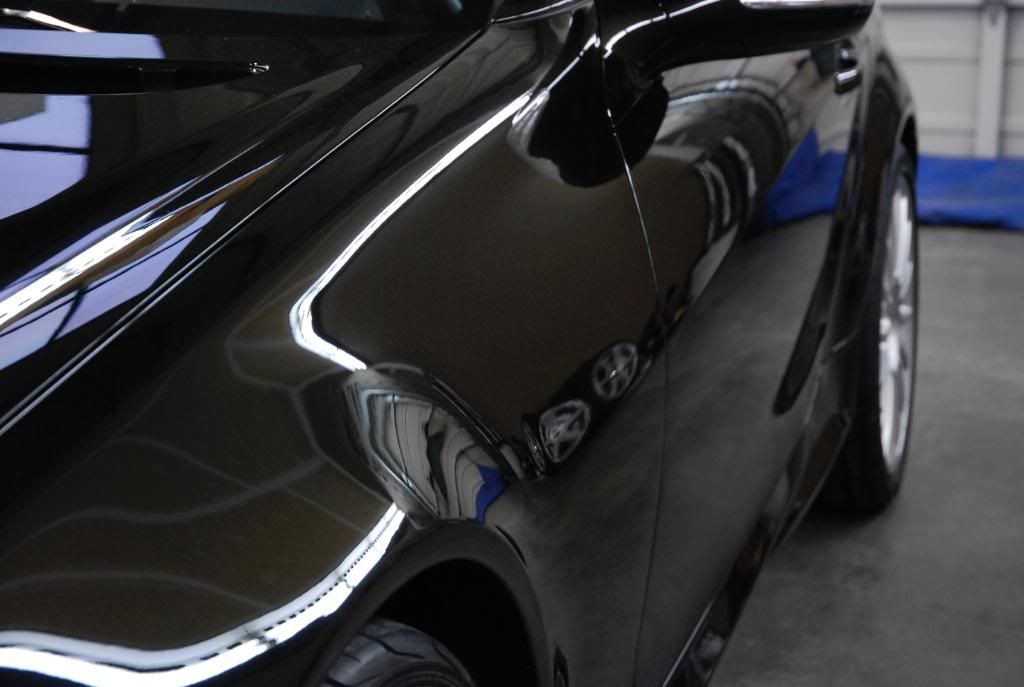
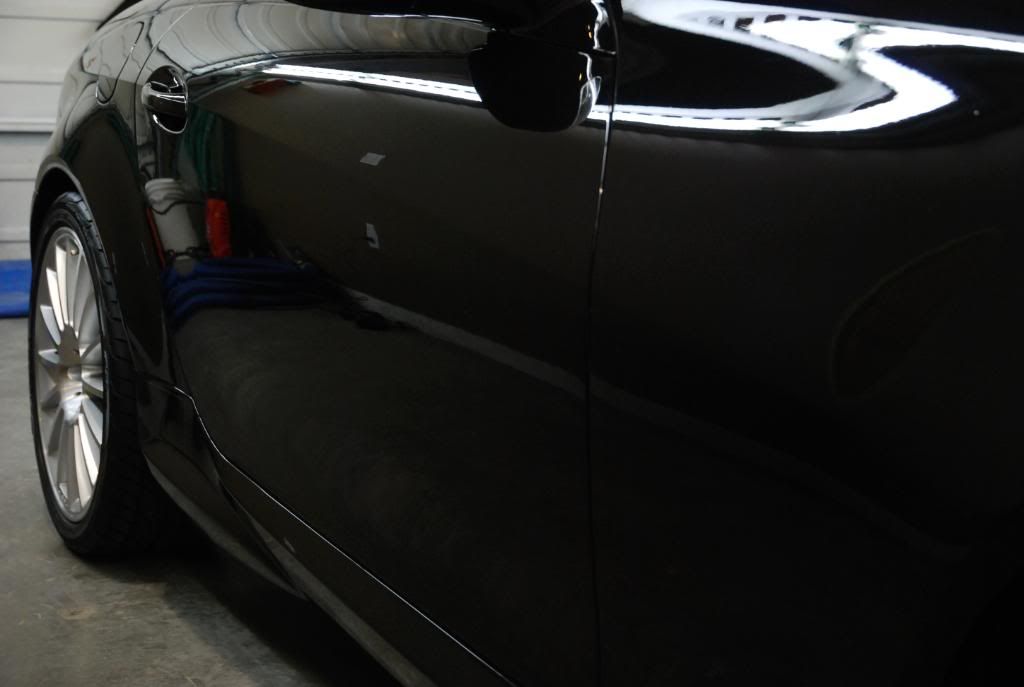
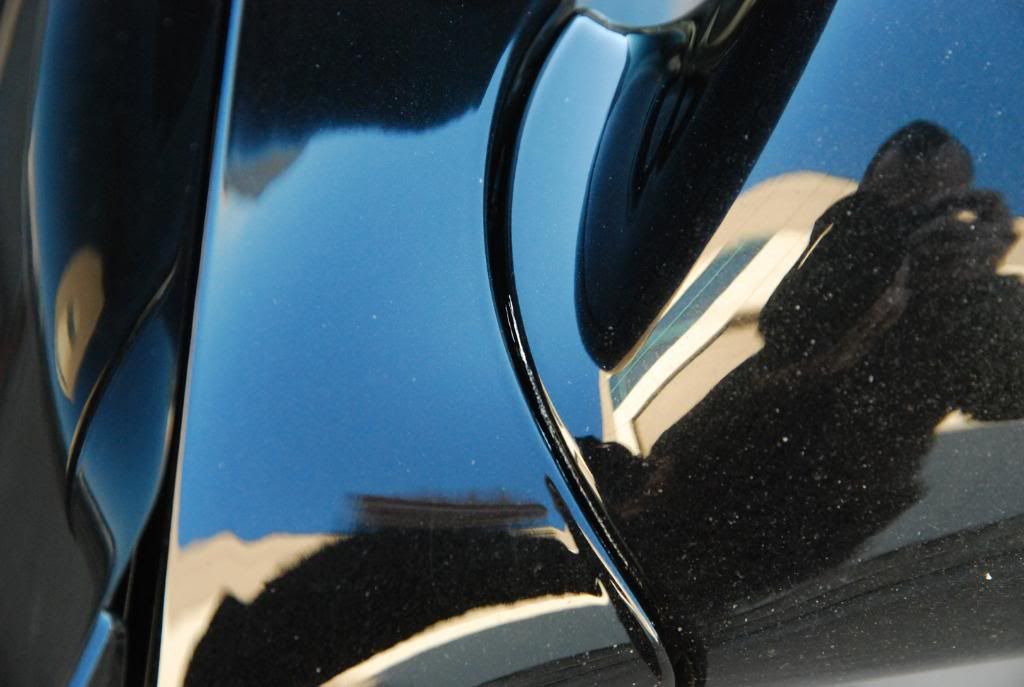
After washing, time to inspect paintwork for damage


Engine, jambs and exterior trims were cleaned with APC we are testing and Raceglaze brushes.
Engine was dressed with 303 Protectant this time.
Foamed with RG ph Neutral Snow Foam at 10:1 and left to soak for 4 minutes
Washed with CG CWC and Raceglaze Sheepskin Mitt
Wheel faces and barrels were cleaned with test APC as were inner fenders and suspension components. Wheel barrels were touched up with a mild acid solution to get rid of some staining.
Autosmart Tardis was used to remove road tar and weight glue on inner barrels.
Wheels were sealed with Blackfire All Metal Sealant
Tires dressed with Swissvax Pneu
Clayed with Exclusive Medium Clay with PB Spray & Wipe as lube
First stage of polishing was with B&S Green with Power Finish but had to switch to B&S Yellow and Power Finish and finally B&S Yellow with Megs 105 via Flex 3403 at 1100 - 1300 rpm.
Final polishing was B&S Black with Menz 106 via PC7424 at speed 5.
LSP was Raceglaze Black Label x2
Exhaust tips polished with DG Metal Polish and sealed with Blackfire All Metal Sealant
Interior wiped down with AG Interior Shampoo
Seats cleaned with RG Leather Cleanse and conditioned with RG Leather Balm
All glass cleaned with AG Fast Glass
Total time - approx 25 hours
One mildly dirty 06 SLK55
Some befores....
Polish residue inside fuel filler door
Interior was dusty from having the top down, but not really dirty.
Even the jambs weren't too bad
The car had been recently driven in the rain and was covered in alot of grit from the road.
The engine was dusty as well, other than the paint overspray on the underside of the hood.
Now this just sucks! Polish splatter UNDER the grille.
More polish residue.
Look what showed up this morning!
It was -15 this am so I'm doing this inside. Thanks again Michael for the wash mat!
After 4 minutes on horizontal surfaces..
and vertical
Cleaning around all body seams etc
After washing, time to inspect paintwork for damage