justin30513
Mobile Detailing Services
I recently received a call from a gentleman who was referred to me. The owner is in a couple of car clubs and my name came up for detailing this immaculate car. Seems that the car was recently sent out for a detailing and came back with hologramming. The owner noticed this soon after it's first wash. Knowing this, I was just going to take my time. Loaded with my arsenal of Menzerna polishes, UDM, and new Lake Country CCS pads, I was off.
Here's the full story.........
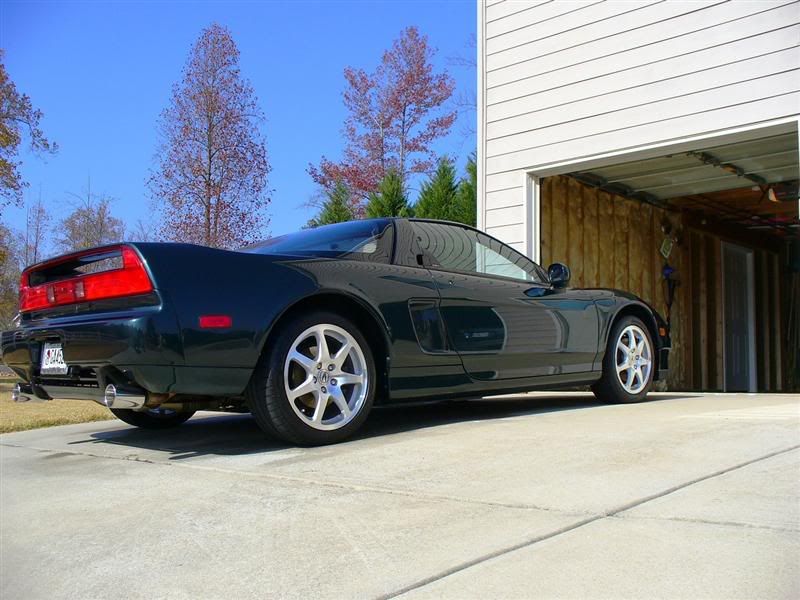
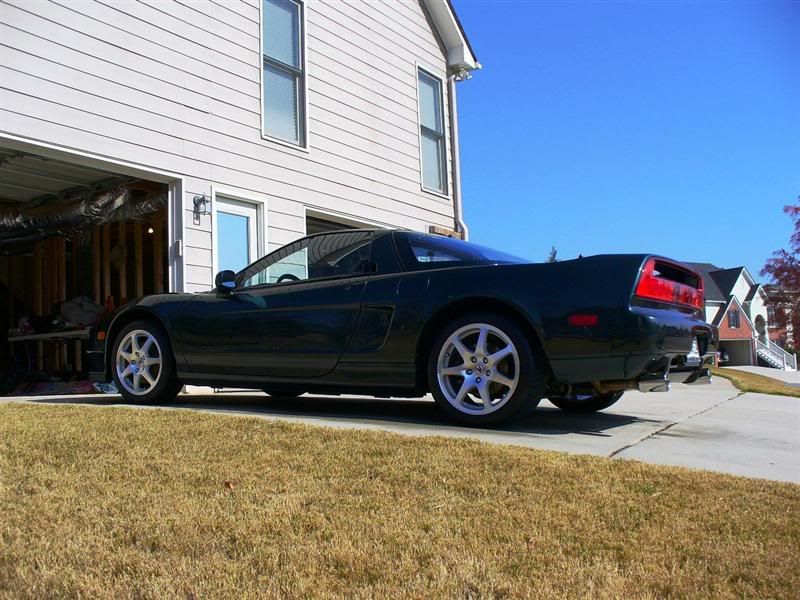
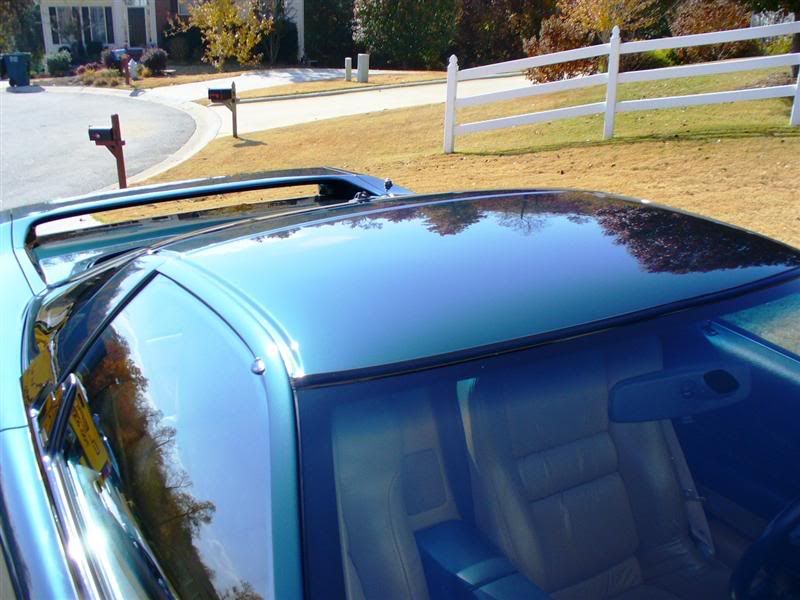
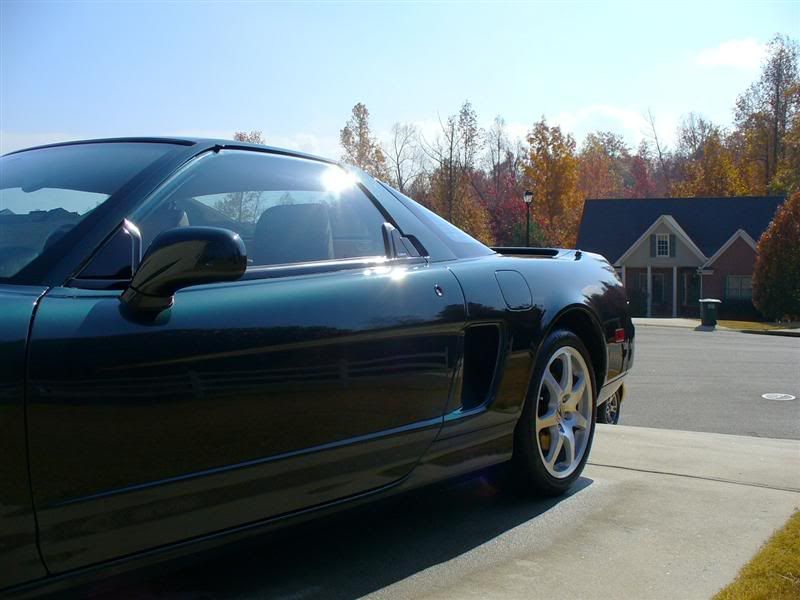
Befores:
Sorry about the lighting. I left my halogens at home and it was early in the morning. Very, very humid!
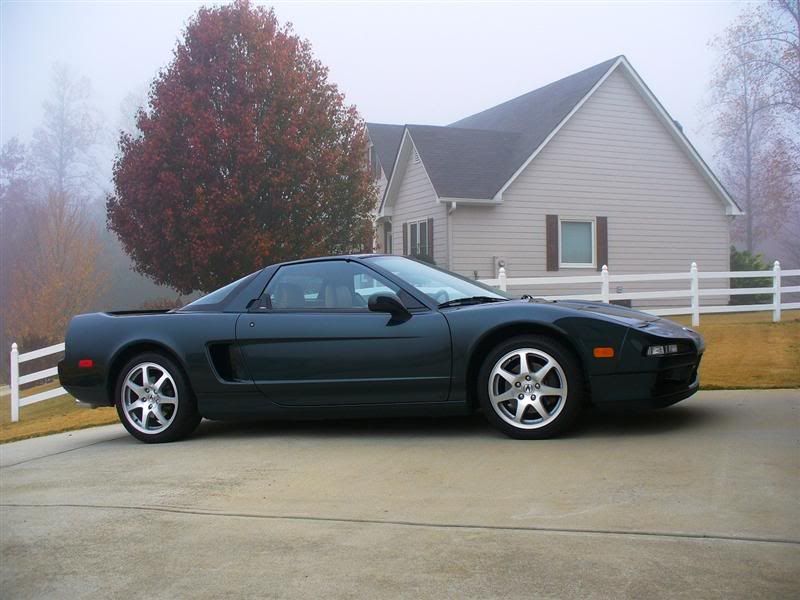
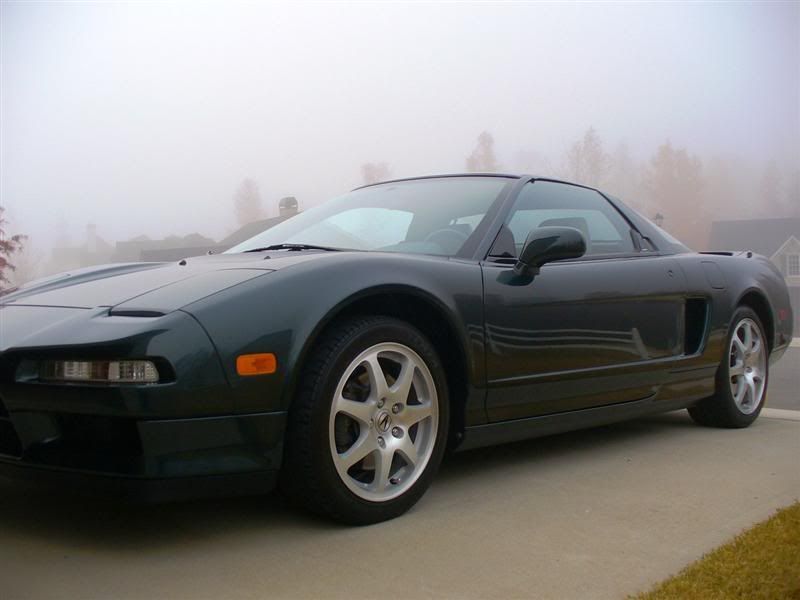
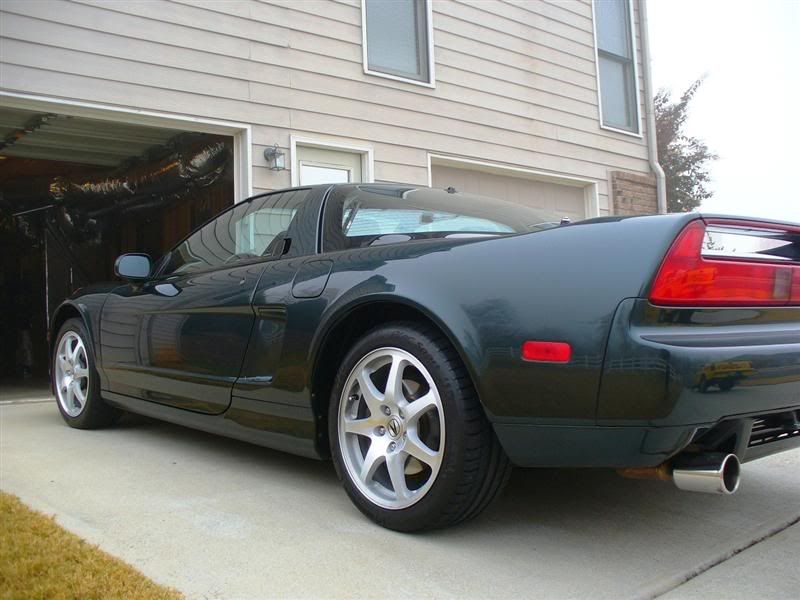
It is easy to notice a lack of depth in the paint. I believe this was due to not polishing correctly. I've really came to see that paint depth is ONLY obtained by polishing.......not just waxing. No wax can make up for poor polishing.
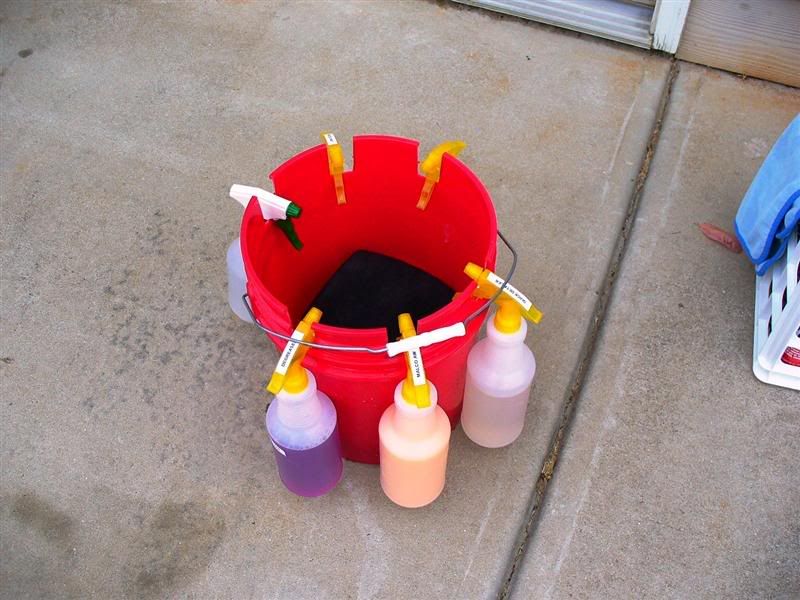
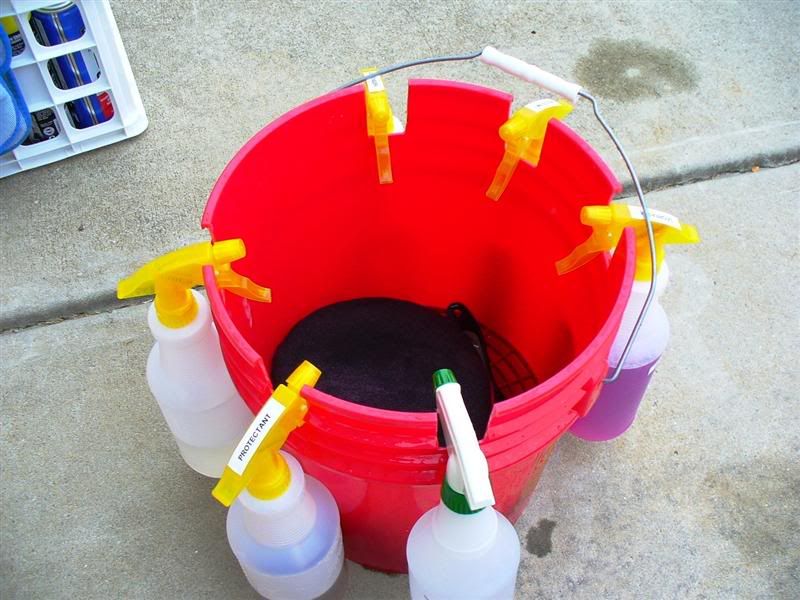
Wash Cycle:
(Meguiar's NXT via Foam Gun. Washed with LC Ulti-Mitt & soon to be released Reflections Carry-All bucket with Grit-Guard)
Here's the new EDGE/Reflections Carry-All bucket.........fresh with new bottles! This was a simple idea but just made my detailing life so much easier!!! All of the cut outs are perfectly spaced to that if there is just one bottle on the bucket, it will not tip.
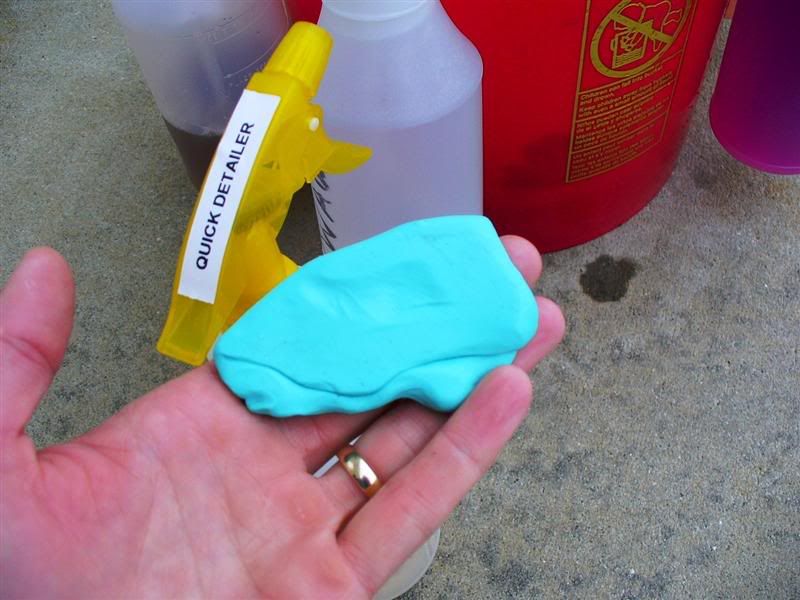
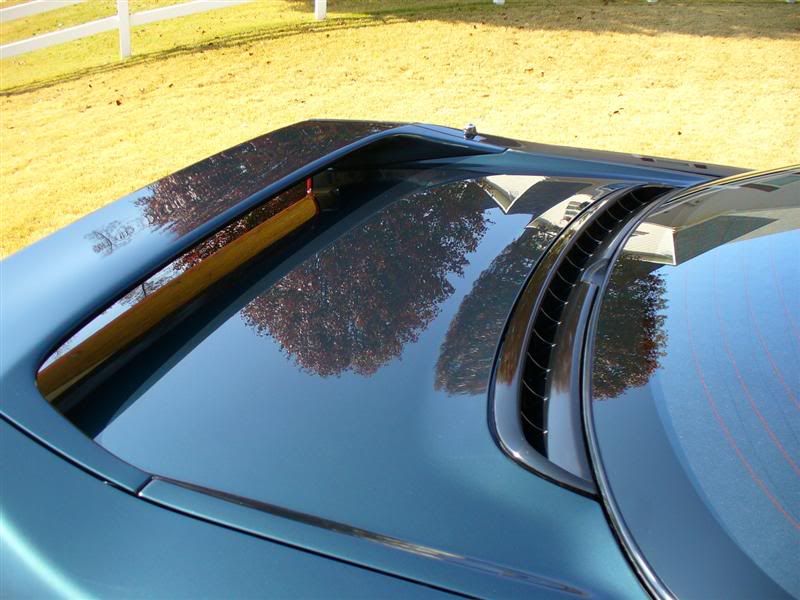
The car was lightly clayed but the only place that really showed any contaminants was under the rear spoiler. A tell tell sign again of the detail shop's quality of work.
Paint Correction:
(Menzerna's Intensive Polish via UDM & LC's White Polishing Pad)
Once again, I was just totally impressed with this medium duty polish. The UDM/pad combo make a quick job of the hologramming and light swirls. I kept the pad damp with a QD mix but it still dusted some. I could have stopped here but I wanted even more depth!!!
Oh yeah. Here's a random shot of some of my supplies and bag......

Paint Polishing:
(Menzerna's Final Polish via UDM & LC's Blue Finesse Pad)
I simply wanted to take this paint's depth and gloss to another level. I used very little polish and just "rouged" the surface like a gem with a ton of passes. Boy did this technique work! FP cleaned up very easy and there was NO dusting whatsoever. The paint looked a mile deep.......without no wax!
Paint Protection-Stage 1:
(Poorboy's Polish with Sealant via UDM & LC's Black Finishing Pad)
Before waxing, I wanted to really clean the paint and why not add one heck of a layer of protection while doing it! PwS has became my favorite LSP for my everyday protecting of clients cars. It really cleans the surface and I'm getting 3+ months durability out of it........even on glass. After removing the PwS, I gave the car a blast of pressure washer action to remove any dust for the cracks and crevices.
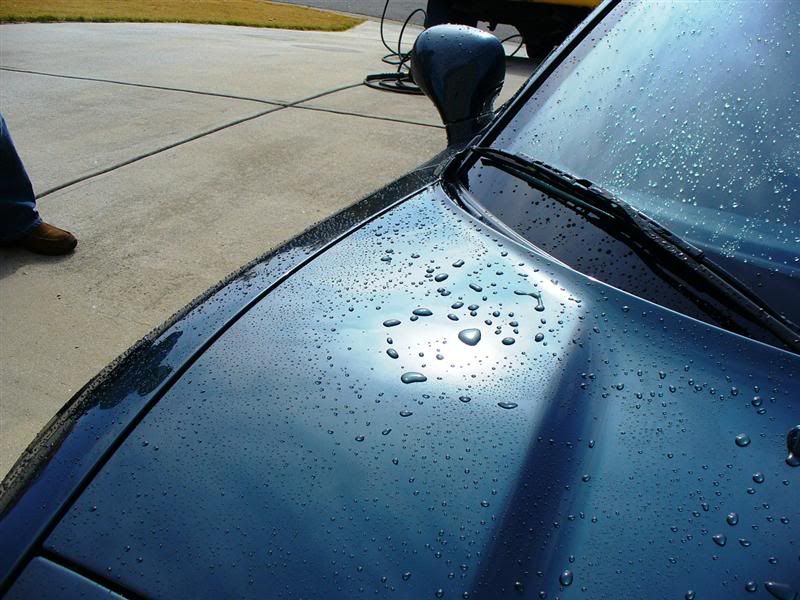
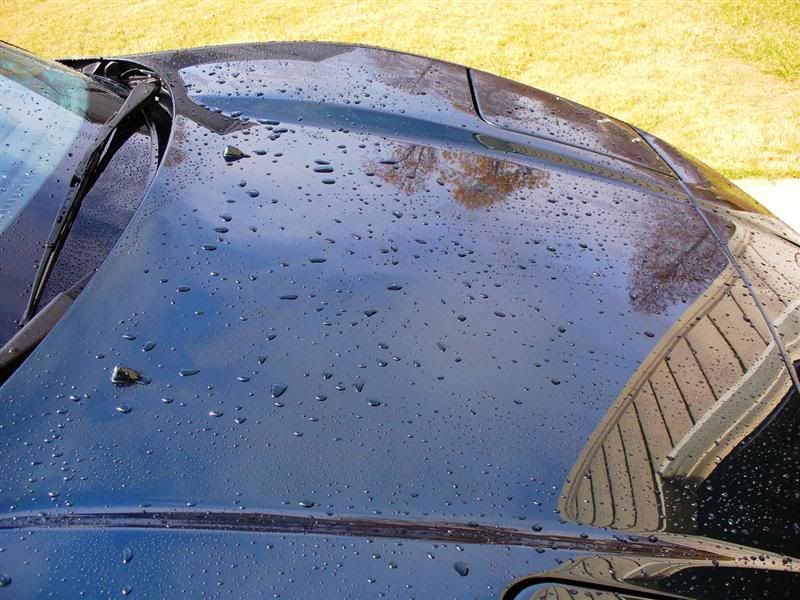
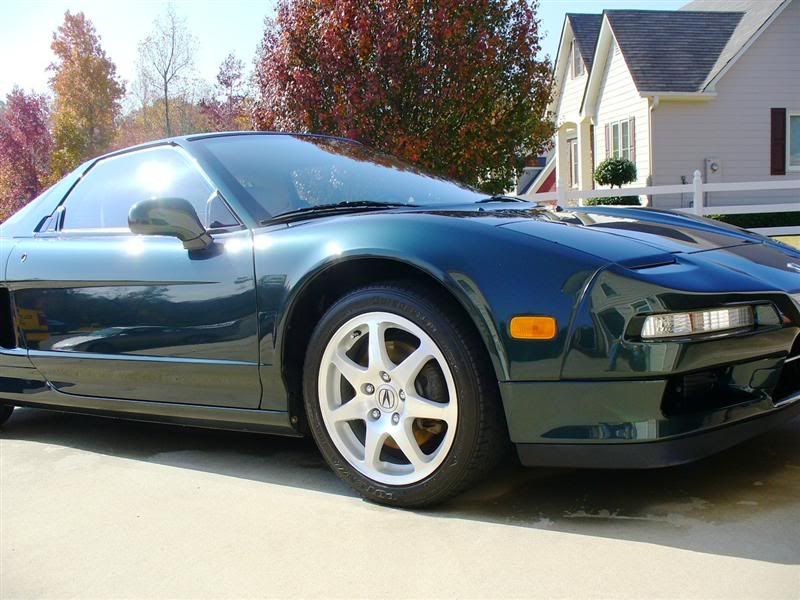
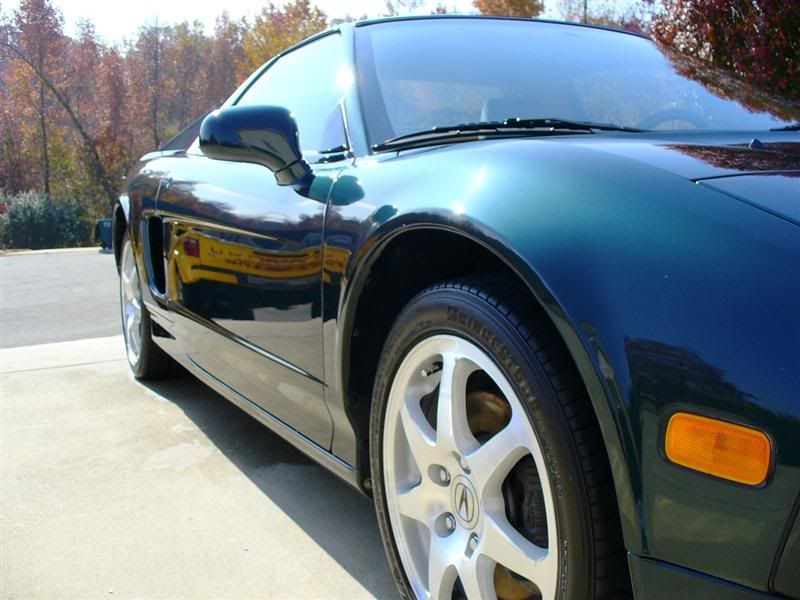
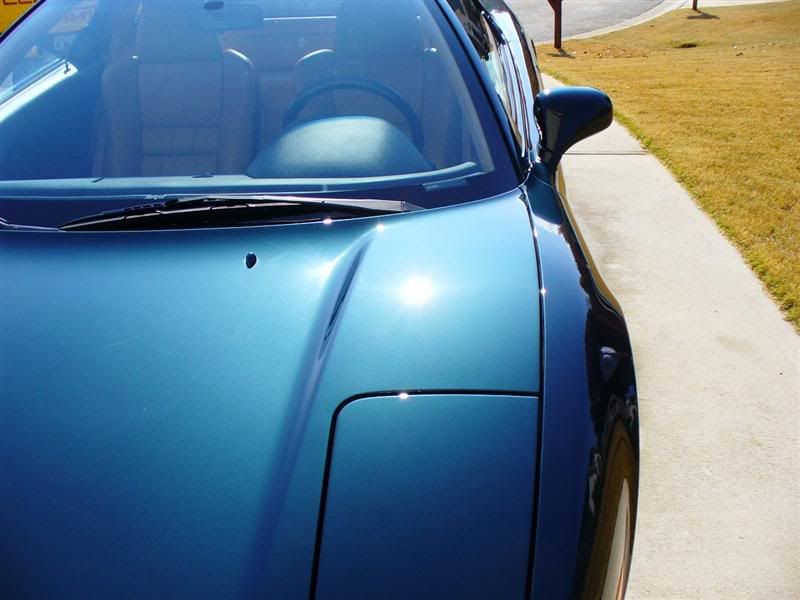
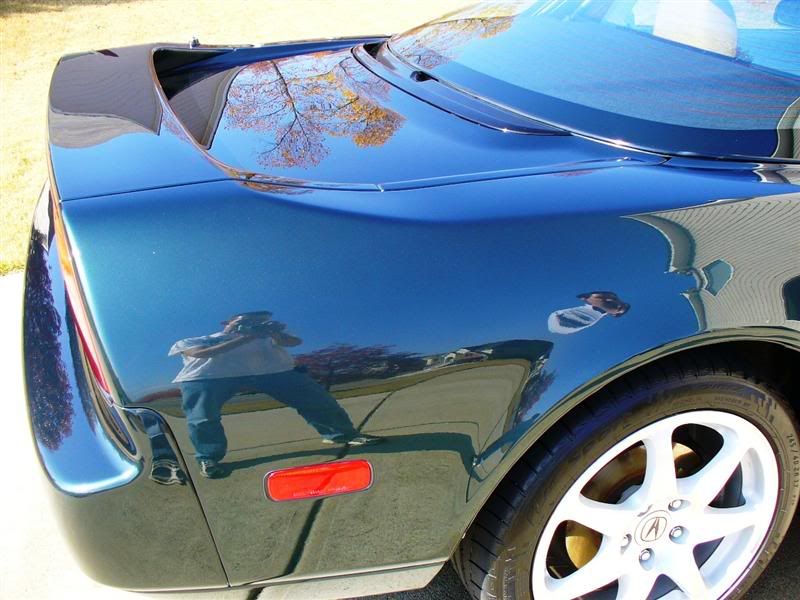
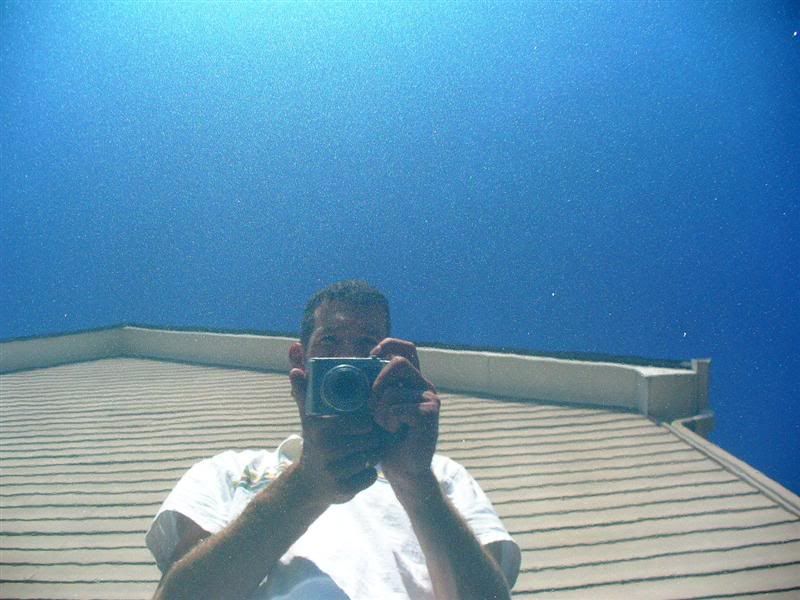
Look at the depth and sheeting!

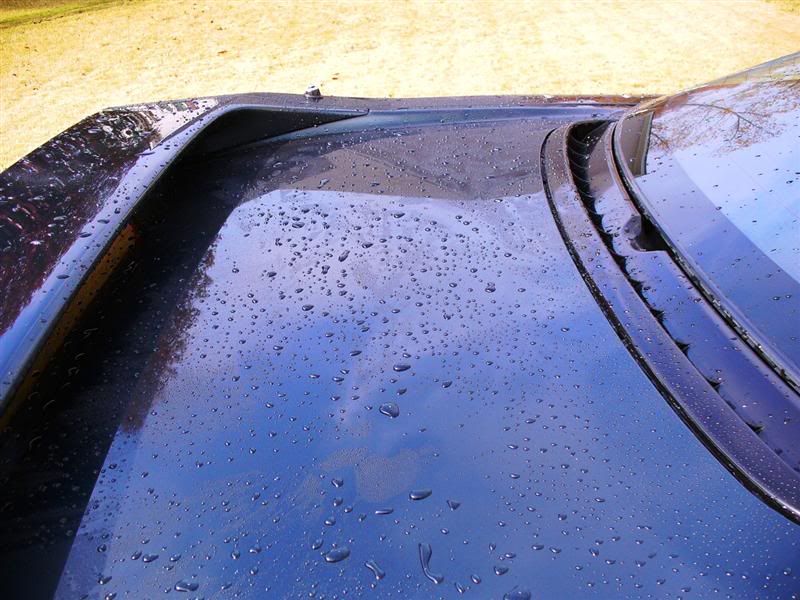
Paint Protection-Stage 2:
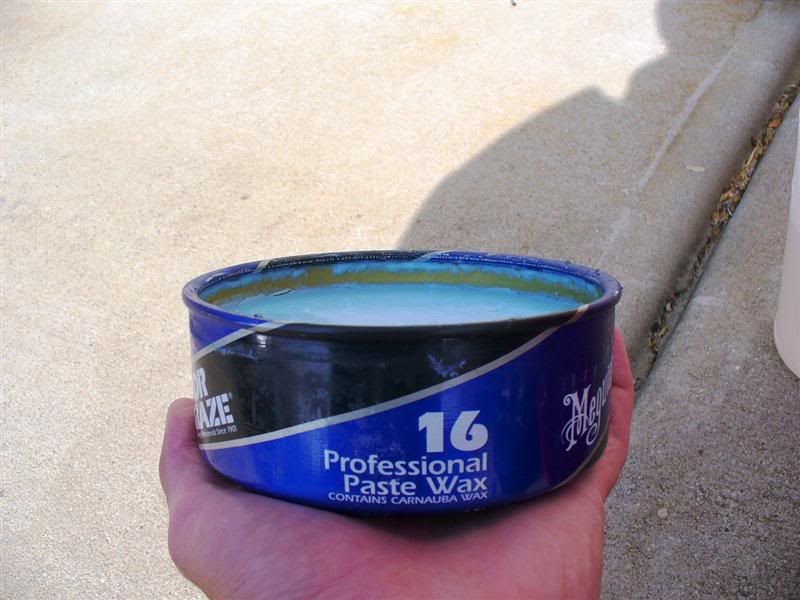
(Meguiar's #16 Carnauba Wax via foam applicator and hand)
I've had this for a while and I wanted to see it in action again! This wax is hard to use, I will tell you that. I will build up in crevices so careful attention was used here. Once dried, it turns white.......like many old school waxes. I used the UDM and MF bonnet over a yellow pad to remove it. This technique really brought the finish to another level once again.
My new tin of #16
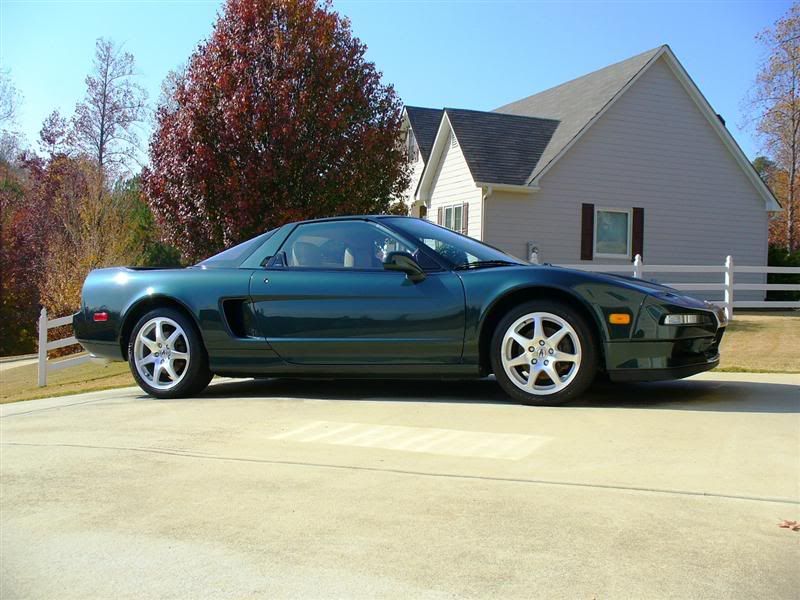
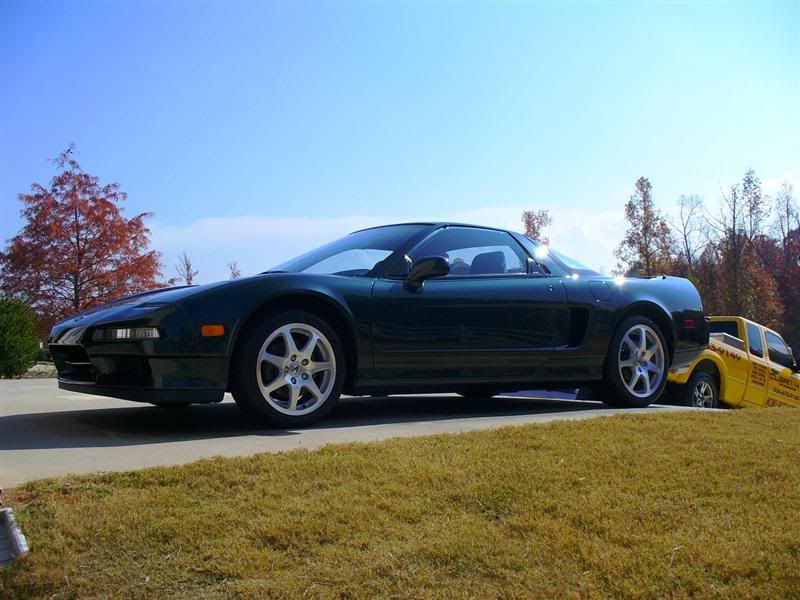
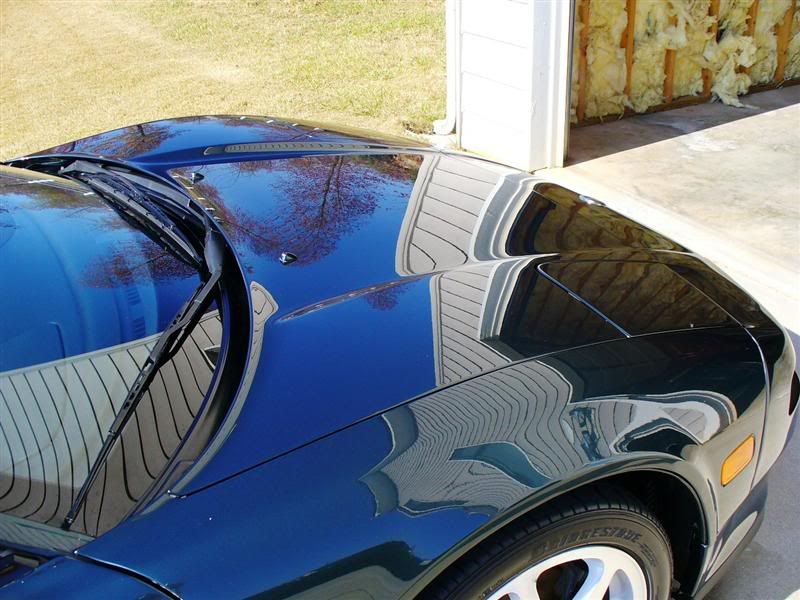
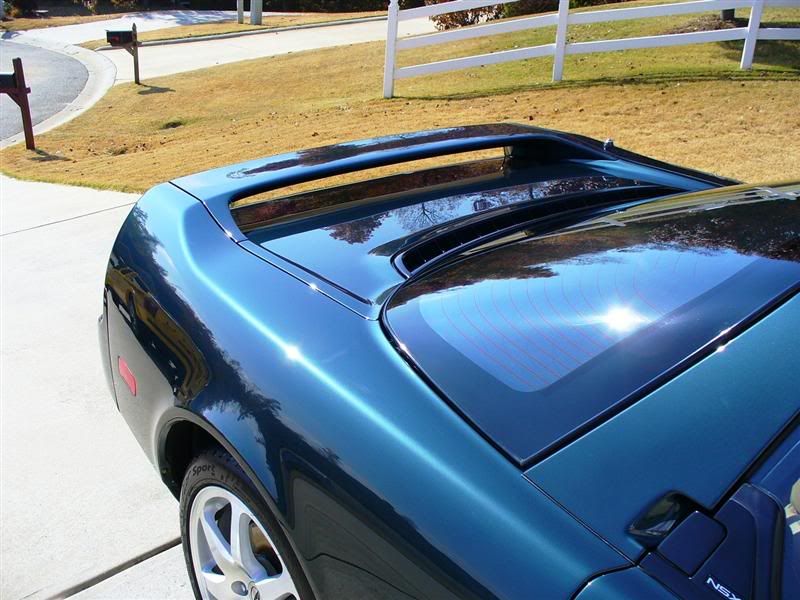
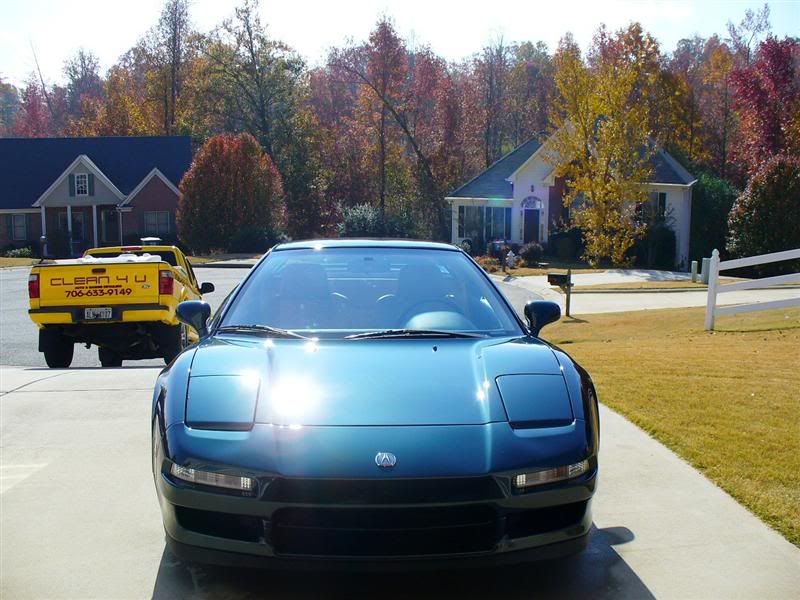
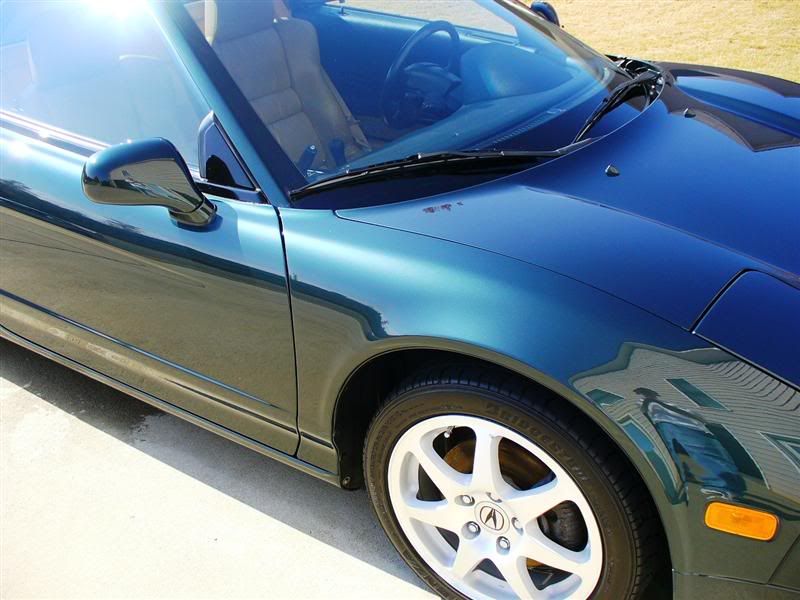
Afters:
Here's the full story.........
Befores:
Sorry about the lighting. I left my halogens at home and it was early in the morning. Very, very humid!
It is easy to notice a lack of depth in the paint. I believe this was due to not polishing correctly. I've really came to see that paint depth is ONLY obtained by polishing.......not just waxing. No wax can make up for poor polishing.
Wash Cycle:
(Meguiar's NXT via Foam Gun. Washed with LC Ulti-Mitt & soon to be released Reflections Carry-All bucket with Grit-Guard)
Here's the new EDGE/Reflections Carry-All bucket.........fresh with new bottles! This was a simple idea but just made my detailing life so much easier!!! All of the cut outs are perfectly spaced to that if there is just one bottle on the bucket, it will not tip.
The car was lightly clayed but the only place that really showed any contaminants was under the rear spoiler. A tell tell sign again of the detail shop's quality of work.
Paint Correction:
(Menzerna's Intensive Polish via UDM & LC's White Polishing Pad)
Once again, I was just totally impressed with this medium duty polish. The UDM/pad combo make a quick job of the hologramming and light swirls. I kept the pad damp with a QD mix but it still dusted some. I could have stopped here but I wanted even more depth!!!
Oh yeah. Here's a random shot of some of my supplies and bag......
Paint Polishing:
(Menzerna's Final Polish via UDM & LC's Blue Finesse Pad)
I simply wanted to take this paint's depth and gloss to another level. I used very little polish and just "rouged" the surface like a gem with a ton of passes. Boy did this technique work! FP cleaned up very easy and there was NO dusting whatsoever. The paint looked a mile deep.......without no wax!
Paint Protection-Stage 1:
(Poorboy's Polish with Sealant via UDM & LC's Black Finishing Pad)
Before waxing, I wanted to really clean the paint and why not add one heck of a layer of protection while doing it! PwS has became my favorite LSP for my everyday protecting of clients cars. It really cleans the surface and I'm getting 3+ months durability out of it........even on glass. After removing the PwS, I gave the car a blast of pressure washer action to remove any dust for the cracks and crevices.
Look at the depth and sheeting!
Paint Protection-Stage 2:
(Meguiar's #16 Carnauba Wax via foam applicator and hand)
I've had this for a while and I wanted to see it in action again! This wax is hard to use, I will tell you that. I will build up in crevices so careful attention was used here. Once dried, it turns white.......like many old school waxes. I used the UDM and MF bonnet over a yellow pad to remove it. This technique really brought the finish to another level once again.
My new tin of #16
Afters:
