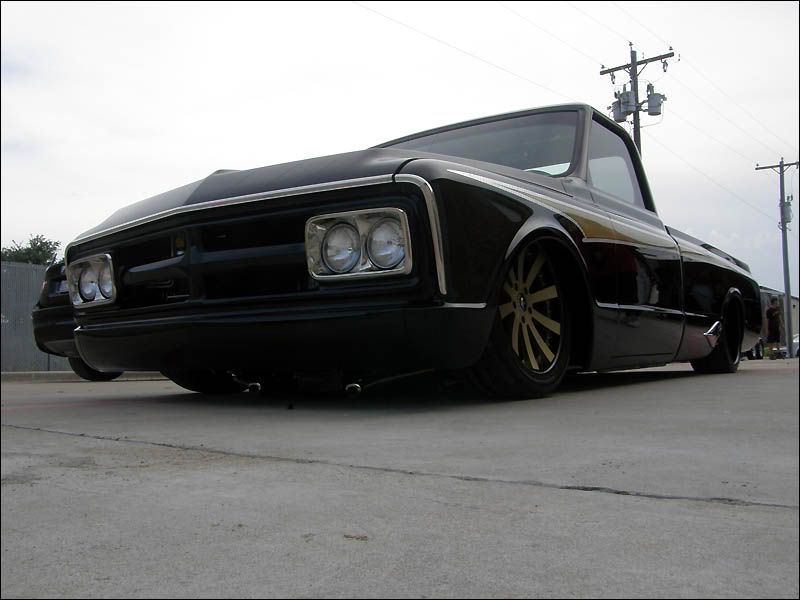
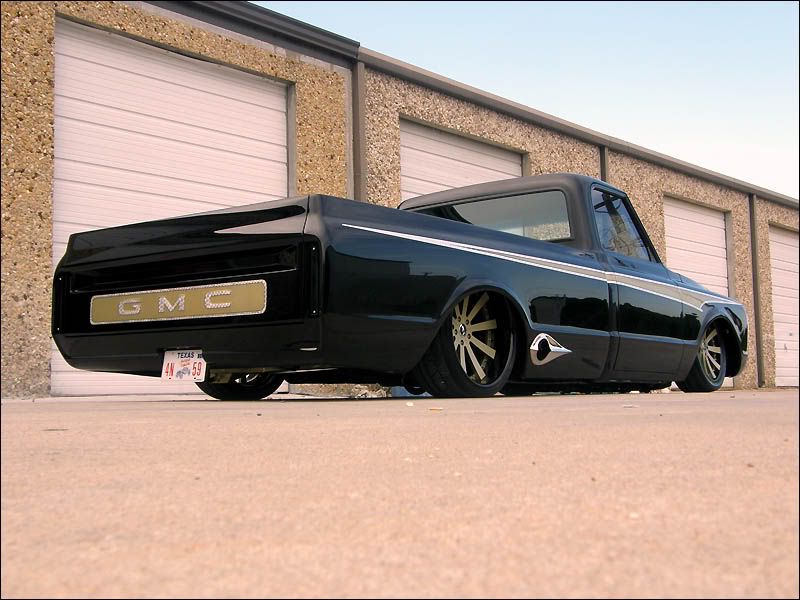
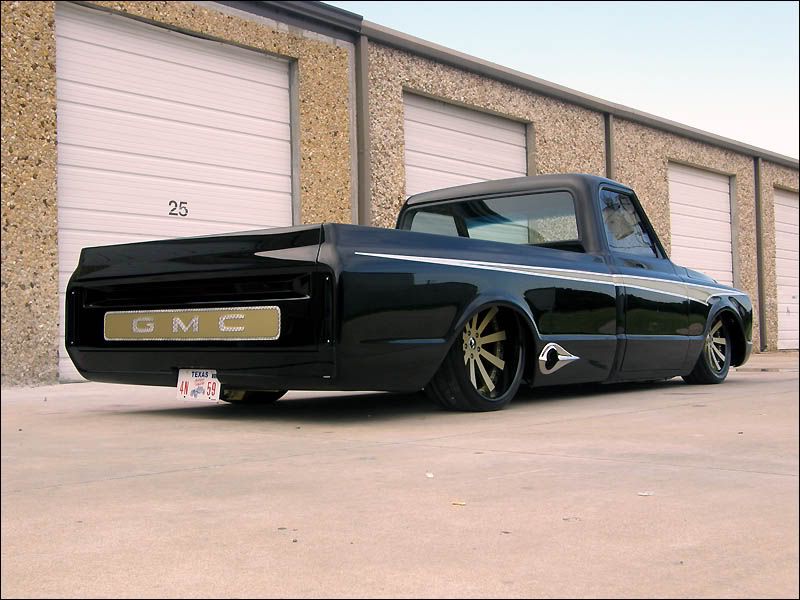
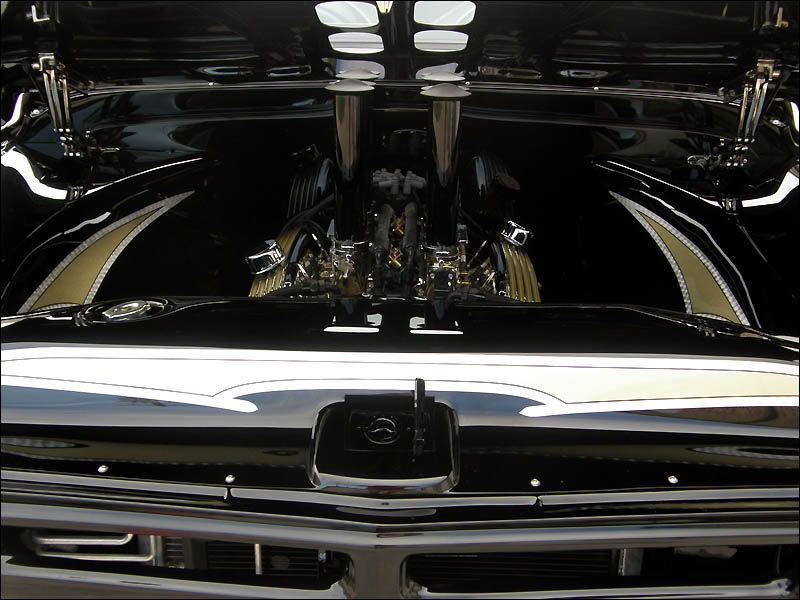
I have been in the loop with this build from day one. Over 3000 man hours were put into this one-off ground up build. It was very sweet to see this truck being built and to finally get the opportunity to complete the build with my Platinum High Gloss Treatment.
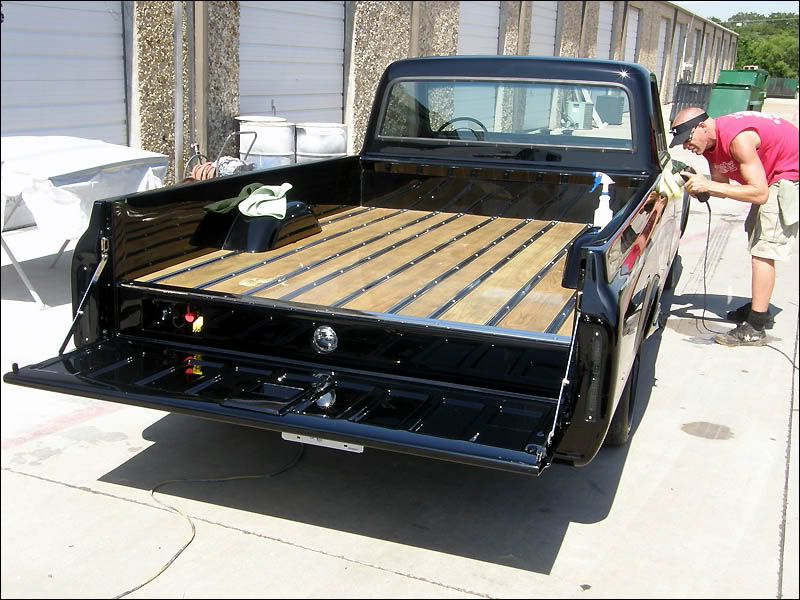
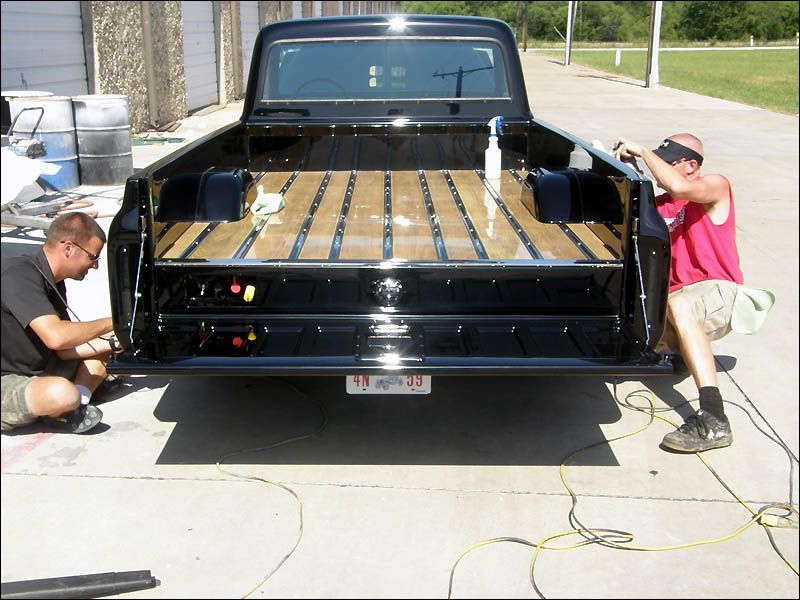
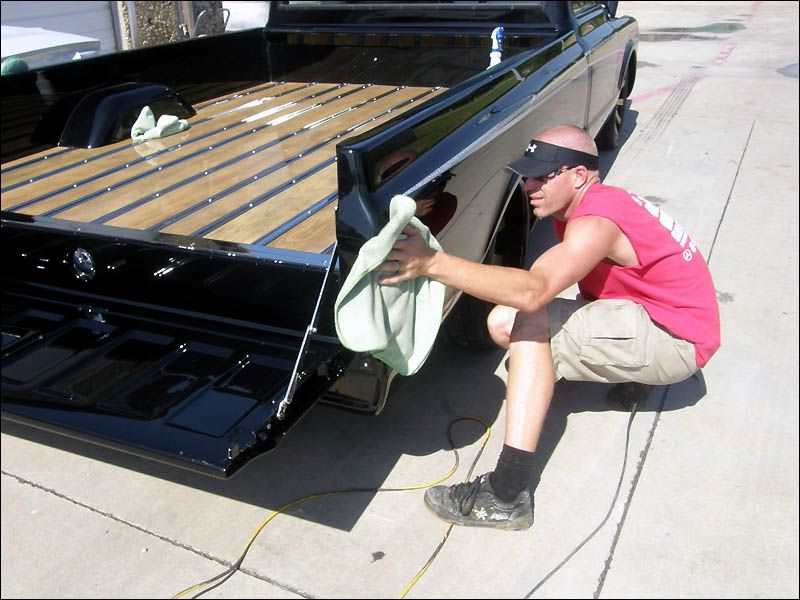
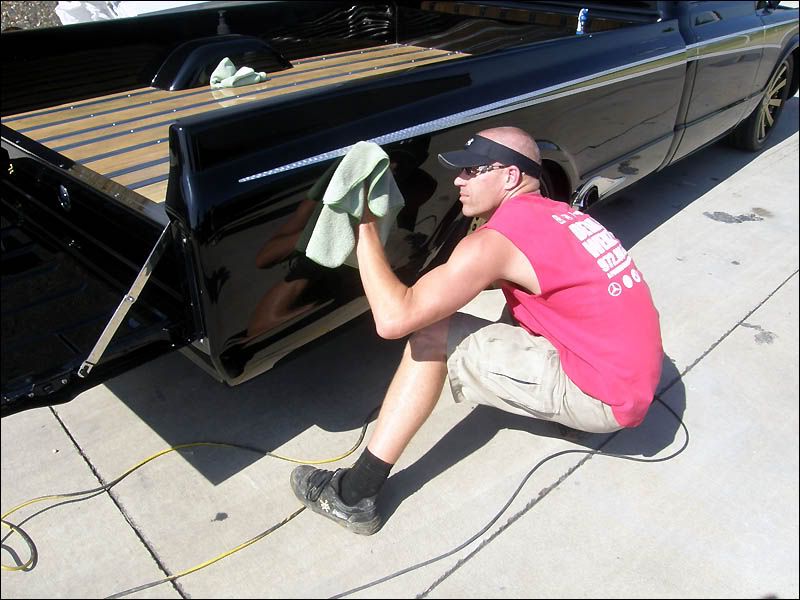
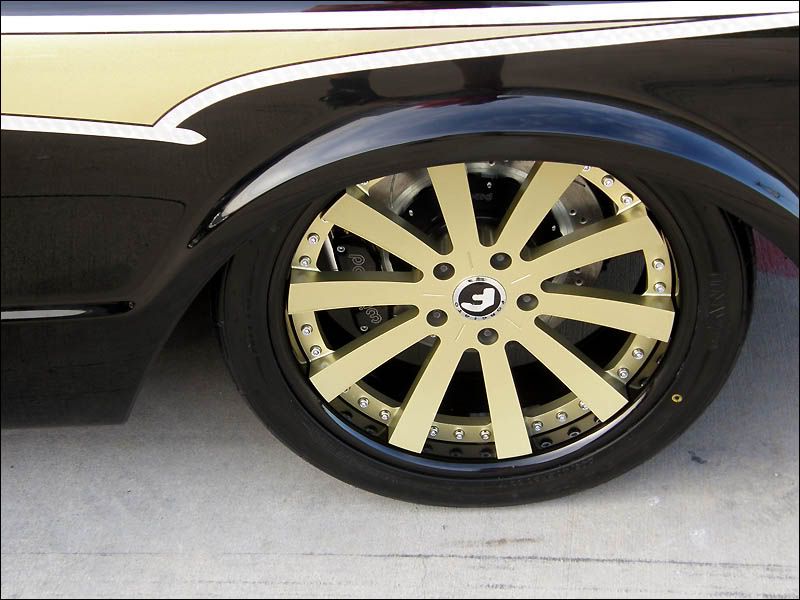
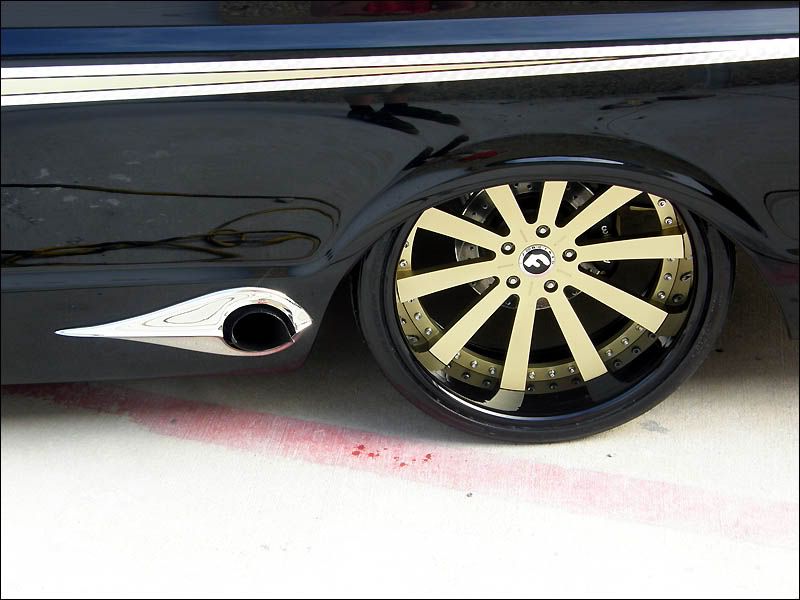
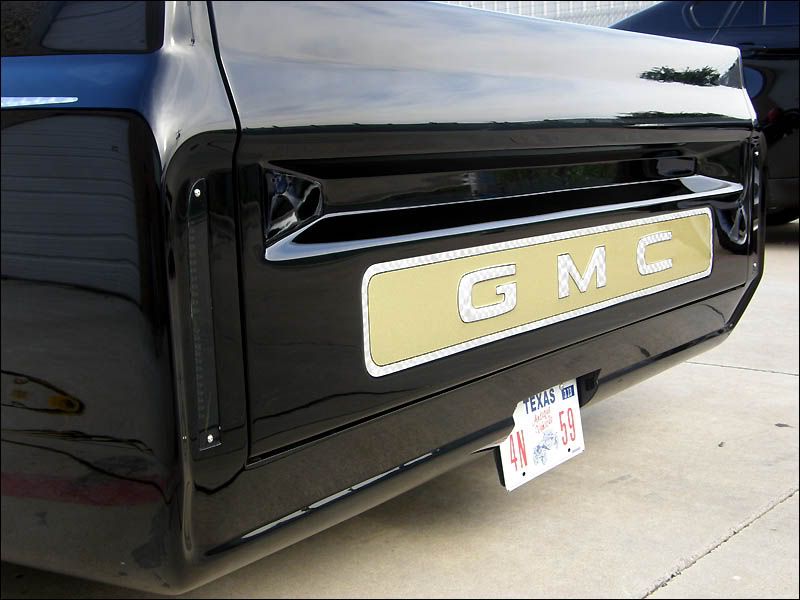
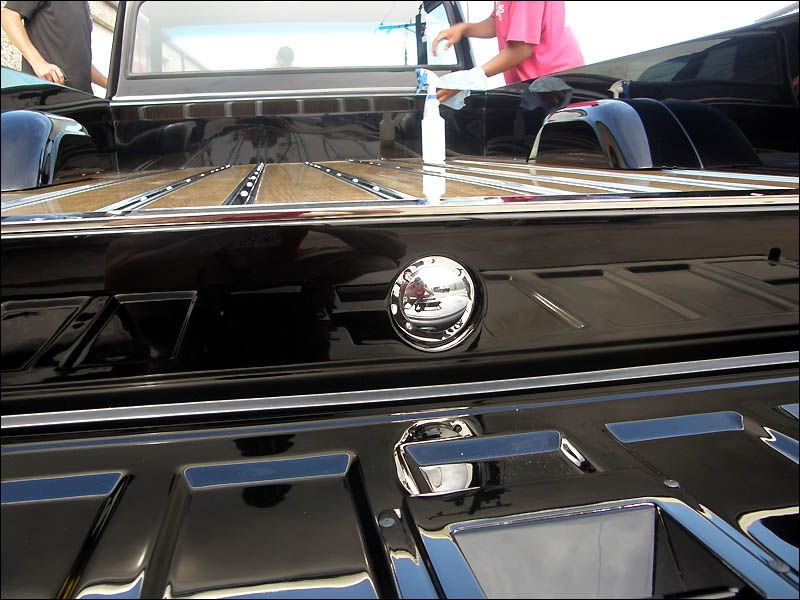
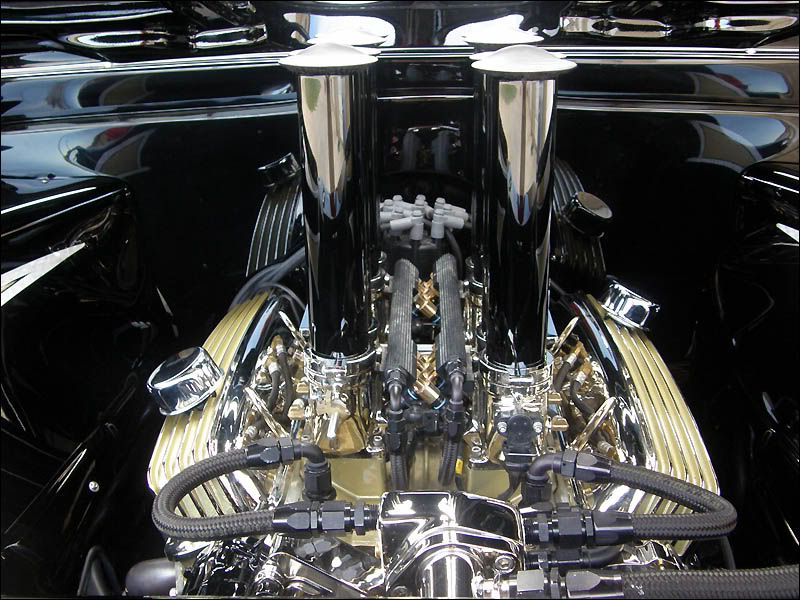
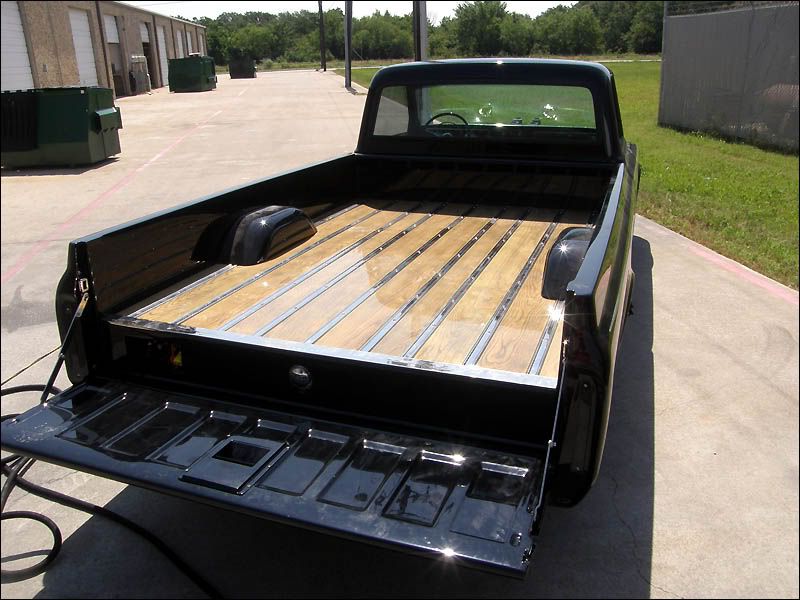
We went the extra mile per the owner and completed our undercarriage concorso detail that includes clay and polish applied to every painted item.
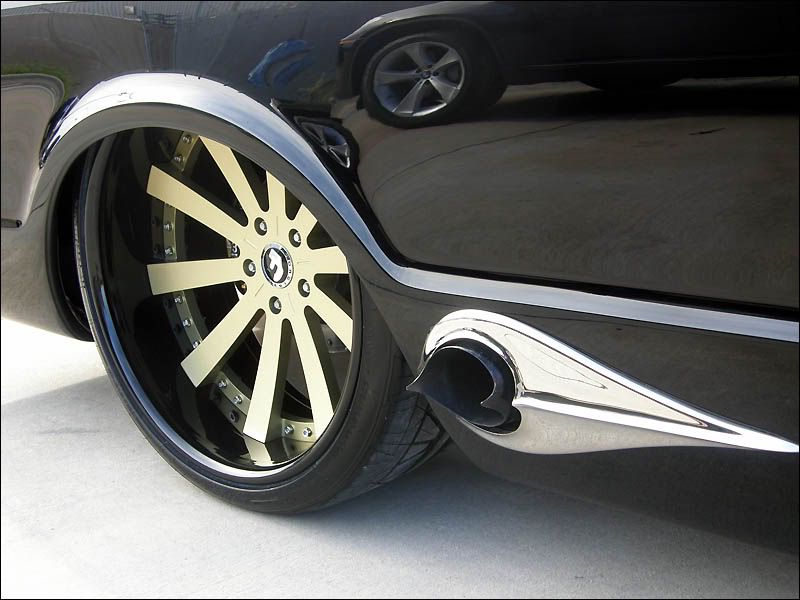
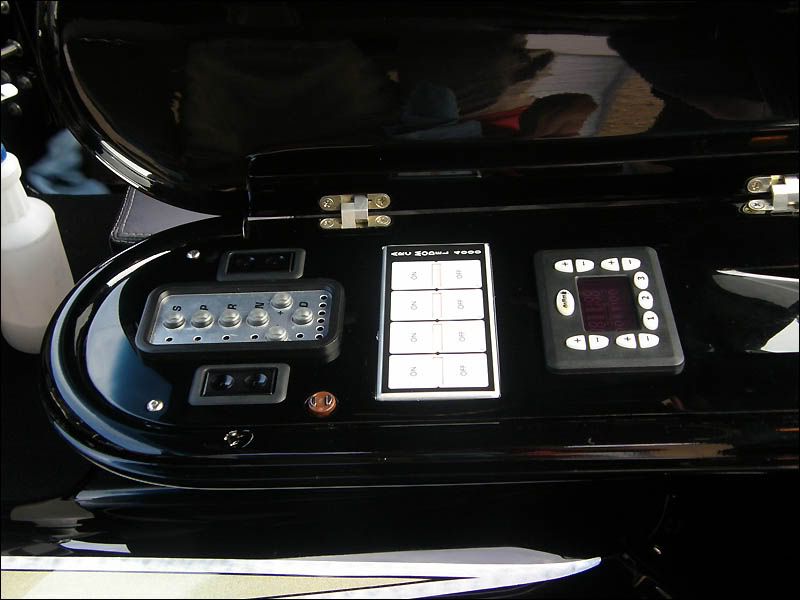
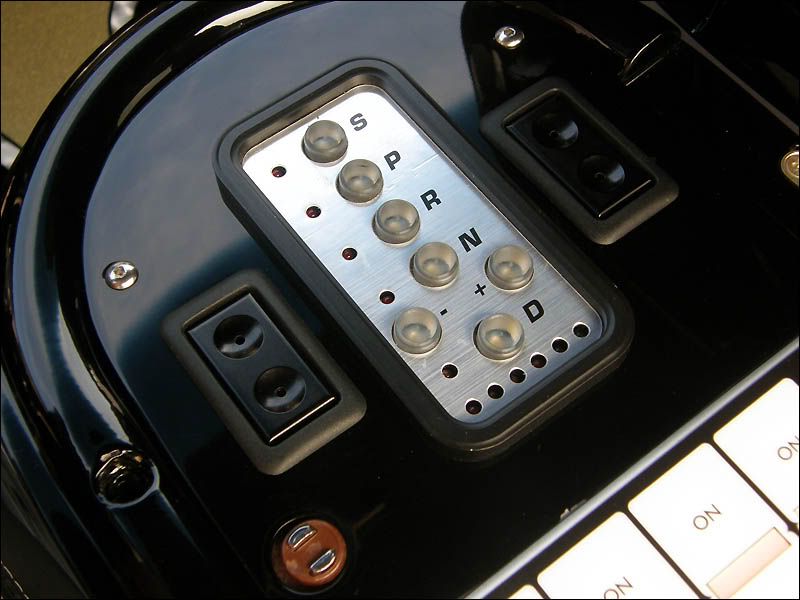
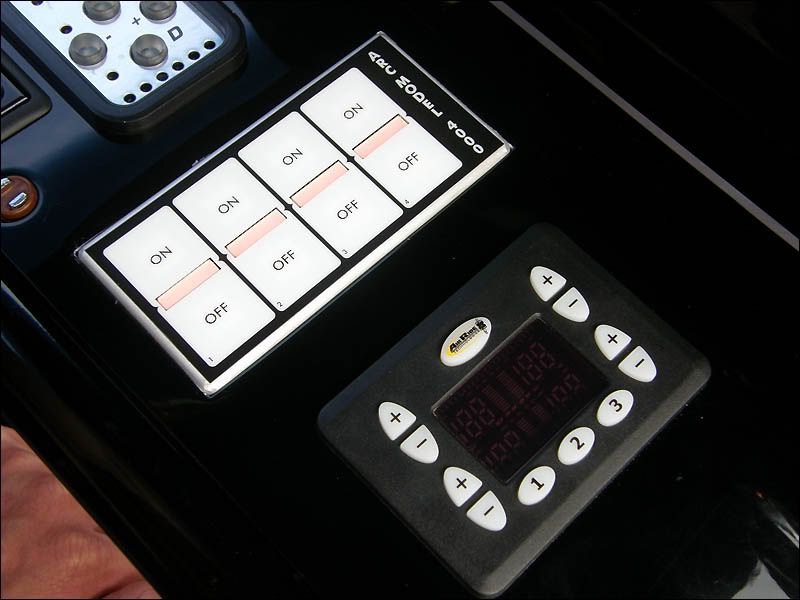
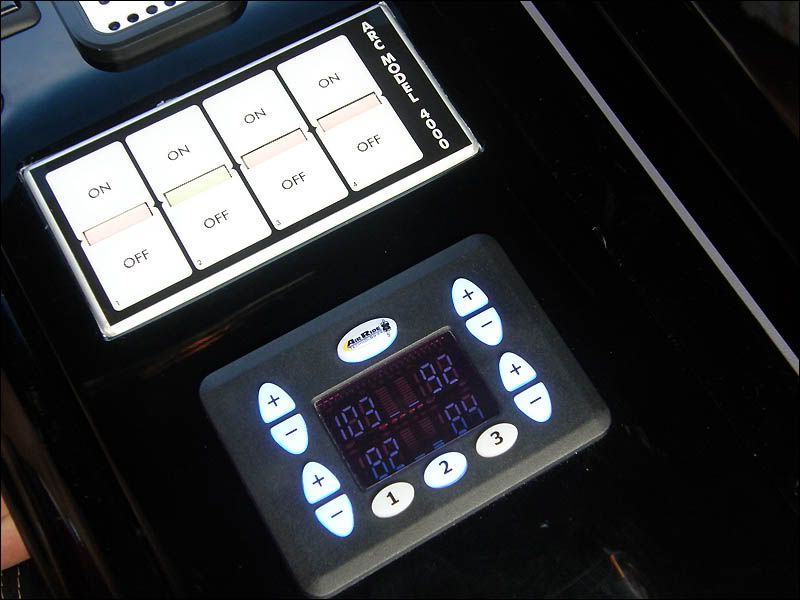
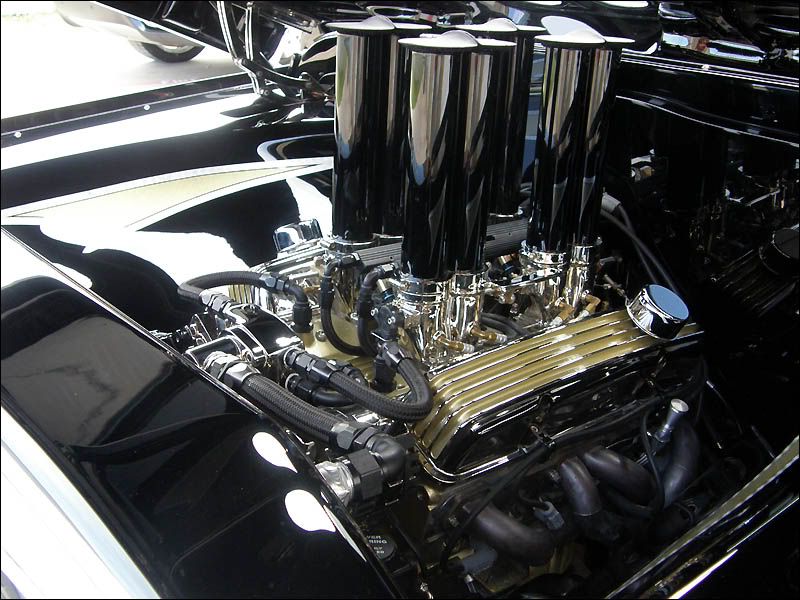
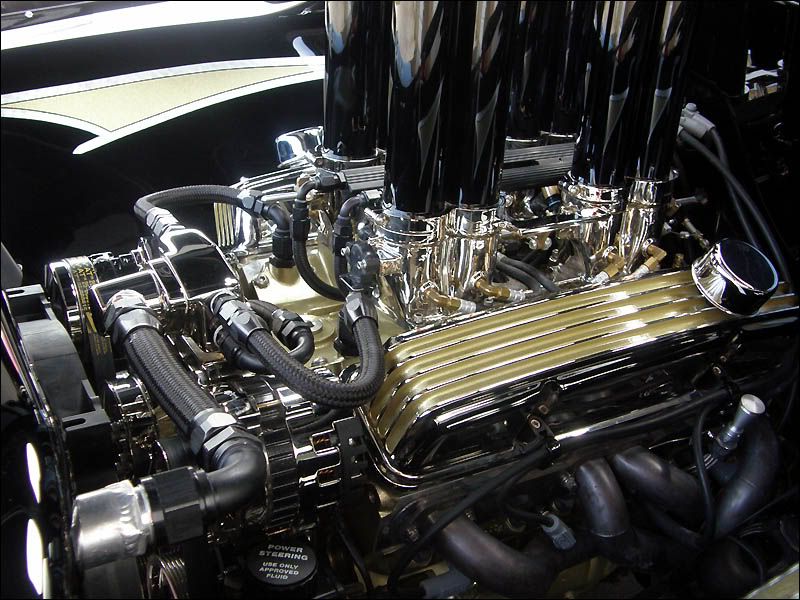
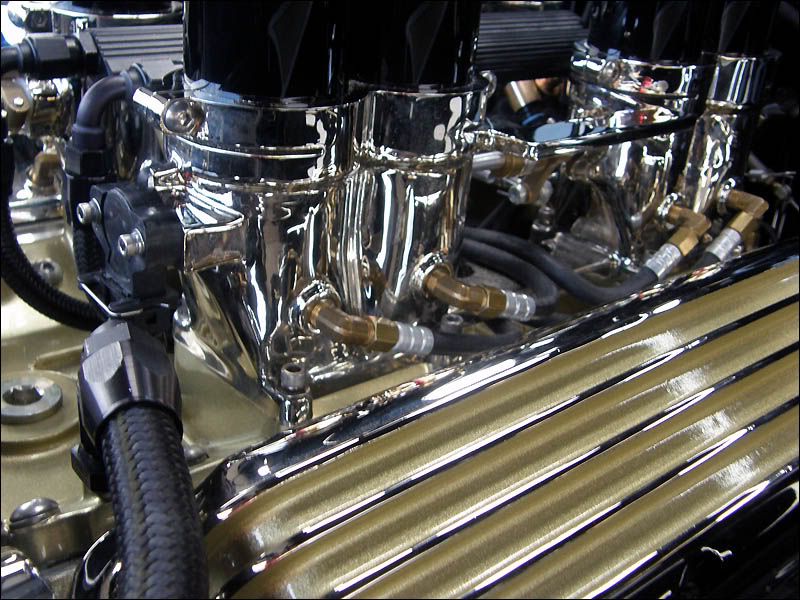
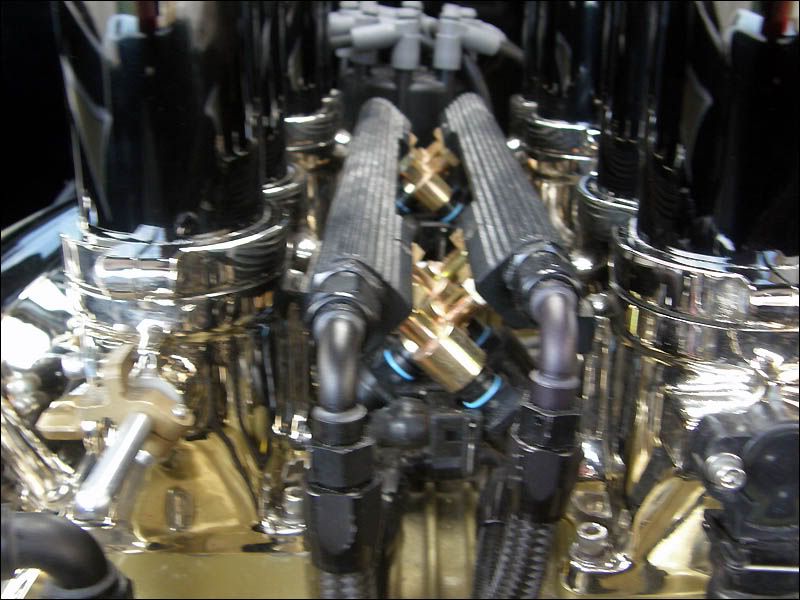
Mike at Dusold Designs put just as much creativity and design in the undercarriage as he did the rest of the truck.
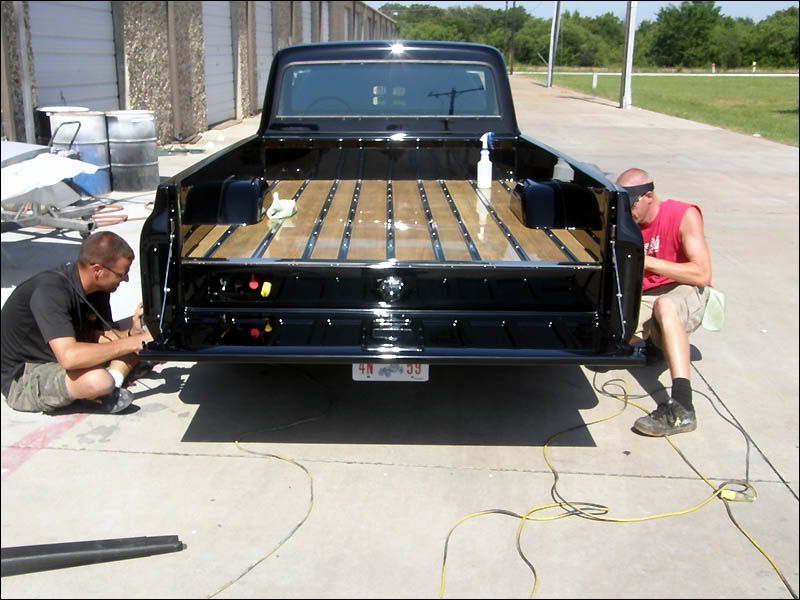
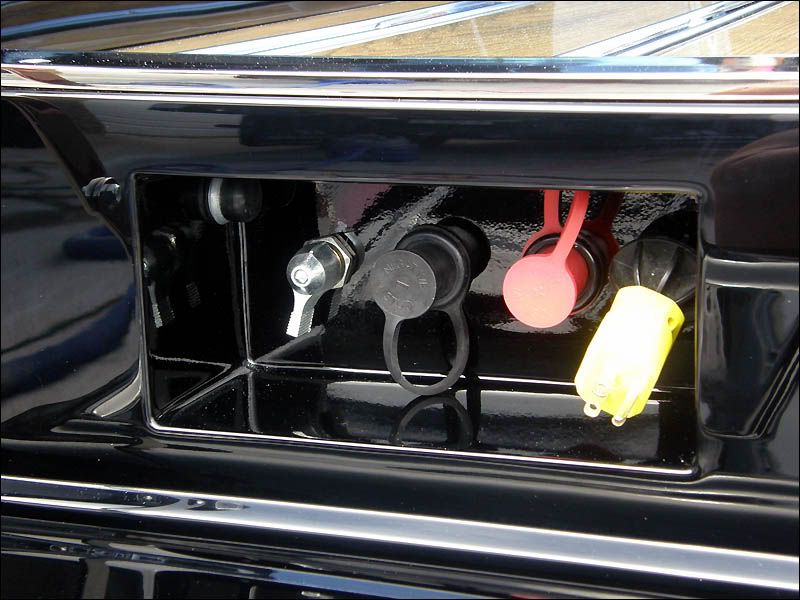
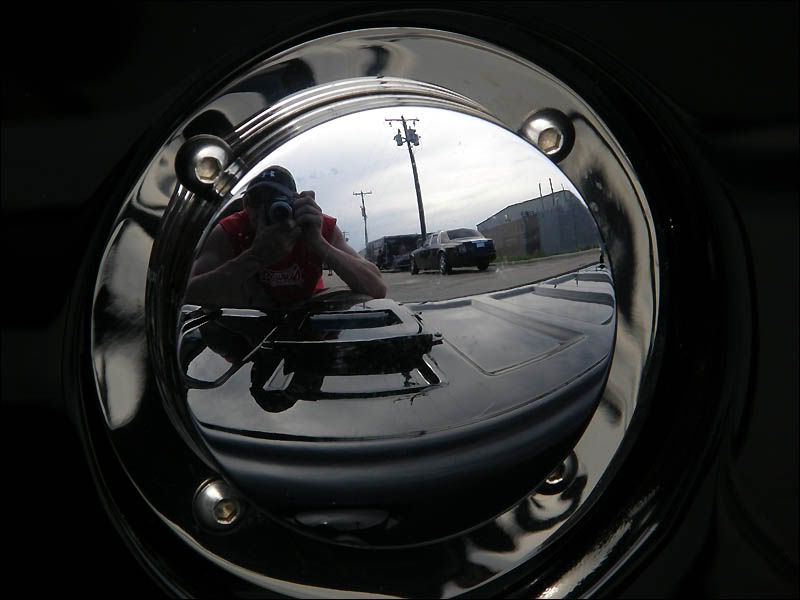
Just check out the photos of the undercarriage as we are working on cleaning, claying and polishing it.
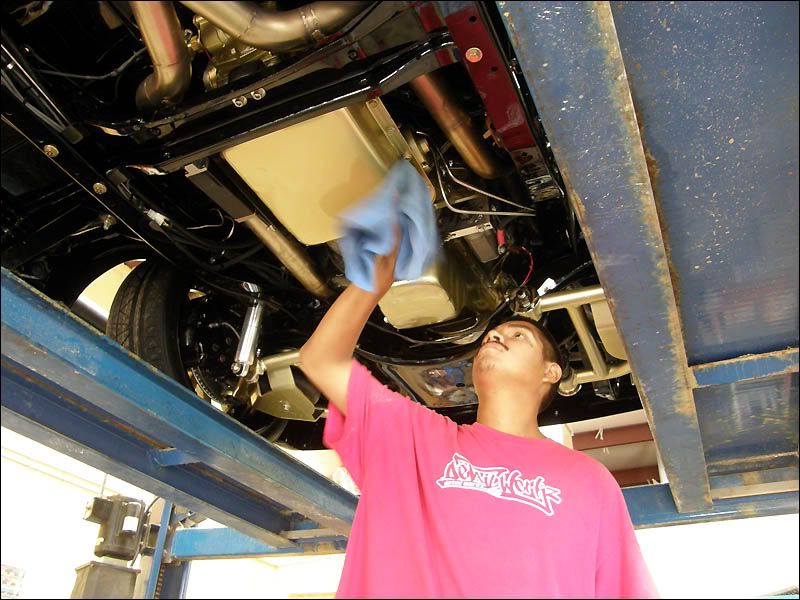
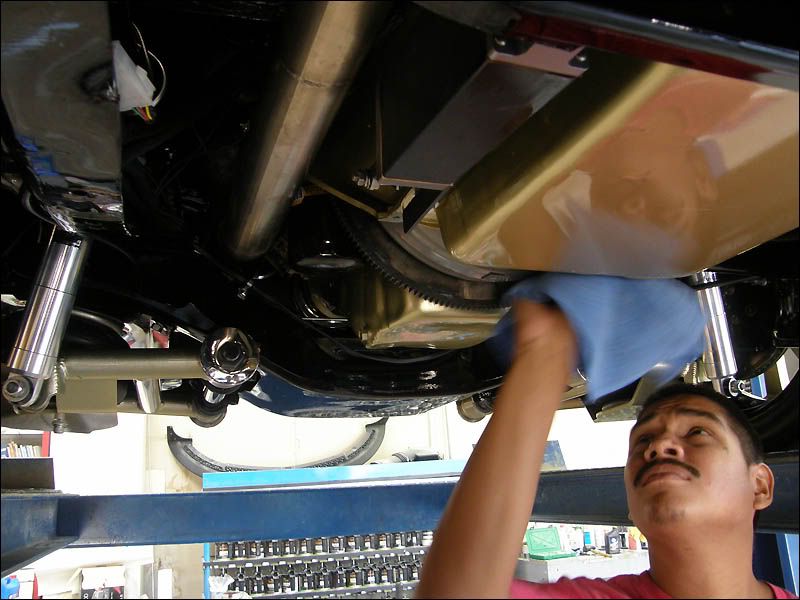
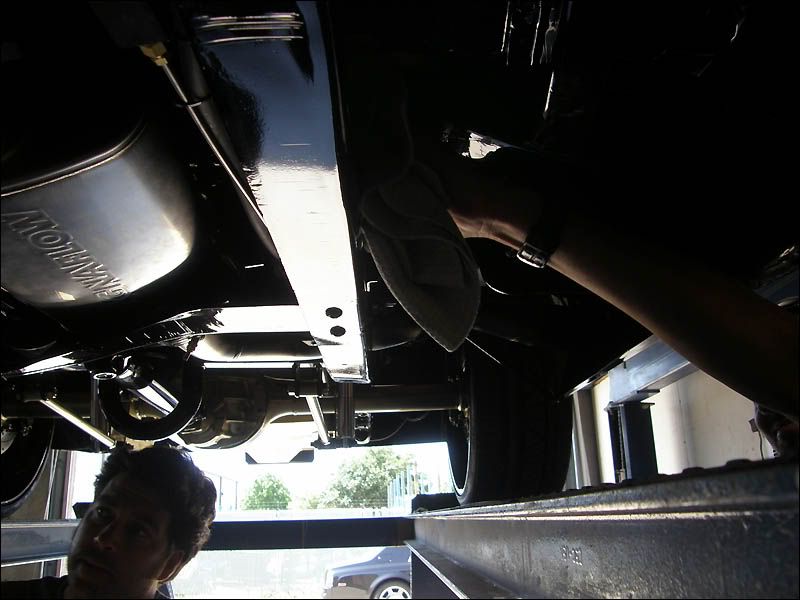
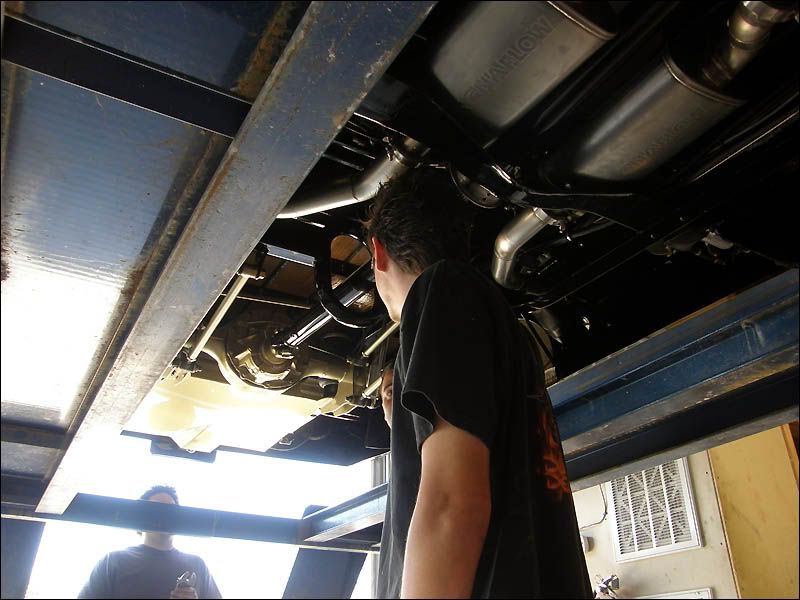
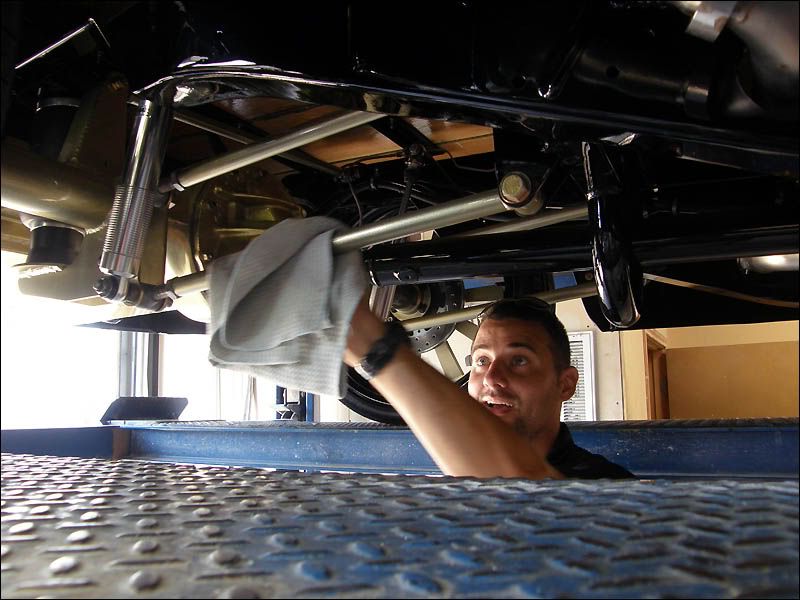
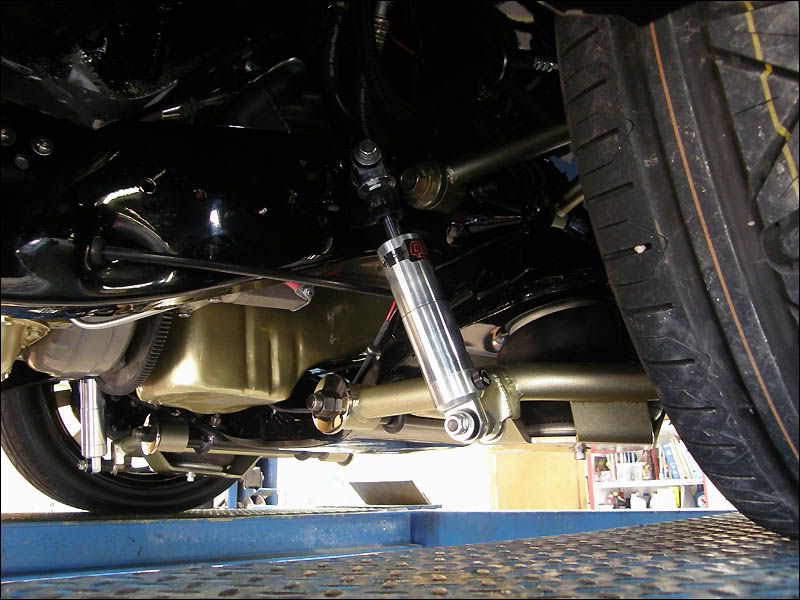
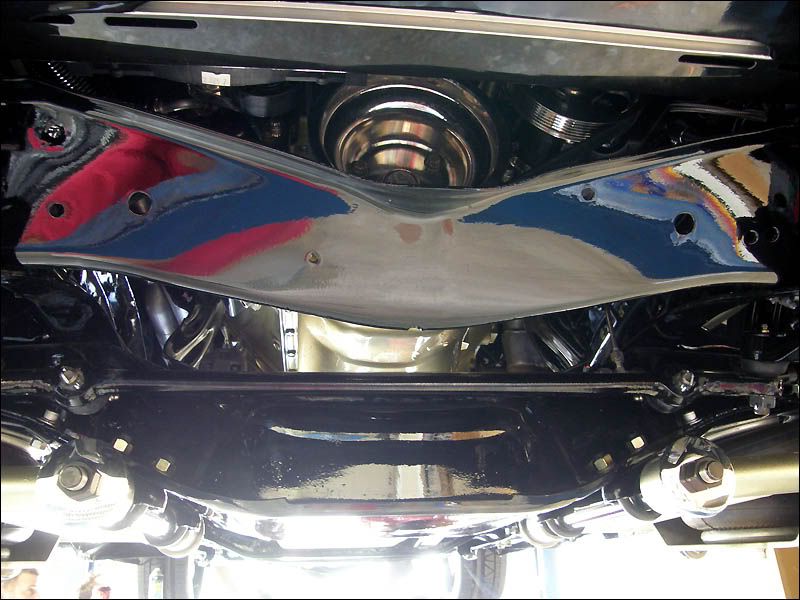

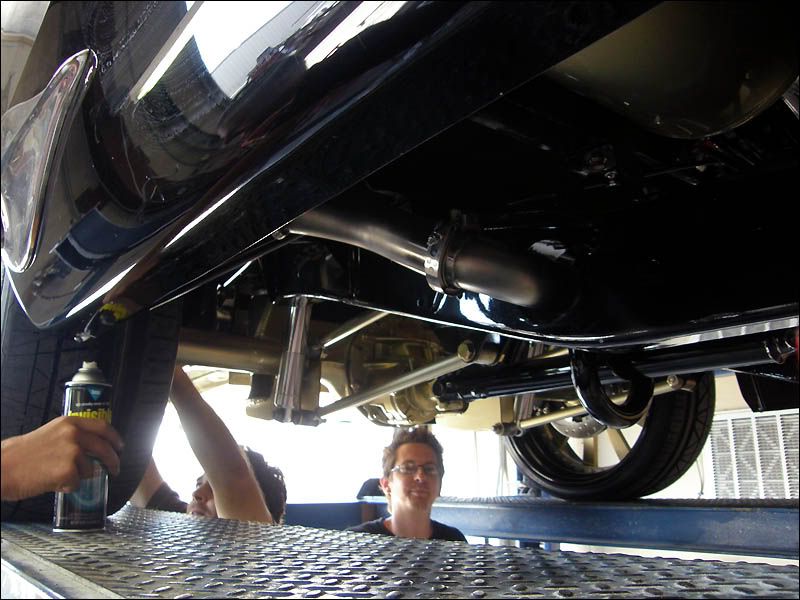
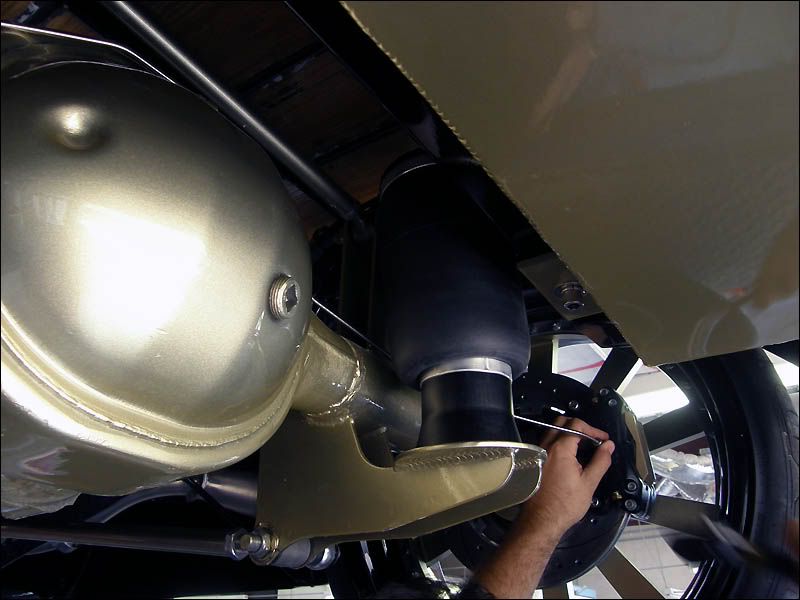
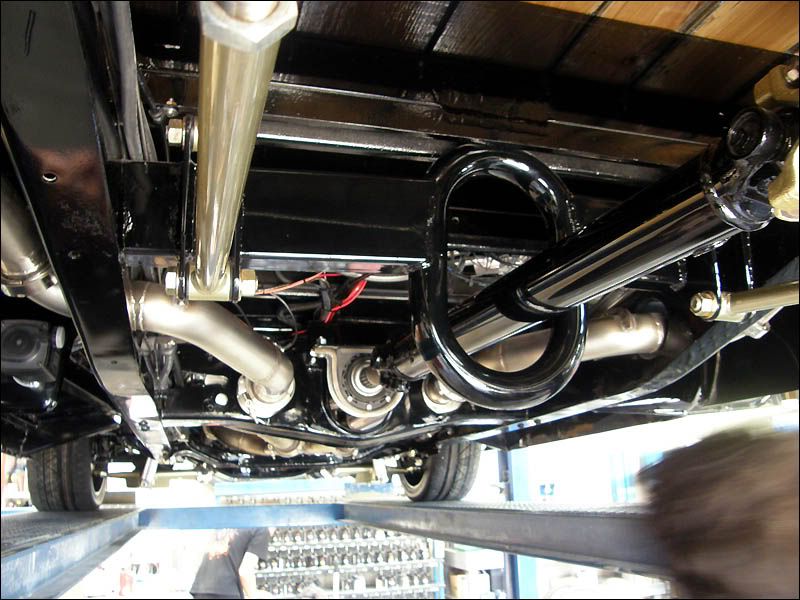

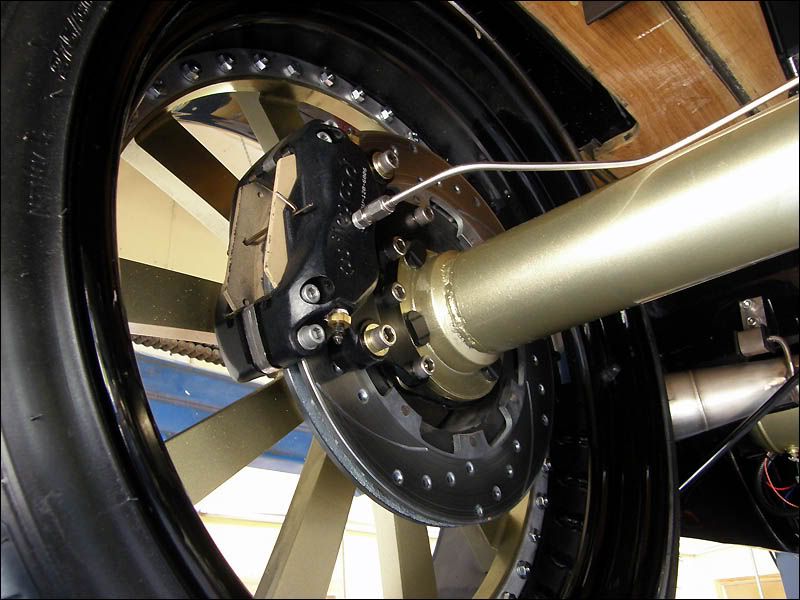
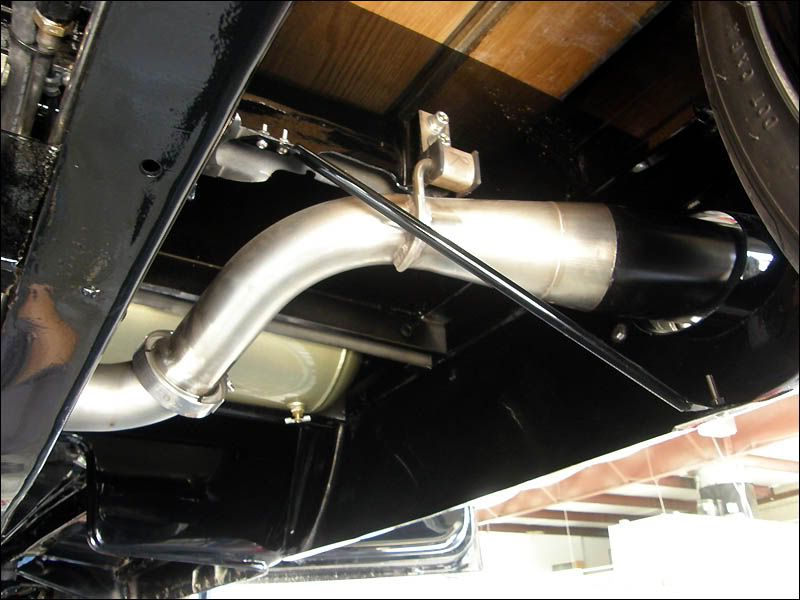
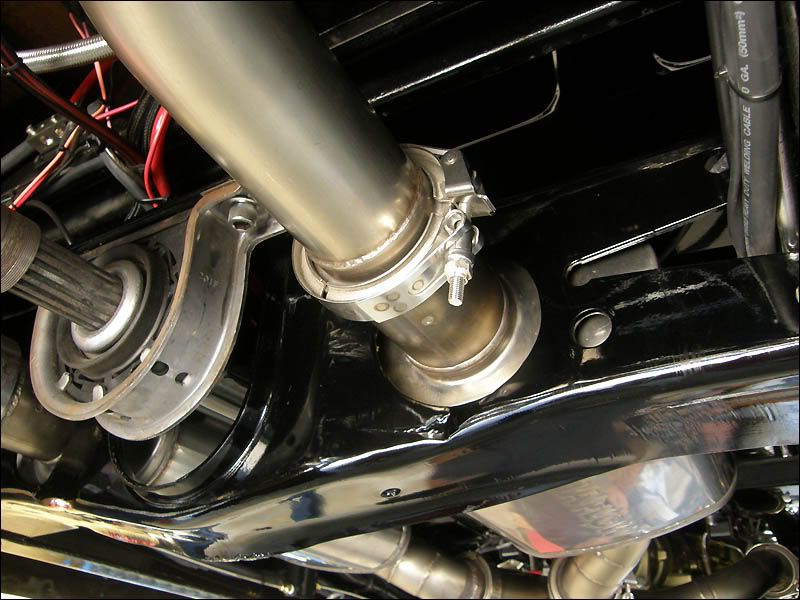
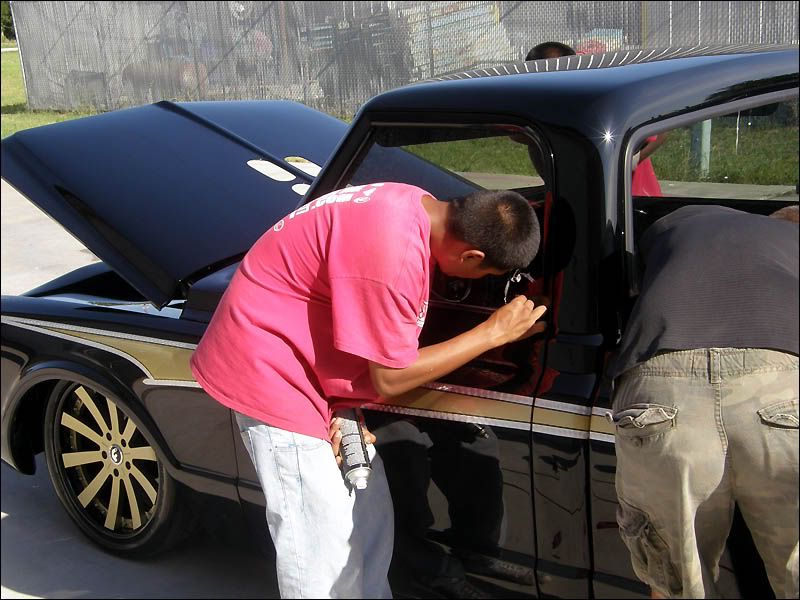
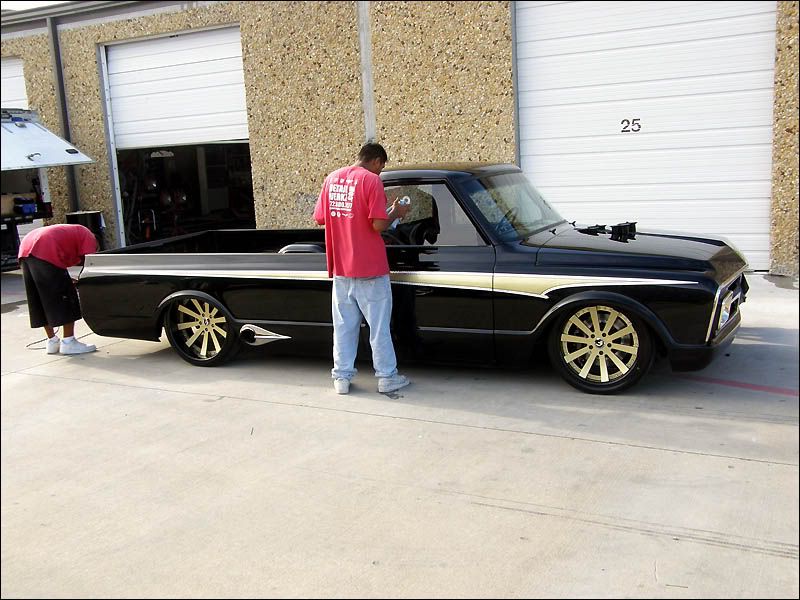
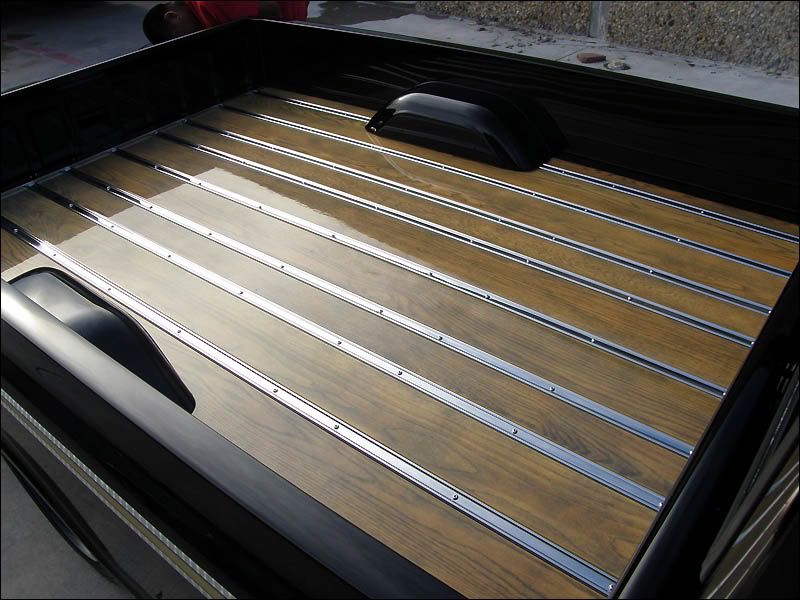
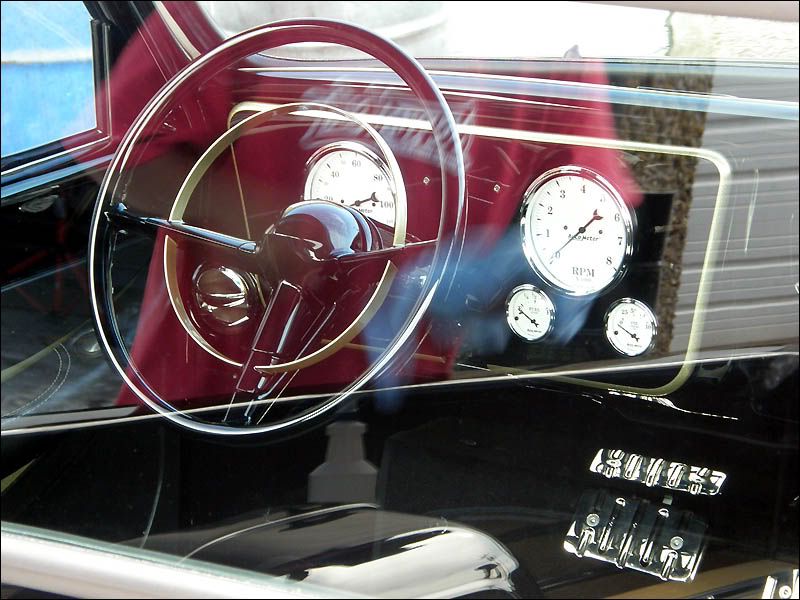
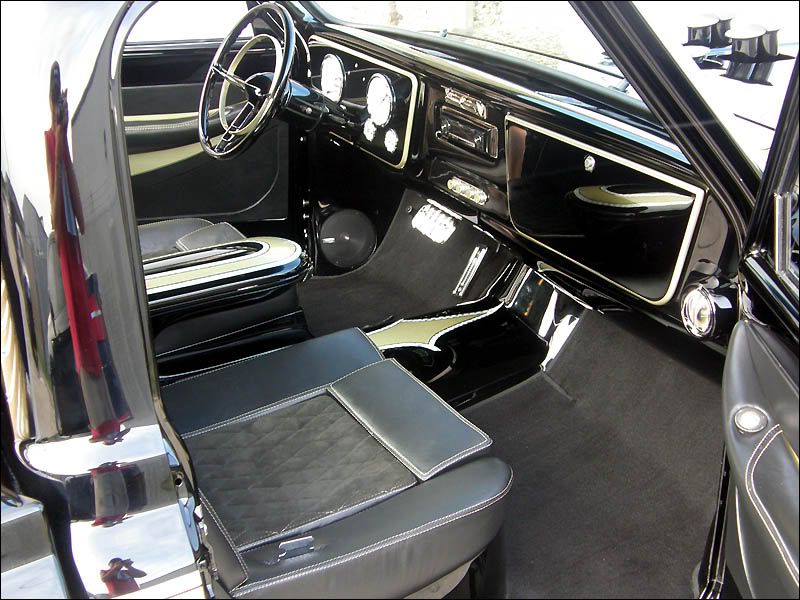
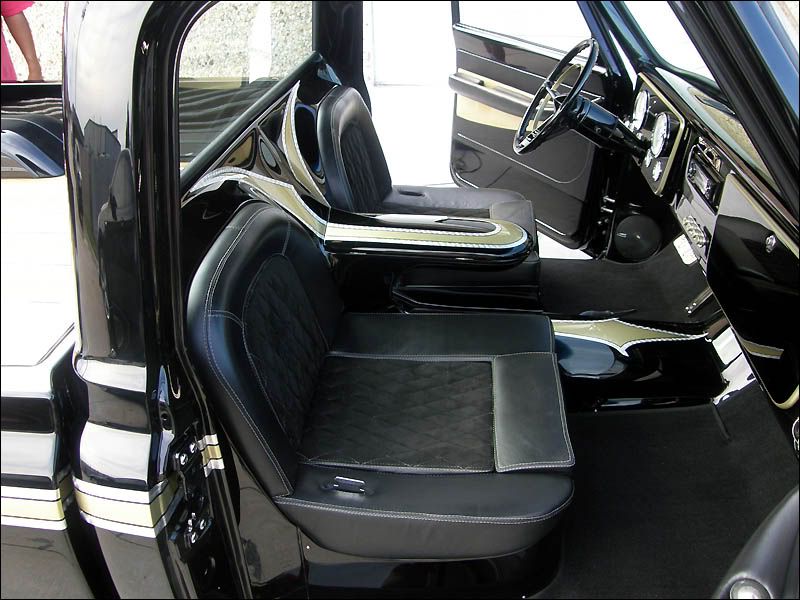
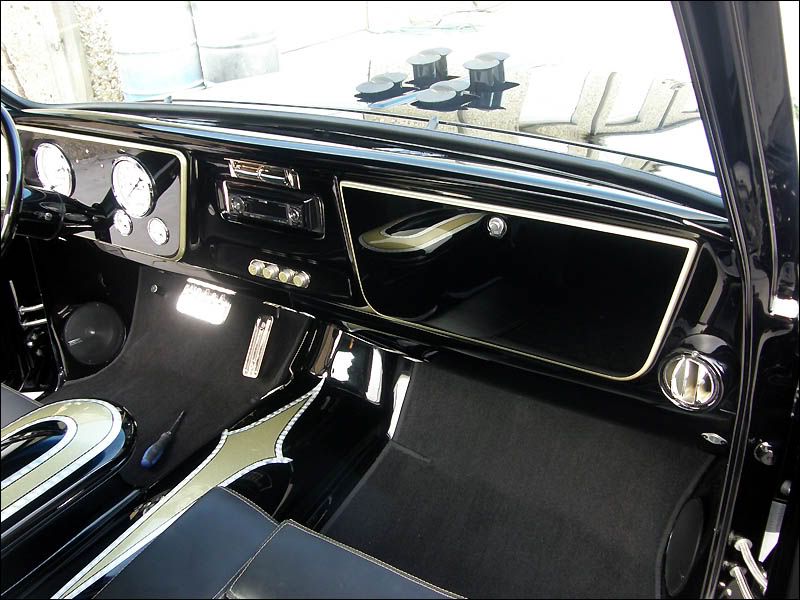
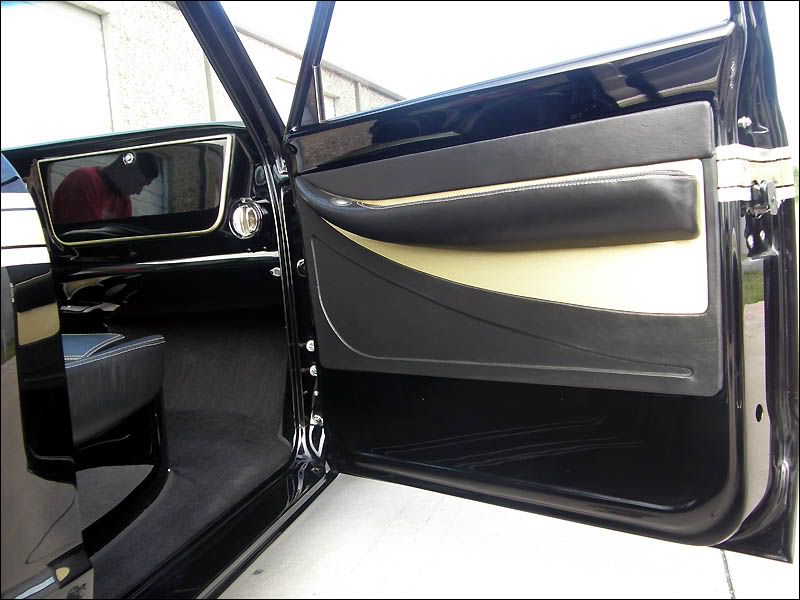
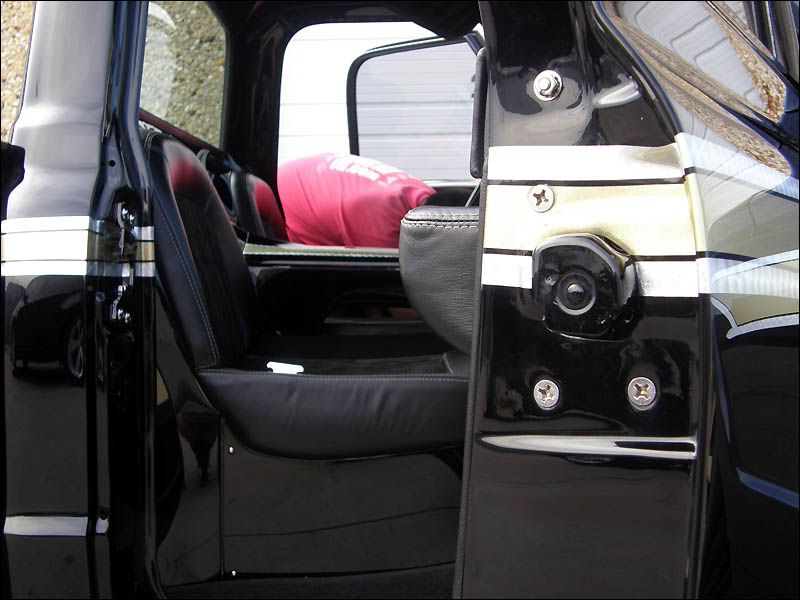
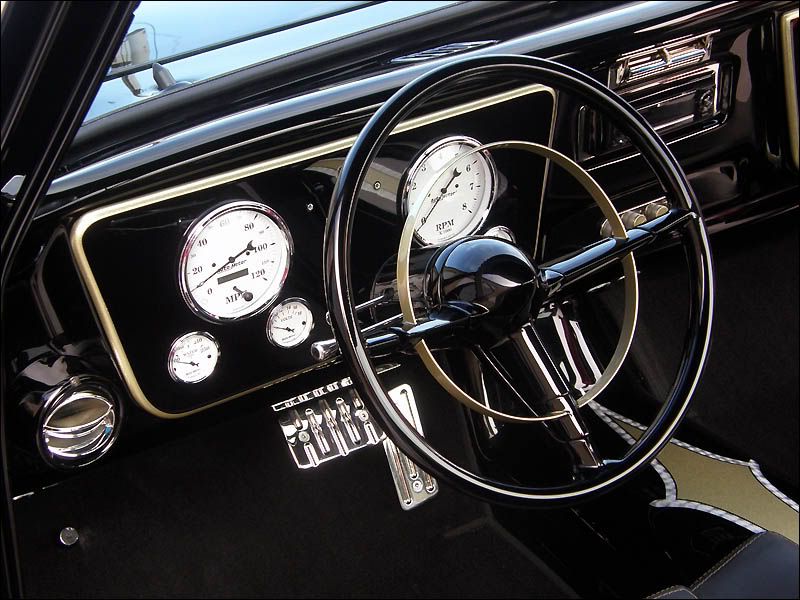
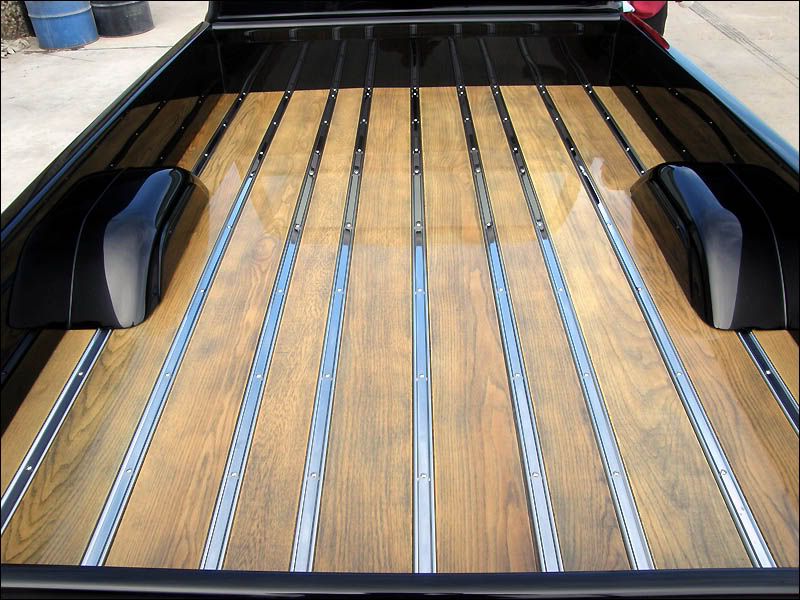
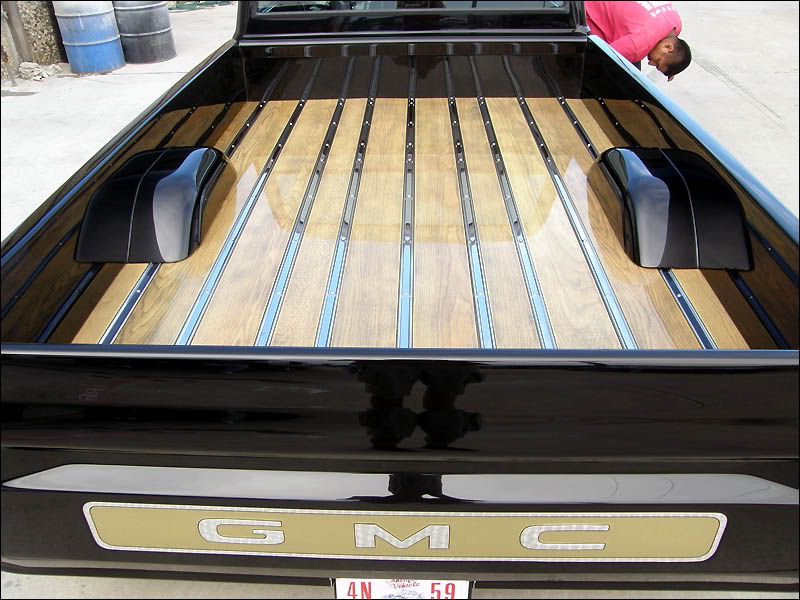
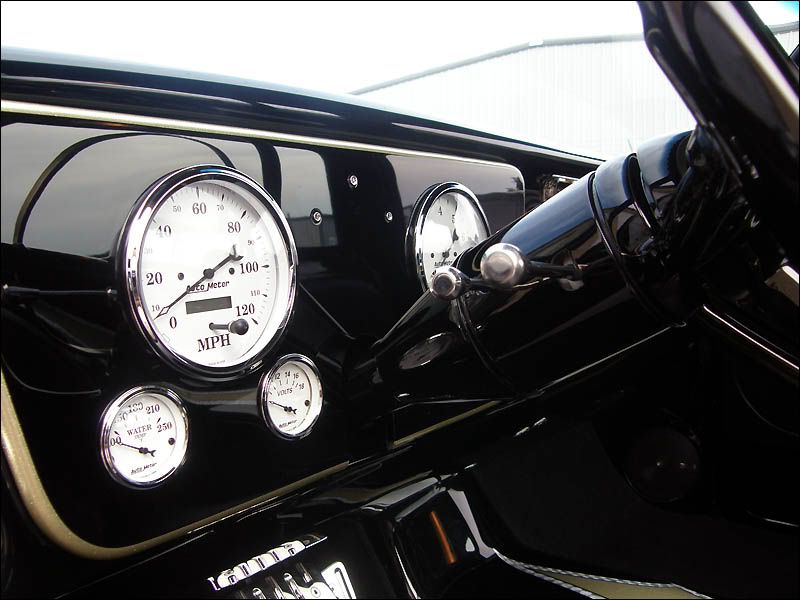
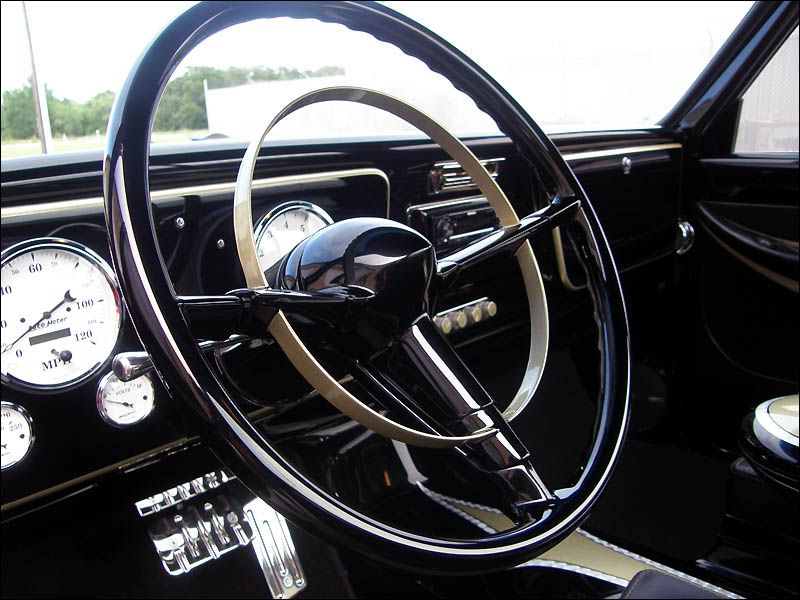
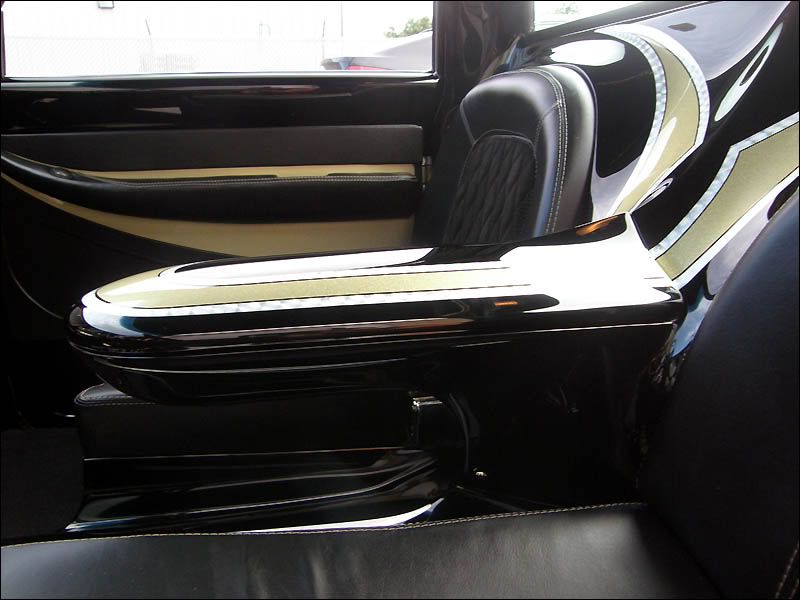
As you can tell there really is not much that was not painted or coated to make this truck extremely custom.
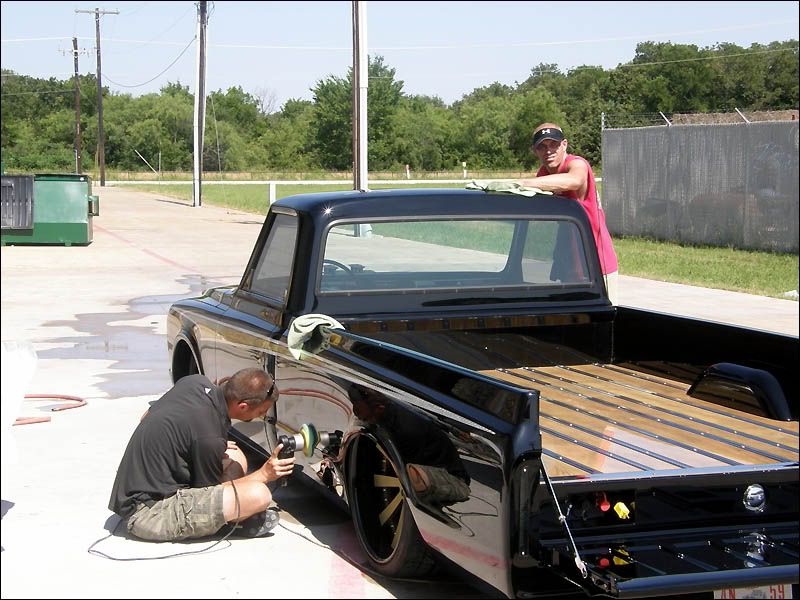
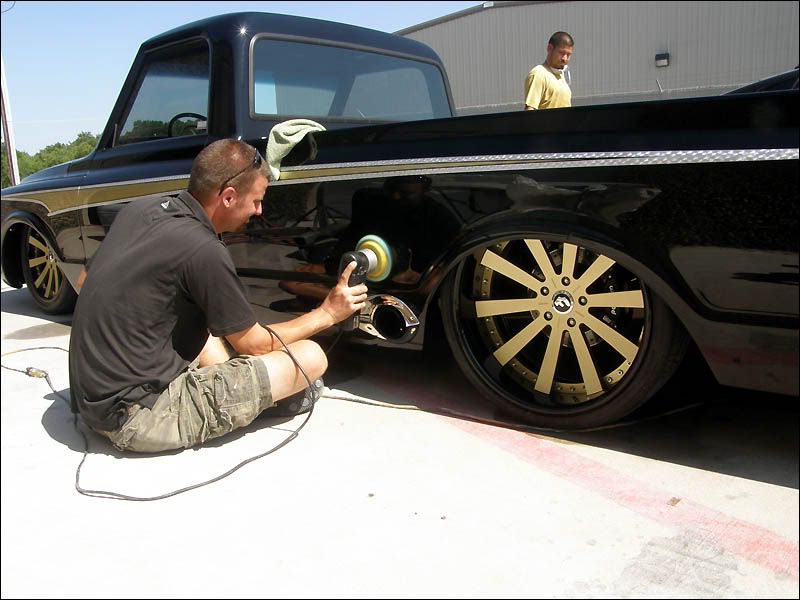
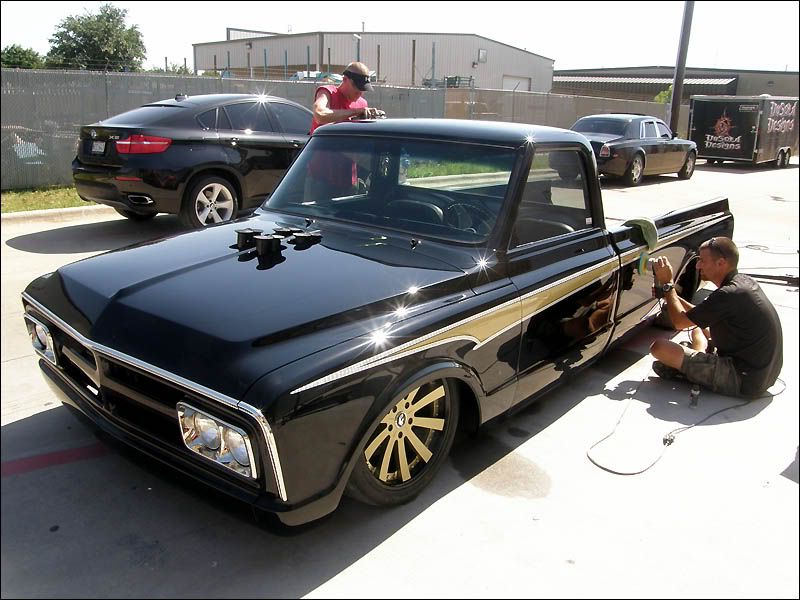
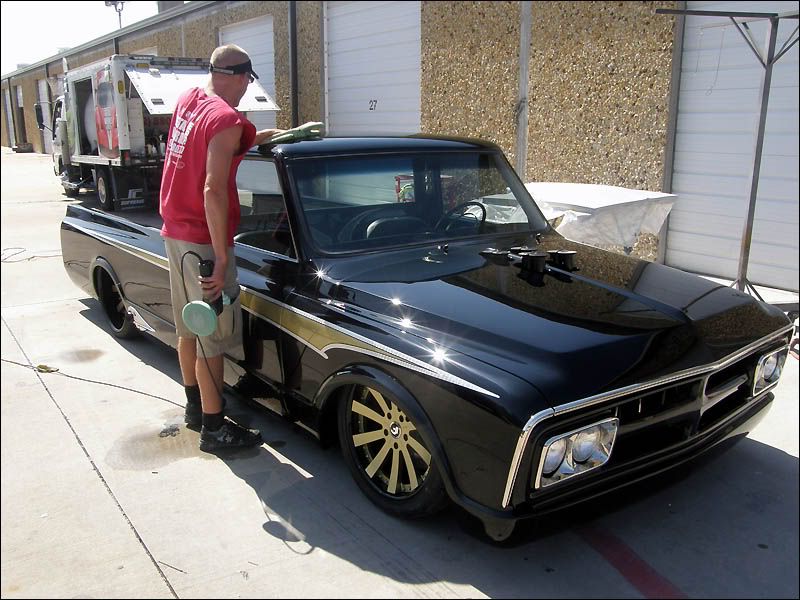
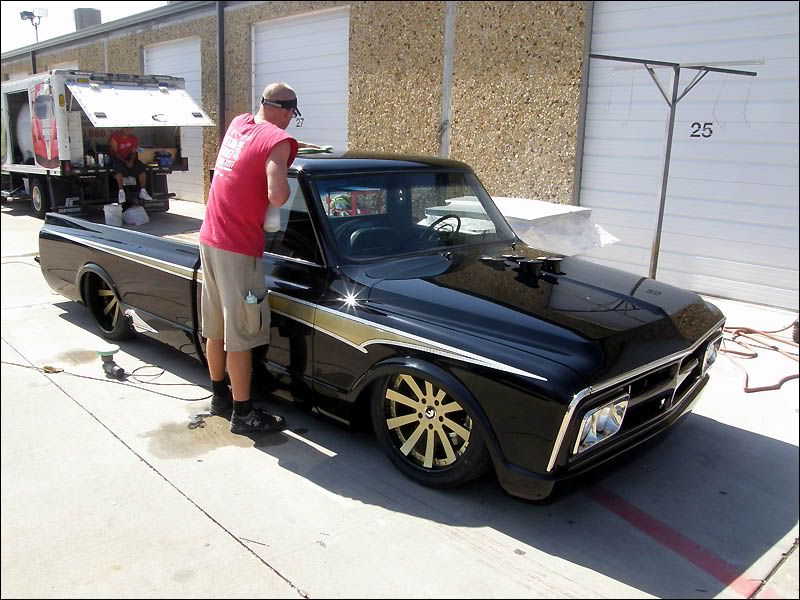
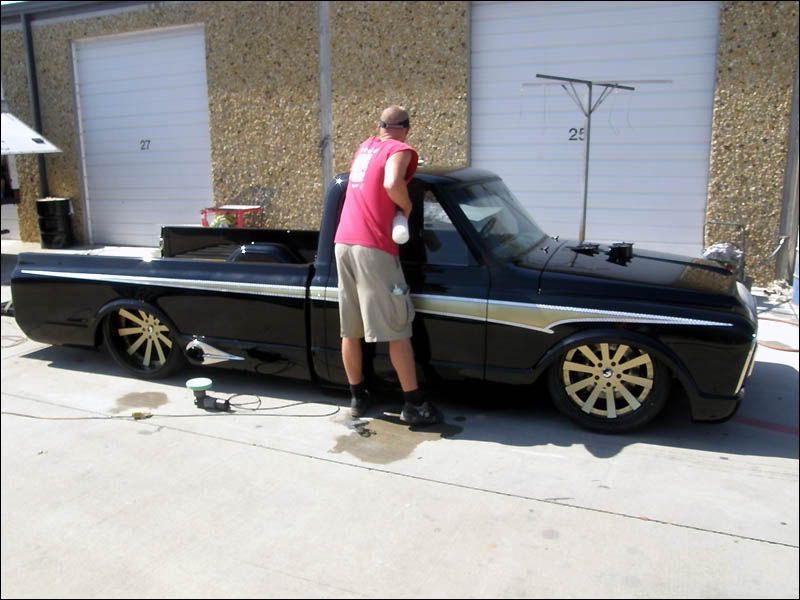
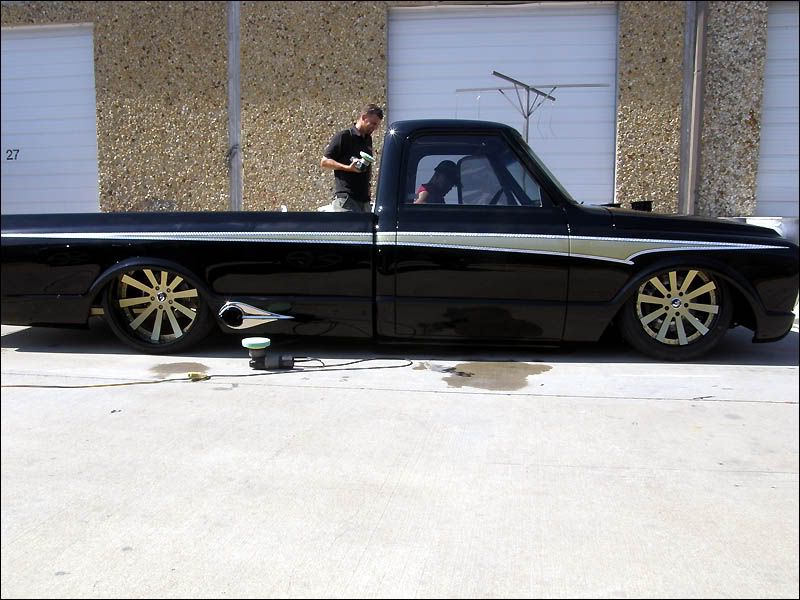
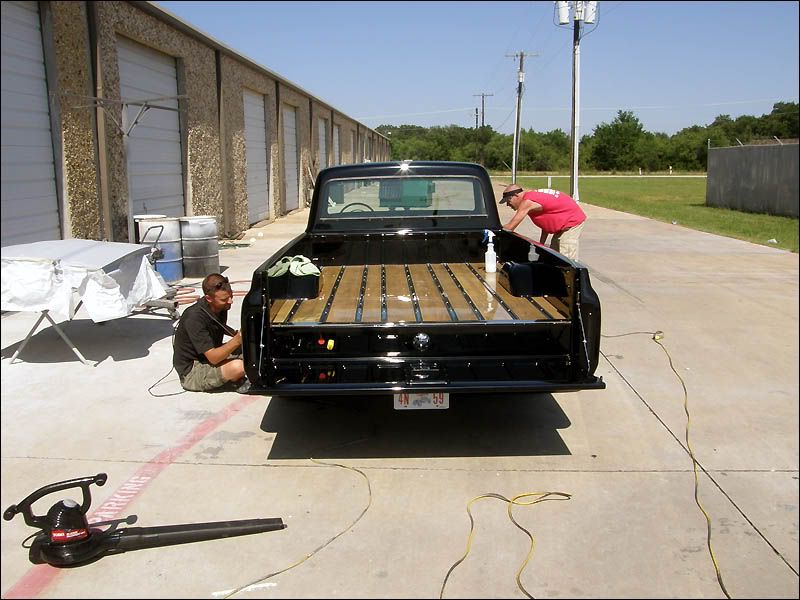
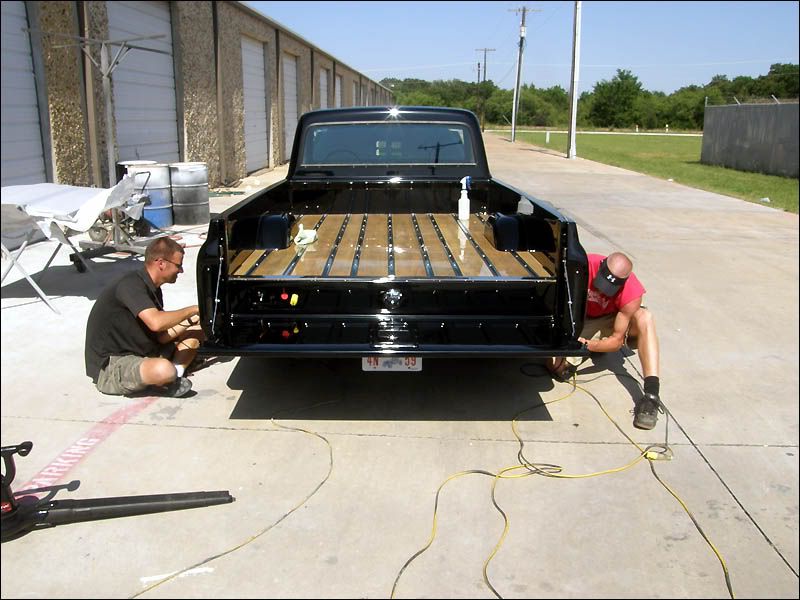
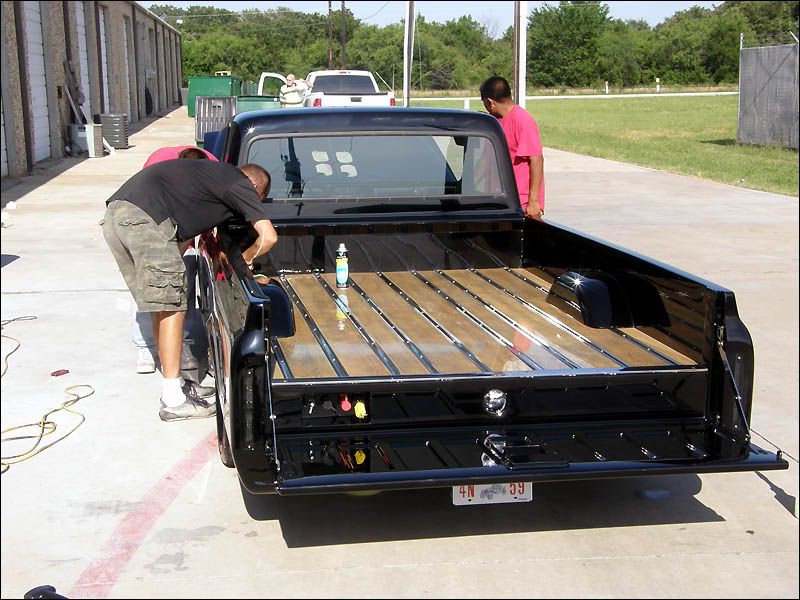
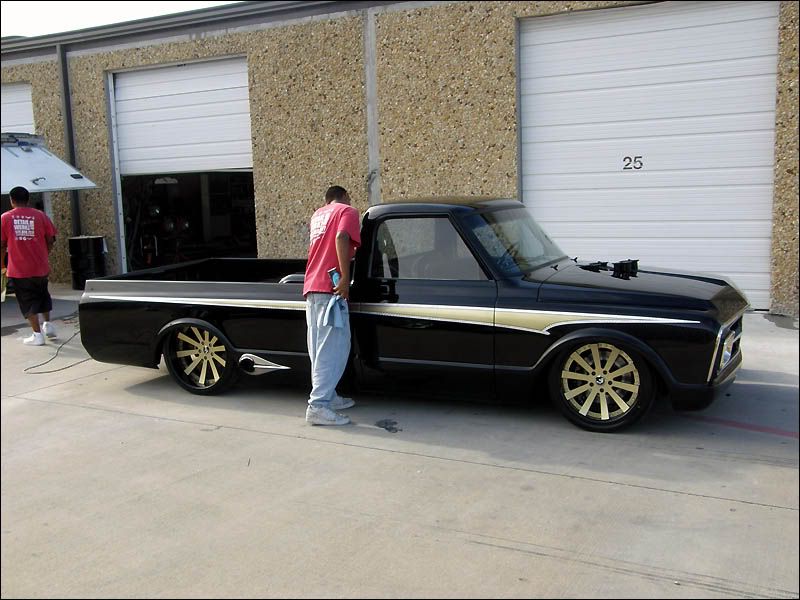
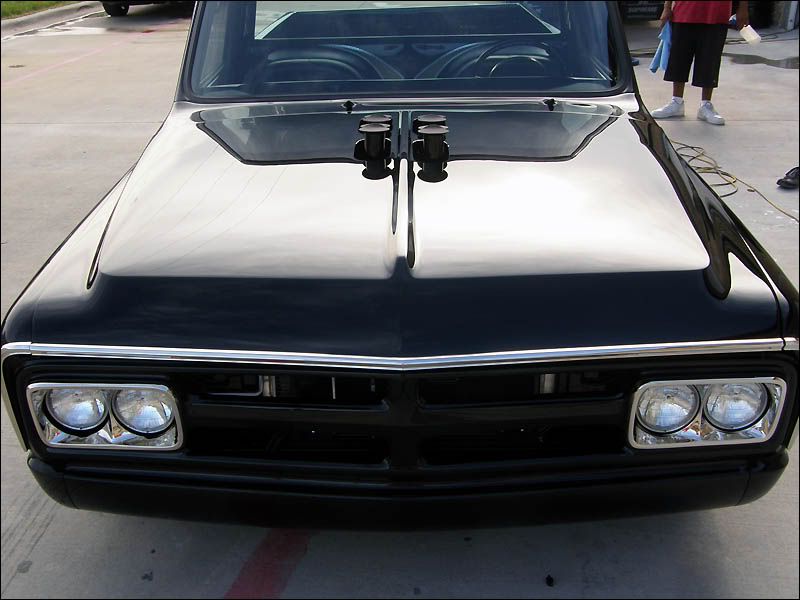
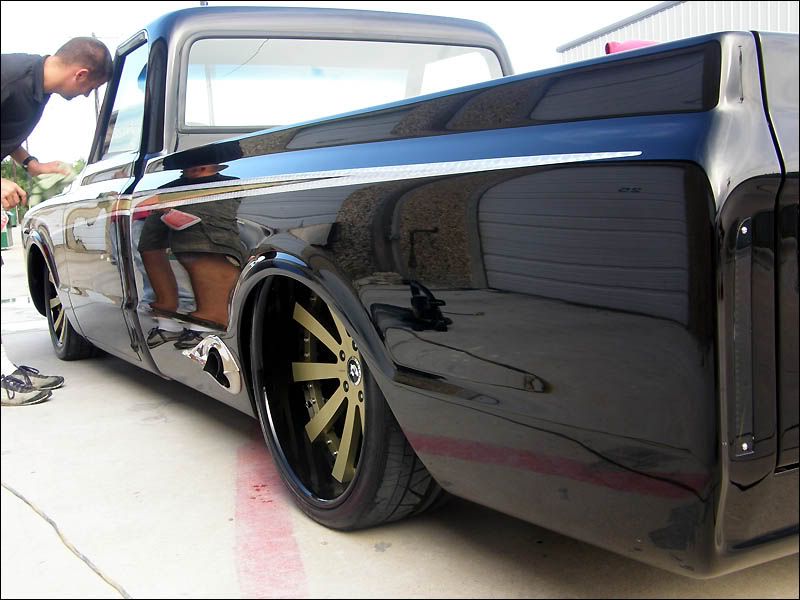
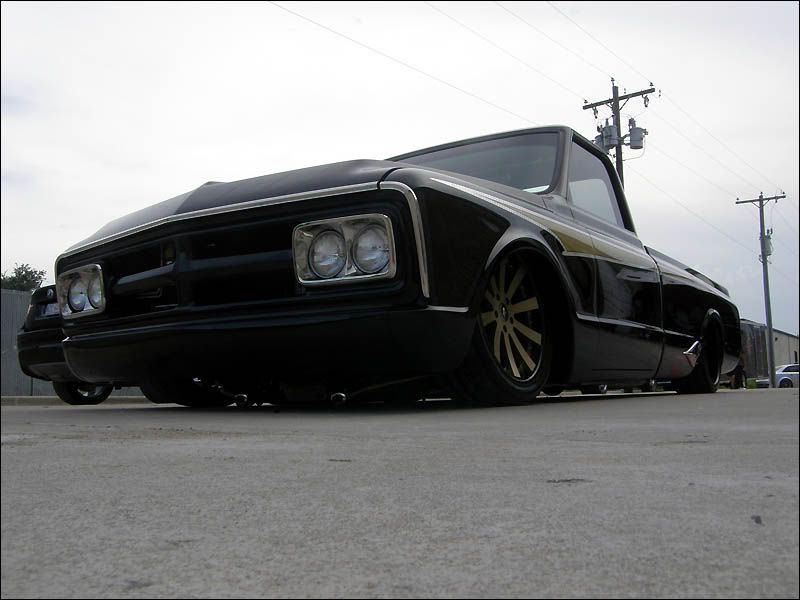
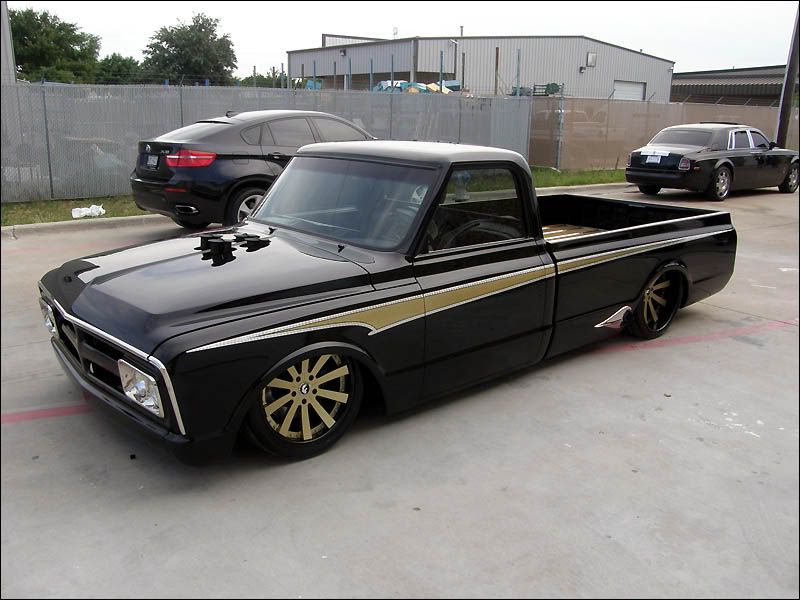
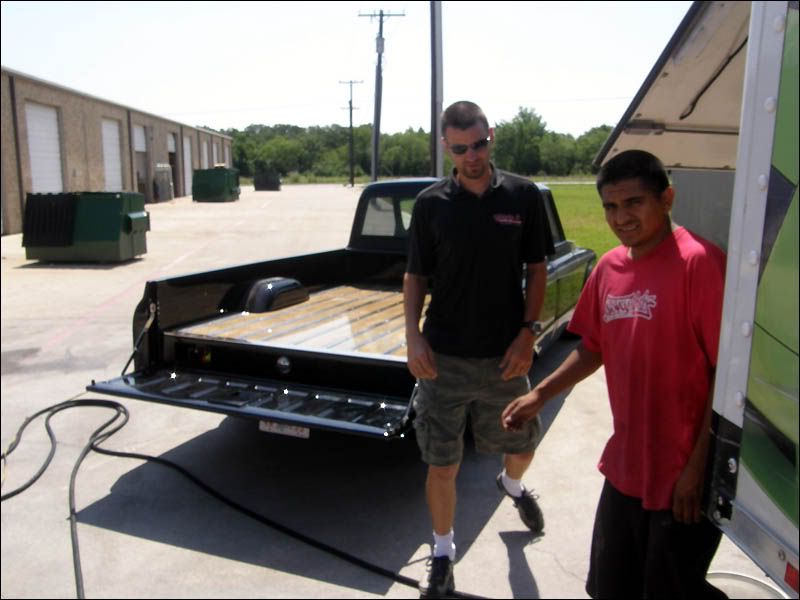
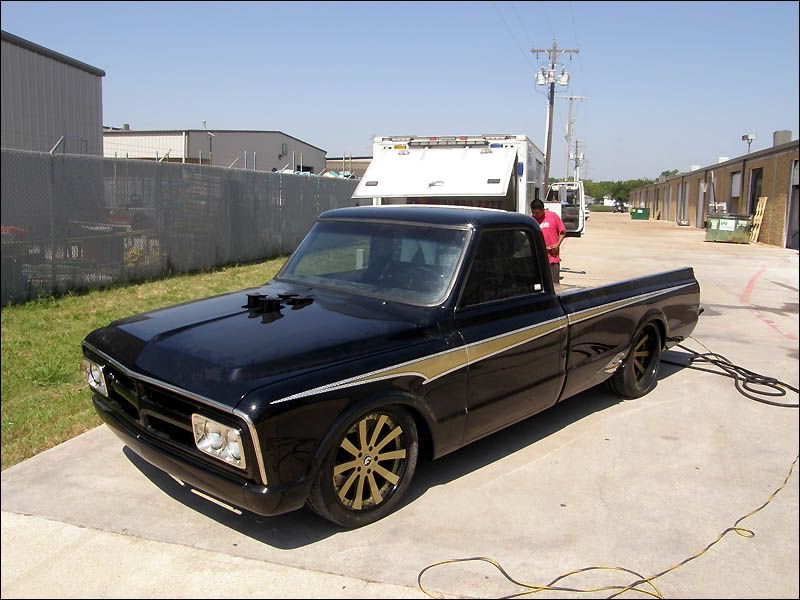
Next we needed to get it out of the shop and get it washed. It had been sitting for a very long time with tons of dust and paint compound on just about every nook and cranny that you can see. We started out by foaming it using Gloss Shampoo. Since it was a fresh paint job and had no LSP on it, we just needed to wet the truck so we did not do any damage when we started our wash process. I do not have any during shots of when we were washing it as the Texas sun was FIRE'N it UP and we had to hustle to prevent water spotting. Here is the state of the truck prior to any water application.
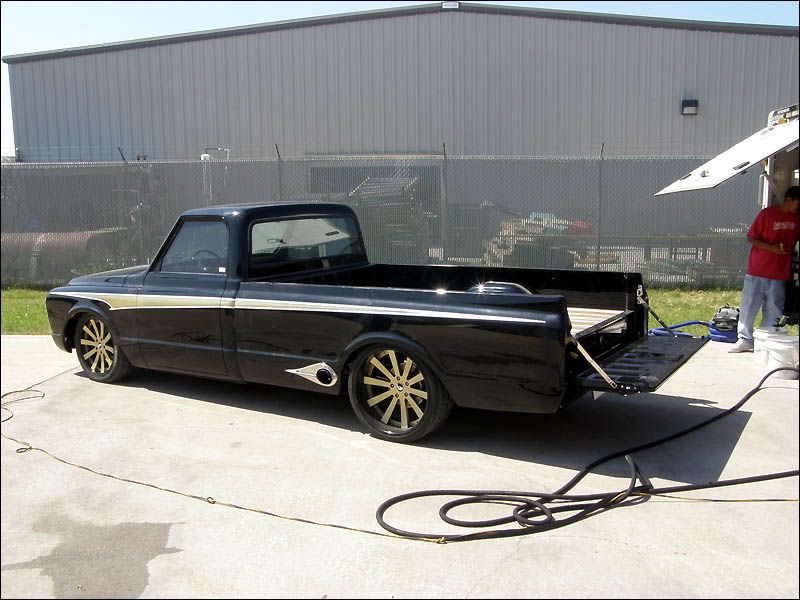
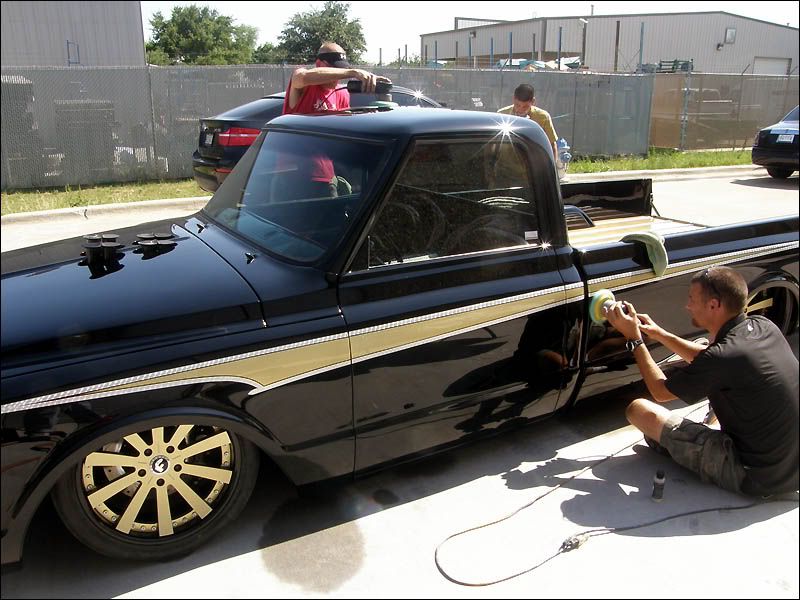
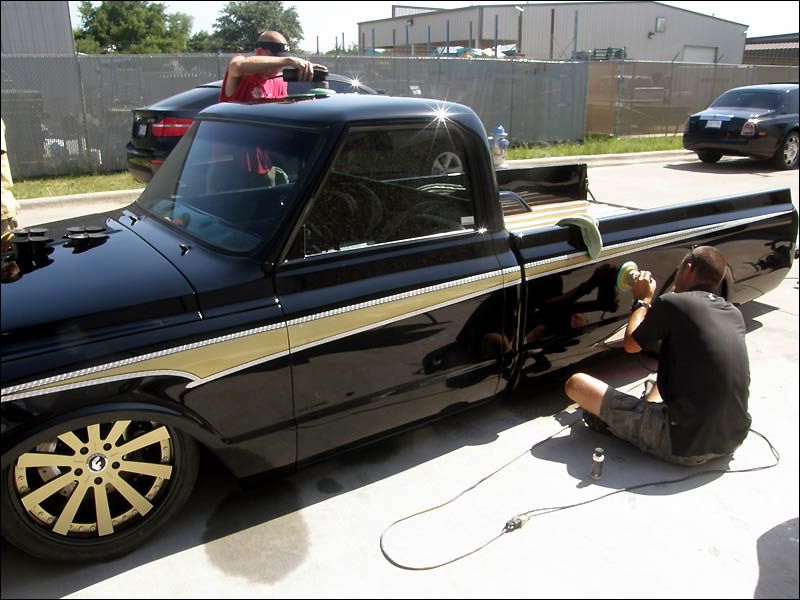
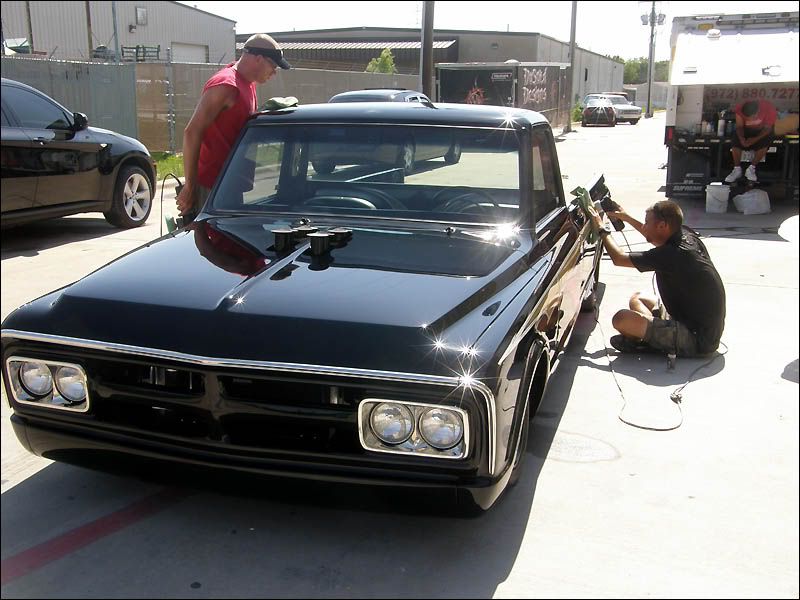
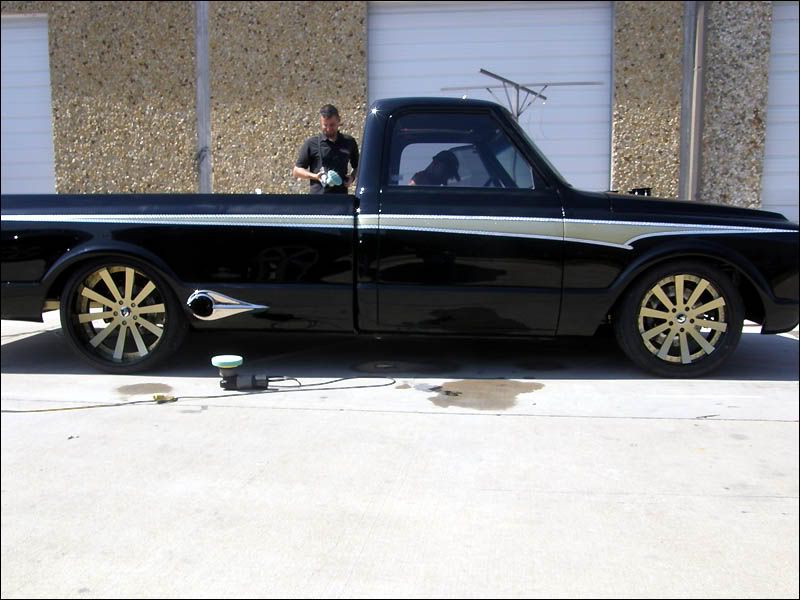
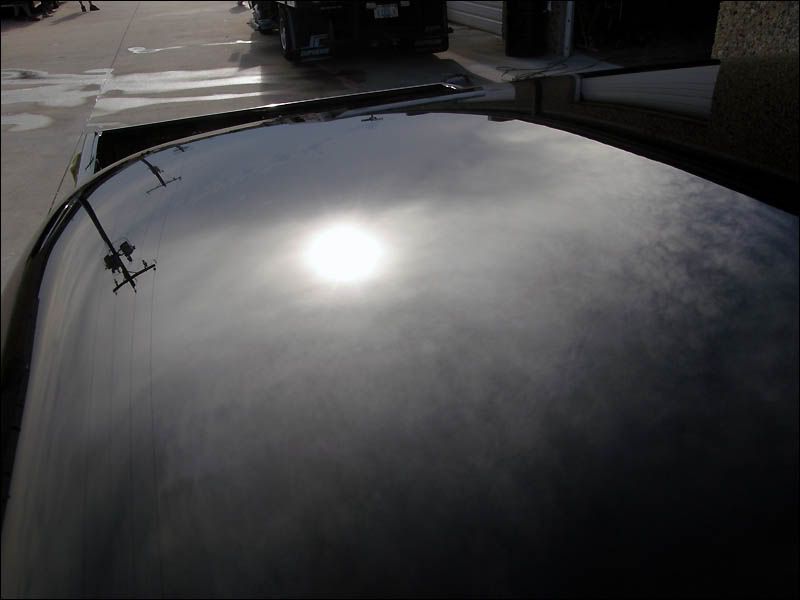
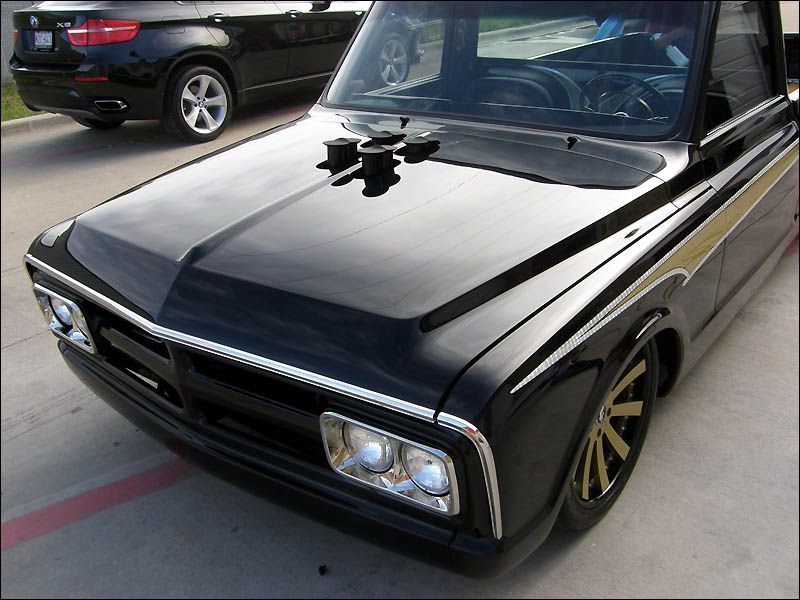
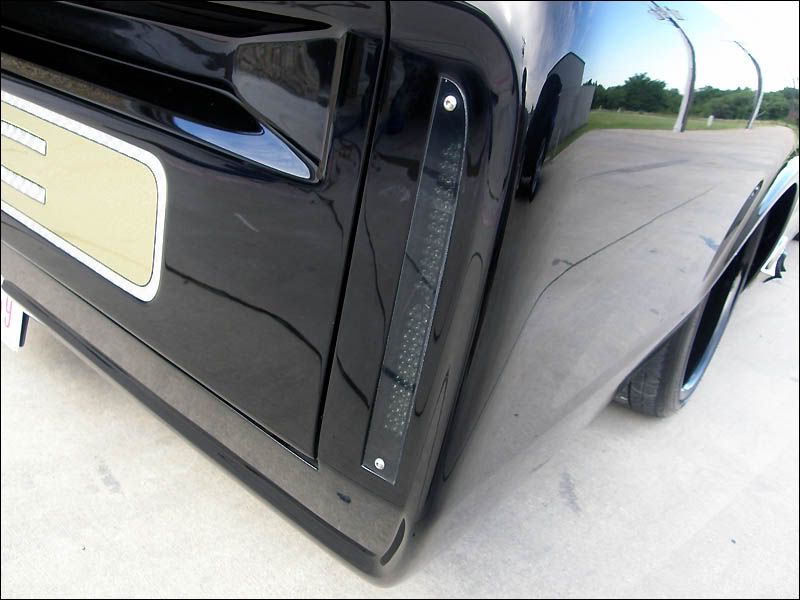
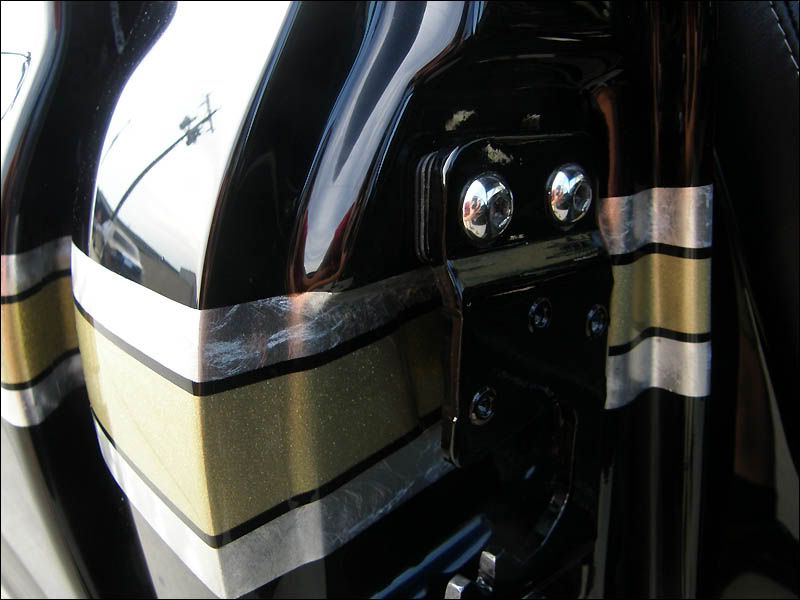
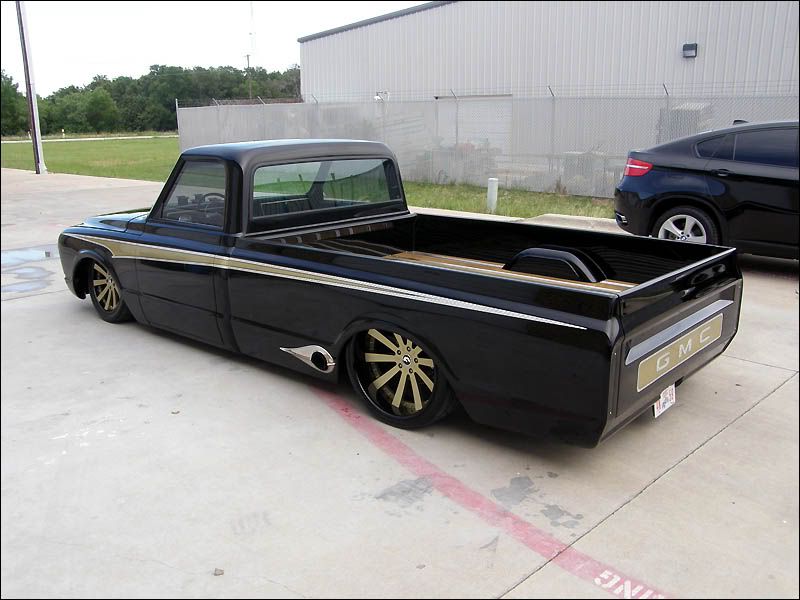
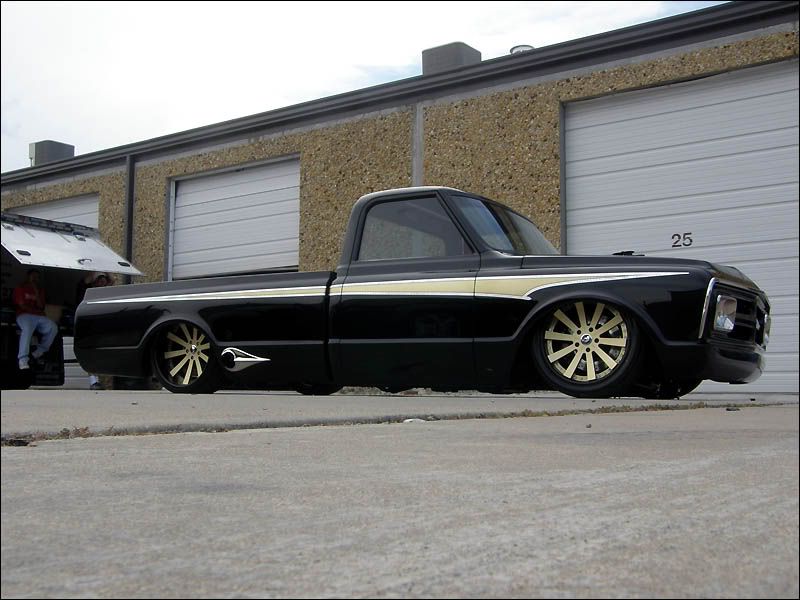
Once we had the truck dried we could asses the paint. Dusold lets us do the paint correction for all of their vehicles and this one was no different. They do all the color sanding/wet sanding and then do the initial buff out of the sand marks then we come in and do our thing and make it look good, removing the swirls, buffer trails, holograms and micro-marring that is endured in the removal of the sanding stage.
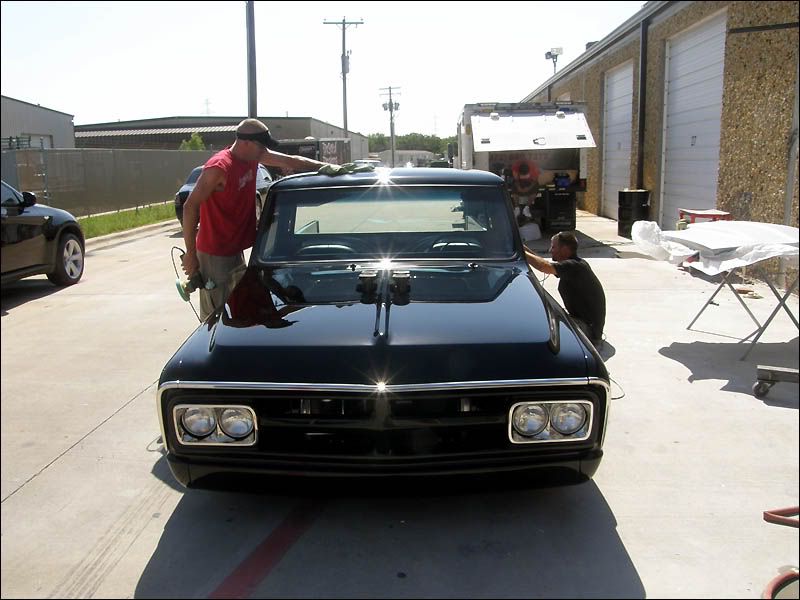
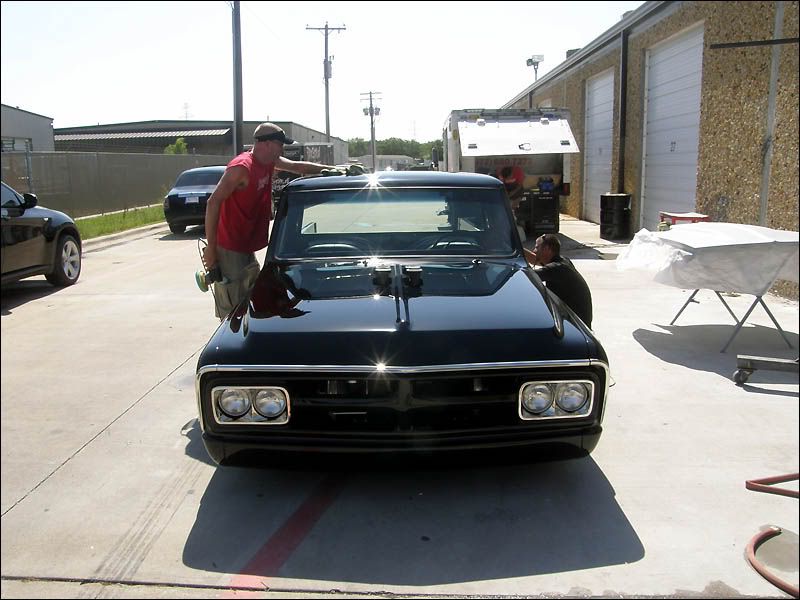
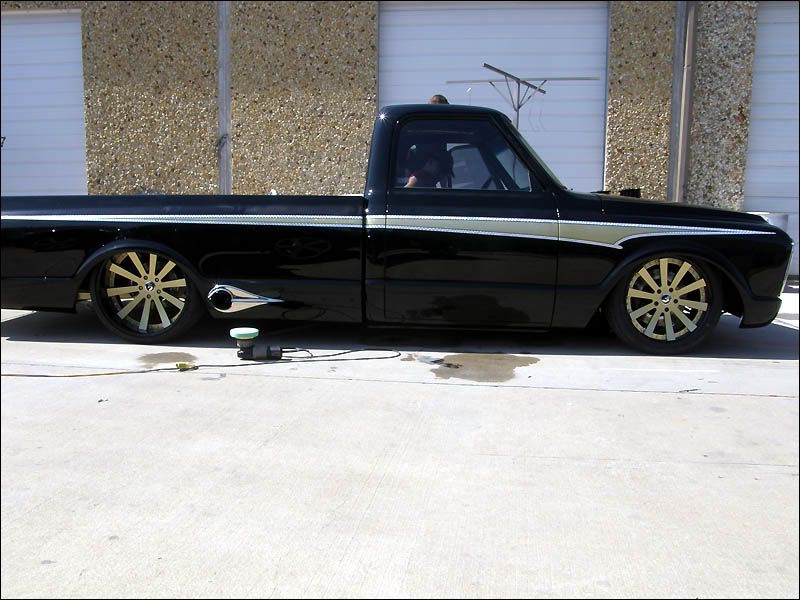
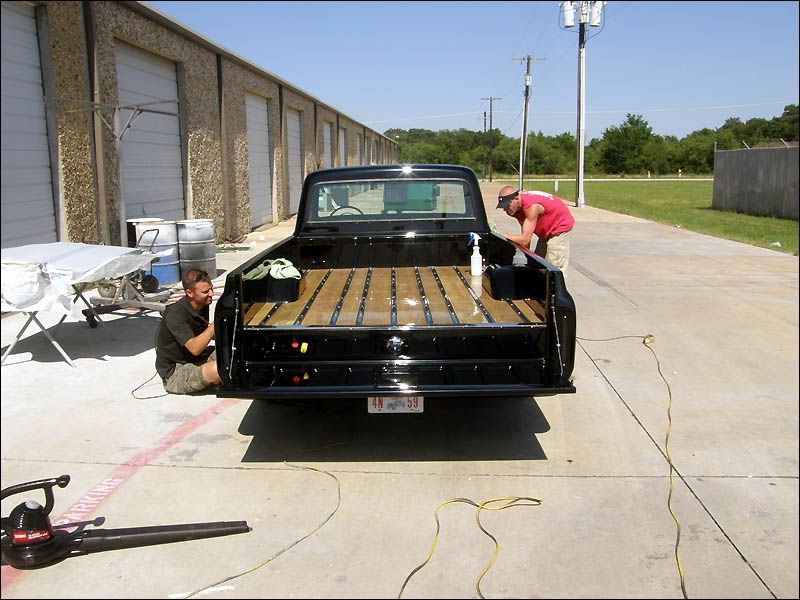
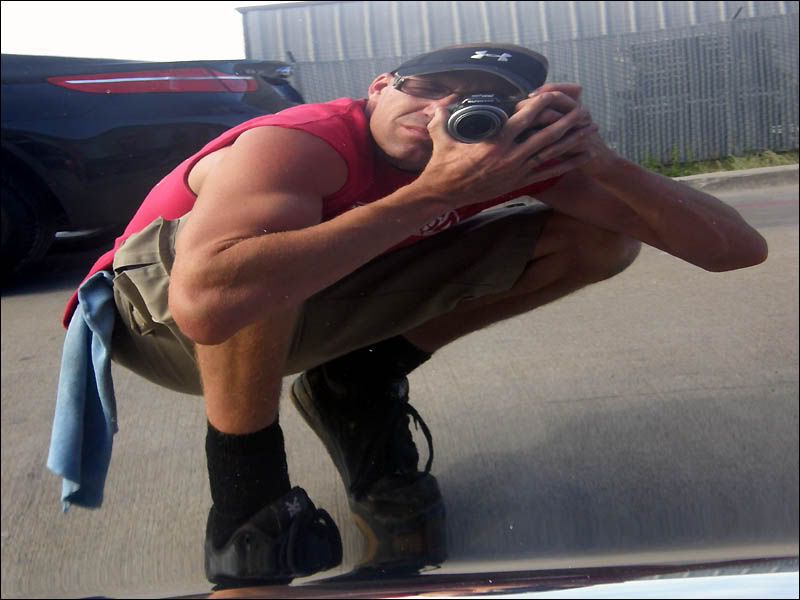
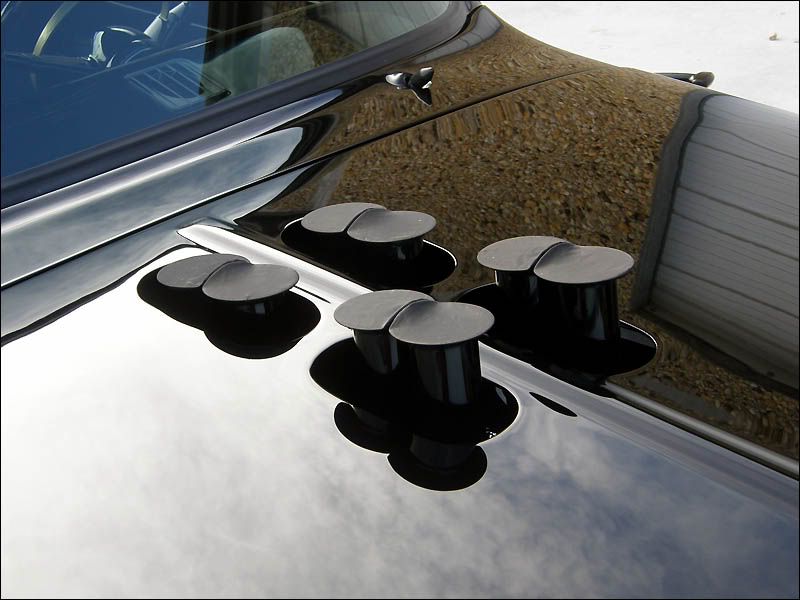
Here is what we could see in the Texas sunlight.


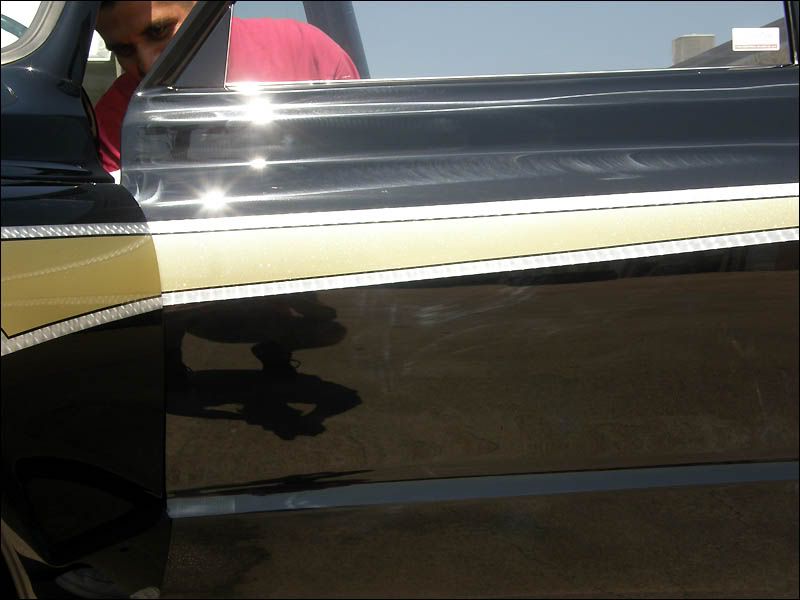
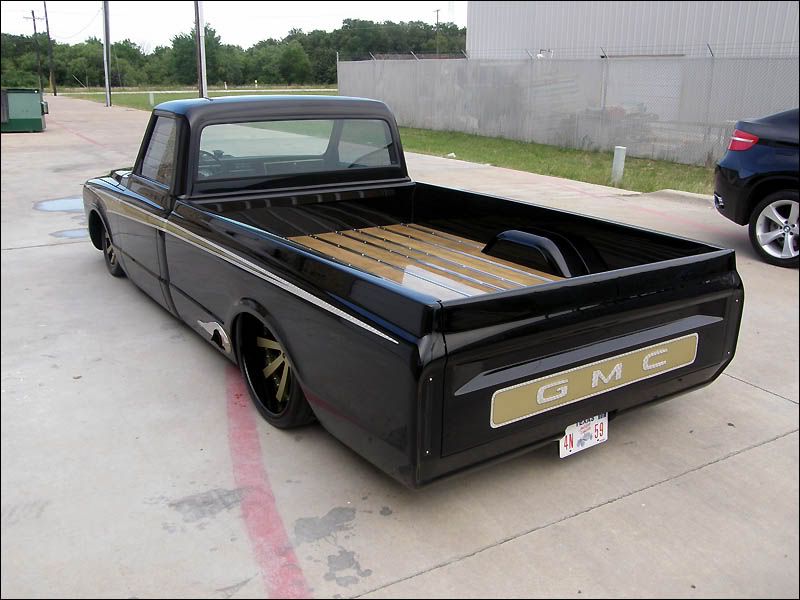
I did not take a ton of photos of this damage, as it was everywhere and the photos show just what we encounter.
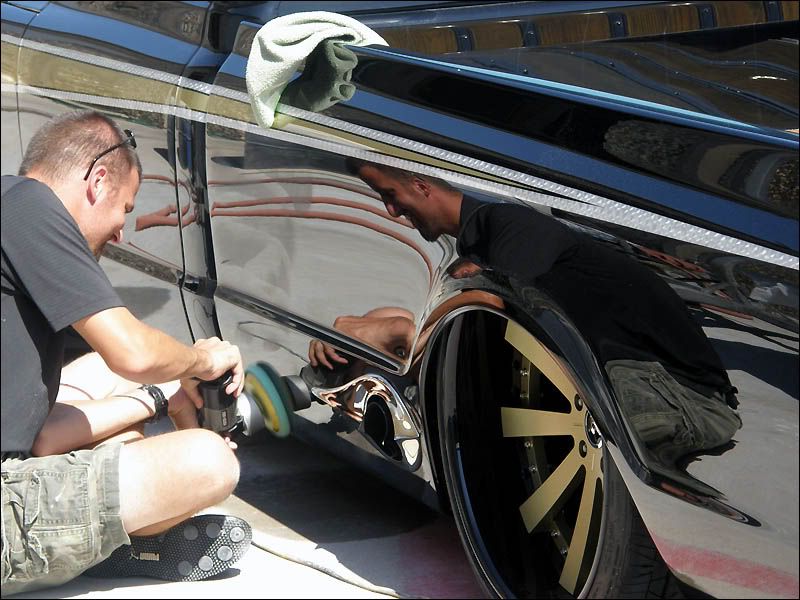
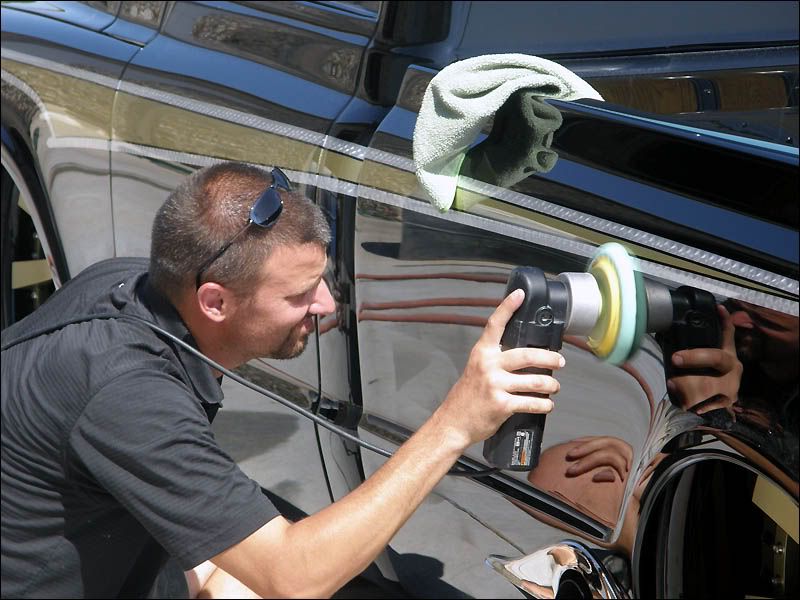
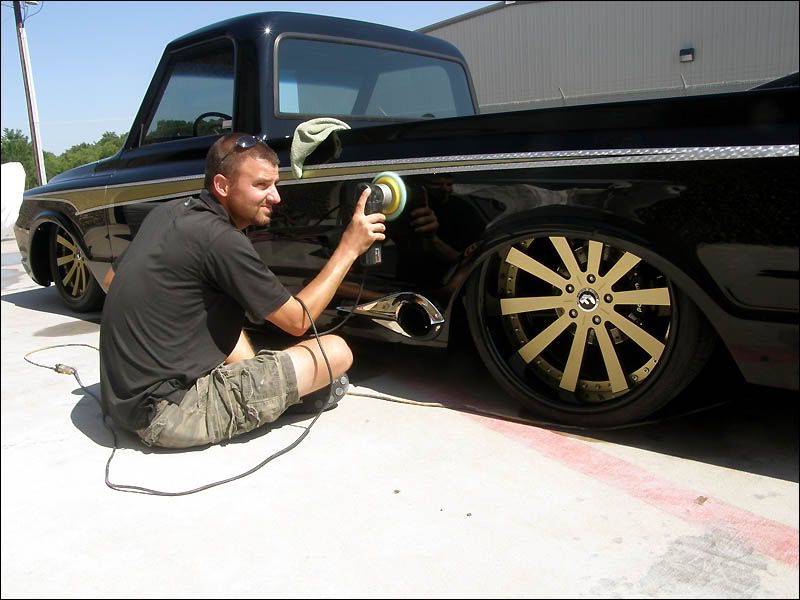
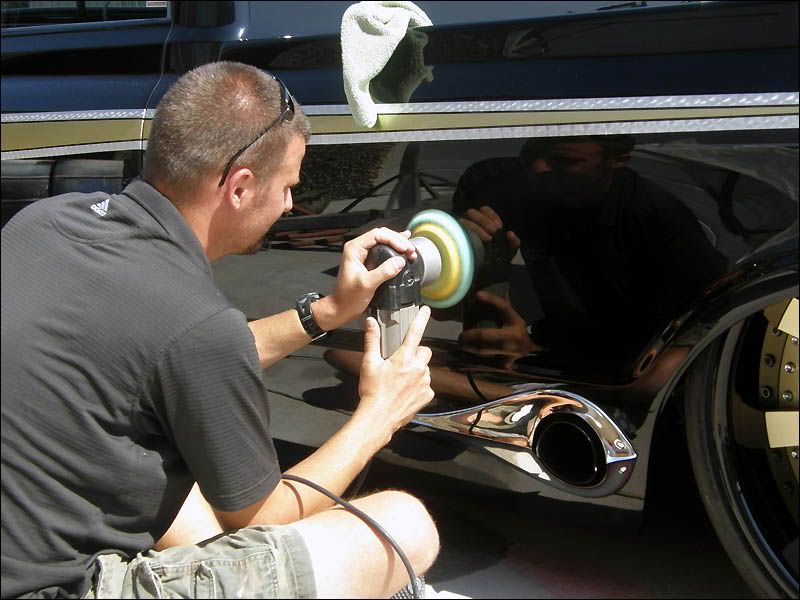
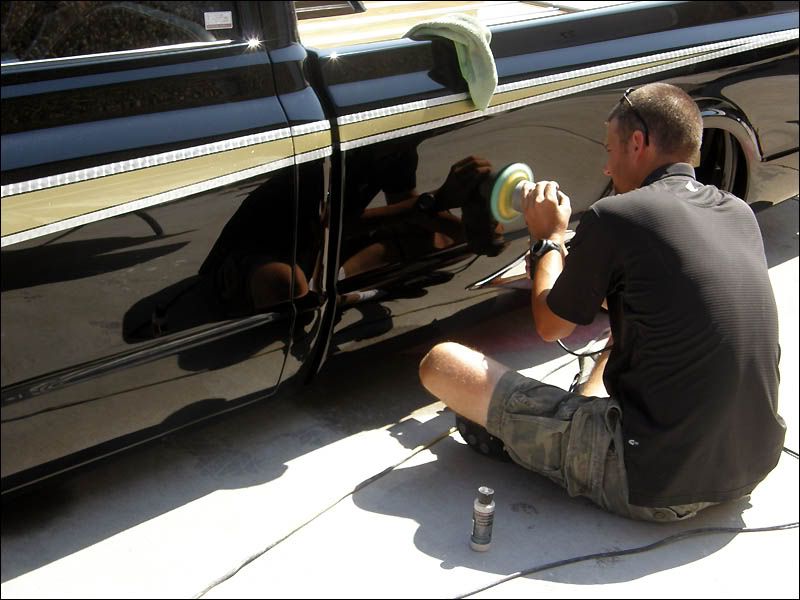
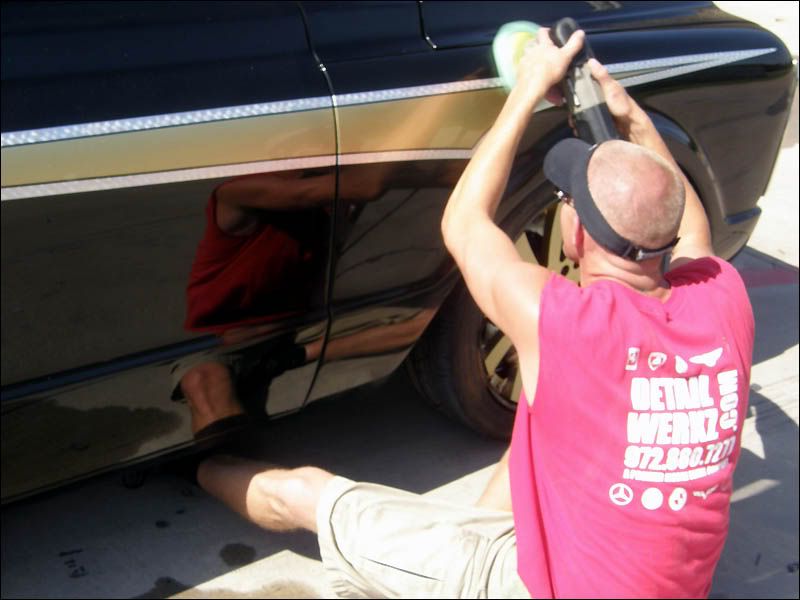
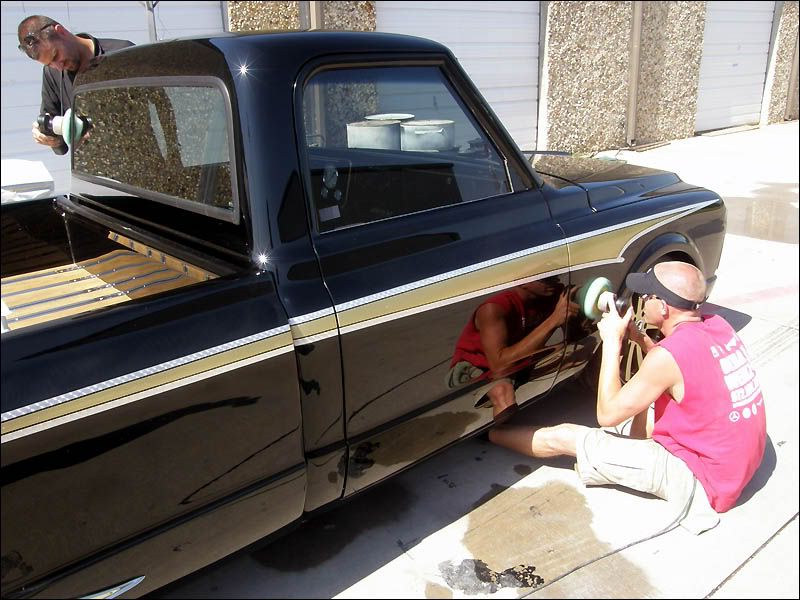
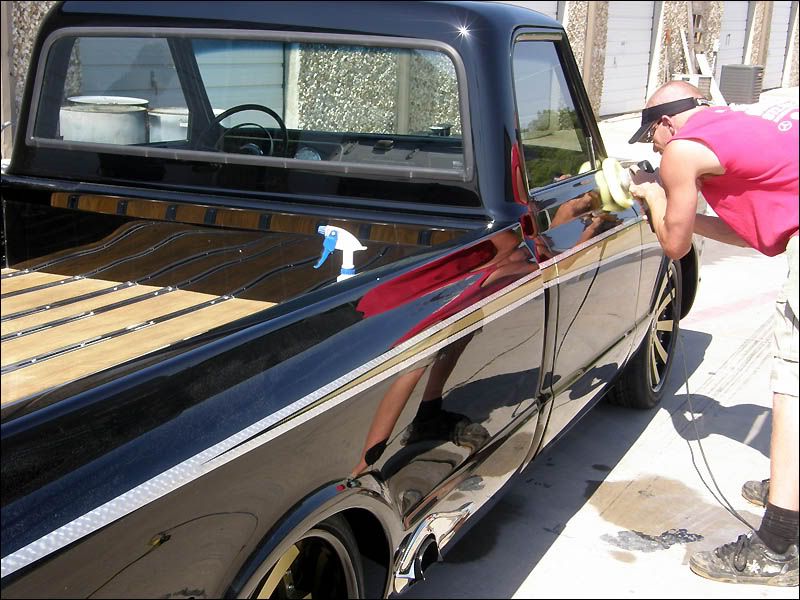
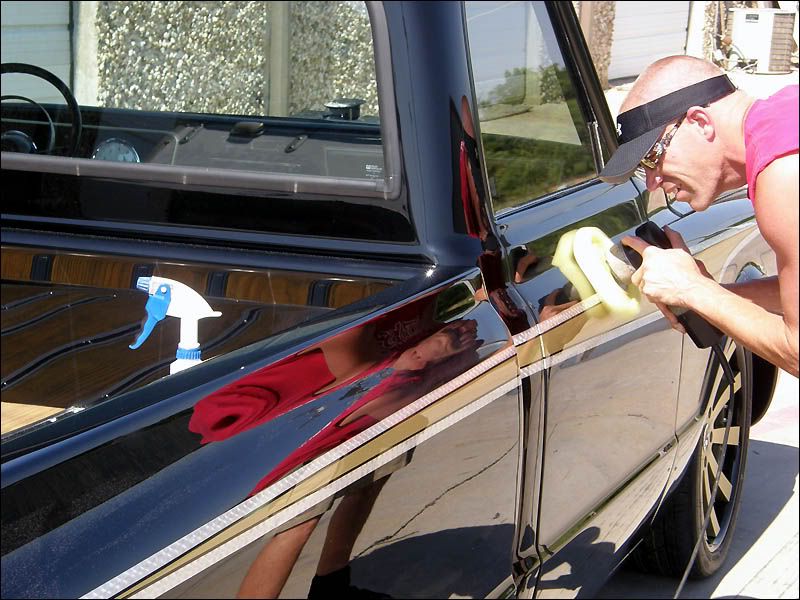
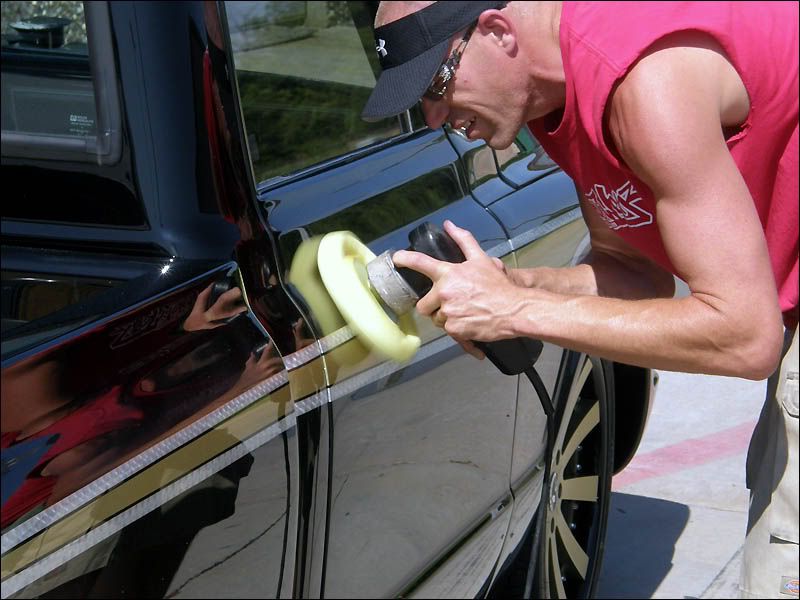
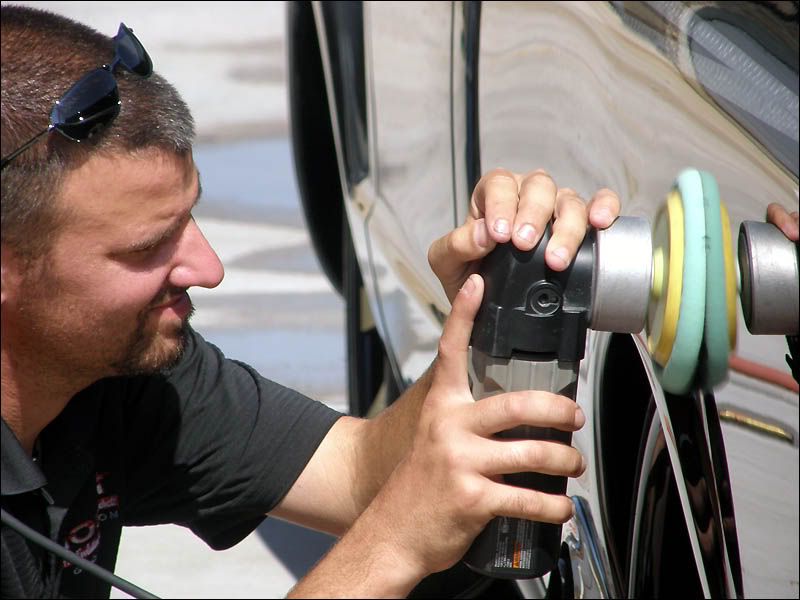
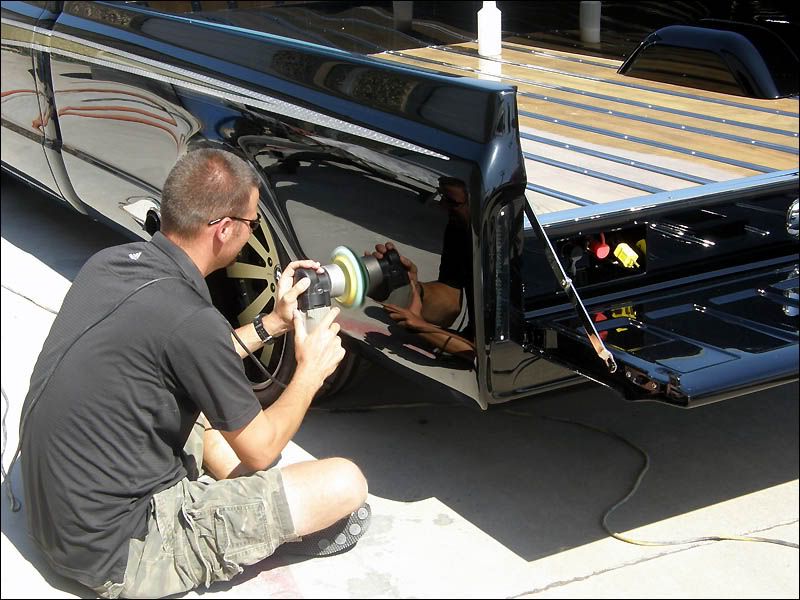
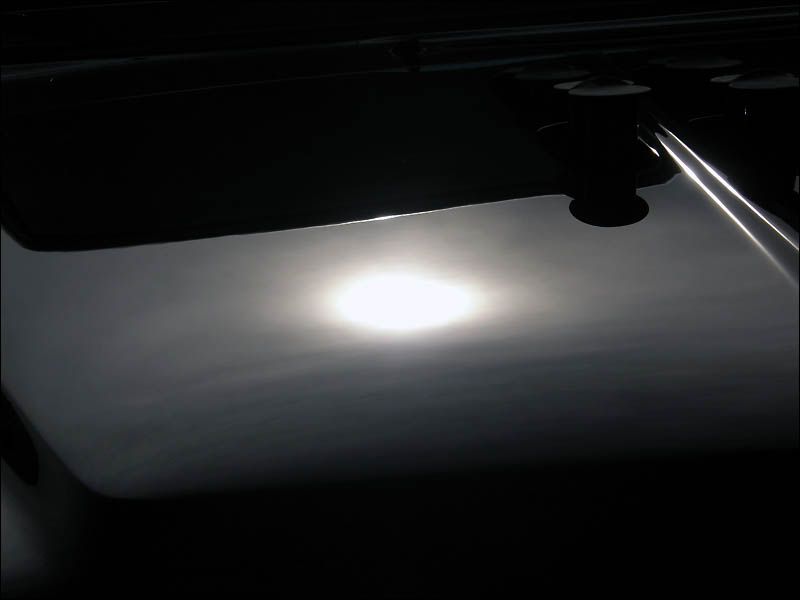
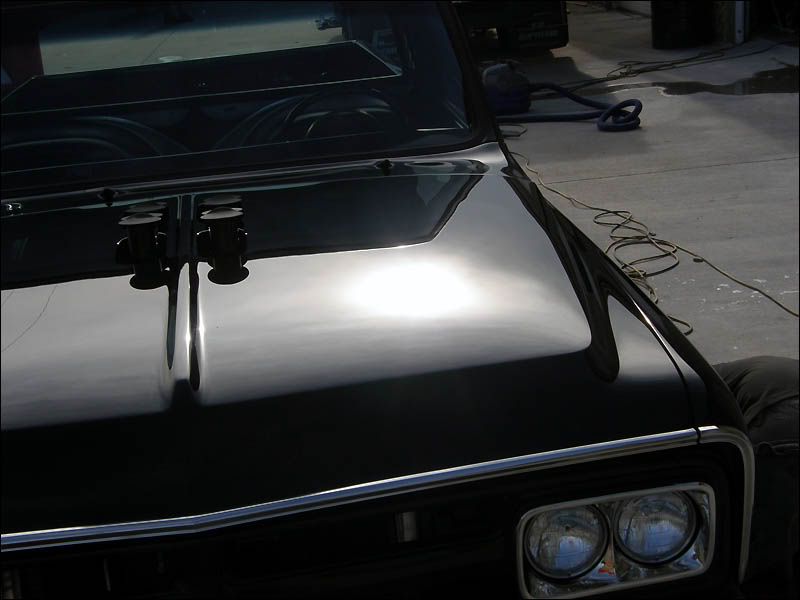
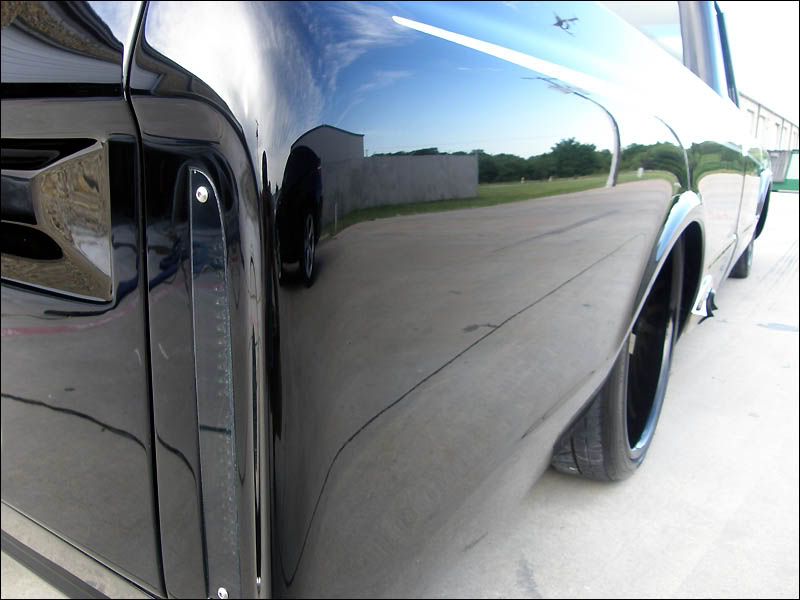
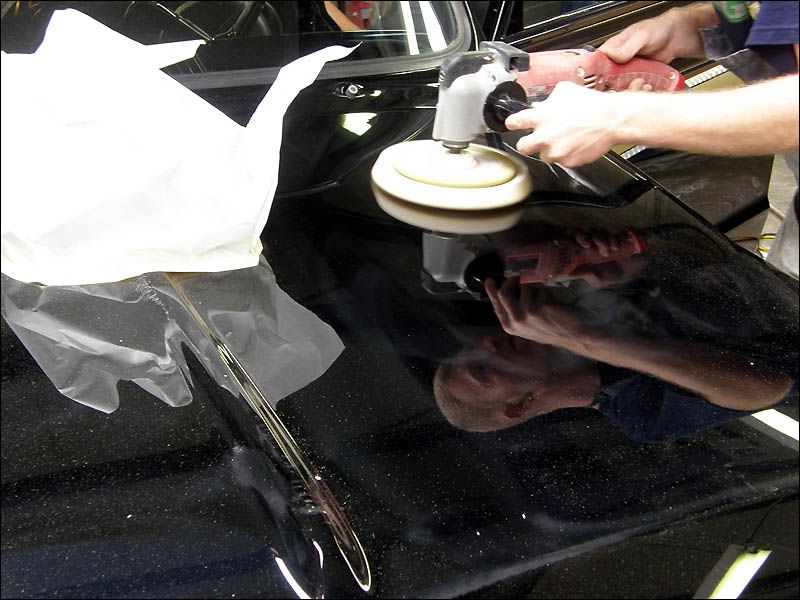
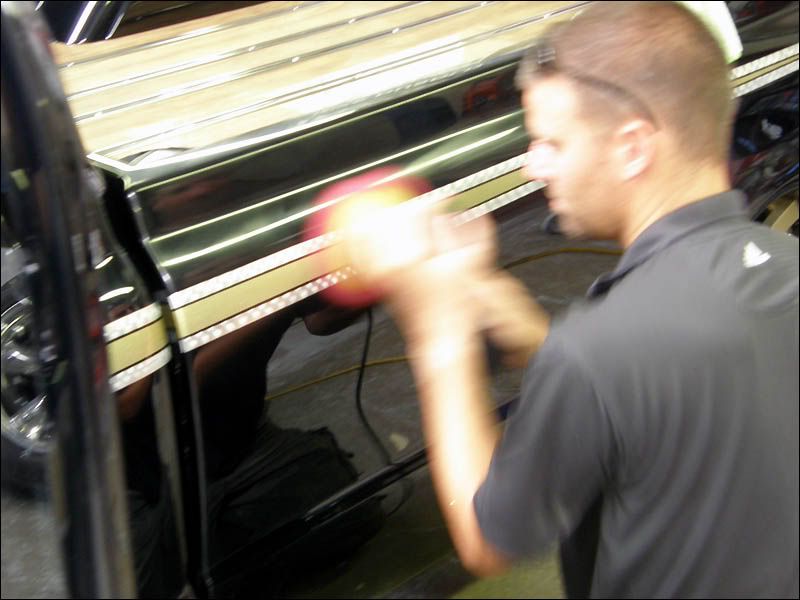
We pulled the truck into the shop to get out of the Texas heat and masked off some items and started to do some FIRE it UP correction. This paint was pretty darn soft and it took some time to figure out a combo that would work. Chris and I spent I would say 2 hours trying to figure out just what product, pad and machine to use to make haste of this correction.
We ended up going with the porter cable 7424, Gloss It light green foam pad and the Gloss It One Step Machine Polish. There was a technique to all this and we had to first start out on speed 6 grinding away applying about 15lbs of pressure then slowing down the speed to around 3-4 and floating the pad across the paint to remove the micro-swirls. Again to figure this all out took some time, but we finally achieved the process and once we got it..it took no time at all to correct the paint.


We went the extra mile per the owner and completed our undercarriage concorso detail that includes clay and polish applied to every painted item.
Mike at Dusold Designs put just as much creativity and design in the undercarriage as he did the rest of the truck.
Just check out the photos of the undercarriage as we are working on cleaning, claying and polishing it.
As you can tell there really is not much that was not painted or coated to make this truck extremely custom.
Next we needed to get it out of the shop and get it washed. It had been sitting for a very long time with tons of dust and paint compound on just about every nook and cranny that you can see. We started out by foaming it using Gloss Shampoo. Since it was a fresh paint job and had no LSP on it, we just needed to wet the truck so we did not do any damage when we started our wash process. I do not have any during shots of when we were washing it as the Texas sun was FIRE'N it UP and we had to hustle to prevent water spotting. Here is the state of the truck prior to any water application.
Once we had the truck dried we could asses the paint. Dusold lets us do the paint correction for all of their vehicles and this one was no different. They do all the color sanding/wet sanding and then do the initial buff out of the sand marks then we come in and do our thing and make it look good, removing the swirls, buffer trails, holograms and micro-marring that is endured in the removal of the sanding stage.
Here is what we could see in the Texas sunlight.
I did not take a ton of photos of this damage, as it was everywhere and the photos show just what we encounter.
We pulled the truck into the shop to get out of the Texas heat and masked off some items and started to do some FIRE it UP correction. This paint was pretty darn soft and it took some time to figure out a combo that would work. Chris and I spent I would say 2 hours trying to figure out just what product, pad and machine to use to make haste of this correction.
We ended up going with the porter cable 7424, Gloss It light green foam pad and the Gloss It One Step Machine Polish. There was a technique to all this and we had to first start out on speed 6 grinding away applying about 15lbs of pressure then slowing down the speed to around 3-4 and floating the pad across the paint to remove the micro-swirls. Again to figure this all out took some time, but we finally achieved the process and once we got it..it took no time at all to correct the paint.